

You’ll find yourself back in control of Cloud in Aerith’s house, having been roused from your slumber. Head downstairs and exit the house to find somebody waiting for you - either Aerith, Barret or Tifa, depending on the choices you’ve made thus far. Completing side quests in Chapters 3 and 8 (or not) and who you talk to at the start of Chapter 10 seem to be the biggest influences of this outcome. Meet up with whomever is waiting for you, watch the scenes that follow, then on the next morning the party will inform Elmyra of their resolution to rescue Aerith.
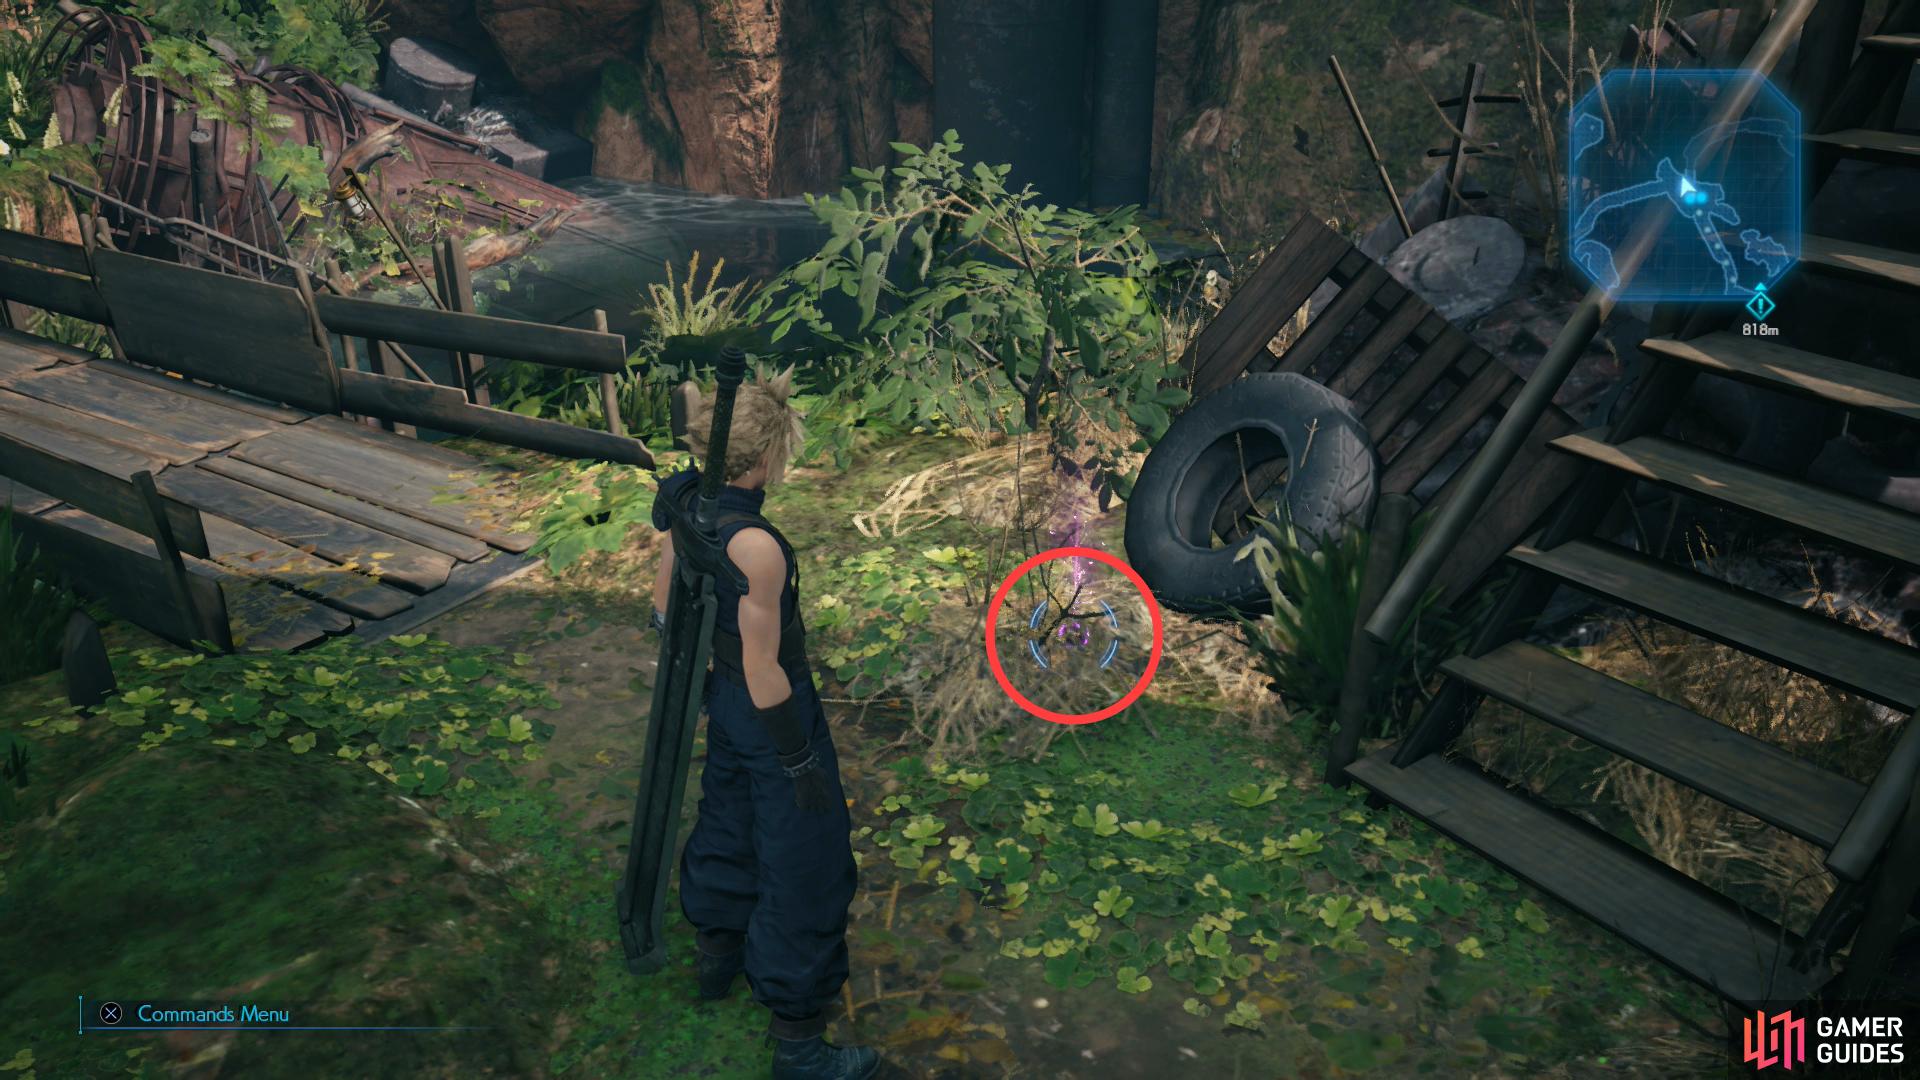
Pick up an orb of Pedometer Materia,
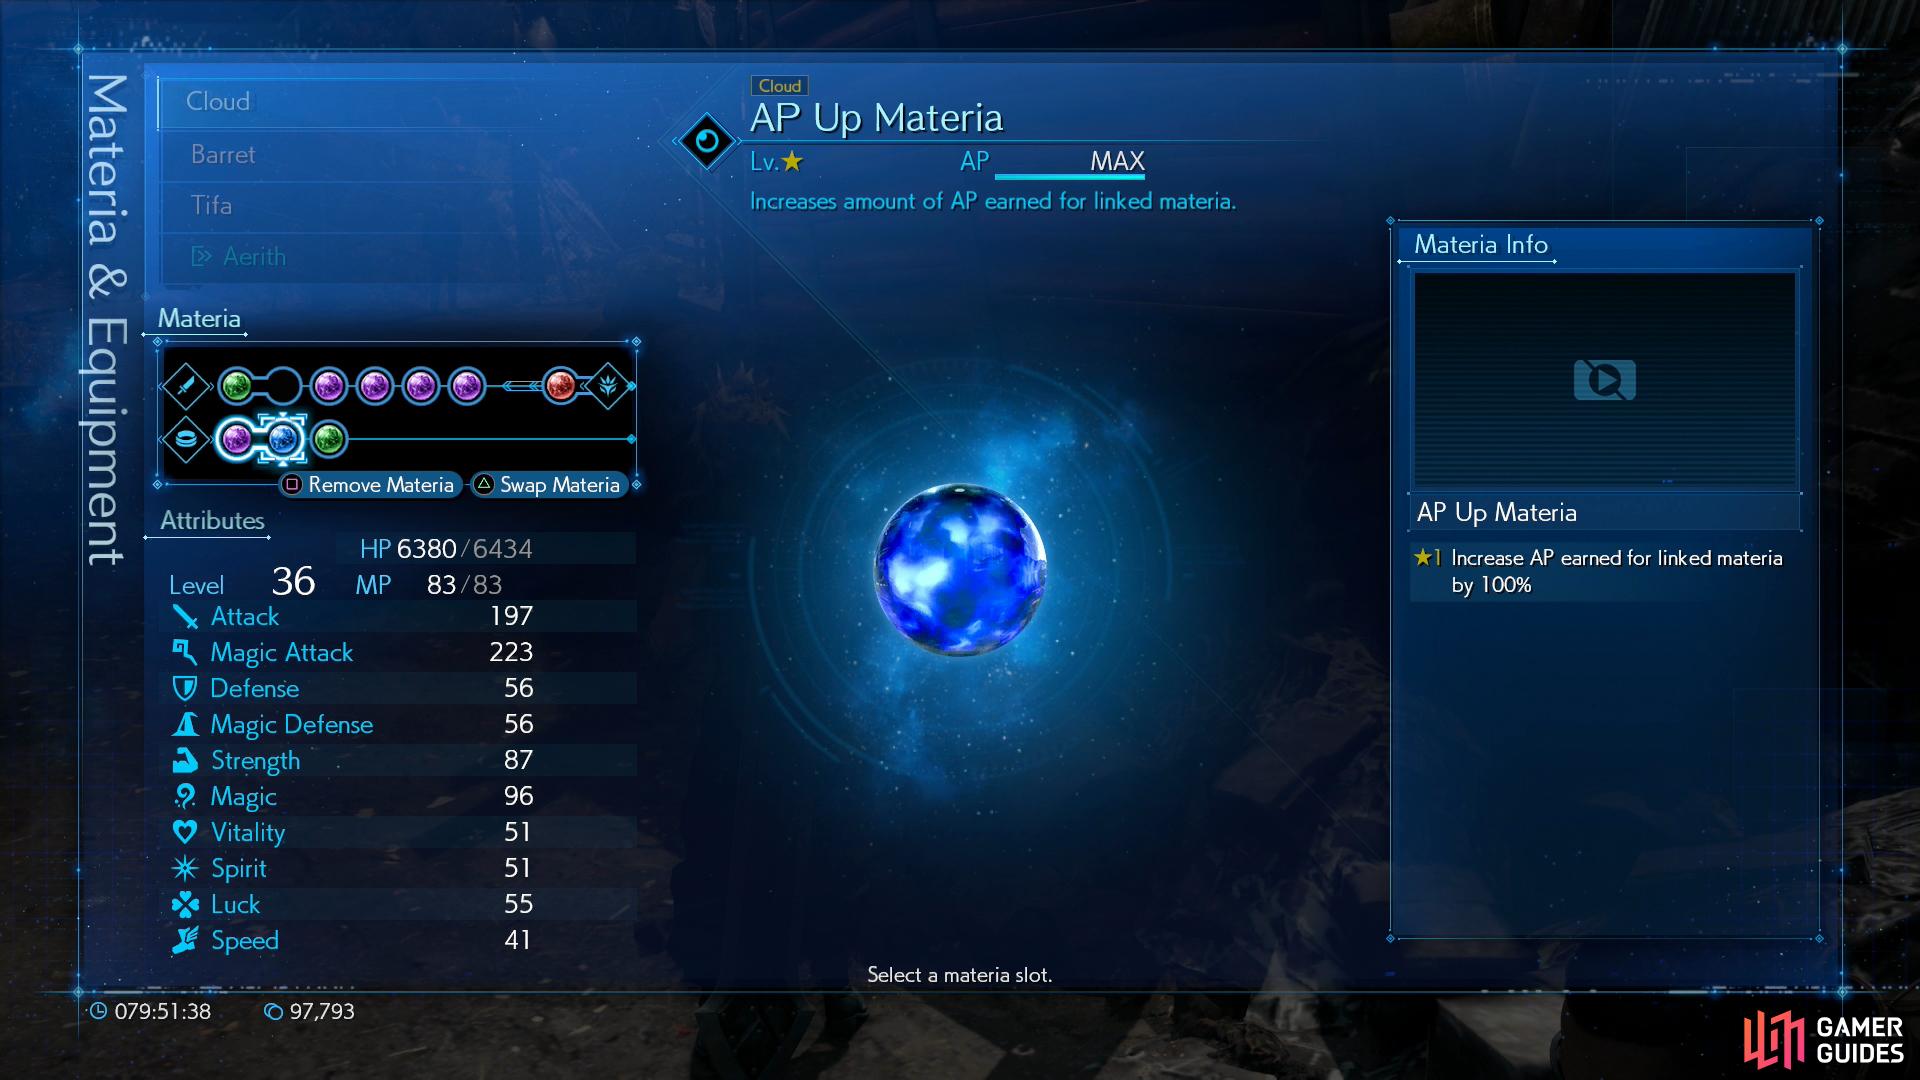
and after taking 5,000 steps with it equipped it’ll turn into AP Up Materia.
Intel Gathering
Outside, when you’re back in control, Corneo’s name will be floated as an individual who might know how to ascend to the plate. Head forward (north) across a bridge to find an orb of purple materia glowing away in the brush. Claim it to obtain an orb of Pedometer Materia, an odd bit of materia which hasn’t shown its true form just yet. Equip it and take 5,000 steps with it (you can do this while playing through the chapter ahead, or you can just run around in circles, as you wish) and it’ll turn into AP Up Materia, which boosts the AP gain of linked materia by 100%. Perhaps worth using to boost up some stubborn materia, but there are better ways to boost AP gain… once you complete the game.
In any event, continue through the Sector 5 Slums until you overhear a girl named Kyrie propagandizing against Avalanche and Wutai. It doesn’t have quite the outcome she desires, and after Tifa restrains Barret she’ll suggest helping the folks out around the slums. So starts the next - and last - big bout of side quests in the game, and while it’s completely optional, we’ll point them out and link you to dedicated quest pages as we come across them. The rewards, as usual, can be well worth the effort, and given that you now have access to more of the game in a single chapter than you’ve ever had before… there’s a lot of ground to cover.
Sector 5 Slums Side Quests
A list of the quests you can pick up in this Sector 5 follows:
| Quest | Prerequisite | Location | Rewards |
|---|---|---|---|
| Missing Children | – | Ms. Folia, near item shop (Sector 5 Slums - Center District) | Time Materia |
| Chocobo Search | – | Stablehand north or south of the Sector 5 Slums - Center District | New Chocobo routes, Sam’s Delivery Lifetime Pass |
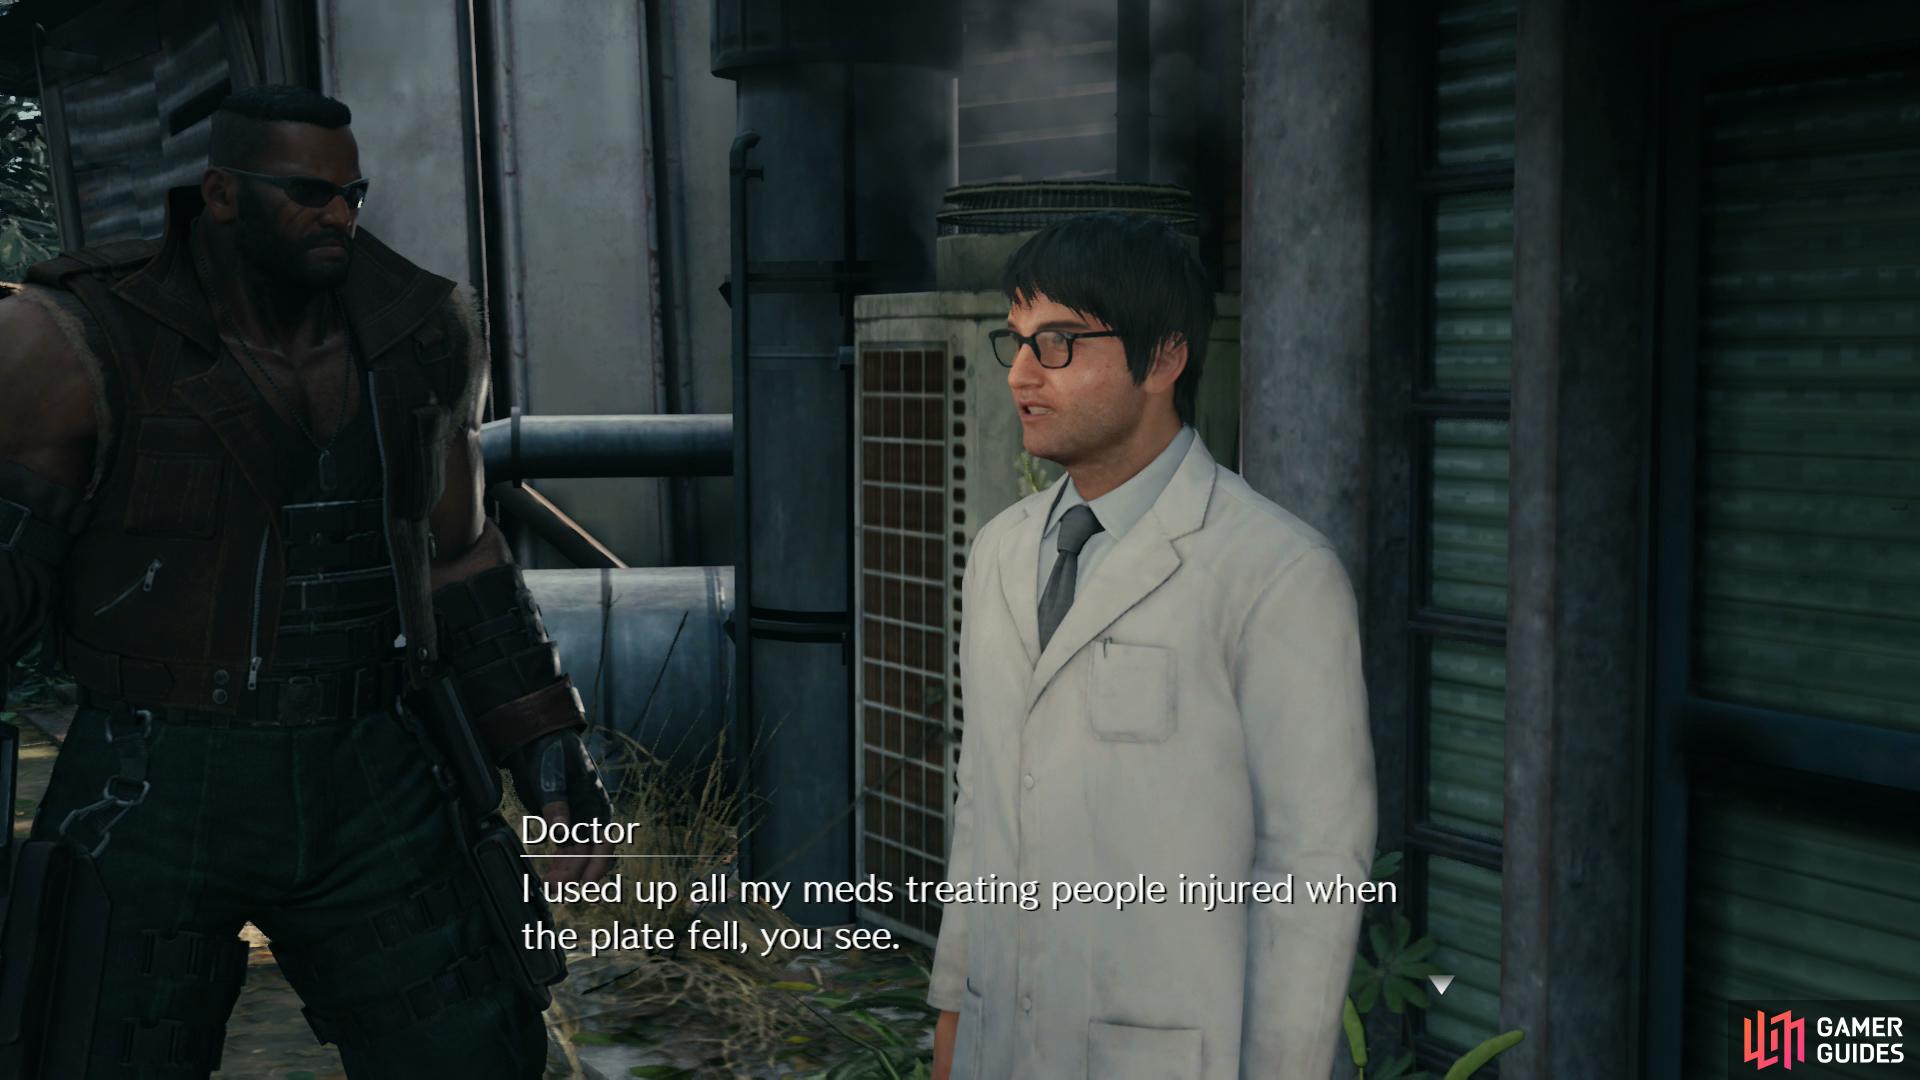
| Secret Medicine | -- | Doctor south of Leaf House (Sector 5 Slums - Center District) | Telluric Scriptures Vol. III |
| Tomboy Bandit | – | Johnny, at the eastern end of the Sector 5 Undercity Station area | – |
| Corneo’s Secret Stash | – | Damon, at the fork near the southern end of the Sector 5 Slums - Station Way | Circlet / Prayer Materia / Enfeeblement Ring / The Art of Swordplay Vol. III |
Let’s start by searching the Sector 5 Slums. The shops have nothing new in them (not since Chapter 13, anyways) but feel free to buy and sell as you need - ultimately the shops in Sector 6 will be more interesting. As for side quests:
-
Talk to a Doctor east of the community center, south of the Leaf House (orphanage) to start the quest Secret Medicine.
-
Talk to Ms. Folia near the item shop to start the quest Missing Children
-
Exit the Sector 5 Slums - Central District by heading either north (towards Aerith’s church) or south (towards Wall Market) and you’ll be pestered by a Stablehand, who gives you the quest Chocobo Search.
-
Exit the Sector 5 Slums - Central District by heading north, and at the first (southern-most) fork on Station Way you’ll find Damon, the shady pro-Shinra reporter from Chapter 8. He’s still fixated on the Angel of the Slums, and will ask you to dig up info on the Angel, staring the quest Corneo’s Secret Stash.
- Head up Station Way towards the Sector 5 Undercity Station area to find Johnny, who had an encounter with a familiar-sounding mugger. He’ll point you to the church in Sector 5, starting the quest Tomboy Bandit.
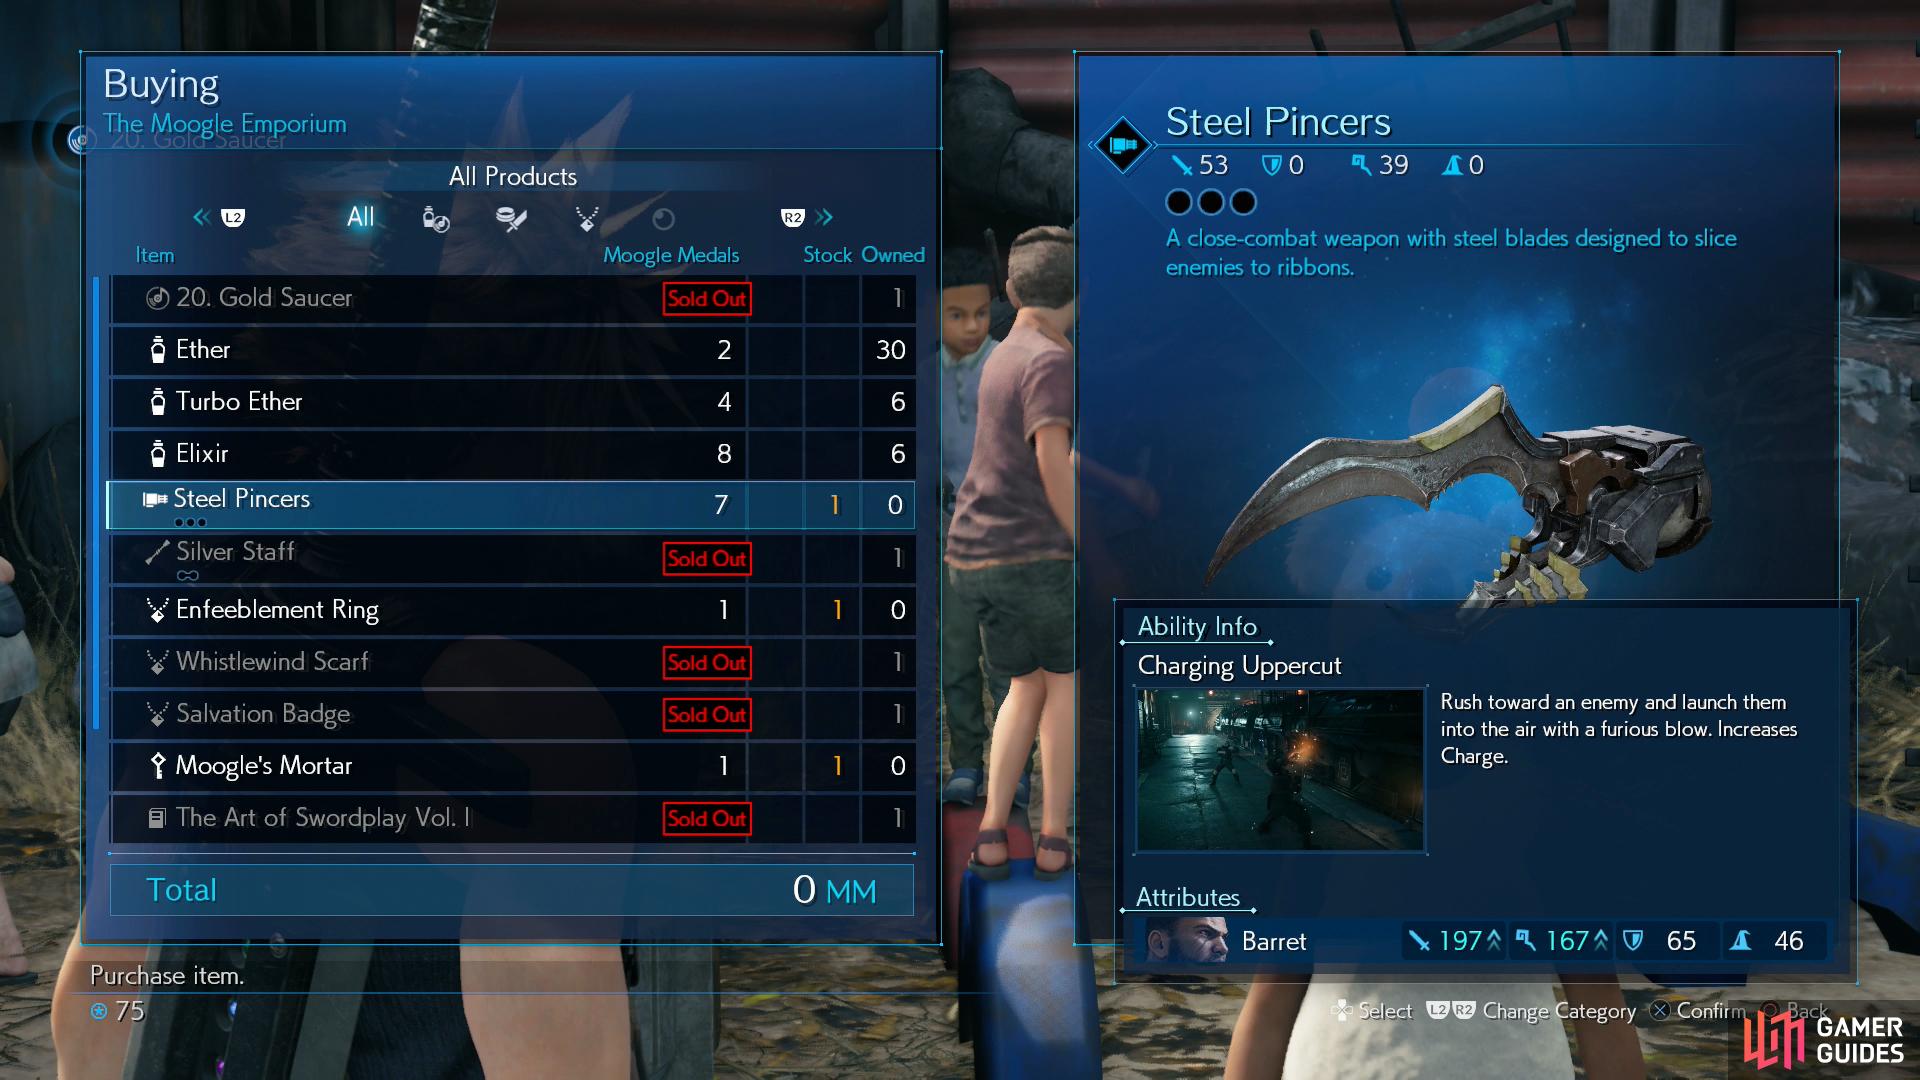
Buy the Steel Pincers weapon from the Moogle Emporium.

You can also try your hand at the new hard difficulty version of Whack-a-Box.
The Moogle Emporium, Revisited
While not a side quest, you can also enter the children’s secret hideout (slide between some buildings east of the item shop) where you’ll find Moggie has new wares and a girl to the northeast (Sarah) has set up a new “Hard” difficulty of the Whack-a-Box minigame. You’ll find Moggie’s wares below - be sure to grab the Steel Pincers weapon for Barret while you’re here, as well as the Moogle Mortar item, which is needed to complete the quest Secret Medicine.
The Moogle Emporium
| Item | Cost (MM) |
|---|---|
| 20. Gold Saucer | 1 |
| Ether | 2 |
| Turbo Ether | 4 |
| Elixir | 8 |
| Moogle’s Mortar | 1 |
| The Art of Swordplay Vol. I | 5 |
| Sharpshooter’s Companion Vol. I | 5 |
| Way of the Fist Vol. I | 5 |
| Telluric Scriptures Vol. I | 5 |
| Weapons/Armor | Cost (MM) |
|---|---|
| Steel Pincers | 7 |
| Silver Staff | 2 |
| Accessories | Cost (MM) |
|---|---|
| Enfeeblement Ring | 1 |
| Whistlewind Scarf | 3 |
| Salvation Badge | 1 |
Whack-a-Box, Hard Difficulty
As for Hard difficulty Whack-a-Box, almost everything you learned from the Normal difficulty run still applies, the boxes are just in different locations, typically smaller stacks. Equip the Iron Blade Weapon and use Triple Slash whenever your ATB gauge is charged enough to do so. First Strike Materia will also give you a nice boost starting out. The rewards are as follows:
Whack-a-Box (Hard)
| Target Score | Prize |
|---|---|
| 10000 | An Elixir |
| 20000 | A Crescent Moon Charm |
| 30000 | A Transference Module |
| Participation Prize | A Moogle Medal |
Sector 6 Slums Side Quests
That should be it for the Sector 5 Slums, time to head on to Wall Market, which is southeast of the Central District - just follow the S6-5 Road southeast and you’ll reach it. The side quests you’ll find in Chapter 6 are as follows:
| Quest | Prerequisite | Location | Rewards |
|---|---|---|---|
| Malicious Goons | – | Talk to Madam M outside of her massage parlor in Wall Market.) | – |
| The Power of Music | – | Talk to Betty near the jukebox west of the hotel in Wall Market. | Sharpshooter’s Companion Vol. III |
| Wavering Heart | – | Talk to Andrea at the gym in Wall Market. | Way of the Fist Vol. III |
| Subterranean Menace | – | Talk to Wymer at Evergreen Park. | Wrecking Ball |
-
Talk to Madam M outside of her massage parlor to start the quest Malicious Goons.
-
Talk to Betty near the jukebox west of the hotel in Wall Market (head south down the alley west of the hotel) and she’ll ask you to bring her whatever Music Discs you find - kid clearly believes in the uplifting power of music. This starts the quest The Power of Music
-
Talk to Andrea, who is furiously doing pull-ups in the gym in Wall Market to start the quest Wavering Heart.
-
Make your way to Evergreen Park (follow the road south and east from Wall Market) and talk to Wymer, who will tell you about some monsters that need to be dealt with. Finally, a proper job for a mercenary! This starts the quest Subterranean Menace.
Sector 6 Slums Loot and Shopping
Not quite as many quests here as in Sector 5, but there is loot to find and items to buy to make up for this, somewhat:
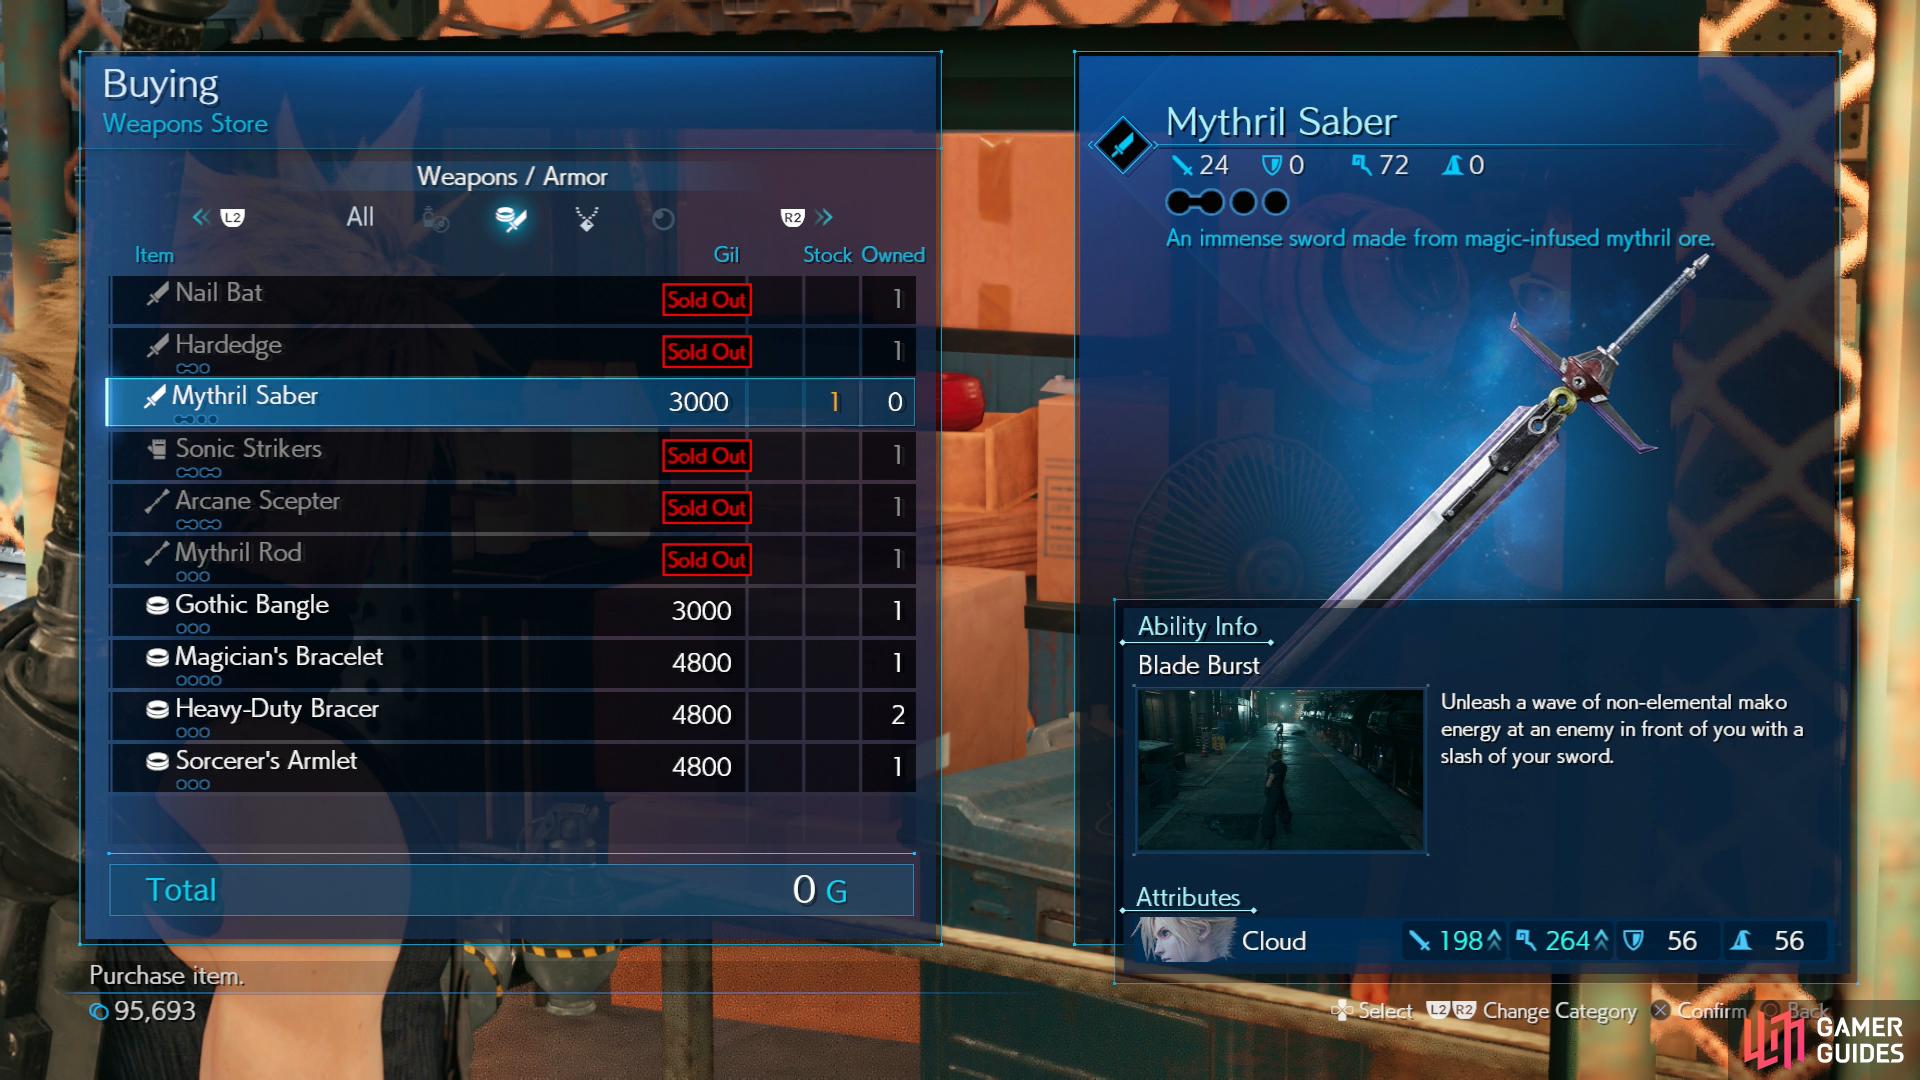
- Visit the weapon shop and purchase the Mythril Saber weapon for Cloud. This will set you back 3,000 Gil.
-
South of Madam M’s massage parlor you’ll find an alley to the east. Squeeze down it and head north to find a chest containing a Moogle Medal.
-
Enter an alley to the north of the item shop to find a chest containing an Elixir.
-
Enter an alley east of the Honeybee Inn and loot a chest to find a chest containing a Sorcerer’s Armlet.
-
There are also a variety of Music Discs you can find throughout this chapter. Some of them are tied to the quest The Power of Music, but there are others that you can find scattered about:
7. Turks’ Theme - talk to a woman near a pond on the S6-5 Road.
12. Fight On! - buy from the shop in the colosseum.
16. Good Night, Until Tomorrow - talk to a man in the lobby of the hotel.
24. Wutai - follow a road south of the colosseum and talk to a worker.
30. Stand Up Music Disc - talk to a woman in an alley south of Honeybee Inn.
Colosseum, Revisited
In addition to proper side quests and looting, you can also revisit the colosseum to take on some new battles. You’ll need to return here to complete the Tomboy Bandit side quest, but you can also attempt the following challenges:
Check out the pages linked above for each challenge for more detail on how to complete them, but do complete them - there are new limit breaks, manuscripts and accessories to earn.
Pull Ups
Finally, there’s the pull ups minigame, which you’ll start as part of the quest Wavering Heart. To complete that quest you need only defeat Andrea, but afterwards you can challenge the rest of the gym regulars - Ronnie, Jay and Jules - just like with squats. The rewards are definitely front-loaded, and between how difficult Jules can be and how paltry his reward, the only real reason to bother is for the trophy that comes with defeating Jules. This pull ups minigame is much like squats, save the button presses each round will be randomized, and the timing is somewhat different. Give it a try if you wish, but if you want another Championship Belt, you might be able to steal one off a Grungy Bandit on the Collapsed Expressway, if he’s respawned.
Suffice to say there’s an awful lot to do in this chapter before you bother with the main story. Many of these quests are interconnected and there’s much running about to be done. Still, the rewards are often worth it, and if you put in the time to complete this side content you’ll come out better for it.
| Enemy | Weaknesses | Notable Loot |
|---|---|---|
| Sahagin | Fire | -- |
| Blugu | Ice | Spiderweb |
| Wererat | Ice | -- |
| Scissorclaw | Ice | -- |
| Abzu Shoat | Fire | -- |
| Mischievous Shoat | Fire | -- |
| Sahagin Prince | Fire | -- |
Through the Underground Waterway
When you’re ready, head into Corneo’s mansion and enter his office, watch the scenes that follow. Before you talk to Leslie and descend into the sewers, however, leave Corneo’s private room, return north to his office, then go through some doors to the east and down some stairs. Go into a room to the south to find Kotch, who is, as he puts it, in a bit of a bind. Should leave him here just for that… Free him and after some chatter he’ll depart, leaving behind a chunk of Chakra Materia.
Return back upstairs, then talk to Leslie then talk to Leslie to descend into the sewers. After some more chatter you’ll be free to explore. You may expect this area to be familiar, but the collapse of Sector 7 really did some violence to these sewers - expect rubble to have altered things somewhat.
Continue north until you reach the room with the canals you could drain, now relatively dry and the controls for manipulating the sluice gates inoperative. Head down into the canal, kill a Sahagin, climb a ladder to the north and continue on until you reach the room with the rest bench/vending machine.
Make your way east and you’ll find yourself moving through a series of octagonal rooms, some of which are occupied by enemies. In the first you’ll encounter two Blugus and a Sahagin, in the second waits some Wererats and Scissorclaw while in the third are some more Scissorclaws and a Sahagin.
Defeat this last group of foes, then continue east into another octagonal room, then head south and east again through a now-opened gate. Follow the linear path ahead, climb a ladder, cross a bridge, then dispatch a mixed group of Blugus and Scissorclaws before descending another ladder. Loot a chest in the northwestern corner of the small room you find yourself in to score an Ether, then continue through a tunnel north and west, crouch under a partially-open sluice gate and dispatch the Blugu and Wererat in the room beyond before climbing another ladder. Continue north and west down a hallway, and note the paths to the west and south are blocked. That only leaves north, so continue down the hallway to reach the trunk line.
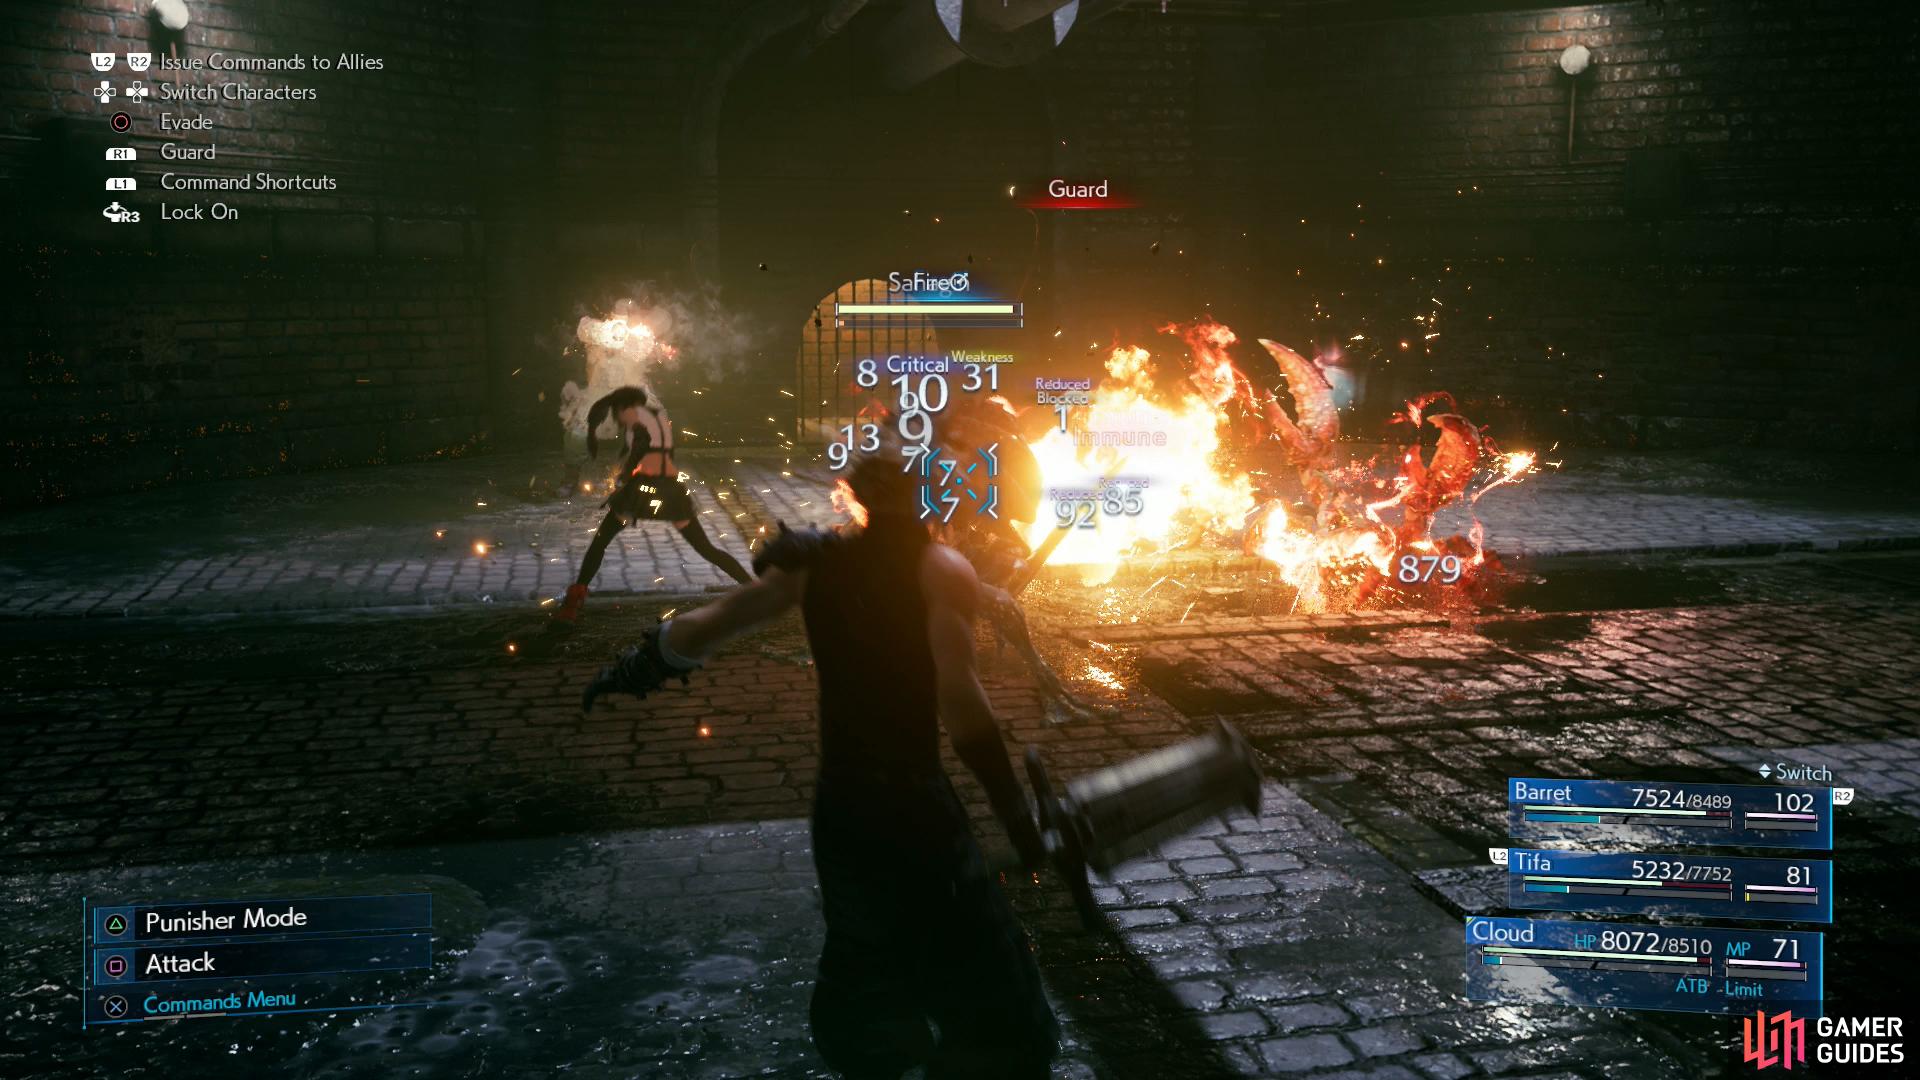
Fire + Magnify will continue to be an excellent combo throughout the sewers.
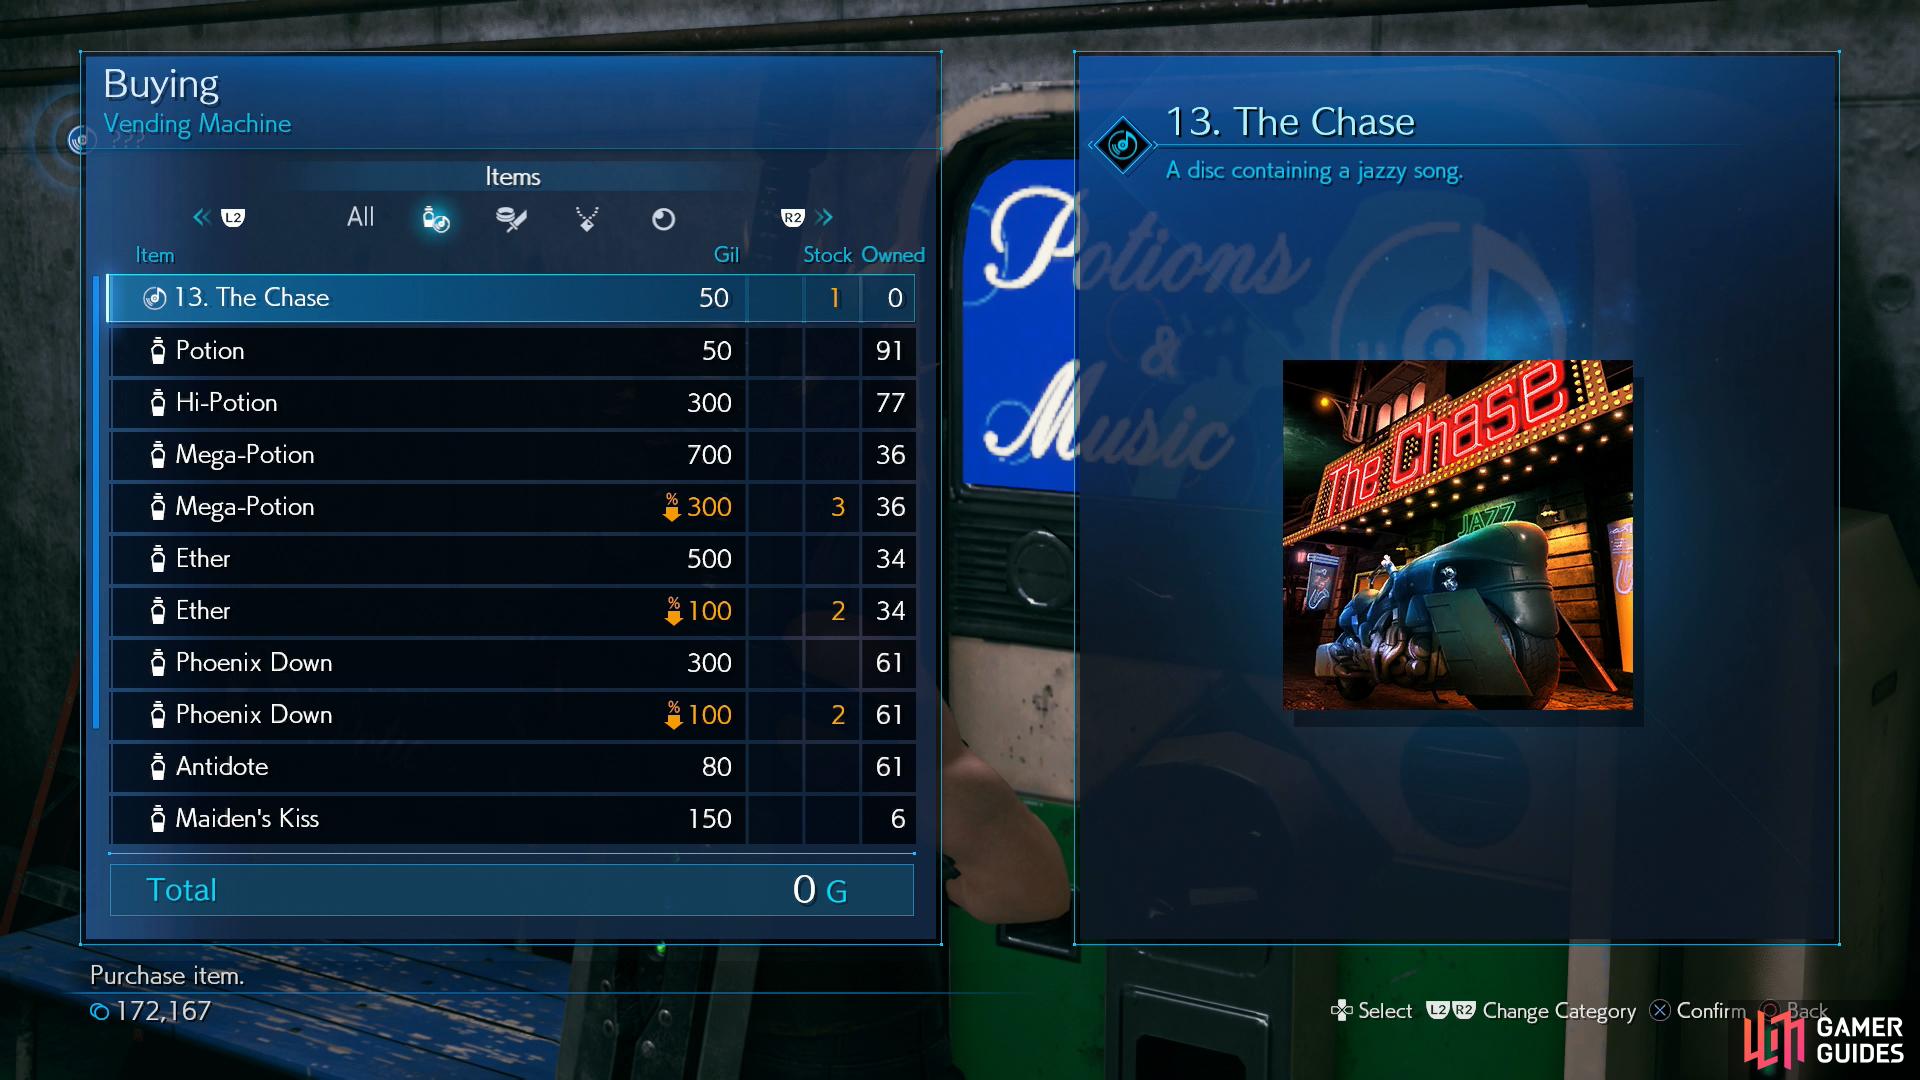
Buy the “13. The Chase” Music Disc from the vending machine.
The Hideout
Well, this is going faster than the first time, eh? After some more chatter smash some Shinra Boxes to the west, then head down a walkway to the east to find your companions waiting for you outside of another previously-sealed door. Turn north and smash another pile of Shinra Boxes, then meet up with your companions for more chatter.
After the chatter venture east and put down three Scissorclaws, then head through a door to the south. Follow Leslie to another break room, where you’ll find a rest bench and a vending machine. Buy the 13. The Chase Music Disc and the discounted restoratives - 3x Mega-Potions (300G), 2x Ethers (100G) and 2x Phoenix Downs (100G) - smash some Shinra Boxes in the northwestern corner, then rest up, as needed.
Recovering the Key
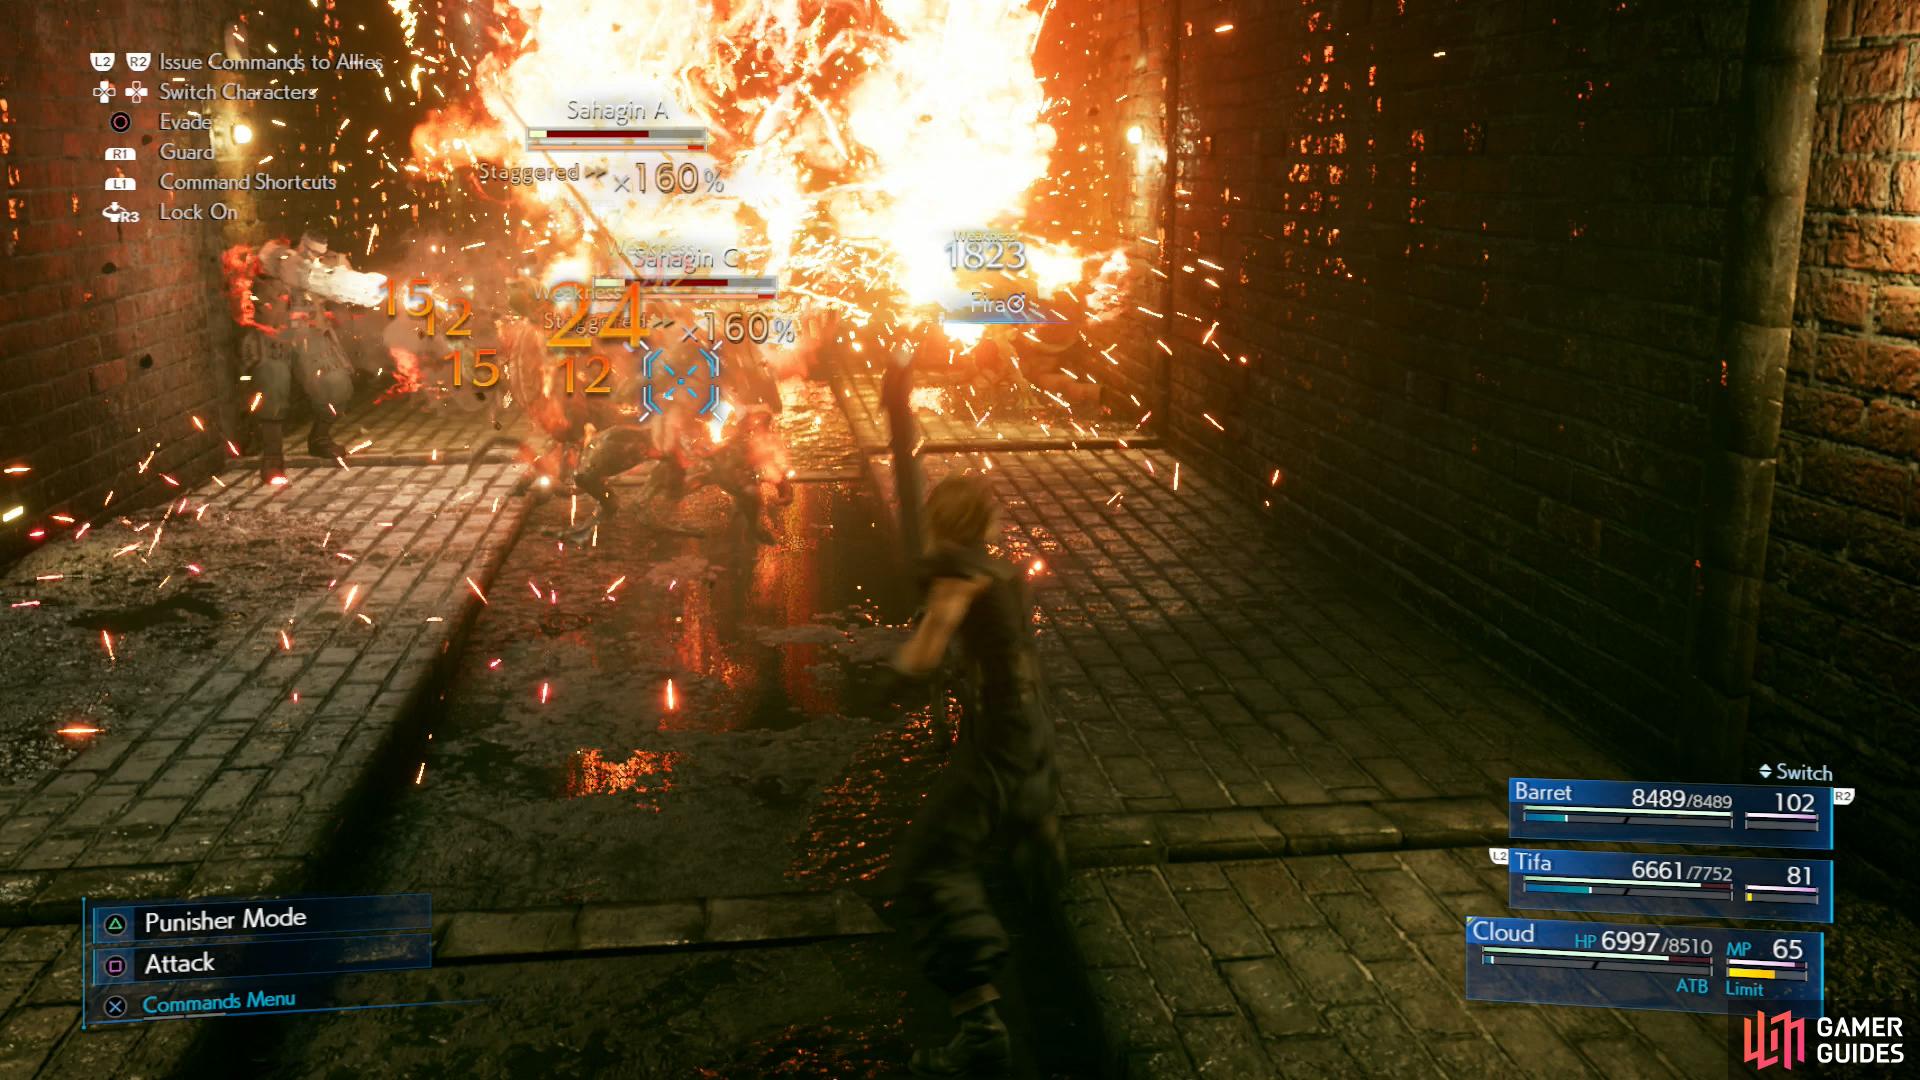
Head over to Leslie and after a scene you’ll find yourself chasing some… odd pig creature? Apparently a baby Abzu. Don’t worry too much about the “chase” aspect of this - the critter can’t get away. Make your way east, then south, dispatch some Wererats, loot a chest containing 2x Hazardous Materials, then round the corner to the west. Dispatch three Sahagins - they seemed to think doing simultaneous “Jump” attacks was a cute idea, so we used Fira + Magnify to teach them to mind their manners - then continue the chase west, smashing some Shinra Boxes before you climb a ladder.
Atop the ladder you’ll spot the baby Abzu to the west. Ignore it momentarily and head across a walkway to the south, loot a chest to score 2x Phoenix Downs, then continue chasing the Abzu west to encounter a new foe, an Abzu Shoat. These things are more of a nuisance than a legitimate threat, use fire to take them down quicker. Dispatch the Abzu Shoat, smash some Shinra Boxes, then continue chasing the key-thief south over and under some junk.
Chase after Abzu and defeat the monsters it lures you to,
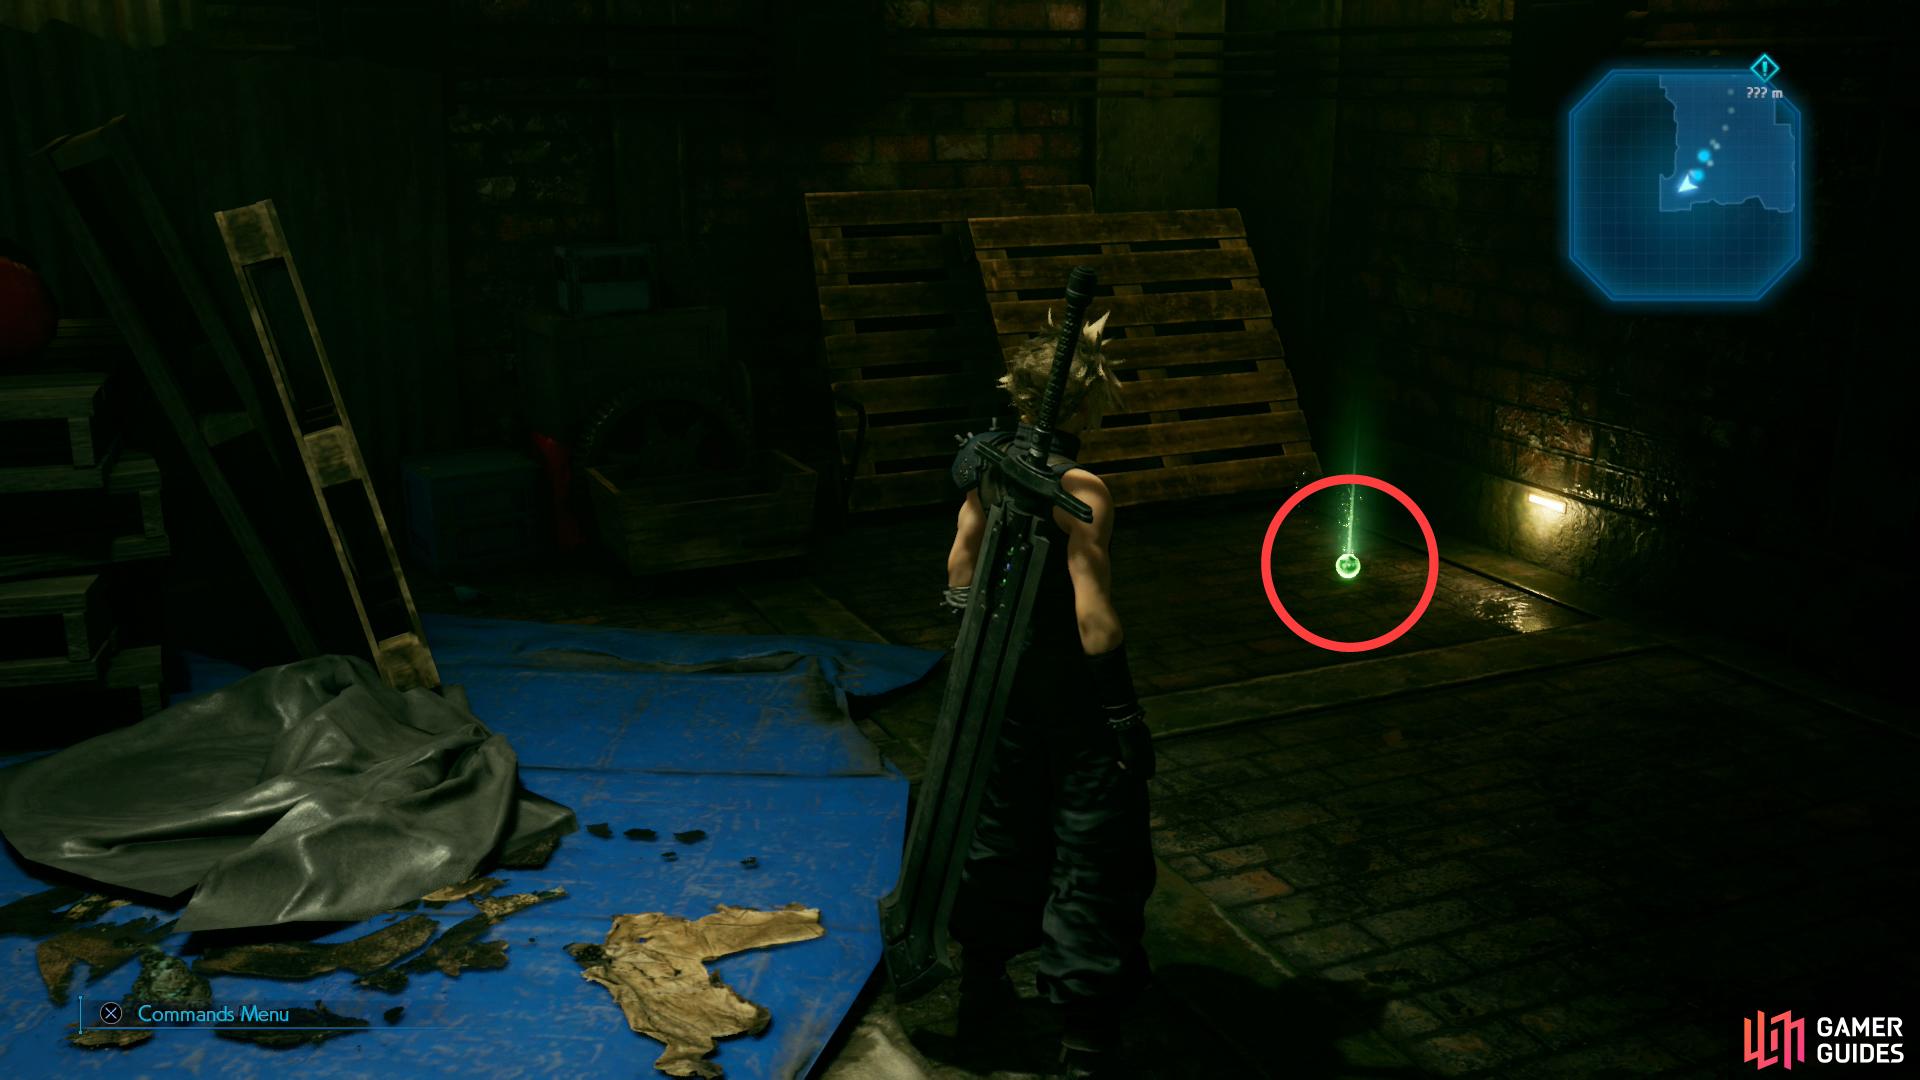
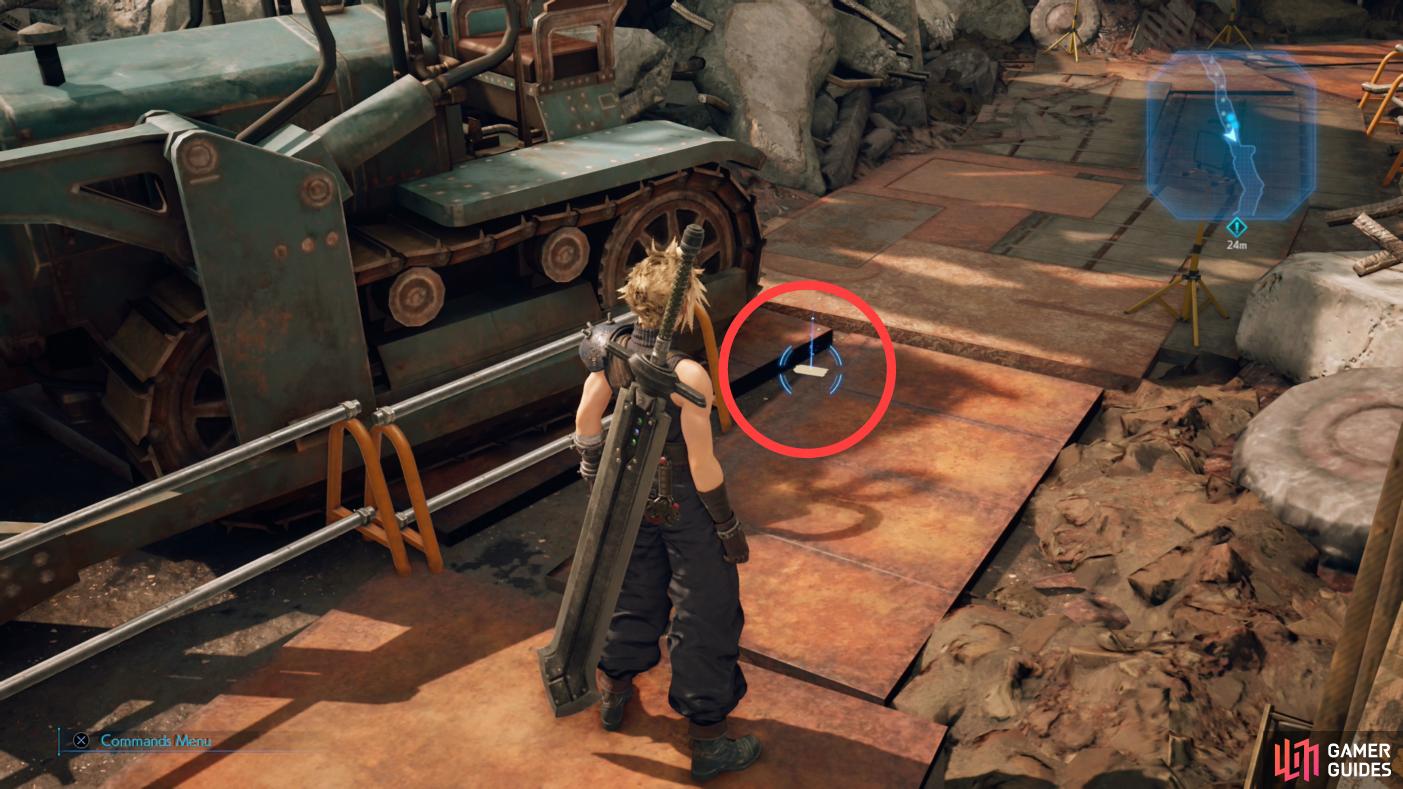
stop to grab an orb of Poison Materia as you go.
Continue chasing the thief south until you reach a chamber occupied by two Abzu Shoats and a Blugu. Defeat them, smash some Shinra Boxes, then grab an orb of Poison Materia from the southwestern corner of said chamber. Keep following the thief east over and under more junk, then go through a door to the south and fight two more Abzu Shoats and a Sahagin. Destroy some more Shinra Boxes in the northwestern corner, then exit through a door to the south and continue south down a tunnel to reach another room. Defeat two Scissorclaws and an Abzu Shoat, destroy some Shinra Boxes in the southwestern corner, loot a chest containing 2x Mega-Potions then head down a walkway to the east.
After the Abzu thief jumps, climb down a ladder to the north to encounter a mixed group of foes including a Sahagin, a Scissorclaws and two Blugus - nothing Fira can’t fix. Defeat them, loot a chest in the northeastern corner to obtain an Ether, then continue through a door to the north. A short distance south, Cloud will finally decide to try and outsmart the thief; walk west and when the thief inevitably escapes, it’s time for a detour.
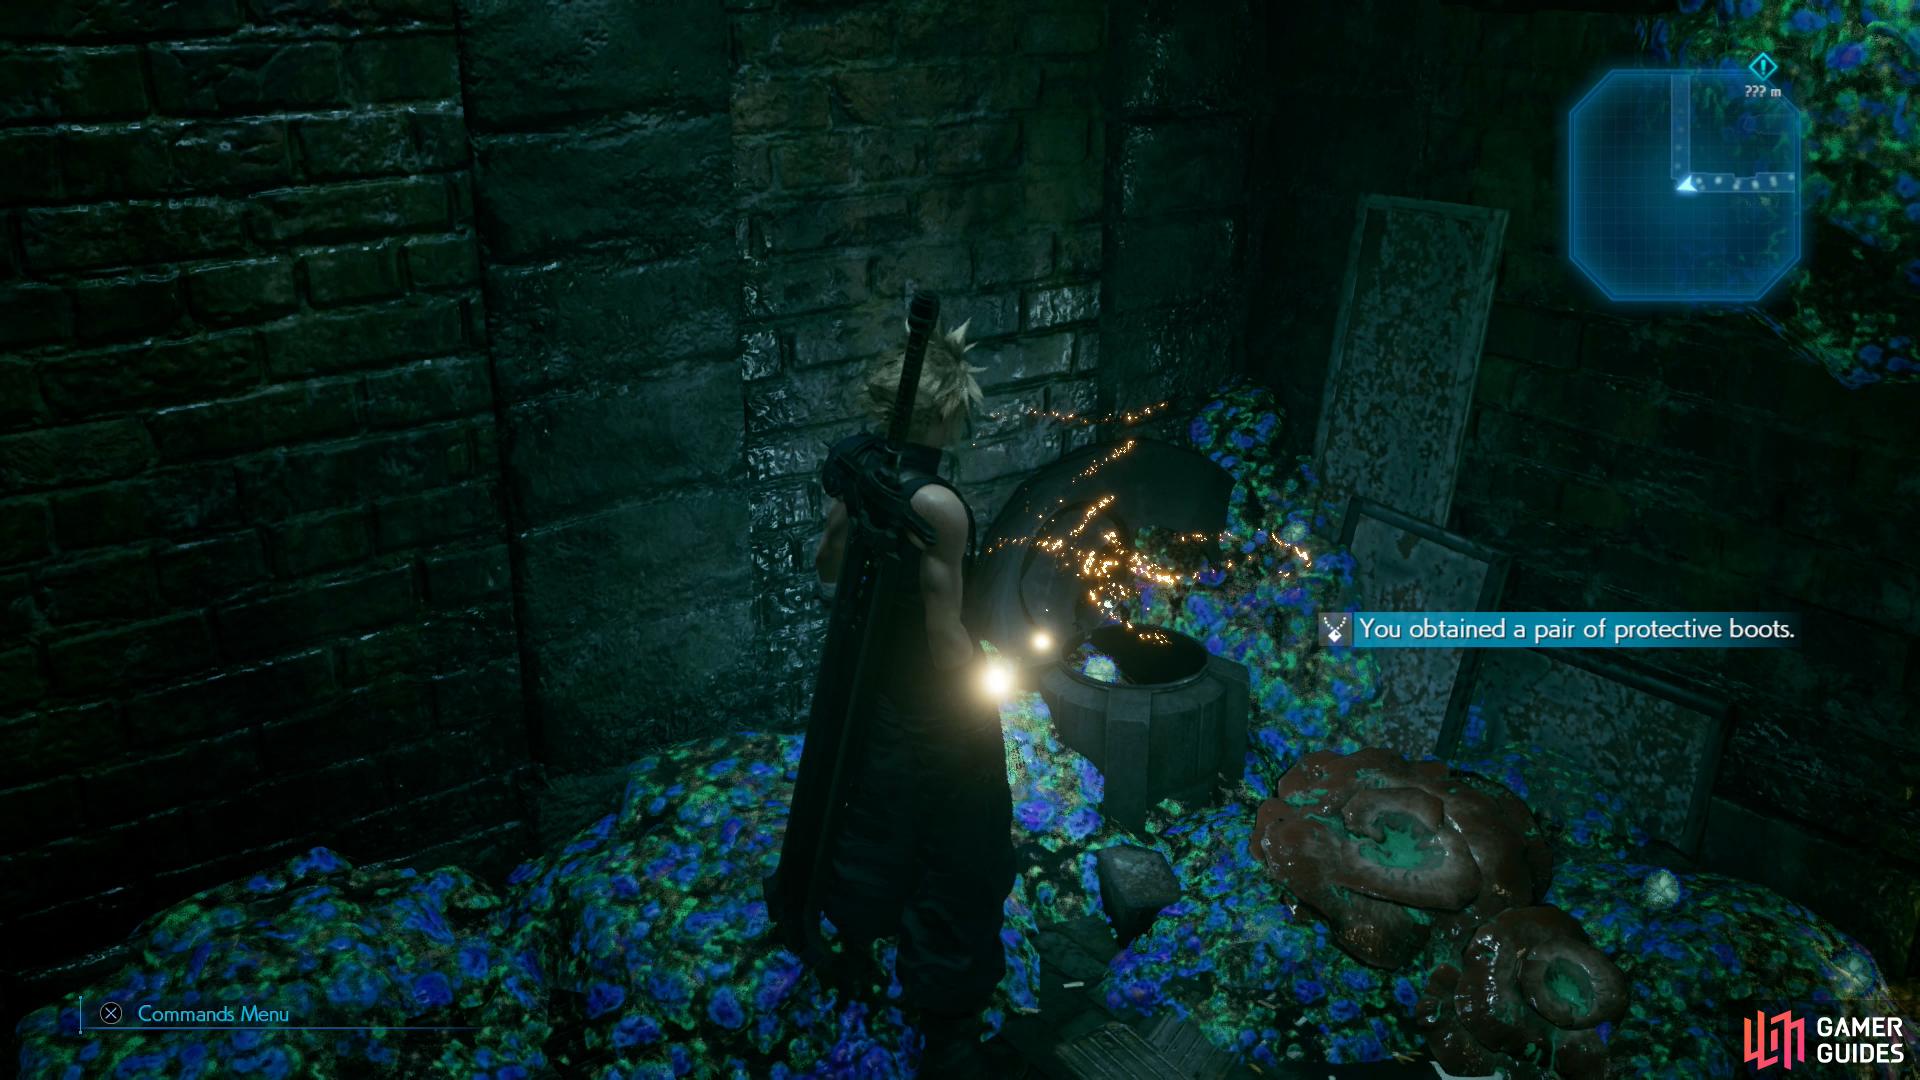
To keep chasing the Abzu Shoat thief you’ll need to backtrack east. Go west instead, loot a well-concealed chest in the corner to obtain some Protective Boots. Next turn south and, if you’ve progressed the quest Corneo’s Secret Stash sufficiently you’ll find the door to the third and final cache to your right (west). It’s flooded for now, but keep it in mind - you’ll be able to plunder it soon.
Backtrack east, then chase the thief north to finally corner the thief - a Mischievous Shoat - in a chamber. It has more HP than its brethren do, but aside from summoning several Abzu Shoats, it has few new tricks up its sleeve. Pummel it until it summons help, then pound them with Fira and finish off any survivors.
After the fight you’ll recover Leslie’s “key” and learn his motivations for betraying Corneo. Yikes. Go through a door to the north and follow Leslie until he climbs a ladder. Smash some Shinra Boxes and flip switch near the ladder, then backtrack to the door to Corneo’s stash we pointed out earlier. With the water drained, you can now explore it. You’ll need to fight two Sahagins and a Sahagin Prince, but the reward for completing all the side quests in Chapter 14 is well worth the bother.
Climb the ladder after Leslie, then follow him back to the door he was at before the Mischievous Shoat mugged him. Go through the door, use the rest bench provided for you, then prepare for the upcoming fight. Make everybody immune to poison, if possible - this isn’t necessary, but it’ll be one less thing you need to worry about. On Cloud we equip Healing Materia + Magnify Materia for quick healing, Tifa, our damage dealer, will keep Fire + Elemental on her weapon, while Barret will make do with Fire + Synergy. Having Ifrit equipped on somebody isn’t a bad idea, either. Prayer can also work as supplemental healing in a pinch.
When you’re ready, follow Leslie through some doors to the south and watch the scenes that follow.
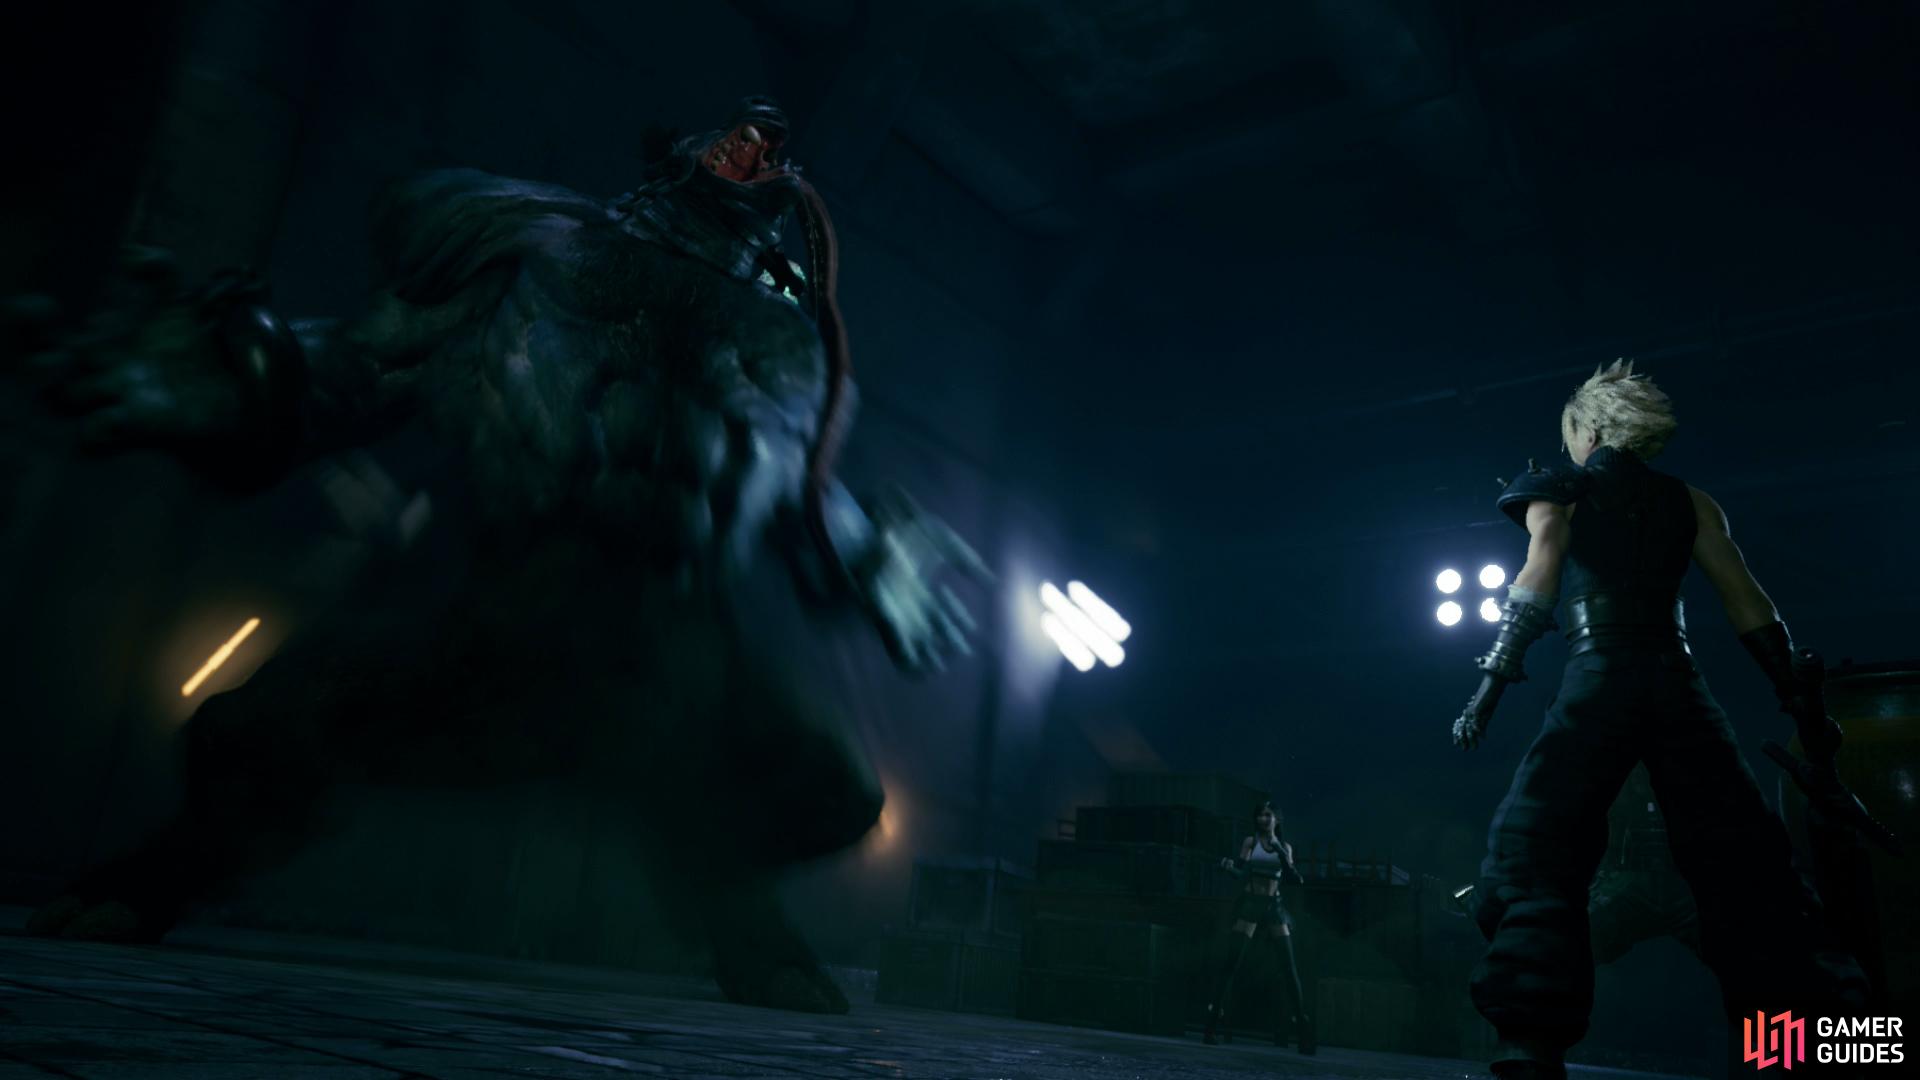
Boss: Abzu
Talk to one of the girls and after some chatter and a scene you’ll find out that you’re not alone down here…
| Enemy | Weaknesses | Notable Loot |
|---|---|---|
| Abzu | Fire | -- |
Phase 1
Abzu’s back and ready for revenge - and this time he’s accompanied by numerous Abzu Shoat enemies. They can be a nuisance in this fight, what with their “Headbutt” attacks, but they don’t have nearly the HP of the normal Abzu Shoats you’ve been fighting and are fairly useful for charging up your ATB. Thin the herd if they’re being obnoxious or if you need to boost your ATB, but otherwise you shouldn’t worry about them too much in this fight.
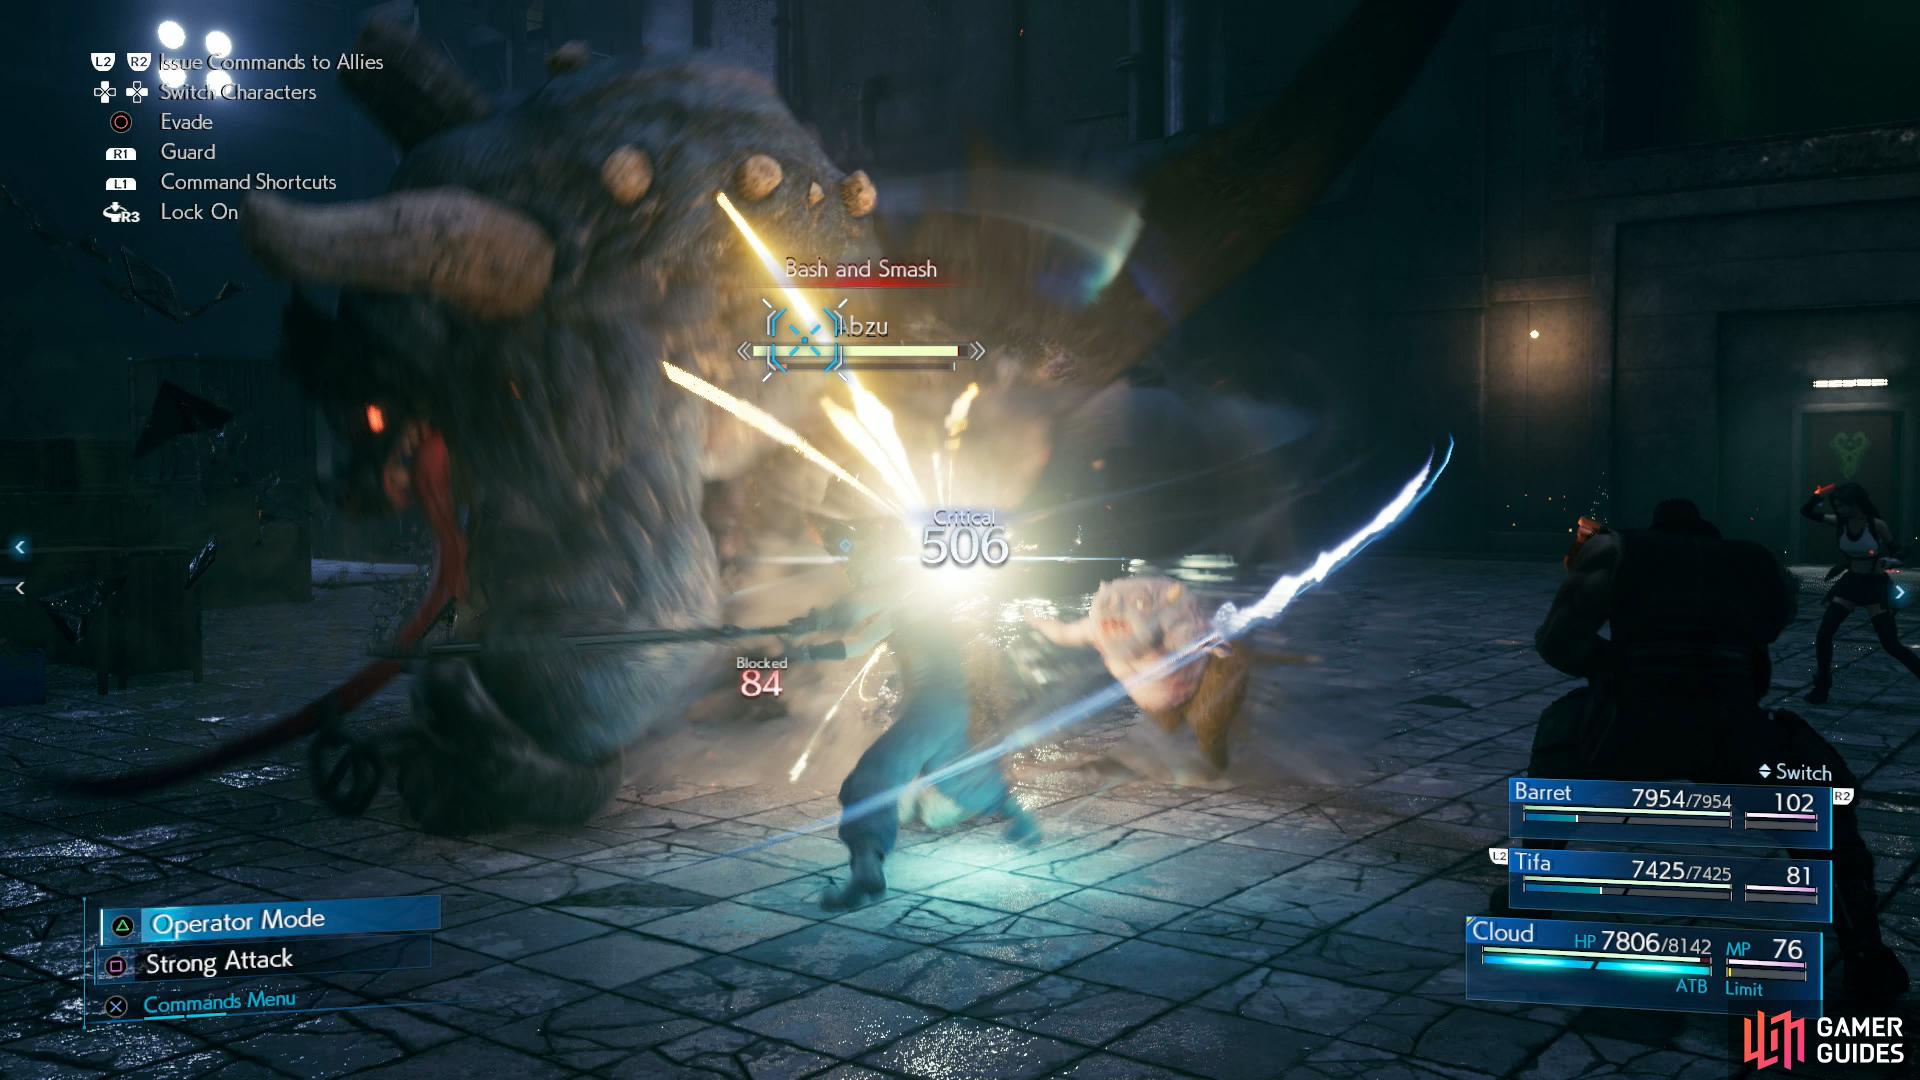
Abzu, for his part, has most of the same attacks. During the first phase of the fight he won’t do much that you need to worry about - mostly melee attacks, perhaps punctuated by his “Ground Pound” attack and “Bash and Smash” attack, which is a combo of slams. Just about everything he does at this phase can be countered via Punisher mode, so just work on attacking, filling up your ATB, charging ki and building Abzu’s Stagger gauge. Otherwise the only notable attack Abzu will use in this phase is “Provoke” which inflicts “Berserk” on a character.
There are three targets on Abzu, Abzu itself, the “Left Horn” (the right horn was destroyed last time you fought) and Abzu’s “Tail”. Destroying the tail will deprive Abzu of its “Tailspin” attack, but otherwise doesn’t seem terribly effective, while hitting the horn with fire spells will send Abzu into a “Pressured” state and allow you to drive up the Stagger gauge. Staggering Abzu and hitting the beast with Tifa’s “Rise and Fall” and “Omnistrike” attacks is all well and good, but the damage you can do is limited due to Abzu’s constant phase shifts.
Speaking of which…
Phases 2-3
When reduced to 75% of his HP, Abzu will retreat up to a sewer drain and use his “Blackwater Blast” attack. The first one you’ll dodge for free, and after it clears away some debris Abzu will jump down and begin the second phase properly.
If the second phase continues too long he’ll use “Blackwater Blast” for real, which functions similarly to the first battle - look out for the glowing pipe and stay away (or wait in the corner near the pipe) to avoid damage. Not only will the deluge summon deal heavy damage, but it can inflict “Poison”. Abzu sometimes follows up with a “Pounce” attack, which inflicts Bound and entitles Abzu to some free damage on the Bound character. Again, he tends to use “Pounce” on whatever character you’re actively controlling, so use that fact to draw Abzu’s attention to an acceptable target.
Other attacks used during this phase include “Charge”, which, as its name implies is a charge attack (sometimes Abzu will retreat to perform this attack repeatedly) and “Tailspin”, a sweeping attack with Abzu’s tail. Both of these can be countered via Punisher mode. Finally Abzu can use “Playtime” to summon its Abzu Shoats near it and rile them into attacking all at once. A barrage of “Headbutt” attacks from Abzu Shoats can be quite a nuisance, dealing decent damage and disrupting your own attacks.
After reaching 50% of Abzu’s HP, Abzu will get enraged at a loss in the family and repeat his antics at the start of phase two. Honestly, the only substantive difference with this phase and the last is that Abzu will start phase three with more Abzu Shoats.
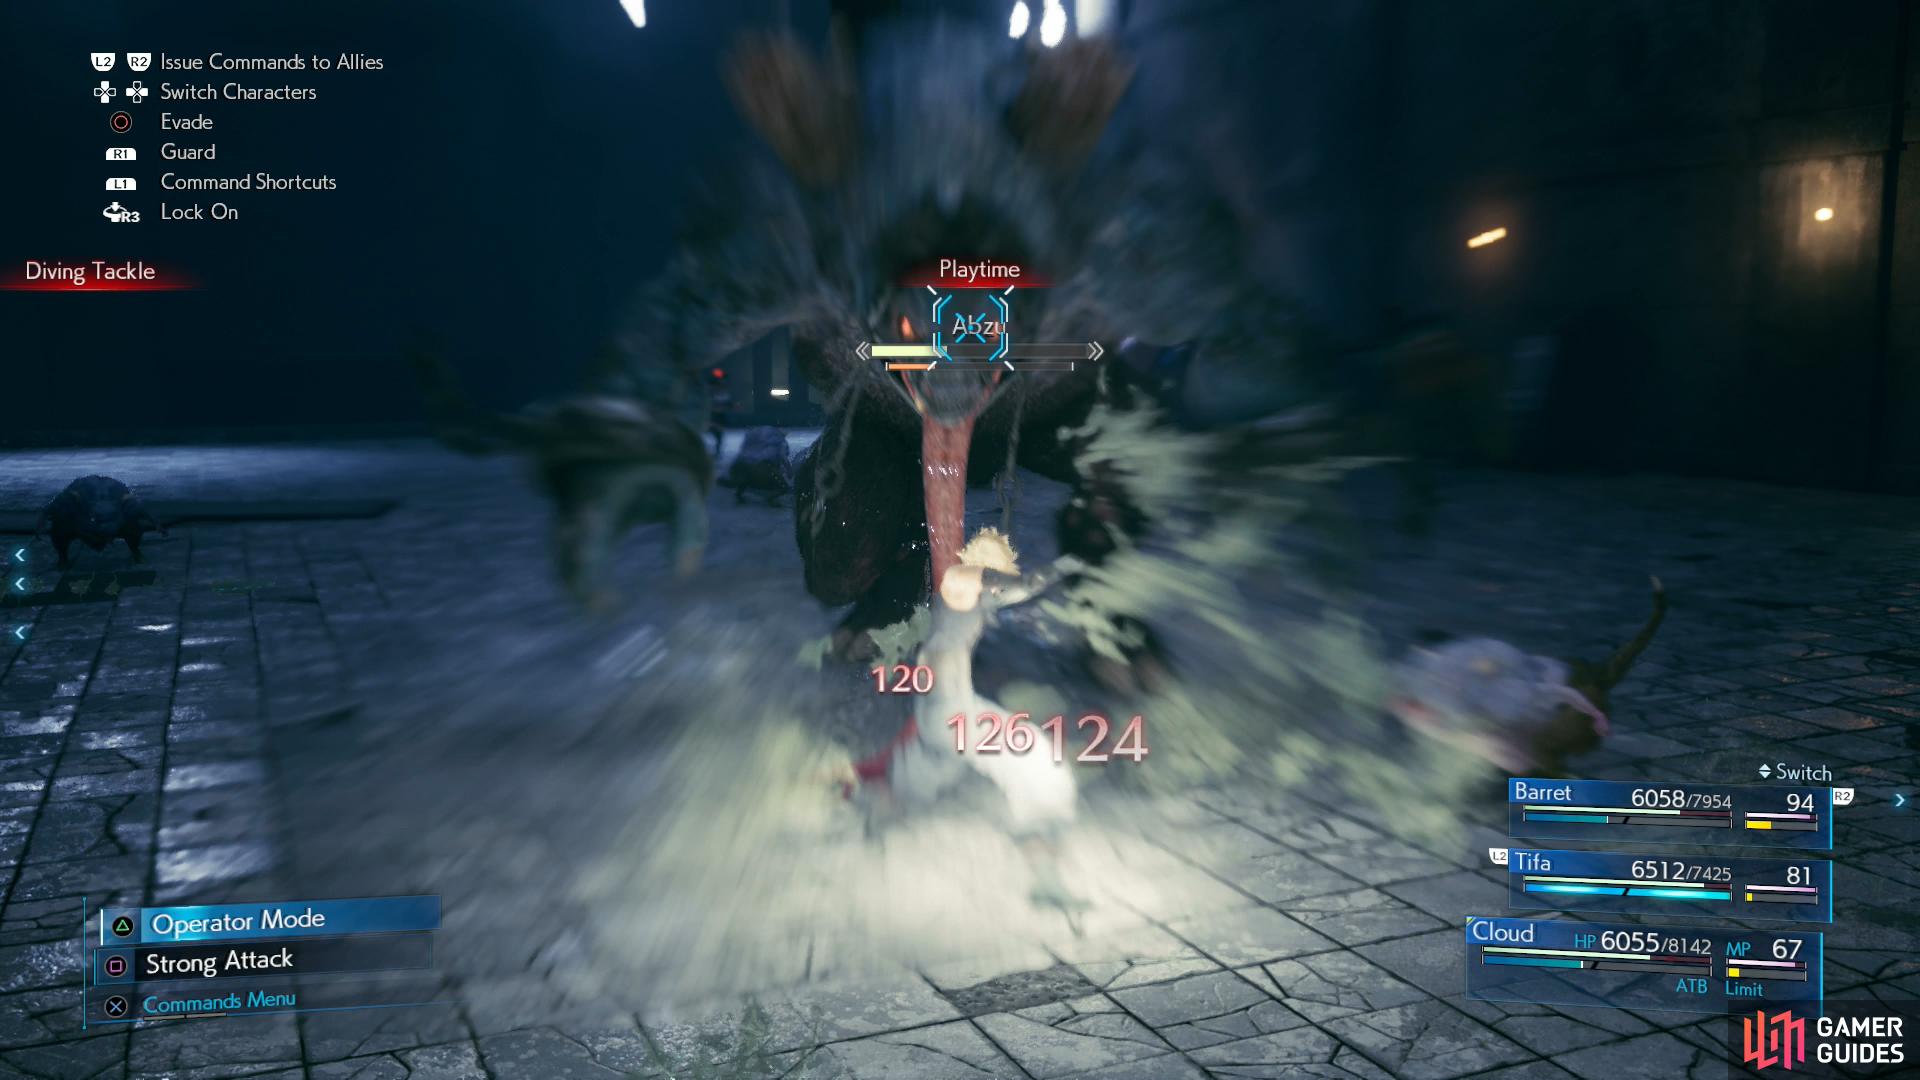
(1 of 3) Abzu will make use of his Shoats by coordinating their attacks with “Playtime”.
Phase 4
Finally when reduced to 25% or so of its HP, Abzu will properly use its “Enrage” ability, becoming more aggressive. At this point it’ll start using its “Blackwater Deluge attack”, which is similar to “Blackwater Blast”, save the damaging water will come from two different pipes, one after the other. Hiding in the corner near the pipes will avoid damage for the character you control, although your companion AI leaves much to be desired. Other attacks used in this phase include “Backwash”, a ranged attack that can inflict “Poison” and “Triple Charge”, which replaces the standard “Charge” with a series of charge attacks.
Your summon gauge should also be filling up by this point, and summoning Ifrit and using its “Flare Burst” attack should finish off Abzu outright, or at least substantially damage Abzu. Worst case scenario, Abzu certainly won’t survive Ifrit’s “Hellfire”.
For completing all the quests possible in a single playthrough you’ll score an orb of Elemental Materia.
Over the Wall
Keep up the pressure and when you’re victorious, head through a door to the south and watch a scene, then climb a ladder to leave the sewers. Leslie will come through with his end of the deal, warning you that once you leave, you’re not coming back.
You still have full access to Sectors 5 and 6, including the Shinra Lab under Evergreen Park and the sewers under Wall Market. Grind to your heart’s content, finish side quests, win arena battles… Don’t leave anything unfinished, as once you leave you’re not coming back.
When you’re ready to move on, head west down the road south of the colosseum, marked on your map as the “Urban Development District”. If you completed all the possible side quests in a single playthrough (24 out of a total of 26 side quests), be on the lookout for a note left for you by the “Guardian Angel” thanking you for helping out the people of the slums. The sentiment is all well and good, but the real gain here is a second orb of Elemental Materia. Very nice.
Continue towards the wall at the end of the “Urban Development District” and confirm your desire to climb to finish Chapter 14, obtaining the Picking Up the Pieces Trophy in the process.
No Comments