
This takes place in Chapter 1: Wutai’s Finest as part of the INTERmission DLC, once you meet Zhijie in the Sector 7 Slums.
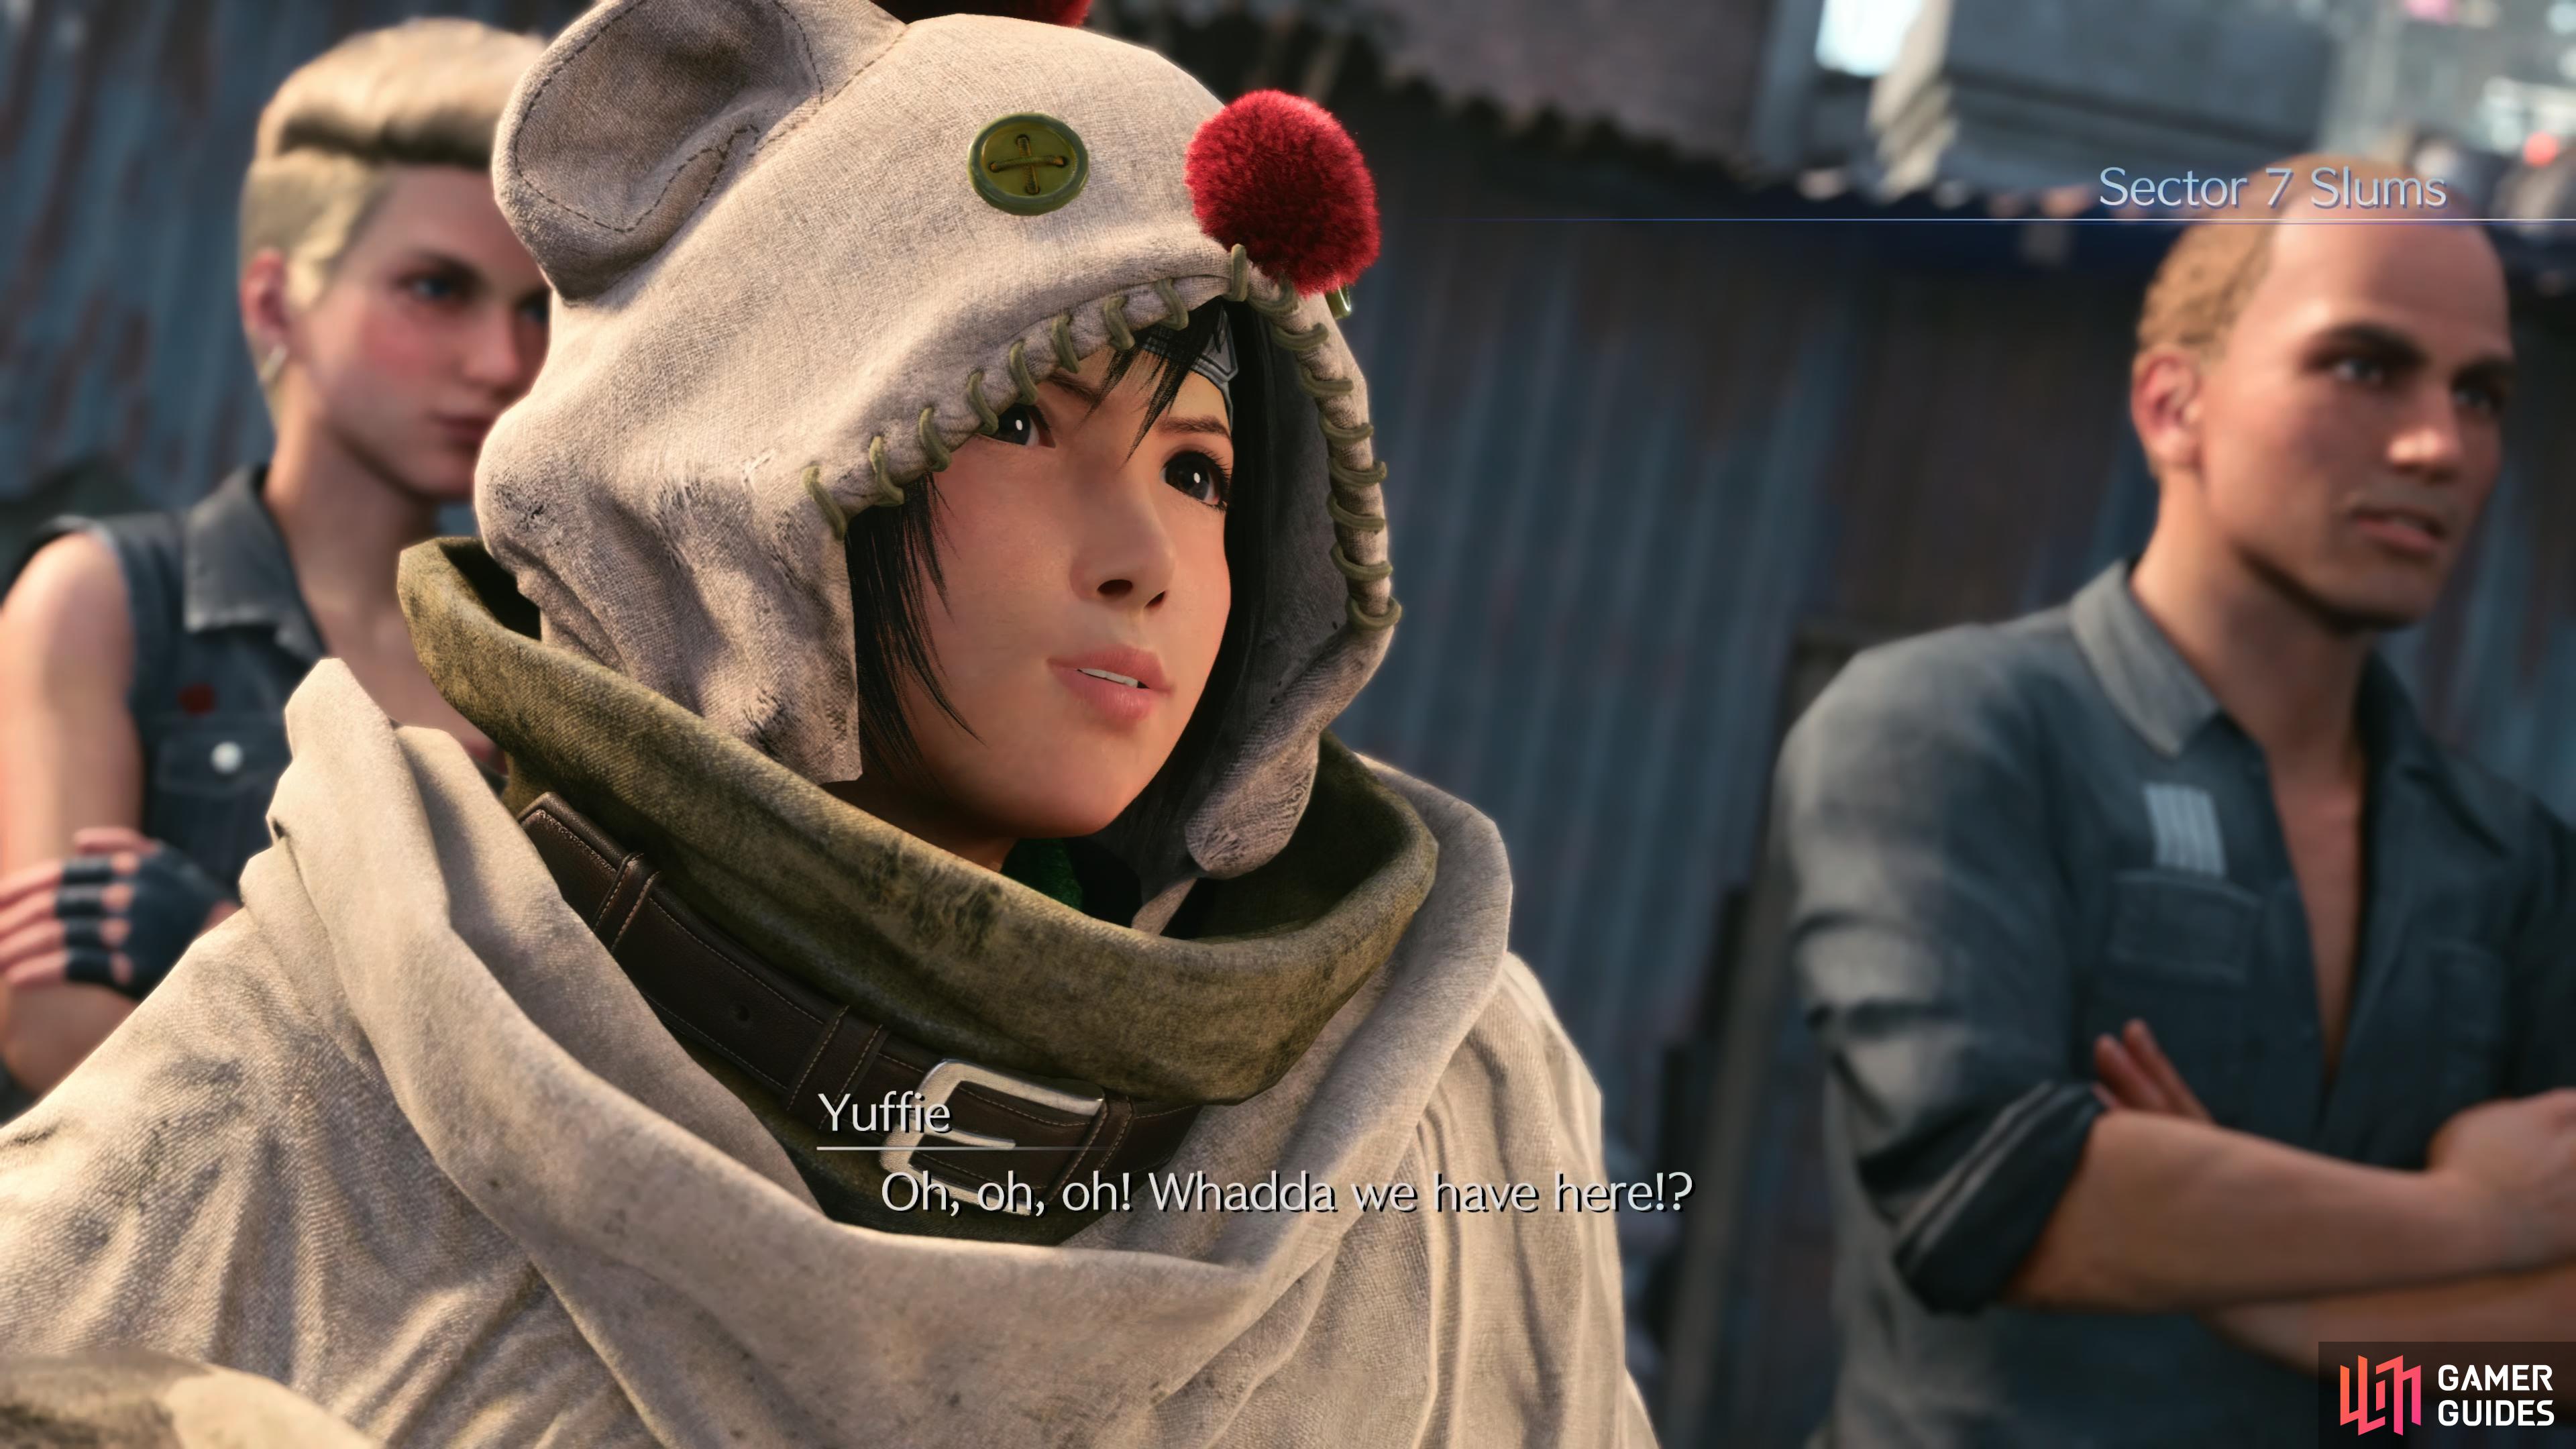
Yuffie in the Sector 7 Slums.
Esteemed Avalanche Colleagues
As Yuffie finally meets up with Zhijie, her contact from Avalanche, you’ll get some background information on when this DLC takes place, it seems the events at Mako Reactor 5 have just occurred. Regardless, that’s of no concern to Yuffie and her mission so follow Zhijie through the Sector 7 Slums. Don’t worry about missing anything, you’ll have plenty of opportunities shortly to go exploring. Eventually, you’ll reach the Sector 7 Clinic as you eavesdrop on Jessie, Biggs and Wedge.
Take the chance to rest on the bench to restore your HP and MP, then make your way downstairs and turn left immediately at the bottom to find a chest containing the Boomerang, a new weapon for Yuffie that contains the useful Brumal Form ability, this will allow you to evade an enemy and gain ATB in the process. Pocket your new weapon head forward to formally meet the rest of Avalanche. Once introductions are made, speak with each of Nayo, Billy Bob twice to gain intel on the situation. Nayo will introduce Old Snapper, someone who you should speak to after leaving the Clinic while Billy Bob will mention Chadley, who you may remember from the base game. Finally, speak with Polk who will offer a method of passing the time, Fort Condor!
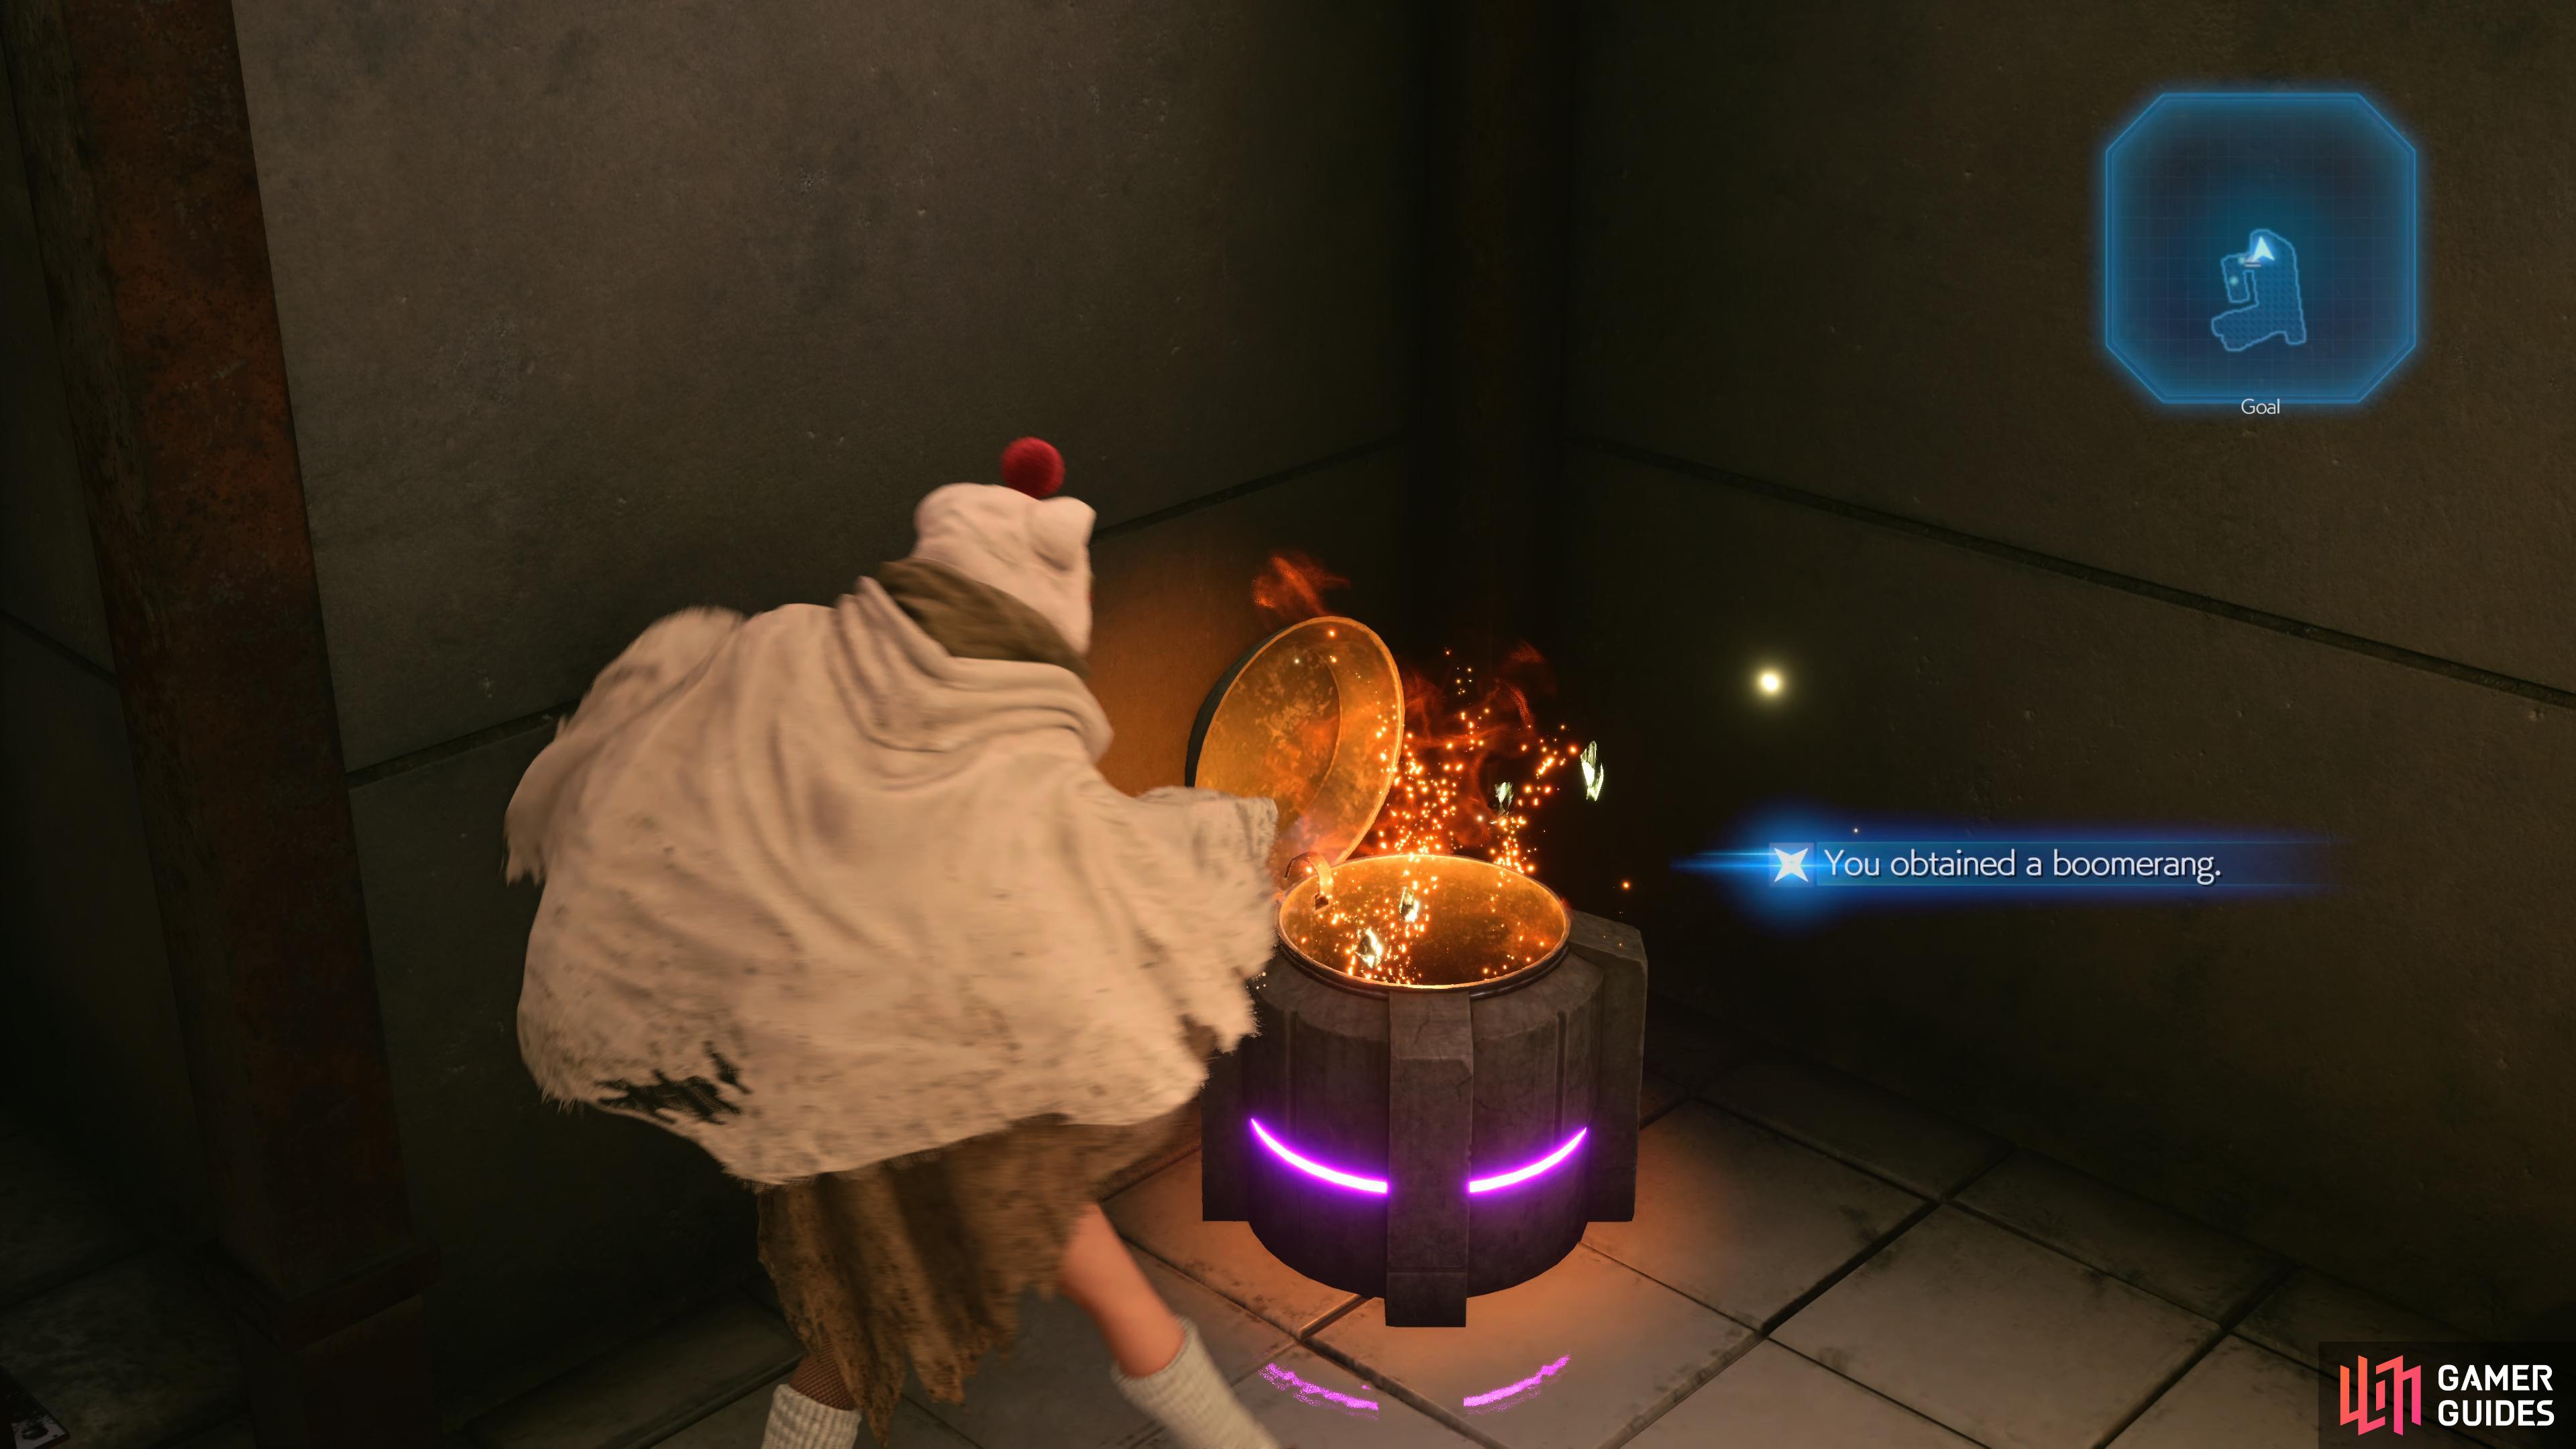
Snag the Boomerang downstairs
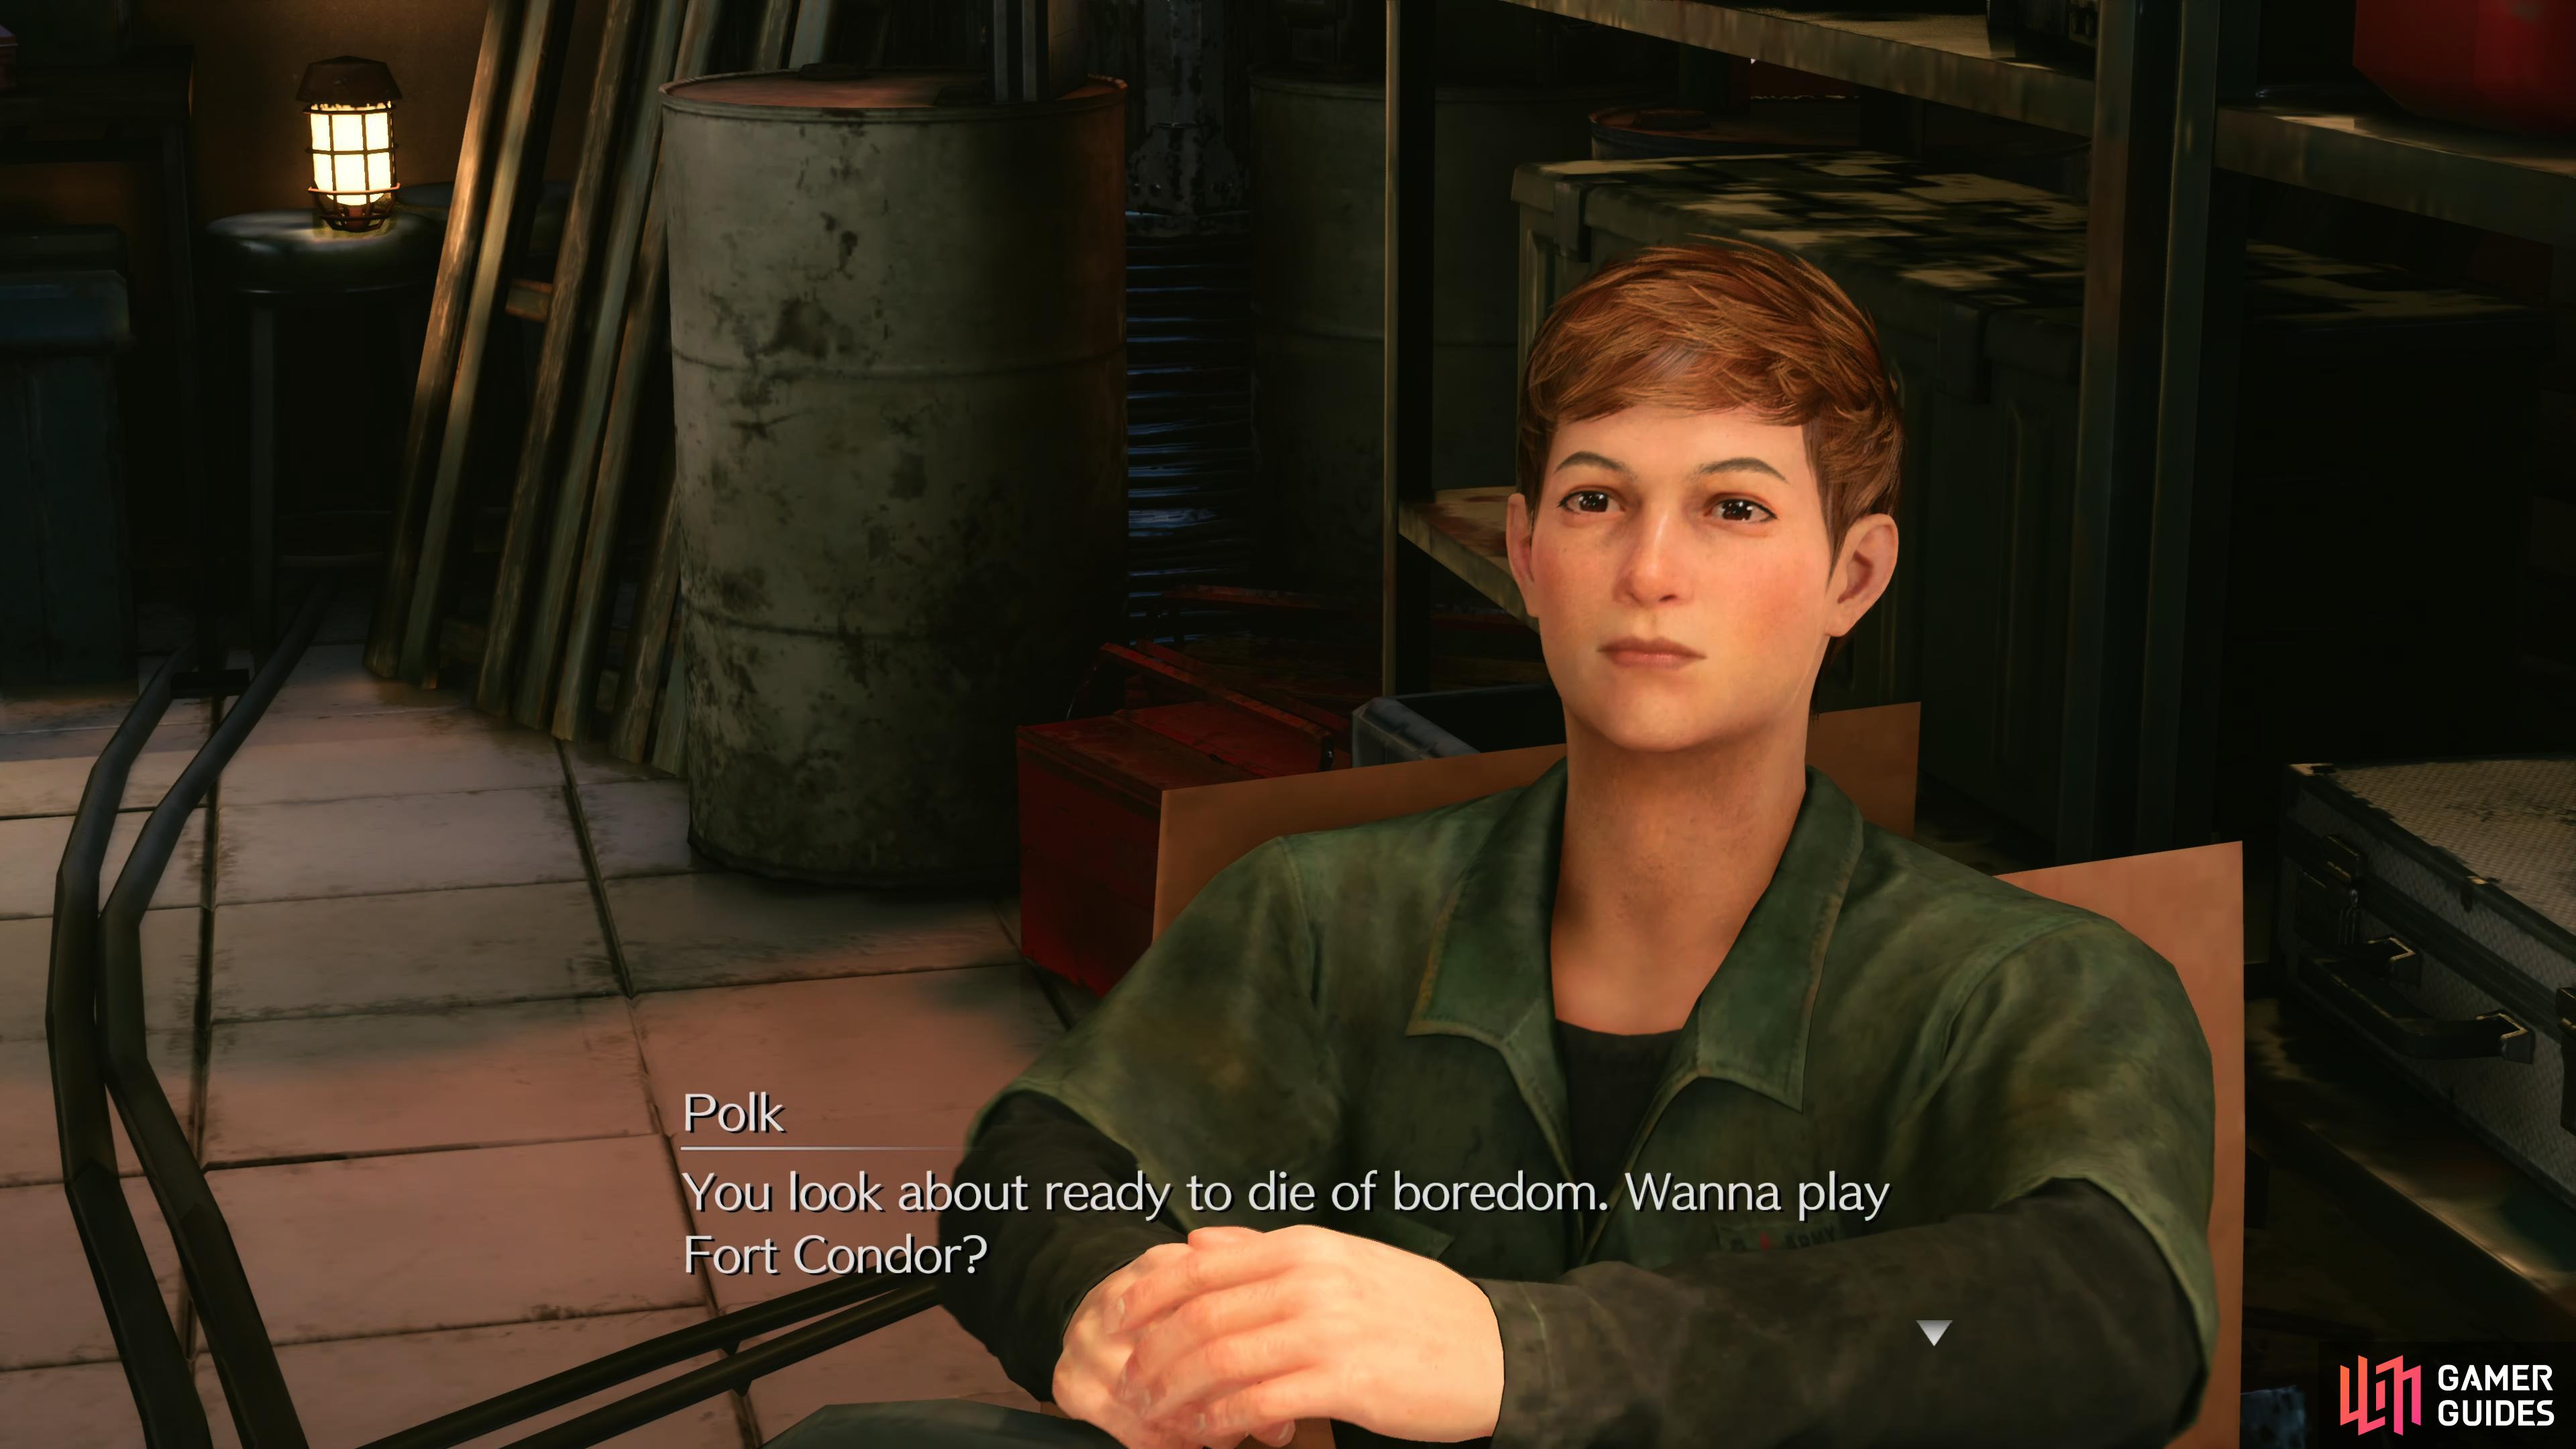
then speak to Polk to get the tutorial on Fort Condor.
Fort Condor Tutorial
Polk will hand over the Fort Condor Starter Pack and then explain the rules of how this mini-game works. For fans of the original Final Fantasy VII, you’ll have a rough idea of how this plays, just modernized a little. For those of you new to Fort Condor, there’s a lot to take in and learn.
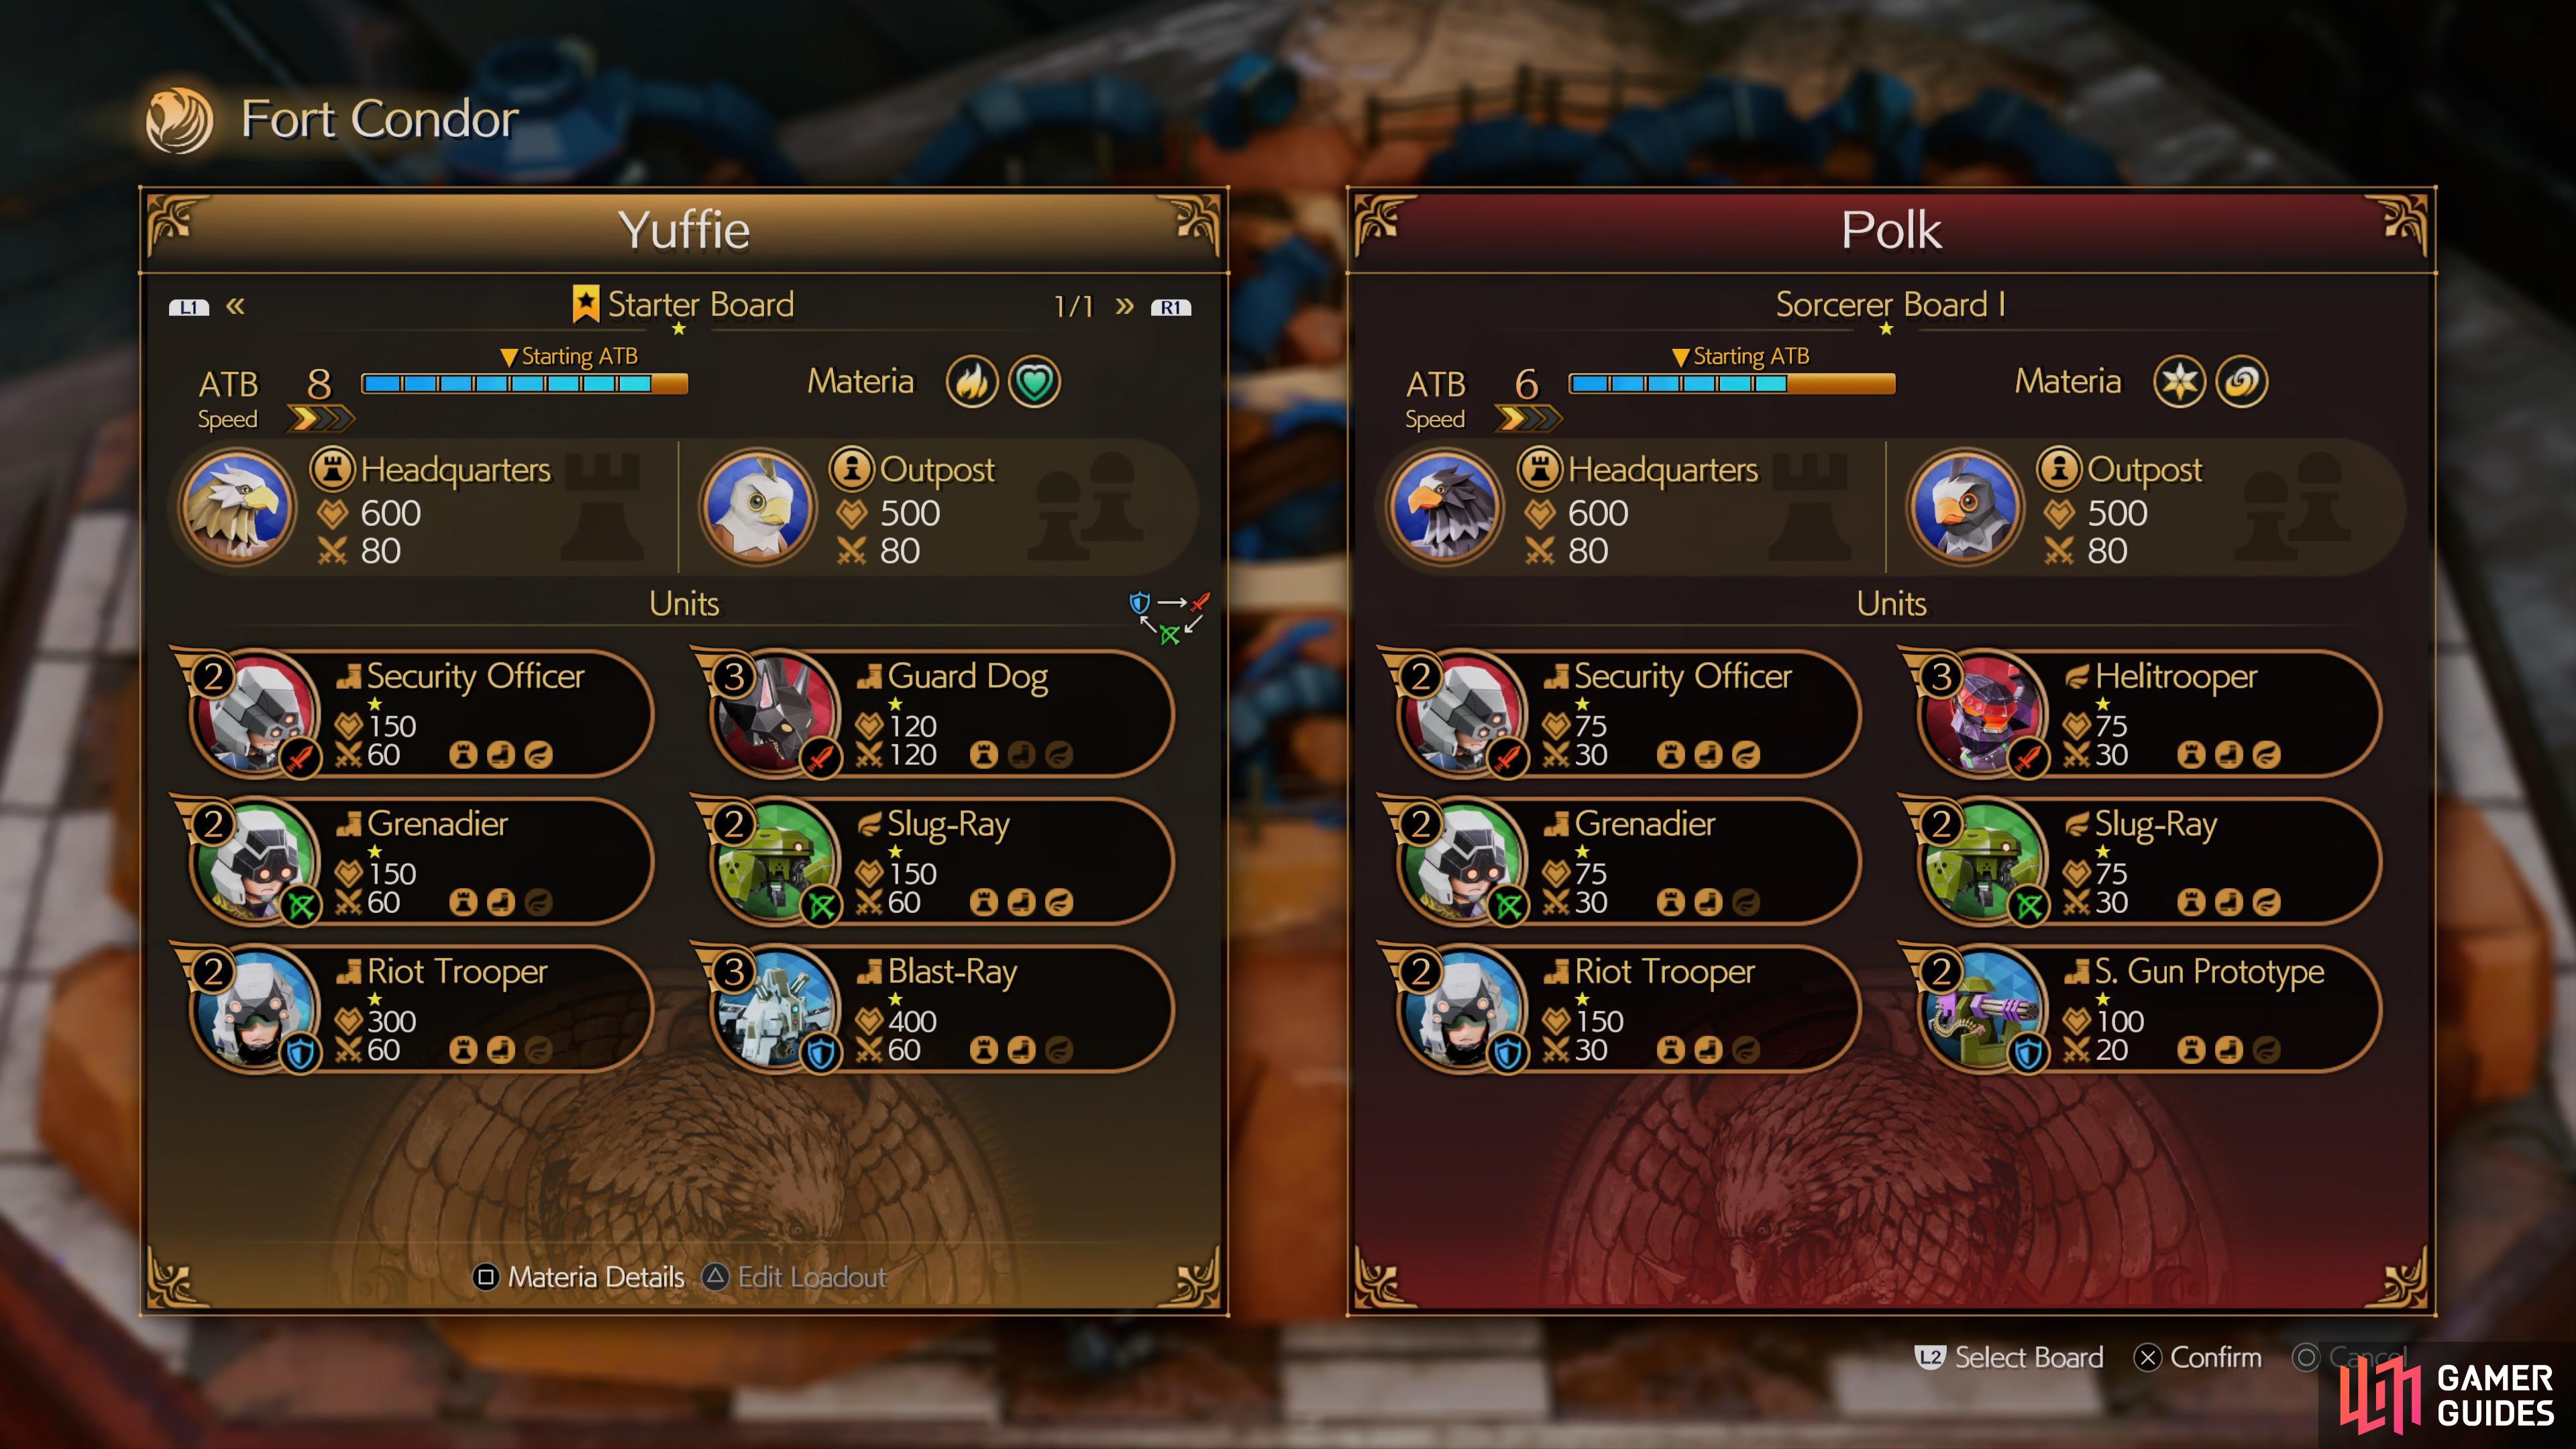
To start with, you’ll choose your Board while you can also see your opponents board. Boards are what determine your starting and total ATB along with which Materia is available on it, you’ll want to make sure you’re using one that can counter your opponents so it helps to collect different boards. Once your board is set, you’ll notice your Units below with a color background and an icon of a sword, bow or shield, these make up the classes in Fort Condor.
Vanguard (Sword) > Ranged (Bow) > Defense (Shield)
As you can see at all times, there is a rock-paper-scissors weakness system to Fort Condor and you’ll want to hit your opponents units with ones that hit their weakness. This is why it’s important to look at the Units your opponent is using on their board before you begin the match and add Units that will counter them. You’ll also notice you have access to Materia, these will change based on your chosen Board and have useful applications such as dealing direct damage to a Unit or healing a group of Units, be sure to study them on your chosen Board, just note that you’ll only be able to use each once in a match.
The final piece of the puzzle are the victory conditions to a match of Fort Condor. Each player will have one Headquarters and two Outposts and the objective is to take them out. If a player destroys the Headquarters, they win the match regardless of how much time is left however if you run out of time, the team with the most Outposts destroyed will be declared the winner. It can often be easier to take out an Outpost and defend yours to win matches at times, especially on Hard.
Proceed with the Tutorial and Polk will explain how placing Units work. Each Unit has an ATB cost (for this reason, don’t place only high cost Units in your deck) and the ATB will fill as the match continues. Once a Unit is available, select a location and place it, you can only place as far as your furthest forward Unit, this means that if you’re on the offensive, you can place Units directly in your opponents territory. This covers the basics of Fort Condor, you’ll obtain a Sentry Gun Prototype (Defense) Unit and 1x Condor Coin for victory and you’ll find more information in the Fort Condor chapter.
Exploring Sector 7 Slums
Polk will explain that there are more players out there that you can challenge and eventually, even the Grandmaster himself, though you’ll have to prove yourself first. There are 4 Ranks and you must beat all players in each Rank to unlock the next, there is a plus to this. Master Fort Condor and beat the Grandmaster and you’ll win not only some serious Gil, but a rare Materia and a Trophy (along with another for beating the Grandmaster on Hard). You can find all the details on how to achieve this in the Fort Condor chapter and it’s something you should look to achieve before leaving the Sector 7 Slums, the reward is that useful.

Speak to Old Snapper to begin the Happy Turtle Flyer side quest
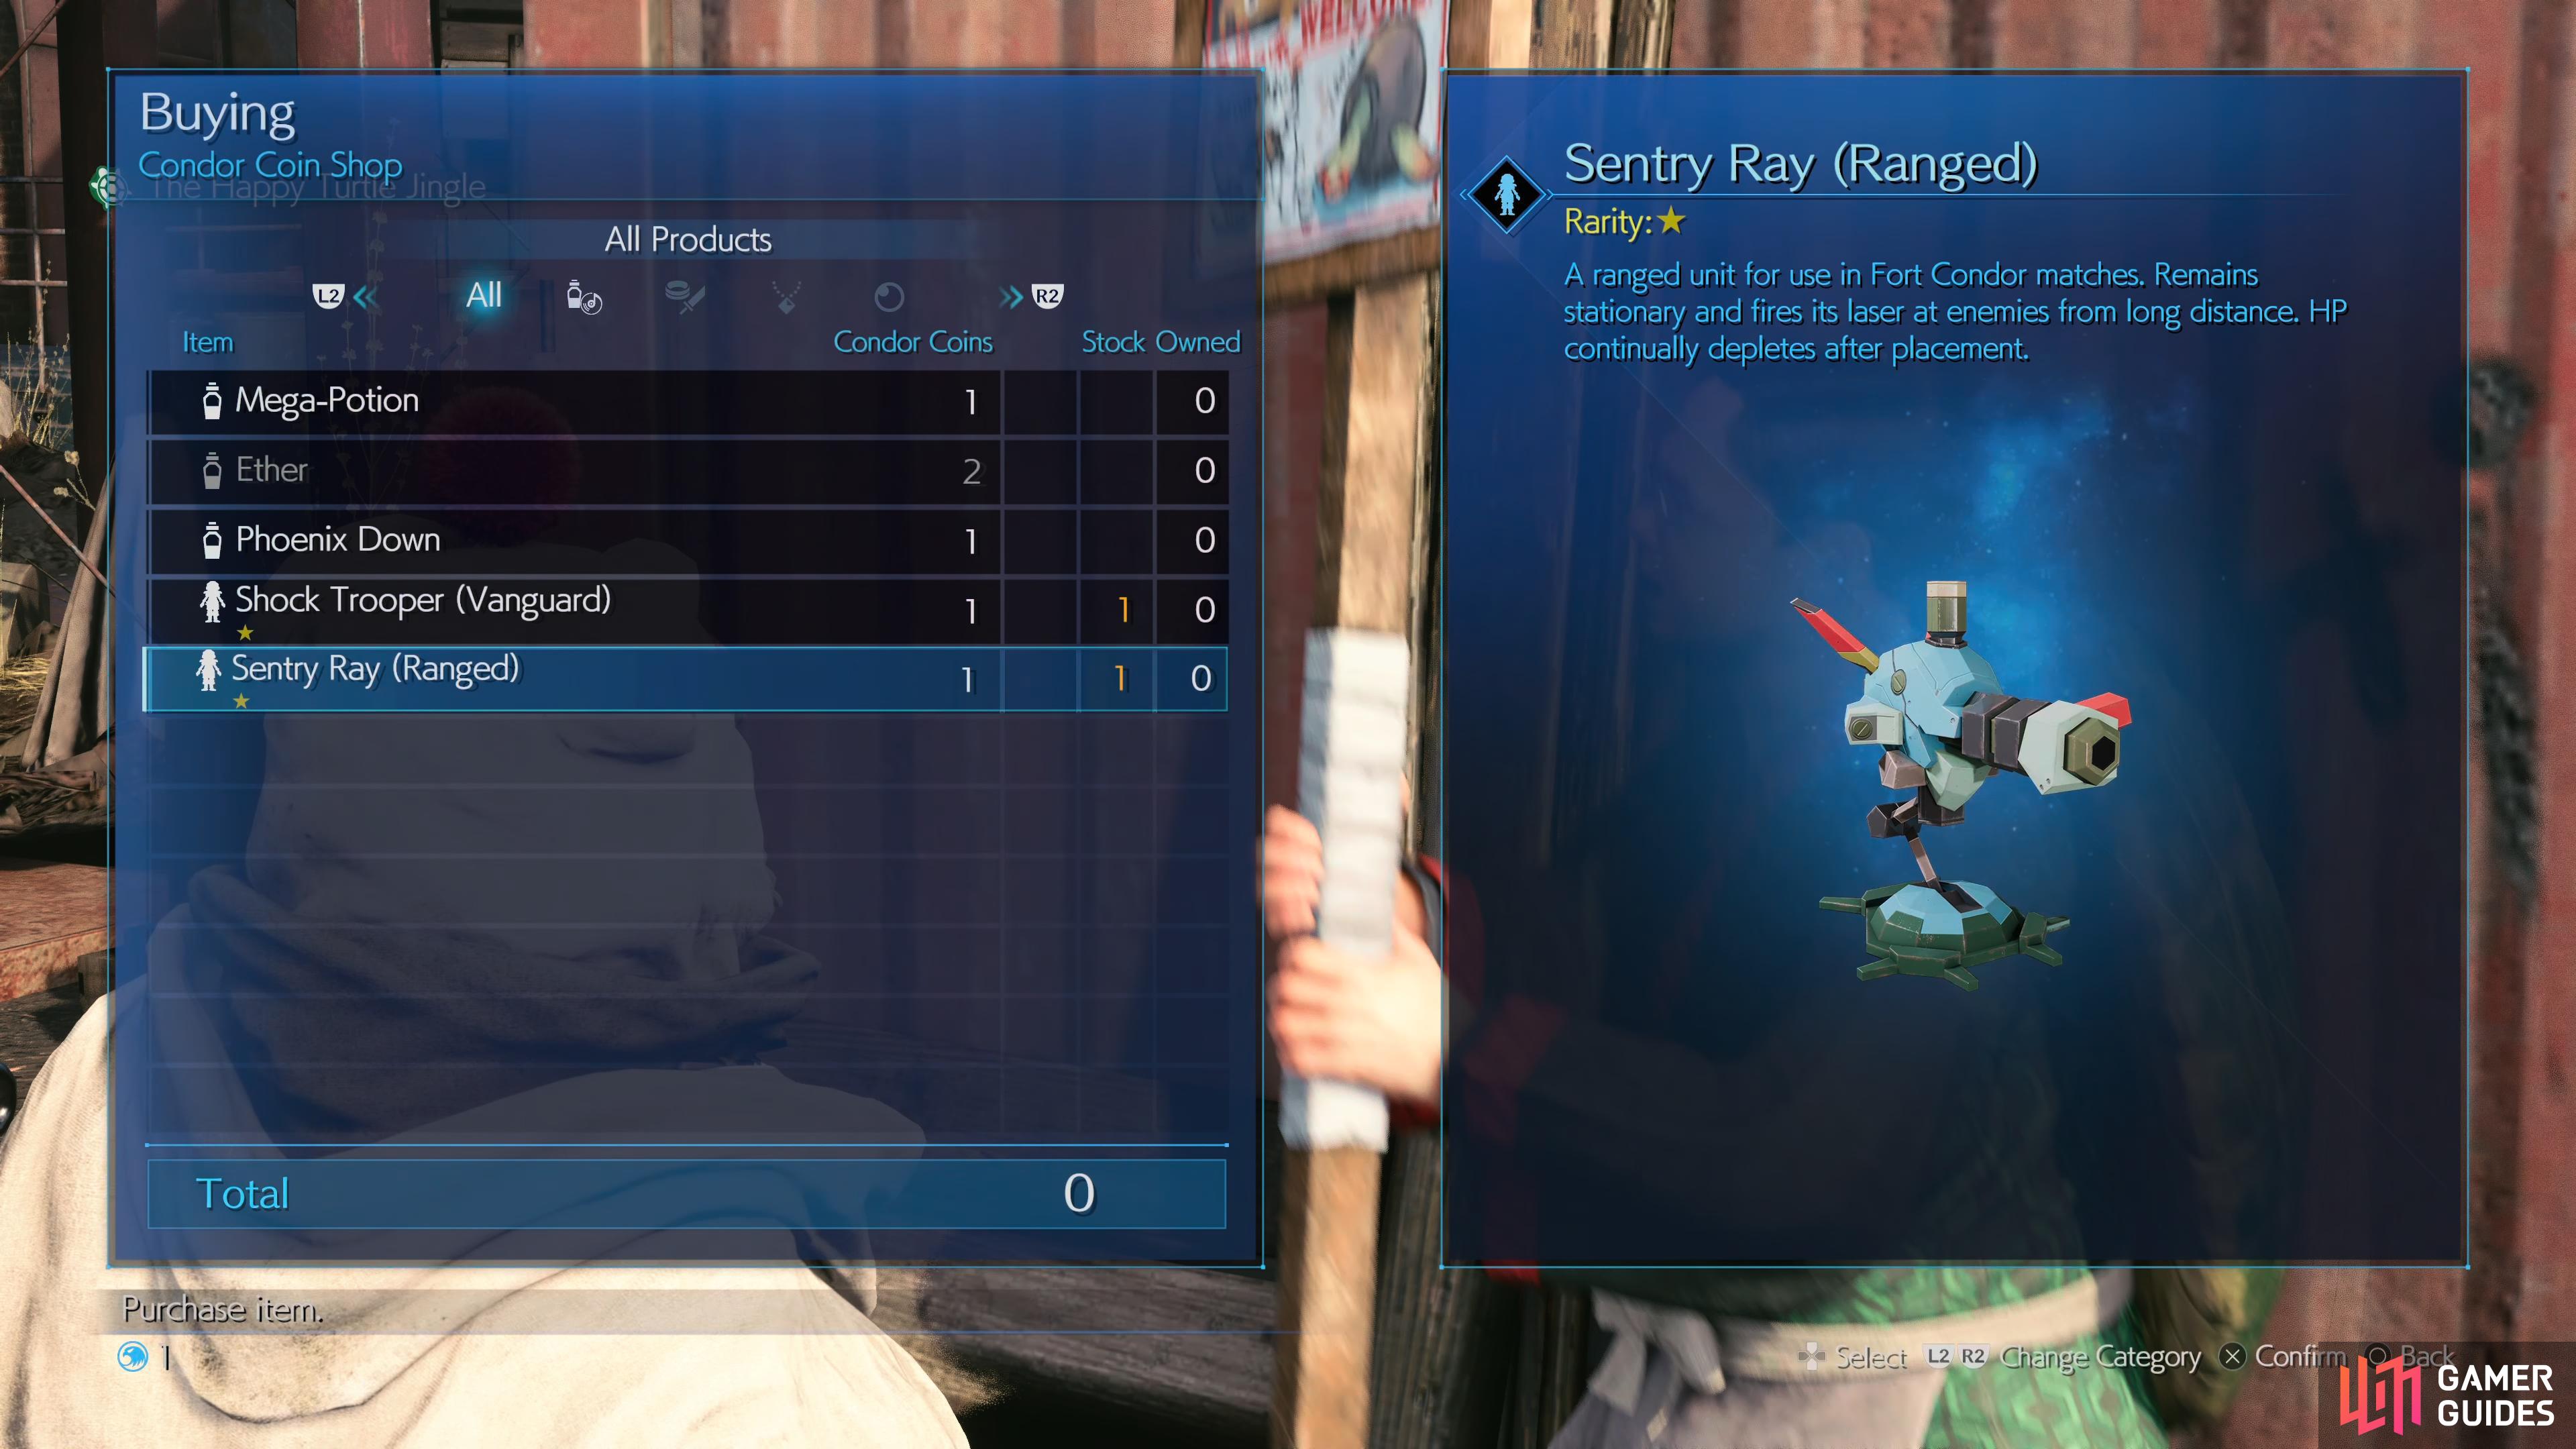
then purchase a Fort Condor Unit from the shop.
With that said, it’s now time to explore the Sector 7 Slums a little, so leave the Clinic and head west to meet Old Snapper, the man from the Happy Turtle that Nayo mentioned earlier. He’ll mention that he has a prize for the first person to find the six Happy Turtle Flyers around Sector 7, something that should be of great interest to you due to the fantastic prize that awaits you. This walkthrough will take you around Sector 7 to pick them up as you explore for other Treasures but if you’d rather find their locations right away, head to the Happy Turtle Flyers page for more information.
Old Snapper will also take your Condor Coins in exchange for items and Fort Condor Units, this list will also update after each Rank Up you get in Fort Condor so be sure to return to him to peruse his goods. Your final stop for now is Chadley, so head to the west to find him and discover that he has a new VR Battle for you, this time against the Summon Ramuh. Turn down his offer for now though, this is tougher encounter than it need be and you’re about to gain your other party member.
Having spoken to both Chadley and Old Snapper, you’ll be able to return to the Clinic and trigger a cutscene. Don’t worry about missing anything, you can get right back to that in a moment. After making his introduction, Sonon Kusakabe formally joins the party as your only other member in INTERmission and he works a bit differently to how party members working in the base game.
Sonon can never be controlled directly by the player, but you can still choose his commands by pressing the [R2] Button in combat along with altering his equipment, materia and weapon upgrades. What’s more, you’ll gain access to Synergize, a new mechanic in INTERmission that will be discussed at a more appropriate time. For now, just know that you want Sonon to keep the enemy’s focus on him so be sure to leave that Provoke Materia on him. Your next objective is to head with Nayo to go and get your IDs but there’s plenty to do now that you have your full party, you can find their rewards and links to more information below:
| Activity | Reward |
|---|---|
| Ramuh VR Battle | Ramuh Summon Materia |
| Fort Condor Grandmaster | 10,000 Gil, AP Up Materia, Condor Coin x4 |
| Happy Turtle Flyers | Magnify Materia |
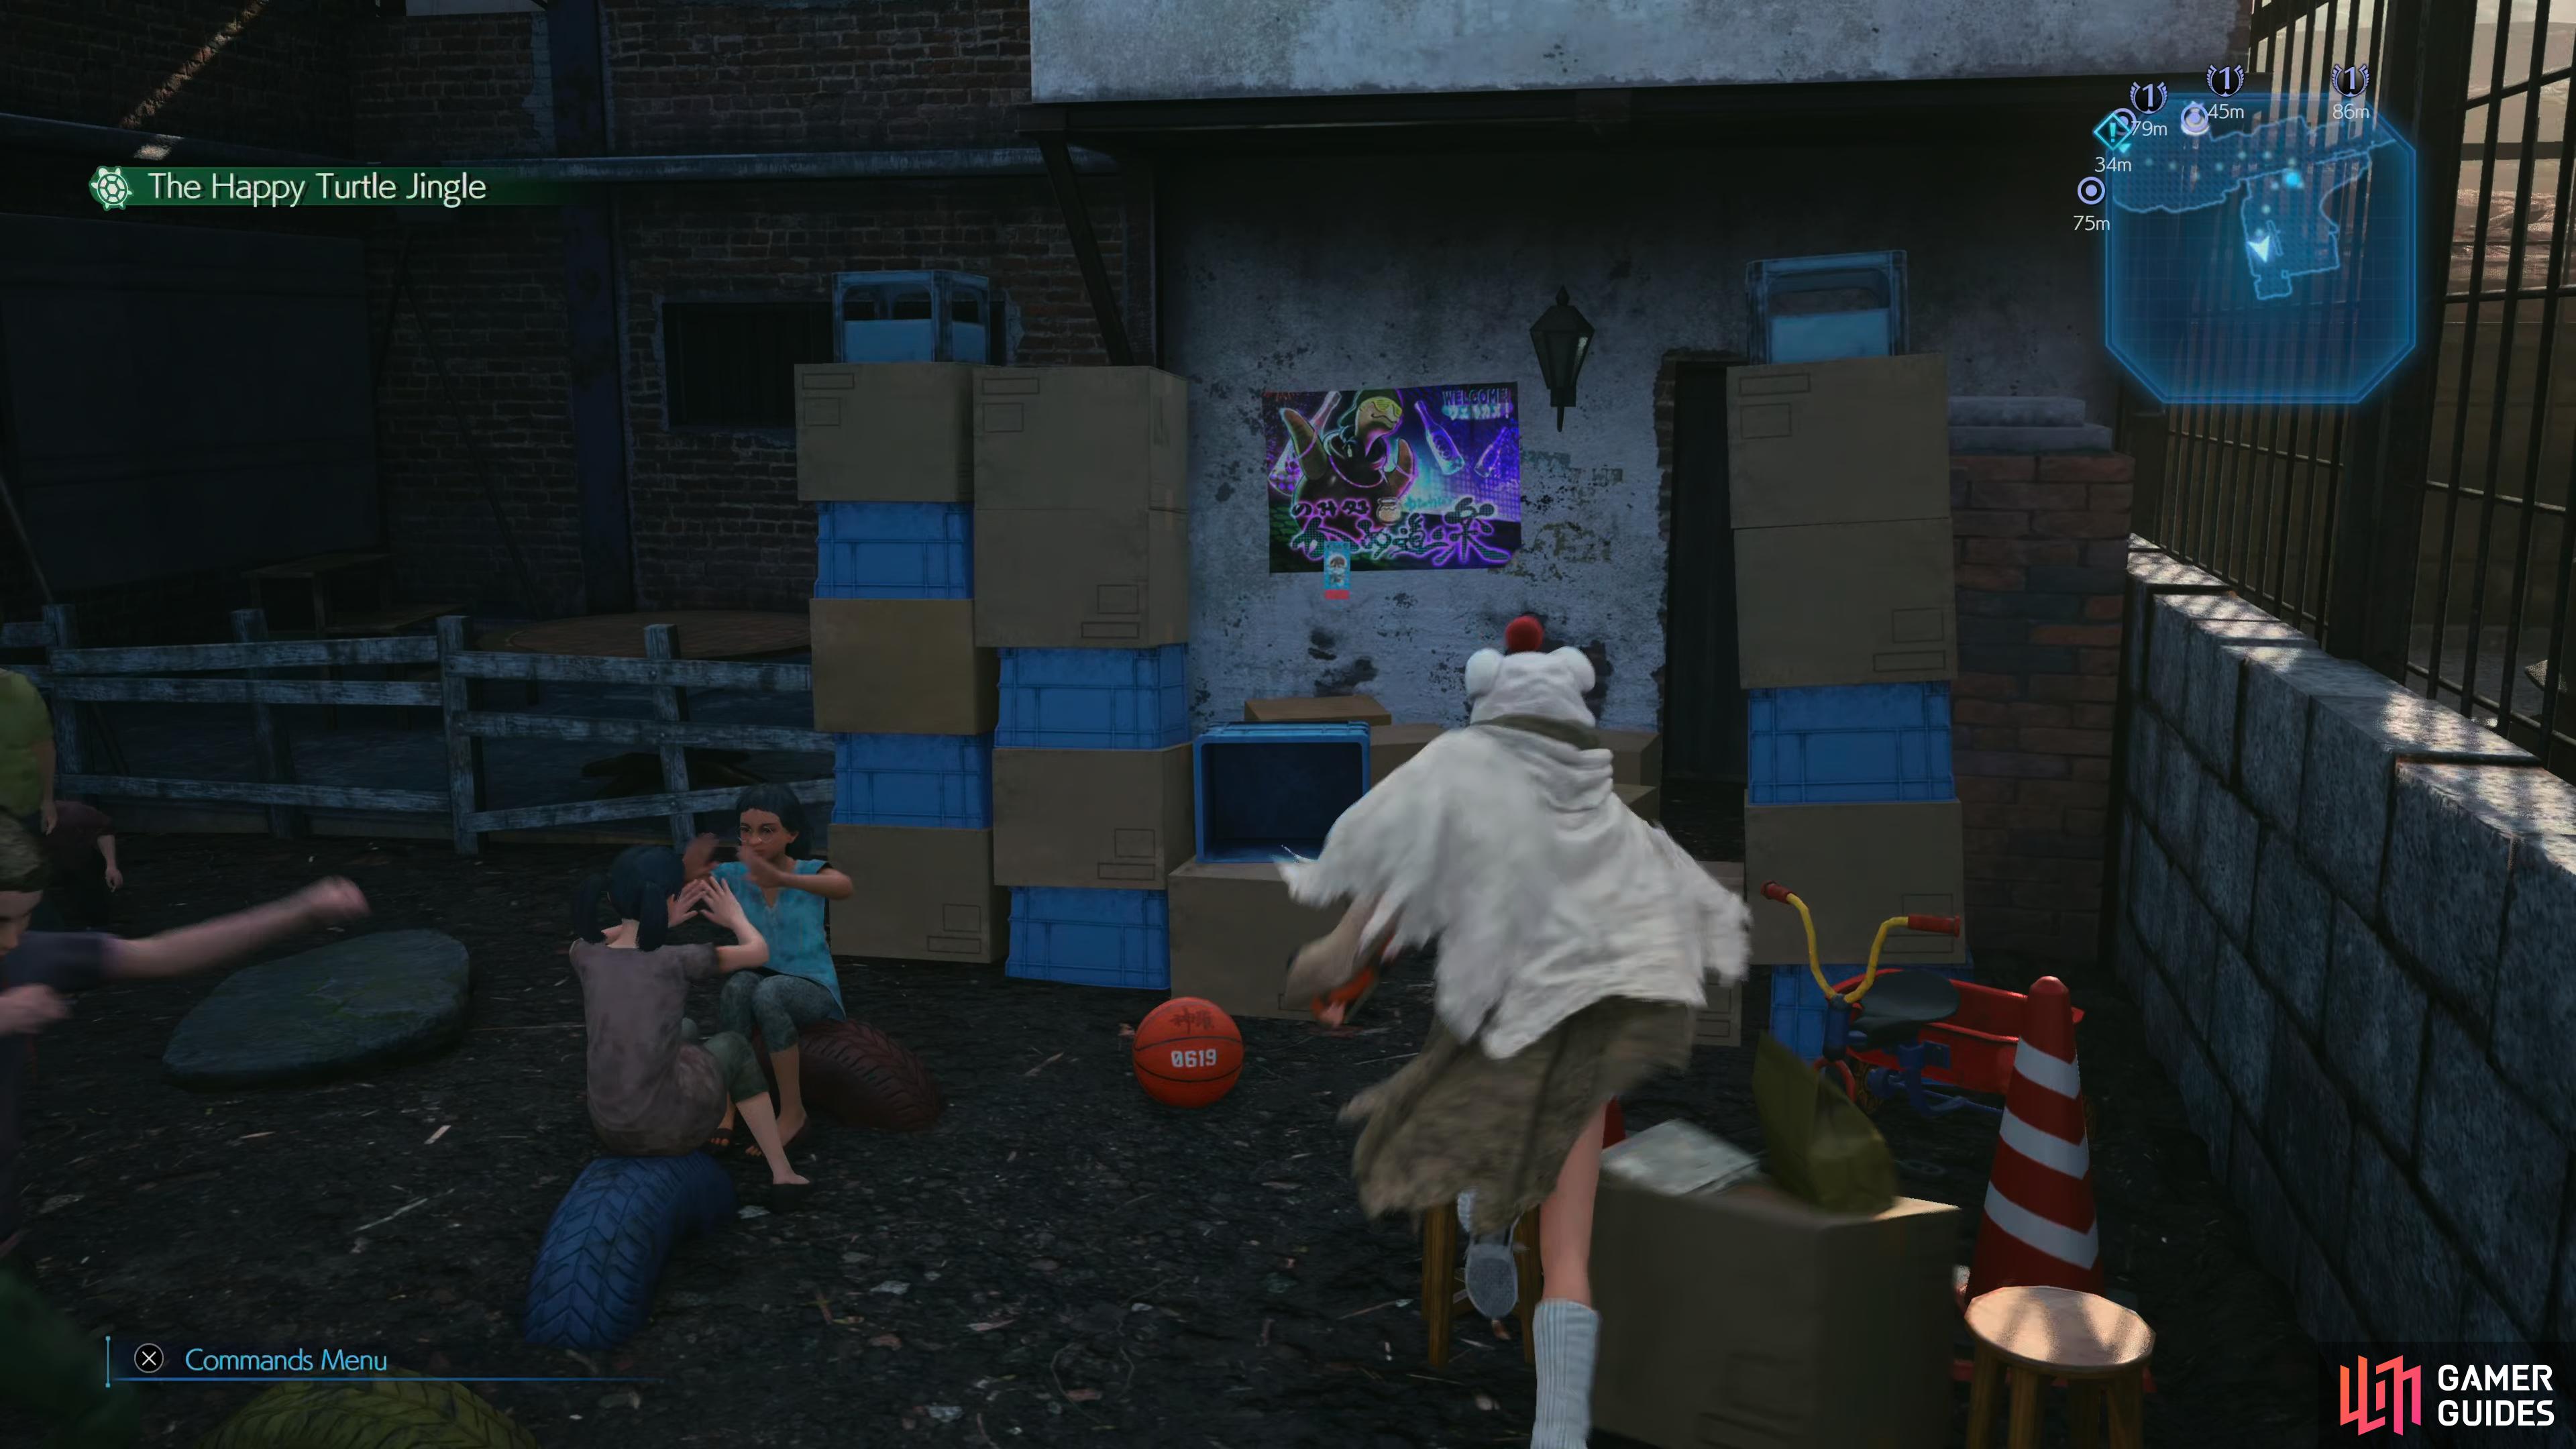
Visit the pages above for more information as this walkthrough will assume that you partake in all of this at this point. Outside of that, there’s still loot to be had in Sector 7 so let’s get on that (while collecting the Flyers in the process). Start by heading to the southeast and you’ll come across the children’s park to notice the Happy Turtle Jingle, this will always play when you’re near a Happy Turtle Flyer so go to the southwest corner to snag Happy Turtle Newsletter 1. Continue east to the next intersection and head south to find a group of kids looking at the next Flyer. Climb over the crate to the east and toss your Shuriken up to burst the balloon and collect Happy Turtle Newsletter 2 before heading south of Wedge to find a chest containing the Riot Trooper Barracks (Defense) Unit.
Head back to the previous intersection and head north until you reach the next, making your way west first (you’ll explore east shortly). Once you reach the outside of the Seventh Heaven bar, go northeast and up the stairs at the back to reach the Junk Shop. If you’re lucky, you’ll find more Fort Condor Units to purchase (with Gil) that you should purchase and the continue west to find a cat with the next Flyer. Follow it to the northwest to find a whole group of cats with flyers, the one you’re looking for is at the back, near the chest containing 2 Hi-Potions. Be sure to interact with the cat to pocket Happy Turtle Newsletter 4.
Leave this area and head west to reach the Item Shop, you’ll find more Materia on offer here but for now, ignore it and continue to the west, opting for the lower path here. Head under the makeshift tunnel and you’ll find a group of children listening to a story of Stamp. Make your way to the southeast of this area to find some Warding Materia and then exit this area.
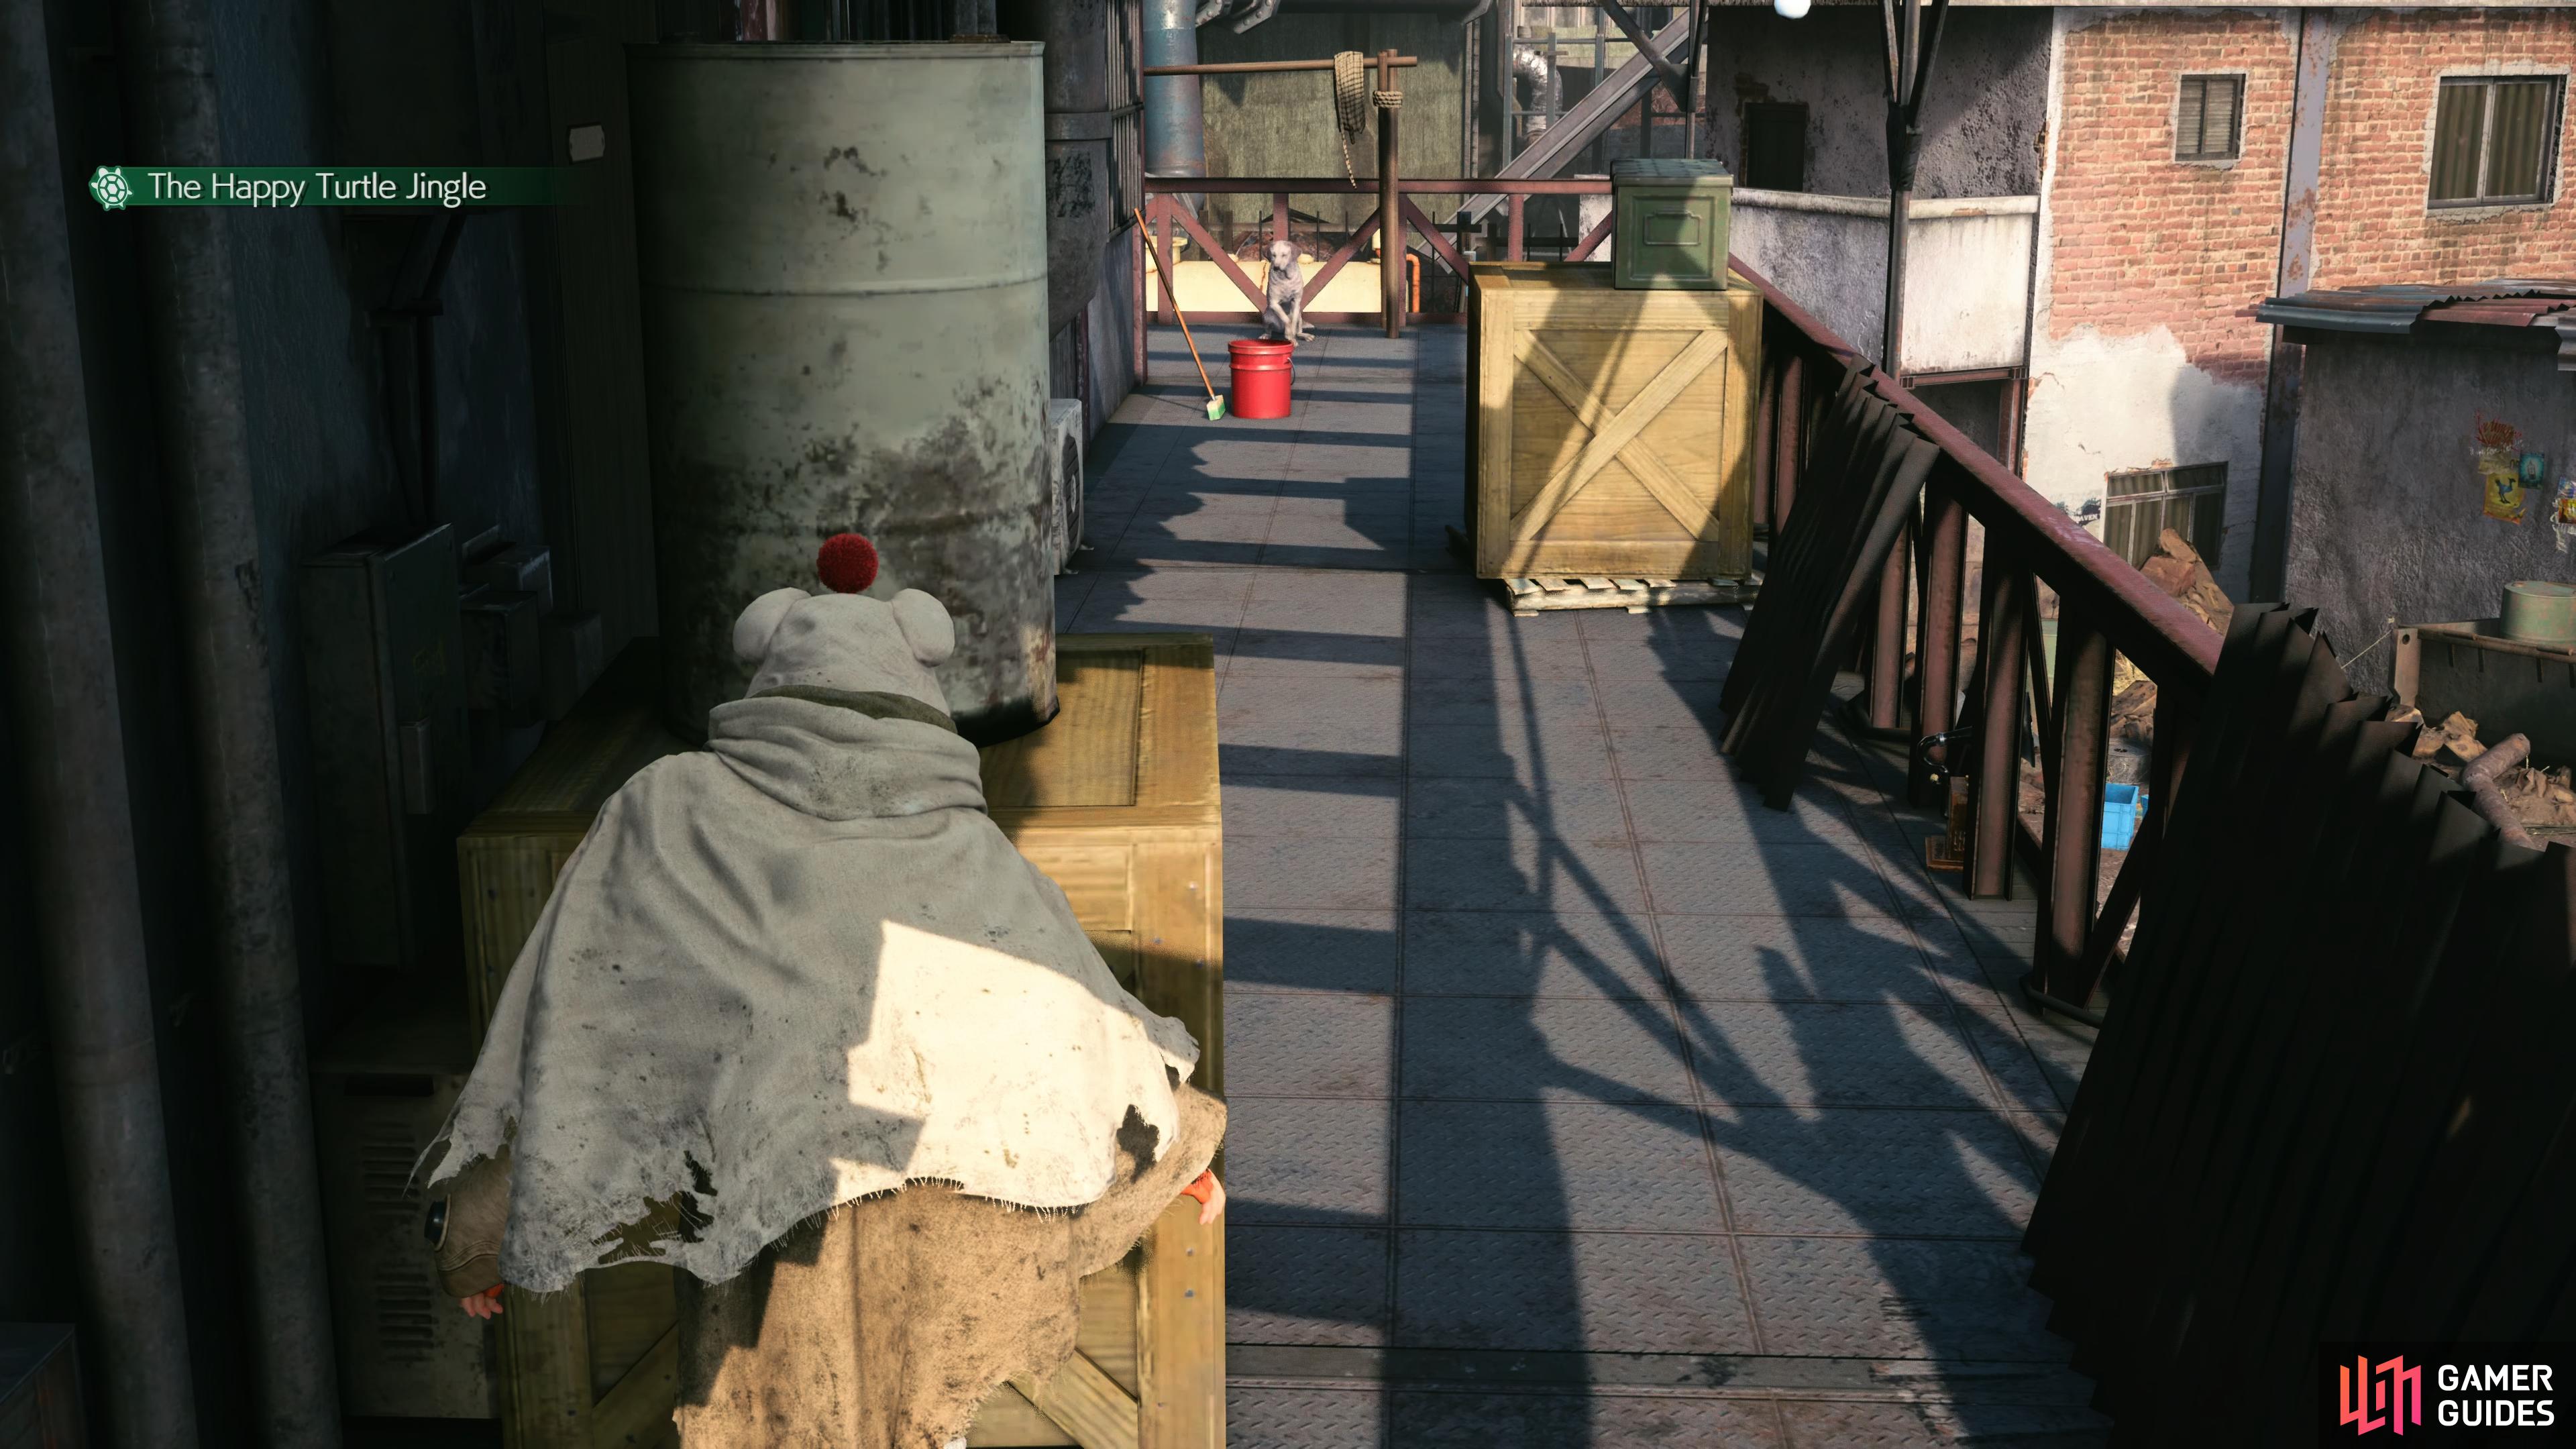
Return and take the upper western path now and you’ll reach Stargazer Heights where you’ll hear the theme of yet another Happy Turtle song. Head upstairs and you’ll notice some crates in front of you with a dog at the end. The objective here is to make your way to the front while hiding behind the crates when the dog is awake. Don’t get greedy and only move between each crate until you reach the final one. Once the dog falls asleep this time, carefully walk around the bucket and examine the corner of the wall to obtain Happy Turtle Newsletter 3. Once Marle finishes her rant, take the nearby ladder up to snag some Chakra Materia.
Continuing south from here will lead you back to Chadley, so make your way out to the east to reach Pillar Plaza. As you head east, Wymer will let on that some kids may have chased a Flyer into the nearby factory but ignore that for the moment and search the nearby notice board to pocket Happy Turtle Newsletter 5. This should leave you with one final Happy Turtle Flyer to go, which Wymer has already hinted to the location.
Abandoned Talagger Factory
| Enemy | Weaknesses | Notable Loot |
|---|---|---|
| Terpsicolt | Ice | – |
| Toxirat | Ice | – |
| Venomantis | Ice | – |
| Wererat | Ice | – |
This area is much more manageable if you decided to wait until you have Sonon with you, the battle where the Flyer can be found is especially easier. Exploring this area will also give you your first taste of combat with both party members, something you’ll want to practice with. Begin your search by heading into the first main room and break the Shinra Boxes before leaving to the west and making use of the bench if needed. Opposite this bench, you’ll find another Chakra Materia begging to be picked up.
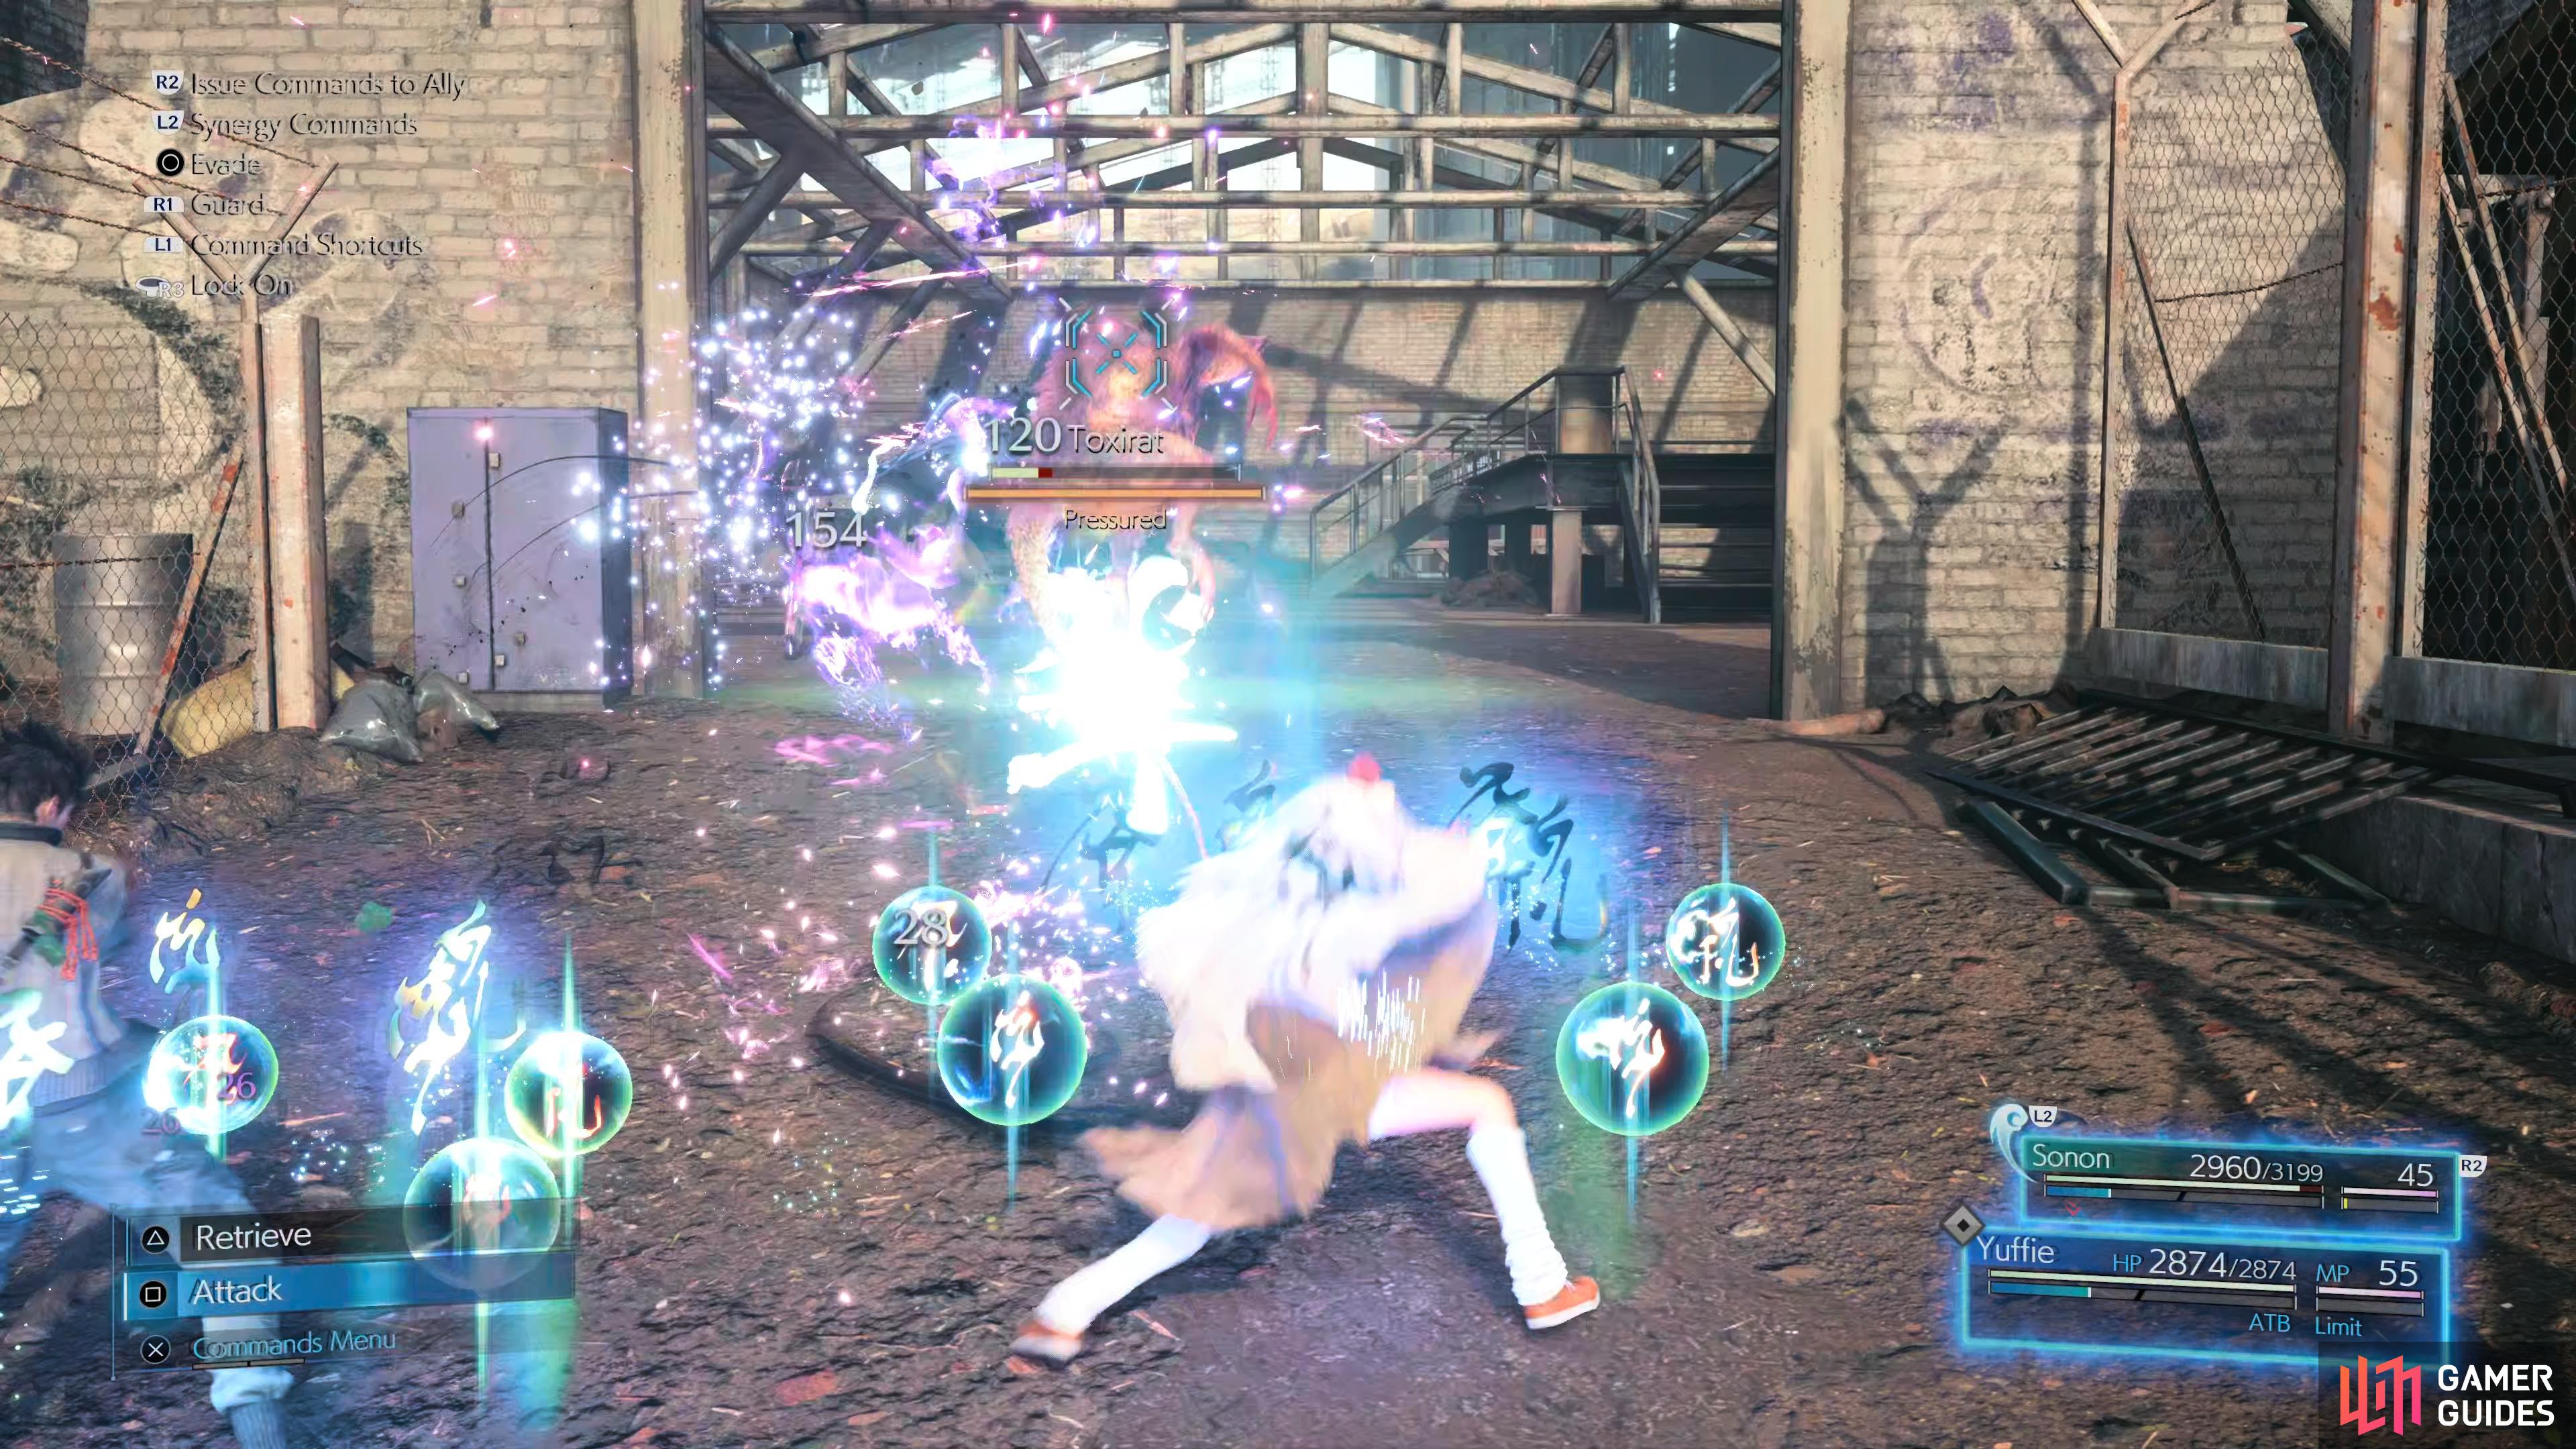
Continue into the next room, where you’ll encounter two Terpsicolts and a Toxirat, along with getting a tutorial on how combat with Sonon works. As mentioned above, you can’t control him directly but the Synergize mechanic is extremely potent and can change both Yuffie and Sono’s regular abilities into deadly combo attacks. The downside to this, however, is that Sonon’s ATB gauge will fill slower while Synergized, it’s a trade-off you’ll need to consider. As for your current opponents, both Toxirats and Terpsicolts are weak to Ice, making Ice Ninjutsu a useful ability to use.
Once the area is clear, ignore the stairs to the east for now and follow the path north to the next warehouse to find more Shinra Boxes to break. Leave via the eastern exit and follow it around to another warehouse where two more Terpsicolts await you. Dispatch them, break the boxes and then make sure you’re healed up before heading through the gate to the east. You’ll be up against two Venomantis’, tricky foes with plenty of HP and deadly status effects such as Sleep. This becomes a lot easier with Sonon to attract their attention, that way you can stick back with Yuffie and fling Ice Ninjutsu at them. Once the area is clear, snag the Happy Turtle Newsletter 6 on the wall, the last that you should need. Before leaving however, break the Shinra Boxes in the southwest corner to find a hidden First Strike Materia, be sure that both Sonon and Yuffie has one of these slotted.
When you leave this area, take the northern route back and at the intersection, head southwest into another warehouse containing two Wererats that should be a pushover at this point. You’ll find the remaining Shinra Boxes to break here, do so and then leave the Abandoned Talagger Factory and make your way back to Old Snapper to turn in the Flyers, as thanks you’ll obtain the ever useful Magnify Materia, be sure to pair this up with whoever has the Cure Materia slotted. With that diversion complete, you’ve seen all there is to do in the Sector 7 Slums, be sure to complete Fort Condor and obtain the Ramuh Summon Materia before you progress with the Main Scenario.
The Handoff
| Enemy | Weaknesses | Notable Loot |
|---|---|---|
| Corneo Lackey A | Fire | – |
| Corneo Lackey B | Fire | – |
| Corneo Lackey C | Fire | – |
Once you’re satisfied with completing the side content, head back to the Avalanche Base and speak with Nayo just outside to get the plot moving once more. Follow her through the streets of the Slums and you’ll run into Barret and Tifa, fresh from their trip to the Mako Reactor. Once you regain control, follow Nayo out to the northeast and you’ll happen upon some resistance in the form of Don Corneo’s Lackeys.
Although the area is rather limited in terms of space, your opponents should pose too much of a threat. Corneo Lackey A should be your primary target, he has the deadliest attacks and once he falls, the other two should fall down quickly. Speed is the name of the game here, as they get low on HP, they’ll drink a Concoction that will prevent them from flinching from attacks and prevent their Stagger bar from raising. Make use of Yuffie’s Fire Ninjutsu and use a Synergized Windstorm to hit multiple enemies at the same time.
Once they run off, you’ll obtain the useful Chthonian Armlet, this will give you an extra Materia slot over the Ninja Armlet and comes with the useful effect of changing based on if you have the Gozu or Mezu Drive accessories which you’ll be receiving shortly. Be sure not to sell the Ninja Armlet however, it’s the best Armor for levelling Materia due to the AP Up feature of it.
Follow Nayo into the nearby warehouse now and you’ll trigger more scenes and obtain the Interplate ID Cards. With those in hand, leave the warehouse via the other exit and break the Shinra Boxes along the way, tossing the Shuriken at the nearby wall to break it and opening the chest for a Kindred Cord, this accessory will reduce the ATB cost of Synergized abilities. Pocket the item and then make your way back to the Slums to trigger yet another scene.
No Comments