

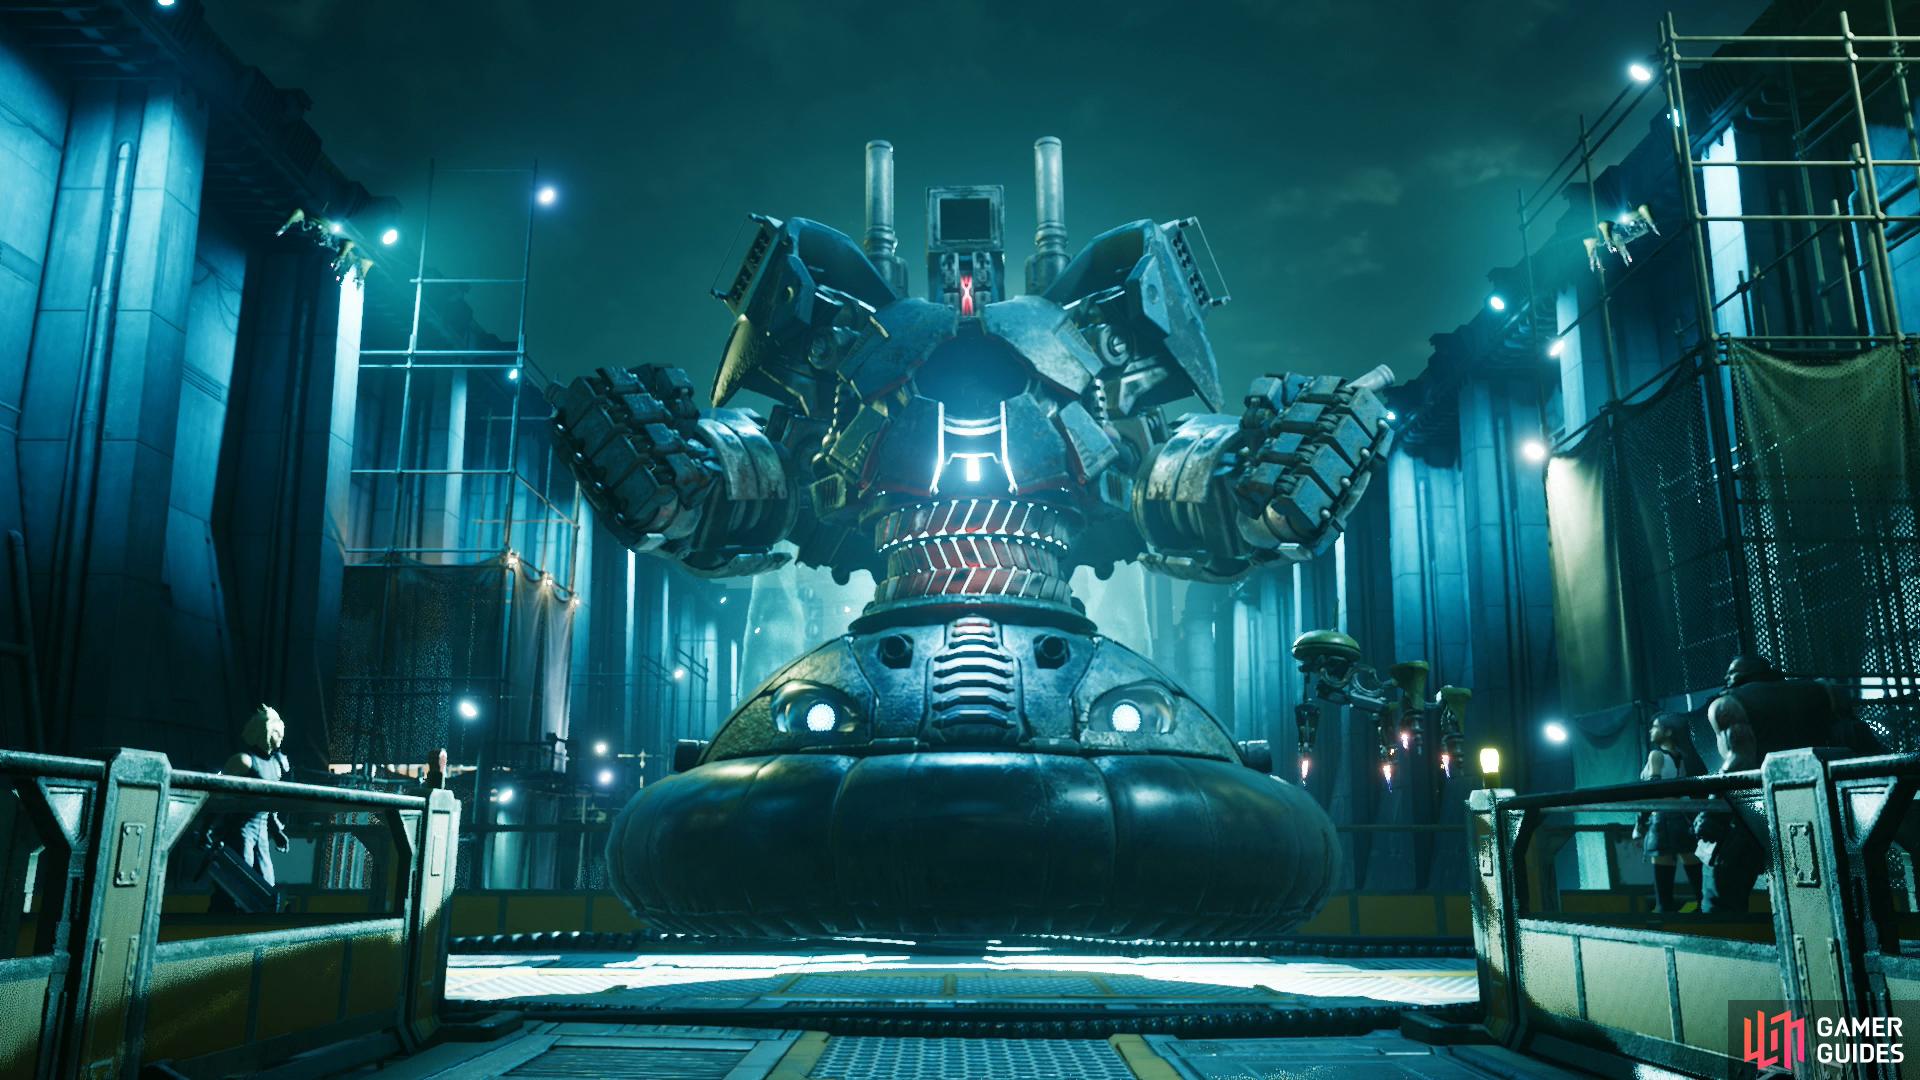
Boss: Airbuster
| Enemy | Weaknesses | Notable Loot |
|---|---|---|
| Airbuster | Lightning | Sharpshooter’s Companion Vol. VI |
| Cloud | . |
|---|---|
| Weapon: | Twin Stinger |
| Armor: | Chain Bangle |
| Accessory: | Circlet |
| Useful Materia: | Lightning + MP Absorption, Healing + Magnify, Revive, Steadfast Block, ATB Stagger, Magic Up, HP Up |
| Tifa | . |
|---|---|
| Weapon: | Purple Pain |
| Armor: | Cog Bangle |
| Accessory: | Champion Belt |
| Useful Materia: | Lightning + Elemental (weapon), Healing, Revive, Barrier, Steadfast Block, ATB Stagger, HP Up |
| Barret | . |
|---|---|
| Weapon: | Light Machine Gun |
| Armor: | Cog Bangle |
| Accessory: | Champion Belt |
| Useful Materia: | Lightning + Elemental (weapon), Healing, Revive, Barrier, Steadfast Block, ATB Stagger, HP Up |
In Normal difficulty Airbuster was something of a difficulty spike - the first serious challenge of the game. In Hard difficulty, it’s… still fairly dangerous, but not quite as much of a spike as it was before. Knowing Airbuster’s attacks and tells - and how to respond to them - will come in very handy for this fight.
That said, the proper set-up will also go a long way towards securing victory. Every character should have Lightning Materia equipped. Cloud’s still our main caster, so he’ll go with Lighting + MP Absorption so he can spam Thundara with less concern for his MP. He’s also our healing, and duly equips Healing + Magnify. For a boss like Airbuster, which can regularly deal 3,000+ damage with its attacks, a competent healer will help make mistakes less… catastrophic. Barret and Tifa are our physical attacks, and thus are equipped with Lighting + Elemental on their weapons. Airbuster thankfully doesn’t use debilitations… at least, none you can prevent, so you don’t need to worry about messing with accessories: Circlets and Champion Belts work fine, although you won’t regret putting Gotterdammerung on Barret, if you have it. Otherwise it’s fairly basic equipment: Barrier, ATB Stagger, Healing, Revive, HP Up, etc.
The first phase is fairly simple, you start out flanking Airbuster, and he’ll almost certainly start out the fight by deploying “Shock Mines”, which will teach you an important lesson: If you get stunned at any point in this fight (Stun Mines and Finger-Lasers both produce this effect), Airbuster will capitalize with a “Big Bomber” attack, dealing around 3,000 damage. You can avoid “Shock Mines” by just not stepping on them, while “Finger-Lasers” can be blocked - doing so mitigates damage and avoids stunning. Otherwise Airbuster will just use (with annoying frequency) its “Shock Pulse” attack and various guns:
-
Back Cannons: Airbuster fires powerful bursts from its back cannons, dealing moderate damage. The cannons will start glowing red before firing, giving you time to block.
-
Big Bomber: Never used as a stand-alone attack, Airbuster will use “Big Bomber” exclusively as a followup attack when a target is stunned by “Finger-Lasers” or “Shock Mines”. Deals 3,000+ damage.
-
Finger-Lasers: Airbuster’s hands glow blue, after which it’ll discharge a volley of homing lasers at a target. While dealing little damage, if the attack hits, it’ll inflict stun, and Airbuster will likely follow up with “Big Bomber”. Blocking mitigates damage and prevents stunning.
-
Machinegun Burst: A milquetoast burst of machinegun fire from Airbuster’s anti-personnel machineguns, deals moderate damage, and can fire front and back, but is more of a nuisance than a threat.
-
Shock Mines: Airbuster will release a volley of bluish mines. They take a while before they activate, upon which they’ll leave a globe of electricity on the ground for a few seconds. If you step in one of these globes you’ll be stunned, and Airbuster will likely capitalize by following up with “Big Bomber”. Best to avoid attacking and get to safety when these are deployed, rather than risk “Big Bomber”.
-
Shock Pulse: Airbuster generates a pulse of electricity under and around itself, dealing moderate damage and knocking nearby foes back. Can be blocked, but counts as a ranged attack for Punisher mode.
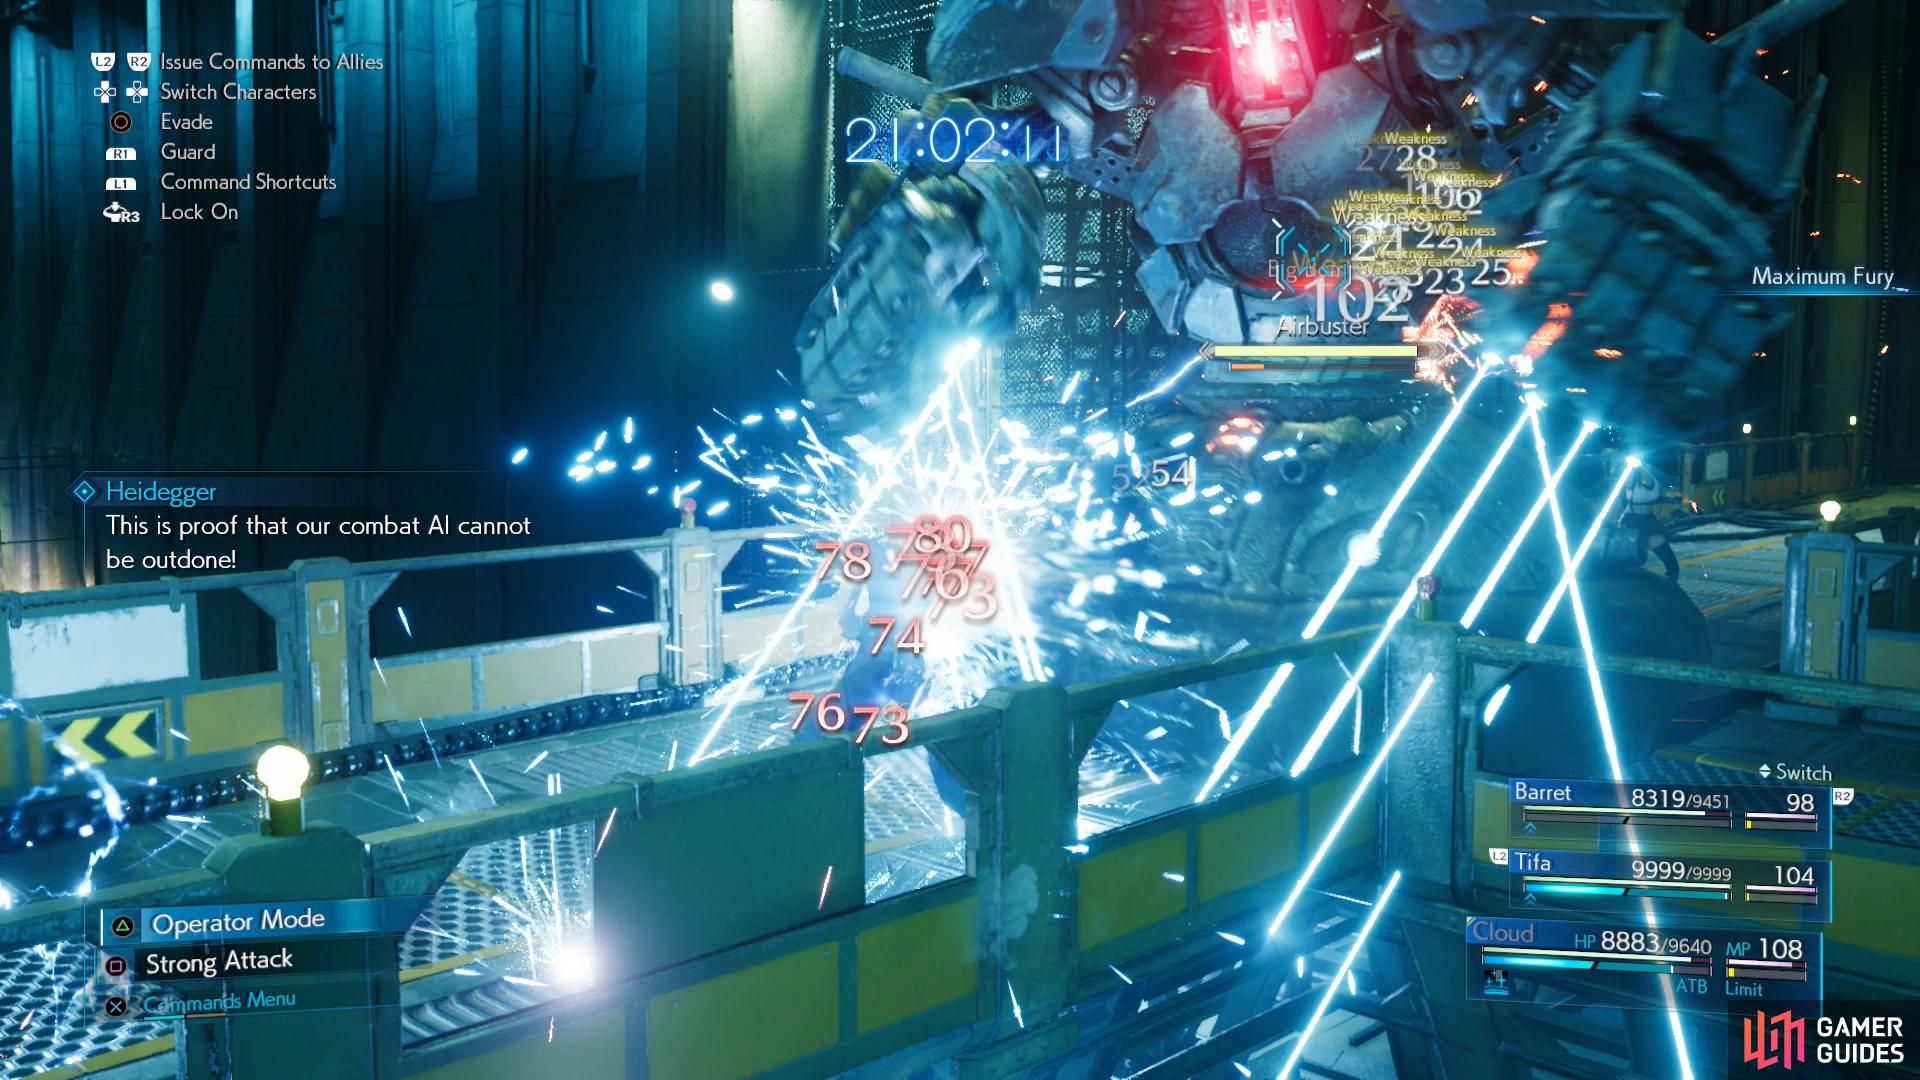
Avoid getting stunned by “Shock Mines” and “Finger-Lasers” (and hence the inevitable “Big Bomber” follow-up attack), block when you see Airbuster ready to shoot you with “Back Cannons” or “Machinegun Burst” and keep attacking until it’s Staggered. Tifa is our main vehicle for offense, but we’re not above having Barret use “Overcharge” and “Maximum Fury” from time to time. Cloud builds up ATB to cast Regen + Magnify, then we largely leave him alone, perhaps commanding him to cast Thundara whenever he has two ATB segments. When Airbuster gets Staggered, punish the machine with a combination of “Starshower” + “Rise and Fall” and “Omnistrike”.
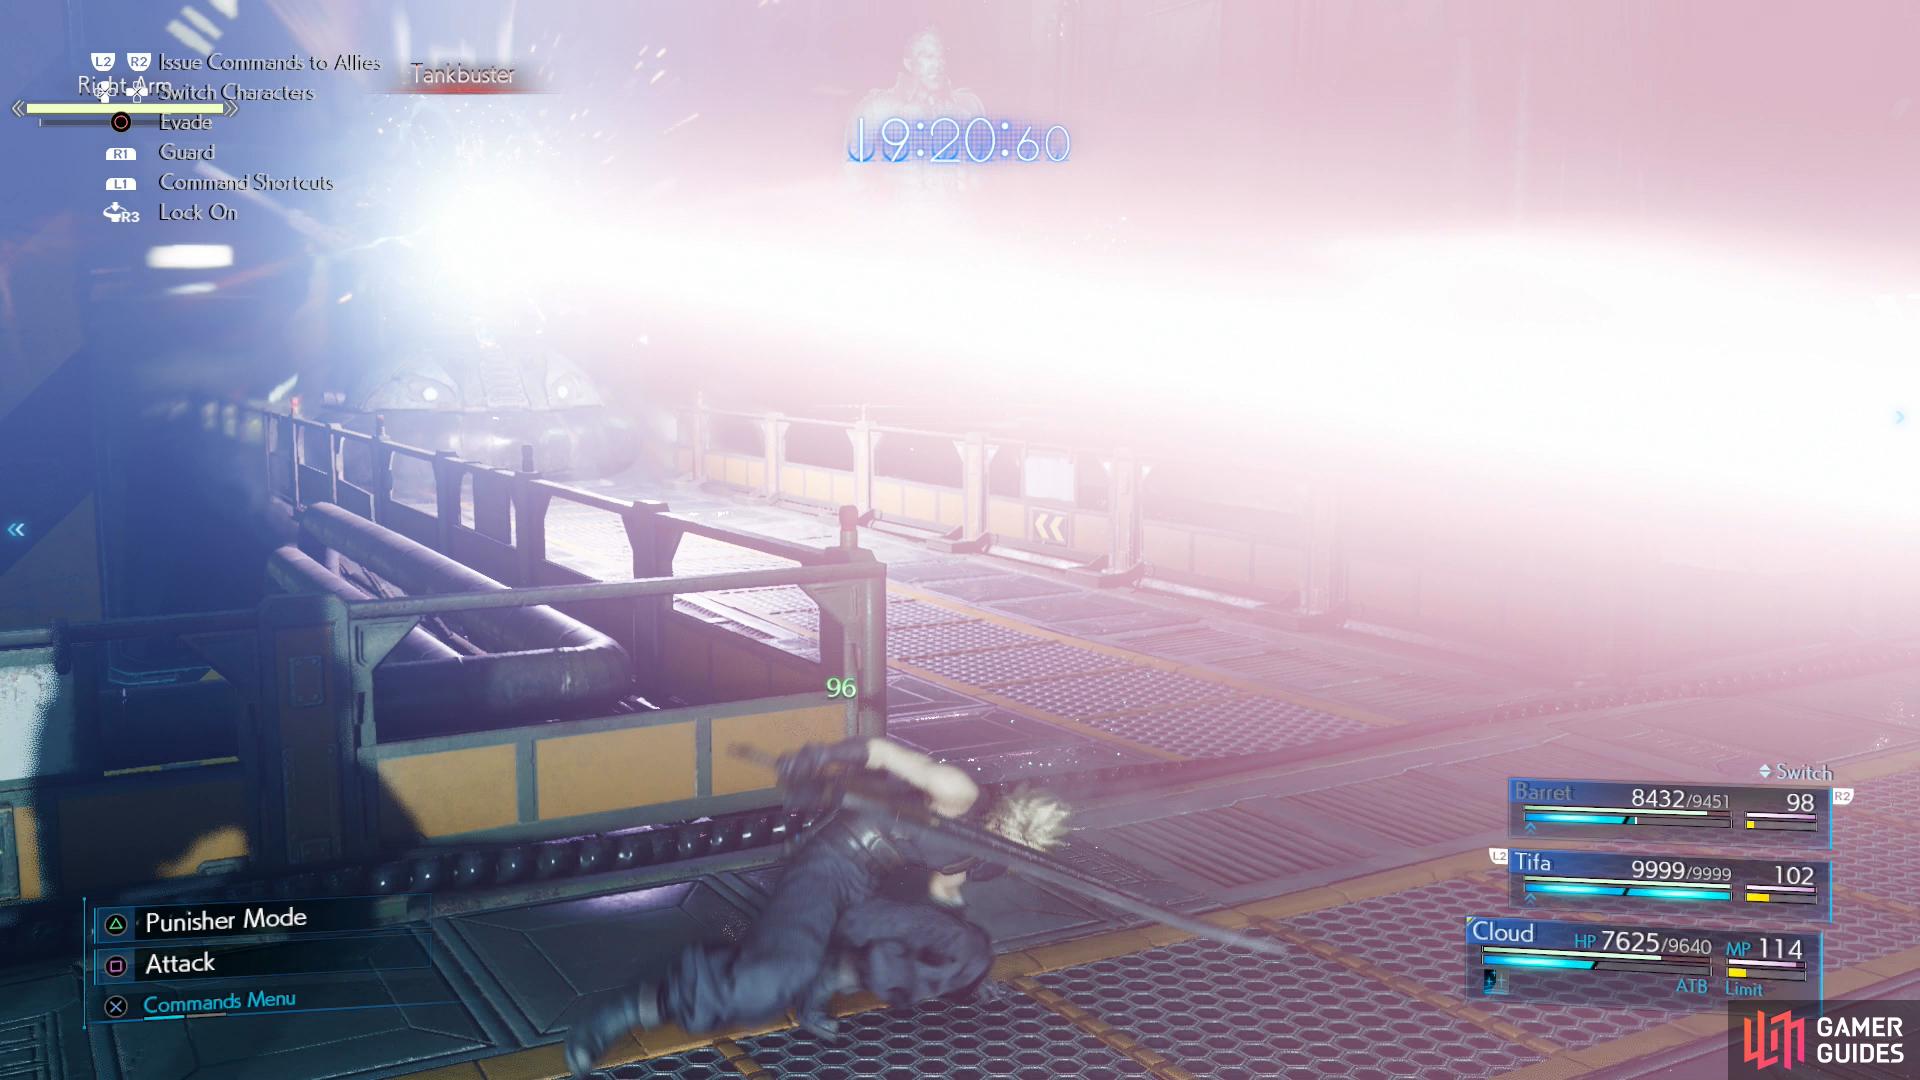
After being reduced to 75% of its HP, Airbuster will retreat down the walkway, removing itself from the flanking predicament. It’ll immediately use “Tankbuster” at the start of this phase, which you can dodge by simply running onto the perpendicular walkway. “Tankbuster” will deal over 4,000 damage if it hits, so it’s best avoided. Between bouts of “Tankbuster” you can attack Airbuster; just like in phase one, although it won’t be long before Airbuster complicates matters by deploying its arms independently via “Divide and Conquer”.
At this point each arm will take position on either end of the perpendicular walkway and carry out a variety of attacks, including “Finger-Lasers” (Airbuster will, of course, take advantage of any stuns by using “Big Bomber”), “Jet Fist” and “Grab”. Airbuster, for its part, will largely interject with “Laser Barrage” and “Tankbuster” while you’re distant. And you should be distant from Airbuster, as defeating one of the detached hands is definitely a priority, as it’ll force Airbuster to reattach its arms, allowing you to focus on Airbuster alone. Focus on one arm and hit it with Thundara, “Overcharge”, “Maximum Fury” and ki strikes (“Omnistrike” to be safe) while being sure to avoid “Finger-Lasers”. If a character gets grabbed, immediately have the other two characters respond by shooting the offending arm with Thundara, as if left to its own devices the arm will drag the “Bound” character to the intersection, where Airbuster will blast them with “Tankbuster”. Not an outcome you want.
Once one arm is dispatched, Airbuster will reattach its arm (none the worse for wear, apparently), allowing you to focus on Airbuster again. Between “Tankbuster” blasts, close in and attack Airbuster until it’s Staggered, after which follow up with “Starshower” + “Rise and Fall” and “Omnistrike”. New attacks this phase include:
-
Burning Hands: Airbuster will put both hands together and shoot out two gouts of flame, dealing heavy damage. Can be blocked.
-
Laser Barrage: Airbuster shoots a barrage of orange lasers. Deals heavy damage (collectively, but thankfully doesn’t stun. Airbuster tends to use this attack against foes lurking out of range of its other attacks.
-
Jet Fist: The Airbuster arms will punch forward, propelled by jets. Deals heavy damage.
-
Tankbuster: After charging up for a significant period of time, Airbuster will unleash a pinkish laser in the direction it’s facing. In phase two it’ll only shoot forward, down the walkway it’s facing. This attack can be interrupted if Airbuster is hit with Thundara (cast two, to be safe) during its charge period, but this will be more important later. Cannot be blocked, deal massive damage if it hits.
-
Grab: Airbuster’s hands will grab a nearby character and fly with them into the walkway intersection, where Airbuster will blast the unfortunate character with “Tankbuster”. Hit the hand with Thundara to free the captured character.
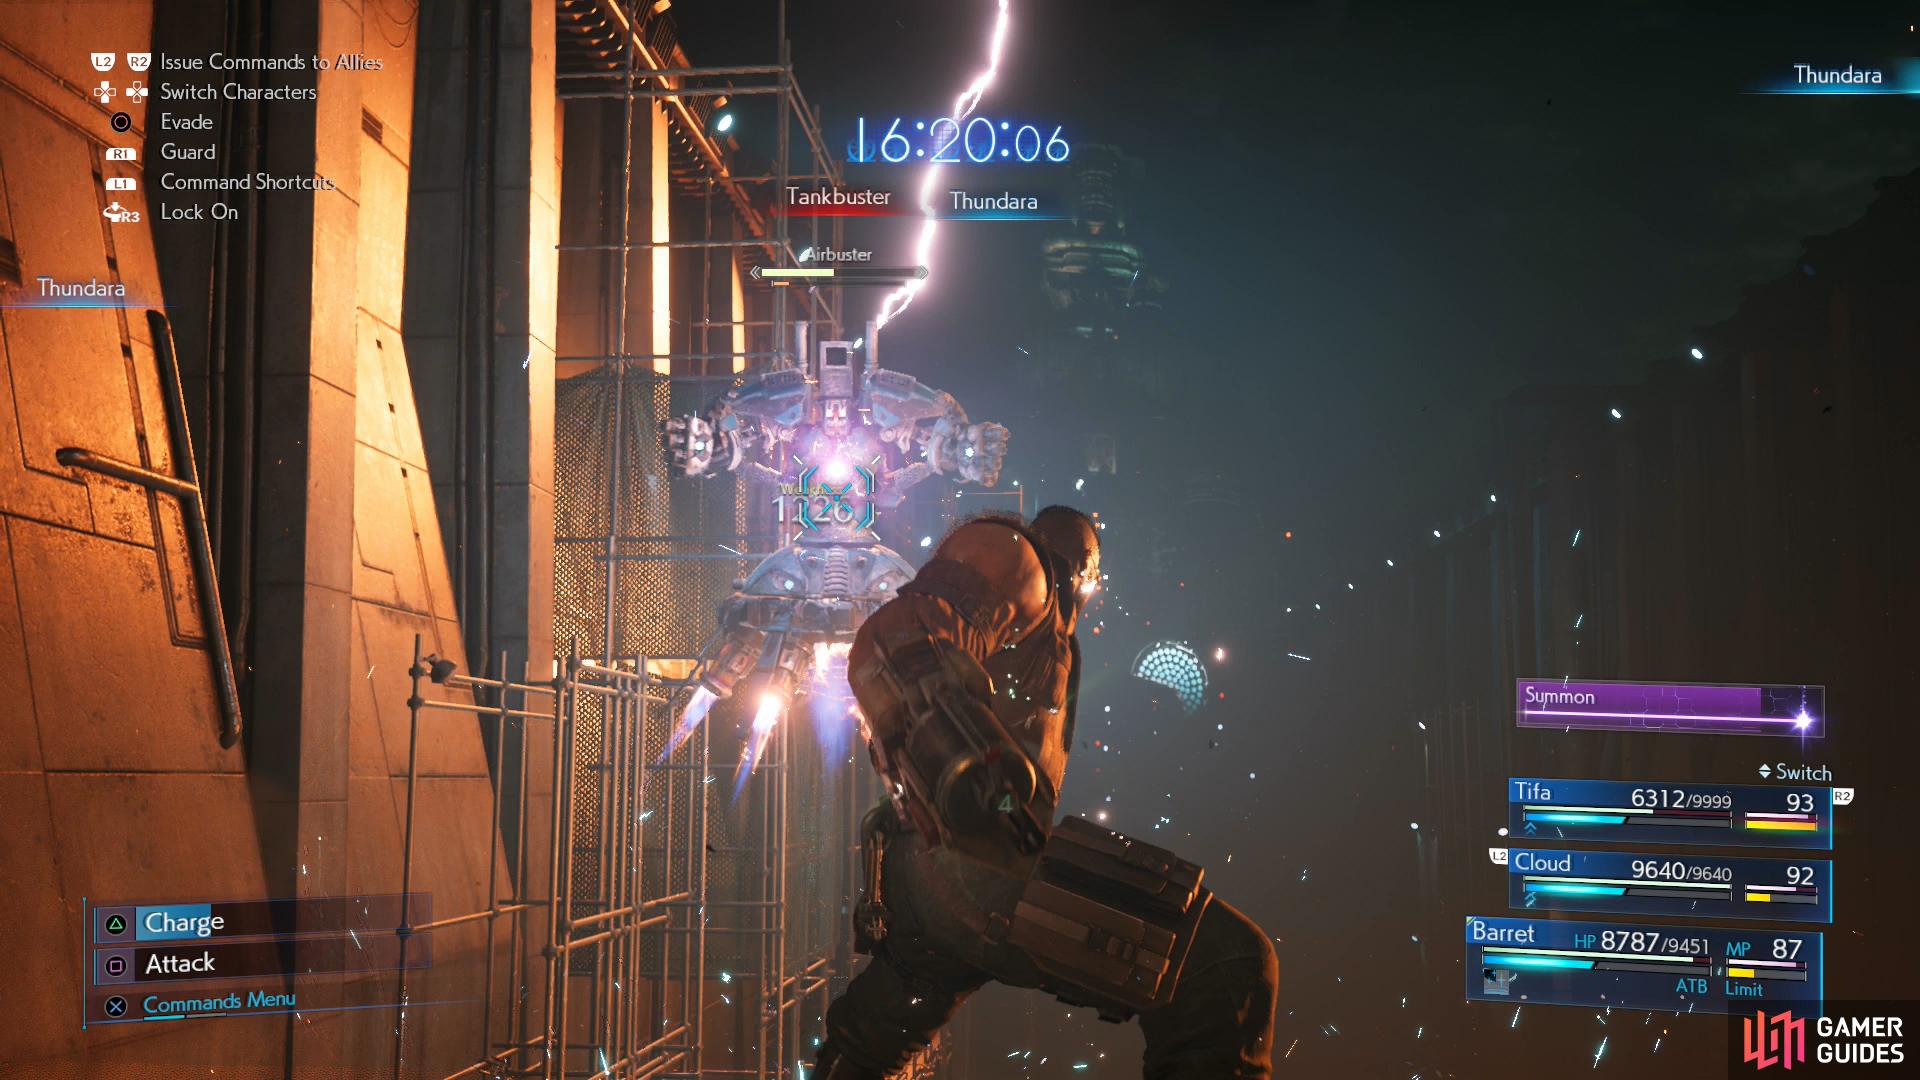
(1 of 3) When Airbuster charges up “Tankbuster” in phase three and four, try to interrupt it by casting Thundara.
Reduce Airbuster’s HP to 50% and Airbuster will dramatically change the nature of the fight once again, taking off and flying out of reach of Cloud and Tifa. Switch to Barret and pelt Airbuster with gunfire, but don’t waste ATB segment or get too invested, as it’ll only unleash a few “Laser Barrage” salvos before charging up “Tankbuster”. You’ve little choice but to hit Airbuster with Thundara and hope it interrupts “Tankbuster”, otherwise… well, you have Curaga. After “Tankbuster”, Airbuster will float close to the walkway, allowing you to switch to Cloud/Tifa and attack Airbuster in melee. Inflict what damage and Stagger you can with Tifa (command Cloud to use Thundara and Barret to use “Overcharge” and “Maximum Fury”) and repeat the process until Airbuster is Staggered. “Starshower” + “Rise and Fall” and “Omnistrike” to send it to phase four.
Once you reduce Airbuster to around 20% of its HP, it’ll begin phase four, which is much like phase three except it’ll now use a devastating double-shot of “Tankbuster”. Each of these shots seem to deal less damage than normal, but if you get hit by one you’ll probably get hit by both, and “less painful” still means you’ll likely sustain 5,000+ damage, overall. Try to knock Airbuster out of these attacks with Thundara, or if that doesn’t seem likely, protect the targeted character with Manawall. Worst case scenario… well, weapons with “Reprieve” are desirable for a reason. Airbuster’s routine is otherwise similar to phase three, but since its double “Tankbuster” is so devastating, you’ll want to end things quickly - now is a good time to use any limits you have.
For defeating Airbuster in Hard difficulty you’ll obtain the Sharpshooter’s Companion Vol. VI Manuscript.
No Comments