

Infiltration
As this chapter starts (with the iconic pose in front of Shinra HQ!), Barret will reveal once again just why his strategic sense is just… no good. When you’re in control, equip the Cog Bangle The Valkyrie dropped at the end of last chapter - it’s got three materia slots (two linked) and superior all-round defenses to anything you’ve found thus far.
Once done, head around the walkway to find some Shinra Boxes you can smash, then head down some stairs to the northwest. Follow the linear path ahead, descend two ladders, and when you’re on another circular (octagonal?) walkway destroy another collection of Shinra Boxes near some stairs, then head down said stairs.
Continue north down a walkway on the lower level and ignore the path to the west for now, continuing north to find a chest containing a Turbo Ether, a vending machine, a rest bench, and some Shinra Boxes. Rest up and do some shopping if you care to, and rearrange your materia to switch your focus back to fire (Fire + Elemental, Fire + Magnify, Fire + Synergy) then backtrack south and take the previously-neglected western path, looting a chest containing 2x Hi Potions and destroying some Shinra Boxes before descending another flight of stairs.
| Enemy | Weaknesses | Notable Loot |
|---|---|---|
| Elite Security Officer | Fire | -- |
| Elite Grenadier | Fire | -- |
| 3-C SOLDIER Operator | Fire | -- |
| Guard Dog | Fire | -- |
| Elite Riot Trooper | Fire | -- |
Bust Out of the Garage
Follow the linear path ahead and watch a scene to reach the garage. Barret’s clumsiness once again costs us the element of surprise, and after the scene ends you’ll be engaged in another running battle facing off against a series of foes:
-
3x Elite Security Officers, 2x Elite Grenadiers.
After the first two fights you’ll get a breather. Work your way northwest, southwest, then southeast. The next round of fights begin when you go through a gate.
-
2x Elite Security Officers.
Another pause, another gate. When you’re ready, continue through a gate and make your way northwest to provoke the next batch of foes:
-
1x Elite Security Officer, 1x Guard Dog.
-
2x Elite Grenadiers, 2x Guard Dogs.
Defeat these foes, loot a chest to the northeast to score a Molotov Cocktail, then continue southwest and head under a garage door to encounter another group of enemies:
-
3x Elite Riot Troopers, 1x Guard Dog.
-
2x 3-C SOLDIER Operators, 2x Guard Dogs.
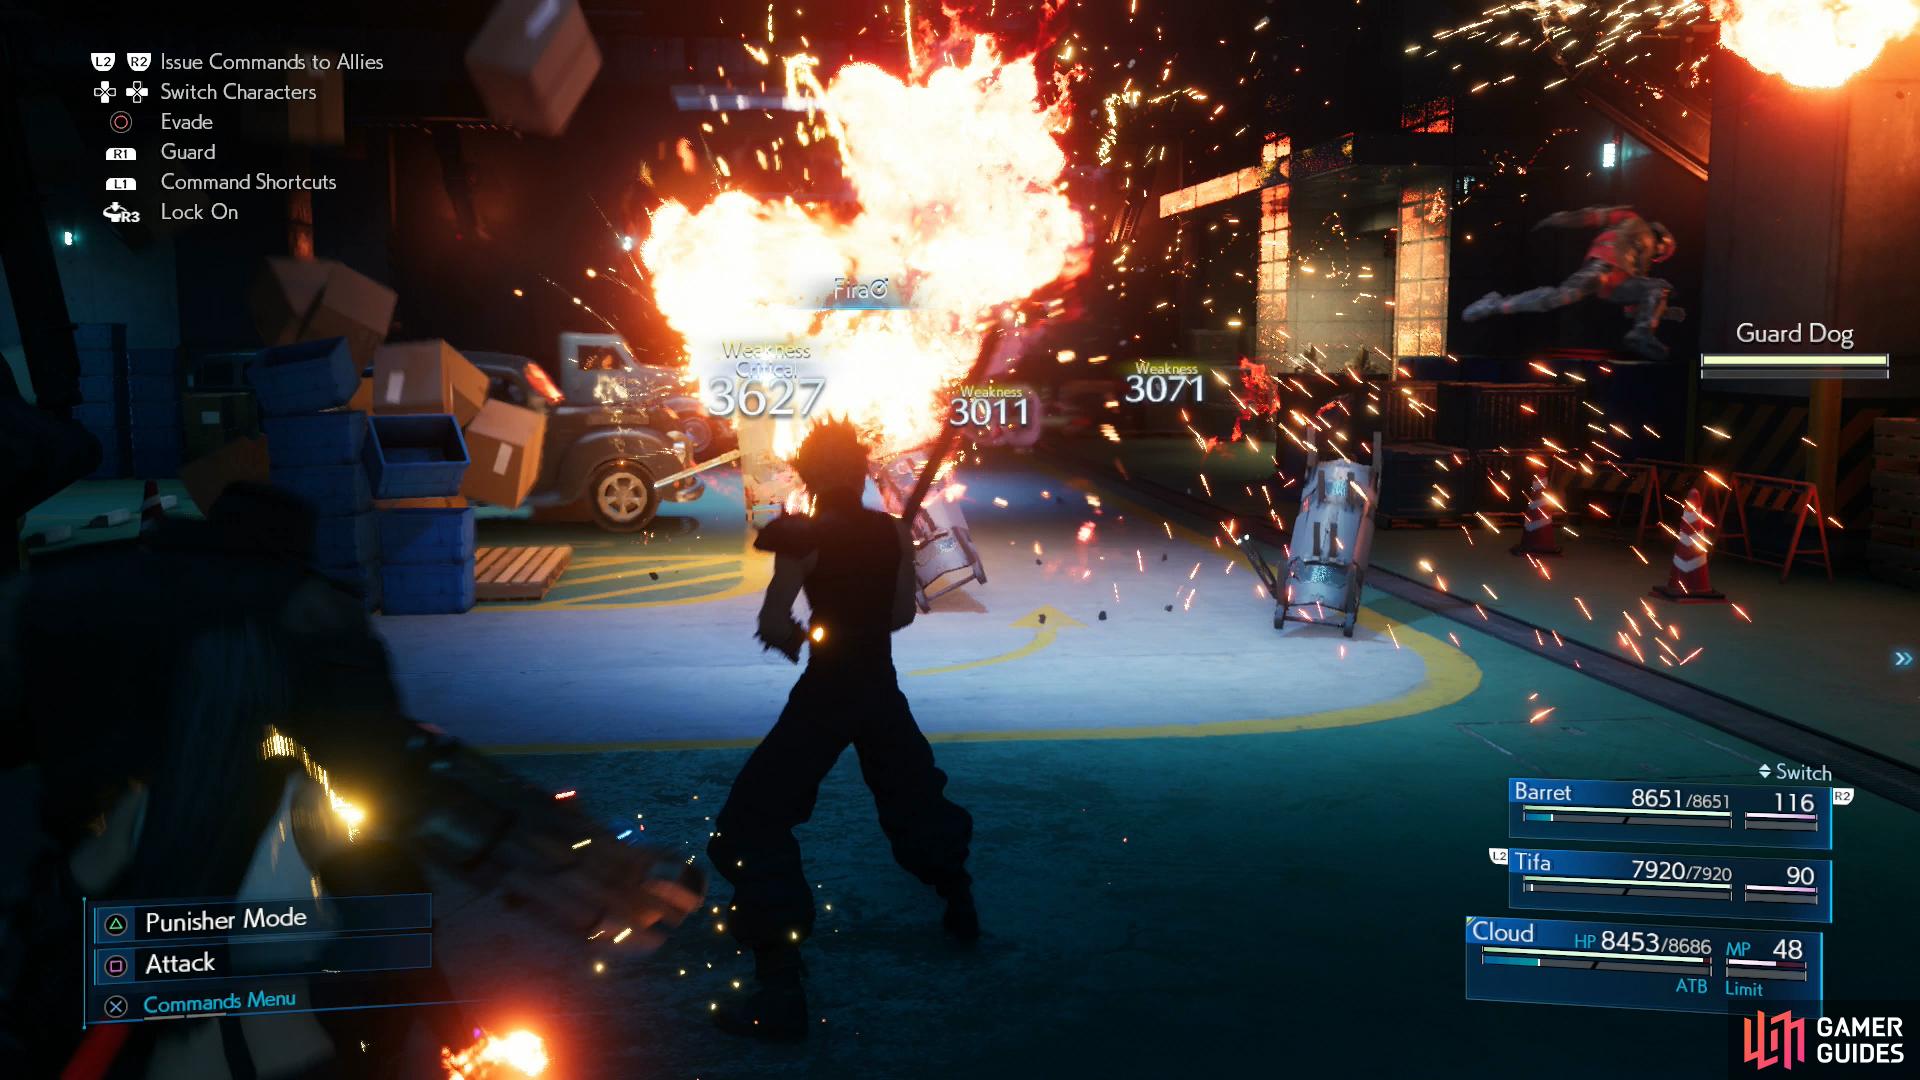
Needless to say, Fire + Magnify rules this area, as every enemy here is weak to it, and a magic-focused Cloud can end most fights outright with it. You’ve no need to worry about MP too much, either, as you’ll have access to a rest bench soon enough. In fact, the fights in this garage constitute most of the combat in this chapter - there’s one more mandatory fight before the obligatory boss at the end, but that’s it.
Fight through the guards in the garage and make your way to the southeastern corner of the floor to find some doors you can pass through. First, however, head northeast to find a chest containing 2x Mega Potions. Once through the doors, head up some stairs (or up an escalator, if you wish) to reach the lobby of Shinra HQ.
Shinra Building Intel / Acquiring the Keycard
The place is… curiously empty. Cloud reasons that Aerith is being held in the research facilities upstairs. Your companions will gather around a security station in the middle of the lobby - ignore them and instead loot a chest in the southwestern corner to score a Moogle Medal. Rejoin your companions and after some chatter head upstairs, examine the card reader near some doors to the north, east or west and you’ll come to the conclusion that you’ll need to get a keycard to reach the top floors… barring some crazy acrobatic person being able to get inside the security station without triggering an alarm, anyways.
And just like that, you’re in control of Tifa. Make your way south over the railing and onto the hanging lights (we hesitate to call them “chandeliers”) then jump from one light to the next until Tifa botches a jump. Fortunately the furniture under her breaks her fall. Clumsy girl. Loot a chest in the northeastern corner of the lobby to score 2,000 Gil, then turn your attention to some vehicles on display in the center of the room you’re in. There are three circular display daises, one of which has a motorcycle and a car on it. Climb atop this car, and from its roof jump northeast onto a tacky, artistic slab. Work your way across the tops of the slabs to reach a pillar to the west, where you’ll find a ladder.
Ignore the ladder and instead head around to the north and west to find a lighting rig you can climb across. Do this twice to reach a ledge upon which you’ll find a chest containing the Purple Pain weapon for Tifa, her sixth and final weapon of the game. Upgrade and equip it, if you wish, then climb your way back east and ascend the ladder you neglected earlier.
More lighting rigs await you above, climb north, jump across a slab, then climb another lighting rig to the east and finally a third one to the south. Climb a ladder, then take another shot at the hanging lights. This time Tifa won’t botch the jump and will reach some lights she can swing on - move the [LEFT ANALOG] back and forth and press [TRIANGLE] when prompted to move across two such lights and into the security station. After some chatter, security will be disabled and you’ll have a keycard allowing you to access the 59th floor… not quite the 65th floor you need to reach, but it’s a start.
Reach for the Skyview Hall
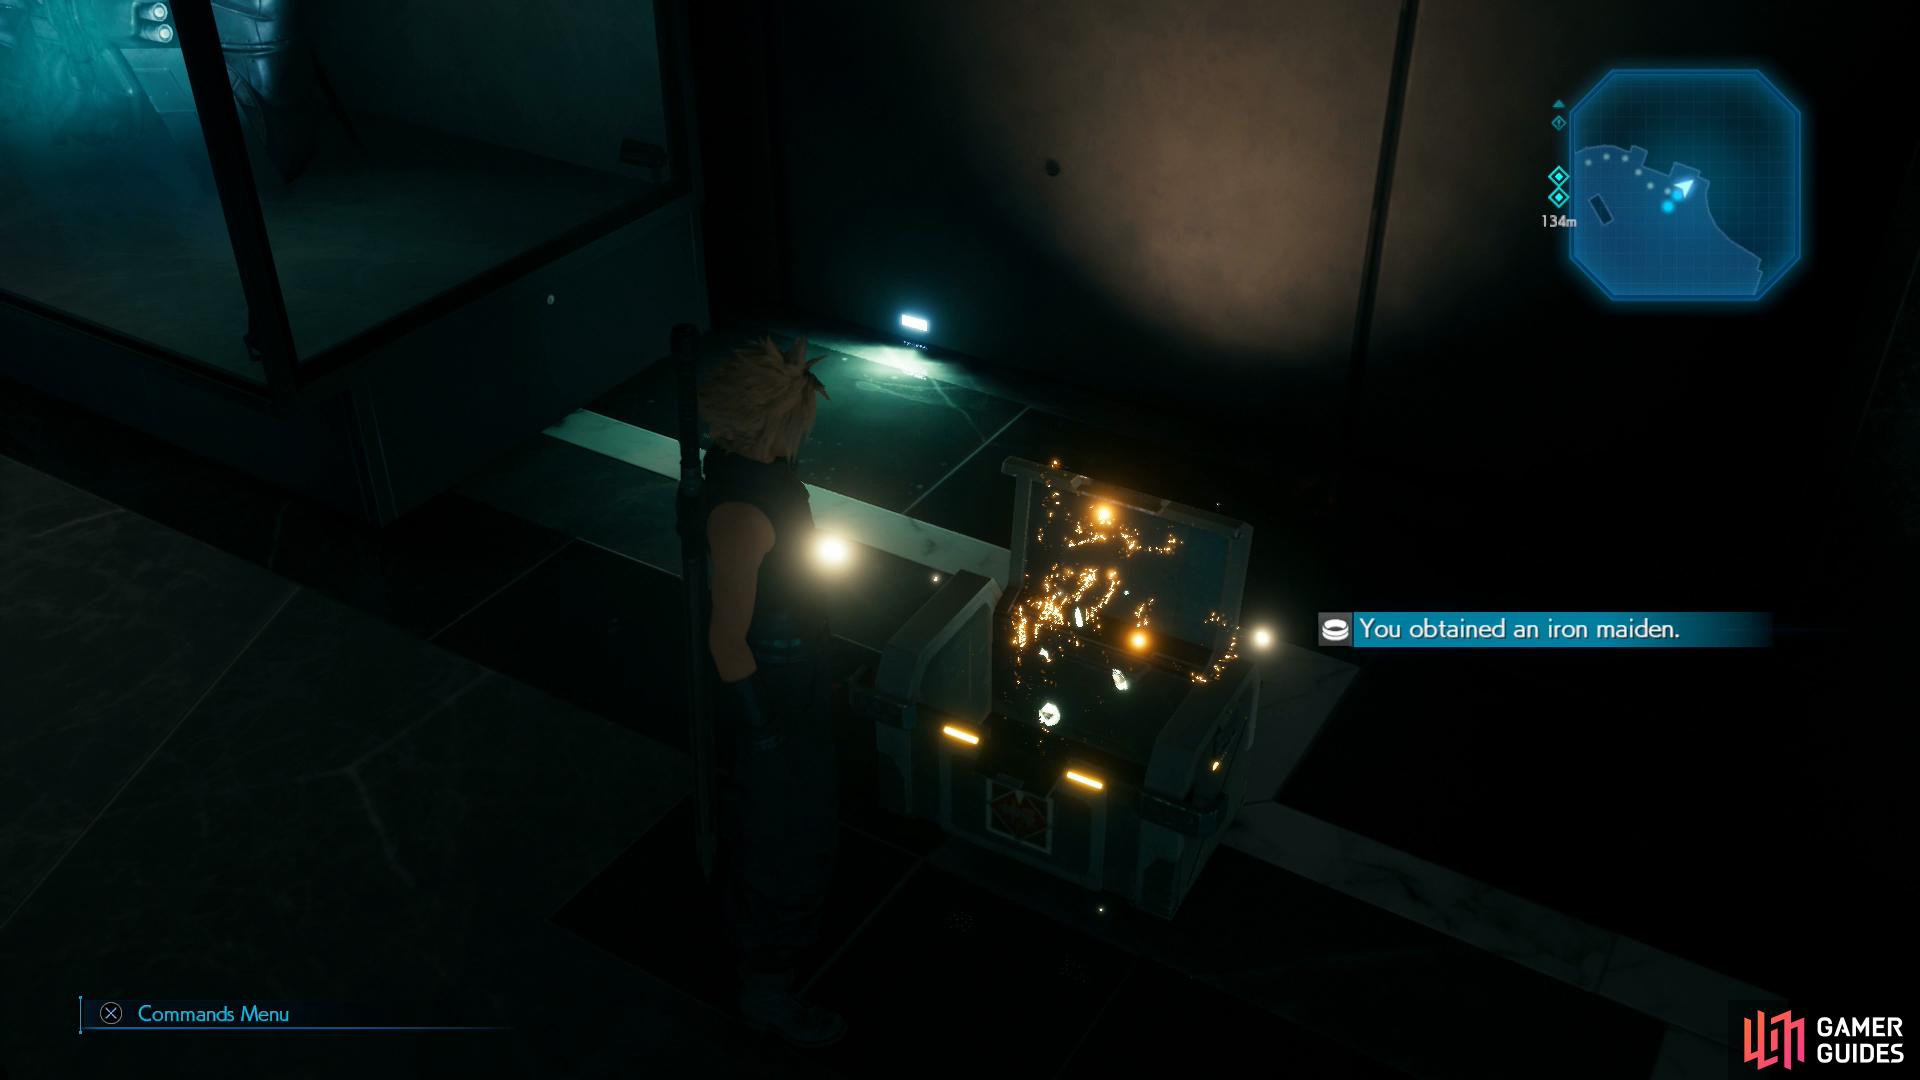
Now that you have a keycard, head back upstairs and note the doors to the east, west and north. West and north will take you to some elevators, so naturally ignore them and go east, first. In this show room you’ll find a chest containing an Iron Maiden armor with no materia slots, but high Defense. Backtrack west to the upper lobby and ponder the choices ahead of you; if you go west you’ll reach the “Emergency Exit”, which leads to a stairwell spanning most of the building, while if you go north you’ll find some elevators. There’s no reward for climbing the stairs save the chatter between your increasingly exhausted party members - it’ll take you roughly seven minutes, real time, to take the stairs. The elevator ride up on the other hand, will force you to deal with a series of encounters:
-
10F: 2x Elite Security Officers.
-
20F: 3x Elite Security Officers.
-
30F: Sleepy Shinra employee.
-
40F: Chatty, inconsiderate Shinra employee.
Playing the Tourist
Whichever route you take you’ll be treated to some scenes upon reaching the 59th floor, Skyview Hall. If you head to the southern end of the floor you’ll witness a bonus scene, but to continue on north to find an info hologram, which will tell you about a tour you’ll need to endure to proceed.
Go through some doors to the north, then head up an escalator, where you’ll be interrupted by a scene. Once it’s over, continue to the “60F - Memorial Museum” and enter the door to the southwest to begin your tour, starting with the President Shinra Exhibit. After Barret’s tantrum exit to the south and watch a presentation of Shinra’s big wigs before exiting to the west to reach the “Business Division Exhibit” room, where you’ll be able to interact with a variety of holograms, if you wish. Once you’re done rubber-necking, go through a door to the east and watch another video presentation, and when it ends continue through another door to the north and watch a scene. Continue north to another door and upgrade your keycard - good job, Shinra scholar!
Head upstairs to reach “61F - Visual Entertainment Hall”, where you’ll shortly find yourself watching some more scenes. Lotta story and foreshadowing in this chapter. After the show is over, exit and you’ll be interrupted by a man named Hart, inviting you to meet Mayor Domino. Watch the scenes that follow, then enter the mayor’s office and watch more scenes.
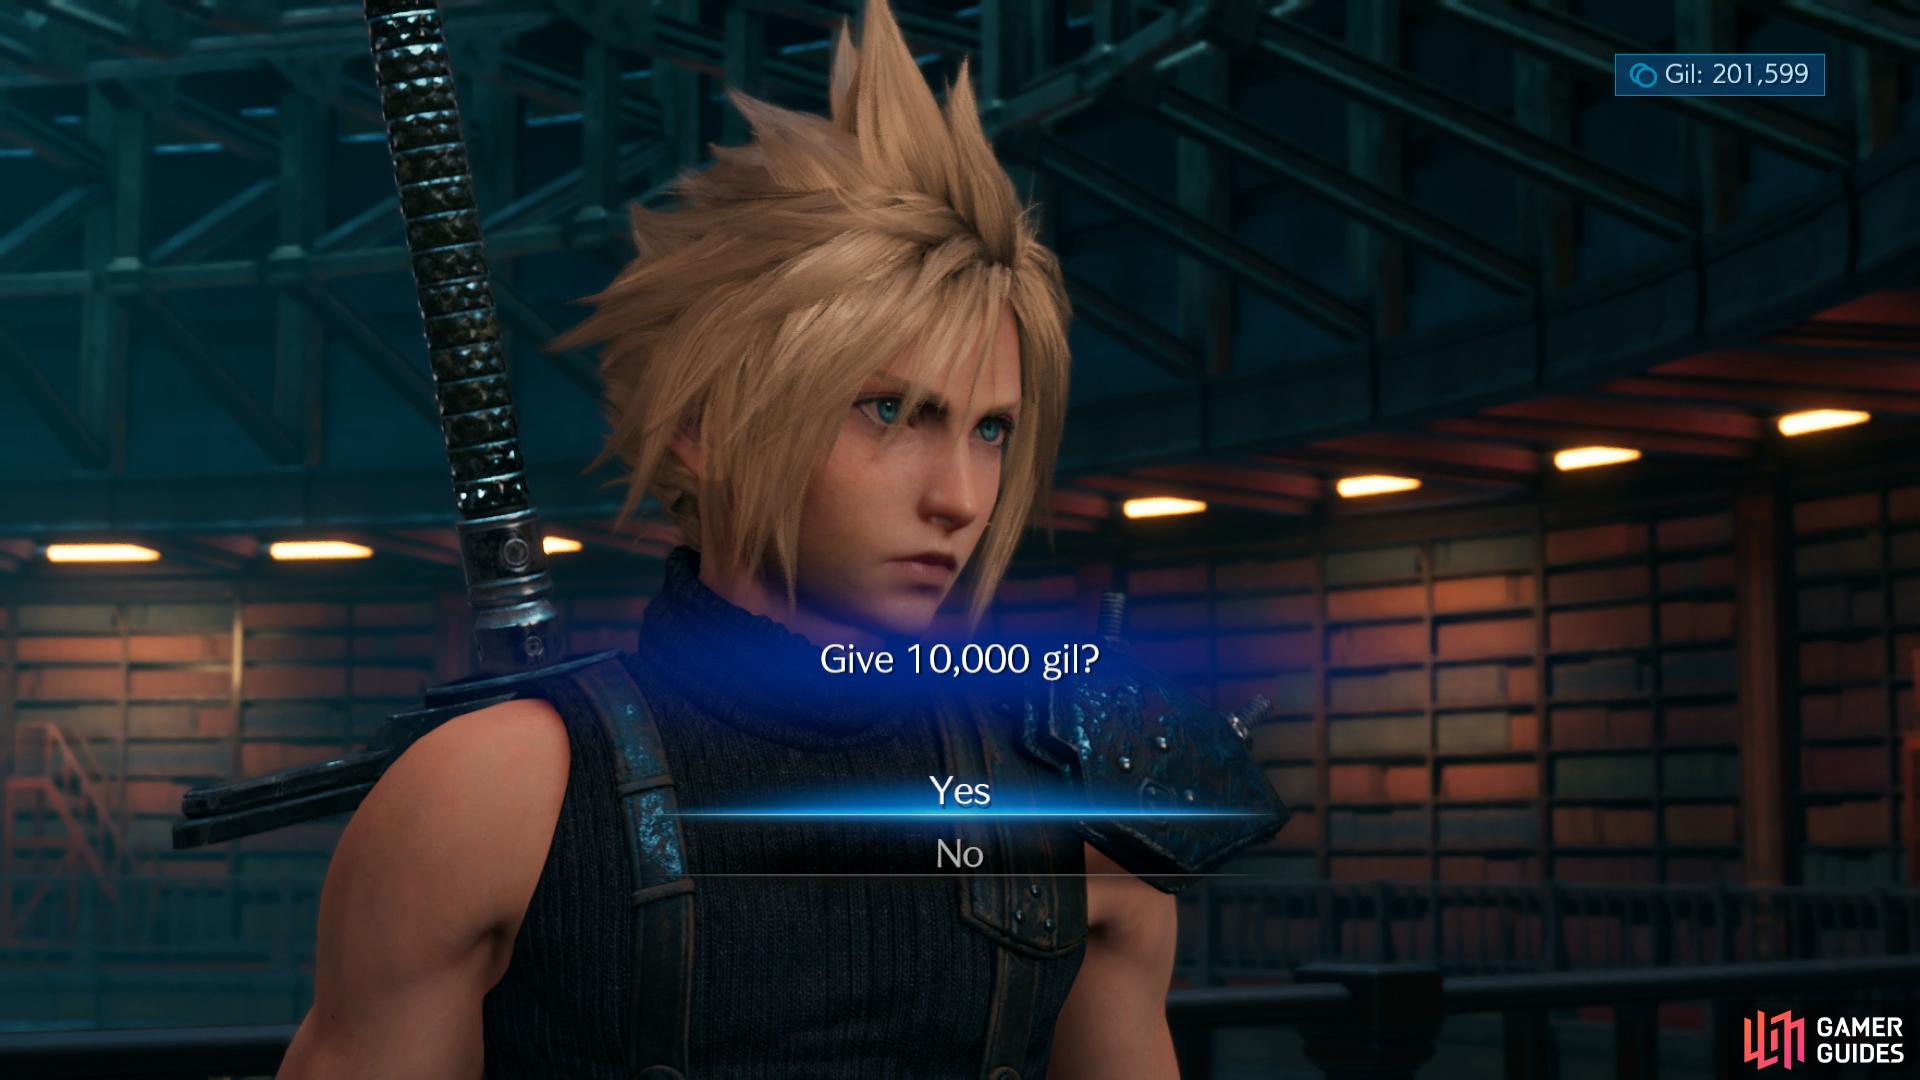
Pay Hart 10,000 Gil for some info,
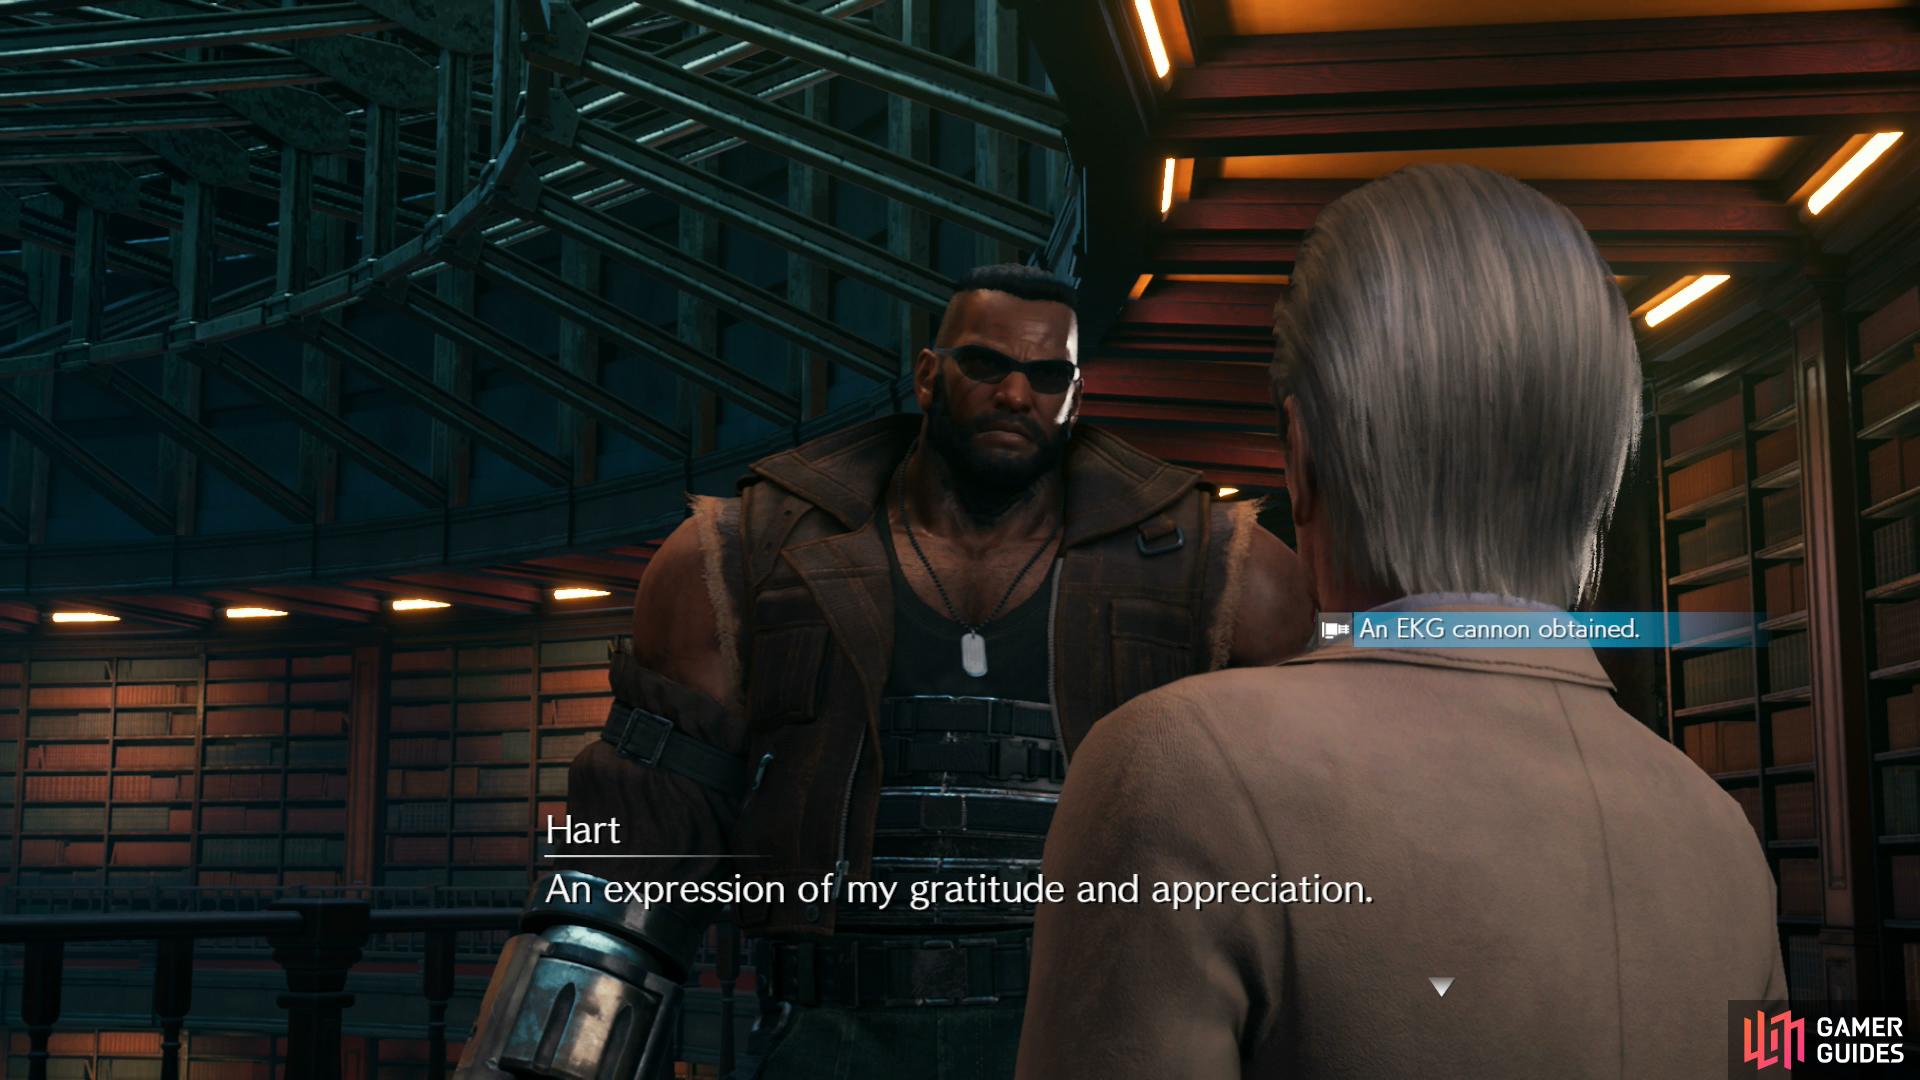
and when Barret’s reaction is negative, he’ll give you the EKG Cannon.
A Helping Hand
When you’re back in control you’ll be in the “62F Upper Level - Corporate Archives” area, tasked with finding a collaborator on the 63rd floor. “With gusto” seems a little subjective, but we’ll figure it out. Anywho, talk to Hart outside and he’ll offer to tell you about this collaborator… for 10,000 Gil. A hefty sum, but pay it and he’ll give you Barret’s sixth weapon, the EKG Cannon.
Make your way to the northern end of the room to find a chest containing 3,000 Gil, then exit via some stairs to the southeast. Now on the lower level, exit via some doors to the north and take an escalator up to the 63rd floor, whereupon you’ll be interrupted by another scene. When it ends you’ll be on the “63F Lower Level - Recreational Facility”; head through some doors to the south, and after some chatter go through a door to the northeast or northwest, then head up some stairs to reach the upper floor, where your attention will be drawn to a combat simulator.
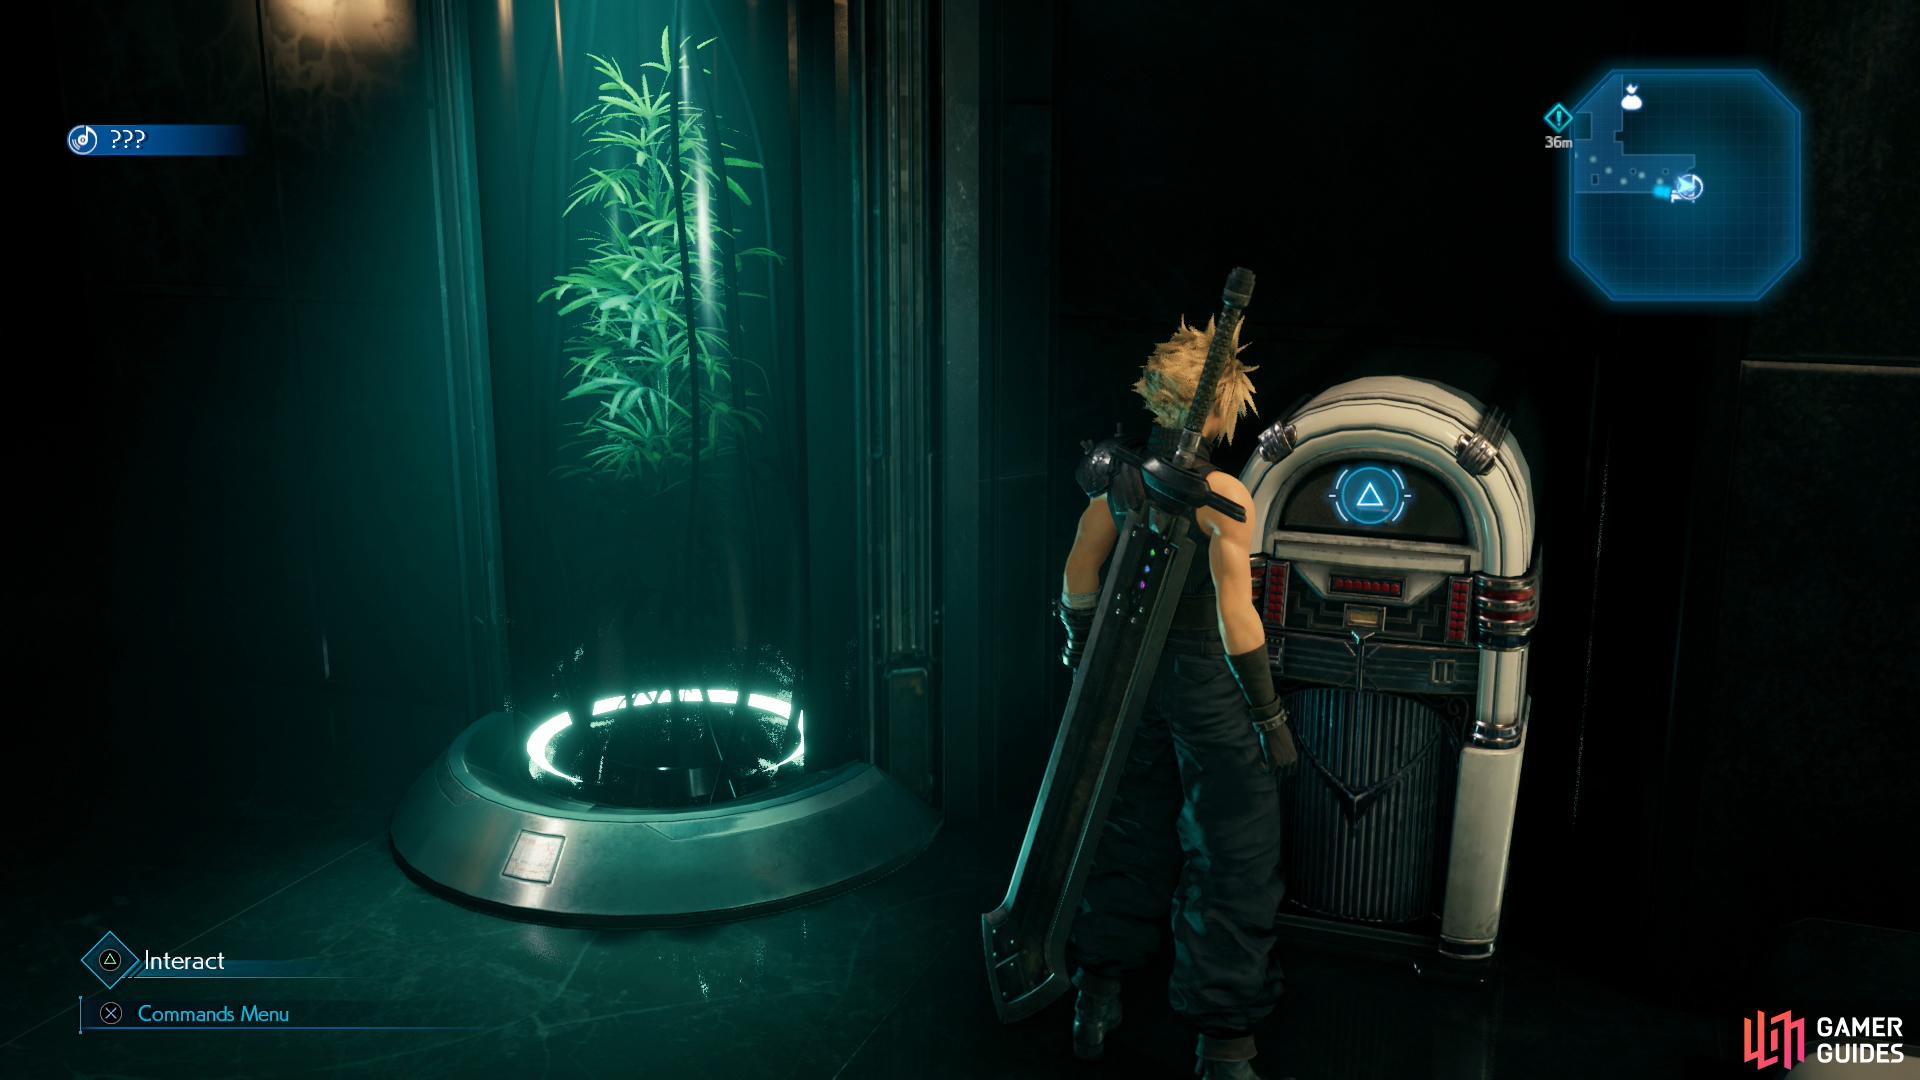
Ignore the combat simulator for now and instead head east to find a jukebox from which you can obtain the 31. Scarlet’s Theme Music Disc. Use a nearby rest bench, switch your materia to focus on inflicting lightning damage, use the item shop to the north. This item shop sells your traditional stock of items, accessories and materia, but it really shines with the weapons and armor:
| Weapon | Cost (Gil) |
|---|---|
| Nail Bat | -- |
| Hardedge | -- |
| Mythril Saber | -- |
| Big Bertha | -- |
| Wrecking Ball | -- |
| Sonic Strikers | -- |
| Feathered Gloves | -- |
| Arcane Scepter | -- |
| Mythril Rod | -- |
| Armor | Cost (Gil) |
|---|---|
| Cog Bangle | 4,000 |
| Geometric Bracelet | 6,400 |
| Supreme Bracelet | 6,400 |
| Rune Armlet | 6,400 |
If you’ve got the Gil, you should consider buying any weapon you don’t already have, not to mention take a gander at that new armor, which is likely superior to whatever you’re using. Cog Bangles have balanced Defense and Magic Defense, Geometric Bangles sacrifice defenses for four materia sockets (including two linked sockets), the Supreme Bracer has high Defense and low Magic Defense, while the Rune Armlet has low Defense and high Magic Defense. Before you buy any, however, you might want to see to the combat simulator nearby, as you can earn some of this armor there.
| Enemy | Weaknesses | Notable Loot |
|---|---|---|
| Cutter | Lightning | -- |
When you’re ready, talk to the man near the combat simulator and he’ll reveal himself as the collaborator. Before he’ll assist you, however, he demands a demonstration of your capabilities - the consequences if you botch things will be severe, so it makes sense. Beats watching more Shinra propaganda, anyways. Enter the combat simulator and use the console to access the Three-Person Team vs. Mayor Is Best simulation, which has you squaring off against two Cutters. Nothing new about these machines, although fighting two at once can be something of a nuisance. Focus on one and don’t spare your MP - there’s a rest bench right outside you can use to recover. Once done, talk to the collaborator outside and he’ll upgrade your keycard and tell you about a way to snoop on the conference happening upstairs.
Before you go, however, note that you can also partake in more combat simulations. The rules are virtually identical to the Underground Colosseum in Wall Market: no items, and your HP/MP are restored after every battle. You’ll find detailed descriptions of the battles below:
Rewards you’ll gain include a Cog Bangle, Supreme Bracer, Rune Armlet, Gil Up Materia and EXP Up Materia. Tempting prizes, if you’re up to the challenge.
Reconnaissance
Fight as many combat simulations as you wish, and when you’re ready head back downstairs, watching a scene as you attempt to leave, and another when you approach the escalators to the north. When you reach the “64F - Conference Rooms”, go through a door to the south and after some chatter you’ll need to find the air duct in the bathroom. The bathroom you’re looking for is in the southeastern corner of the floor - approach the door for more chatter, enter the bathroom’s northeastern-most stall for even more chatter. Once you’re in the duct, crawl forward, snoop on some conversations, and when you reach the second of two forks turn left - obviously the wrong way - to score an orb of HP Up Materia. Backtrack and continue on to the end of the duct system to spy on the conference to witness yet another scene.
Afterwards, leave the bathroom and head north back to the elevators, witnessing another scene with Hojo before you sneak through a door he leaves open just a moment too long. Head upstairs and you’ll find yourself in a room with a rest bench, vending machine and a treasure chest. The vending machine sells some discounted restoratives, but otherwise has the same selection as the item shop downstairs did (not including the weapons). The chest contains 2x Antidotes, and this should be a warning - strap on some Star Pendants to make the upcoming fight easier. Rest up, and when you’re ready head east, loot a chest to score 2x Celeris, then continue south and east to reach a specimen room where a chest containing 2x Remedies awaits.
Continue upstairs and the party will confront Hojo, after which hostilities will ensue.
Boss: Specimen H0512
| Enemy | Weaknesses | Notable Loot |
|---|---|---|
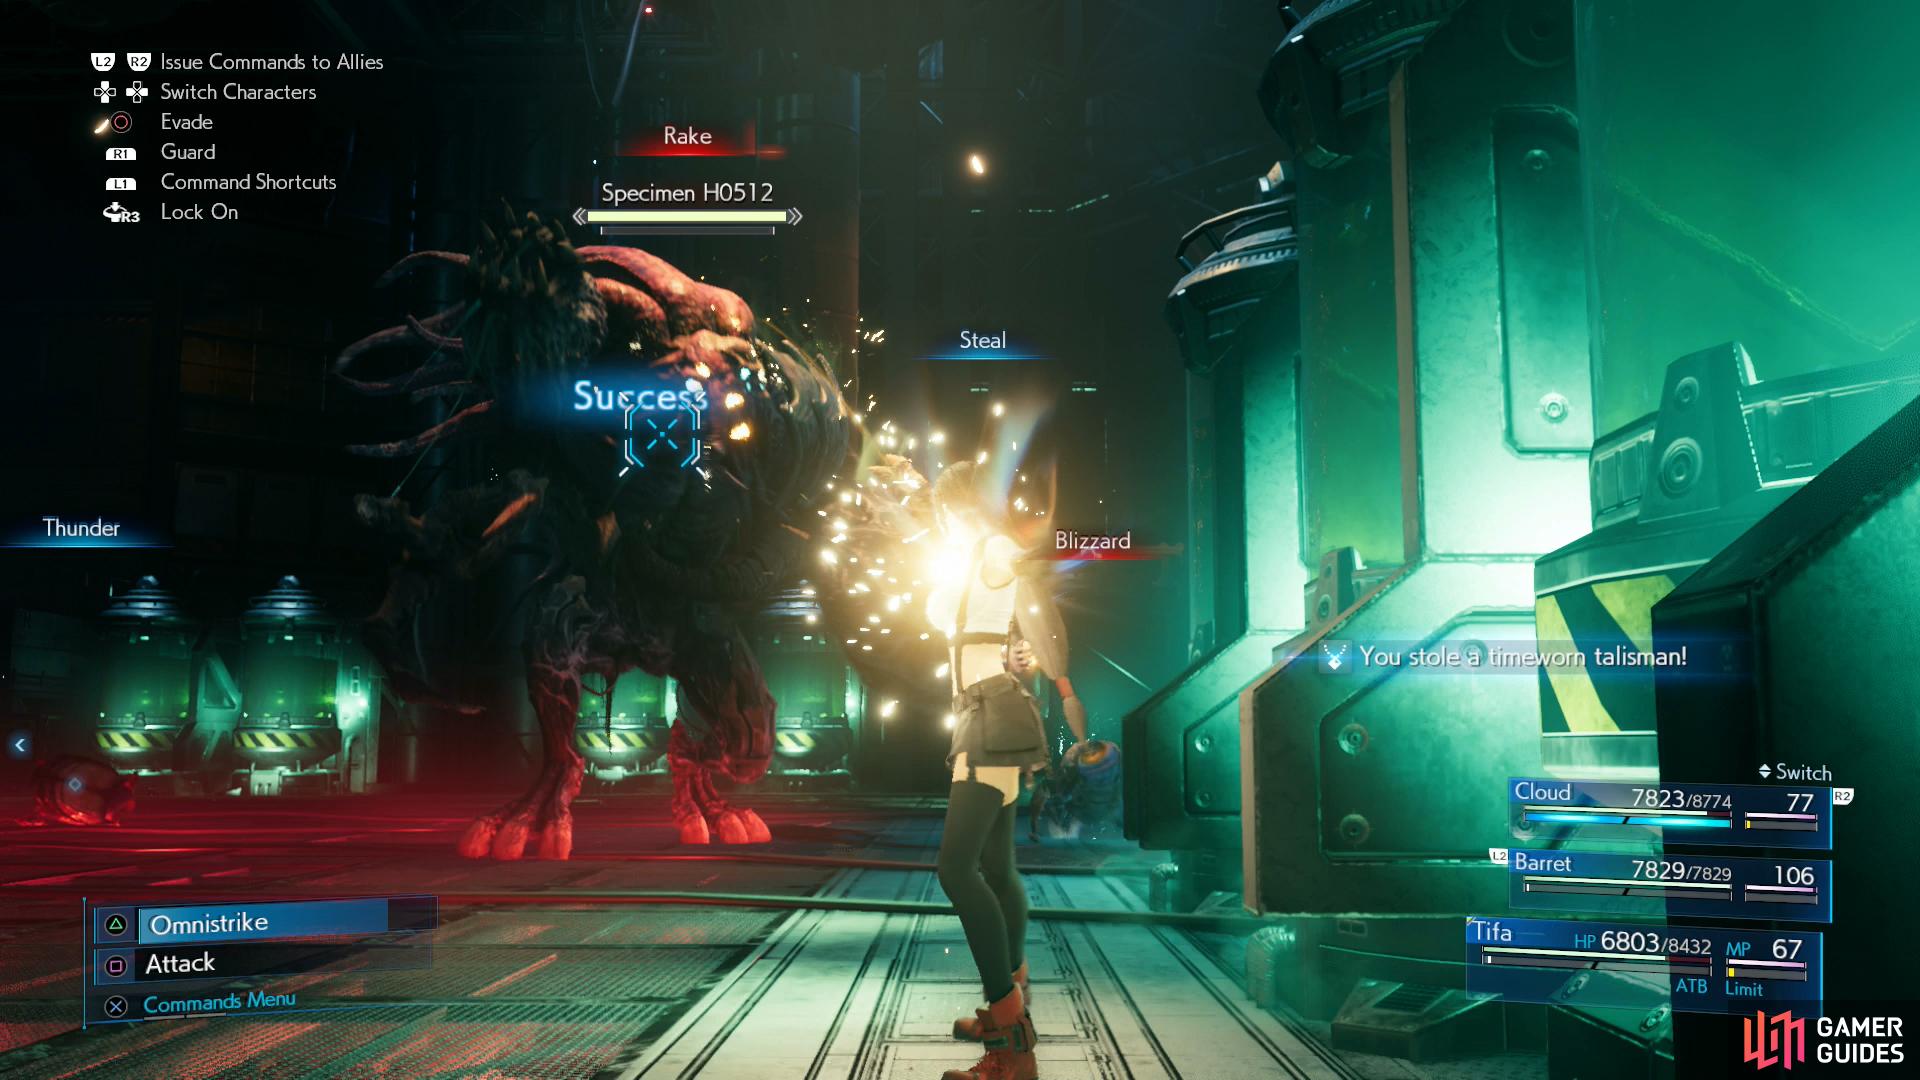
| Specimen H0512 | -- | Talisman (Drop) / Timeworn Talisman (Steal) |
| H0512-OPT | -- | -- |
Phase 1
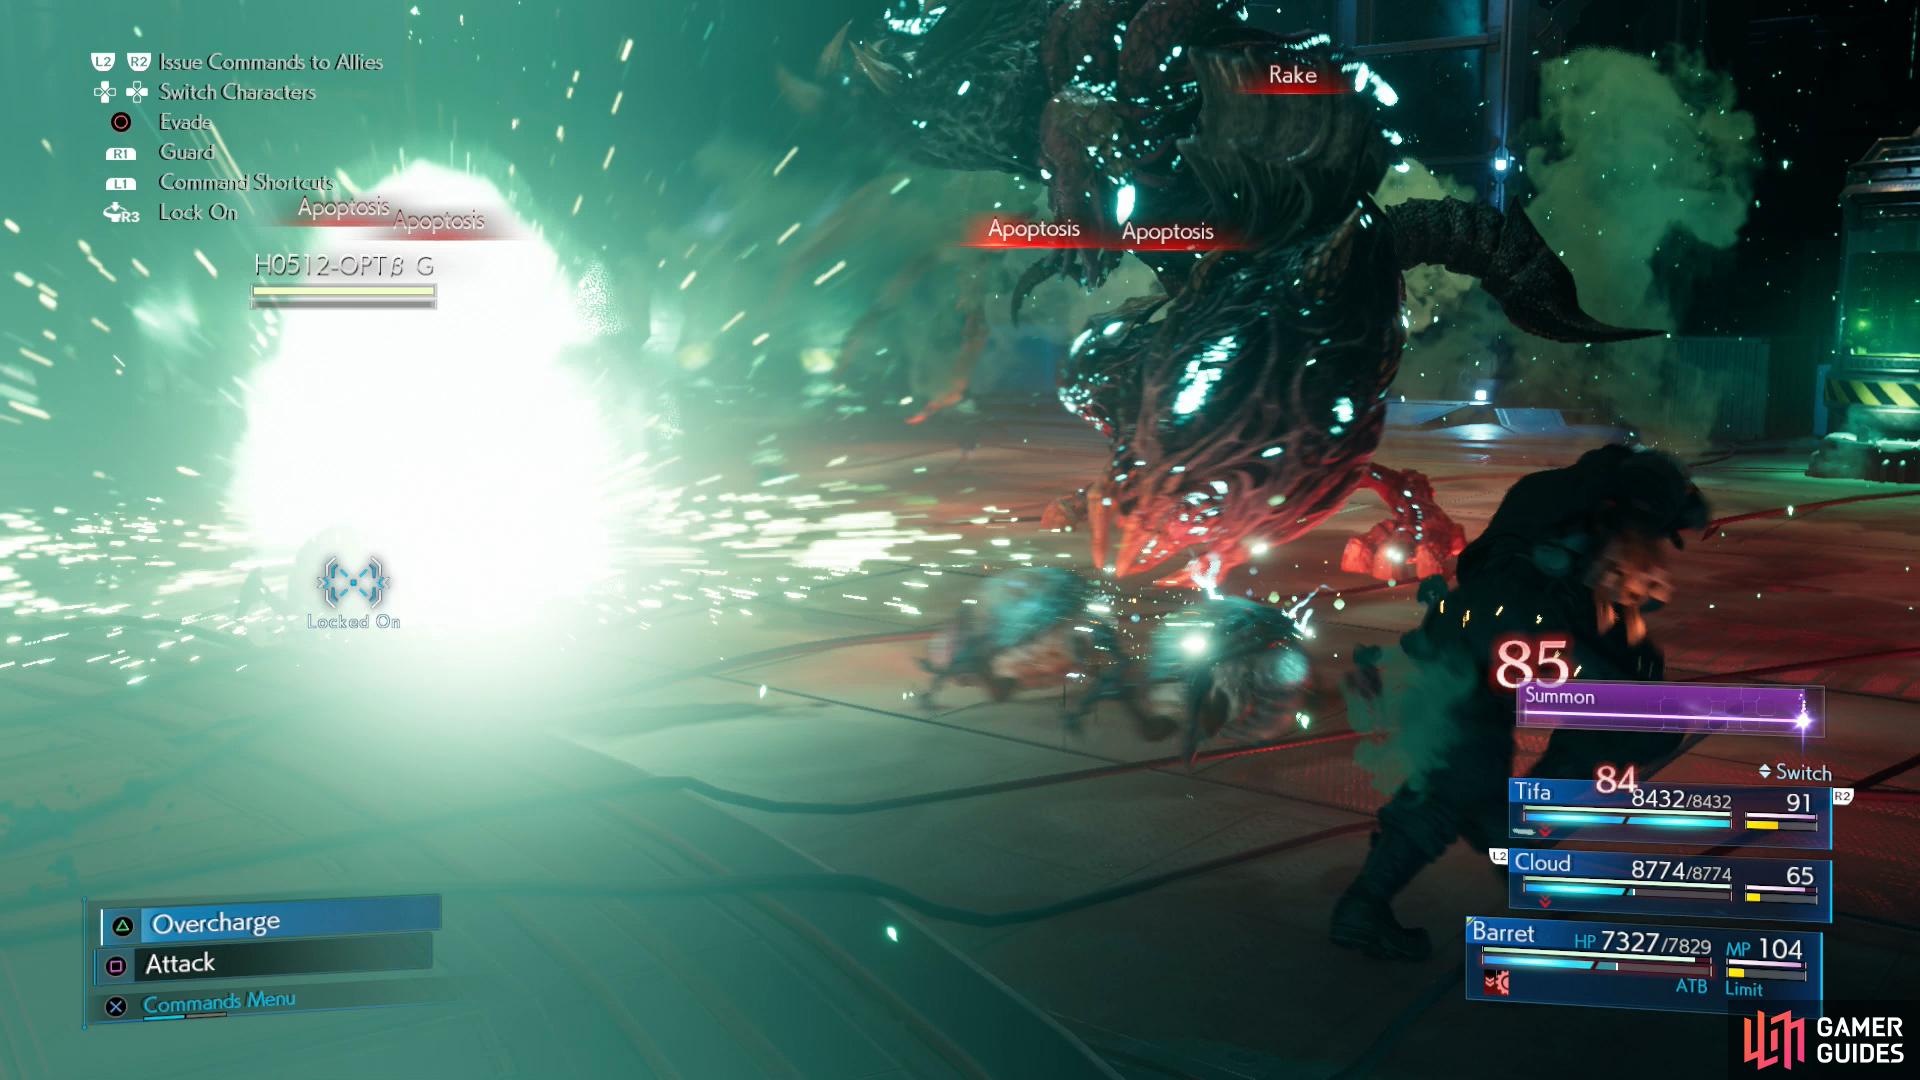
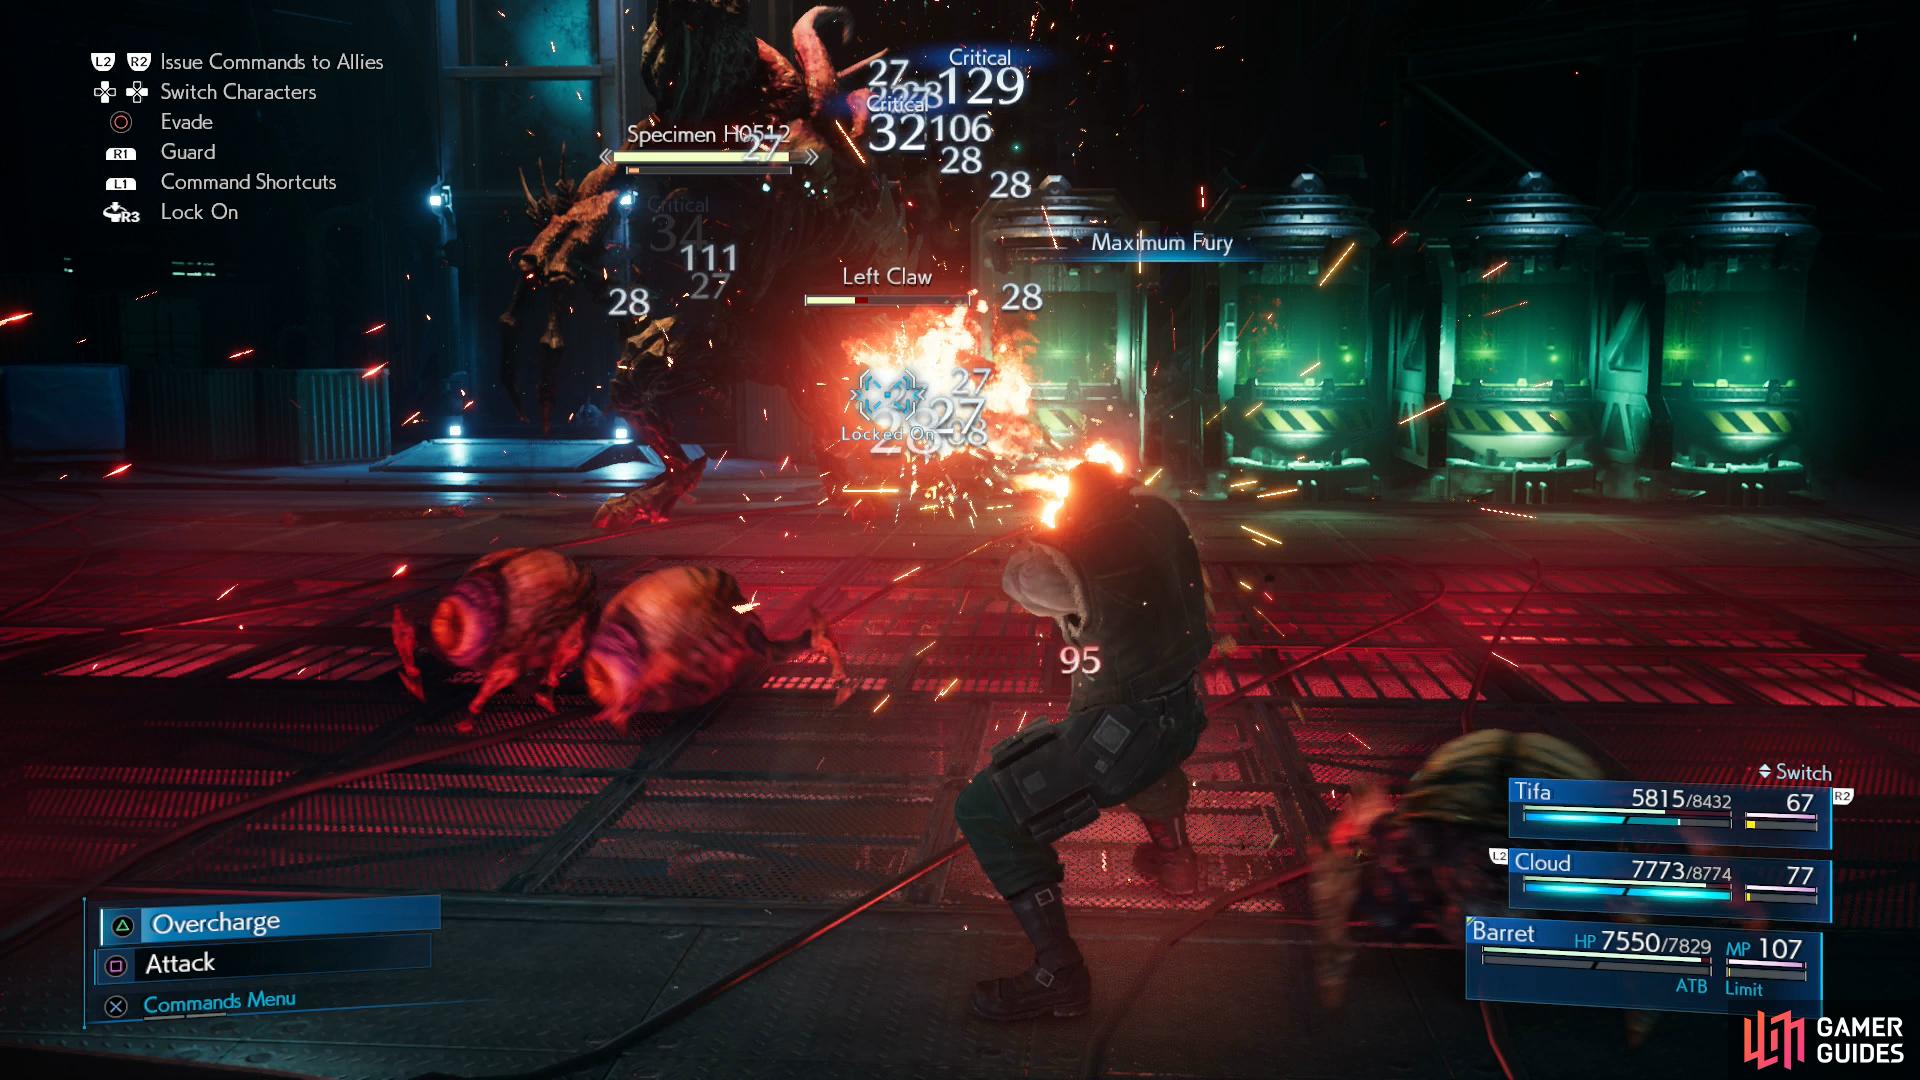
This Cthulhu-esque monstrosity is pretty straight-forward: It’ll periodically use its “Noxious Expulsion” attack to deal moderate damage and inflict “Poison”, and when it’s not doing that it’ll spam “Rake” attacks (low damage charge attacks) punctuated with the odd “Seize” attack (heavy damage grappling attack, inflicts “Bound”). While it’s doing this, its minions, the H0512-OPT enemies crawling around, will pelt you with low-tier elemental magics.
It’s hectic, and there’s not much finesse, but your objective isn’t overly complicated, either: target H0512’s “Left Claw” and destroy it to send H0512 into a “Pressured” state. This lasts quite a while, it’ll eventually regrow its claw via the cleverly named “Regrowth” ability, recovering from being “Pressured” in the process. Hit it with “Focused” attacks while its “Pressured” and try to Stagger it, then lay into it with your most damaging attacks. It’s not weak to any elements, although it is resistant to lightning, so you don’t have to worry about that. Barret’s “Maximum Fury” attack is especially good at destroying H0512’s claw, if for the sole fact that it’s a reliable way to deal a lot of damage to a specific target without having to fuss with the camera.
When H0512 is defeated it’ll drop a Talisman. You can also steal the superior Timeworn Talisman, but if that’s your goal, make the attempt during phase one, as it’ll only get more aggressive as time goes on. Also, if you find yourself taking more damage than you’d like, Healing + Magnify should be more than sufficient for keeping your HP topped off.
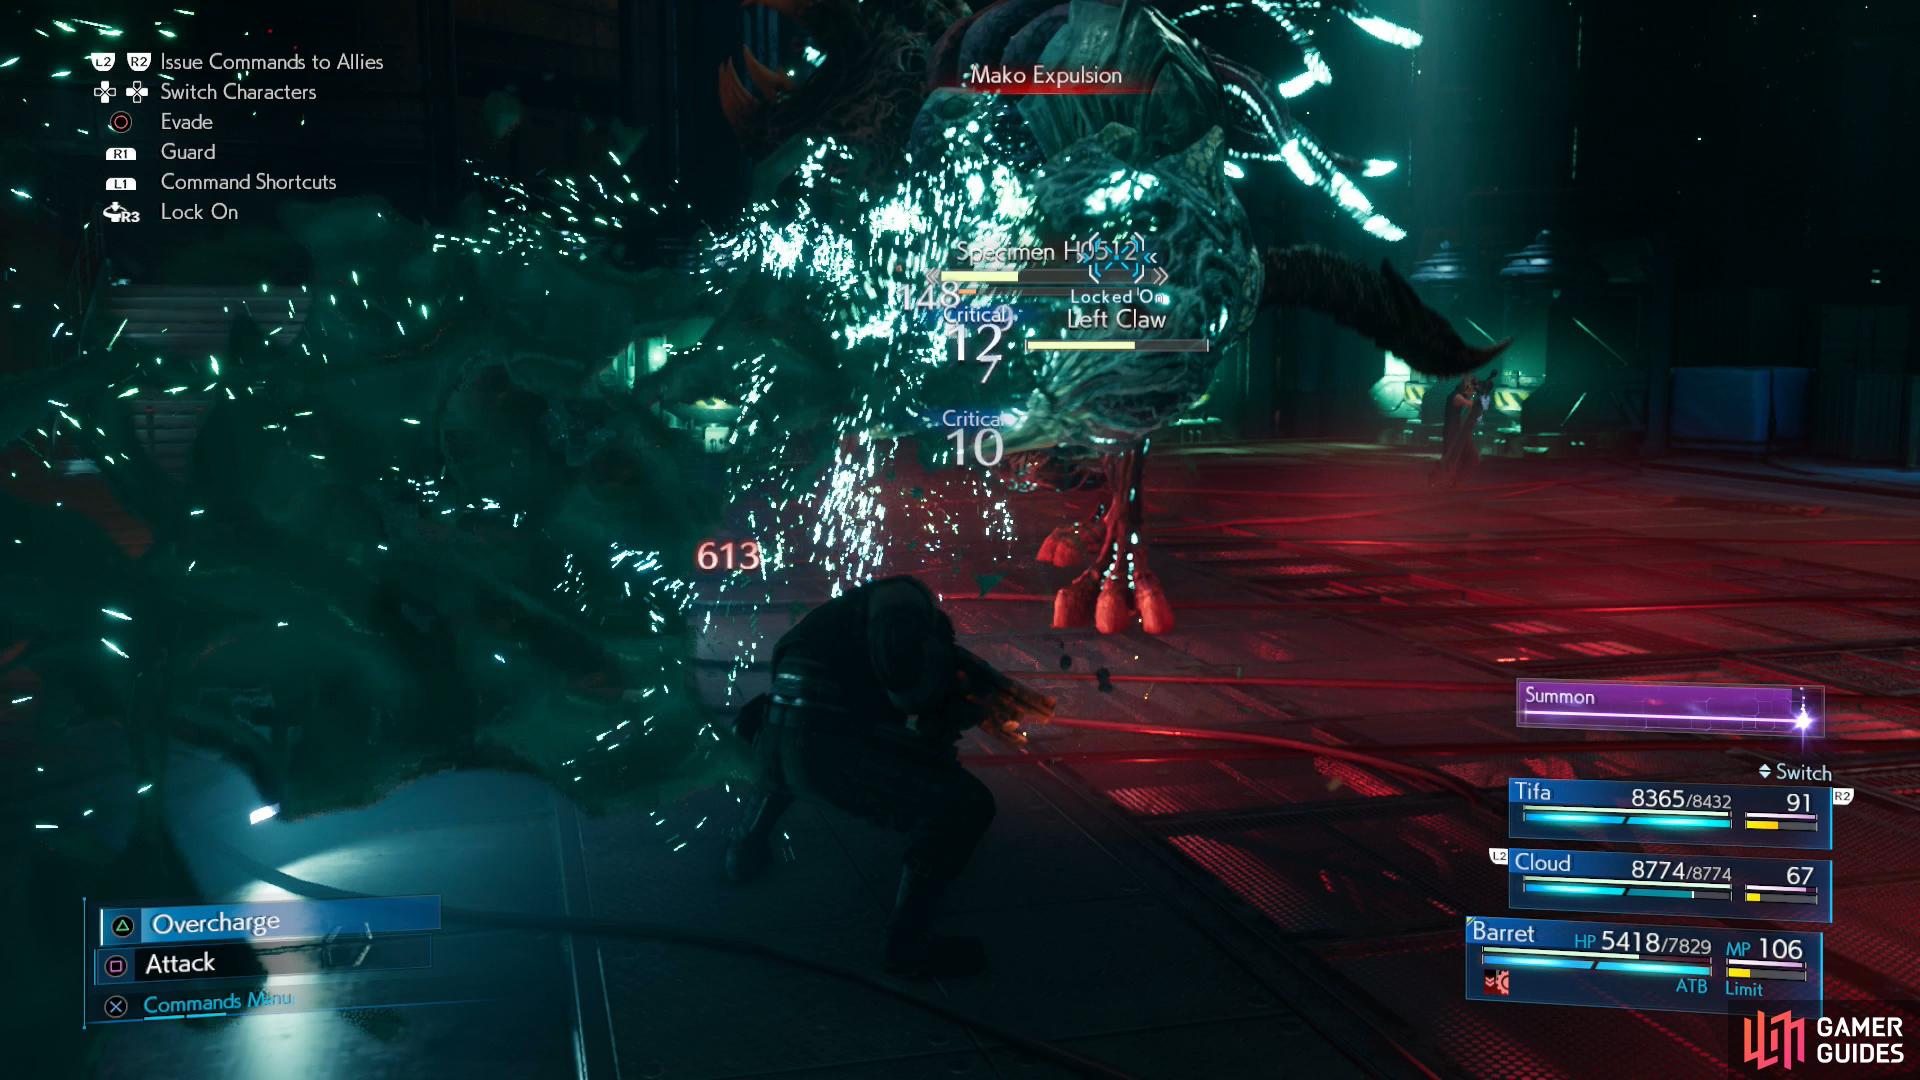
H0512’s “Mako Expulsion” attack deals moderate damage and inflicts “Slow”.
During phase three and beyond, the H0512-OPTs can self-destruct.
Phase 2
Phase two will begin when H0512 is reduced to around 75% of its HP, and this phase is pretty much identical to the last one, save that H0512 will start using a “Mako Expulsion” attack, which deals moderate damage and inflicts “Slow”. Destroy the arm again, build up Stagger, then dish out damage.
Phase 3
Once reduced to around 50% of its max HP, H0512 will cause a change to occur in its minions, which can now be induced to self-destruct via the “Apoptosis” ability. You can learn the Self-Destruct enemy skill from these critters if you happen to have said materia equipped, but hopefully you did that earlier. Multiple critters exploding simultaneously can negatively affect your life expectancy, so keep an eye out for them and get away if you see that they’re about to blow. Otherwise, this round is identical to the last, save that H0512 won’t get saved by a cutscene this time, so you can make your next Stagger truly decisive.
| Enemy | Weaknesses | Notable Loot |
|---|---|---|
| Elite Security Officer | Fire | -- |
| Elite Grenadier | Fire | -- |
| Elite Riot Trooper | Fire | -- |
| Armored Shock Trooper | Lightning | -- |
| Enhanced Shock Trooper | -- | -- |
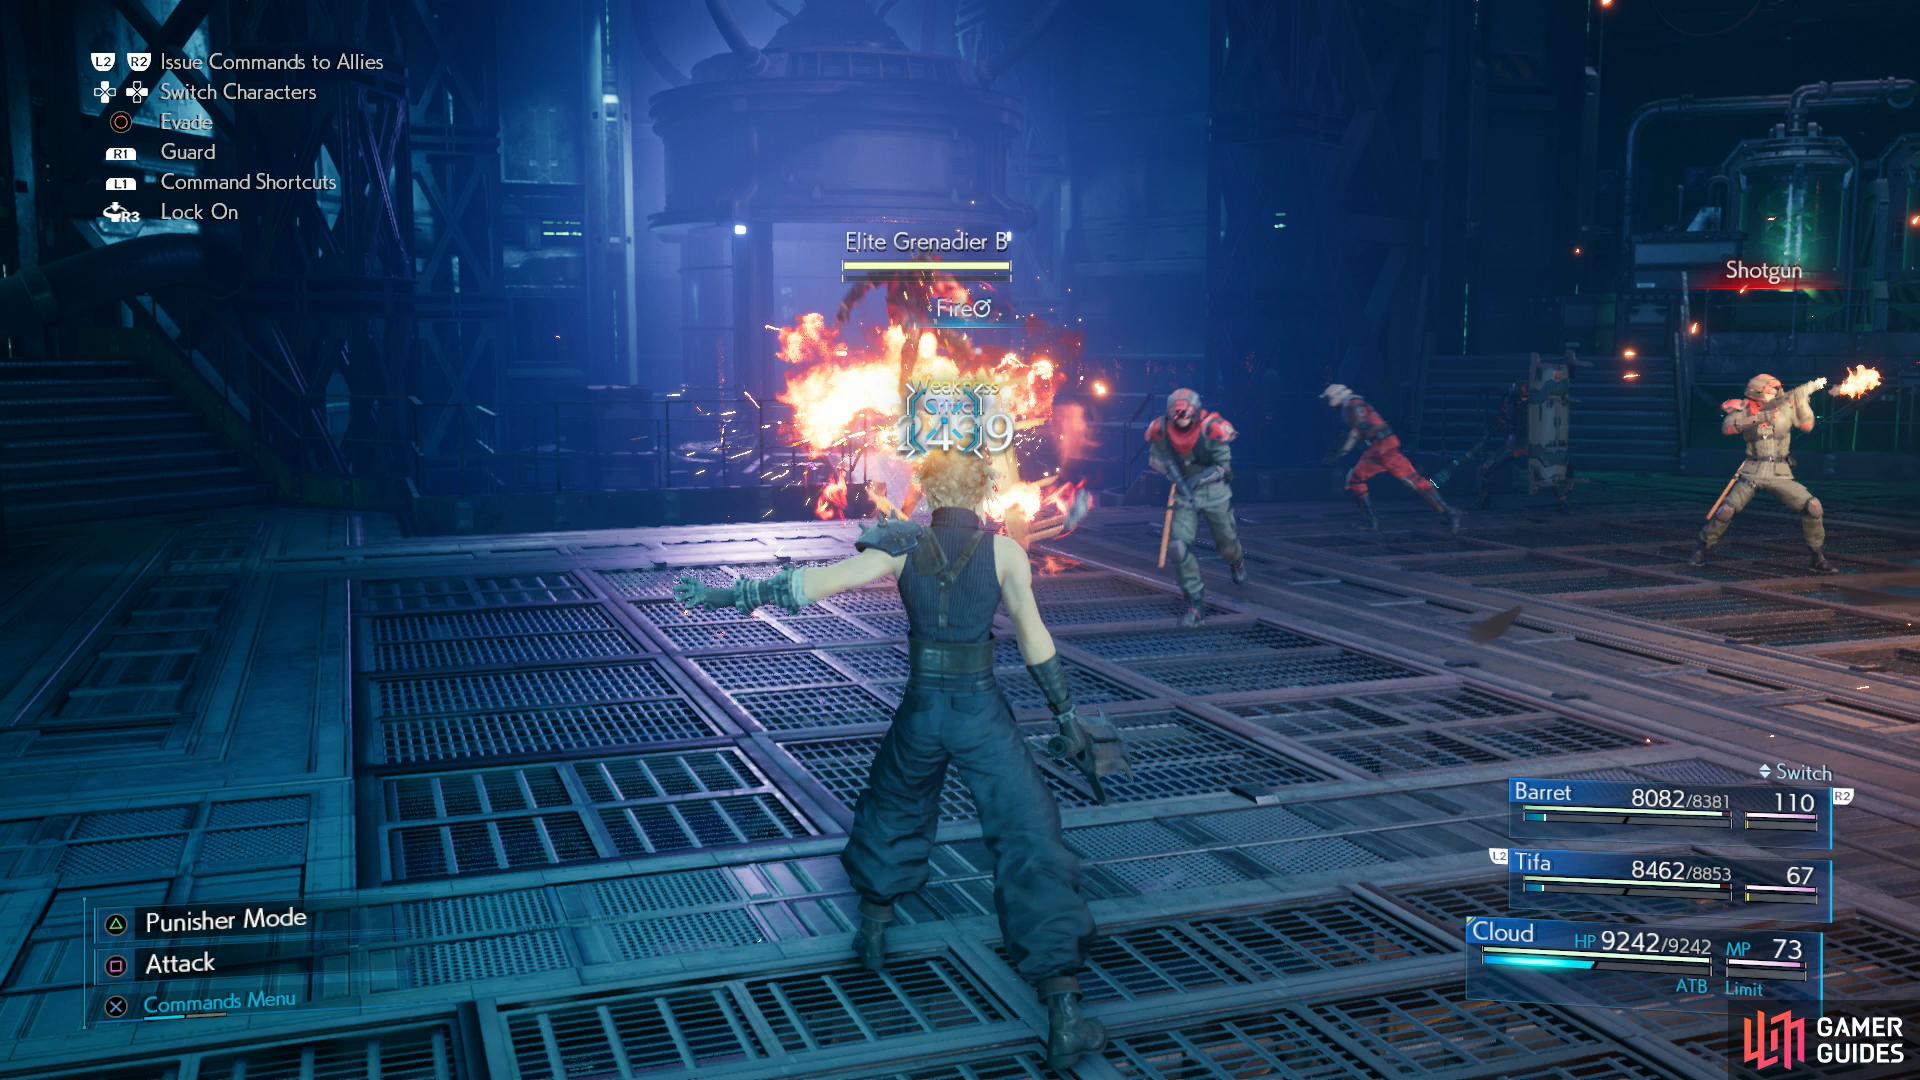
(1 of 4) Hojo’s speculation about your prowess can be proven wrong with one Fire + Magnify combo.
Operation: Save Aerith
After the fight ends, head to the northwestern corner of the lab, use the rest bench, and make sure you have Fire + Magnify equipped as well as some Lightning Materia, as it’ll make the next fights easier.
When you’re ready, go through a gate to reach an elevator and ride it up. Watch some scenes and you’ll confront Hojo, who has made a calculation on your combat prowess based on your fight with H0512. Fortunately, his expectations were far short of reality, as the guards he summoned - 2x Elite Security Officers, 2x Elite Riot Troopers and 2x Elite Grenadiers - are by no means up the task of taking you down. Two Fire + Magnify casts should take them down, after which Hojo will encounter some… difficulties, and you’ll need to fend off two final foes: two Armored Shock Troopers.
These armored hulks are resistant to physical damage, but are weak to lightning, so attack them to charge your ATB, then hit them with Thunder. When their HP gets low they’ll use “Eject”, destroying their armor and dealing heavy damage to anybody caught in the blast. They, themselves, will take on new life as an Enhanced Shock Trooper, as which they’ll skate around and generally be a nuisance, especially with their “Twister” attack, an area-of-effect wind attack centered on themselves. It only deals moderate damage, but a character caught in it can be hit repeatedly. Try to focus as much fire on an ejecting Armored Shock Trooper as possible to kill it before it can turn into an Enhanced Shock Trooper.
Defeat these foes however you can, then head north up some stairs and east through a door and watch a final scene to end this chapter… well, aside from stumbling down a corridor, but you can probably figure that part out. For completing this Chapter, you’ll obtain the No Appointment Needed Trophy.
No Comments