

| Cloud | . |
|---|---|
| Weapon: | Twin Stinger |
| Armor: | Cog Bangle |
| Accessory: | Champion Belt |
| Useful Materia: | Lightning, Healing, Revive, First Strike, Steadfast Block, ATB Stagger, Magic Up, HP Up |
| Aerith | . |
|---|---|
| Weapon: | Silver Staff |
| Armor: | Chain Bangle |
| Accessory: | Circlet |
| Useful Materia: | Lightning + MP Absorption, Fire + Magnify, Healing, Revive, First Strike, ATB Stagger, Magic Up, HP Up |
Thunder will serve you well in the first few fights in the Collapsed Expressway,
while the bandits who appear later can be easily dispatched with Fire + Magnify.
Collapsed Expressway
-
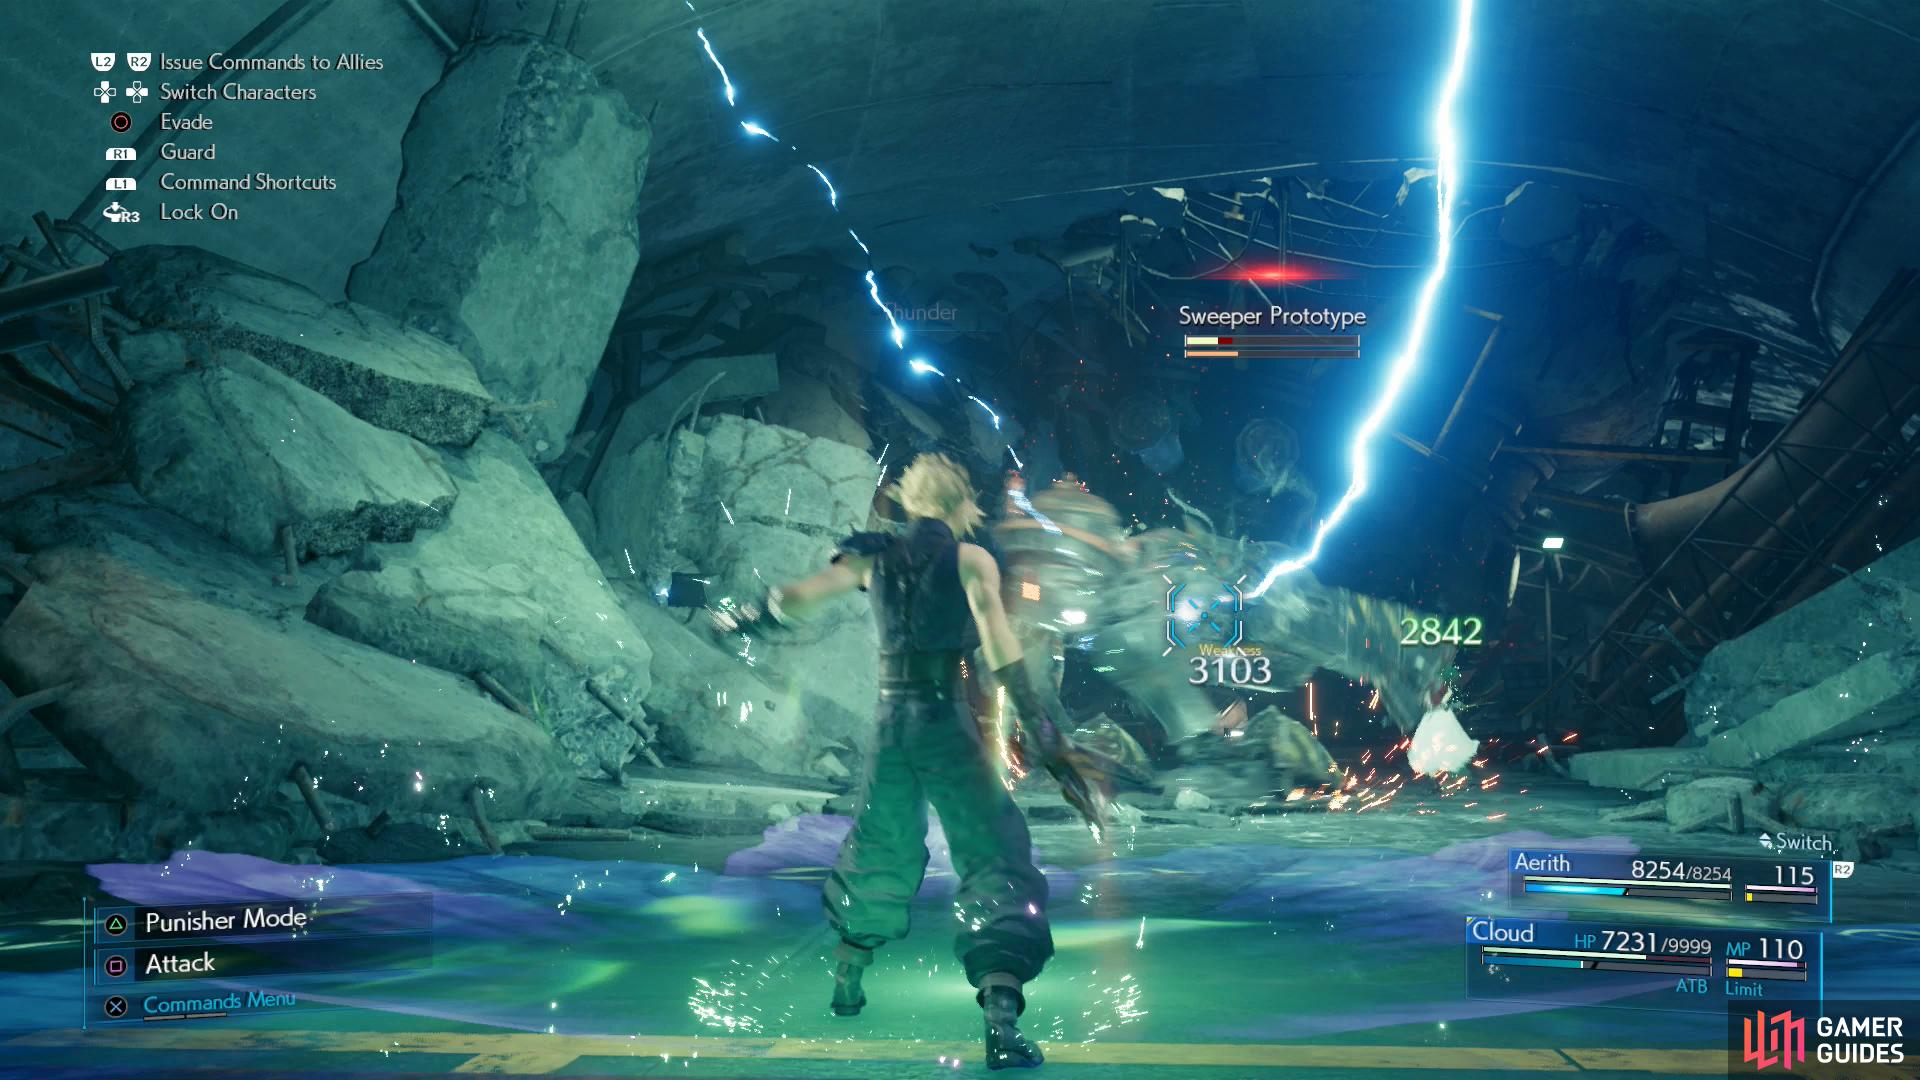
The beginning of this chapter is pretty tame, just advance until you reach the Collapsed Expressway, where you’ll have to fight your way through enemies including Lesser Drakes, Terpsicolts and eventually a Sweeper Prototype. They are all weak to different elements, but we dispose of nuance here and use use Aerith to blast them with Lightning while retaining MP with MP Absorption Materia. “Arcane Ward + Lightning” will deal excellent damage regardless of the enemy’s elemental weaknesses, and Thunder is more likely to connect than Aero, anyways.
-
There’s no Magnify Materia waiting for you this time, so you can skip that step during the mechanical arm puzzles. Sadly, you can’t skip those puzzles outright.
-
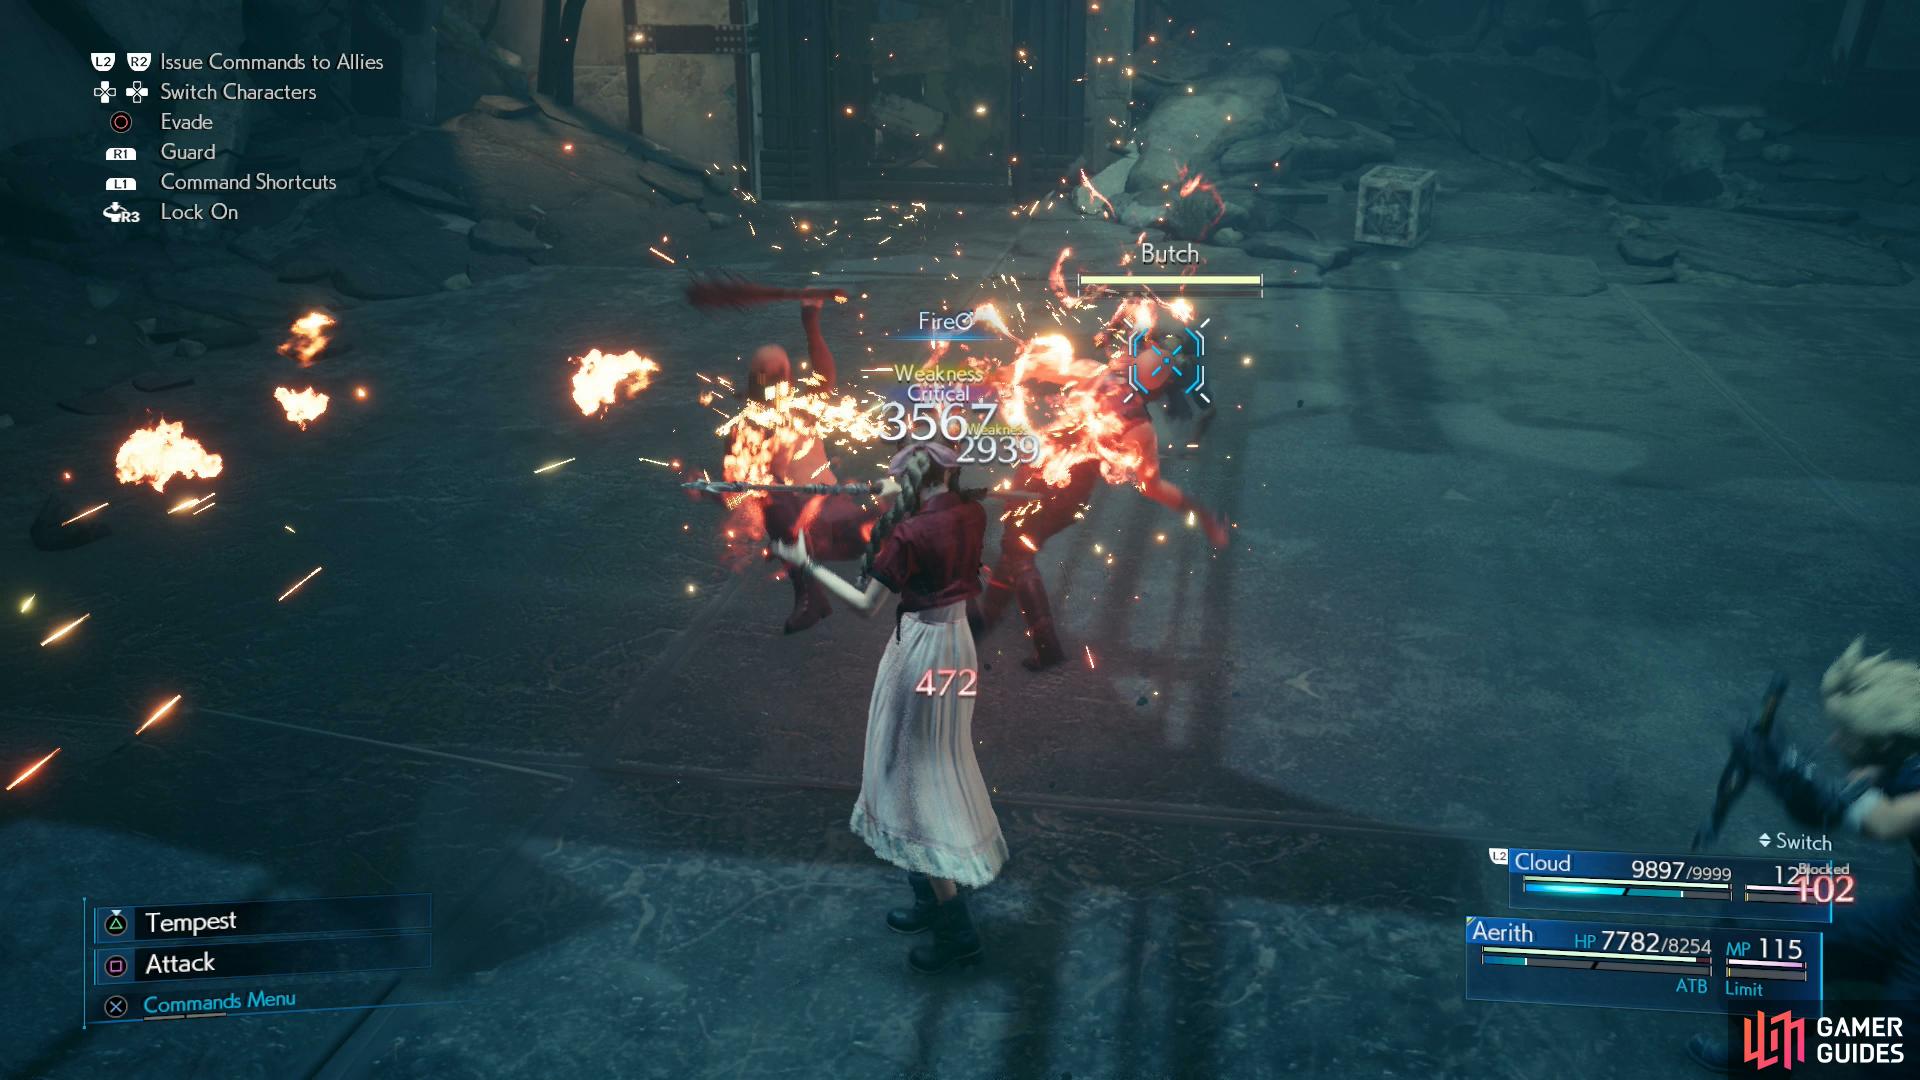
After the second mechanical arm puzzle you’ll find yourself facing the three B’s: Beck, Butch and Burke, after which you’ll find some Bandits and another Sweeper Prototype. Fire + Magnify should suffice for dealing with all the bandits.
-
Once you reach Wall Market, you’re done with around half of the combat in this chapter, but the hardest parts are yet to come. Before that, there’s all the chatter and running about in Wall Market. You should, of course, keep in mind what you say and do during this section of the chapter as it’ll determine what side quests you end up with later. One option is to do whatever side quests you neglected in Normal difficulty, but on the other hand, there are Manuscripts to consider. Namely, there are three Manuscripts you can get from the following quests: The Price of Thievery (The Art of Swordplay Vol. VIII), Shears’ Counterattack (The Art of Swordplay Vol. IX) and Dynamite Body (The Art of Swordplay Vol. X). We suggested you do Sam’s quests on your first playthrough, and if you did, you’ll want to do Madam M’s quests now, which will earn you a trophy and two of the three possible side quest related Manuscripts. The various choices you’ll need to make can be found on the Chapter 9 page.
Just like in the Collapsed Expressway, make use of Fire + Magnify in the Underground Colosseum,
while the machines call for barrages of Thunder, doubled by “Arcane Ward”.
Underground Colosseum
-
Make what choices you need to get what quests you want, but before you’ll get around to that you’ll need to fight through the Underground Colosseum again. The first round is pretty simple, as Cloud can just use Punisher mode counterattacks to defeat the Beastmaster and his two Bloodhounds. Keep in mind that while you can use a rest bench to recover HP between rounds, you cannot recover MP quite as easily. You can’t leave the colosseum grounds between matches, so you’ll need to be frugal with your MP for the final fight.
-
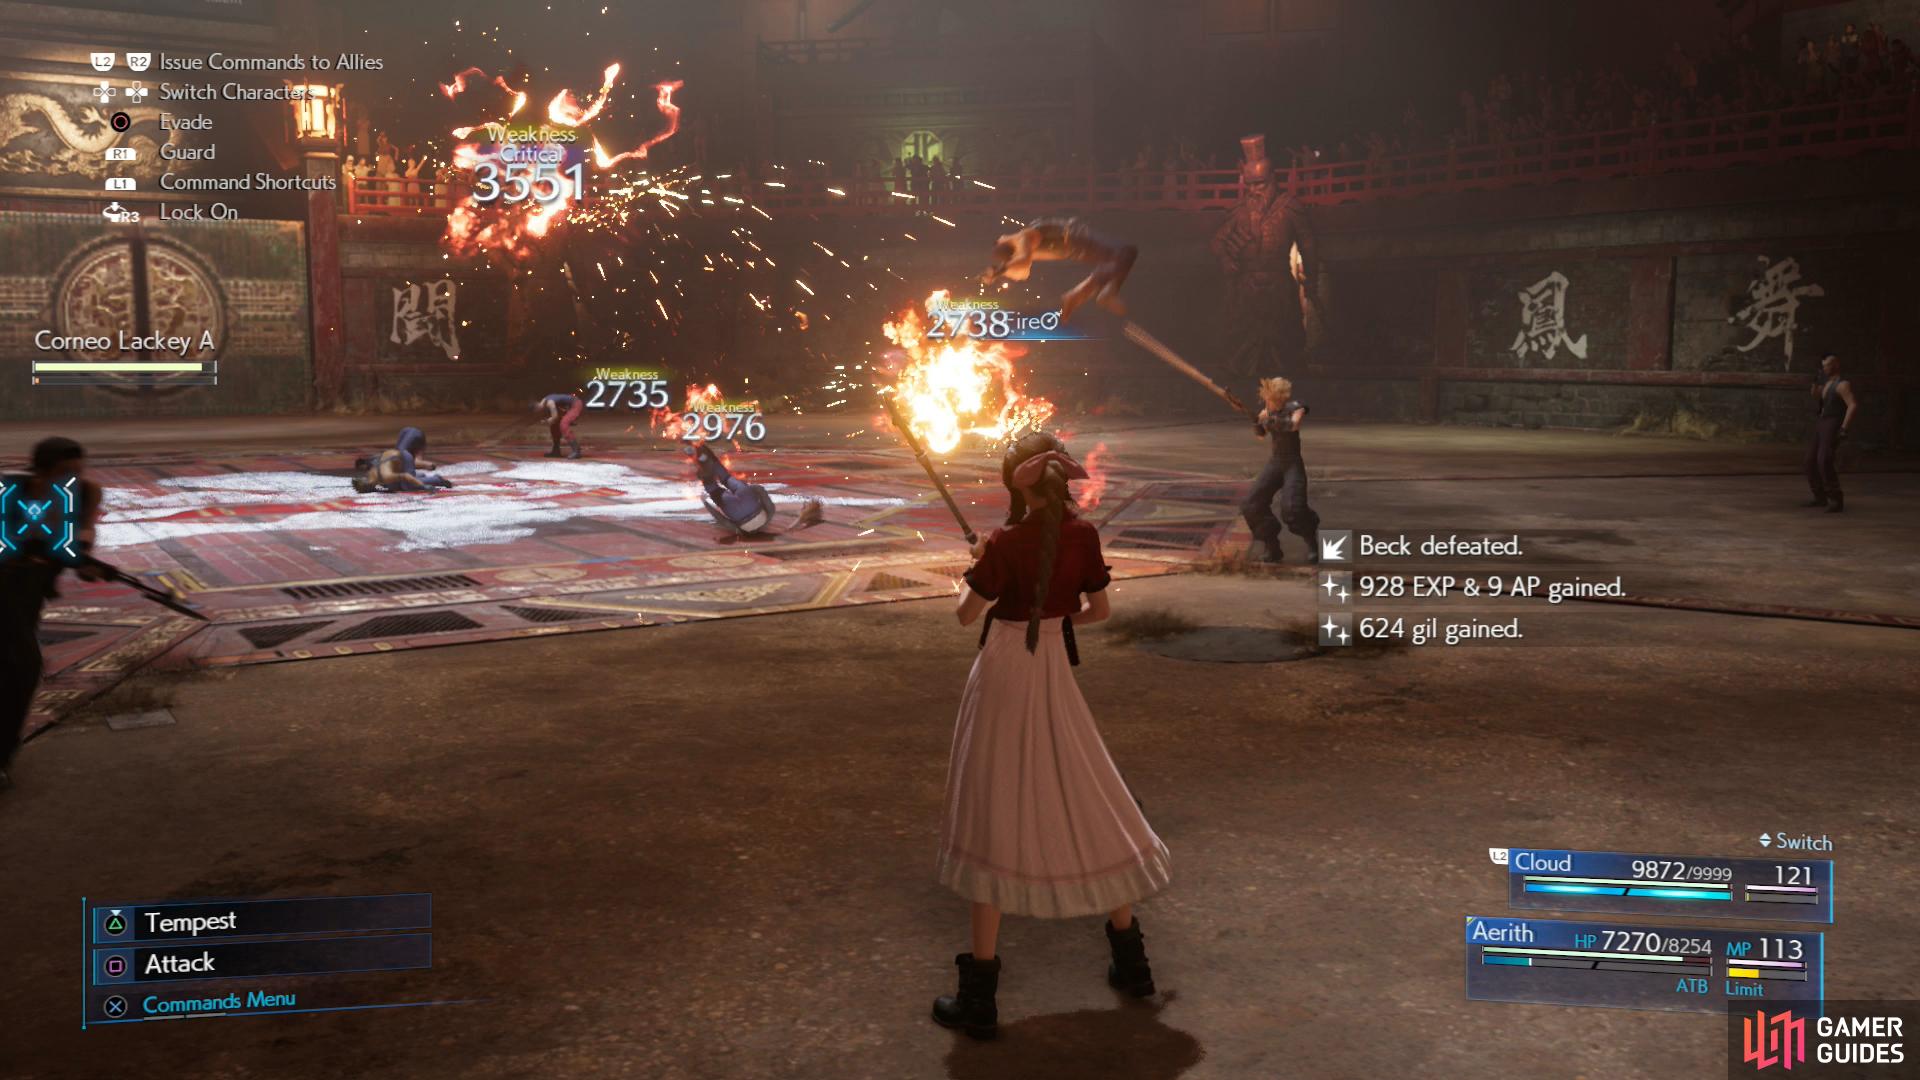
Frugal doesn’t mean entirely neglectful, however - use Fire + Magnify on Beck, Butch, Burke, and the Corneo Lackeys that join them. The more you take out and the faster you take them out, the easier the remaining fight will be - Aerith can make up lost MP via “Soul Drain”, if necessary.
-
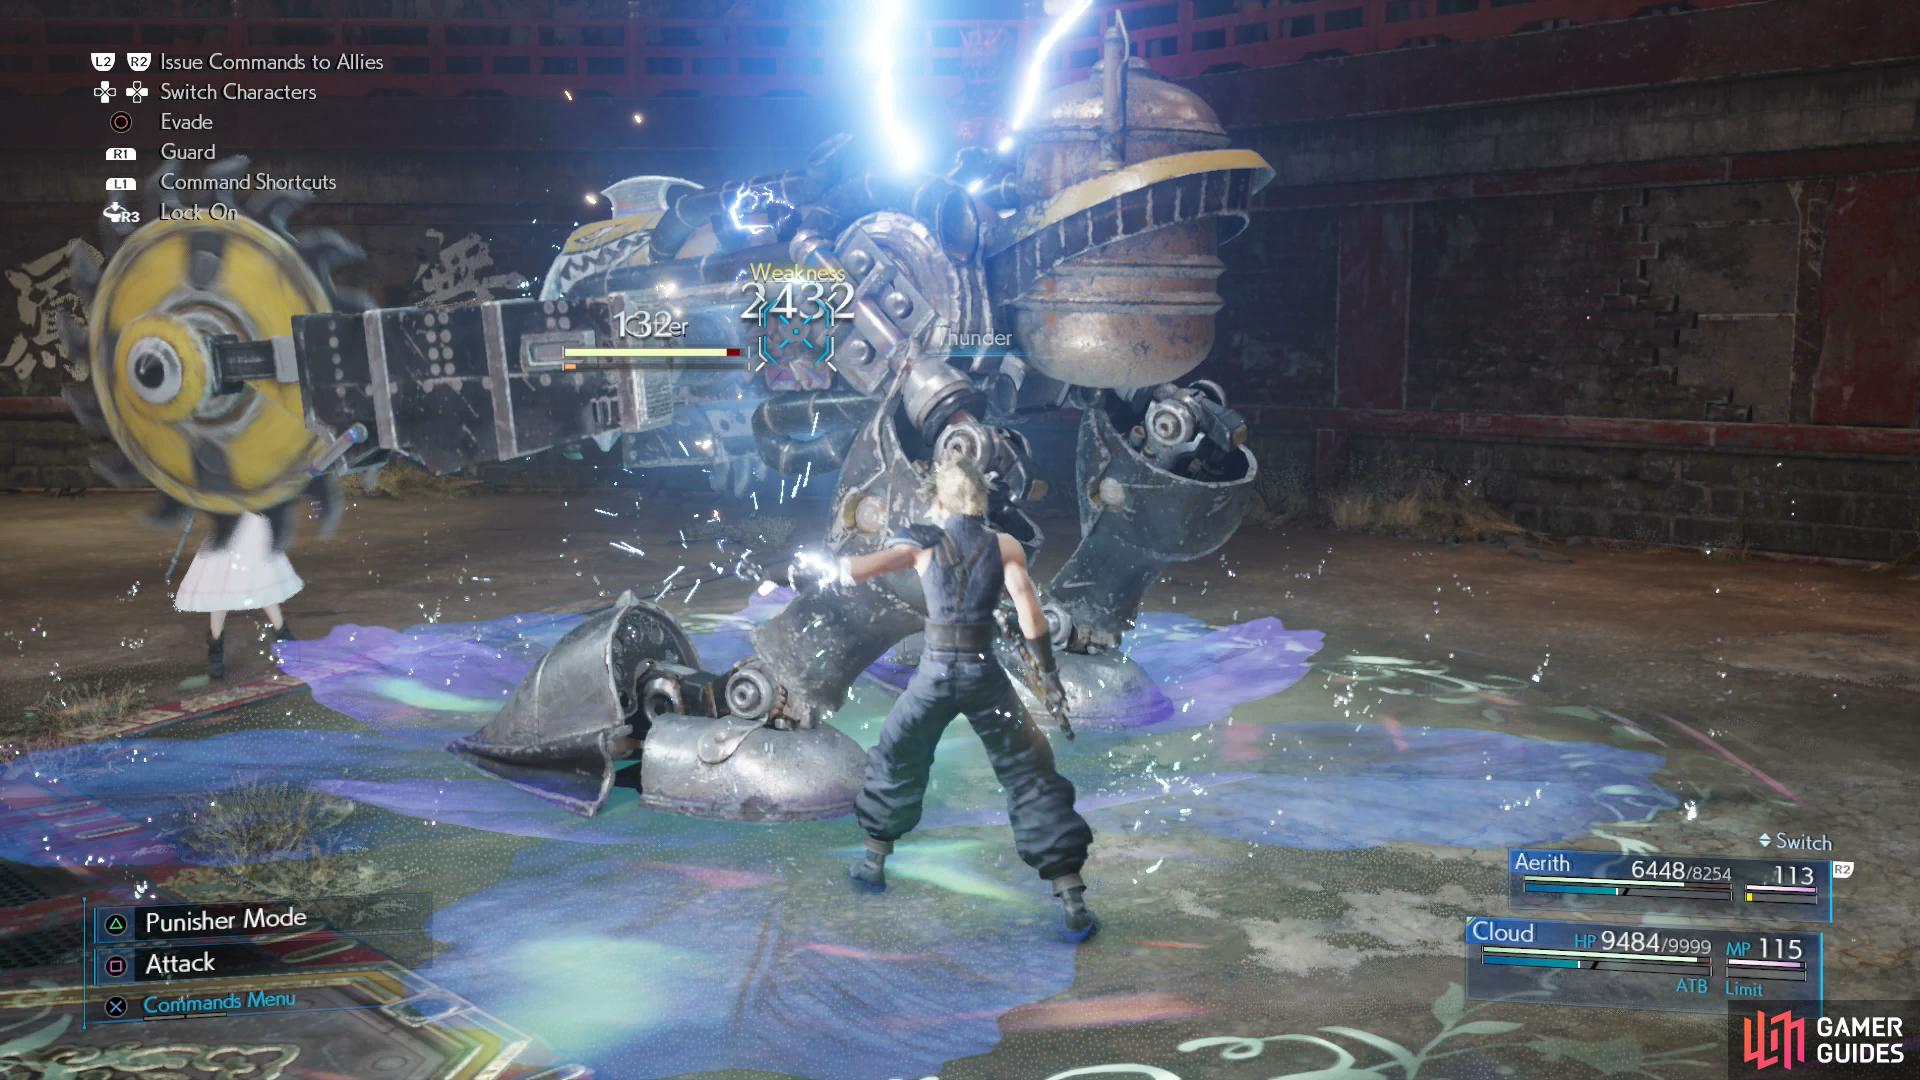
Despite only facing two foes in the final round, they’re pretty annoying. On their own, neither the Sweeper nor the Cutter are terribly difficult foes, but on their own they can be a chore. The Cutter is a relentless attacker and the Sweeper will keep Cloud honest with ranged attacks, and they can also spew a red mist that inflicts “Silence”, which lasts half of forever; given the strategy for this fight, you may just want to equip Binding + Warding to protect Aerith against “Silence”. Have Aerith lay down an “Arcane Ward” as soon as possible, then every time one of your characters has an ATB segment to spare, enter the “Arcane Ward” and cast Thunder on the Cutter. Repeat until it’s destroyed and when the Sweeper is isolated the fight will be much, much easier.
-
Finally, there’s [Hell House](/final-fantasy-vii-remake/guide/bestiary/enemy-intel/090-hell-house “Hell House”, which is definitely worth its own hard mod boss page. As a consolation prize, you’ll receive the Telluric Scriptures Vol. IX Manuscript for winning this fight, which is one of the most difficult in Hard mode.
-
Defeat the Hell House and you’ll get to the Side Quests. Complete Burning Thighs and either The Price of Thievery or The Party Never Stops and you’ll unlock Shears’ Counterattack or Dynamite Body, respectively. We’ll only cover the Hard difficulty versions of the quests that have Manuscripts.
| Cloud | . |
|---|---|
| Weapon: | Twin Stinger |
| Armor: | Chain Bangle |
| Accessory: | Champion Belt |
| Useful Materia: | Fire + Magnify, Healing, Steal, First Strike, Steadfast Block, ATB Stagger, Magic Up, HP Up |
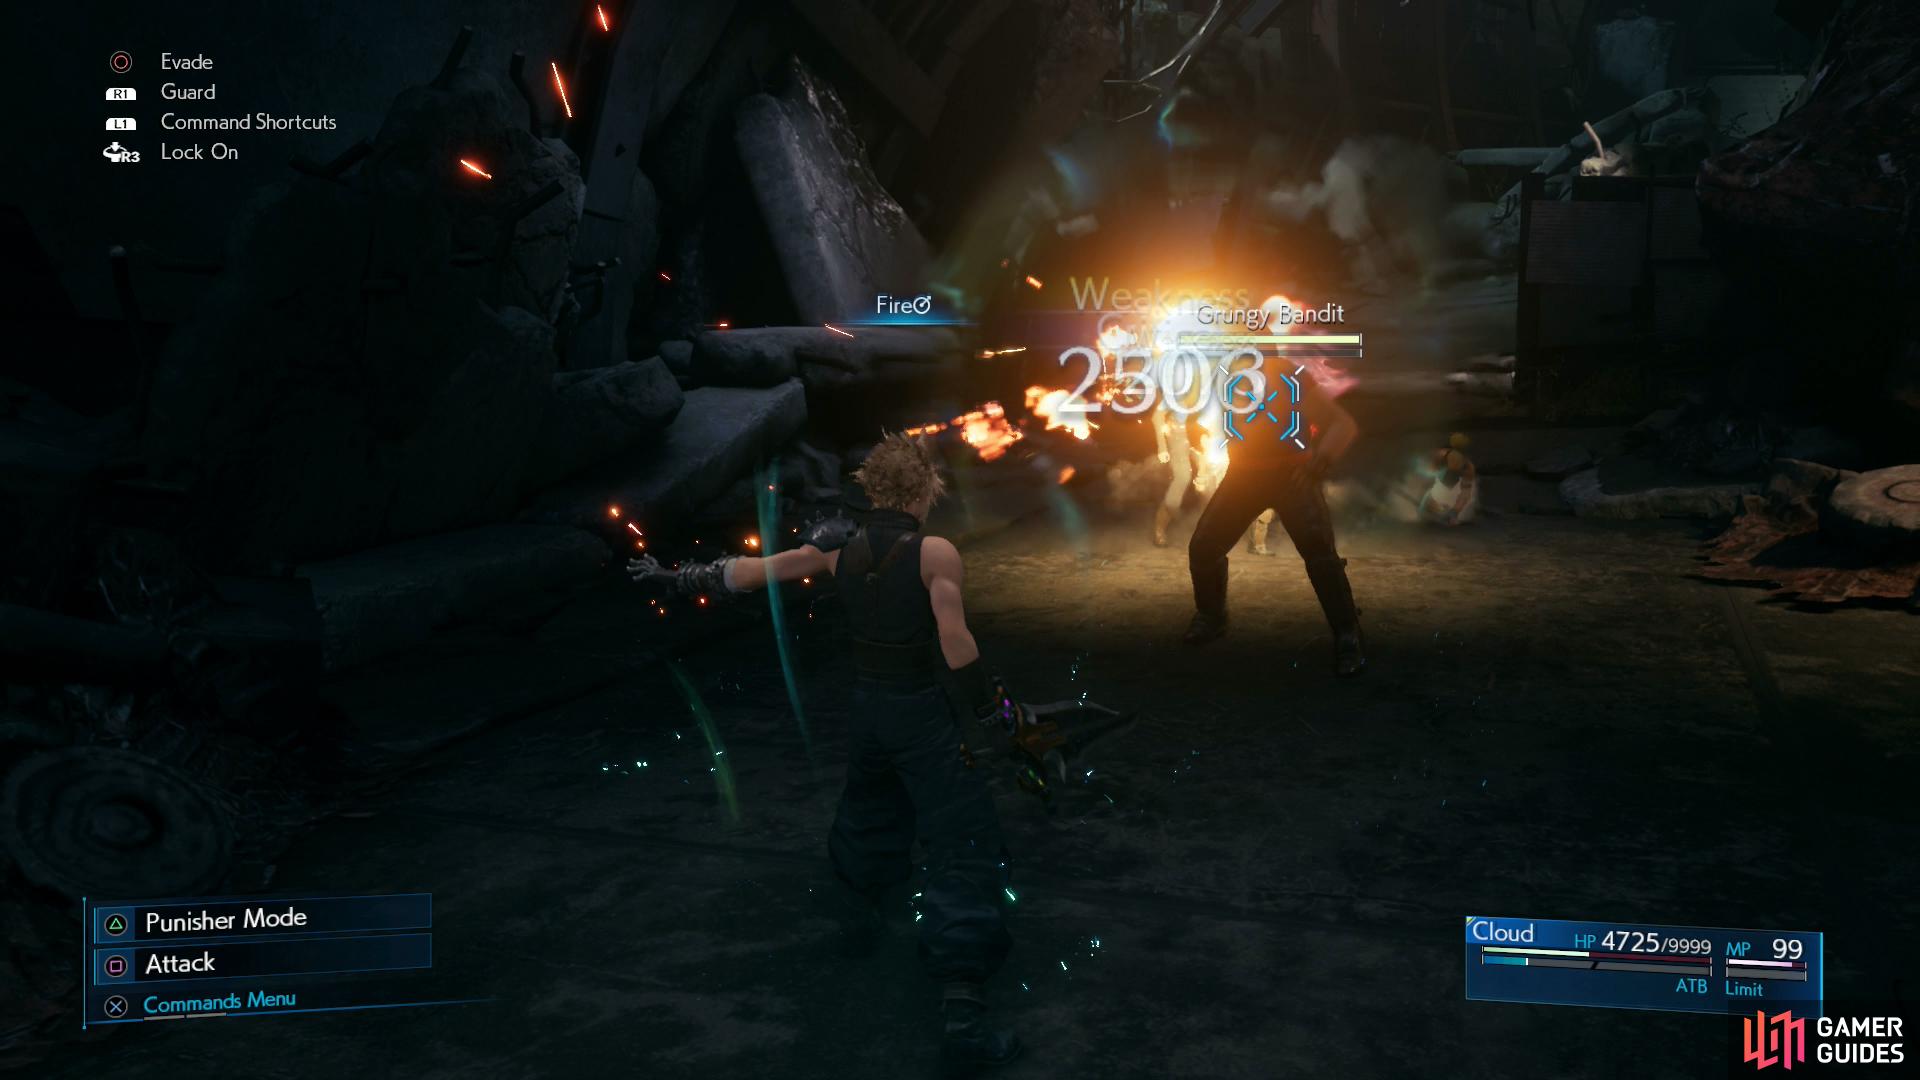
The Price of Thievery
This quest is pretty simple, even in Hard difficulty. Head to the Collapsed Expressway and you’ll find the three B’s and their pet Grungy Bandit. Use Fire + Magnify to wipe out the three B’s, after which Cloud will square off against the Grungy Bandit. This brute can deal a lot of damage with its attacks - several thousand, on some hits - and even blocking will be painful. That said, it really can’t keep up with Cloud well, so getting away and healing shouldn’t be a problem, and Regen and some patience is all you really need. Dodge his attacks, then attack him and he should end up Staggered before long, which you can exploit with “Triple Slash”. Other than that, you can steal a Champion Belt from him, if you care to. For defeating the Grungy Bandit you’ll obtain The Art of Swordplay Vol. VIII.
| Cloud | . |
|---|---|
| Weapon: | Twin Stinger |
| Armor: | Chain Bangle |
| Accessory: | Champion Belt |
| Useful Materia: | Healing, Barrier, First Strike, Steadfast Block, ATB Stagger, Magic Up, HP Up |
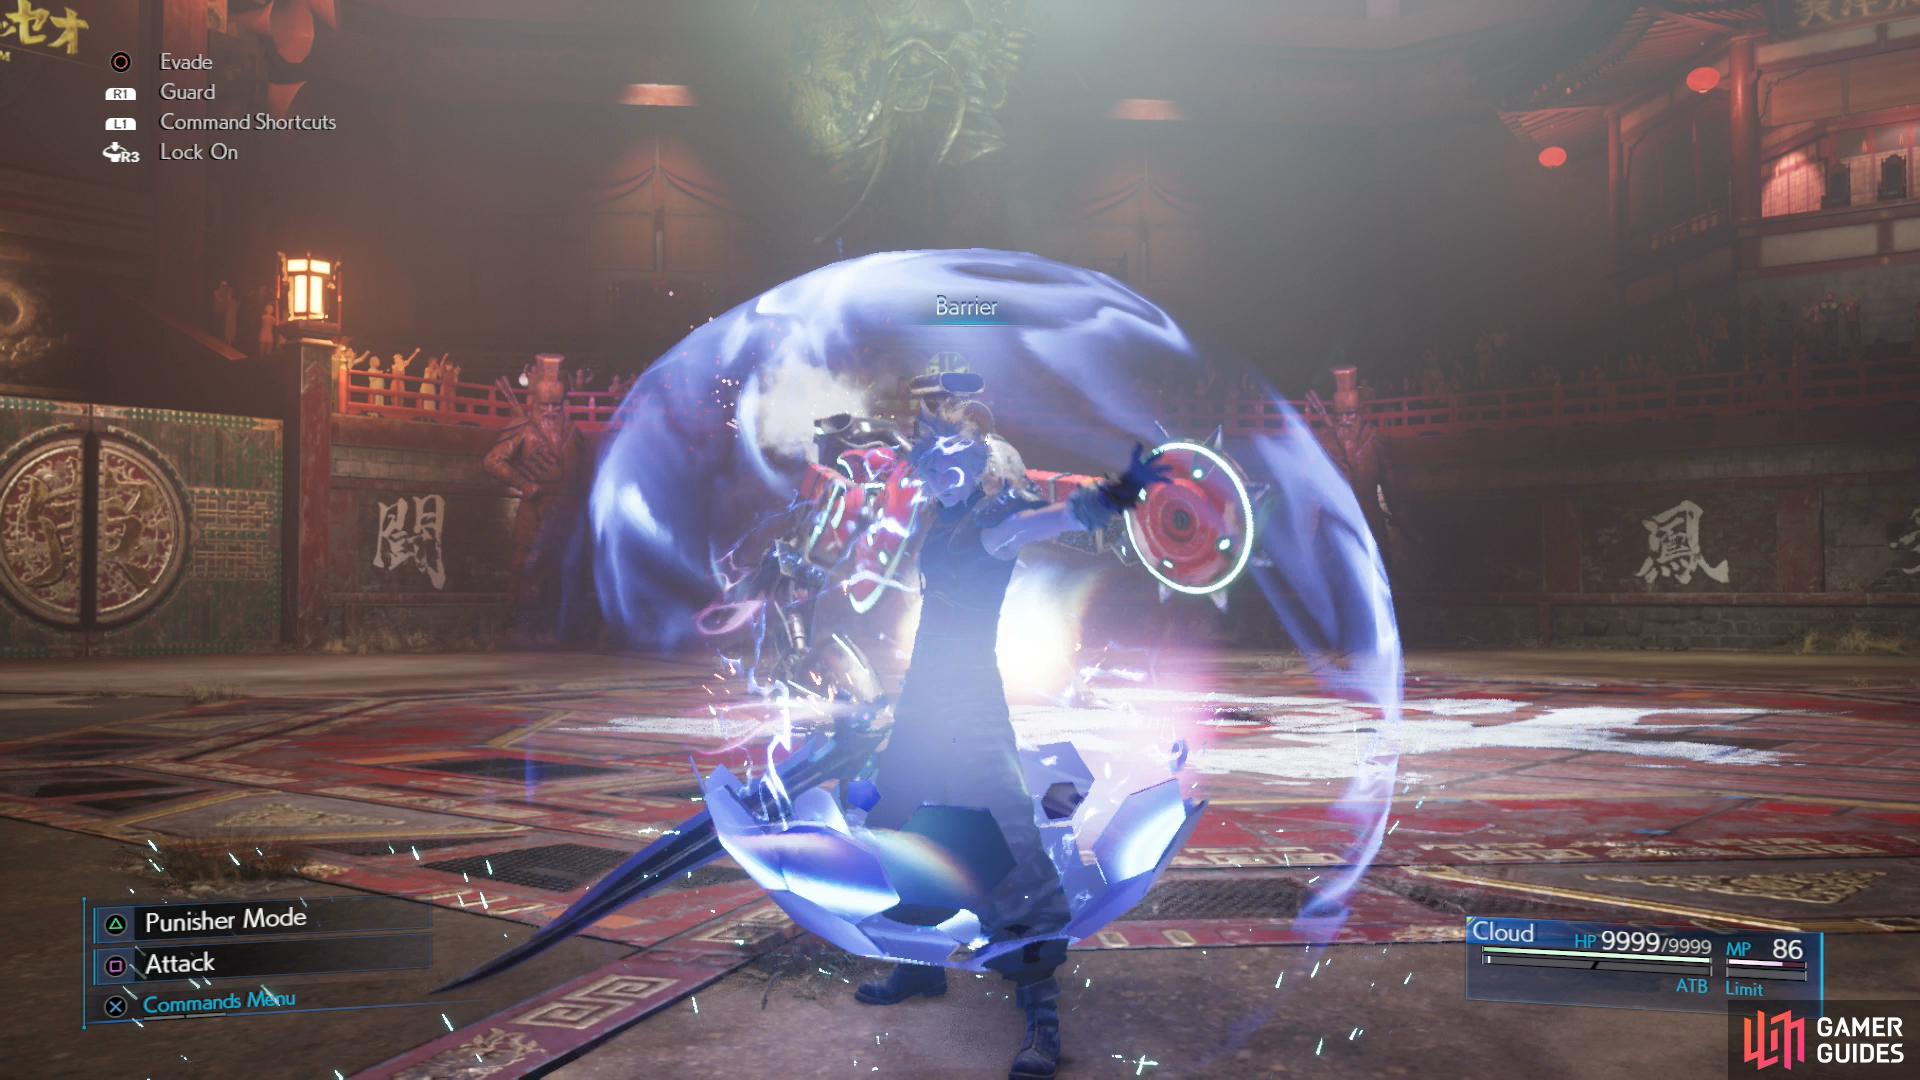
Shears’ Revenge
You’ll need to complete both Burning Thighs and The Price of Thievery to start this quest, which will send you back to the arena to fight a Jury-Rigged Cutter. Not much to this fight, honestly, it will constantly inflict itself with “Berserk” to dish out more damage. Respond by buffing with Barrier and Regen, then switch to Punisher mode and block and counter its attacks, using “Triple Slash” whenever there’s an opening. It should fall before long, earning you The Art of Swordplay Vol. IX.
| Cloud | . |
|---|---|
| Weapon: | Twin Stinger |
| Armor: | Chain Bangle |
| Accessory: | Champion Belt |
| Useful Materia: | Fire + Armor (armor), Healing, First Strike, Steadfast Block, ATB Stagger, Magic Up, HP Up |
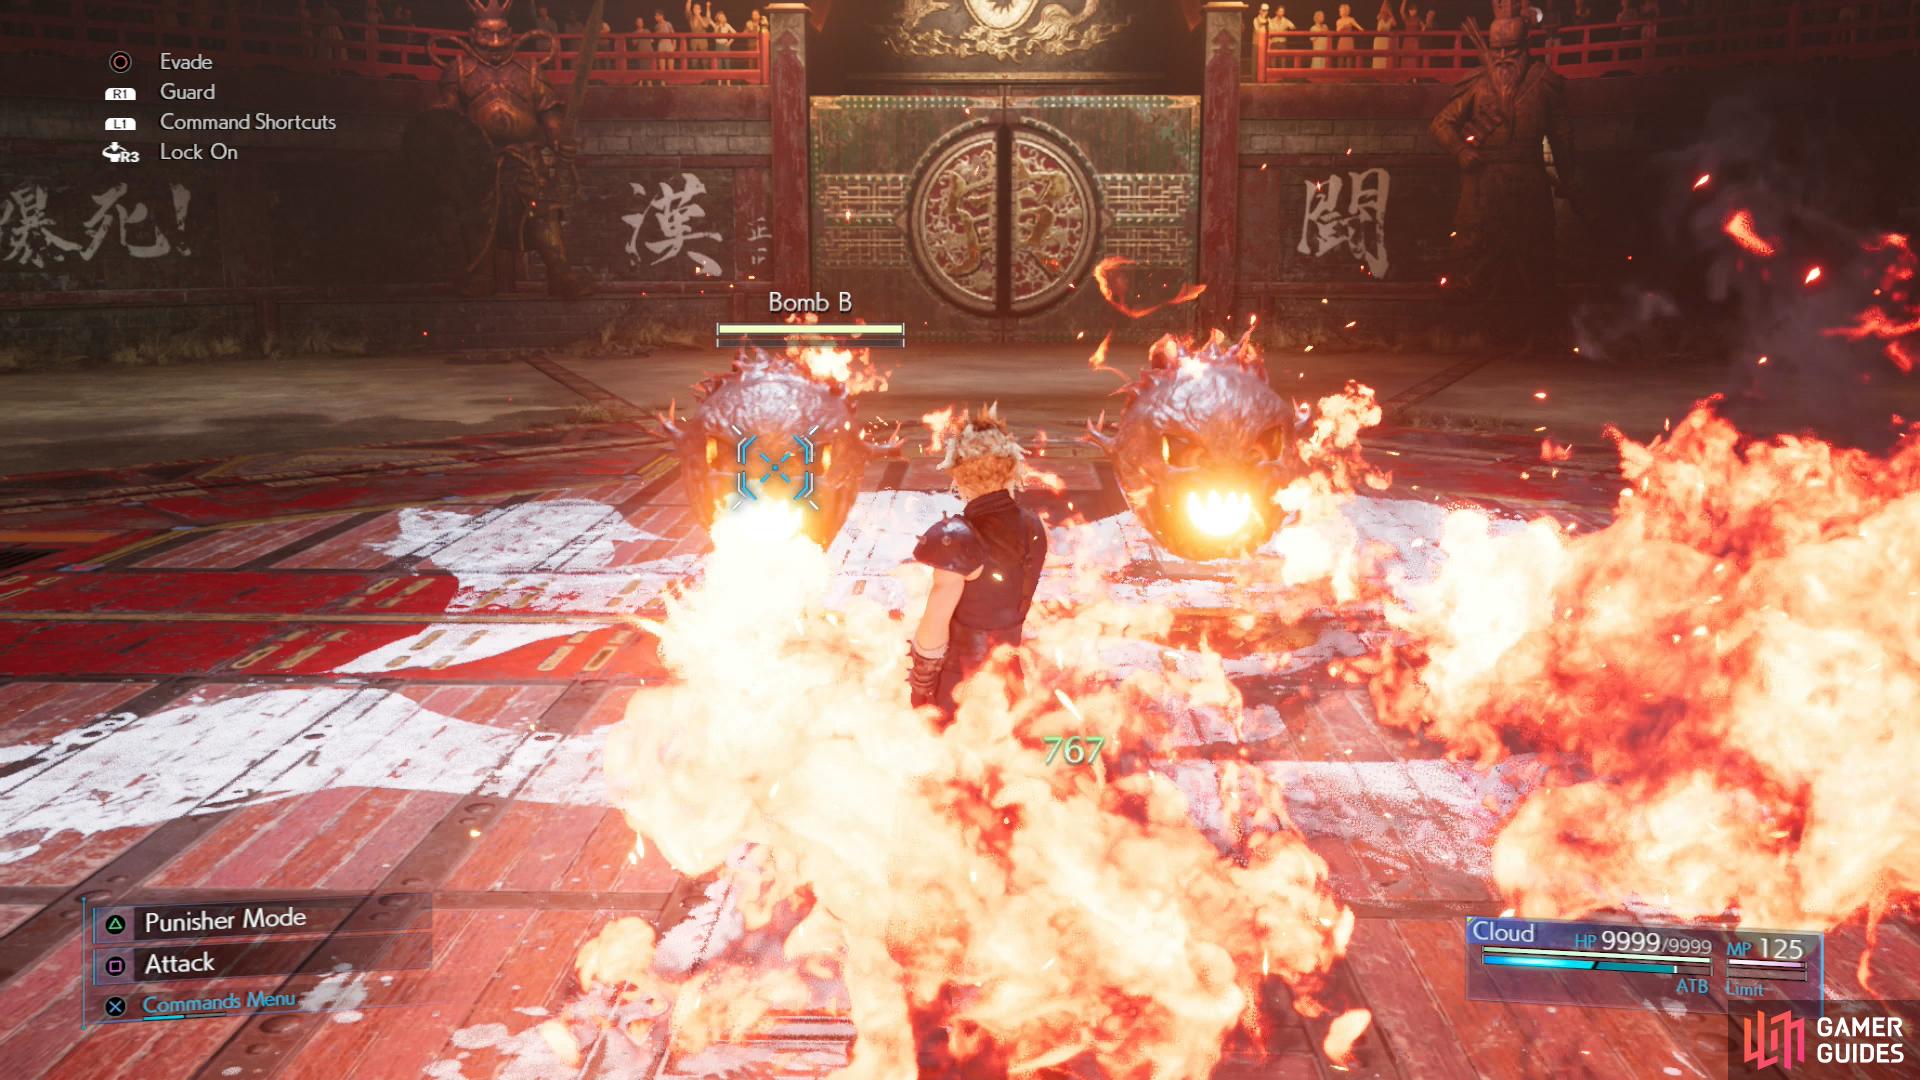
With fire + elemental on your armor you should be virtually untouchable.
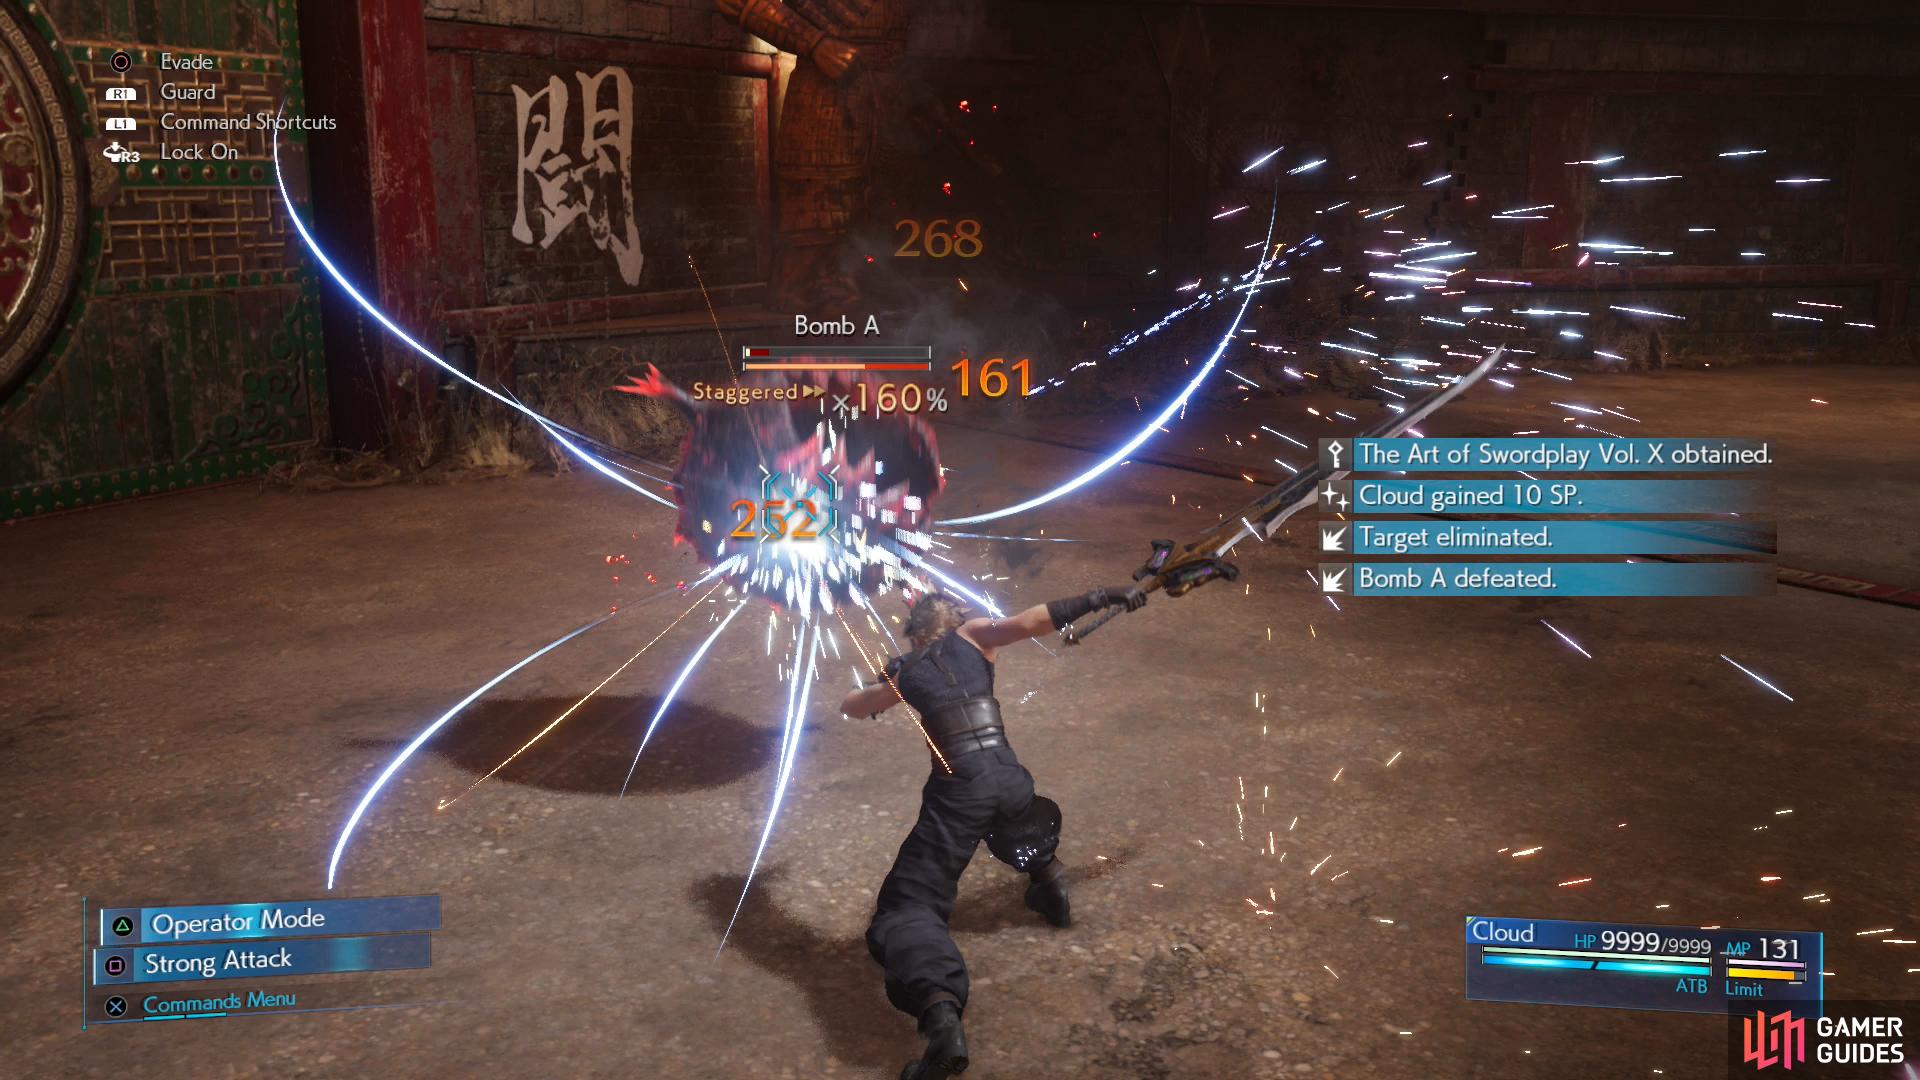
Cut down the out-classed Bombs to obtain “The Art of Swordplay Vol. X”.
A Dynamite Body
You’ll need to complete both Burning Thighs and The Party Never Stops to start this quest, which will send you back to the arena to fight two Bombs. Equip Fire Materia + Elemental Materia on your armor and you should absorb most of their damage, at which point you can just get Cloud near one of them, switch to Punisher mode, and lay into your target, using Focused Strike to increase Stagger (whether it’s “Pressured” or not), and once Staggered switch to more powerful attacks, like “Braver”. Yep, exactly the same as in Normal mode, save this time you’ll score The Art of Swordplay Vol. X.
- The rest of the chapter is mostly story, just deal with Andrea and his dance segment, then push through the story in Corneo’s mansion. The only fight left is Aerith and Tifa versus some Corneo Lackeys. Fire + Magnify should do the trick, after which it’s just a matter of walking and talking your way to Chapter 10.
No Comments