

After much effort you’ve finally made your way to Reactor 5… or, well, to the plate interior near the Reactor 5. Hey, it’s progress. Note that there’s a vending machine and a rest bench to the northwest, should you need to resupply (you should have been automatically healed at the start of this chapter).
Head for Section G
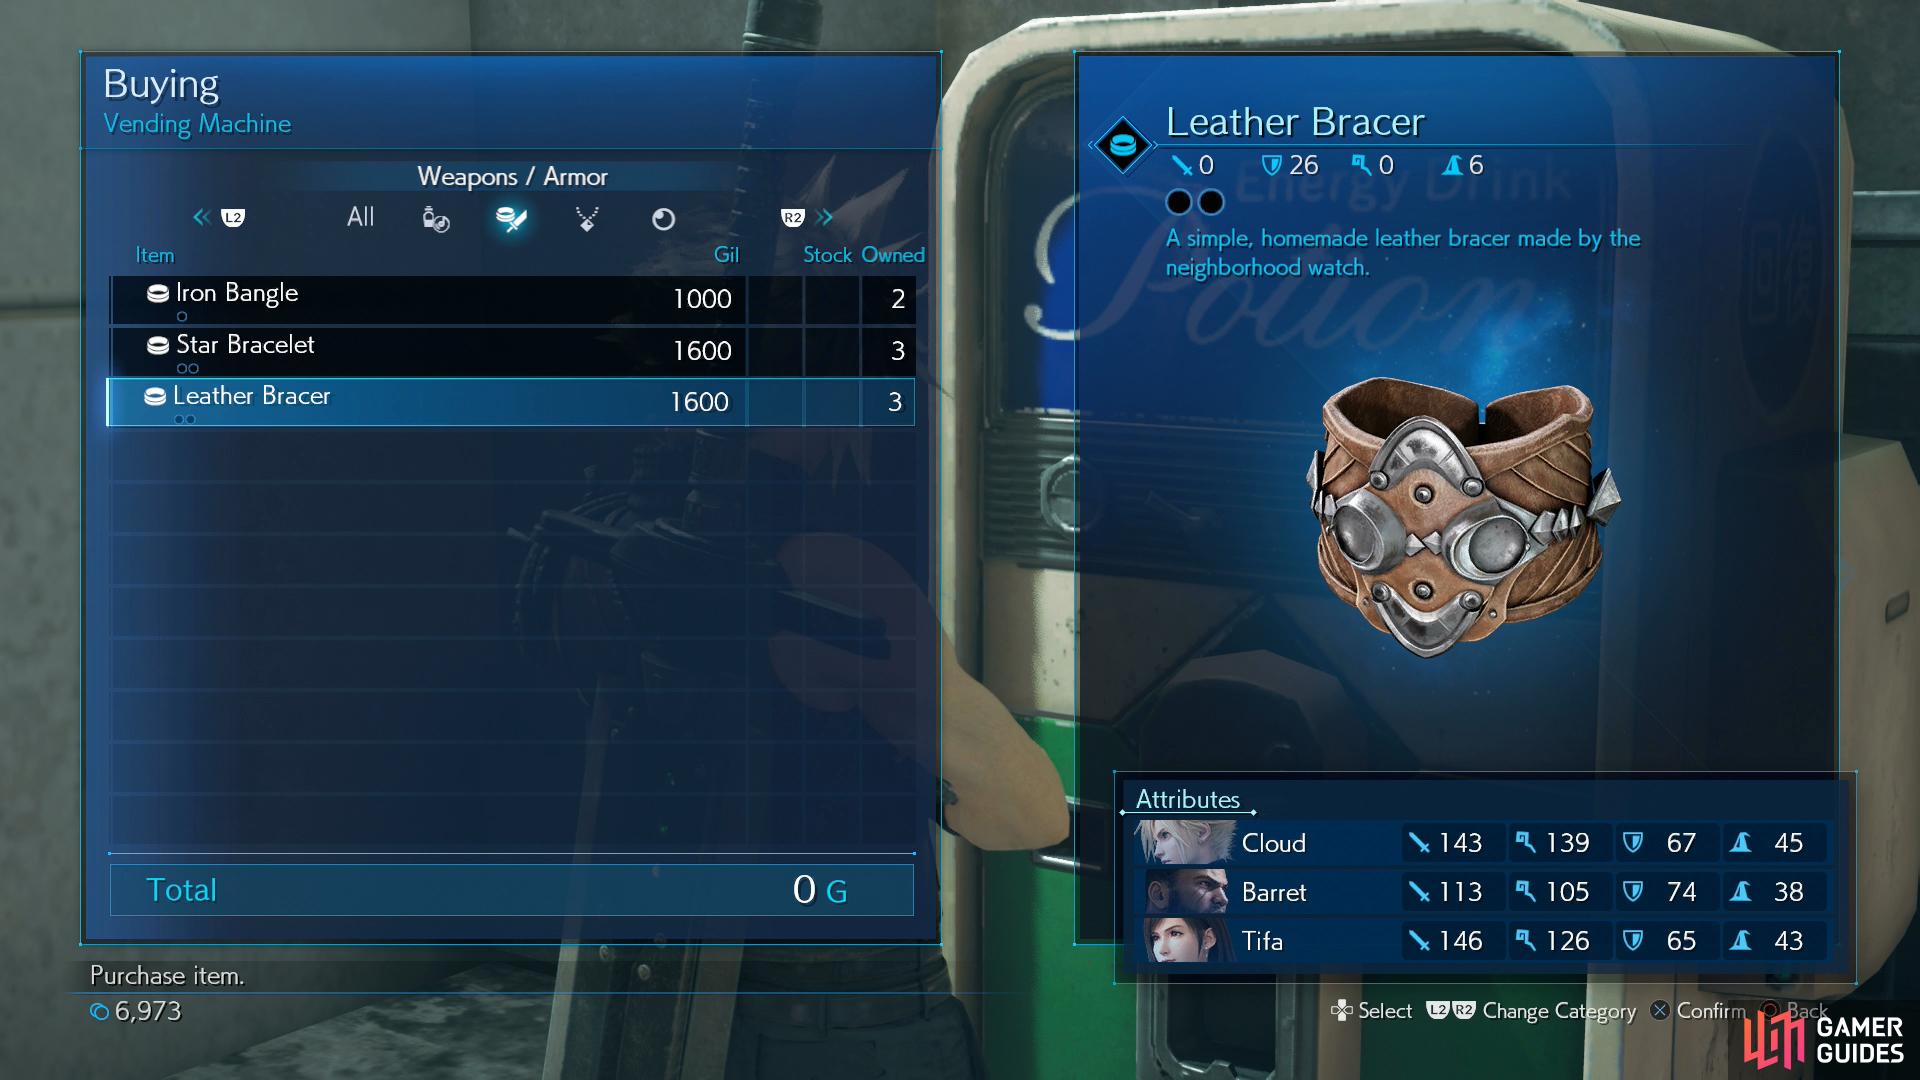
Something to keep in mind if you run into a rough patch ahead. The only new things offered by this vending machine are Smelling Salts (wakes characters up from Sleep status) and Leather Bracers, should you feel like upgrading your current armor.
Section F Cargo Platform Vending Machine
| Item | Cost (Gil) |
|---|---|
| Potion | 50 |
| Phoenix Down | 300 |
| Antidote | 80 |
| Smelling Salts | 80 |
| Armor | Cost |
|---|---|
| Iron Bangle | 1,000 |
| Star Bracelet | 1,600 |
| Leather Bracer | 1,600 |
| Accessories | Cost |
|---|---|
| Power Wristguards | 800 |
| Bulletproof Vest | 800 |
| Earrings | 800 |
| Talisman | 800 |
| Revival Earrings | 500 |
| Materia | Cost |
|---|---|
| Healing Materia | 600 |
| Cleansing Materia | 1,500 |
| Fire Materia | 500 |
| Ice Materia | 500 |
| Lightning Materia | 500 |
| Poison Materia | 1,500 |
| Barrier Materia | 1,500 |
| Deadly Dodge Materia | 600 |
Starting in Chapter 6 you can buy Leather Bracers.
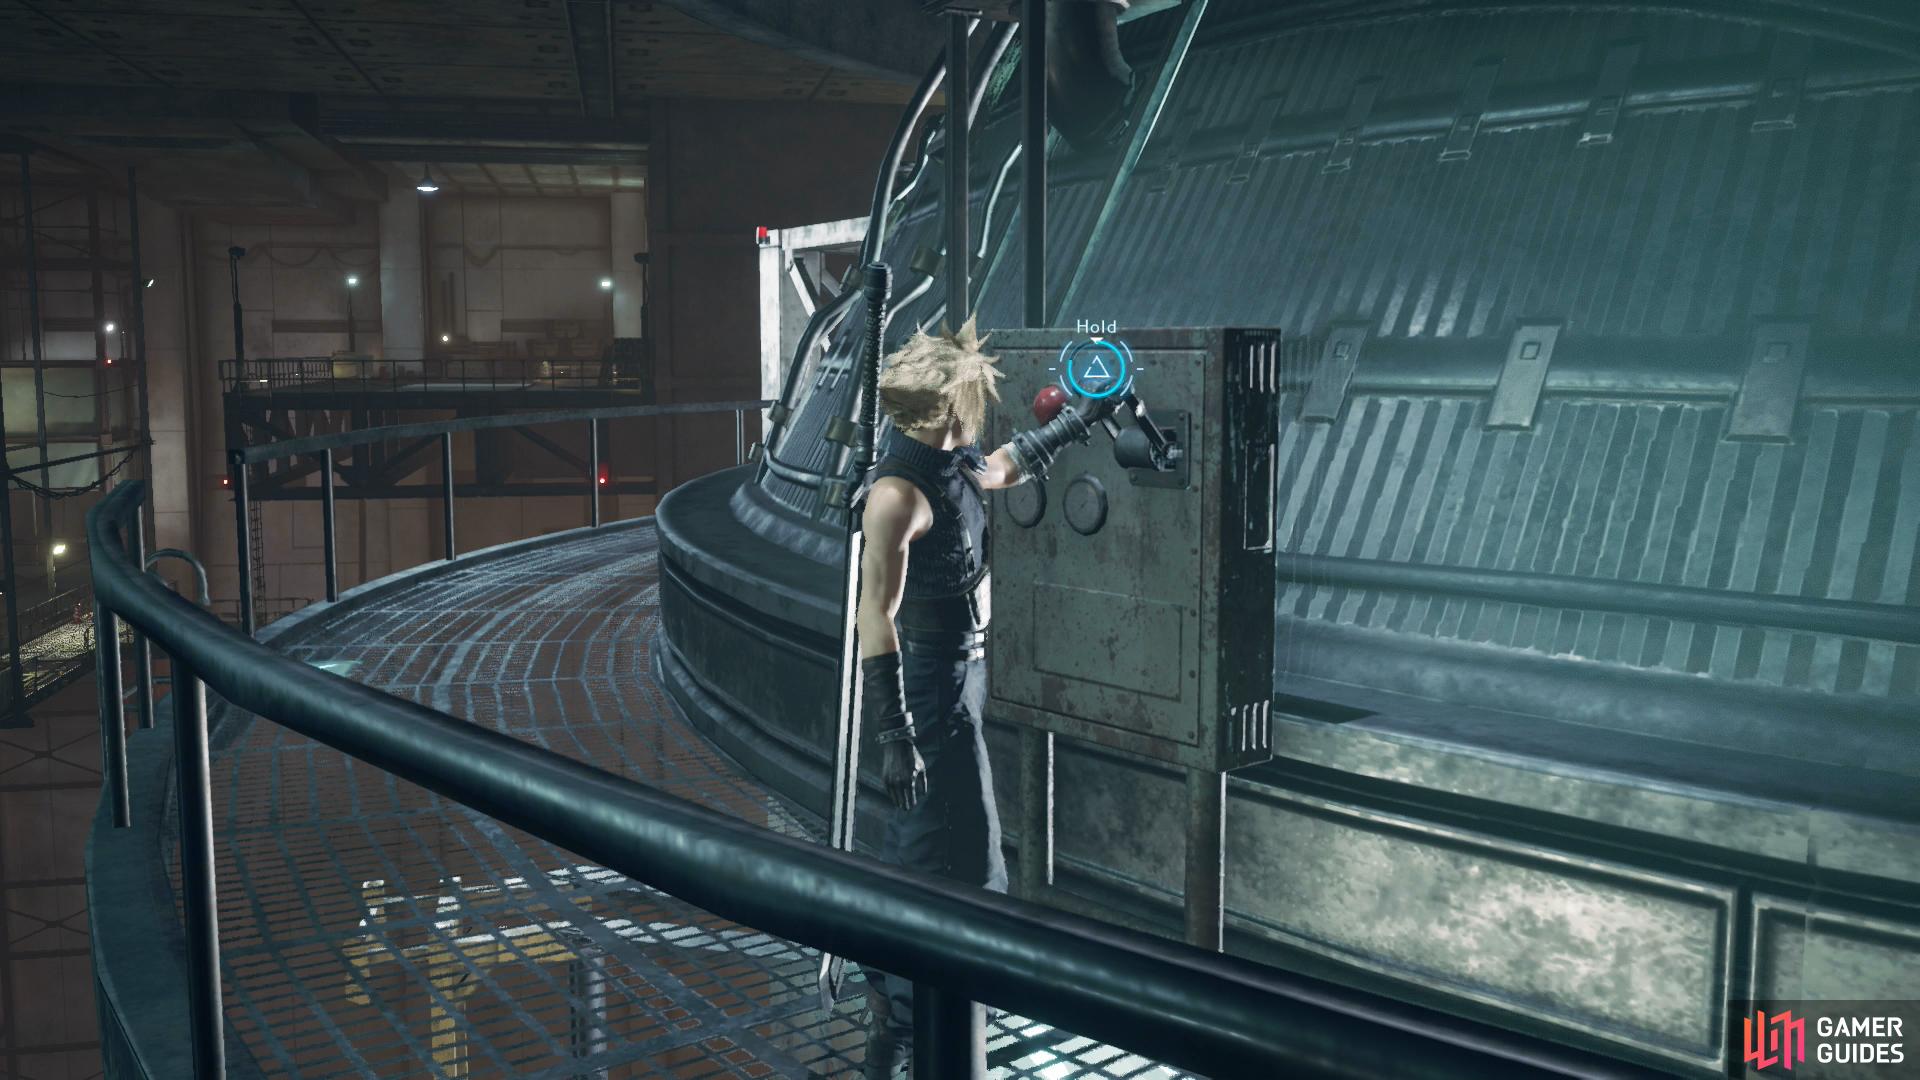
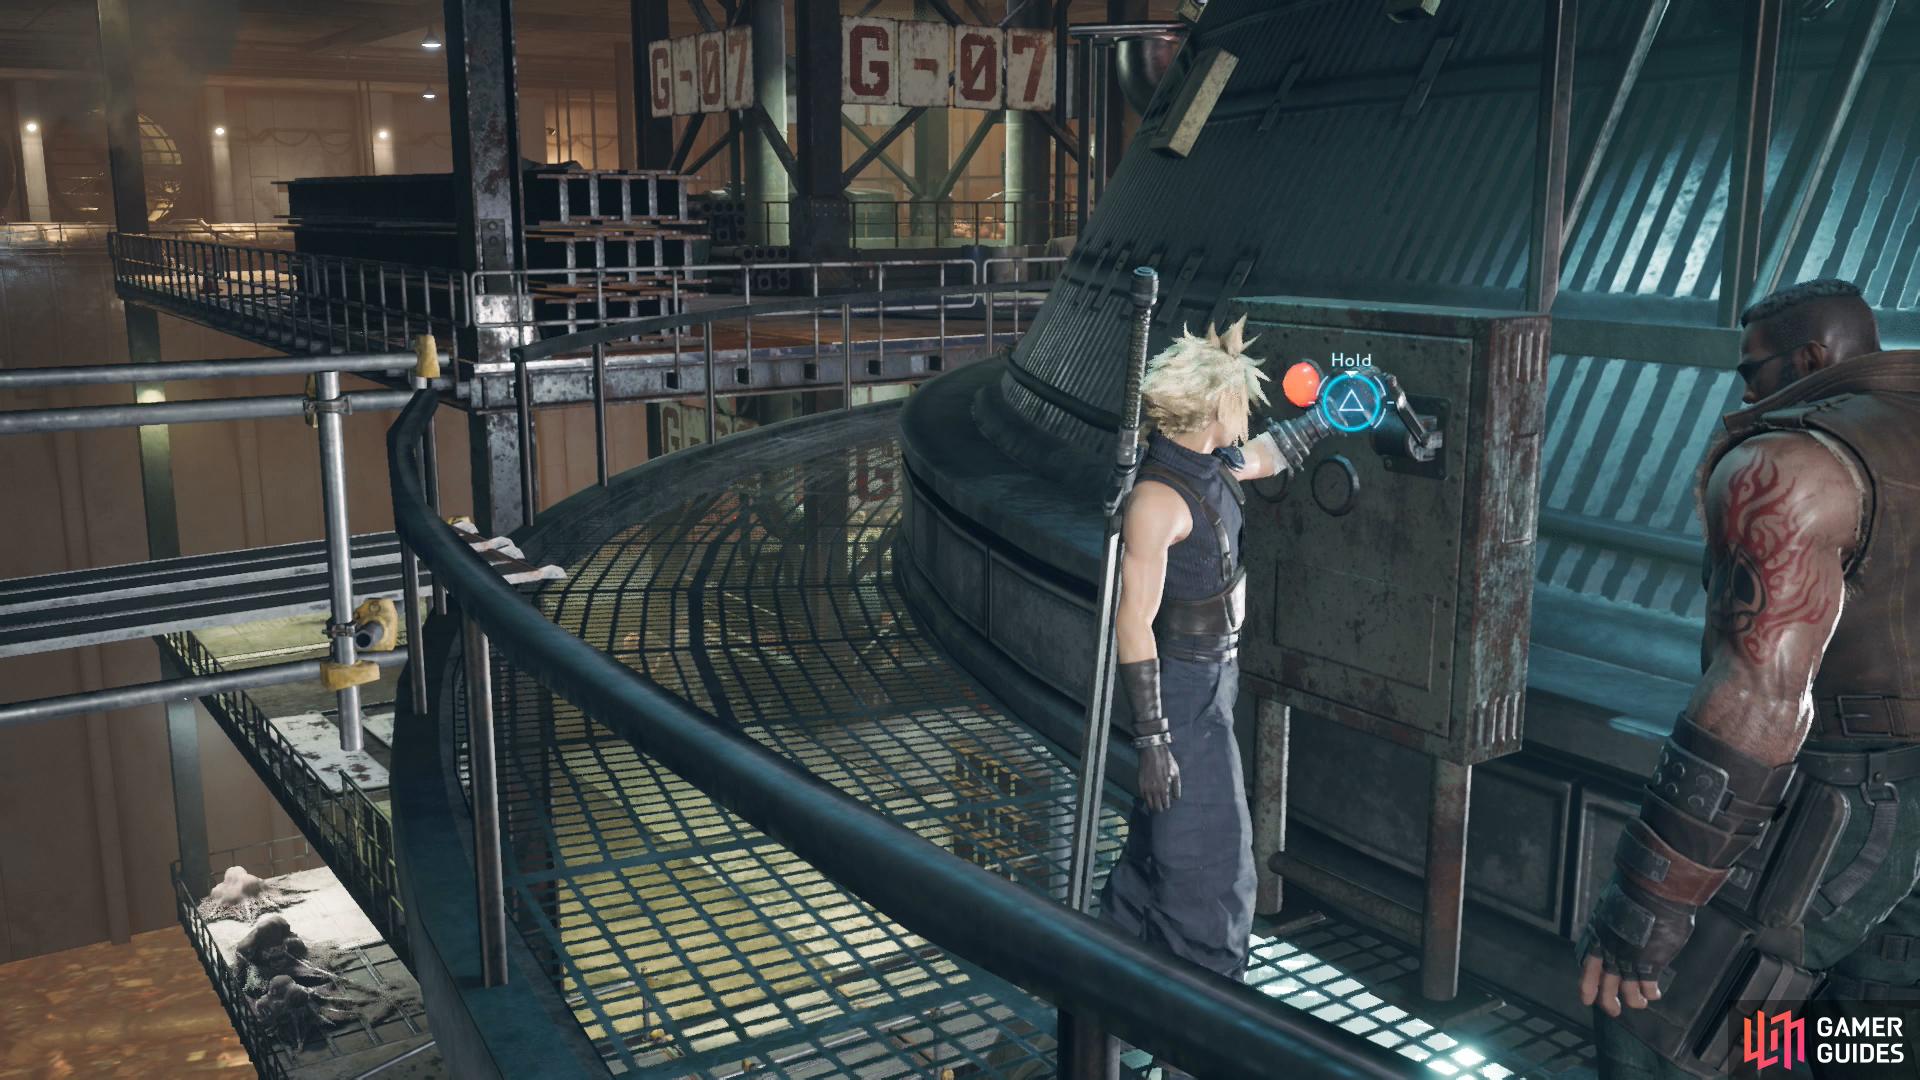
Power down the Sun Lamp to allow progress deeper into the level.
When you’re ready to go, climb down a ladder to the south and when you reach a walkway below turn west and loot a chest to score a Hi-Potion. Next head east and make a precarious crossing (don’t look down!) and join Barret and Tifa near a sealed door. Looks like you’re going to have to find a source of power to get this door open. Smash some Shinra Boxes, then head down a path to the southwest, climb a ladder, then fidget with a console to be told there’s insufficient power. Tifa makes a more useful discovery, becomes hesitant about the implications of going through with it, and Barret makes a fine point about how trivial it is in the long run.
Return to the platform with the sealed door, climb a ladder to the north, and when you reach the walkway around the sun lamp head clockwise to find a chest containing 3x Potions. Now head counter-clockwise to find a control console and flip the switch. Lights out - sorry Sector 4 slums. Climb back down to rejoin Tifa and Barret and open the door to be greeted by an unwelcome sight. That Star Pendant is going to be worth its weight in gold, it seems.
| Enemy | Weaknesses | Notable Loot |
|---|---|---|
| Grashtrike | Ice | Spiderweb |
| Blugu | Ice | Spiderweb |
Head for Section H
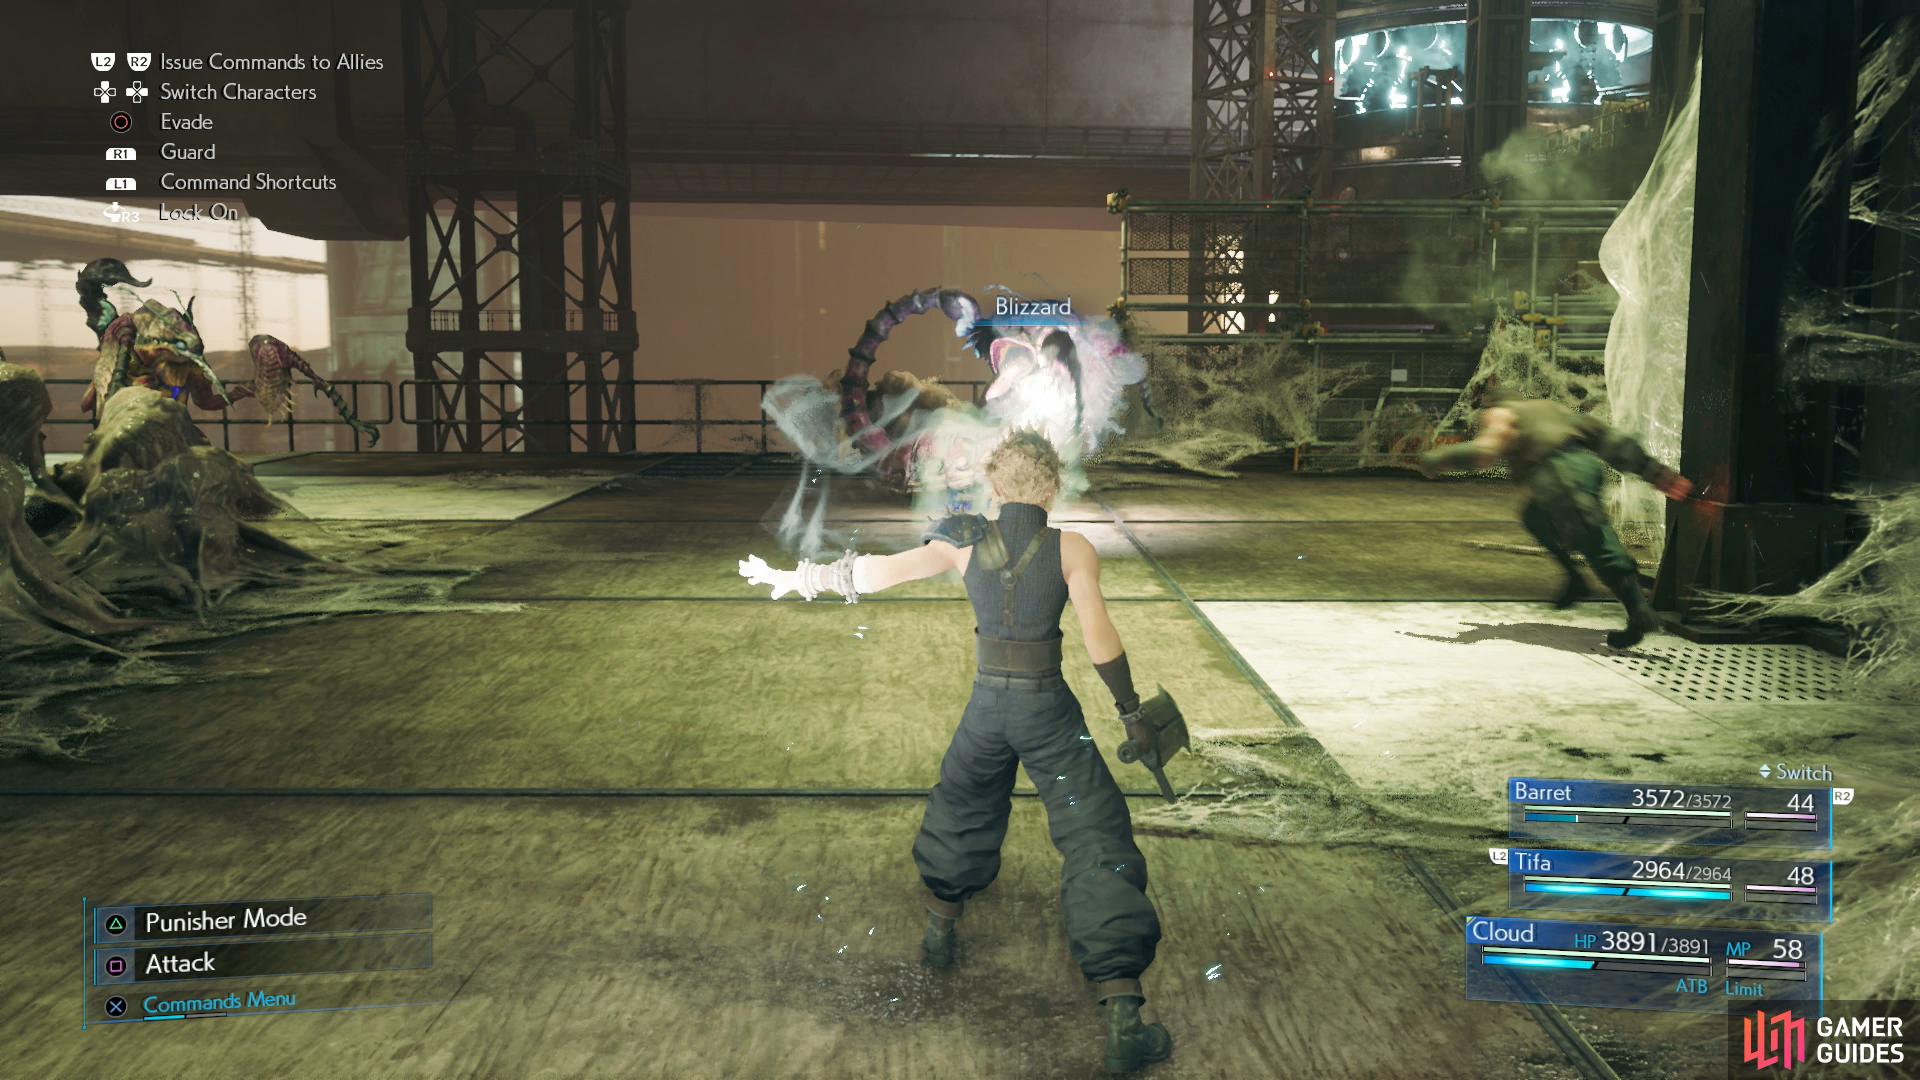
Continue south and kill two Grashtrikes via the Blizzard, Stagger, kill routine, then head down a catwalk to the east, then north to find some powered-down Sentry Rays. Be a real shame if they weren’t really powered down, or reactivated… Continue north, smash some Shinra Boxes, then go across a catwalk to the east. You should spot some stairs leading down, but before you ascend continue around them to the north and east to find a chest containing a canister of Hazardous Material, which deals a paltry 50 damage to enemies when used in combat, but inflicts poison.
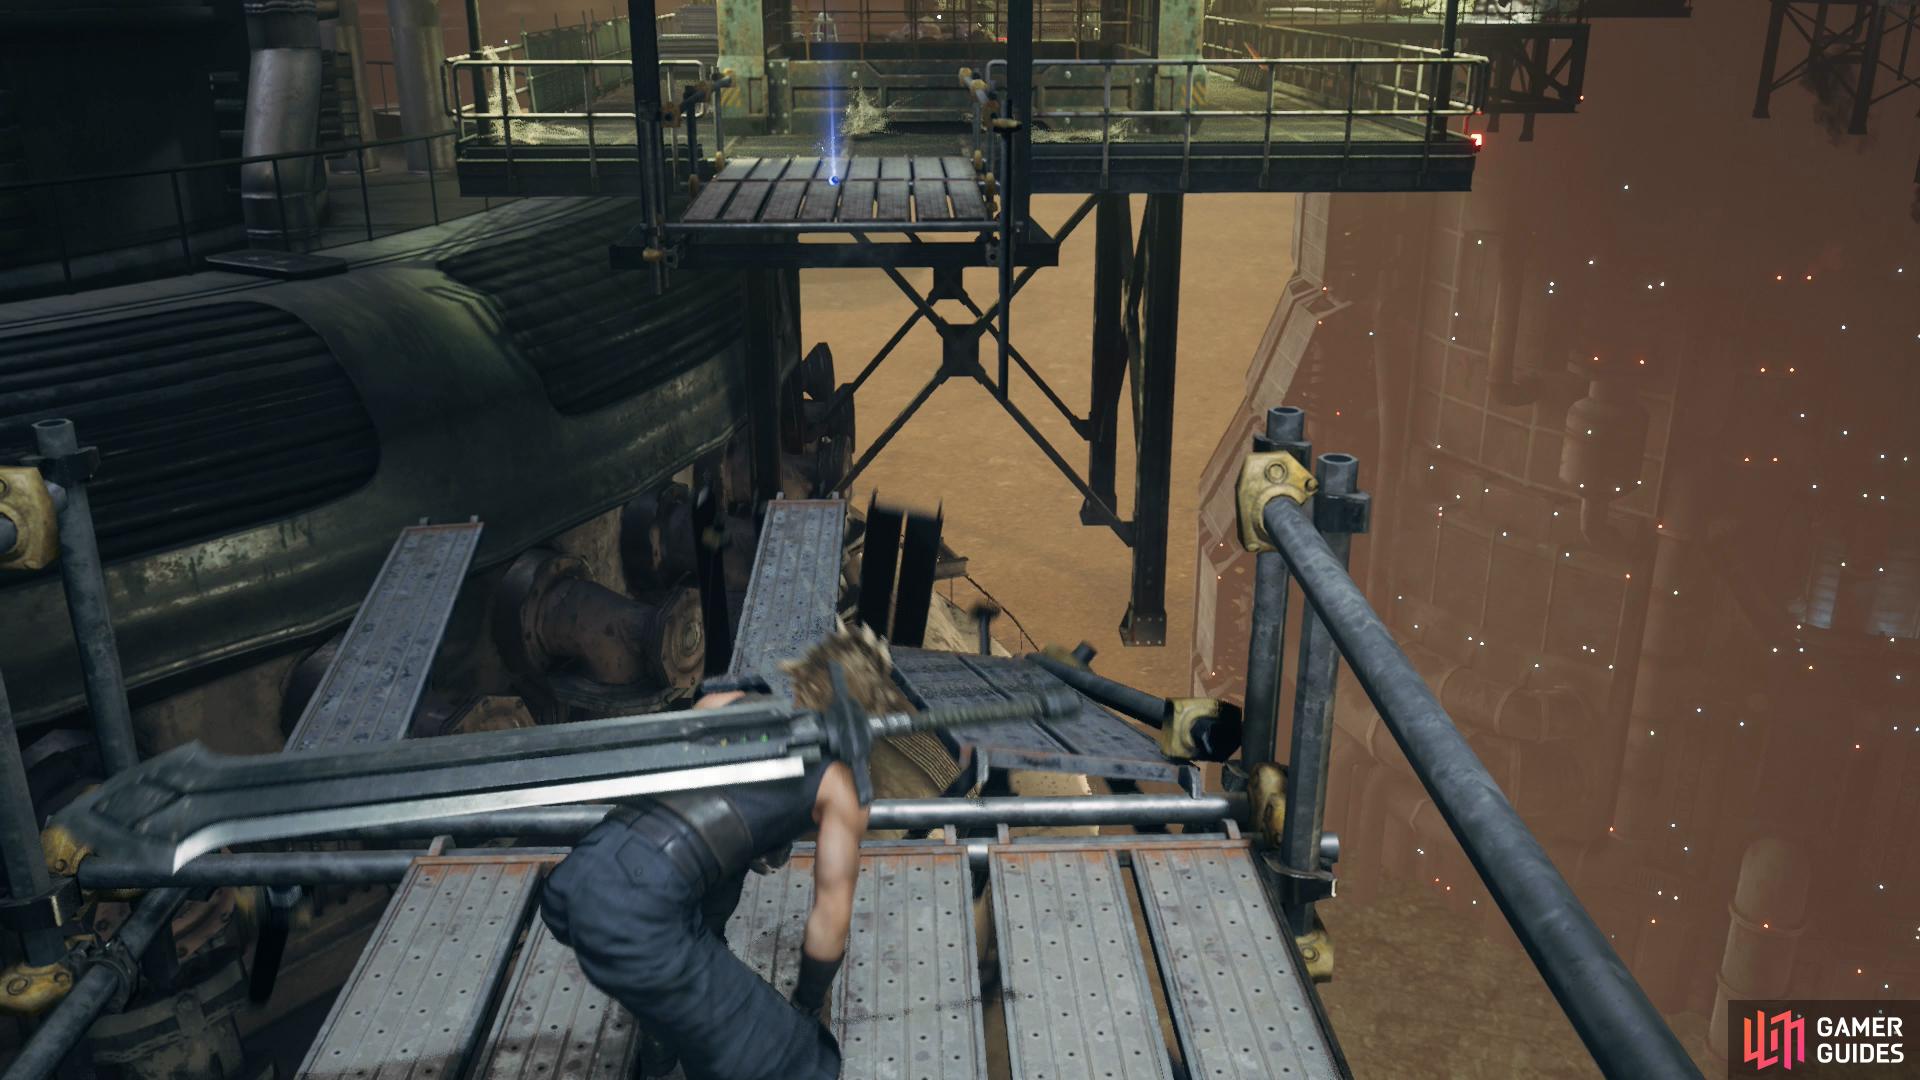
Head downstairs and head south, west and north to find some Shinra Boxes you can smash, then backtrack and head south across a short catwalk to reach another platform. When the path splits, tempt fate by heading south across a narrow walkway, only to have it collapse under you. Oh, c’mon Cloud, we’ve seen you jump gaps larger than that before! Remember Reactor 1? Oh, whatever - blue Materia, you win this round, but the war ain’t over yet. This will mark the Discovery: Collapsed Passageway on your map.
Retreat back to the platform to the north, your ego bruised a tiny bit, and begrudgingly make your way west, then south to spot two more avenues of exploration: some stairs right ahead of you, and another catwalk to the west. Smash some Shinra Boxes on the northern end of the platform (just behind the stairs), then tempt fate again by crossing the catwalk to the west. This catwalk remains faithful, but instead of some lovely mystery materia you’re rewarded with the company of a trio of Grashtrikes. Kill them, smash some more Shinra Boxes along the western edge of the platform, near a dead-end catwalk, then loot a chest near the central support pylon to score a Remedy, a classic cure-all of the Final Fantasy series that removes all ailments.
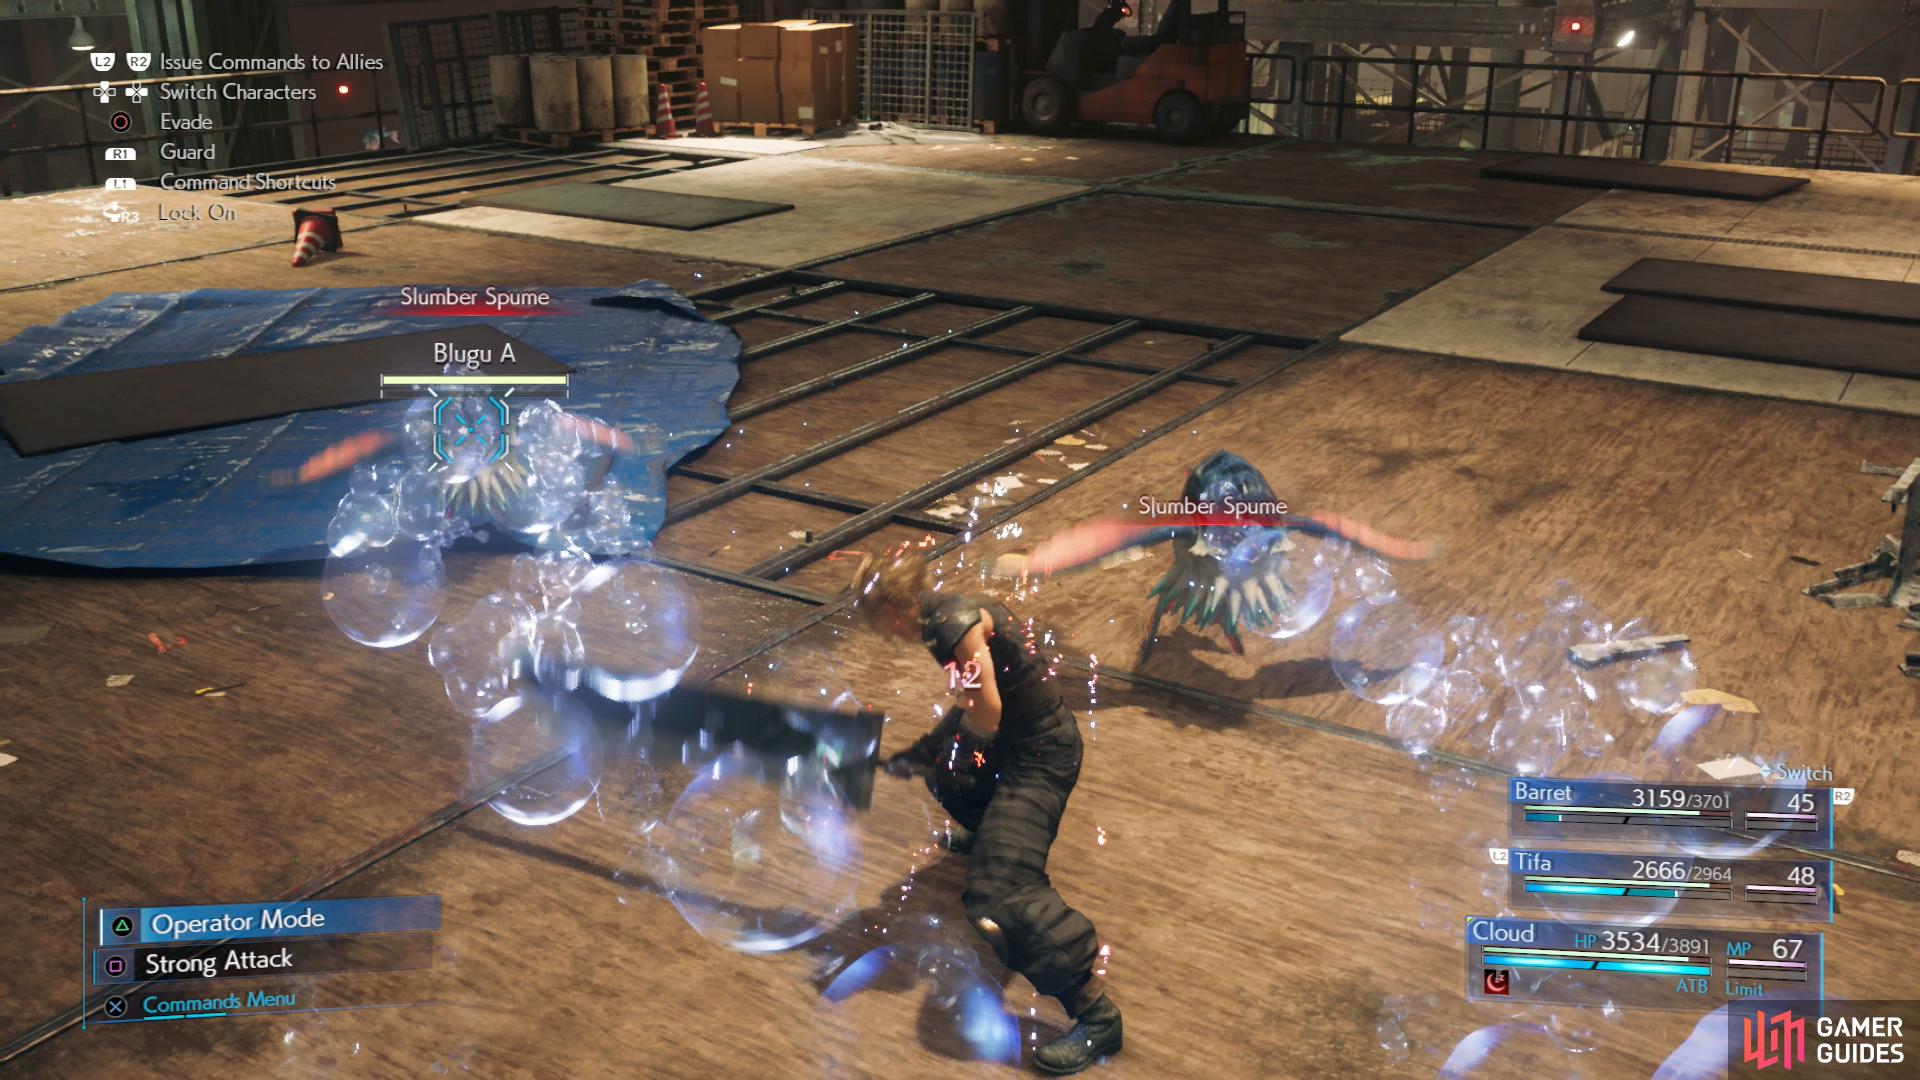
The “Slumber Spume” attack of the Blugus might not deal much damage, but it can put a character to sleep.
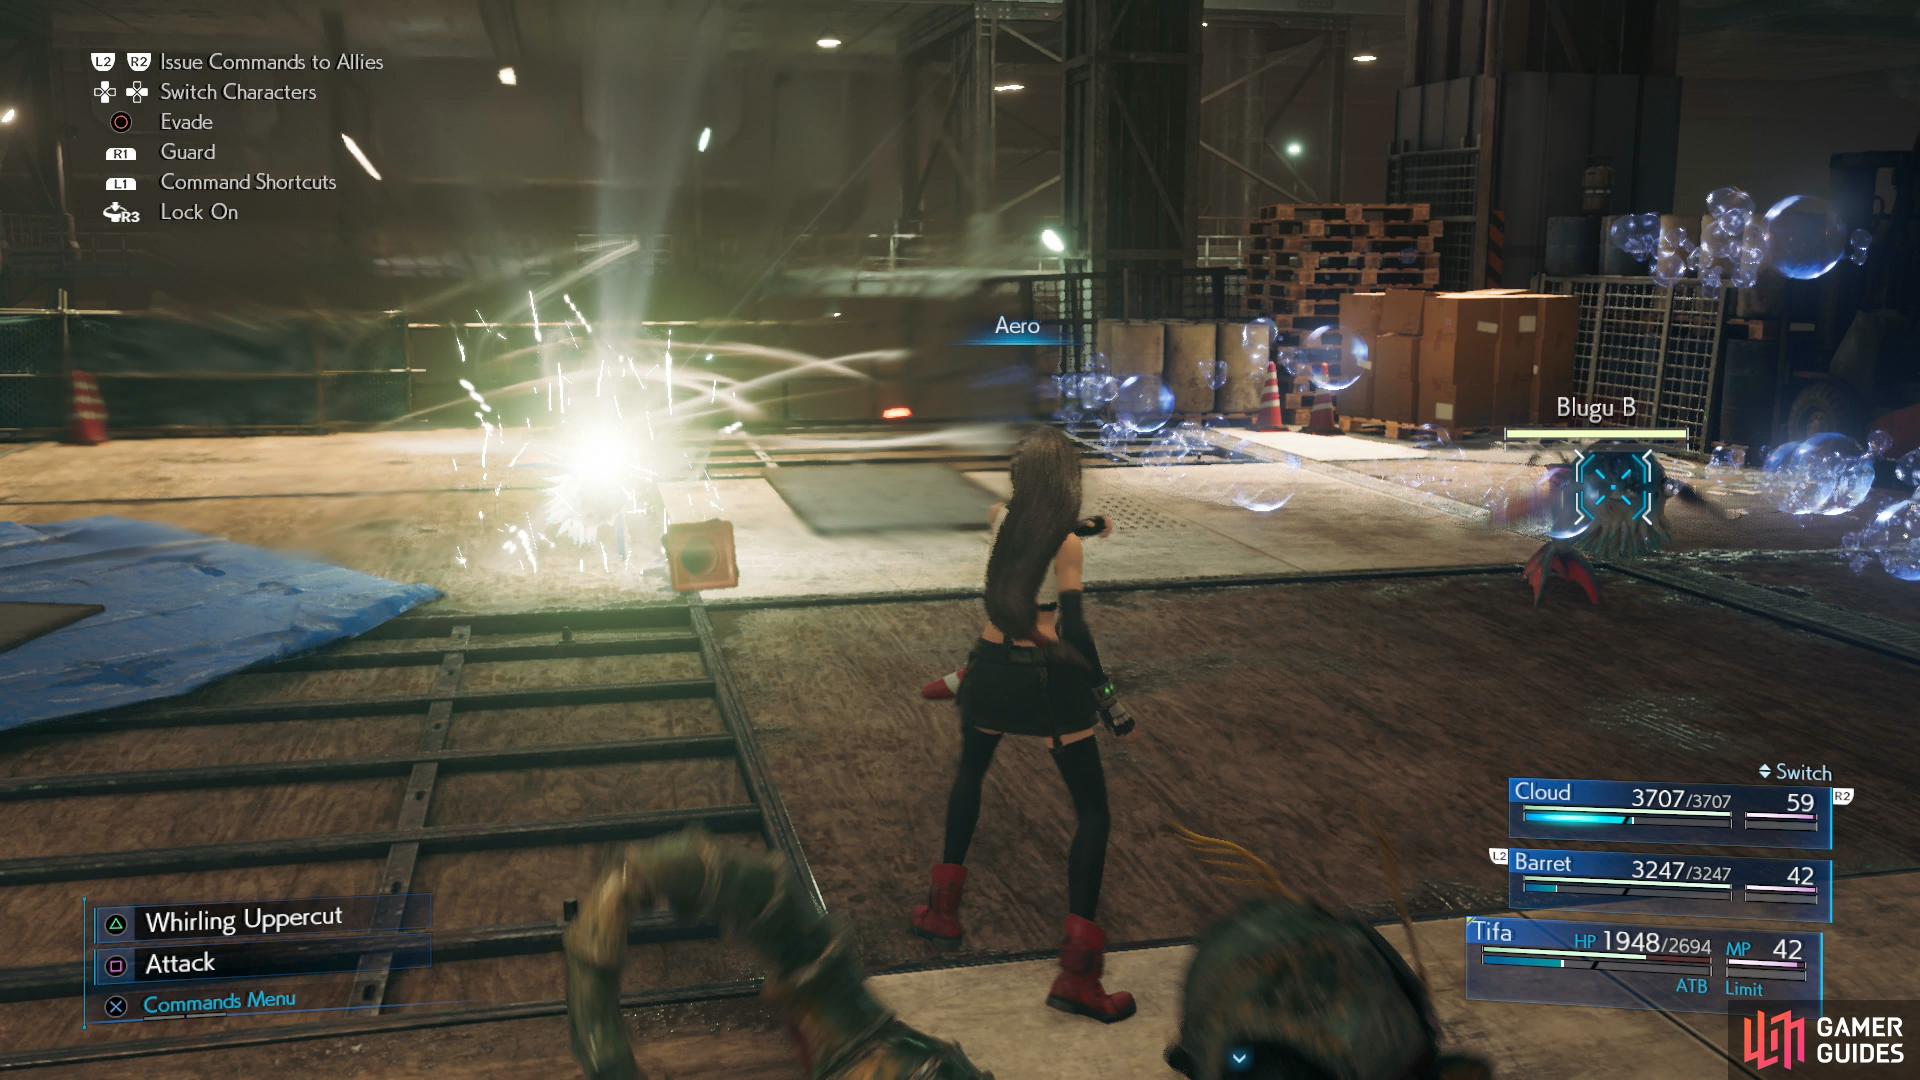
Defeat them quickly - and from a safe distance - with spells like Aero.
Backtrack east and climb the stairs you ignored earlier. Once on the platform atop the stairs Tifa will suggest discussing your route. With that done, search the northern edge of the platform to find a chest containing 2x Antidotes, then head across a catwalk to the west. Here you’ll encounter a new enemy: a Blugu. While not very offensively potent, they can be annoying due to their “Slumber Spume” ability, which can put opponents to sleep. To hint at the possibilities this entails, the two Blugu are joined by a Grashtrike, who will happily take advantage of the opportunity to attack sleeping characters. Fortunately Blugus are fairly weak, and can be defeated with Thunder or Aero.
Defeat your foes and cross a catwalk to the south and west to reach a surprisingly dull platform. Find another catwalk to the north and descend the attached stairs to reach a smaller platform from which Tifa gains a glimpse at a possible route forward. Smash some Shinra Boxes and continue across an unreliable-looking walkway to the west and south, then climb a ladder. Watch a scene and navigate your way across a large pipe, menaced by some industrial fans nearby. As you cross you’ll get the Discovery: Inside the Ventilation Fan. So much out-of-reach materia…
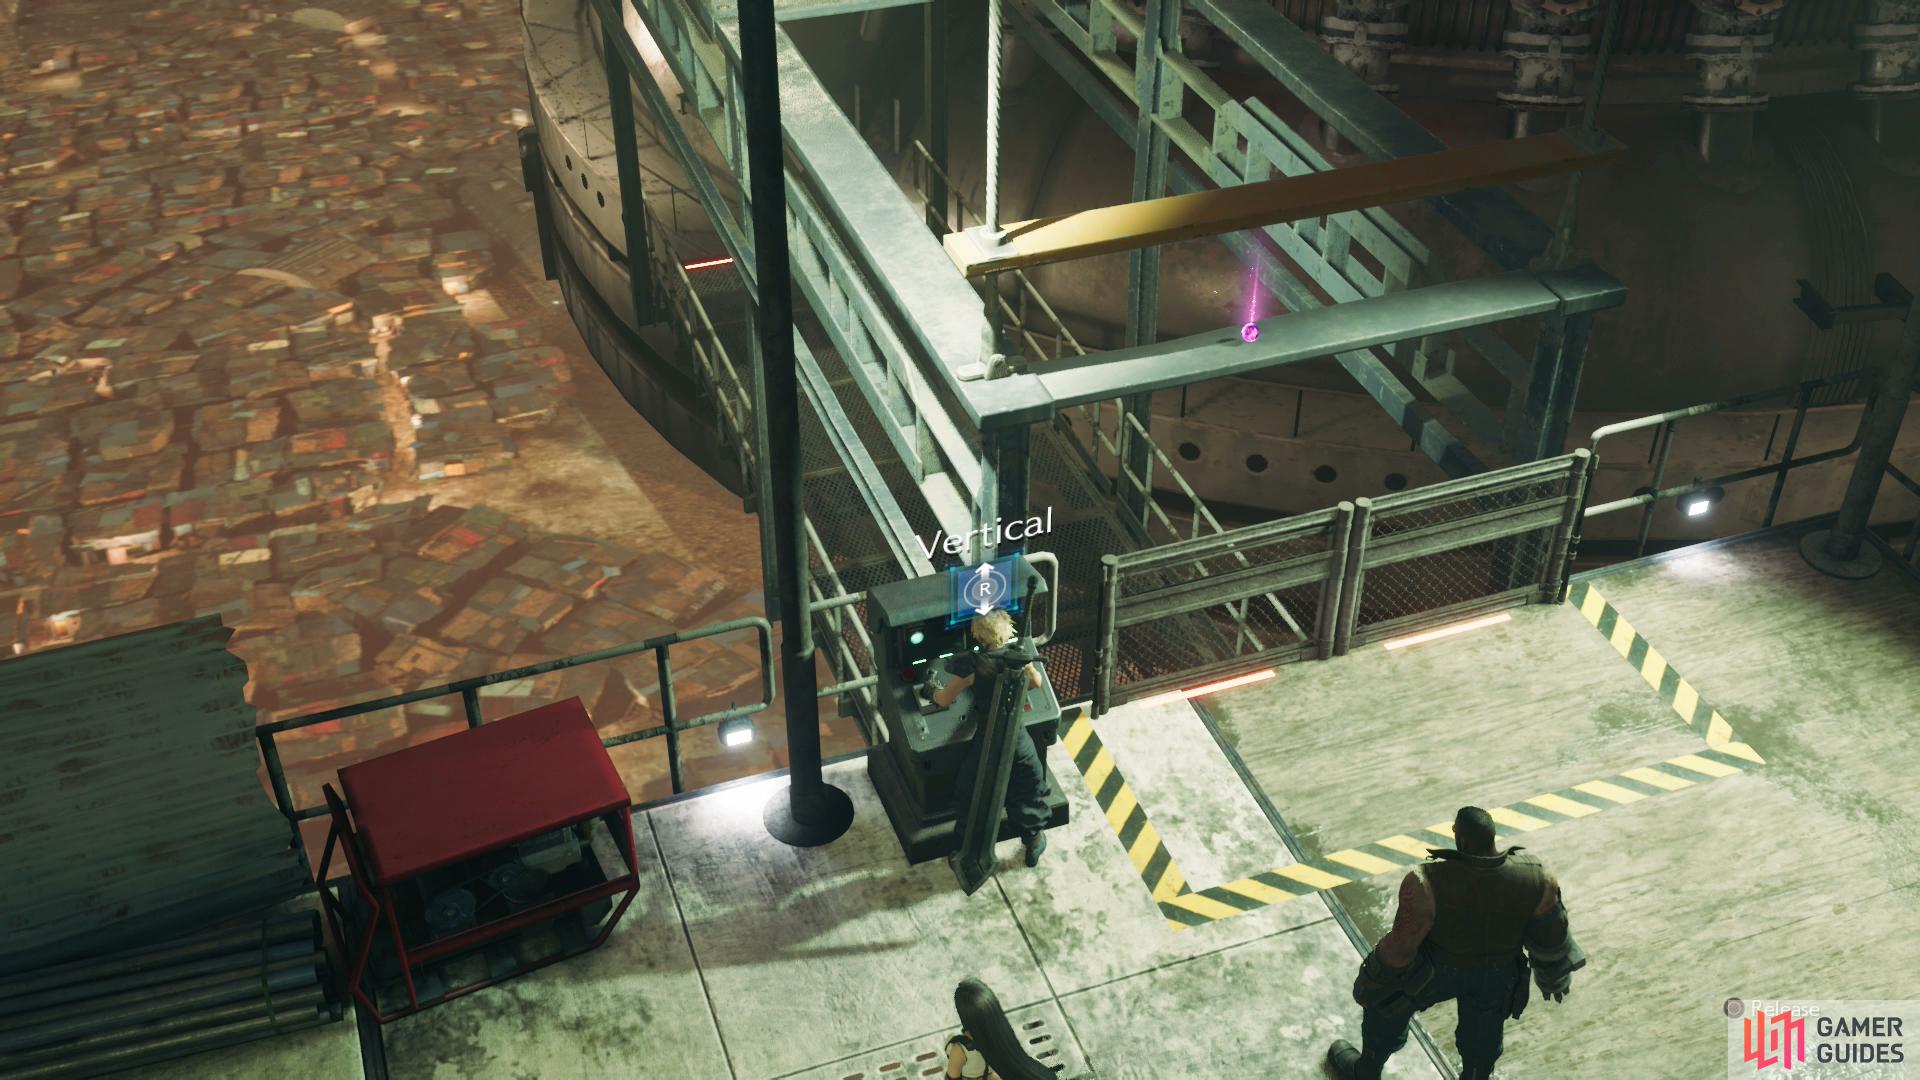
Climb down another ladder at the end of your ordeal, then head east and south across another narrow board to reach your objective - the cargo platform Biggs mentioned. For some reason, Tifa is surprised that there’s not enough power to use this lift, and this time you’ll need to disable three sunlamps to get sufficient power for the lift.
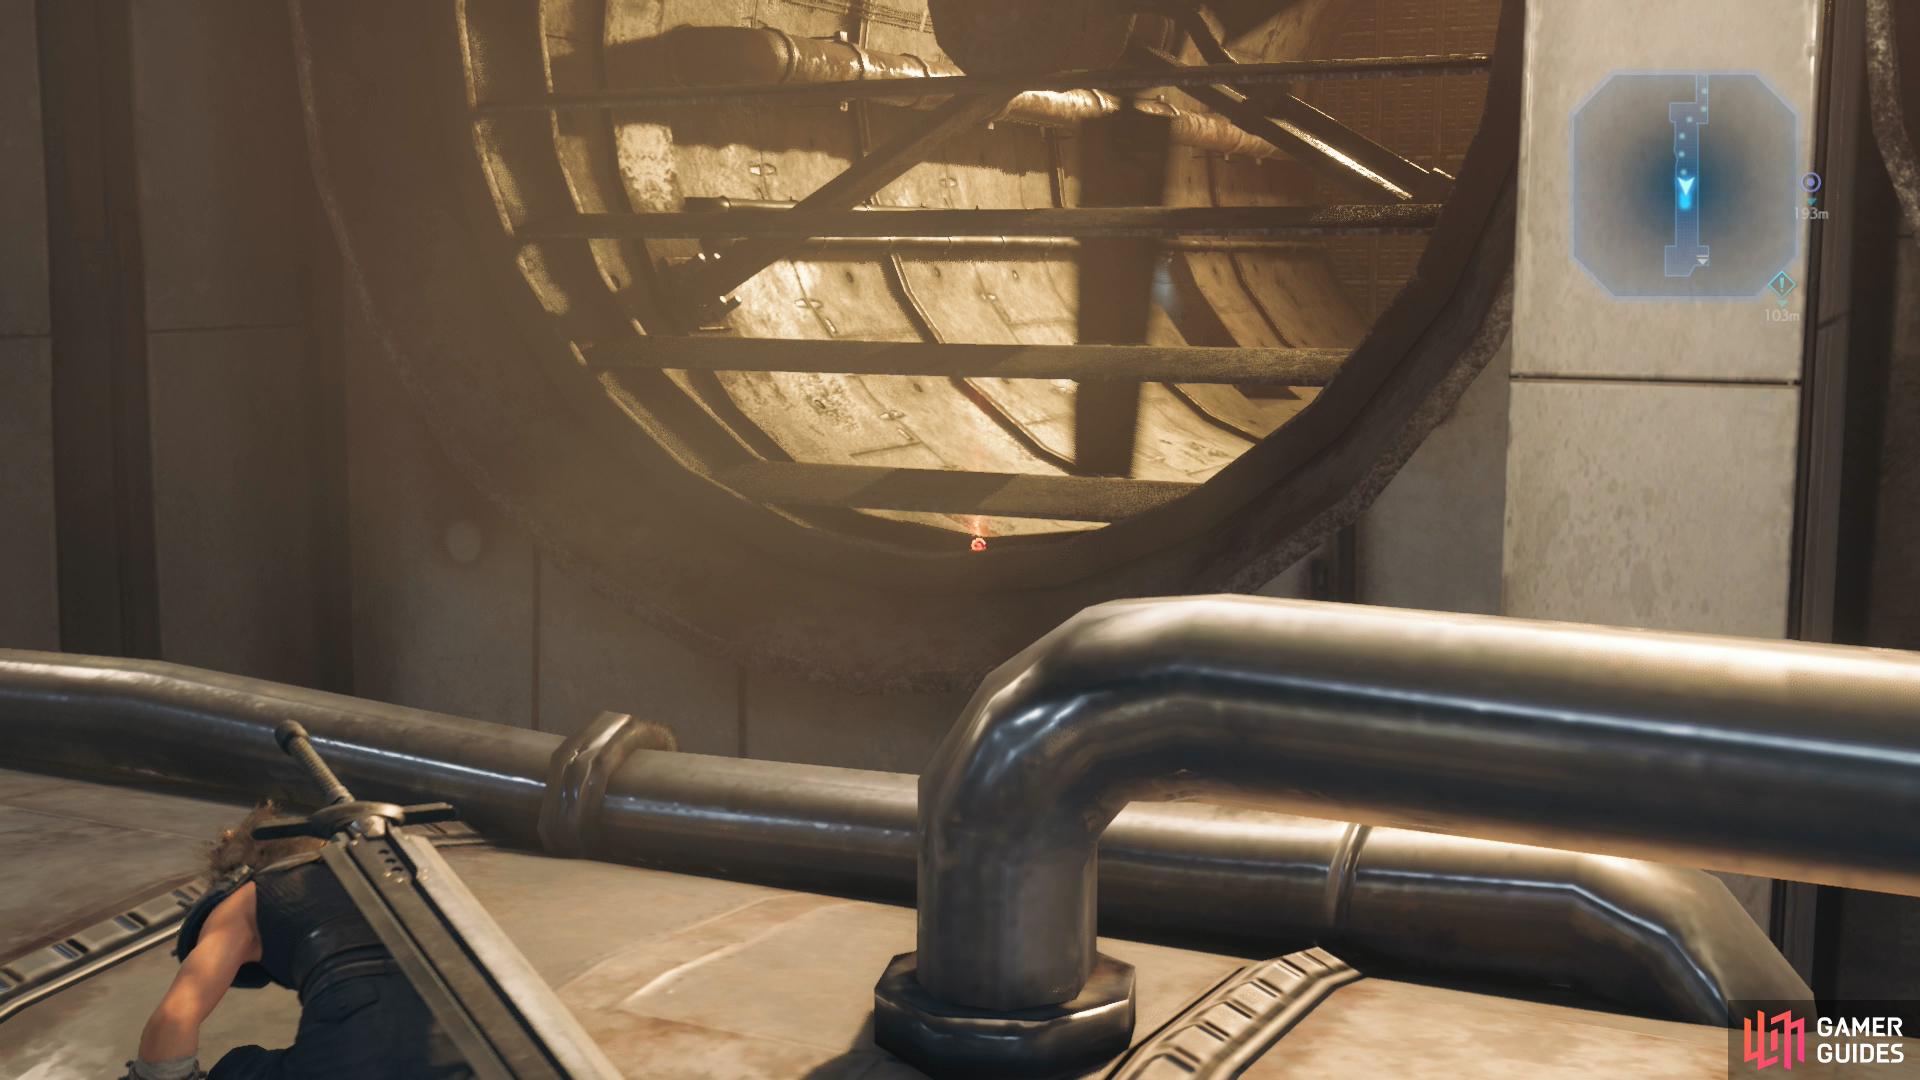
As you cross in front of the fans, note an orb of red materia…
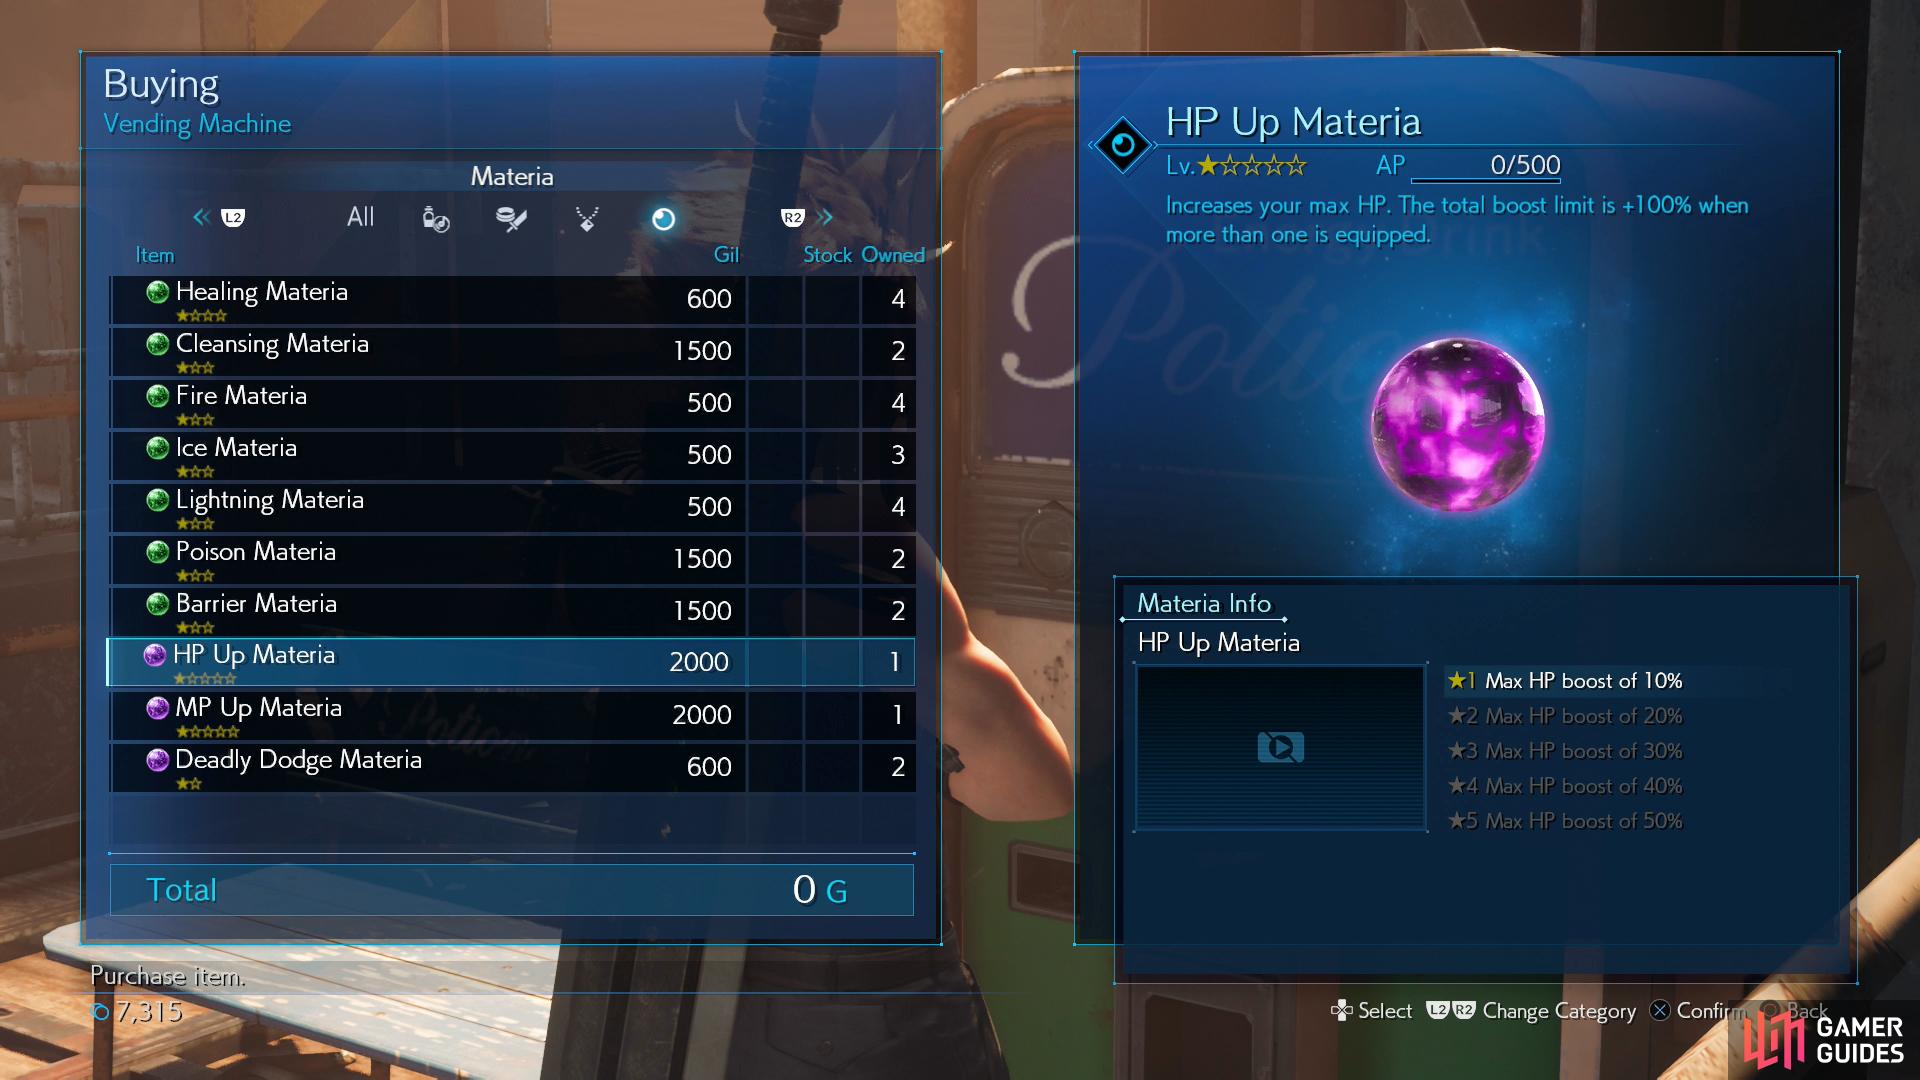
Less difficult to obtain are HP Up Materia and MP Up Materia, which can be found at vending machines.
Power for the Platform
Busy, busy, busy… smash some Shinra Boxes, then note there’s an elevator to the west you can’t use without disabling one of the lamps, and a rest bench and a vending machine in the southwestern corner of the platform. This vending machine also carries some new items, specifically materia, so we’ll stick to mentioning that. Namely, this vending machine carries HP Up Materia and MP Up Materia, the usefulness of which we don’t need to gush about. It’s +50% HP or MP at max level! Anyways, consider buying some more of these with whatever Gil you have if you want an immediate boost to your HP/MP - ideally preferring HP Up Materia over MP Up Materia for now.
Section H Utility Access
| Materia | Cost |
|---|---|
| Healing Materia | 600 |
| Cleansing Materia | 1,500 |
| Fire Materia | 500 |
| Ice Materia | 500 |
| Lightning Materia | 500 |
| Poison Materia | 1,500 |
| Barrier Materia | 1,500 |
| HP Up Materia | 2,000 |
| MP Up Materia | 2,000 |
| Deadly Dodge Materia | 600 |
Head east across a catwalk to reach another platform, where you’ll note another unpowered elevator to the east. Nothing you can do about it, yet, so head north to another platform (note the “H02” painted on the floor) where you’ll find a number of disabled turrets and some Shinra Boxes you can smash. The catwalk to the north doesn’t go anywhere, so go upstairs and kill three Grashtrikes. Once victorious, note two misaligned catwalks to the south - another thing you’ll need power for. Speaking of which, head north across a walkway to reach the first sun lamp. Head counter-clockwise and disable the sun lamp to bring power back to this sector, which also has the unfortunate side effect of restarting the security machines in the area. Oh no, who could have seen that coming? Obviously we couldn’t have just smashed the disabled machines as we passed through, either, that just wouldn’t be sporting! Anywho, continue counter-clockwise to find a chest containing a Phoenix Down.
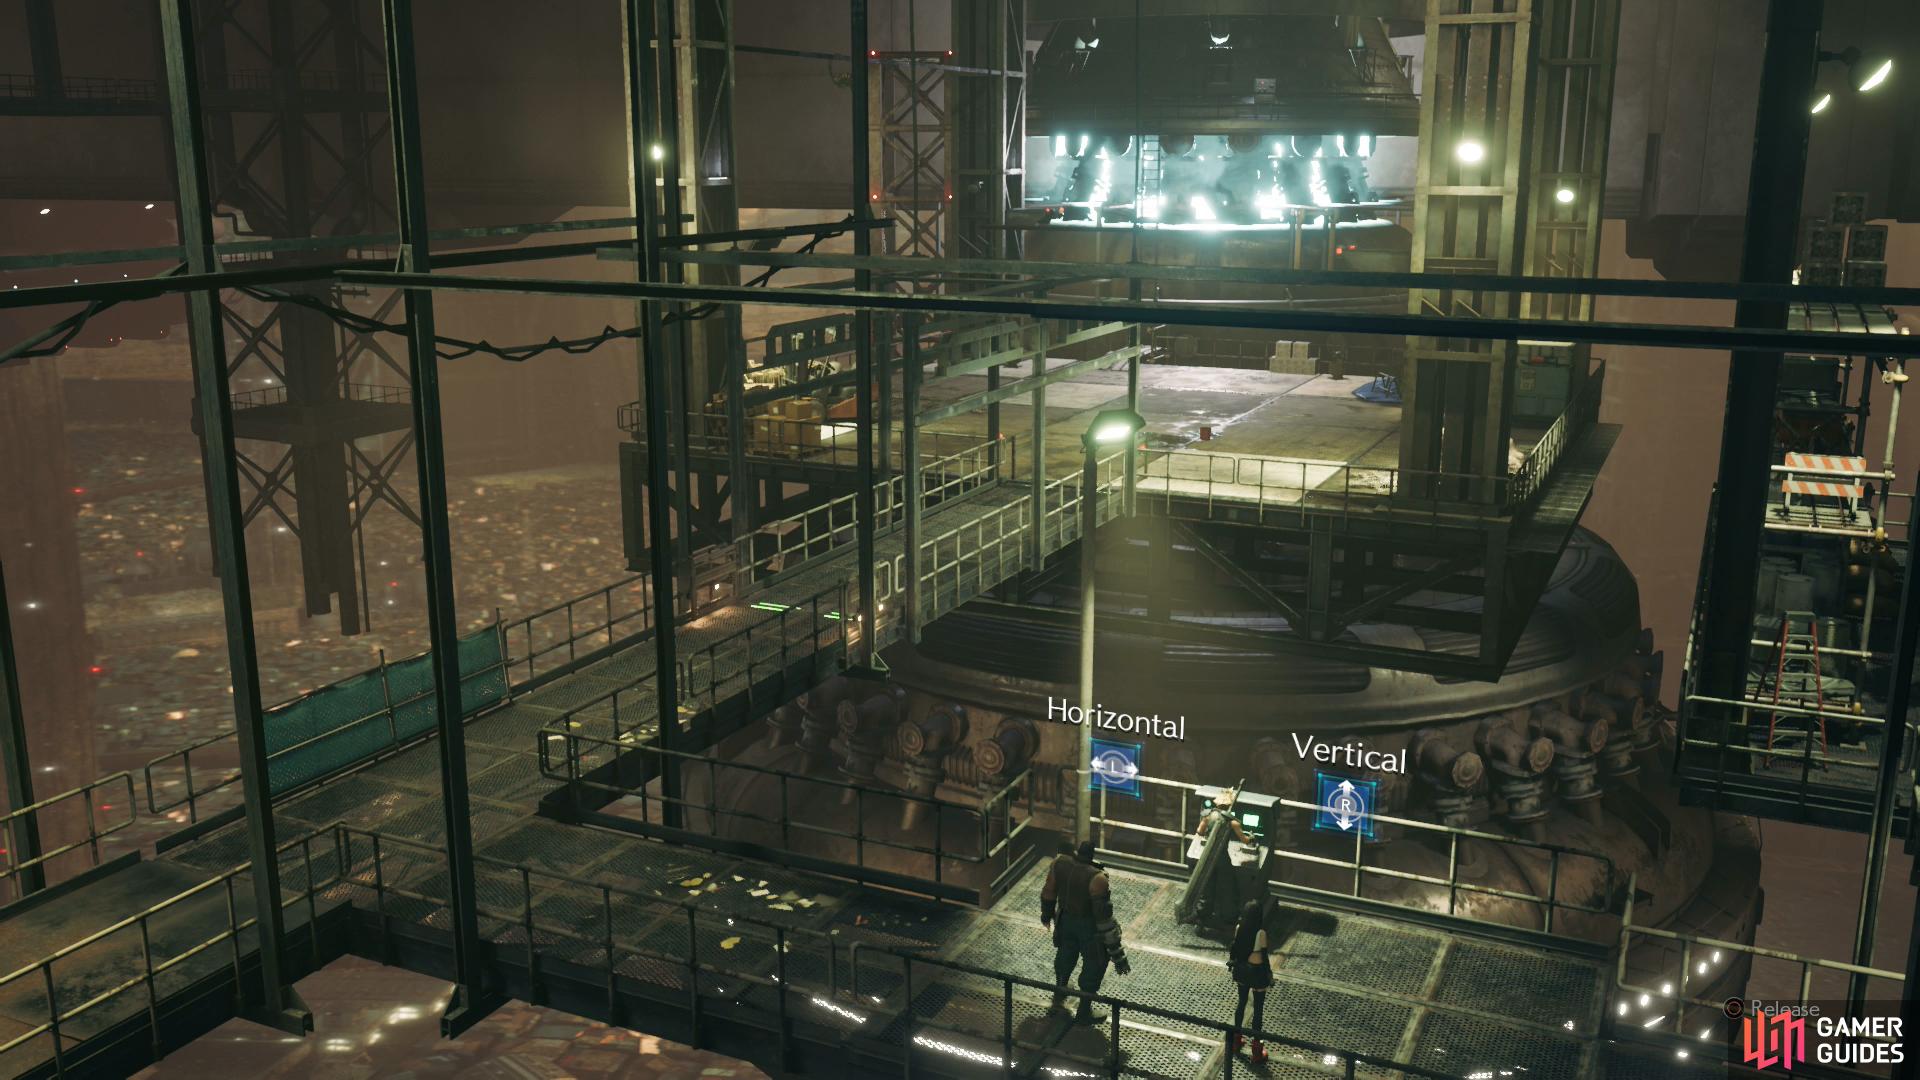
Head back south to the previous platform, destroy two Sentry Rays, and use the console next to the misaligned catwalk to move it right. There are two catwalks you can connect it to: one close to its starting position, and one further to the right. Move it to the far catwalk first, cross the new path and smash some Shinra Boxes, then continue south to find a chest hidden in a cubby. Open it to score a Turbo Ether - a superior MP restorative - then head back to the console and move the catwalk to create a passable path to the left.
| Enemy | Weaknesses | Notable Loot |
|---|---|---|
| Grashtrike | Ice | Spiderweb |
| Sentry Ray | Lightning | -- |
| Terpsicolt | Ice | -- |
| Sentry Gun Prototype | Lightning | -- |
| Queen Grashtrike | Ice | Spiderweb |
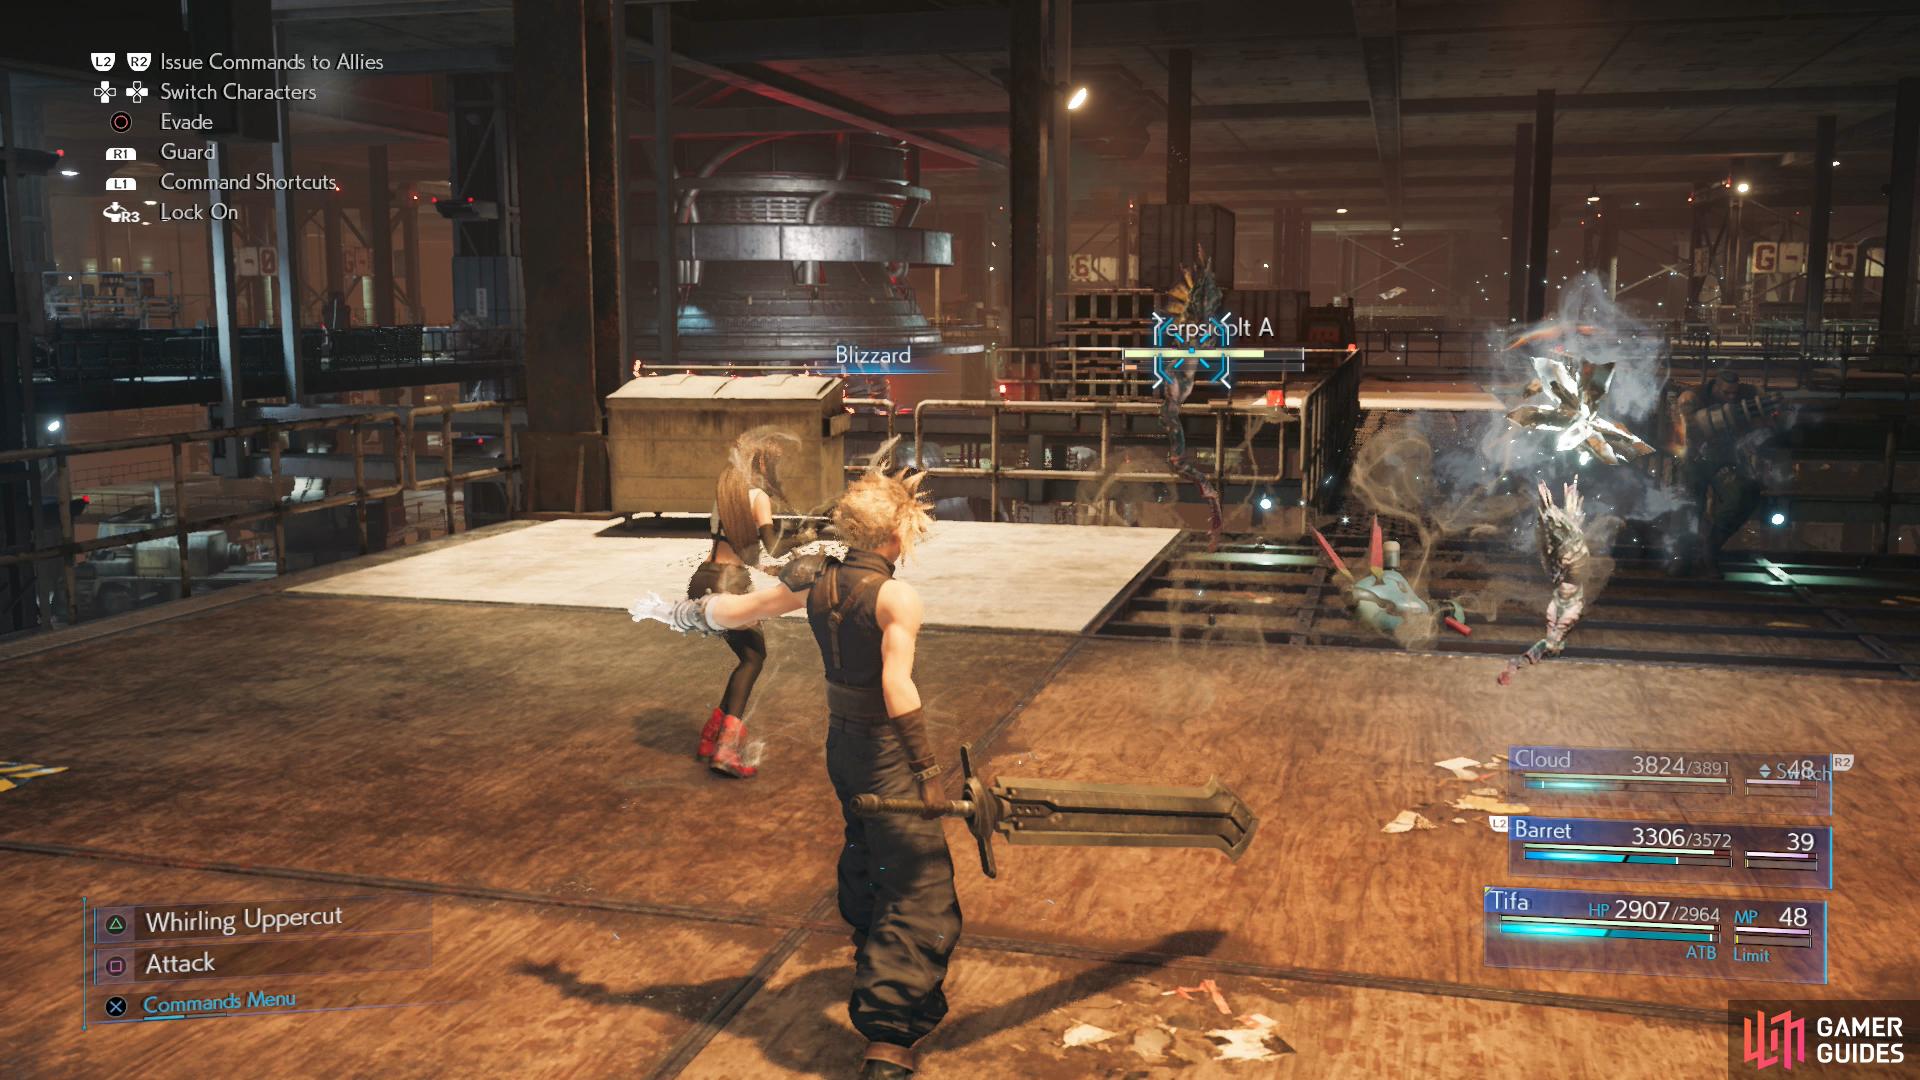
Cross the new catwalk and smash some Shinra Boxes, then turn east to spot a catwalk leading to another platform. From the railing north of this platform if you look at the level below you you’ll spot yet another currently out-of-reach materia -this time purple - glowing tauntingly away. You will be ours! Ahem. Continue east across the catwalk to reach another platform where you’ll encounter some activated Sentry Rays. They’ll be joined by two new foes, however: Terpsicolts. These curious, seahorse-like creatures are weak to ice attacks, and when harassed in melee using Blizzard is the only way to stop their defensive spin that makes melee engagements… painful. Failing that, you can just use Barret to attack from afar. Barret’s proving his worth here, eh?
Venture north to another platform, where your progress further north will be impeded by an uncooperative catwalk. Head east instead to reach the second sun lamp which you can disable via a console on the circular walkway surrounding it, as usual. Turn it off, then head down a walkway to the south and descend a ladder.
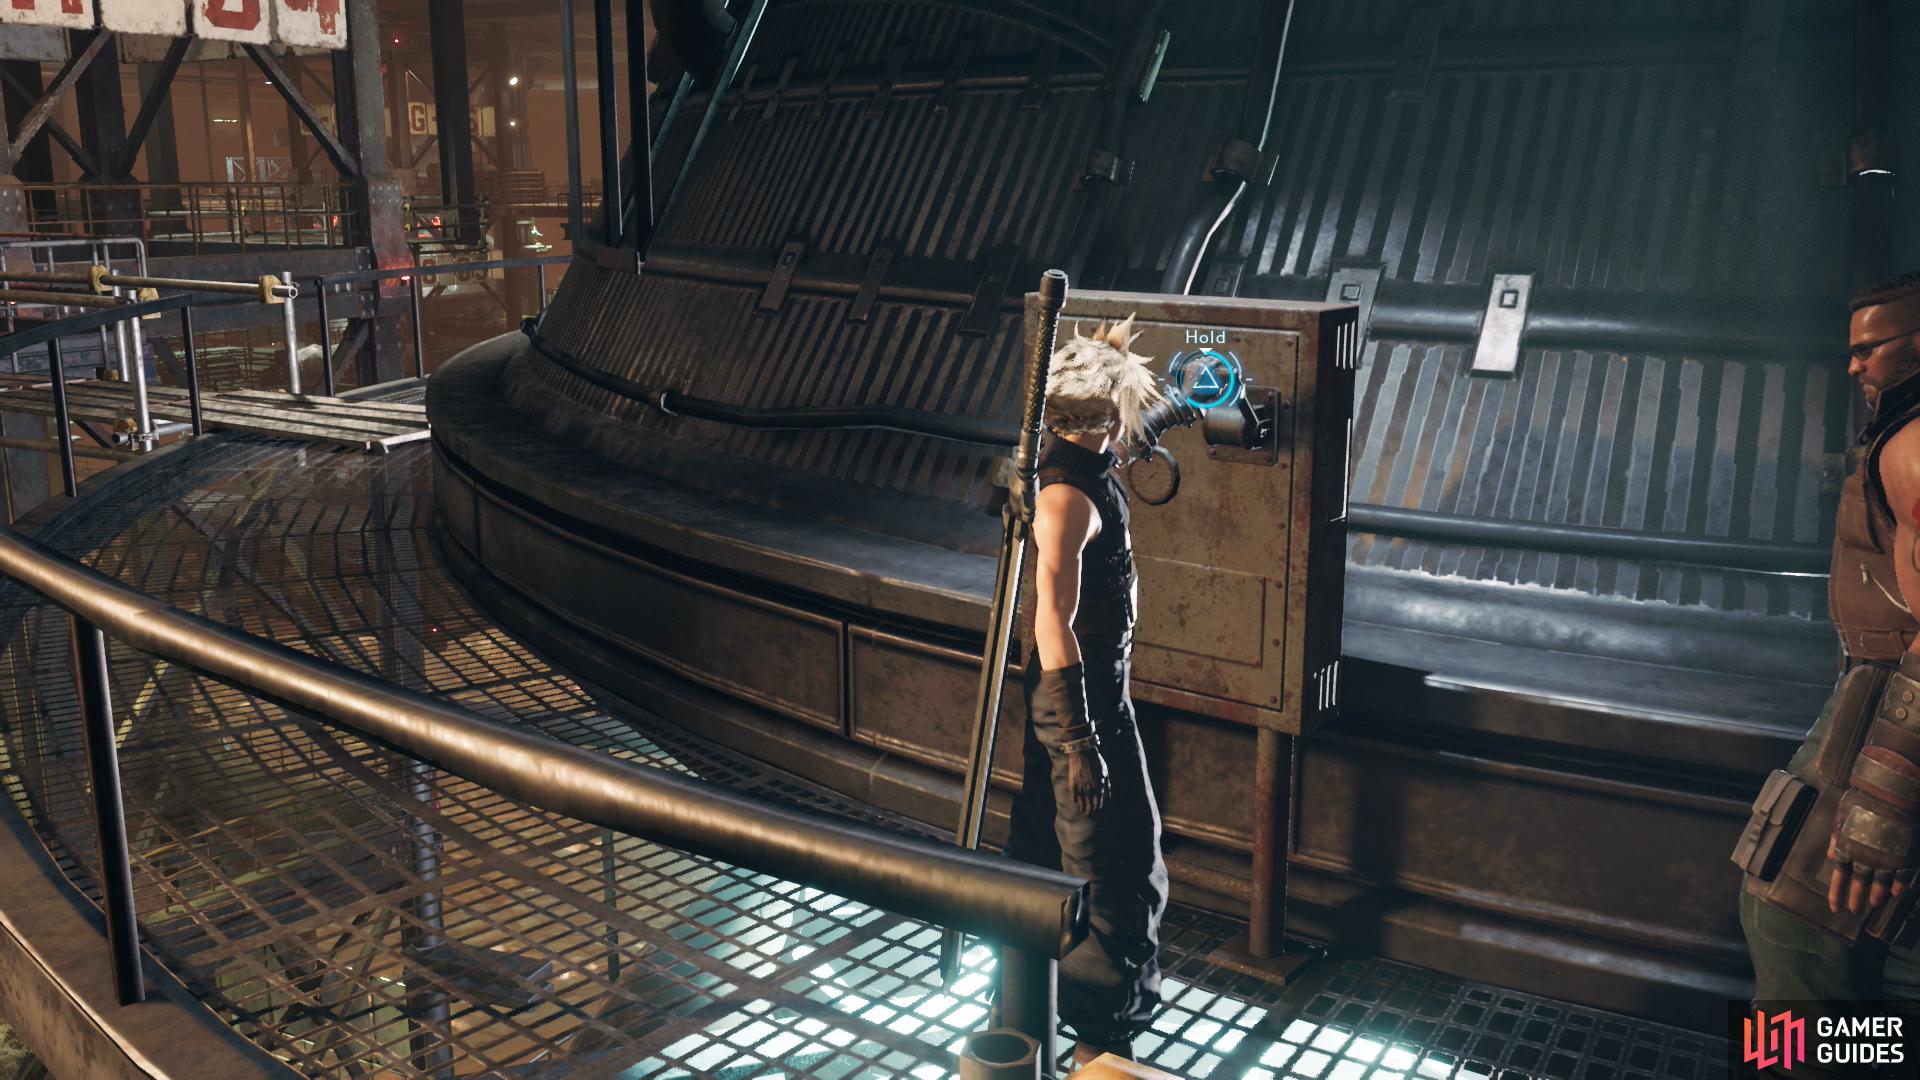
Shut down the second sun lamp,
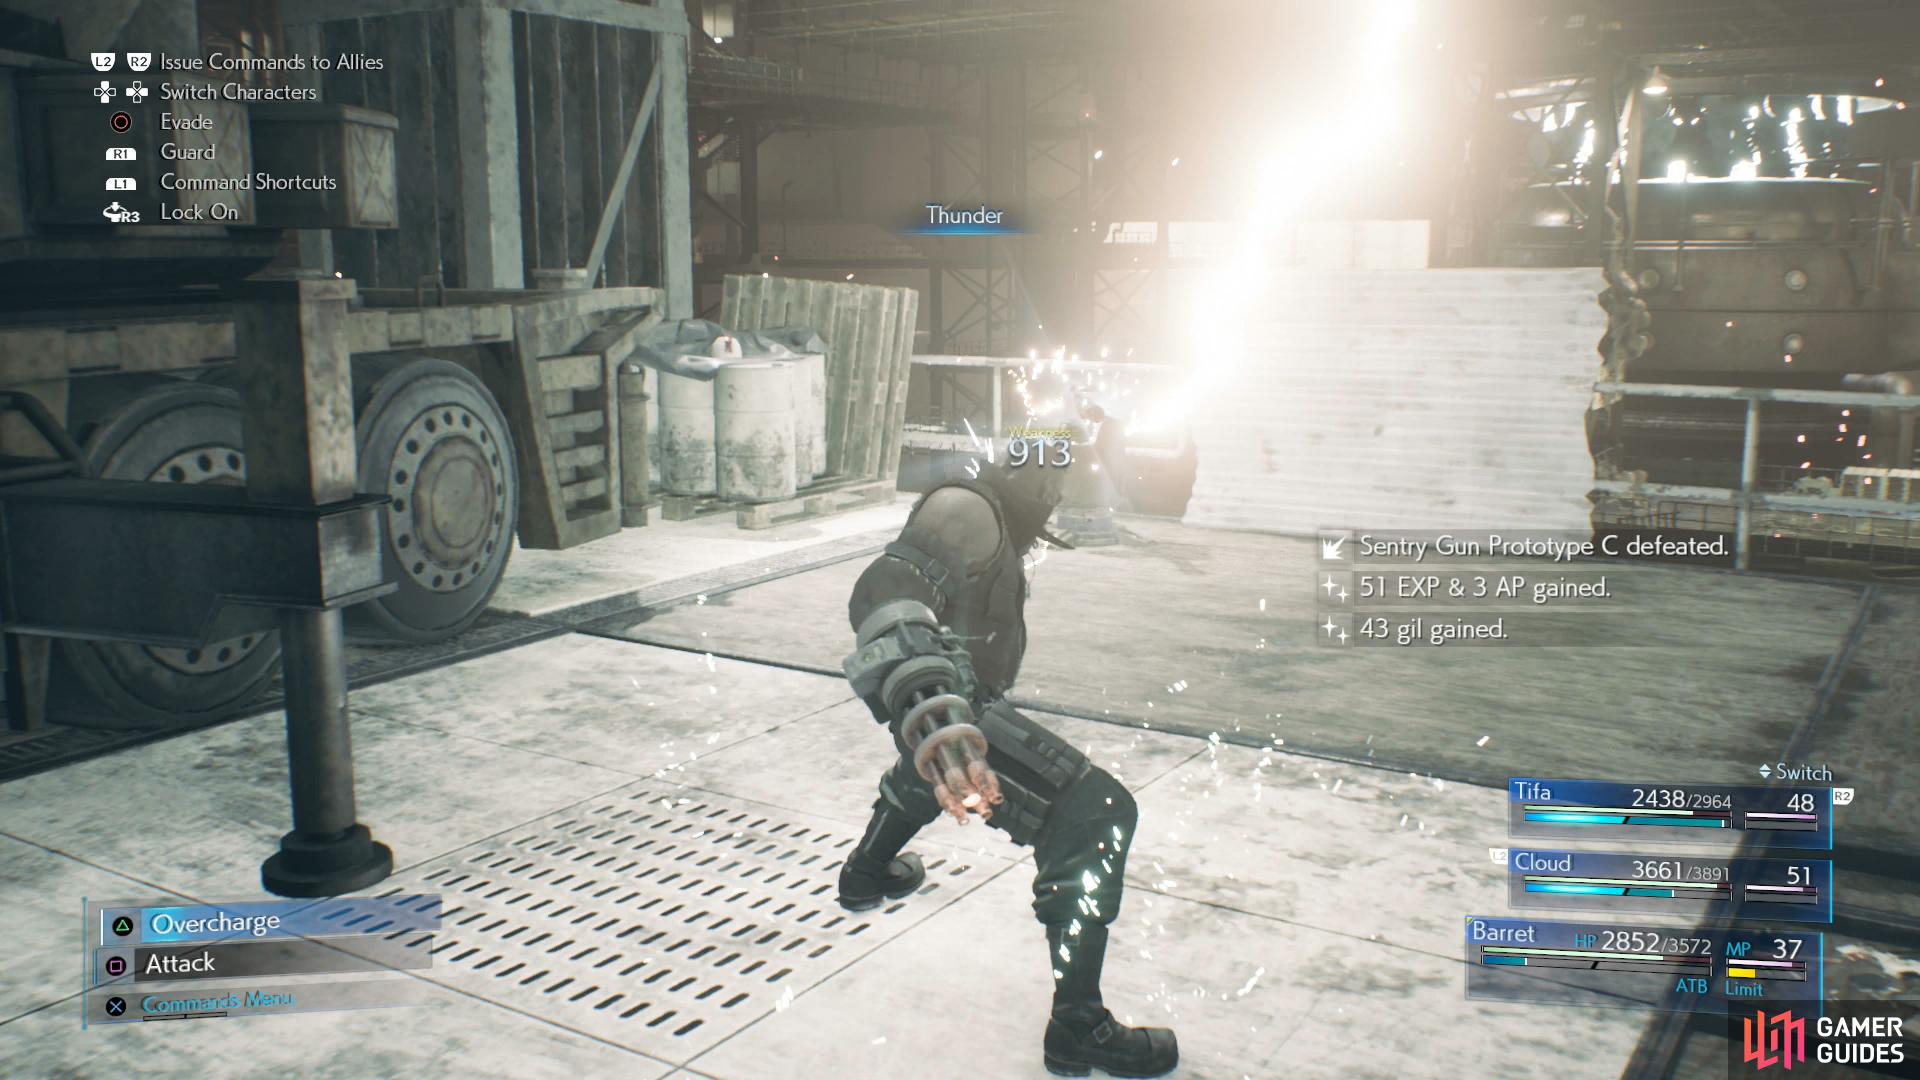
then use a lift to return to “H02”, where you’ll be greeted by some reactivated Sentry Gun Prototypes.
Reach a platform below and look out to the south to notice that the purple materia that was taunting you from afar earlier is just out of reach, meaning it’s taunting you even more fiercely now. Laugh while you can, glowing orb of magical goodness, your days of freedom are coming to an end. Continue west into a lift and ride it to the west to find yourself back at the “H02” platform, only this time the Sentry Gun Prototypes have awakened. They’re not terribly dynamic foes, since they deal little damage and can’t, you know, move? They are fairly sturdy, however, and you won’t Stagger them unless you use magic - namely Thunder, which they’re weak to.
Destroy the bots, then head south to a platform adjacent to “H01”, where your objective is. Take the time to rest and resupply if you need to, then use a lift to the east, which will ferry you across to another small platform. When the lift stops, head south to a much larger platform and note the chest and ladder to the west as well as the catwalk leading to the third sun lamp to the east.
Business first, head east across a walkway to notice that your way is blocked by… well, lack of a walkway. Turn south and you’ll find a console that promises to remedy this, so ignore the path south and east, because, again, business first (plus there’s nothing there, so…). Use the console to move the suspended catwalk down and left to create a passable bridge for you to continue east, defeat two Sentry Gun Prototypes and two Terpsicolts, smash some Shinra Boxes, then climb a ladder to reach the circular walkway around the third sun lamp. Flip a switch - three for three! - then continue counter-clockwise to find a chest housing a Mesmeric Armlet. If you were looking for more materia slots (aren’t we all?), then this won’t do much to appease you, but it does have superior Magic Defense compared to the Leather Bracer, albeit at the cost of Defense.
Whatever, free is free. Climb down the ladder and make your way back west. You can now take the cargo elevator you’ve been trying to get power for, but there’s still plenty of loot to be had in this place. First up, return to the larger platform to the west and loot a chest on the western edge of said platform to score a Moogle Medal. Not excited by something you can get by smashing respawning crates? Don’t worry, there’s more - but you have to earn it. Climb down the nearby ladder and if you head east around this lower platform’s support pylon you’ll notice you’re on the “H06” platform right now. Neat.
Continue across a walkway to the east and north and note the obvious signs of infestation every where. Sure enough, on a large platform ahead are two Queen Grashtrikes. One was bad enough, with minions, but two is another matter entirely - they both have significant staying power and damage output, so you’ll need to eliminate one as quickly as possible lest you be overwhelmed. Use Blizzard on one, then concentrate your fire on her with your best Stagger-boosting skills. If she stops being “Pressured” before you Stagger her, hit her with Blizzard again, and once she’s staggered switch to Braver and chi abilities to take her out. Again, the quicker the better, so concentrate fire as much as possible. Once one is dead, the survivor will be much easier to deal with.
Lower the catwalk to bring the smug materia within reach,
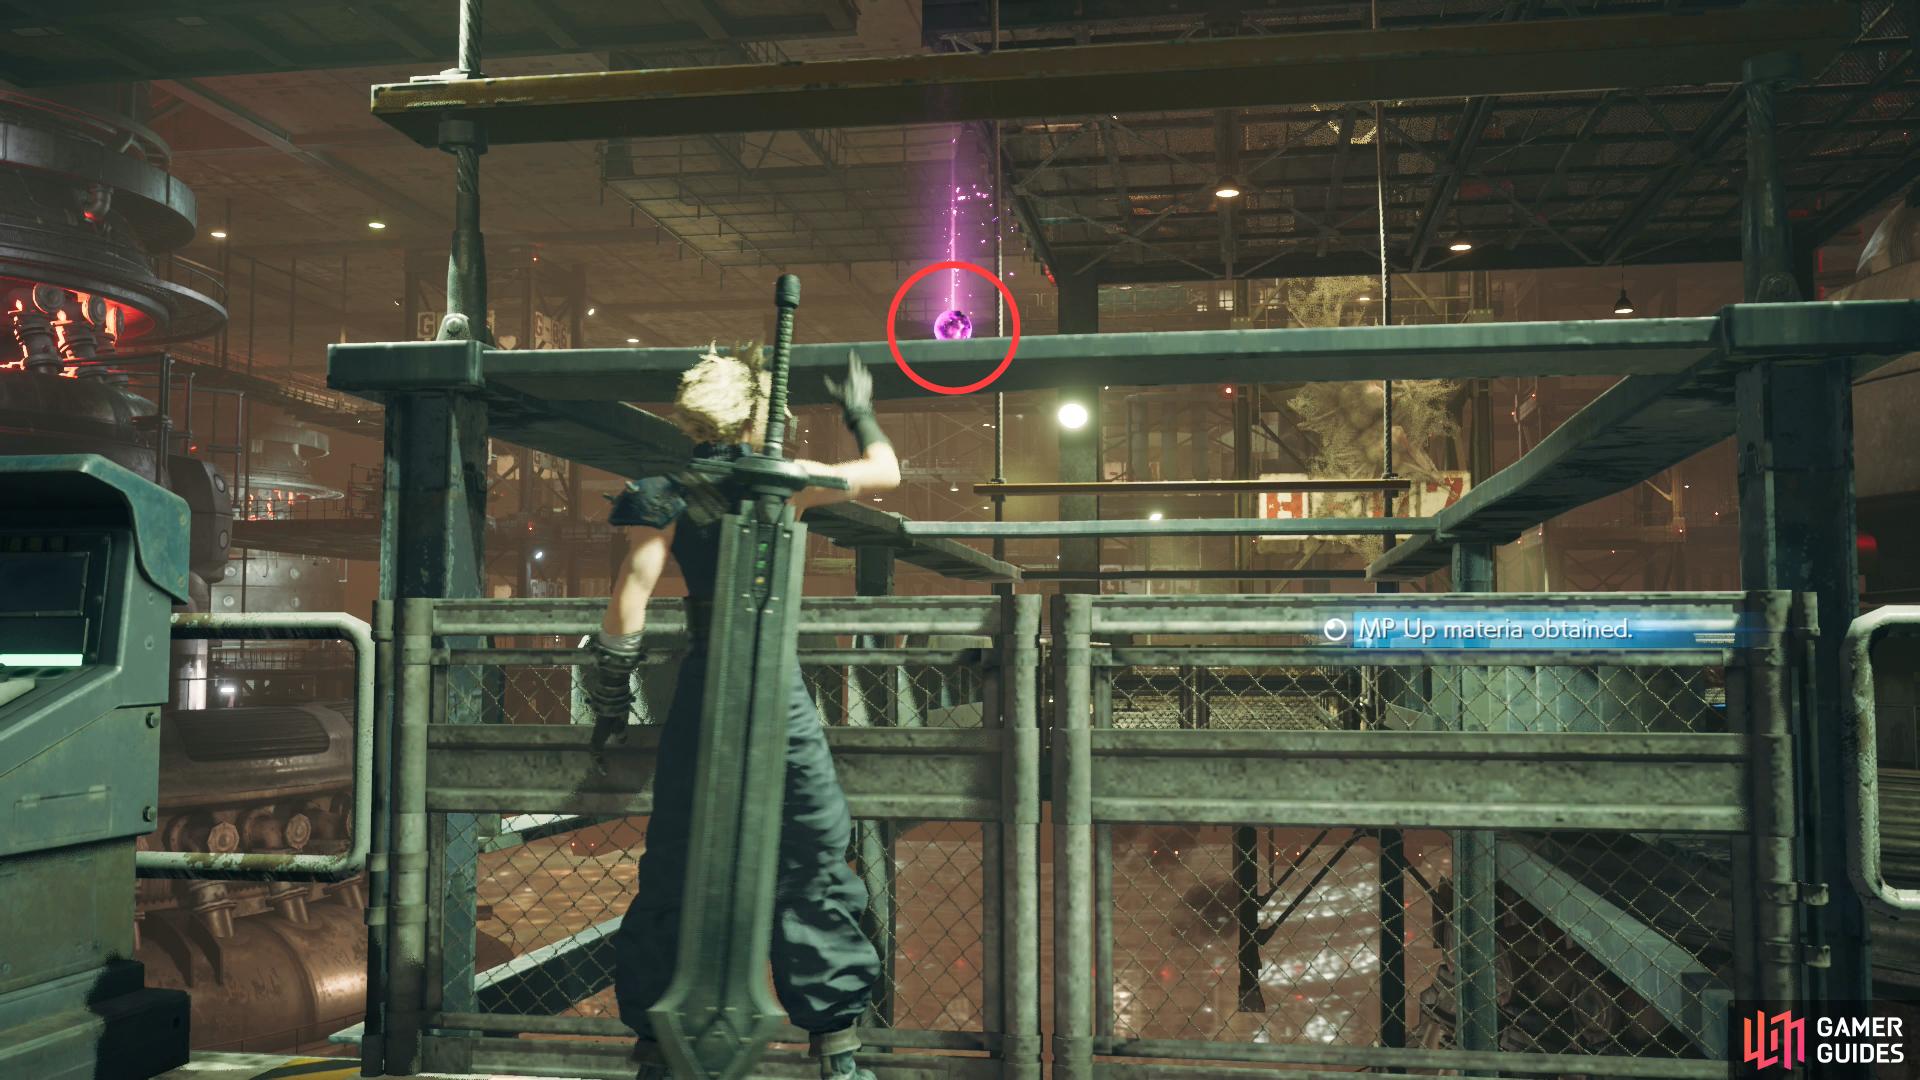
and claim your prize - a chunk of MP Up Materia.
Defeat both royal bugs, then continue north to find a console. Lower the controlled walkway as much as possible and you’ll spot your old friend - the purple materia. Once it’s lowered as much as possible (the bottom will be below floor level) leave the console and grab the smug MP Up Materia. Who’s laughing now? Ahem. Get back on the console and raise the walkway so it’s level with the ground, forming a bridge to the north that connects this platform to “H07”. Head to the northern end of “H07” to reach a broken catwalk - the same catwalk that collapsed on you earlier. Pick up the glowing blue ball of Elemental Materia - if those two bits of treasure don’t appease you, nothing will. Sure, MP Up Materia can be outright purchased now, but that’s still 2,000 Gil you don’t need to spend.
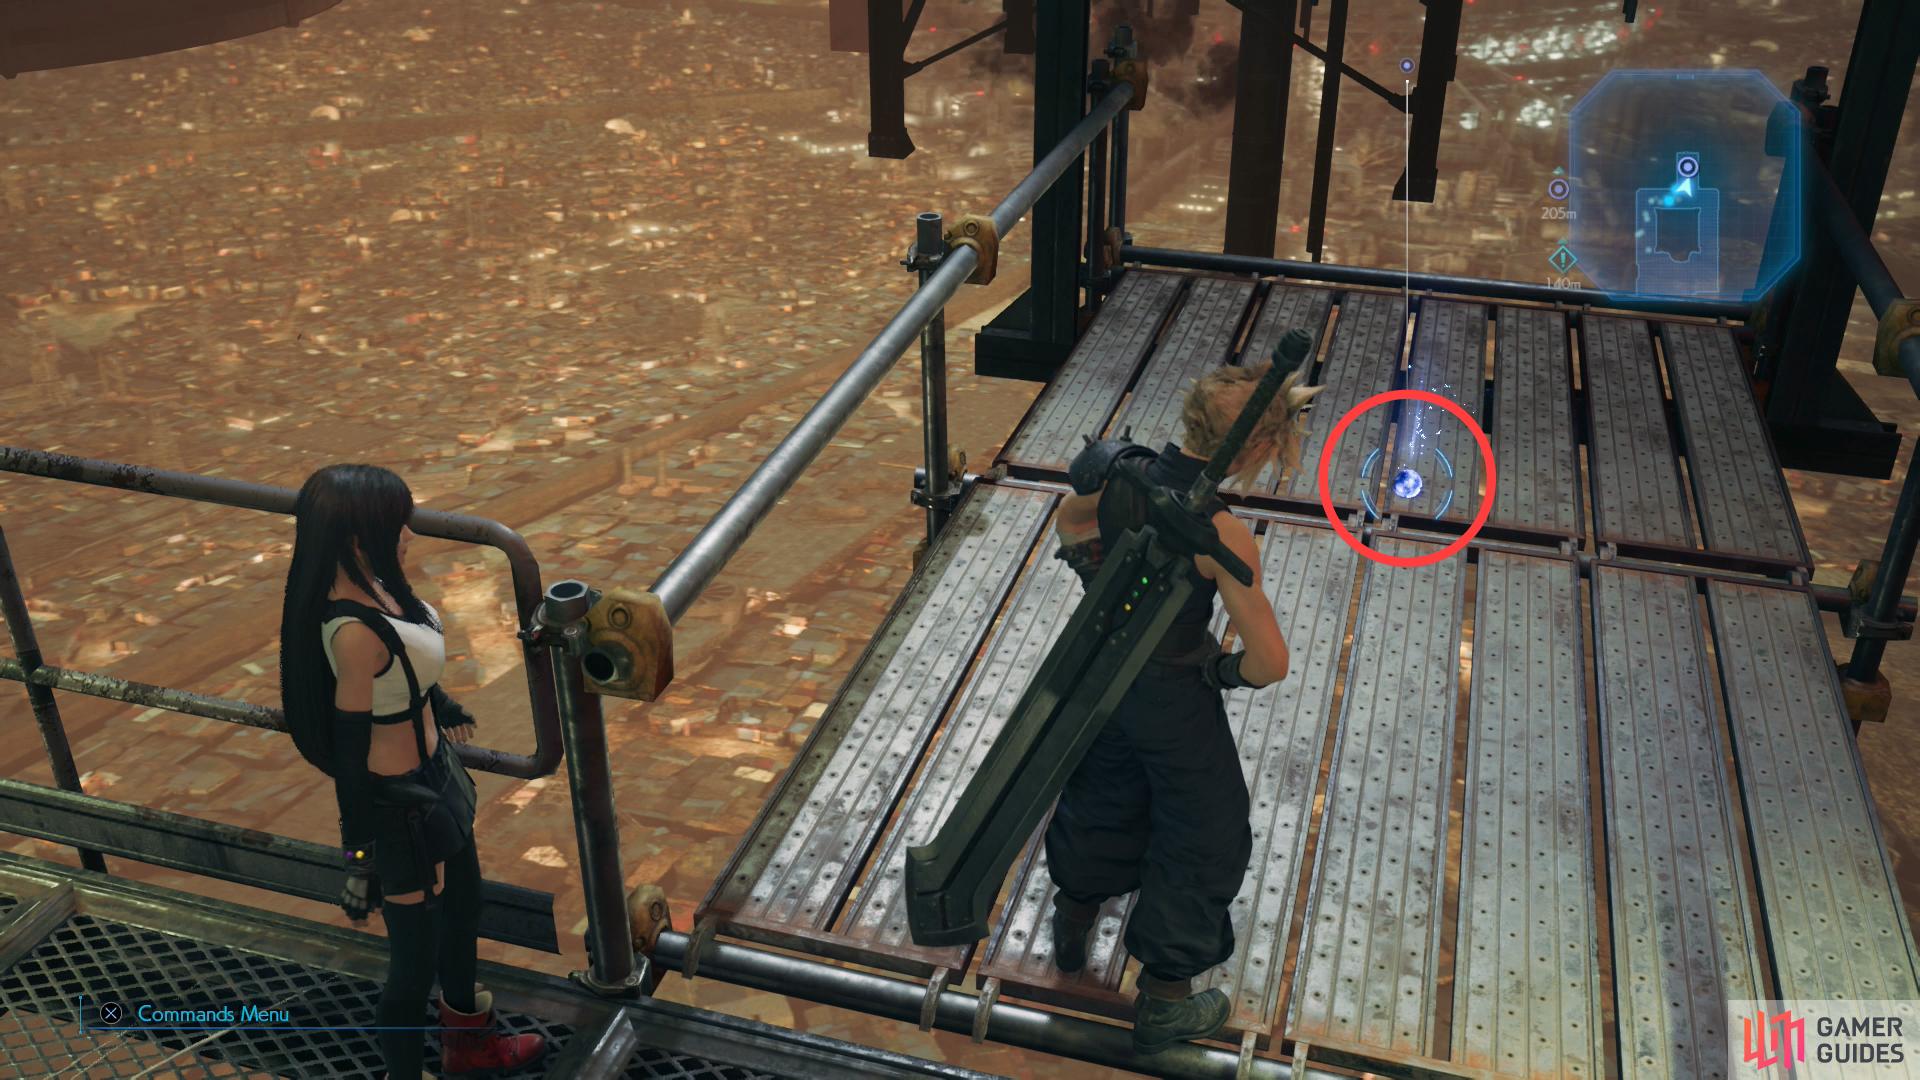
Pick up a piece of Elemental Materia,
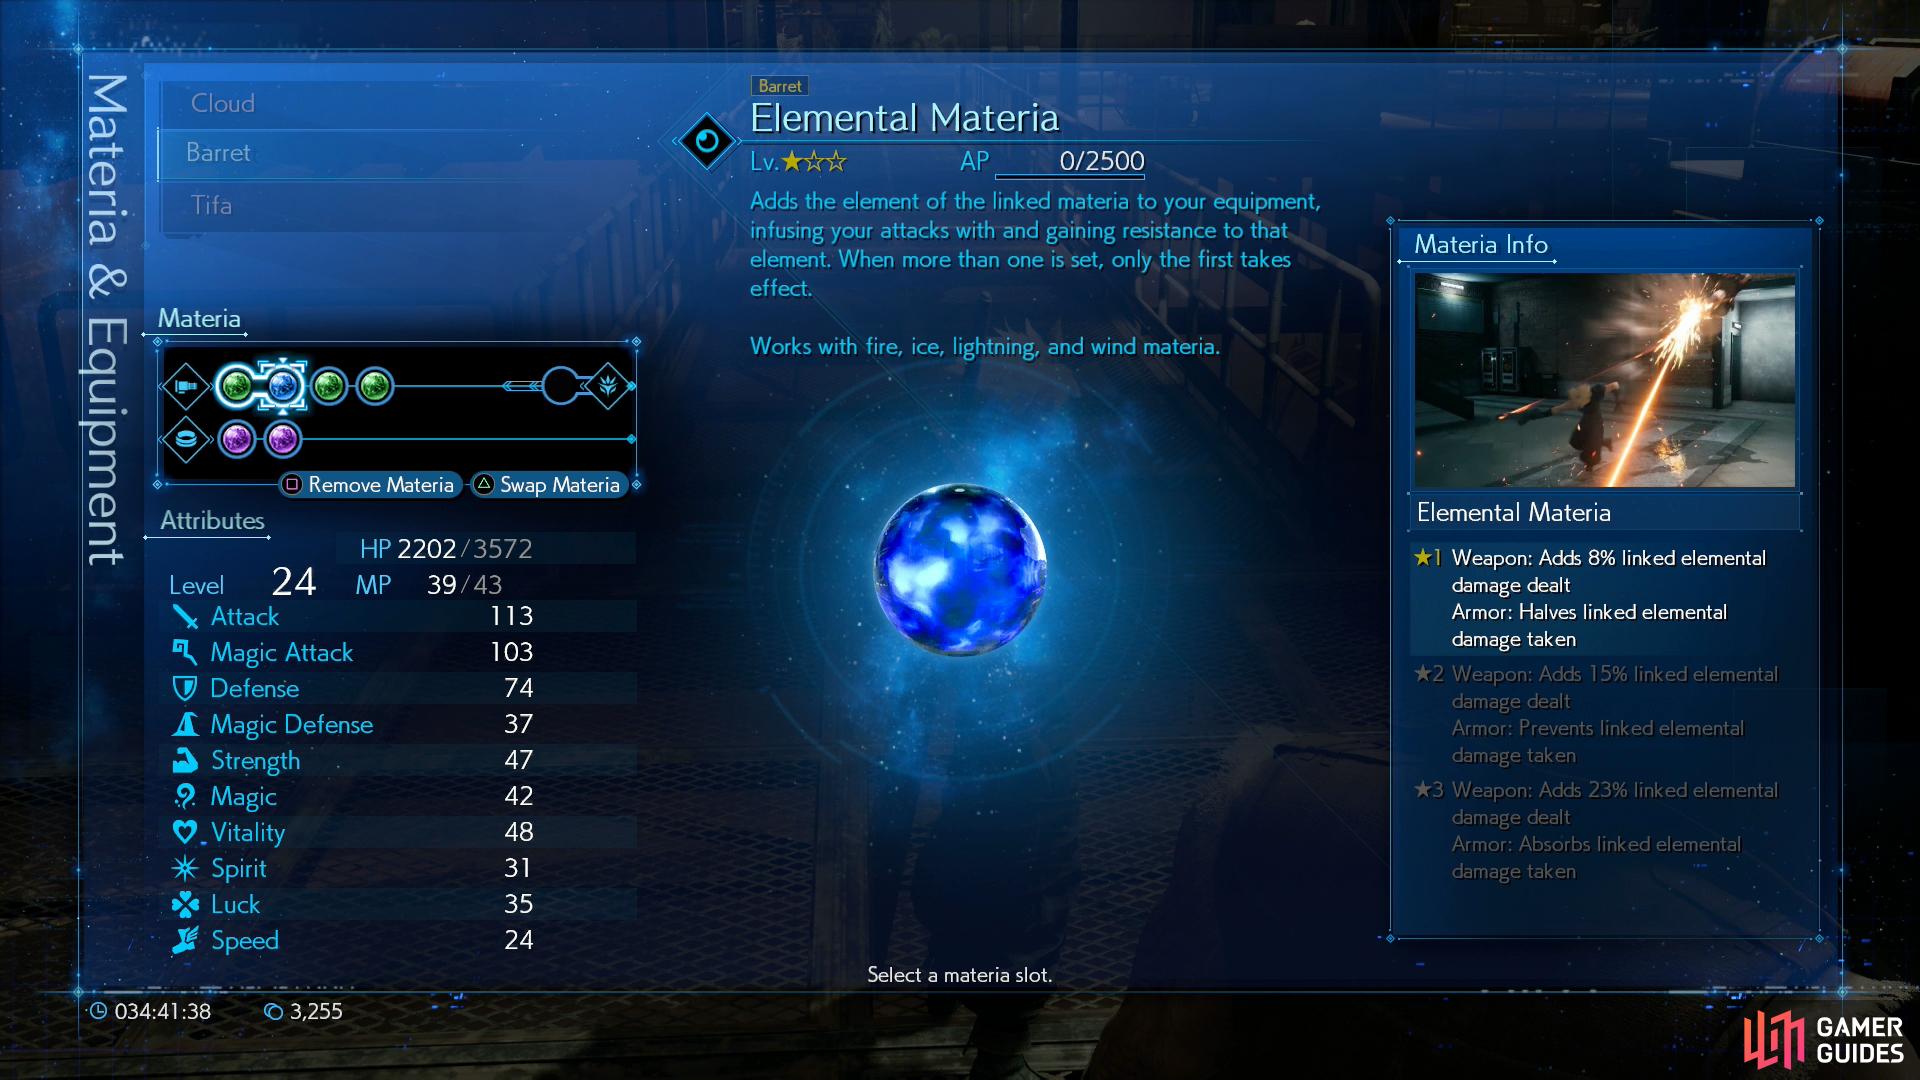
which will boost the elemental damage you deal or your elemental defenses, depending on whether it’s equipped on a weapon or armor.
Elemental Materia
As for Elemental Materia, this is premium materia, here. As your first bit of support materia, this bears a bit of explanation. First, on its own it’s useless - support materia generally needs to be equipped in a linked materia slot, where it’s effects will vary depending on what materia it’s linked with and whether it’s linked on armor or a weapon.
If you link it with elemental magic materia (Fire Materia, Ice Materia, Lightning Materia and Wind Materia) your attacks with that weapon will deal +8%, +15% or +23% bonus elemental damage of the linked materia’s element (amount varies based on the level of your Elemental Materia). This is usually beneficial, especially when attacking an enemy with a weakness to said element, but keep in mind that elements cut both ways - against highly resistant foes you might end up dealing less damage with Elemental Materia equipped. But that’s why you have a guide that tells you the elemental strengths and weaknesses of your foes beforehand, right?
On the other hand, if you link Elemental Materia with elemental magic materia (Fire Materia, Ice Materia, Lightning Materia and Wind Materia) on your armor it’ll halve, negate or absorb damage from that element (again, amount varies based on the level of your Elemental Materia). This will be critical in fights with foes that focus heavily on a single element, to the point where a well-linked piece of Elemental Materia can turn a tough fight into a cakewalk.
Despite the fact that you don’t have armor with linked materia slots, you’ll want to equip this materia now so it can start gaining AP - you’ve got 2,500 AP to go for the next level, but leveling Elemental Materia improves its efficacy tremendously. Starting early isn’t a bad idea. Personally, we stick it on Barret linked with his trusty Lightning Materia. He’s our go-to guy for out-of-reach machines. and this will help him kill them faster, and since we’re about to enter Reactor 5, we doubt we’ll be seeing an end to mechanical enemies for a while yet.
Cleanup Crew
You’ve found two of the out-of-reach treasures in this area, but there was a third lurking about. Remember that red materia inside the fan? Yeah, fortunately there’s one more elevator to check out before we head up the cargo lift. Return to the “H01” platform - the one with the vending machine, rest bench and cargo lift - and rest and replenish yourself as necessary. Once done, use the lift to the west (not the cargo lift to the south) and it’ll take you west. Where else?
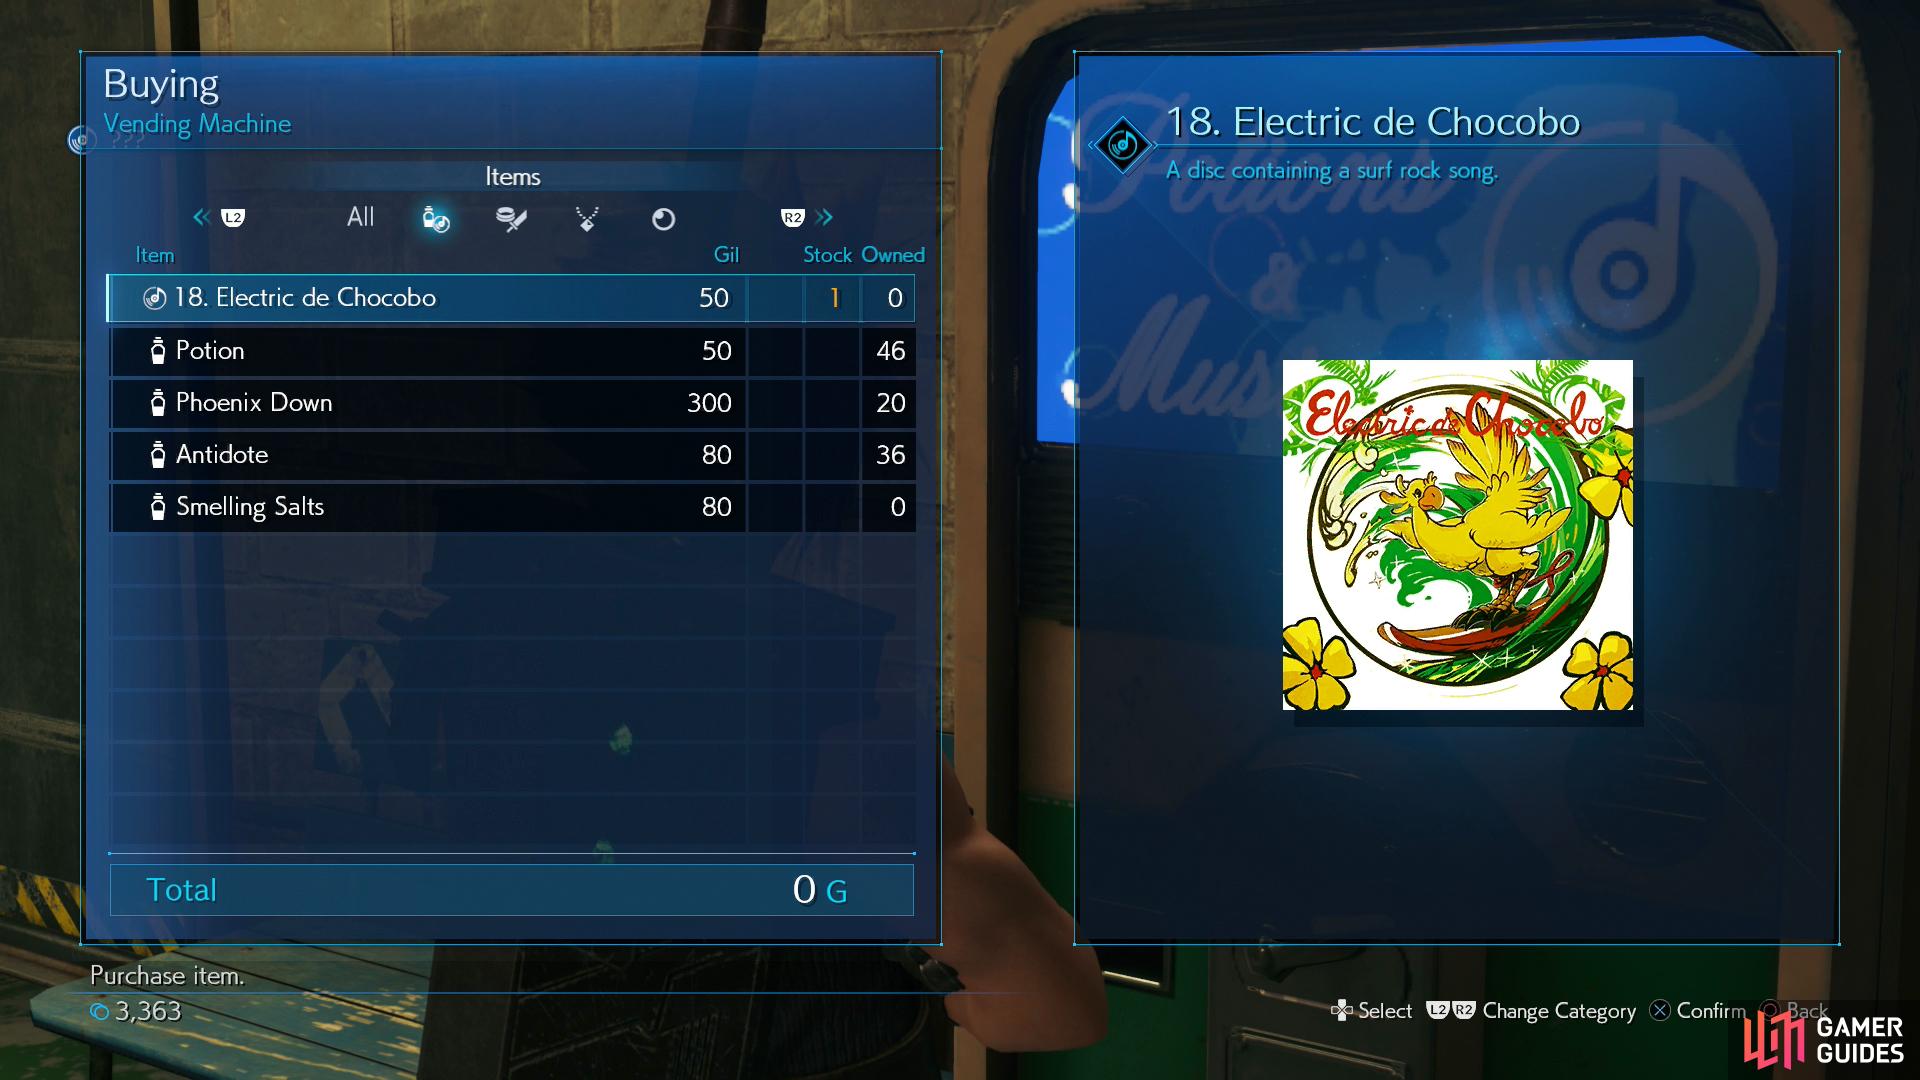
After Barret ruptures your eardrums with his caterwauling, climb a ladder to the west and when you reach the top you’ll hear a catchy tune… better than Barret’s “singing”, anyways. Note the rest bench and the vending machine here, and be sure to buy the 18. Electric de Chocobo Music Disc from the latter. Otherwise, this vending machine has nothing that the one in nearby “H01” doesn’t have.
When you’re ready for some combat, use a console to the west to turn off the fans and activate a timer. Seems that some whimsical Shinra programmer decided maintenance needed to be done on the quick, for whatever reason. The problem, in this case, is that “maintenance” requires you to exterminate a Queen Grashtrike and two Sentry Rays. This shouldn’t be a problem for a well-leveled party - pelt the Queen Grashtrike with Blizzard, attempt to Stagger her and once she’s staggered take her out with Braver and chi attacks. Once she’s done, have Barret take out the Sentry Rays with a combination of Overcharge and Thunder. In our first far-from-perfect run we still had around 20 seconds left when we hit the terminal on the northern end of the room. If you fail, don’t fret - return to the room to the south and activate the terminal there to get another minute, and this time around you’ll have to defeat three Grashtrikes. However you manage it, loot a chest in the southwestern corner of the room to score a Hi-Potion, then go through the northern door to reach the interior of the fan. Head east to claim your ultimate prize: the Chocobo & Moogle Materia. We equipped it on Barret, since he seems just so excited by the badass summon contained within. This earns you the Cleanup Crew trophy.


To the Cargo Platform
| Enemy | Weaknesses | Notable Loot |
|---|---|---|
| Sentry Ray | Lightning | -- |
| Sentry Gun Prototype | Lightning | -- |
| Sentry Launcher | Lightning | Orb of Gravity |
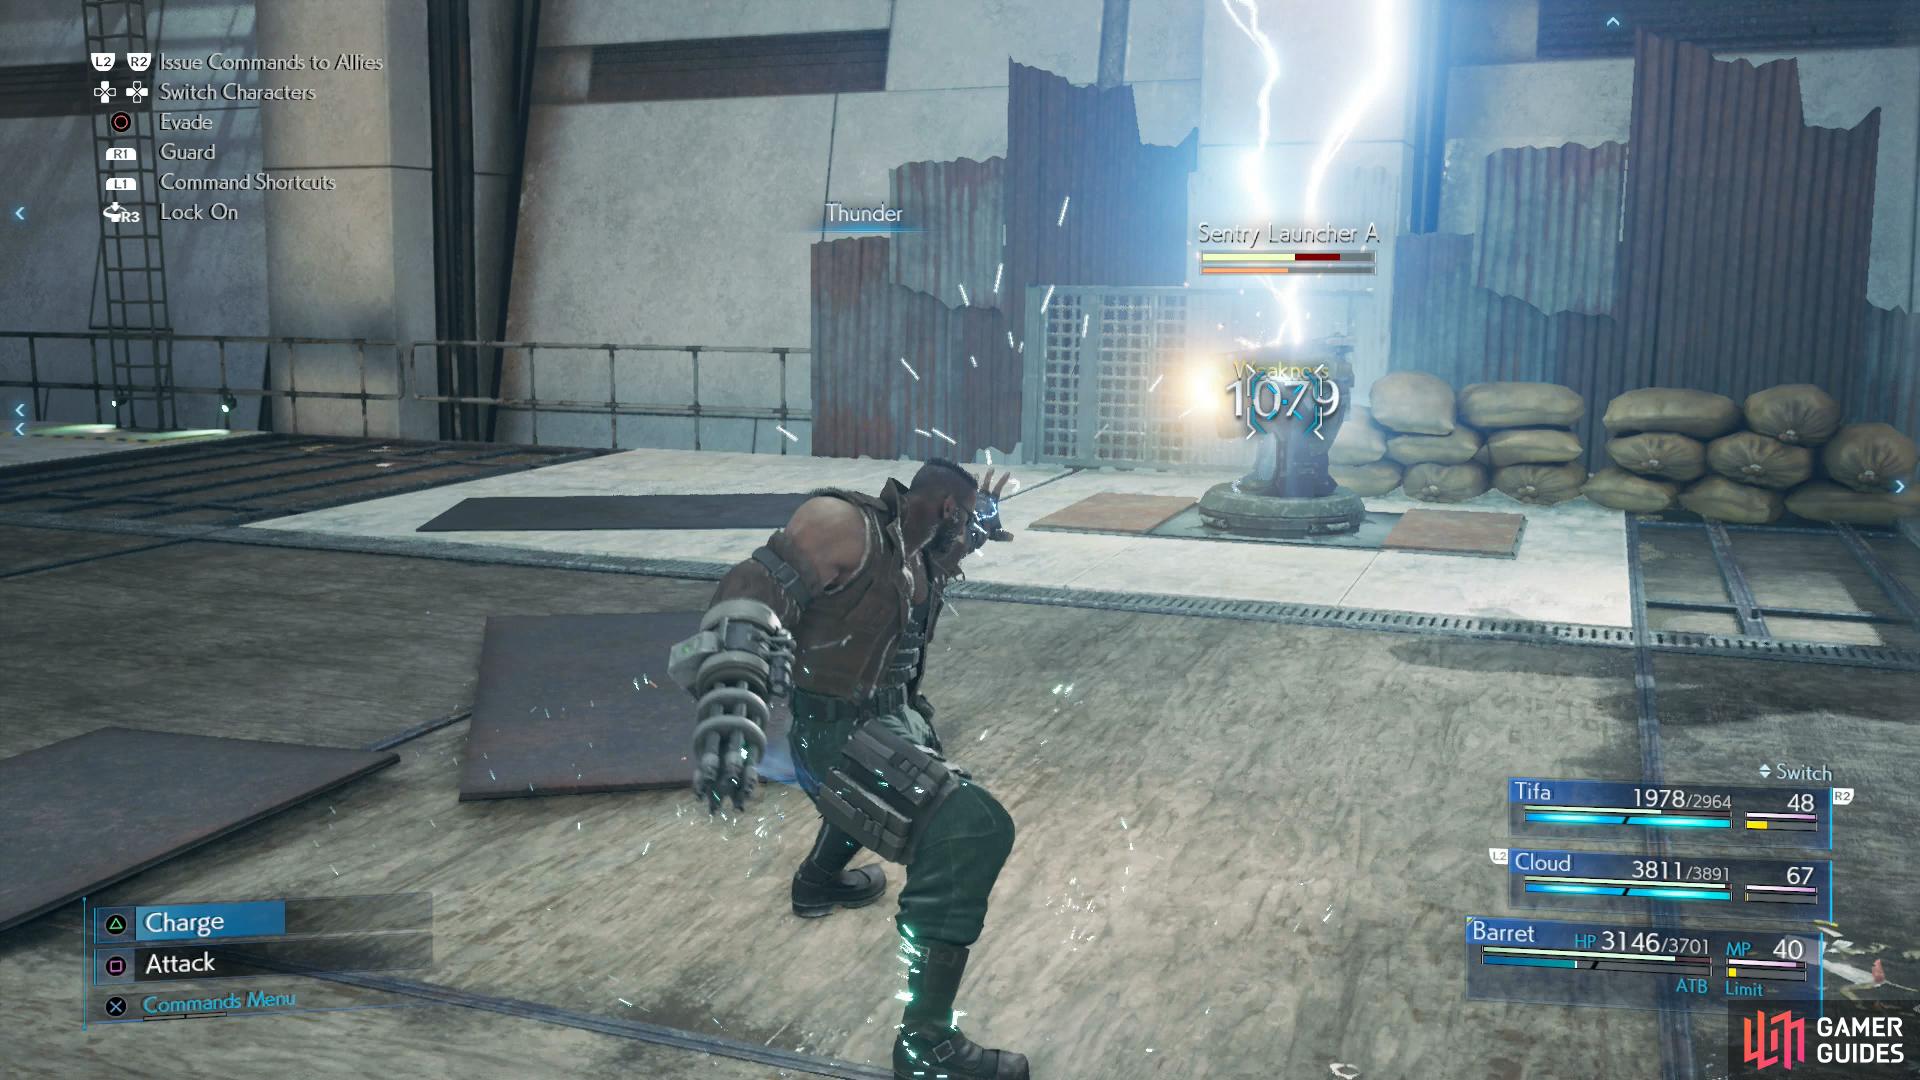
Return to the southernmost room, climb down the ladder, ride the lift back to “H01” in the east and finally use the console to summon the cargo lift that’ll take you to Reactor 5. Use another console on the lift itself and it’ll take you south. When you arrive, head across a walkway to the west to reach a large platform where you’ll have to face several mechanical foes, including two Sentry Gun Prototypes, two Sentry Rays and two Sentry Launchers. A diverse bunch of bots. Use Thunder to Stagger and destroy the Sentry Launchers first, as they have the highest damage potential, after which you’ll need Barret to handle the rest of the bots.
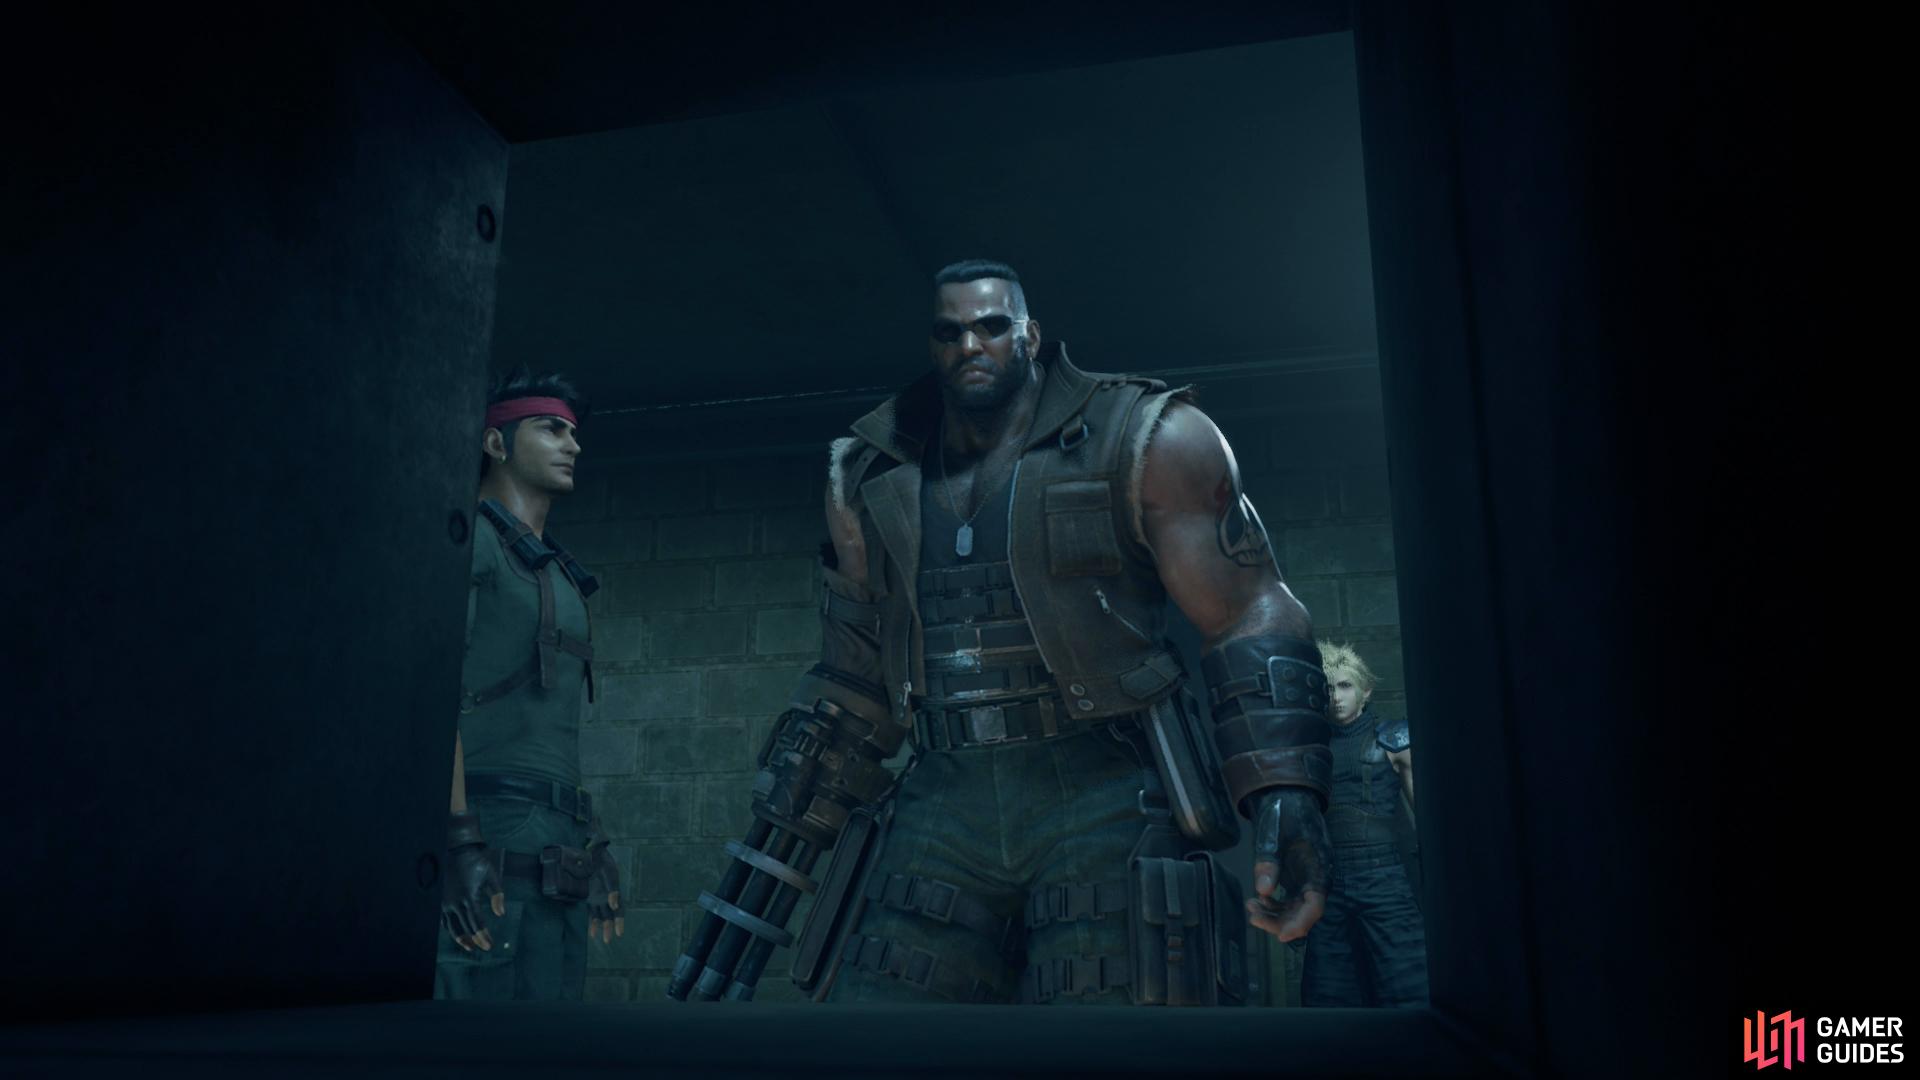
Once the machine massacre has ended, ascend a ladder to the west and crawl through a chute - one of the few parts of this chapter that really resembles the original game. Once through, smash some Shinra Boxes and climb another ladder, then turn north to find a chest containing another Moogle Medal. Turn south, smash some more Shinra Boxes, then head up some stairs and continue south, west, then south again. After a close encounter with Biggs you’ll obtain a Light Machine Gun, 3x Hi-Potions and 3x Ethers, as well as the Grappling Gun key item.
The Light Machine Gun is a new weapon for Barret which will allow him to use the “Lifesaver” ability - it’s worth using at least long enough to fully learn that ability, although you won’t be able to equip it until the next chapter starts.
Speaking of which, no more delays: Reactor 5 beckons as you obtain the Lights Out Trophy.
No Comments