

| Participants | Cost | Rank | Rounds | Reward |
|---|---|---|---|---|
| Aerith only | 500 gil | 5 | 5 | Telluric Scriptures Vol. XIII |
Pre-battle Preparations
Before you can even attempt these battles, you’ll have to finish the game and gain access to Chapter Select, at which point you can access the Sim in Hojo’s Lab during Chapter 17. The battles from here on out are a lot tougher than the others you’ve fought, not least because you can only select the Hard difficulty mode, that means no Items and tougher enemies.
For this matchup, it’s Aerith alone versus the enemies that you fought in the main scenario from Chapters 16 and 17. To make life easier for yourself, slot Elemental-Lightning to Aerith’s armor which should be the Chain Bangle. Equip Reinforced Staff and if you’ve reached Weapon Level 6 by finding some Manuscripts on Hard Mode, be sure to purchase the Reprieve ability. As for Materia, bring along Healing, Ice, Fire, First Strike, ATB Stagger and some HP and MP Ups if you have the slots free.
Round 1/5
| Enemy | Weaknesses | Notable Loot |
|---|---|---|
| Unknown Entity | Ice | -- |
| Enhanced Shock Trooper | -- | Adrenaline |
The first battle is against an Unknown Entity and an Enhanced Shock Trooper and this will be a little more difficult with Aerith. Target the Enhanced Shock Trooper first and make use of Firaga spells to hit kill it as soon as possible. At this point, target the Unknown Entity and make use of Ice spells or use Ray of Judgement.
Round 2/5
| Enemy | Weaknesses | Notable Loot |
|---|---|---|
| Zenene | -- | Hazardous Material |
The second round is against a single Zenene, one of the mutated life-forms you faced in The Drum. You’ll want to end this battle as quickly as possible as both Ghenghana and Mephitic Shower will inflict Poison on you so start the battle with a Thundara spell and then mix in abilities such as Ray of Judgement if you get the chance to, especially when it’s Staggered. You should be able to save some MP in this battle for later rounds.
Round 3/5
| Enemy | Weaknesses | Notable Loot |
|---|---|---|
| Sledgeworm | Lightning | -- |
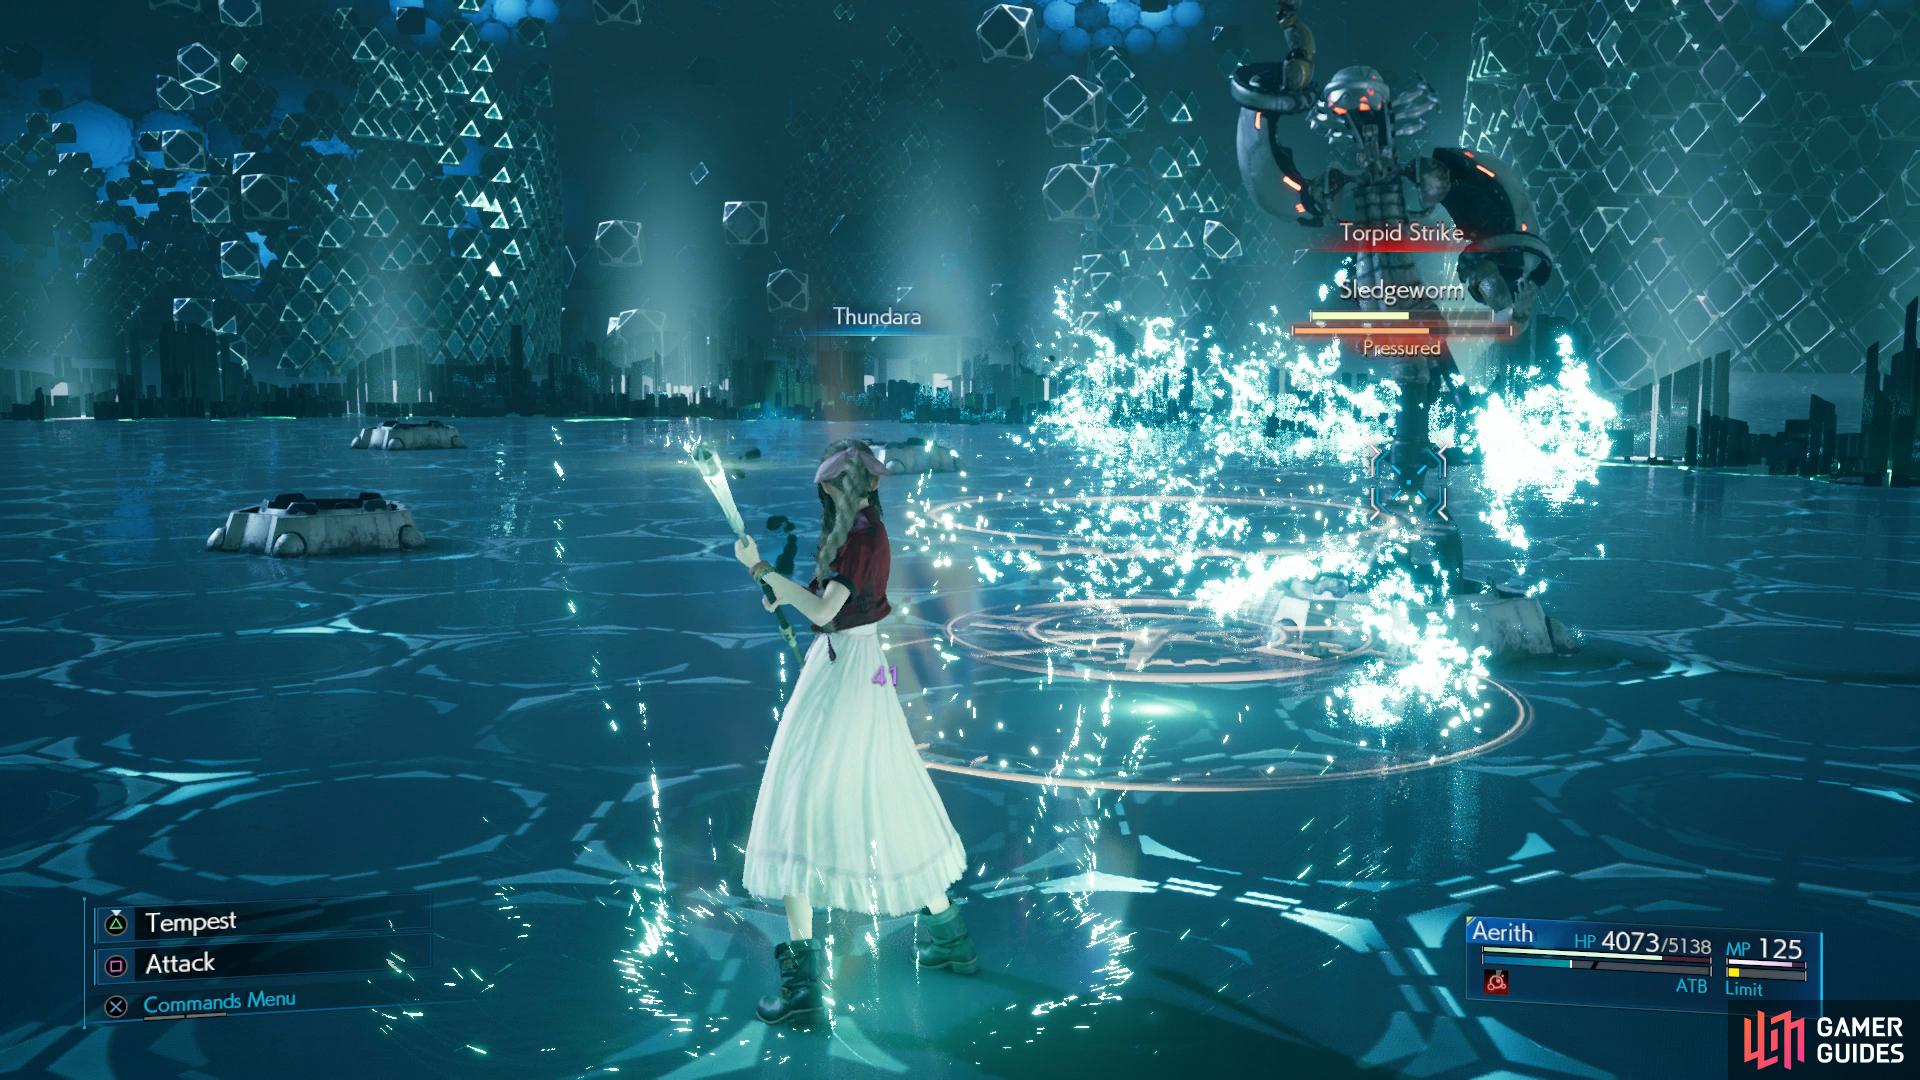
Dodge Torpid Strike and follow up with Thunder spells ot heavily damage it.
You’ll be up against a Sledgeworm for the next battle and you’ll need to exercise patience to deal with it as it warps around the battlefield. Only go in for regular strikes while it’s moving about and save your casts of Thundara(ga) for when it starts casting an ability, this will stun it and allow you to close in to attempt to Stagger it. The most important ability to watch out for is Torpid Strike, if you’re caught with this, it will inflict Slow which will then see Sledgeworm follow it up with Killing Blows which will deal significant damage.
This ability is however the best time to strike it with Lightning spells, you’ll have more than enough time to get off Thundara if you avoid it. Take care not to waste your ATB charges on it while it’s moving around, it’s not as easy to build the charges in this battle.
Round 4/5
| Enemy | Weaknesses | Notable Loot |
|---|---|---|
| Armored Shock Trooper | Lightning | -- |
You’ll face an Armored Shock Trooper in the fourth round and it’s weakness to Lightning makes it a prime target for your Thundara(ga) spells, provided you have First Strike set, you can begin the battle with a cast of it to get things started. The Armored Shock Trooper’s attacks are slow and predictable and you can deal with it easily with the timing of your spells just after dodging its attacks, making this battle a lot easier than it may seem at first. Once you do manage to Stagger it, consider tossing out Thundaga to kill it outright or use Ray of Judgment.
Round 5/5
| Enemy | Weaknesses | Notable Loot |
|---|---|---|
| M.O.T.H. Unit | Lightning/Wind | -- |
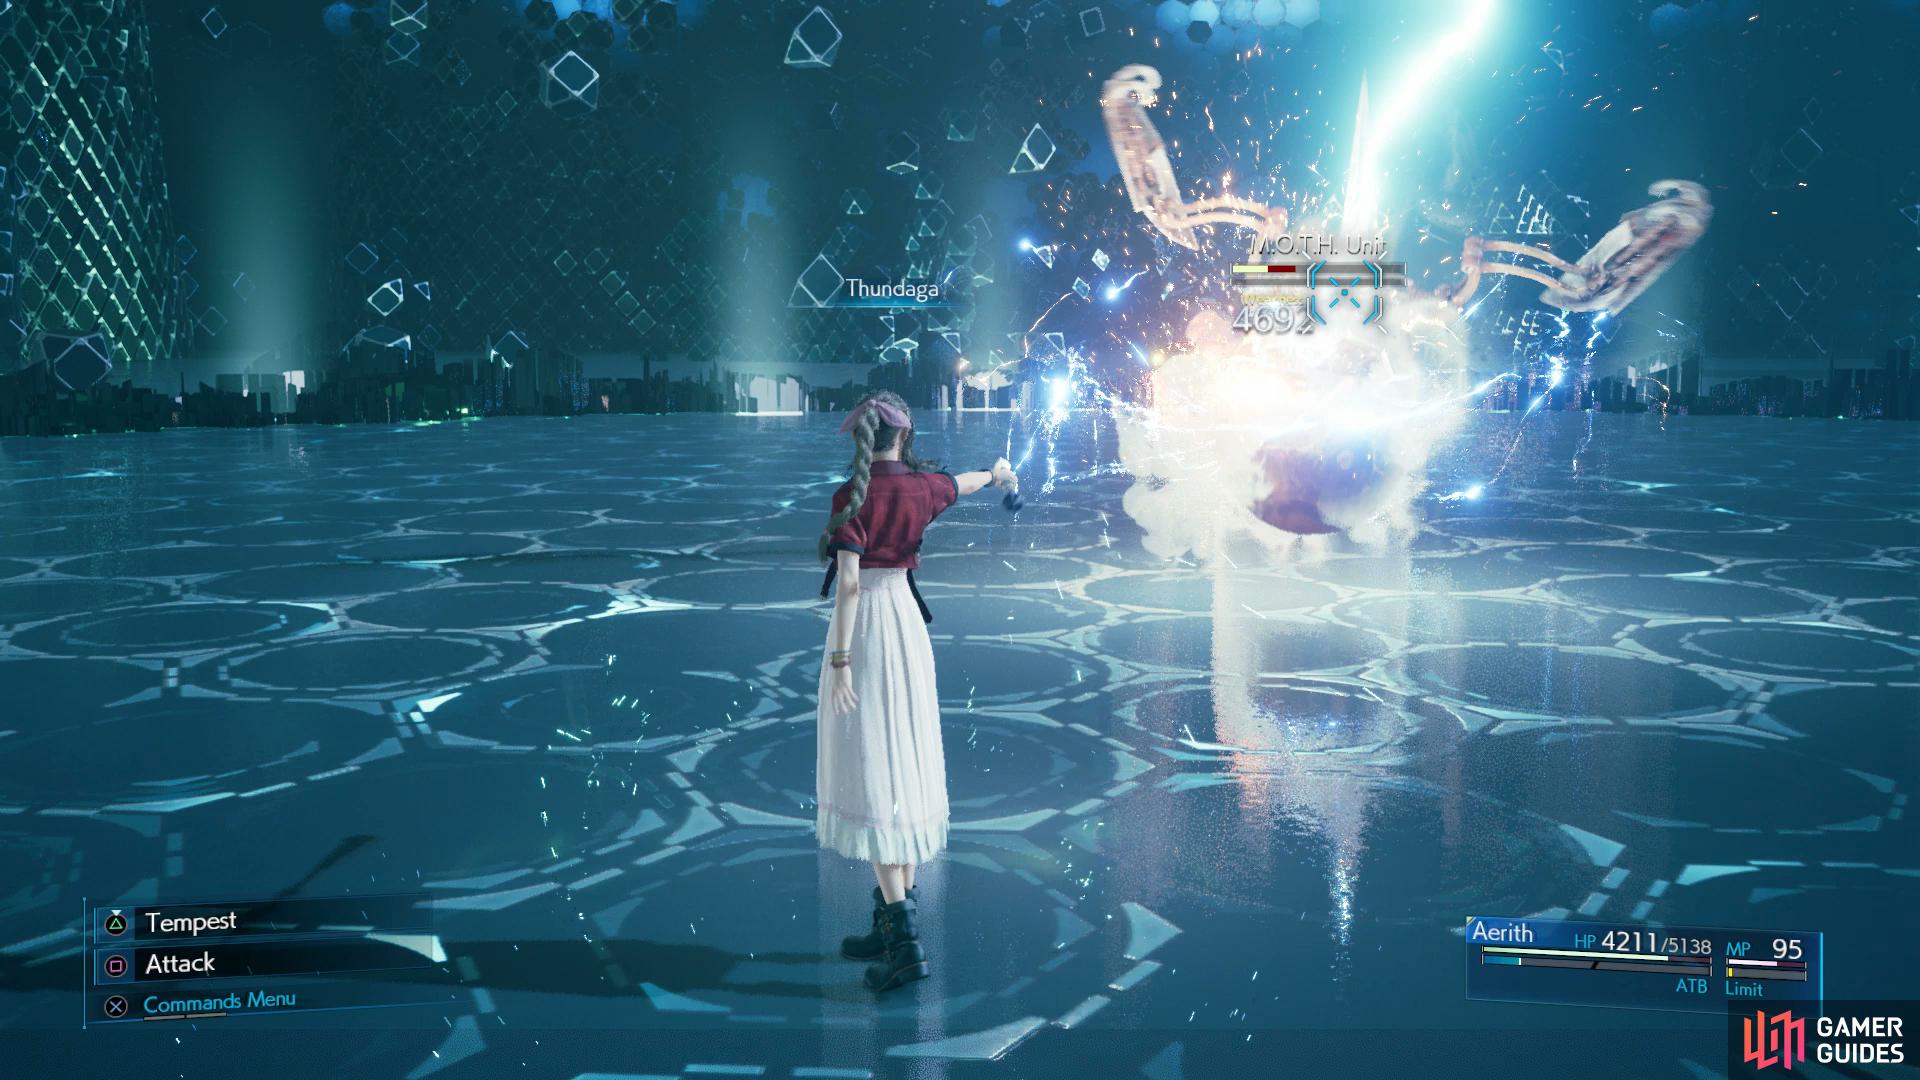
Three casts of Thundaga should be all you need to take down the M.O.T.H. Unit.
The final battle is against a difficult M.O.T.H. Unit and hopefully you remembered to set Elemental-Lightning to your Armor as it’ll make this battle a lot easier. With this setup, you’ll be able to nullify or even Absorb most of its attacks outside of Drillstrike. Both High Voltage and Ultrahigh Voltage will deal significant damage to you if you’re not protected against it however following the attacks, M.O.T.H. Unit will become Pressured, this is the time to hit it with Thunder spells to Stagger it.
Aerith surprisingly will have the least trouble with this battle, provided you watch your HP when dealing with its physical attacks. She can attack from range to build ATB and her Thunder spells will pack a punch, making short work of it. Preparation is key for this battle, with Elemental-Lightning on your Armor, it changes a difficult battle into a rather simple one.
No Comments