


Head for the Pillar
| Enemy | Weaknesses | Notable Loot |
|---|---|---|
| Mysterious Spectre | -- | -- |
| Enigmatic Spectre | -- | -- |
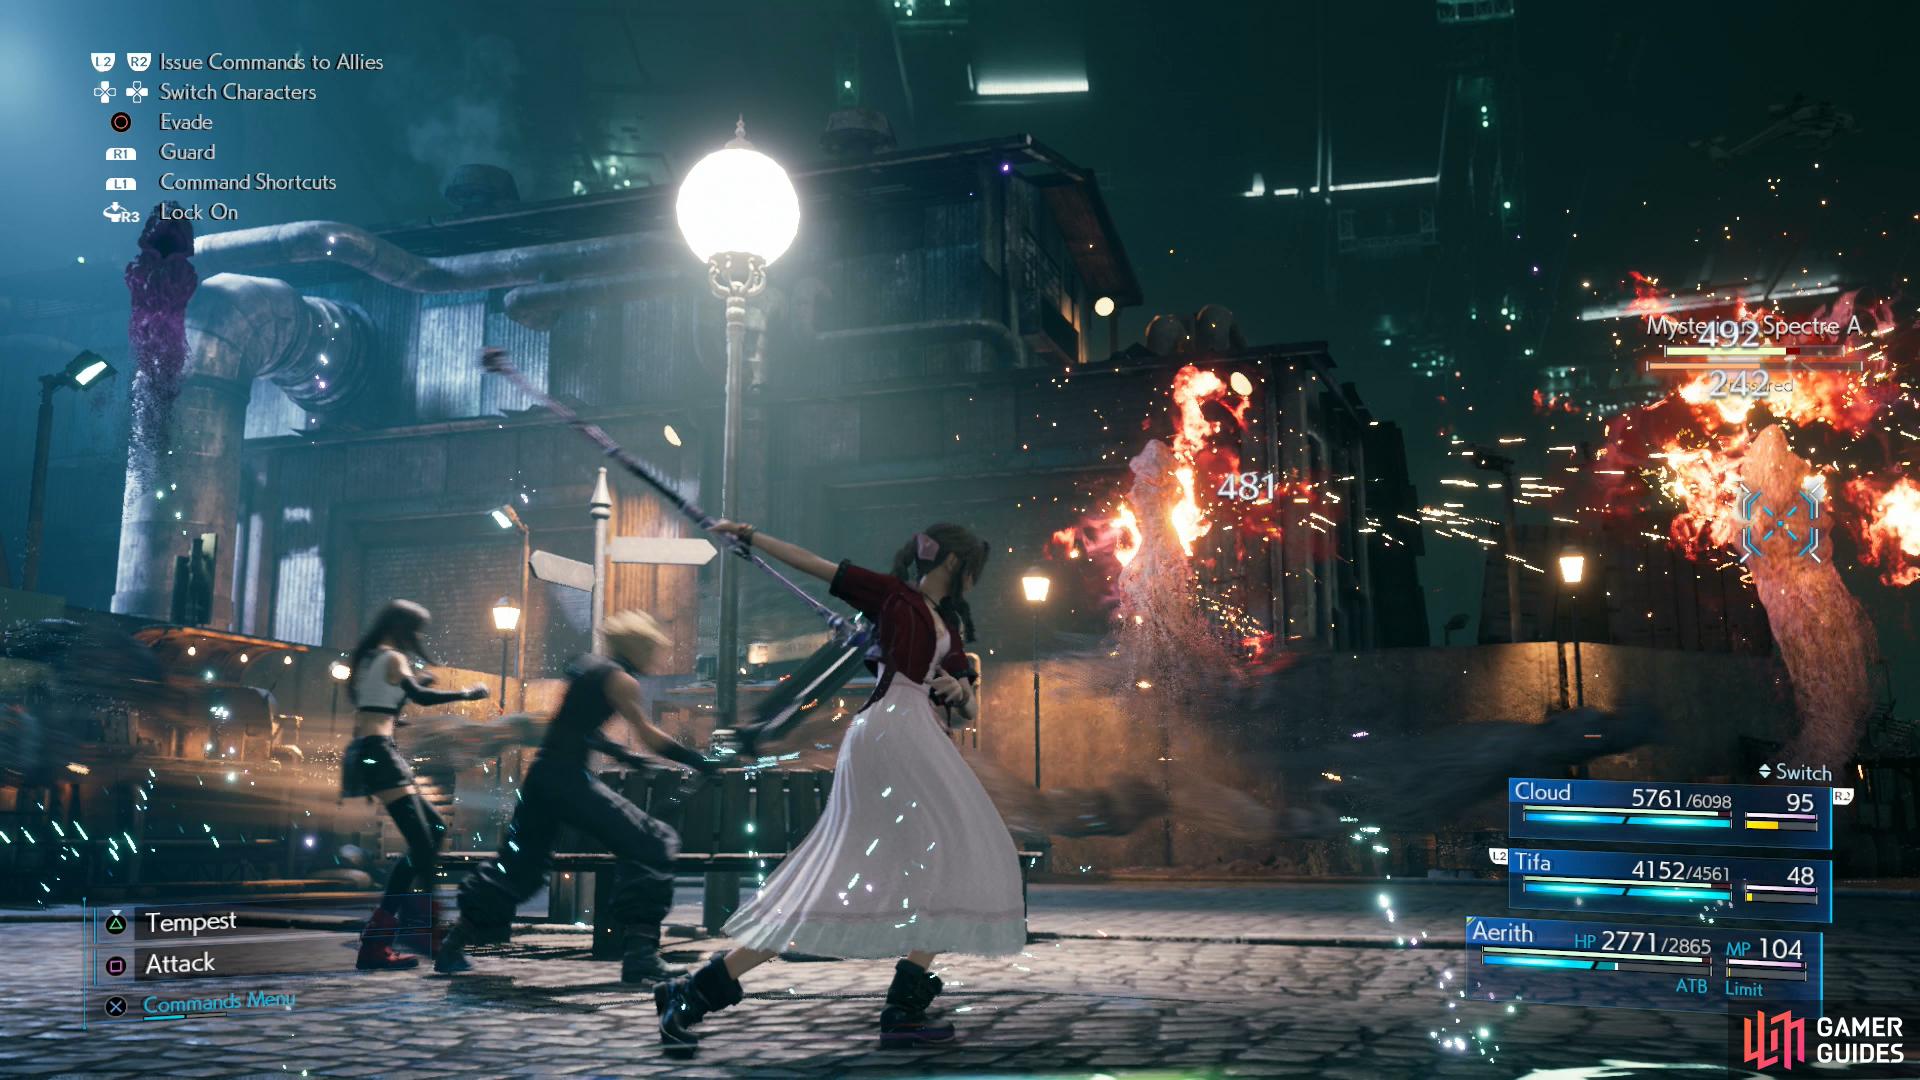
You’ll start out this chapter near the Sector 7 train station. Been a while, eh? Make your way west to reunite with Aerith and Tifa, after which you’ll be pestered by another tornado of ghosts, this time including the familiar Enigmatic Spectre and Mysterious Spectre. Fend them off - they’re really just here to waste your time. Attack the Mysterious Spectres and when you defeat one, switch to the Enigmatic Spectre, which will have become “Pressured” by the loss of its fellow spectre. Build up its Stagger meter and try to hit it with Tifa ki abilities, then repeat until you either win the fight or the spectres depart.
Link Up with Avalanche
| Enemy | Weaknesses | Notable Loot |
|---|---|---|
| Elite Security Officer | Fire | -- |
| Sentry Gun | Lightning | -- |
| Elite Riot Trooper | Fire | -- |
| Elite Grenadier | Fire | -- |
| Slug-Ray | Lighting, Wind | Orb of Gravity |
| Helitrooper | Fire/Wind | Orb of Gravity |
Continue west and northwest towards Sector 5 to witness some scenes, after which you’ll find yourself in control of Cloud - and Cloud alone - at the base of the pillar. Some gear changes are in order, given the circumstances. Most of the enemies you’ll face up ahead are weak to Fire, enough that Fire + Elemental or Fire + Magnify will serve you well. Given how annoying some foes can be to strike in melee, we opt for the latter. Bringing some Lightning Materia along will also help against the few foes that aren’t weak to fire. Other staples - like First Strike Materia, Healing Materia and HP Up Materia will serve you well, and we also bring along Chakra Materia so we can heal ourselves without using MP, but Hi-Potions will suffice in a pinch.
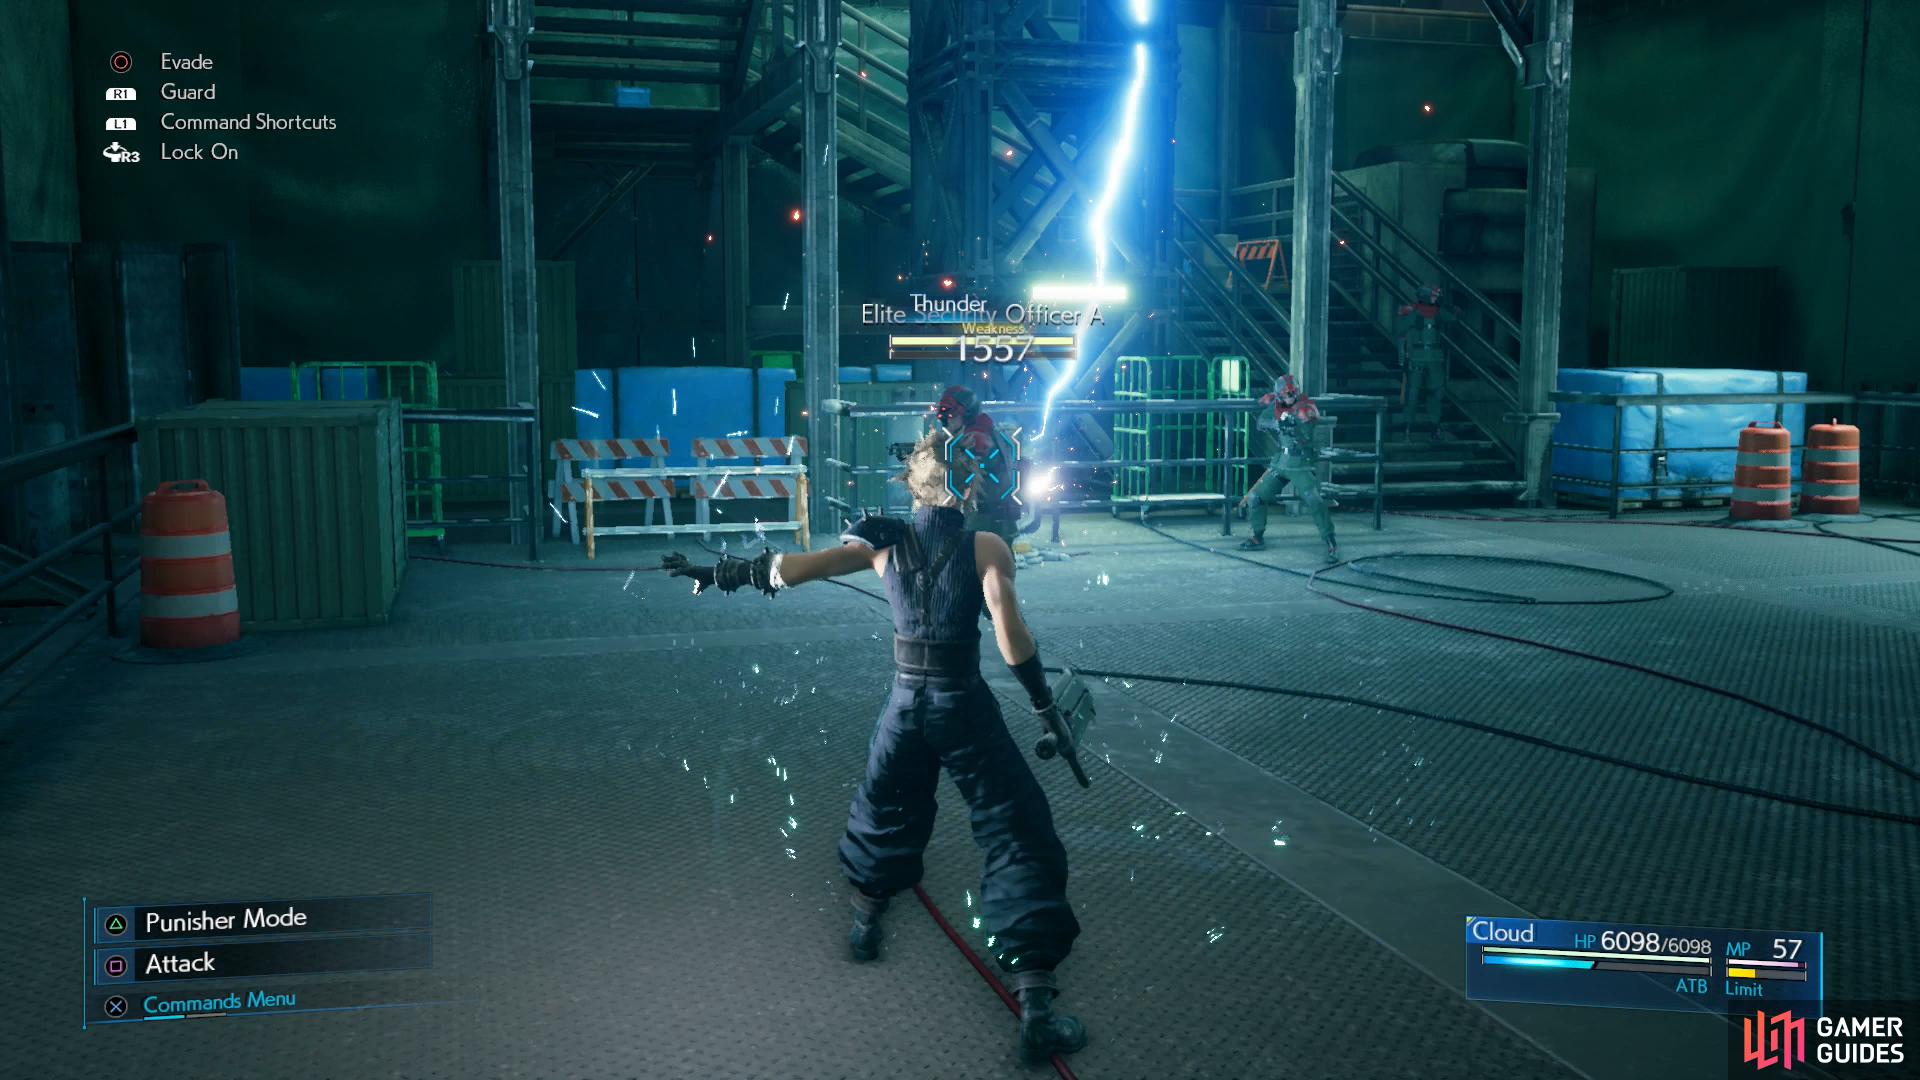
When you’re ready, head northeast to find a rest bench and a vending machine. The vending machine now offers Subversion Materia for 3,000 Gil along with the usual staples you can stock up on, if you feel the need. Rest up, then head up the stairs onto the pillar (2F). Slide around some boxes and continue west and south to encounter your first foes - three Elite Security Officers and a Sentry Gun.
The Elite Security Officers are mundane, if annoying, being too flimsy to worry about any in-depth strategies, yet sturdy enough to make simply hack-and-slashing them tedious. We start out the fight hitting the Sentry Gun with Lightning to Stagger it, and after we destroy it we hit the Elite Security Officers with Fire + Magnify to “Pressure” them, then lay into them with Punisher mode.
Head over to a dead-end to the northwest and smash some Shinra Boxes - the items and MP provided by these boxes are going to be more important than usual for the next few minutes - then backtrack south and go up some stairs to reach 3F. Up here you’ll find more foes, including two Elite Riot Troopers and an Elite Grenadier. Hit them with Fire + Magnify, which should kill the Elite Grenadier outright, and give you the ability to Stagger and kill one of the Elite Riot Troopers. Either hit the last one with Fire to leave him vulnerable to assault or try to flank him and attack him.
The stairs to the next level are up to the southwest, but first continue northeast, smash some Shinra Boxes, then work your way around a pillar to find a chest containing 2x Orbs of Gravity. Before you loot the chest, switch your Fire and Lightning materia out, as two Slug-Rays will arrive when you loot said chest. Hitting them with Lightning + Magnify will make this fight much quicker.
Defeat the Slug-Rays, then backtrack southwest and head upstairs to 4F. Watch some scenes when you reach 4F, then circle around the pillar to the northeast and climb a ladder to reach 5F.
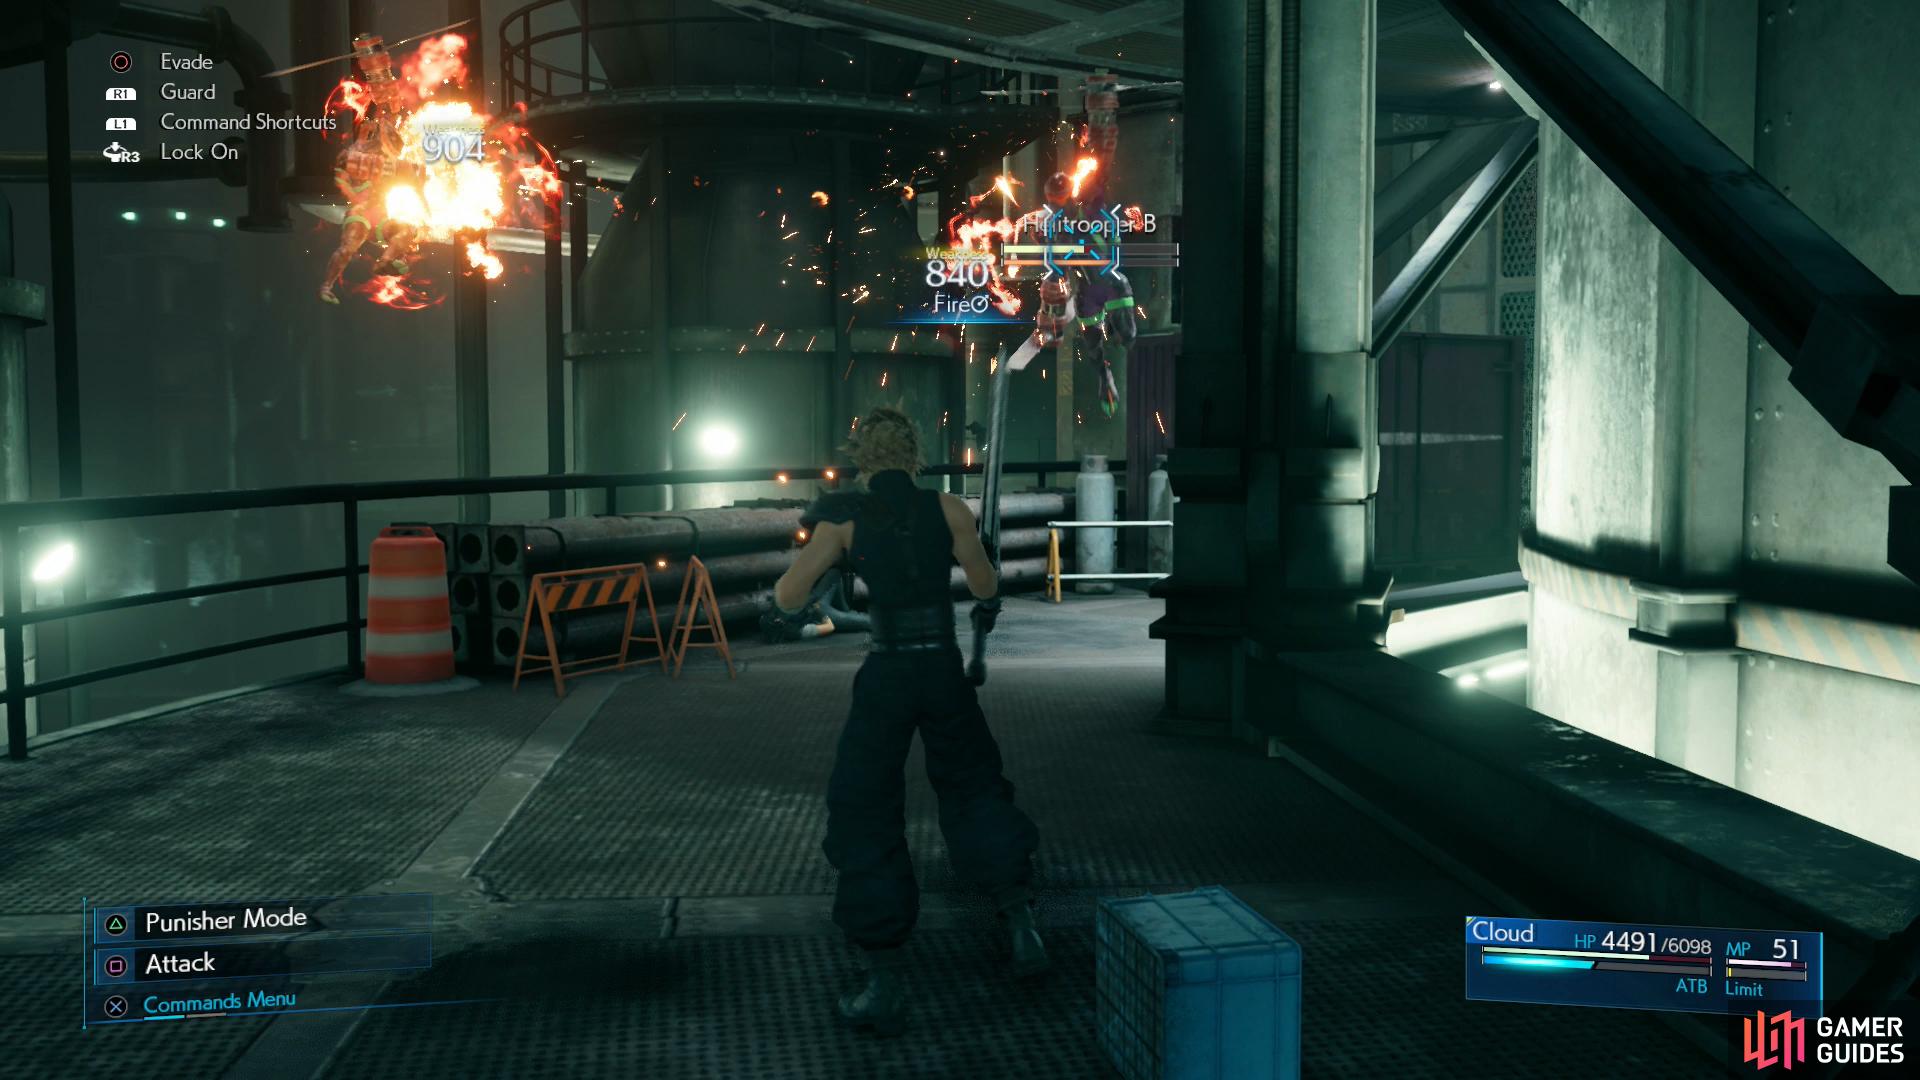
Fire + Magnify will serve you well against Helitroopers.
If you’re quick, you can counterattack them when they swoop down to attack.
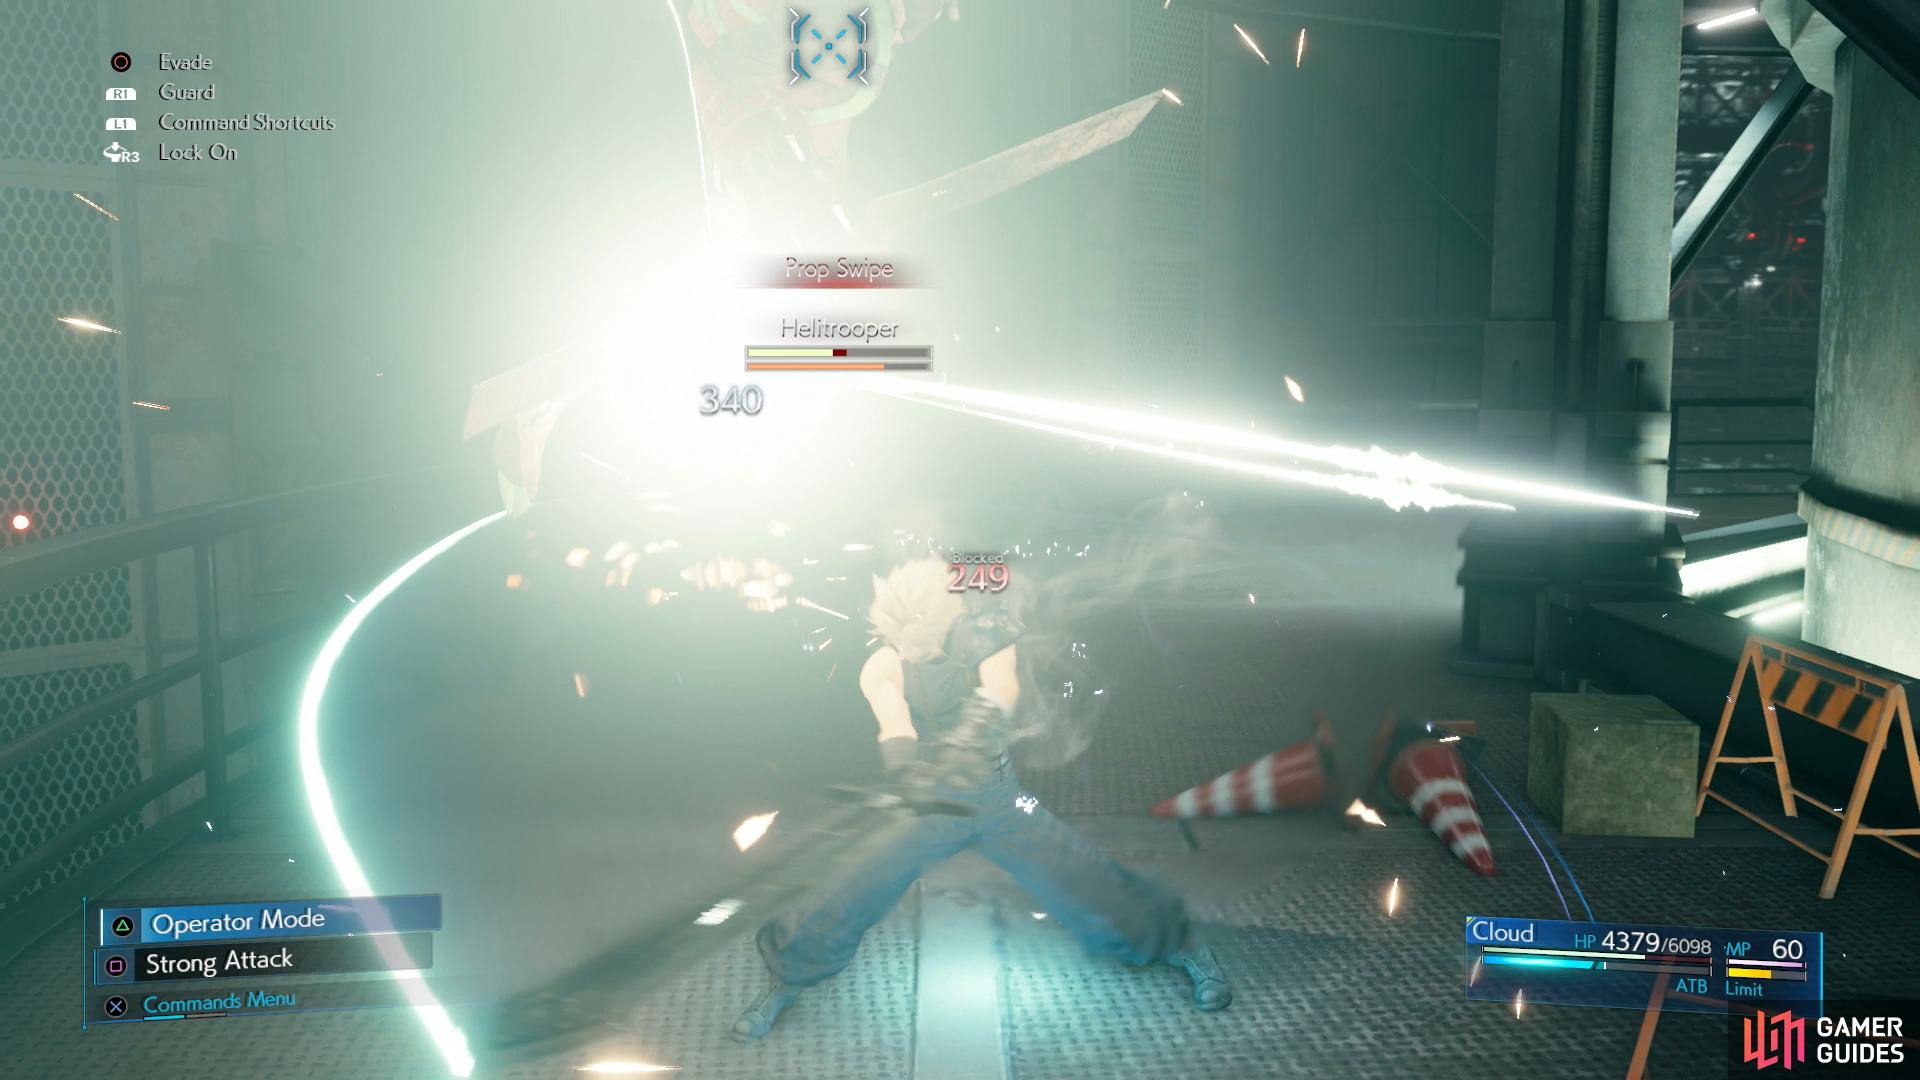
Smash a Shinra Box to the southeast, then work your way around the pillar to encounter a new foe - the Helitrooper. Two of them, in fact, although one will be a tad delayed. Like most Shinra troopers, they’re weak to fire, but also wind, the latter of which is probably more effective at filling their Stagger gauge. As flying foes they’re a nuisance, but they’re not as mobile as, say, drakes. Most of the time they’re content to use their guns, but after 2-3 bursts they’ll charge in to perform a melee attack. If you can switch to Punisher mode in time to counter this you’ll damage them and inflict a fair amount of Stagger (in case you forgot, the act of switching to Punisher mode from Operator mode can trigger a counterattack, and it’s quite useful here). Defeat them, loot a chest to the northeast to score an Ether, smash some Shinra Boxes to the southwest, then ascend the nearby stairs to reach 6F.
Destroy a stack of Shinra Boxes to the northwest, then continue around the pillar to the northeast, stopping to fend off another group of foes - this time a Helitrooper and two Elite Security Officers. Fire + Magnify is your friend here. Continue around the pillar, bash another stack of Shinra Crate, then head up the ladder to 7F. Not much going on up here, work your way around the pillar, smash a long Shinra Box near the stairs up, then ascend to 8F. Watch some scenes and Cloud will find himself in a bit of a bind, the resolution to which is delayed as the narrative switches focus from Cloud to Aerith…
Evacuation Orders / Saving Marlene
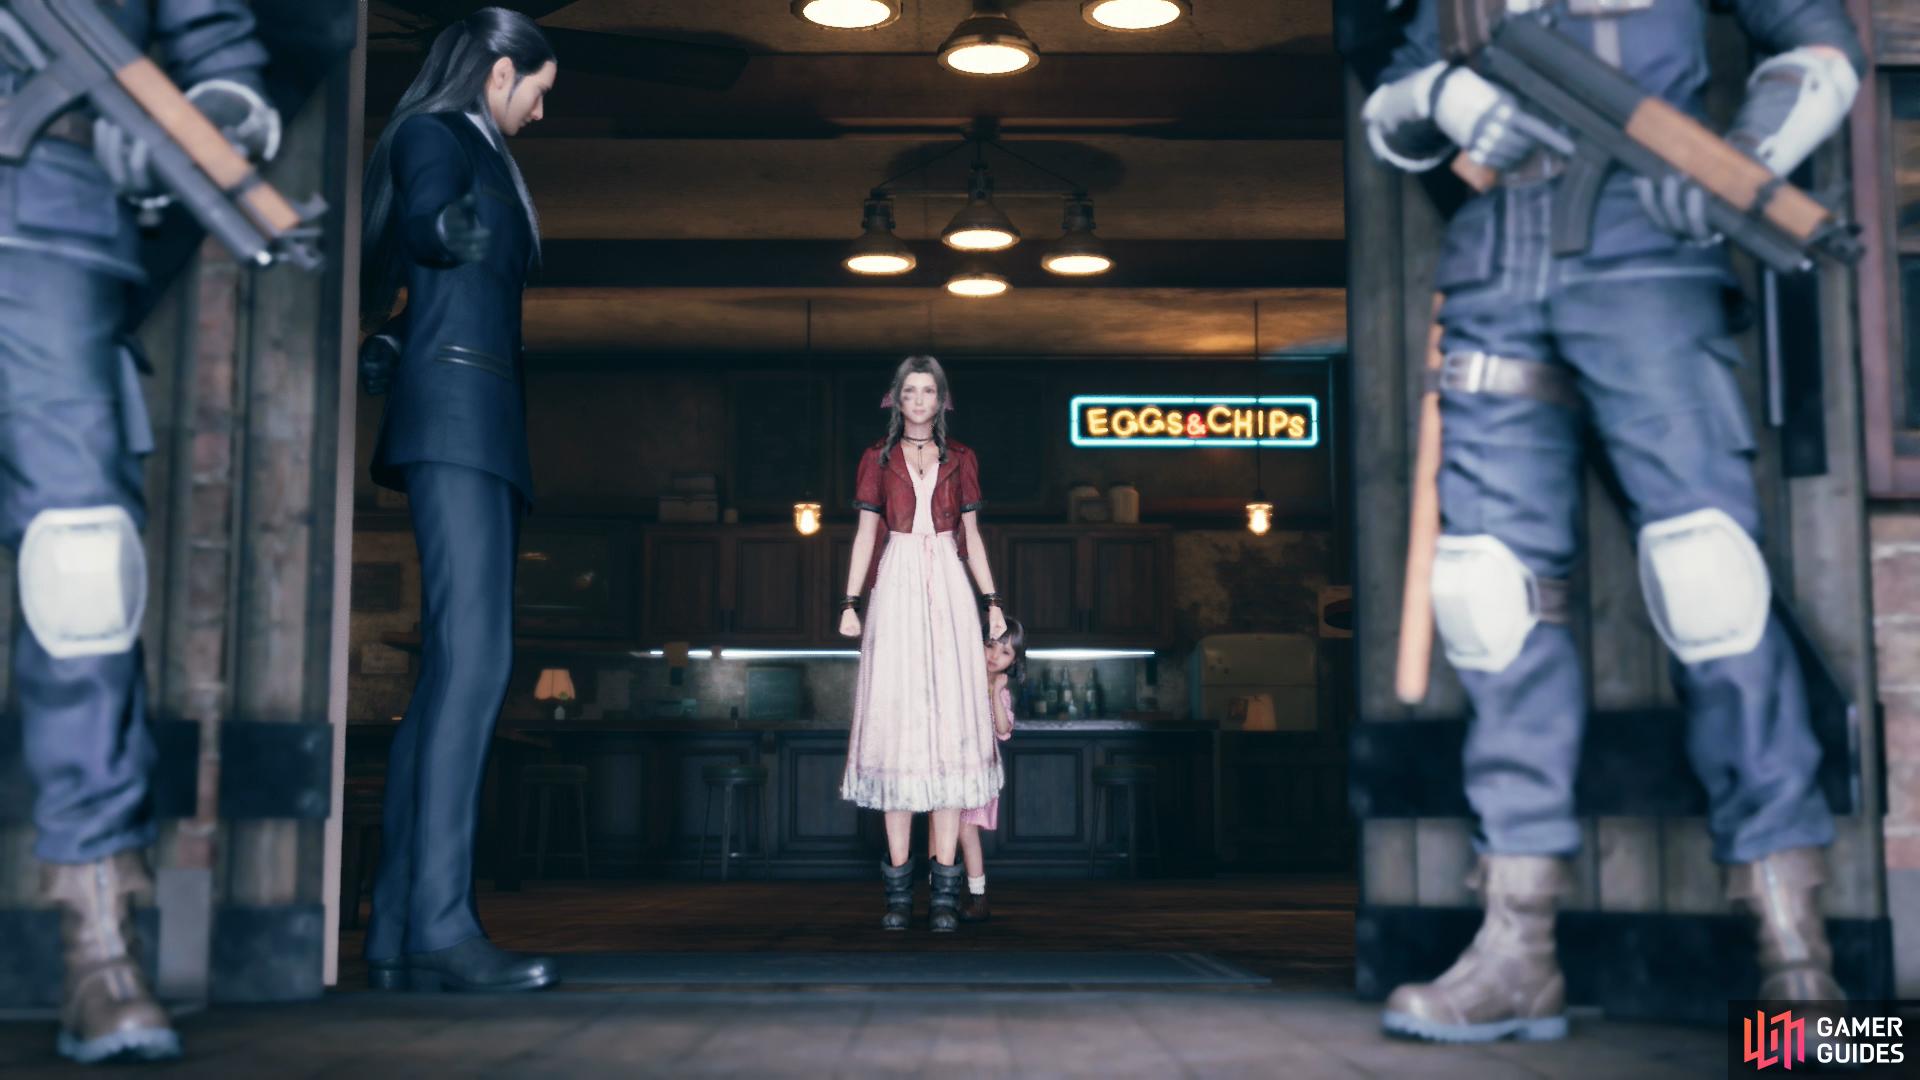
Tasked with rescuing Marlene, you’ll first need to follow Wedge and watch the scenes that play out near the gate. Make your way west to reach the slums, where more scenes will ensue, after which continue west towards Seventh Heaven to witness even more scenes. Get up and backtrack east, then take the first route south, and when you reach a four-way intersection… that’s right, more scenes. Now burdened by the next generation, carry your tedious cargo west for yet another scene, then turn until Aerith provokes another helicopter. Those things sure seem to like to explode near her for dramatic effect.
Get up again and continue northeast to finally reach Seventh Heaven. Head behind the bar to find Marlene hiding under the sink. Endure another cutscene where Marlene wastes an incredible amount of time, and Aerith allows her to do so. Don’t worry, not like there’s an evil corporation trying to drop a city on your head or anything. All things considered, it’s probably a stroke of luck that the Turks are so interested in Aerith, as it’s the only way they’re getting out of here alive. That said, it’s still only the second worst performance by named characters during this disaster, as you’ll soon see…
To the Top
| Enemy | Weaknesses | Notable Loot |
|---|---|---|
| Sentry Gun | Lightning | -- |
| Elite Riot Trooper | Fire | -- |
| Slug-Ray | Lighting, Wind | Orb of Gravity |
| Elite Grenadier | Fire | -- |
| Helitrooper | Fire, Wind | Orb of Gravity |
| Elite Shock Trooper | Fire | -- |
Seems Cloud finally ascended high enough to draw the attention of Reno and Rude, and it seems Reno is holding a bit of a grudge from their last encounter. Fortunately, Rude’s Tifa-induced “slip” allows Tifa and Cloud to reunite, so switch up their materia as necessary - we keep Cloud as-is, and frankly none of the fights ahead are anything Cloud alone couldn’t have handled, so Tifa’s loadout isn’t of great strategic importance. Still, giving her Fire + Elemental (assuming it’s not on Cloud) isn’t a bad idea for the present. Switch Cloud’s Fire + Magnify combo out for Lightning + Magnify is also a good idea for the present.
Reno and his bird are still a problem, but fortunately there’s plenty of cover you can hide behind as you work your way northeast towards the pillar. Not that it matters if he shoots you - bullets are incredibly inconsistent with their damage in Final Fantasy VII, Cloud probably could have stood out in the open the entire time Aerith was running around and still be alive afterwards.
Anyways, low damage aside, there’s no reason to take any damage if you don’t need to. When you reach the pillar, there are two ways up to the next floor: Head northwest around a crate, turn southwest and dispatch two Sentry Guns, then continue upstairs to 9F, or head east and north around the pillar, defeat some Slug-Rays, and climb a ladder to reach 9F. The only thing that really recommends the stairs are the Shinra Boxes you can destroy along the way - whether that’s worth exposing yourself to Reno’s gunfire is up to you.
If you went up the stairs you’ll have to fight three more Sentry Guns immediately after reaching 9F, while if you climbed the ladder some more Slug-Rays will be there to greet you. There are some Shinra Boxes to smash on this level, but other than that and the bots there’s not much to recommend it. You’ll need to work your way to the stairs up in the southwestern corner of the level to ascend, which if you used the stairs to get here from 9F is simply a matter of heading around a barricade. On the other hand, if you went up the ladder you’ll have to take a longer trek southwest, although there’s plenty of cover from Reno either way.
Once on 10F, smash some Shinra Boxes ahead of you and continue northeast, where you’ll encounter some Elite Riot Troopers. Hit them with Fire + Magnify (although Thunder + Magnify will do the job well enough if you still have it equipped) and attack them while they’re stunned by the magic. Dispatch them, smash some more Shinra Boxes to the right (east) as you continue northeast. Once you reach the pillar you can continue northeast around it, defeating some more Slug-Rays in the process, or you can turn left (west) and vault over some junk. Since continuing northeast around the pillar leads to a dead-end, you’ve little incentive to bother, so jump over the junk and turn west, then north, smashing some Shinra Boxes along the way and ultimately reaching a ladder to 11F.
When you reach 11F, watch some scenes, then work your way around the pillar to the southwest to find some stairs. Defeat the Elite Riot Troopers guarding the stairs, after which Reno and Rude will be drawn away, leaving you with the consolation prize of an Elite Grenadier and a Helitrooper to play with.
Reno will pester you with his helicopter, but even if you get caught it won’t do much damage.
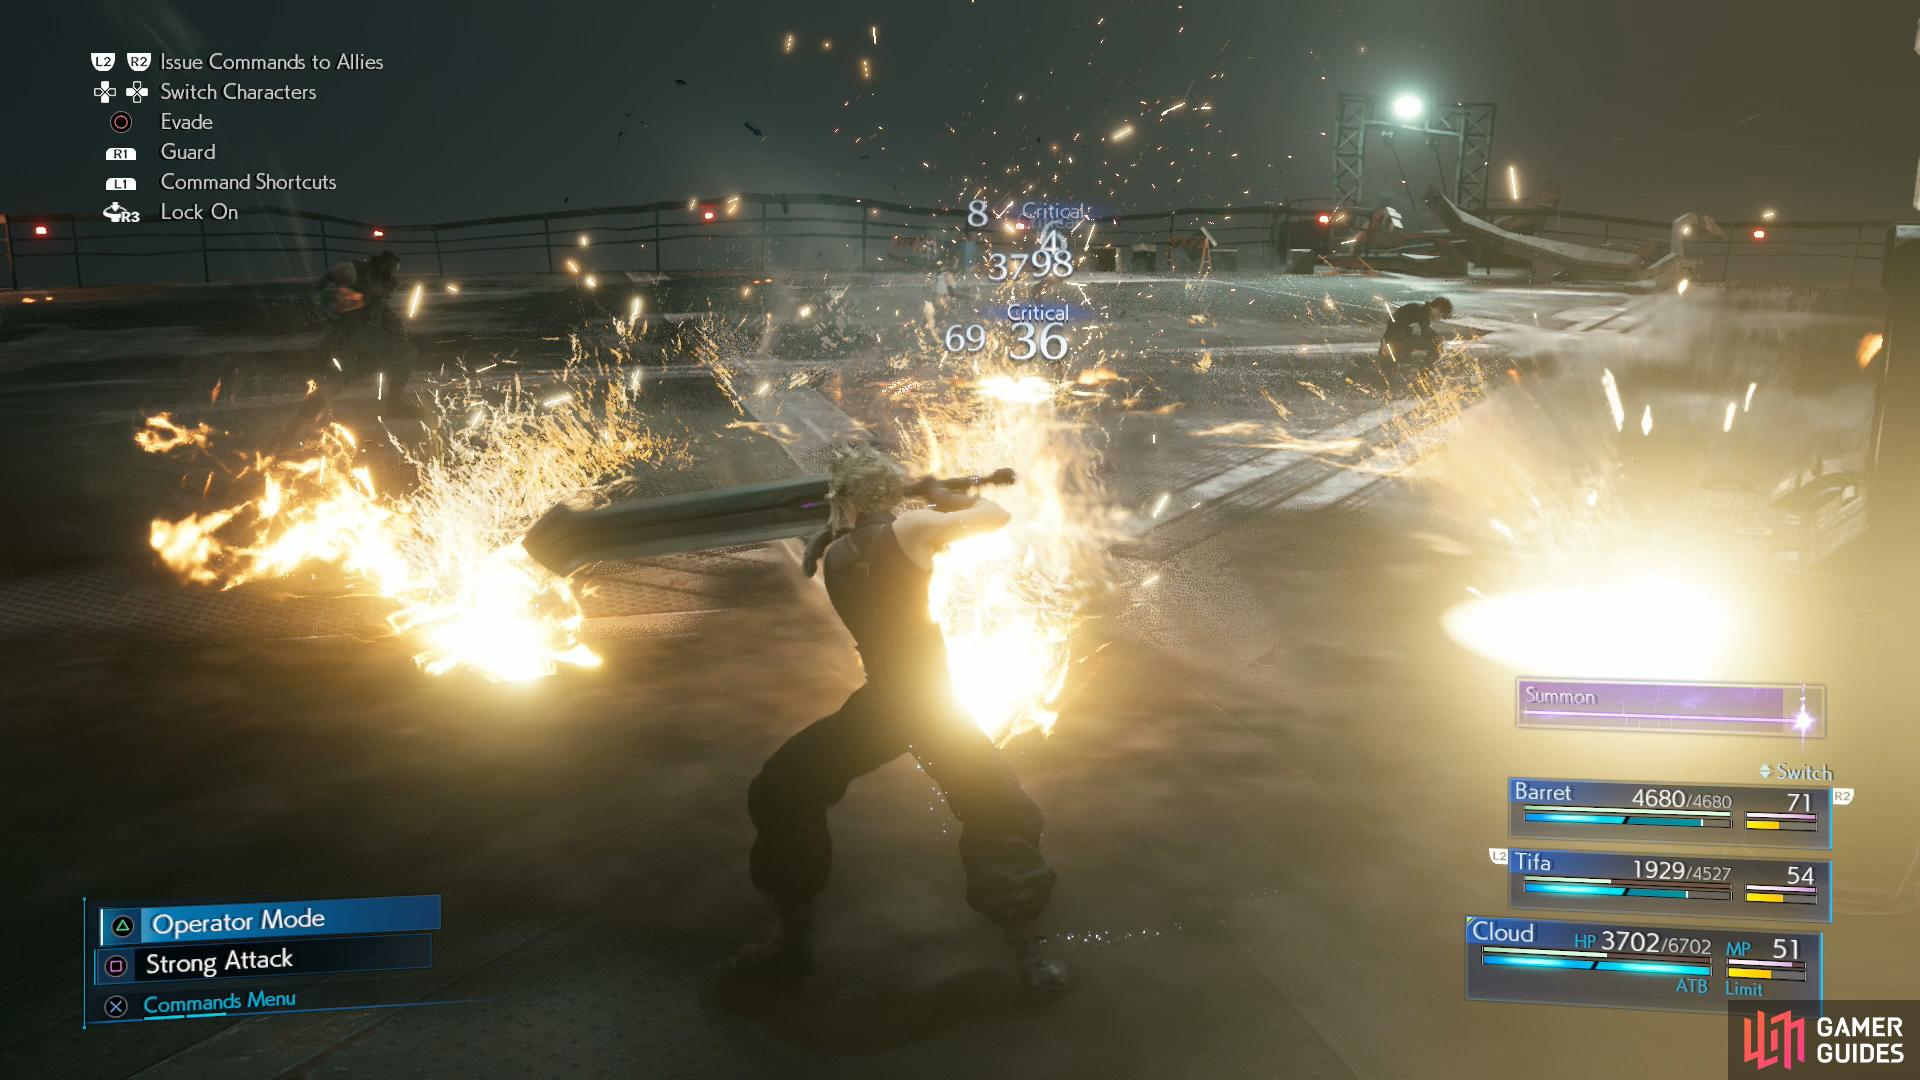
Cloud’s Punisher mode counterattack will go a long way towards Staggering the Elite Shock Trooper.
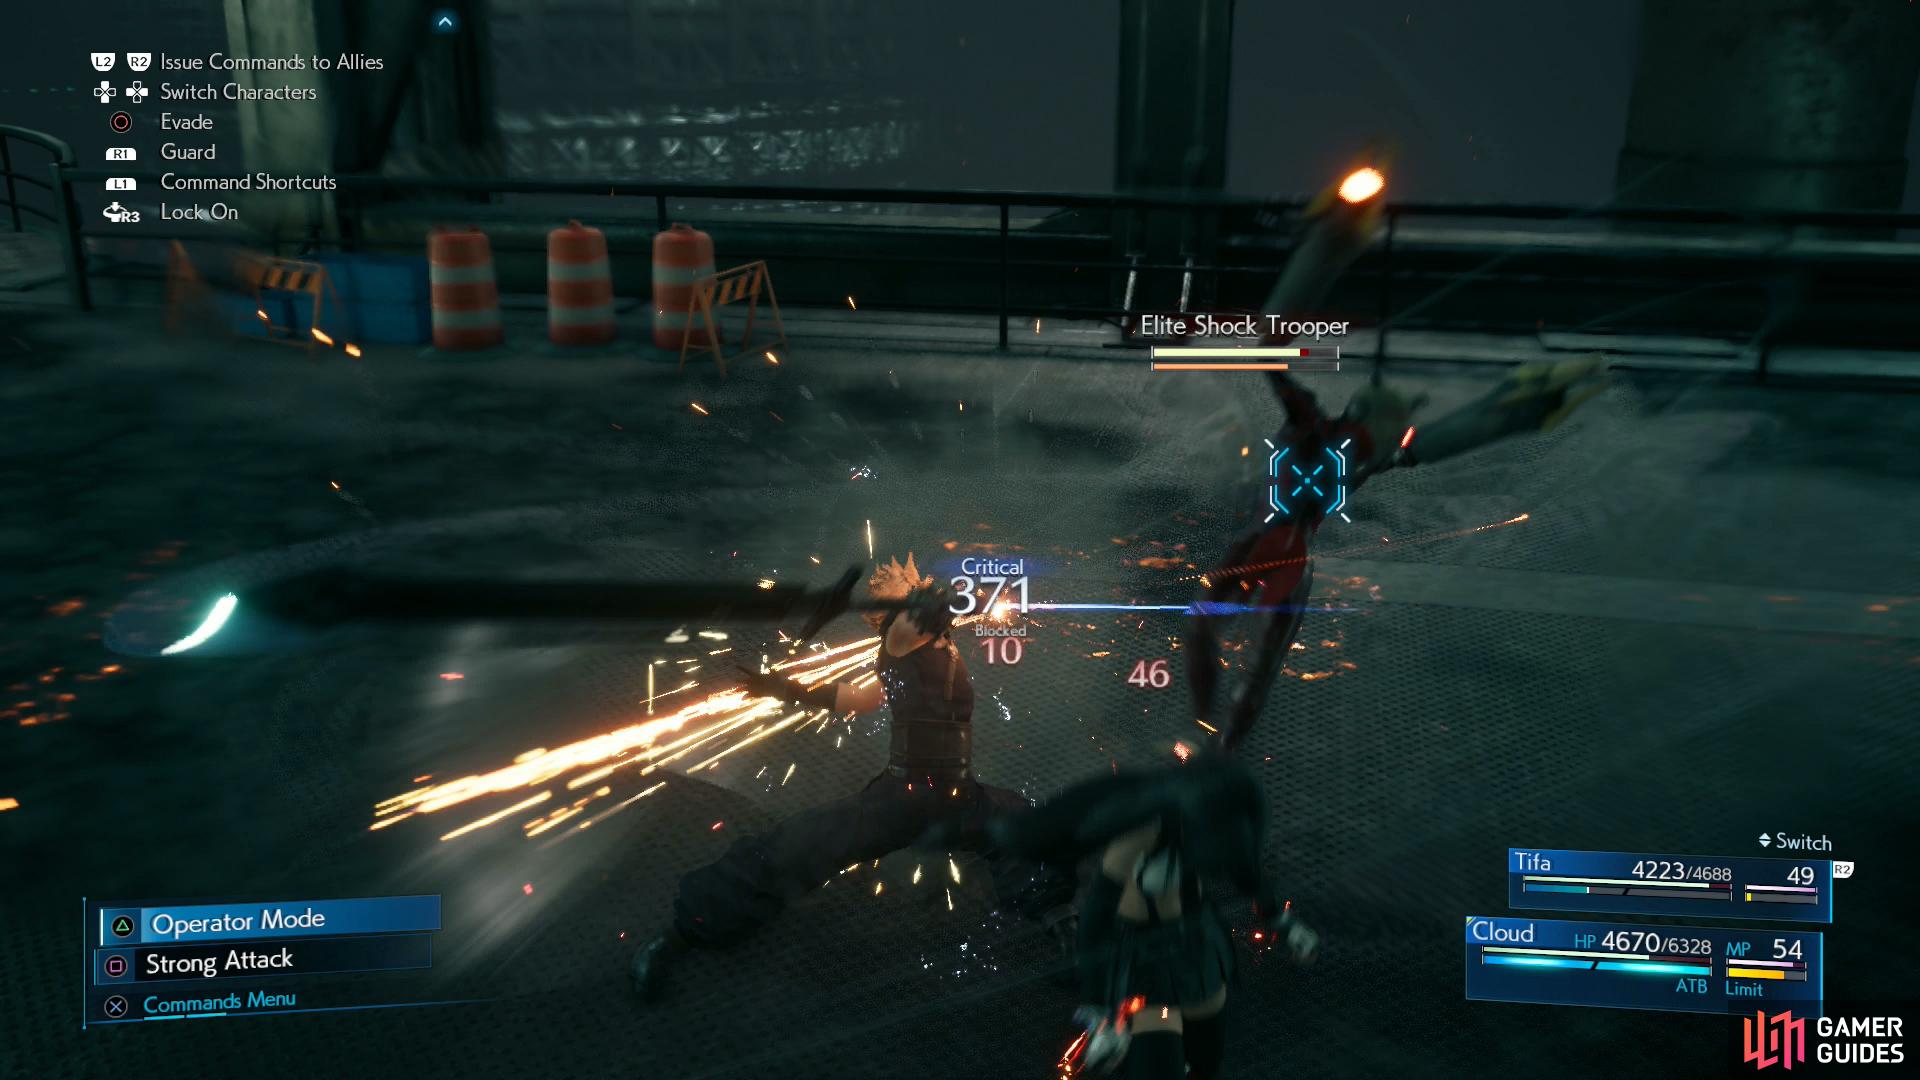
Defeat the foes, and now that you can keep ascending the pillar in peace, climb the stairs to reach 12F, where you’ll need to fend off two Sentry Guns and an Elite Shock Trooper. Haven’t seen these pests since the Sector 5 Reactor. Anyways, dodge their projectiles and switch to Punisher mode when they attack to score a counterattack, after which they’ll be “Pressured” and you can likely finish it off with a Focused Thrust and a Braver. The Sentry Guns can, of course, be dispatched with Thunder. Don’t get too cocky, however, as two Helitroopers will arrive later in the fight.
Defeat all challengers, then head northeast around the pillar to find a chest containing an Elixir. Return to the platform near the stairs and head west to find a beam you can cross to the southwest to reach the stairs leading up to 13F. Unlucky number. Another scene will occur. Much sad.
Triskaidekaphobia aside, head upstairs to reach 14F. Follow the linear path ahead and you’ll reach a vending machine and a rest bench. This usually means trouble, and while the earlier ones at the bottom of the pillar didn’t precede a boss battle, this rest bench/vending machine combo isn’t so innocent. Buy some restoratives - 3x Mega-Potions (300G), 2x Ethers (100G) and 2x Phoenix Downs (100G) - rest up, and check on your materia.
Offensive elemental magic will be of dubious value in the upcoming battle (one foe is susceptible to wind, and he only appears in phase three), but Lightning + Elemental on your armor will help mitigate damage and equipping everybody with Healing Materia (perhaps Healing + Magnify) is also a fine precaution. Poison Materia and Binding Materia will also prove useful as the enemies ahead are susceptible to both status effects. You don’t need to worry about “roles” in the upcoming fight, at least not as far as materia goes - inflicting your foes with Poison and Sleep are not MP-intensive tasks. If you feel like designating a healer, however, Barret’s arguably the best choice, as Tifa and Cloud are needed in a more offensive capacity. You’ll also want your Steal Materia equipped, as there’s some loot you can nab in the upcoming battle which will be otherwise missed.
Finally, make sure Barret’s equipment (including materia) are up to snuff. Go ahead and unequip Aerith - she won’t be needing your materia for a while.
Boss: Reno
| Enemy | Weaknesses | Notable Loot |
|---|---|---|
| Reno | -- | Magician’s Bracelet |

Phase 1
Last time you encountered Reno, Cloud pretty solidly out-classed him, so what chance does he have against a full party? Not that good, but he did make some adjustments allowing him to fare better against Cloud. Turns out all Reno needed to do was… move further during his attacks. Sounds silly, but the distance Reno now travels during his attacks will often prevent Cloud from landing solid counterattacks, making him less than ideal for this phase of the fight.
Tifa, on the other hand, is well-suited for fighting Reno so long as you don’t think mindlessly engaging in fisticuffs will suffice. Instead, you’ll need to try to dodge Reno’s attacks, after which he’ll be vulnerable to your own attacks to varying degrees. His attacks this phase are as follows:
-
Beatdown: Reno will perform an innocuous, un-named swing and if he connects he’ll start his “Beatdown” attack, which is a flurry of low-damage baton strikes.
-
Electroburst: Reno leaps into the air and slams into the ground, unleashing a burst of electricity. An area of effect attack, if you can dodge it, Reno will take a moment to recover.
-
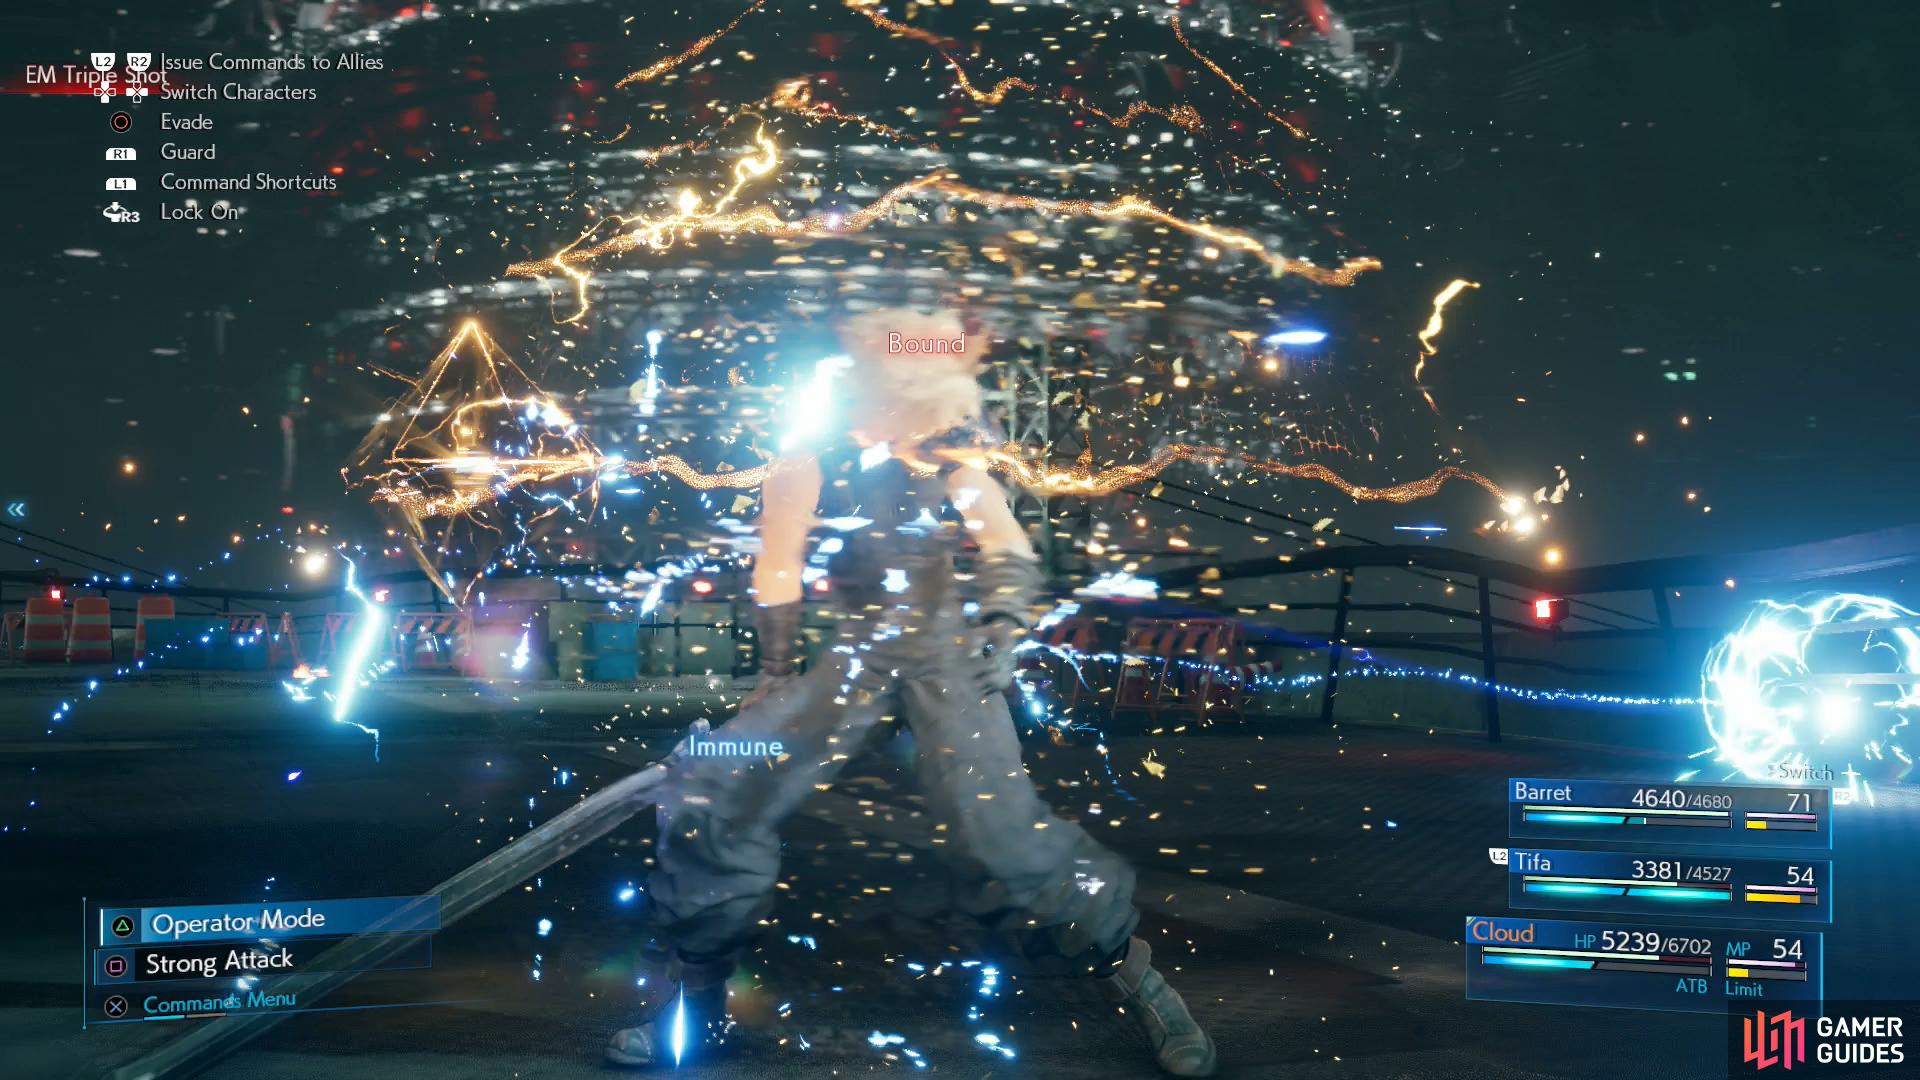
EM Triple Shot: Reno shoots out three balls of energy, dealing minor damage.
-
Flashfoot: A charge attack, Reno is susceptible to attack if he misses.
-
Flashstrike: An indirect, zig-zagging charge attack, Reno often attempts to follow this up with Wild Swings.
-
Wild Swings: Reno will perform an innocuous, un-named uppercut and if it connects he’ll follow his victim into the air and start his “Wild Swings” attack, which is a flurry of low-damage baton strikes. He’ll often use this at the end of “Flashstrike” and if he misses he’ll be vulnerable to attack.
Dodge Reno’s attacks with Tifa (he’ll make it somewhat easier by doggedly pursuing the controlled character), then retaliate, charge up your ATB and use it to charge up your ki. Don’t worry about Staggering Reno, by the time he gets close he’ll be near phase two anyways. Instead, try to whittle his HP bar down with “Rise and Fall” and “Omnistrike”. Cloud and Barret can assist by hitting him with Poison and/or Sleep, the former of which will deal damage over time and persist into later phases. The earlier you cast it, the better, and when it wears off you should reapply it. Sleep will buy you some time to do which as you please.
Last and not least you can steal a Magician’s Bracelet from Reno, and it’s best if you attempt this in phase one, as it’ll only get more difficult in later phases. We’d have been more adamant about this, but you can simply buy one next chapter, so if you can’t be bothered and are willing to spend the Gil, it’s not essential.
Phase 2
After reducing Reno to about two-thirds of his HP, he’ll express contempt at your refusal to simply fall over and die. Seeing his little buddy in need, Rude will step it and perform a bombing run, “Special Delivery”, which shouldn’t hit you unless you stand there and let it. Rude will continue to pester you with chaingun fire, which is more of a nuisance than a threat. Reno, for his part, really only seems to add one new attack to his arsenal, Pyramid, which encloses its victim in a… well, pyramid. It inflict “Bound” and deals damage, and to get rid of it you’ll need to attack the pyramid. Cloud in Punisher mode is especially good at removing this quickly, while Barret… not so much.
Continue the same strategy until Reno’s under half his HP, at which point he’ll take a knee and become immune to damage. Switch to Barret and have him shoot Rude’s helicopter out of the sky, after which phase three will start.
Boss: Rude
| Enemy | Weaknesses | Notable Loot |
|---|---|---|
| Rude | Wind | Heavy-Duty Bracer |
(1 of 4) Rude is happy enough to stand back and use ranged attacks like Shockwave and Triple Shockwave.
Phase 3
Rude joins the battle this phase, and while he’s got pretty much every attack from the first fight, he’s also got some new attacks:
-
Haymaker: An unblockable punch attack, deals moderate damage, can be used on the ground and in the air.
-
Seize: Knocks a target prone, dealing little damage, but incapacitating the target for a moment.
-
Shockwave: Punches the ground, shooting a line of energy at the target. Minorly homing, wait until it’s close to dodge.
-
Spinning Axe Kick: Usually used when Reno knocks a character into the sky, this attack is similar to Reno’s “Electroburst” attack in that it’s a diving attack that deals damage in a circular area-of-effect.
-
Triple Shockwave: Similar to “Shockwave”, Rude shoots out three shockwaves that converge on the target. Still fairly easy to dodge, but you’ll take more damage if you fail.
-
Whirlwind: Rude conjures a homing lightning tornado - you can just out-run it.
Mostly, however, Reno and Rude are dangerous as a team, partly because they both continue the trend of focusing almost exclusively on the controlled character and having another aggressive attacker makes it difficult to avoid damage, and partly due to genuine tandem attacks. Rude, for his part, seems content to stand back and use “Shockwave” if you keep your distance, although if Reno knocks you in the air Rude will reliably follow-up with his “Spinning Axe Kick”. The two also have a “Turks Combo” attack, where they jump into the air and slam down on the battlefield, discharge lines of energy from the impact site. The further away you are, the easier it’ll be to dodge, but it’s fairly tricky to gauge where the epicenter of the attack will be.
There’s no good option for fighting them both. Cloud’s Punisher mode counterattacks work reasonably well on Rude and Tifa’s dodge/retaliate strategy still does well against Reno, but with two of them attacking at once it’s quite difficult to dodge or capitalize on attacks afterwards. Both have unblockable attacks and area-of-effect attacks, Rude will frequently use ranged attacks and Reno moves fast enough that range isn’t much of an impediment for him. Both will frequently interrupt you, making it tedious to deal with them both at once.
The solution is surprisingly simple: since they’re a pain to fight at the same time… don’t. At least, not any more than you have to. Start out the phase by hitting them both with Poison, which will reliably chip away at their HP over time, then hit Reno with Sleep and try to damage him with Tifa’s ki attacks. Obviously you can’t avoid fighting them both all the time - you’ll need to charge up Tifa’s ki levels by attacking whichever one is still awake, after all - but putting one asleep buys you the time to do so more easily, then discharge your ki attacks to great effect before the sleeping victim wakes up. We opt for Reno because, frankly, he’s the more annoying of the two in this fight and probably has the fewest HP at the start of this phase, but it doesn’t really matter which you pick as long as you focus on one. Two or three good ki combos should finish one off, after which you can focus on the other. Naturally if your summon or limit gauges fill you should use those attacks to shorten the fight further, just avoid Ifrit, as Rude’s resistant to fire.
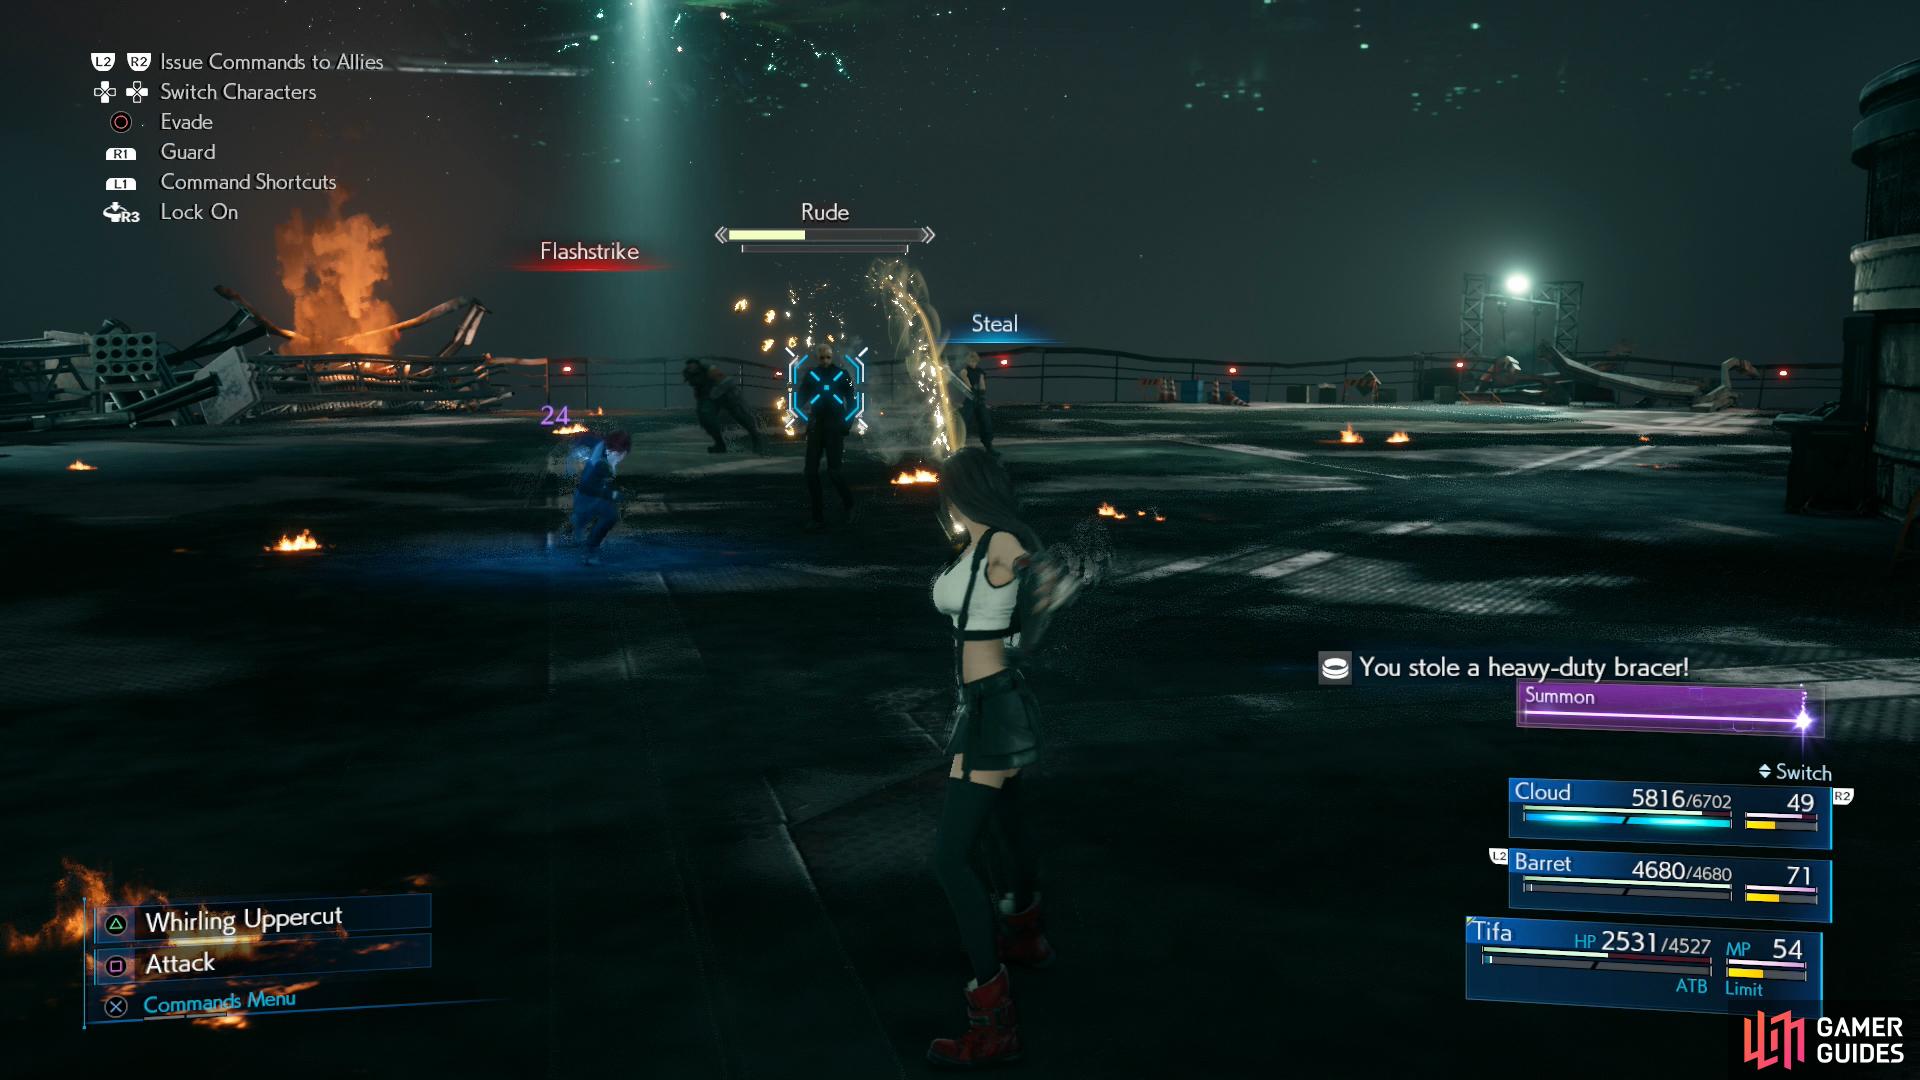
Another reason for picking off Reno first is that you can steal a Heavy-Duty Bracer from him - a task which will be simpler when Reno is out of the picture. Like Reno’s Magician’s Bracelet you can buy a Heavy-Duty Bracer in the next chapter, so stealing one here isn’t imperative, but it’ll save you some Gil.
After the battle is over watch some scenes, after which you’ll have to escape from the pillar in a timely manner… or not, the timer seems to be bogus. In any event, rendezvous with Tifa and, after some more scenes, this chapter will end, obtaining the The Collapse Trophy in the process.
No Comments