

| Participants | Cost | Rank | Rounds | Reward |
|---|---|---|---|---|
| Any Three Characters | 700 gil | 7 | 5 | Götterdämmerung |
Pre-battle Preparations
This matchup is the ultimate test in Final Fantasy VII Remake and as a result, you’ll need to carefully prepare if you want to stand any chance. To begin with, you won’t even be able to access this until you’ve completed all the other Colosseum and Shinra Combat Sim matches, that means returning to Chapter 9 with Aerith to complete two new (although simple) matches. With the battle unlocked, you’ll want to follow the instructions below to stand any chance of completing this match.
To begin with, Level 50 should be a given at this stage of the game and it helps to have Weapon Level 6 unlocked so that you can purchase the Reprieve ability on your weapons, if you haven’t, return to Hard Mode and earn some more Manuscripts before returning. With that out of the way, you’ll want to make sure you have the Chain Bangle from Chapter 17 and two Cog Bangles for the other two characters. Finally, Champion Belts on Cloud and Barret are useful while a Circlet is ideal for Aerith.
On to the matter of Materia and you’ll want to have at least one Elemental at MAX with the second one at least at Level 2. The Elemental that is MAX should be set to Cloud’s Armor along with Fire Materia, allowing him to absorb Fire damage. The other Elemental Materia should also be paired with Fire and given to Barret due to his survivability. Next up, you’ll want to ensure that every single one of your characters set both Healing and Revive as Items are forbidden and you’ll want to attach Barrier-Magnify to Aerith, you’ll be using Manawall a lot throughout these battles and Aerith’s large MP pool allows you to make the most use out of it.
Following this, you’ll want to assign some HP and MP Ups to your characters, ensuring that Barret and Cloud sit at 9999 HP and that they have enough MP for liberal use of it. You’ll also want to make sure that you have Ifrit assigned to someone, he’ll come in use right at the start of this match. If you’re looking to complete the Assess list, you’ll also need to bring that along as there are two enemies that can only be encountered here. Finally, ATB Stagger is useful on Cloud to make the most out of every Stagger opportunity while Cleansing and Time can also be useful provided you have the slots free.
Round 1/5
| Enemy | Weaknesses | Notable Loot |
|---|---|---|
| Shiva | Fire | -- |
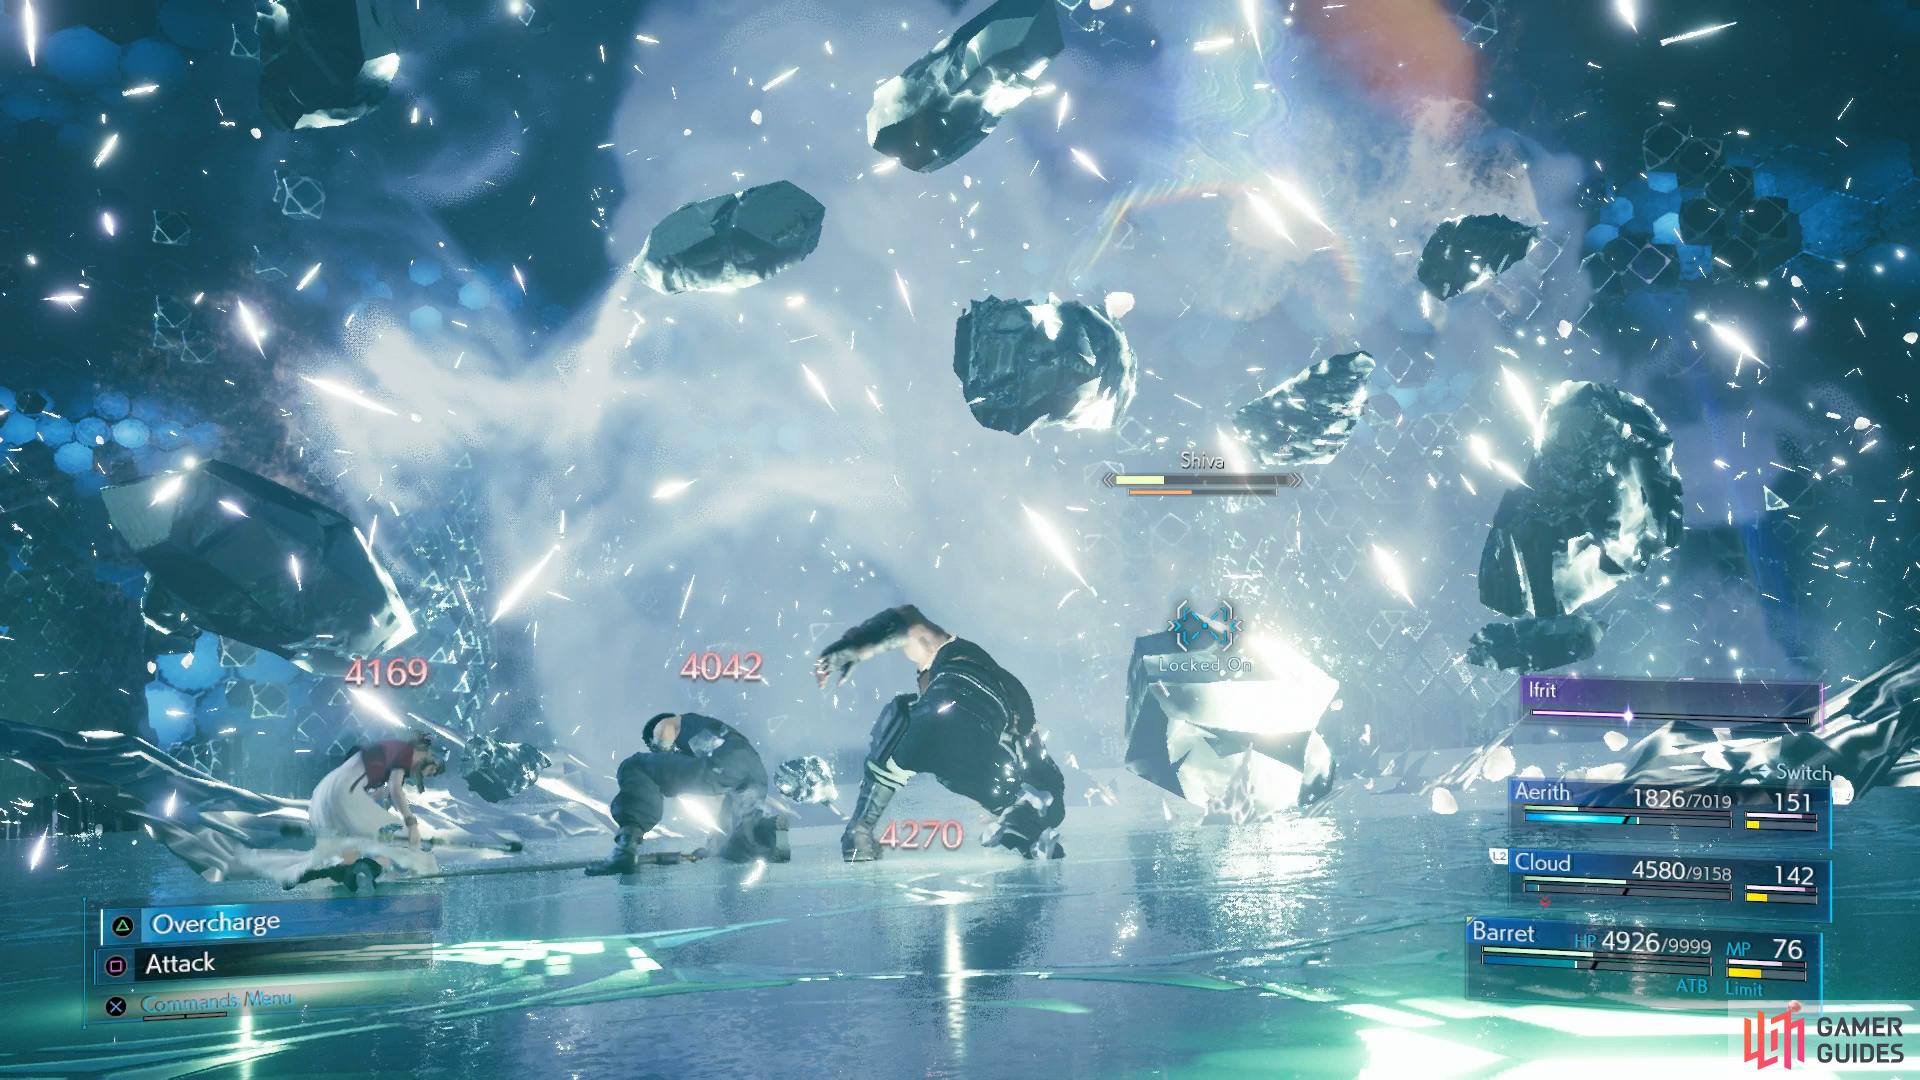
Diamond Dust will still hurt if you don’t have Manawall up
make use of Ifrit during this battle.
The first round is a rematch against Shiva and she’s not changed too much from that first encounter with her, other than the increase in damage. You’ll find all the tips you’ll ever need against her in her VR Mission page but there are some Hard mode exclusive tips worth keeping in mind.
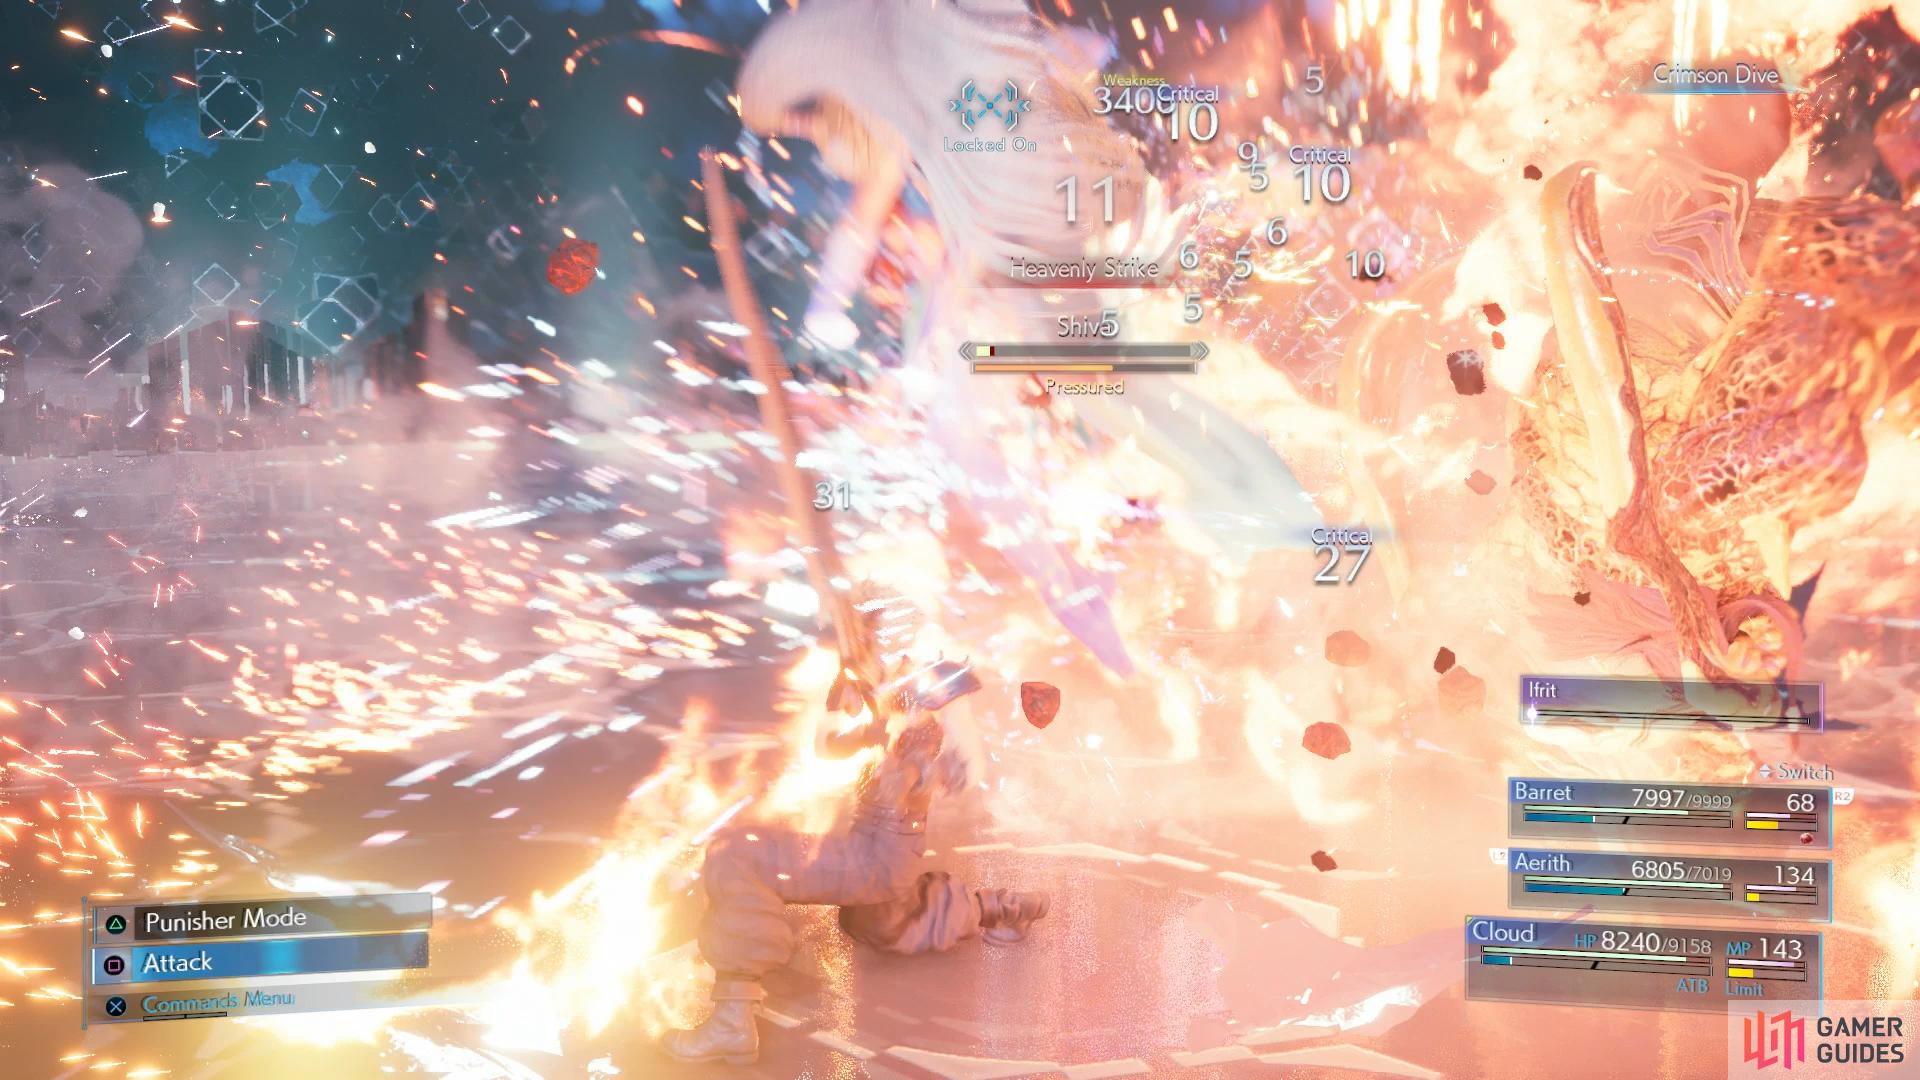
To begin with, you’ll want to avoid Whiteout at all costs, if you’re caught in it and you have Cleansing set, remove Sleep as soon as possible to avoid Heavenly Strike which will hit extremely hard in this battle. If you see her use Frost Familiars, stop using Fire spells as she gains complete immunity to all elemental damage while they’re active. As expected, Diamond Dust will deal significant damage to the entire party, around 4200 HP to a well developed party so be sure to keep Manawall up on your party to limit the damage it deals.
Like the previous battle with her, she remains weak to Fire so casting Arcane Ward Fira(ga) with Aerith can be useful for depleting her HP. Finally, once your Summon gauge is full, be sure to make use of Ifrit in this battle, Shiva can really drain on your resources so this is by far the best battle to make use of your summon.
Round 2/5
| Enemy | Weaknesses | Notable Loot |
|---|---|---|
| Fat Chocobo | -- | -- |
| ???? (Bomb) | -- | -- |
| ???????? (Tonberry) | -- | -- |
| Cactuar | -- | -- |
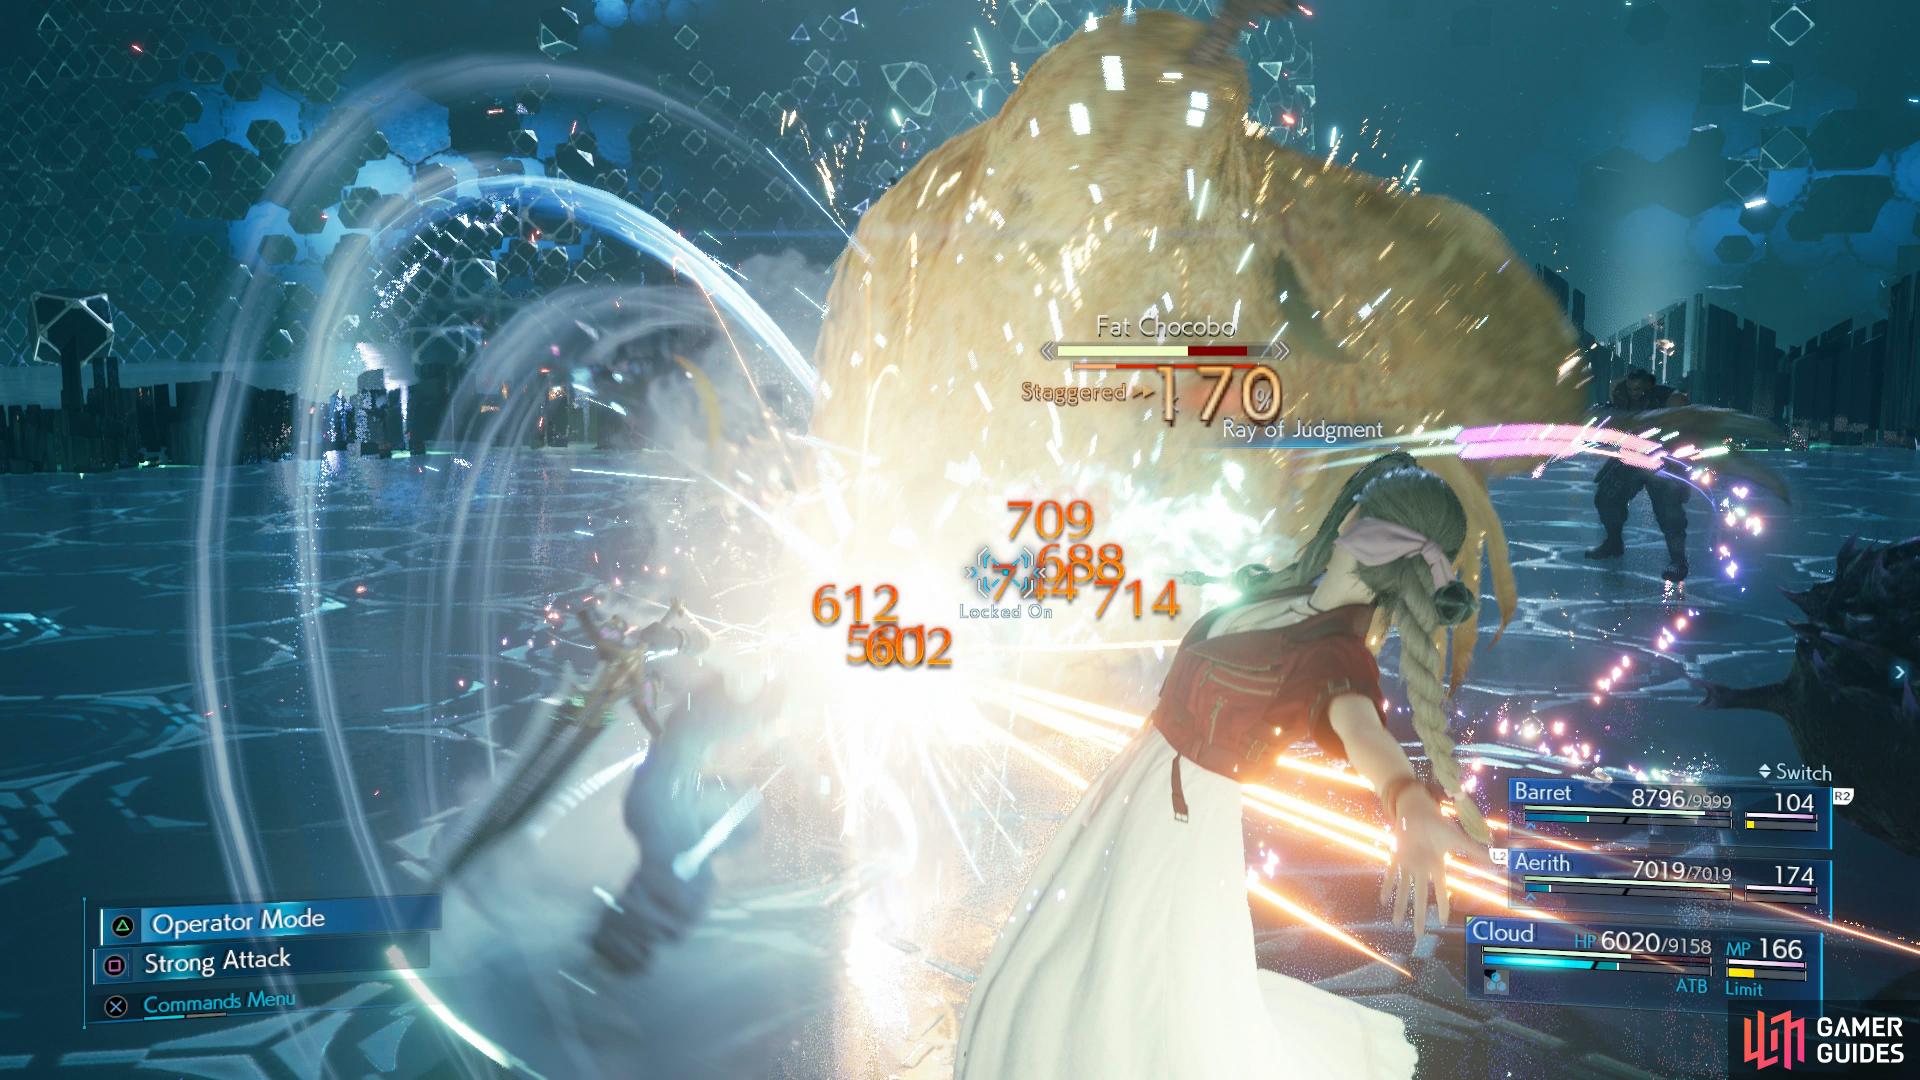
Make use of Ray of Judgment when it’s Staggered to increase the %
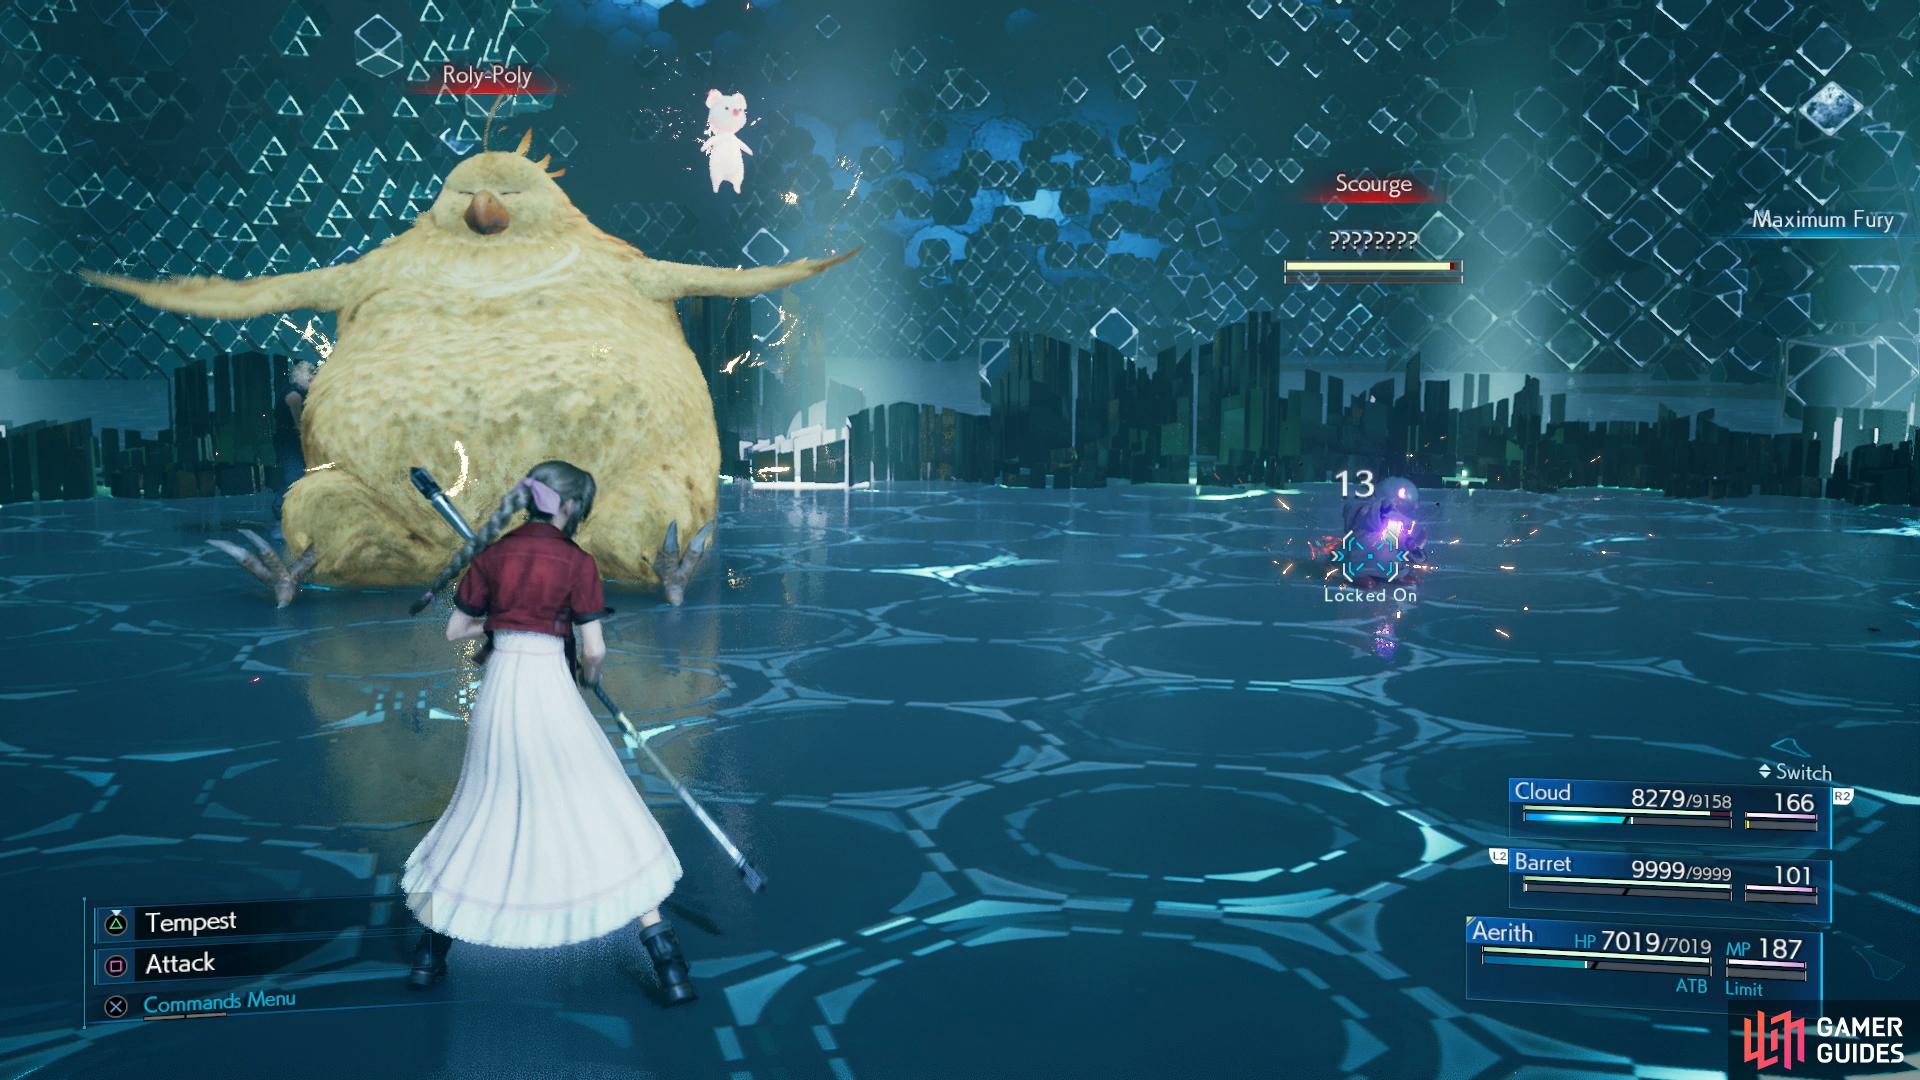
be sure to defeat any Tonberries that are spawned.
Round two is a rematch against Fat Chocobo and once again you’ll be able to find an in-depth strategy to it over on it’s VR Mission page along with some further guidelines here. Compared to everything else you’ll find in this Combat Sim, this is one of the more easier ones so take the time to conserve MP where possible however Magnify-Barrier can be useful.
As always, your best method at Staggering Fat Chocobo is after it’s Kweh kweh! ability, it will be out of breath allowing you to drive up the Stagger gauge. As with Normal mode, Fat Chocobo will stay Staggered longer than any enemy in the game so make use of Aerith’s Ray of Judgment to drive up the Stagger % and get two Infinity’s Ends off to deal major damage to it.
The only real major threat here is his Moogle helper, be sure to dispatch any Tonberries it calls, especially later in the battle where it can really ruin your flow. All in all, this battle hasn’t changed much from the last time you fought it and most of the same tactics still apply.
Round 3/5
| Enemy | Weaknesses | Notable Loot |
|---|---|---|
| Leviathan | Lightning | -- |
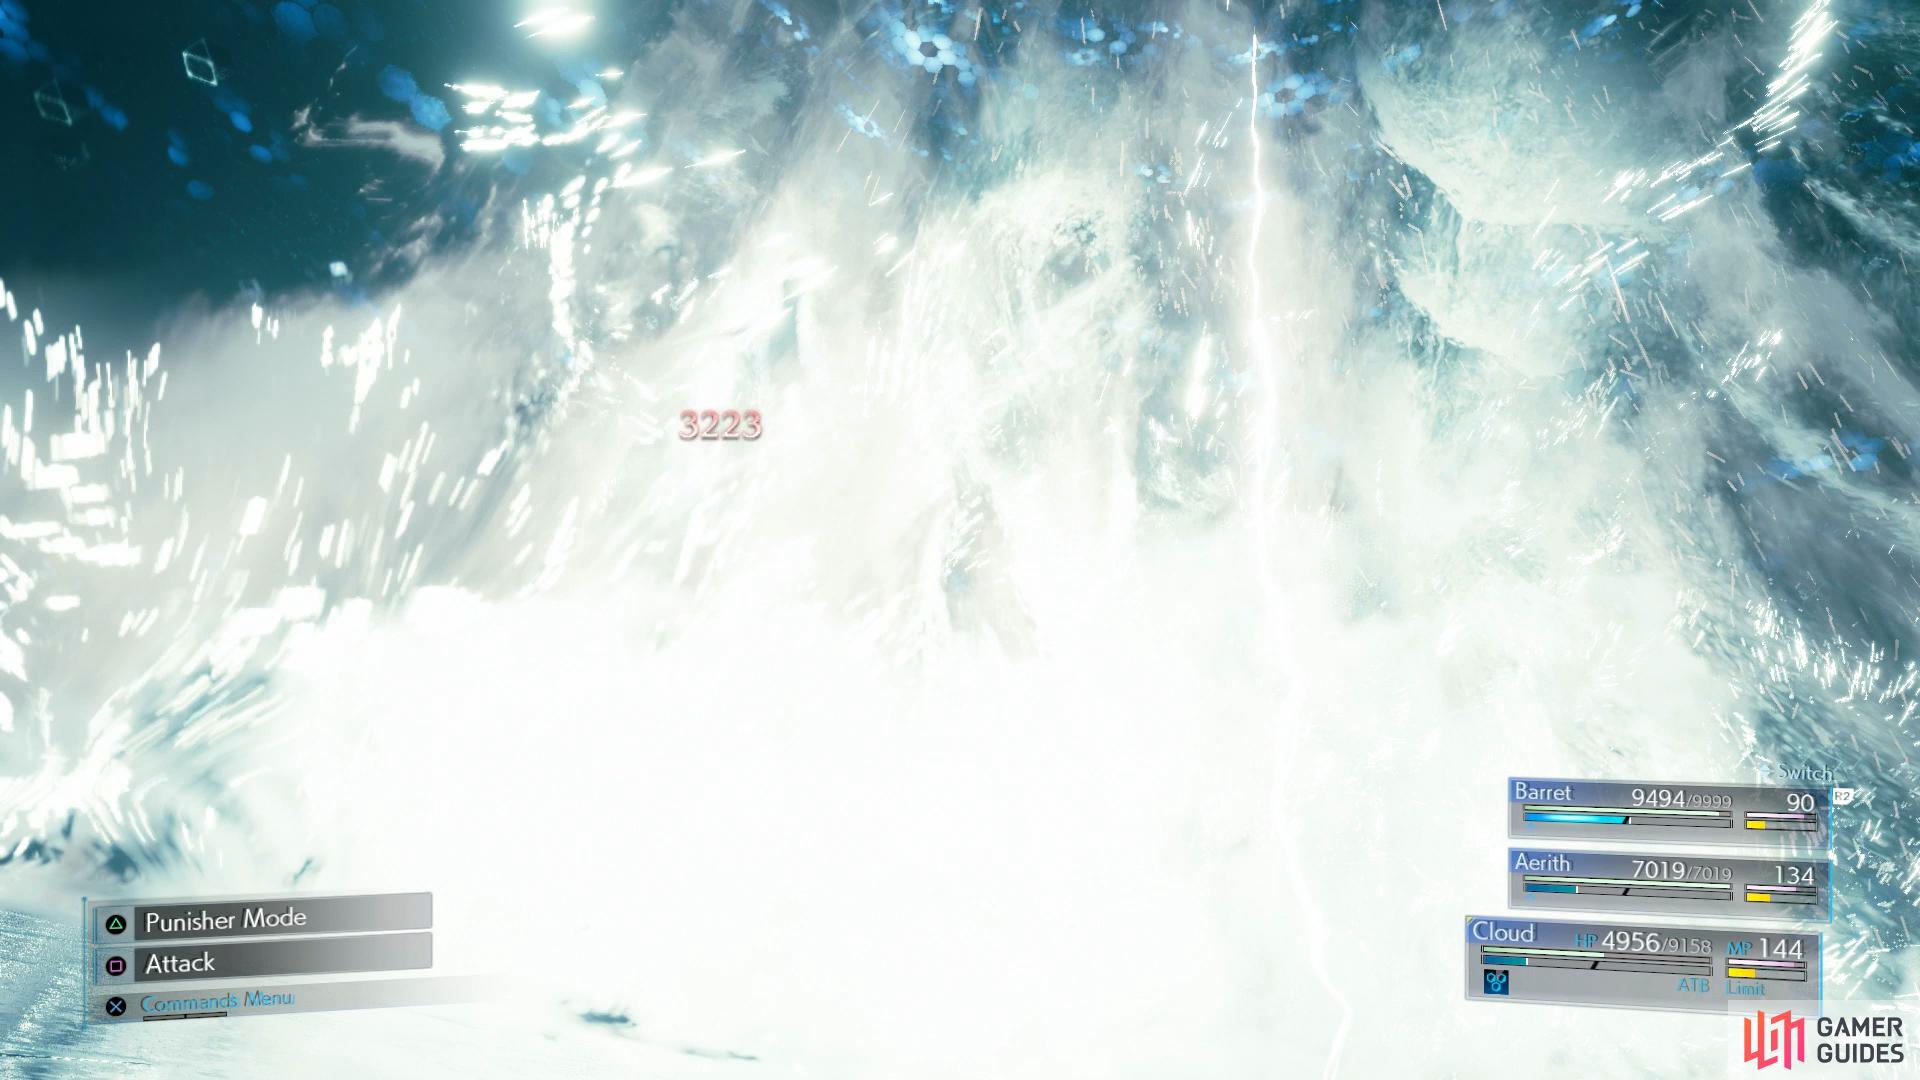
Tidal Wave will still hit hard even with Manawall active
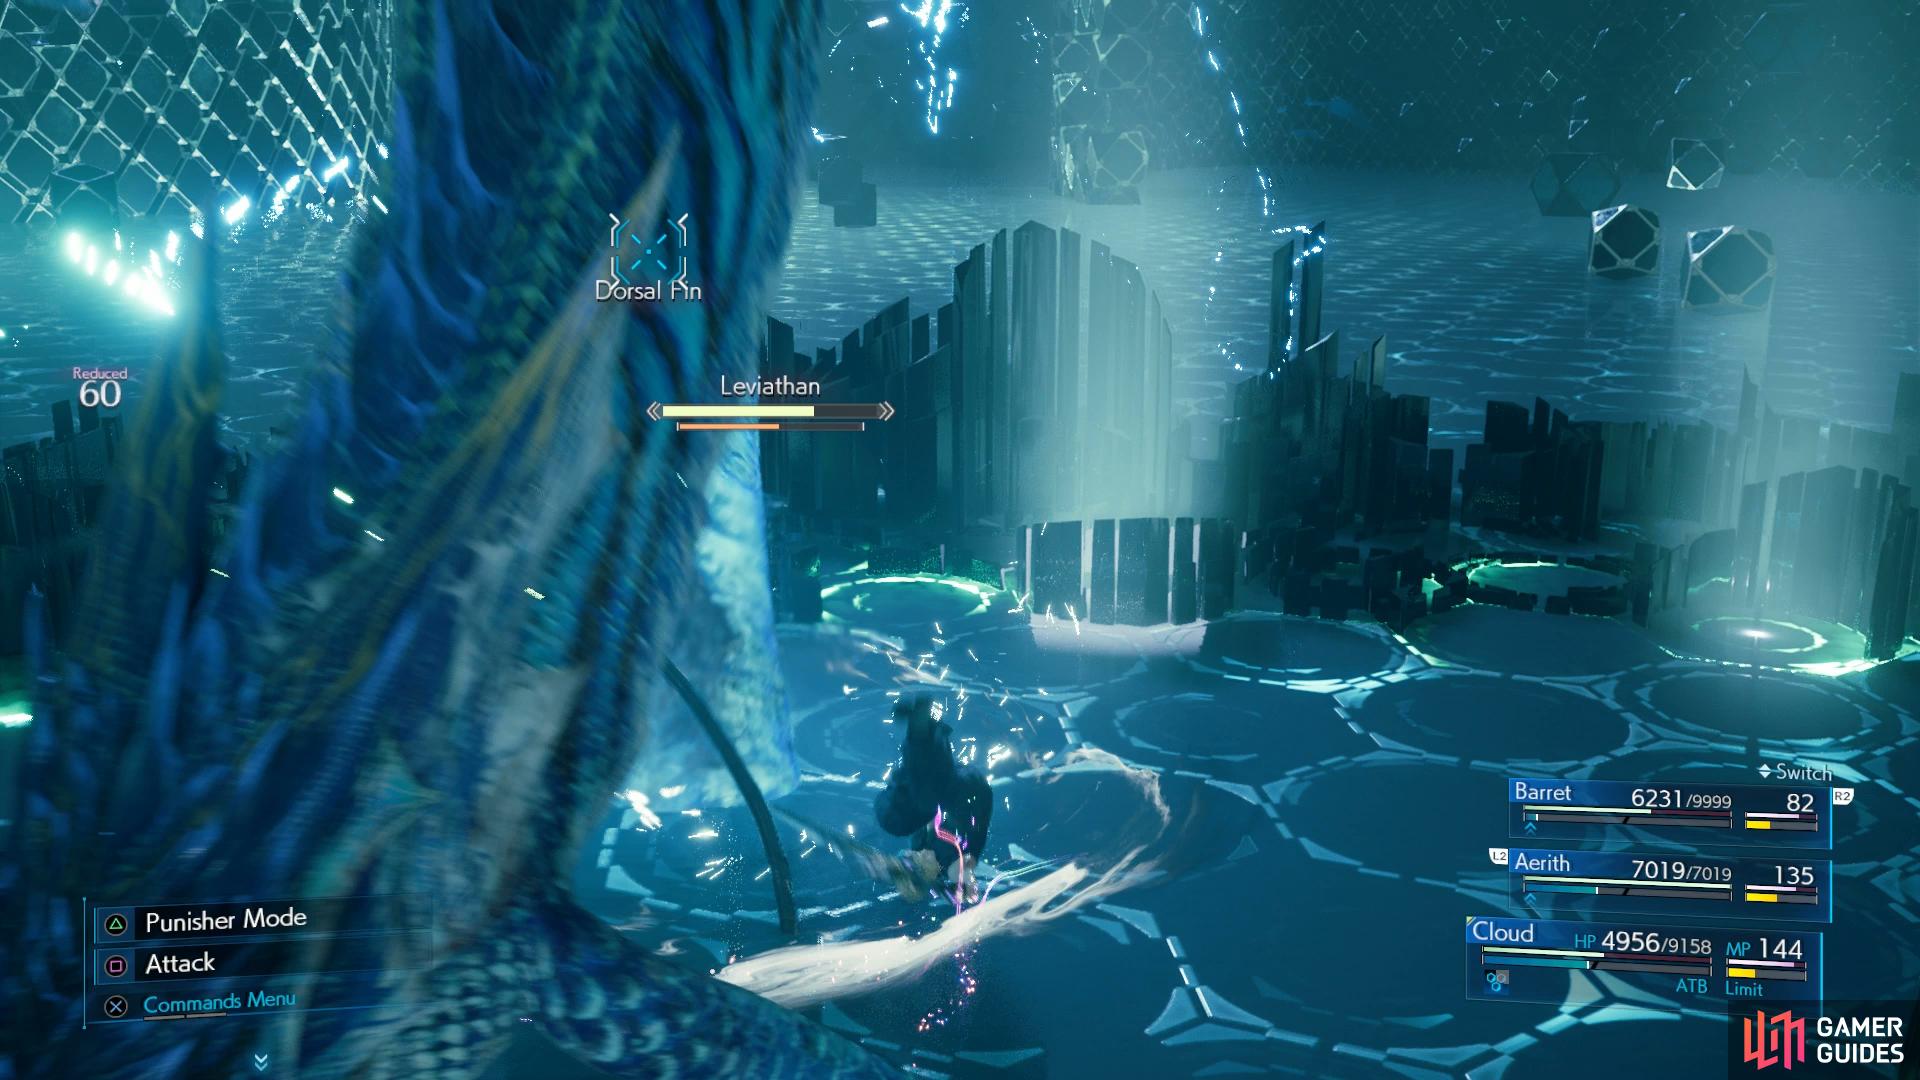
target the Dorsal Fin at all times other than when you can hit the tail.
Another lengthy battle with Leviathan awaits in the third round and you’ll find an in-depth strategy on him on his VR Mission page. A lot of the same tactics remain true here, especially keeping your Magic Defense as high as possible at all times.
When you’re fighting Leviathan at melee range, target the Dorsal Fin to increase the Stagger gauge at a quicker rate and then the Tail Fin whenever it’s available to be targeted. Likewise, you can make effective use of Aerith’s Arcane Ward and Thunder spells just be careful not to use all of your MP up, you’ll need plenty for Manawall.
Tidal Wave remains the largest threat to this battle and you’ll need Manawall on all of your party with topped up HP to survive the attack, don’t take anything for granted at all. Other than that, just be prepared for a lengthy battle as is always the case with Leviathan.
Round 4/5
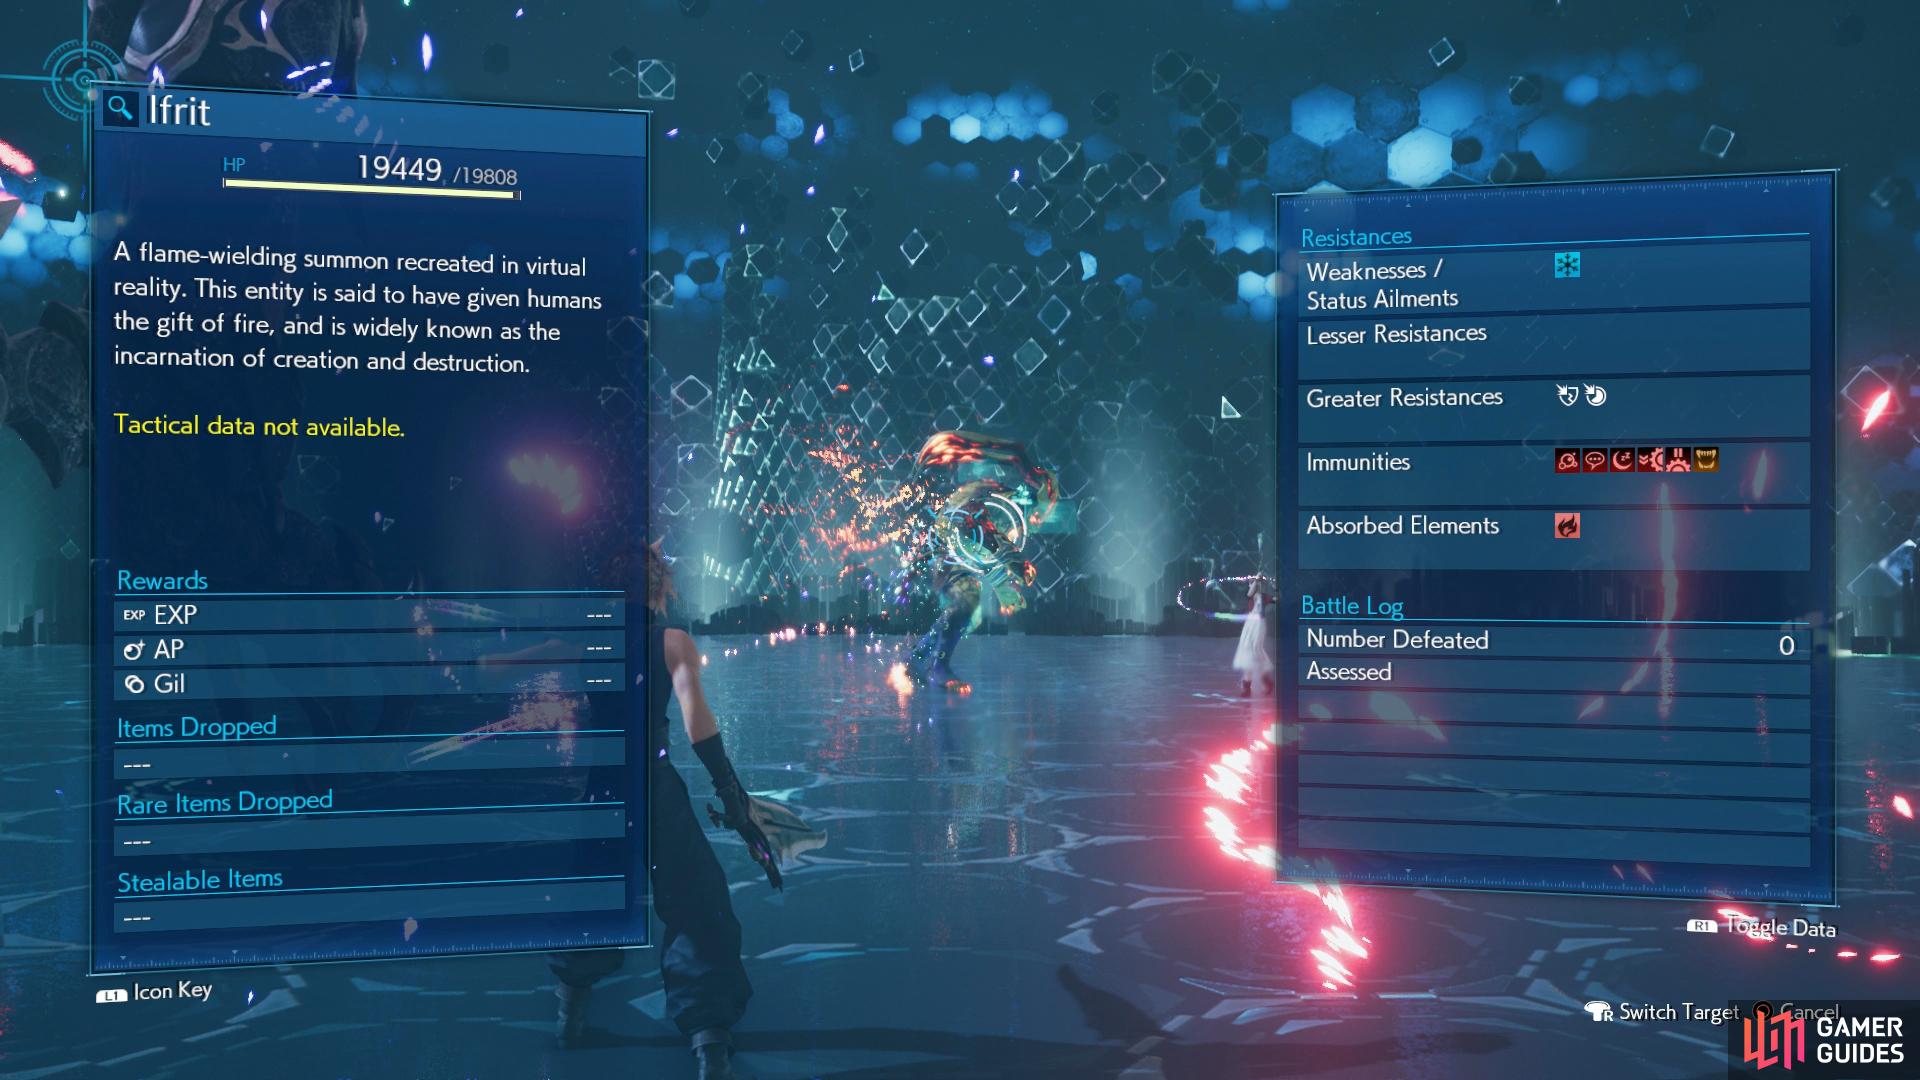
Round four is by far the toughest round in this entire matchup and arguably in the entirety of Final Fantasy VII Remake. You’ll find the majority of tactics for Bahamut on his VR Mission page but there’s one nasty twist to this battle, at 50% HP, Bahamut will summon Ifrit to the battle and this is where all that preparation will pay off.
Bahamut alone is enough of a threat but with Ifrit alongside him, he’ll be dealing massive damage towards the whole party and with both of them attacking, you won’t survive. If you managed to slot an Elemental-Fire on Cloud’s Armor however, you can actually use Ifrit to heal Cloud while the other Elemental slotted to Barret will help him to resist the attacks. You’ll want to make Bahamut your primary target at that point.
It’s never been more important to keep Manawall on all your characters just before Bahamut uses Megaflare, without it you will die regardless of how much preparation you did so do not neglect it, it should be your highest priority. If you managed to buy the Reprieve abilities for your characters, you can survive one Megaflare but any more than that and it’s curtains so keep your HP topped and Manawall on.
Umbral Aura is a lot more deadly on Hard with the HP drain it deals to characters inside it ticking for more HP per second, switch to a ranged character and keep your distance if you find yourself caught in this. Aerith’s Planet Protection Limit Break is particularly useful here, it will nullify Bahamut’s physical attacks allowing you to focus on just the magical bursts of damage he deals.
This battle is by far the largest test in Final Fantasy VII Remake, if you can best this battle then you should have no troubles with anything else in the game.
Round 5/5
| Enemy | Weaknesses | Notable Loot |
|---|---|---|
| Pride and Joy Prototype | Lightning | -- |
This is it, the secret boss of Final Fantasy VII Remake and provided you got through the previous battle with enough resources, you should be able to take down Pride and Joy Prototype.
Phase 1 - Opening Salvo
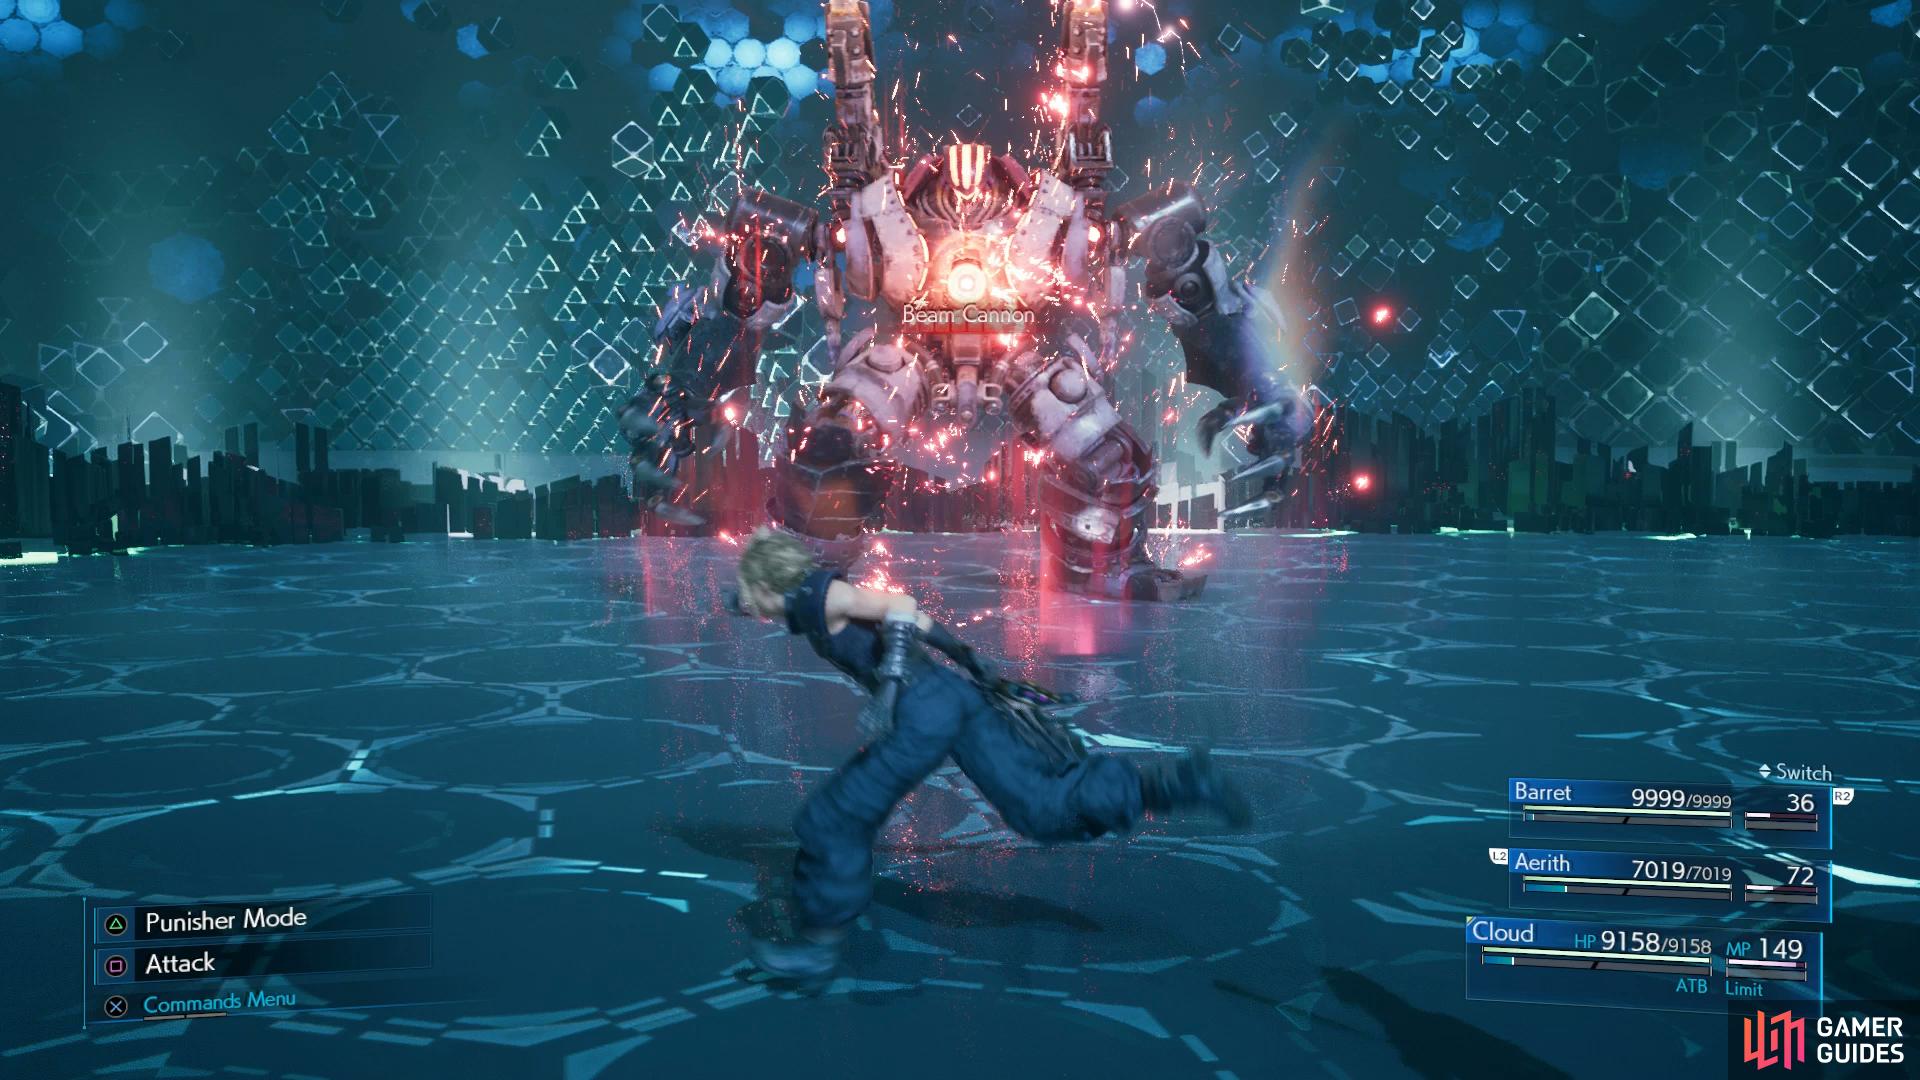
Pride and Joy will always open the battle with Beam Cannon, this is a long range attack that will deal massive damage to anyone who is caught in its blast, quickly run to either side or attempt to block some of the damage, if you arrive at this battle with depleted HP, you may need to revive one or two party members here.
Once you’re back on your feet, have Aerith cast Barrier on the party to limit some of the damage it does and then switch to Cloud and get to work on it. Pride and Joy is somewhat slow so you can run around the back of it with Cloud to attack away at it. At regular intervals, Pride and Joy will exhaust a Flame Burst around itself, this will actually heal Cloud if you have a Max Elemental-Fire set so be sure to make use of it to save on MP.
Phase 2 - After Charging
Once you’ve dealt the first 10% HP to Pride and Joy, you’ll stun it momentarily before entering Phase Two. This is where Pride and Joy starts getting more dangerous and has new attacks available to him. You’ll also notice that you can now attack up to four parts of it, both legs and arms and as you cripple each one, you’ll gradually Stagger Pride and Joy so focus on one at a time.
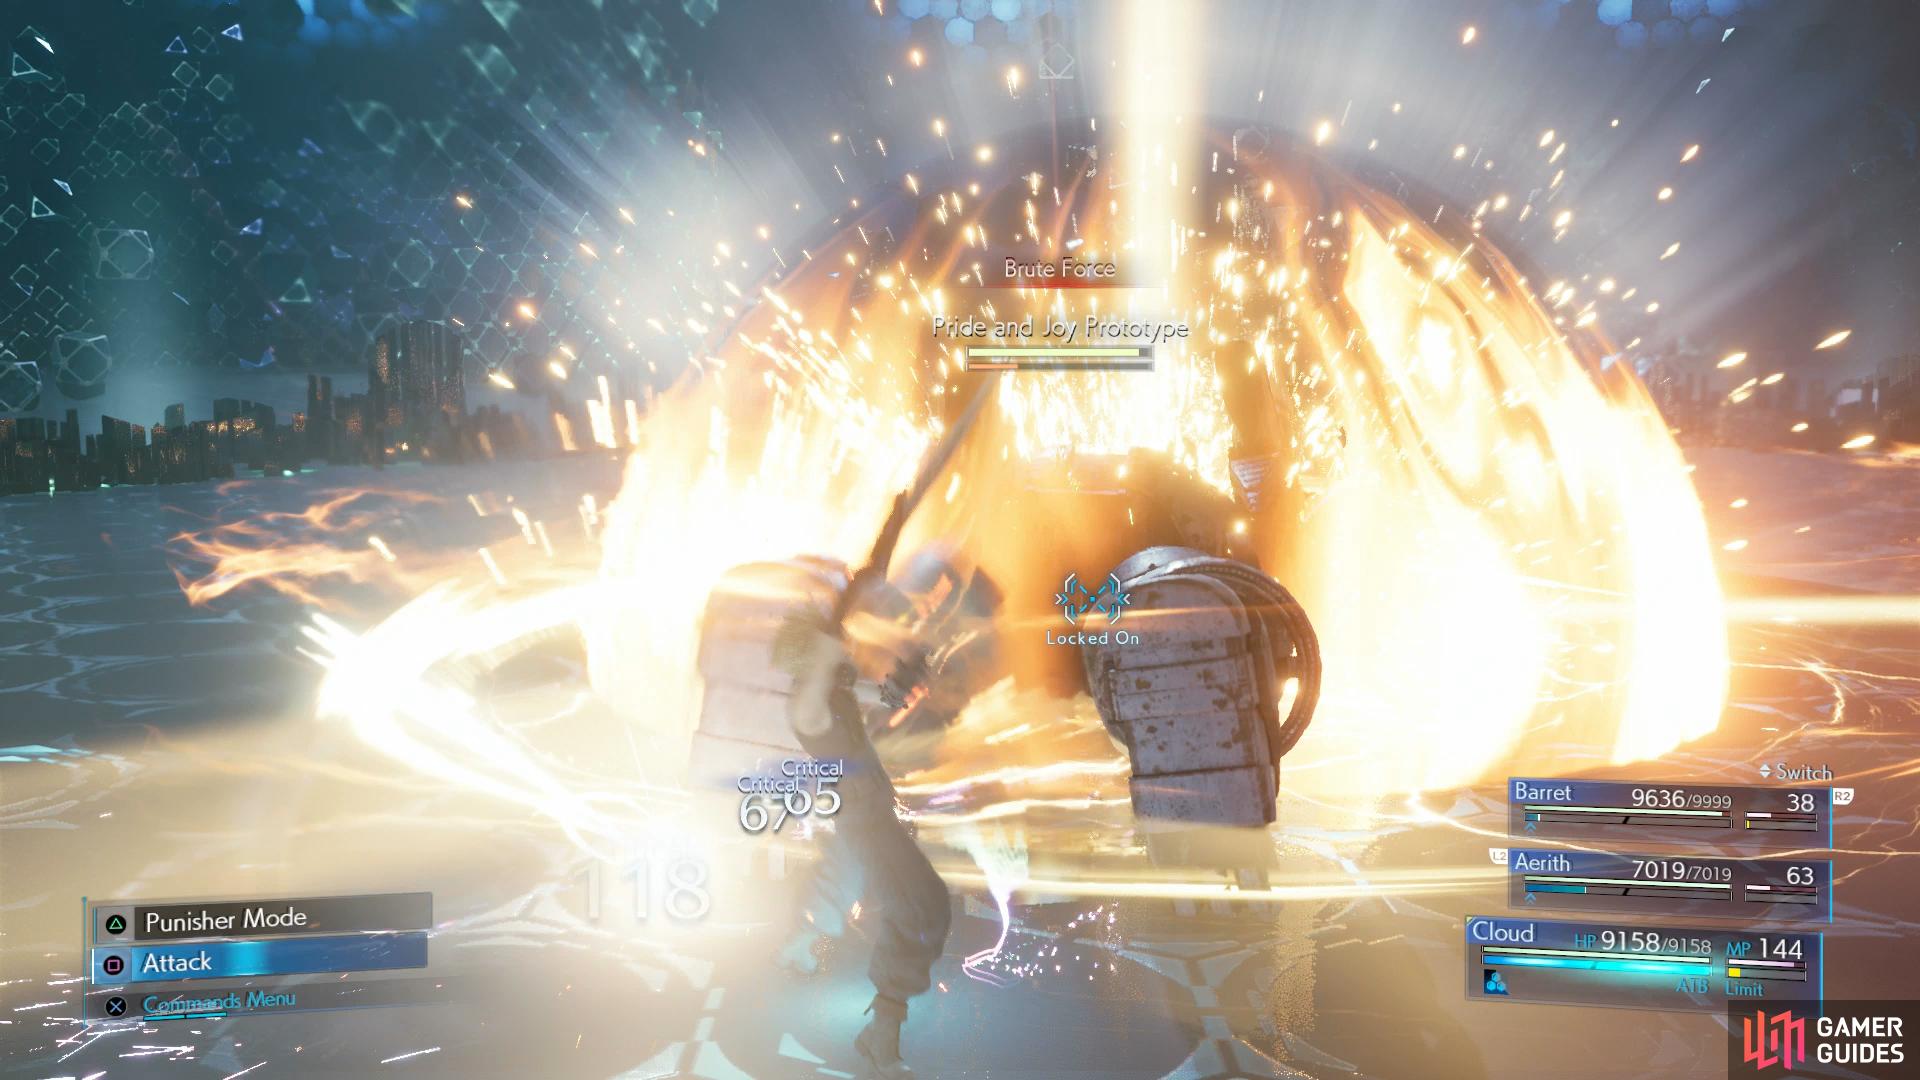
Brute Force will see it walk over to a party member before slowly falling on top of them, this will deal major damage but due to it being a Physical attack, Barrier will negate much of this. Pay special attention to Catch as Pride and Joy will grab a party member and target other characters to charge it’s Core’s faster. This is a prime time to hit its arm with a Thundara spell to hopefully free the character, if not you’ll have to deal with the Flame Pools it will scatter around the field, once again this can be a boon if you have a MAX Fire-Elemental slotted to your Armor.
You’ll notice the color of the Core will change, depicting its levels of Charged Energy. The most deadly of these is when it glows purple, it’ll gain access to a Stun Beam that will not only deal over 3000 HP but also put that character out of action for a time, be sure to avoid it at all costs. As you break each Leg, it will stun it momentarily for a short period before instantly regenerating it, disable it a second time however and it loses the ability to exhaust Fire around it, this may or may not be a good tactic based on your current setup.
The Right Arm should be your primary target whenever its available, disabling this will prevent it from using the Catch ability, allowing you to limit a lot of it’s lethal attacks. MP levels will be hurting for sure at this point and you should make use of Regen to heal where necessary and only use Curaga if a character is in red. Likewise, due to Pride and Joy’s most deadly attacks being Physical, Aerith’s Planet’s Protection Limit Break is a vital asset, really allowing you to focus on damaging the oversized mech while it’s active.
Save your Limit Break on Cloud for when you do manage to Stagger it, this is usually enough to outright kill it if you’ve been hitting away at it regularly. Pride and Joy shouldn’t cause too many problems considering the previous battle, his slow speed makes him a giant punching bag and so long as you take the time to avoid the easy to spot Beam Cannon, you’ll take it down relatively quickly.
Upon winning this difficult match, you’ll obtain The Ultimate Weapon Trophy along with the Götterdämmerung, the most powerful accessory in the game. This will allow you to start every battle with a full Limit gauge and it will regen after the first usage, making Hard Mode a lot simpler.
No Comments