

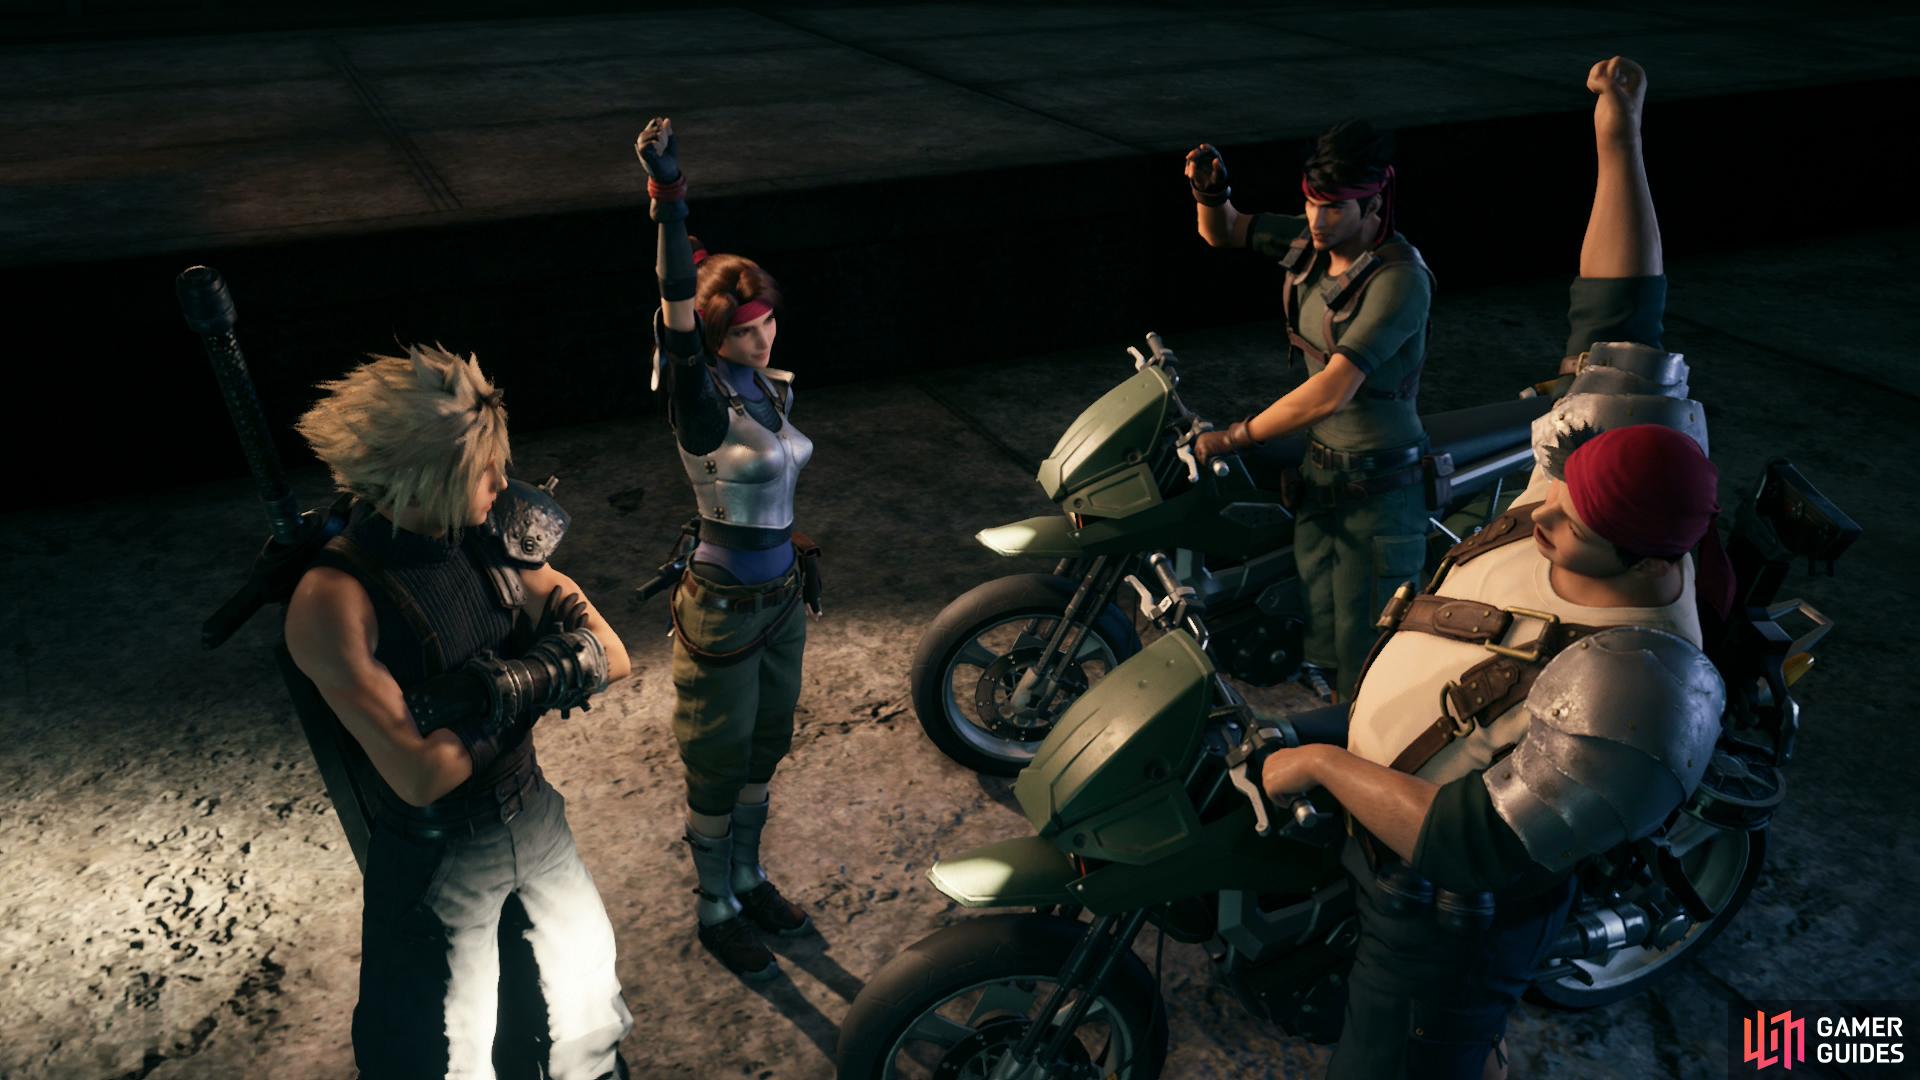
Watch the scenes at the start of the chapter and you’ll soon find yourself on a motorcycle with Jessie, accompanied by Biggs and Wedge on their own bike. If you were expecting a casual ride through the streets of Midgar at night… well, this isn’t it. After some chatter you’ll be attacked by Shinra officers on motorcycles, because one motorcycle combat segment in the original game was just too few.
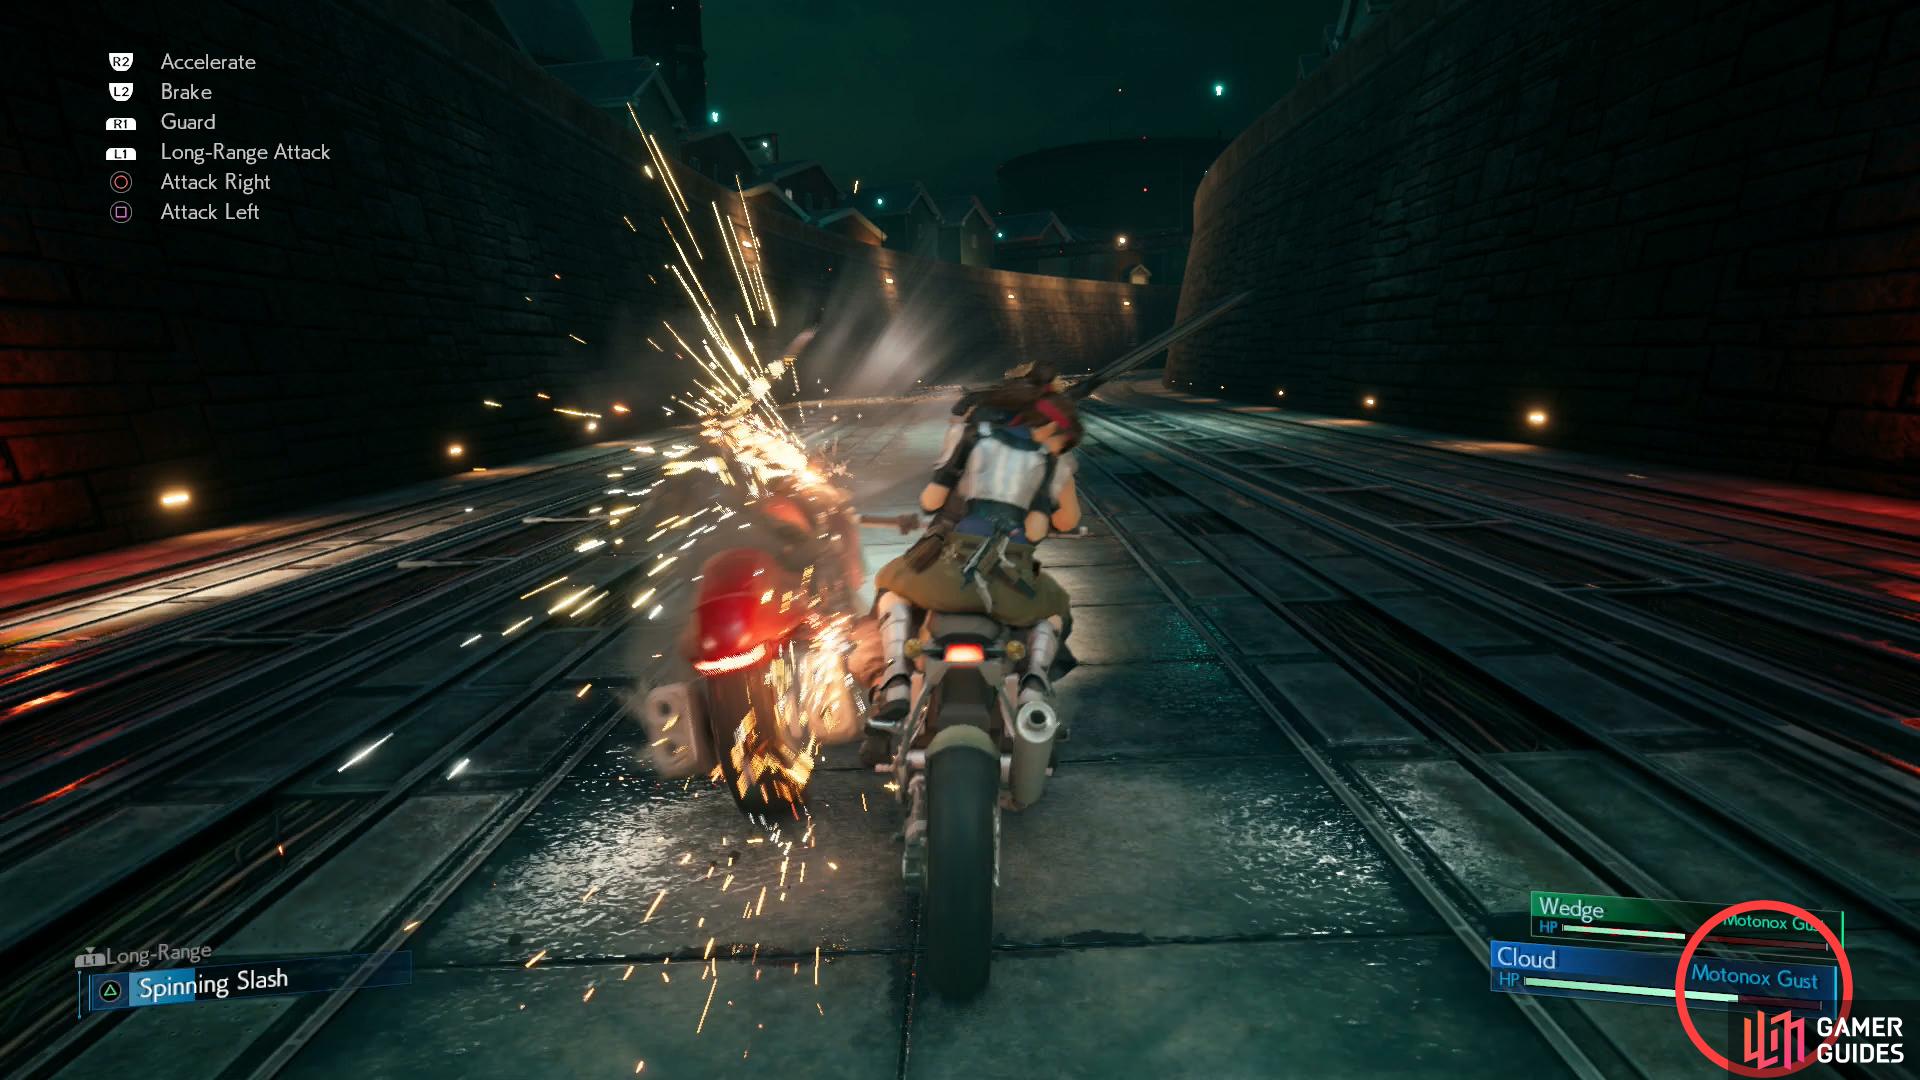
Motor Chase
This minigame is pretty simple, although it is one that gets easier once you get some practice on the bike. If you’re just trying to get through it, however, play as you wish and if you find yourself approach death you can pause the game by pressing [OPTIONS] and pick the “Retry from Last Battle” option, which will start you (roughly) before the last group of enemies at full health. Easy! Of course, if you’re trying to get the Biker Boy trophy, things are a bit more complicated…


First the controls, because those affect everybody, whether you’re here for progress or for trophies.
| Command | Input | Description |
|---|---|---|
| Move | Right Analog | Moves the bike left and right. You’ll need this to catch foes and dodge attacks. |
| Accelerate | R2 | Increase your speed - you’ll need this to catch up to enemies ahead of you. |
| Brake | L2 | Reduce your speed - reach enemies behind you, also useful as an evasive maneuver. |
| Guard | R1 | Block light attacks. |
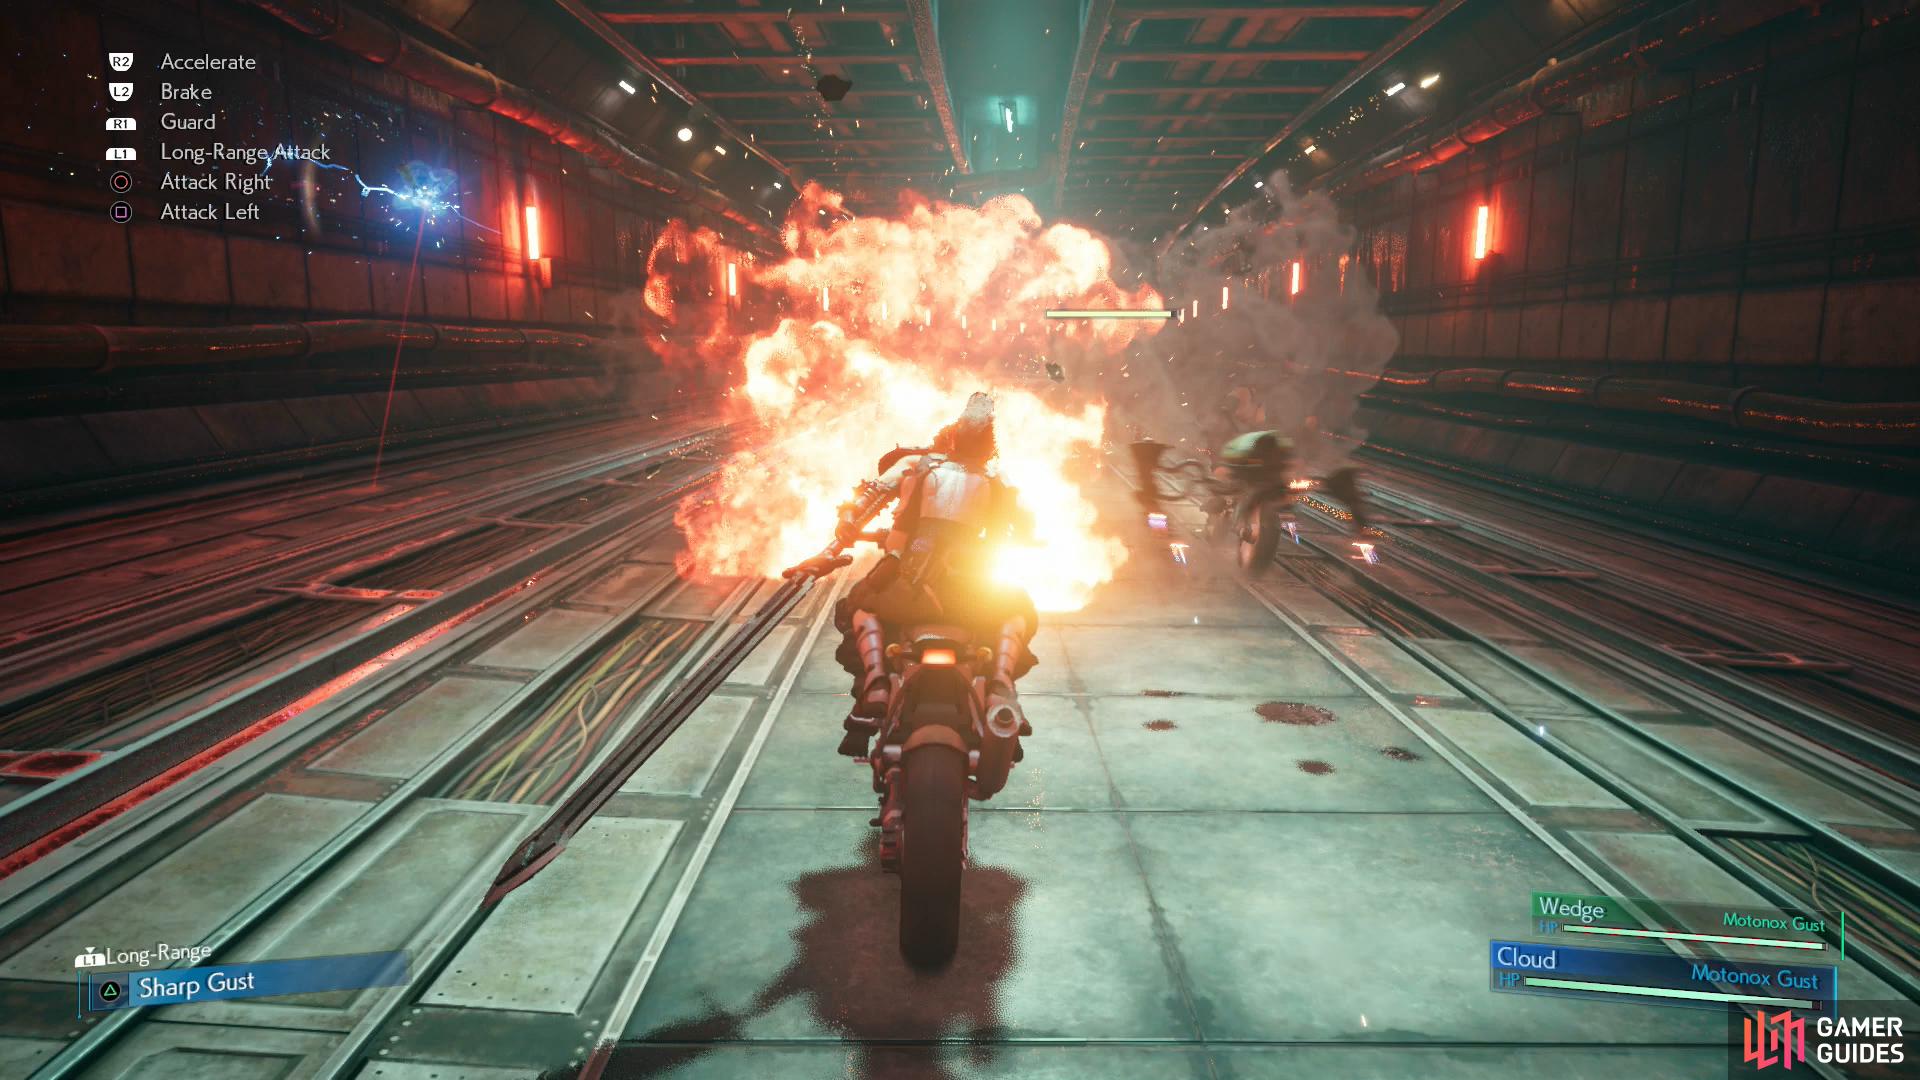
| Long-Range Attack | L1 | Doesn’t seem to do anything on its own, press L1 + TRIANGLE to perform a “Sharp Gust” ranged attack. Useful for taking out Drones. |
| Attack Right | CIRCLE | Attack to the right. |
| Attack Left | SQUARE | Attack to the left. |
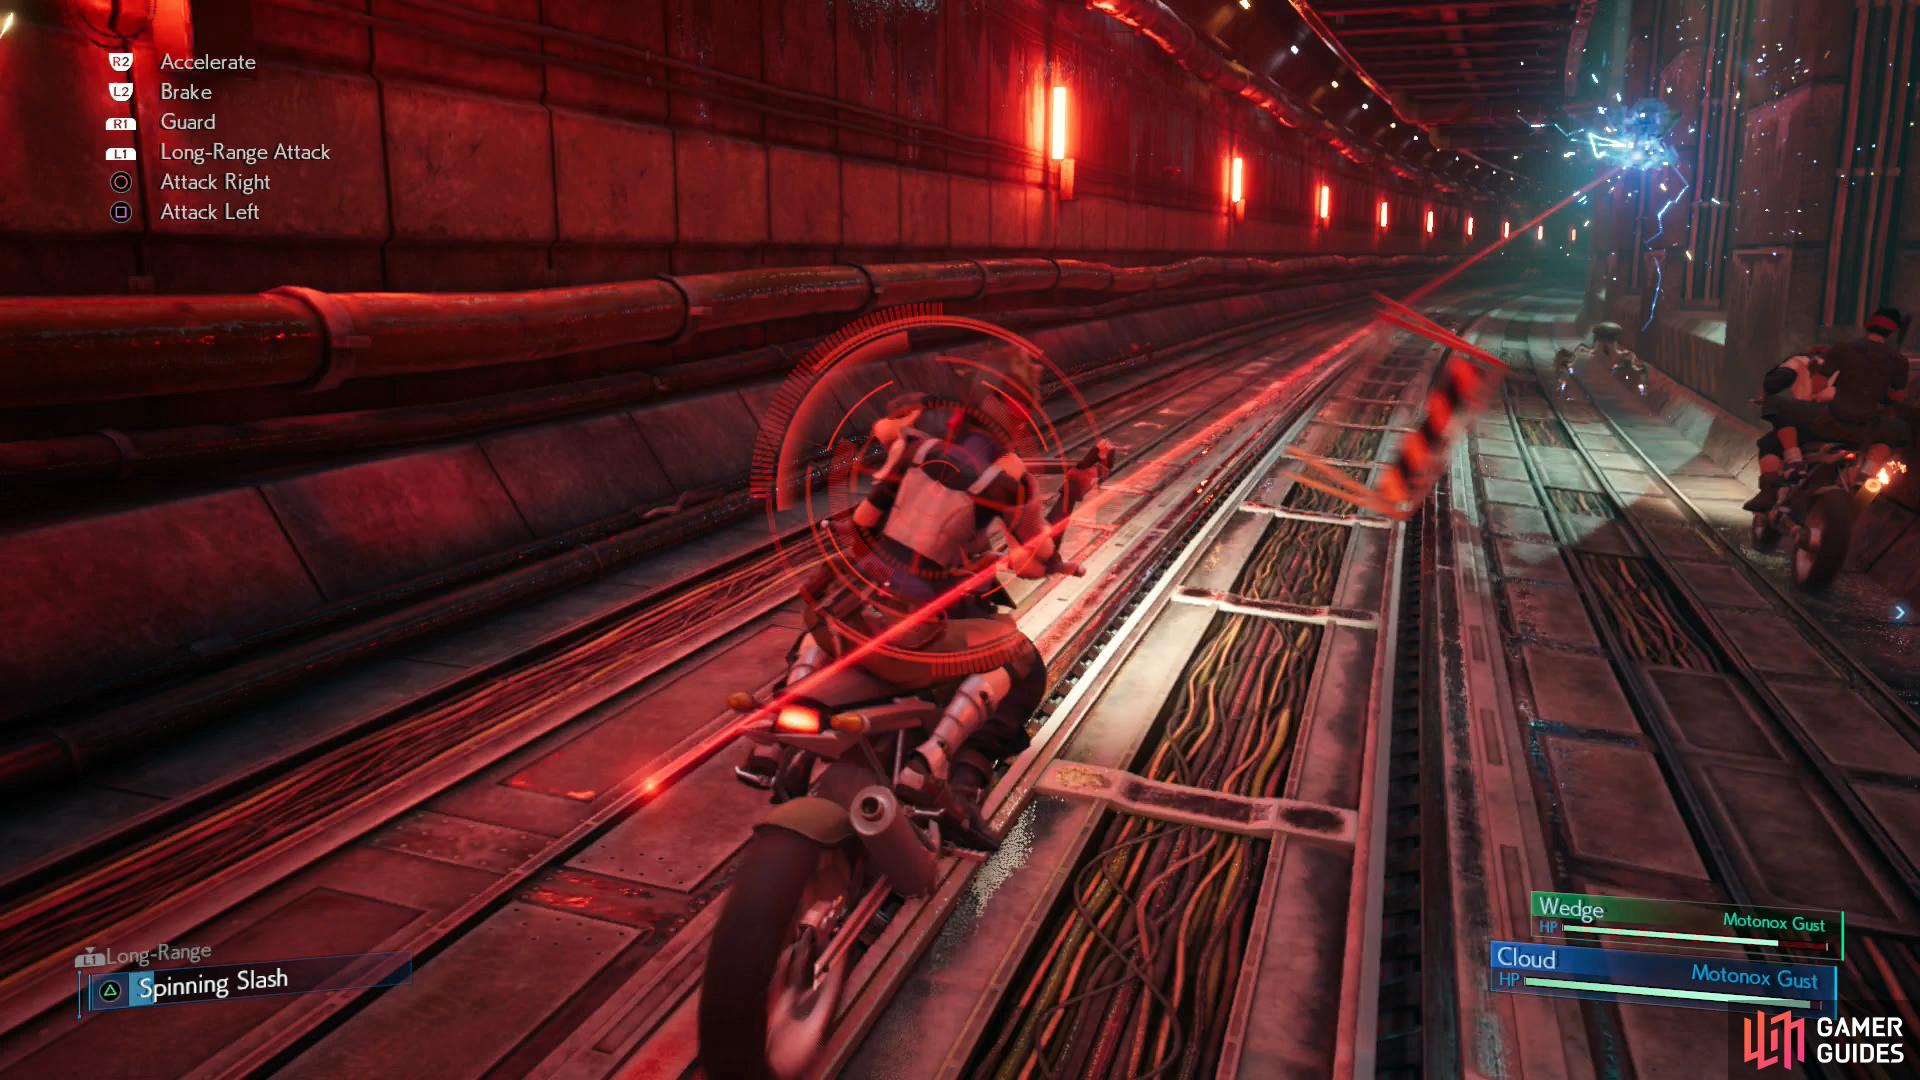
| Spinning Slash | TRIANGLE | Spinning AoE attack. Heavy damage. Use it to take out multiple enemies at once. |
Clear the motorcycle segment with enough HP remaining to secure the “Biker Boy” trophy.
Now for the trophy. The Biker Boy trophy requires you to complete this motorcycle segment with roughly 75% of your HP left, which you can keep track of via the meter on the bottom right of the screen. Or, if you’re dubious as to how full the bar has to be, note the words “Motonox Gust” on your HP bar - as long as your HP is around - or higher - than the “n” in “Motonox” you should be fine. The only other condition that matters is that you cannot use the “Retry from Last Battle” option. This will automatically cause you to fail to earn the trophy, however useful it may be for getting you through this segment alive. There do not seem to be any other preconditions that we’ve determined - if there’s a hidden time limit or a number of times you can get hit by heavy attacks, it didn’t affect us.
This sounds simple enough, and as far as the brute objective is concerned, it is - there’s not much nuance here, you either end the segment with enough HP (without using retries) or you don’t. To that end, switching to “Easy” difficulty will help a lot, but some practice may also be in order. Whether you’re going for the trophy or not, the following walkthrough should provide tips to help you get through this bit unscathed - or at least, less scathed, hopefully.
Your offense for this segment is largely limited to right and left sword slashes
and the powerful, rangy Spinning Slash.
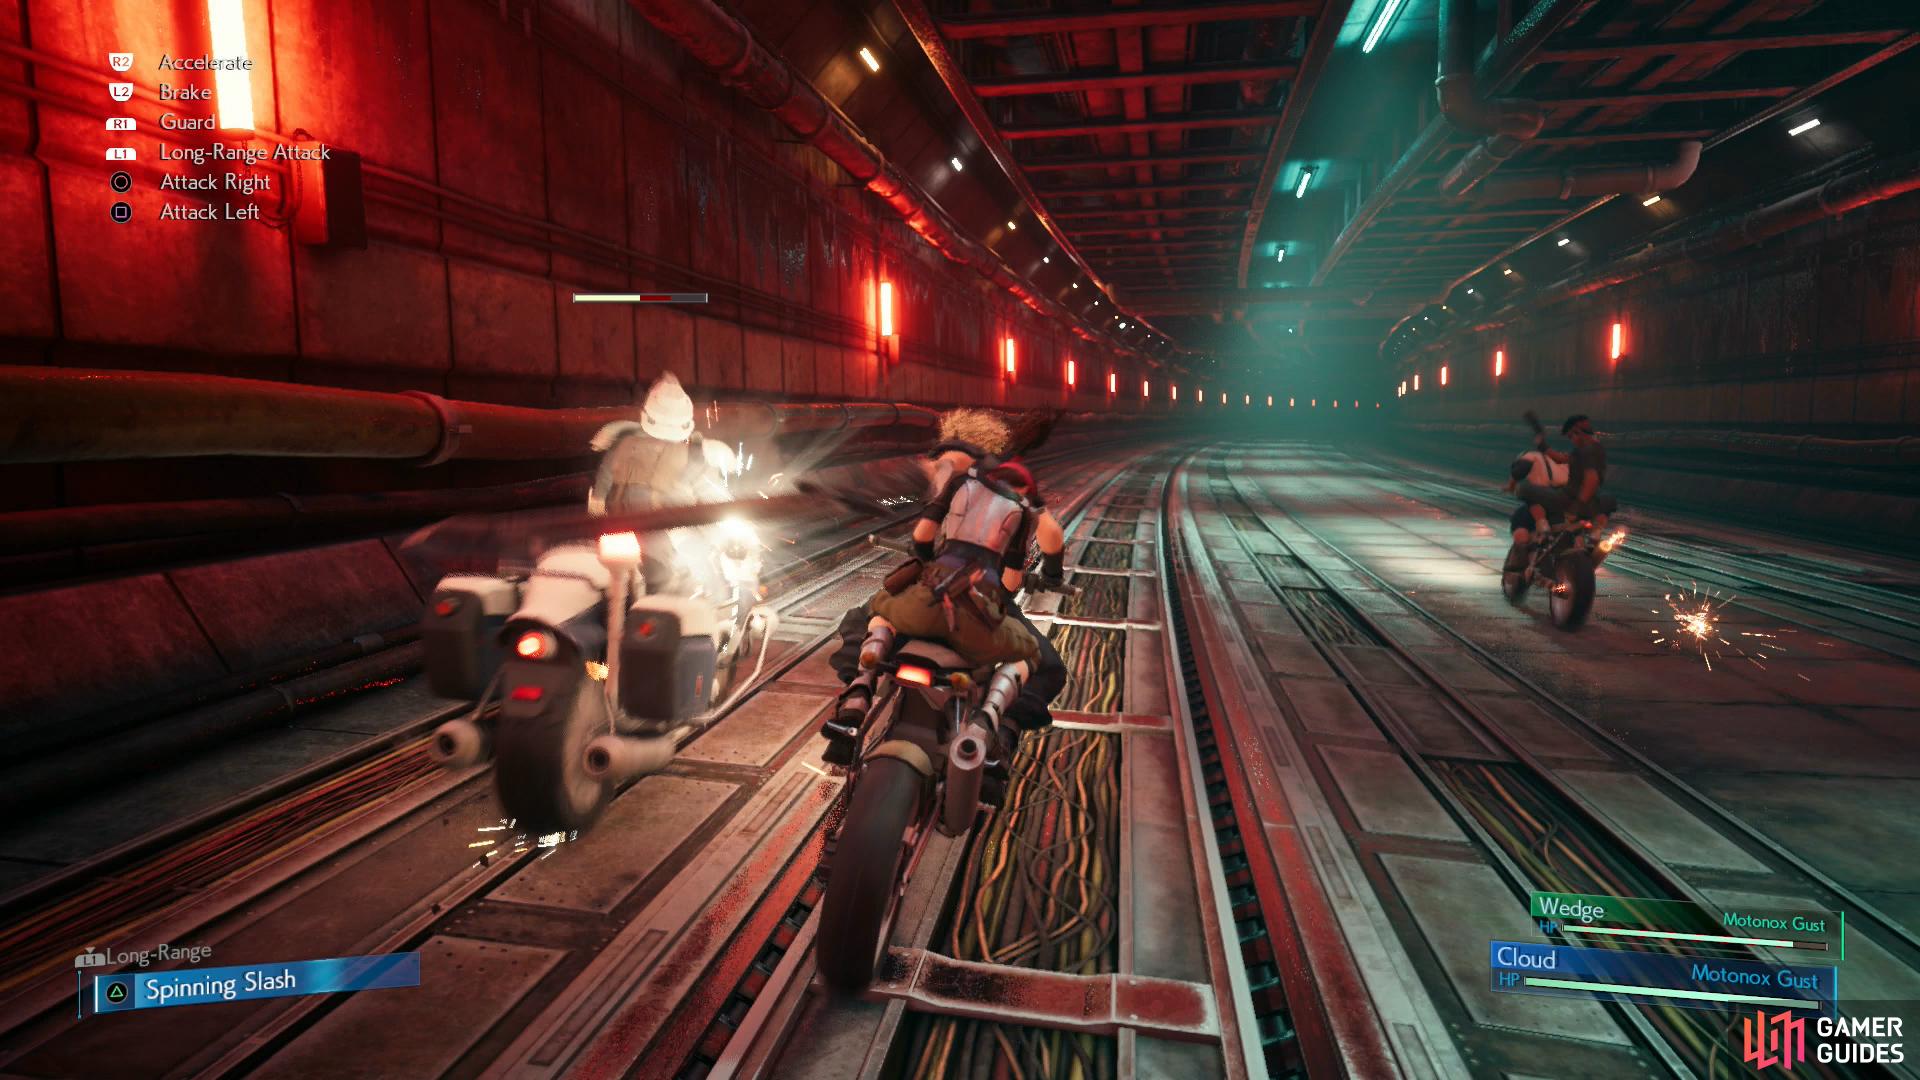
Tunnels of Fun
First, note that you do not need to dodge obstacles. They don’t seem to do any damage nor significantly hinder you in any other way. Ramps are also of dubious utility.
Your first enemy is one Shinra officer on his own bike. For these guys, ignore their bullets - there’s not much you can do to stop them, and they do next to no damage. They will pester Wedge, however, so that’s incentive to kill them quickly. This will teach you the basics: accelerate and maneuver to your target and chop him with the appropriate button [CIRCLE] if they’re to the right, [SQUARE] if they’re to the left. The attack direction and button layout are the same, so it’s pretty intuitive, and you should use this weakling to get a grasp of your range and a feel for how your bike moves.
Next you’ll have to face two Shinra officers at once, followed by three. When the three officers appear it’ll be a good time to test out your “Spinning Slash” attack [TRIANGLE]. It’s got incredible range and does much more damage than your normal attacks, but it requires a bit of a recharge (the bar on the bottom left of the screen keeps track of this). Try to get in position to strike multiple foes at a time with this, and use it whenever you can!
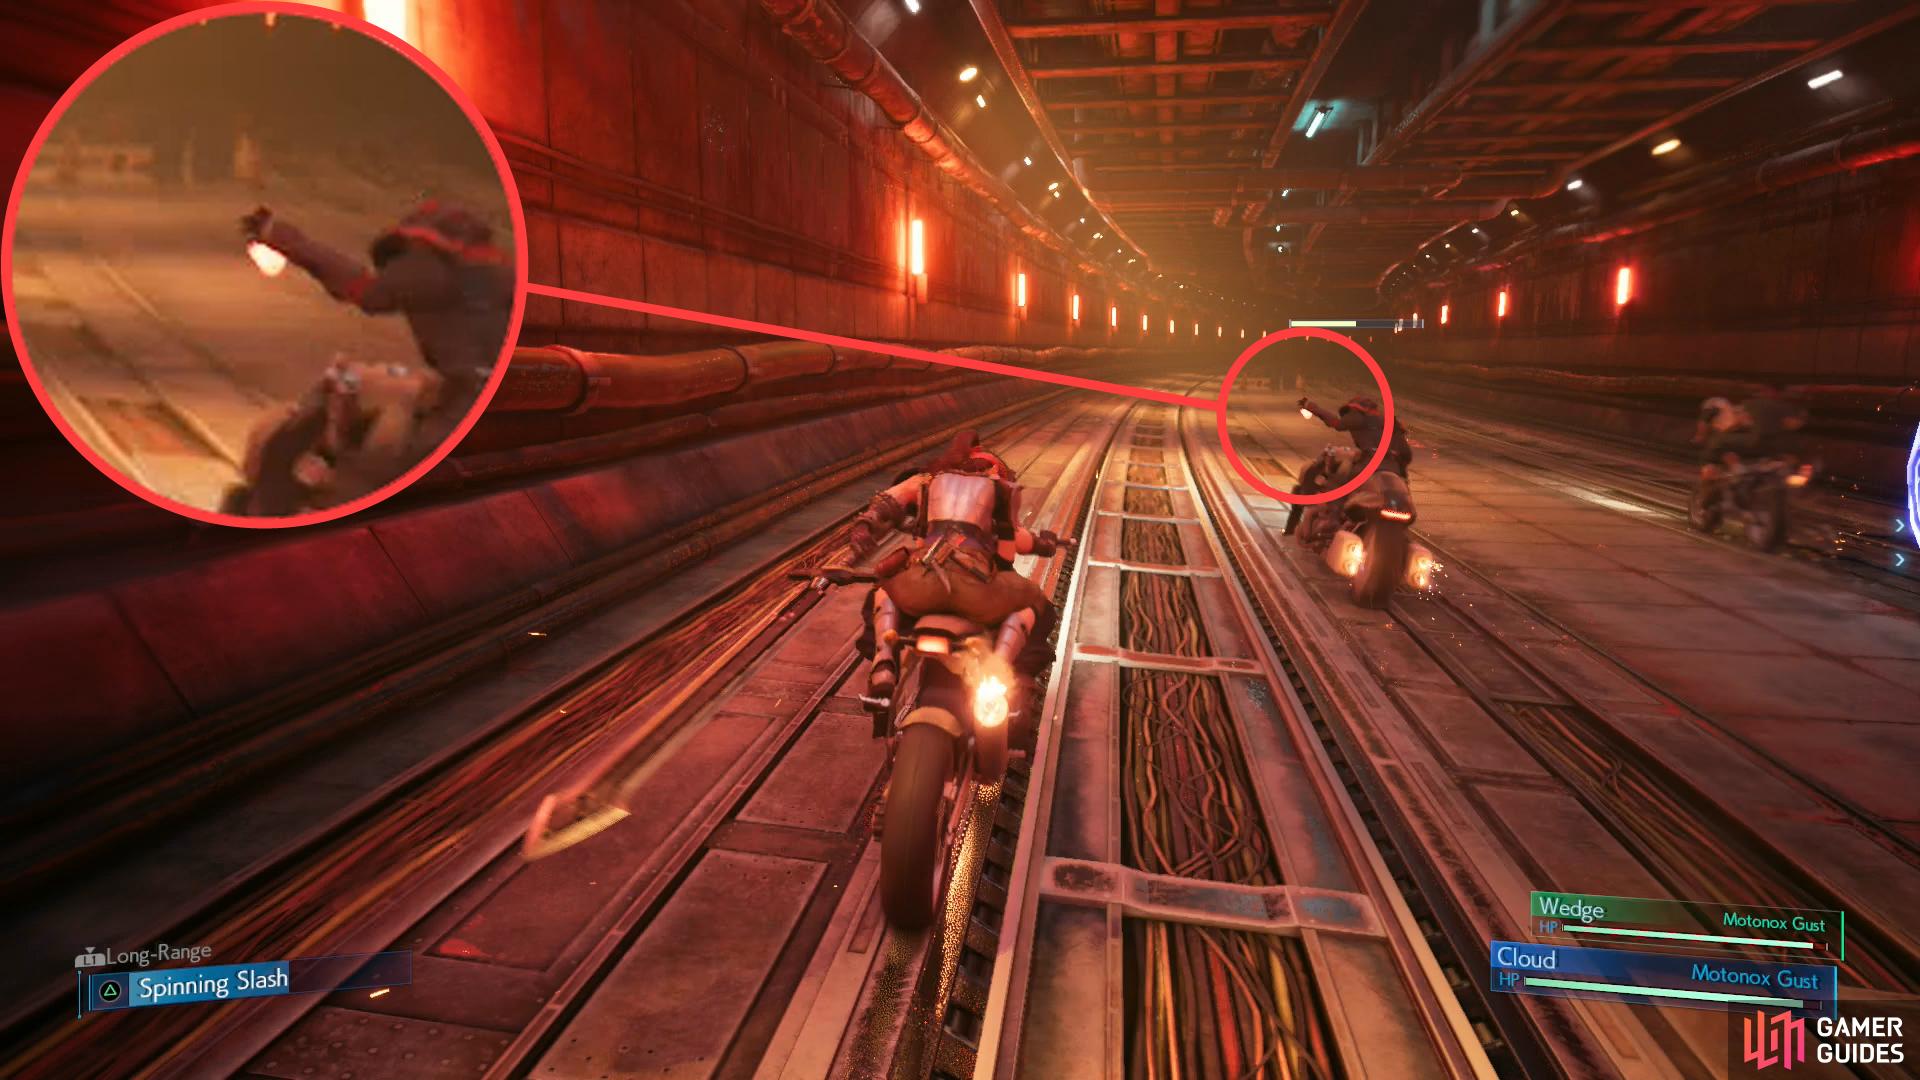
Be wary of the direction Mobile Units Officers will hold their firebombs, as that’s the direction they’re limited to throwing them.
Be especially careful to dodge firebombs, as they deal significant damage.
After the three Shinra officers are defeated, two Mobile Unit Officers will show up. These guys are significantly more sturdy than the foes you’ve previously faced, and are fond of throwing firebombs at you. These will deal heavy damage and should be avoided at all costs, but fortunately you can see them coming. The Mobile Unit Officer will hold said bomb out for a while before throwing it, so just move to the side opposite of where they’re holding the bomb to avoid it. They do have a melee attack, but you can out-range them with your sword, and compared to their firebombs, it’s really not worth worrying about their melee attacks.
Defeat those two foes and you’ll face the third type of enemy in this segment - Drones. These small targets have two attacks: an AoE shock burst that hits nearby targets, and a charged up energy bolt. If you see a red reticle appear on Cloud, block with R1. Mostly nuisance enemies, they die fast but can be tricky to catch up to and hit. Use your ranged attack, “Sharp Gust” by holding down L1 and pressing [TRIANGLE] to take them out from afar. This uses up your “Spinning Slash” charge, but it’s a sacrifice worth making to get rid of these nuisances. Also note that you can’t accelerate block at the same time, to lay off the accelerator when you’re blocking.
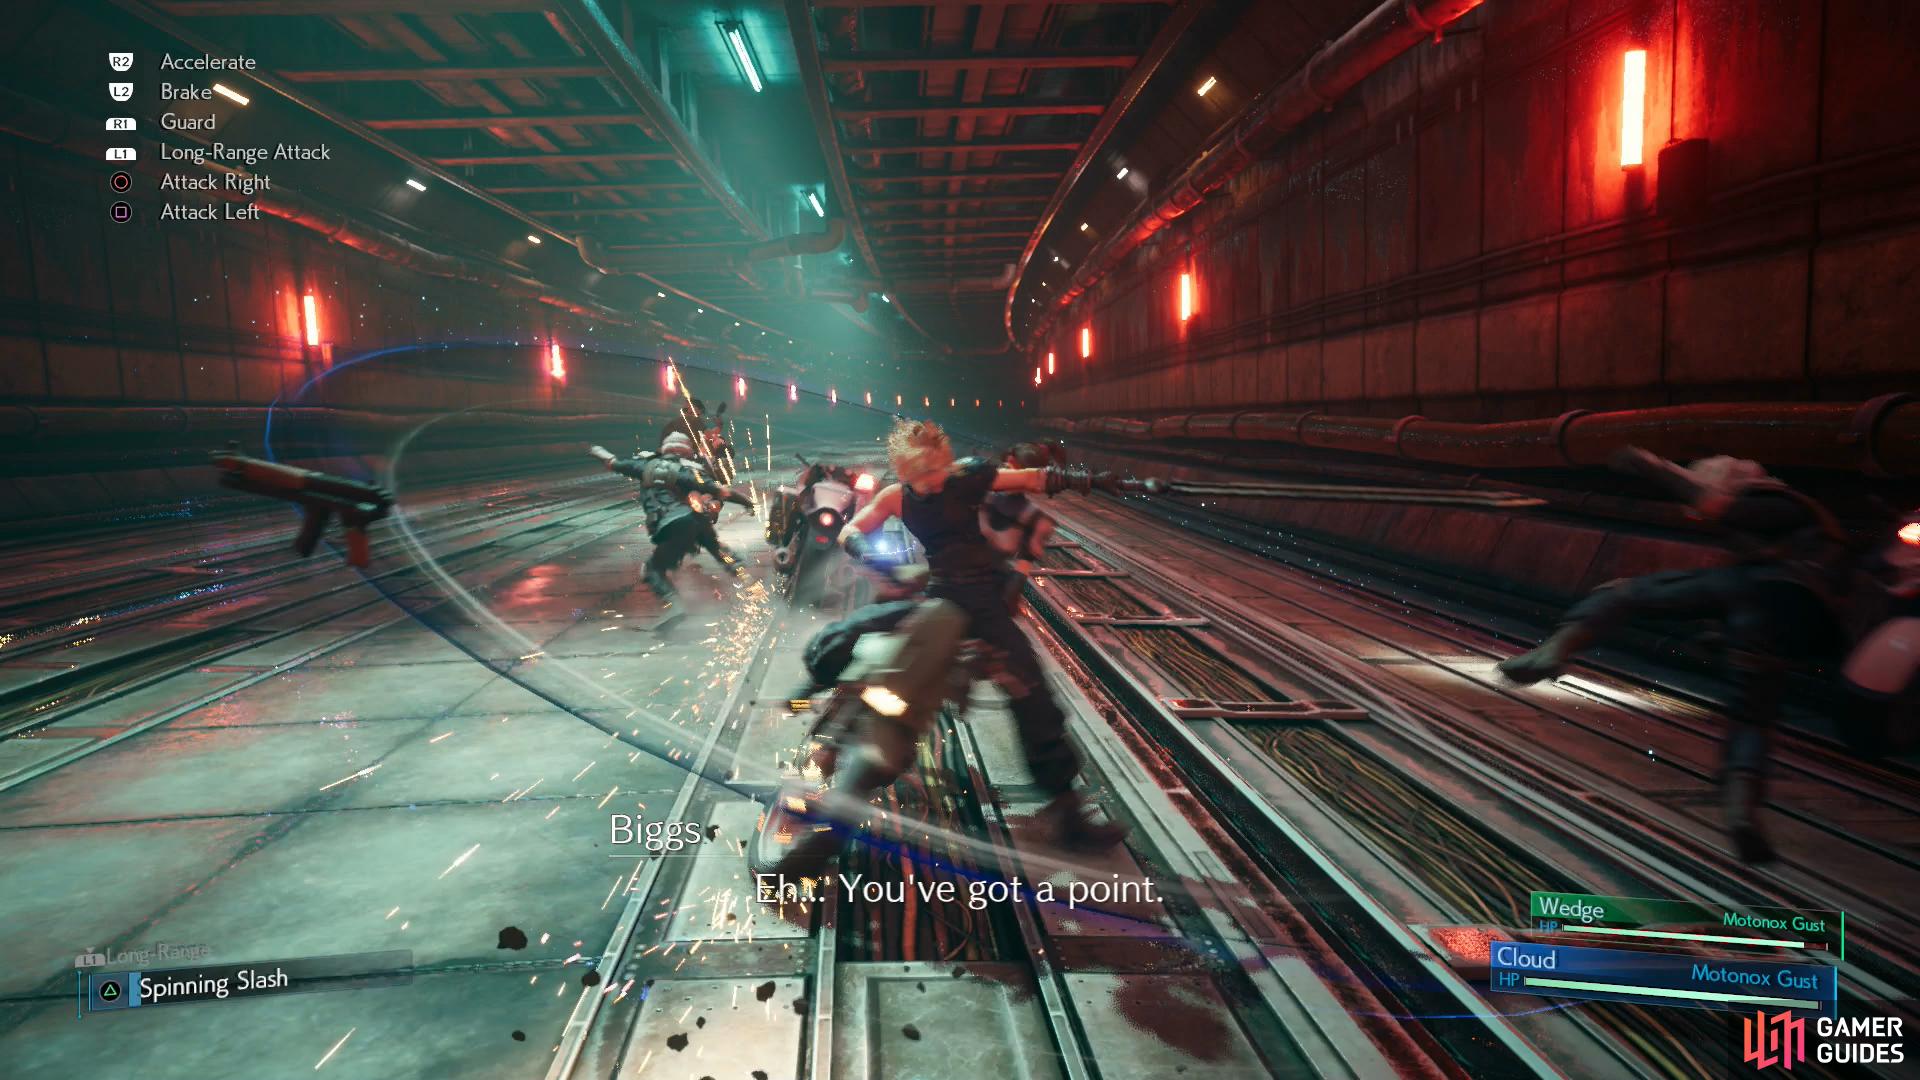
Next up is a combined force of Mobile Unit Officers and Drones. Take them out and you’ll exit the tunnel portion of this race, meaning you’re almost done with the grunts! Once outside dispatch several Shinra officers, after which two Mobile Units Officers will arrive. Just dodge their attacks and wait until this SOLDIER they keep talking about shows up.
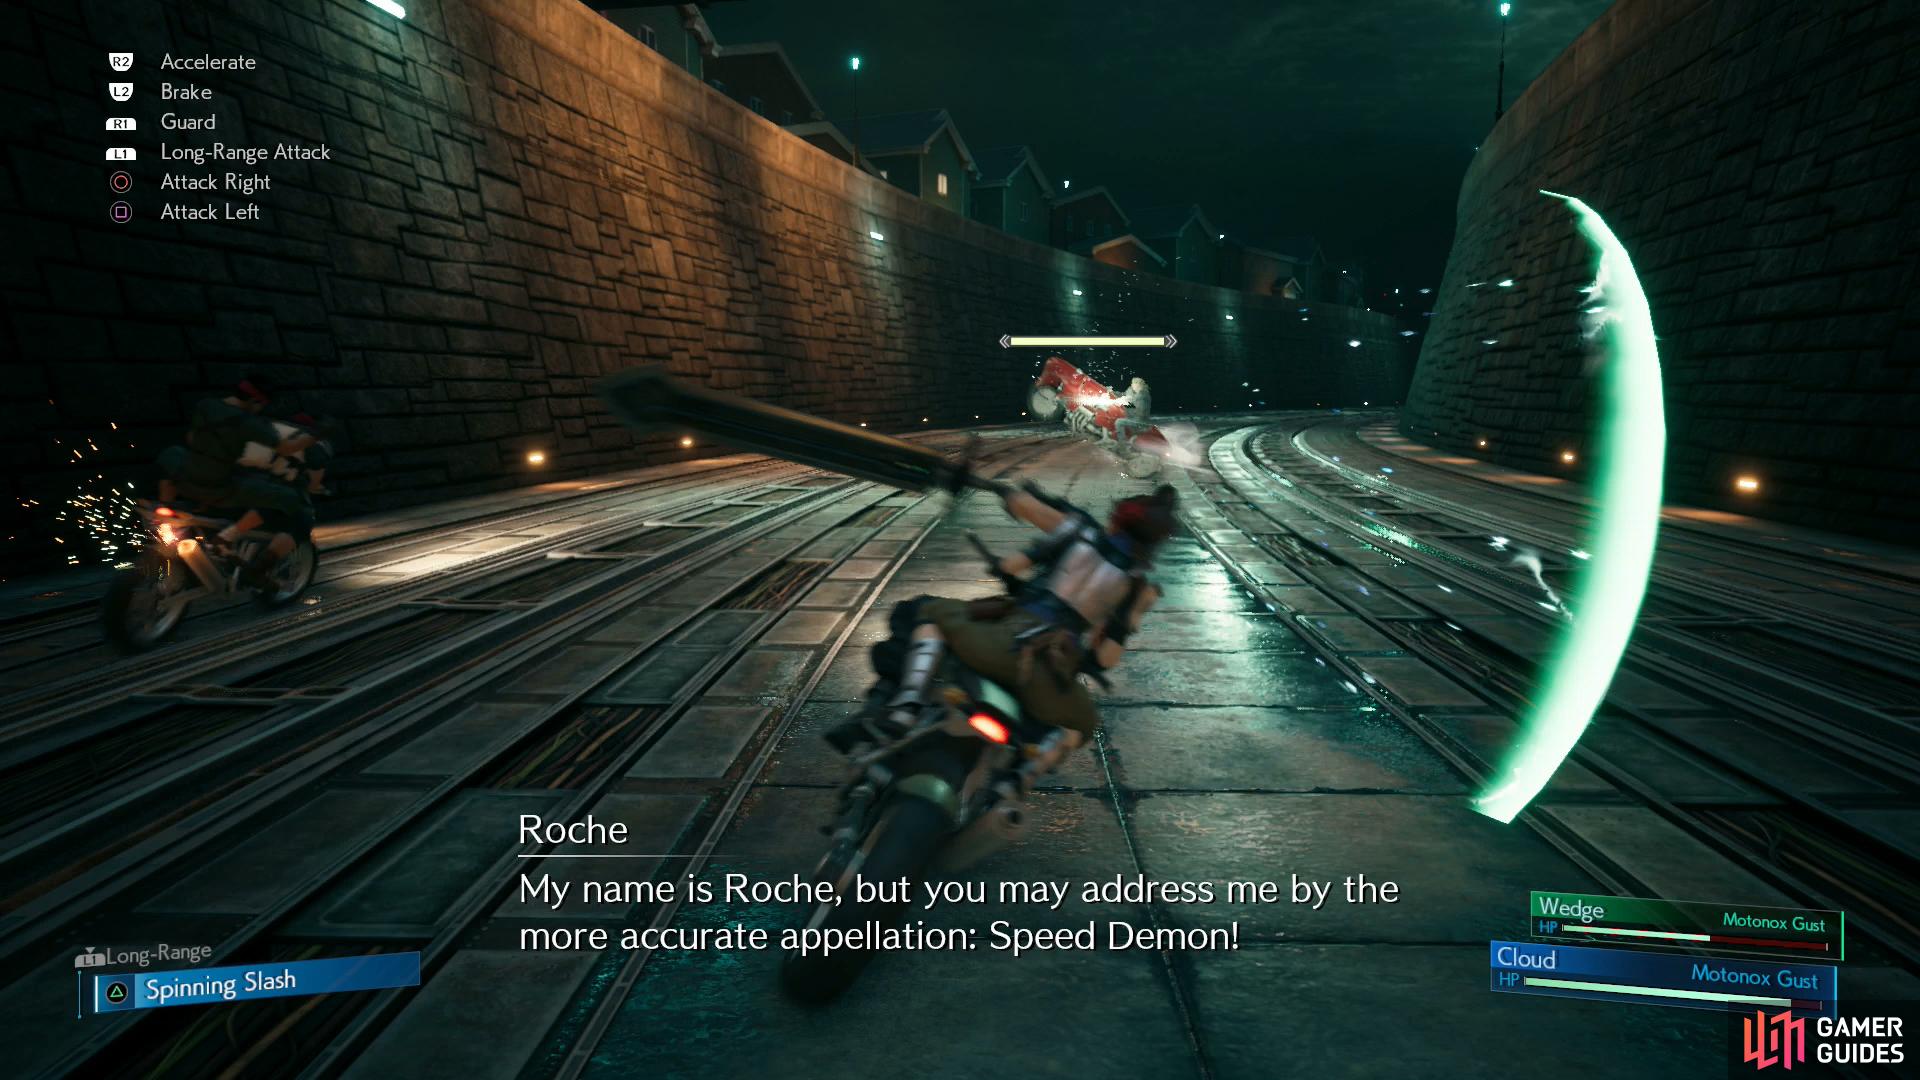
Moto-Duel with Roche
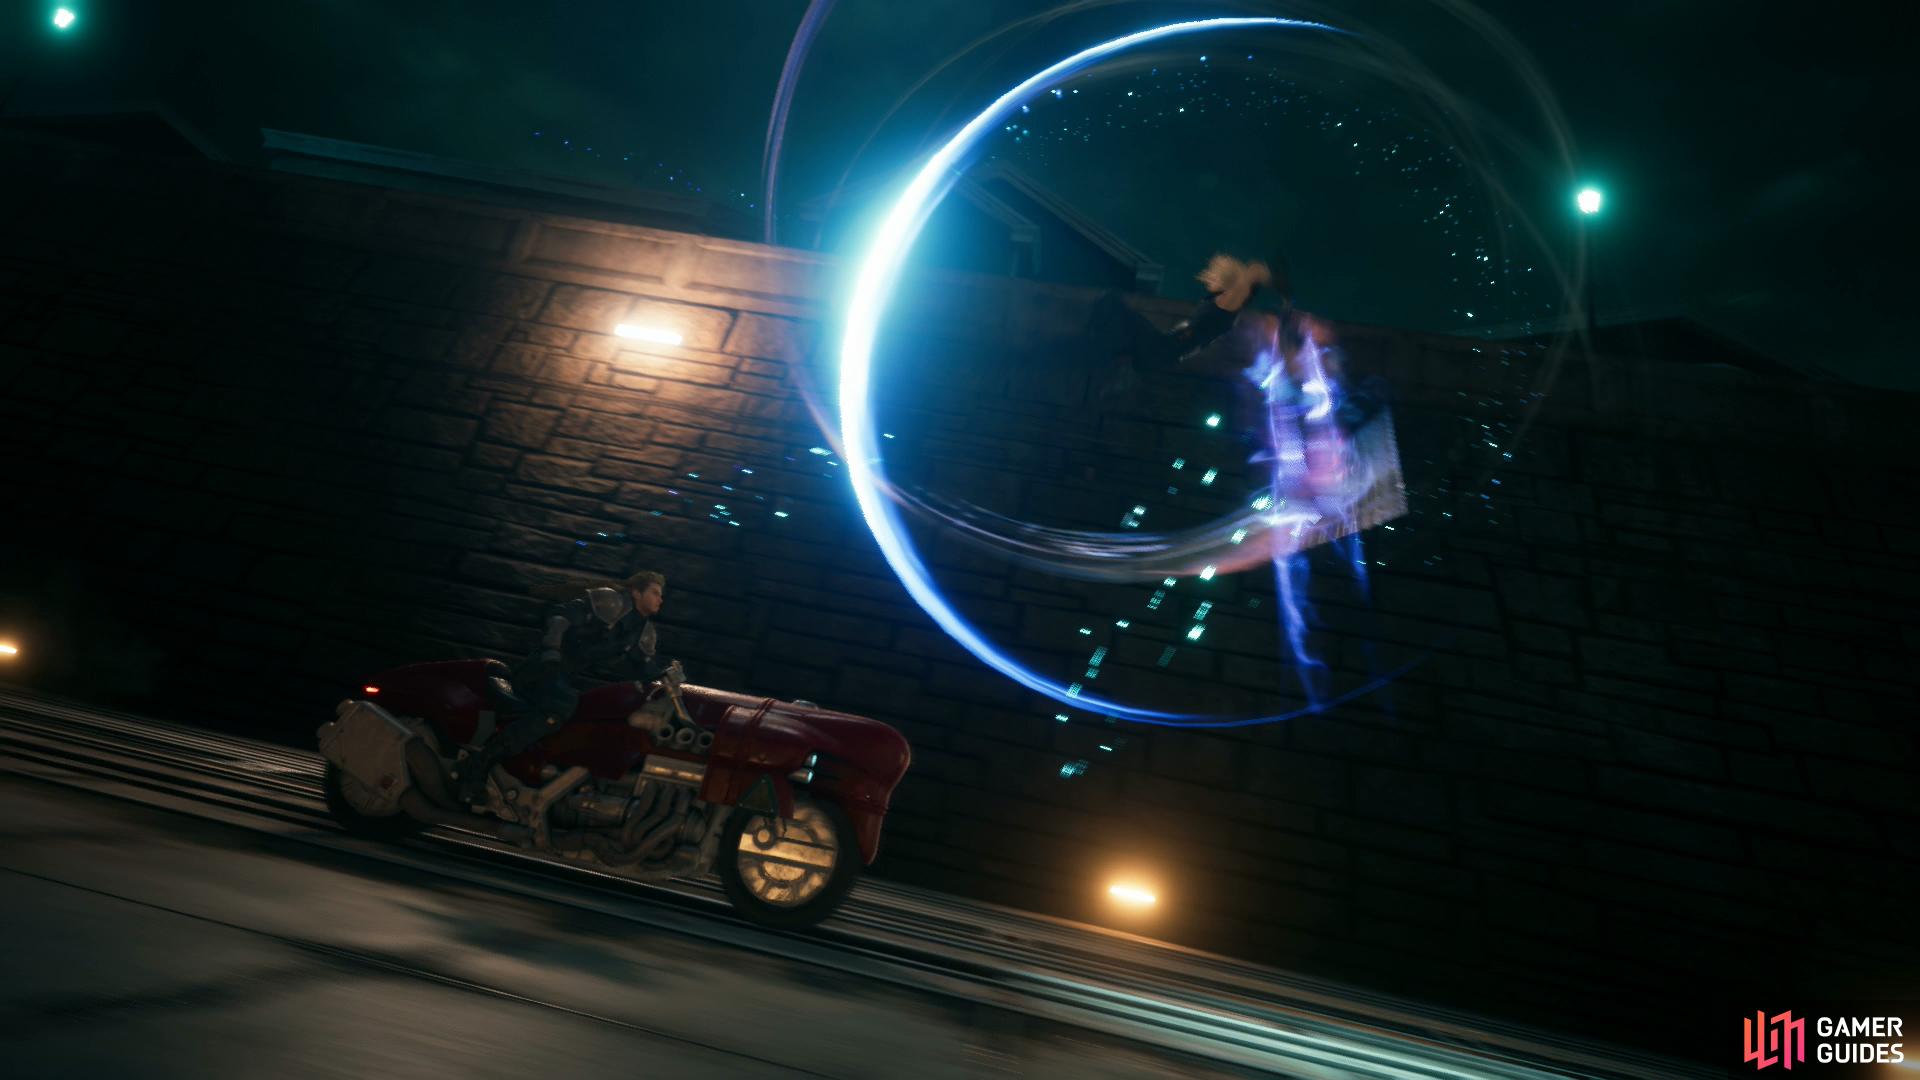
Shortly after the last two Mobile Unit Officers show up, a SOLDIER on his own bike, named Roche, will arrive, take them out, and start harassing you.
The first phase of this fight introduces you to his ranged attacks, of which he has two: he’ll either shoot a series of single blade beams at you in rapid succession, or he’ll shoot one triple-blade-beam at you. You can block the former, but the latter you have to dodge - better yet, do both when his attack is imminent, just to be safe.
When you’re not actively dodging, accelerate to catch up to him, and when you reach him lay into him with melee attacks and use Spinning Slash whenever possible. Don’t worry about his own melee counterattacks, as it’s a war of attrition you’ll win. If he rears back on his bike or his sword starts to glow, however, veer off to the side or brake to put some distance between you and Roche, as he’ll either do a thunder-wheelie attack or charged sword attacks, both of which are more powerful enough to make you want to avoid them.
After enough time passes Roche will speed forward again and repeat his ranged attacks, and when you deal enough damage to him he’ll start the second phase of his attack routine. If you’re aggressive enough and deal enough damage to him when you first catch him, he won’t do another ranged segment, but rather skip to phase two when he pulls away - this should be your goal if you’re after Biker Boy.
For his second phase he’ll start calling down bolts of lightning, which you can dodge by zig-zagging. Catch up to him between lightning bolt barrages and keep whittling down his HP as normal. Once his HP bar is gone you’ll watch some scenes, after which Jessie will say that you “passed the test” and show Cloud some affection, which should earn you Biker Boy. If you took too much damage she’ll mention how you barely won, which is the result you get if you survived without performing particularly well. Finally, if you had to retry at any point she’ll say you failed the test. Sad face.
Homecoming
After the ordeal on wheels is over, follow Jessie up some stairs and into a building. Go up some more stairs and press a button, then exit outside and turn right (south) to reach the Employee Housing Area, which will prompt Jessie to expose some middle-class guilt. The best kind of guilt! Follow Jessie to her parent’s house, and after some chatter wait in the designated spot, where Cloud will muse about the task at hand.
Once the signal is given, head south and west around the back of the house and go in through the back door. As Jessie instructs, go through the door to the right and grab the Shinra ID Card out of a yellow suit hanging up on a cabinet. You can also read a letter on the desk, on the floor, and snoop on some family photos, if you want, but this is all unnecessary. Leave the house and endure some more chatter.
Sector 7-6 Annex Infiltration
Follow Biggs and Wedge west, then south, and when you reach the gate, watch another scene. Once through the gate, Biggs and Wedge will seek cover by a shipping container. Talk to them and they’ll point out a bench that’ll restore your HP & MP, a vending machine that’ll sell you items (including three Hi-Potions and an Ether at reduced prices) and mention a training center nearby. This is all just to get you ready for the upcoming fights, in case you’re not quite up to snuff. The game is basically prodding you with a stick and telling you to level up.
Sector 7-6 Annex Vending Machine
| Item | Cost (Gil) |
|---|---|
| Potion | 50 |
| Hi-Potion (limit: 3) | 100 |
| Ether (limit: 1) | 100 |
| Phoenix Down | 300 |
| Antidote | 80 |
| Armor | Cost |
|---|---|
| Iron Bangle | 1,000 |
| Star Bracelet | 1,600 |
| Accessories | Cost |
|---|---|
| Power Wristguards | 800 |
| Bulletproof Vest | 800 |
| Earrings | 800 |
| Talisman | 800 |
| Revival Earrings | 500 |
| Materia | Cost |
|---|---|
| Healing Materia | 600 |
| Fire Materia | 500 |
| Ice Materia | 500 |
| Lightning Materia | 500 |
| Deadly Dodge Materia | 600 |
| Enemy | Weaknesses | Notable Loot |
|---|---|---|
| Sentry Ray | Lightning | -- |
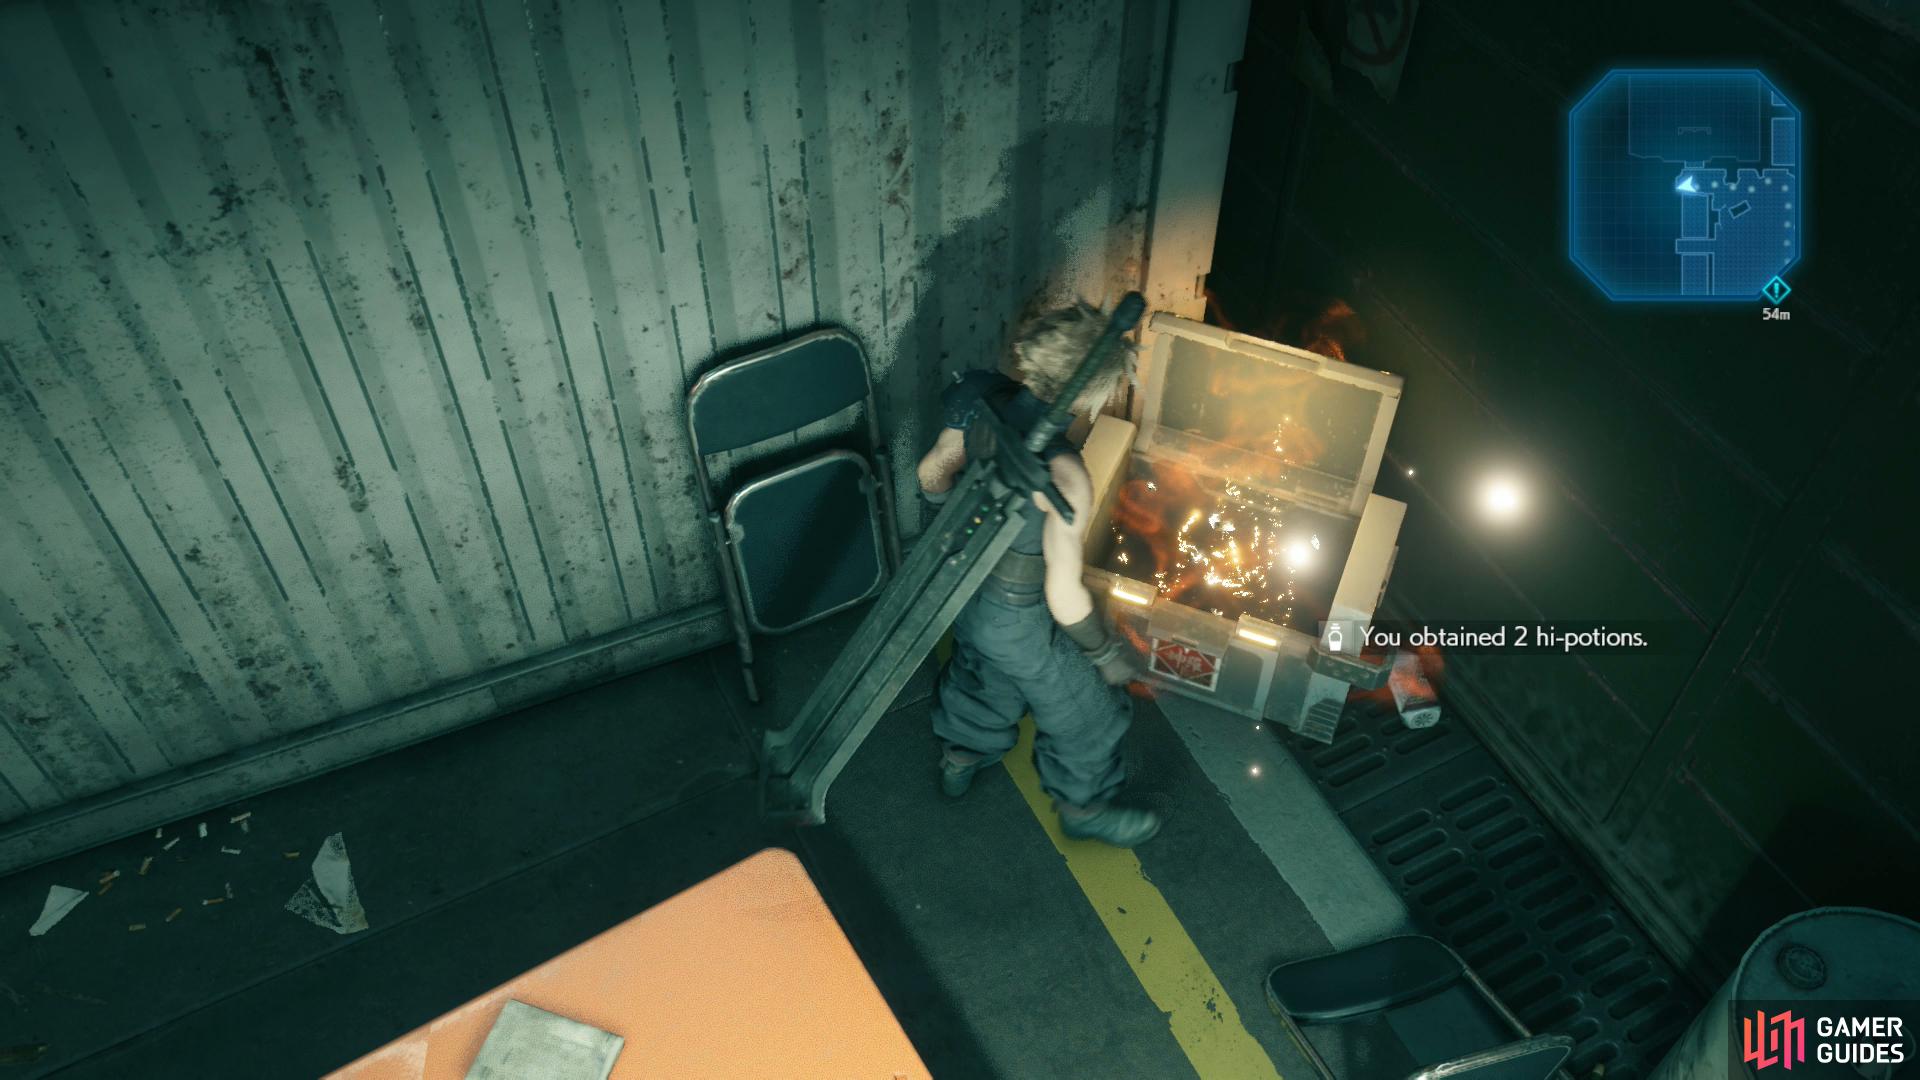
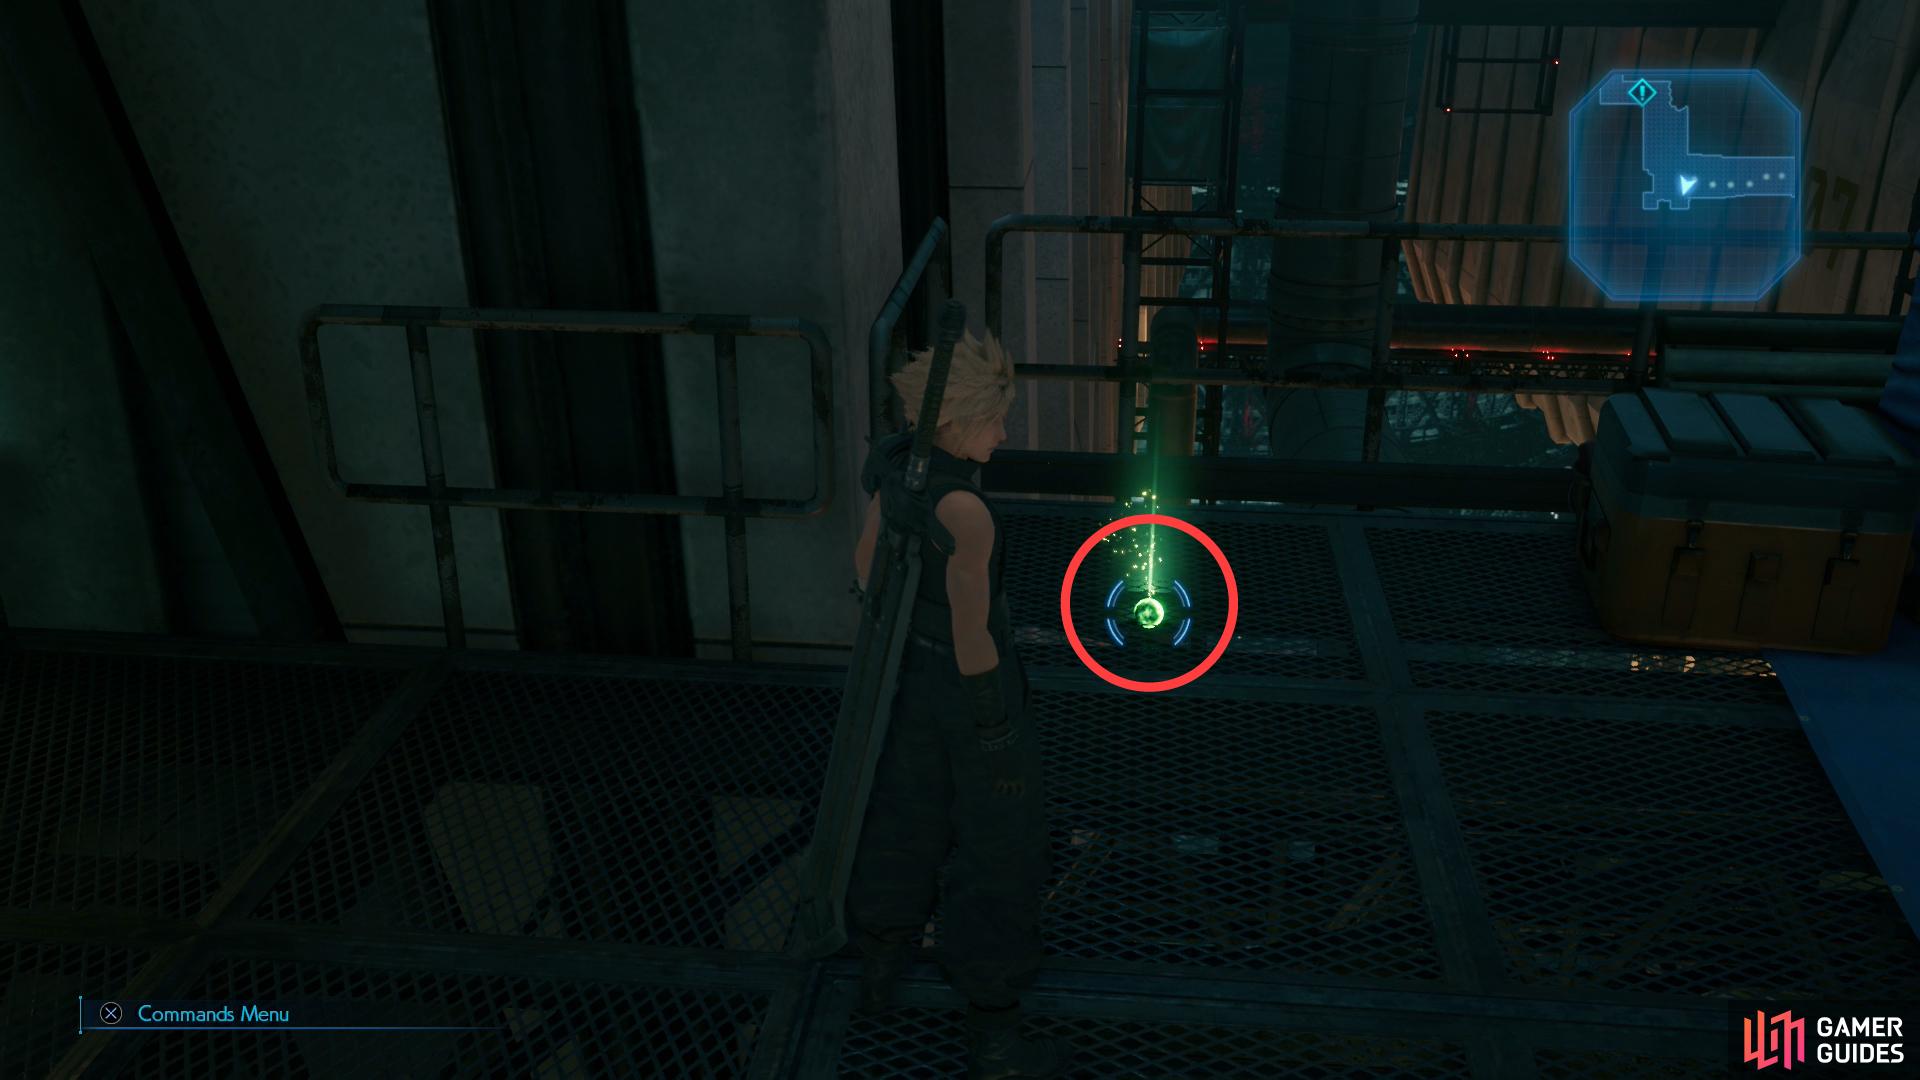
Regardless of what you do, leave Biggs and Wedge behind and head west, then north to find a forklift. Search behind the forklift (to the west) to find a chest containing 2x Hi-Potions. Backtrack south, then head down some stairs to the right (west) until you find yourself in an underground enclosure. Press a button and opt to start a training exercise that tasks you with destroying three woefully underpowered Sentry Rays. Cut down the turrets and you’ll earn a “Training Bonus” of 100 Gil. Not terrible for the amount of “work” involved. You can repeat this training as much as you wish by exiting the room and returning.
It takes a paltry few of these training missions to buy whatever materia you want from the vending machine, and while this isn’t a great place to gain AP and XP, the prospect of raising a few hundred Gil to buy whatever materia you want isn’t one to be discarded lightly, assuming you didn’t do so on your own initiative last chapter.
A Little Diversion
| Enemy | Weaknesses | Notable Loot |
|---|---|---|
| Security Officer | Fire | -- |
| Guard Dog | Fire | -- |
| Elite Security Officer | Fire | -- |
| Riot Trooper | Fire | -- |
| Elite Grenadier | Fire | -- |
| Shock Trooper | Fire | -- |
| Sweeper | Lightning | -- |

(1 of 3) Defeat a host of progressively stronger enemies, starting with Security Officers,
Make what preparations you will, and consider making a hard save. If they’re giving you this much ability to prepare, something big has to be lurking ahead, right? When you’re ready to continue, talk to Biggs again and he’ll remind you to have your summon materia equipped. Lucky Jessie gave that to you, eh? After some more chatter - and scenes - you’ll get the go-signal.
Continue south through a large doorway, watch some more scenes, then cut down a swarm of weakling Security Officers and the odd Grenadier. Eventually another scene will trigger showing off the arrival of heavier weaponry. Defeat an Elite Security Officer and a Riot Trooper, dodge the Missile Launchers, and wait for Biggs to help you take out said Missile Launchers. Next you’ll have to defeat a Shock Trooper and an Elite Grenadier, after which Biggs takes out another Missile Launcher. Watch some more scenes and Wedge will finally prove useful in a rather comedic fashion, luring off several Guard Dogs. Deal with the remainder by using Punisher mode’s Counterattacks, then chase down the ones after Wedge.
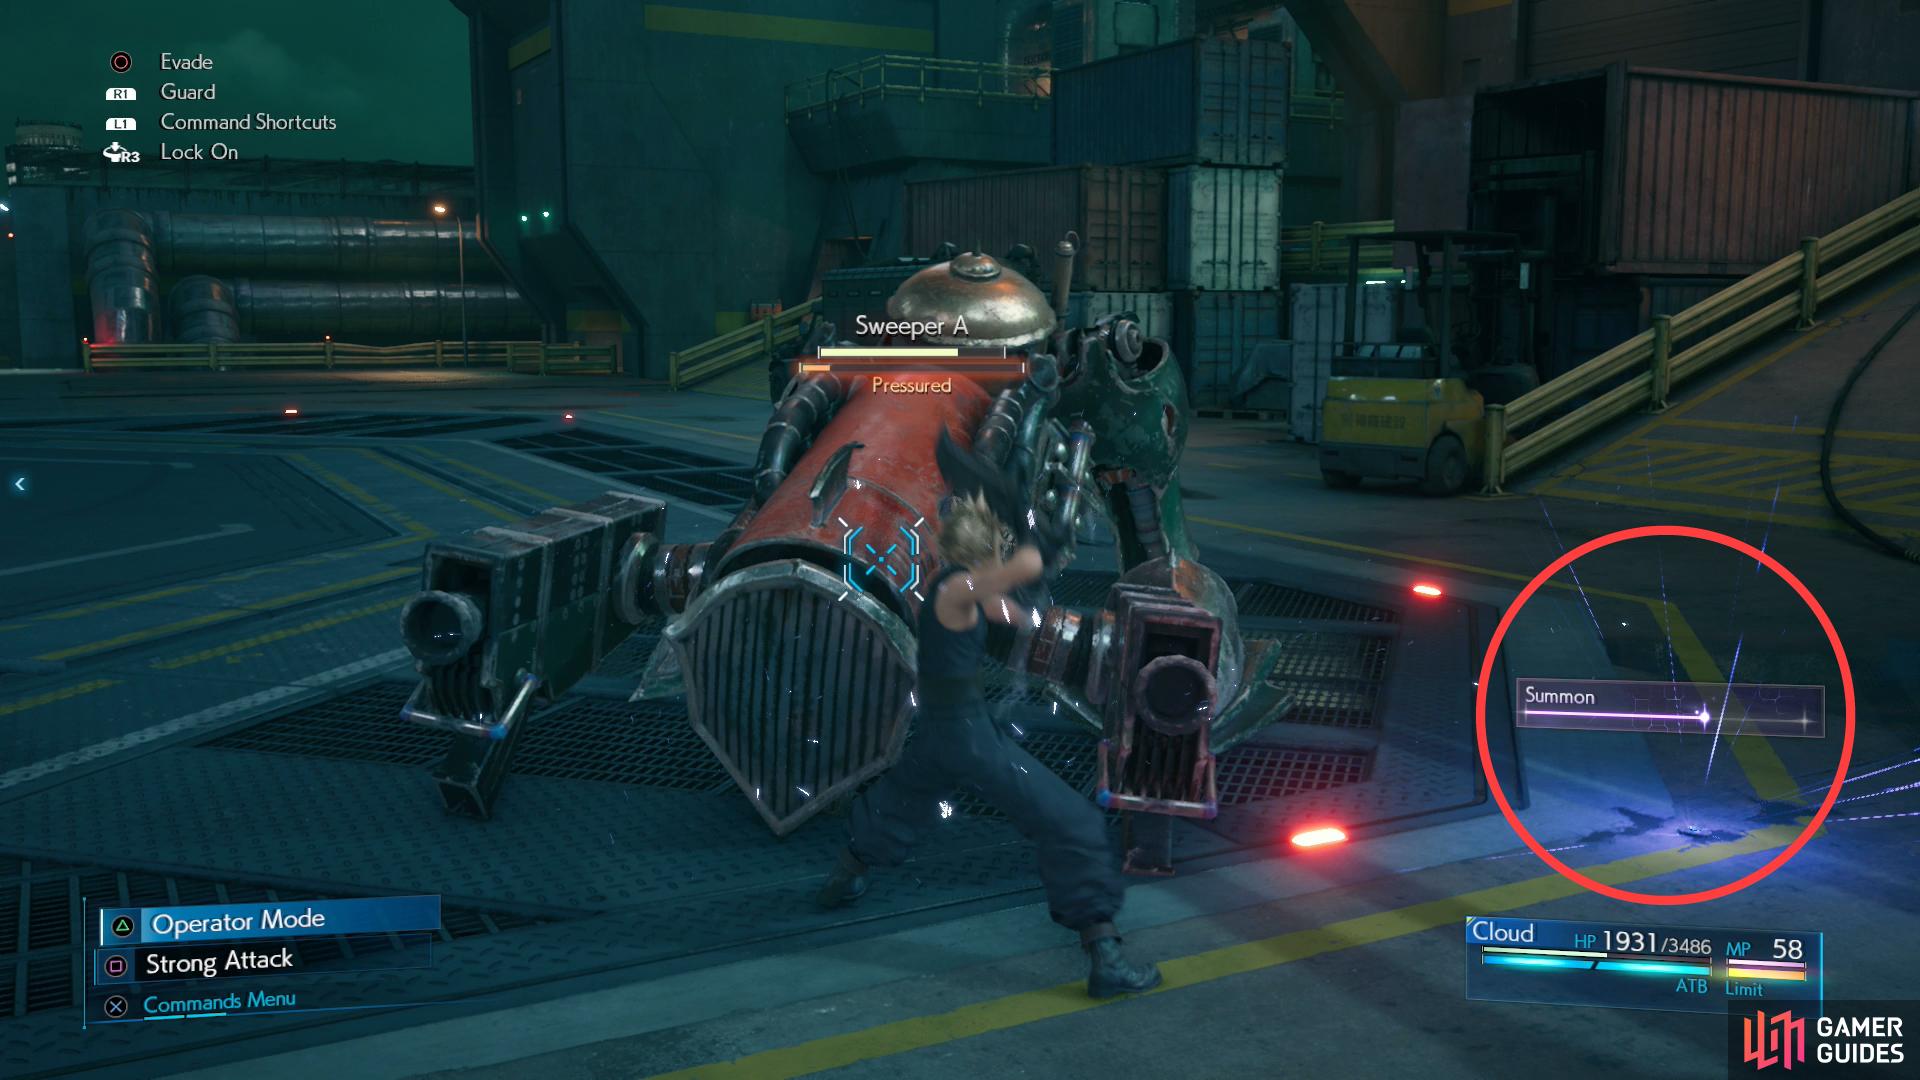
After more scenes you’ll find yourself facing two Sweepers. This might seem like a stiff challenge, but Wedge will throw down mines, which you can lure a Sweeper onto to deal massive damage and Stagger. Otherwise, use Punisher mode, get behind them, build up your ATB, then used Focused Thrust to Stagger them and Braver to finish them off.
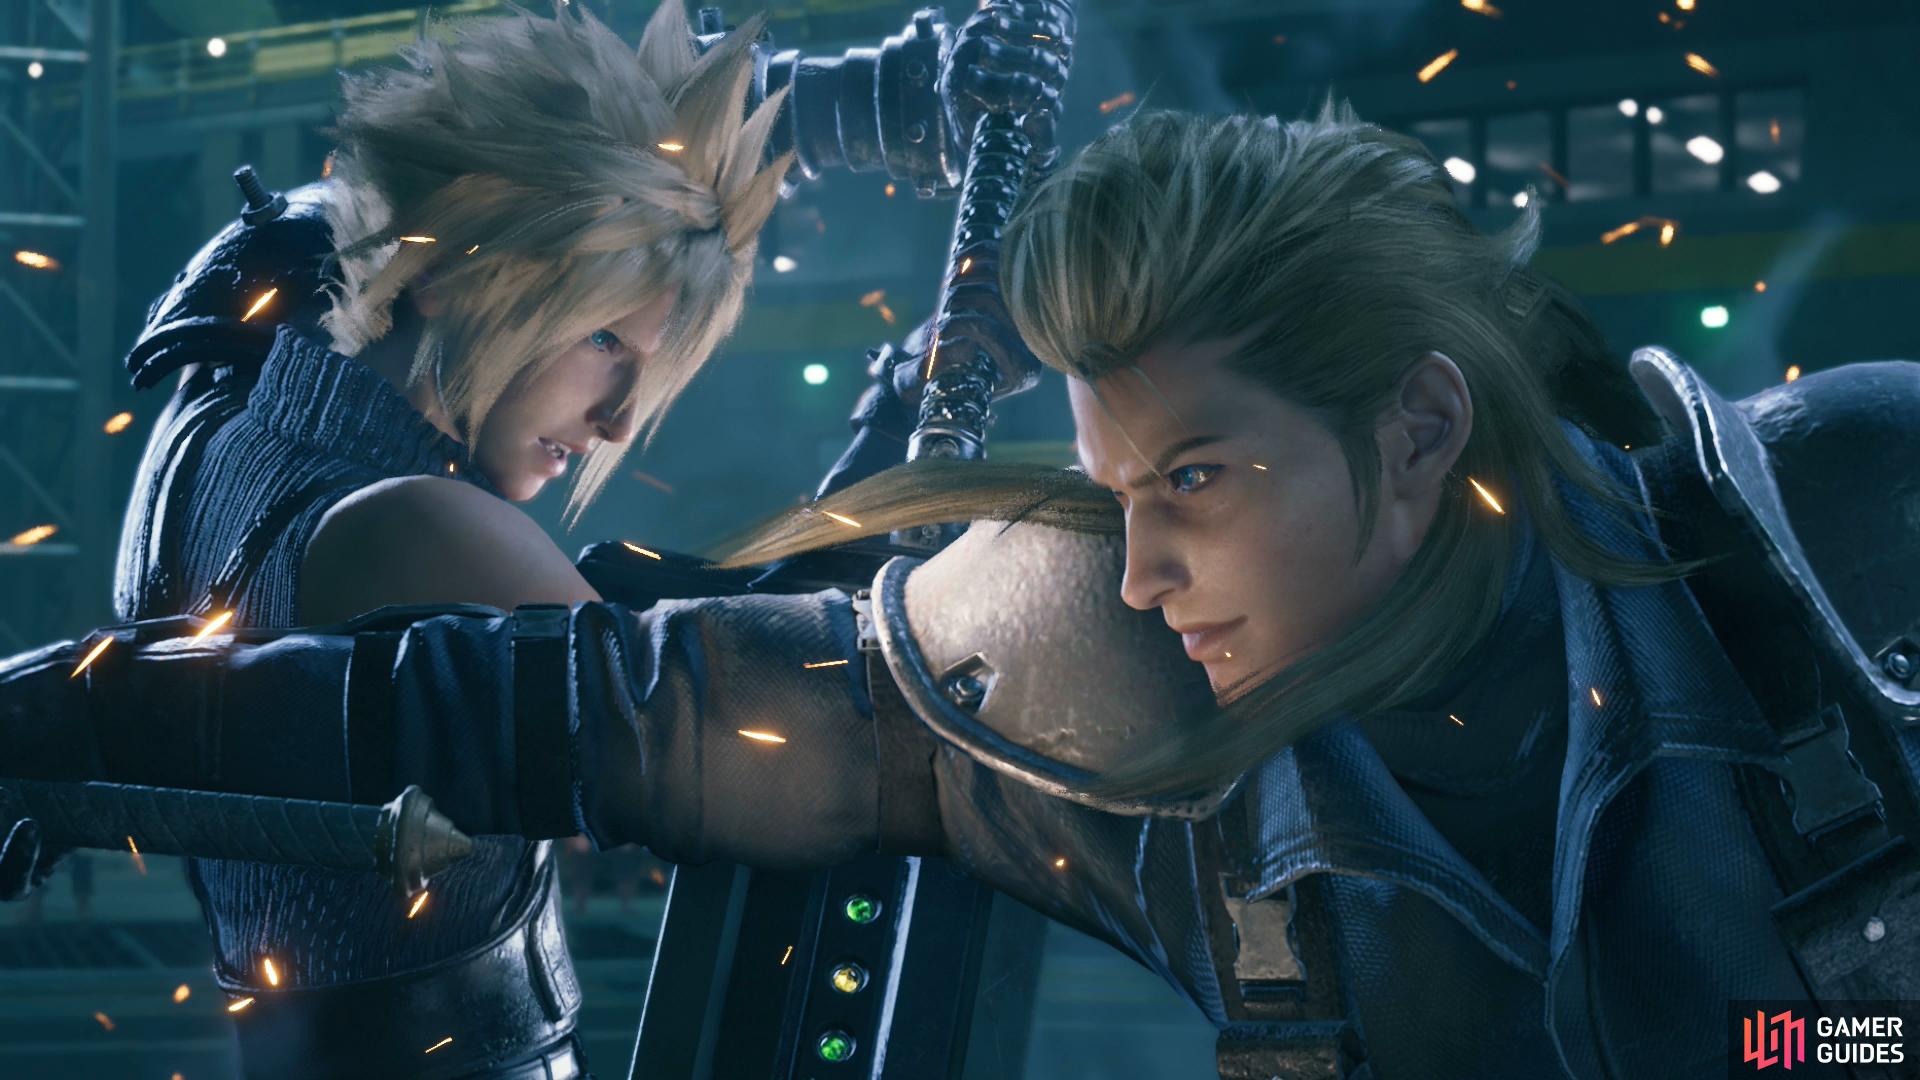
Boss Battle - Roche
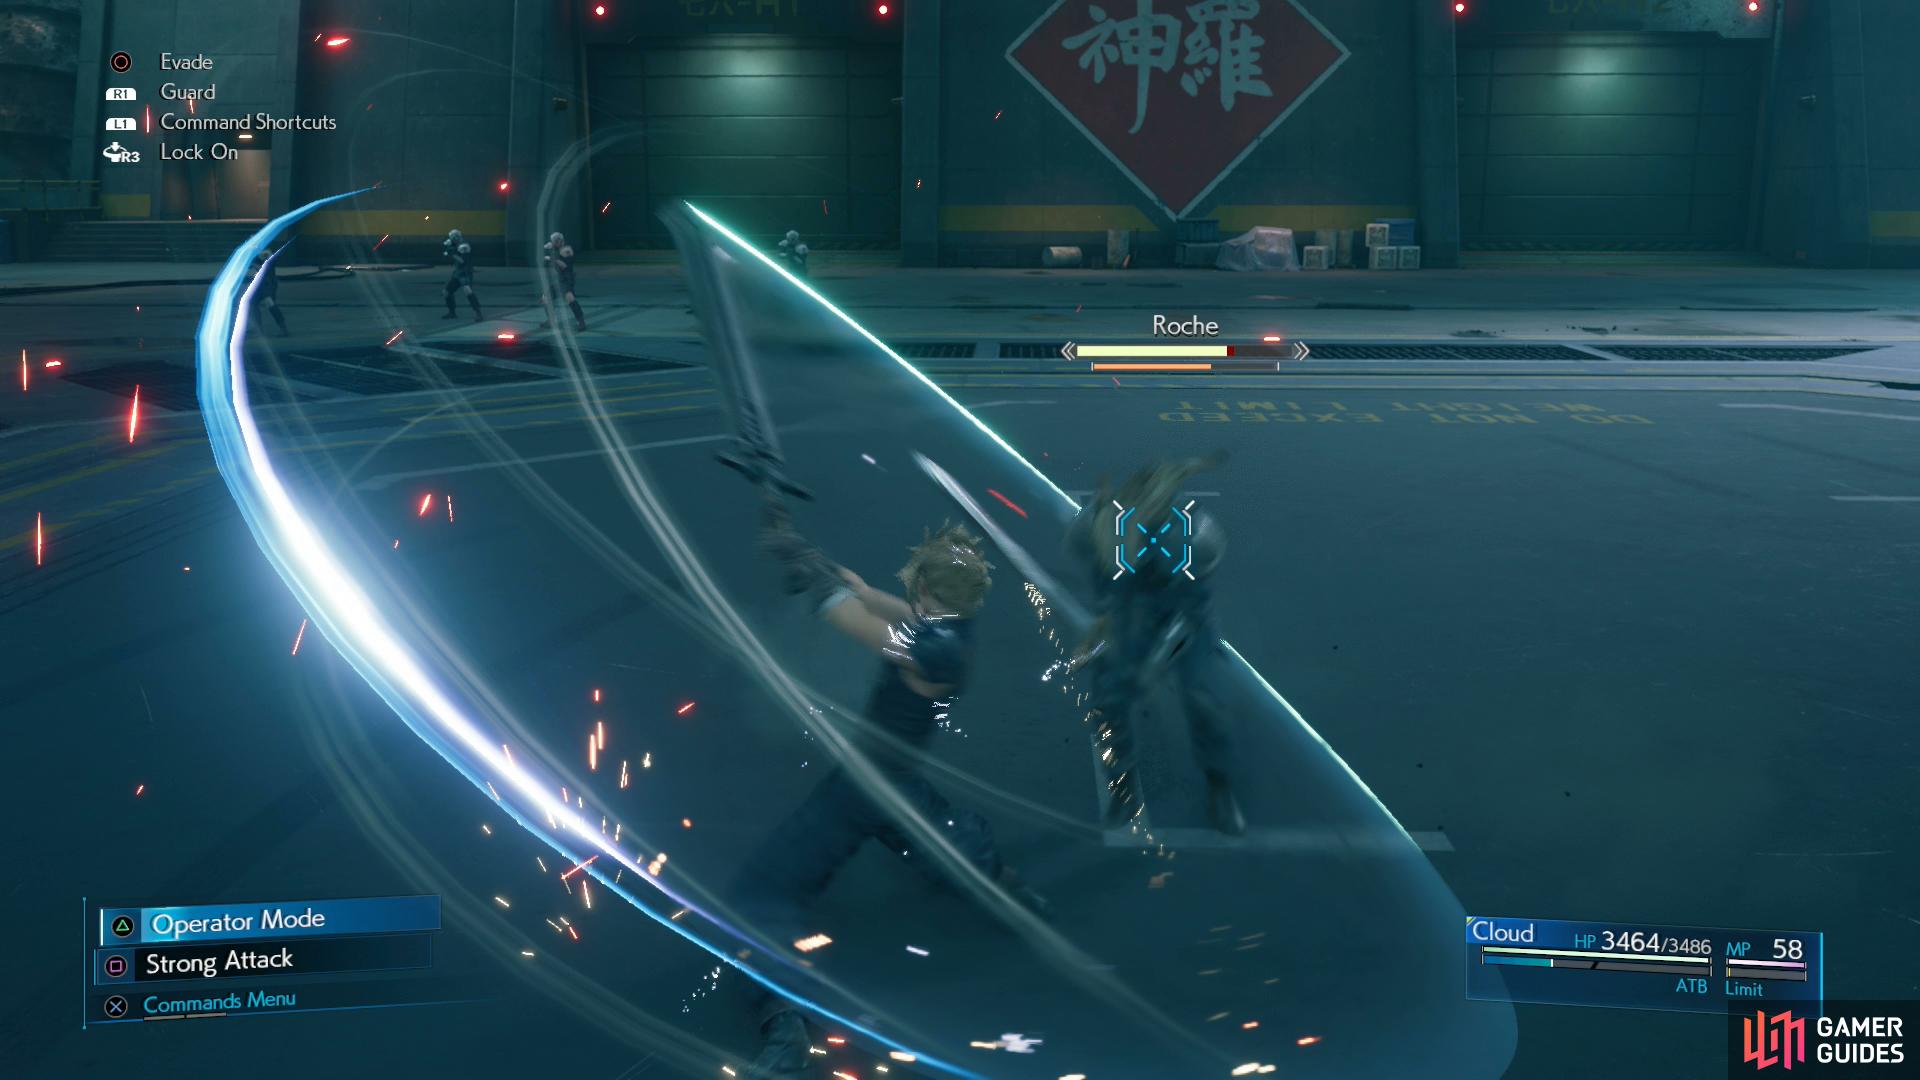
Once these two Sweepers are defeated you’ll be interrupted by another familiar face - familiar, but not friendly. Roche isn’t that tough of a foe, as built-up as he is. He’ll even heal you before the fight! What a sport! Once you’re exchanging blows, switch to Punisher mode, block and counterattack his attacks, then use Focused Thrust when you have an ATB segment charged. Your fight will be interrupted by another scene, which will reduce Roche’s Stagger, so you probably won’t be able to stagger him until the second phase of the fight, but the second phase plays out like the first: Punisher mode, counterattack and Focused Thrust. Once he’s Staggered, try to finish him off with Braver.
His normal attacks can all be countered, but he will cast spells from time to time (Thunder, of course) which deal significantly more damage than his melee attacks and can’t be blocked, much less countered. Try to dodge these, or just go on the offensive. During the second phase he’ll also use his “Ignition Flame” attack, which is a charge attack that deals heavy damage. Dodge it when you see him start to prepare it.
Defeat Roche and watch some more scenes. When you’re back in control of Cloud, follow Biggs north and rendezvous with Jessie. After more scenes, slide between a truck and a fence and follow Avalanche north and through a door.
Grab a hunk of Revive Materia from the ground as you escape from the diversion you made earlier.
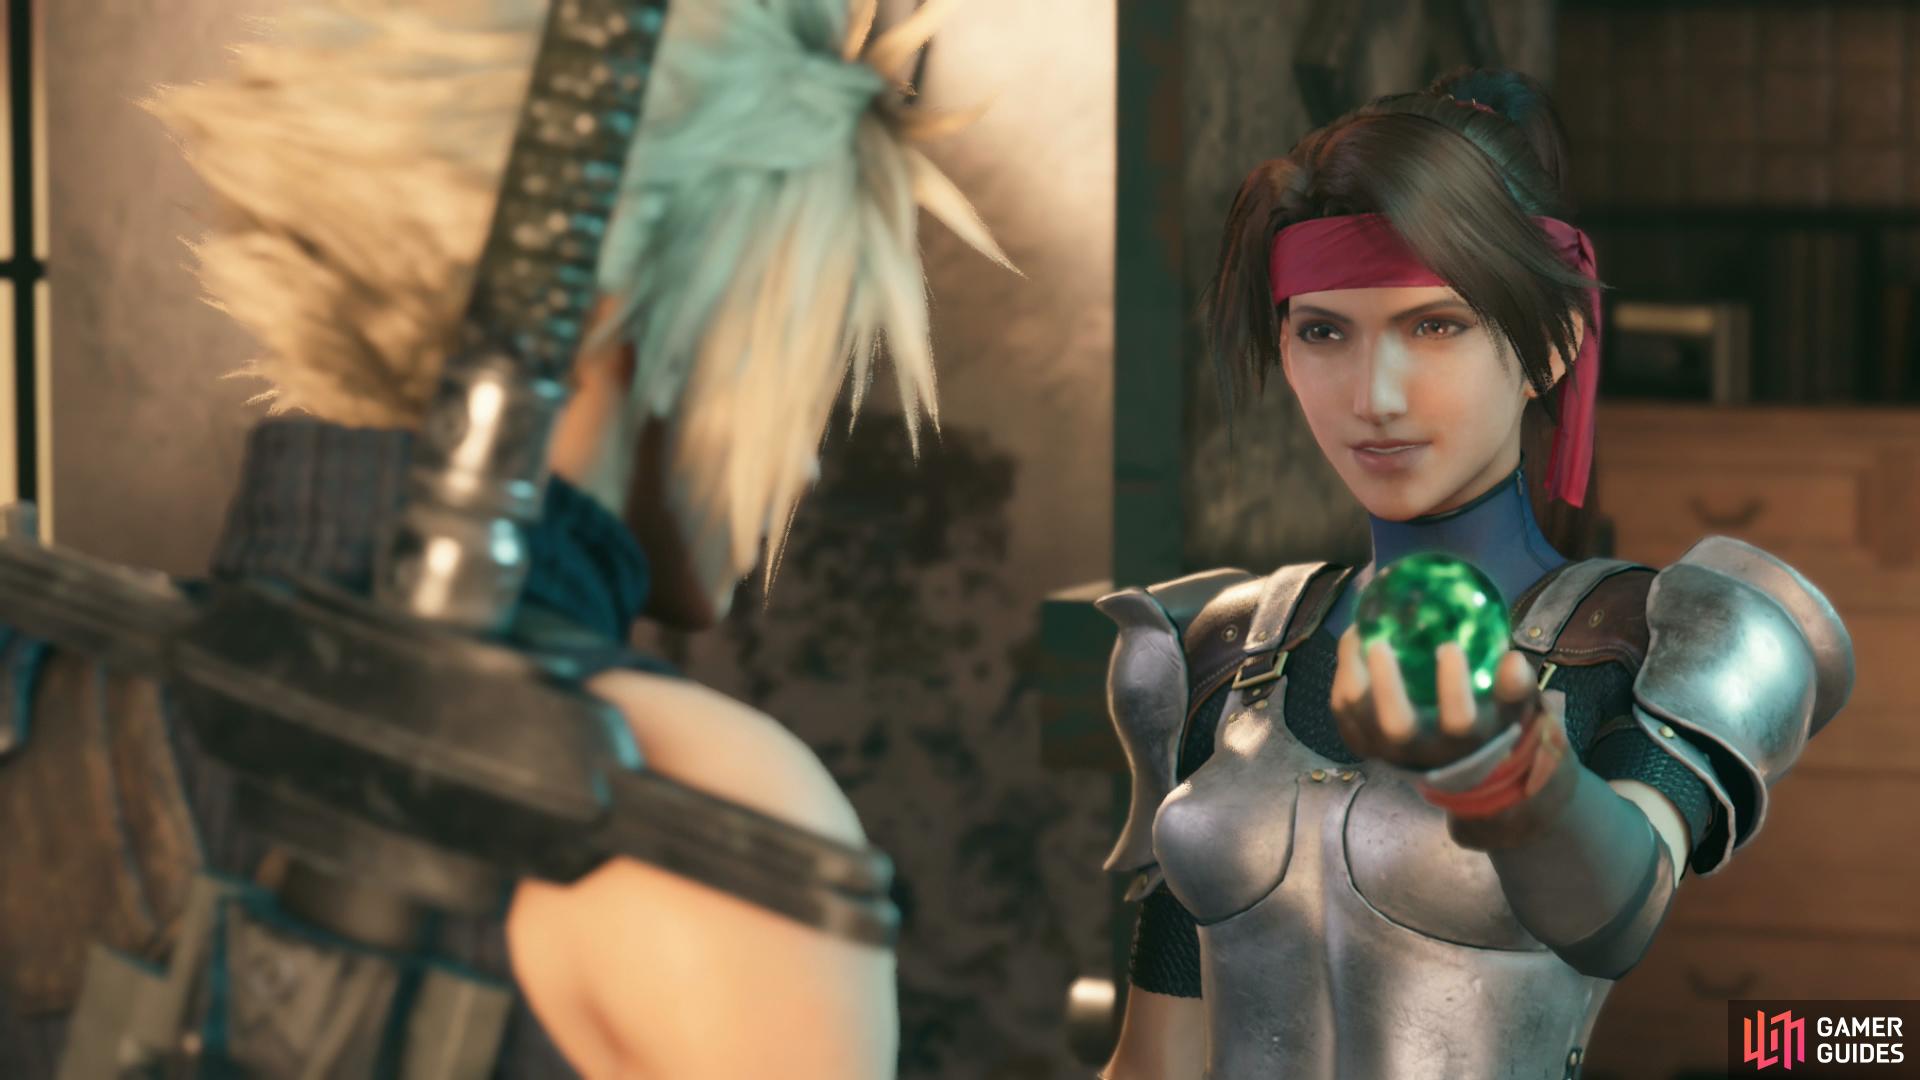
Once back in the slums, head to Jessie’s house to score some Barrier Materia.
Return to the Slums
Once indoors, continue west, smash some Shinra Boxes hiding between some pipes, then smash some more boxes further west. More boxes await just before some stairs, and once downstairs continue west onto some grate flooring and snag a chunk of Revival Materia. Smash some more Shinra boxes scattered about and follow Avalanche until you see some scenes. Cloud might have had the better riding partner on the motorcycle, but luck is not on his side this time… I suppose there are worse ways to get down from the plate.
When you land, follow Wedge through the Sector 7 slums, stopping to talk every so often. When you’re free from Wedge’s company, make your way back to Jessie’s place and she’ll hand you some Barrier Materia - the rest of your payment for this job. After this she’ll invite you over tomorrow night. Respond as you will. She’s a weird girl.
Sudden Attack
| Enemy | Weaknesses | Notable Loot |
|---|---|---|
| Mysterious Spectre | -- | -- |
| Enigmatic Spectre | -- | -- |
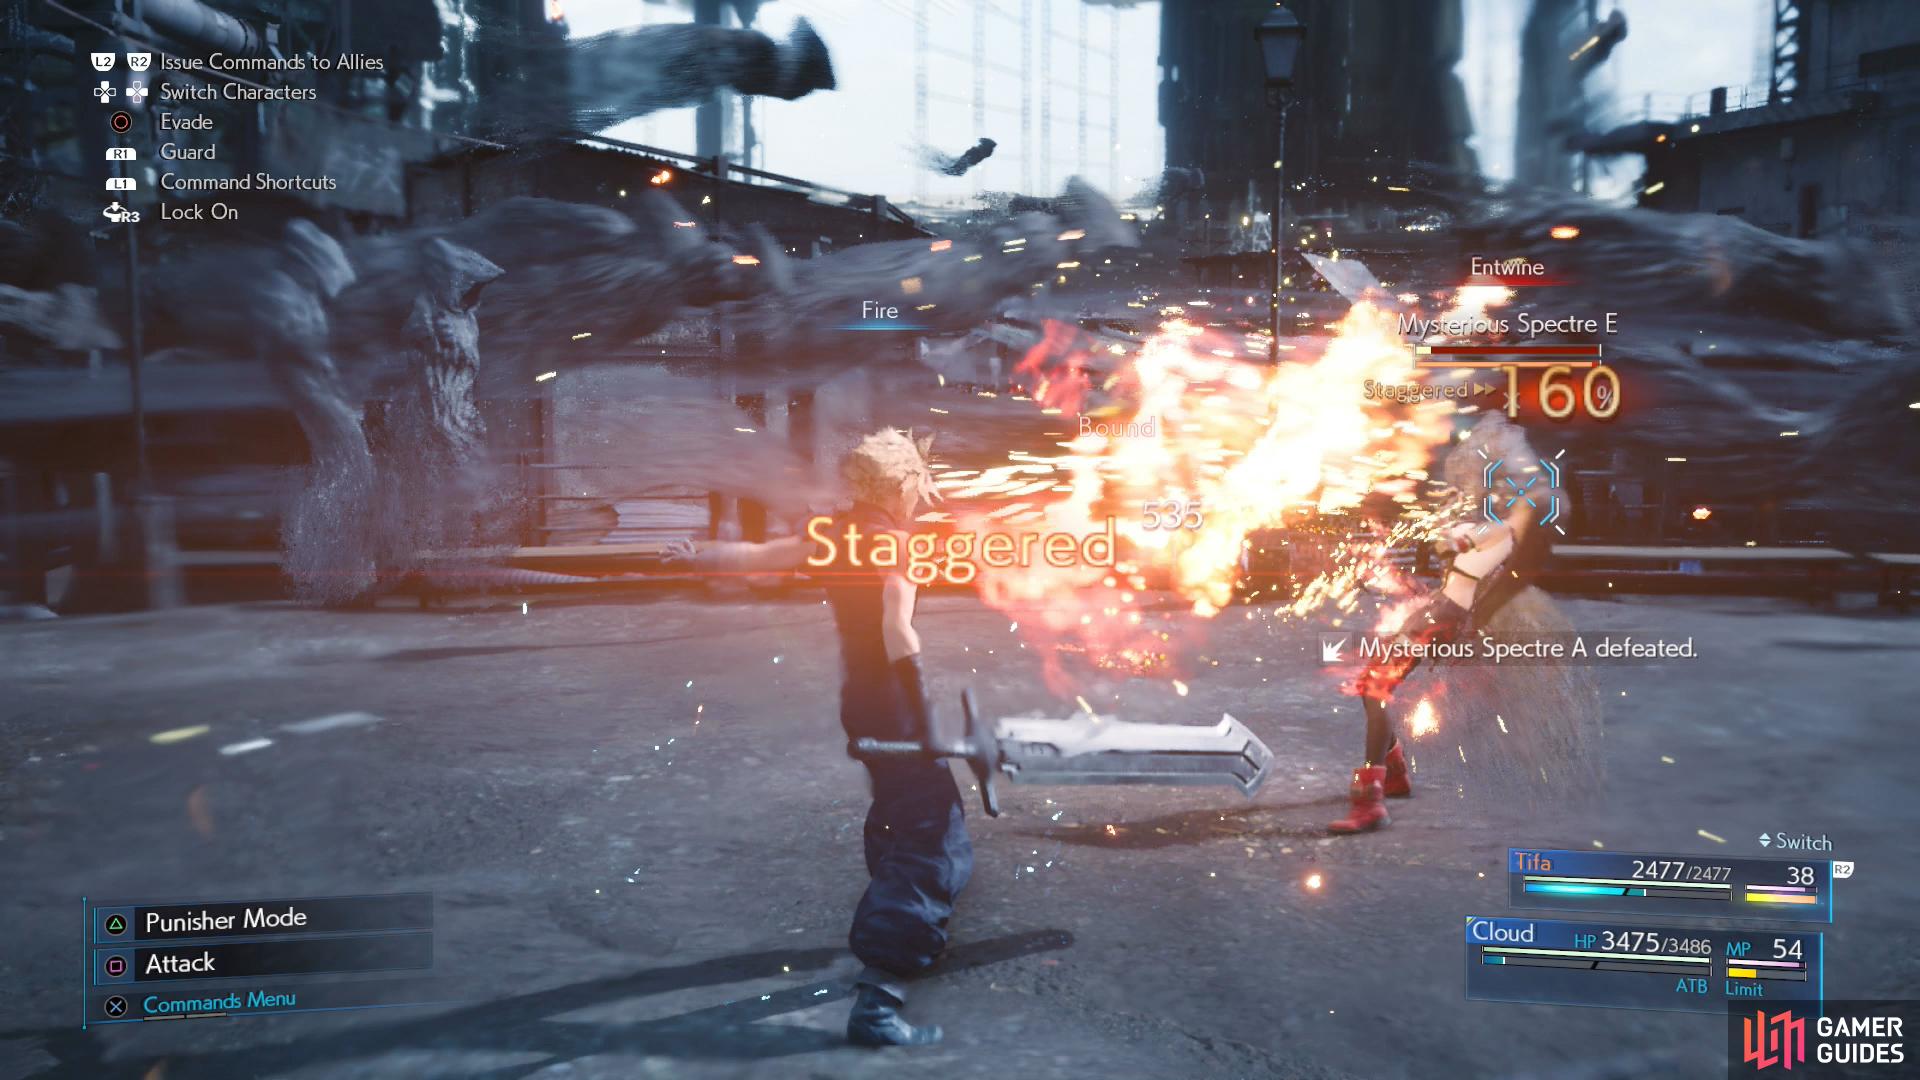
Finally free of any other obligations, return to your apartment and go to sleep. After some chatter you’ll find a second attempt at rest interrupted by some Mysterious Spectres. Assess them if you can to find out that physical attacks will have little effect, but spells will Stagger them quite well. Fight a seemingly inexhaustible number of spooks, and when you thin the herd enough, make your way east towards Seventh Heaven. When your way is blocked turn south, east, and finally north to reunite with the rest of Avalanche.
When you arrive, an Enigmatic Spectre will join the fray, along with several Mysterious Spectres. Focus on freeing Tifa from the Bound status she finds herself in, then attack the Enigmatic Spectre. Unlike the Mysterious Spectres, the Enigmatic Spectre is resistant to physical and magical attacks, but if you can interrupt its own attacks by attacking when it’s using an ability, it’ll more readily take Stagger damage. Tifa’s superior attack speed makes her more suited to this task than Cloud, so beat on the Enigmatic Spectre whenever it starts to do something, and use the ATB segments to cast spells on the lesser ghosts. Once the Enigmatic Spectre is Staggered, focus your undivided attention on it.
After the spectres are banished, watch the scenes that follow. Looks like Cloud has himself another job, and Barret pays an advance of 500 Gil. Tough break for Jessie, but it seems to have benefitted Cloud just fine. If you beat Wedge’s high score at Darts last chapter, he’ll now reward you by giving you Luck Up Materia. When it rains, it pours! If you haven’t beaten Wedge’s record at Darts, however, now is the time to make another attempt.
Leave Seventh Heaven when you’re ready, and after joining back up with Tifa you’ll need to head to the Sector 7 Undercity Station a good hike to the east. Near the station you’ll be pestered by Chadley, who doesn’t actually have anything to say - the game’s just pointing out that he’s moved over here now. Good to know.
On the train platform, talk to Barret and confirm you’re ready to end Chapter 4, obtaining the Night on the Town Trophy. Reactor 5, here we come…

No Comments