

Chapter 9 was an odd one, very long, lots of talking, minigames, and under-the-hood checks. This chapter, by comparison, is a more straight-forward dungeon run, similar in structure to Chapter 6. Whether that’s a good thing or not is subjective, but if you were looking for a change of pace, you’re in luck.
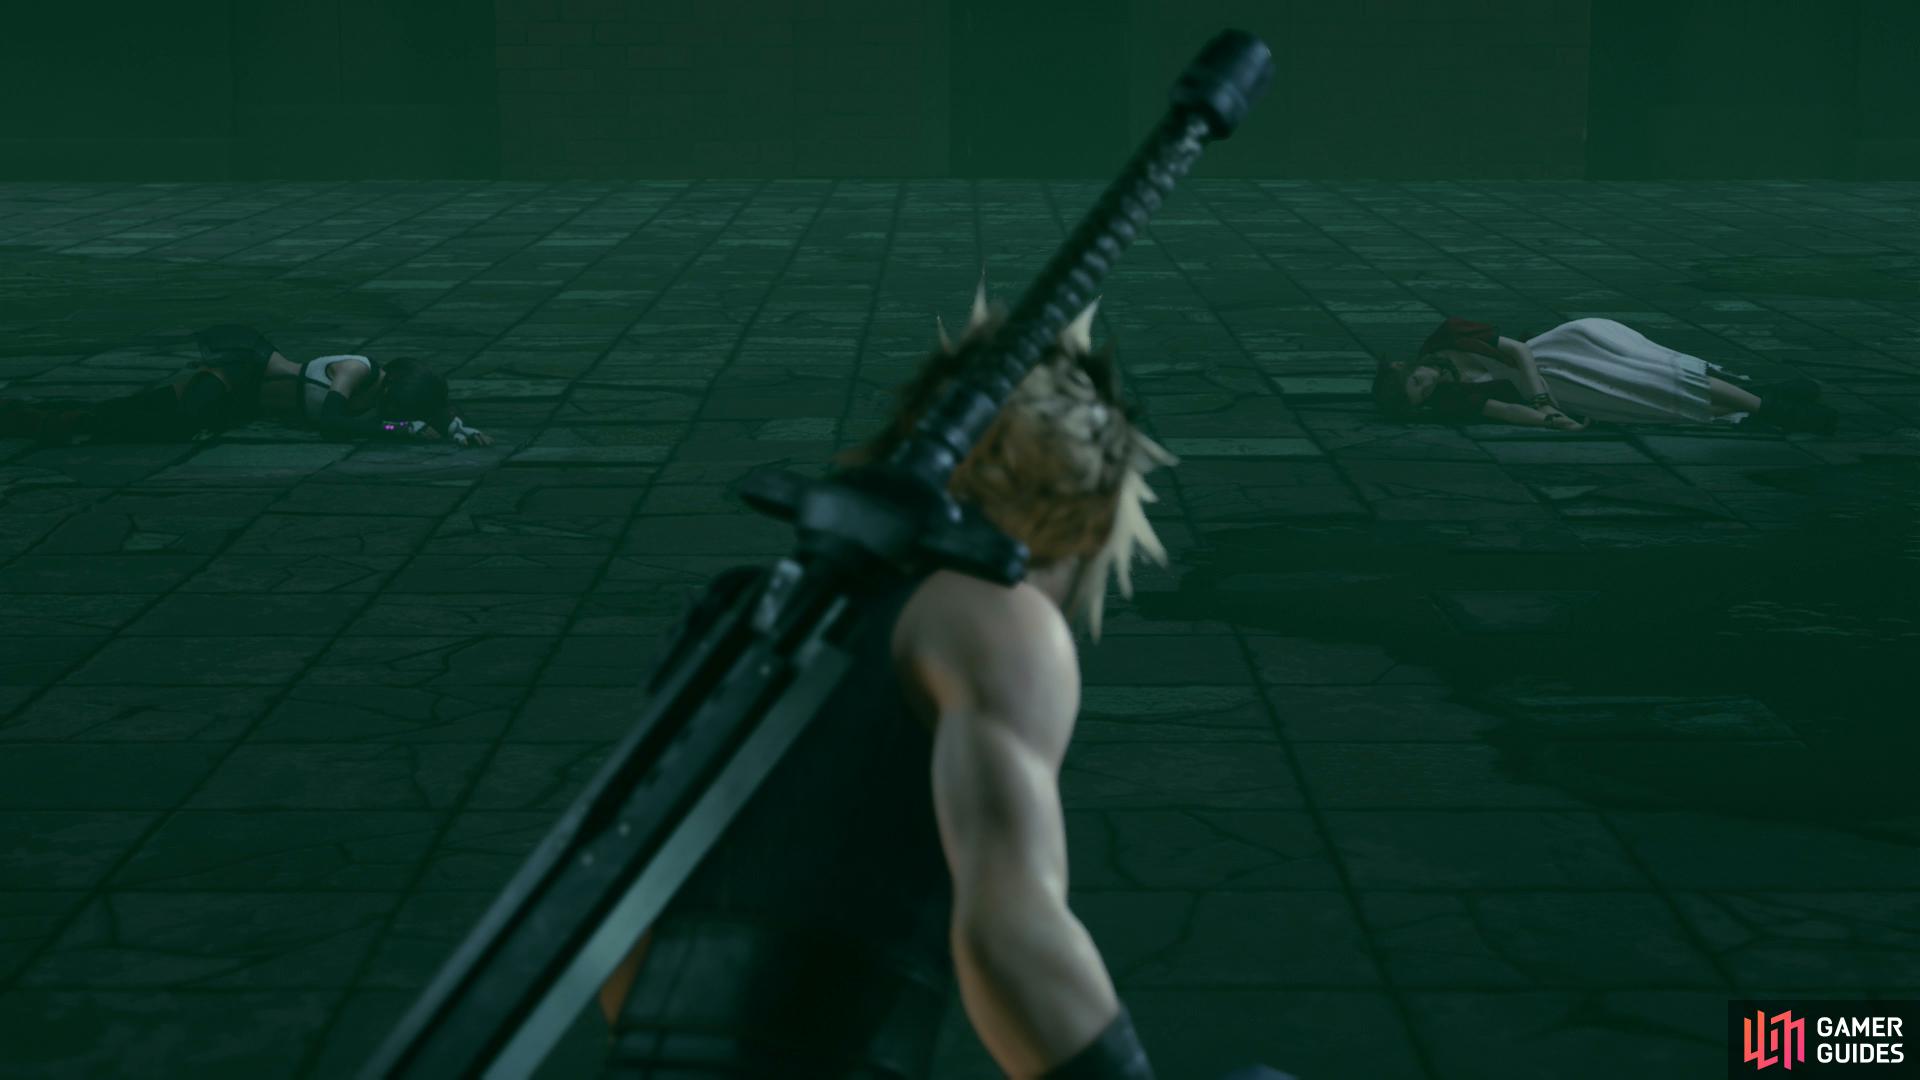
That said, this chapter starts out with a meaningful choice, although it’s not readily apparent. When you’re in control of Cloud again you’ll have to talk to Aerith and Tifa, both of which are making a great show of being incapacitated, and both just need a nudge from prince anti-social to get back on their feet. Whichever one you talk to first will take it as a token of affection, and this decision will significantly influence which of the two you’ll have a scene with later in the game. So, pick your favorite, talk to them first, and they’ll remember it later.
Before you do this, however, you might want to make sure your equipment is in order, as a boss fight is imminent. Yes, it’s a bit odd there’s a boss at the start of a chapter, but they’re following the original game, so they get a pass.
Anyways, the boss you’re fighting is weak to fire, so ensure Aerith (presumably your go-to caster by this point) has Fire Materia equipped. We also equip Tifa with Fire Materia + Elemental Materia in her weapon slots, as she’ll be our damage dealer. We equip much of our HP Up Materia on Cloud so he can tank, while Tifa and Aerith both equip Star Pendants to protect against poison. Everybody has Healing Materia, just in case, Cloud has Cleaning Materia equipped and Aerith finishes up her preparations by equipping Barrier Materia + Magnify. The boss will primarily use physical attacks, so giving everybody the Barrier buff via Barrier + Magnify isn’t a bad idea, but Healing + Magnify will suffice in a pinch.
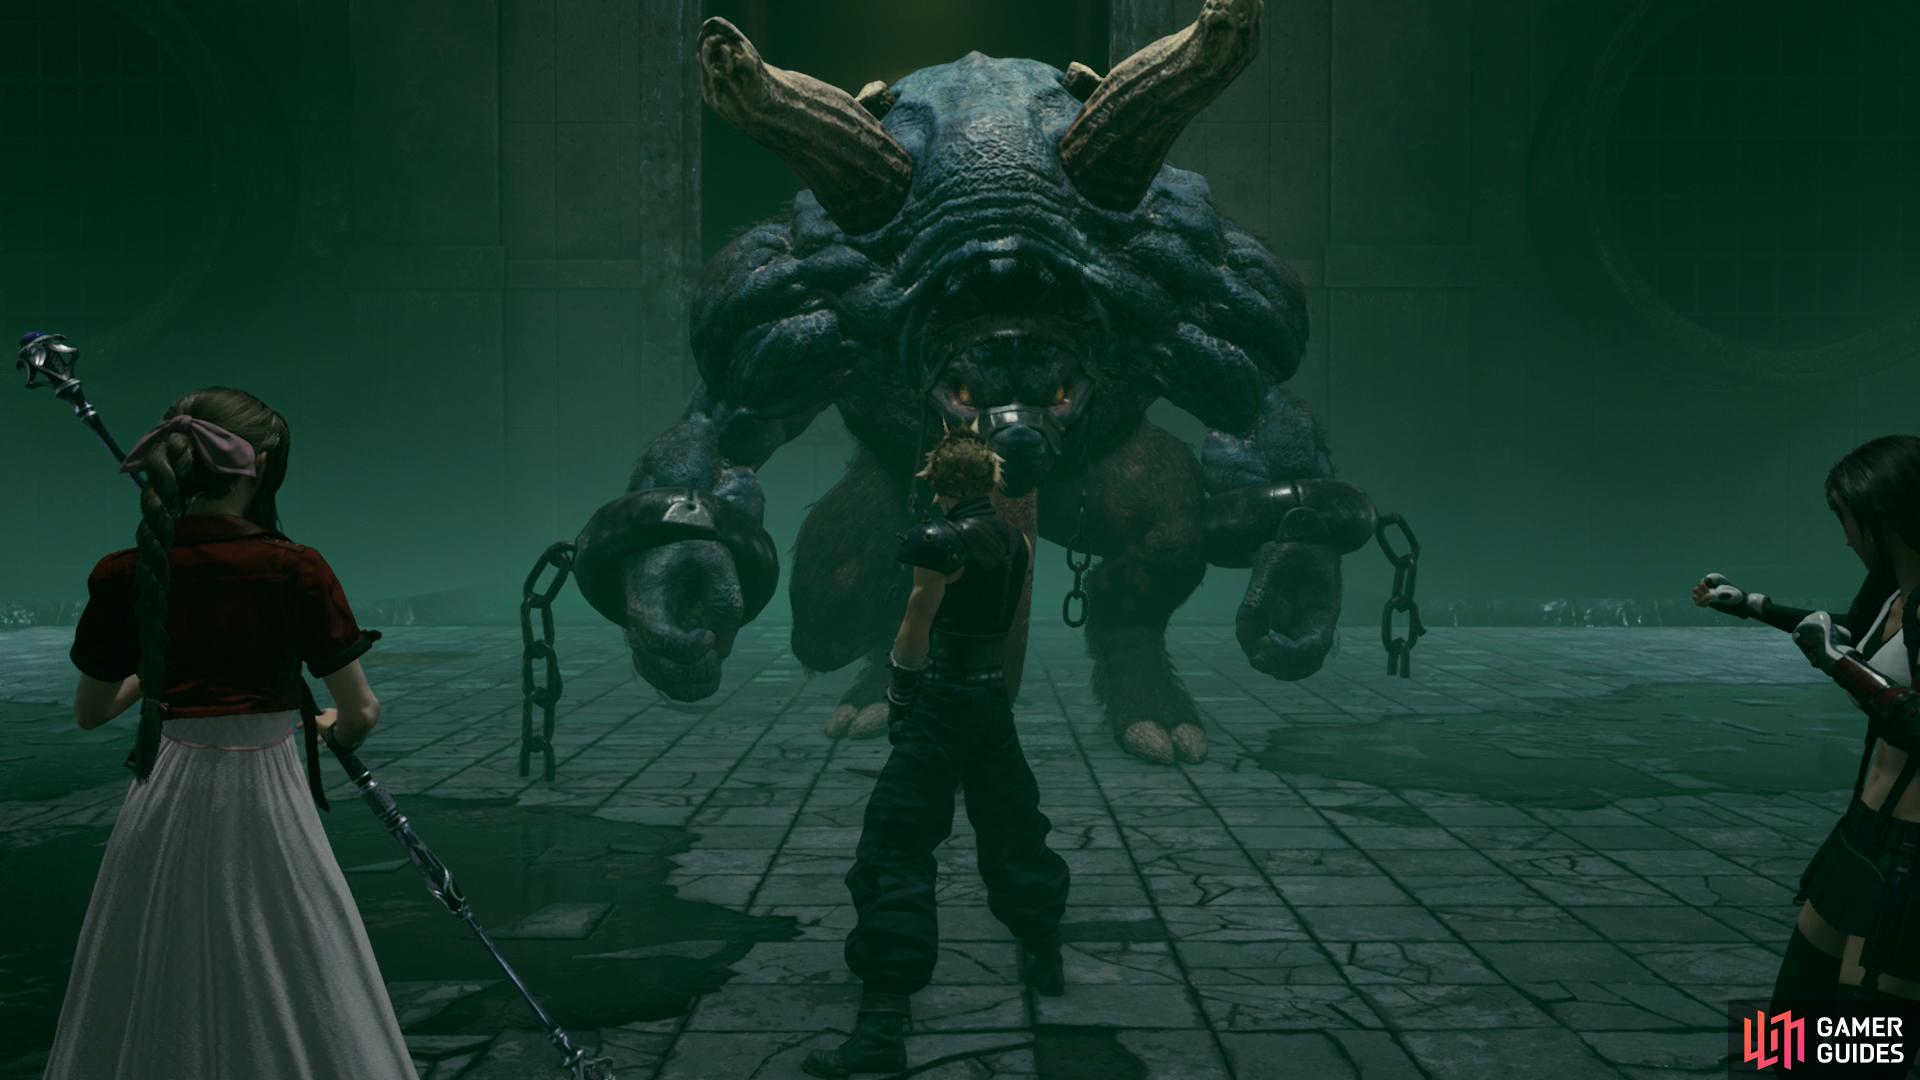
Boss: Abzu
Talk to one of the girls and after some chatter and a scene you’ll find out that you’re not alone down here…
| Enemy | Weaknesses | Notable Loot |
|---|---|---|
| Abzu | Fire | -- |
Phase 1
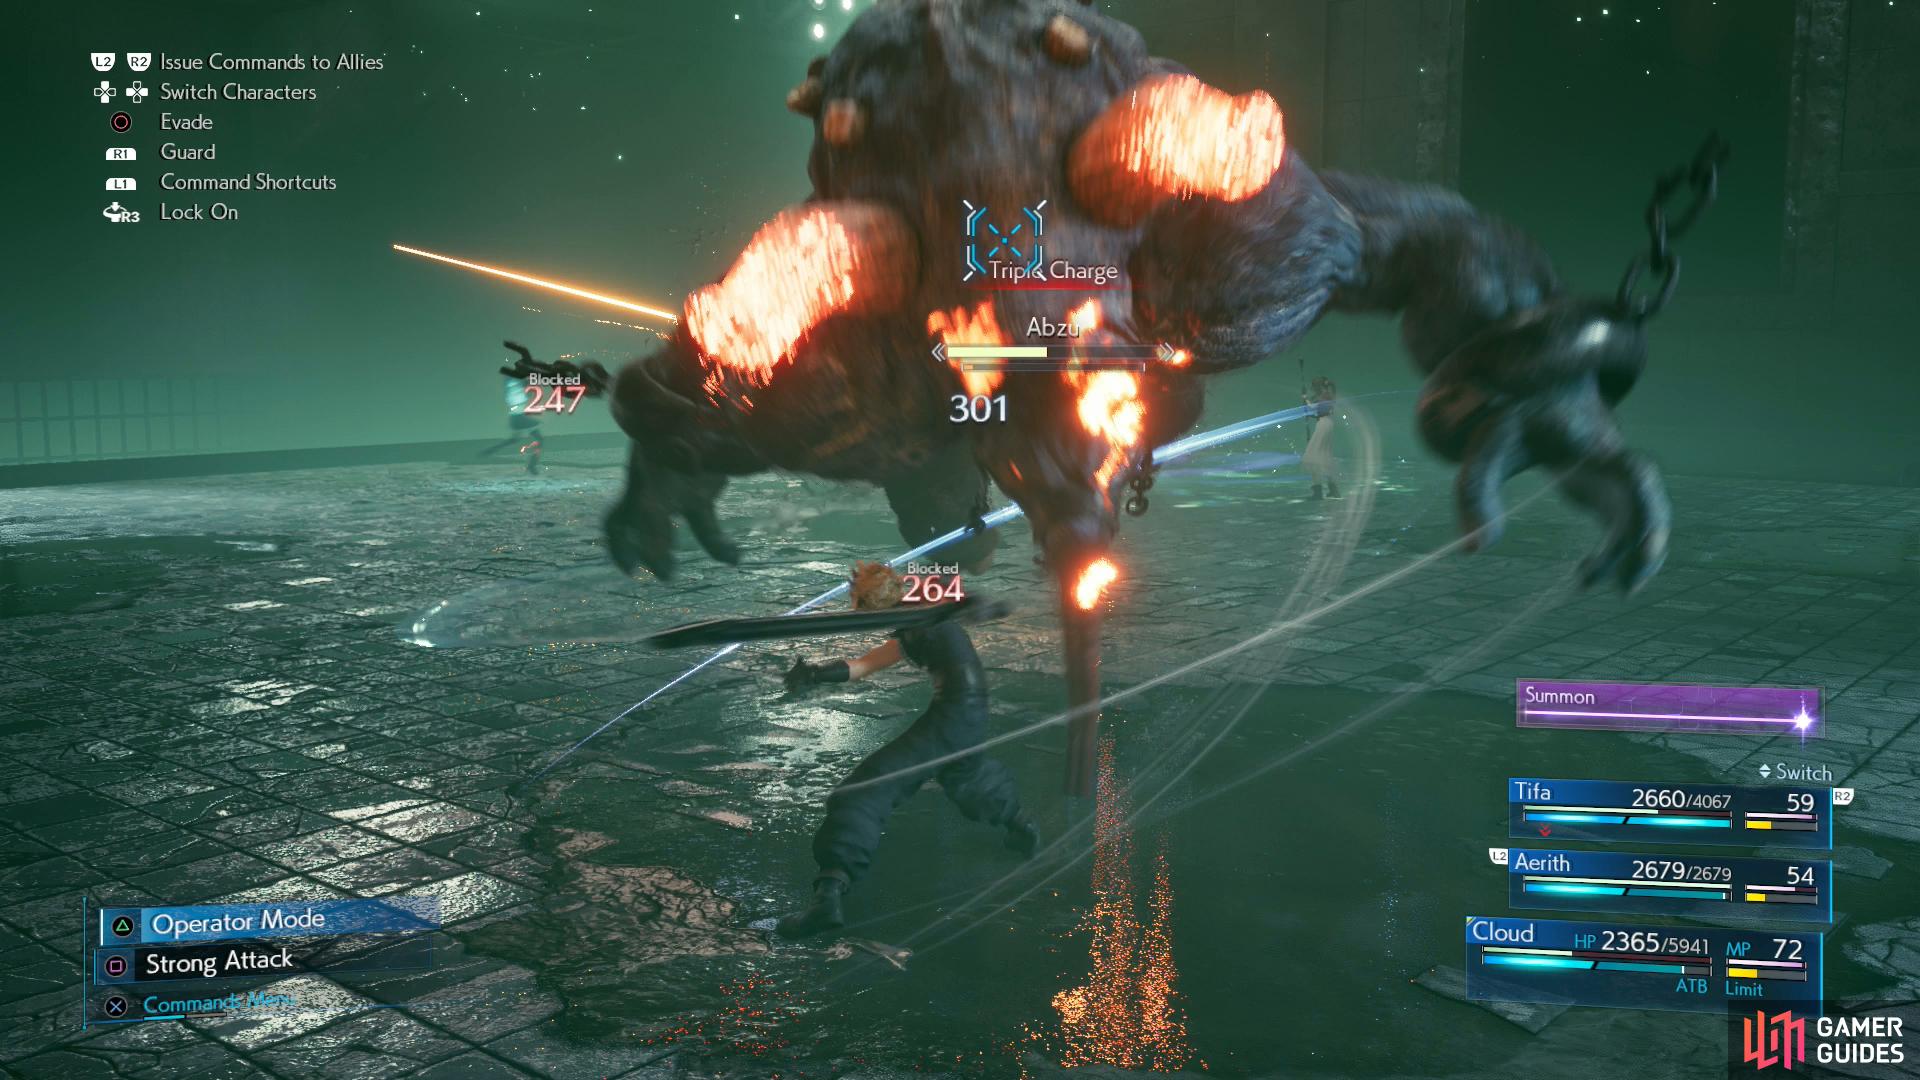
Abzu is a physical brute, and as such, most of its attacks can be blocked and countered by Cloud in Punisher mode, and if that doesn’t do it for you, Barrier will serve to mitigate damage. Its most threatening attack - at least early in the fight - is “Backwash Spout”, as it’s a magical attack that can inflict the “Poison” debilitation and is moderately seeking. If you wait to dodge until it’s close it won’t be able to course-correct fast enough, but it’s honestly easier to just equip Star Pendants and not worry about the attack. While its attacks aren’t immensely powerful, Abzu can increase its damage output by inflict “Berserk” on enemies via its “Provoke” ability.
The first phase of the fight is simple, we use Aerith to buff and heal, while Tifa charges her ki via “Unbridled Strength”. Don’t waste ATB segments attacking Abzu, instead, wait until he scales one of the walls - a prelude to his “Pounce” attack - during which you should switch to Aerith and hit Abzu (or better yet, one of his horns) with Fire. Extra effective if paired with Arcane Ward, as usual. This should knock Abzu down, send him into “Pressured” status, and leave him flailing and vulnerable for a while. During this time spend those ATB segments Tifa and Cloud built up using “Focused” attacks to Stagger him.
Be wary of the glowing pipe, as that’ll be the source of Abzu’s Blackwater Blast attack.
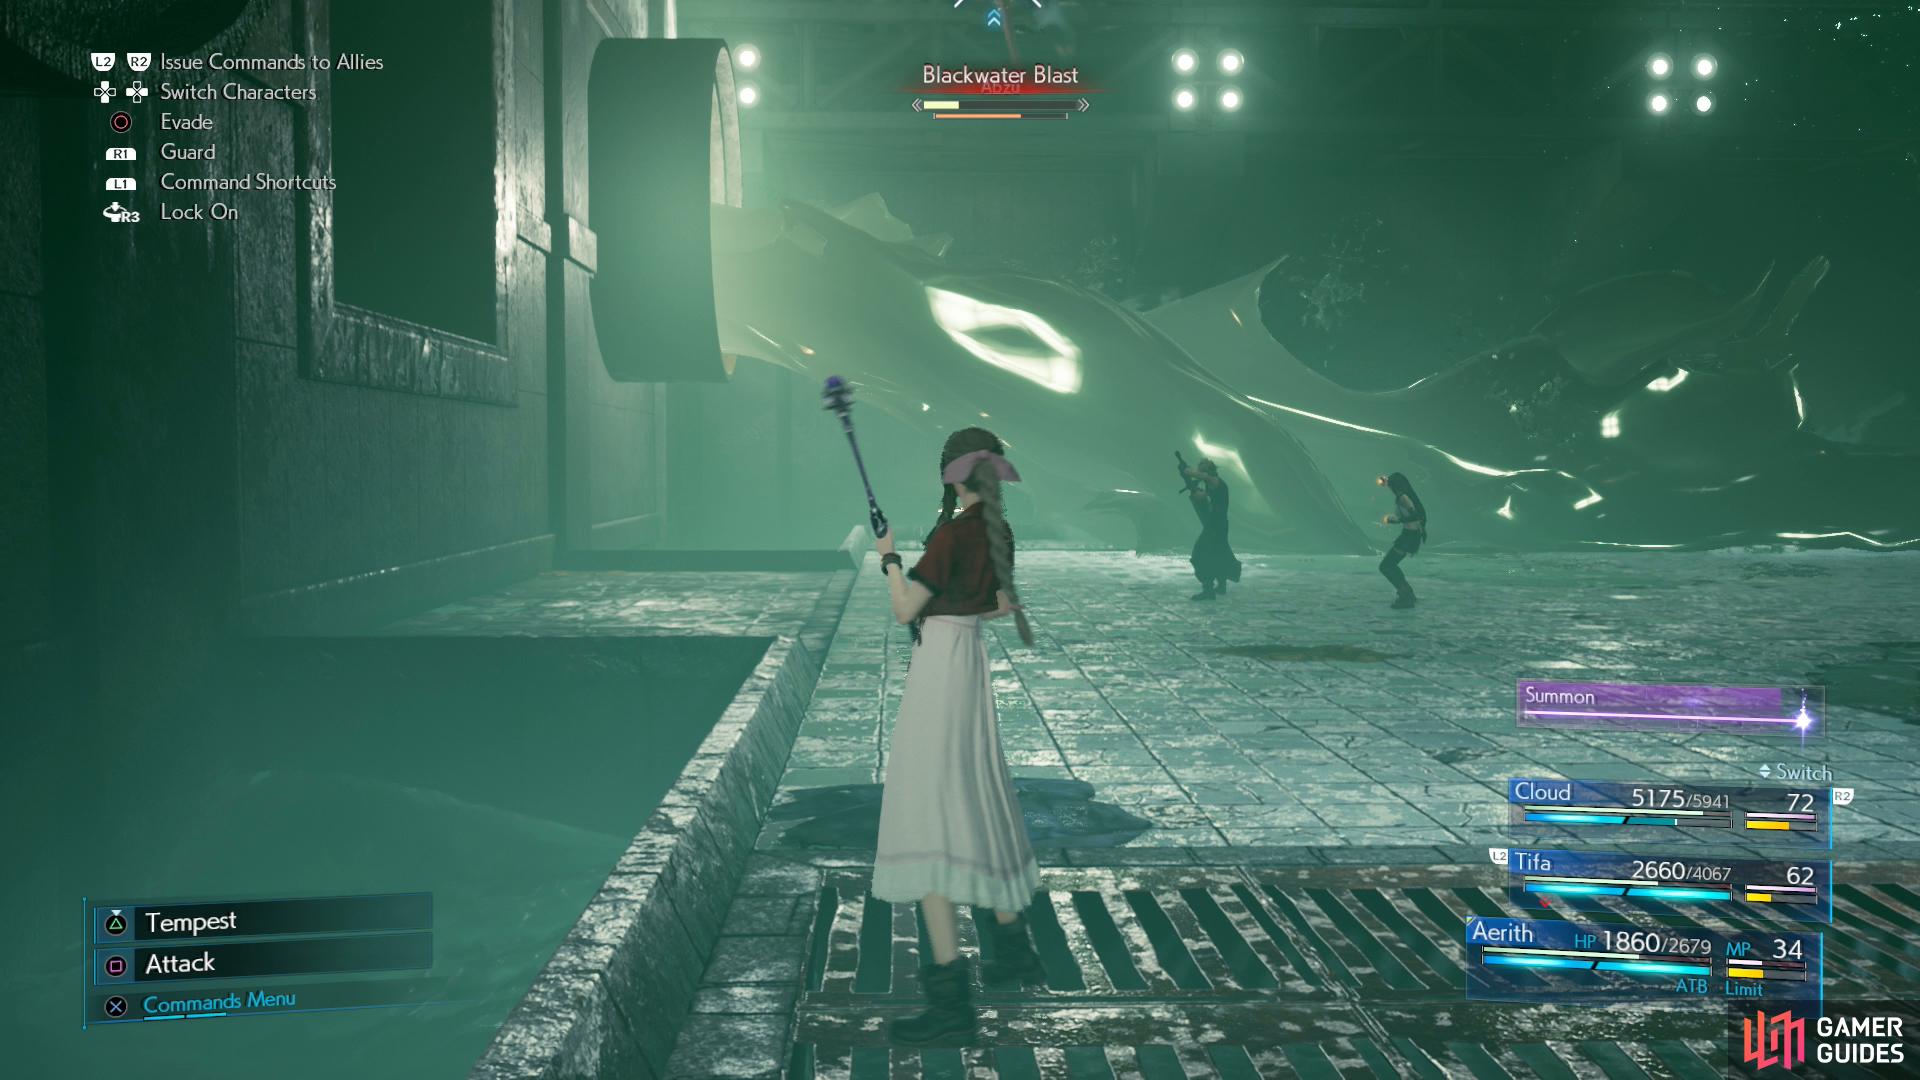
Try to get far enough away from the glowing pipe to lure your AI characters away.
Phase 2
Once Abzu has been whittled down to half its HP it’ll go into a rage, fighting more aggressively and using some new attacks. Abzu’s increased aggression isn’t directly correlated with an increase in damage per attack, but his attacks will become more difficult to dodge, and you’re less likely to find a reprieve to cast spells. That said, as long as you aren’t poisoned and avoid controlling Aerith too much (hence drawing aggro with her) Abzu still shouldn’t be too much of a threat.
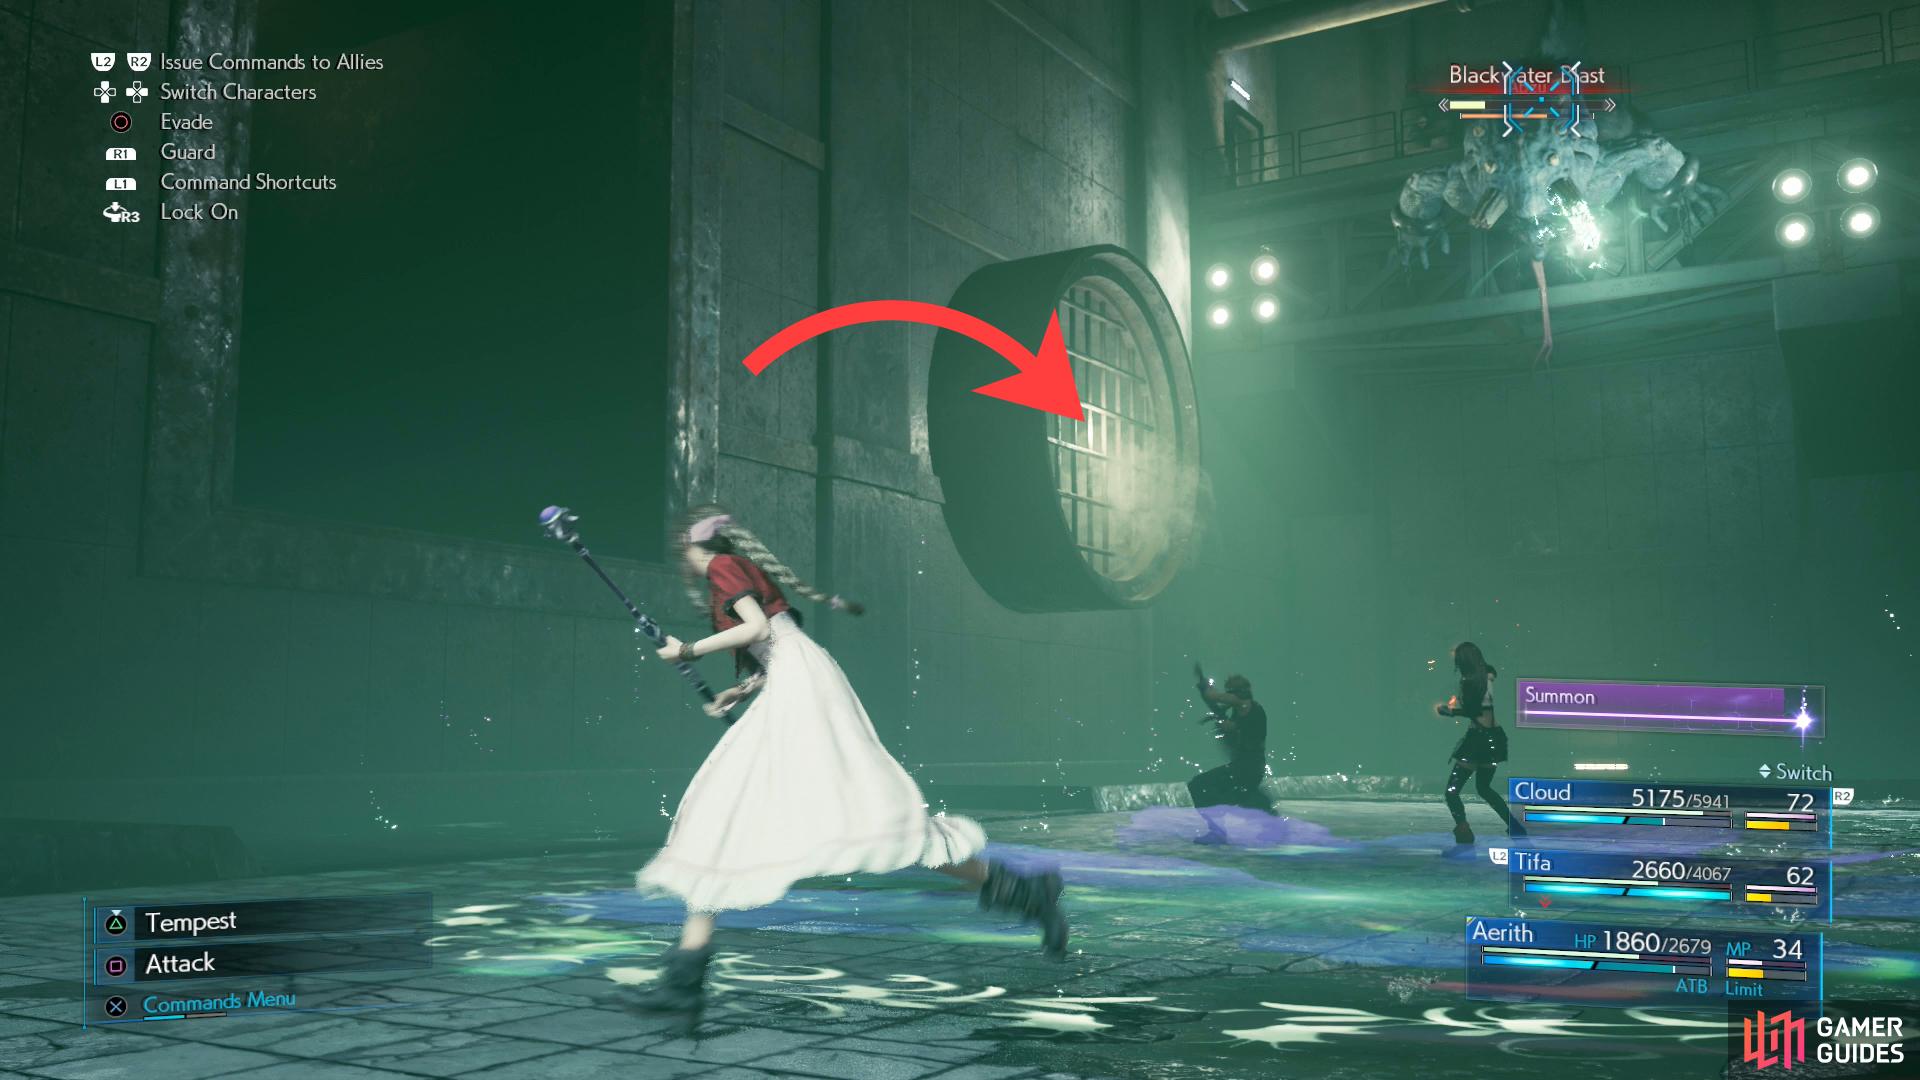
The one exception is its new “Blackwater Blast” attack. Abzu will leap onto a wall and one of the sewer pips in the arena will start glowing faintly. Identify the offending pipe and stand as far away from it as you can, preferably running up against the opposite wall. Its range isn’t that great, but your AI isn’t the brightest, and only by getting far away with your controlled character can you really expect the AI not to get hit by it. “Blackwater Blast” can deal around 1,500 damage if it hits, so you might want to control Aerith for this to ensure she doesn’t get hit, at the very least. Better yet, you can pelt Abzu with Fire to knock him off the wall just like with his “Pounce” attack - it’s really hard to overstate how much a bit of vigilance goes in this fight.
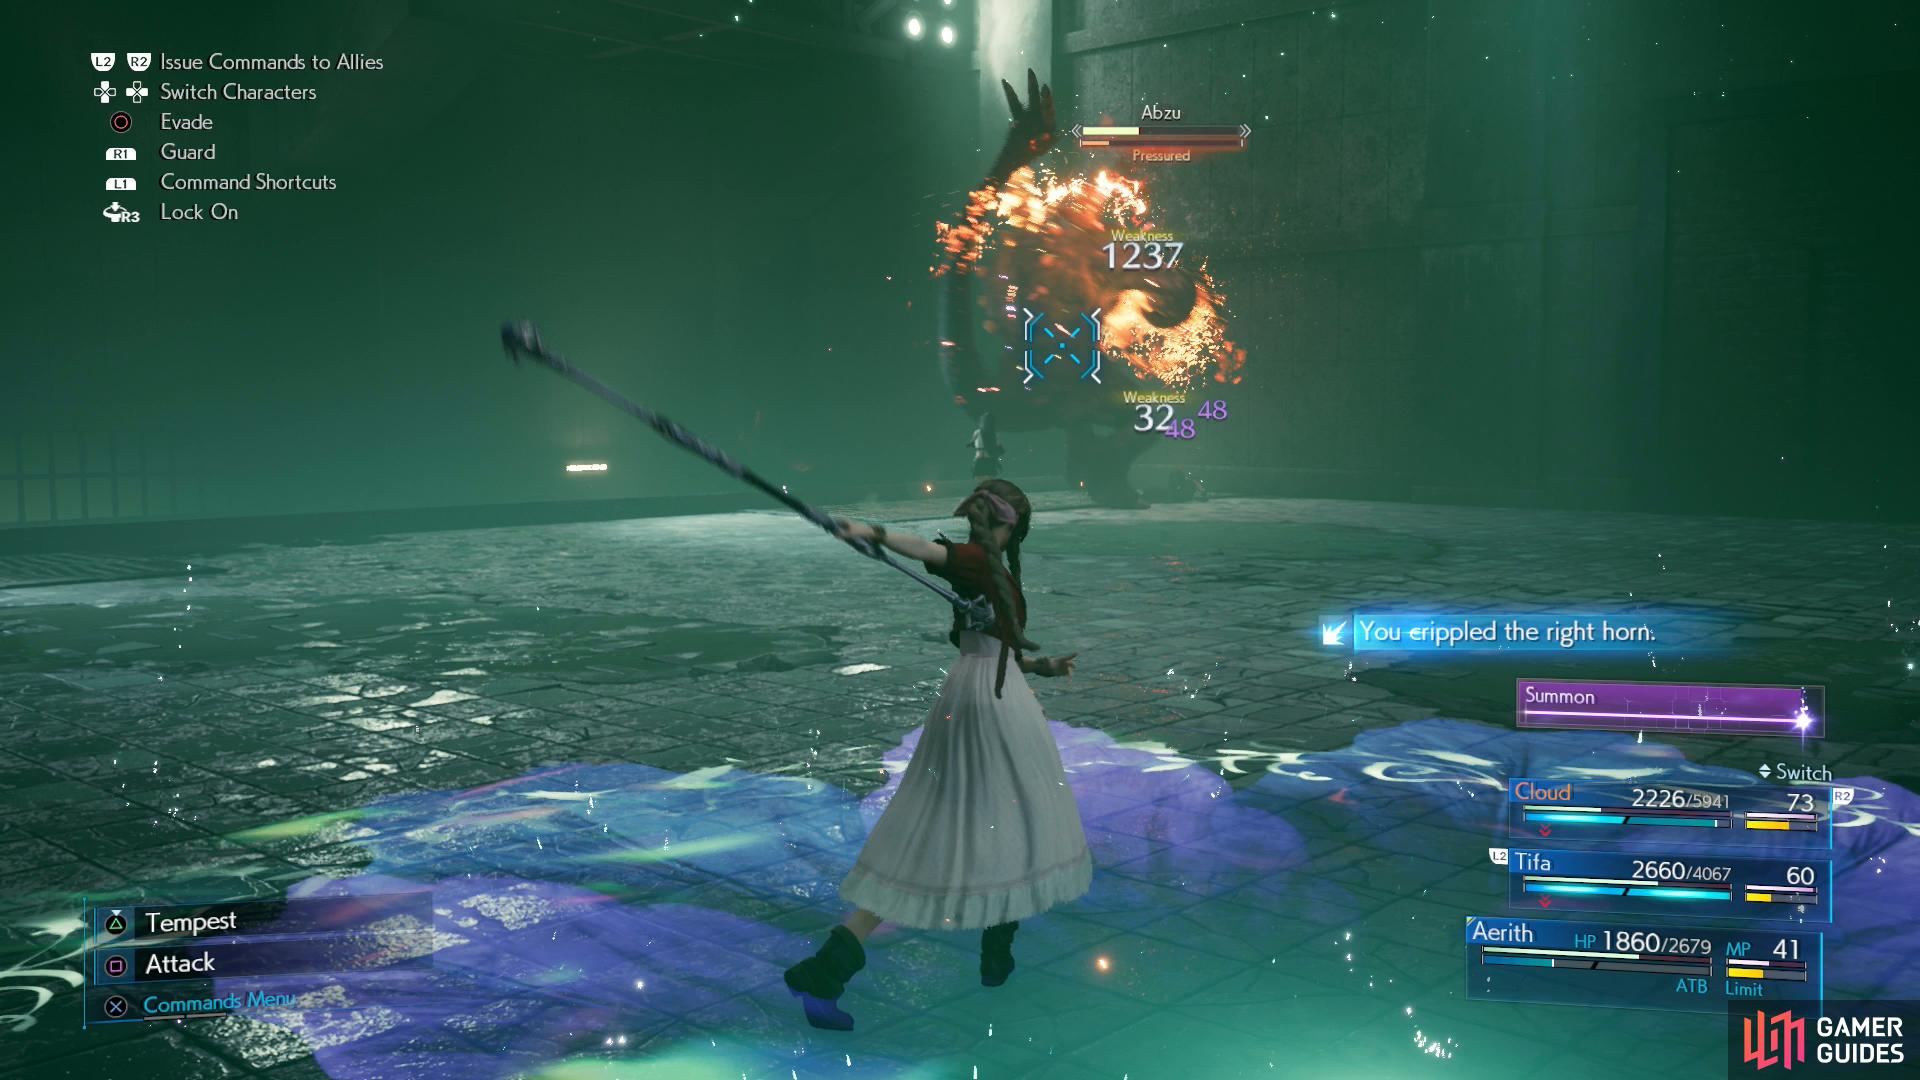
Your summon gauge should also start charging during this phase of the fight. When it’s full, don’t be shy about summoning Ifrit and using Ifrit’s “Crimson Dive”, as it inflicts tremendous damage to the fire-weak Abzu and can “Pressure” the beast. When Abzu is Staggered in the second phase, hit it with Tifa’s ki abilities to deal damage and drive up the Stagger%. Against such an onslaught, Abzu should be defeated in short order.
After taking such a punishment, Abzu apparently decides it has had enough, and makes an exit through the eastern wall. Not as satisfactory as defeating the monster outright, but at least you have a way forward.
| Enemy | Weaknesses | Notable Loot |
|---|---|---|
| Sahagin | Fire | -- |
| Wererat | Ice | -- |
| Scissorclaw | Ice | -- |
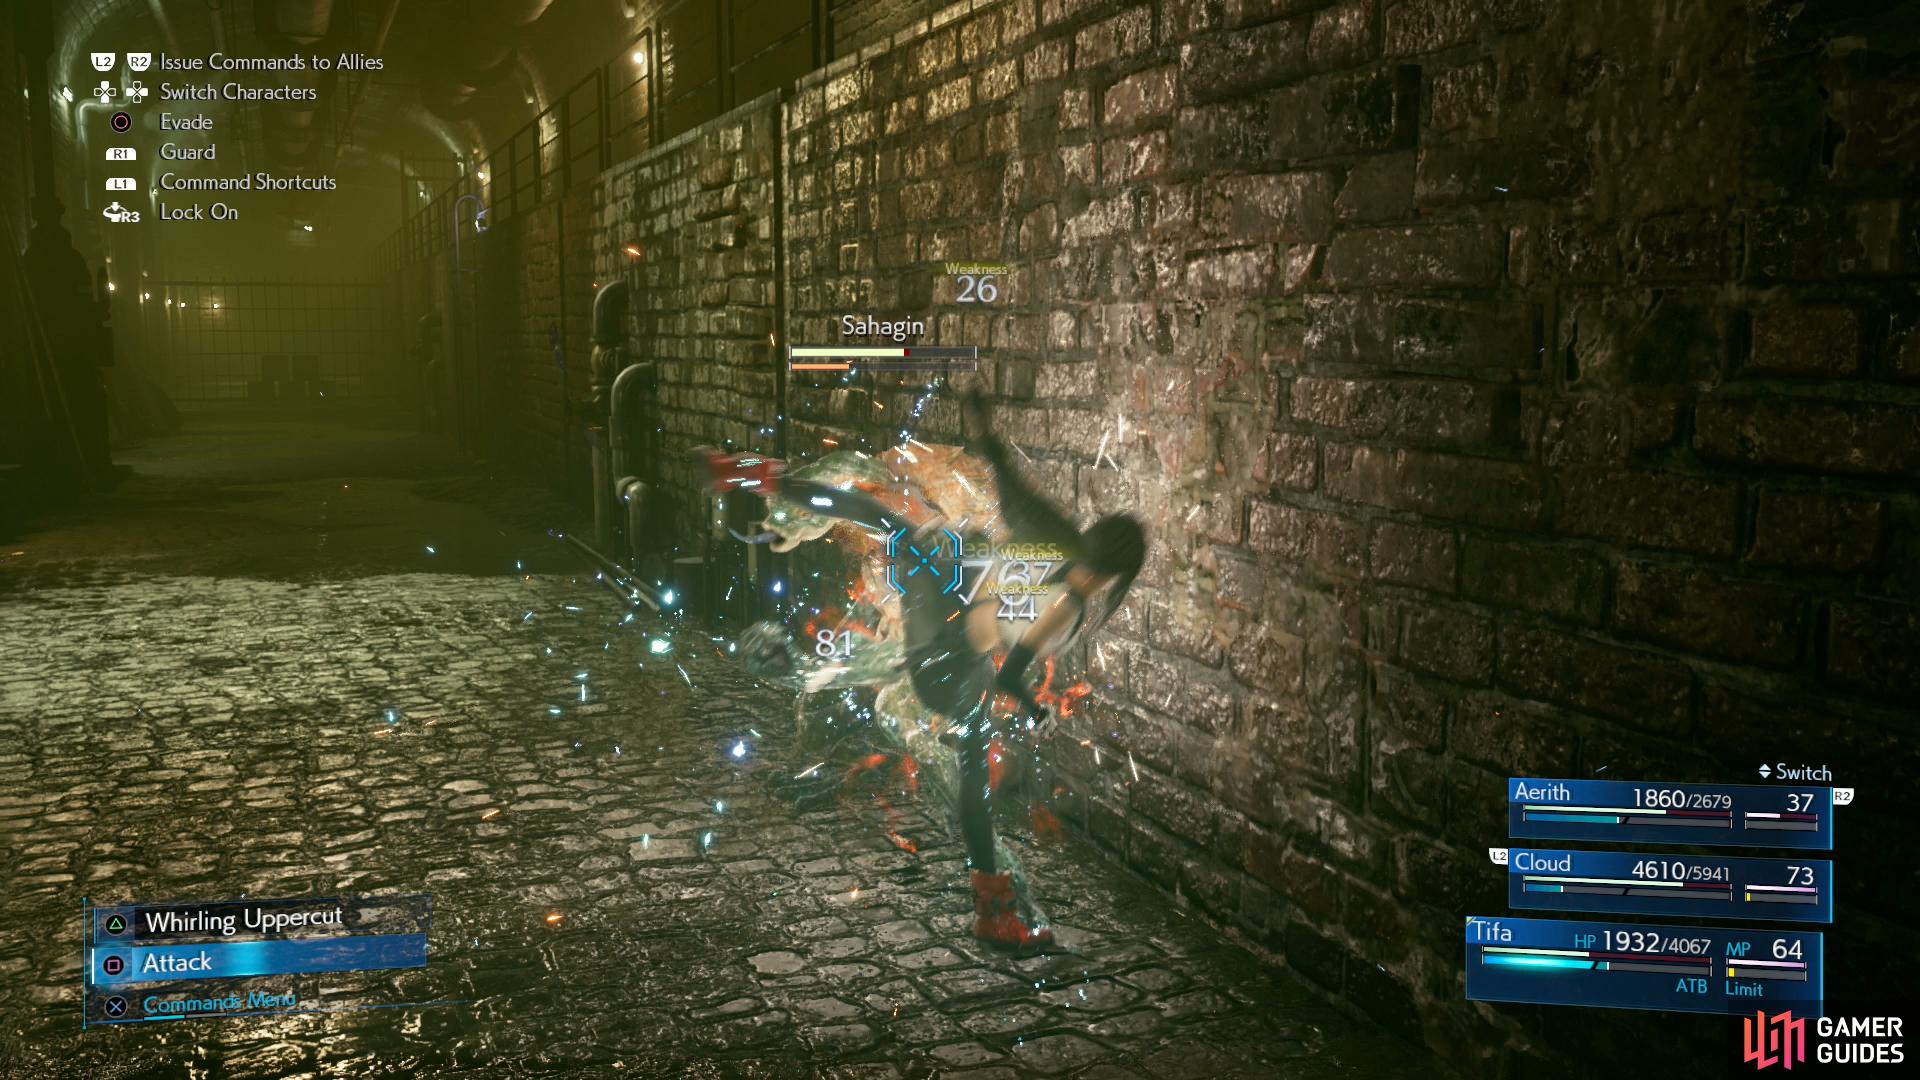
Sahagin are resilient to physical damage,
but are weak to the Fire spell.
Follow the Waterway
After some chatter continue through the hole in the wall to the east (thanks, Abzu!) and when Tifa leads you north, turn south instead to find a chest containing an Ether. Once that’s yours, follow the girls south and you’ll encounter a new foe: a Sahagin.
These aquatic humanoids can deal decent damage with their “Jump” attack, can inflict “Frog” with their “Harpoon Hurl” or “Salientian Curse” abilities, and they’re resilient to physical damage. Use fire or ice magic to fill their Stagger gauge (they’re also weak to fire, if you want to deal damage while inflicting Stagger), then finish them off with the familiar combo of “Focused” attacks and damage-dealing abilities like “Braver”.
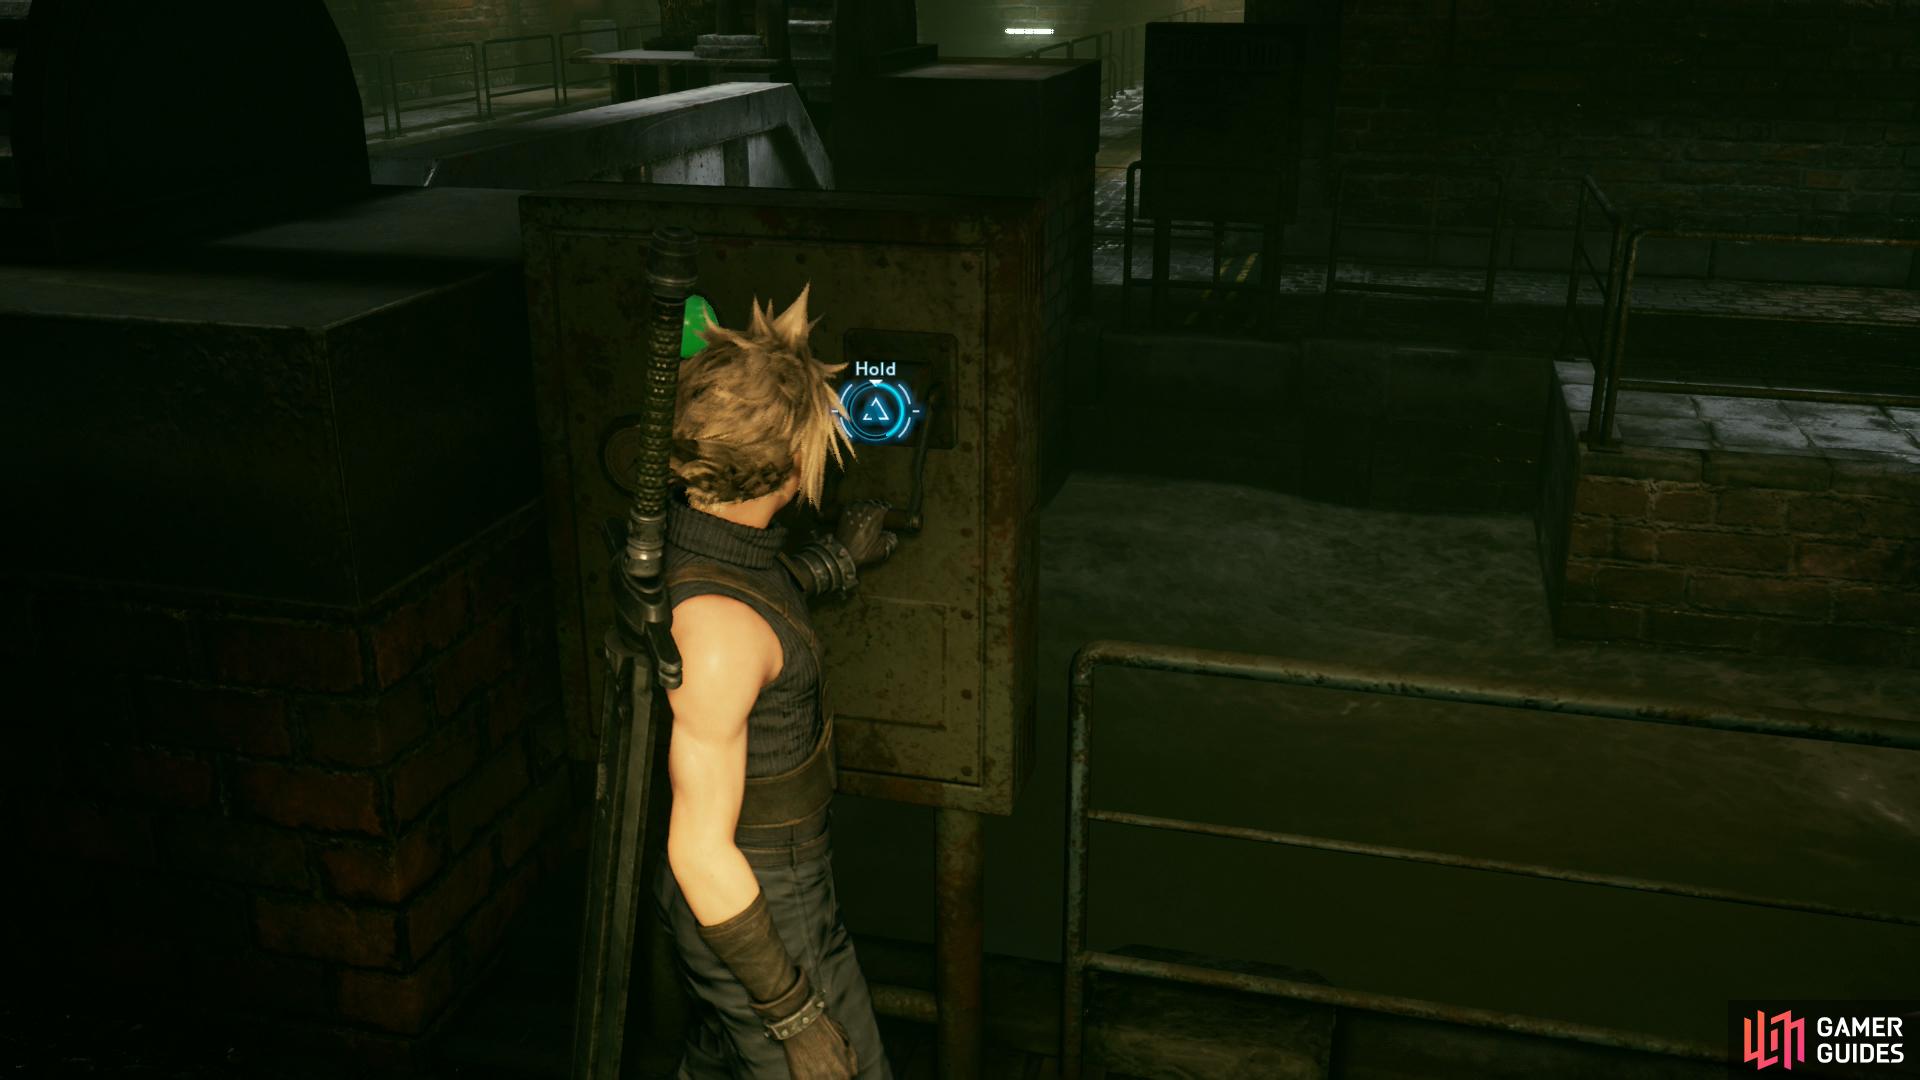
Dispatch the Sahagin - this was just a warmup bout - then continue west, pass a ladder, smash some Shinra Boxes, then backtrack to and climb up the ladder. Follow the girls east, loot a chest to score 2x Hi-Potions, then head down a tunnel to the north. Turn east and activate a sluice gate to drain the water, which is unsurprisingly one of this area’s “puzzle” mechanics. Continue west then north if you want to smash some more Shinra Boxes, then backtrack east, head down some stairs and turn west under the sluice gate you raised to find a chest containing Feathered Gloves - a new weapon for Tifa. Climb a ladder to the north and reunite with the girls near another control panel for the sluice gate, then follow them down a passage to the north.
’Lo and behold, a safe room. Use the rest bench to recover if you need to, then peruse the obligatory vending machine. Buy the 9. The Oppressed Music Disc, but otherwise everything this machine offers is standard fare.
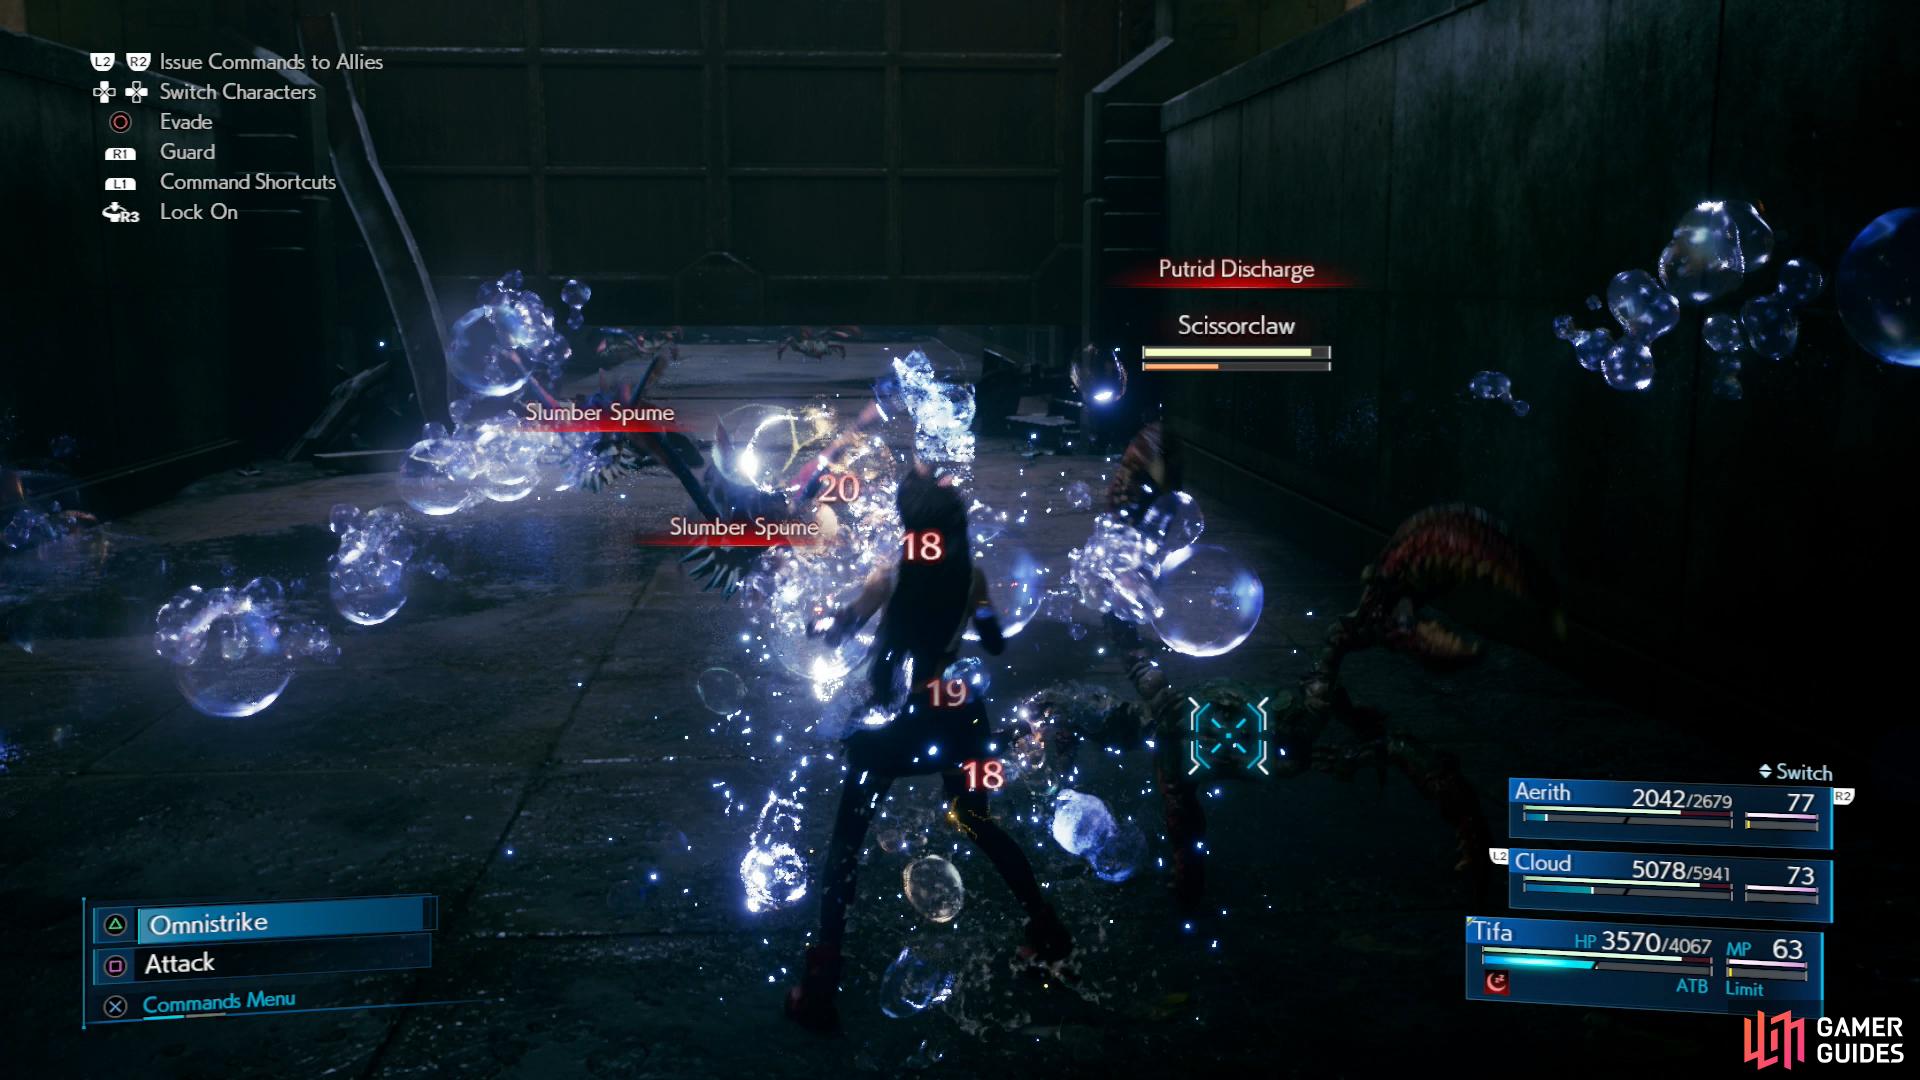
When you’re ready to move on, continue east, descend a ladder, then turn north to reach a chamber occupied by some Wererats, a foe which, hopefully, presents no difficulties to you any longer. The chamber to the west is empty, so follow the linear path west, then north to reach another large chamber occupied by two Wererats and a Scissorclaw. This odd crustacean is weak to ice and resilient to physical attacks, and has a tendency to block and counter frontal attacks. Hey! That’s Cloud’s thing! Defeat these enemies, then note that you can continue east then south to find some Shinra Boxes and a locked door, while continue through another door to the north will lead deeper into the sewers.
Go through the door along the northern wall of the room where you defeated the Scissorclaw and Wererats, climb a ladder, then continue north until you reach a small chamber with two doors leading out - one to the east and one to the west. It doesn’t matter which you pick right now, walk through the darkness down either route and when you reach a more well-lit room to the north, go through a door to the south, smash some Shinra Boxes, then flip a switch to witness a miracle.
Backtrack to the previously-darkened room to the west, open a sluice gate, climb down a ladder, loot a chest for 800 Gil then smash some Shinra Boxes. The eastern room now contains two Scissorclaws, but it can also be drained and the canal looted for a Key to the Sewers. We know what you’re thinking, but no, the key doesn’t open the locked door you encountered earlier. Instead, return to the room to the north of where you turned on the generator and open a door to the north with your newfound key, then follow the girls north to reach a large open chamber.
Tifa recognizes the area, and is confident that getting back to Sector 7 through here is possible, but possible and easy are two different things, and there are a lot of sluice gates between you and freedom.
| Enemy | Weaknesses | Notable Loot |
|---|---|---|
| Blugu | Ice | Spiderweb |
| Wererat | Ice | -- |
| Scissorclaw | Ice | -- |
| Sahagin | Fire | -- |
Crossing the Trunk Line
Note the green materia glowing belligerently across the gap to the north, then head down a walkway to the east. When you reach a larger platform, defeat a group of Wererats and a Blugu.
Defeat the monsters, then head north, turn west and climb down a ladder to reach lower ground near the canal. Head east and smash some Shinra Boxes, then pull a lever to drain the nearby canal. Below you you’ll spot two Blugu and a Scissorclaw, so be sure you’re ready to fight before you descend. After you defeat that group of foes, continue west through the raised sluice gate and dispatch another group of two Scissorclaws and a Blugu, then climb a ladder to the north and continue west to find another sluice gate switch. Flip it to close the nearby gate, then climb up a nearby ladder.
The path splits here (at least, it does if you lowered the gate below). First head up some stairs, through a gate, then turn east to find yourself on a platform with that taunting green materia you spotted earlier. Pick it up to obtain an orb of Poison Materia, smash some Shinra Boxes nearby, then return through the gate and down stairs to the top of the sluice gate. If you lowered the gate earlier, you can have Cloud balance his away across the top of the gate to reach a small platform. Do so, climb down a ladder, smash some Shinra Boxes, then descend down another ladder to reach the canal, where a Sahagin dwells. Dispatch it, climb a ladder to the north, smash some Shinra Boxes to the east, then flip another sluice gate lever to the west to create a floating bridge.
To the Sector 7 Slums
Cross the bridge and after some scenes, climb a ladder, head east and watch some more scenes. Now that you’re across the canal, head north through a door and down the hallway beyond. Pass through a room, turn east, smash some Shinra Boxes in another room, then turn north again to reach a room with a rest bench and a vending machine. Rest up, then continue north and west, climb down a ladder, turn south, then enter a large octagonal chamber.
Here the path splits. Head south into another large octagonal chamber, kill a group of Wererats, then loot a chest to the south to score 2x Orbs of Gravity before returning to the northern octagonal room and heading west. Climb a ladder, turn north, slide around some pipe, then continue into a chamber occupied by a pair of Scissorclaws. Kill them, turn west, climb down another ladder, then continue south.
Another large octagonal chamber, another fork. Continue south, smash some Shinra Boxes, backtrack north to the octagonal chamber, then turn west and climb another ladder to reach yet another fork. Oof. Lots of interconnected rooms head, if you go south you’ll run into a Blugu and some Wererats, while if you head north you’ll encounter a Blugu, Wererats and a Scissorclaw. Either way, you’ll need to head west next and climb down a ladder, so pick your poison… or kill them all for that sweet, sweet XP and AP!
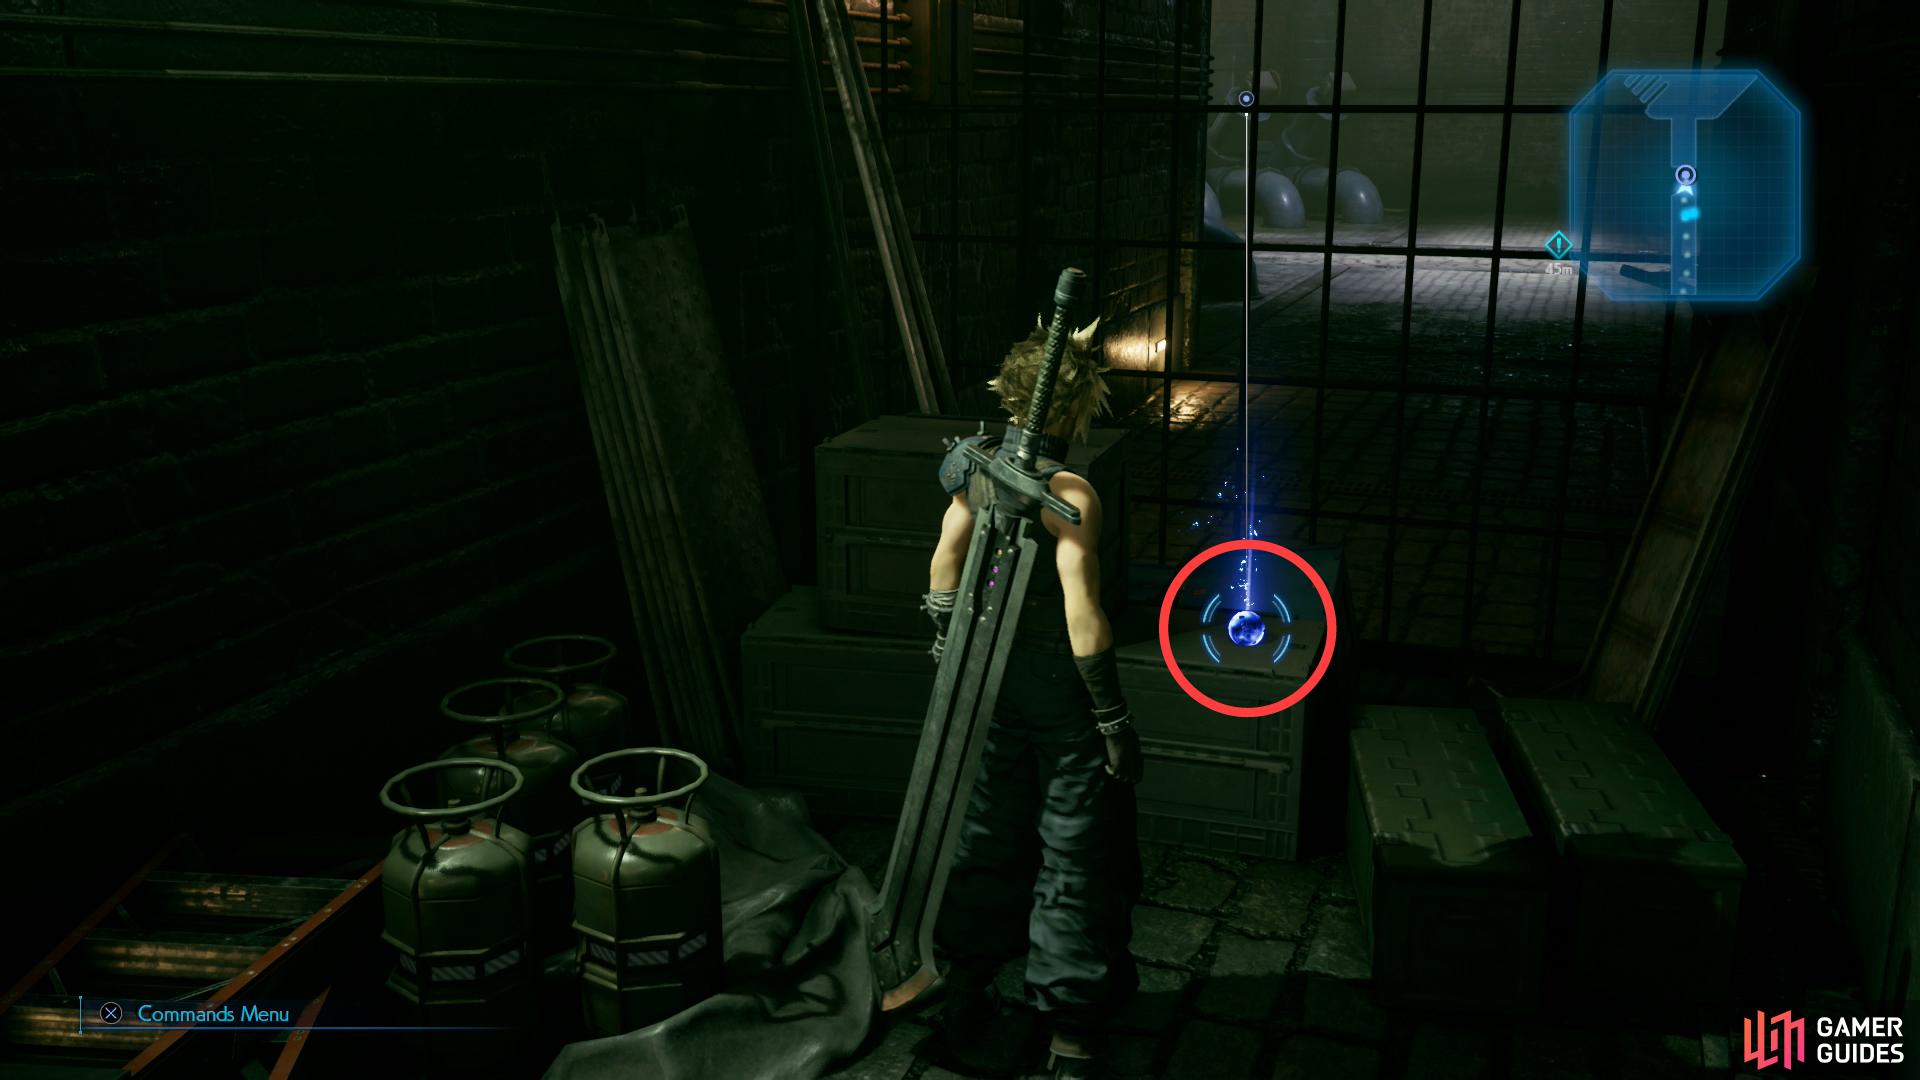
Take another detour to obtain an even more useful bit of materia - some Warding Materia.
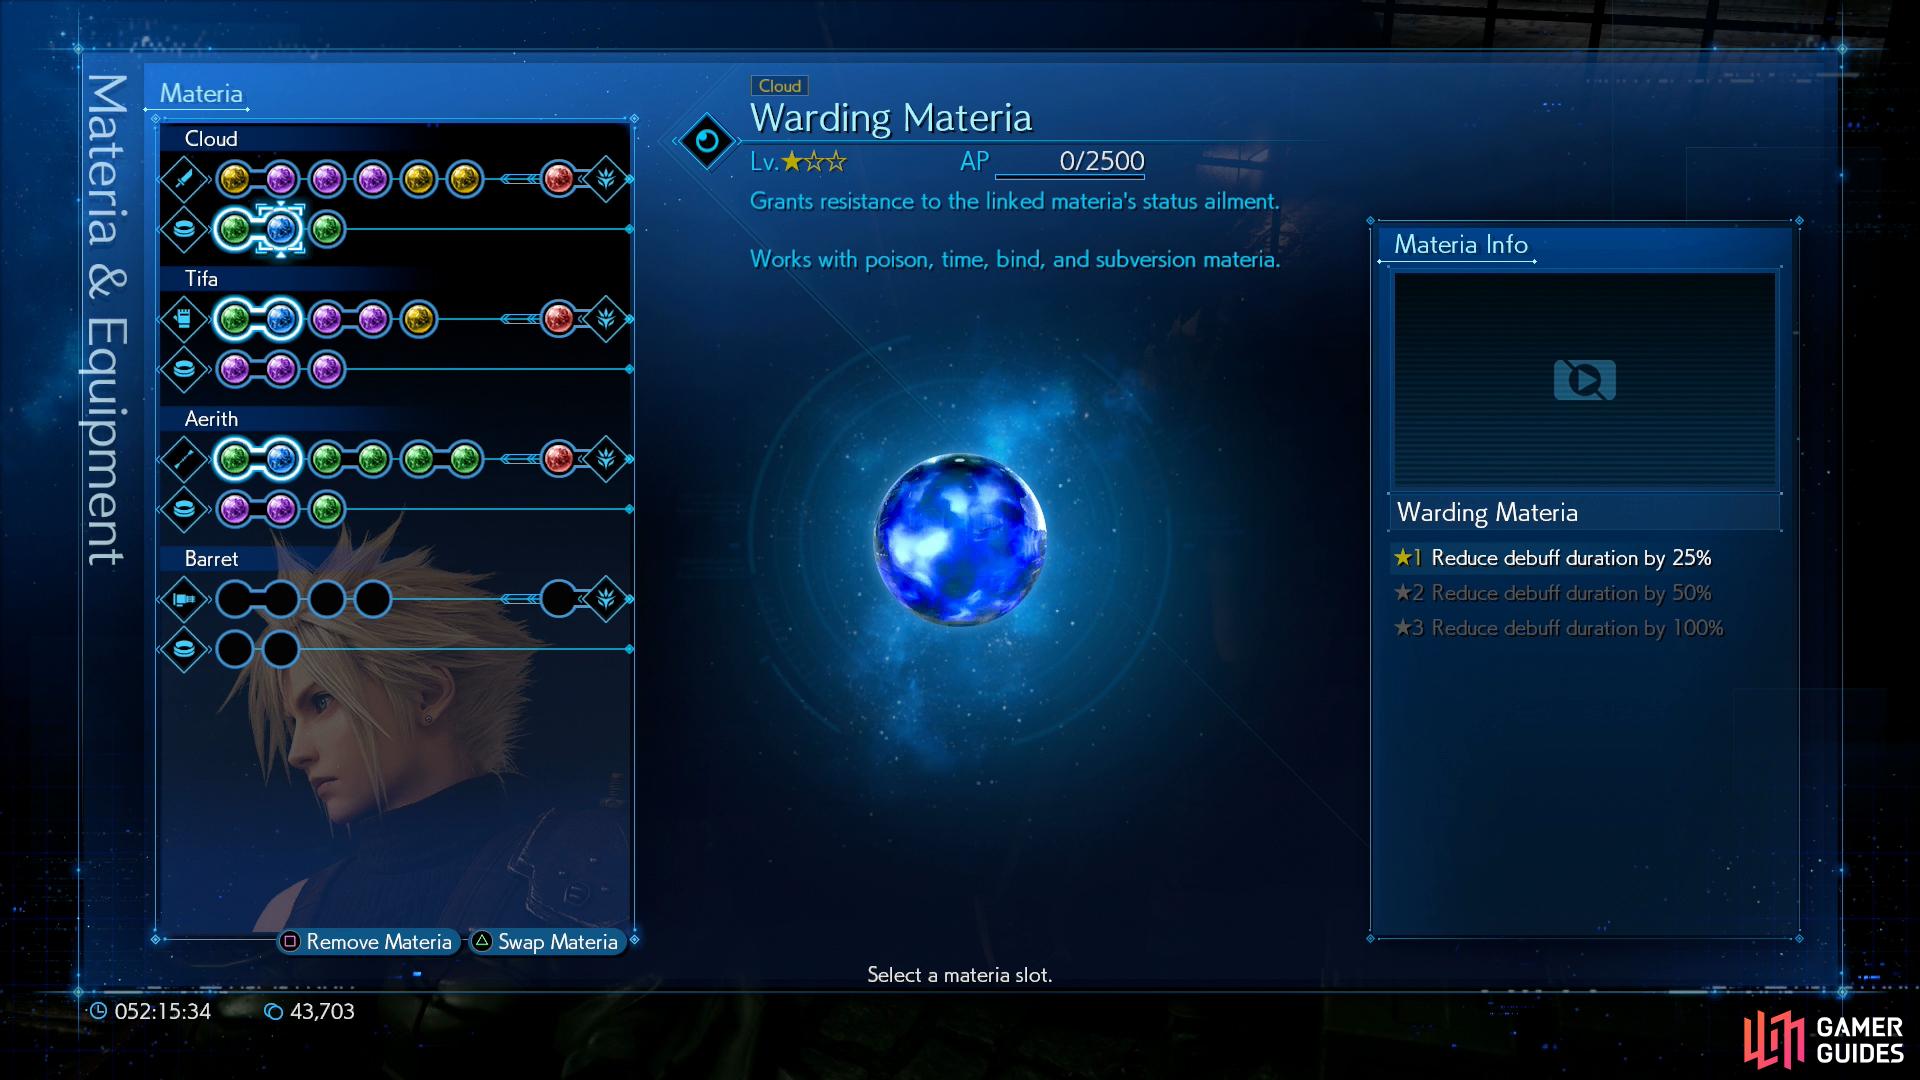
When linked with another materia it can give its user resistance to debuffs.
Seriously though, if you go north first you’ll be on your way to the exit, but treasure awaits to the south, so head south first, dispatch the aforementioned foes, then descend a ladder to the west. Once down the ladder, turn north to find a hunk of blue materia waiting for you. Grab this orb Warding Materia and you’ll complete the Discovery: On the Other Side event.
Warding Materia is very similar to Elemental Materia, save that it protects against debuffs on paired materia. For example, if you pair Binding Materia with Warding Materia, the equipped character will gain resistance to the effects on the Binding Materia - Sleep, Silence and Berserk (these spells don’t actually have to be unlocked for you to gain this bonus). At first the bonuses are fairly paltry, giving a debuff duration reduction of 25% at level one, 50% at level two and 100% at level three… in other words, immunity to said debuffs. This materia will give you more flexibility when it comes to protecting against debuffs and free up your accessory slot for other things. Plus, the fact that you can just pop out paired materia to change the effect while being able to use said materia to cast spell is just… well, it’s good stuff. Equip it to start gaining AP.
Make your way south through an an octagonal chamber, climb a ladder to the east to reach another, smaller chamber and dispatch a long Sahagin. Once done, turn north, smash a pile of Shinra Boxes, then loot a chest to score some Revival Earrings.
Backtrack east to the original fork between the two Blugu-occupied chambers and this time head north, dispatch the foes in the chamber ahead, then turn west and climb down a ladder. Continue west through a barren room, climb a ladder and go through a door to the west. Smash some Shinra Boxes in the room beyond, then follow a passage south, then west through another door.
![After opening the valve, mash [CROSS] with Tifa,](/assets/guides/179/ff7r_c10_pressure_mash.jpg)
To the Surface
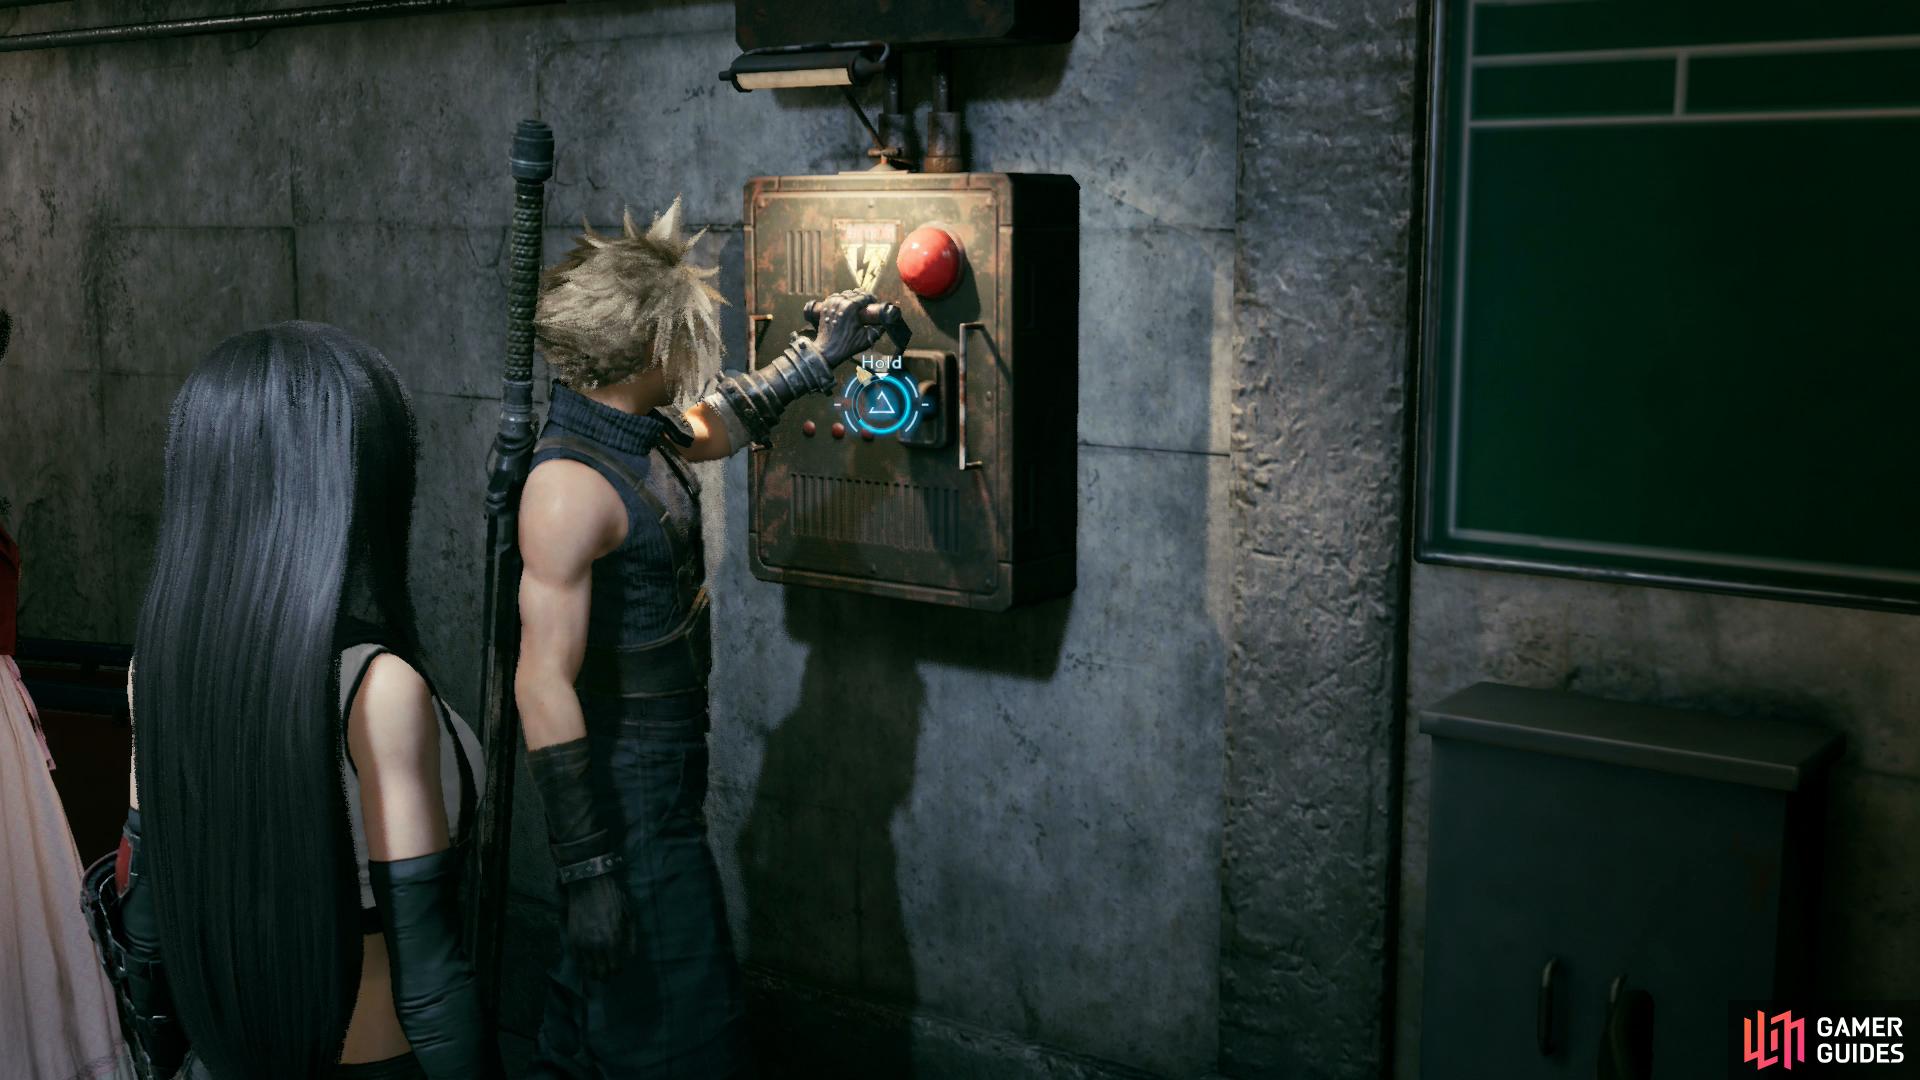
The exit is in sight, all that’s between you and open skies is… well, that damn pizza overhead… but before that, a bunch of water. Head north and smash some Shinra Boxes, then turn west, climb some stairs and enter a control room, where another lever awaits. Pull it, and, unfortunately, there will be a complication. Since Tifa claims to know what she’s doing, Cloud will be left behind in the control room, while Aerith (whom you now control) will go to operate a number of hand pumps.
Operate the pump near Tifa and you’ll start… another minigame. Almost went a whole chapter without one. Ah well, this one’s not too bad, when the event begins, press up on the [LEFT ANALOG] stick with Aerith, then after a moment you’ll get a prompt to start mashing [CROSS]. Doing this will expand the red target area on the gauge - the more you mash [CROSS] the bigger the target area will get - and with Tifa is done the be ready to press down on the [LEFT ANALOG] with Aerith, as the pointer on the gauge will swing back up. Your job is to stop the pointer on the red target area. Subsequent attempts will result in the red target area’s size increasing, so it’ll get easier the more you fail. Do this three times, then return to Cloud and pull the lever to drain the water.
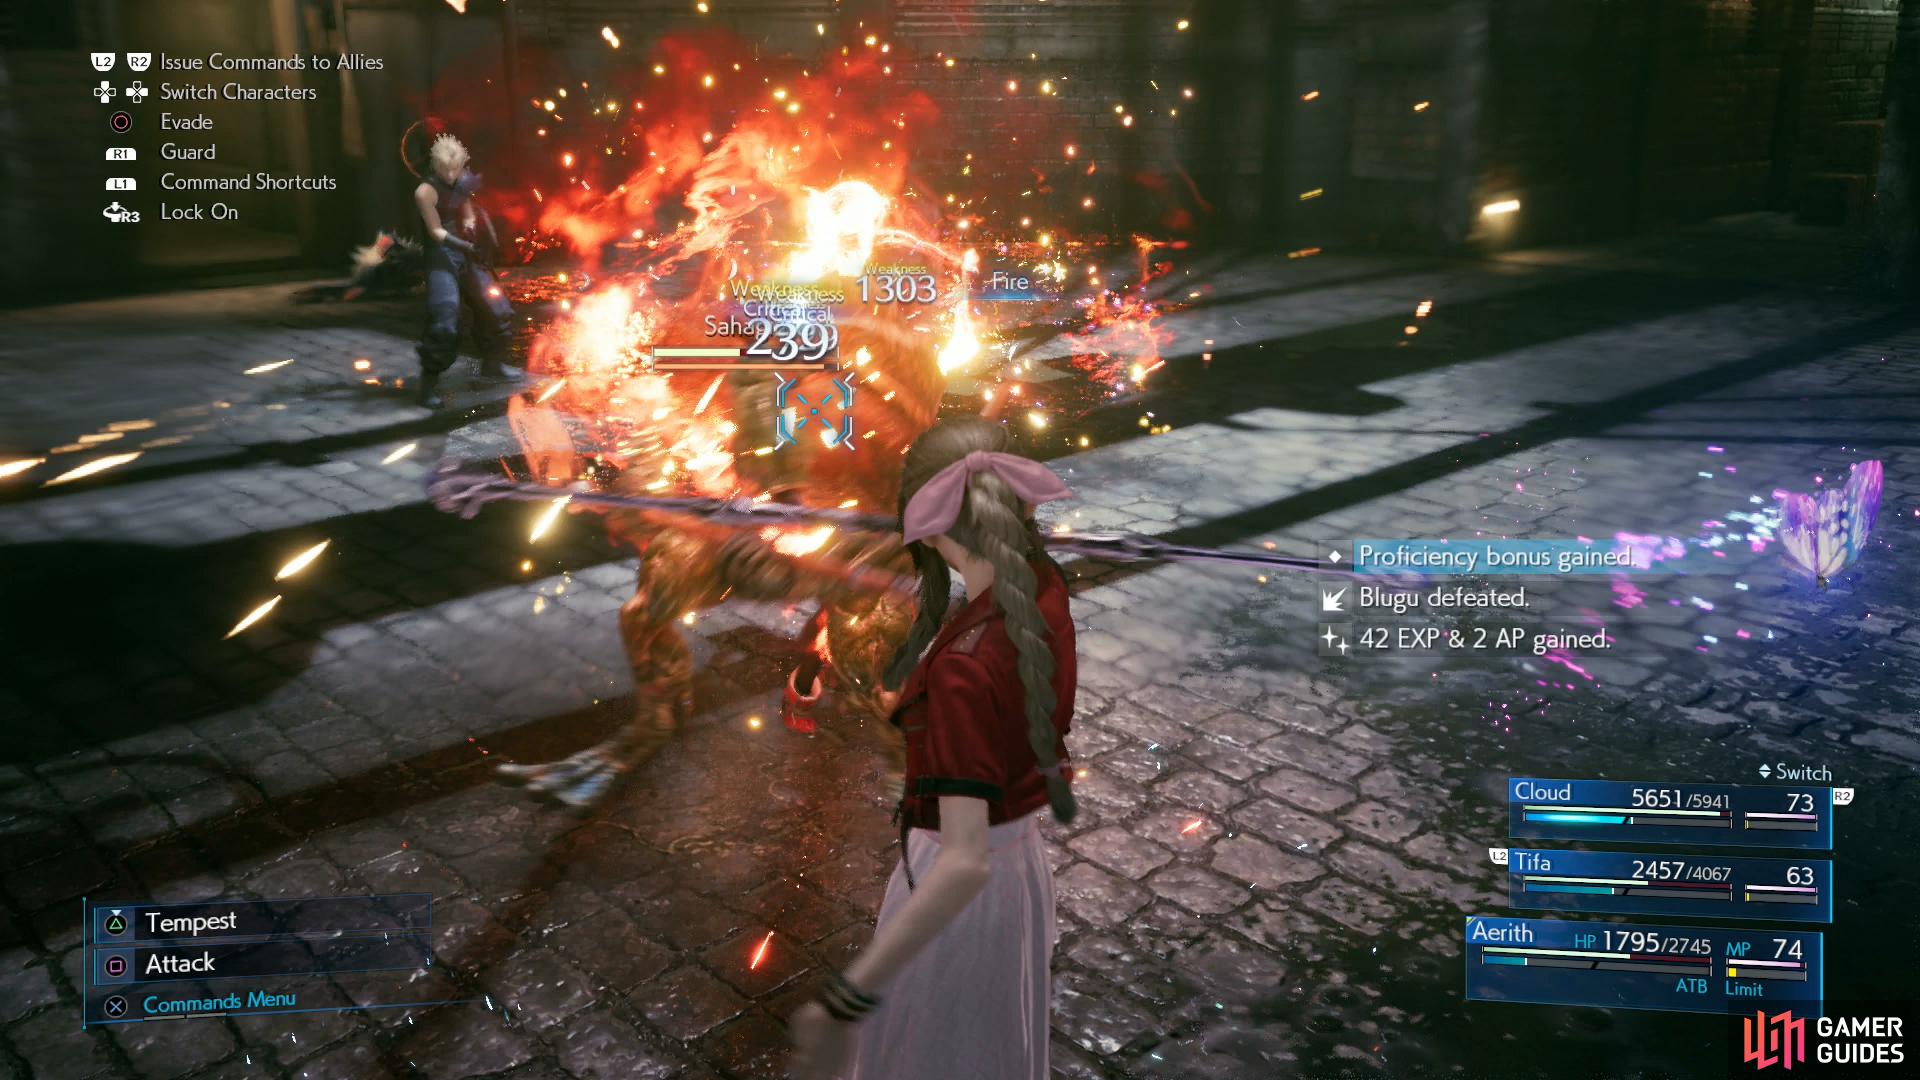
Now back in control of Cloud, consider equipping Fire Materia + Magnify Materia on a character, then leave the control room and dispatch two Sahagin, who are presumably not thrilled you drained the water. The aforementioned Fire + Magnify combo will come in handy for this and upcoming fights. Climb down a ladder and defeat another Sahagin and two Blugus, smash some Shinra Boxes scattered around as you work your way south, climb another ladder and kill a trio of Sahagin. Very, very big flex for Fire + Magnify here.
Defeat any sewer-dweller that challenges you, then continue north to reach a ladder. Watch some scenes and that’ll be the end of Chapter 10, obtaining the Sewer Survivor Trophy in the process.
No Comments