

The chapter will begin with Cloud having a bit of a mental episode - an all too common occurrence - which is interrupted by the mysterious “man in black” who seems to occupy a prominent spot in Cloud’s subconscious.

| Enemy | Weaknesses | Notable Loot |
|---|---|---|
| Security Officer | Fire | -- |
| Elite Security Officer | Fire | -- |
Second Chance Meeting
Cloud will be interrupted from his latest bout of mental turbulence by the flower girl you met back in Chapter 2, and fortunately you’ll be given a chance to save your game and generally fiddle around in your menu before continuing your conversation. Do what you wish (might be time to give that new Titanium Bangle a home) and when you’re ready, talk to the flower girl - Aerith - again.
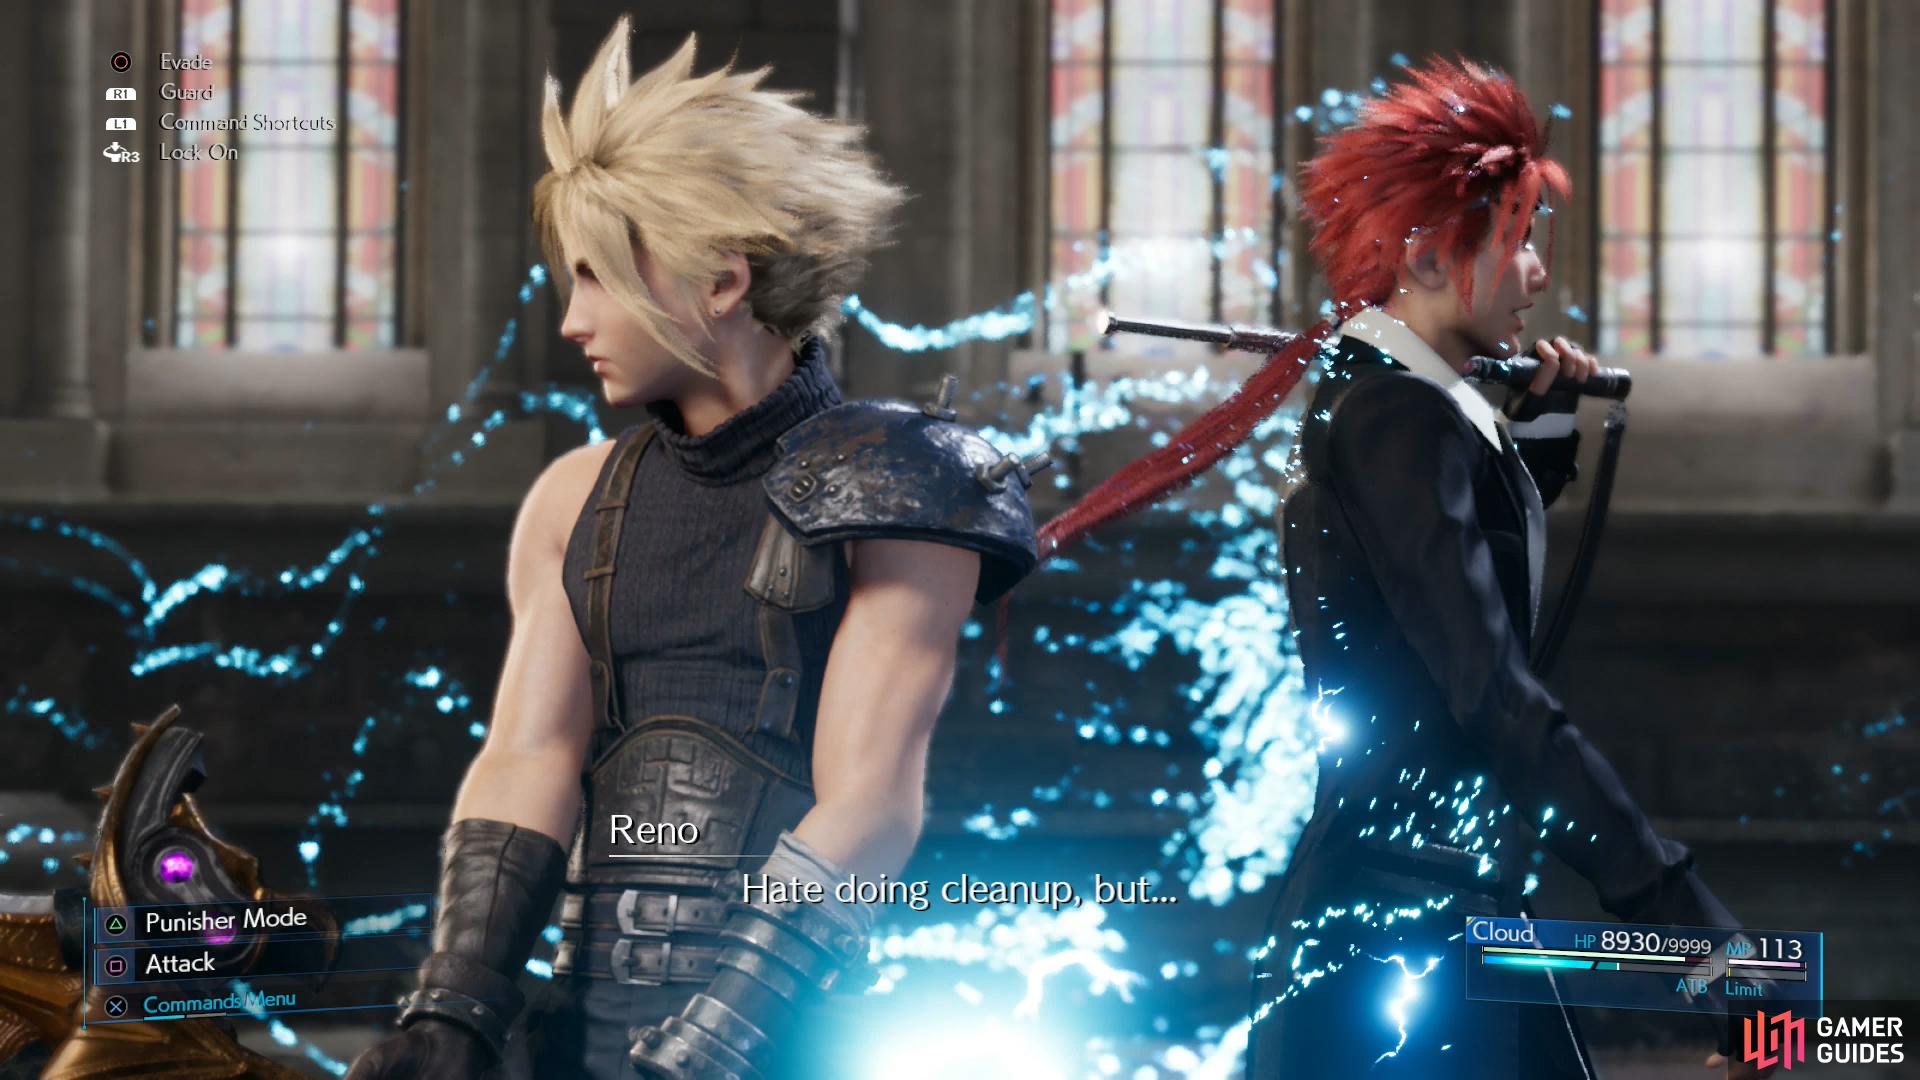
After a bit more chatter, you’ll be bothered by some unexpected arrivals, and before long Cloud will find himself battling two Security Officers and an Elite Security Officer. You should be familiar with these foes enough not to need much instruction, although they are the strongest variants you’ve faced yet. Defeat them, then another trio of enemies will appear, and after they’re defeated you’ll find yourself fighting Reno.
Boss: Reno
| Enemy | Weaknesses | Notable Loot |
|---|---|---|
| Reno | -- | -- |
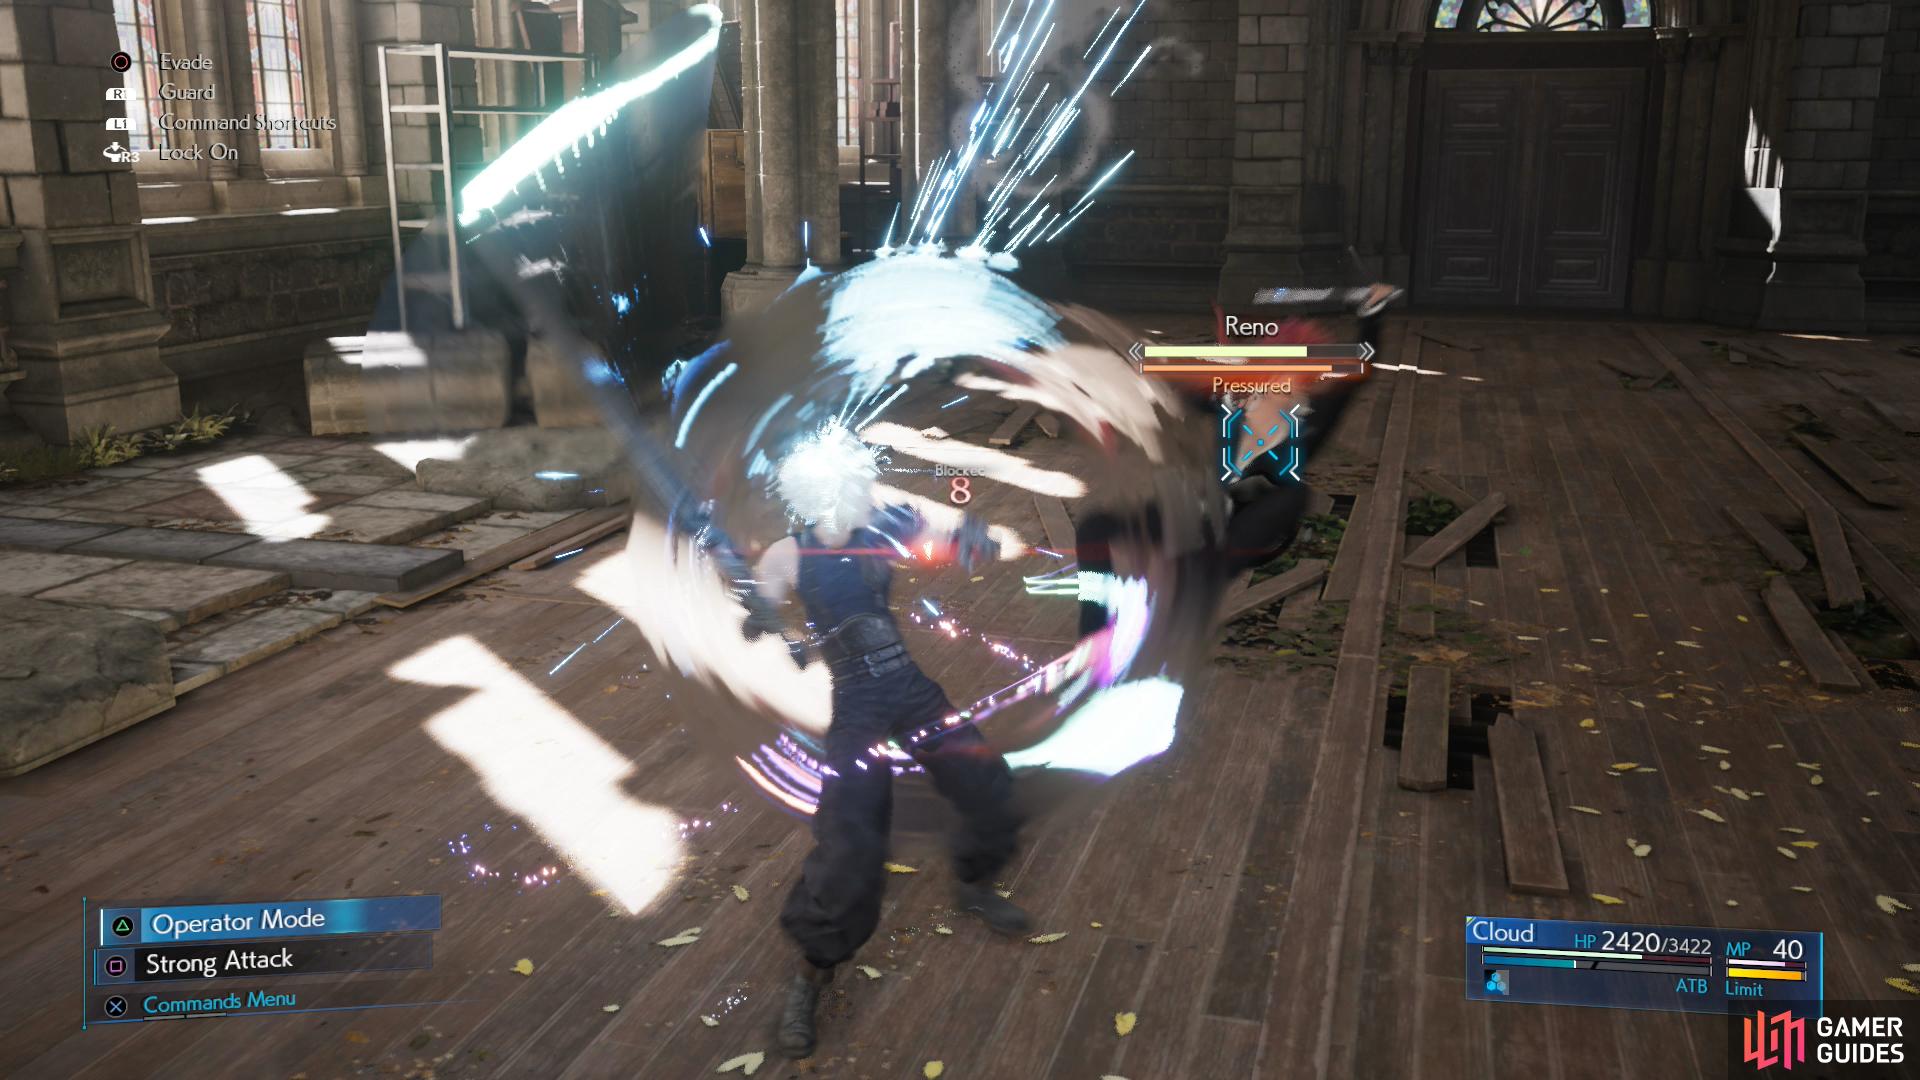
(1 of 5) Reno, despite his acrobatics, can be countered with Punisher mode easily enough.
SOLDIERs clearly don’t have a monopoly on superhuman combat prowess, as Reno - a member of the Turks - will demonstrate. While he doesn’t deal a tremendous amount of damage, he attacks fast, and his acrobatics can make him somewhat hard to attack at times. Unfortunately for Reno, he lives and dies largely on his melee prowess, and while he has a variety of lightning attacks (most of which he won’t use) any attempts to engage Cloud in melee can be blocked and countered via Punisher mode. Roll in close, switch to Punisher mode, block-and-counter, then punish him with Focused Thrust until he’s Staggered, after which use Braver to deal damage.
Once he’s down to 50% of his HP he’ll deploy six EM Mines, which largely just float around and discharge electricity. As long as you don’t go in their midst and just perform opportunistic hit-and-run attacks with Triple Slash to thin their numbers you’ll be fine. They can’t withstand a lot of punishment, nor do they move very fast, they do cut off the battlefield and serve as distractions for Reno. Defeat the EM Mines, then renew your assault on Reno - the second phase of this fight should play out much like the first, counterattack with Punisher mode, Stagger with Focused Thrust, then use Braver to secure the victory.
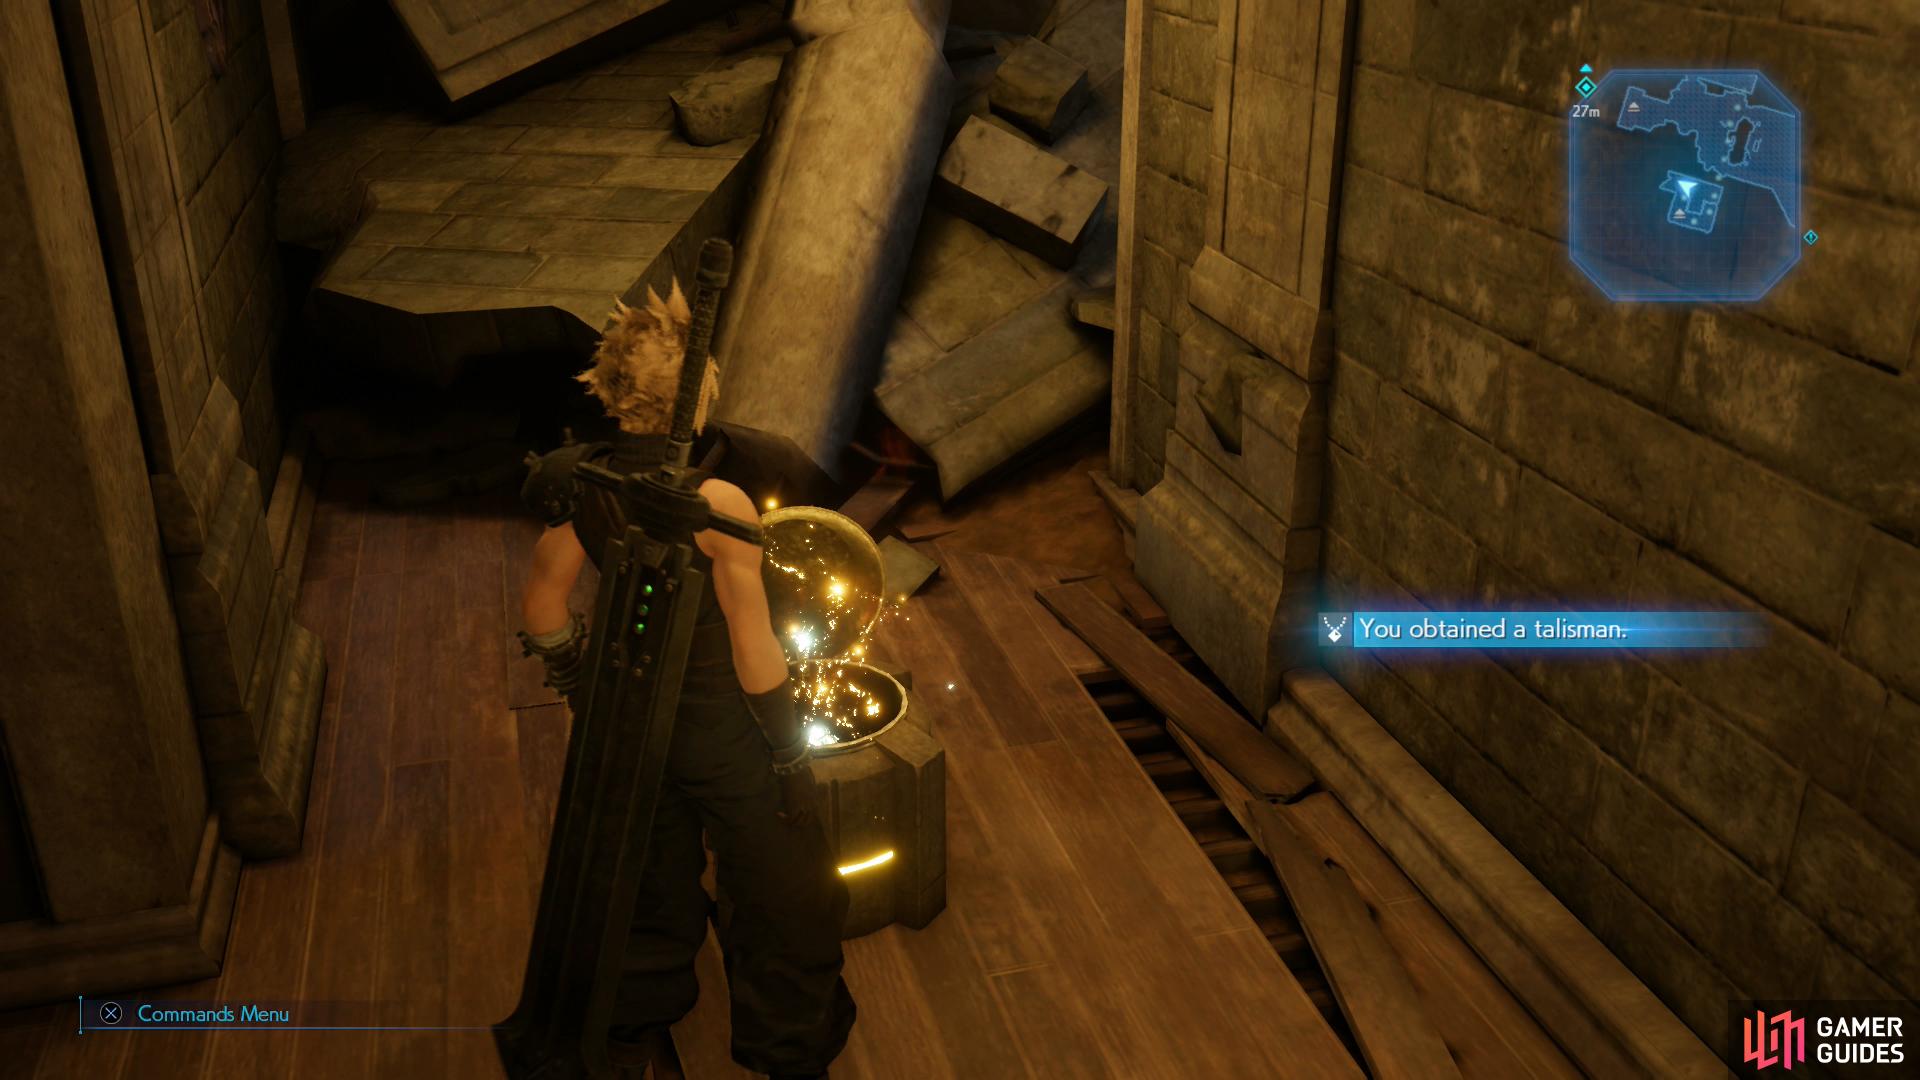
As you flee through the church, grab a Talisman.
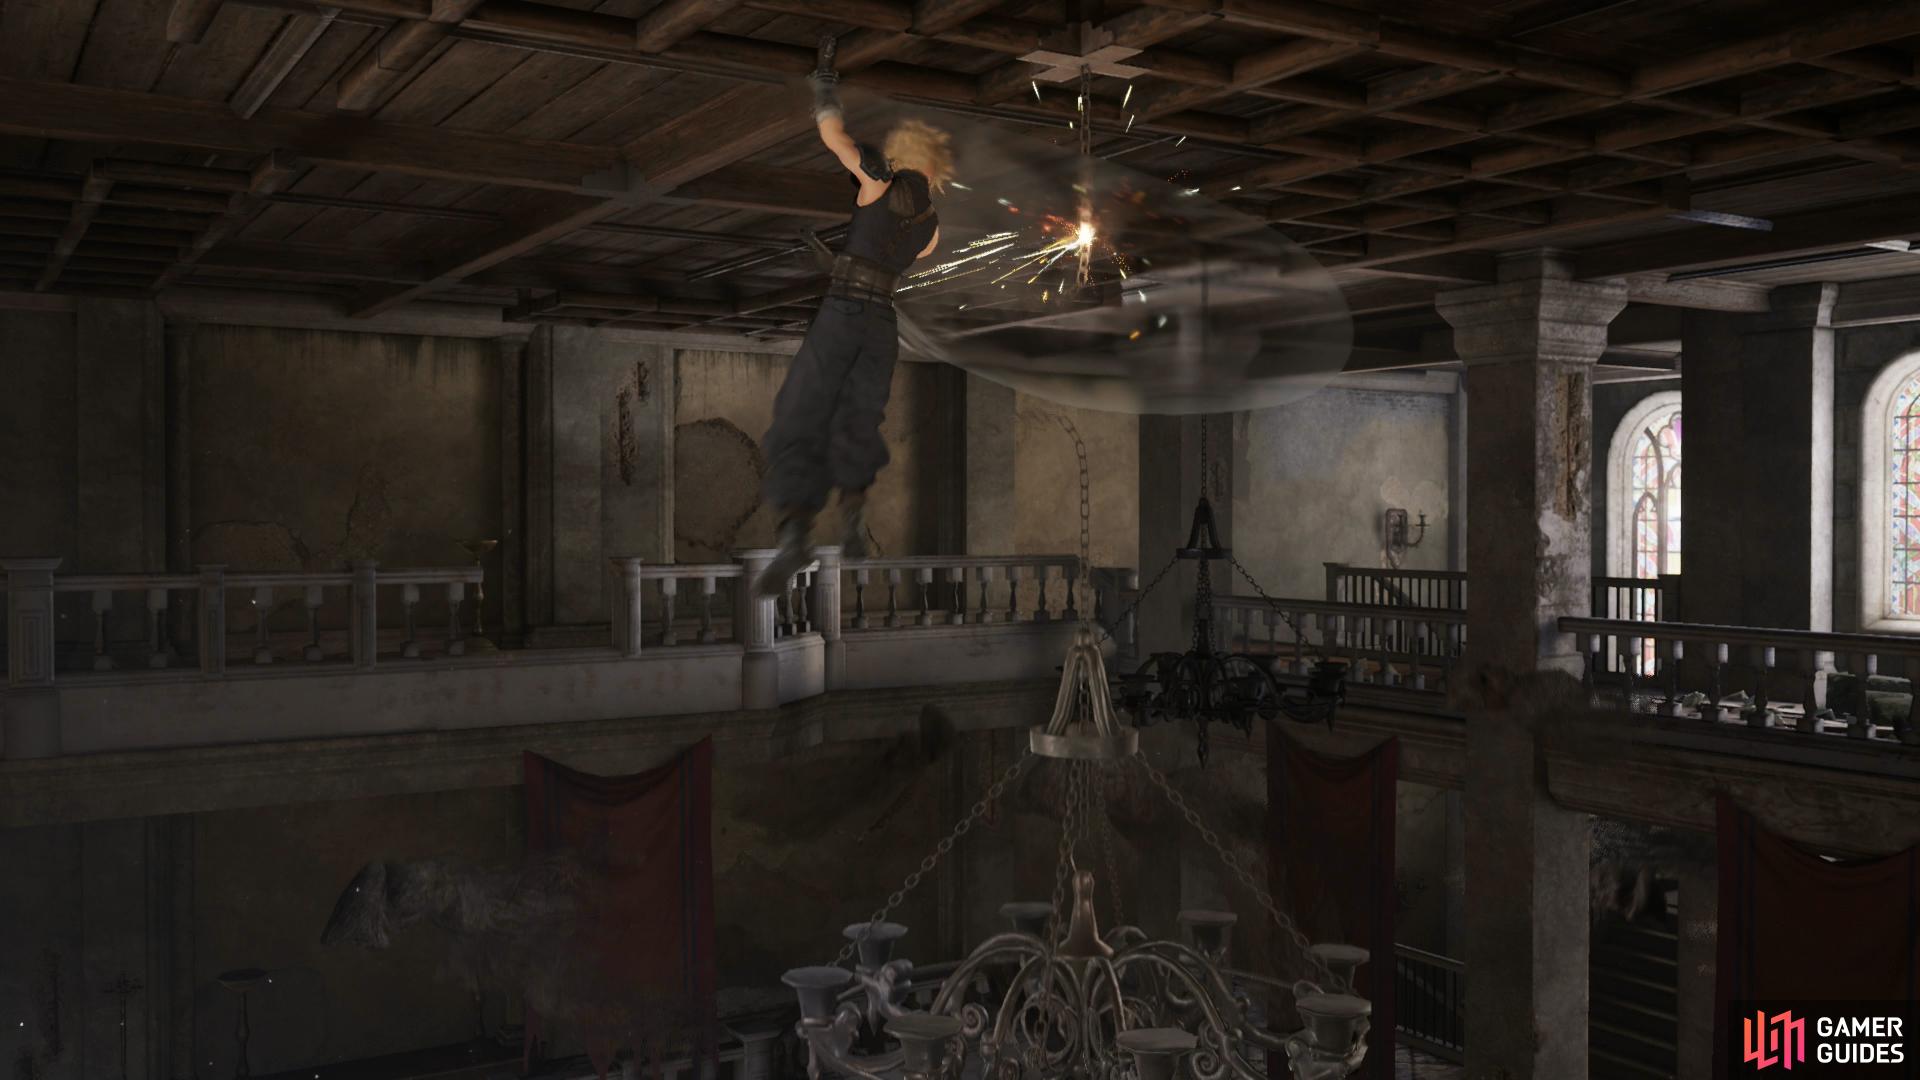
Help Aerith out of a bind by cutting down a chandelier.
Escape from the Church
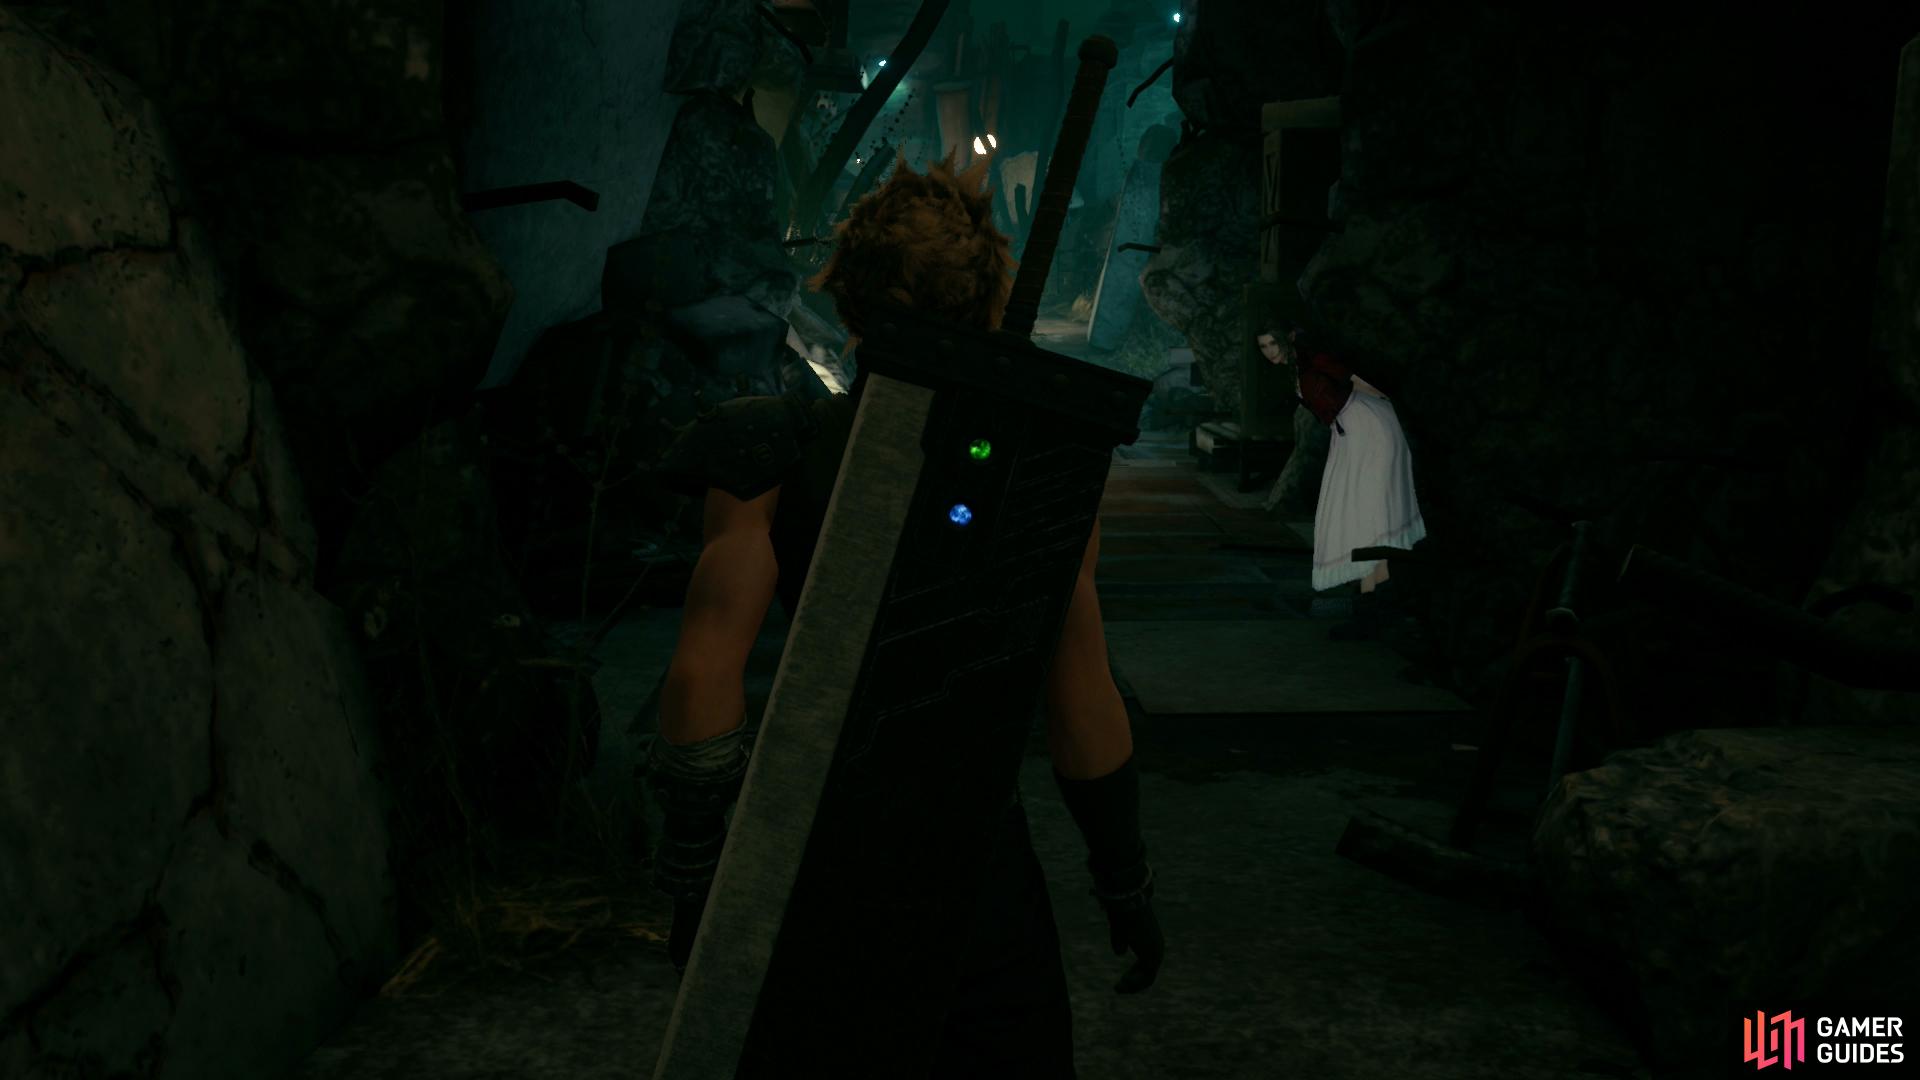
After some more scenes you and the flower girl will find yourselves in the back part of the church. Follow Aerith up some stairs to the northwest, then work your way around to the southeast - not that the spirits will let you go off the ordained path. Reunite with Aerith, and after a ghost saves her from her own clumsiness, continue southwest and head down some stairs to find a chest containing a Talisman, one of the few items you’re able to go out of your way to get right now.
Continue upstairs and cross a board, which will prompt some scenes. Lazy ghosts, where were you then?! Oh well. Aerith finds herself in a bit of a pinch, so it’s Cloud to the rescue again. This better be one hell of a date…
Head to the designated spot by the broken railing and climb onto the ceiling. From here you’ve got to work your way towards the central chandelier, so start out by heading left, then forward and finally right, pressing [TRIANGLE] to send the chandelier crashing to the floor below. Once that’s done, continue climbing right, north, then left to reach the opposite end of the level where you’ll reunite with Aerith. The soldiers below may eventually end up taking pot shots at you, but their damage output is too trivial to cause Cloud any significant harm.
Grab some treasure as you make your way across the rooftops.
When Aerith joins your party, be sure to upgrade her weapon.
Follow Aerith around the top floor, push a cabinet out of the way, then continue to a ladder on the northwestern edge of the building. After some more scenes you’ll find yourself in the attic. Follow the linear path through the attic and when you reach a fork (shortly before Aerith runs ahead) head northeast to find a chest containing some Smelling Salts.
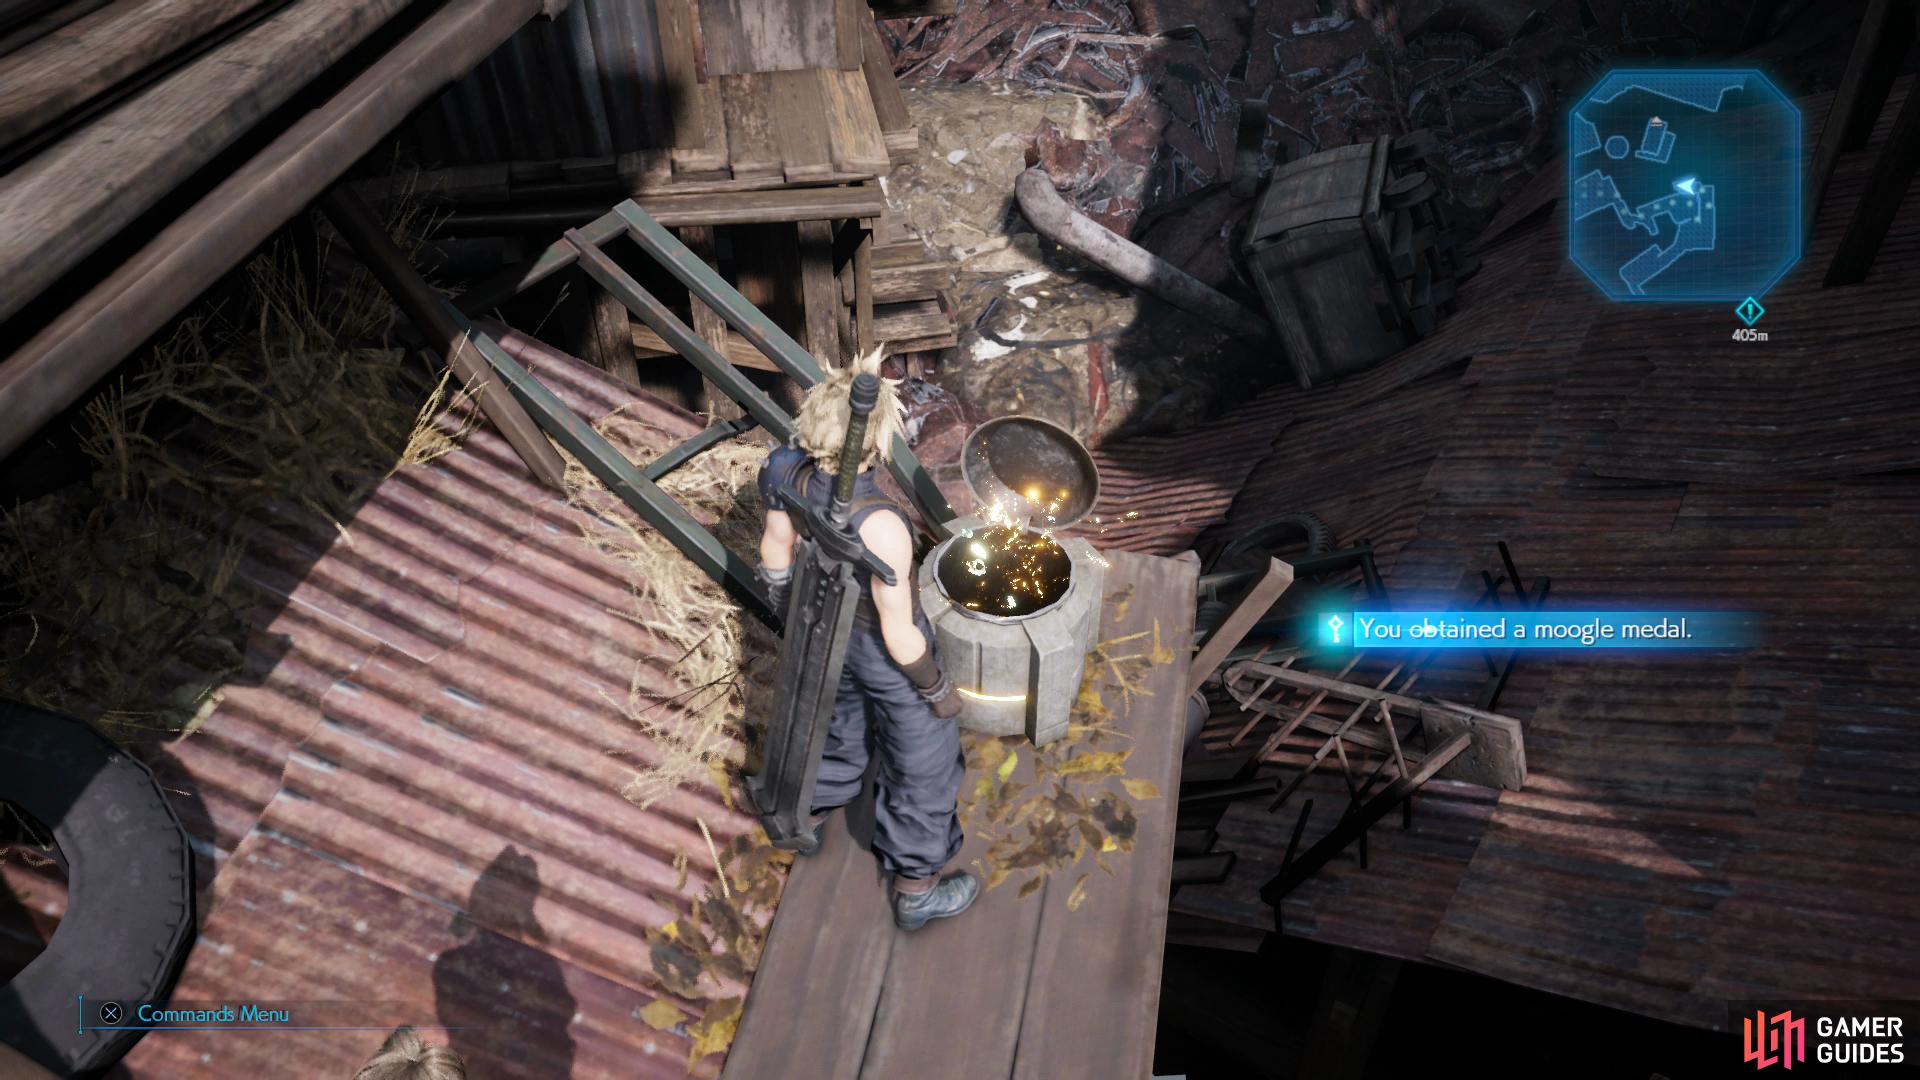
Continue following Aerith and you’ll find yourselves outside, where you’ll need to make your way across the relatively linear rooftops. After you find yourself crossing a wooden plank (heading east) connecting two rusty rooftops work your way down to the north to find a chest containing a Moogle Medal. Another treasure can be found later on: after you climb a fairly long ladder to reach some tracks overgrown with dried grass turn northwest to find a chest containing an Ether.
Head for the Station
| Enemy | Weaknesses | Notable Loot |
|---|---|---|
| Hedgehog Pie | Ice | -- |
| Wererat | Ice | -- |
| Gorger | Ice | -- |
| Smogger | Lightning | -- |
After climbing an untrustworthy ladder you’ll slide down to the ground, where Aerith will finally join your party. Unlike most characters she doesn’t quite match your level, instead joining at level seventeen. Be sure to upgrade her weapon when she joins - she’s got another materia slot just sitting there, waiting for you to spend the SP to acquire it. Otherwise she starts with a Mythril Armlet (two joined slots) and some Ice Materia, Prayer Materia and Refocus Materia - a materia exclusive to the Remake.
Refocus Materia will allow a character to use the Refocus limit, which splits their ATB bar into three segments. Their ATB growth rate seems largely unaffected, however, which ultimately means this limit will allow a character to accumulate ATB segments 50% faster - a significant boon, albeit one lost on lesser enemies.
When all your gear is in order, it’s time to head to the station, which is a fairly lengthy - if largely uneventful - trek to the south. Along the way you’ll have to kill a new foe - a Hedgehog Pie - which is weak to ice, otherwise being an unremarkable foe. Another encounter shortly thereafter involves a Wererat and another Hedgehog Pie. Defeat these trivial foes and at the end of the path turn east and go through a fence.
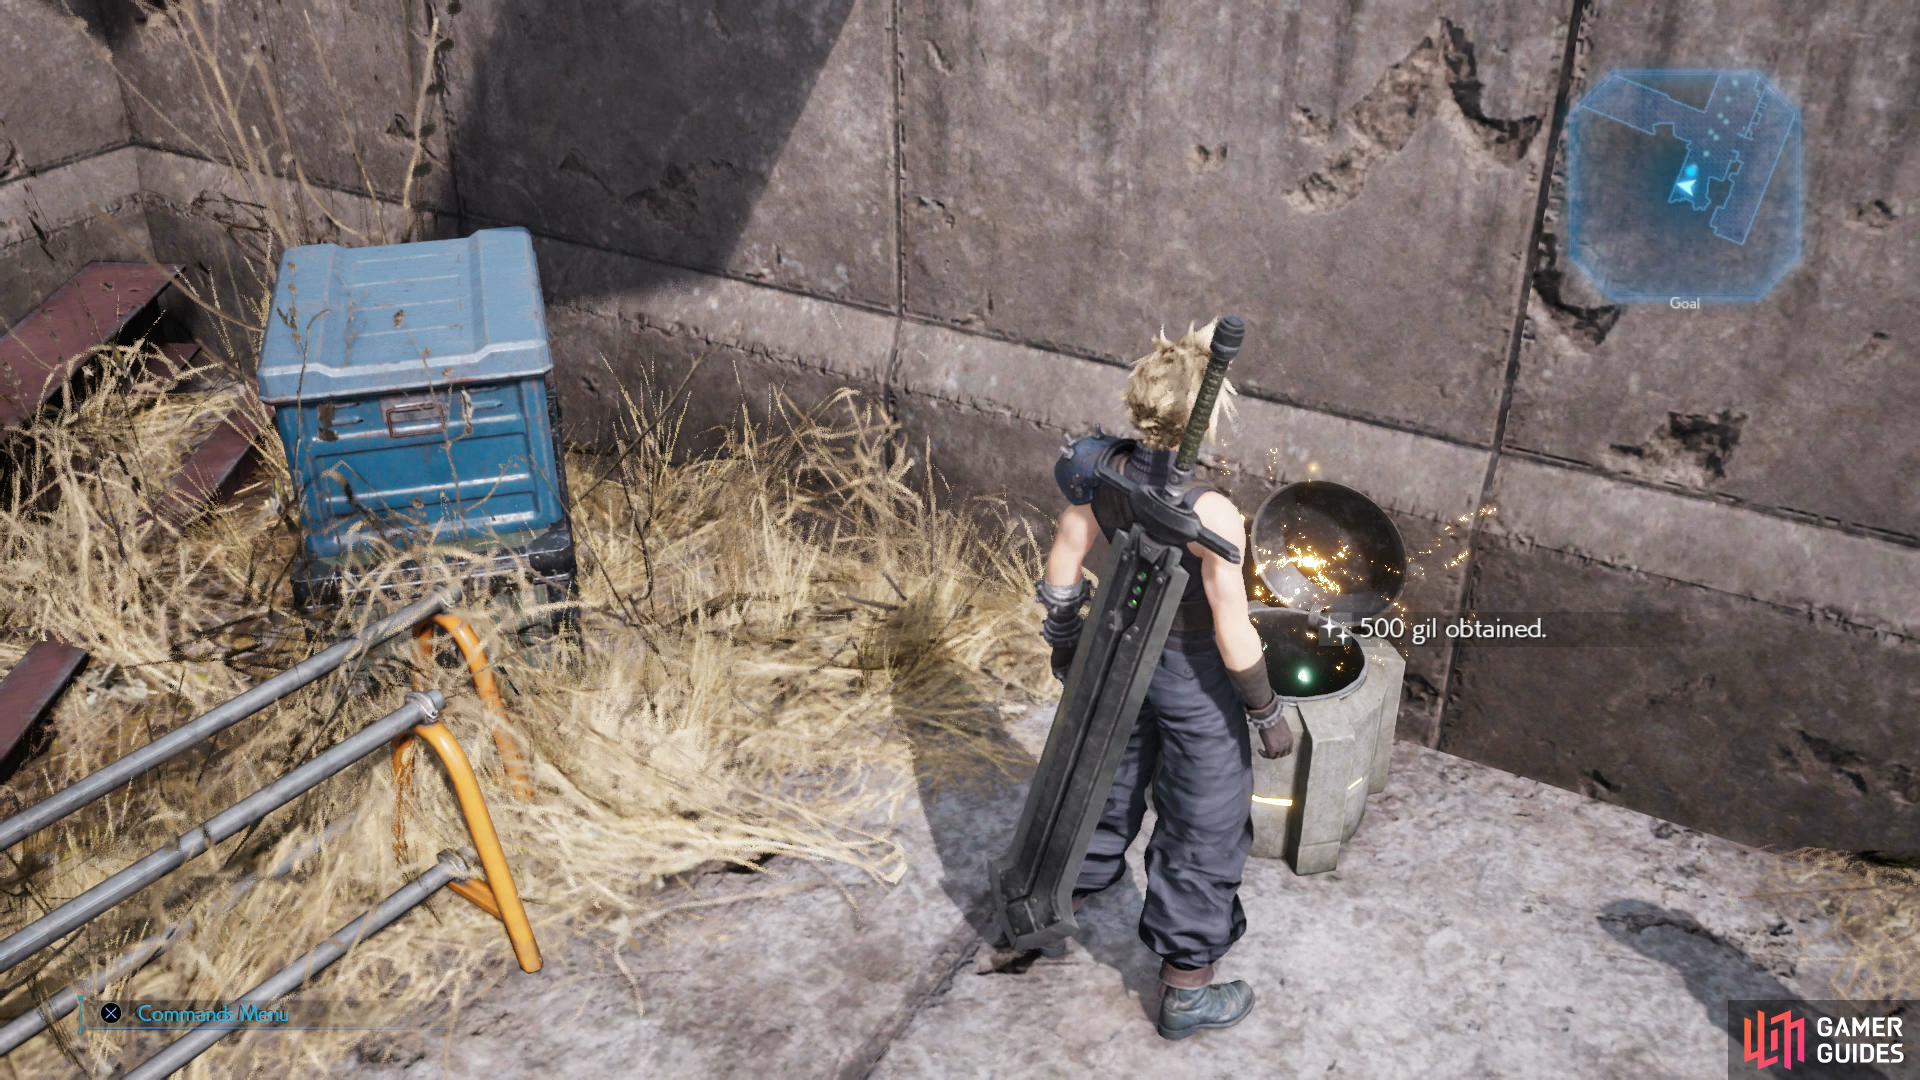
At the station, loot a chest for 500 Gil,
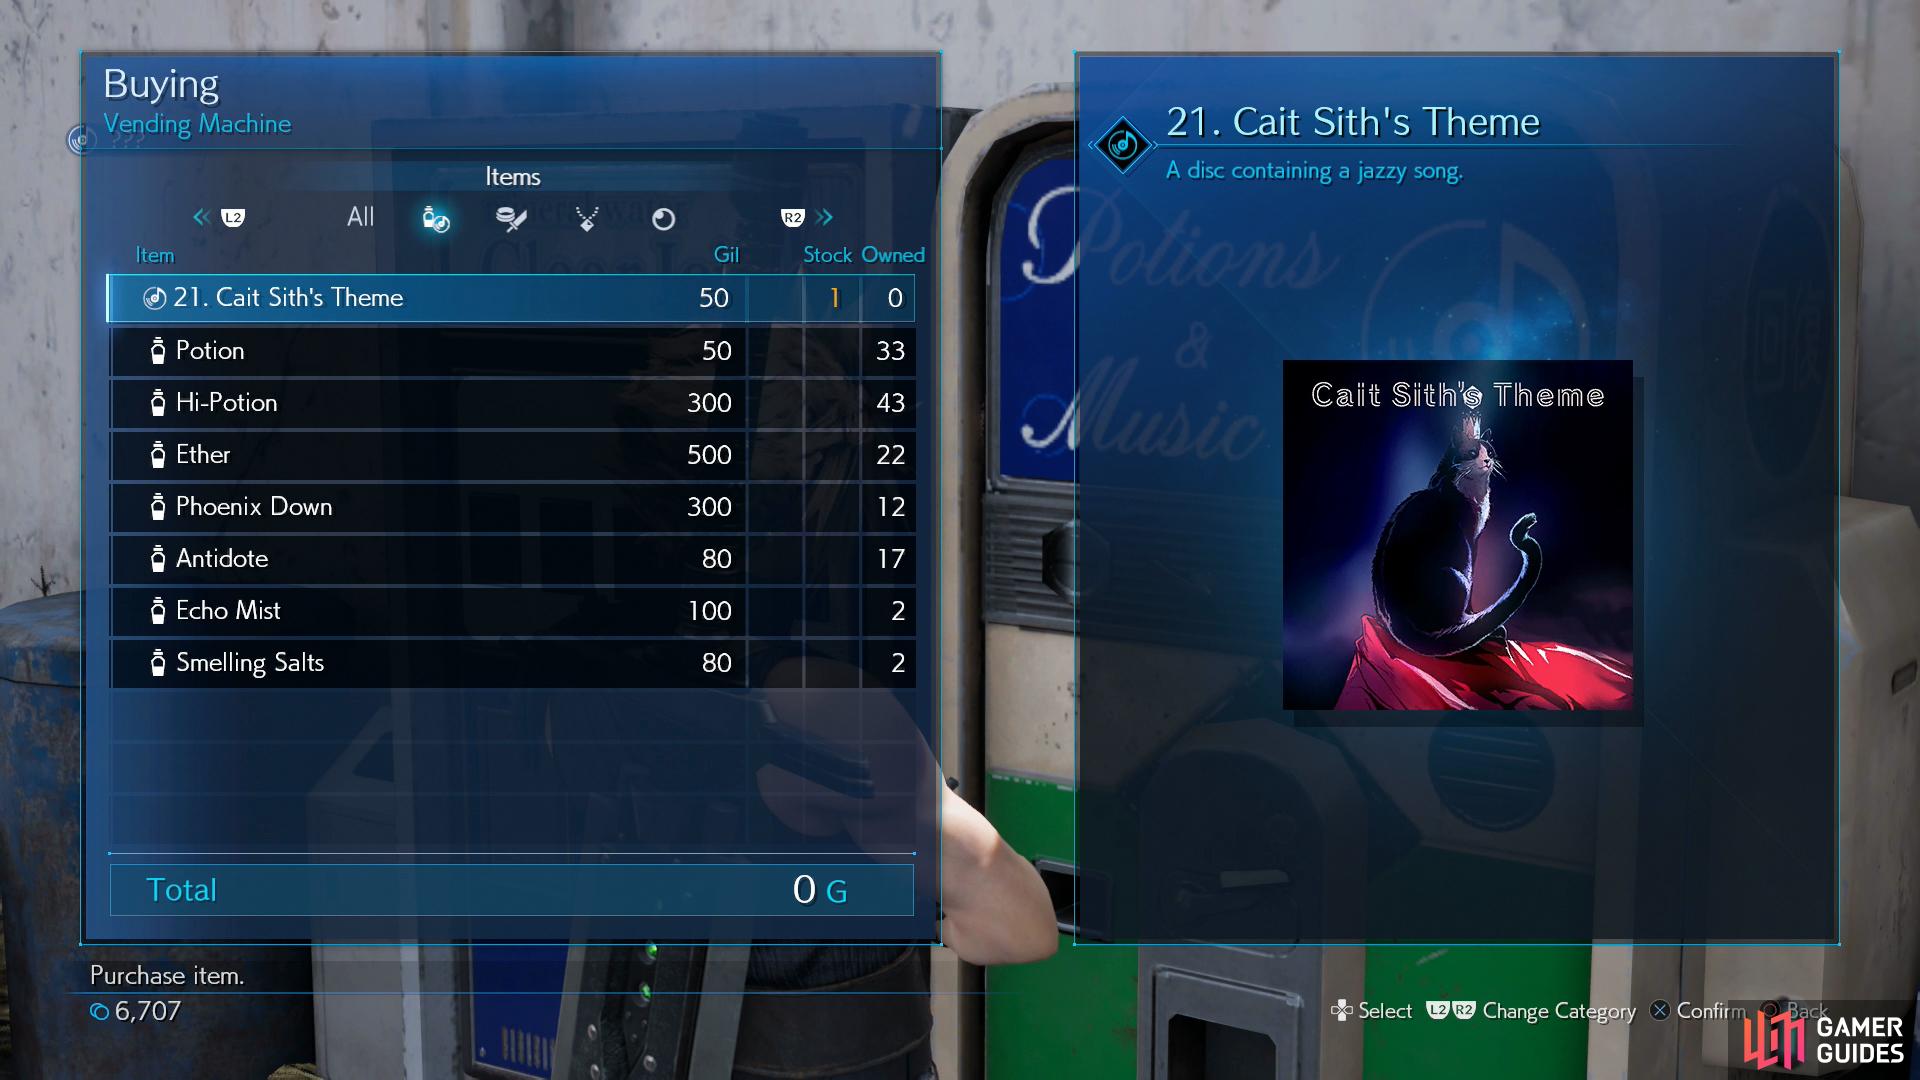
and buy the Cait Sith’s Theme Music Disc.
Reach the station and after some chatter head south to find a chest containing 500 Gil. Will help with some shopping shortly. Now make your way north to find a vending machine and a rest bench, and be sure to buy 21. Cait Sith’s Theme from the former. As for the other items for sale, there’s not really anything new worth mentioning. Continue on and you’ll witness the arrival of more Shinra personnel, which prompts Aerith to suggest taking some monster-infected back streets.
Through the Backstreets
Once you’re on the back streets, venture largely east until the path splits, killing the odd Wererat and Gorger as you go. Take the southern of the two paths ahead and you’ll find a lever you have to press, which will prompt the Discovery: The Gate Won’t Open to appear. Wait… why would we care if the gate opens from the other side? Once we’re on the other side of it… oh well, whatever. Follow Aerith northeast and push a box out of the way, then continue north to reach a clearing where you’ll be forced to fend off three Hedgehog Pies.

Climb using some braces to reach a chest
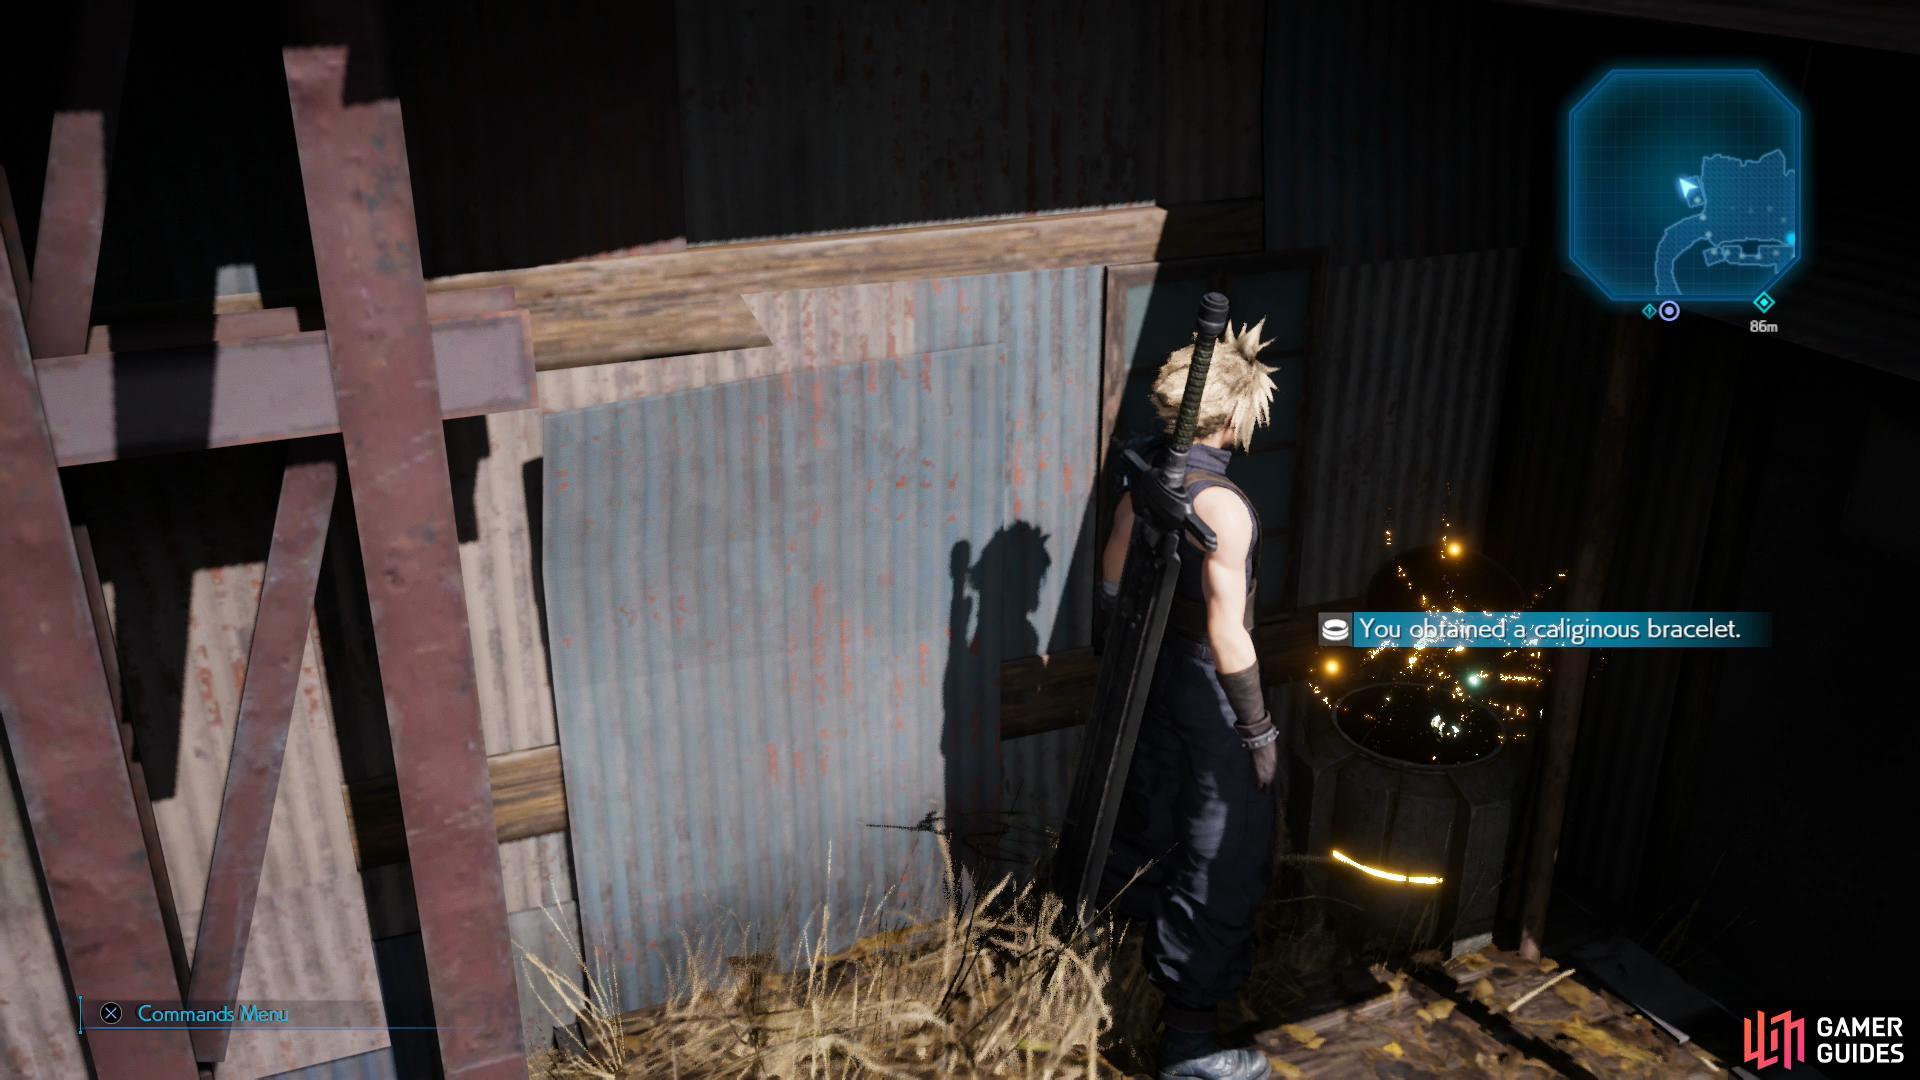
wherein you’ll find a Caliginous Bracelet - the first three-socket armor in the game.
Defeat them, climb a ladder to the southeast, then turn west to find another ladder. Climb it, then use some conveniently-placed braces that allow Cloud to climb to a platform to the north, where you’ll find a chest containing a Caliginous Bracelet - a bit of long-overdue armor with three materia slots. Climb down a short ladder, then ascend the ladder to the southeast again, this time heading east when you reach the top.
Follow the linear path ahead and eventually Aerith will impose some hospitality on Cloud, after which you’ll reach another clearing where you have to fend off some Gorgers and Hedgehog Pies. Kill them and turn southwest (ignore the alternate route to the southeast for now - it’s a dead end), cross under some pipes and turn south to find more metal bars you can use to climb over a gap and claim a chest containing a Remedy. Claim your prize and climb back north, then continue west, and when the path splits again note that you can head upstairs to the southwest to smash some Shinra Boxes - you can go upstairs to the north to gawk at some yellow materia hiding behind a gate, and finally continue northwest to find a more compliant gate.
Depress a lever to open said gate, then continue through to find another new foe - a Smogger. This odd contraption isn’t too tough, especially on its own - hit it with Thunder if you have Lightning Materia equipped, otherwise use the tried-and-true Punisher counterattack/Focused Thrust routine to Stagger it. Beware of the poison clouds it leaves on the floor and its Haywire attack that does considerable lightning damage.
Once the Smogger is smote, continue west to find a ladder you can climb which will get you on the other side of the door you couldn’t open earlier. No sense in coming all this way without opening up a shortcut, eh?
Climb back down the ladder and head southeast from where you fought the Smogger to find three routes you can take: a ladder to the northeast, a gate to the southwest, and another ladder in between the two (southeast). Climb the middle ladder, push a crate, then climb the northeastern ladder to reach some braces Cloud can use to climb to the southwest. Why couldn’t he just climb the cargo crates earlier instead of pushing the box? Cloud’s athletic limitations are so variable… Anywho, with the green box moved you’ll be able to make it across, so use another set of braces to continue across a gap to the southwest. Once on the far side, drop down a ladder and open a nearby gate to allow Aerith to stroll on through.
Continue south until you reach a fork, at which point ignore the path to the east (it terminates in a locked door) and continue south instead. Just follow the linear path ahead and when you reach another fork after passing through a gate, just exit to the south to reach the slums proper, as north just leads back to the station.
To Aerith’s House/Leaf House Delivery
Once in the Sector 5 Slums - Center District, just follow Aerith around. You’ll get to see some propaganda from Reactor 5, including the introduction of another Shinra big-wig, Scarlet, but mostly this trek through town just serves to demonstrate how popular Aerith is. Don’t worry, you’ll get a chance to explore shortly so for now, just follow Aerith to her house. Hard to believe a place like this exists under Midgar’s plates. When you arrive, watch the scenes that follow, head upstairs, then go back downstairs and Aerith will return with some baskets. It… feels like we’ve lost control of this situation.
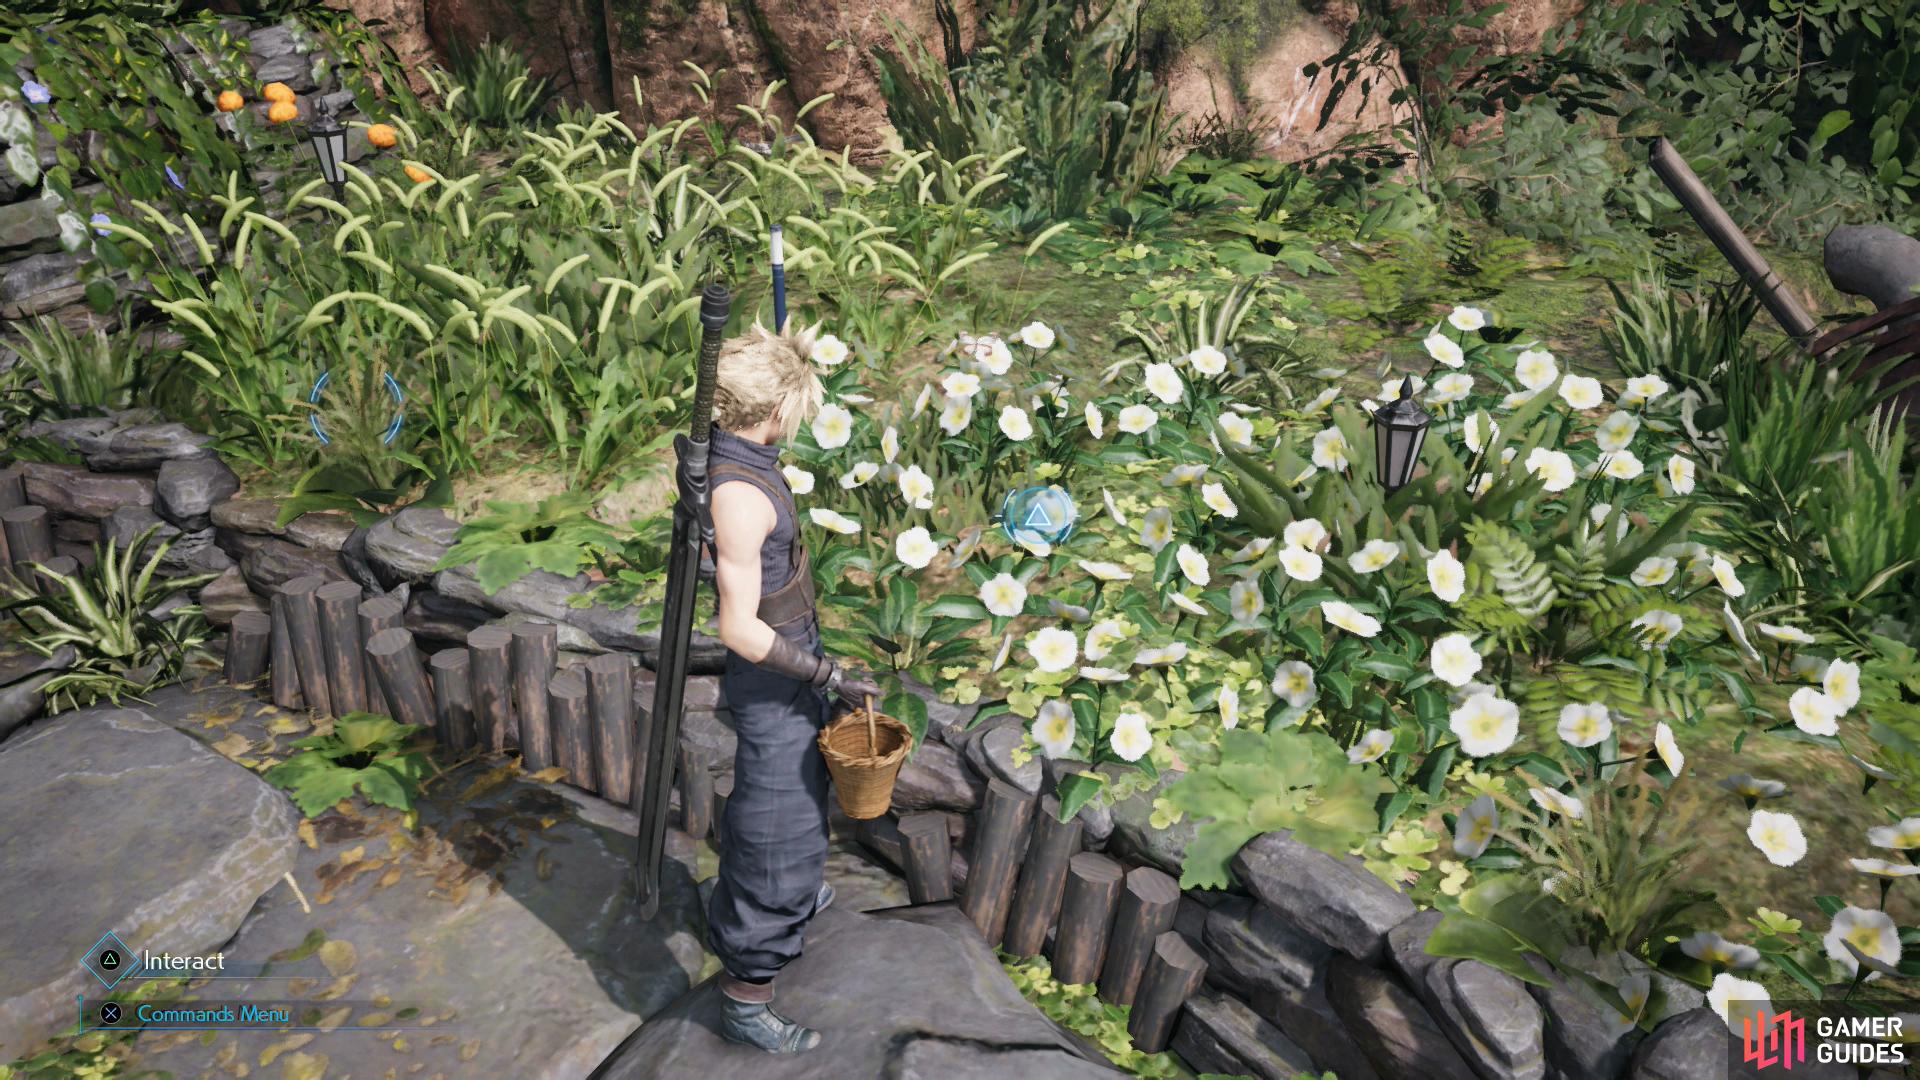
Follow Aerith through the garden outside her house until she prompts you to pick some flowers - your choice here affects the decoration of Leaf House, but since you’re stuck between picking either white flowers, yellow flowers or foxtails, it doesn’t matter all that much. Pick whichever three collection of flowers you find the least aesthetically offensive (you can double or triple dip, if you wish) then return to Leaf House. When you arrive, Cloud will decline to follow Aerith inside, at which Aerith suggests you explore the town.
No need to tell us twice, there’s loot to be had and shopping to be done. From Leaf House head south, ignore two paths to the west, then enter a house to the west. Inside this building you’ll find a jukebox where you can obtain the 19. Tango of Tears Music Disc as well as loot a chest for a Celeris. Leave the house and continue south to find another chest, this one containing some Echo Mist. Loot it and turn east, head through some pipes, and at a fork continue north to reach another intersection, at which turn east. Continue east a short distance until you find yet another fork near some stairs. Talk to Oates and he’ll run off to the Leaf House in search of Aerith, priming the main quest to continue when we deign to return to Leaf House.
Now is not that time, however. Head down some stairs to the east and immediately turn north to find a chest containing 200 Gil. Amazing they’d just let you take money like this, anywho, their loss, our gain; continue northeast to reach the crowd gawking at Shinra propaganda. Head up a slope to the southwest to reach the weapon shop - sold out of a dingy trailer, like all good gear. By now the old stock of outdated armor is being rotated out and replaced by superior gear, including more Caliginous Bracelets, although they carry a fairly significant price tag.
Sector 5 Slums Central District Weapon Shop
| Armor | Cost (Gil) |
|---|---|
| Leather Bracer | 1,600 |
| Mesmeric Armlet | 1,600 |
| Titanium Bangle | 2,000 |
| Caliginous Bracelet | 3,200 |
| Accessories | Cost |
|---|---|
| Power Wristguards | 800 |
| Bulletproof Vest | 800 |
| Earrings | 800 |
| Talisman | 800 |
| Star Pendant | 1,500 |
Buy what you want, then continue north path the crowd of gawkers. As you go north, note an item shop to your left (west) with nothing of note for sale. Further north you’ll find a rest bench, near which is Chadley, ready for whatever Battle Intel Reports you have to turn in. At this point in time we only had Battle Intel Report 04 left over from Chapter 3. Talking to him finally completed the aforementioned report and allowed us to buy his ATB Boost Materia, which “doubles ATB when activated”. Not surprisingly, such a potent bit of materia has a cooldown (360 seconds), which you can reduce by 60 seconds each time you level it up. Even at max level it’ll have a 120 second cooldown, but that’s a far sight better than the base level’s six minutes.
Chadley will also mention his aspirations when it comes to summon materia, which is covered by Battle Intel Report 05 and requires you to fight a “VR Mission”, which can be accessed by talking to Chadley. There’s absolutely no reason to do this now - you’ll have Aerith back soon enough, and the extra support will make this VR Mission much easier.
The other new Battle Intel Reports (Reports 06 - 09) are less interesting, and there’s a good chance you’ve completed some of them already if you’ve been exploiting elemental weaknesses and assessing enemies as a matter of course throughout Chapters 4 - 7. If not, rectify the situation going forward - you still have plenty of time. It’s also almost unthinkable that you didn’t manage to accidentally complete Battle Report 08 - The Manipulation Technique - at some point, as all it requires is for you to defeat two or more enemies with a single attack, something Punisher mode should have made trivial in Chapters 4 and 7. If not, there are plenty of weak foes that can be wiped out with a lucky Triple Slash attack going forward. Battle Report 09 - Monster Variants Pt.1 will have to wait until more side quests open up soon.
| Battle Intel | Conditions | Reward |
|---|---|---|
| Combat Simulation: Shiva | Defeat Shiva. | Shiva Materia |
| Monster Bio Pt. 2 | Assess 10 enemy types. | Steadfast Block Materia |
| Magic Elements Pt. 2 | Exploit weaknesses of 15 enemy types. | Steal Materia |
| The Manipulation Technique | Defeat 2 or more enemies with a single attack. | Provoke Materia |
| Monster Variants Pt. 1 | Defeat monsters of 3 unique varieties. | Synergy Materia |
Complete what you can and don’t fret about what you can’t - Report 05 and 09 can’t (or in the case of the former, shouldn’t) be done just yet - and buy whatever new materia you’ve unlocked from Chadley, especially that Steal Materia. Enemies will start having items worth stealing, and it could be profitable for you to have a means of capitalizing on that.
Finally for this bout of exploration, continue southwest from Chadley to find a materia shop to your left (southeast). This merchant largely sells materia you’re familiar with, but he also stocks Revival Materia, albeit for a whopping 3,000 Gil. Buy what you want, materia-wise, and be sure to pick up the 19. Costa del Sol music disc.
With that all done, it’s time to return to Aerith at Leaf House.
Danger in the Hideout
Back at Leaf House you’ll find Oates telling Aerith about some creepy guy in a black robe scaring the children. The description is similar enough to Cloud’s neighbor in Sector 7 to prompt his involvement, so off we go.
Follow Oates through the slums and to the secret hideout. After some chatter, loot a chest for a Moogle Medal and keep following Oates northeast and when you reach a building, dispatch of a trio of Hedgehog Pies before continuing east down a ladder. Defeat two Wererats and another Hedgehog Pie, then follow Aerith across a bridge to the north to spot the kids. Sure enough, they seem to be in a spot of trouble.
Don’t let their plight pressure you into being a responsible adult, however - there’s a spot of treasure to grab! Head up some ramps to the south to find a chest containing a Mega-Potion near a shack, then return north and cross the bridge. Slide between some boxes, kill four Wererats to the northeast, then turn northwest and fight through another group of foes, this time a Wererat and two Hedgehog Pies.
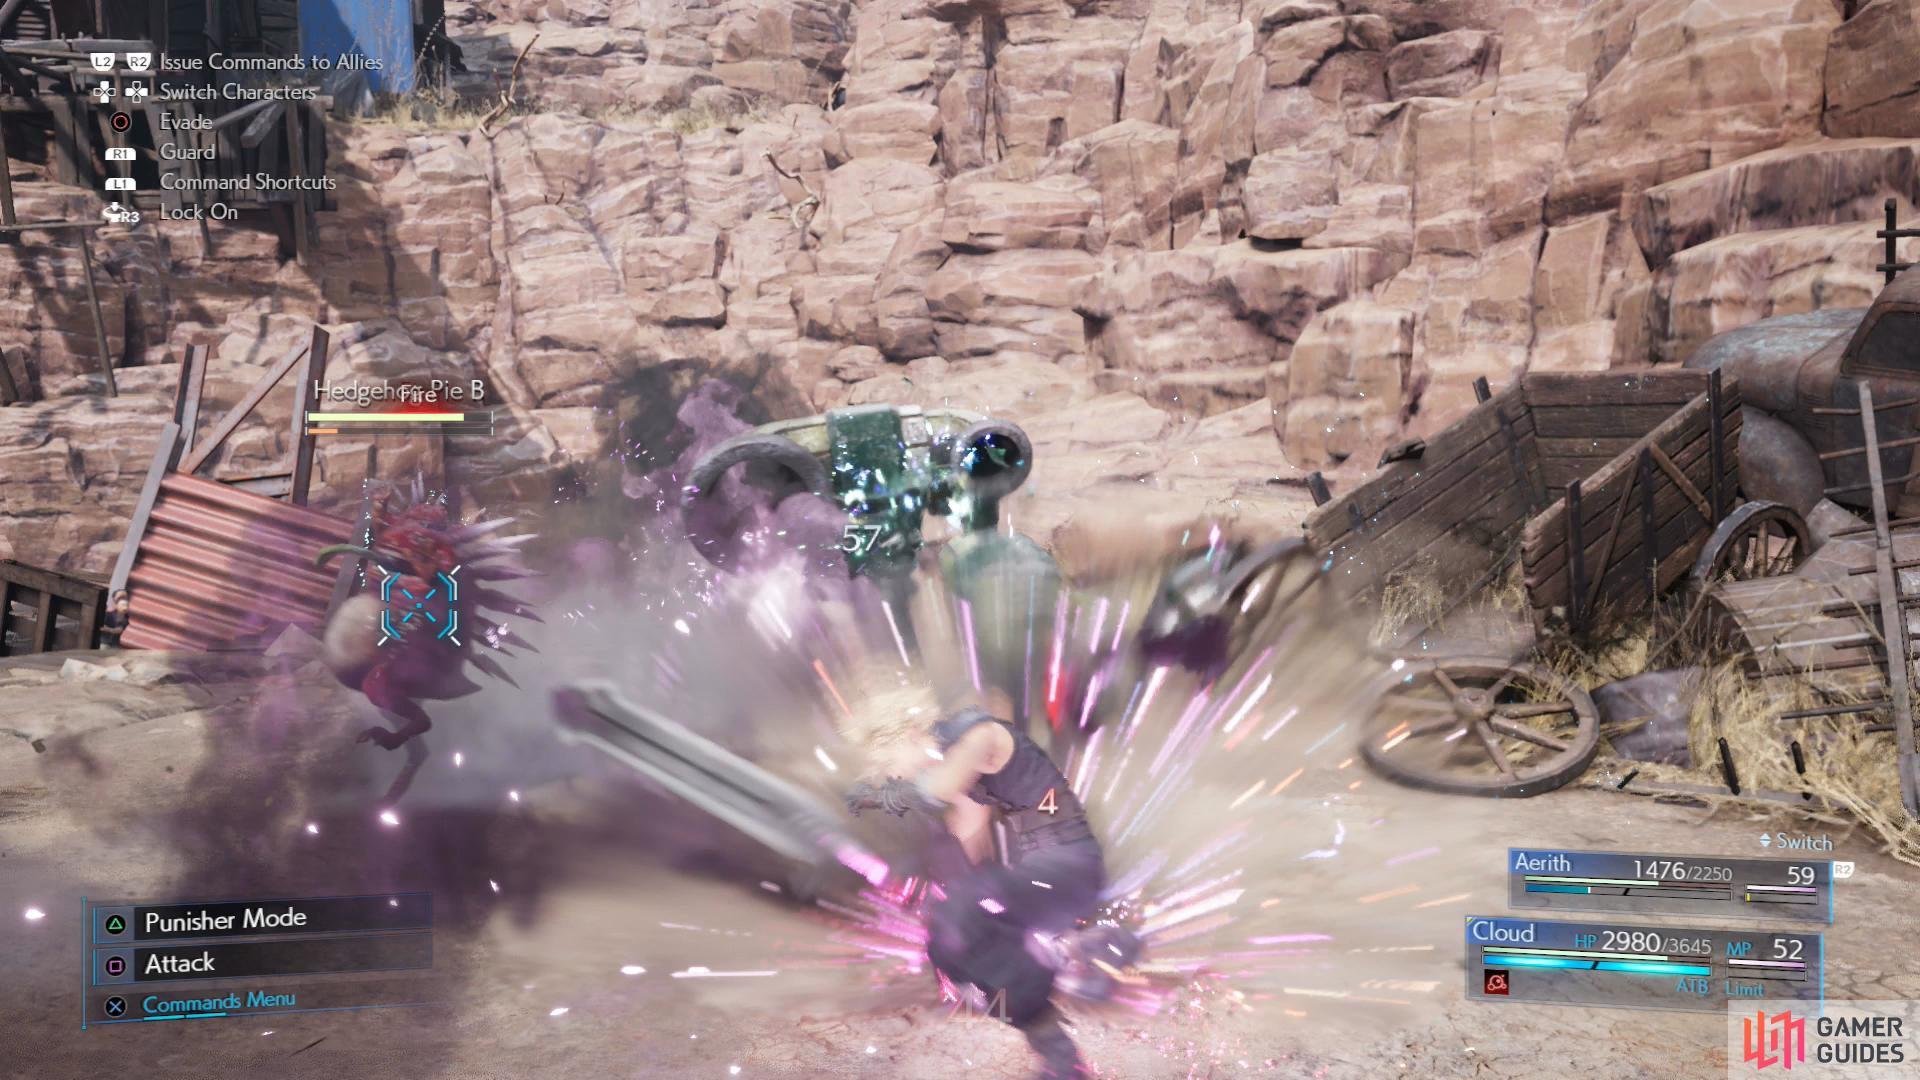
(1 of 3) Avoid the Smogger’s poison discharge - it’s a long fight and you don’t need to spend it with your HP depleting.
Continue west and climb down a ladder to find an oddly arena-shaped clearing, and sure enough you’ll find yourself in a fight with some more Hedgehog Pies and a Smogger when you get near. Just be sure to avoid the Smogger’s poison discharge, as this is going to be a long fight - one you don’t need to be poisoned for. In fact, ensuring that you equip your Star Pendant and connecting Fire Materia and Elemental Materia on your armor isn’t a bad idea, either.
Defeat the Hedgehog Pie and Smogger, after which you’ll have to fight four Hedgehog Pies, who aren’t shy about simultaneously launching volleys of Fire/Fira at you. Once they’re smote you’ll have to defeat two Smoggers. Have Aerith use Elemental Ward and cast Lightning from the center of it to quickly take them out.
Once your foes are defeated, Cloud will collect the kids, after which you’ll be forced to escort them back to their hideout, fighting a Smogger and three Hedgehog Pies along the way. When you reach the hideout, talk to Oates and he’ll give you a Handmade Necklace as a “reward”, after which the black-robed man - forgotten in all this mess - will arrive. Is there a place where these burnouts are getting these robes, or what? Oh well, watch the scenes that follow and Aerith will lead you back to the slums. On the way you’ll be intercepted by Oates, who will give you a variety of side quests for you to do at your leisure.
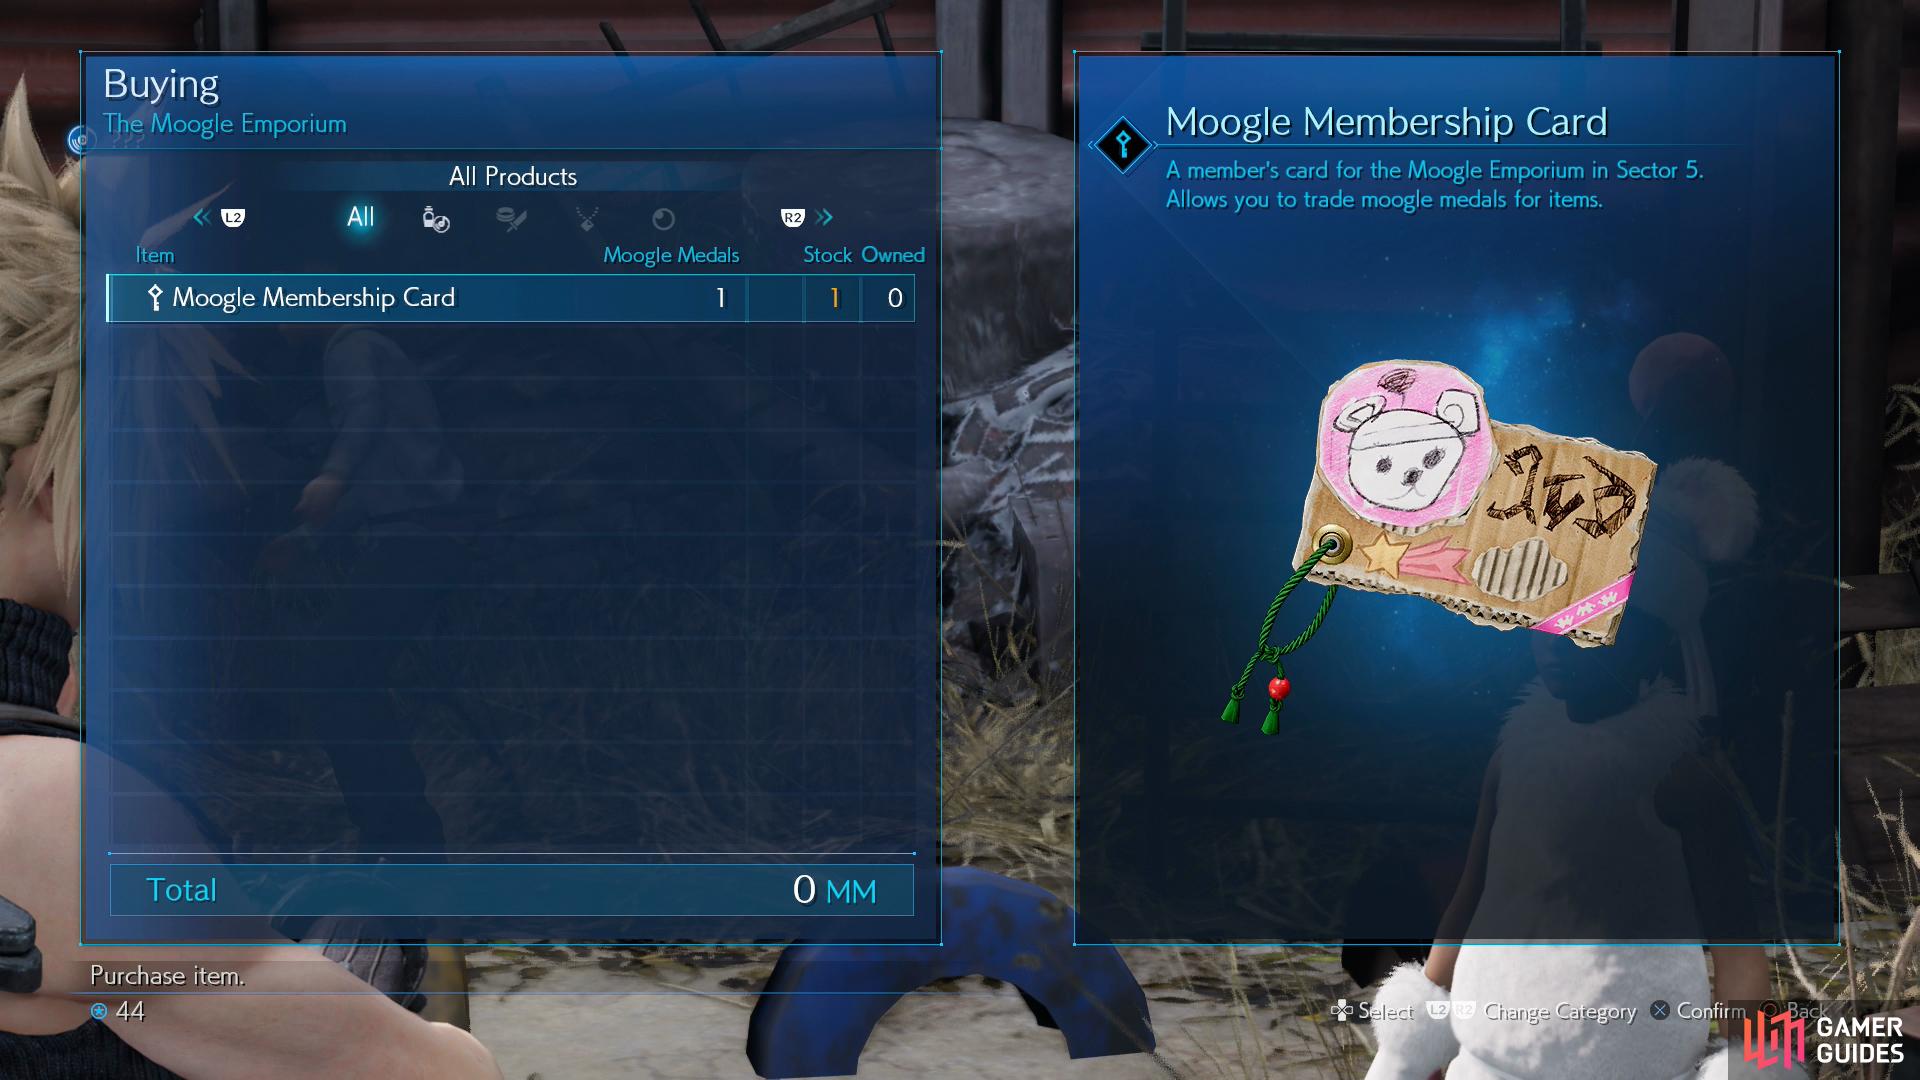
Purchase a Moogle Membership Card
to gain access to the Moogle Emporium.
Requests for the Mercenary
It’s been a while, but like Chapter 3, Chapter 8 has a variety of side quests you can complete. They’re optional, but we suggest doing them for the loot and XP they’ll get you.


Start out by talking to the kid in the Moogle suit to the south and buy a Moogle Membership Card for one Moogle Medal - it’s inconceivable that you haven’t found at least one by now - and you’ll complete The Mysterious Moogle Merchant. An easy enough quest, and it’ll let you access the wares at The Moogle Emporium, which are worth a look:
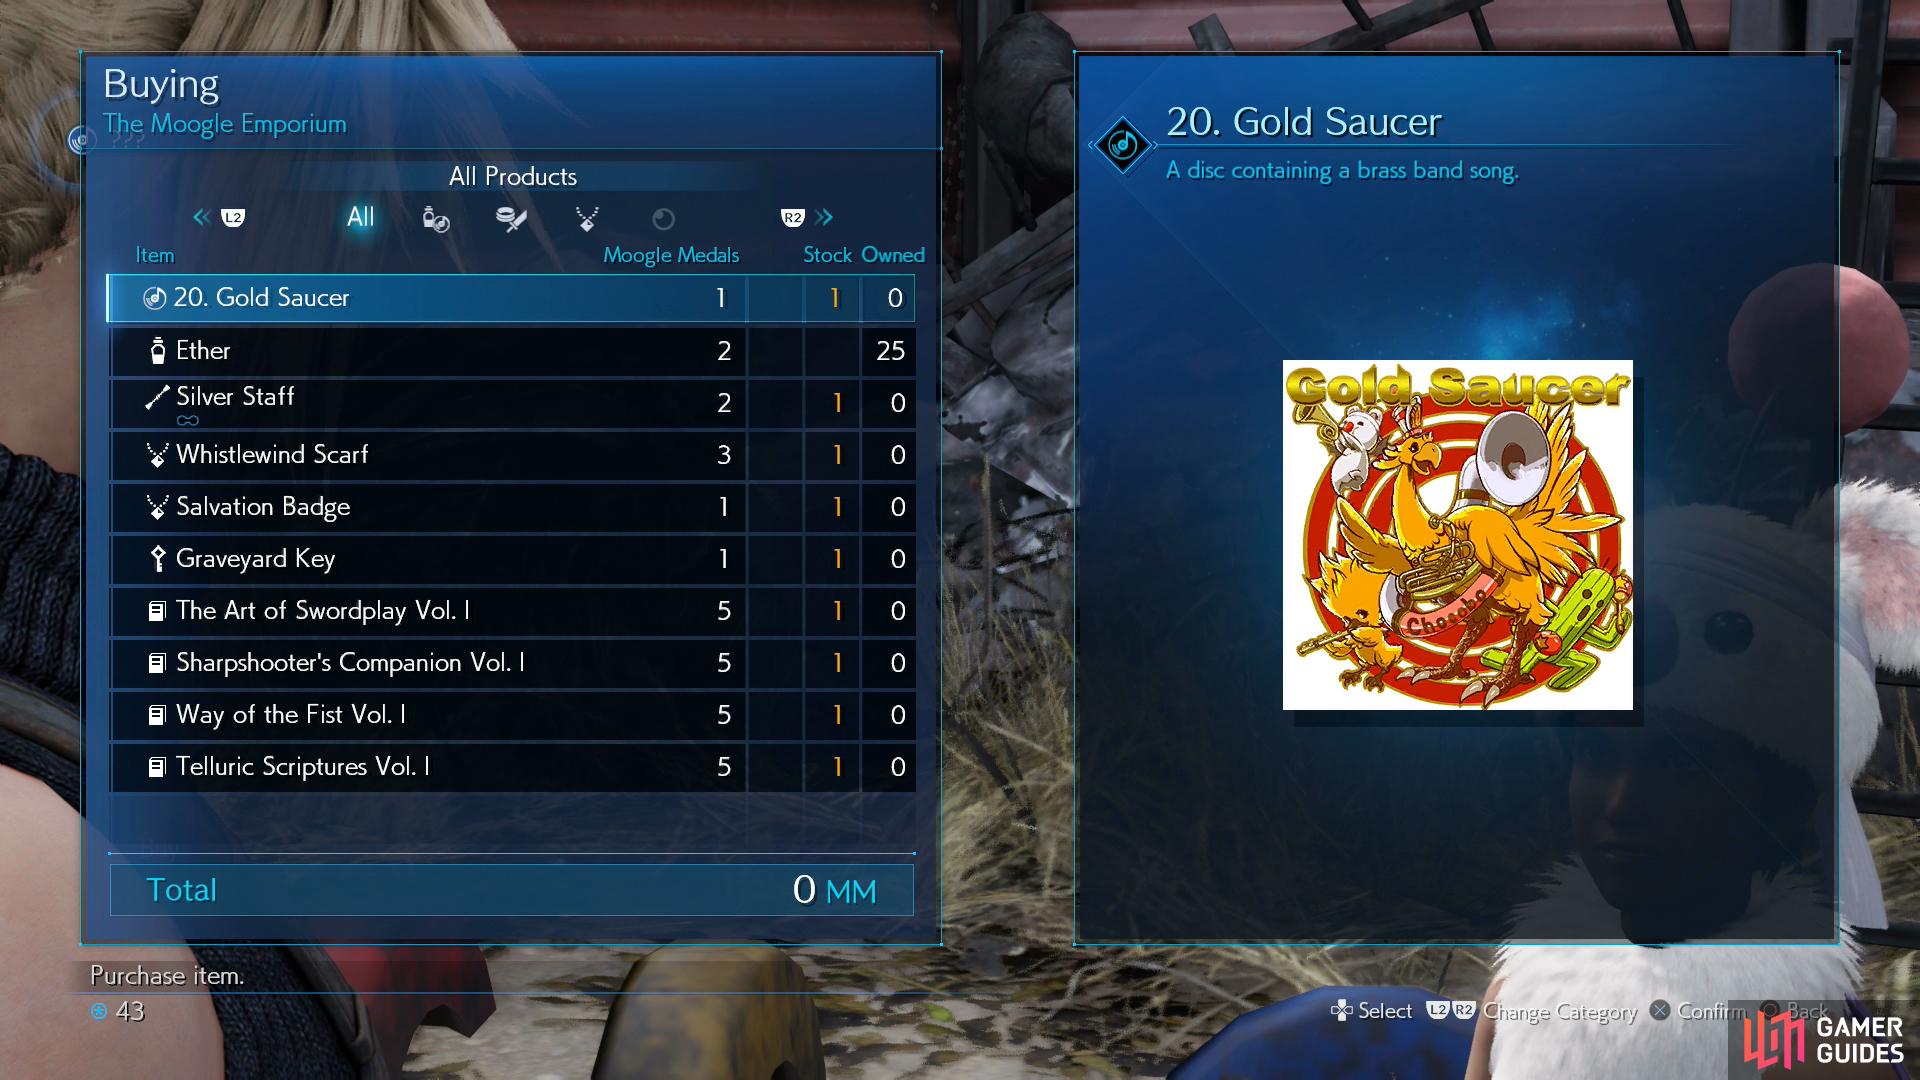
The Moogle Emporium
| Item | Cost (MM) |
|---|---|
| 20. Gold Saucer | 1 |
| Ether | 2 |
| Graveyard Key | 1 |
| The Art of Swordplay Vol. I | 5 |
| Sharpshooter’s Companion Vol. I | 5 |
| Way of the Fist Vol. I | 5 |
| Telluric Scriptures Vol. I | 5 |
| Weapons/Armor | Cost (MM) |
|---|---|
| Silver Staff | 2 |
| Accessories | Cost (MM) |
|---|---|
| Whistlewind Scarf | 3 |
| Salvation Badge | 1 |
Of the current stock on sale, be sure to pick up the 20. Gold Saucer Music Disc, the Graveyard Key (used for a side quest later on in the chapter), the Silver Staff for Aerith and then as many of the Manuscripts that you can afford. Should you need more Moogle Medals right now, you can obtain them just for participating in the Whack-a-Box mini-game found in this very same Hideout; this allows you to farm all that you need.
Of course, this is only the tip of the iceberg when it comes to what can - and arguably should - be done before continuing with the main story. As with Chapter 3 we’ll include a list of all the quests available to you and leave the actual completion of these quests to your discretion. Just follow the links provided to reach dedicated quest pages. We also suggest you see to that Battle Intel Report 05 since you have Aerith with you again. Finally, it’s also a fine time to grind in general, since you have a companion and the freedom to travel just about anywhere you please. Doing laps around the scrapyard you went through to avoid the Turk can do wonders for your AP and XP.
| Quest | Prerequisite | Location | Rewards |
|---|---|---|---|
| The Mysterious Moogle Merchant | – | Children’s Secret Hideout | Access to The Moogle Emporium |
| Kids on Patrol | – | Leaf House | Nail Bat |
| Weapons on a Rampage | – | North of the gate to the Center District/At the southern end of Station Way | Protective Boots |
| A Verified Hero | Complete Kids on Patrol | Children’s Secret Hideout | Moogle Medal(s) / Elixir / Crescent Moon Charm / Spectral Cogwheel |
| Angel of the Slums | Complete Kids on Patrol | South of Leaf House | 2,000 Gil |
| Paying Respects | Complete Weapons on a Rampage | Near the Weapons Store | Studded Bracer |
Anyways, do what you will and when you’re ready to go head back to Aerith’s House. You’ll be bothered by the “Housemother” near the Leaf House who will thank Aerith for the flowers you delivered (earning you the Say It with Flowers trophy) and mention some scary-looking guy with a suit that was heading towards Aerith’s house. Well, that doesn’t sound good.


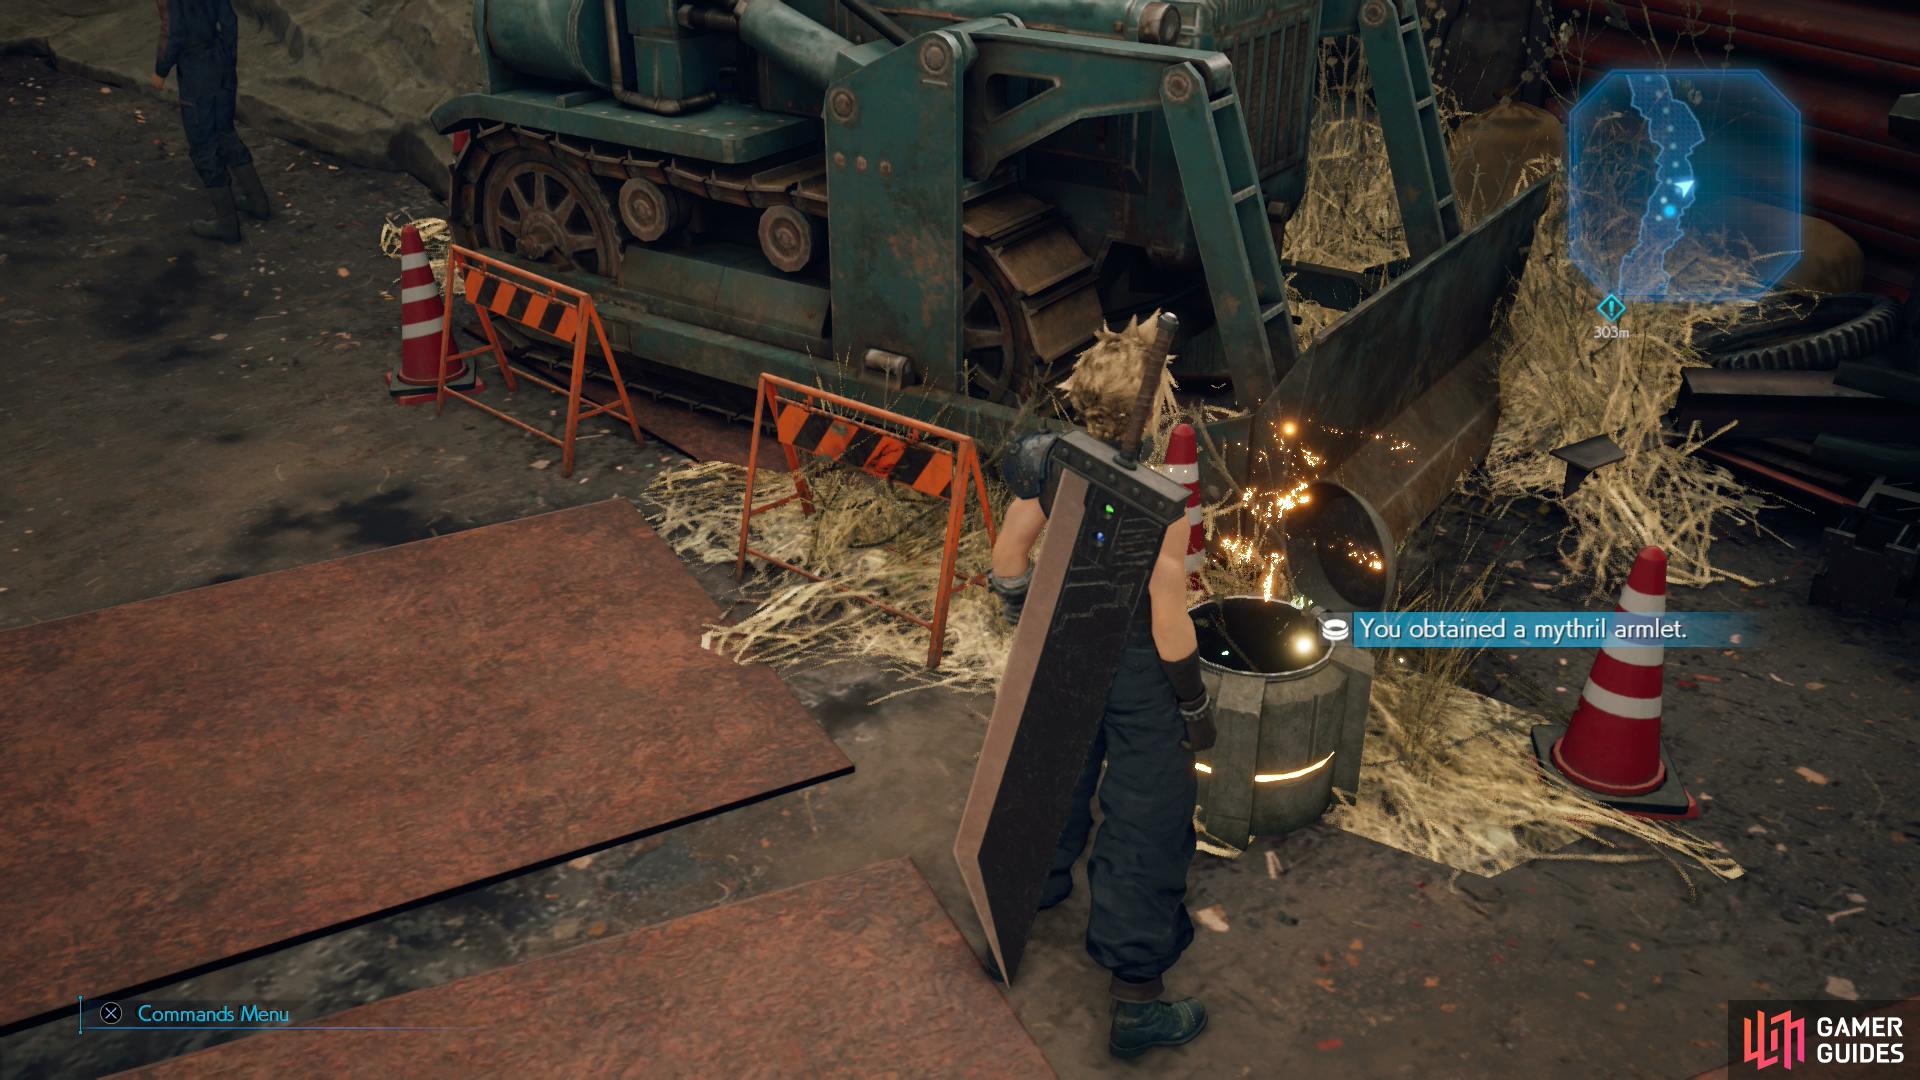
(1 of 3) On the road between the Sector 6 Slums and the station you’ll find a Mythril Armlet.
…but it also means that the Turk you were avoiding isn’t over by the station anymore, which means you can finally explore the road that connects the station to the slums - Station Way. Head to the northeastern corner of the slums and exit to the north, then continue north until you reach the fork. Ignore the northeastern path, as it just leads back to scrapyard, and instead continue north. As you follow the road keep an eye out for a chest containing a Mythril Bangle and when you near the station (just south of the stairs leading to the merchants near the station) and talk to a Merchant to obtain the 23. Descendant of Shinobi Music Disc.
Well, you’ve come all this way, might as well go a bit further for some more loot. Continue back through the station and to the church where you met Aerith. Don’t worry, you don’t have to climb across rooftops, and there are no monsters or Shinra in your way, it’s just a simple matter of walking. Trip seems shorter this time… Anyways, when you make it back to the church continue northwest to the back rooms and turn right (north) and go through another doorway to find a piece of Chakra Materia waiting for you. Grab it, then return to the slums.
No putting it off any longer, time to go back to Aerith’s house. Make sure you have Wind Materia equipped on both Cloud and Aerith, Healing Materia and Barrier Materia won’t hurt, either. If you can, pair Wind Materia with Elemental Materia on Cloud’s weapon - it’ll help, but it’s not essential.
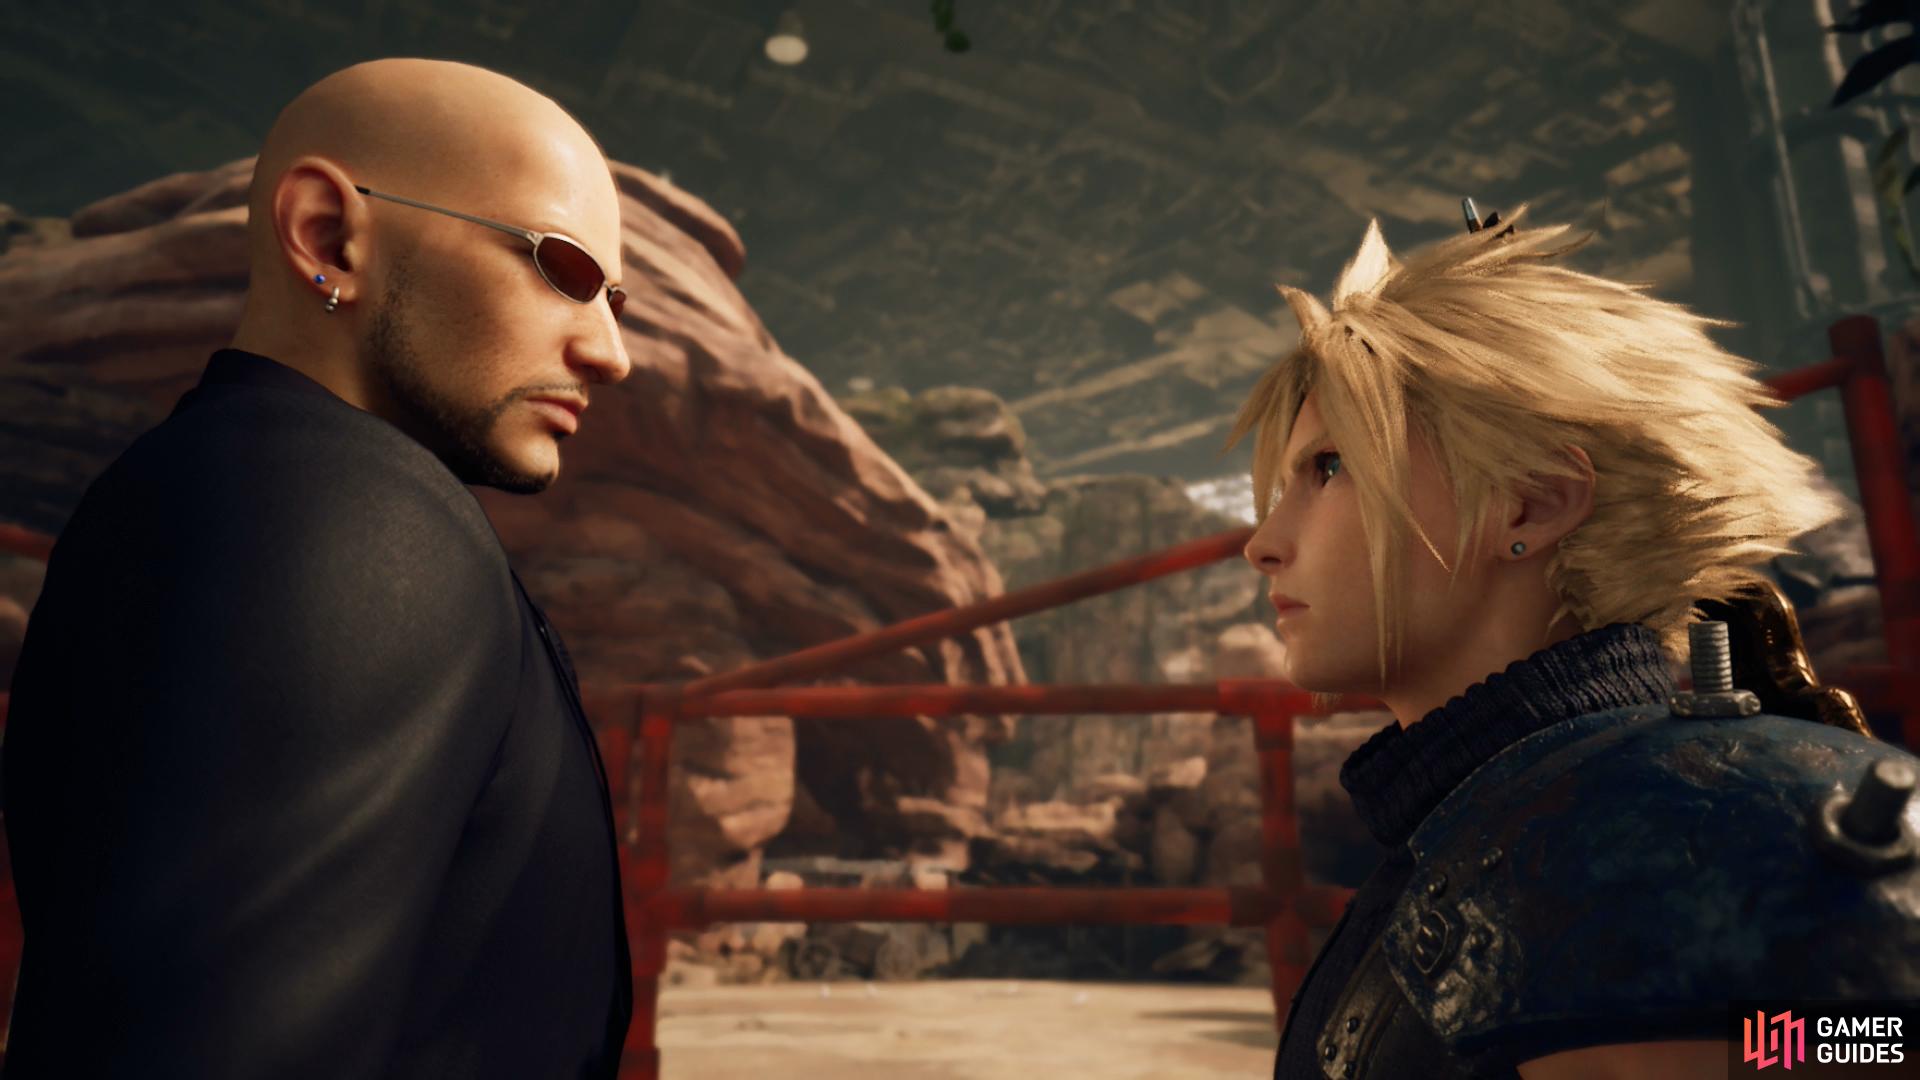
When you’re ready continue up the road to Aerith’s house to find a sharply-dressed man with stylish shades. Rude - another Turk - seems to be on friendly terms with Aerith. In fact, he seems more determined to smack Cloud around for Reno’s sake.
Boss: Rude
| Enemy | Weaknesses | Notable Loot |
|---|---|---|
| Rude | Wind | – |
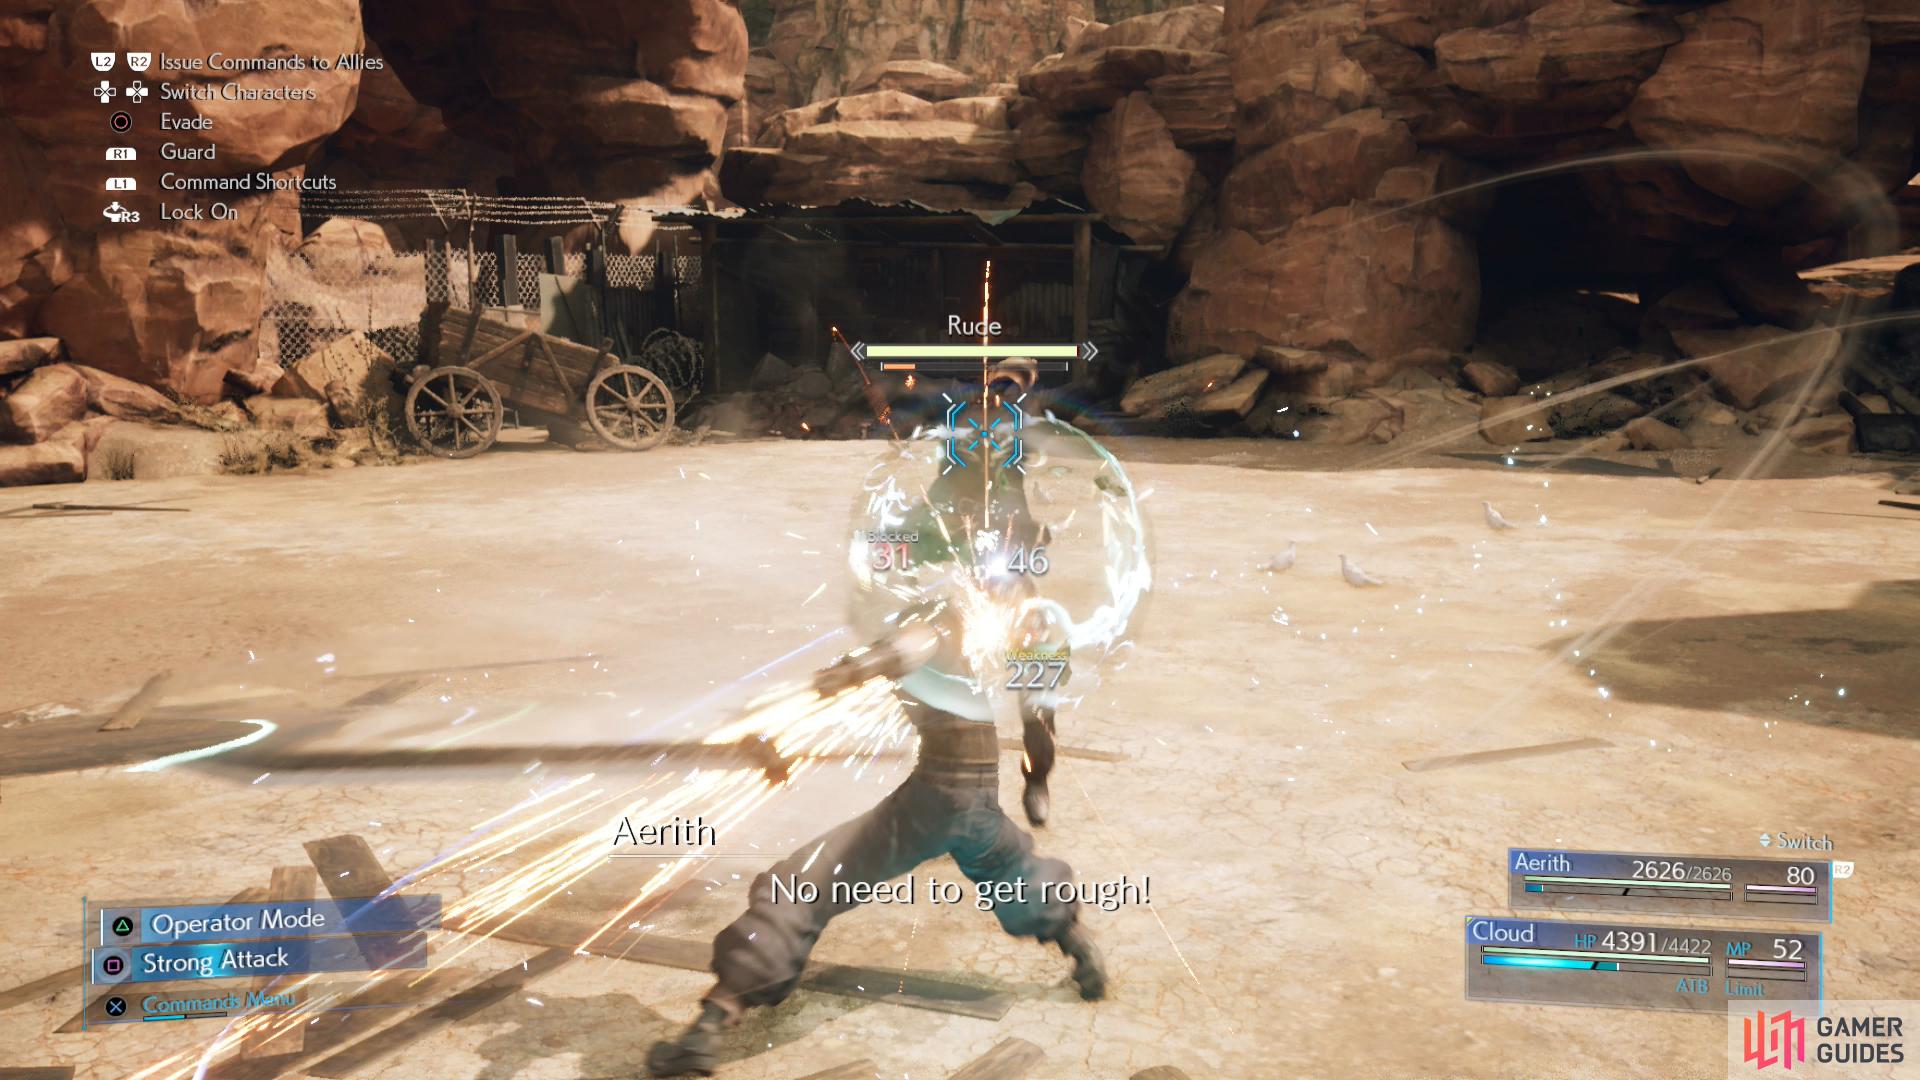
(1 of 6) Counterattacks won’t work on all of Rude’s attacks, but they work on enough to make Punisher mode worthwhile, in moderation.
Phase 1
Like Reno, Rude is primarily a melee combatant, but unlike Reno Rude has numerous attacks that’ll bypass Punisher mode’s counterattack, including Hammerblow, Haymaker, Spinning Axe Kick (this one has a nasty AoE) and Running Tackle (an attack that inflicts Bound for a short period of time - Rude may try to fling the grappled character into your other character). Despite that, Punisher mode still works wonders at inflicting Stagger, you just need to watch what Rude is doing and if you see him start to do basically any ranged attack, either try to dodge out of the way, or switch to Aerith while Rude attacks Cloud. Since so much of Rude’s offense is physical damage, Barrier will help keep damage down, and failing that the odd Cura won’t hurt.
Aside from attempting to Stagger rude with Punisher mode counterattacks, buffing and healing, attack with Aerith enough to charge her ATB and use her Arcane Ward. Once that’s established, use any other ATB segments you get to cast Aero on Rude, as he’s weak to wind and this will further boost his Stagger gauge and deal decent damage to him. Both Cloud and Aerith should strive to reach the Arcane Ward before casting to double their effectiveness. While Rude will focus most of his attacks on Cloud, he’ll occasionally use Sweet Dreams on Aerith, a homing attack that inflict Sleep. Annoying, but it’s very difficult to dodge, so be prepared for it and don’t let the situation deteriorate enough that losing control of Aerith for a few seconds will jeopardize the outcome of the fight.
Phase 2
When reduced to roughly 50% of his HP (probably around the first time you Stagger him) Rude’s glasses will break. Fortunately, he’s got a spare pair, but this signals the beginning of phase two. From this point on Rude will be more aggressive, use named abilities more and take less Stagger. He’ll also start using his Shockwave attack, where he’ll jump into the air and punch the ground, sending a wave of energy along the ground towards you. It’s moderately homing, so don’t dodge prematurely.
For your own offense in phase two you’ll want to rely more on Aero, blocking and counterattacking when you can, but don’t attack him with Cloud too much aside from the aforementioned counterattacks, as you’ll only provoke reprisals. Keep healed and whittle away Rude’s HP with Aero and when his HP bar is depleted he’ll conveniently be interrupted by a phone call. Seems he’s got a job in Sector 7 and can no longer indulge this particular petty vendetta.
Grab a piece of MP Up Materia in Aerith’s garden.

At night, try to sneak out of Aerith’s house without bumping into any of the clutter in the hallway.
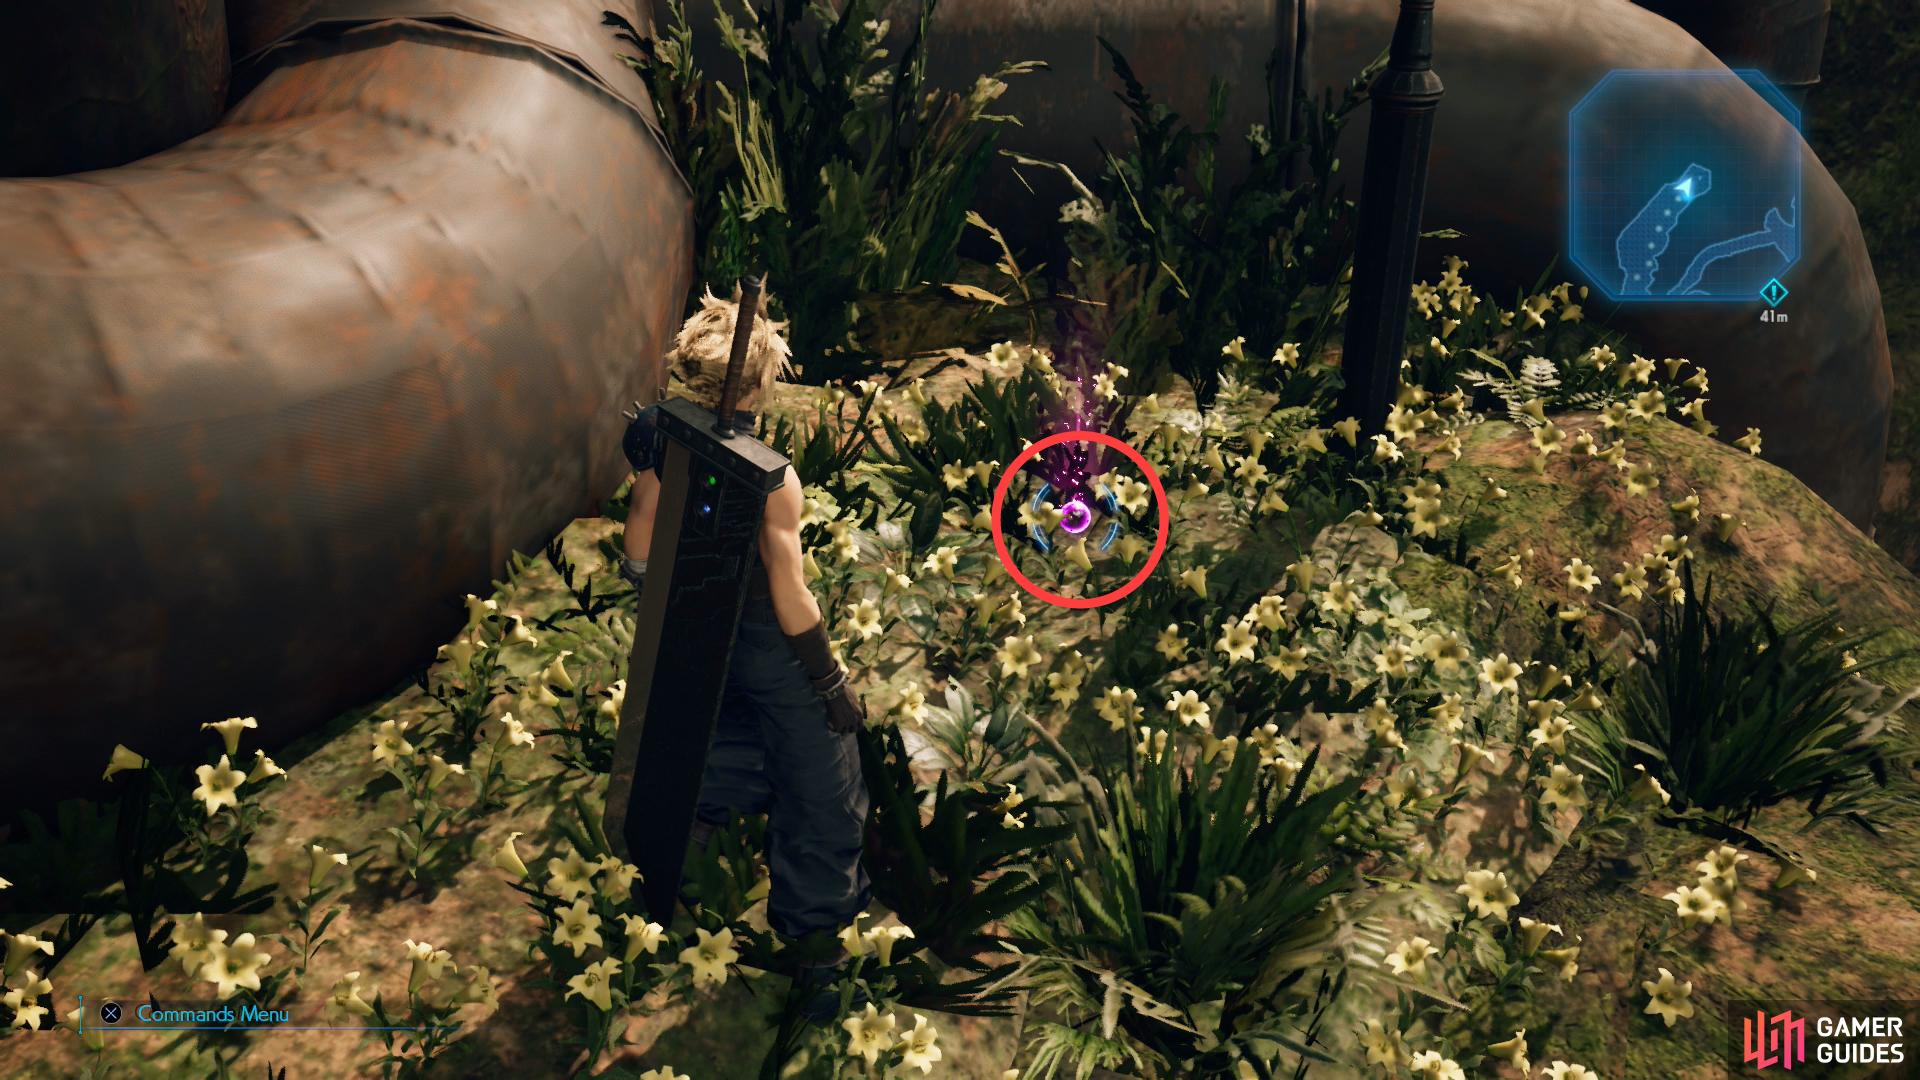
Thrash Rude, then continue back to Aerith’s house. When you get near she’ll pull you aside for a detour to the west. Follow her and after some chatter grab an orb of MP Up Materia near where she was… talking to the flowers. Weird girl.
Finally return to Aerith’s house. No, seriously this time. You’ll get a prompt at the door which should just confirm the obvious - if you proceed you’ll be done with this chapter, so make sure you’re done with everything you want to do. You may not get another shot at it until the end of the game.
Once inside, watch the scenes that play out and when you’re back in control of Cloud you’ll have to engage in a bit of stealth. Leave the room you’re in and head downstairs, avoiding the pots, buckets and other rubbish in the way. Running into it will rouse Aerith and you’ll have to try again. Cloud’s not the most precise stepper in gaming history, and the camera does you no favors, but if you take it close and take it step by jerky step you’ll manage just fine. After some more chatter downstairs, leave the house and return to the slums, ultimately leaving via the southeastern exit.
Things don’t quite go as planned, however, and it looks like Aerith isn’t done with Cloud just yet. Anywho, in what is certainly the most seamless chapter transition in the game you’ll finish off Chapter 8 and begin Chapter 9, obtaining the Reunited Trophy in the process.
No Comments