
This takes place in Chapter 2: Covert Ops as part of the INTERmission DLC, once you enter the Testing Grounds for the first time.
Scarlet has laid a trap for Yuffie and Sonon in the Testing Grounds.
The Invitation
| Enemy | Weaknesses | Notable Loot |
|---|---|---|
| Mark II Monodrive | Wind | Turbo Ether |
| Sweeper | Lightning | – |
| Cutter | Lightning | – |
| Blast-Ray | Lightning | Heavy-Duty Bracer |
| Monodrive | Wind | – |
| Slug-Ray | Lightning | – |
| M.O.T.H. Unit | Lightning/Wind | Iron Maiden |
| Armored Magitrooper | – | Armor Core |
| Deathwheel | Fire/Ice/Wind | Turbo Ether |
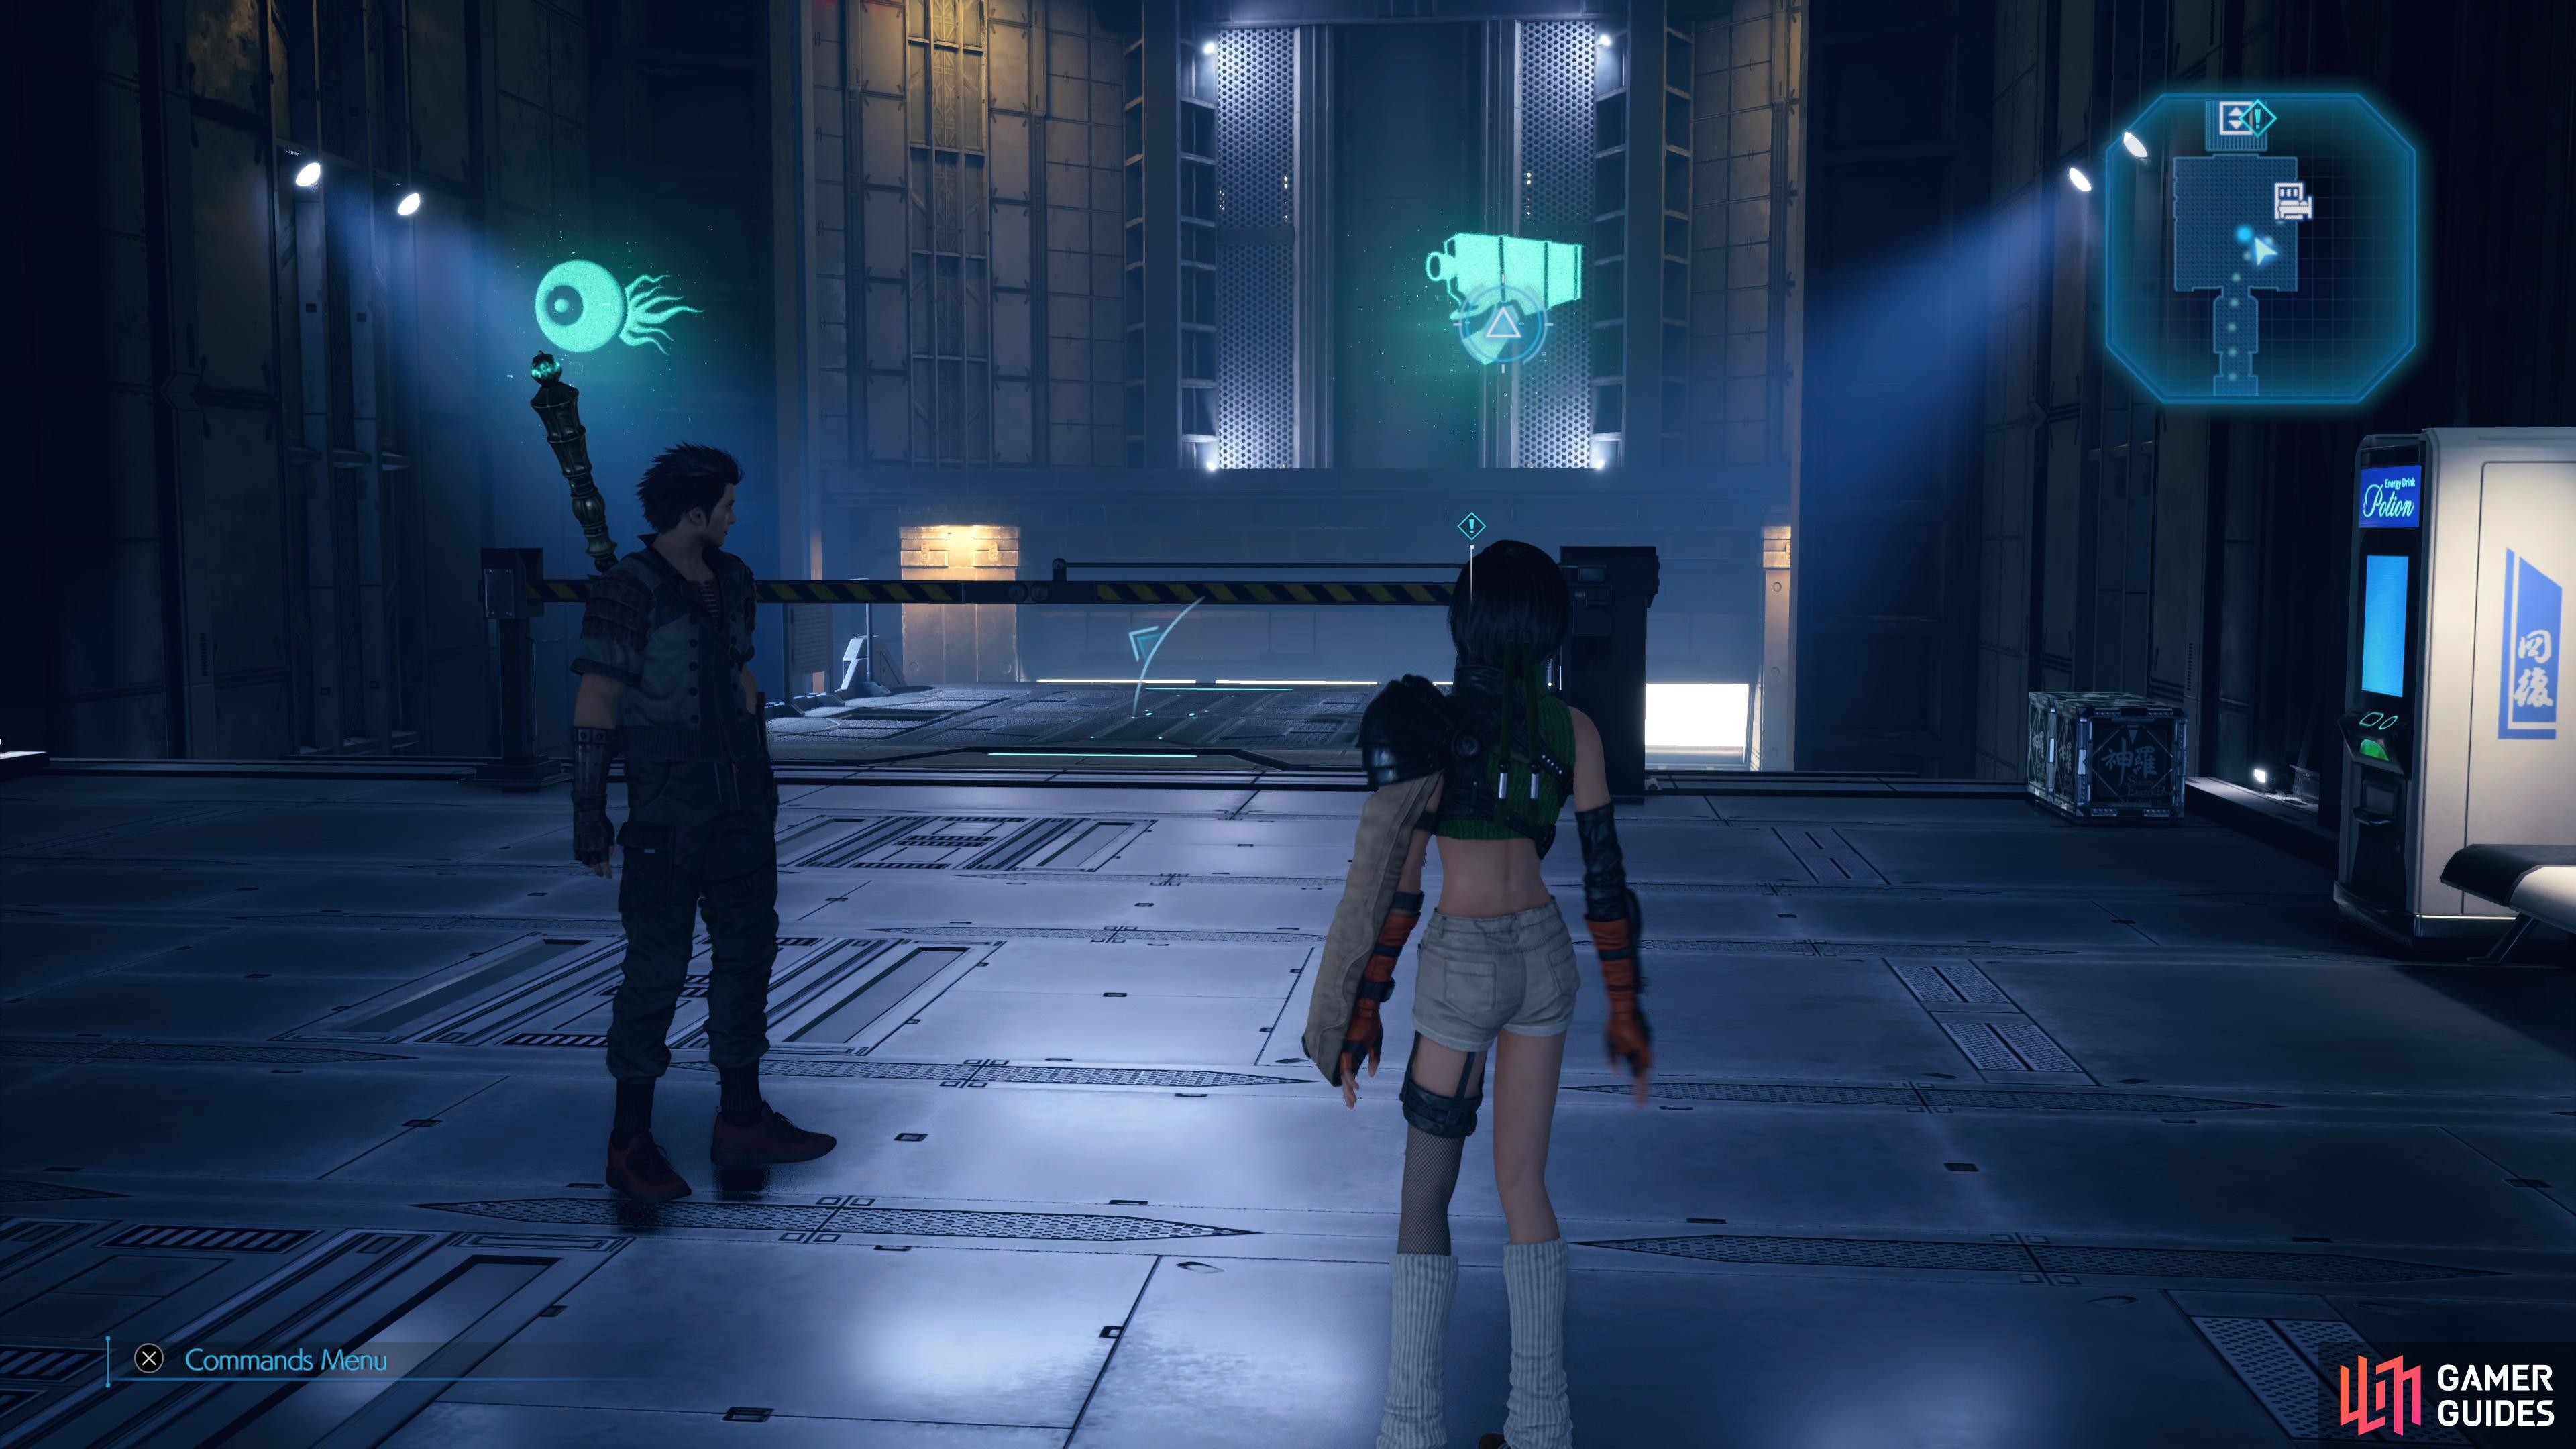
Yuffie and Sonon are left with no choice but to take Scarlet up on her invitation, which seems to be an obvious trap laid for the pair. Before heading through the now unlocked door, examine the chamber in the center to claim the AP Up Materia. As you enter the Testing Grounds, Scarlet will once again show up to taunt you before giving you a choice of opponents for your first trial. Before that however, make use of the nearby bench and vending machine to recover and stock up on any items you may need.
Your first choices of battle are against two Mark II Monodrives (left) or two Sweepers (right). Depending on your confidence, the Monodrives are the easier battle here so consider choosing that first. Once you’ve made your choice, step onto the platform and hit the console to proceed to the first trial. If you went for the Monodrives, you’ll want to target their weakness using Wind Ninjutsu or Windstorm, just remember that you’ll need to soften them up with magical based attacks before Sonon can deal physical damage to them. If you’re up against Sweepers, you should know what to expect by now, switch the Lightning Ninjutsu and watch for when they charge you.
Heal up after the battle and then you’ll need to make another choice for the second trial. This time, your choices are against a single Cutter (left) or two Blast-Rays (right), the tougher encounter here. Once you’ve made your choice, step on the platform once more and ride it to the next area for your battle. The Cutter is a slightly more buffed up version of the Sweepers you’ve already been facing, they’ll take more of a beating and its Rampage mode can be deadly but so long as you use Lightning Ninjutsu and target its arms, you’ll be fine. The two Blast-Rays however will be a lot tougher, switch to Lightning Ninjutsu, have Sonon Incite one and then focus fire on one at a time. The Stagger gauge will fill at intervals based on damage dealt so you’ll need to keep up the pressure to take these fearsome foes down.
Recover any damage after the battle and get ready for the third trial, this time your choices are six Monodrives (left) or four Slug-Rays (right), both of these battles shouldn’t cause too much of a threat so feel free to pick whichever enemy you find easier to deal with. Just remember to switch to Wind Ninjutsu for the Monodrives and Lightning Ninjutsu for the Slug-Rays and it should be smooth sailing.
You shouldn’t be hurting too much after that last battle, but if you are recover up before making your next choice for the fourth trial. This time, the options are a single M.O.T.H. Unit (left) or two Armored Magitroopers (right), both battles can trip you up if you’re not careful but consider going for the M.O.T.H. Unit due to it being an enemy you’ve not fought yet. The M.O.T.H. Unit has a lot of HP, and it can only be staggered with Lightning/Wind based attacks following its Ultrahigh Voltage ability once charged up, instead, use Windstorm with either element to deal high damage to it. Be sure to keep Sonon on it with Incite and consider stealing an Iron Maiden from it if you have Steal (or Mug) available to you. The Armored Magitroopers you’ve encountered a few times now, steal or destroy their core and you’ll be able to take them down in no time at all, just be careful if both are targeting Yuffie at the same time.
Heal up following this battle and you’ll only have one final test remaining to you, this time without a choice. Step on the platform and ride it over to encounter a Deathwheel, a powerful foe that can deal heavy damage quickly. Deathwheel is, however, weak to Fire, Ice and Wind and it’ll take more damage from the back (and less from the front) so with this in mind, you can have Sonon Incite from the front and head around the back and pelt it with magical attacks to drive up the Stagger gauge and destroy it.
Scarlet will appear once more, hinting at more to come up ahead. Take the platform up and make use of the bench and the vending machine before proceeding through the doors.
Boss: Scarlet and the Crimson Mare

Scarlet will challenge you using Crimson Mare at the end of the Testing Grounds.
| Enemy | Weaknesses | Notable Loot |
|---|---|---|
| Crimson Mare | Lightning | – |
| Scarlet | Fire | – |
Phase One
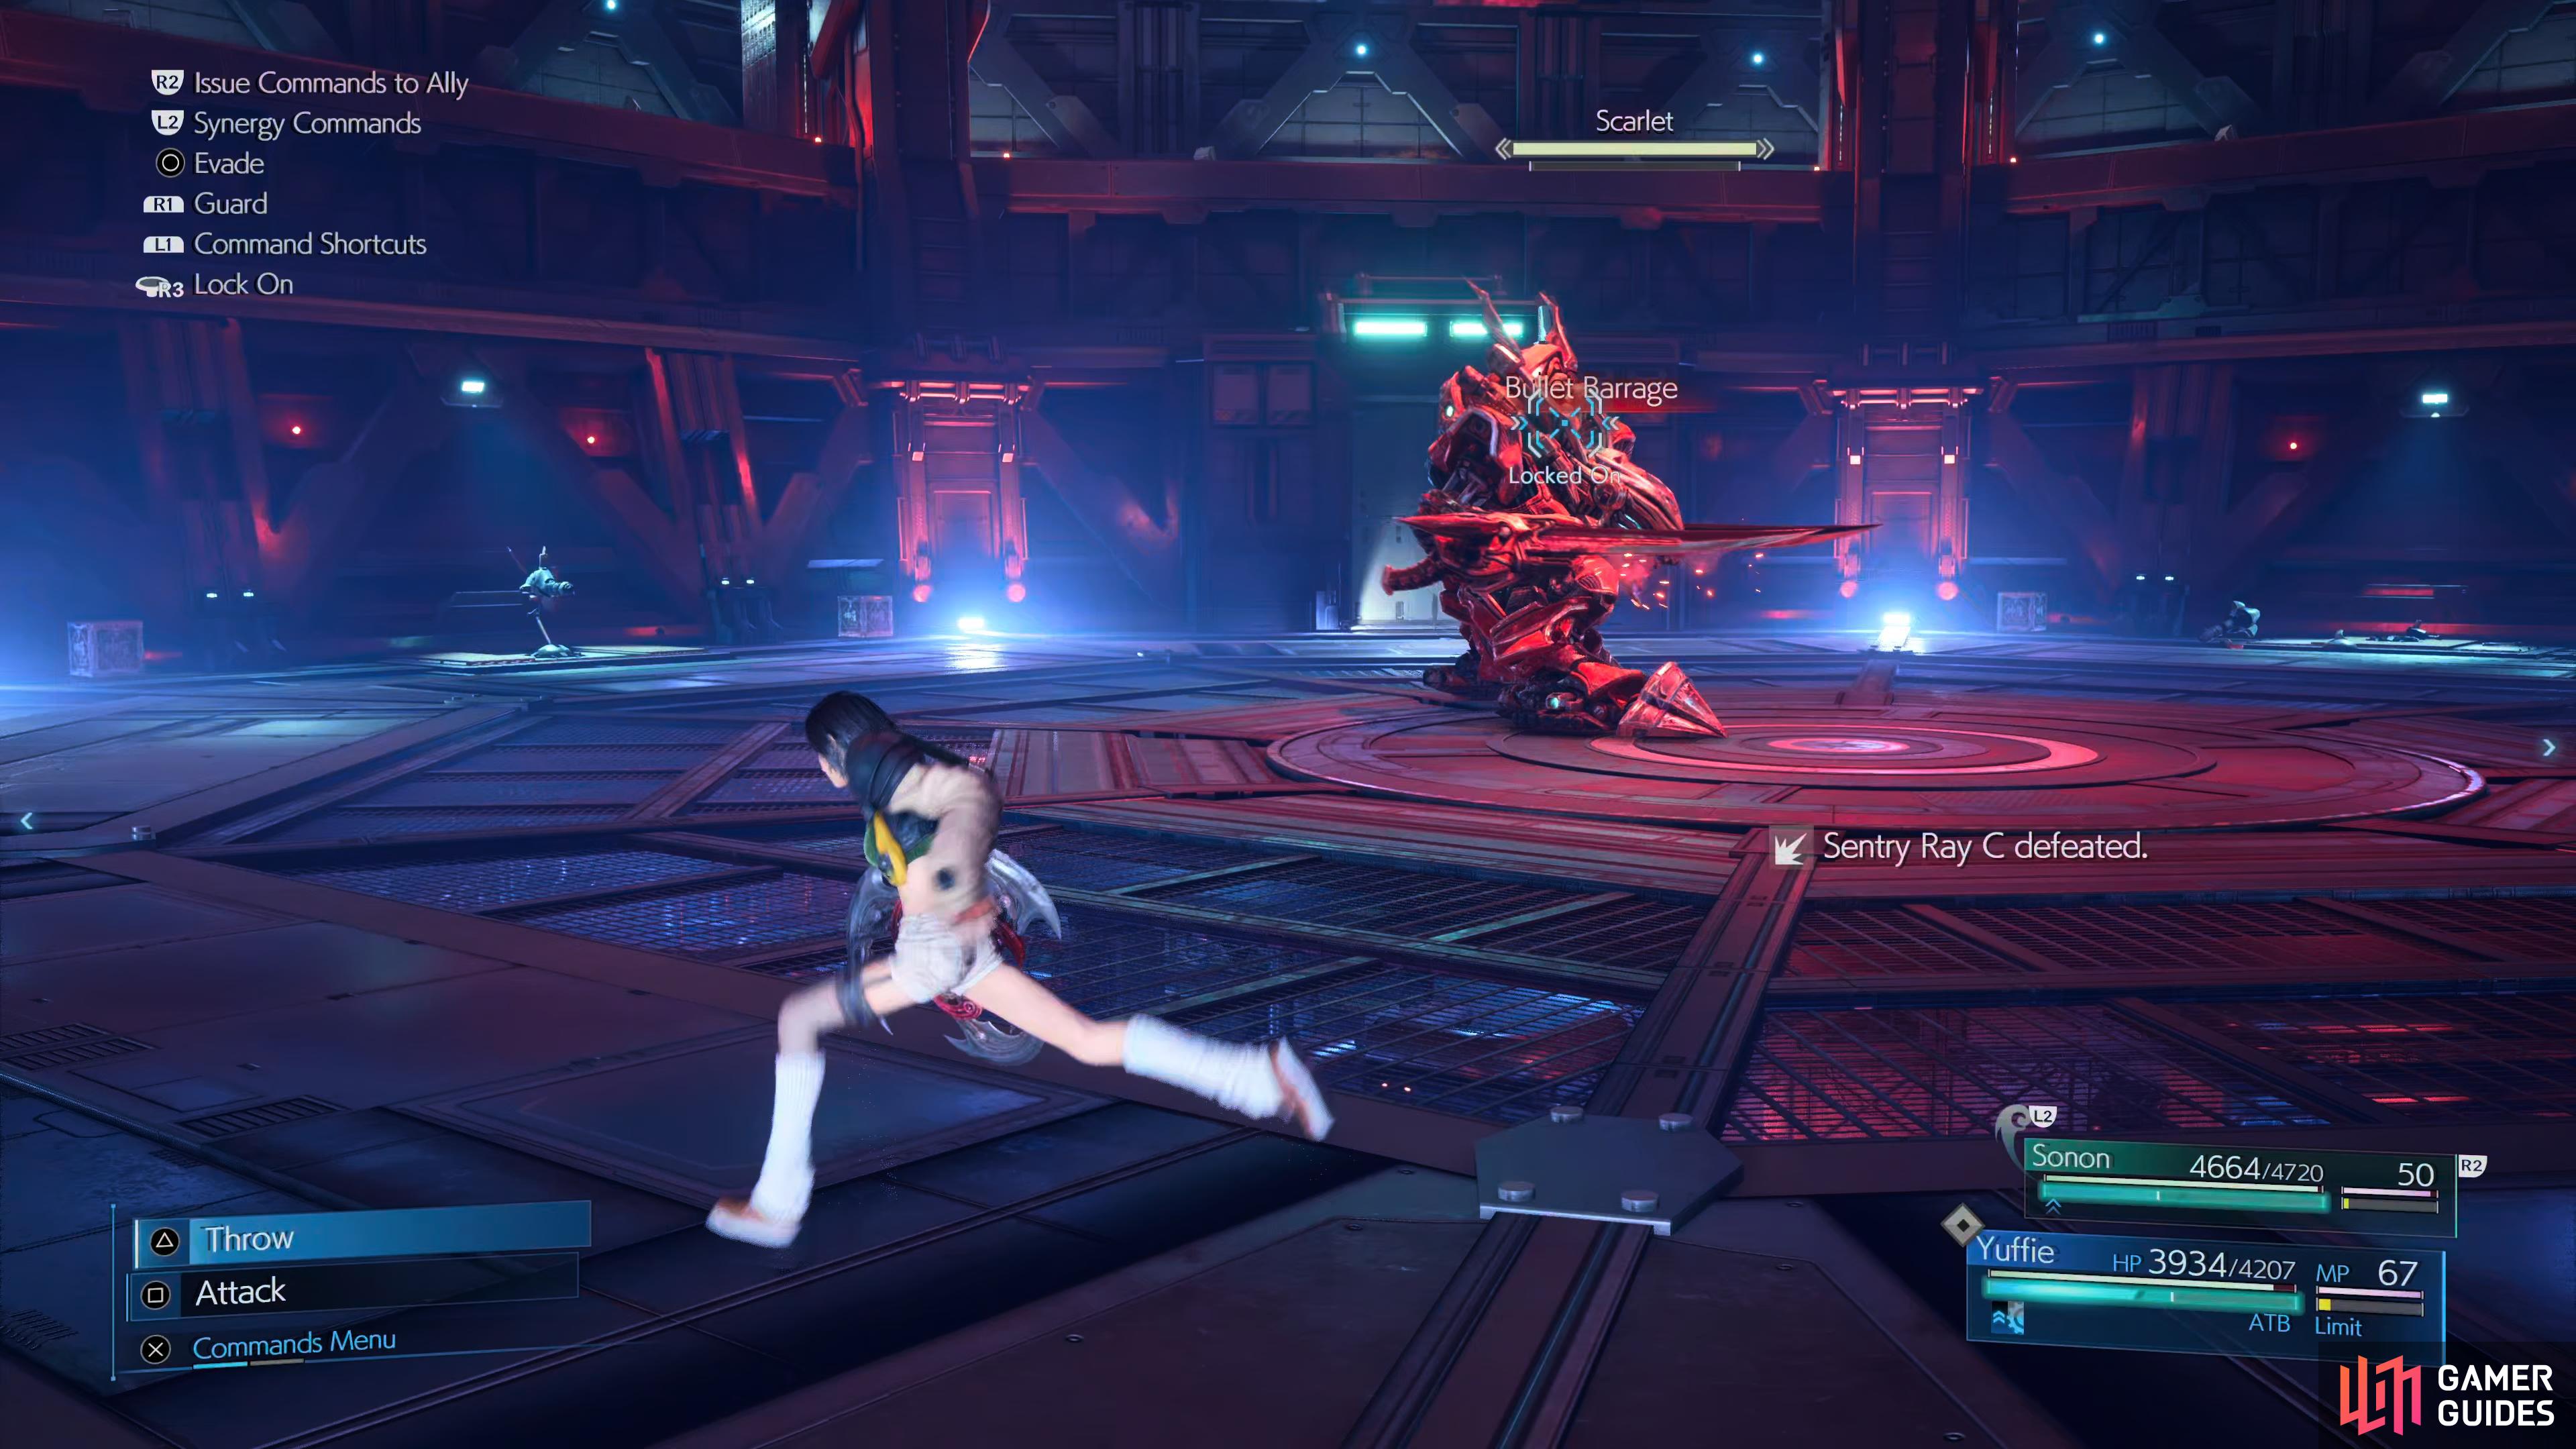
Scarlet finally decides to take matters into her own hands with her new expirmental weapons platform, the Crimson Mare. This massive suit of armor has many attacks and modes available to it and defeating it will be no pushover. You’ll need to get used to switching targets on the fly to take it down along with being comfortable with Ninjutsu swapping as both targets have different weaknesses.
To start, you’ll only be able to begin Staggering the Crimson Mare (which is weak to Lightning) once you incapacitate Scarlet herself (weak to Fire). This means you’ll want to focus your attacks on her first before turning your attention to Crimson Mare. What’s more, while Scarlet is out of action, she won’t be able to use Fire Spire, any of her Directives or Revivfy on Crimson Mare, leaving you to deal with just Bullet Barrage in Phase One, a simple attack that deals light damage but causes you to flinch, leaving you open for follow-up attacks.
Flame Spire will see Scarlet summon a pillar of Fire that will inflict Burn on you should it strike you, at which point Crimson Mare will likely follow up with a Dash, when you see the name, dodge away from it and the incoming dash. During this phase, you’ll have to deal with Sentry-Rays around the outside of the arena, take them out while Sonon Incites and focuses on Crimson Mare.
After using Revivfy to recover from being downed, Scarlet will use Directive: Deploy to summon four Sentry Launchers high above the arena, switch to Lightning Ninjutsu and focus on taking them out while Sonon keeps the attention of Scarlet and Crimson Mare. During this Phase, Crimson Mare’s swords will become enchanted with flames as she uses Directive: Cover Fire, this will make it’s sword strikes and dashes not only cause more damage, but leave fire all over the field, causing damage to you should you wander in.
Your attack pattern shouldn’t change too much here, focus on Scarlet with Fire based attacks and then switch to Lightning once she’s down with Lightning. By now, you may well have a level 3 Banishment, if so, make use of it to deal heavy damage to the Crimson Mare and try and force her into her next phase.
Phase Two
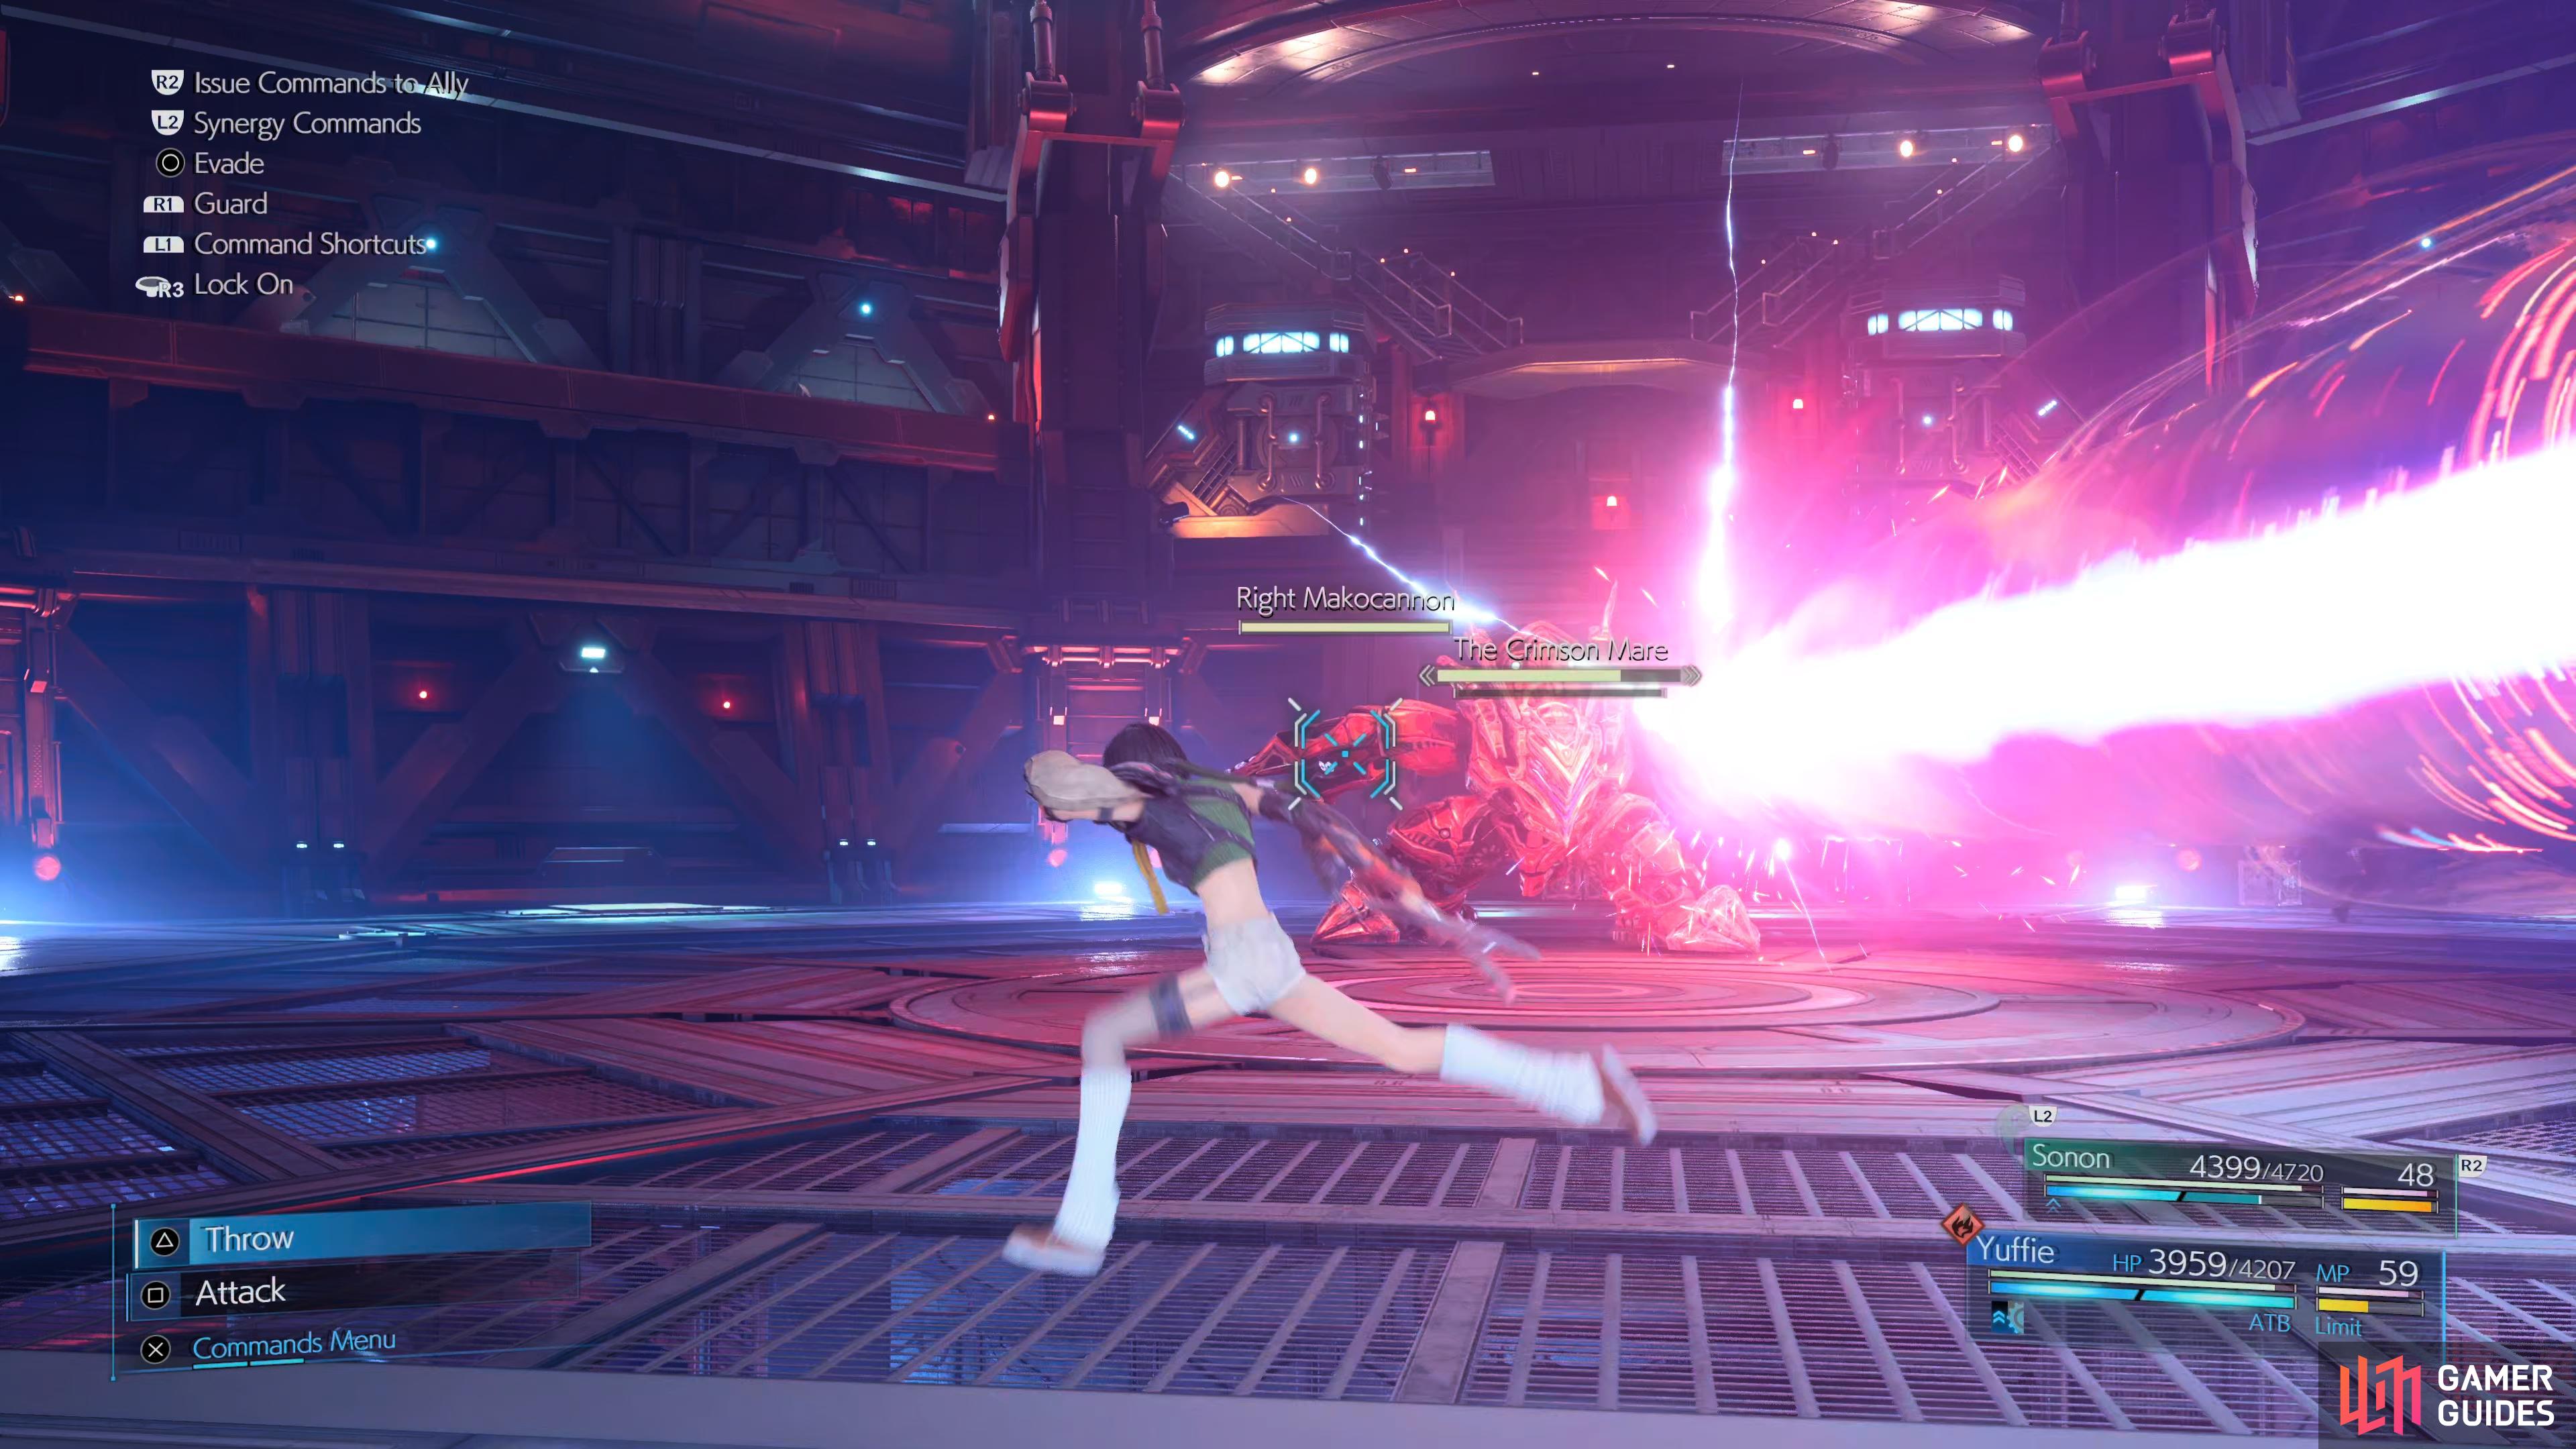
When Scarlet returns to the arena, she will have replaced the Crimson Mare’s sword arms with two Makocannons, armaments that will deal significantly more damage than their sword counterparts. Her most common attack here is the Makocannon Beam, this will fire a linear laser at your position that will deal significant damage should it strike you, keep on the move to the sides to avoid it.
When you see Crimson Mare point its cannons up into the air, dash out to the back of the arena as it will soon rain down countless Missles from the air that will add up if you get struck by many of them. Scarlet will switch up her Flame Spire here for a Rocket Launcher, she’ll target one target (usually Sonon) and fire a barrage of Rockets at them, dealing moderate damage. Your objective during this phase should be to target the cannons and destroy them to limit the attacks available to Crimson Mare. Once they’re dealt with, quickly knock out Scarlet to prevent her from recovering them too quickly and then get to work on the Crimson Mare once more.
Phase Three
Once you bring Crimson Mare to below 60% HP (~11,000 HP), Scarlet will once again retreat and return with more new armaments, this time a large Claymore and Shield. Scarlet will have both Flame Spire and Rocket Launcher available to her here, so you’ll need to be on the lookout constantly for both attacks.
As for Crimson Mare, it will start using both of it’s new weapons for attacks. When you see Crimson Mare raise its Claymore, get ready for the deadly Claymore Slam that follows as it will deal large damage to anyone caught in the strike. It’s best to keep your distance with Yuffie during this phase, as Crimson Mare will use a Claymore Spin Attack at regular intervals too, this will only deal light damage but it can stack and if you’re up close, you’ll have to rely on blocking rather than evasion.
The Shield has some attacks of it’s own too, starting with the Shield Dash. Similar to the Dash from the first phase, Crimson Mare will dash at it’s target, only a drill will emerge from the shield to deal moderate damage if you’re struck by it. You can prepare for this if you look for when the drill from the shield. The Shield’s other ability is the Shield Thrust, Scarlet will thrust towards any target in close-range and charge the drill for a multi-hit attack. Like the Claymore Spin Attack, you’ll need to rely on blocking through this if you’re too close to her.
Like the previous phase, you can target both the Claymore and the Shield and destroy them to limit the actions of Crimson Mare. Focus on this first before turning your attention to Scarlet and finally, Crimson Mare proper.
Phase Four
Scarlet will return to the arena with the Makocannons once more, only this time all of her attacks will be used at a quicker pace so you’ll need to react quickly to all of them. By this point, you’ve seen all of the tricks that Scarlet has available to her so feel free to go all out on her now as there’s no more transitions to worry about. This is a good time to use a Limit Break should you have it available or Summon Ramuh if given the opportunity, the Thunder God will deal massive damage to Crimson Mare. Your reward for taking the Crimson Mare down is the Firebird Armlet, armor that will prevent death once per battle.
No Comments