

The group’s efforts to destroy the Mako Reactor has taken a rather unexpected turn as the blast is far larger than Jessie ever planned. You’ll find yourselves in the interior of the Plate Partition as you look for a way back to the surface. Follow the rest of the group south through the collapsed tunnel until you find a side passage to the west.
Use the Escape Route
Continue south for a few steps to loot a chest containing 2 Potions, then go down the western side-tunnel before you continue following the Avalanche members south. Having not learned their lesson about playing with bombs, they blow open some doors, allowing you to exit out into Sector 8.
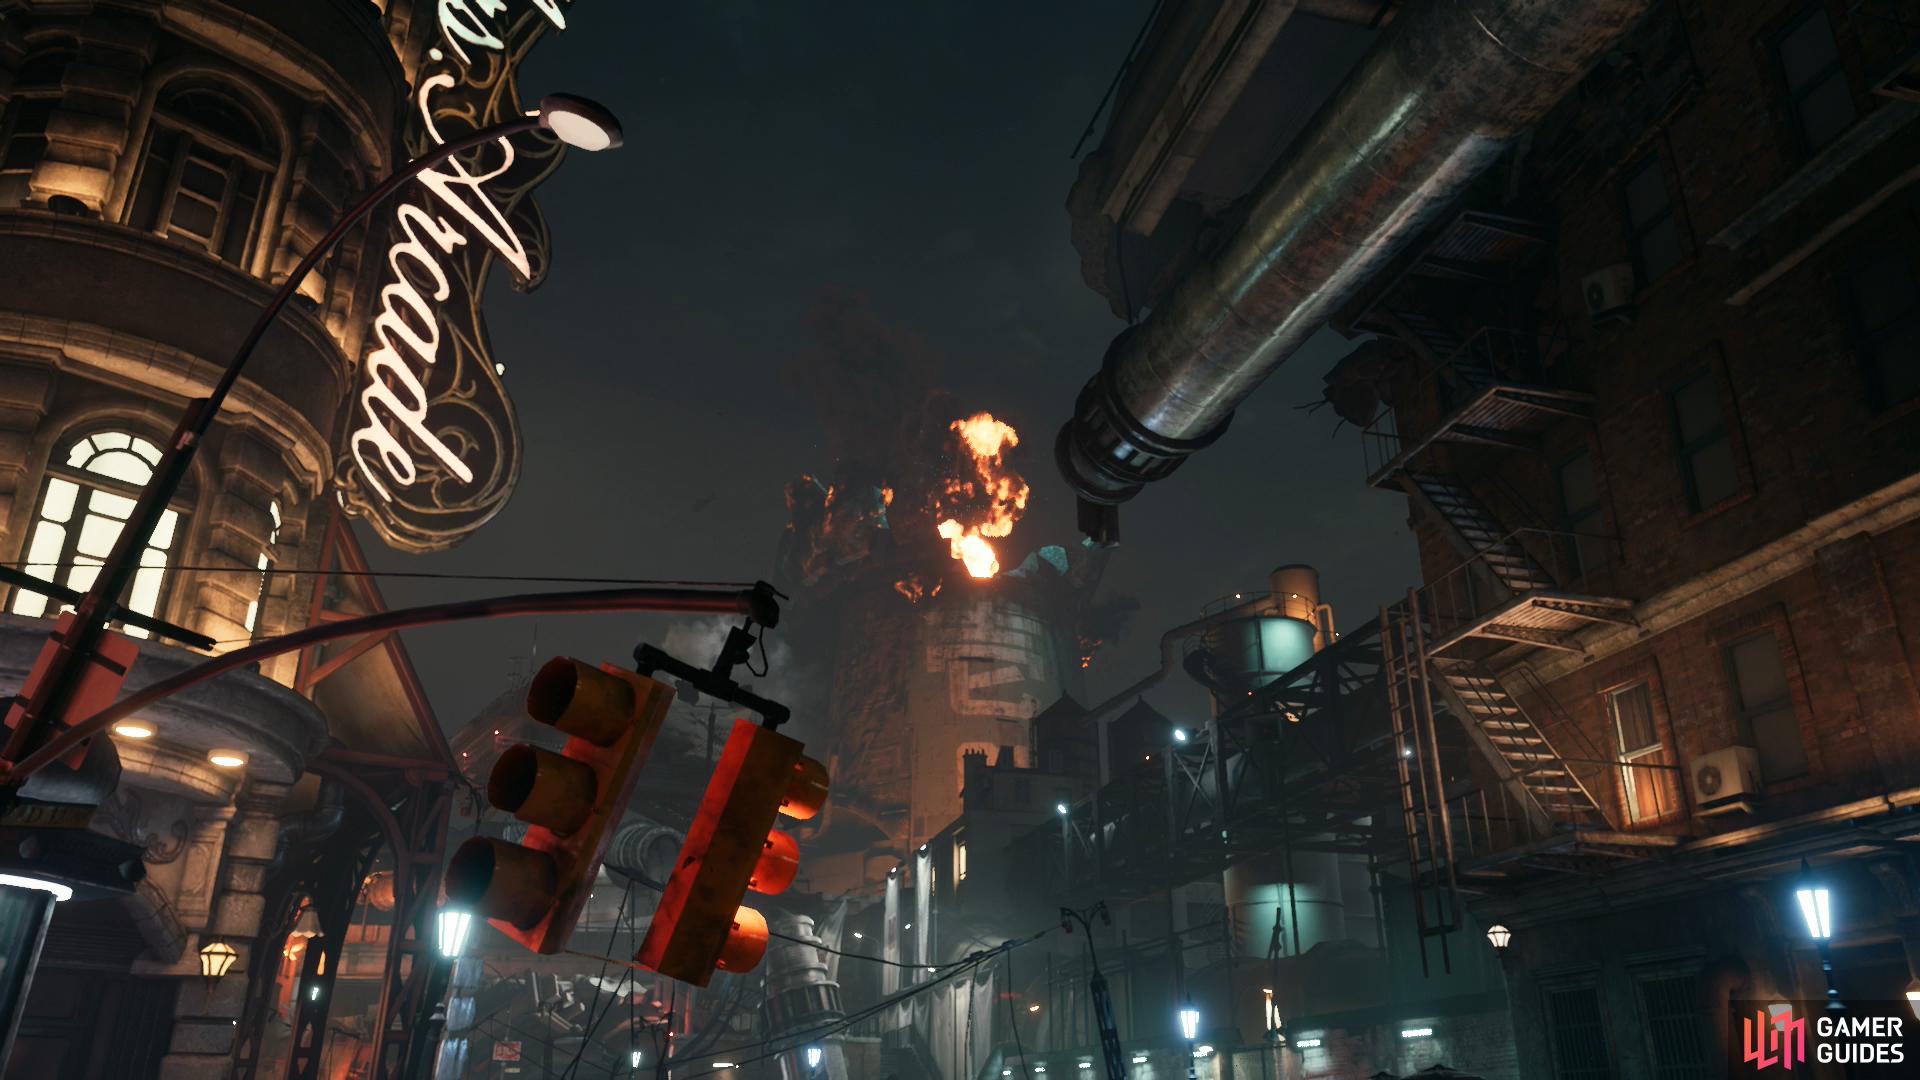
Once outside you’ll get a good look at the city and the consequences of your actions. Barret will give a rousing speech to fortify his little band of eco-terrorists. Afterwards, AVALANCHE will run off and you’ll regain control of Cloud. Open the nearby chest to snag an Ether and then take the stairs up to learn your next objective: rendezvous at the base.
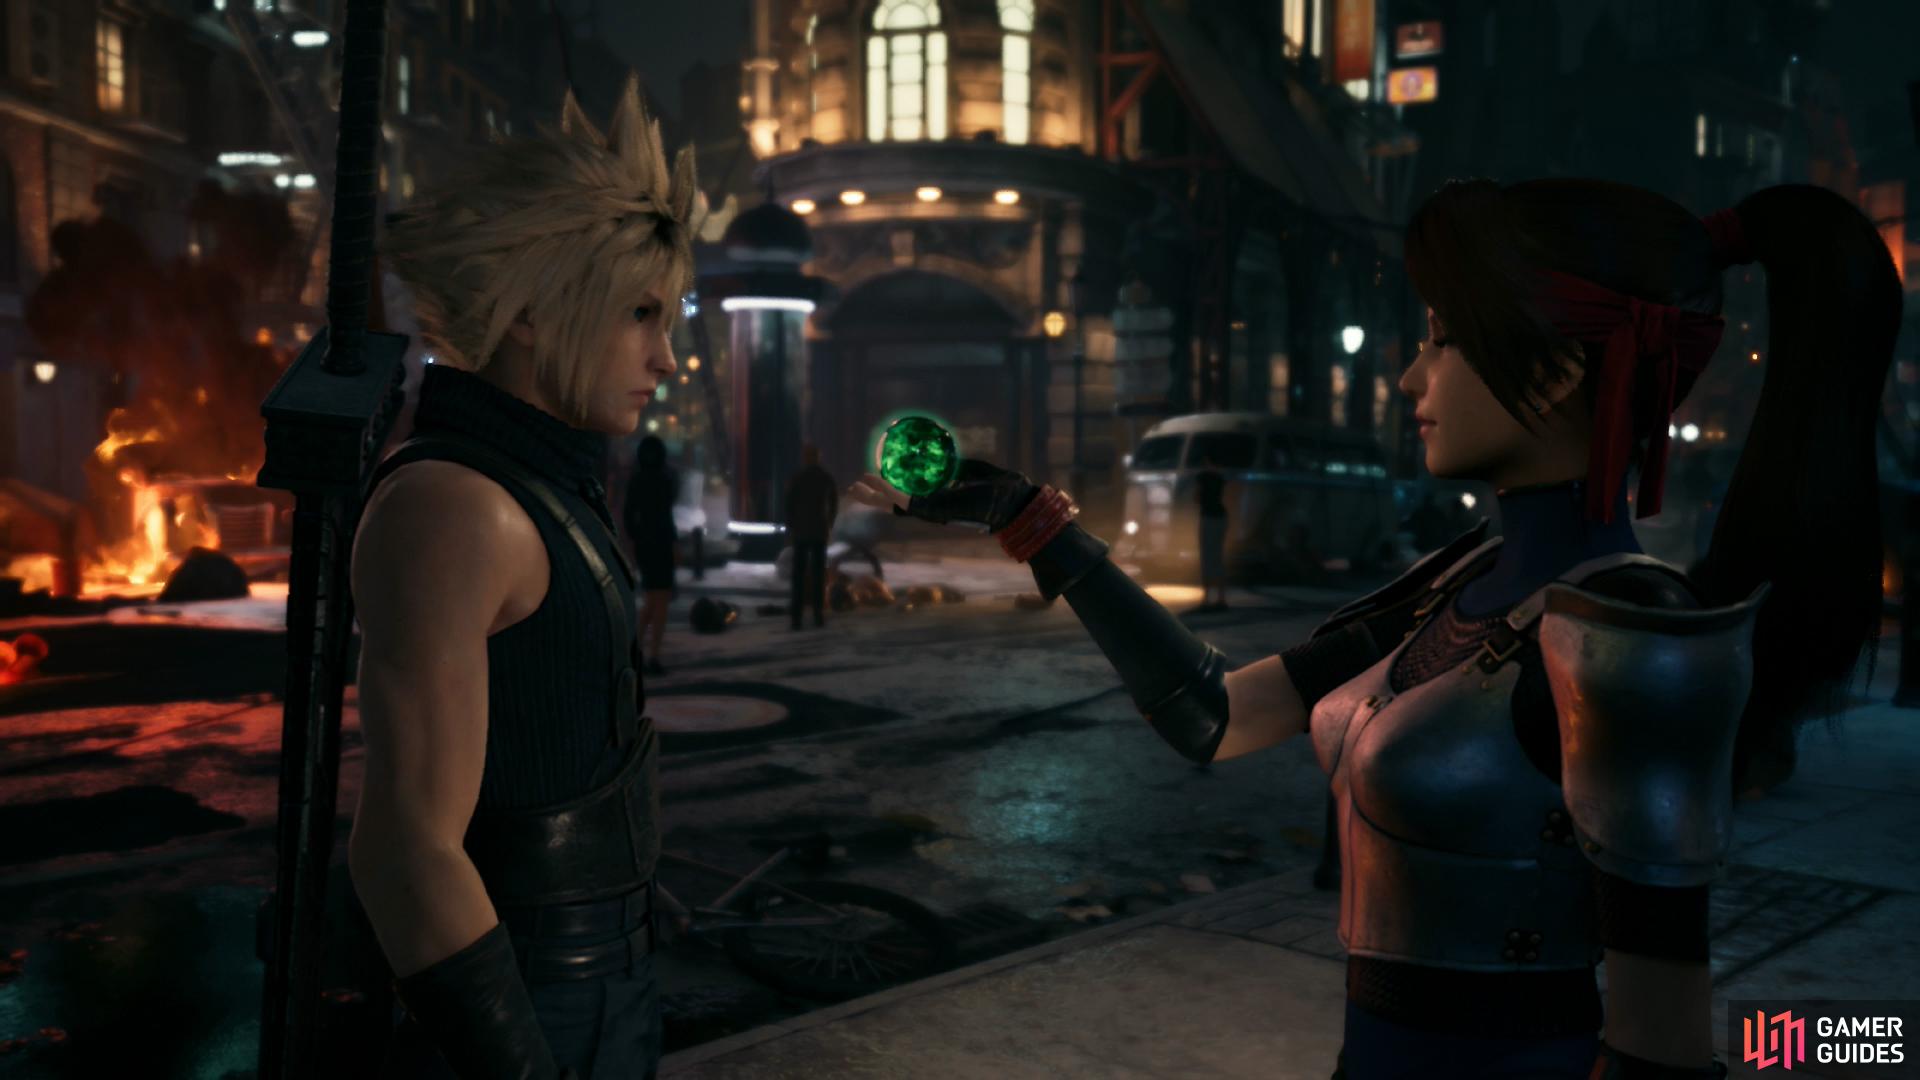
Jessie will give you some Healing Materia.
Equip it and you’ll be able to cast the Cure spell.
Reach the Sector 8 Station
Head down the stairs and you’ll run into Jessie who will kindly hand over some Healing Materia as she explains the Materia and Equipment system in general.
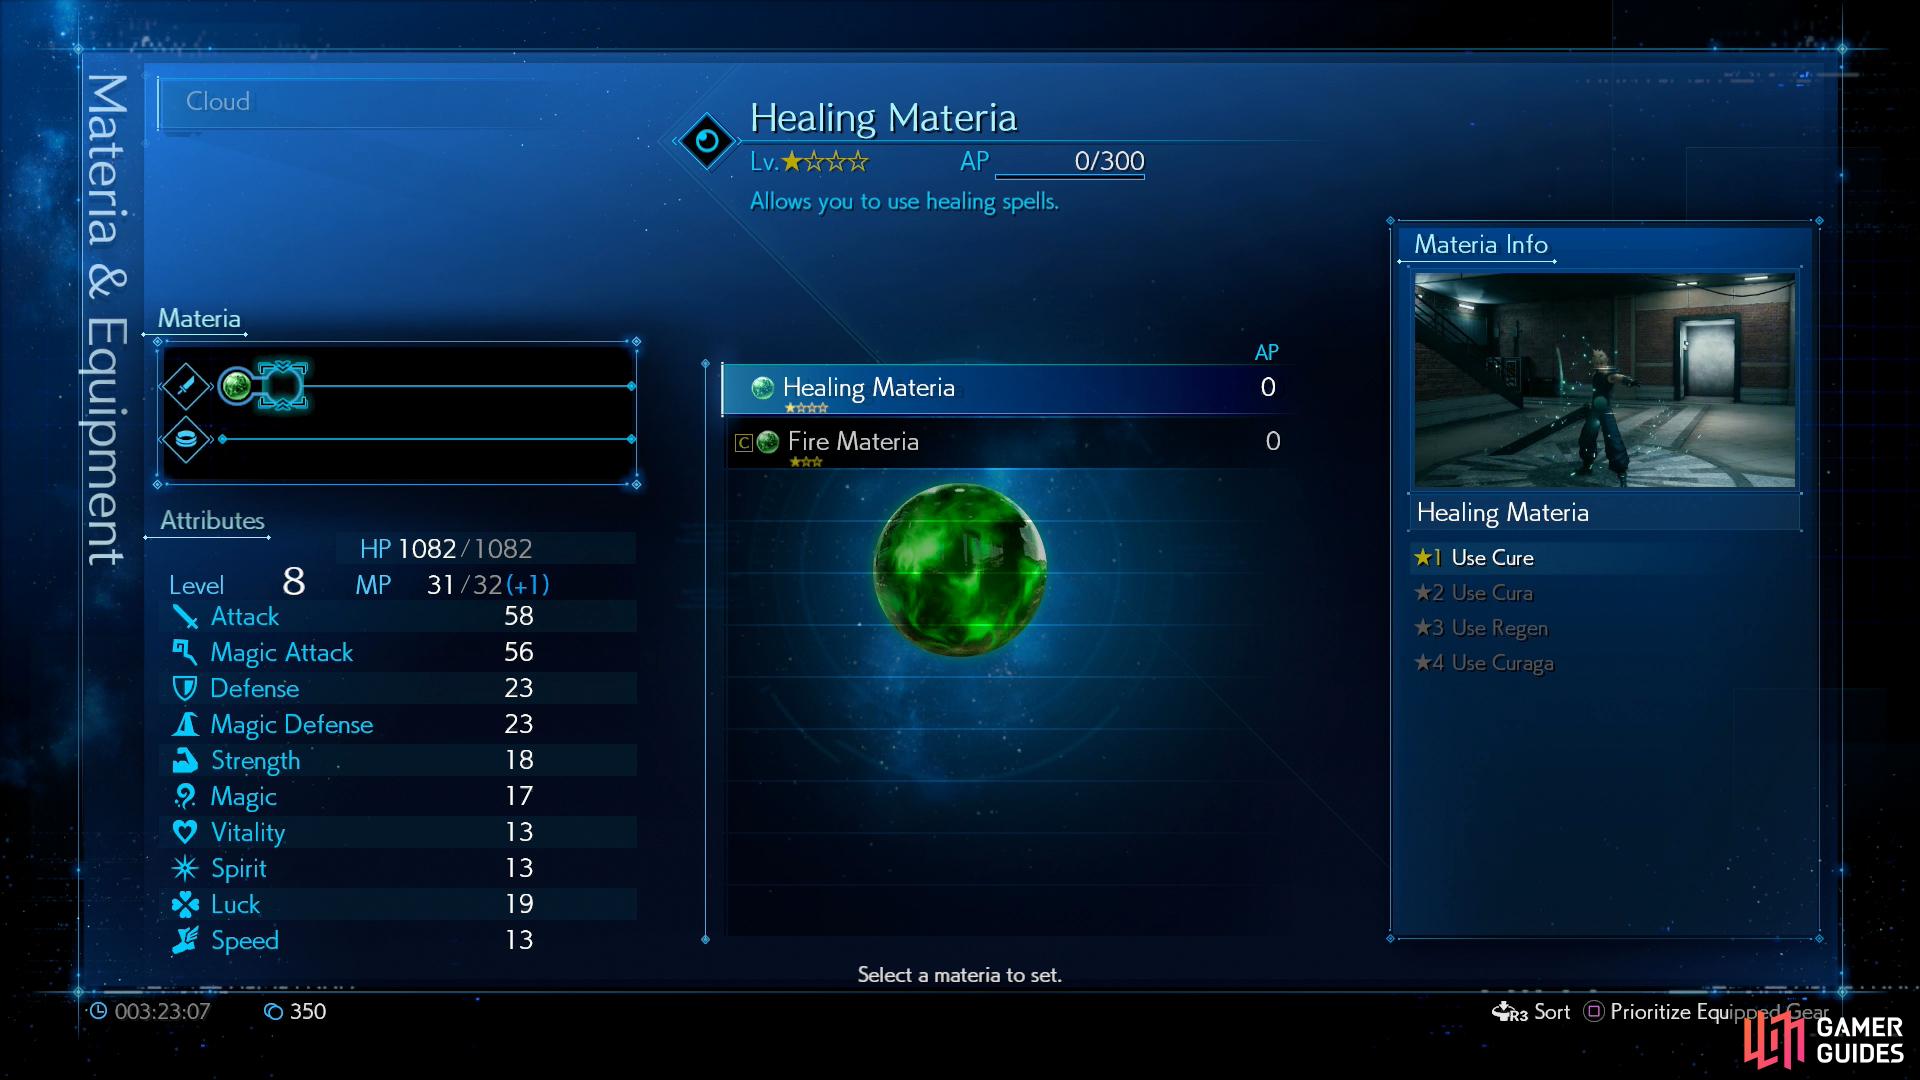
In the main menu you’ll now have a “Materia & Equipment” option, which you can use to change your equipped materia, weapons, armor and accessories. Each character can have one weapon, one accessory, and one piece of armor equipped at a time, and each weapon and armor has a varying number of materia slots on it. You can equip one materia into each empty slot, and once equipped you’ll be able to cast any spells associated with said materia.
For example, go to your main menu by pressing [OPTIONS], select the Materia & Equipment option, and when you’re on the Materia & Equipment screen press [TRIANGLE] to “Set Materia”. Select the empty slot on Cloud’s Buster Sword and slot in your fancy new Healing Materia, which will give you the ability to cast Cure. Also note that this particular materia will boost Cloud’s maximum MP by +1 - equipping materia can also have effects on your stats, although these effects are fairly trivial at the moment, so we’ll leave them be for now and discuss them in greater detail later.
Also note that the two materia slots in Cloud’s Buster Sword are linked to each other (as evidenced by the black bar connecting the two materia slots). Some materia, when equipped together in linked slots, will enhance or alter each other’s effects. This isn’t the case with magic (green) materia, but it’ll be an important consideration for your materia loadout later on.
While we may be jumping the gun a bit, it’s worth noting there are several different types of materia, and keeping in mind the differences between them will be rather useful:
-
Magic Materia: Green in appearance, these will grant you the Magic that the Materia is based on, for example Fire. These can be upgraded allowing you to learn the higher level spells such as Fira and Firaga for example.
-
Command Materia: Yellow in appearance, these will grant new abilities for you to use under the Ability option. These can range from granting you the ability to analyze your foes (Assess) to restoring HP based on damage received (Chakra).
-
Support Materia: Blue in appearance, these are more unique Materia that will affect other Materia. Elemental for example can be used in a Linked Slot alongside other elemental Magic Materia to grant your physical attacks that element or provide defense against it.
-
Complete Materia: Purple in appearance, these will affect your stats most of the time. HP Up, MP Up and Magic Up to name just a few will increase those stats when equipped. You can enhance how much they increase stats by leveling up the Materia however there is a limit to how much you can benefit from them.
-
Summoning Materia: Red in appearance, these will do exactly as they say, allowing you to summon all manner of creatures along with boosting your stats in certain ways. There’s a specific slot for Summoning Materia and you can only ever equip one at a time, what’s more, you’ll only be able to call upon their aid in specific conditions.
You may have noticed that it was mentioned that materia can be leveled up. This is done by obtaining AP, something that you’ll start receiving from every enemy going forward. You can preview what leveling up equipped materia will do by checking the “Materia Info” box on the right of the screen. Healing Materia, for example, allows you to use Cure at the start, but you’ll unlock the Cura, Regen and Curaga spells as you level the materia up. Only equipped materia gain AP.
For now, you only have both Fire and Healing Materia so be sure to equip your gift from Jessie to acquire Cure, a handy spell that can even be used outside of battle.
Once you’ve finished looking through the menus, Jessie will hand over an Ether and 2 Hi-Potions before dashing off to catch the train. Left to your own devices in the aftermath of the bombing, head northwest to where you’ll find a van; to the side of it is a chest containing 50 Gil. Continue north and you’ll spot Jessie once more, who points out a route for you to take. Use the nearby stairs and before climbing onto the rubble, look to the left to spot another chest, this one housing 3 Grenades.
Use the rubble now to cross over to the other side and the rubble will give way, dropping you down to the road once more. Continue forward and the road above will collapse, cutting off your route to the station as Cloud remembers something from his past.
Follow Him
Cloud’s vision blurred, the man walks off into the distance so follow him back the way you came until you reach the previously inaccessible alley. Following Cloud’s apparent hallucination, you’ll find yourself still in the alley, now no longer in flames.
Taking a Detour
| Enemy | Weaknesses | Notable Loot |
|---|---|---|
| Security Officer | Fire | -- |
| Guard Dog | Fire | -- |
| Grenadier | Fire | -- |
| Shock Trooper | Fire | -- |
| Riot Trooper | Fire | -- |
Your initial route is cut off, so you’ll need to seek out an alternative route for reaching the station. Head west to leave the alley and then take the alley to the northwest to find some stairs. This will lead to the rooftop where you’ll be able to see the full effect of your handiwork back in the Reactor. Follow this rooftop around but before you take the stairs, look to the right to find a chest nestled between the pipes, open it to obtain 3 Potions.
Take the stairs down and descend the ladder to reach the ground once more and find yourself on Loveless Street. As you head forward, the route to the southeast is off limits for now so head west to trigger an iconic encounter. The Flower Peddler will offer Cloud a flower and you’ll be given a choice here - respond however you like as the choice will only change a few lines of dialogue. Your encounter is cut short by the appearance of an unknown entity which draws the Shinra troops to your position.

While wandering through the streets of Midgar, you’ll meet Aerith.
Your chat is interrupted by by some Security Officers.
Evade Pursuers
Thankfully, you’ll only be up against a group of five Security Officers and you should be well equipped to dispatch them easily by now. You’ll begin encountering enemies from this point on and you’ll have a bit more freedom on where you can go.
Before continuing on, head down the street to the west, then go down an alley to the north (the same alley that Aerith fled down). Here you’ll find a stack of Shinra Boxes and a chest on the platform above them containing a Hi-Potion. The gate to the station is locked for now so an alternative route is in order. Backtrack south to the main street and note that while you’re supposed to head south to continue to your destination, a short - and lucrative - detour is in order.
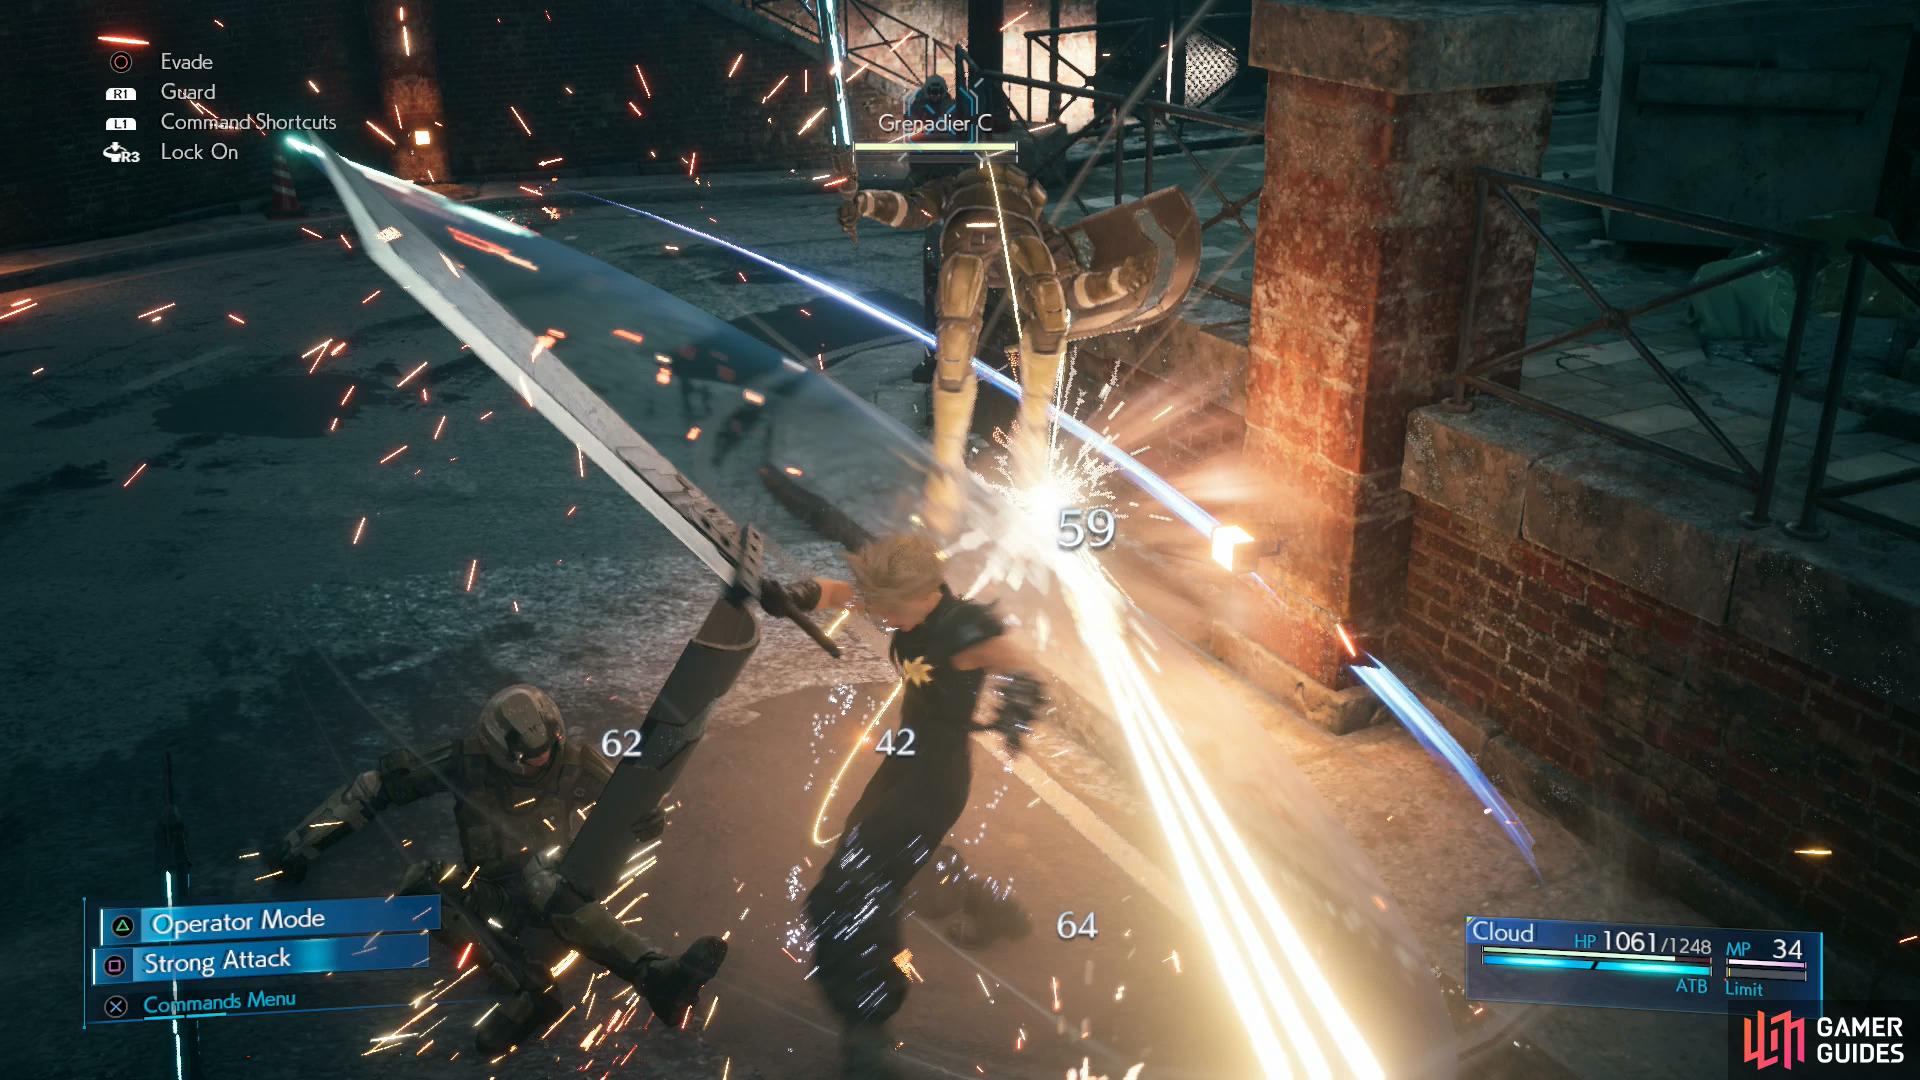
(1 of 3) Past some barricades you’ll need to fight a Guard Dog and two more Security Officers.
Head down the street to the east instead, and when you come to an intersection turn southeast, passing between some barricades and provoking a Guard Dog and two Security Officers. Nothing you haven’t seen before so cut them down then search near a parked van to find another stack of Shinra Boxes and some HP Up Materia - this is a better use for Cloud right now than the Healing Materia he has equipped already but the choice is yours to make. You can always equip your Healing Materia long enough to cast Cure, then swap it out for HP UP.
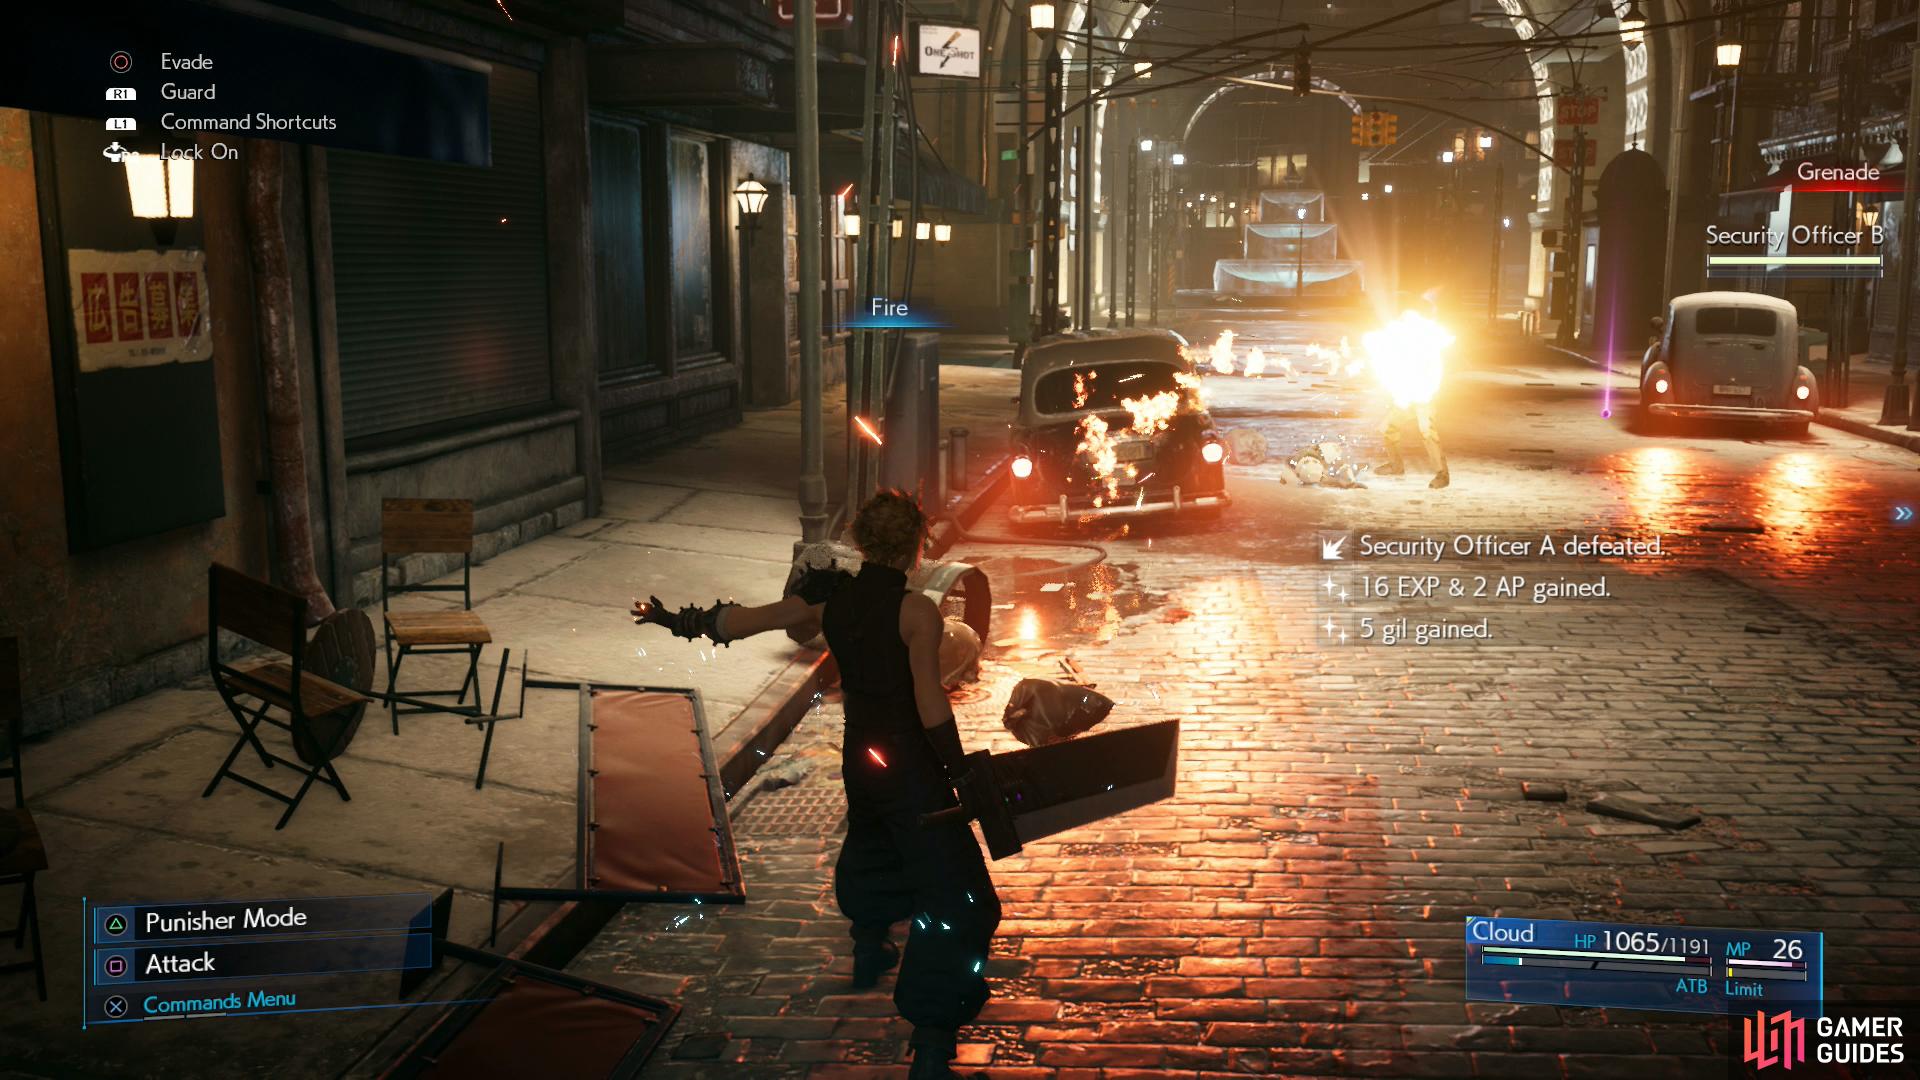
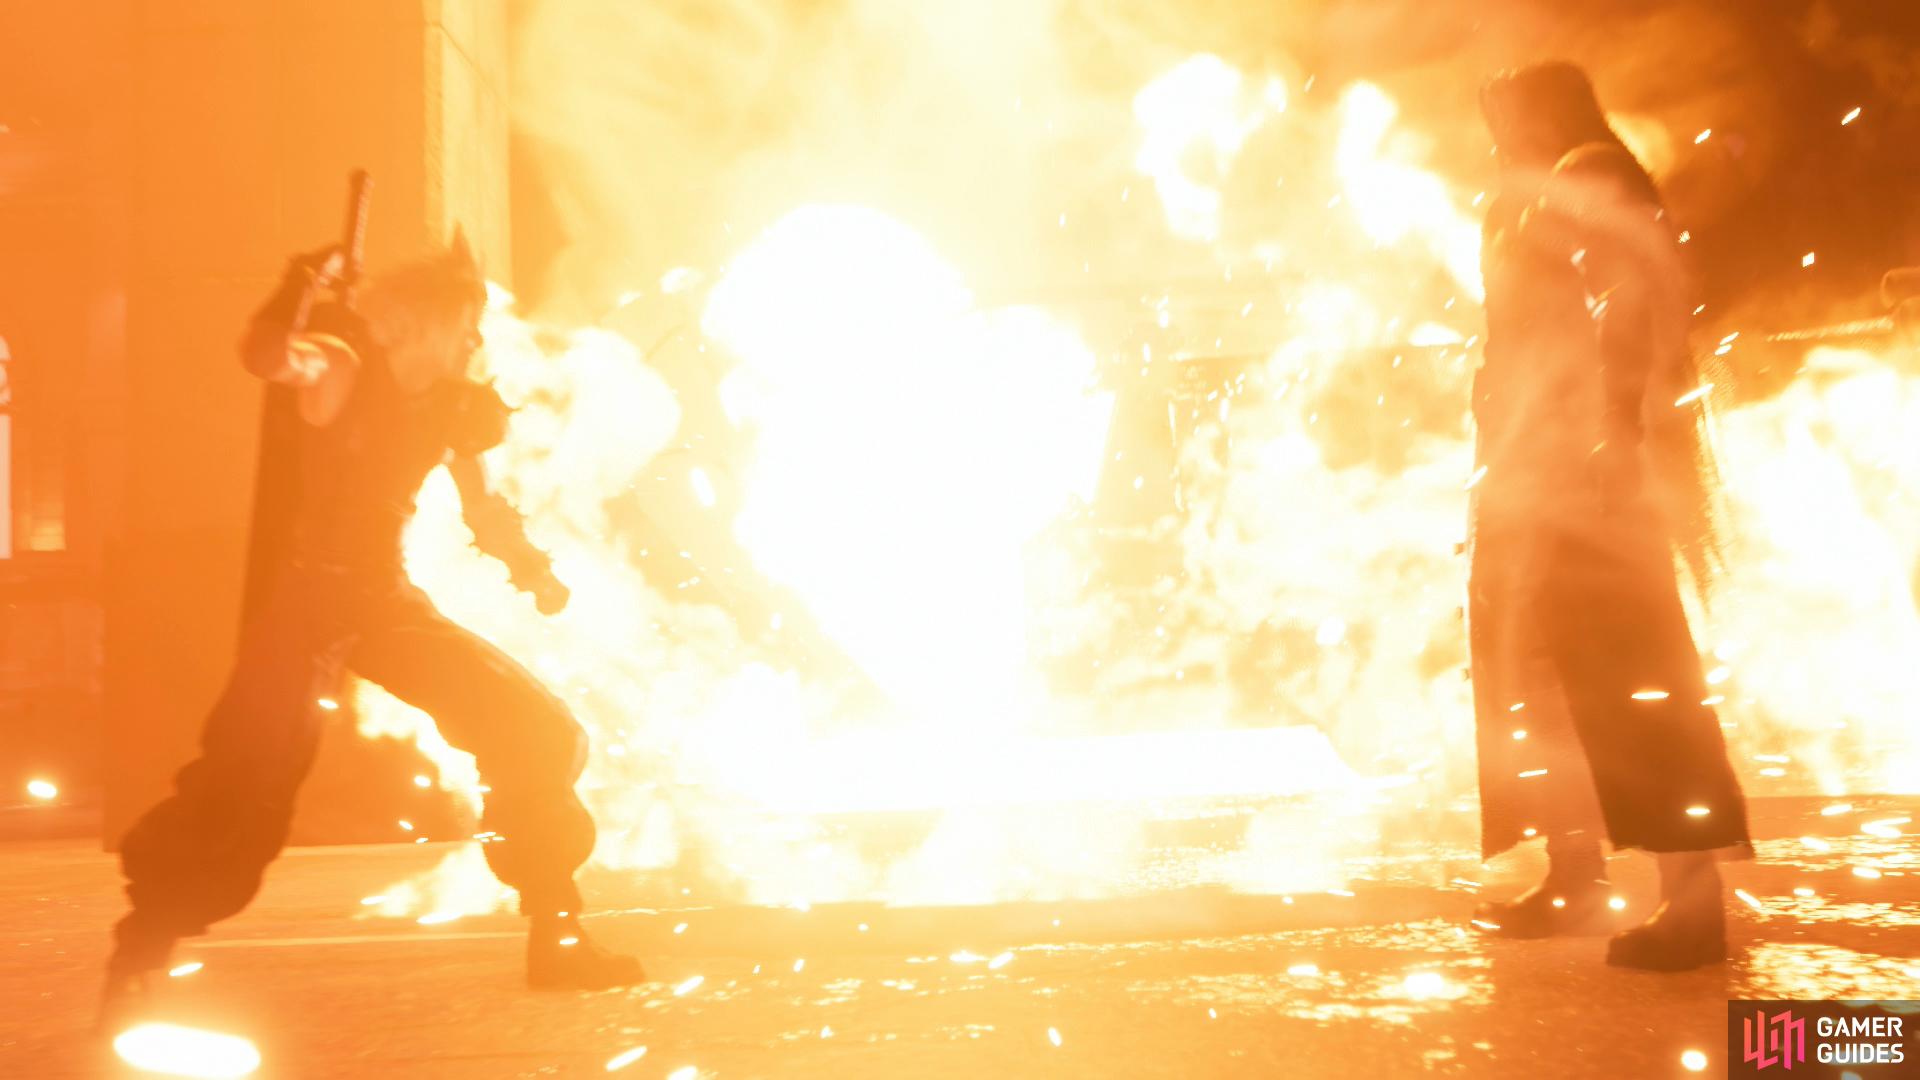
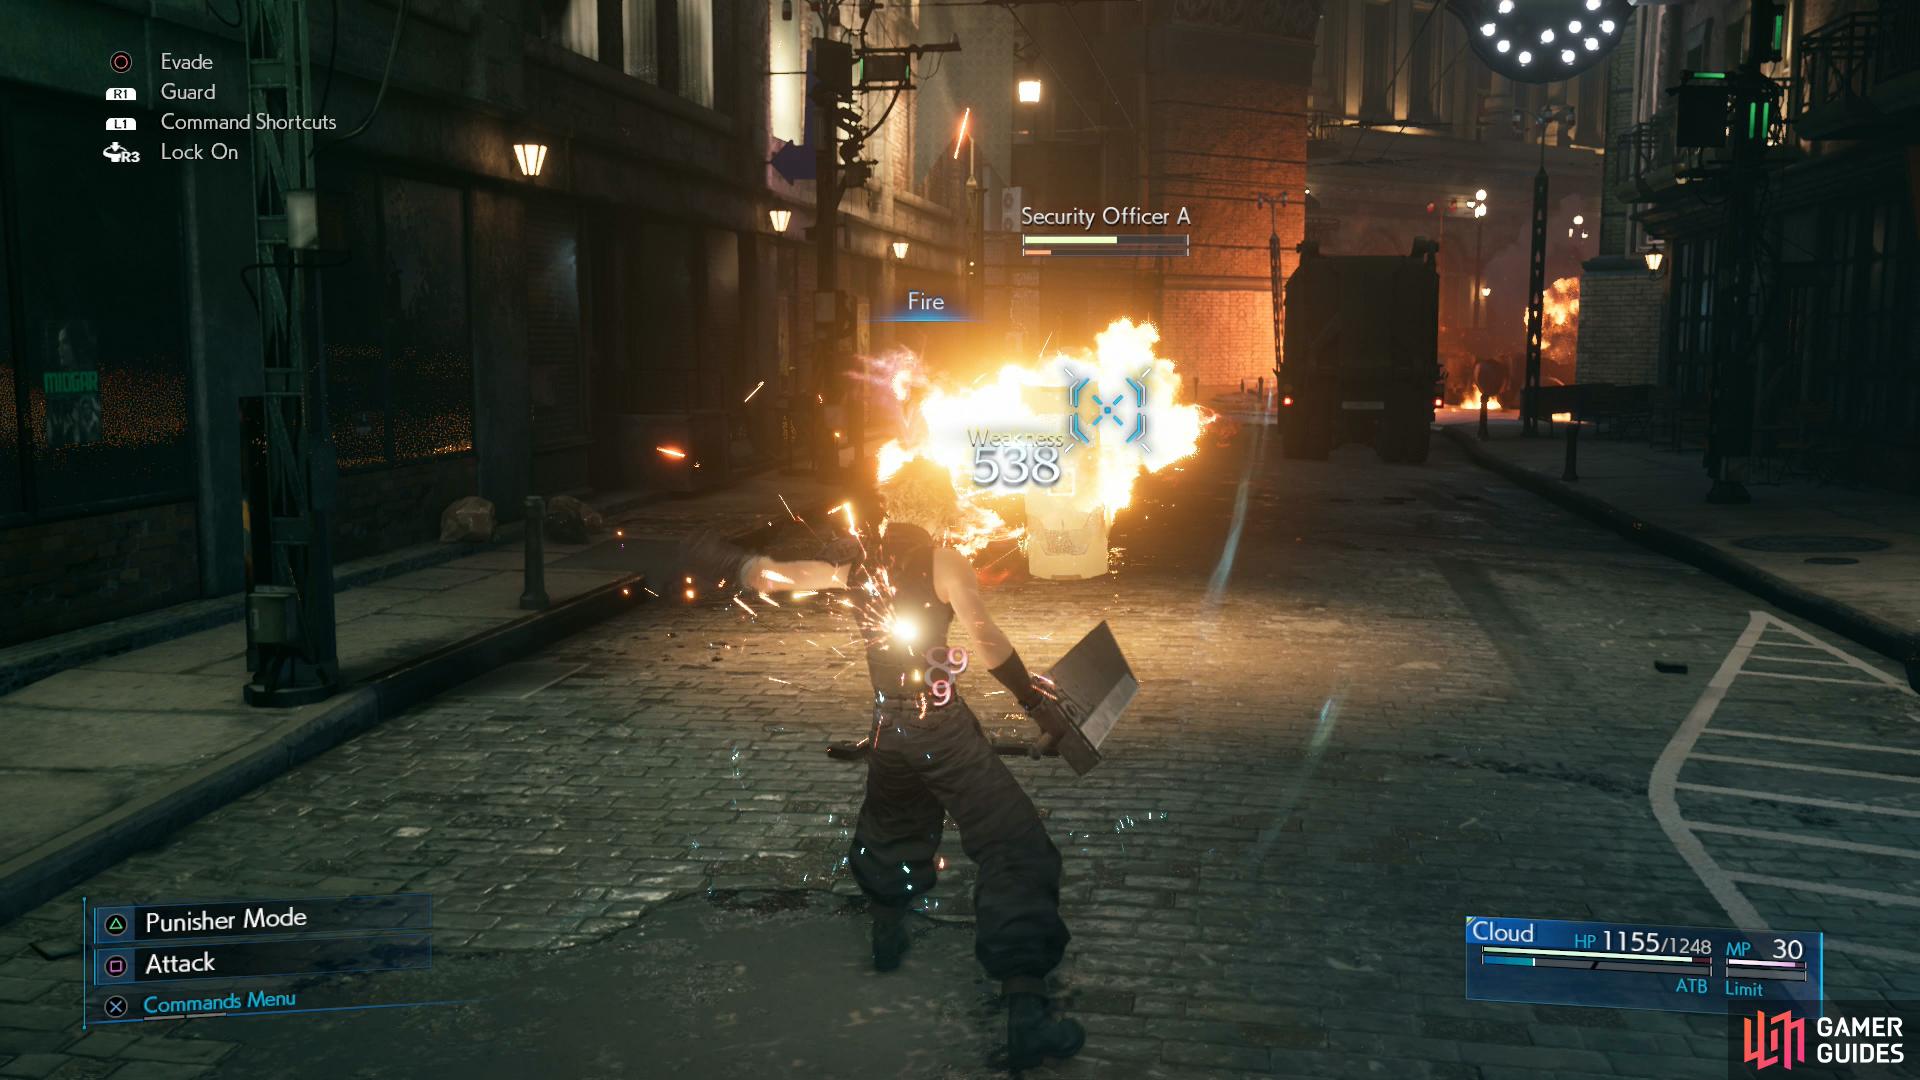
There’s nothing else of note here so return to where you met the Flower Peddler and this time take the southern path to encounter two more Security Officers and your first Grenadier. Like their other Shinra comrades, they are weak to the Fire spell that Cloud just so happens to have and are the best method to taking them out from range. Following their demise, another purple Materia will catch your eye by a van on the right; pocket it to obtain the Deadly Dodge Materia.
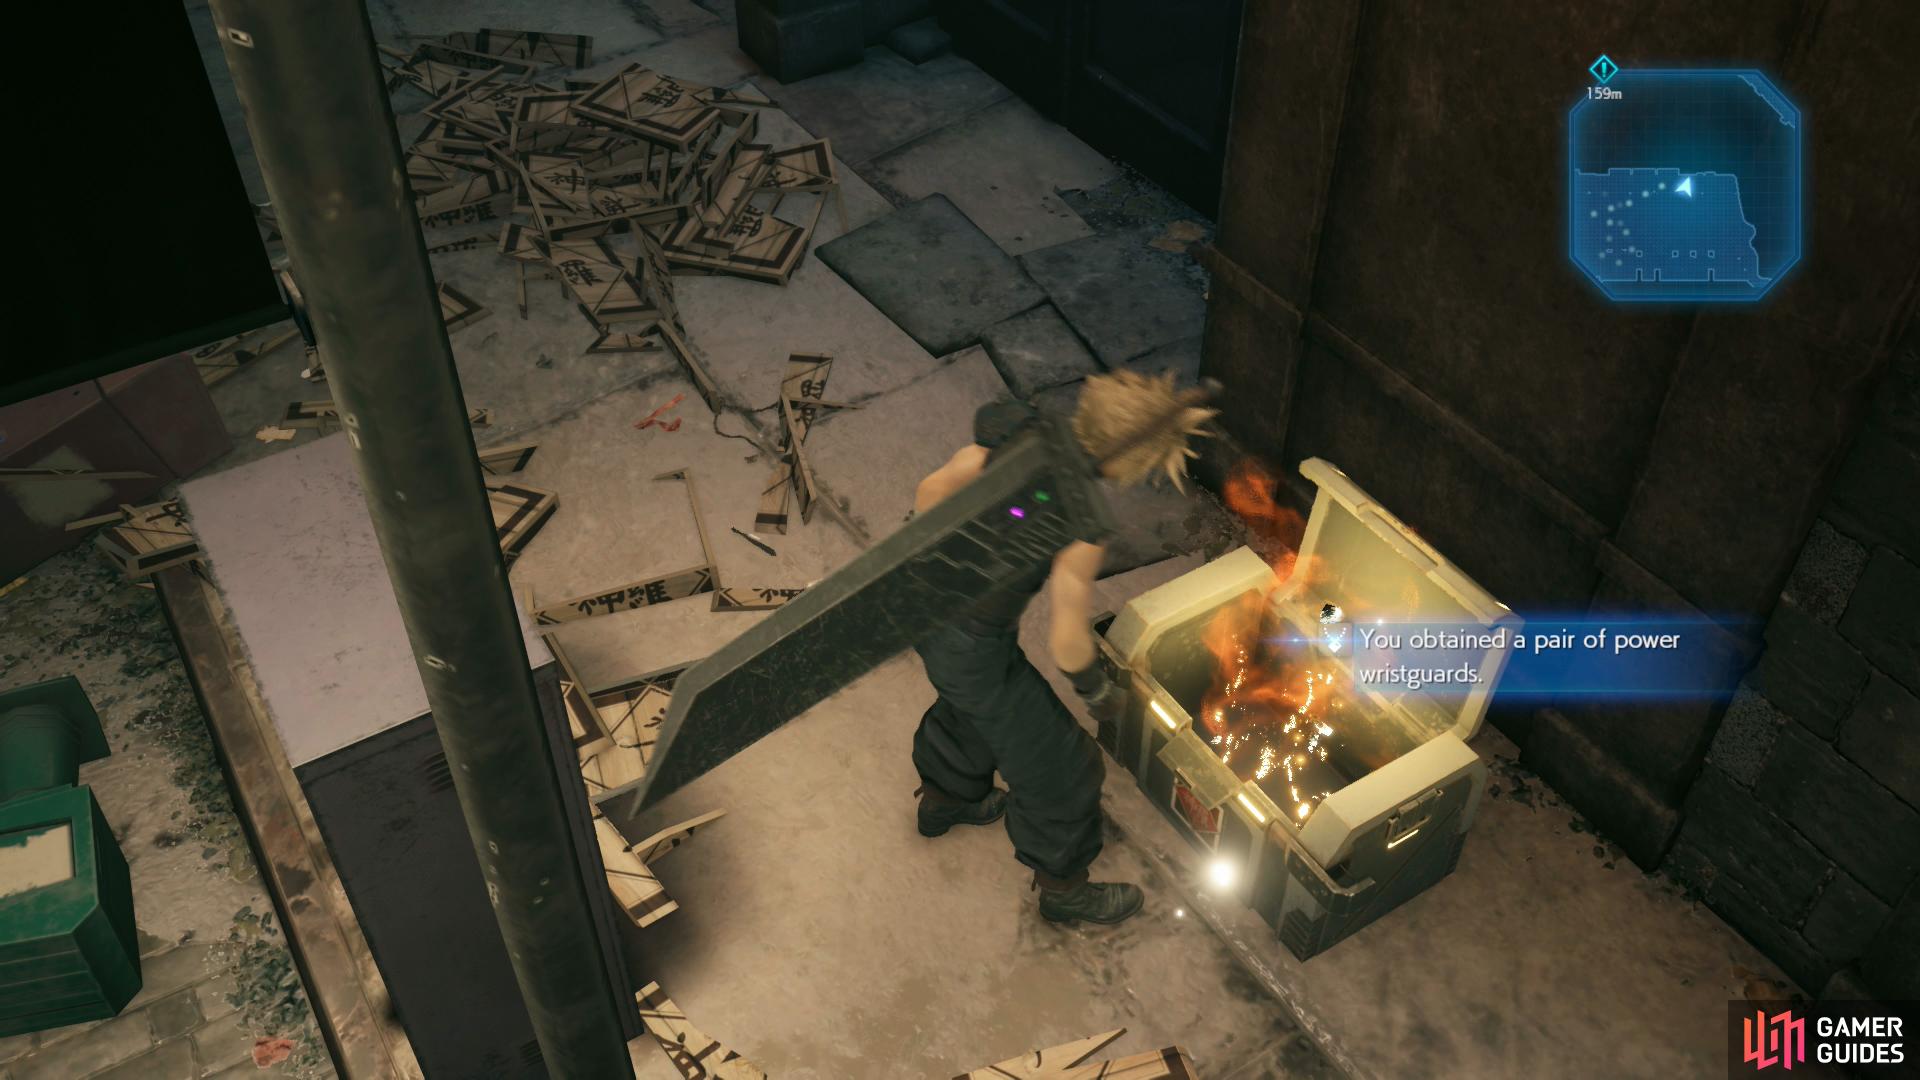
Loot a chest to score the Power Wristguards accessory.
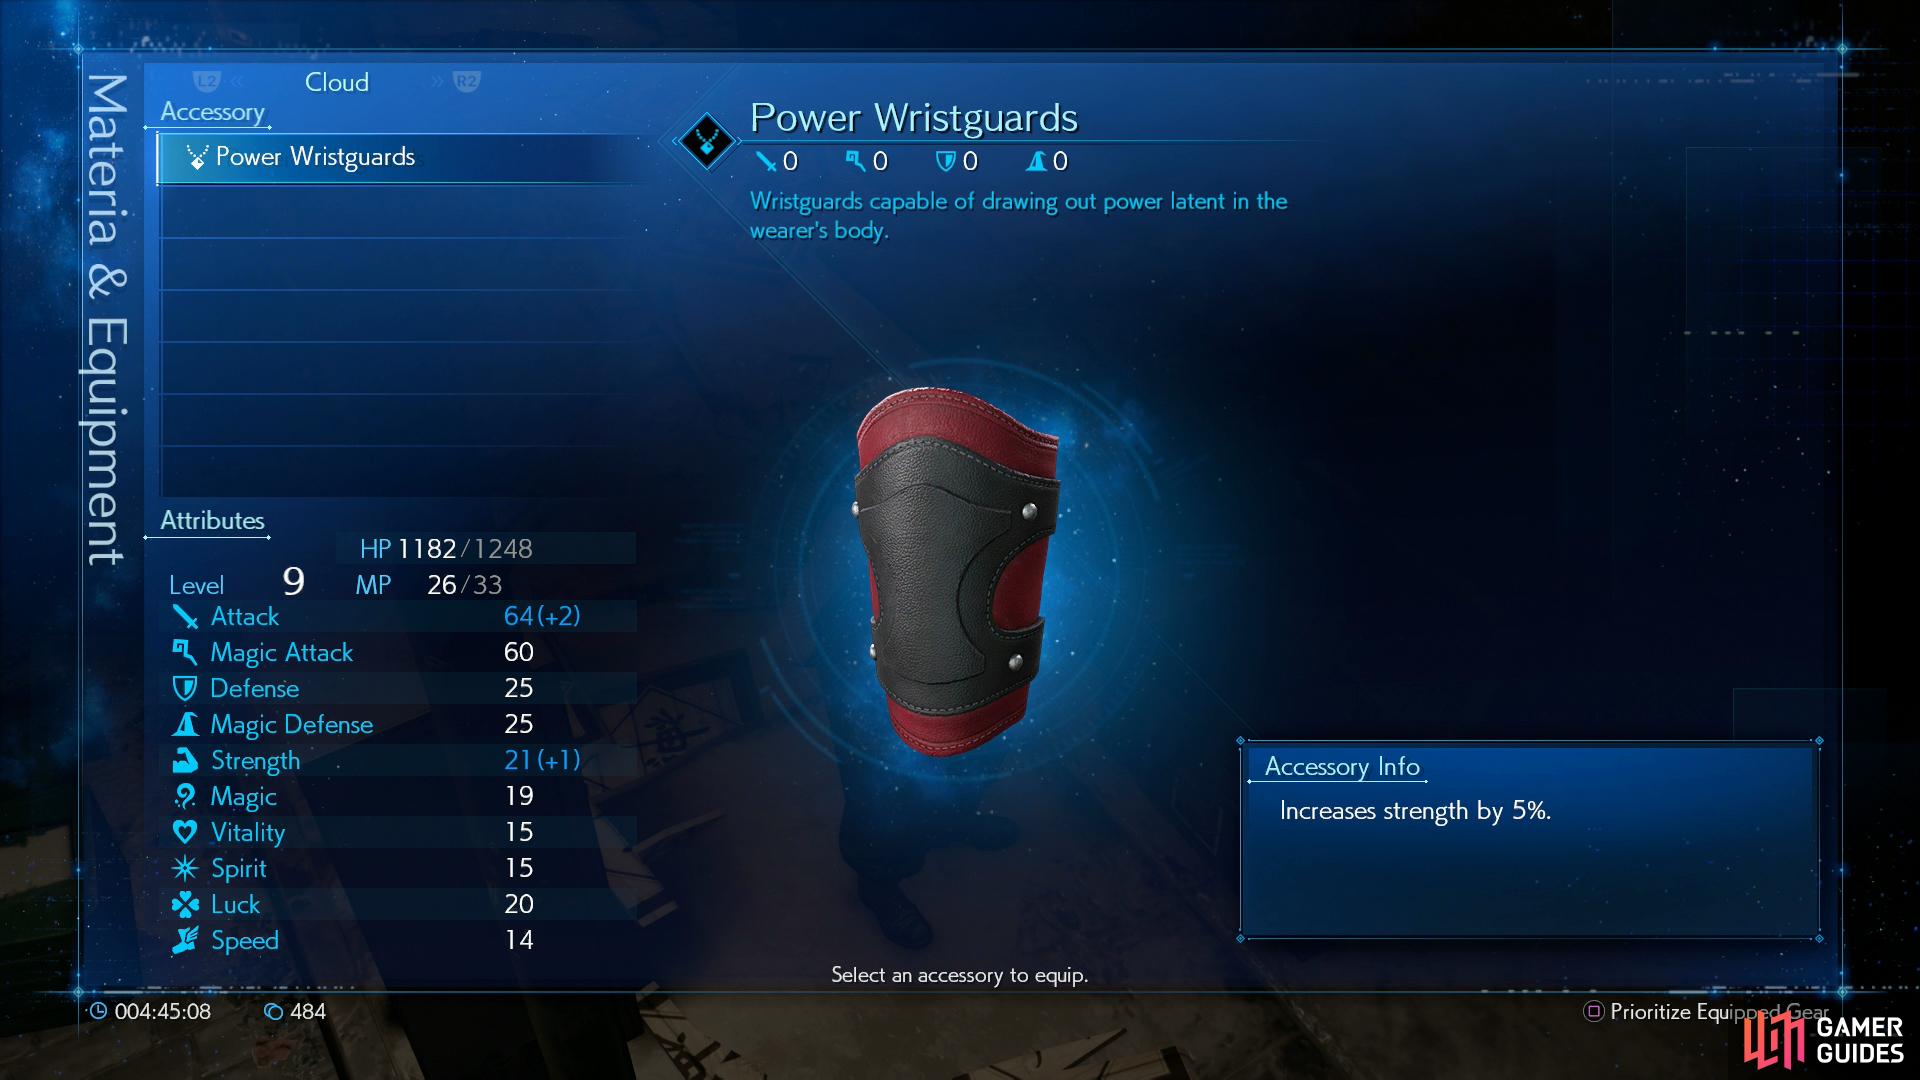
Equip it to boost’s a character Strength, and hence, Attack Power.
Continue south a bit until you come to an intersection, at which point turn east. Down this street you’ll encounter two Guard Dogs and a Security Officer, and once again Fire is your friend against the pesky dogs (as well as Punisher mode - your call). Defeat the enemies, smash some boxes to the left (north) and loot a nearby chest to score the Power Wristguards accessory. Be sure to equip it right away as this will boost Cloud’s Strength by 5%.
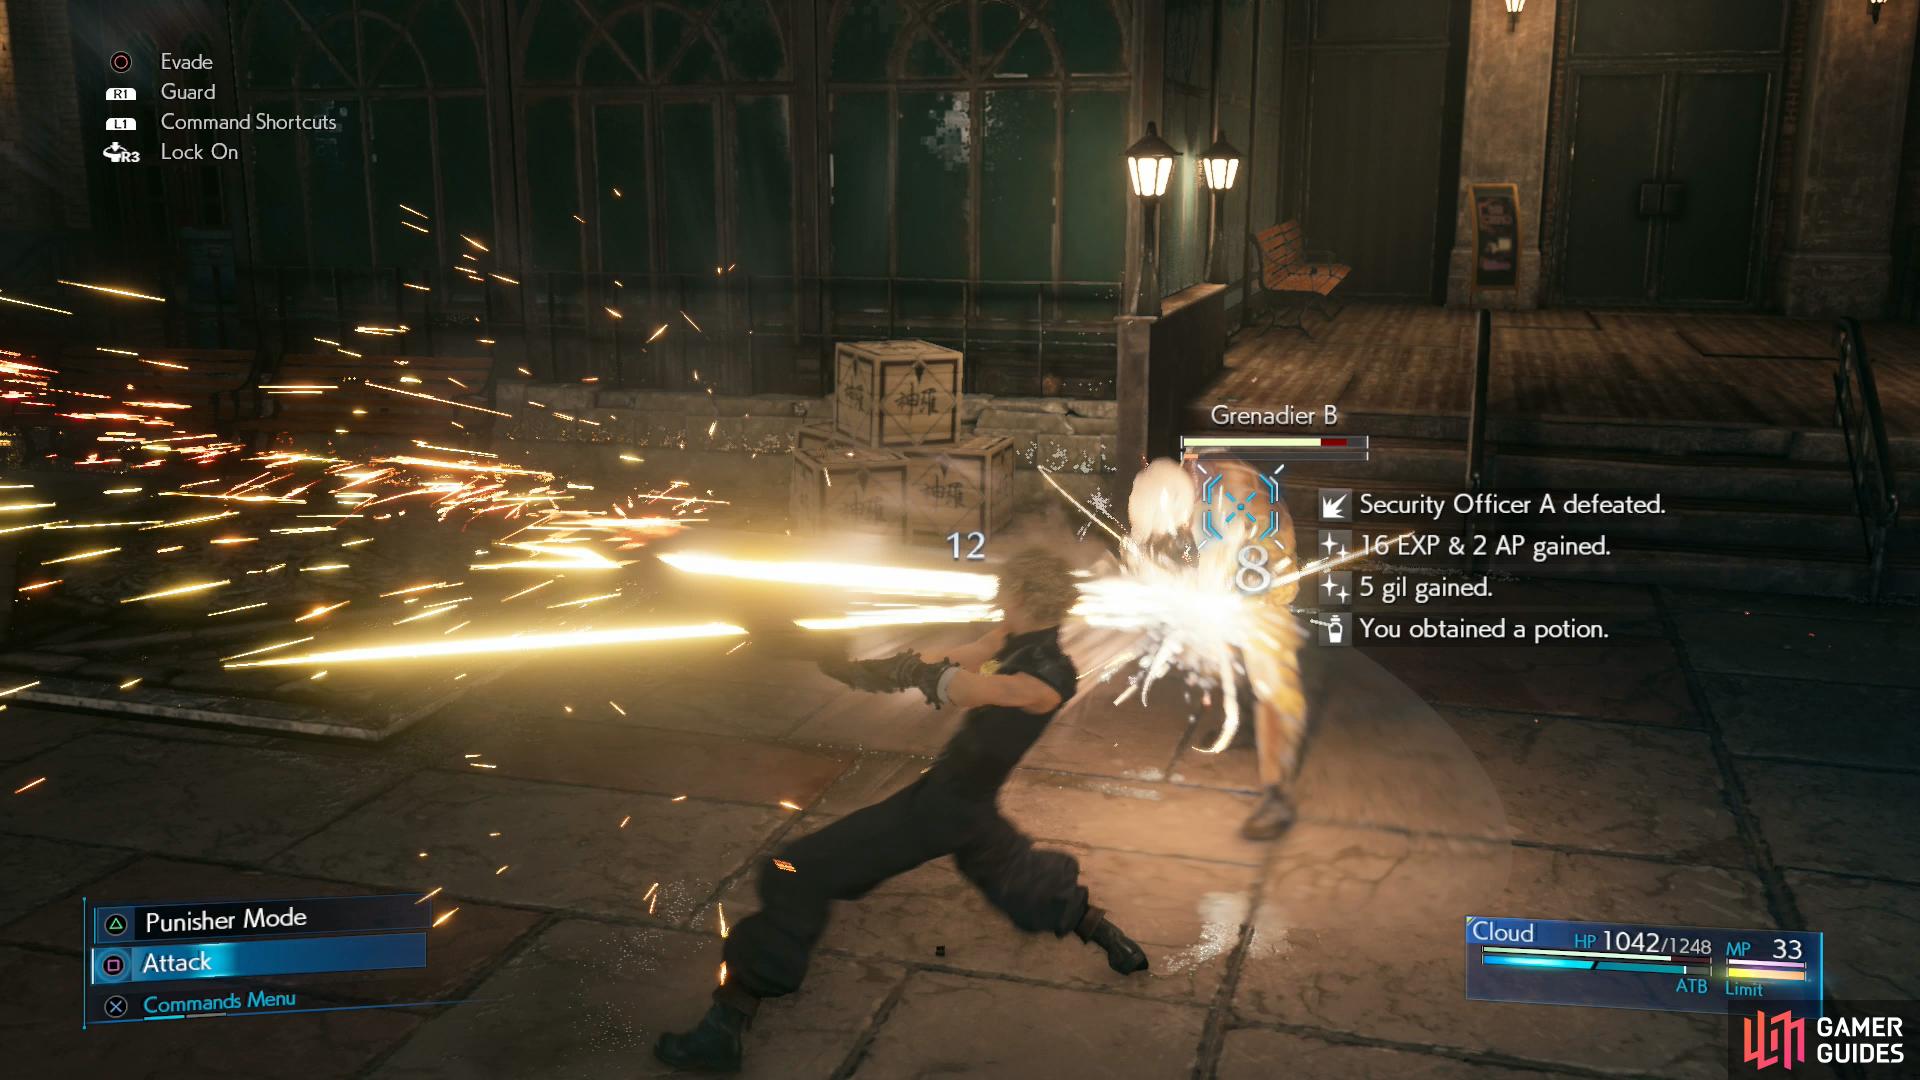
Aggressively hunt down Grenadiers to prevent them from pelting you with painful explosives.
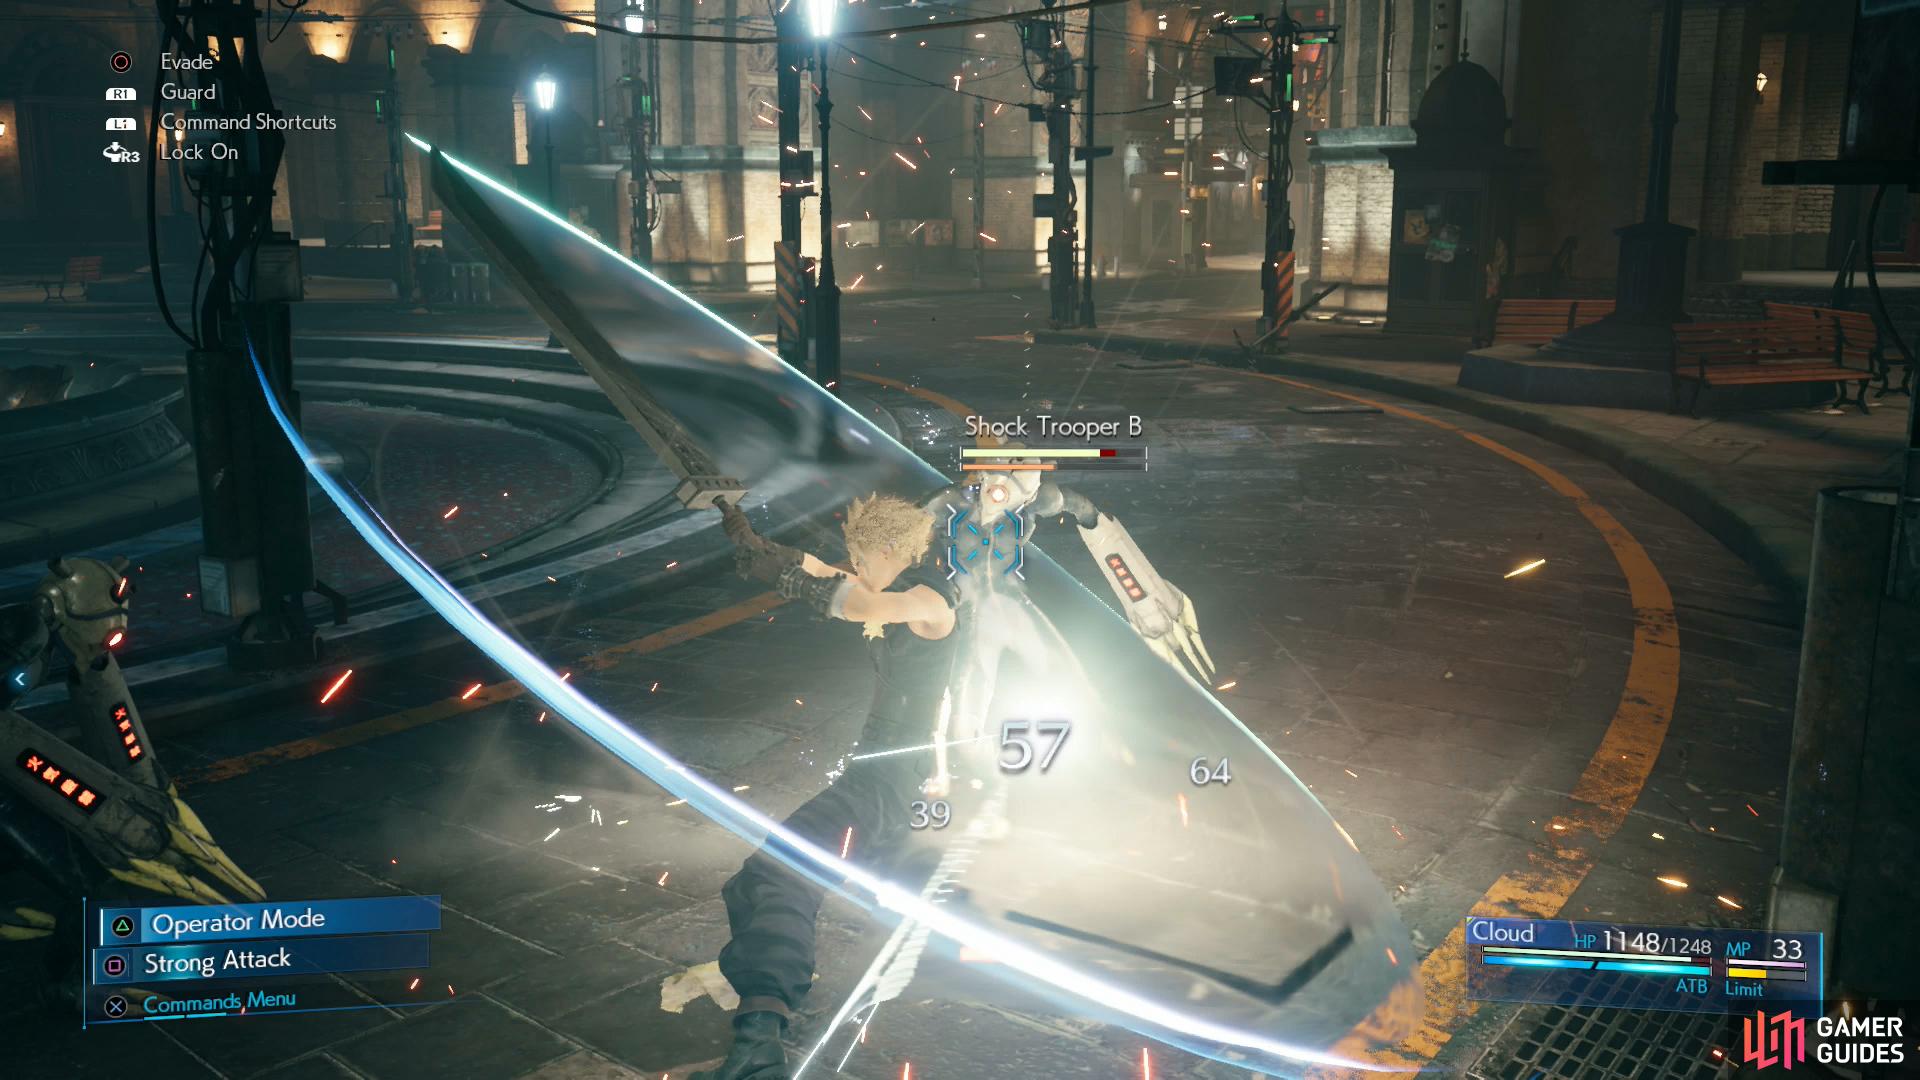
Against Shock Troopers, switch to Punisher mode and counterattack.
With that out of the way, head back to the intersection and take the path south to reach Fountain Plaza. You’ll encounter multiple groups of enemies here, which will attack in waves. These foes include:
-
2x Security Officers and a Guard Dog.
-
2x Security Officers and 2x Grenadiers (be sure to focus on the Grenadiers before you take out the easier Officers.)
-
2x Shock Troopers (remember to switch to Punisher and counter their melee attacks to make quick work of them.)
-
2x Security Officers and 2x Grenadiers.
You won’t have the chance to heal without using ATB Charges during this section so be sure to pop a Potion should your HP drop too low; it’s easy to get worn down here.
Flight through the City
Defeat the waves of enemies and you’ll finally be able to take a breather. Heal up, then get to exploring your current position.
You’ll find some Shinra Boxes to the southwest, behind a tent and another stack to the southeast. Further in the southeast corner is a chest containing 2 Grenades while a third and final stack of Shinra Boxes can be found in the eastern alley before taking the ladder up and following the path across the rooftops.
Break the Blockade
Climb and descend ladders as you make your way west across the rooftops, stopping only to loot a chest containing an Iron Bangle as you go. As the material implies, the Iron Bangle is superior to your basic Bronze Bangle, offering superior defensive stats and a Materia Slot. You should have four Materia on you at the moment so be sure to slot one in your new armor. Even if you don’t intend to use it, having it equipped will earn AP, so there’s no good reason not to have as much materia equipped as possible.
You can defeat Riot Troopers by using Punisher mode’s counterattack,
or if you don’t have the luxury of waiting for them to attack, fill your ATB on other foes and dispatch them with Fire.
Take the ladders down to reach the Residential Area and you’ll encounter another group of enemies, including your first Riot Trooper. These tricky foes have a large shield to protect them from frontal assault. Fortunately, Cloud’s got means for getting around such defenses: either dodge around them and strike them in the back, make use of Fire once again to ignore the shield outright (it can be useful to use the lesser Officers to build up ATB and then unleash Fire on the Riot Trooper), or switch to Punisher mode and block their attack - your counterattack will also bypass the shield.
After the fight, continue down the road to the southeast to find yourself in another fight, as a pair of Security Officers will ambush you from behind a truck. Smash some crates they were guarding, then continue southeast.
As you continue your escape to the southeast, look for a side path to the east where two Security Officers are waiting to ambush you. This feels… familiar. Upon their defeat, you’ll find another stack of Shinra Boxes (assuming you didn’t destroy them in the fight itself).
Search the boxes, then note that you can either follow the raised sidewalks on either side of the road, or just follow the road itself. For now, take the road and you’ll encounter two Grenadiers followed by a group of two Riot Troopers and another Grenadier. As you round the corner to the west you’ll encounter one final group of foes - another Riot Trooper flanked by two Grenadiers.
Depending on your preferences, these fights can be tricky. We preferred using Punisher to counterattack the Riot Troopers, while keeping an eye on the Grenadiers to dodge their attacks, then use your built up ATB Gauge to cast Fire on the Grenadiers. Against the last group, however, being more aggressive and attacking the Grenadiers first had better results.
When the enemies on the road have been dealt with, look for a short flight of stairs to the south, ascend them, then continue east to find a chest containing an Ether. Head back down the stairs, turn northwest to spot another two flights of stairs, go up the western flight, then continue west to find some Shinra Boxes waiting to be smashed. Get what loot you can, then head back to the road and continue to follow it to the west and then south to encounter a Riot Trooper accompanied by two Guard Dogs. Punisher mode is once again invaluable here.
After the fight search between two cars to the west to find some more Shinra Boxes, then continue down the road to the south. Eventually you’ll find another side street to the east where you can wreak havoc on some more Shinra Boxes before looting a chest containing a Hi-Potion. Return west to the main road, then follow it south a short distance to find another pile of Shinra Boxes. Smash them, then make sure your MP is in good shape - if not, consider using an Ether to top it off.
When you’re ready continue south, where you’ll find another encounter: two Grenadiers, three Security Officers and a Riot Trooper are you opponents here, so focus on eliminating the weaker Officers first and use your ATB to take down the Riot Trooper with Fire. Once this group is dispatched, another group of three Officers and a Riot Trooper will attack, accompanied by The Huntsman.
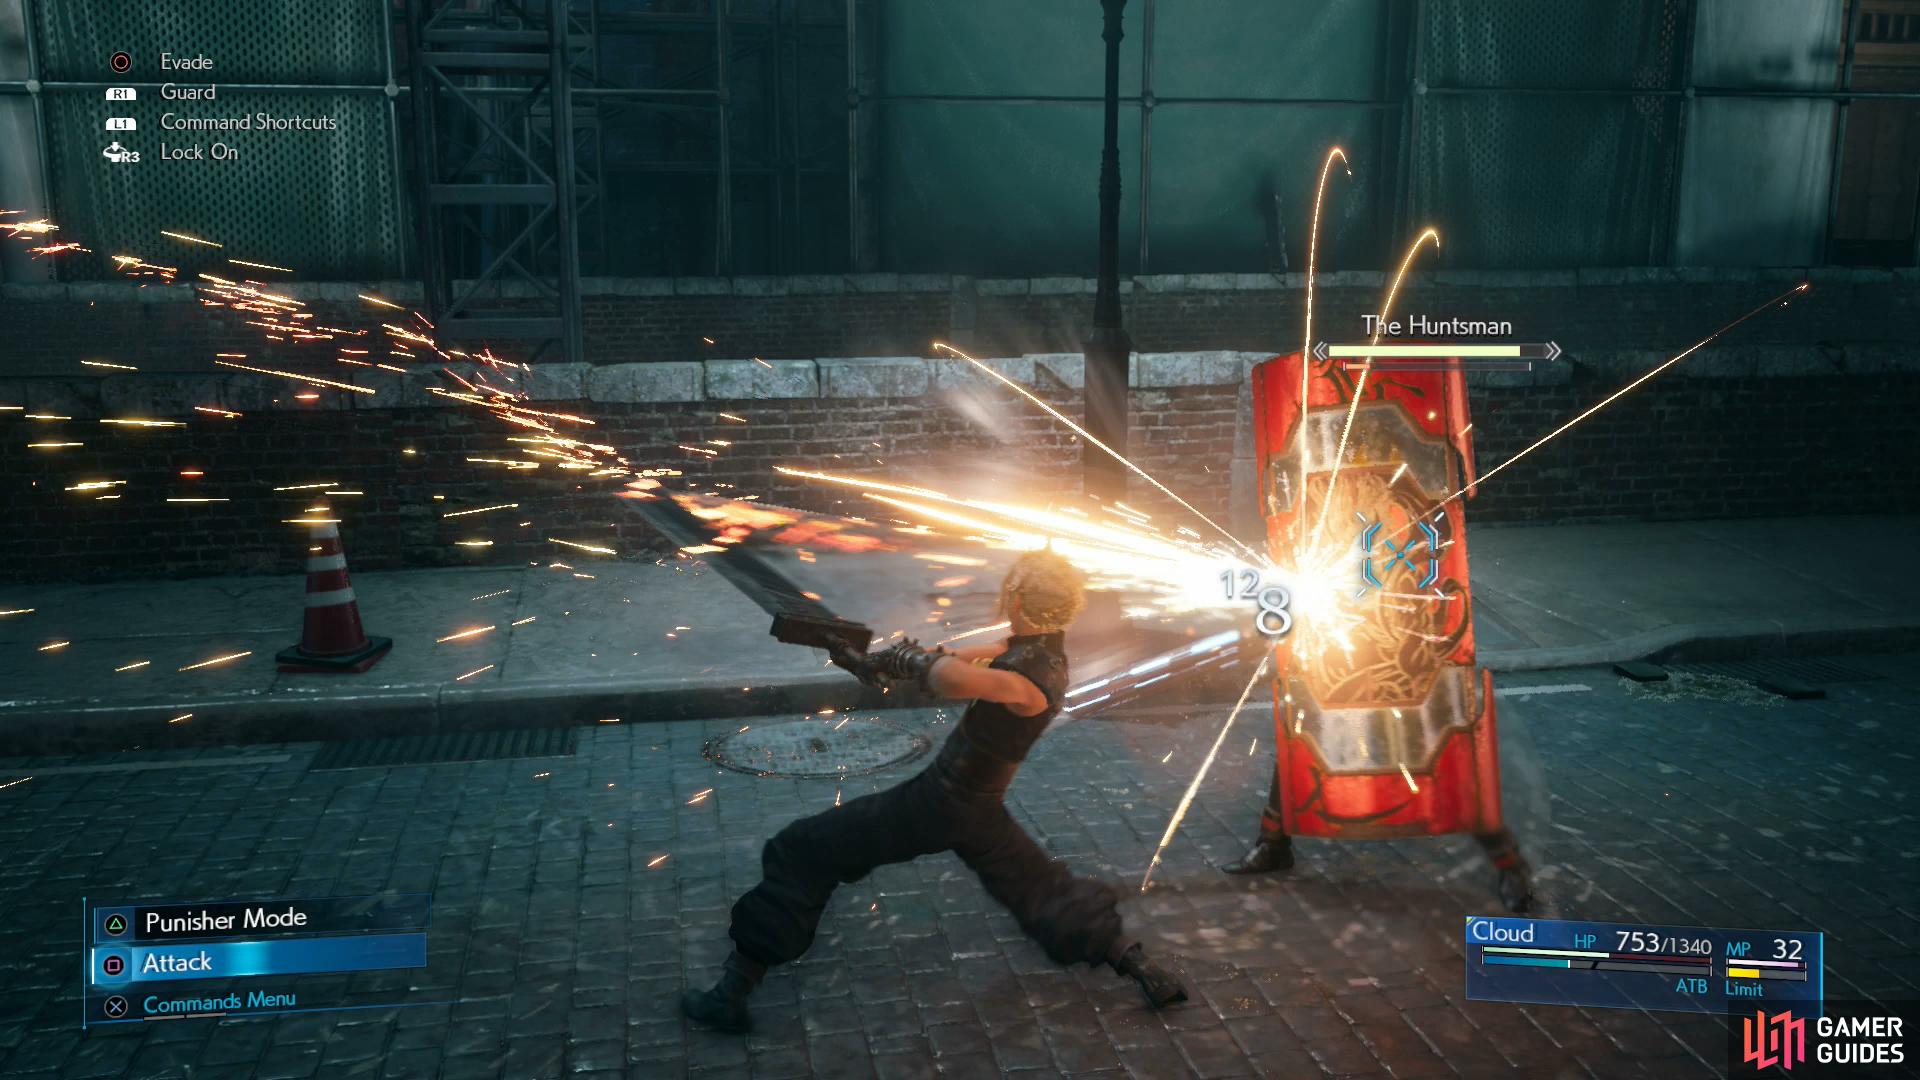
(1 of 5) The Huntsman will block most frontal attacks, often counterattacking for significant damage.
Sub-boss: The Huntsman
| Enemy | Weaknesses | Resistances | Notable Loot |
|---|---|---|---|
| The Huntsman | Fire | -- | -- |
The Huntsman is essentially a deadlier version of the Riot Troopers you’ve been fighting until now - where the difficulty lies in this battle is his additional support alongside him. With that said, make taking care of the lesser enemies your first order of business. Once they’ve been handled, you can focus on The Huntsman mano-a-mano and you’ll find he’s not too much trouble.
To begin with, you can’t attack him from the front unless it’s a cast of Fire so you’ll need to focus on baiting his attack and heading behind him to strike him in the back. You can also use Punisher’s counterattack if you don’t mind trading a bit of damage, but while it’ll charge your ATB well enough, don’t expect to leave him off-guard for long. Avoid getting greedy, too, as he’s likely to counter blocked frontal attacks with a fairly damaging attack of his own.
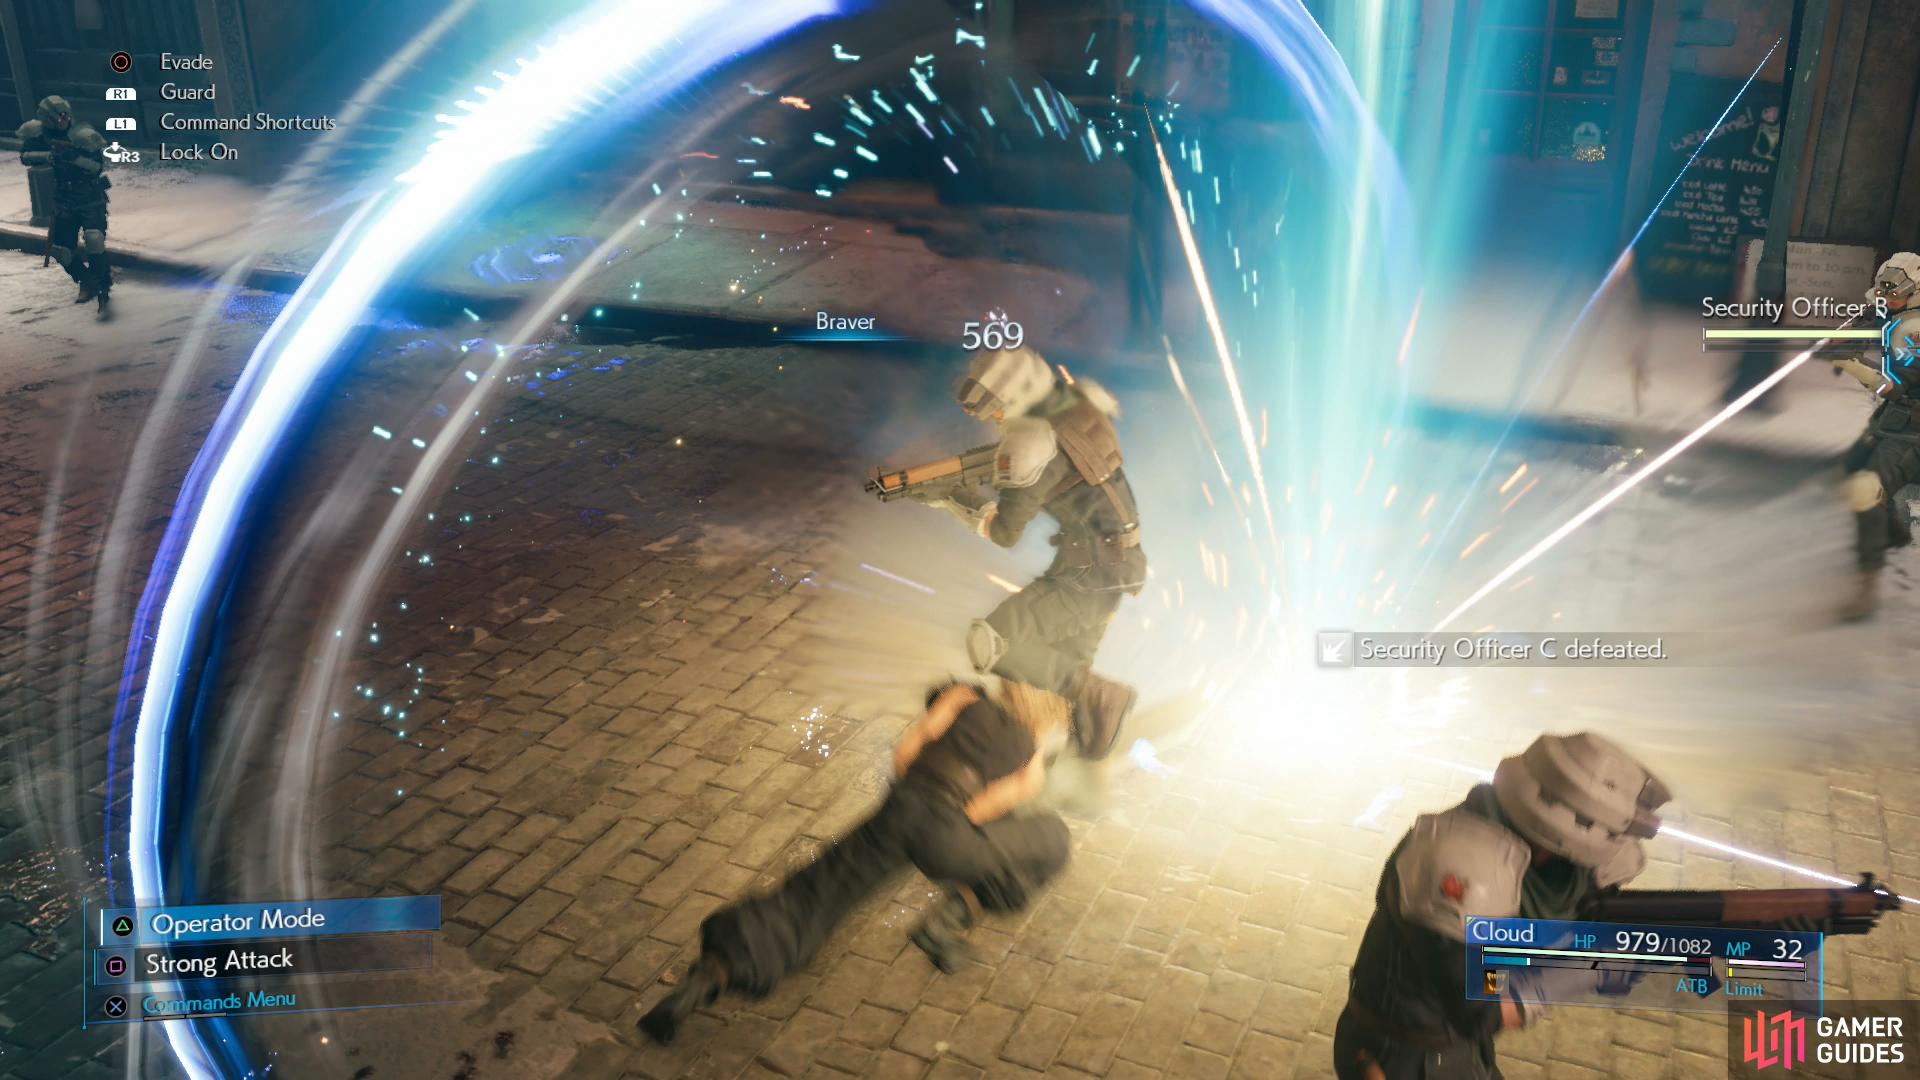
Once you have an ATB segment to use, cast Fire and it’ll cause him to lower his guard for a while - at this time, get close to him, switch to Punisher mode, and attack! If you can get another ATB segment before his guard is back up, use Focused Thrust to build his stagger meter, and once he’s properly Staggered lay into him with Braver.
A scene will take over following your victory as Cloud makes his escape on to the train below.
Last Train
After Cloud reunites with AVALANCHE in dramatic fashion, you’ll be left on your own to explore the train. Proceed to the next carriage and squeeze past the boxes; as soon as you can, look behind you to spot a hidden chest containing 100 Gil. Continue forward and speak with Biggs, then speak with Jessie. Head into the next carriage to witness an exchange between Barret and some Shinra office workers and once you regain control, speak to Jessie to get a breakdown of Midgar in general, triggering a scene that brings Chapter 2 to a close and earn Escape Artist.
No Comments