

Compared to Chapter five, chapter six is a breeze… and hopefully the last chapter wasn’t very difficult, either. You’ll largely only need to make use of two elements in this chapter: ice and lightning, and there’s no boss to worry about, just trash mobs. The most substantive fight in this chapter involves an optional encounter with two Queen Grashtrikes, and if you bring Ice Materia with you, even that won’t be much trouble.
| Cloud | . |
|---|---|
| Weapon: | Twin Stinger |
| Armor: | Chain Bangle |
| Accessory: | Circlet |
| Useful Materia: | Ice + Magnify, Lightning, Healing, Revive, First Strike, ATB Stagger, Magic Up, HP Up |
| Tifa | . |
|---|---|
| Weapon: | Purple Pain |
| Armor: | Cog Bangle |
| Accessory: | Champion Belt |
| Useful Materia: | Ice, Lightning, Healing, Revive, First Strike, ATB Stagger, HP Up |
| Barret | . |
|---|---|
| Weapon: | Light Machine Gun* |
| Armor: | Cog Bangle |
| Accessory: | Champion Belt |
| Useful Materia: | Ice, Lightning + MP Absorption, Healing, Revive, ATB Stagger, Magic Up, HP Up |
-
The beginning of the chapter starts out especially slow. The first threat you’ll face includes two Grashtrikes (we use the word “threat” generously here), which you can take down easily enough with Blizzard.
-
You can skip an optional encounter with some Grashtrikes and continue on to the Blugu/Grashtrike encounter. Blugus are weak to lightning, but they’re not powerful enough that you need to bother, just bait and avoid their “Slumber Spume” and cut them down with melee attacks. After this you’ll be at the fans and the rest bench beyond.
-
Defeat another batch of Grashtrikes (Blizzard + Magnify works well here) then turn off the first sun lamp. As you turn off sun lamps, mechanized security systems will reactivate. These include Sentry Rays and Sentry Gun Prototypes, both of which are weak to lightning, but Barret’s also uniquely capable of destroying them with “Overcharge” and “Maximum Fury”.
-
You’ll next need to move platforms to continue to the second and third sun lamps. New foes in this section include Terpsicolts, which are weak to ice like Grashtrikes. Blizzard + Magnify again works well, but if they start using their “Whirling Barbs” attack you’ll need to counter with via Punisher mode or have Barret shoot them until they drop it.
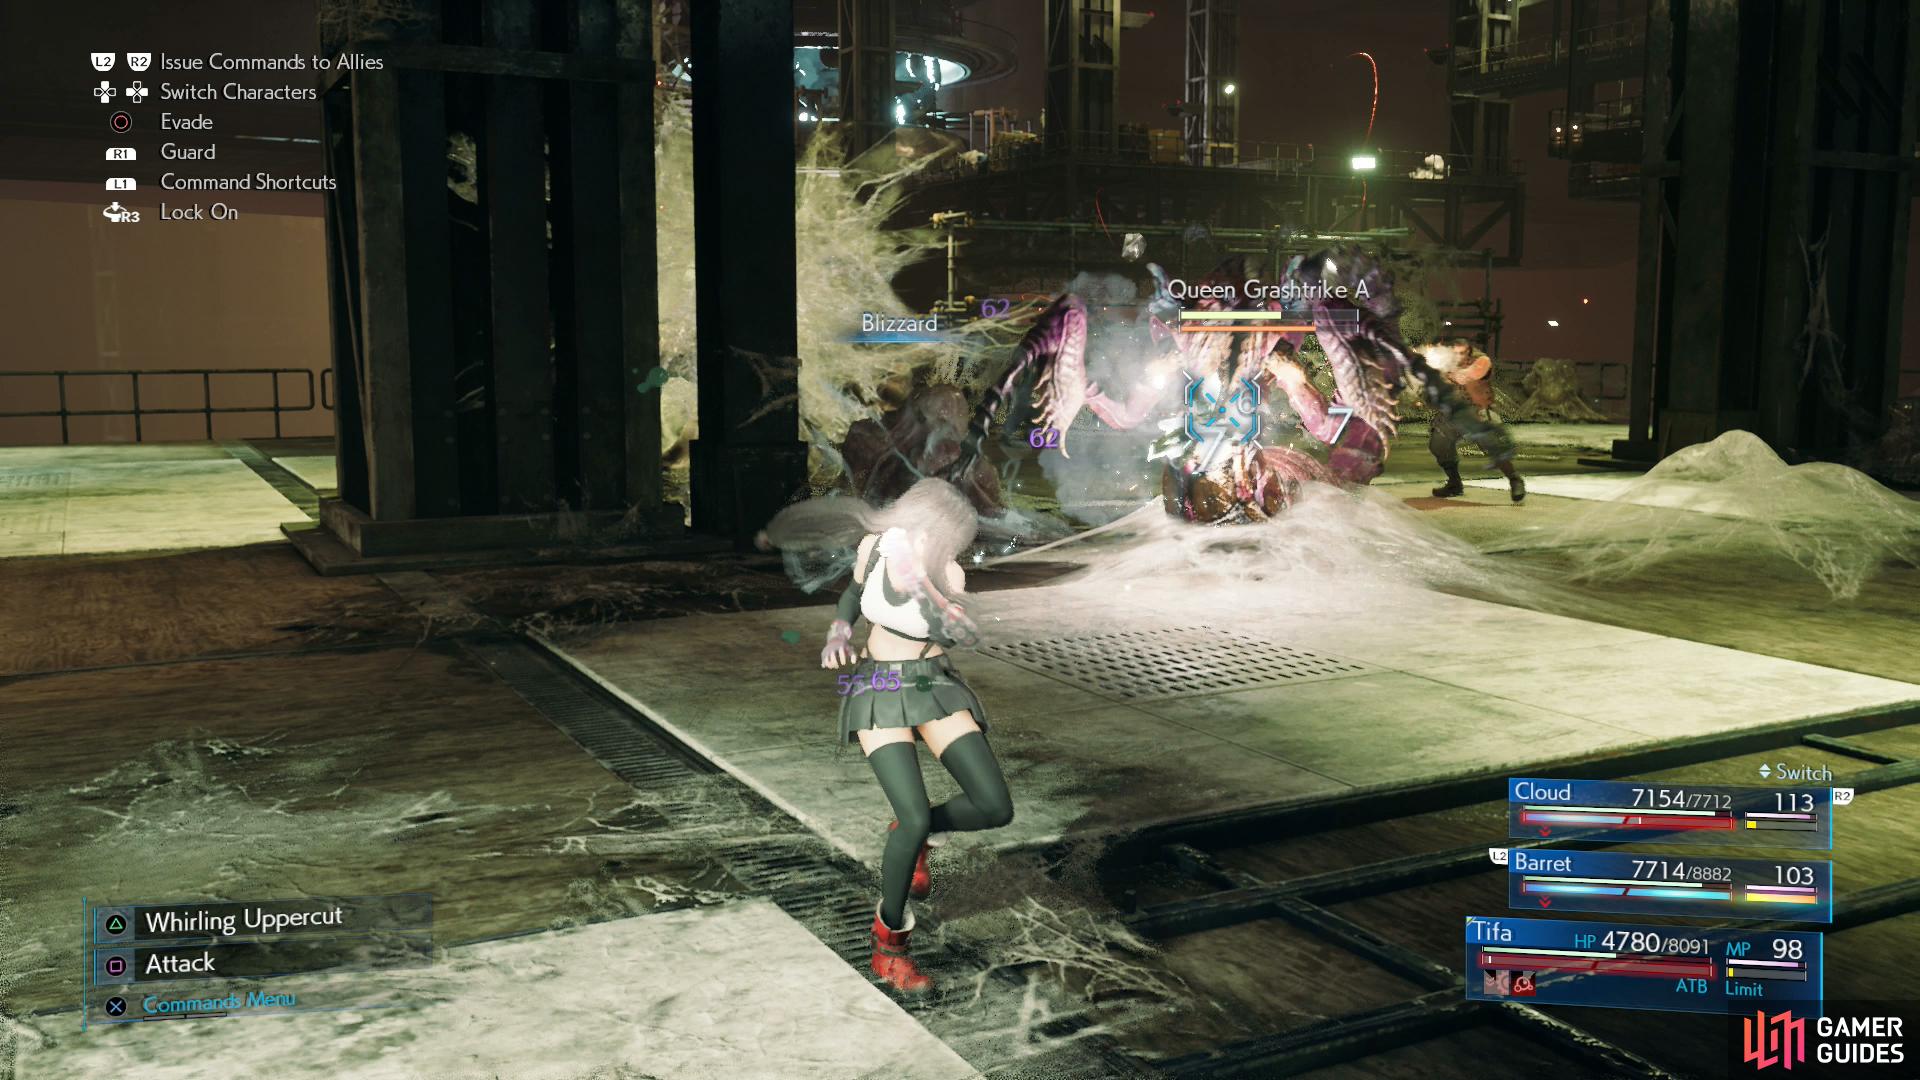
- After the second sun lamp you’ll need to take a lift east towards the third sun lamp’s location. Here you can climb down a ladder to fight two Queen Grashtrikes. This can be a nasty fight, especially if you neglect Star Pendants, but a few strikes of Blizzard should leave one “Pressured”, allowing you to hopefully concentrate fire, Stagger it, and defeat it. Focus on one as much as possible (the AI will likely not be very helpful here) and when one dies it should be much easier to defeat the second. In Normal difficulty you could acquire Elemental Materia and MP Up Materia for winning this fight, but if you already acquired the Elemental Materia earlier it’ll now be replaced by Healing Materia. Considering you can buy this materia for a combined 2,600 Gil, it’s dubious whether it’s worth even bothering with this fight.
-
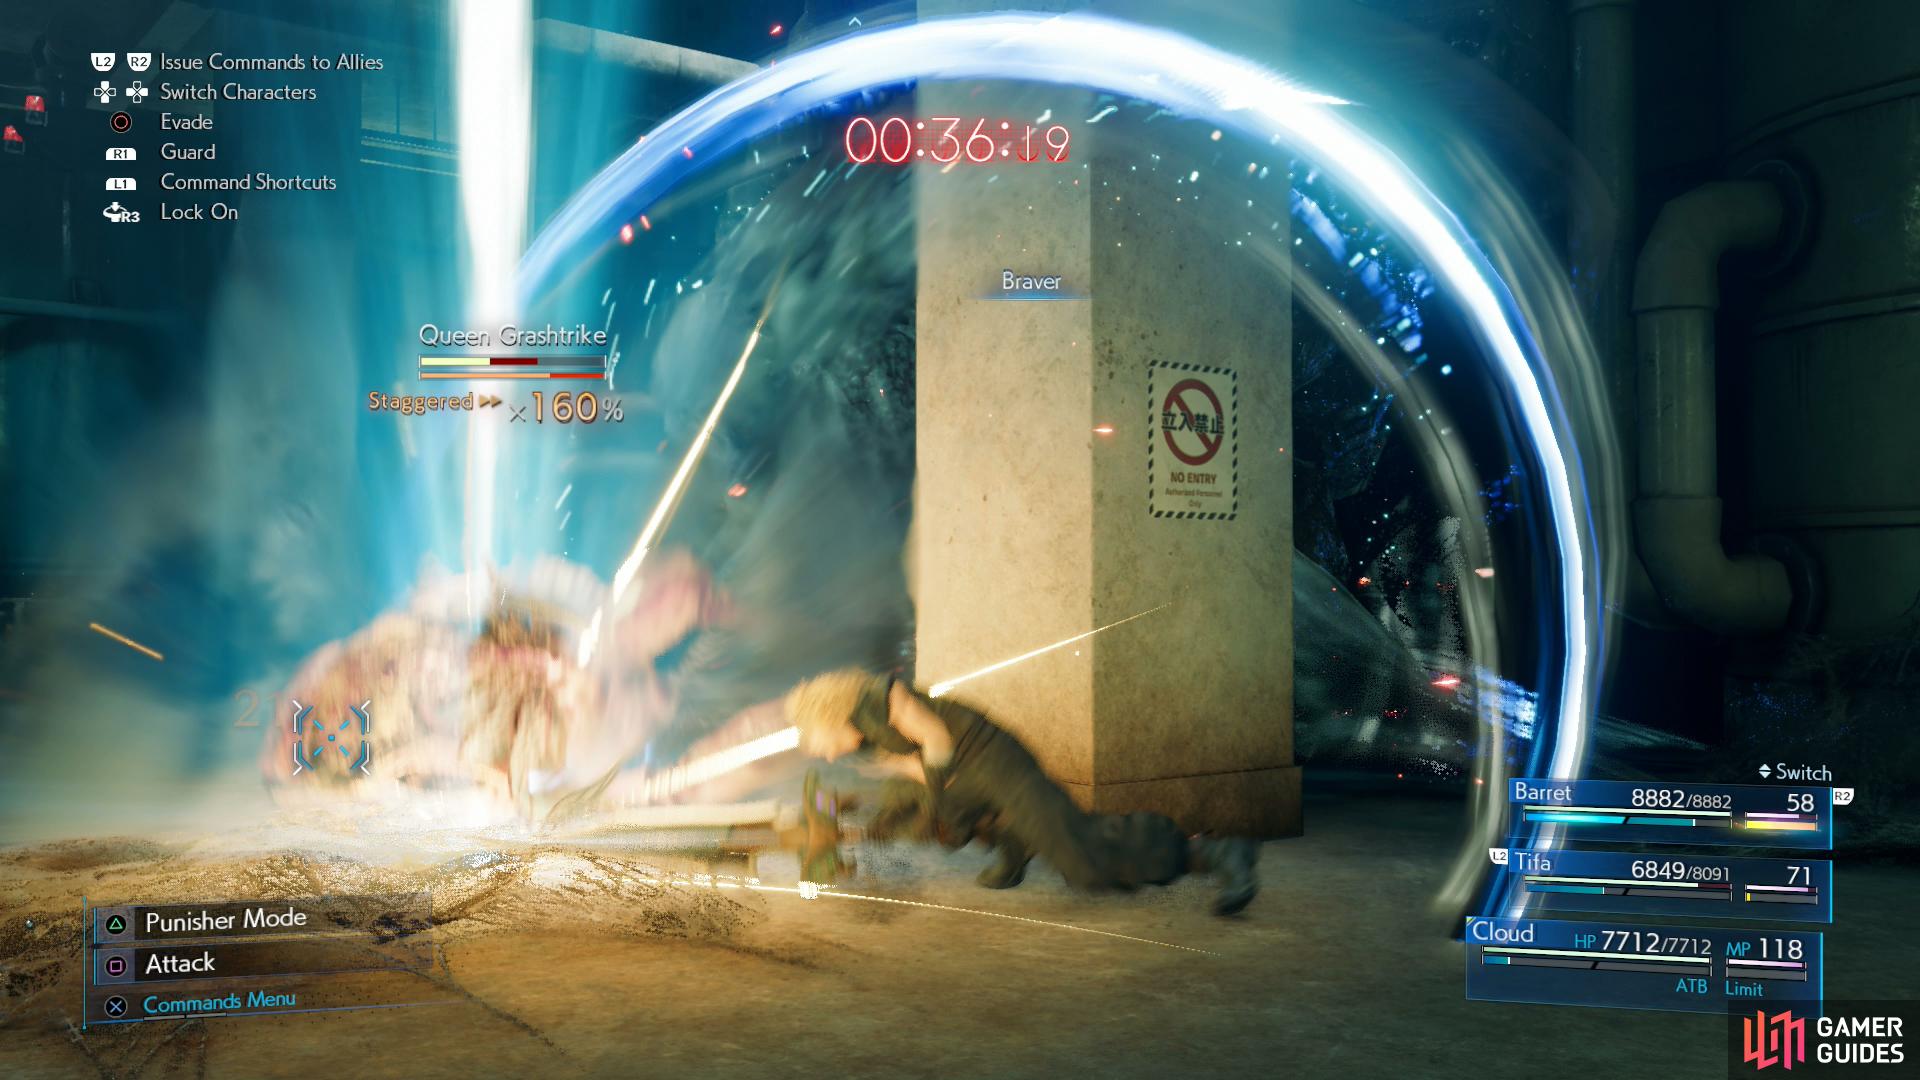
Return to the H-01 platform and ride a lift to the west, where you’ll need to repeat the same maintenance procedure that allowed you to acquire Chocobo & Moogle Materia your first time through this area. Namely, you’ll have to defeat a Queen Grashtrike and a Sentry Ray before one minute expires. Focus on the Queen Grashtrike first, pummel her with Blizzard until she’s “Pressured”, then Staggered and defeat her. Once Thunder spell or “Overcharge” should be able to dispatch the Sentry Ray, after which you can use a terminal to the north to open a nearby door. Head through it and loot a chest to the west to obtain the Way of the First Vol. VI Manuscript.
-
Return to the H-01 platform and ride the elevator to the last fight of the chapter, where you’ll have to defeat automated security including two Sentry Rays, two Sentry Gun Prototypes and two Sentry Launchers. Use Thunder, “Overcharge” and “Maximum Fury” to quickly dispatch the launchers first, as they can deal the most damage.
After this, you’re done with the chapter, you just need to climb, crawl and walk to Reactor 5.
No Comments