

This is perhaps the longest, most difficult chapter in Hard difficulty, as you’ve got a gauntlet of battles with relatively obnoxious foes, after which you’ll have to face four bosses in a row - the last two of which you won’t have any opportunity to rest. Suffice to say, you’ll need to manage your MP wisely in this chapter, even if it means you take a somewhat unprecedented step by running back to rest benches to conserve MP regularly. Also, you’ll be in charge of all four characters at various points in this chapter, and while switching out materia is a nuisance you’ll need to do, having a working set of materia on everybody will mitigate this and allow you to focus on swapping key materia to deal with specific threats - Elemental, Magnify, etc.
Chapter 17 also presents a unique opportunity: since you have, as mentioned earlier, access to all four characters for the first time in Hard difficulty as well as having access to the Shinra Combat Simulator, now is a fine time to attempt these battles. Their difficulties aren’t universally affected by Hard difficulty (although some are only available in Hard difficulty) and whatever resources you expend are not kept outside the simulation. Assuming you completed all the Underground Colosseum battles, all the VR simulation battles and work your way through the Shinra Combat Simulator you’ll be able to tackle the “Three Person Team vs. Top Secrets” battle, which will reward you with the Gotterdammerung should you emerge victorious. It’ll make this chapter much, much easier, as you’ll be able to just spam limit breaks to get past most mobs, not to mention shorten boss battles. It’s also worth noting you have chapter select, so you could have done this at any time in Hard difficulty, provided you met the requirements.
The strategies provided in this chapter will assume you do NOT have Gotterdammerung, however you can usually just replace all nuance with limit break spams should you actually possess it. Strategies for unlocking and completing the “Three Person Team vs. Top Secrets” battle can be found on its own dedicated page should you desire to make the attempt.
Finally, before you get started it’s also worth noting that you should save frequently. You can’t use items in Hard difficulty, but nothing says you can’t save scum should a battle turn out… less favorably than you’d like.
-
The first fight in this chapter will be against several Unknown Entities. Equip Cloud with Lightning + Elemental on Cloud’s armor and just take control of him - the enemy should target him with Thundaga, and he should have no trouble cutting them down with multiple “Triple Slash” attacks. Don’t expend any MP here, as you’ll find Chadley, the Shinra Combat Simulator and a rest bench shortly on.
-
After this you’ll be in control of Cloud - alone. Defeat some Monodrives and another group of Unknown Entities, all of which can be dispatched easily enough with “Triple Slash”.
Lightning + Elemental should mitigate the need to heal for the first few encounters.
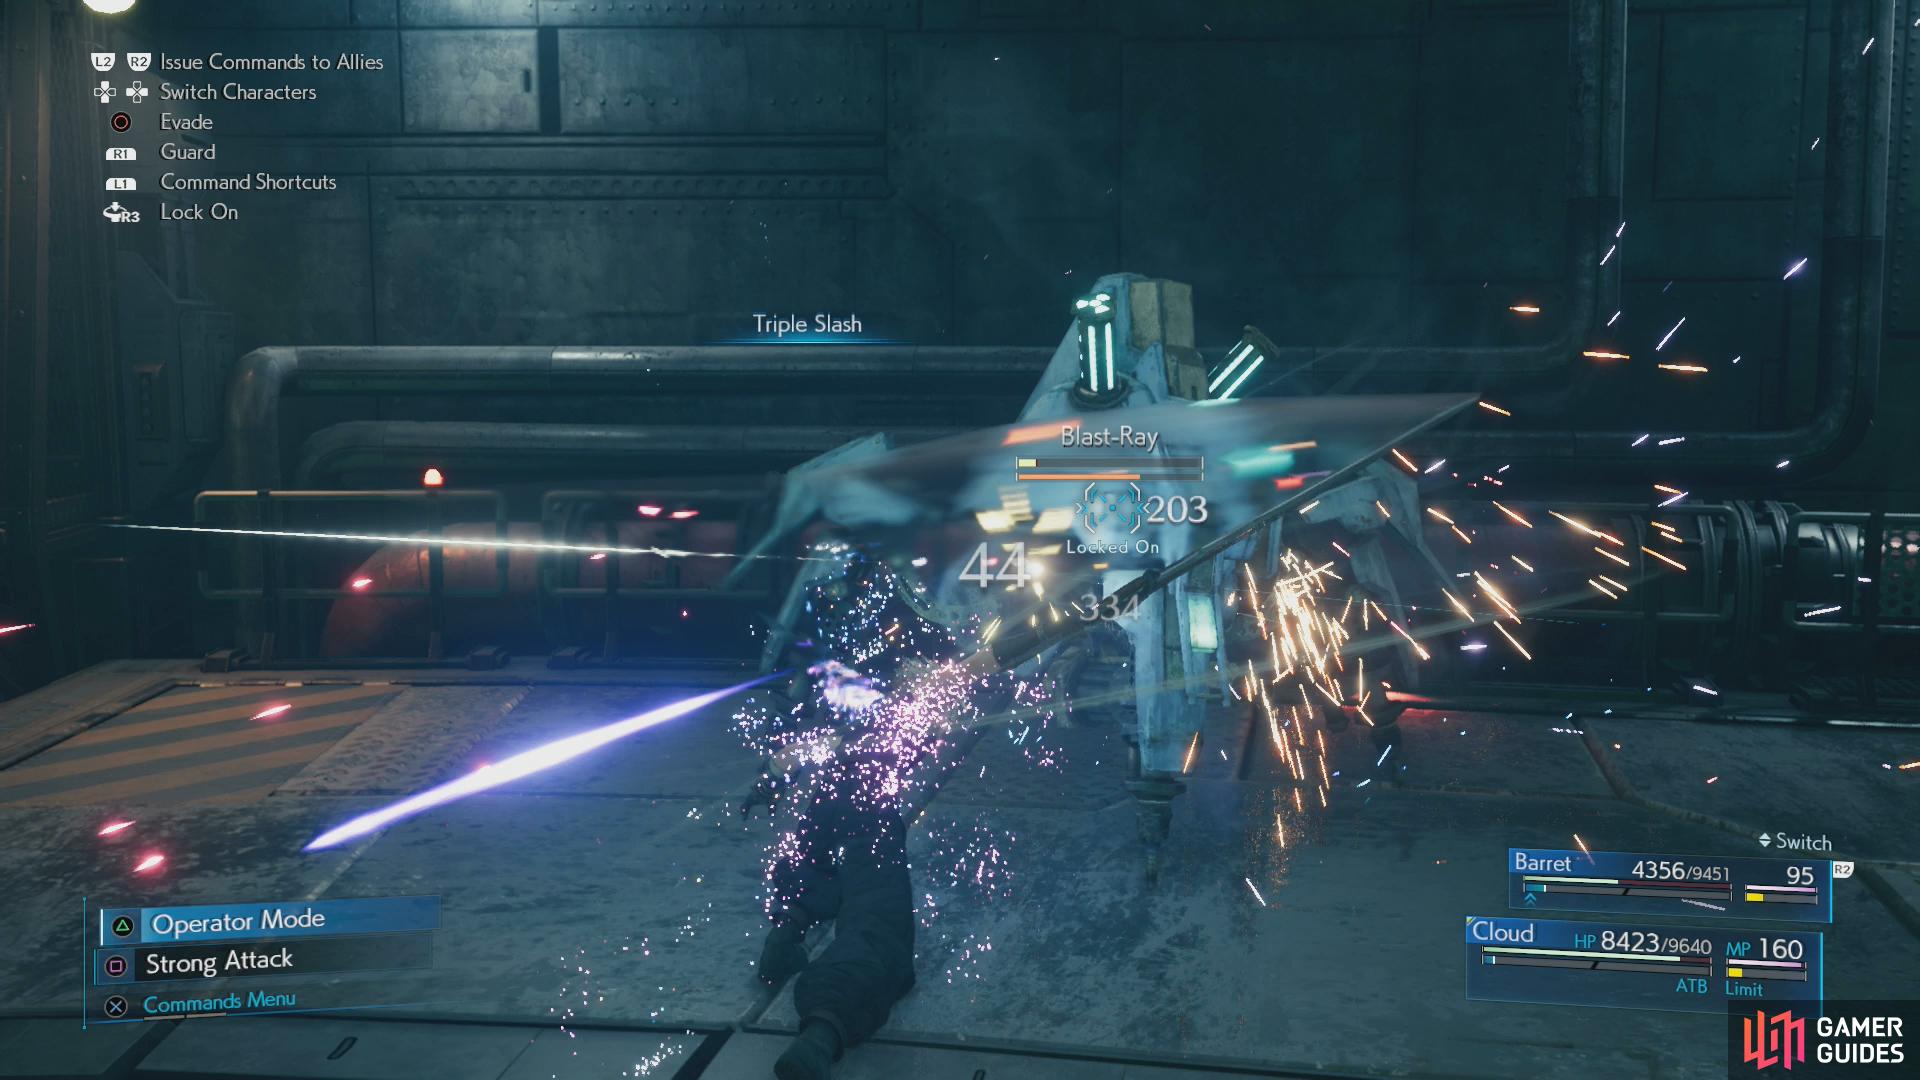
The Blast-Ray will likely be a sloppier fight, but so long as you survive you can use a rest bench to recover lost HP.
-
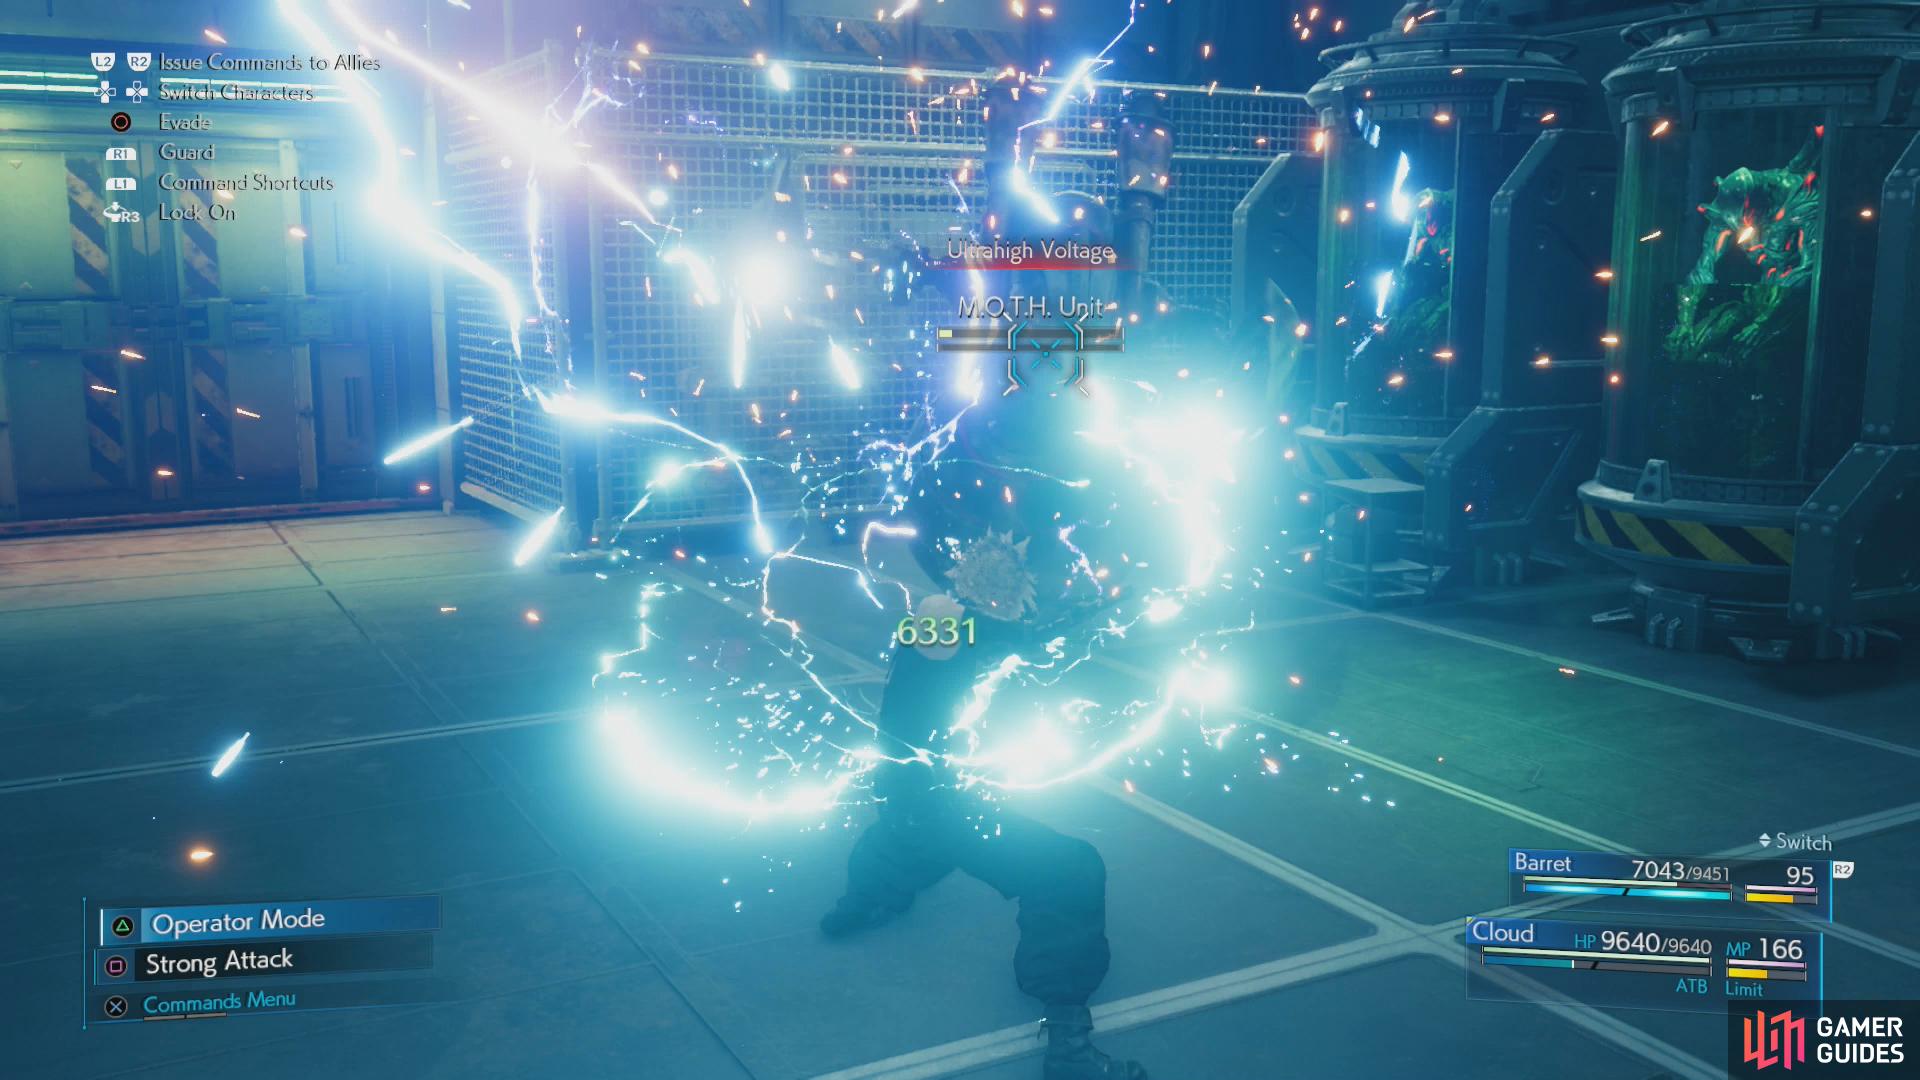
Make sure to equip Lightning + Elemental on Barret, then squeeze through a door to reunite with him. You’ll need to dispatch three rounds of foes here, including Mark II Monodrives, Unknown Entities and finally a M.O.T.H. Unit. The Mark II Monodrives are the most obnoxious of these foes, as they’re somewhat hard to hit with telling blows and may require the use of magic, depending on what barrier they have up, while the other two enemies will actively heal you with their lightning attacks.
-
After switching parties to Tifa and Aerith, then back to Cloud and Barret you’ll need to fend off some Shock-Rays and a Blast-Ray. Use Barret to shoot down the Shock-Rays, then focus on the Blast-Ray. You’ll probably need to use some MP here, either healing from the Blast-Ray’s attacks or striking it down with lightning magics (the former is probably more frugal). Afterwards, flip a switch and open the Ward 03 gate, then switch to the girls and rest. Fortunately you’ll recover lost HP when resting even with characters you don’t actively control at the time.
-
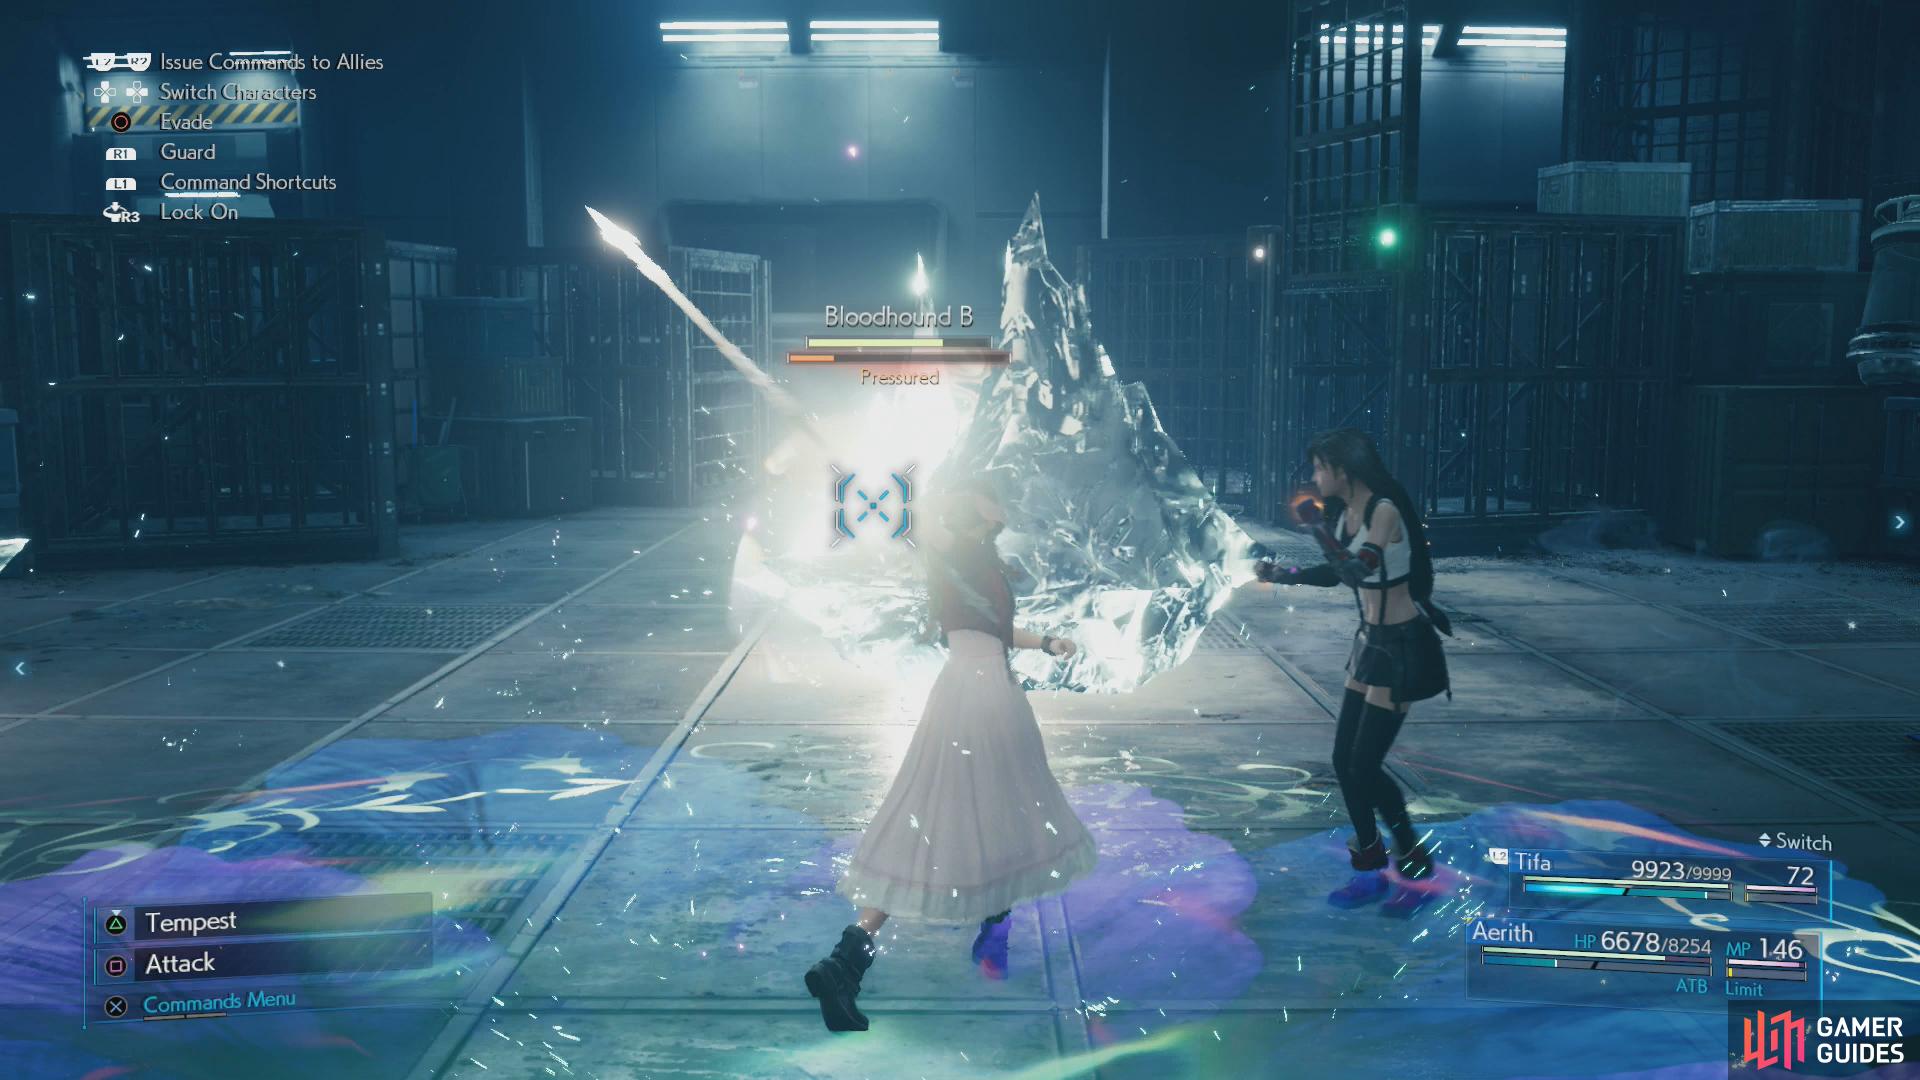
As Tifa and Aerith, dispatch a trio of Unknown Entities, then you’ll head into the kennels, where you’ll ultimately have to fend off numerous Bloodhounds. This battle can be surprisingly tricky in Hard difficulty, as the Bloodhounds are fairly sturdy and deal moderate damage - but it adds up, and they can interrupt attacks admirably. Try to lay down an “Arcane Ward” and have Aerith hit them with Blizzara + Magnify (also pairing an Ice Materia with MP Absorb will help keep MP costs down) then have Tifa clean up with “Omnistrike”. Don’t forget, you can run back to the rest bench to heal if you need to - with luck you shouldn’t have to expend MP healing.
-
Next you’ll have to face a Zenene. Star Pendants will help, otherwise we’re fine with having Tifa just spam “Omnistrike”, which should kill the Zenene after a couple hits. Up next you’ll need to put what you learned here to dispatch two Zenenes. The “Omnistrike” spam works just as well, but you’ll want to focus on taking one down quickly to mitigate their overall offensive output, and having Aerith buff the party with Regen won’t hurt.
-
After exiting Ward 03 you’ll encounter three Sentry Launchers guarding a ladder. Have Aerith stay behind a wall to block the shots of at least one of the turrets, lay down an “Arcane Ward”, then pelt the turrets with Thundara + Magnify, which should all but destroy at least two of them. Expending MP is really the only option here, but Lightning + MP Absorption should mitigate these costs.
-
Switch back to the boys and continue into Ward 02, where you’ll have to fight two Zenenes, followed by a M.O.T.H. Unit in another room. Star Pendants and Punsiher mode should deal with the Zenenes well enough, while the M.O.T.H. Unit can be mitigated with Lightning + Elemental (armor).
Against the Sledgeworms you’ll need to keep moving and attack opportunistically.
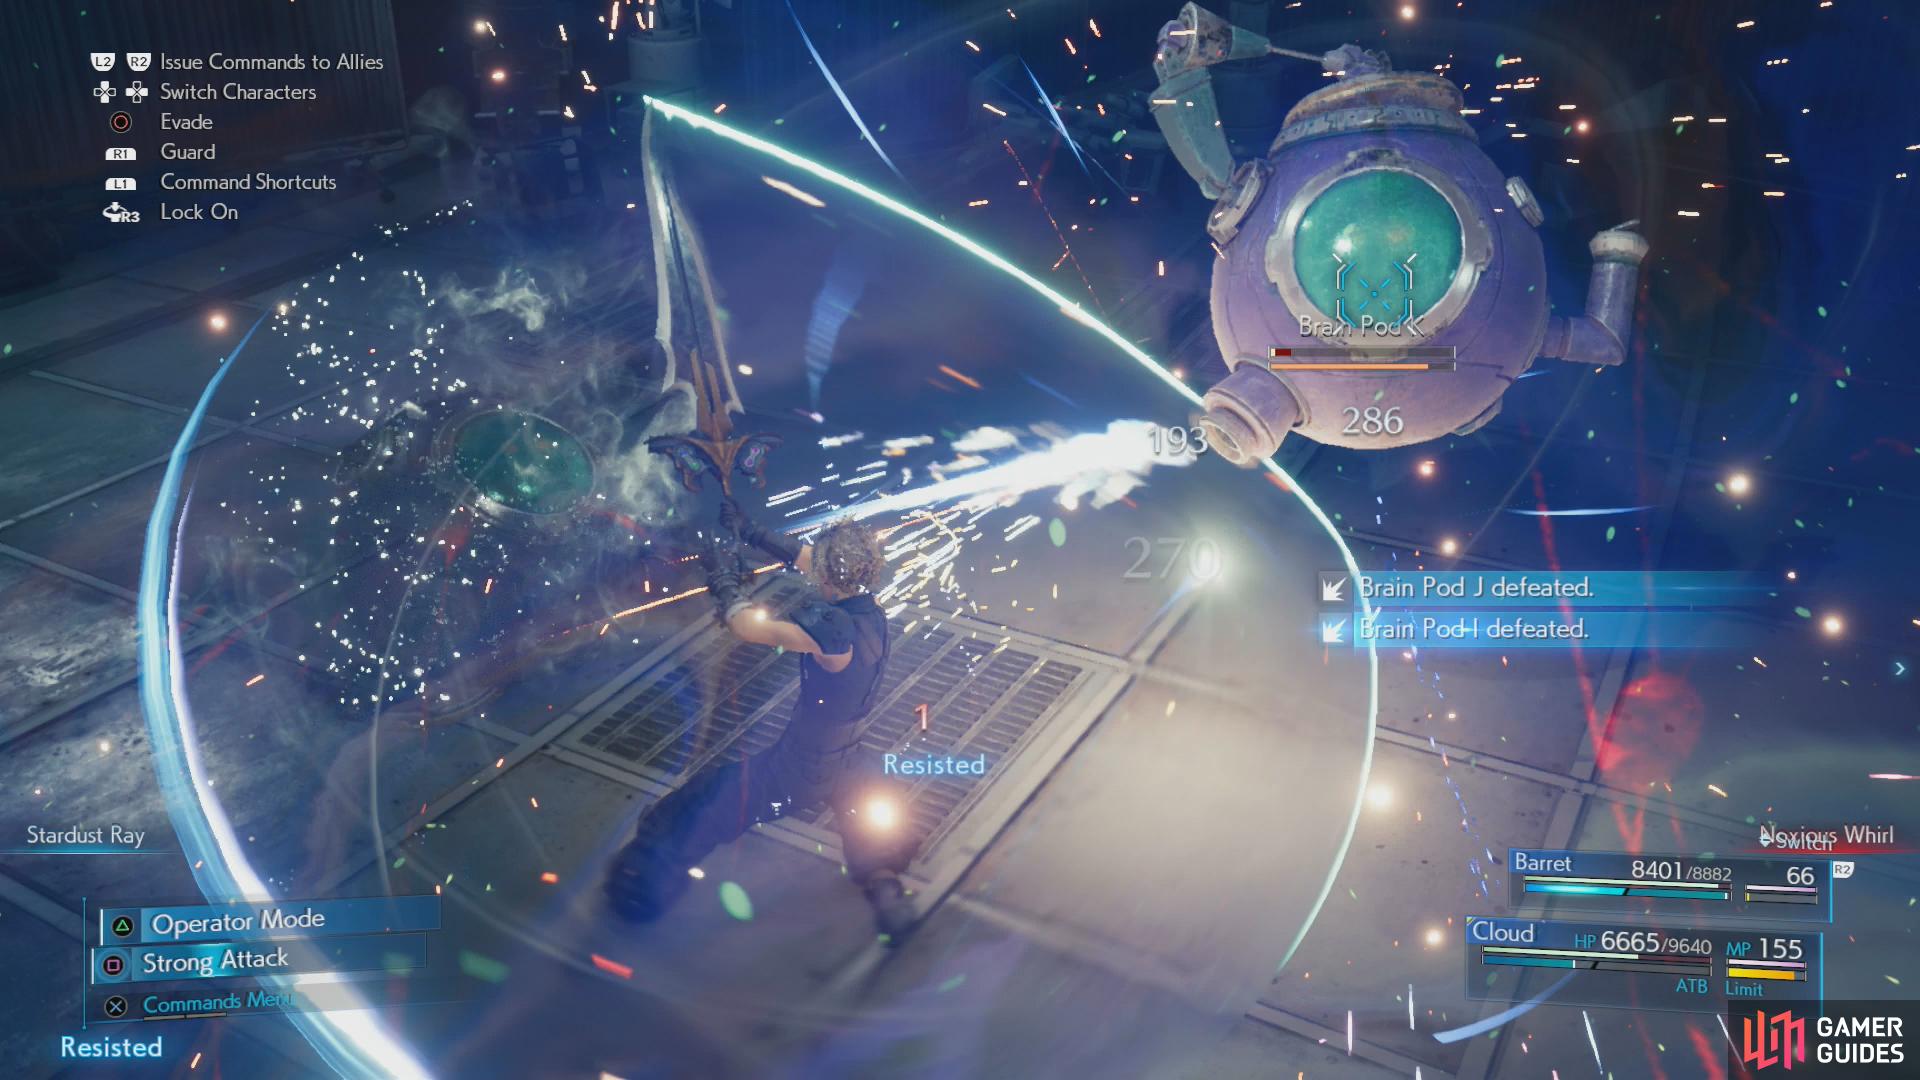
The Brain Pod is a less troublesome foe - just counterattack them and they’ll largely take care of themselves.
-
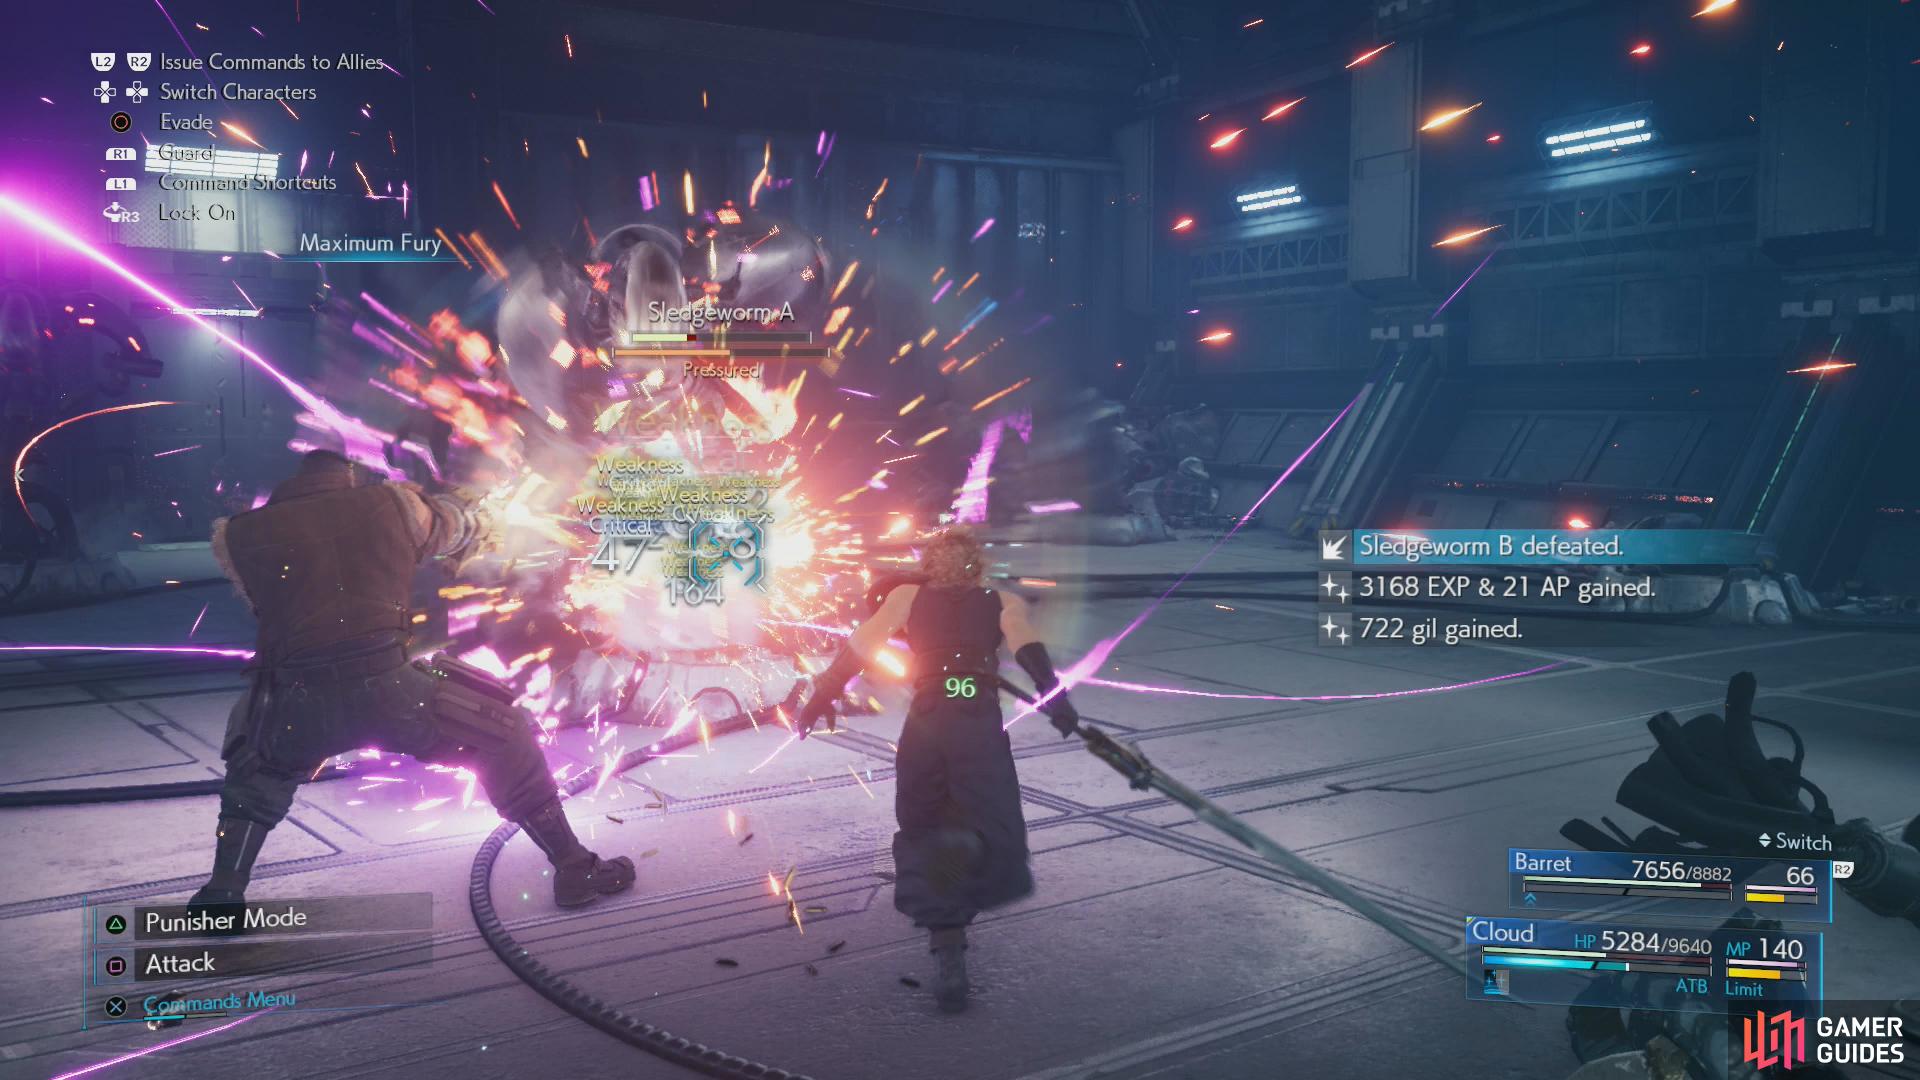
The next fight is against several Sledgeworms, which were obnoxious enough on Normal difficulty. Unfortunately, unlike many foes, they’re no less annoying in Hard difficulty, but at least you can prepare for them better this time. Make Cloud and Barret immune to “Poison” with Star Pendants and “Stop” with Time + Warding, then enter the room where they lurk. Control Cloud and keep moving, attacking the Sledgeworms at they pop up, dodging when you must and using Barret’s “Maximum Fury” whenever has his ATB charged. You’ll probably need to heal during this battle, so don’t be afraid of expending MP, although wasting MP on Thunder is a risky proposition given how likely the attack is to miss, and the fact that it probably won’t kill any Sledgeworms even if you hit.
-
Finally for this segment you’ll face off against the Brain Pod. Brain Pods? Whatever, hack away at the first one until it uses its “Flash Bang” attack, after which it’ll split and you’ll have to face a host of the odd creations. Punisher mode counterattacks and “Triple Slash” attacks were sufficient to take them all down, and as long as you’re immune to “Poison” there seems to be little danger in this fight.
-
After this you’ve one more battle with the boys - for now. Just a couple of Unknown Entities who can be almost entirely mitigated with Lightning + Elemental. Use the rest bench before fighting them after which you’ll need to quickly switch to the girls to rescue Red XIII.

- Equip Lightning + Magnify and Lightning + MP Absorption on Aerith, and Lightning + Elemental on Tifa’s weapon. Once done you’ll need to fight two Sledgeworms, two Enhanced Shock Troopers and finally several Unknown Entities. To defeat the Sledge Worms, “Arcane Ward” and Thundara + Magnify will work well, but chasing them down with Tifa and landing some “Omnistrikes” is surprisingly effective. The Enhanced Shock Troopers are more of the same - “Omnistrike” will defeat them rather quickly, although they can be tricky to hit. Switch to Lightning + Elemental (armor) for the Unknown Entities and you shouldn’t have any trouble there, either.
With all that done, you’re most of the way through the battles in the chapter - in fact, Unknown Entities are the last non-boss battle you’ll be forced to have in Hard difficulty. Small consolation when there are still six more boss battles left in the game, four of which you’ll need to defeat to make it to the end of this chapter.
- Fortunately the first one isn’t much trouble. Continue on with Cloud and Barret to encounter the Swordipede, which, naturally, will have its own Hard difficulty strategy page. For defeating this boss you’ll obtain the Telluric Scriptures Vol. XII Manuscript.
After Swordipede you’ll shortly find yourself at the elevator leading out of Hojo’s laboratory, where you’ll quickly find yourself at the next boss. If you want to keep exploring the lab, you can save and reload to respawn Shinra Boxes should you desire to recover lost MP. Just be wary that enemies will respawn, and if you end up expending MP to defeat them… well, it’s not really cost effective, is it? If you’re in good shape, however, advance up the Shinra building.
-
The next boss battle is against Jenova Dreamweaver, and involves Aerith, Tifa and Cloud. Tifa can expend as many MP here as she wants, as it’s her last fight of the chapter. Cloud has one more boss battle left (although it shouldn’t be too MP-intensive) as does Aerith, and her MP are the most precious. A few Curagas won’t hurt anything, but you really want her to have enough MP for her next fight, so try to be somewhat frugal - even if it means moving Healing + Magnify to another character. Gotterdammerung will shorten this fight considerably. You’ll earn the Way of the Fist Vol. XIV Manuscript for winning this fight.
-
You’ll be able to use a rest bench after Jenova Dreamweaver, so take the opportunity to do so. Next Cloud faces off alone against Rufus and Darkstar. Not a difficult fight, Lightning + Elemental will make this much easier, and hitting your foes with Bio will shorten things considerably. Otherwise, you only need MP for healing, and since Cloud has no further battles this chapter, you don’t have to hold back. Gotterdammerung will outright trivialize this fight. Cloud will obtain The Art of Swordplay Vol. XIV for winning this fight.
-
The final battle in the chapter pits Aerith and Barret against The Arsenal. Aerith will need to use MP both to heal and to attack The Arsenal in various phases, so her going into this fight with a good amount of MP is important. If you get a limit break with Barret, save it for the final phase, as dealing a lot of damage in a short amount of time is necessary to secure victory at the end of this fight. Again, Gotterdammerung will help make this fight easier, but it won’t save you if you manage your limits poorly. You’ll earn the Telluric Scriptures Vol. XIII Manuscript for defeating this boss.
No Comments