


The immediate followup to Down on the Street, Gimme Danger begins immediately after your call with Takemura at the end of Down on the Street.
Follow the quest trail to one of the elevators Takemura mentioned and ride up to the market, then simply follow the quest trail to Takemura. You’ll find him talking to two NCPD officers, but when you approach he’ll break away and state the obvious to you, before going over his plan. Seems he wants to break into the Arasaka Industrial Park and tamper with the floats ahead of time to aid your future infiltration.
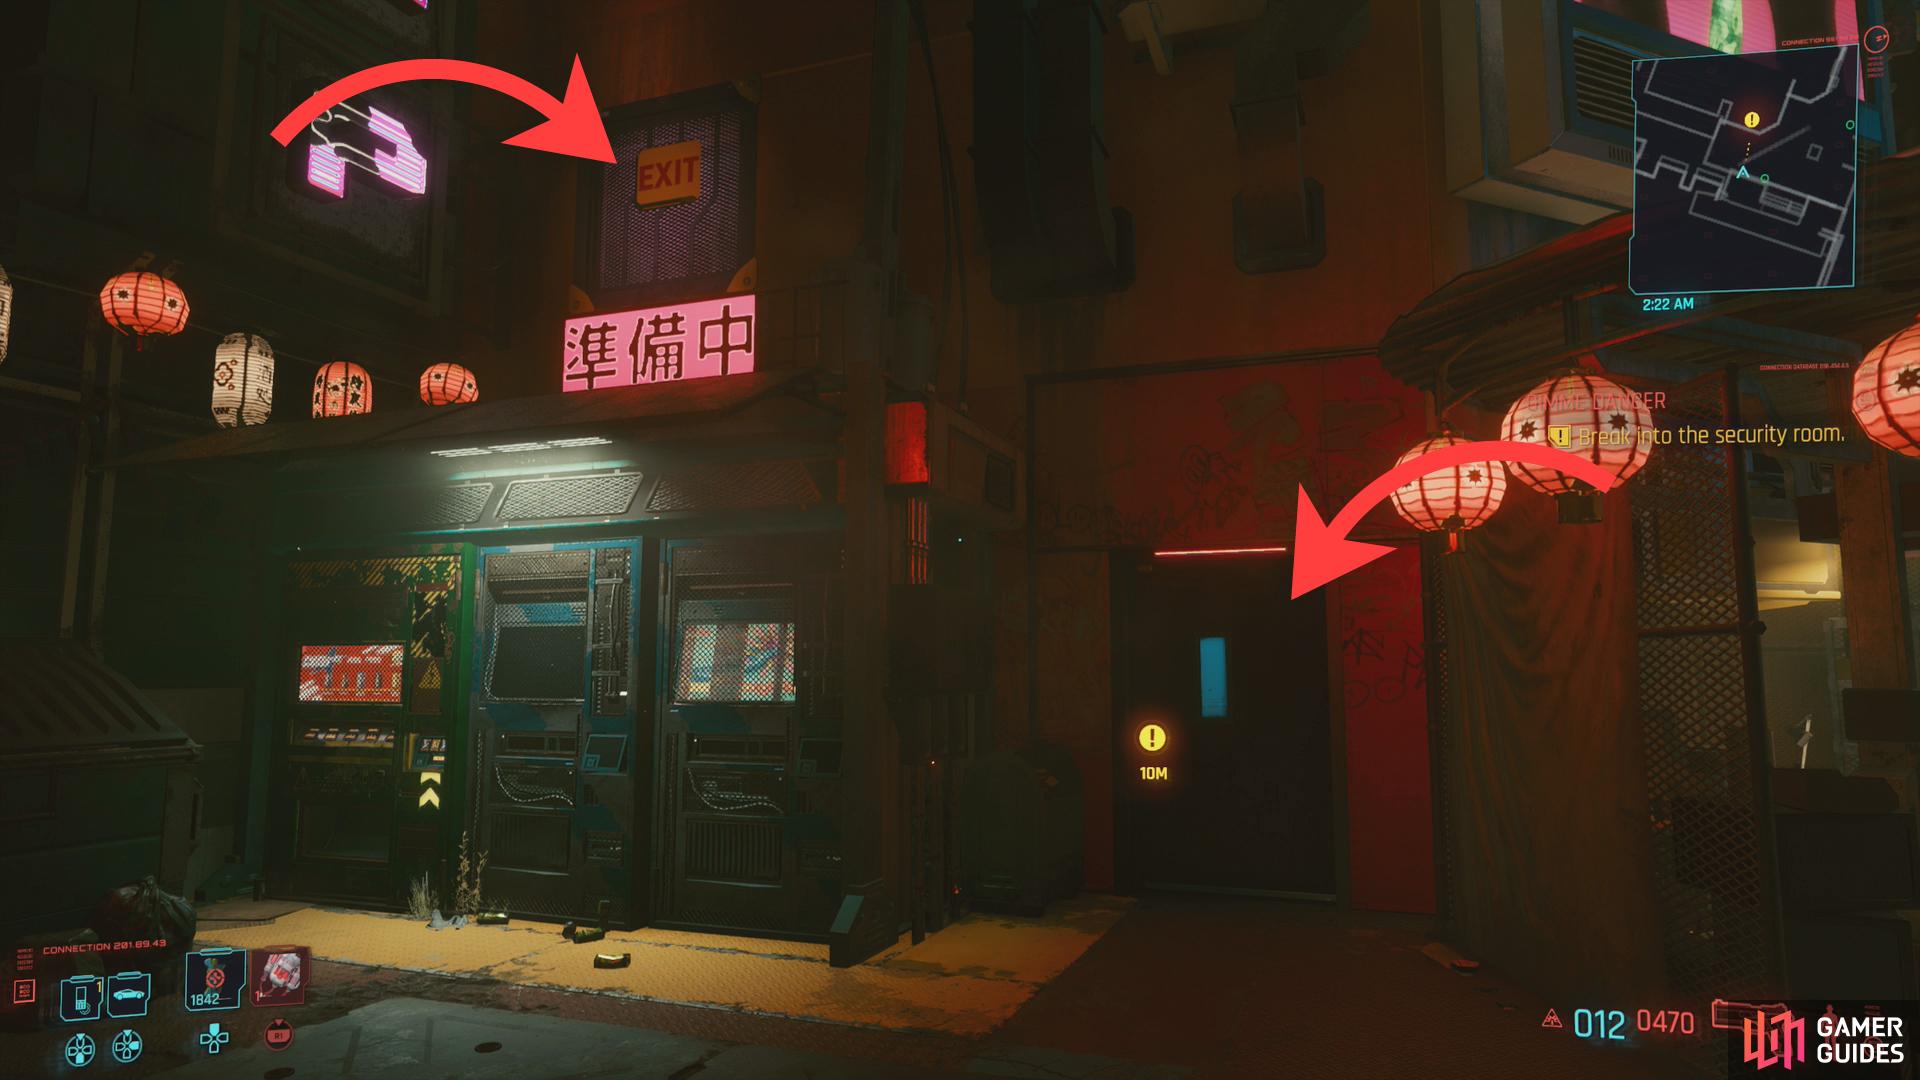
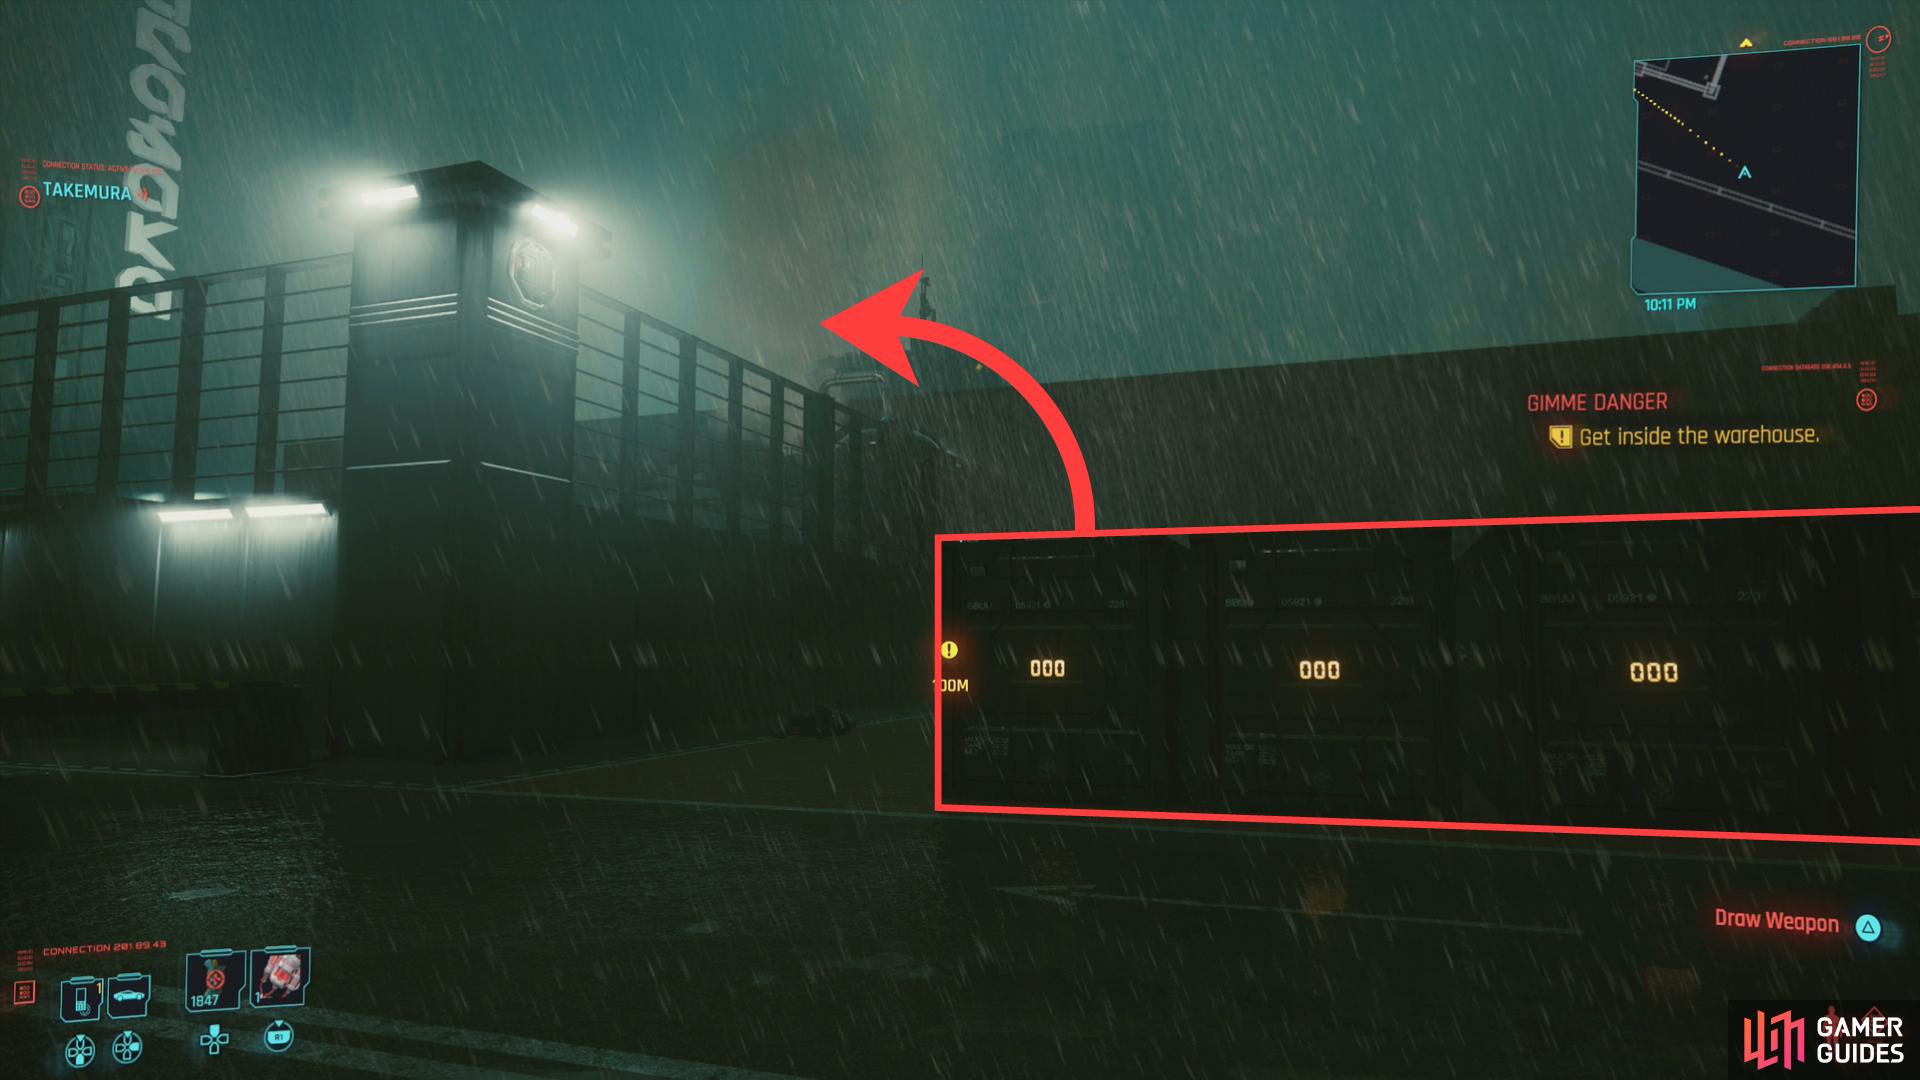
You can breach the security room by either forcing a door, or climbing through a chute.
Decide whether to accompany Takemura on his reconnaissance mission.
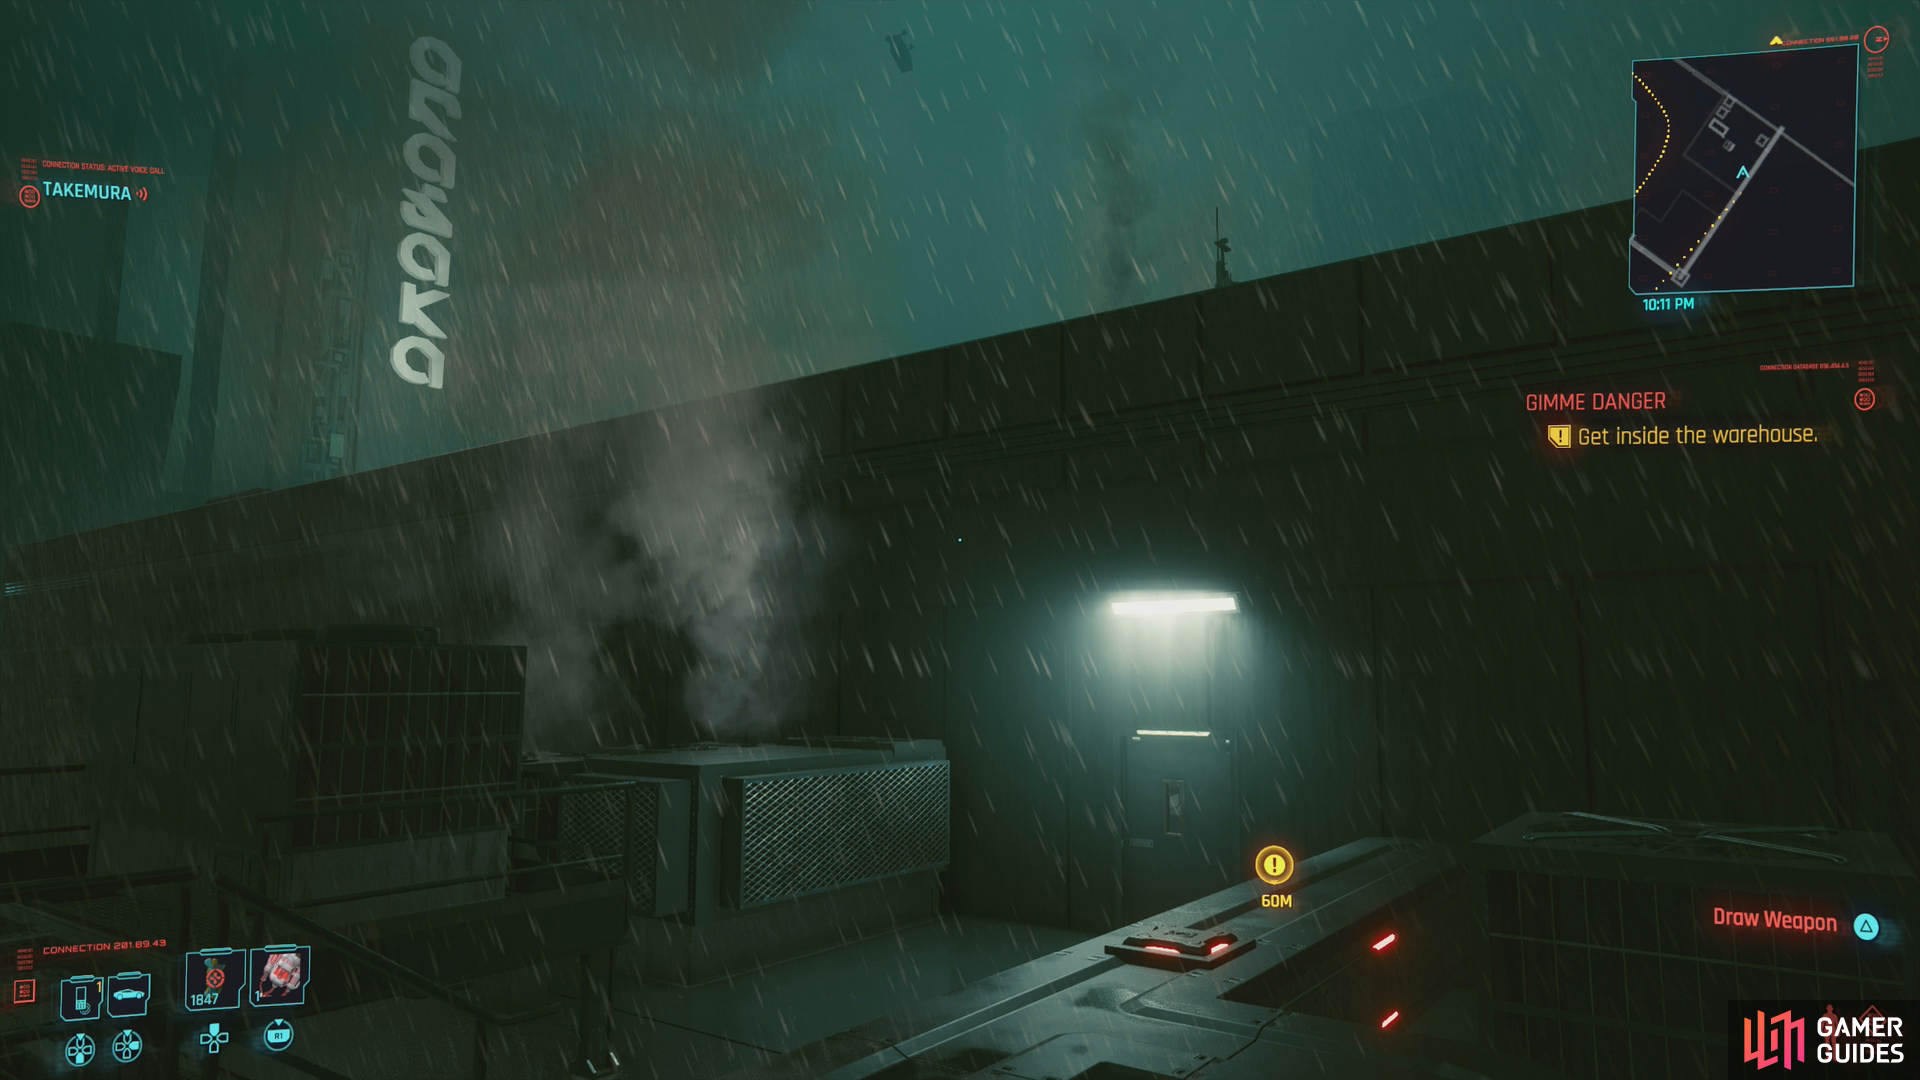
Take the shard he offers and you’ll be tasked with a preliminary chore - break into a security room and hack the surveillance system. Follow Takemura and when he’s done talking you’ll find the security room just opposite of where he’s standing. You can either force a door [Body 6] or climb atop some vending machines to the left of the door to find a grate you can climb into. Either way, reach the interior of the security room and install the malware, then return to Takemura.
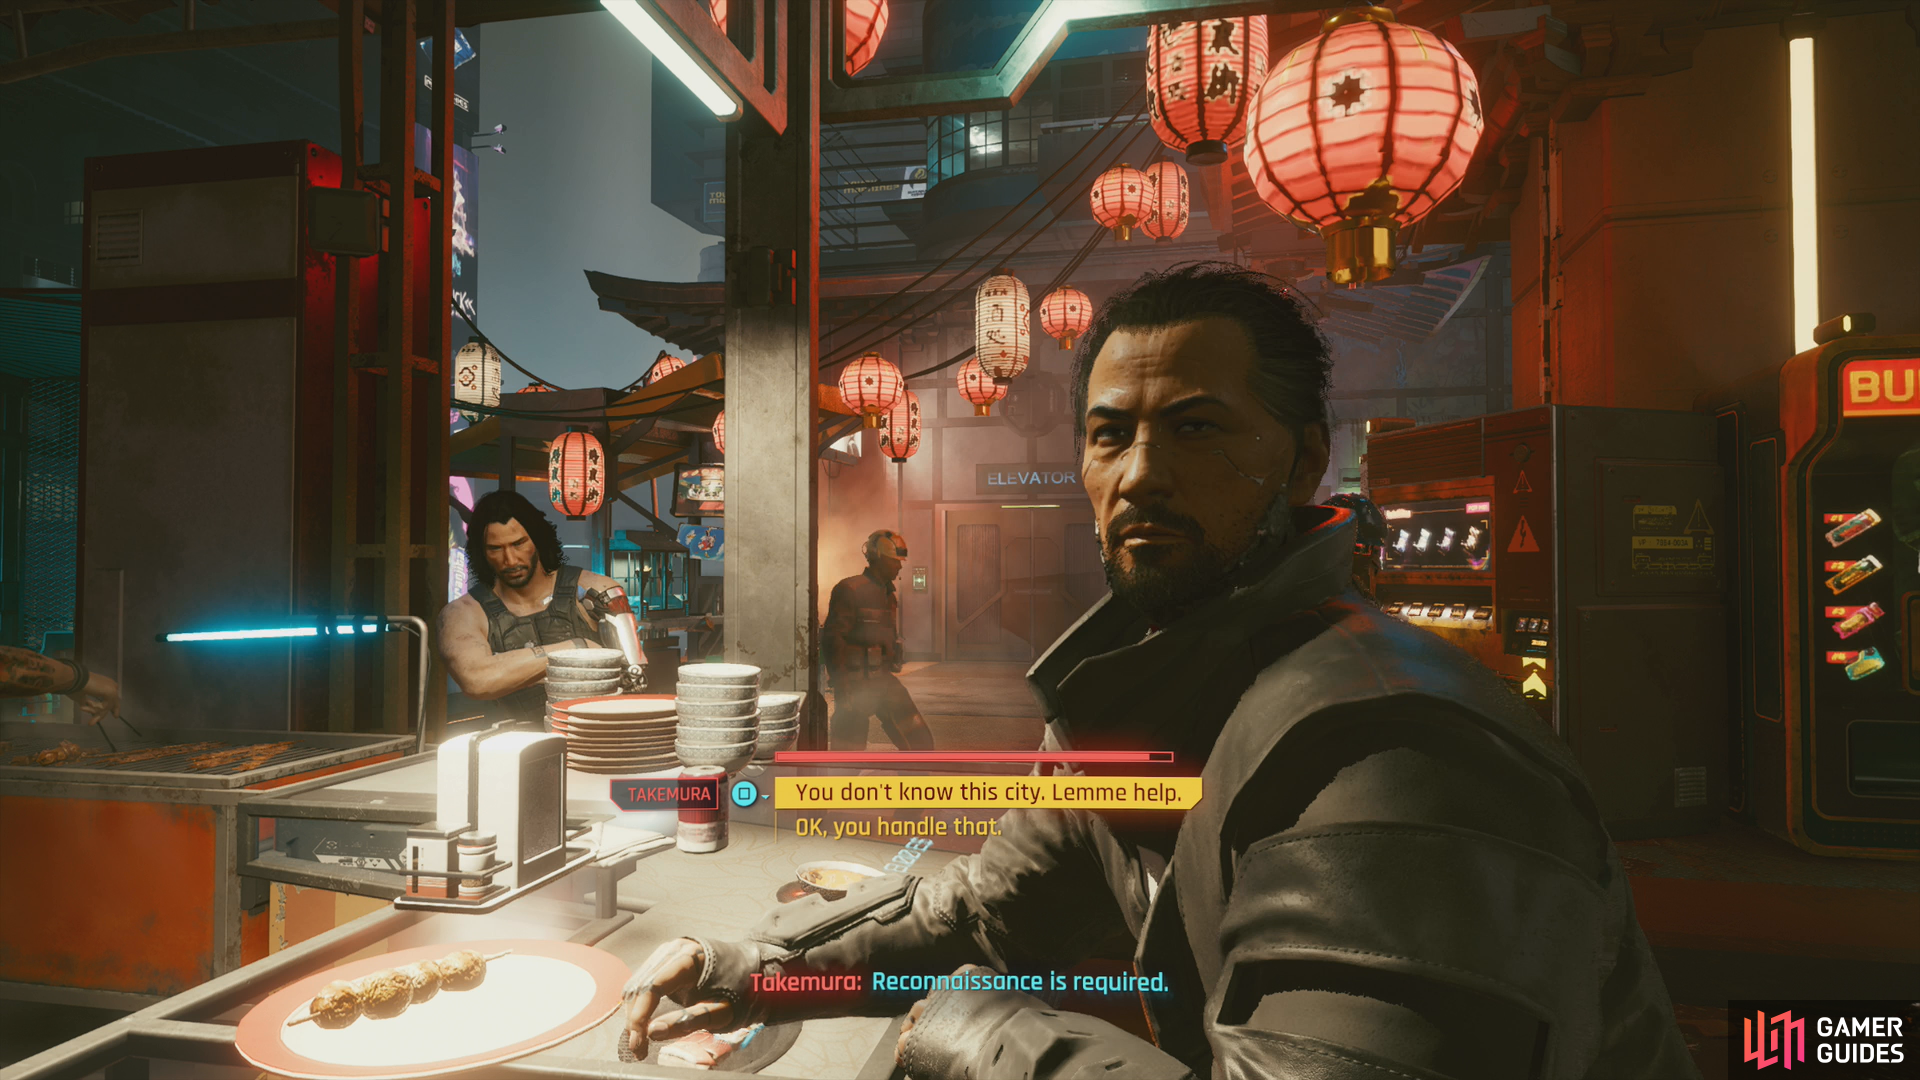
He’ll go grab a bite to eat, then go over the next phase of his plan. After expressing his opinion of Night City cuisine, you’ll get a choice to either accompany him on his planned reconnaissance of the Arasaka Industrial Park, or let him handle it himself:
- ”You don’t know this city. Lemme help.”
- ” OK, you handle that.”
If you respond with ”OK, you handle that.” you’ll need to wait 24 hours for a call from Takemura. This will cost you some dialogue and the opportunity to befriend Takemura, not to mention giving you fewer options during the infiltration itself. On the other hand, if you say ”You don’t know this city. Lemme help.” you’ll go help Takemura. Given the outcomes of these choices, we can see no good reason not to help him with the reconnaissance. The tricky part - the infiltration - has to be done either way. Just pick the ”Might as well.” at the end of the conversation and you’ll travel directly to your destination with Takemura.

Scan all the objects you can to get as much info as possible.
Arasaka Industrial Park - Reconnaissance
Follow Takemura into an elevator and ride it to a roof, then follow him to a convenient overlook. Scan a variety of objects to get related dialogue options:
- Pipe: ”The pipes.”
- Antenna: ”Security hub’s gotta be in that building.”
- Gate Security System: ”Gate’s guarded.”
- Gate: ”Side-entrance is blocked.”
- Grate: ”That a service tunnel?”
- Bridge Security System: ”Footbridge.”
- Transformer: ”See the transformer?”
- Satellite Dish: ”Comms system.”
- Columbus V340-F Freight: ”Trucks come regularly.”
- Ranger: ”Got a guard freaking out.”
Be sure to comment on these as you scan them to remove them from the list. Some of these targets (the van and the guard) move, so be patient and wait for the opportunity to scan these as they come around. Takemura will comment that you “have all we need.” when you get everything, but you don’t need to scan everything before moving on, if you don’t want to. Once you tell Takemura that you’re ready, time will skip ahead and you’ll be able to engage in friendly banter with Takemura - the reward for accompanying him on this reconnaissance mission. After time skips forward a second time it’ll be nice. Time to infiltrate the compound.

If you’ve got a sufficient Body score, you can hijack a van,
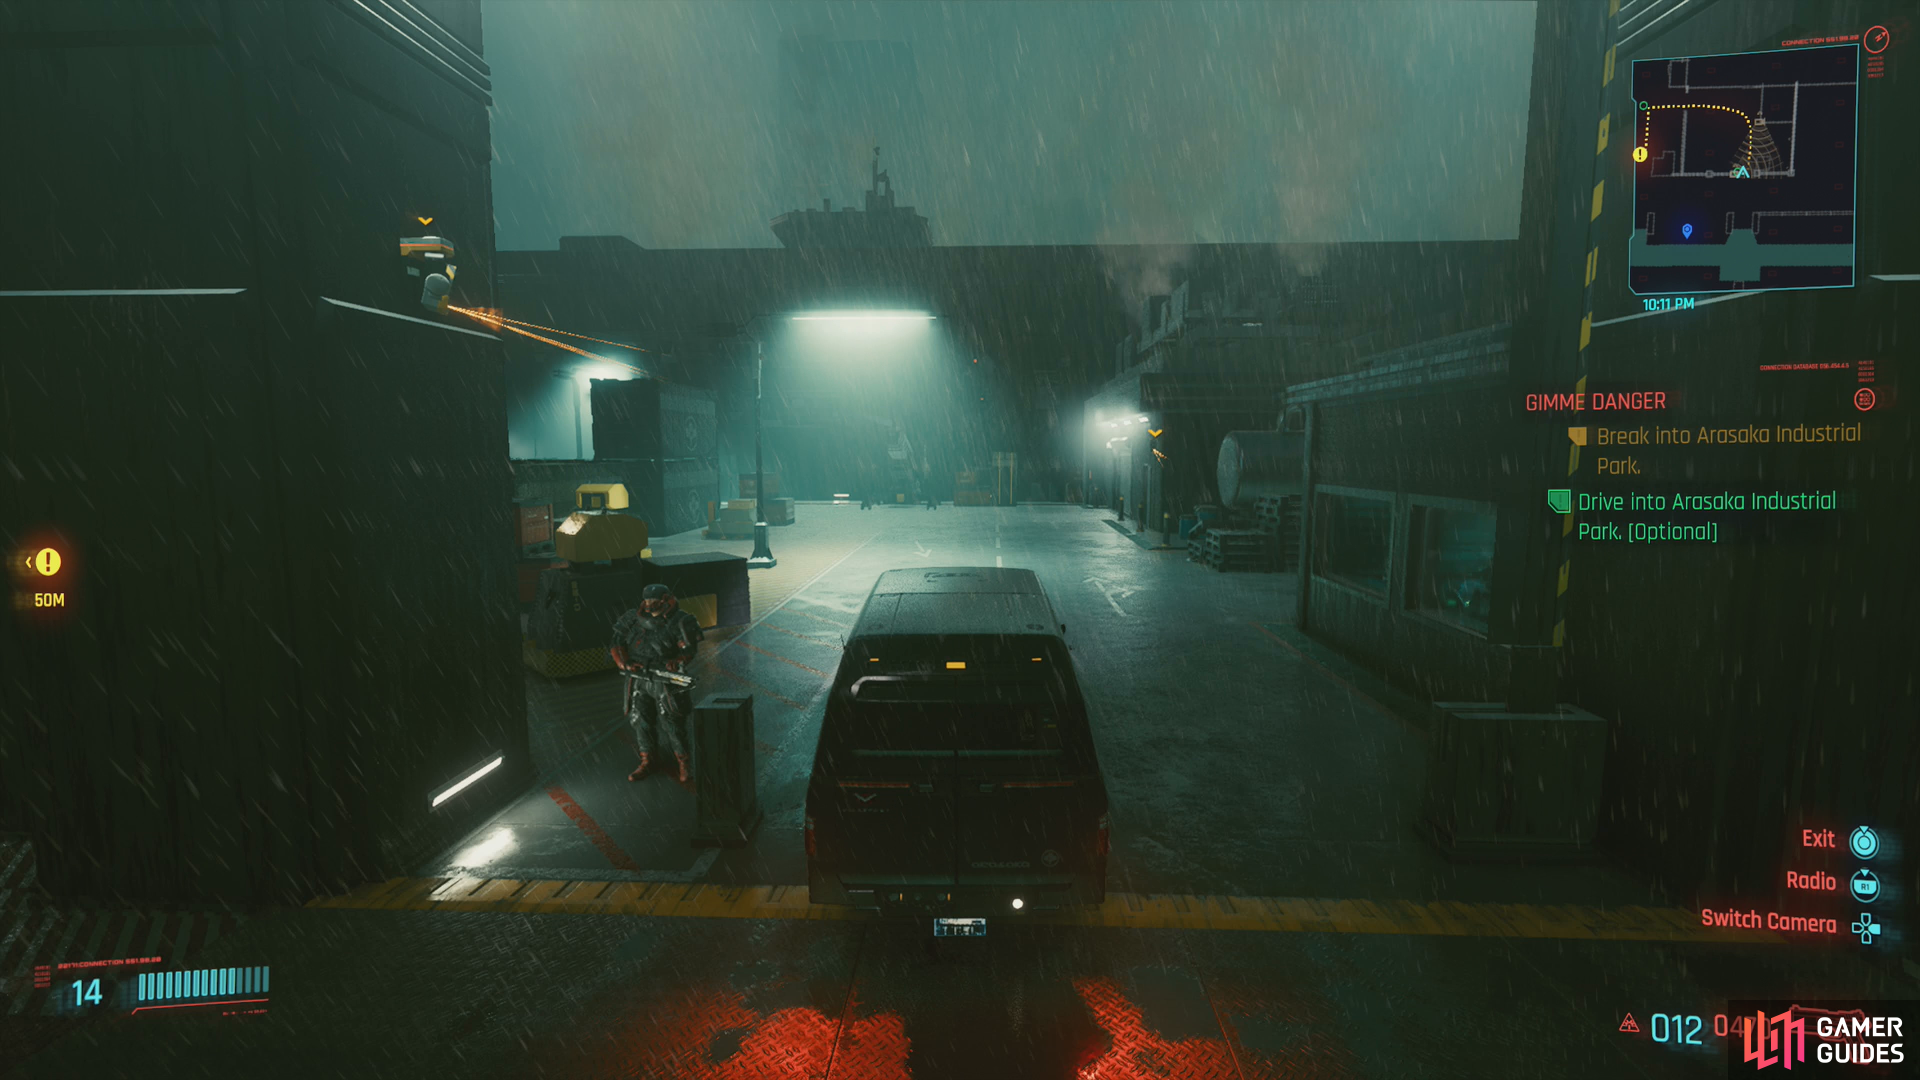
and casually drive it into the compound.
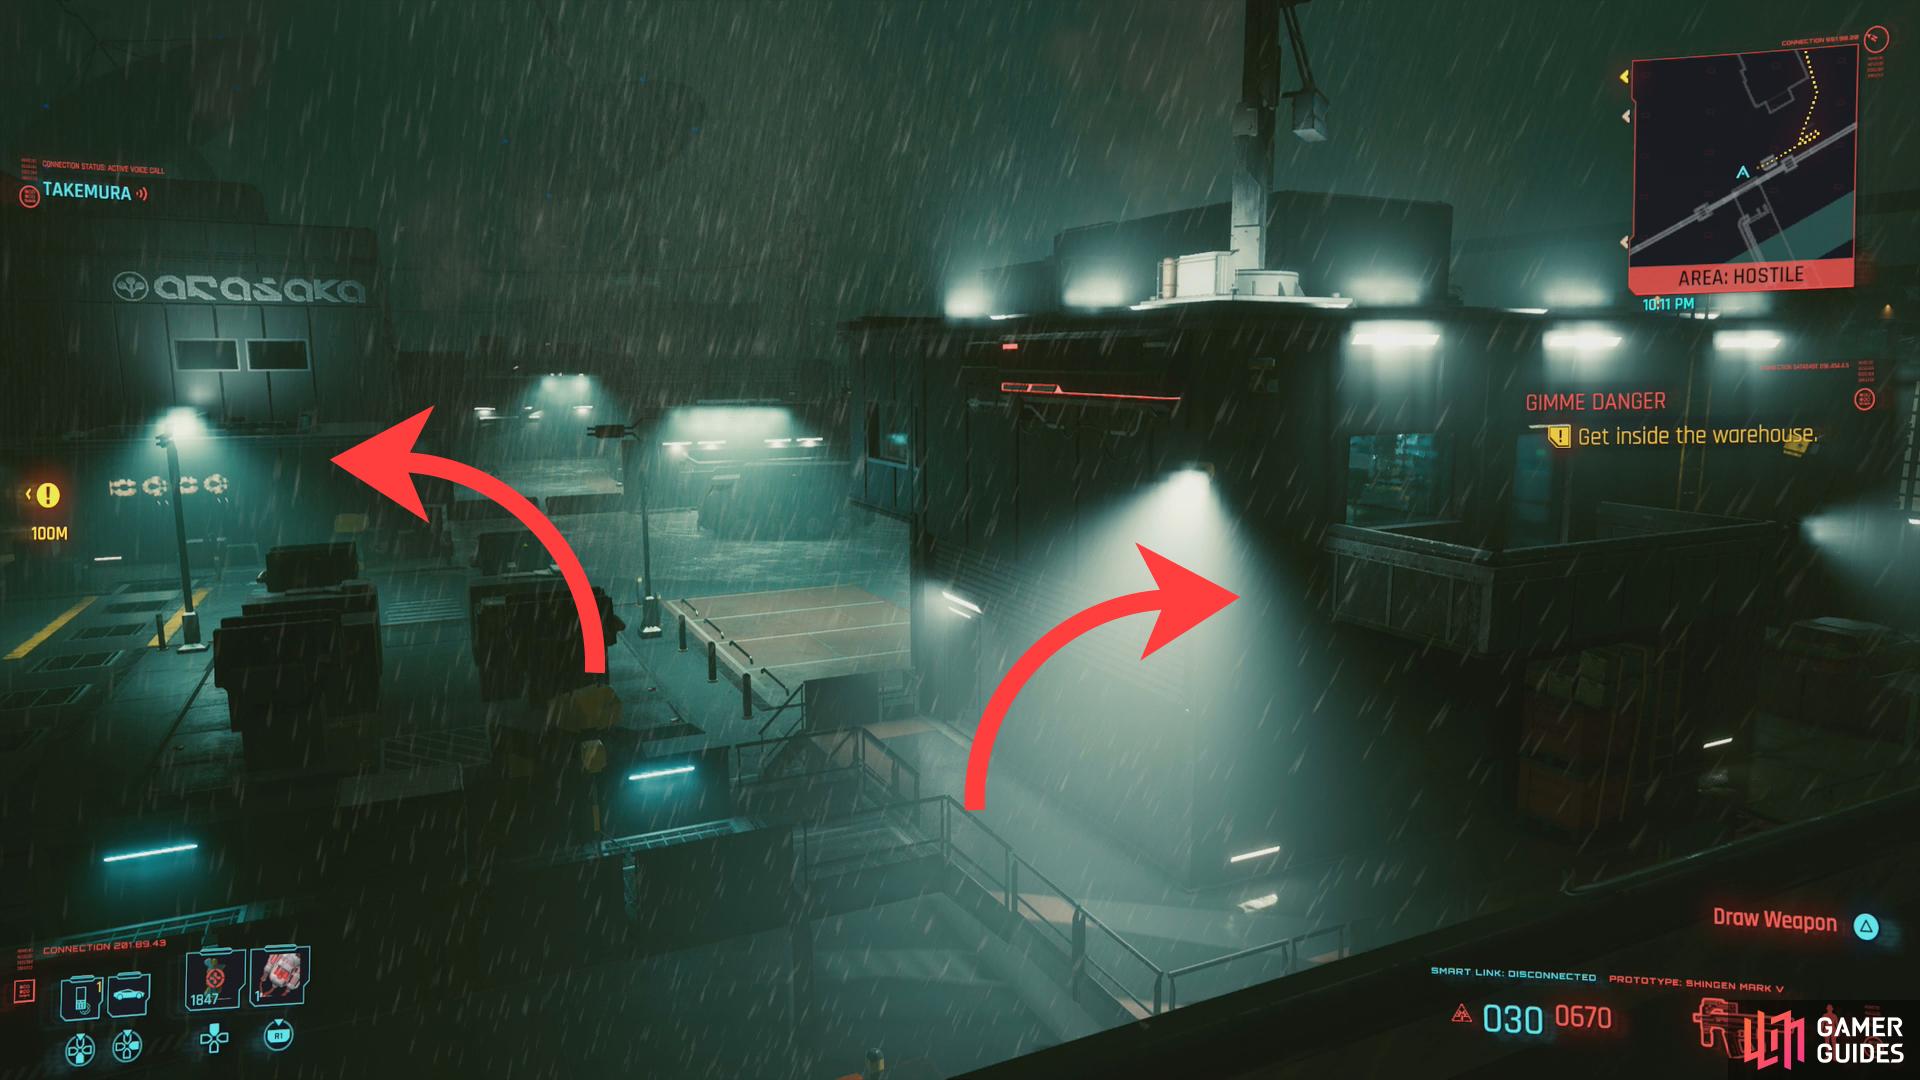
Arasaka Industrial Park - Infiltrating the Compound
Perhaps the easiest way to infiltrate the compound is to just hijack the van driving around. It won’t stop, so you’ll have to seize an opportunity to run up to the driver’s side door and toss its current occupant out [Body 5]. If you miss it, don’t worry - it’ll circle back around. If you can get ahold of it, you’ll be able to drive right into the compound, getting as far as a road block near the warehouse you’re looking for.
Failing that, you’re still spoiled for choice, especially if you have Reinforced Tendons (double jump) and/or the ability to quickhack. There are numerous gates you can use, most of which merely require you to deactivate a camera, use Reboot Optics or a distraction quickhack to make it easier to get behind and take out a guard.
Jump onto some contains and use them to get over a wall and onto a roof,
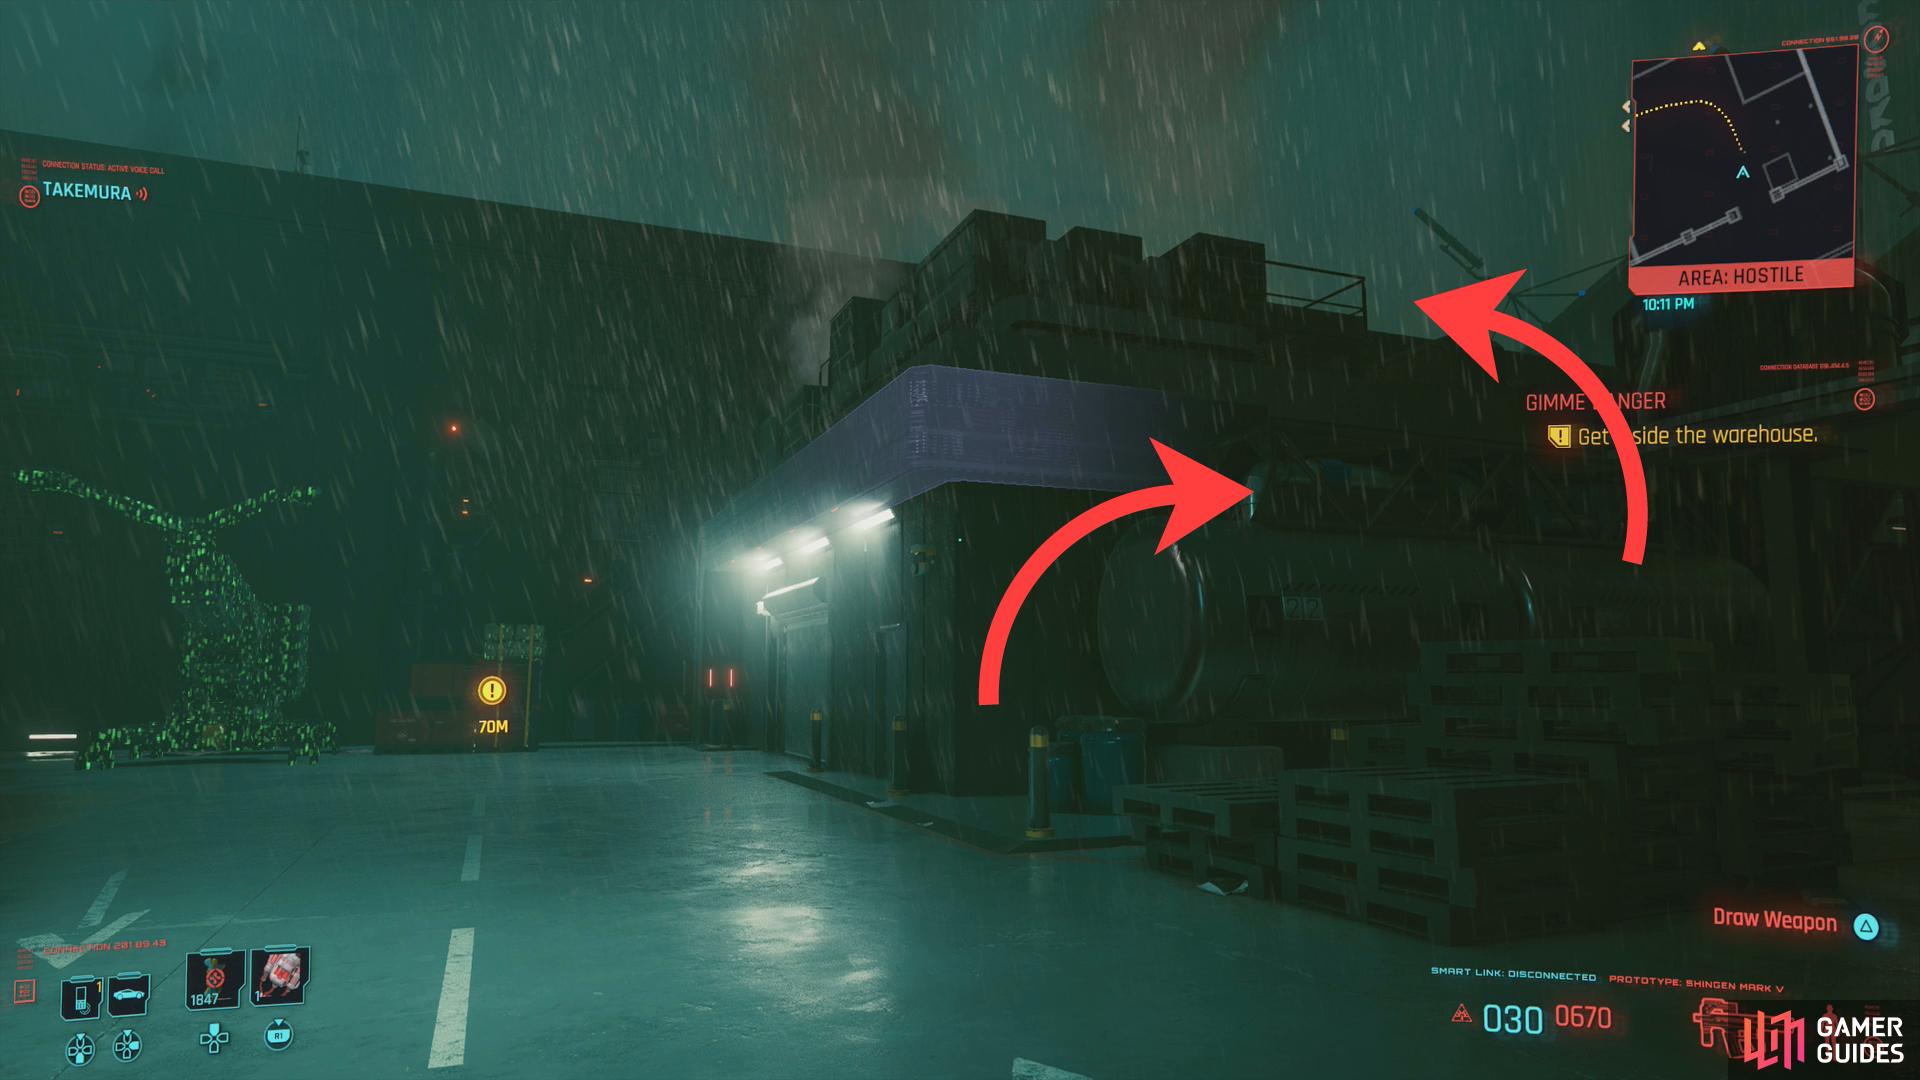
where you’ll find a door leading into the warehouse.
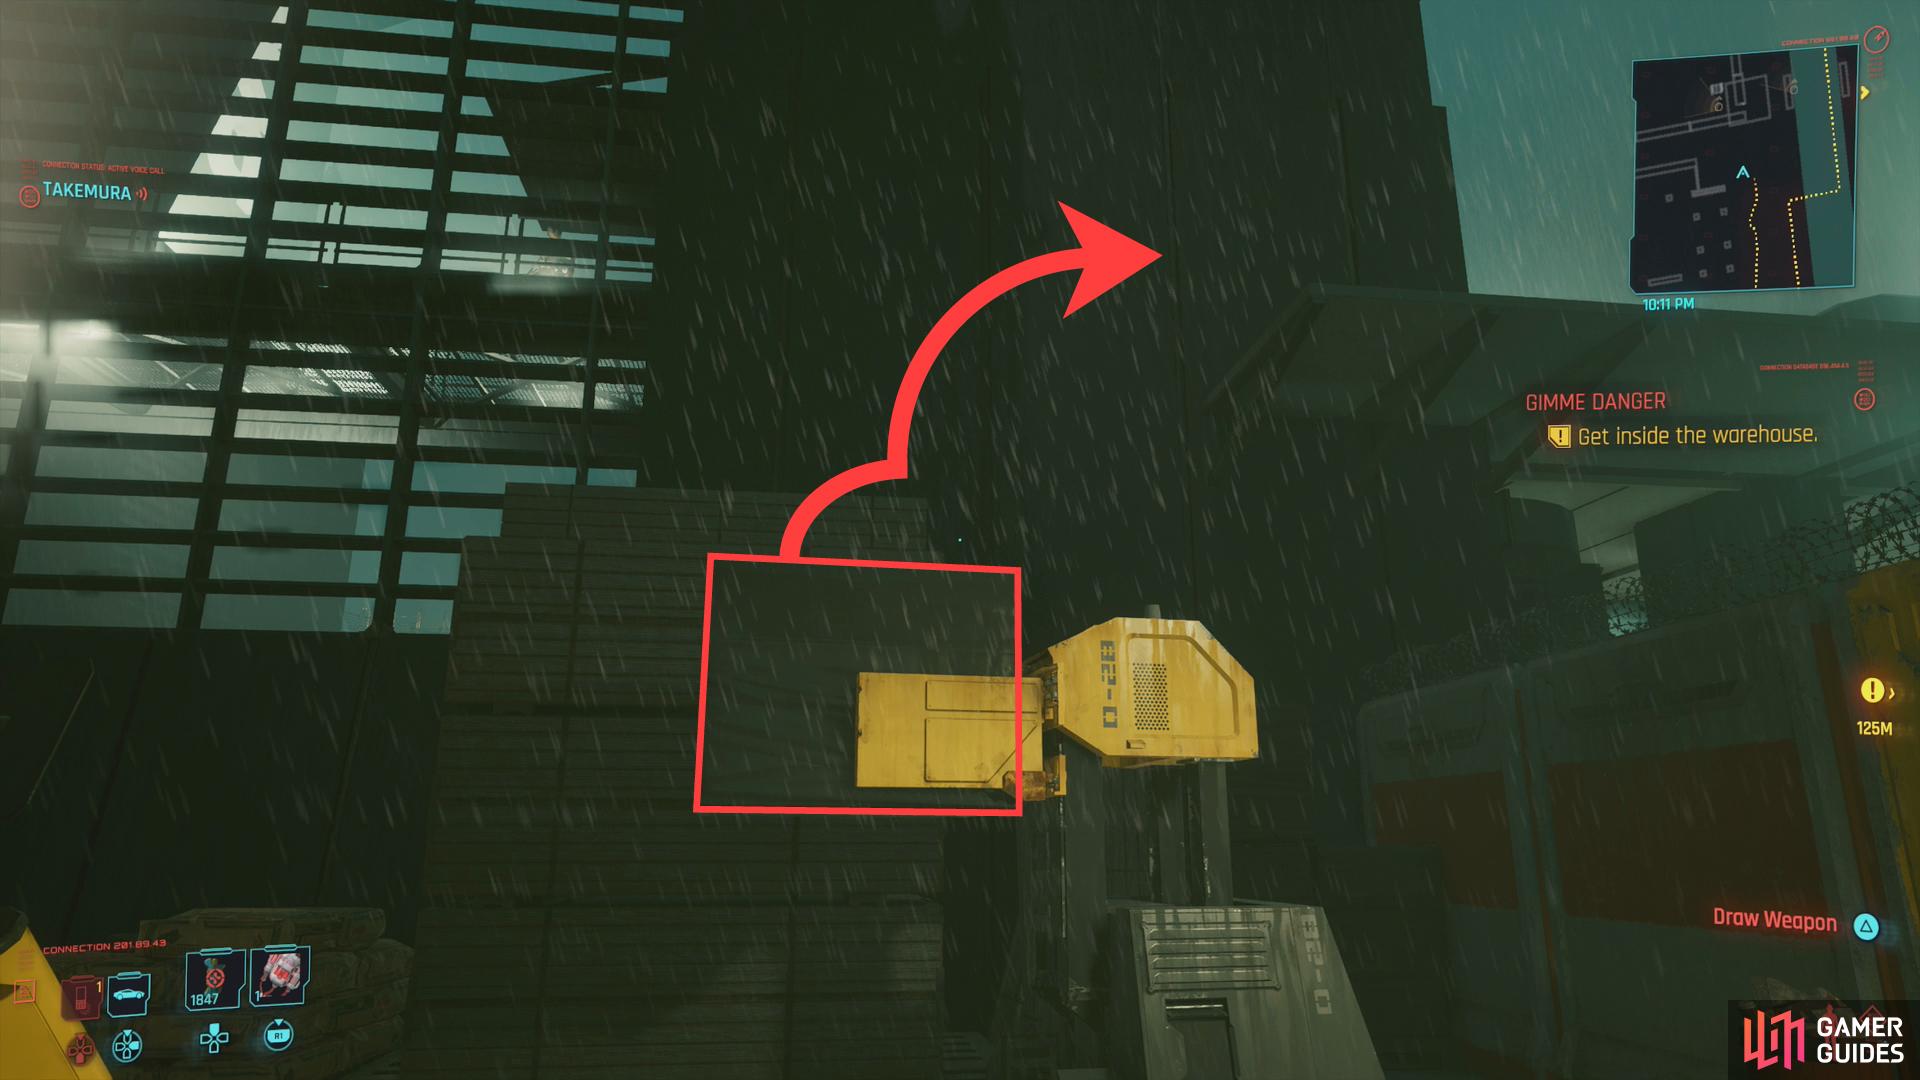
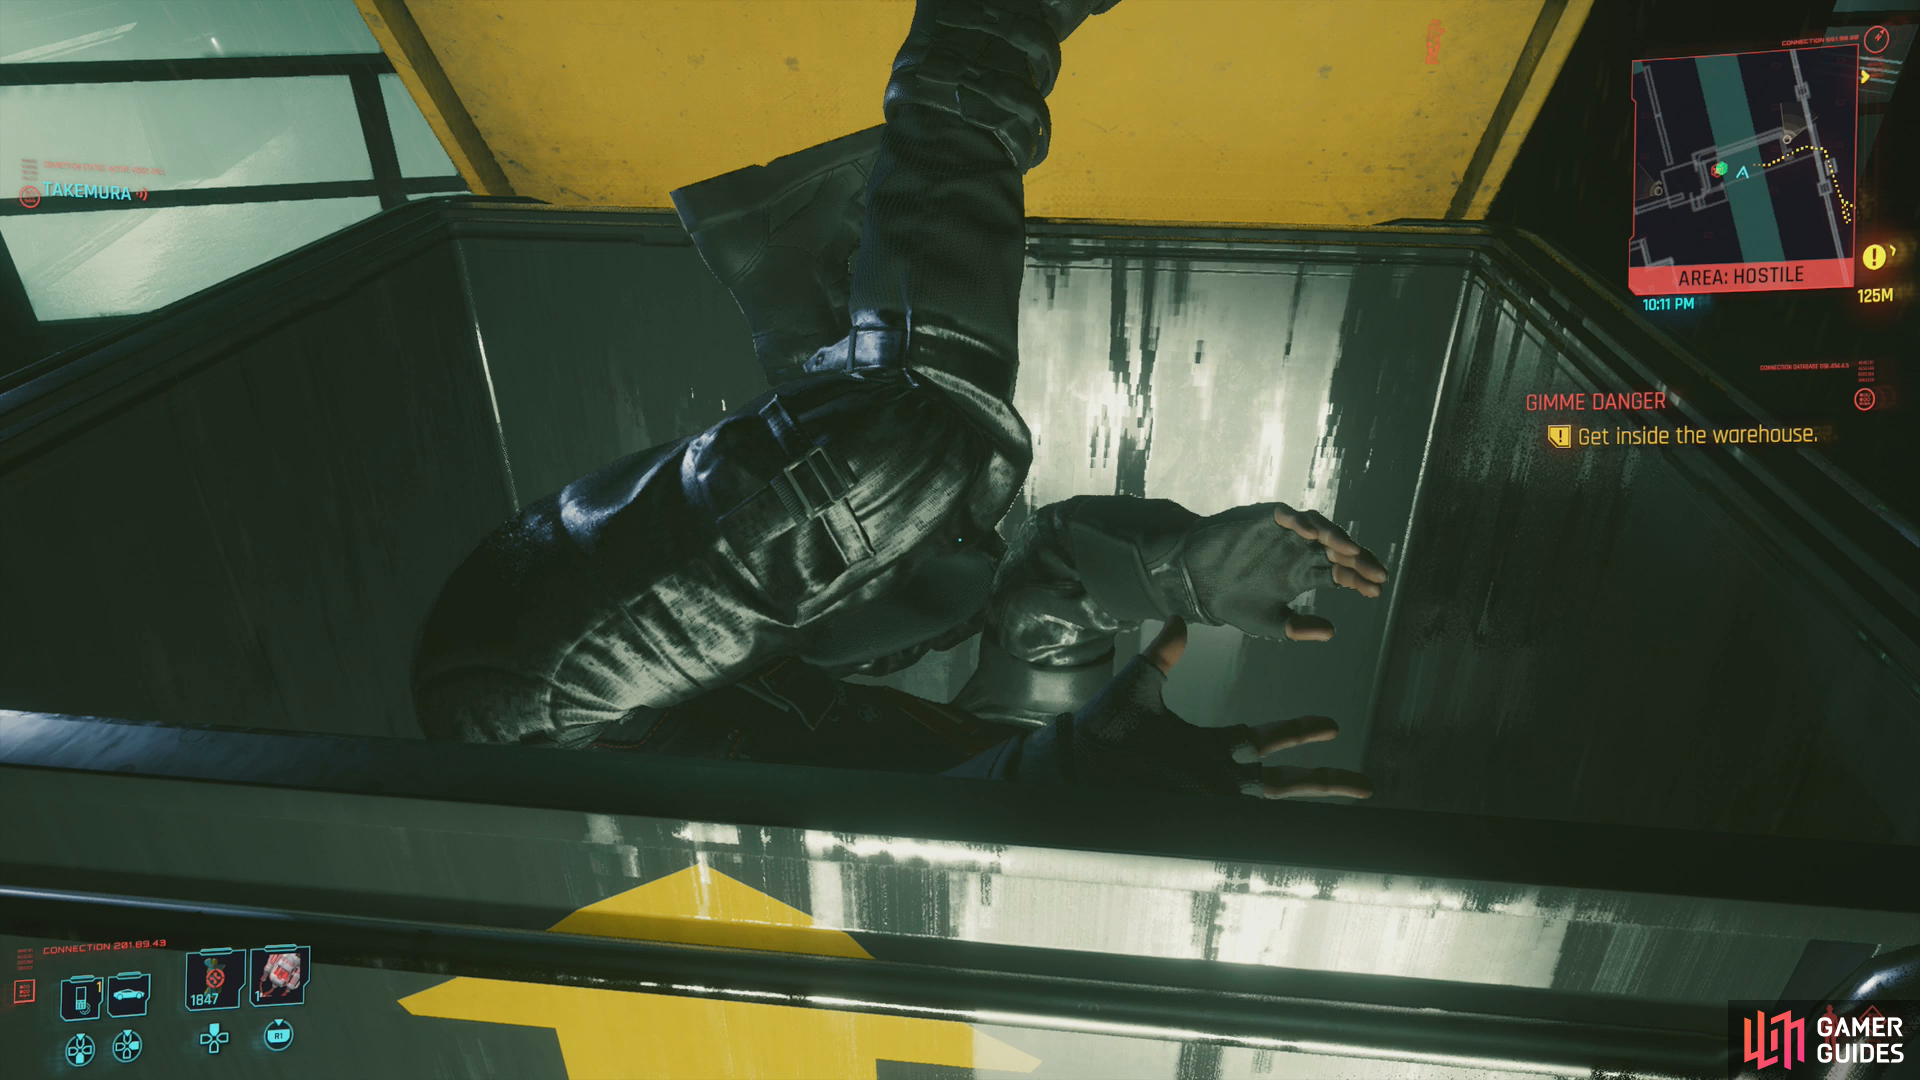
If you have double jump, you don’t even have to do that much work; just circle around to the rear of the compound to find some shipping crates, which you can get on top of to get the height needed to perform a running double jump, which should see you over the wall. In fact, you can use this method to reach the roof of a small building adjacent to the warehouse (with the pipe you scanned earlier), on which you’ll find a door leading right into the warehouse.
Use a forklift to reach the bridge, should you lack double jump.
There are guards on the bridge, but their bodies are easily hidden.
Should you lack double jump or quickhacking, you can always use a forklift opposite of the fence you and Takemura jumped over enroute to your reconnaissance spot earlier. Raise its payload up and use it as a platform to leap up and over to the bridge running over the street, which will also get you into the compound. There are two guards on this bridge, but there’s also plenty of crates to hide behind and some containers you can dump their bodies in - something distinctly lacking further on. There’s also an Access Point [Intelligence 6] in a laptop up here, for what that’s worth.
(1 of 3) From the bridge, note the security building to the right and the warehouse to the left.
Arasaka Industrial Park - Prototype: Shingen Mark V
However you go about it, getting inside the compound grounds is simple enough, and once you’re behind the walls, scanning the area, disabling cameras, and sneaking up on guards should be a relatively simple matter, as very few of the guards have eyes on each other. Getting into the warehouse is itself no great feat (especially if you have double jump) but there’s some incentive for clearing the exterior of the compound… save for perhaps the mech roaming about, as there’s not many good options for defeating it without alerting any of the guards.
The warehouse you’re looking for is just opposite the bridge that connects the building you and Takemura used to scout the compound to the interior of Arasaka Industrial Park itself. The big “arasaka” logo on the outside is a dead giveaway. To the right of this bridge is a two story building - a security station - while beyond and further right of that are the two open gates along the side of Arasaka Industrial Park. Below and to the left of this bridge are landing pads for some hover-vehicles and below this are some ramps leading down. Down here you can find some double doors leading to an underground tunnel that connects the security station to the warehouse. At the far left edge of the compound - opposite the far gate the van stops at - you can find a guard room, which is perhaps the most interesting part of Arasaka Industrial Park save for the warehouse itself.
If you sneak into the security station to the right of the bridge you’ll find two guards, both on different levels, both easily dispatched. Hack a terminal on the lower level and you can disable some of the security in the compound, but you can also read the message “special delivery”, which mentions an “Arasaka Shingen” in container 667. Sure enough, just outside of the guard station in the far left corner of the compound you’ll find container 667. Put down the two guards standing near the guard room nearby, then disarm a mine at the front of the container. Once that’s done, head inside and you’ll be able to snag the Prototype: Shingen Mark V SMG. Hard to say no to a free legendary weapon.
You can jump onto a fuel tank, then onto the roof of a building adjacent to the warehouse,
whereupon you’ll find a door leading into said warehouse.
Arasaka industrial Park - The Warehouse
Getting into the grounds of the Arasaka Industrial Park is relatively easy, and depending on how you do it, getting inside the warehouse can be quite easy as well. Arguably the best way to get inside is by getting onto the roof of a smaller, adjoining building. This building is just opposite the far gate (the one the van drives through), and scanning it should reveal the pipe you scouted earlier with Takemura. This should also be the roof you reach if you use the shipping containers behind the compound to leap over the back wall.
Fortunately double jump isn’t required to reach the top of this roof, just use some trash cans to get atop a fuel tank, and from there jump onto the roof to find a door welcoming you. Failing that, you’ll just have to sneak around the front way. There are numerous guards (provided you didn’t snuff them all already) but most of them should disperse if you’re patient. Even if they don’t, if you’re quick you can actually just stick close to the wall and slink into the warehouse, but if the guards follow you, things could get tricky. In the end, there’s not much to recommend the front door over the side/roof door.
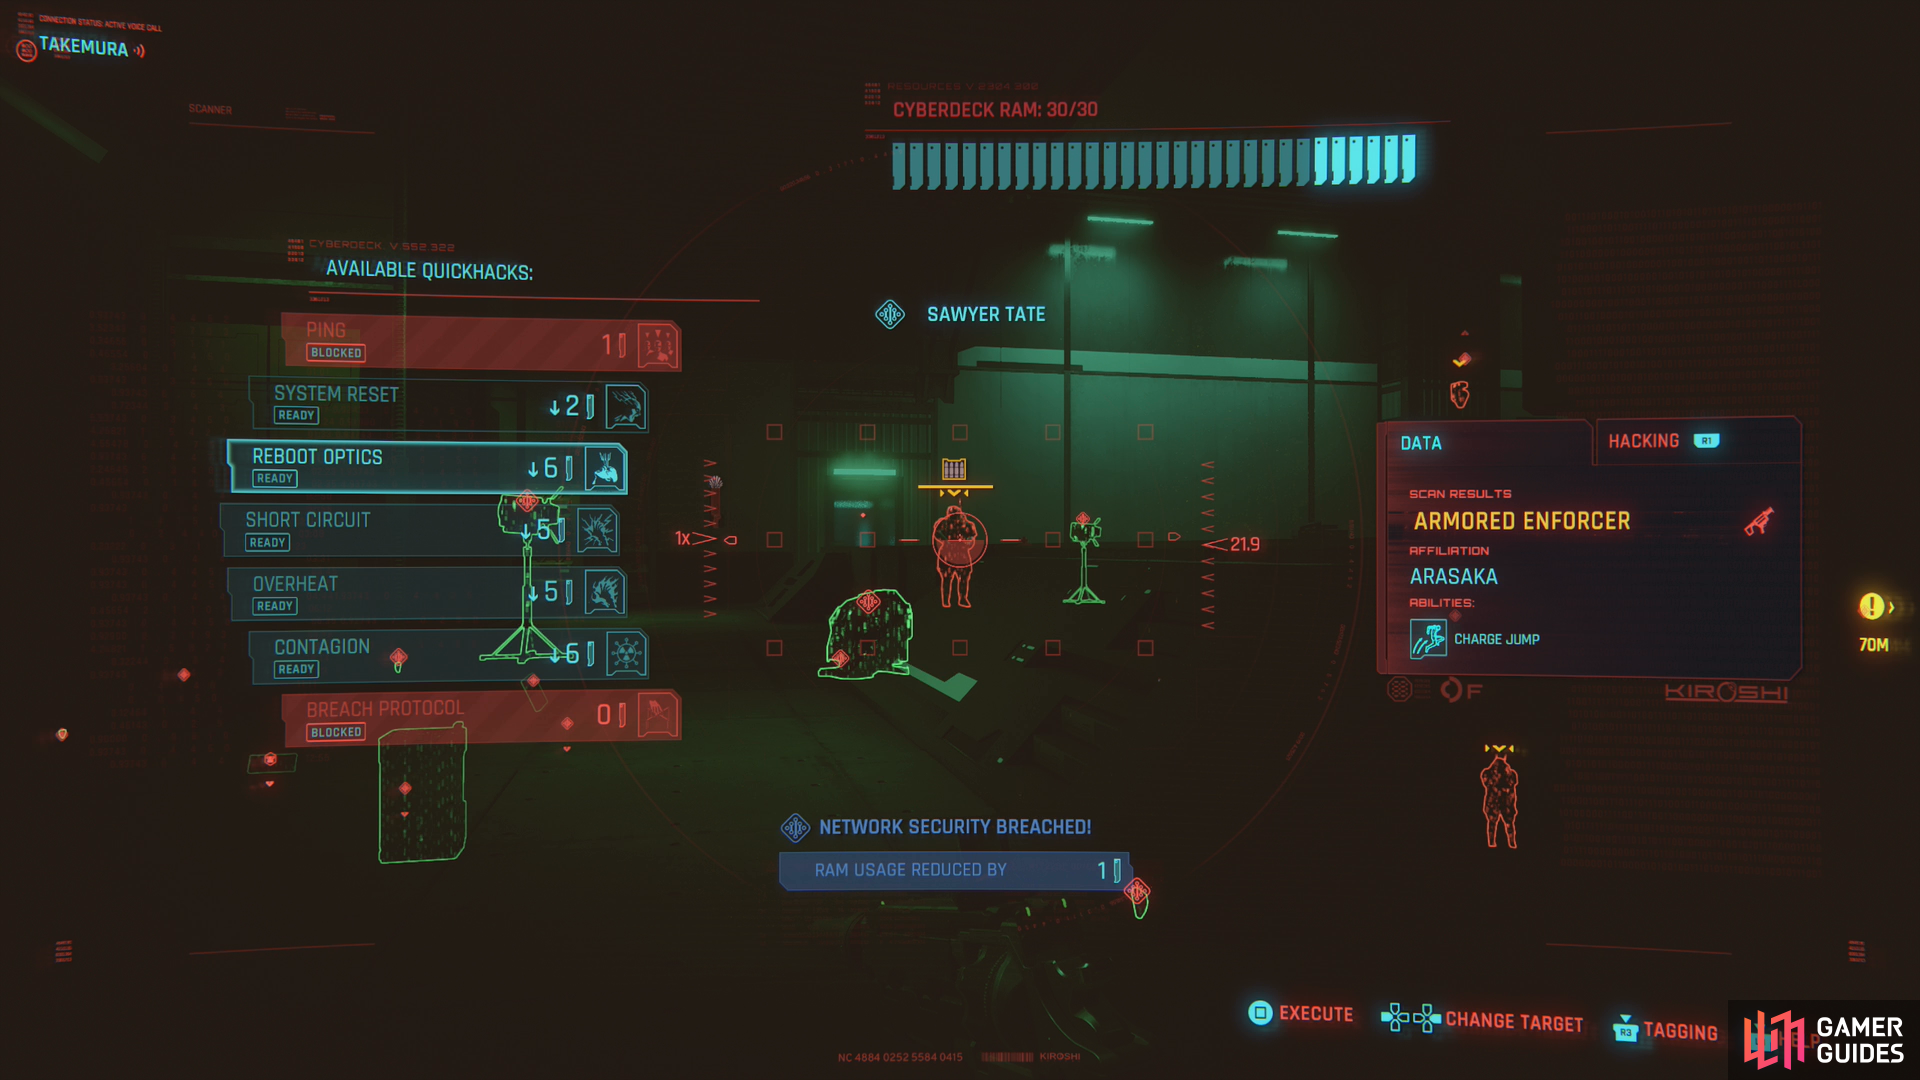
(1 of 5) Quickhacks aren’t necessary, but they’ll make it a lot easier to get behind or past guards.
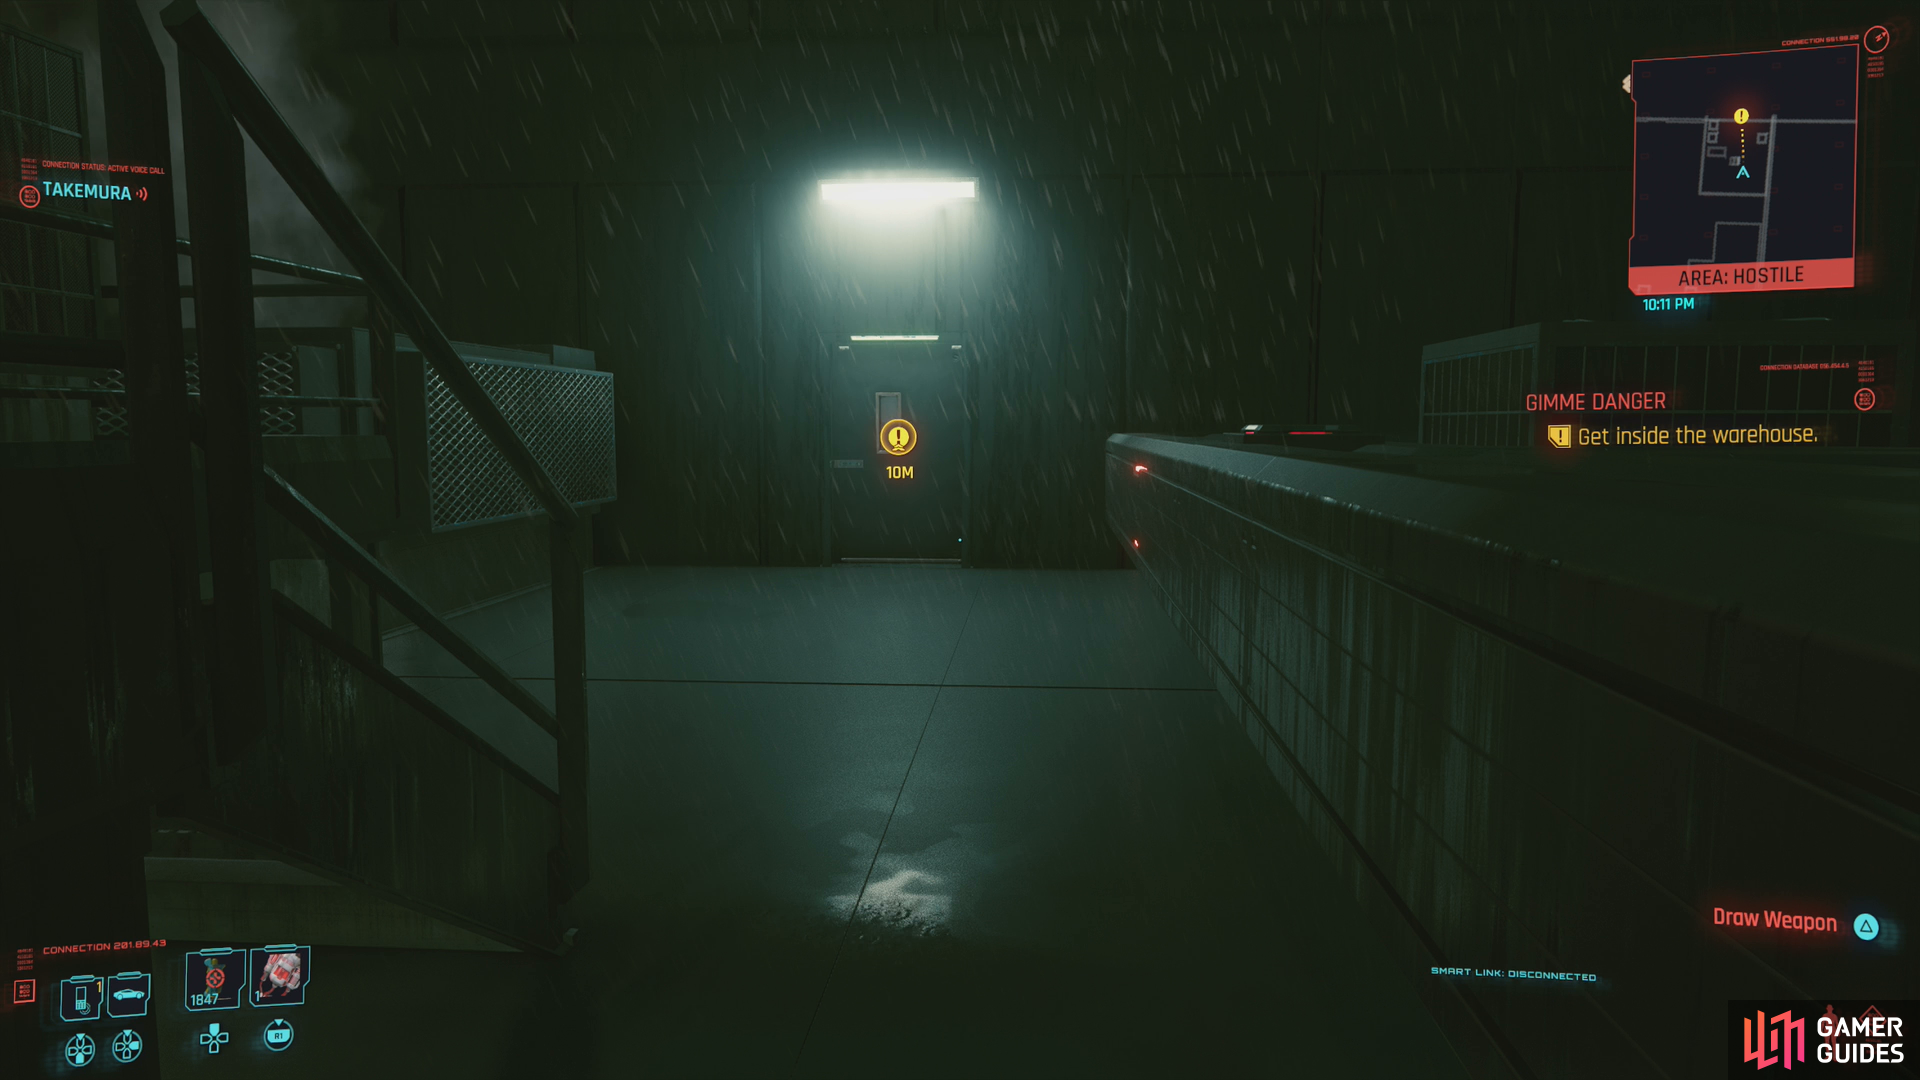
If you enter via the front door, make sure to head through a door to the right immediately, go upstairs, and dispatch two guards. Continuing left down the hallway just leads to a dead end, unless you want to smash some windows out. The side/roof door will take you to a catwalk inside the warehouse, just be wary of patrolling guards who may be nearby. Whichever route you take, you’ll be on the opposite side of the warehouse from your destination, your goal being the far corner where the target float rests.
Getting through the warehouse is trickier than getting inside it was, as the density of enemies is far greater and some will have overlapping routes. There are also no containers in which you can stash bodies, so you’ll have to just drop enemies in out-of-the-way places where their friends won’t find them. Getting through this area undetected isn’t difficult, but you will probably want to employ quickhacks to get past guards, and double jump will open up more avenues for getting around undetected. In addition, stealth headshots with a silenced revolver work wonders here, despite not being strictly necessary.
The float you’re searching for looks more like… well, a house. Guess it’s not finished yet? You can get in easily enough by using a raised lift along the warehouse wall, then jumping from there onto some scaffolding before going in a window, then downstairs to find the computer you need to hack. Alternatively you can slink around to the side facing the warehouse interior, put down an enemy Netrunner, go through a doorway, then sneakily upload a virus onto the same computer. Either way, once the virus is uploaded, you just need to escape.
Once you’ve uploaded the virus, you can hopefully escape the same way you entered - ladders will lead up to the walkway which in turns leads to the side door you may have used to enter. Depending on how many guards you were able to defeat, you may also be able to climb out by using some boxes and shipping containers to climb up through the roof, which has since retracted. Just climb your way up, then down to freedom, and once outside Takemura will call you to end this job. The followup, Play it Safe will begin immediately afterwards.
No Comments