


After fruitlessly pursuing Evelyn in search of answers, you take the risk of reaching out to the mysterious Mr. Hands to arrange a meeting with the Voodoo Boys, who originally arranged the bungled heist at Konpeki Plaza. On one hand, they fried Evelyn Parker for screwing them over, and probably won’t be happy that the biochip they wanted to steal is now in your head. On the other hand, you don’t have a lot of options, and if the Voodoo Boys zero you, they’re only hastening the inevitable. Mr. Hands delivers and in the previous quest, M’ap Tann Pelen, you met with the Voodoo Boys representative, Placide, who gave you a job, the completion of which will hopefully earn you an audience with the leader of the Voodoo Boys, Brigitte. The completion of this job is the subject of the quest I Walk the Line, and this page will provide a full walkthrough for said quest, including information on defeating Sasquatch, how to take a shortcut that bypasses most of the encounters in the GIM, and information about siding with the Netwatch Agent or the Voodoob Boys.
Infiltrate the GIM
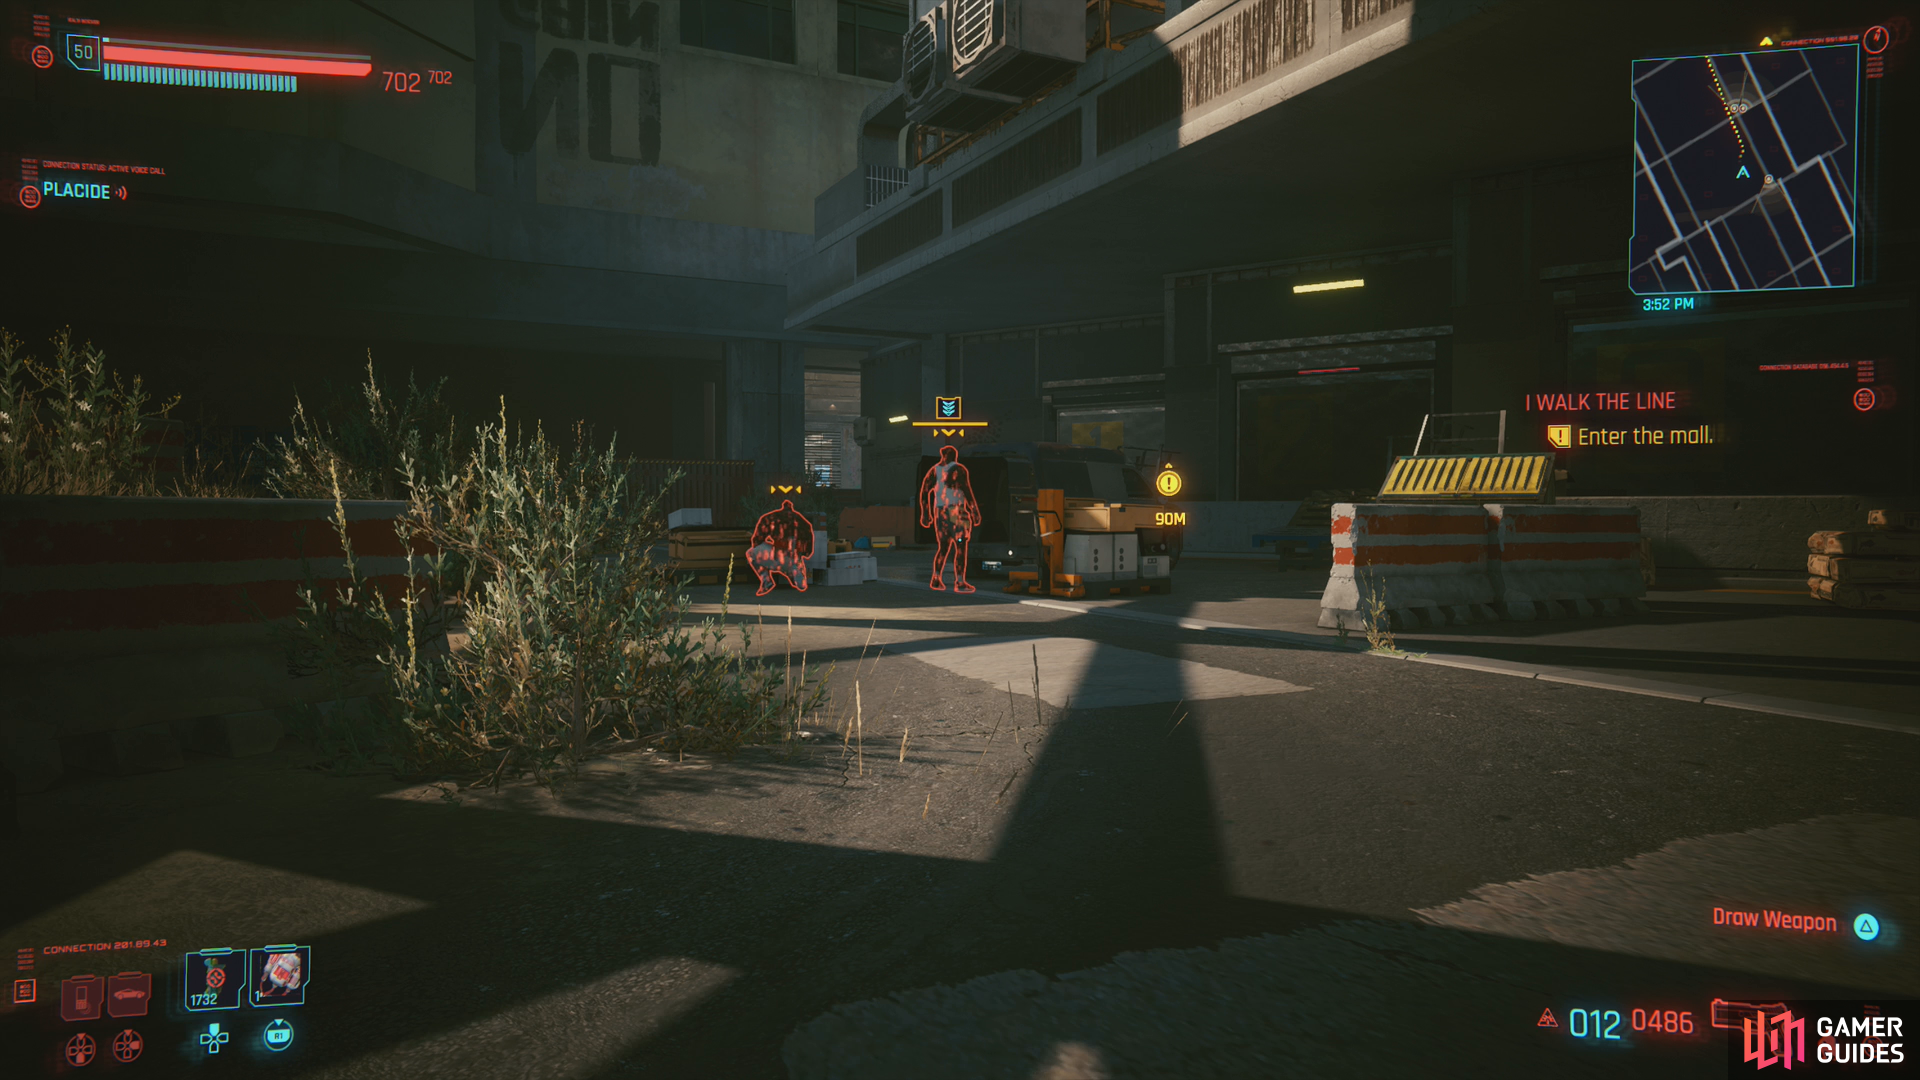
Exit Batty’s Hotel - where you met with Placide - then make your way to the parking lot in front of the Grand Imperial Mall, which is to the southwest. There’s a fast travel terminal near your destination, if you have it, otherwise it’s kind of a middling distance away - a little far for going foot, a little short for a drive. Get there however you wish.
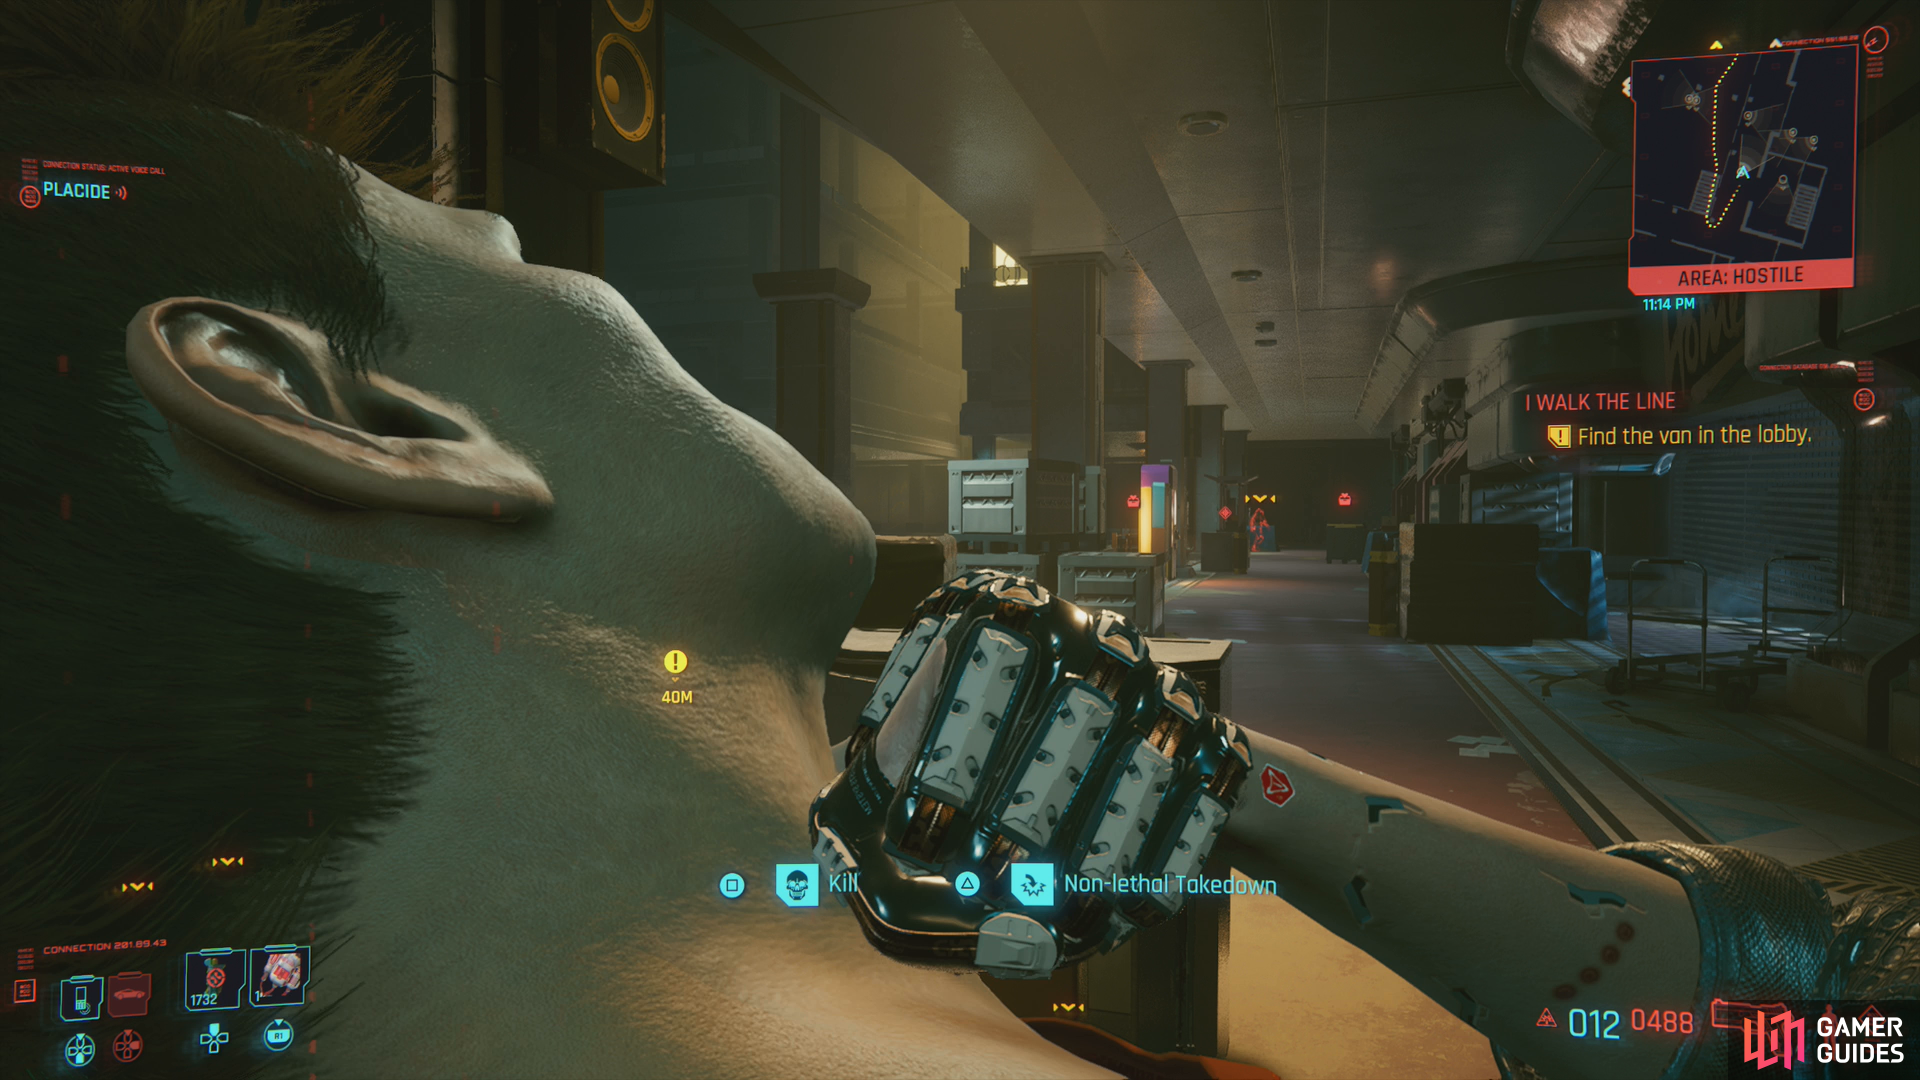
When you arrive, follow the quest trail to find two Voodoo Boys brazenly scoping out the GIM. They’ll again reiterate the need for stealth, but this seems to be entirely optional - you can go in guns blazing if you want. We will, as usual, default to stealth, but you don’t need to feel compelled to follow our lead if you prefer a noisier approach.
Follow the quest trail to the loading area of the mall, where you’ll find your first three foes - three Animals gangers. You can dispatch them easily enough, or just sneak around them by circling around wide to the left, keeping cover between yourself and unwelcome eyes as you go. Go up a ramp to reach another lot, where two groups of gangers await. Wait a moment and the closest two will get on bikes and ride off, leaving you to deal with the further group of three. Get close enough for them to talk and two will get in a car and drive off, while the third will walk up some stairs. This is almost too easy…
You can safely ignore the ganger who walked upstairs, as you don’t need to go there anyways. Plus, he’s facing you, so why bother? Instead, head through a hole in a smashed garage door to reach the interior of the GIM. Once inside, Placide and V will exchange updates. Turn left and climb up some objects to reach the upper level, where you can easily get behind and take down the ganger who went up the stairs, or just ignore him.
(1 of 4) You can go through the door, or make your life a bit easier by shooting out a window with a silenced weapon.
Reach the Lobby
Either way, there are a few ways to continue deeper into the GIM. Opposite where you found the ganger atop the stairs you’ll find a locked door [Technical Ability 10]. On a shelf nearby is an Access Point [Intelligence 5] and down a hallway to the left is a camera on the ceiling and another ganger. The ganger will walk away if you’re patient and the camera can be disabled, but doing so will prompt more chatter between V and Placide, as it seems the netrunner you’re after will have noticed your intrusion. Doesn’t really affect anything, so don’t worry about it.
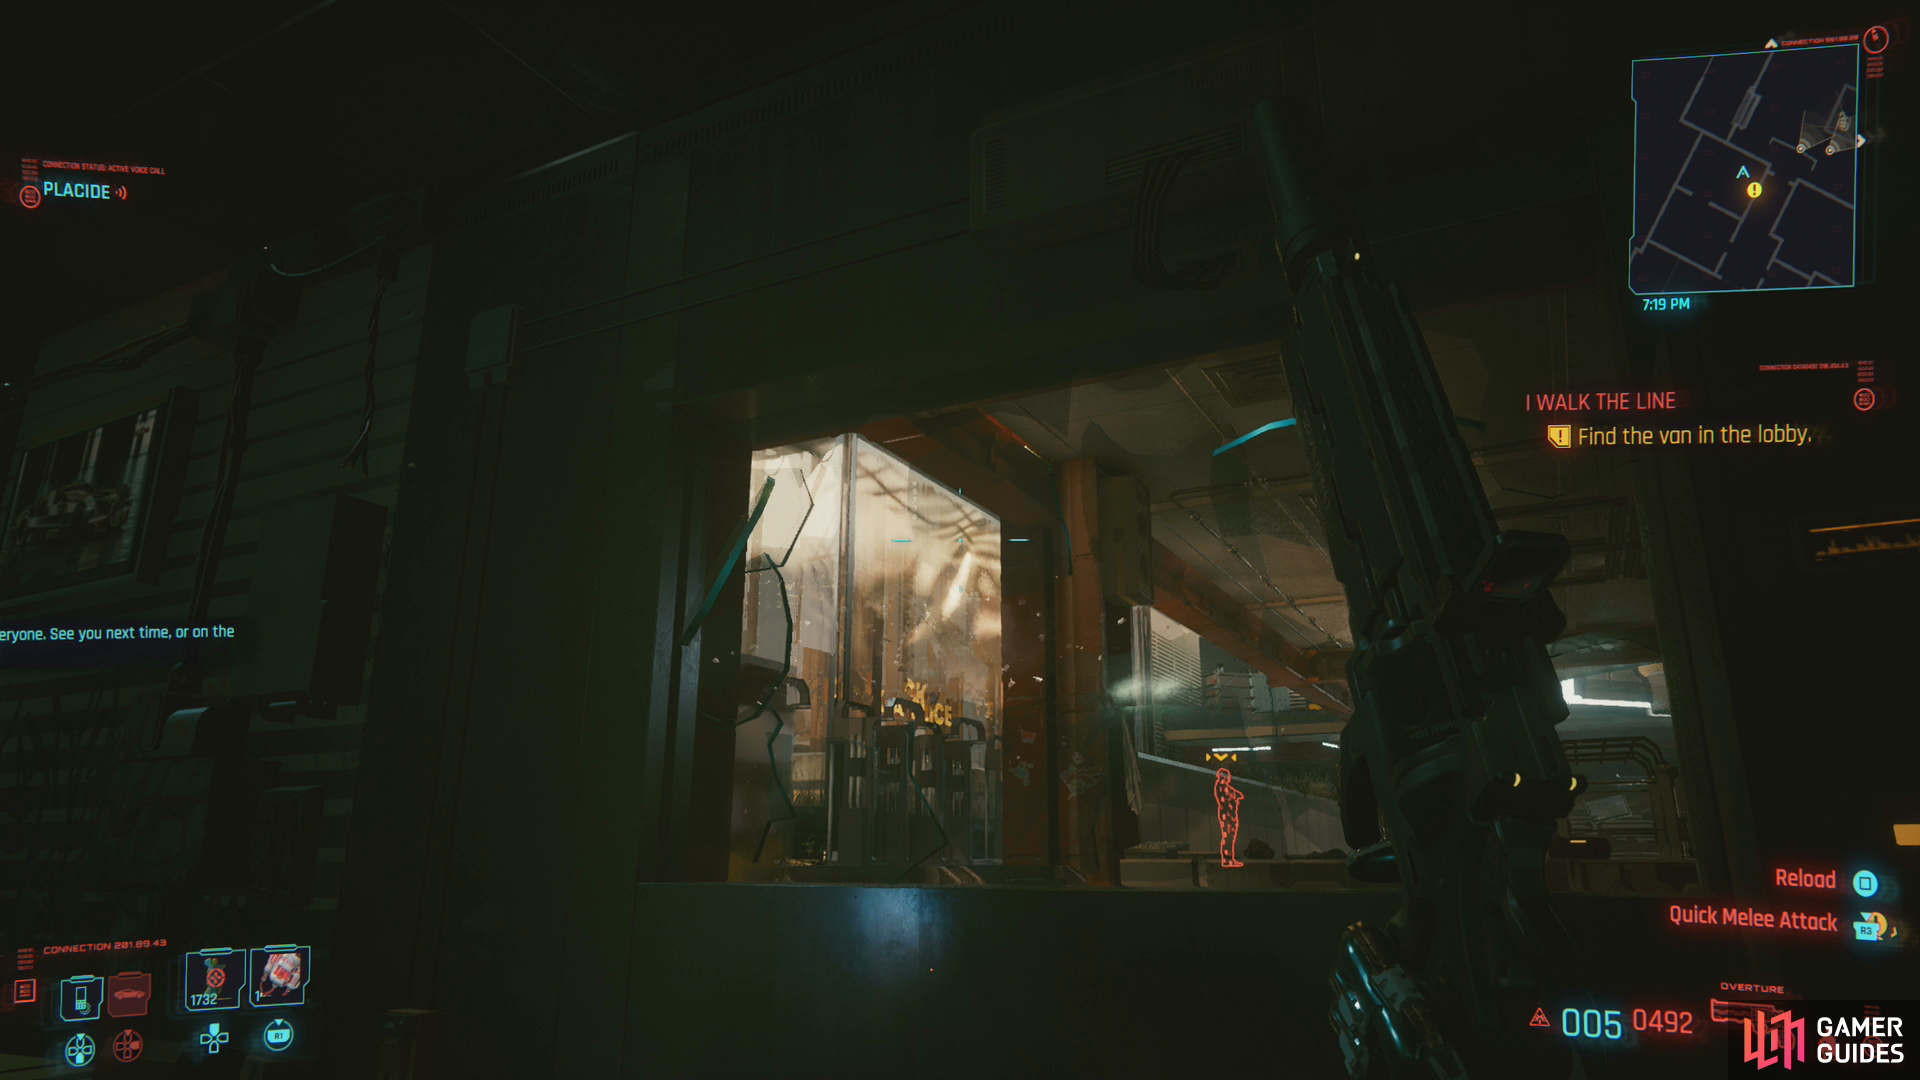
Beyond this hallway you’ll find a large, enemy-filled room, with around half a dozen gangers just beyond the door at the end of the hallway. It’s possible to sneak through, but you’ll want to go left once through the door, put yourself behind any cover you can find, and use Reboot Optics to cover what stealth alone cannot (shooting out the window in an adjacent room with a silenced weapon will also help). Just keep in mind that the first few enemies near the door are not the only foes in the area, and in particular you’ll need to be wary of one ganger near the back of the room. He’ll make a nuisance of himself by lifting weights in the corner, but you can either hop the railing nearby and make for the stairs leading up, or hit him with Reboot Optics and take him out. Once upstairs, avoid or dispatch two more gangers wandering around and head through a doorway to the left to reach the lobby.
There’s another, much easier way to reach the lobby, should you have the attributes necessary to make use of it, or better yet, Reinforced Tendons. The locked gate [Technical Ability 10] mentioned earlier will bypass the entire area, and in the hallway leading to the ganger-filled gym you can find a sealed door to the right, which you can force open [Body 10]. Failing either of those, return to the garage door you snuck through to reach the interior of the GIM and look up and to the right. You should spot a window you can reach with double jump, which will get you into the same rooms the locked and sealed door led to, albeit without the attribute checks.
Once you’re in these side rooms, all you need to do is go up some stairs and through some double doors to the left to reach the lobby. No gangers, no drama. As an added bonus, in the room the sealed door leads to (left from the locked door, opposite the window) houses a container that can drop a legendary item, although the spawn rate is fairly low.
Reach the Van
If you reached the lobby by sneaking through the gym, turn right and you’ll find the double doors leading downstairs to the alternate route, while if you came up the stairs via the alternate route, you can reach the gym by turning left from the double doors. Simply put, either way you went you should have reached roughly the same part of the lobby, and the van you’re looking for is on the floor of the lobby, about 50 meters away from you.
Reaching the van all sneaky-like is easy enough. There are quite a few guards in between where you’ll start and your destination, but you don’t have to deal with most of them. From the double doors atop the stairs, you’ll want to head down the walkway on the right side of the lobby, where you’ll find two gangers in your way. Both of them are easy to dispatch and once their bodies are hidden in a convenient container you need merely continue down the upper floor walkway until you reach a fork, at which point turn left, then right to reach the front of the mall. Along the far wall you’ll find a bridge you can cross, beyond which continue forward until you find some stairs to the left. Descend them and they’ll deposit you right in front of the van. Jack in and talk to Placide to update your objective. Looks like you’ve got a netrunner to find.

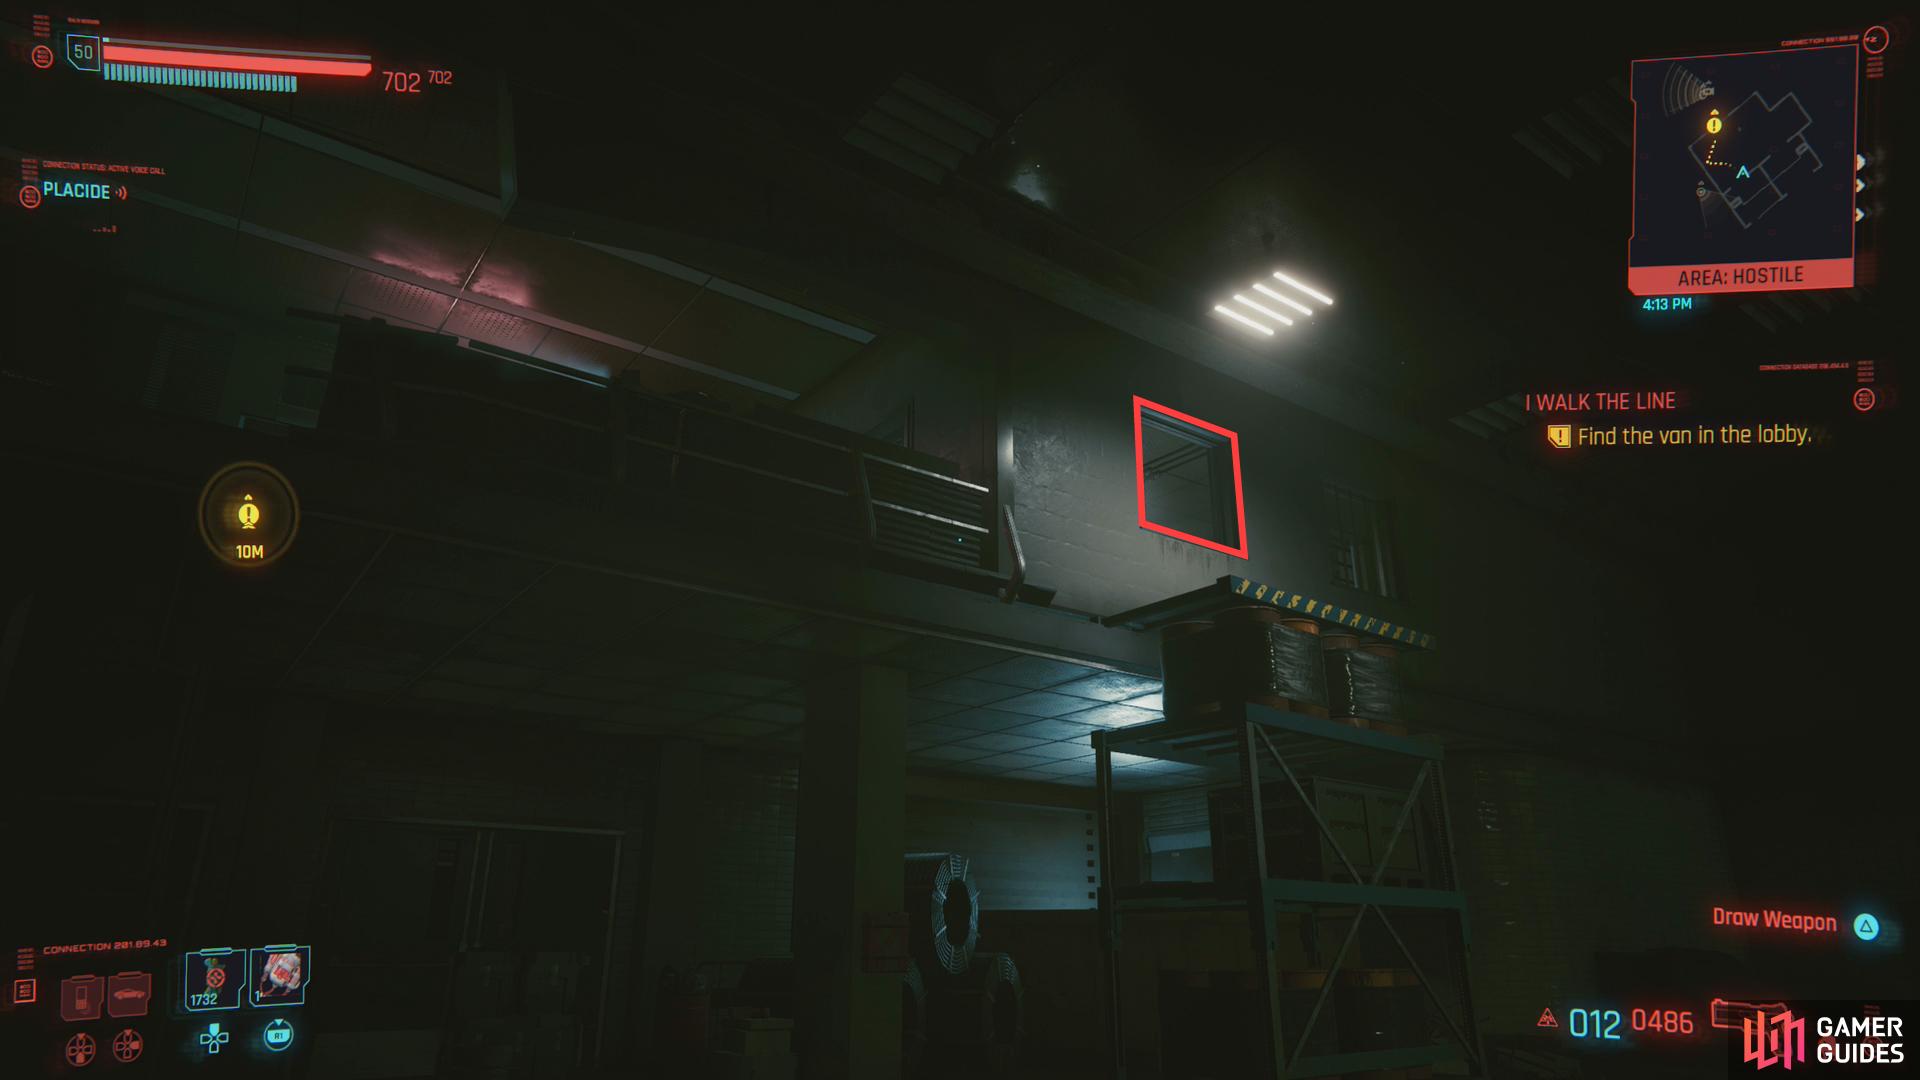
If tinkering with the camera earlier alerted the enemy netrunner, messing with the van is sure to draw an even greater response. And so it does, as several Animals gangers will start to head to your location. Sneak left to the entrance of the mall (the stairs you descended will be sealed off) and note two elevator shafts on either side of the lobby. Both never housed an elevator, but they do provide cover, and some boxes and metal girders you can climb to return to the upper floor of the lobby. Neither require double jump to navigate, either. Ascend an elevator shaft, wait for some gangers to pass by, then sneak out and dispatch them. Once one is gone, there’s no reason you can descend back to the lower floor of the lobby, cross to the other elevator shaft, climb up, and take down the second ganger. This should clear the way for you to sneak across the bridge and continue on past the stairs you took down to the van earlier.
Continue past the stairs and turn left down a hallway, and when Placide advises caution, you’d best heed his warning, as a formidable foe lurks ahead…
Boss: Sasquatch
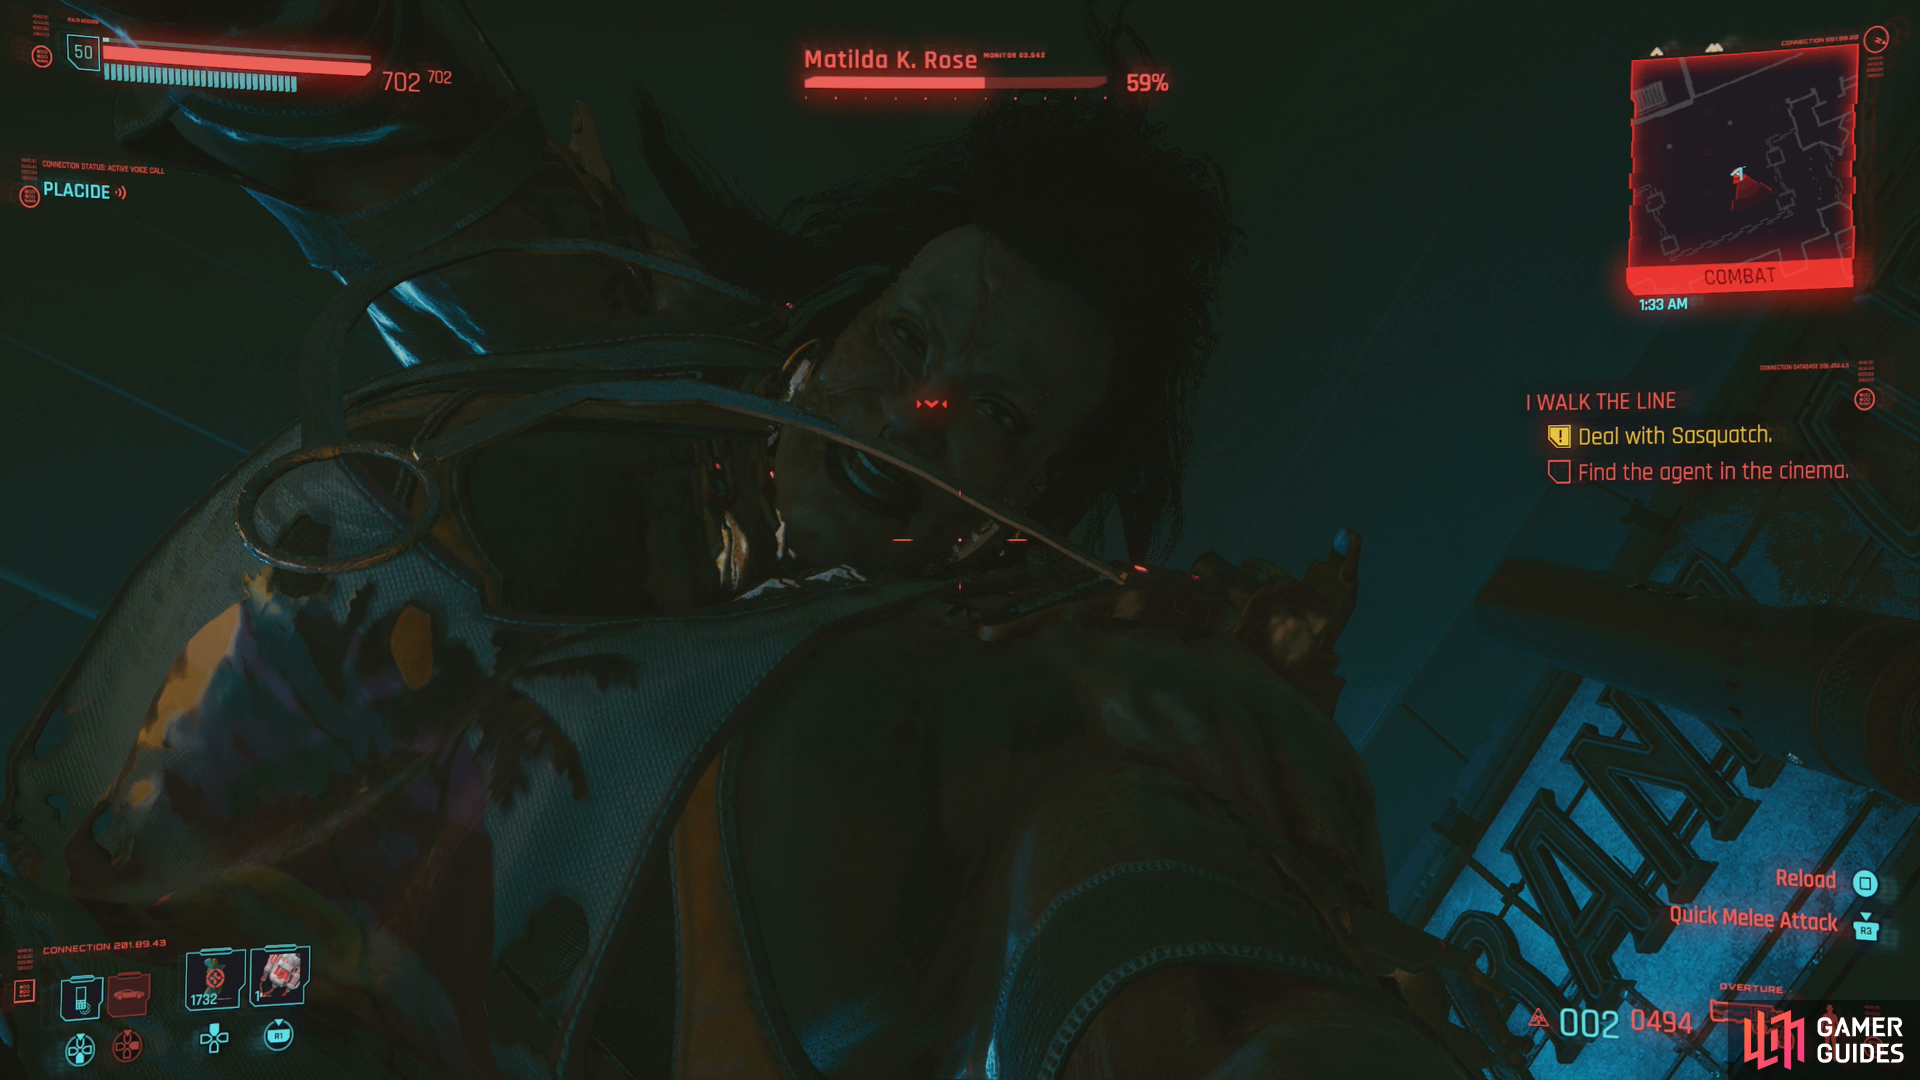
Sasquatch is a bruiser, but not too observant, so you shouldn’t have any trouble scanning her, hitting her with Breach Protocol (hitting her with a Mass Vulnerability daemon can’t hurt) and perhaps landing a first strike. A good critical sneak attack headshot can start the fight in a good way.
Once Sasquatch has noticed you she’ll respond by either laying into you with a heavy machine gun (more likely if you keep your distance) or by rushing you. In the latter case, if she reaches you she’ll perform a canned animation where she knocks you down and jacks into you. If this happens, the NetWatch netrunner will try hacking into you, while Placide plays defense. Essentially this puts the fight on a timer, as Placide can’t hold off your foe forever, but the time you have virtually guarantees you and Sasquatch will finish your fight before the netrunner and Placide finish theirs.
In close-quarters combat, Sasquatch isn’t a very dynamic foe. She’s got a charge attack, and enemy attacks in melee are floaty in general, but all in all, it’s not hard to dodge them. She also does surprisingly little damage per hit, but if she corners you she can attack fairly quickly. Still, as long as she isn’t allowed to combo you, you should be fine.
She’s also got a fairly high armor score, so expect your attacks to deal less damage than normal. Still, if you can keep your distance by backing away and dodging, she should go down quickly enough if you keep shooting her in the head. She’s also quite vulnerable to Reboot Optics and other quickhacks, which you can use to debilitate her and buy yourself some time. Just be warned that the upload speed against Sasquatch is fairly slow.
Once you put her down, the doors to the cinema will open, and Placide will win his fight against the NetWatch netrunner. Before you go after your target, pick up Sasquatch’s Hammer, which should be lying on the ground (why didn’t she use this?) and loot Sasquatch herself, who will regularly drop one piece of legendary clothing and a legendary handgun of some sort.
The Shortcut
If sneaking through the lobby, taking out a few guards, jacking into the van, then sneaking out of the lobby and facing Sasquatch seems like too much work for you, good news! There’s a shortcut you can use to bypass all of that. From either of the two entrances to the lobby turn left and continue left to reach the walkway spanning the left side of the lobby. Down here you’ll find two gangers, just like on the right, but you can safely ignore them and sneak through a doorway to the right.
Once in this room you’ll find three more gangers, two tinkering with a deactivated turret and one who will walk back and forth. Watch their patterns and head for a door on the opposite end of the room when the coast is clear - use Reboot Optics on the ganger tinkering with the turret if you must, but in our experience, you can get by without doing so.
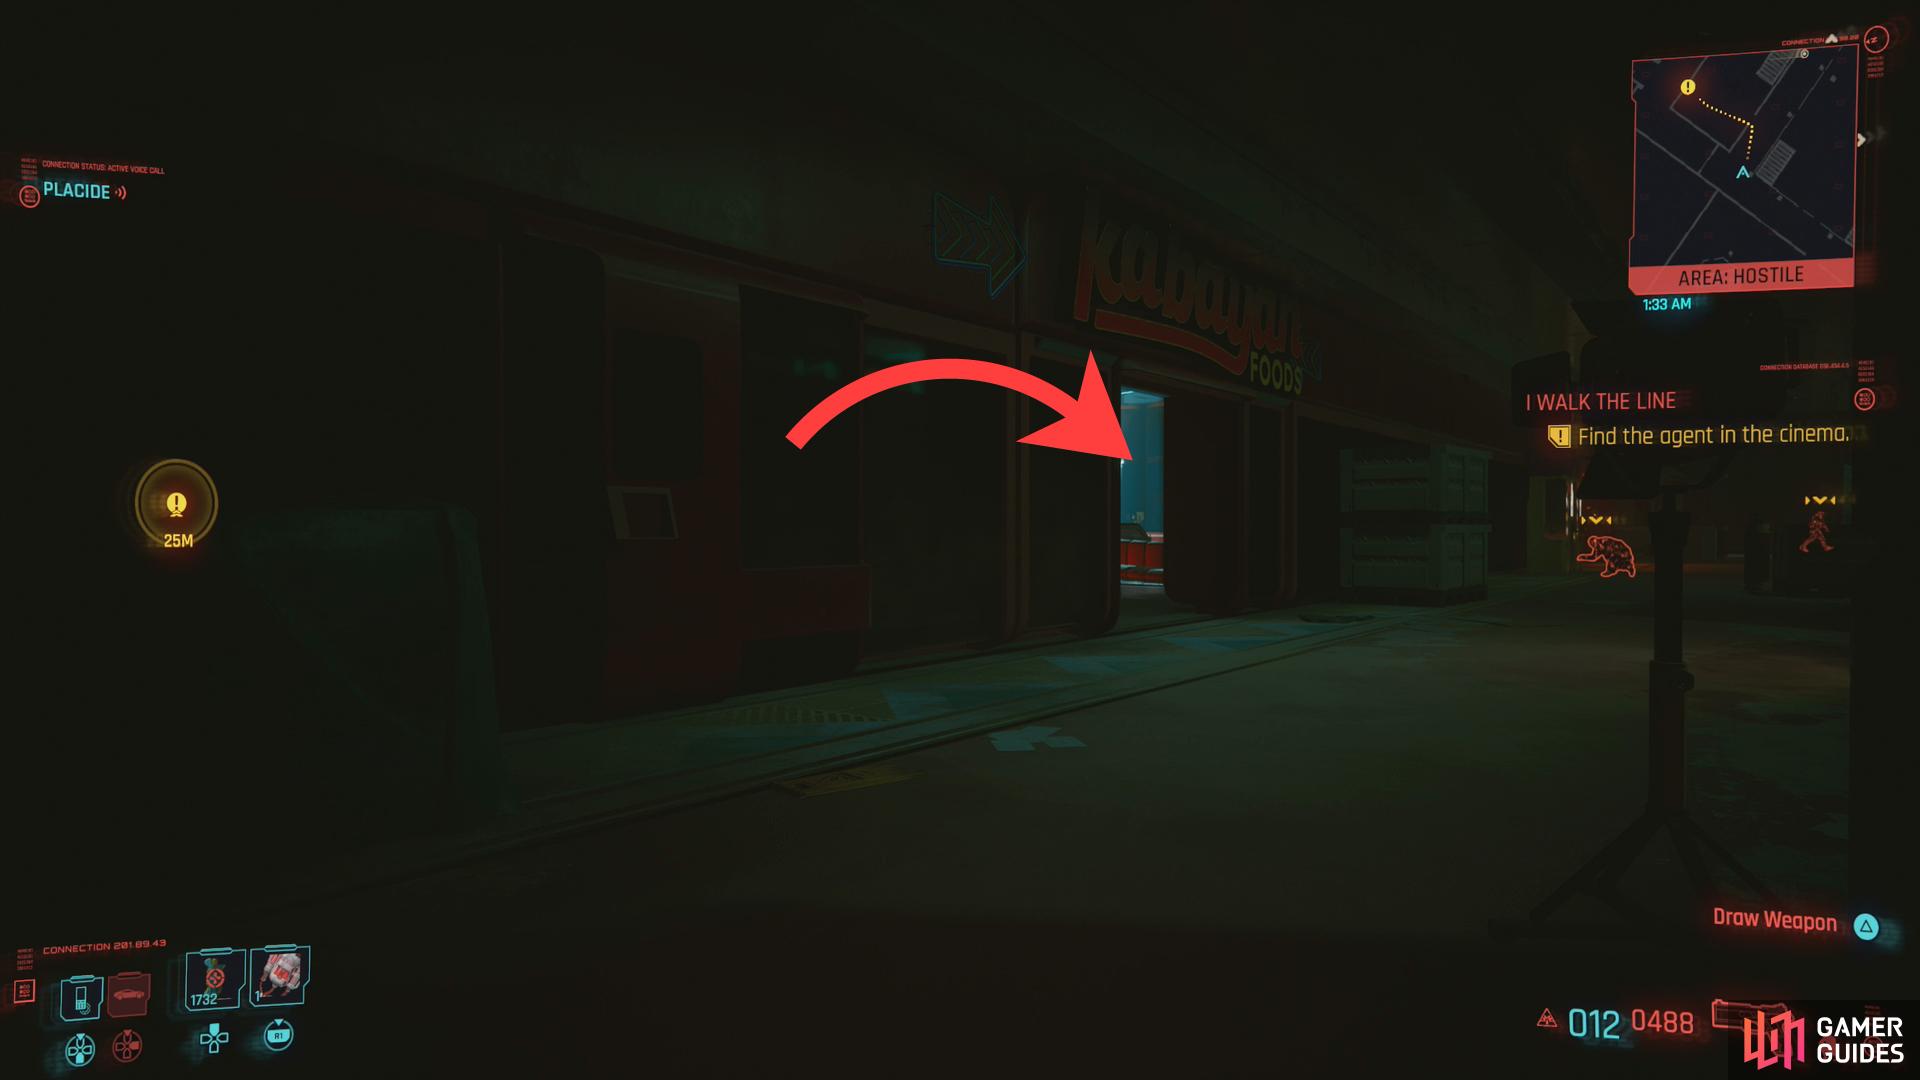
Exit the room and you’ll find yourself outside the cinema, where Sasquatch prowls. Since you bypassed the van, however, the NetWatch netrunner will not have sealed the way, so you should be able to enter Sasquatch’s chamber, turn right, then enter the cinema. Sasquatch isn’t too keen and is unlikely to detect you if you have a modicum of patience, but again, you can use Reboot Optics to neutralize her. If you’re having trouble with one of the gangers in the previous room (damn transparent glass!), hit him with a dose of Reboot Optics, too. If you have to pick one, Sasquatch is easier to sneak past than the ganger, due to distance, positioning, and available cover.
During your encounter with the NetWatch agent you’ll either have to subdue him, as Placide wants, or cut a deal with the agent.
Choice: Side With the Netwatch Agents or the Voodoo Boys?
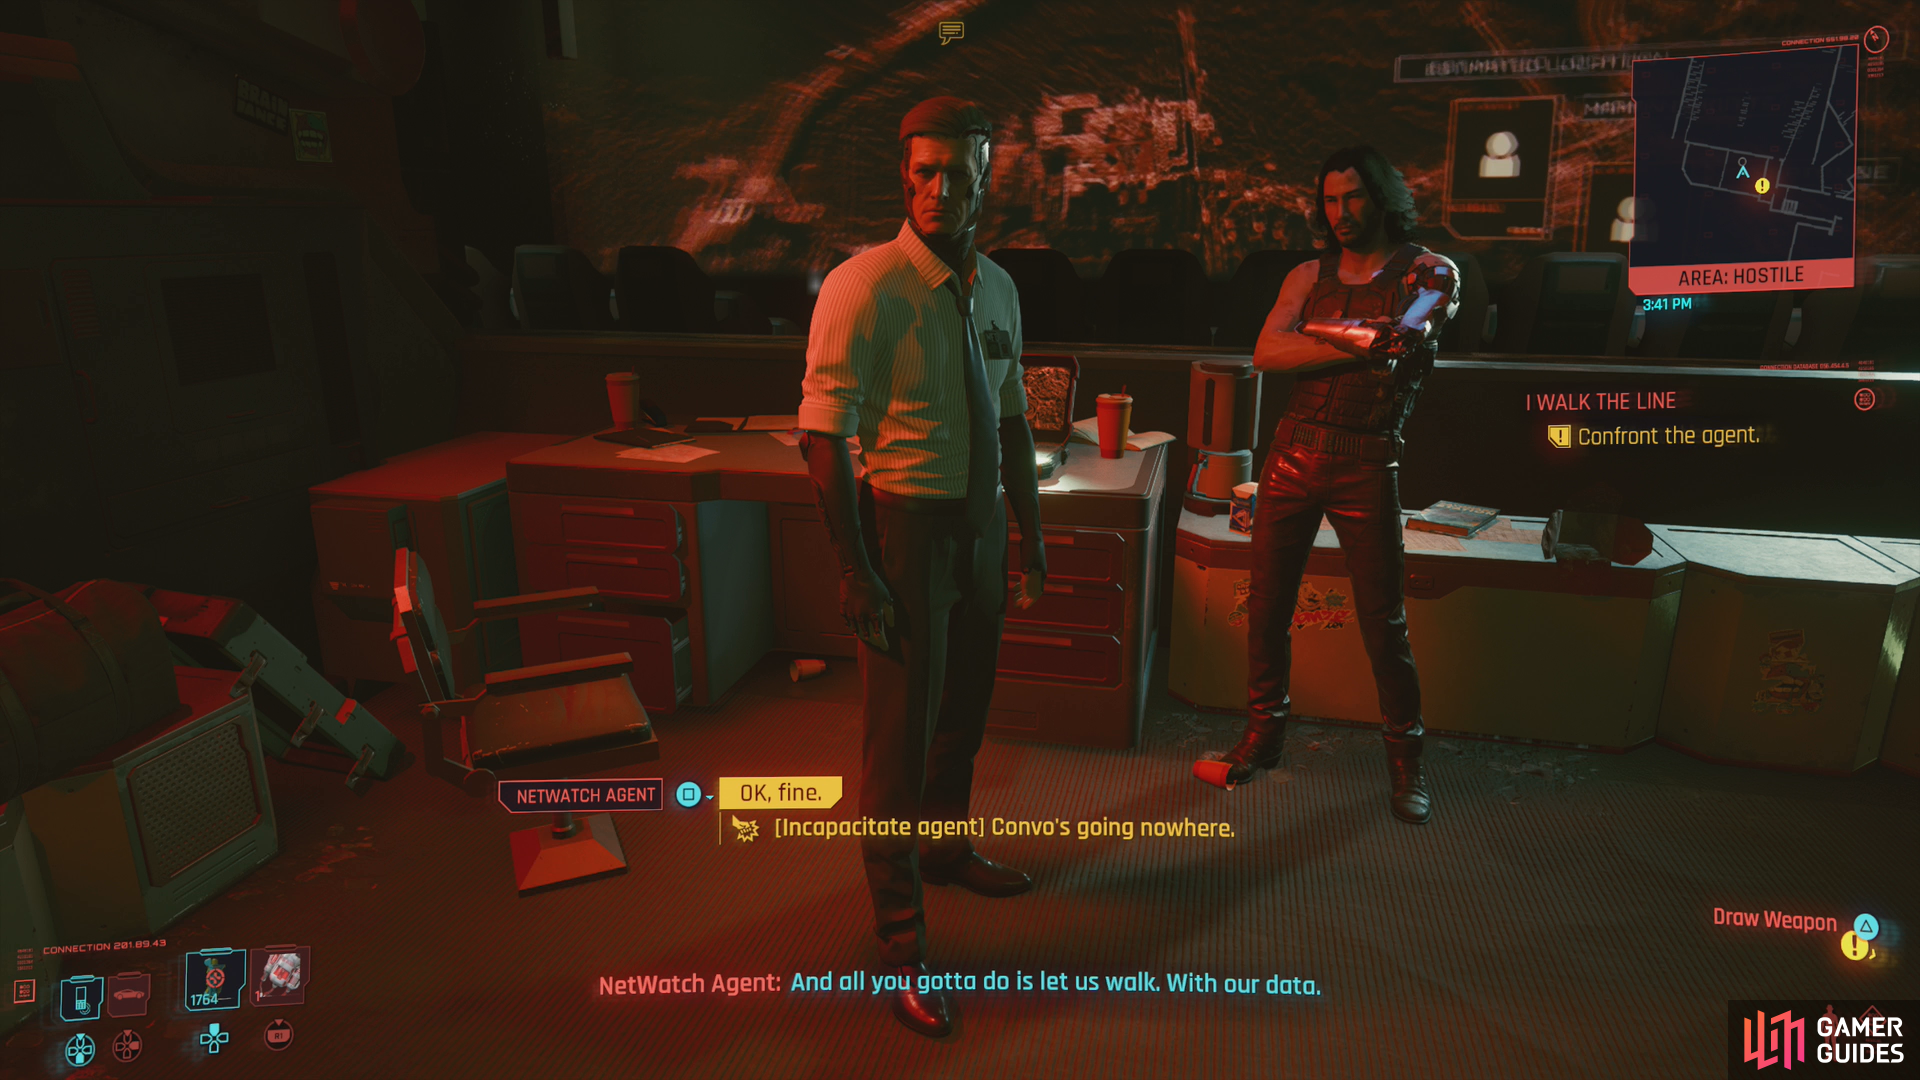
Whether you made your way to the van, sneaking past or dispatching all the Animals in your way before conquering Sasquatch, or you skipped most of the objectives in the GIM by taking the shortcut, you’ll eventually need to press on to the cinema, where the Netwatch agent has set up his command center. Just follow the quest trail upstairs and into the projection booth to meet the Netwatch agent; Placide will get cut off as you approach, allowing you a measure of privacy while you trade words with the Netwatch agent. He’ll tell you some unflattering truths about the Voodoo Boys, how they view you, and what their plans for you are while also offering you an alternative - he’ll neutralize the threat posed by the Voodoo Boys and free Brigitte and the other Voodoo Boys netrunners if you let him walk with the data they collected. How to achieve both outcomes and their consequence will be covered below:
How to Side With the Netwatch Agent
To side with the netwatch agent, just refrain from picking the option [Incapacitate agent] “Convo’s going nowhere.” and instead select the following dialog options:
- ”Not interested. I just need an in with the Voodoo chief.”
- ”Care to back that up.”
- [Run diagnostic] “OK.”
- [Run diagnostic] “OK.”
- ”All right, let’s hear your offer.”
- ”OK, fine.”
While the Netwatch Agent may be telling the truth and the Voodoo Boys are actively conspiring to kill you, he’s playing some angles, too. If you side with him he’ll indeed get rid of the Voodoo Boys malware and prevent their assassination attempt, and he’ll also free Brigitte and her fellow netrunners. Placide will smell something fishy, and only Brigitte’s restraining commands will keep a fight from breaking out… temporarily. The Netwatch Agent, like the Voodoo Boys, uses you as a useful, disposable too, too, however, and during Never Fade Away his own malware will come into play, resulting in the death of the Voodoo Boys netrunners, and only the intervention of one of Johnny’s old pals keeps you from suffering a similar fate. You’ll also have to fight through a group of Voodoo Boys led by Placide, which is fair enough, as it allows you to kill him, albeit at the expense of not being able to fry the Netwatch Agent. Pick your poison, they’re both out to get you and they both deserve to die for it.
How to Side With the Voodoo Boys
On the other hand, if you want to remain loyal to Placide and the Voodoo Boys, pick the aforementioned option [Incapacitate agent] “Convo’s going nowhere.”.
The Netwatch Agent is on the level, unfortunately. Placide views you as a ranyon, and therefore, disposable. And not in the “if something happens, it happens” sort of way - the Voodoo Boys do not intend for you to leave the GIM alive. Remember what happened to Evelyn Parker? Yeah, they have the same in store for you. If you do their bidding, the Voodoo Boys will try to fry you immediately afterwards and your reunion with Placide will not be friendly, although a revived Brigitte will prevent a full blown fight. Things are relatively smooth sailing during the next two main jobs, Transmission and Never Fade Away and while the Voodoo Boys don’t double cross you again (triple cross?), they don’t prove to be helpful in any significant way, either.
Either way, after some dialog you’ll need to exit the GIM, where you can meet up with some of Placide’s goons. Either accept the ride they offer or opt to find your own way back to Placide. Return to Batty’s Hotel (take the ride offered by the Voodoo Boys, follow the quest trail or fast travel), head inside and meet Placide, whose greeting will… vary depending on whether you cut a deal with the Netwatch agent or not. Either way, Brigette will intervene and you’ll end up talking to her. Accept her offer or not - both choices result in I Walk the Line ending and the followup quest Transmission beginning. If you decline, you’ll be free to pursue other matters, first, while if you accept you’ll start on Transmission right away.
No Comments