
After reaching the crash site, meeting with President Rosalind Myers, and fending off the welcoming committee sent by Hansen, the quest Hole in the Sky will end and its successor, Spider and the Fly will begin. Be sure to loot up, return to the wreckage of Space Force One and rendezvous with Myers. The following page will provide a full walkthrough for the aforementioned Phantom Liberty main quest Spider and the Fly.
With friends like these, who needs enemies?
How to Complete all Objectives in Spider and the Fly in CP2077
If you are stuck at a certain point of this mission, feel free to jump directly to your most needed objective using the quick links below.
- Remove the Tracker
- Reset the Fuse Box
- Get Rid of the Drone and Escape the Building
- Avoid the Patrols and Reach the Building
- Escape the Expo and Survive the Assault
- Flee the Chimera
Remove the Tracker
The quest begins with the rather open-ended objective of “Leading Myers to safety”, and to start this you’ll need to exit Space Force One via a doorway opposite the direction of Hansen’s attack. Follow the objective marker through some burning ruins, jumping and climbing as necessary until you reach a sliding door, where some chatter will ensue.
Help Myers remove a tracker - your choices here don’t matter -
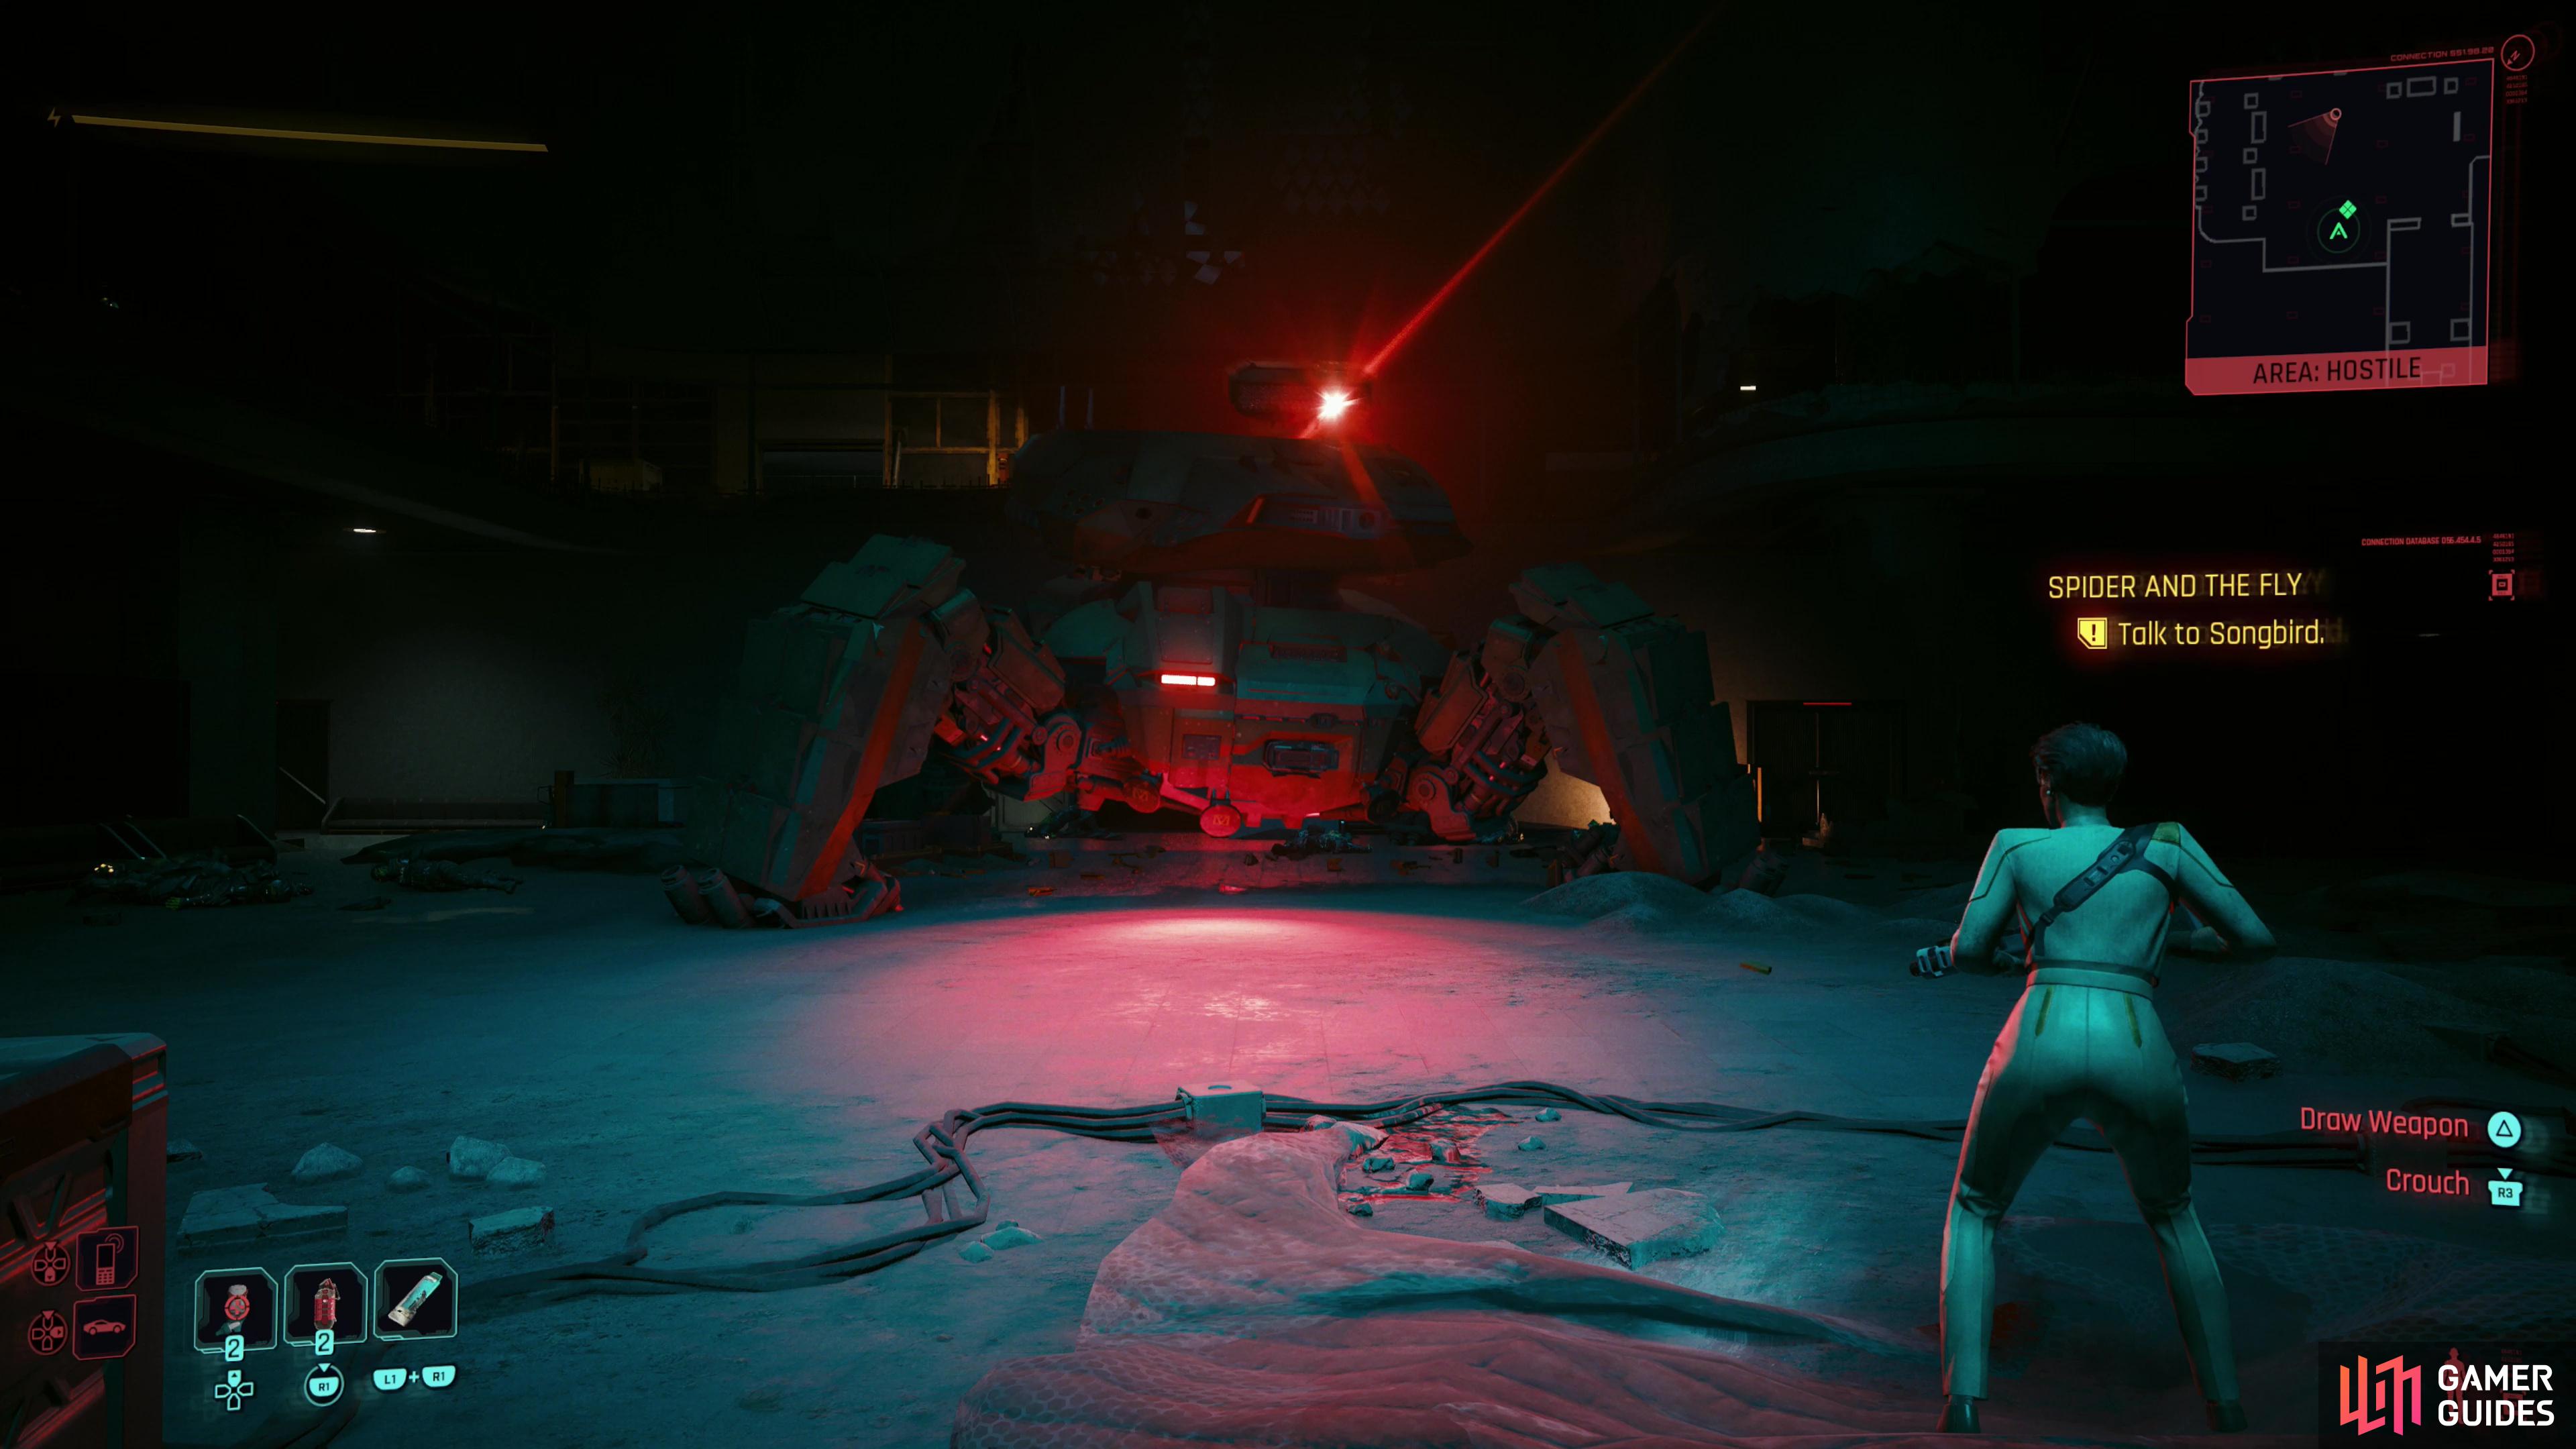
then hide from or fight a patrolling drone.
Team up with the prez to lift the door to reach a hallway, and here you’ll just walk and talk with Myers before performing some impromptu surgery (if you’re playing a Nomad you can pick the dialog option NOMAD | Cut skin | Basically a rite of passage, this. or you can make a Cool 15 check - but none of these options matter). Once done you’ll need to hide from a drone, or failing that, shoot it down.
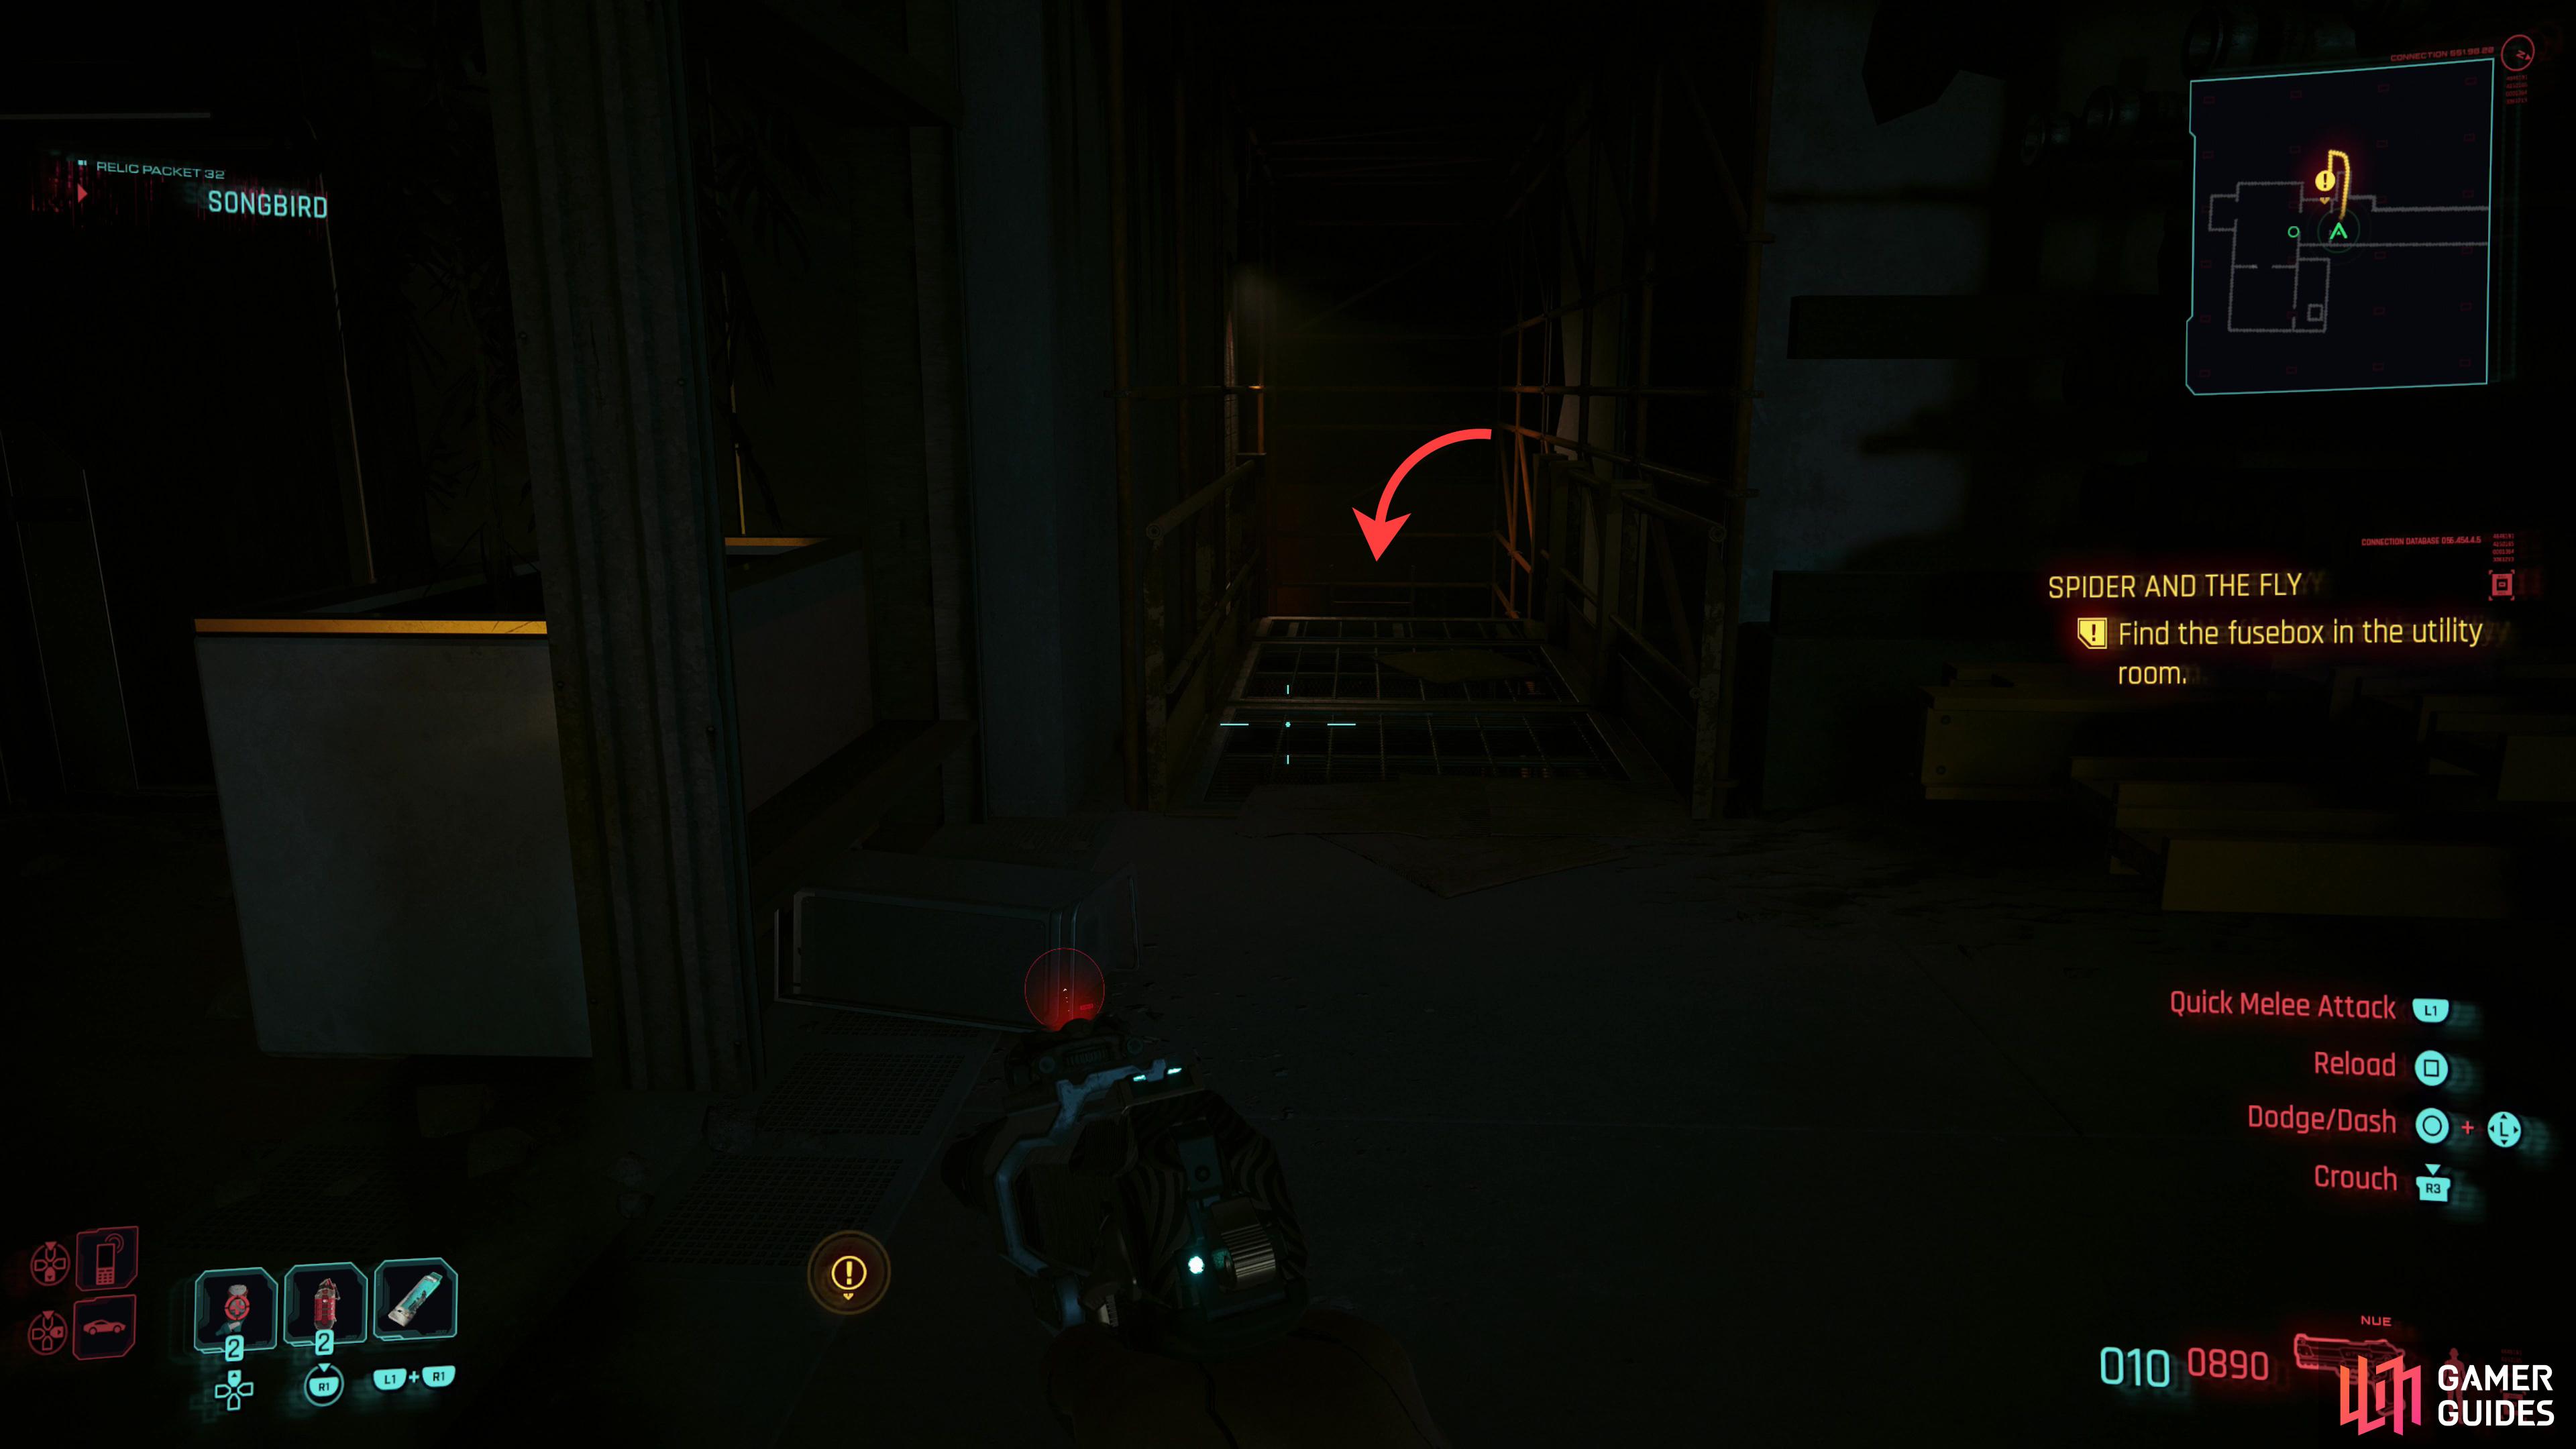
Reset the Fuse Box
When you’re done maiming Myers, continue down a hallway and through some double doors to reach an elevator, which is inoperable. Songbird can’t help, so you’ll need to find a fuse box and power things back up yourself. Go back through the double doors, take a left and climb down a ladder, then hop through a window and continue down the hallway beyond to find another ladder, which leads to a small room housing the fuse box. Override it, exit a door near the ladder, then turn right to go through some double doors back to the room the prez is in (note that these double doors are sealed [Body 15] until you hit the fuse box - it’s also a shortcut to the fuse box for the phenomenally strong Vs out there). Jump in the elevator and take it up, while Myers spreads doom and gloom about the drones searching for her.
(1 of 4) Instead of rushing headlong into combat, you can either go up some stairs (follow the arrow) or crawl through a duct.
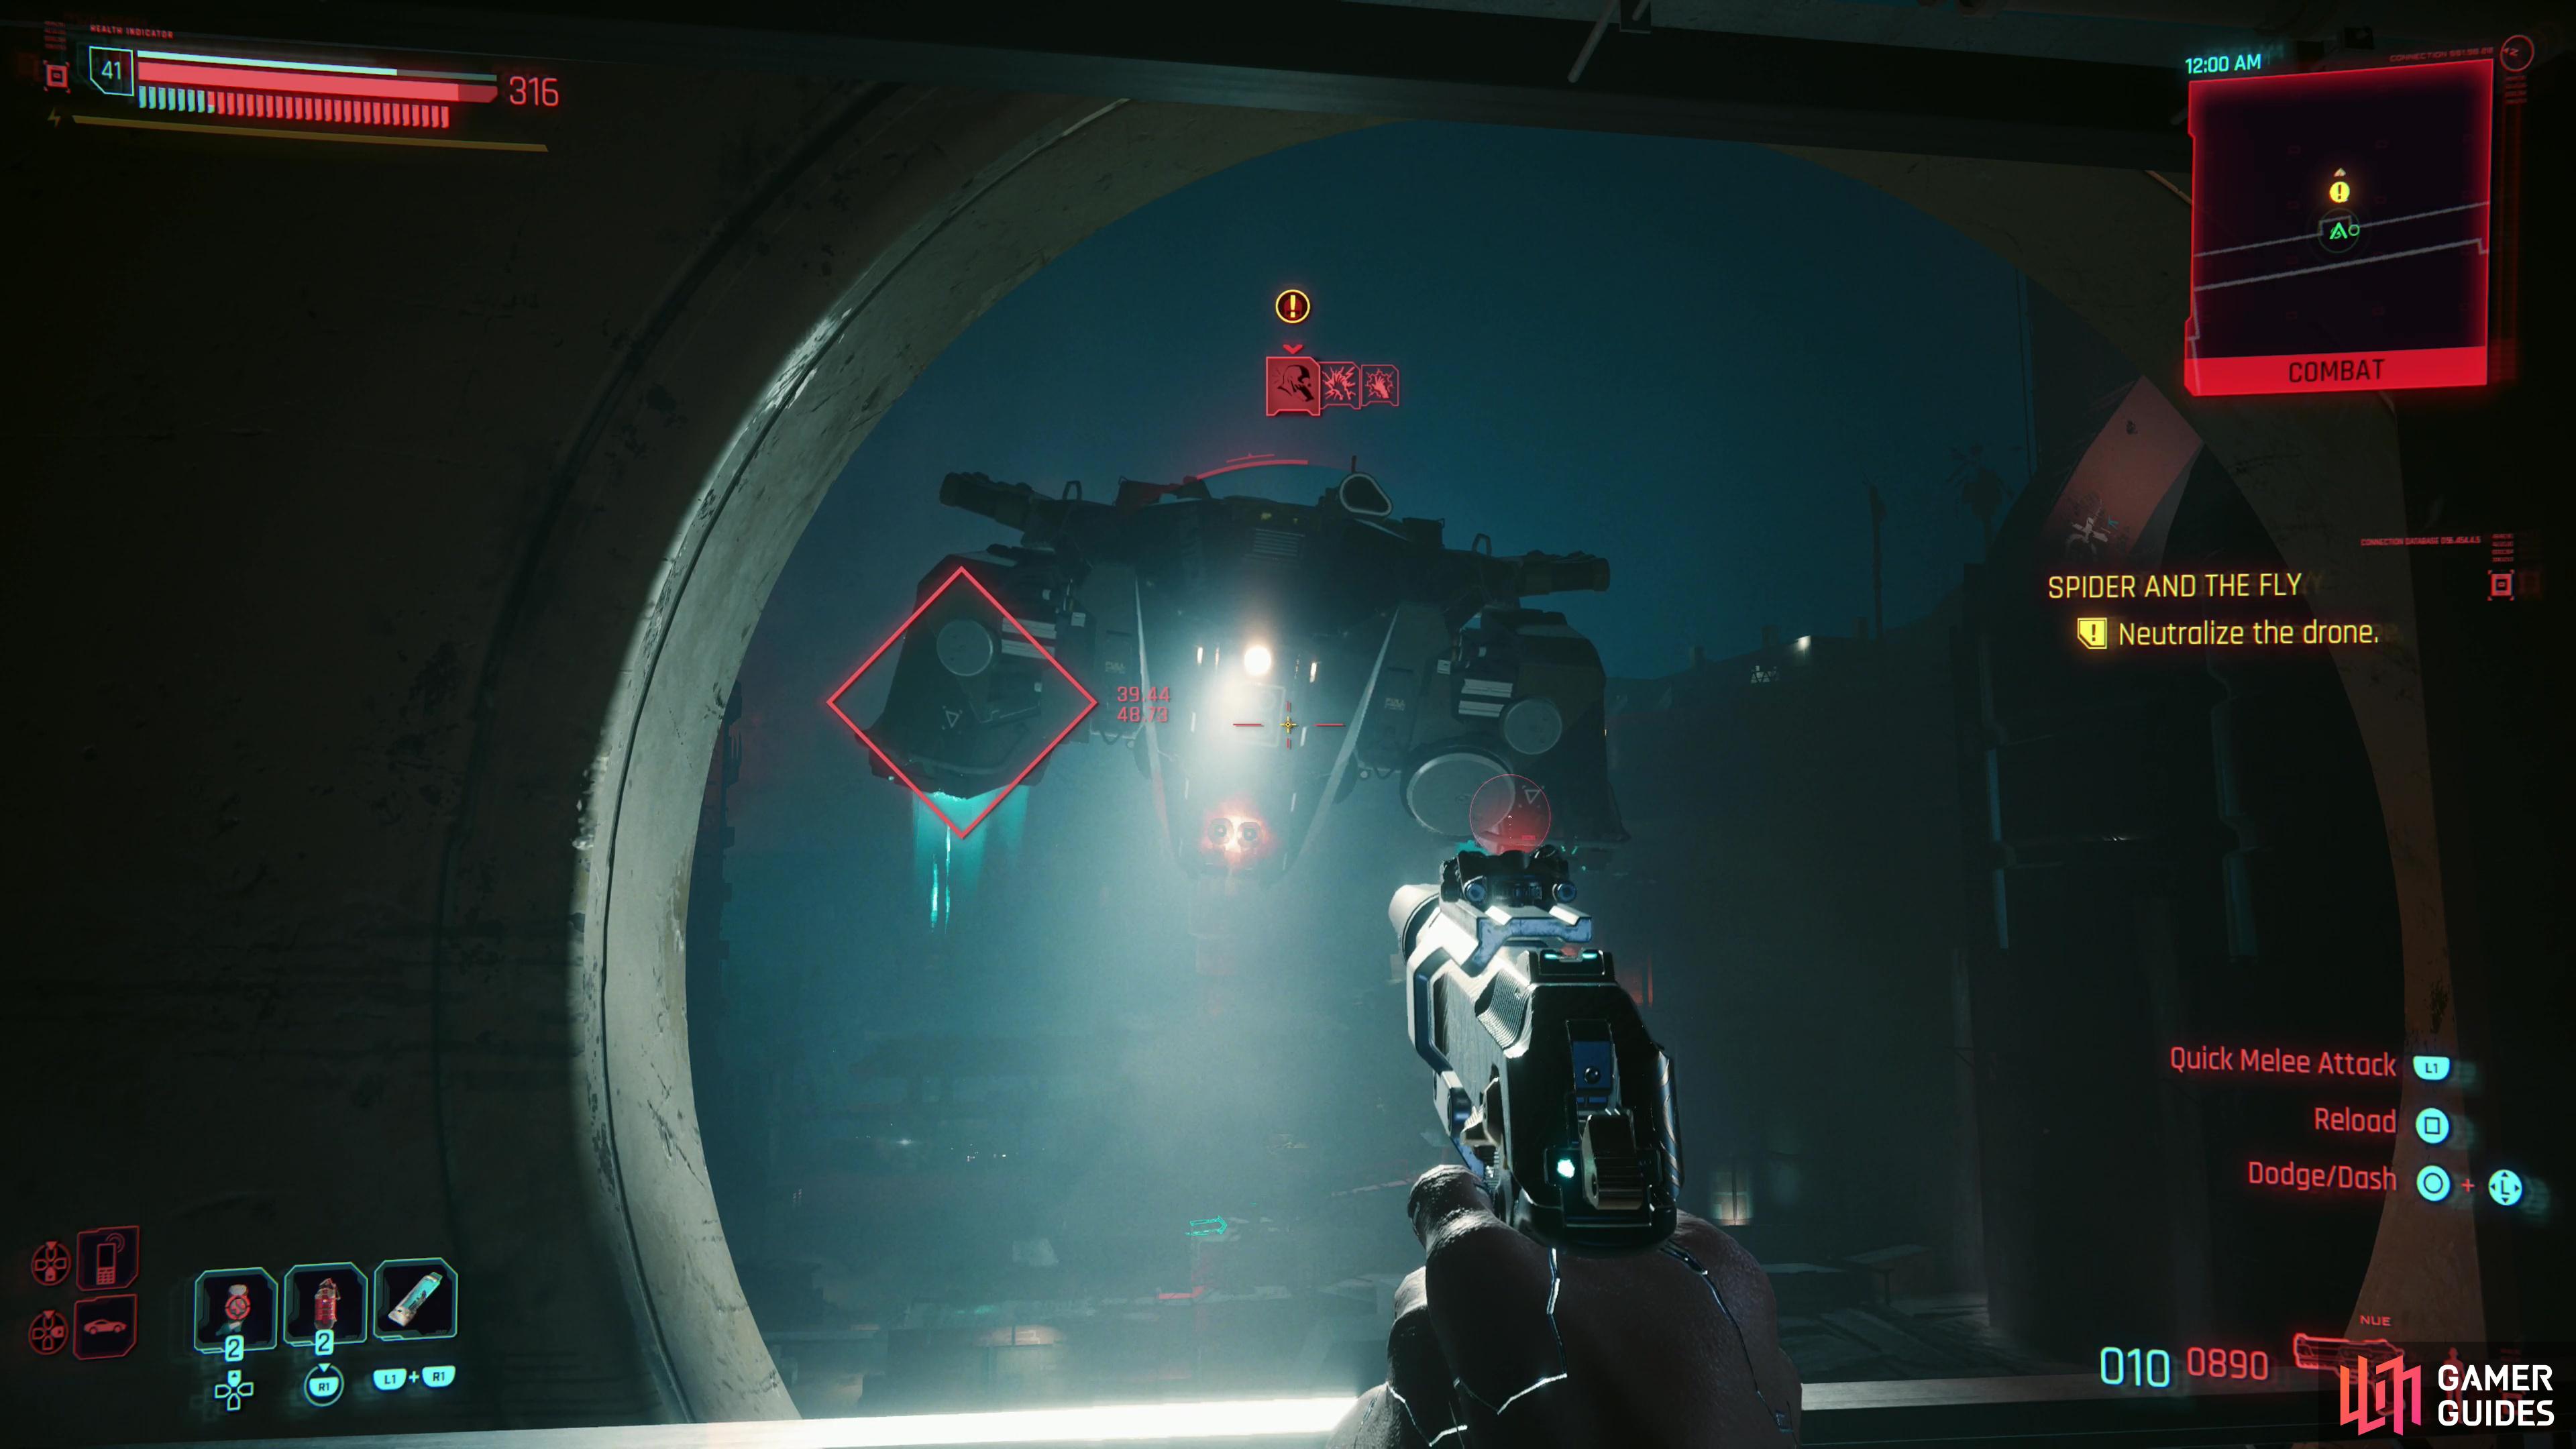
Get Rid of the Drone and Escape the Building
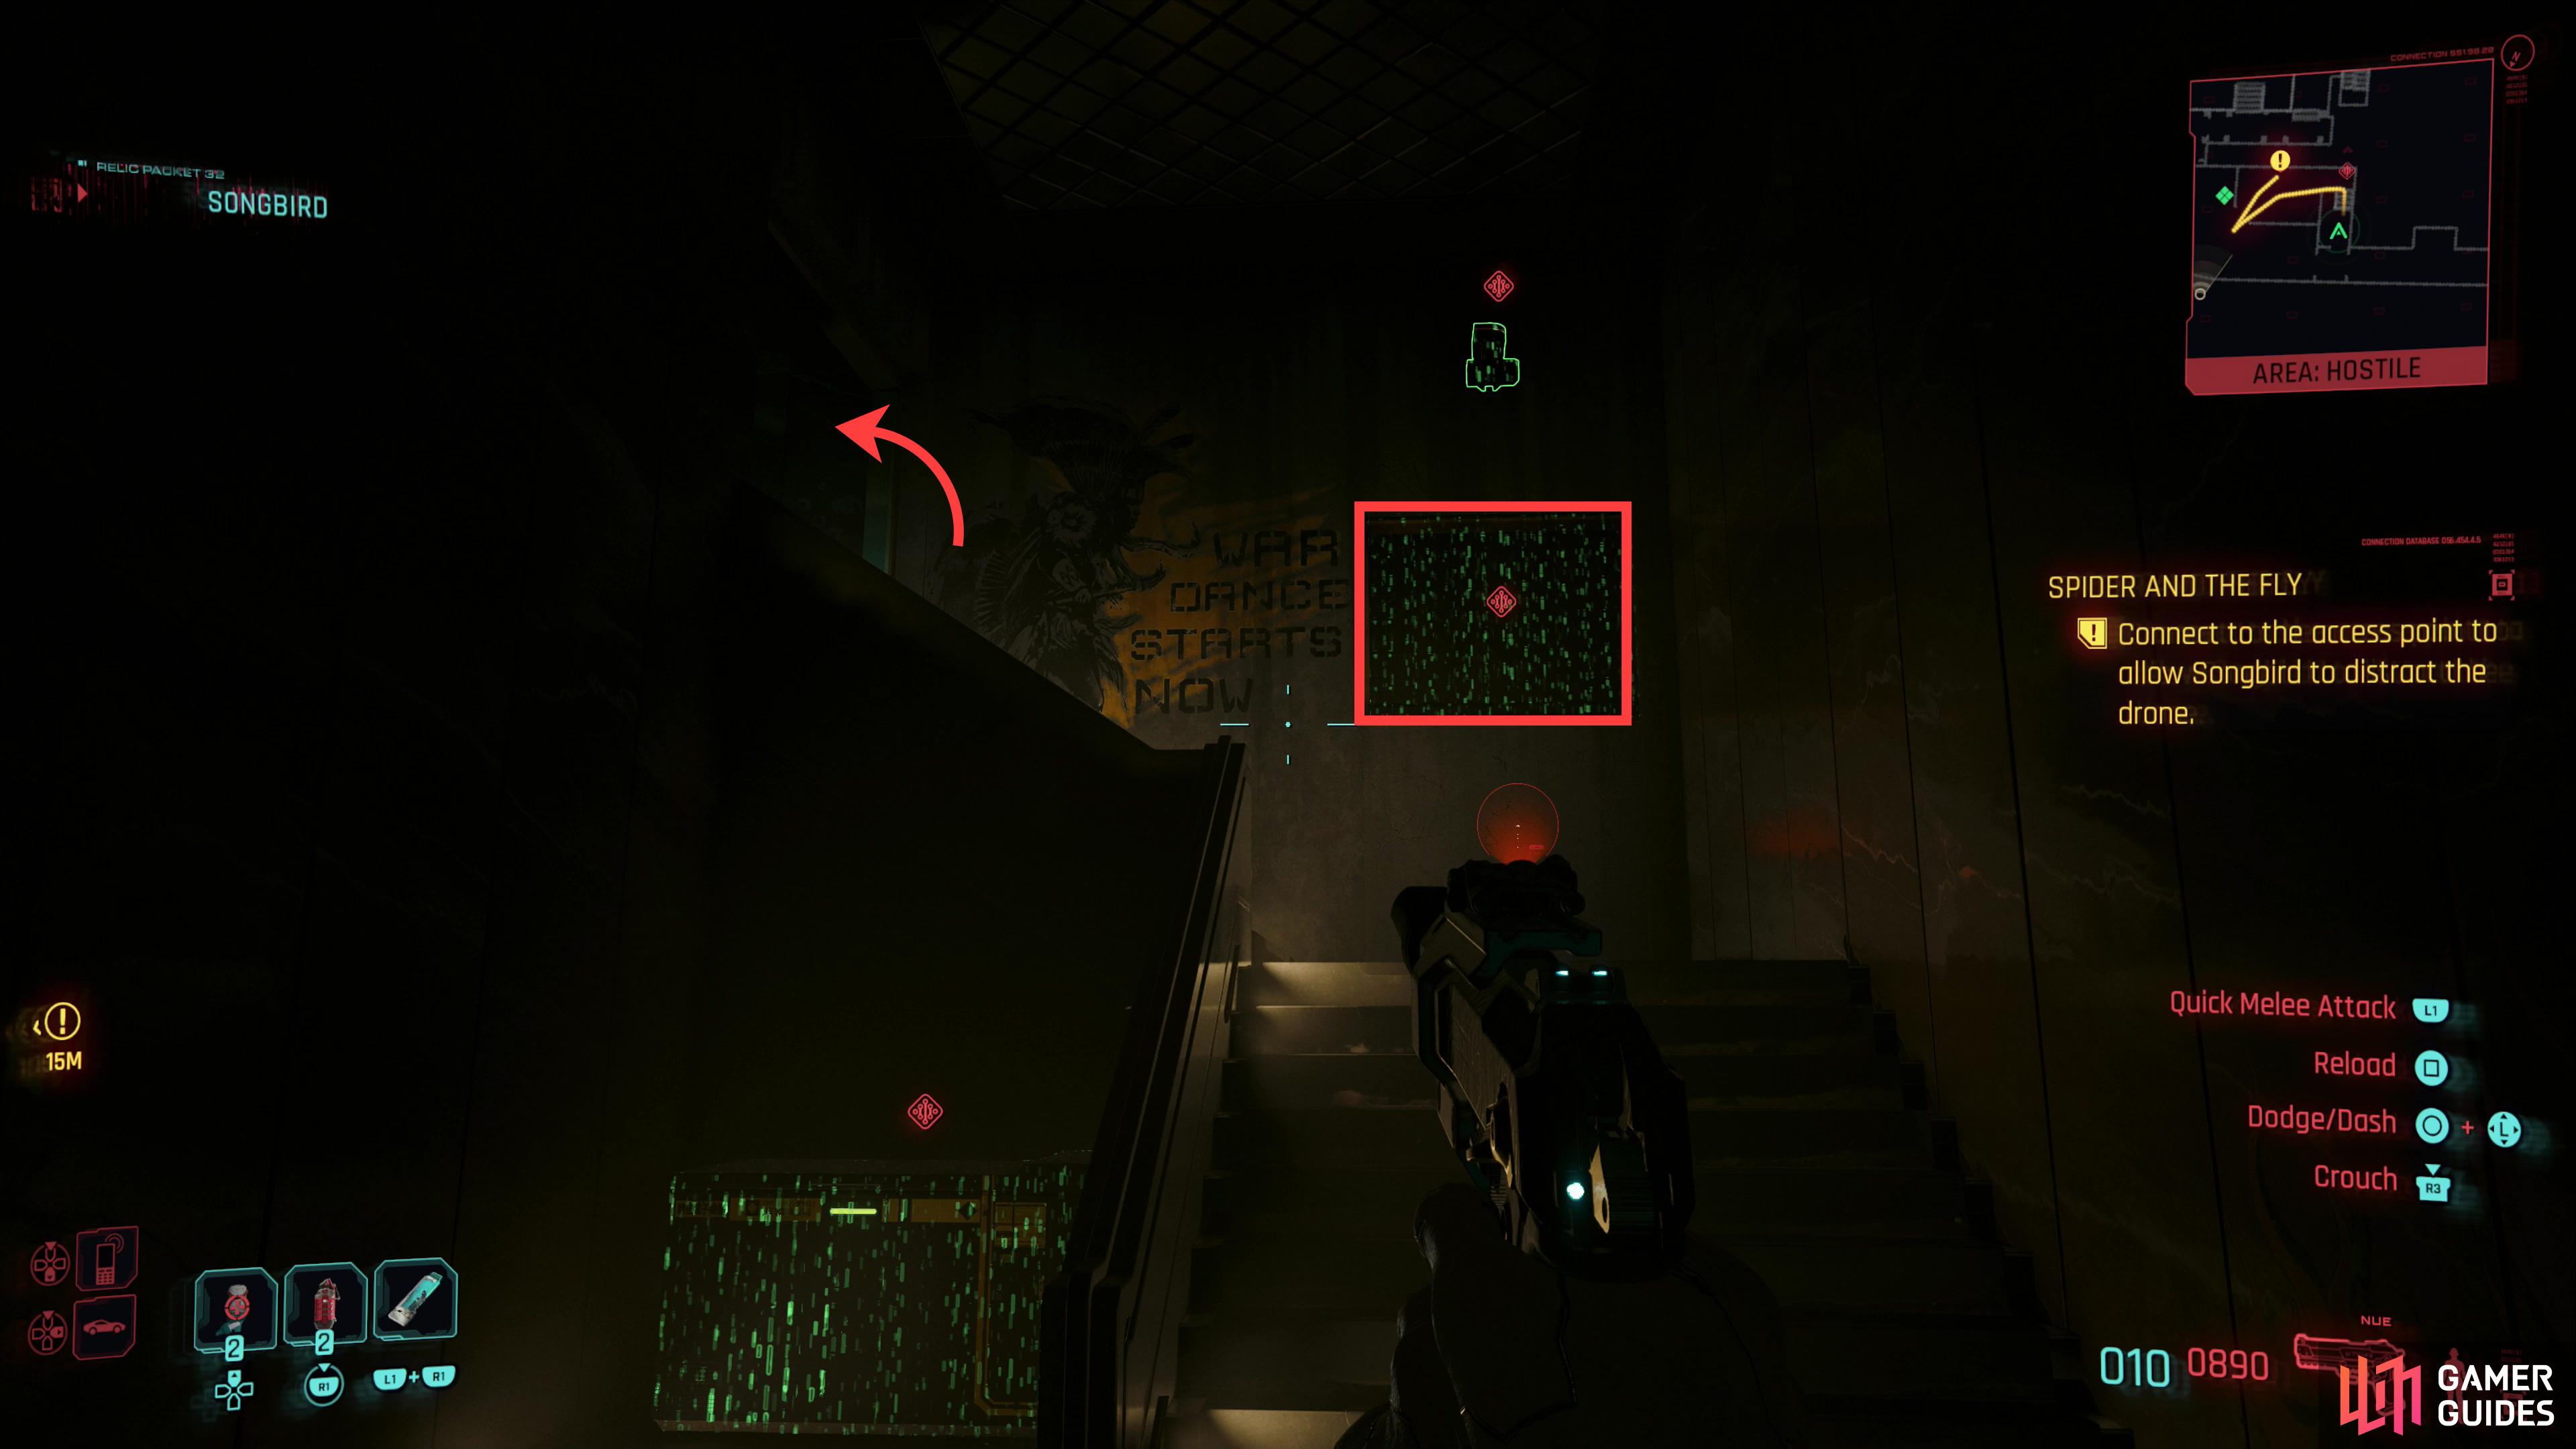
Once the elevator stops, exit and turn right and open some doors, where Myer’s attempts to pessimism a drone into existence will bear fruit. Make your way down a hallway to a second doorway; if you go through the doorway you’ll almost certainly encounter another drone, and worse, with all of Hansen’s goons that are nearby. That being the case, you’ve incentive to turn right and go up a flight of stairs. You can quickhack some shutters open between two flights of stairs, or force them open with [Body 15] or [Technical Ability 15], and this is your best bet if you want to avoid more conflict.
Open the shutters if you can, crawl through the duct beyond (ignore the side passage to the left) and you’ll drop out near a different flight of stairs. If you go through a doorway you’ll be on a balcony overlooking the building’s entrance, near two snipers. They’re well worth killing if you plan to tussle with the rest of the Barghest troops, but if you’re sticking to stealth, ignore the doorway and go downstairs until you reach a hallway. Here you’ve only got two Barghest soldiers standing between you and a door that leads to the outside - just wait for them to get done talking and one will walk through your door, both presenting their backs to you for easy extermination.
If you want to fight, be wary, as there are heavies, snipers, plenty of troopers and the drone, but the latter won’t be much of a threat if you avoid where it patrols. Alternatively you can get rid of the drone by going up the stairs instead of going through the shuttered duct to reach the upper area near where the drone patrols. Wait for the drone to hover to the left side of the room, drop down at a broken railing, enter a kitchen and find an access point on the wall where you’ll get the option to [Install Malware]. Whether you get rid of the drone via malware or take a more direct approach, you’ll find that for the rest of the area a stealth/combat hybrid approach works well, especially if after getting rid of the drone you go through the duct and take out the snipers, then pick off a few enemies from the vantage they occupied.
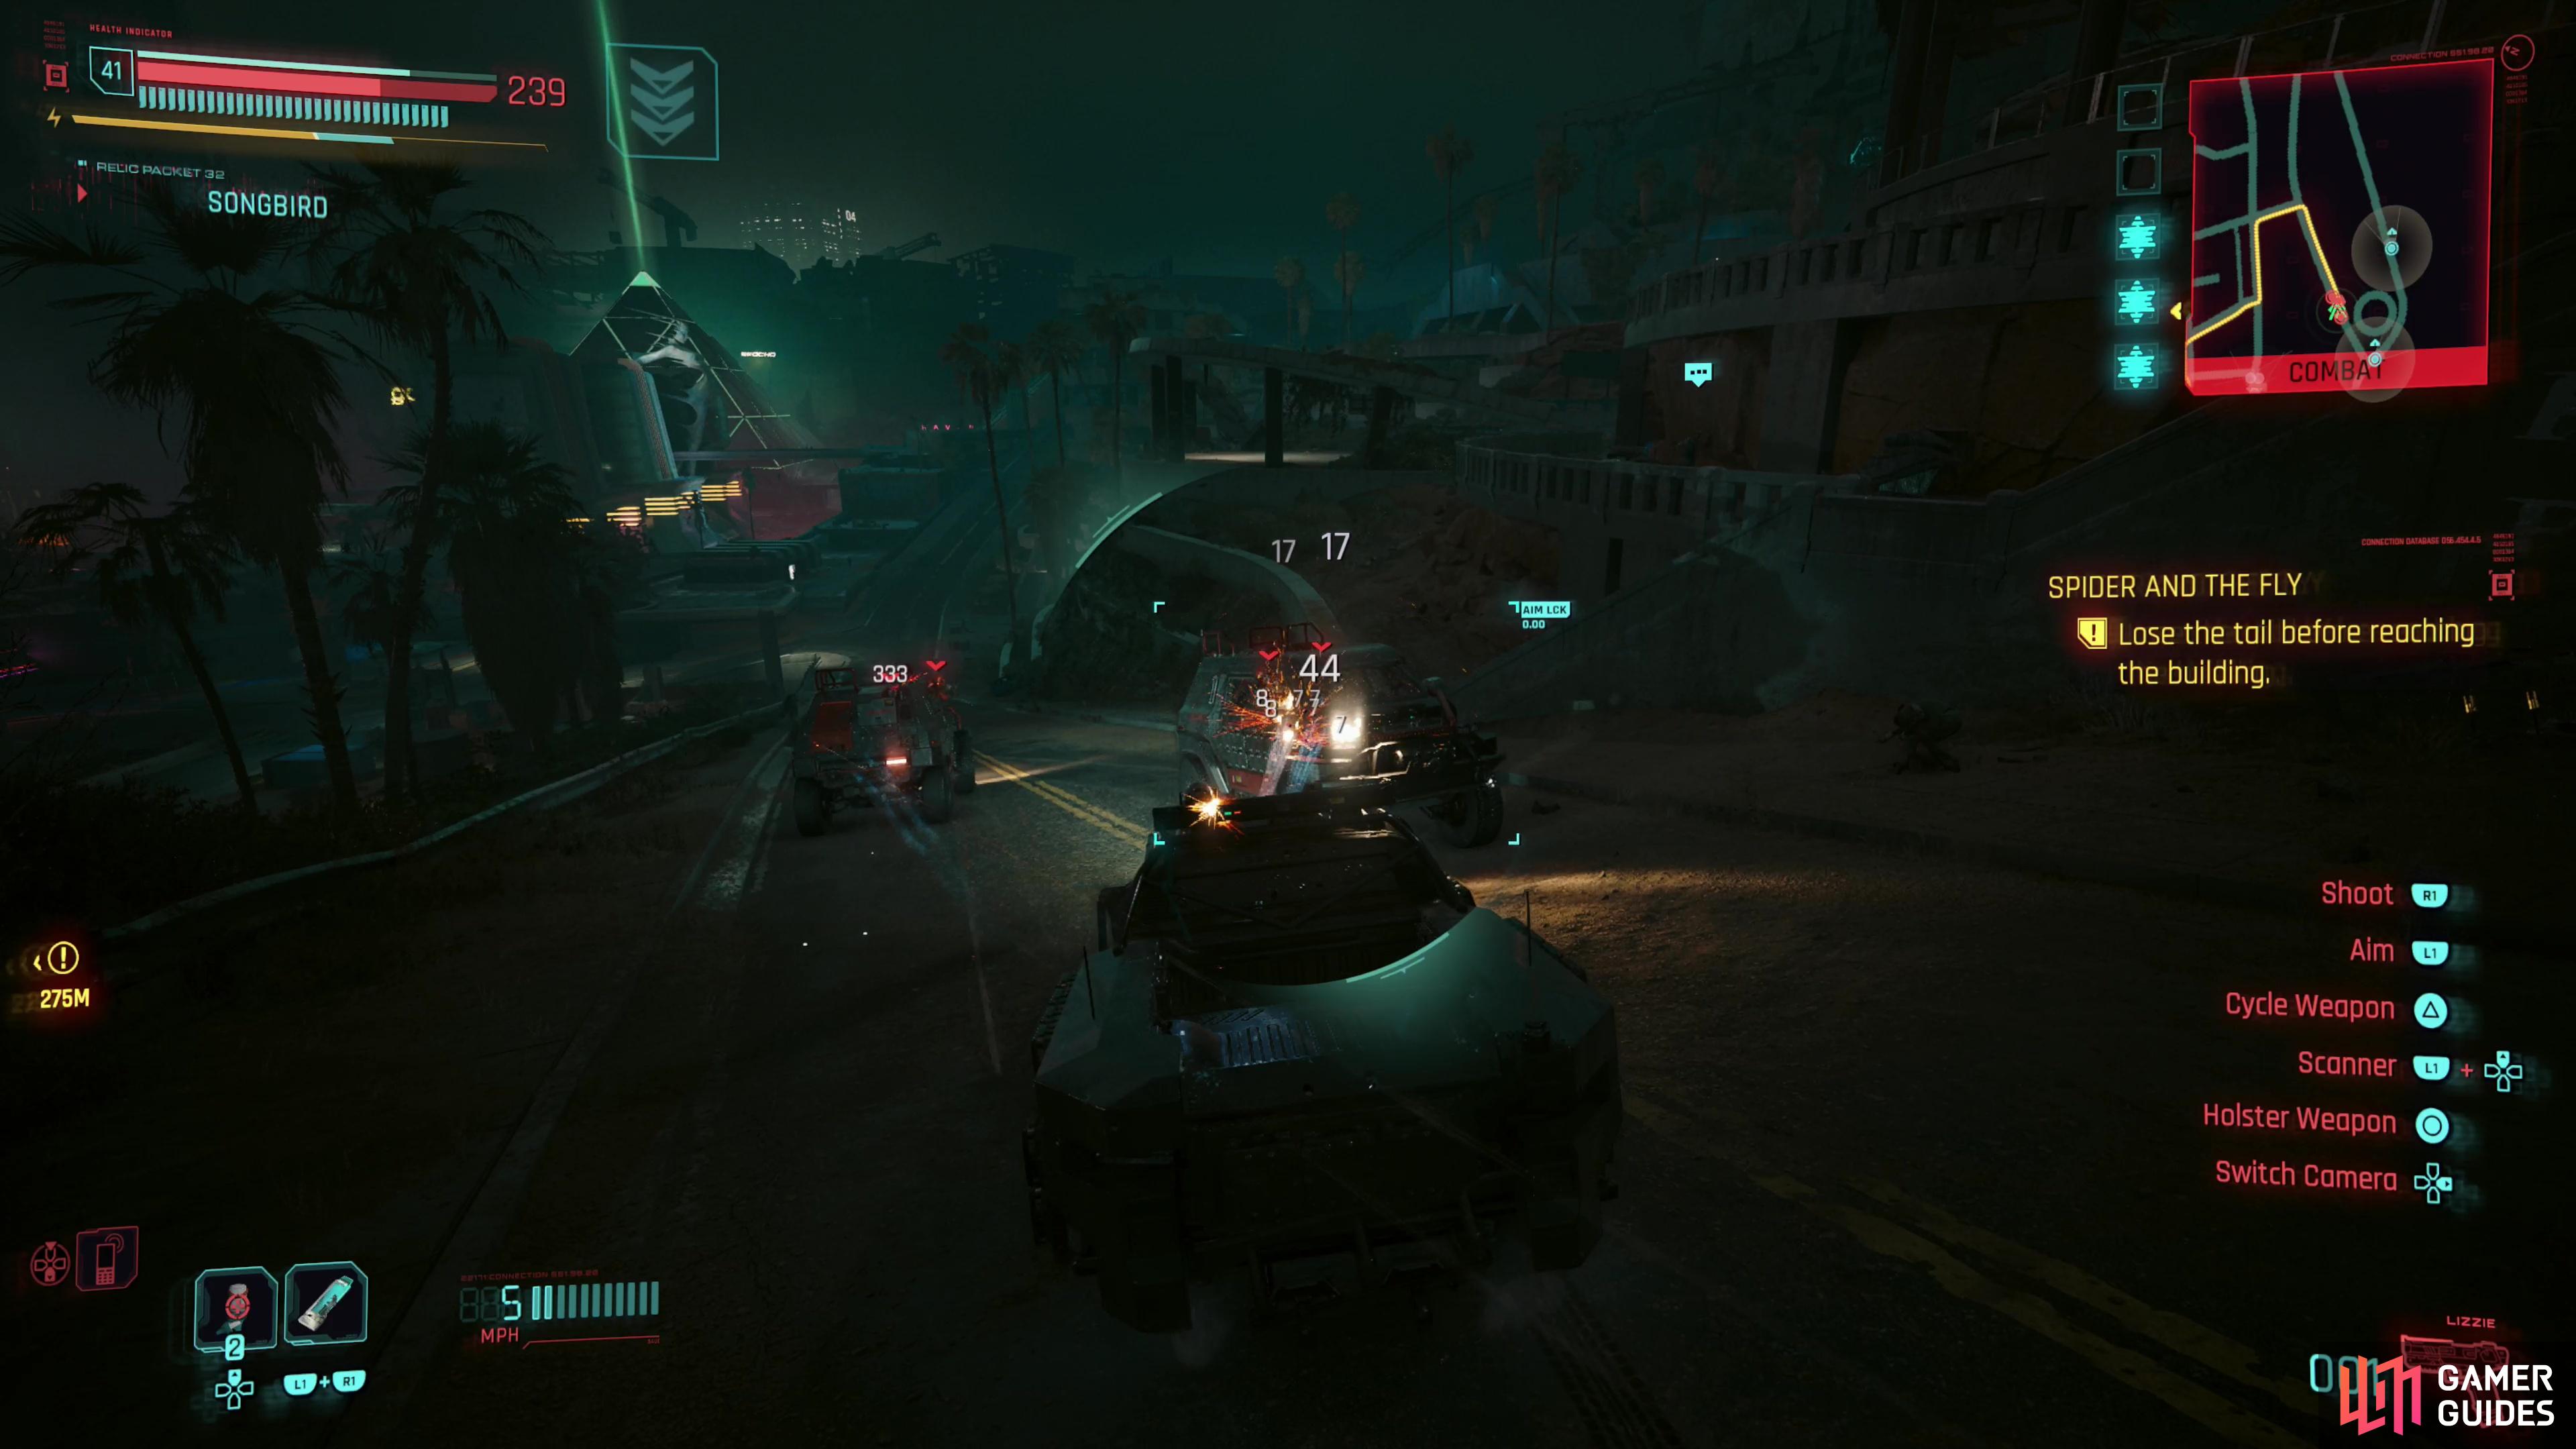
Avoid the Patrols and Reach the Building
However you manage it, make your way outside when you’re past the opposition and you’ll get the optional objective to Find the car in the parking lot (alternatively we’ve been instructed to Take the BARGHEST car). Either way, ignore this optional objective, as traveling in a vehicle is a recipe for frustration. Once you’re outside the game wants to introduce you to a pair of patch 2.0 innovations - vehicular combat and a proper police wanted system, but the two are best not mixed. You’ll end up with a 2-star wanted level once you’re outside, and for the next phase of this quest you may as well consider all of Hansen’s goons as police for how they act, in terms of gameplay. Check out the linked page above to learn more about how policing works in patch 2.0, but essentially enemy patrol cars will regularly head to your approximate location and if they find you they’ll pursue you. Each vehicle contains two enemies at a 2-star wanted level, and killing them will earn you no EXP, no rewards, no items, and worse, can exacerbate your wanted level. A higher wanted level will provoke more enemy response, and hence it can be counter-intuitive to your goal of escaping (although if you need to dust a few enemies to break line of sight, do it). Unlike the NCPD wanted levels, this wanted level will not deteriorate over time, so you need to stay out of sight and avoid combat, and the roads are just about the worst possible place for that. So avoid the game’s beguiling optional quest objectives and stay out of vehicles and instead determine to set out on foot.
From the building you just escaped, turn left and try to stay off the road, dropping down cliffs while trying to simultaneously avoid dangerous falls and keeping an eye out for blue dots on your minimap. Once you reach some ruins overlooking the city below, you should be in a pretty good spot, and enemies shouldn’t spawn or search nearby unless you go out of your way to draw their attention, so follow the objective marker. This will ultimately lead you to the ruins where you encountered Hansen’s troops immediately following the crash of Space Force One in the previous mission - not the best spot to sneak through, as it’s once again crawling with enemies. At this point it’s better to follow Songbird’s advice and avoid open spaces - don’t follow the objective line, but rather take a circuitous route towards the objective marker, itself. Just remember, your greatest enemies are scouts and patrol cars, both of which are incredibly perceptive. Don’t be afraid to dust enemies in your way and climb and jump whenever possible to ensure you remain undetected - your foes will not be able to pursue you via such acrobatic routes. Sneak your way into a parking garage under the marked building and you’ll be home free - wanted level cleared, able to save again, all that good stuff. Search the area for some loot if you want, then take an elevator up to the entrance level.
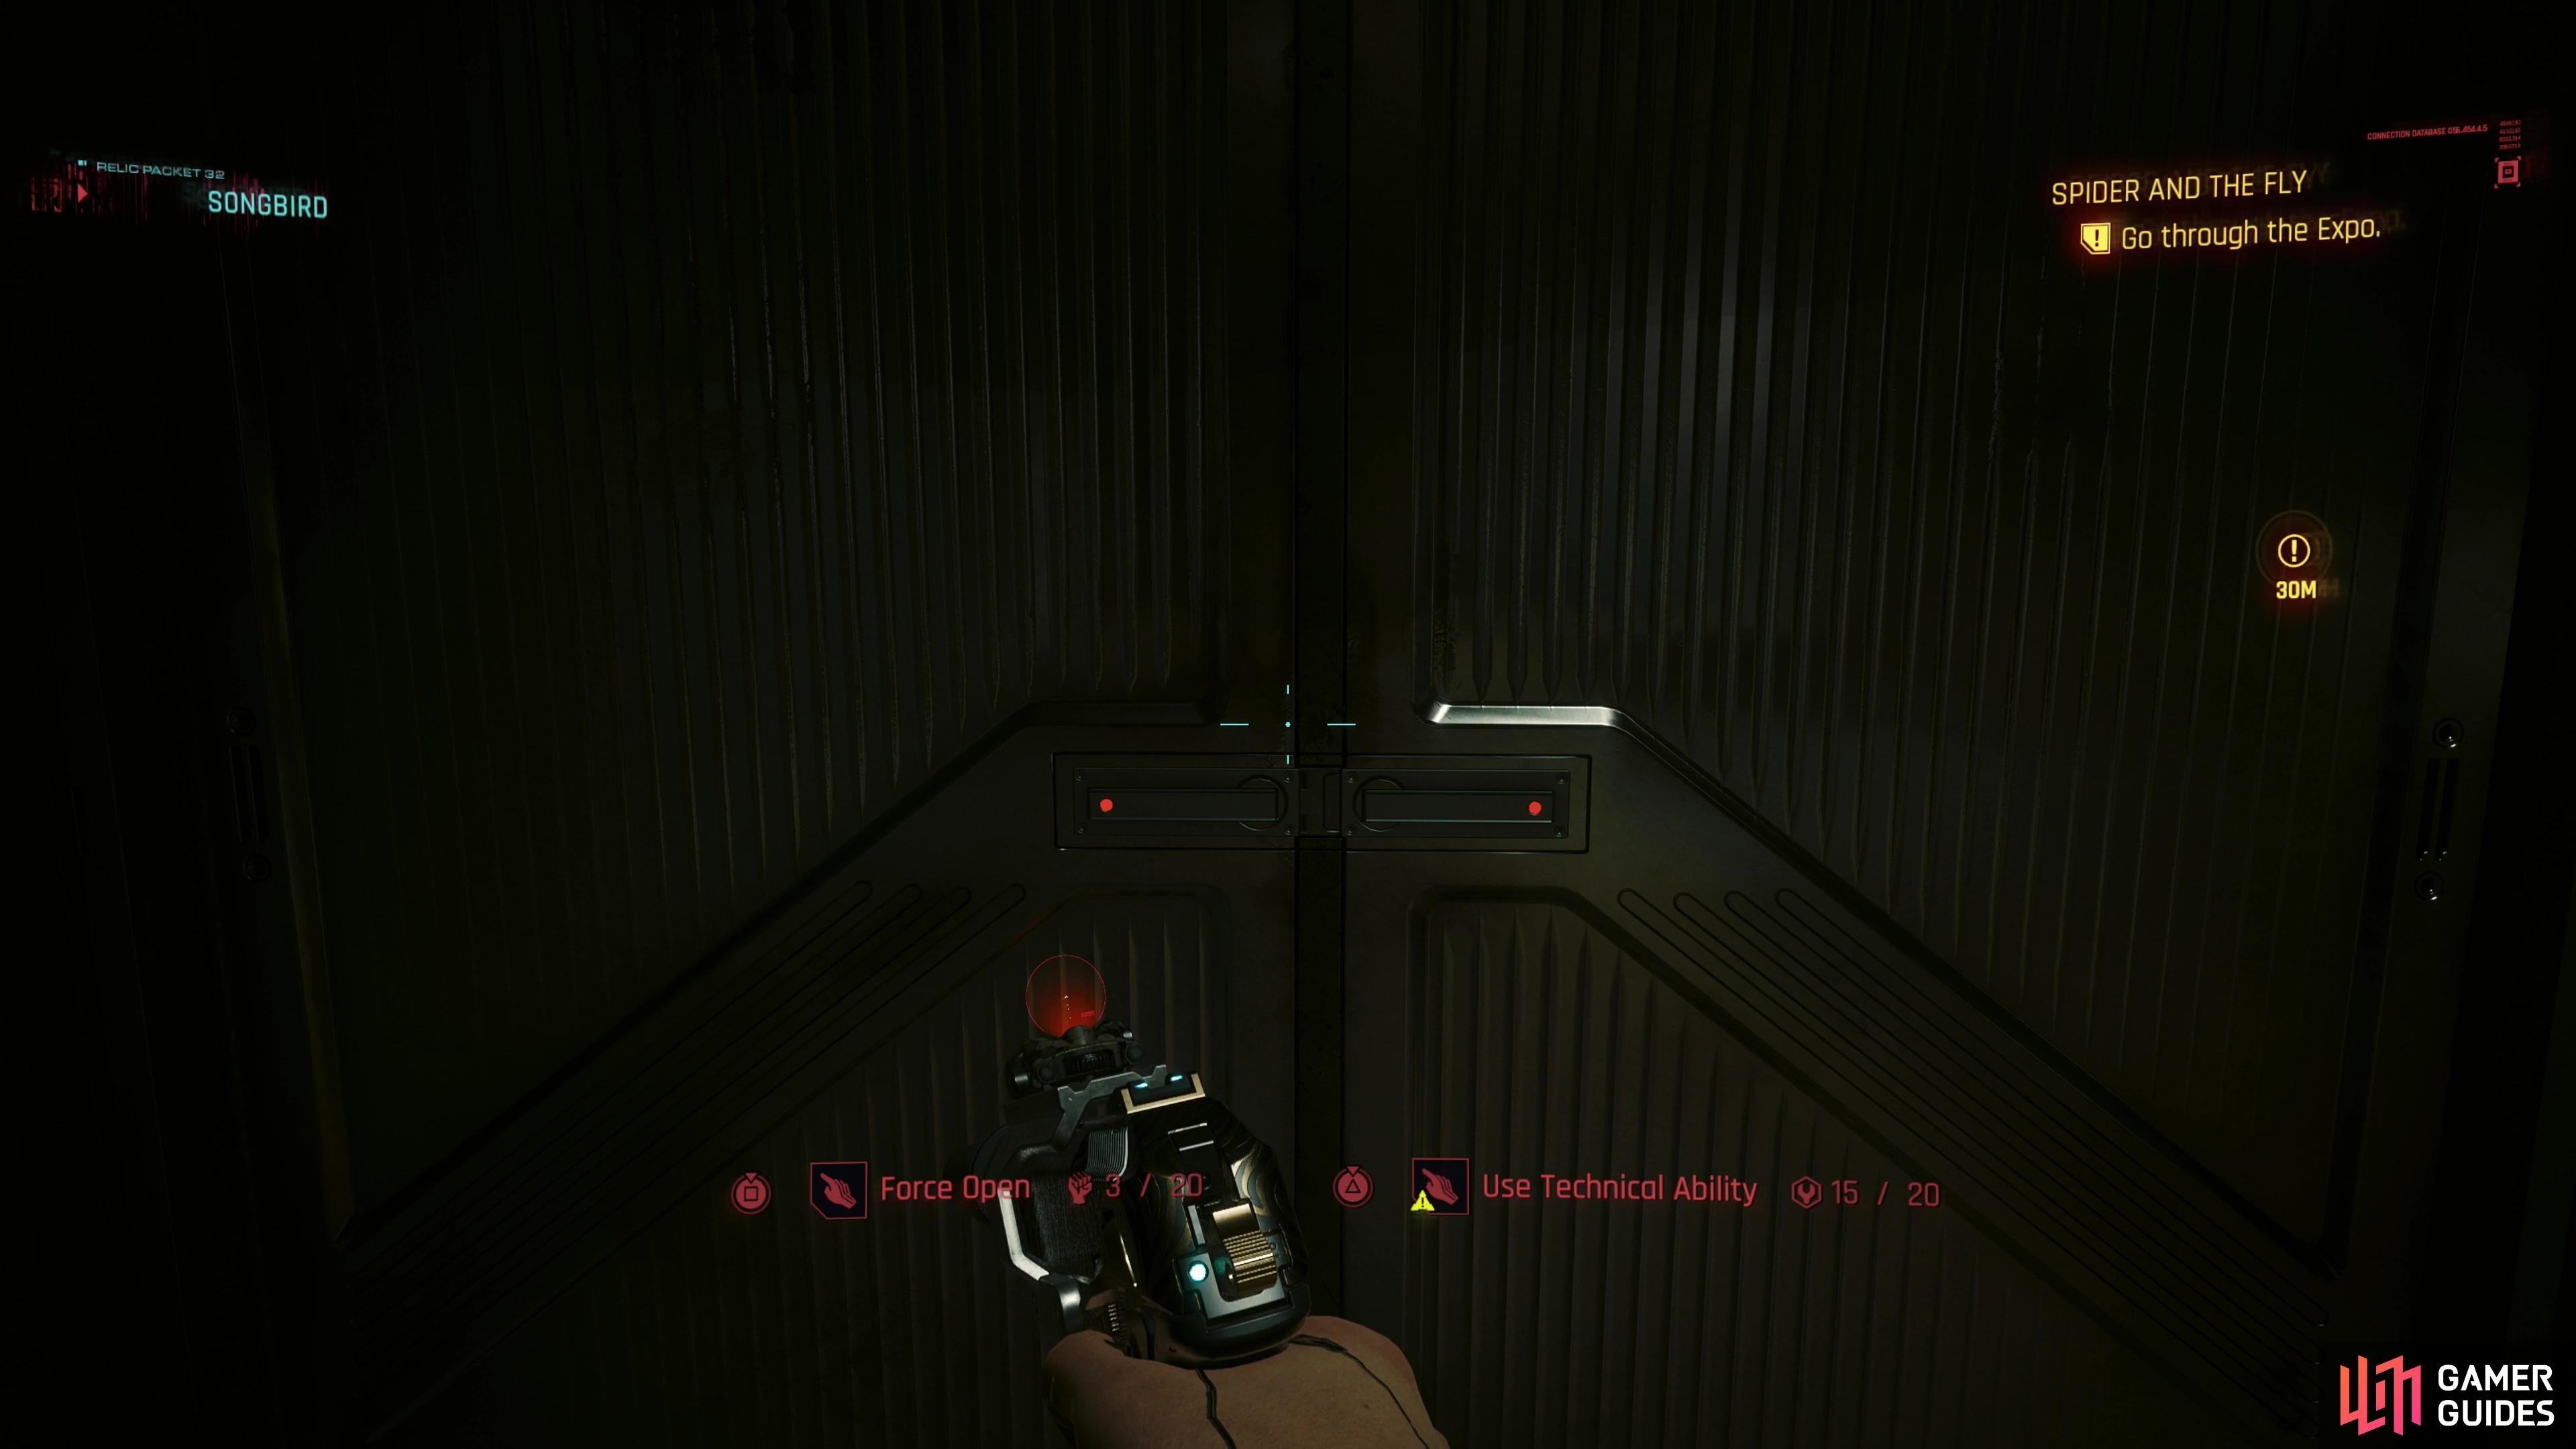
In the expo you’ll find some sealed doors,
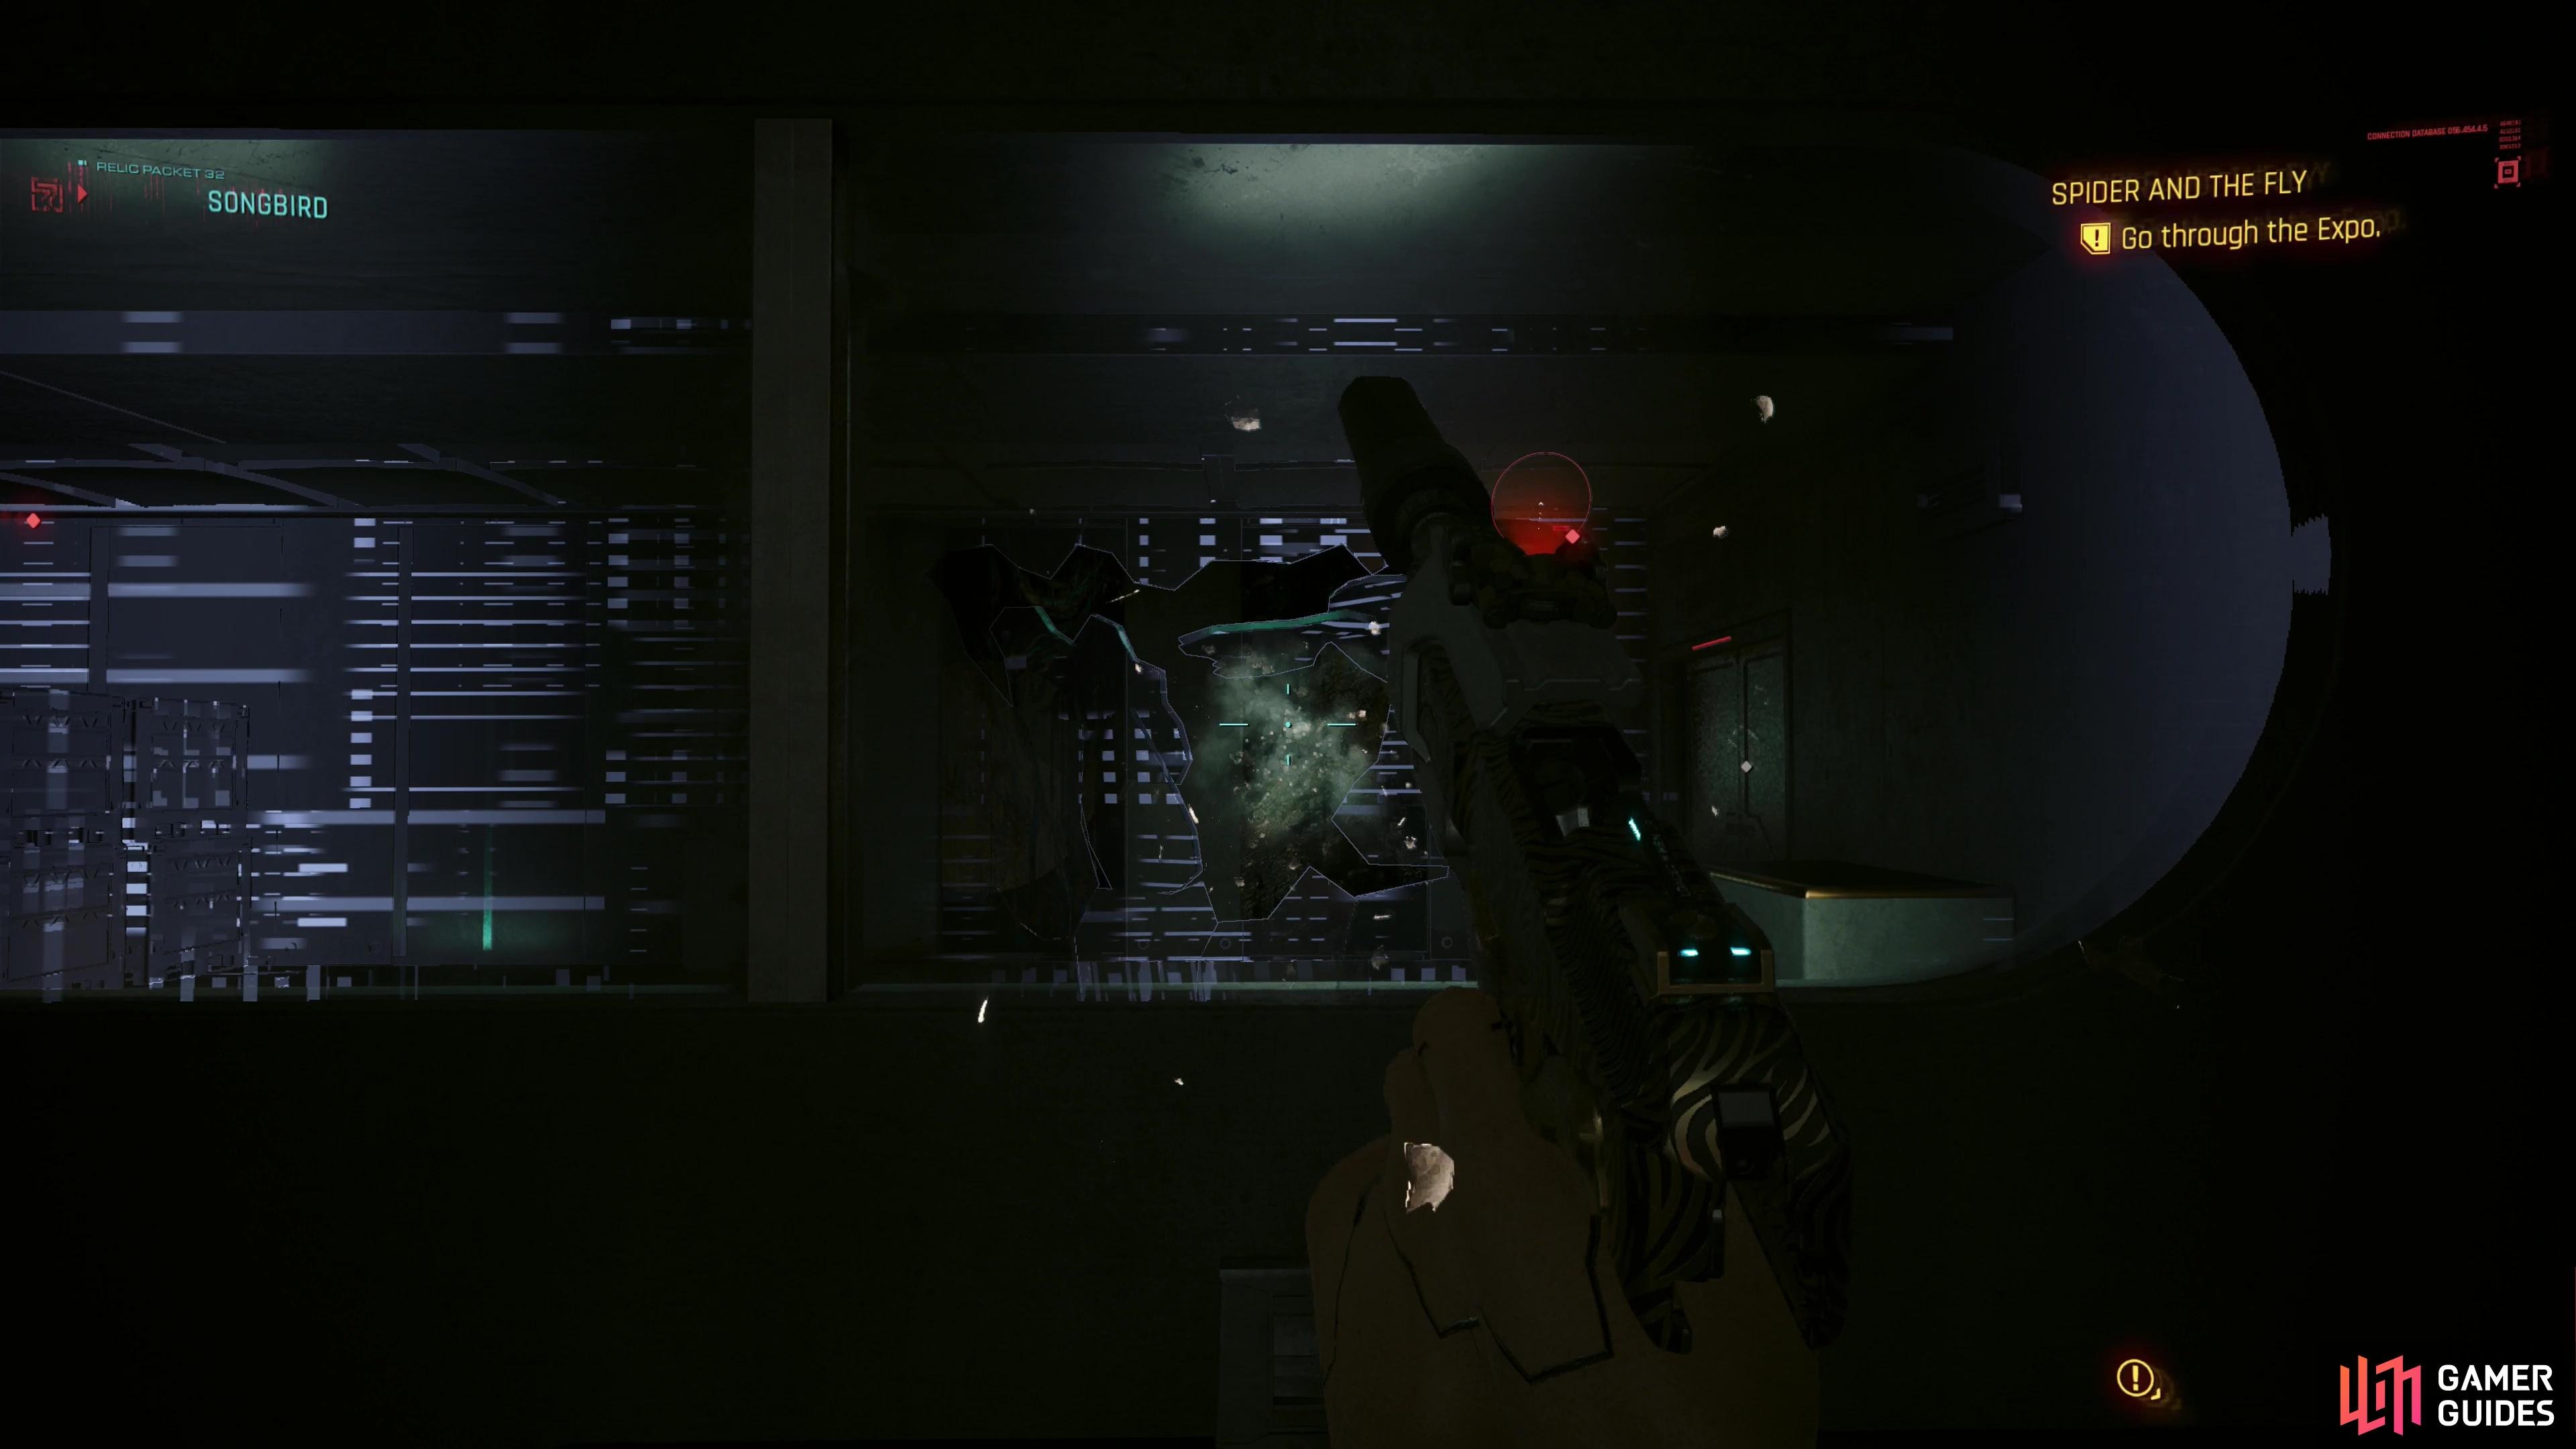
ignore the ludicrous attribute requirements and just shoot the windows out to get the loot within.
Escape the Expo and Survive the Assault
When the elevator stops, hop off and endure some chatter as Songbird gets the lights for you. Your goal now is to simply stroll through the expo, where you can interact with some exhibits. While optional, the lore is interesting inasmuch as Songbird - apparently only communicating with you - has some less than favorable things to say in response to Myers’ politispeak and blame-shifting. She might be a leashed government netrunner, but she’s not in full agreement with the regime.
Of more gameplay significance, it’s worth noting there are two sealed doors on either side of the room, both of which take a [Body 20] or [Technical Ability 20] check to get inside. Nothing in either of these rooms warrants any such attribute investment, but if you want to get the contents regardless of your stats, just shoot the windows out and hop on in. Within one of the rooms you’ll find an access point you can jack into [Intelligence 10], but otherwise it’s the same random goodies you’ve been finding in various containers thus far.
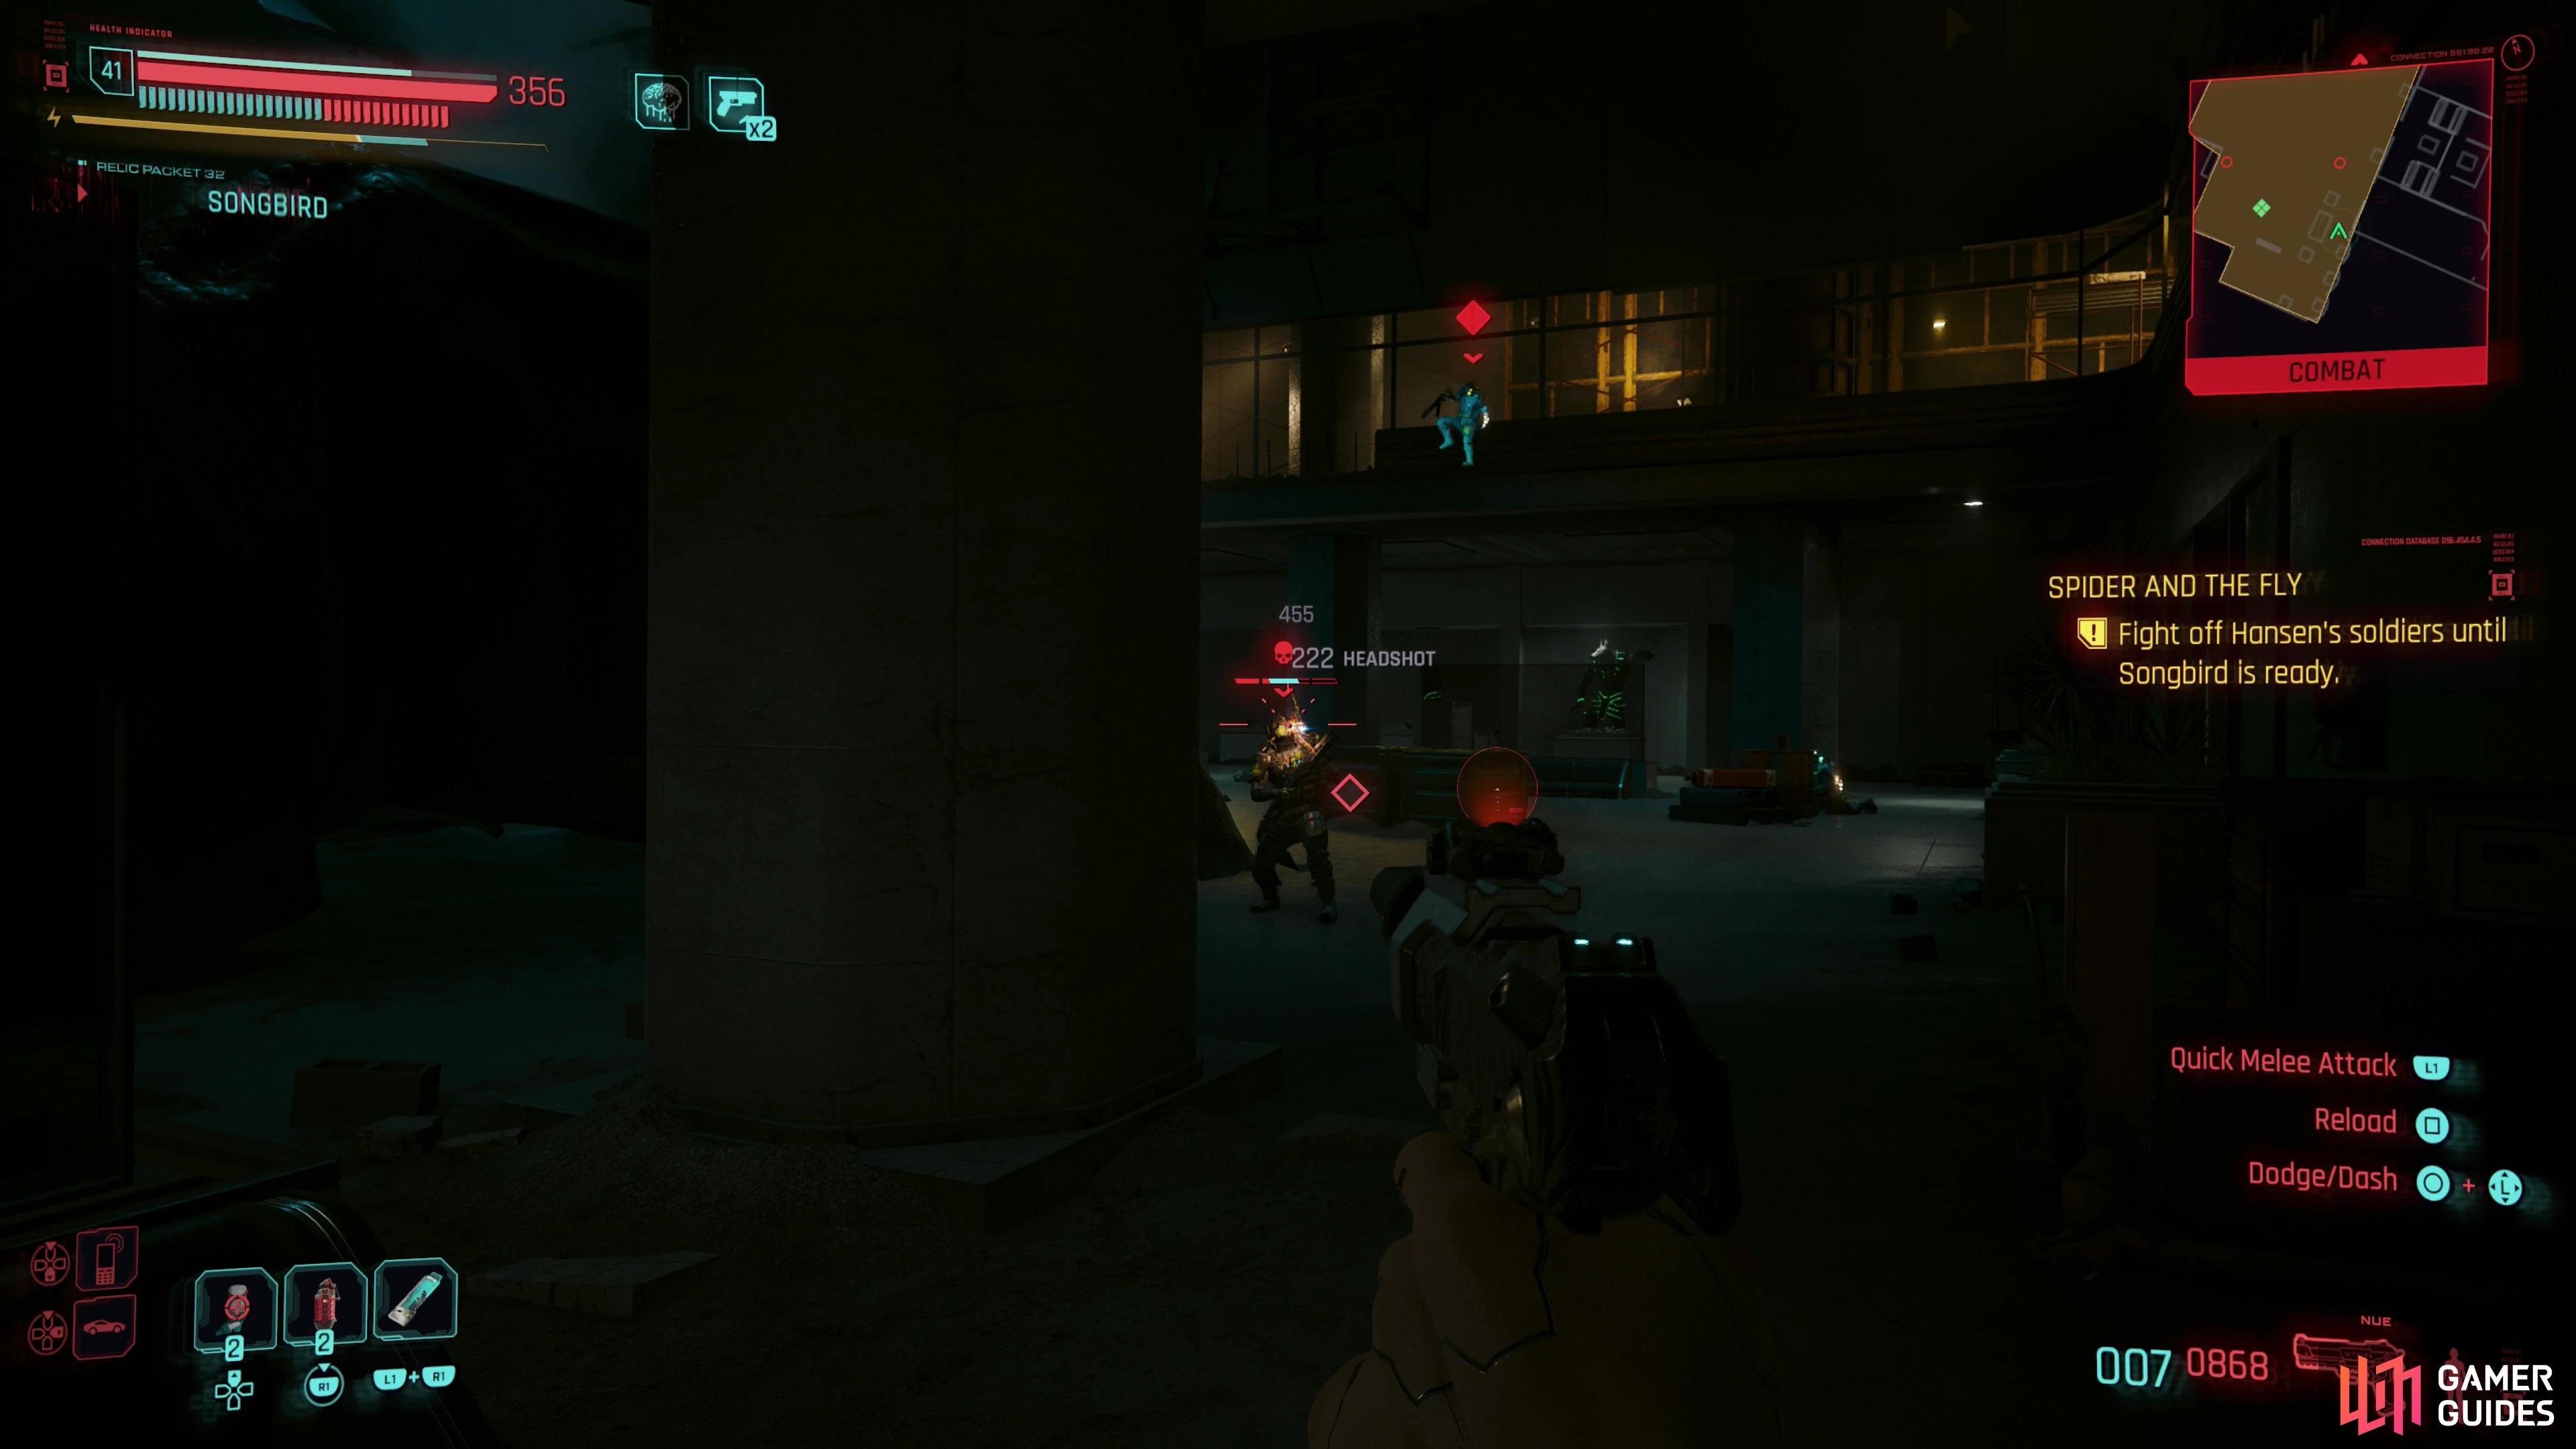
Fend off waves of BARGHEST troops,
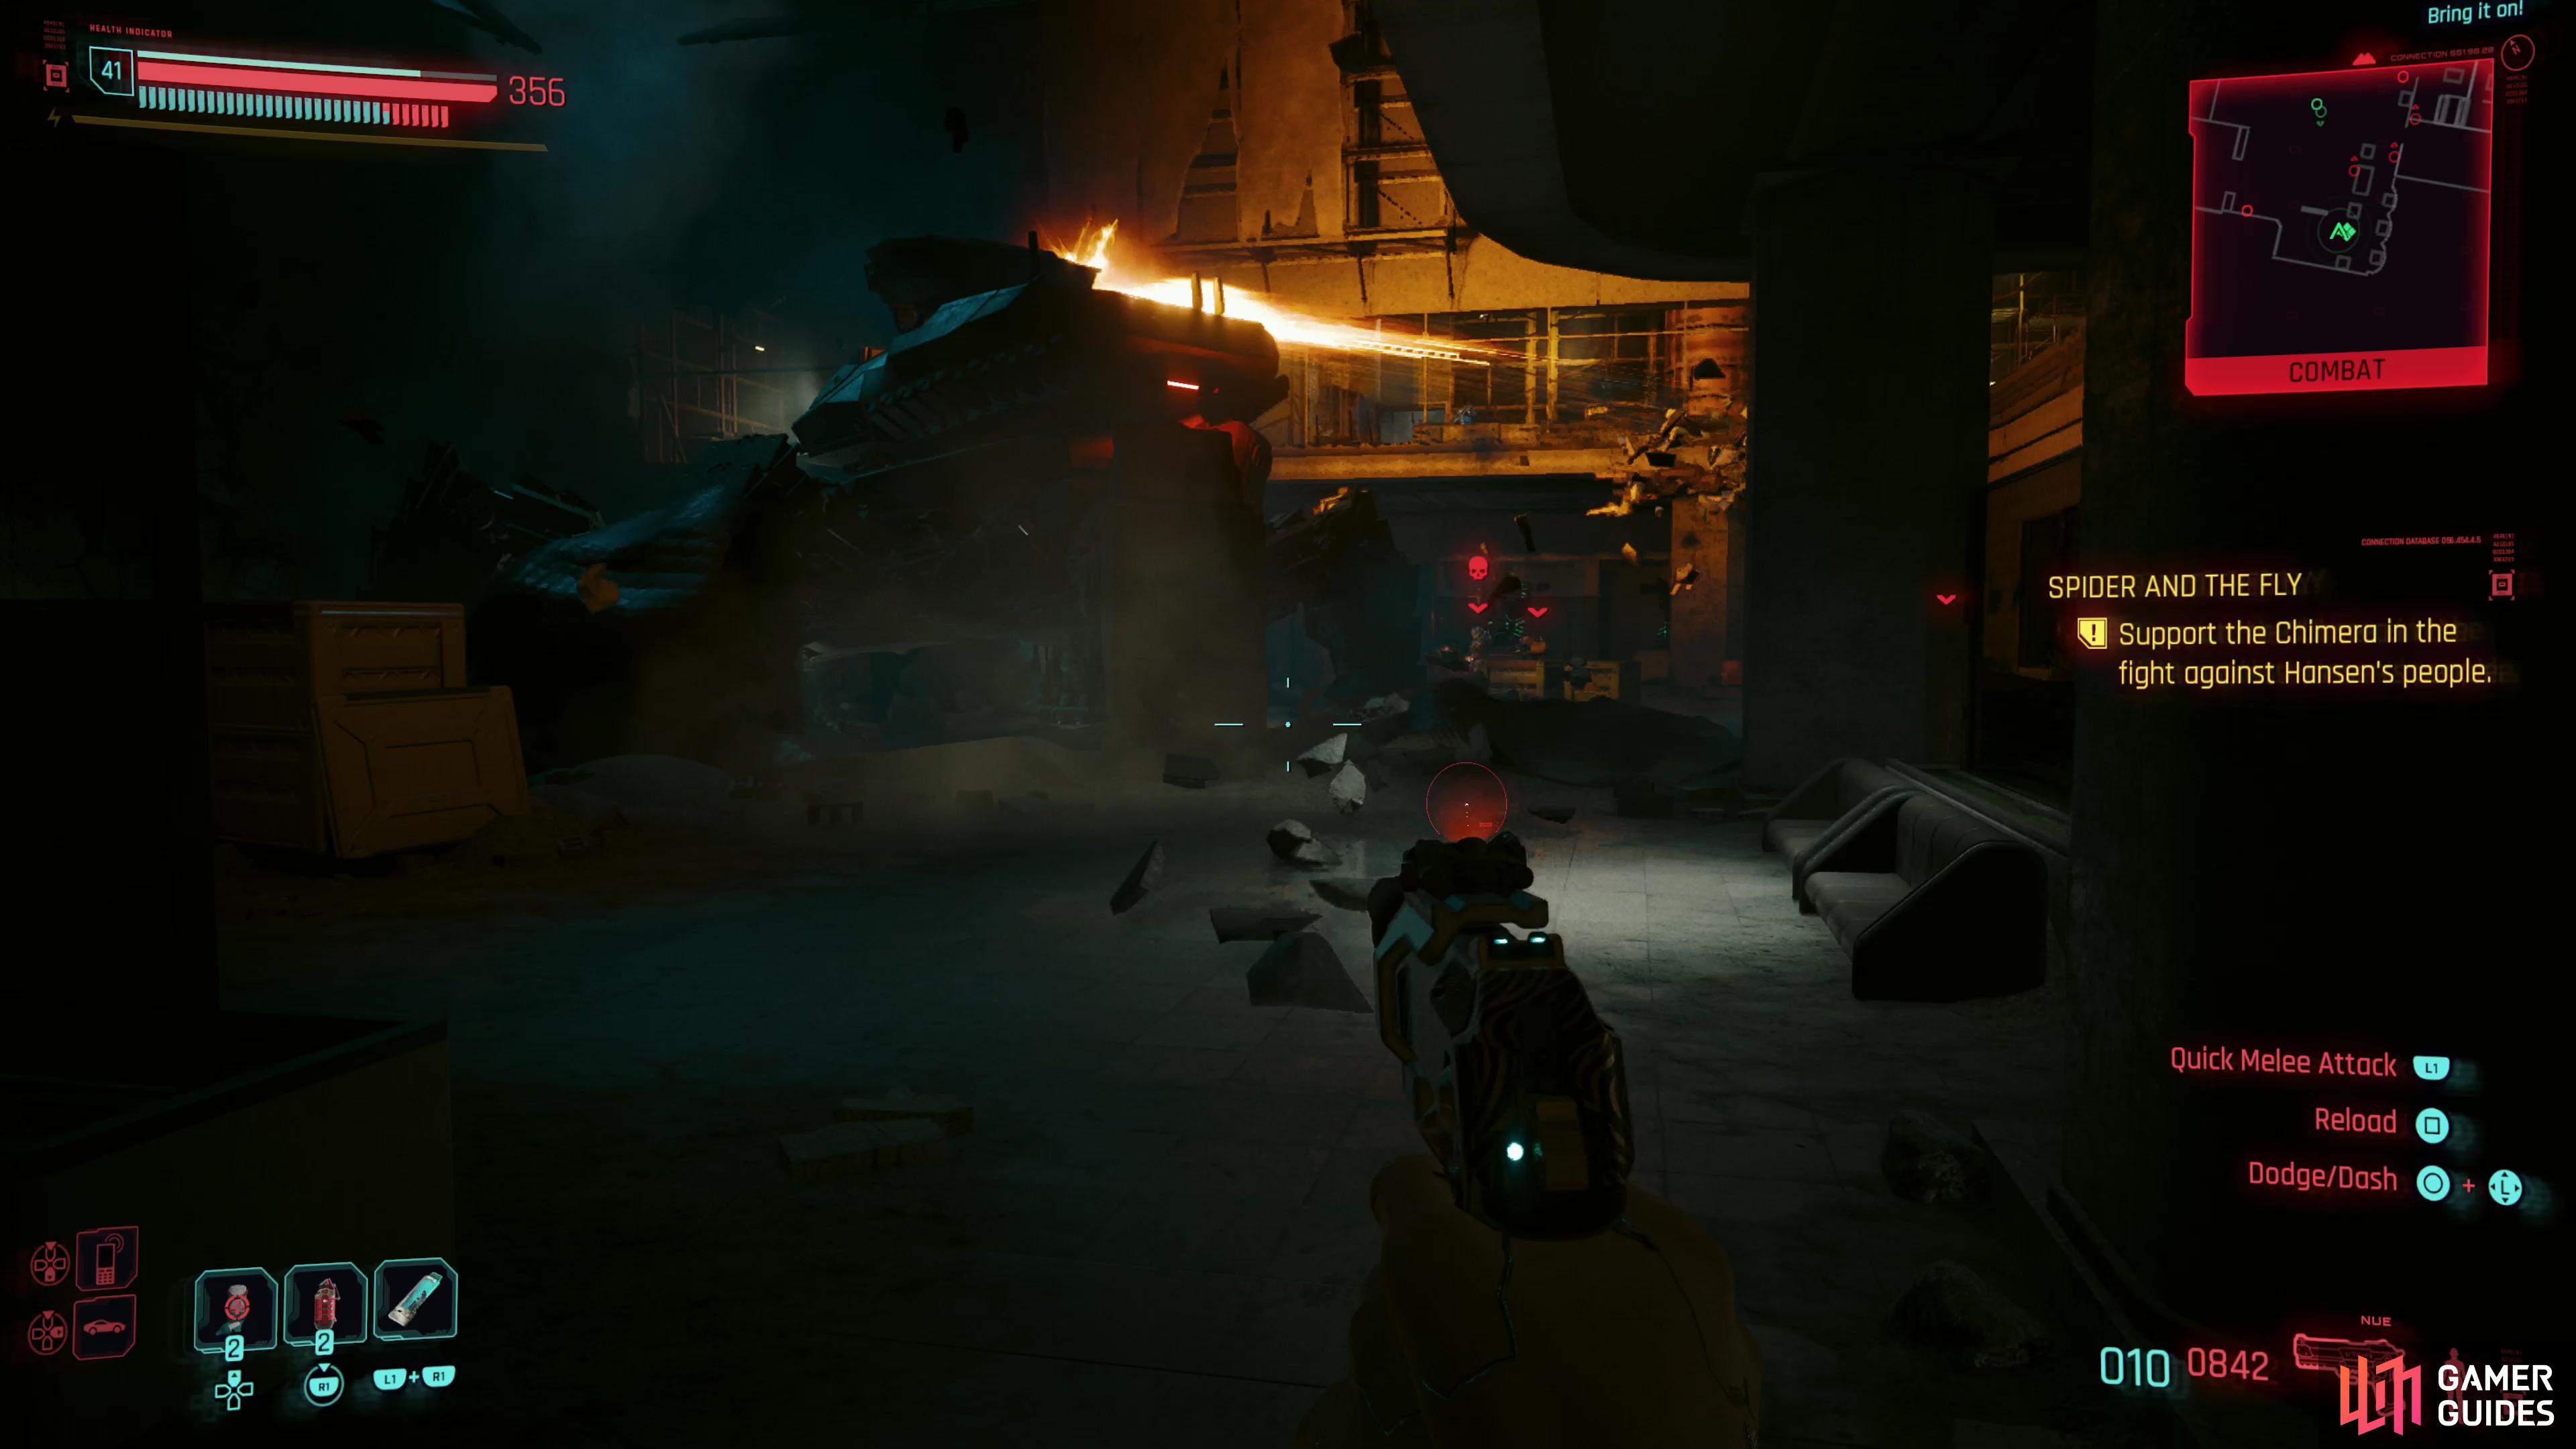
until Songbird gets the Chimera active, obliterating your tormentors with a glorious excess of violence.
When you’re ready to move on, reach some doors atop the stairs and help Myers pry them open to enter the cavernous chamber beyond. Loot the room, then head over to an elevator where you’ll be interrupted by the arrival of more of Hansen’s goons. Fortunately these ones don’t function essentially as law enforcement, with all the unwelcome gameplay changes that go with it. Unfortunately, this is a survival segment where you’ll be attacked by waves of enemies, including snipers and heavies. We found the easiest approach to this encounter was to simply take cover near the pillars behind Myers’ position. Enemies will still come up the side of the room and jump from the balcony above, but at least you shouldn’t end up with enemies behind you. Remember that this is a timed segment, and your goal is to survive until Songbird succeeds at her scheme which, to be fair, clears out the BARGHEST goons, but leaves you with an arguably more difficult foe to contend with…
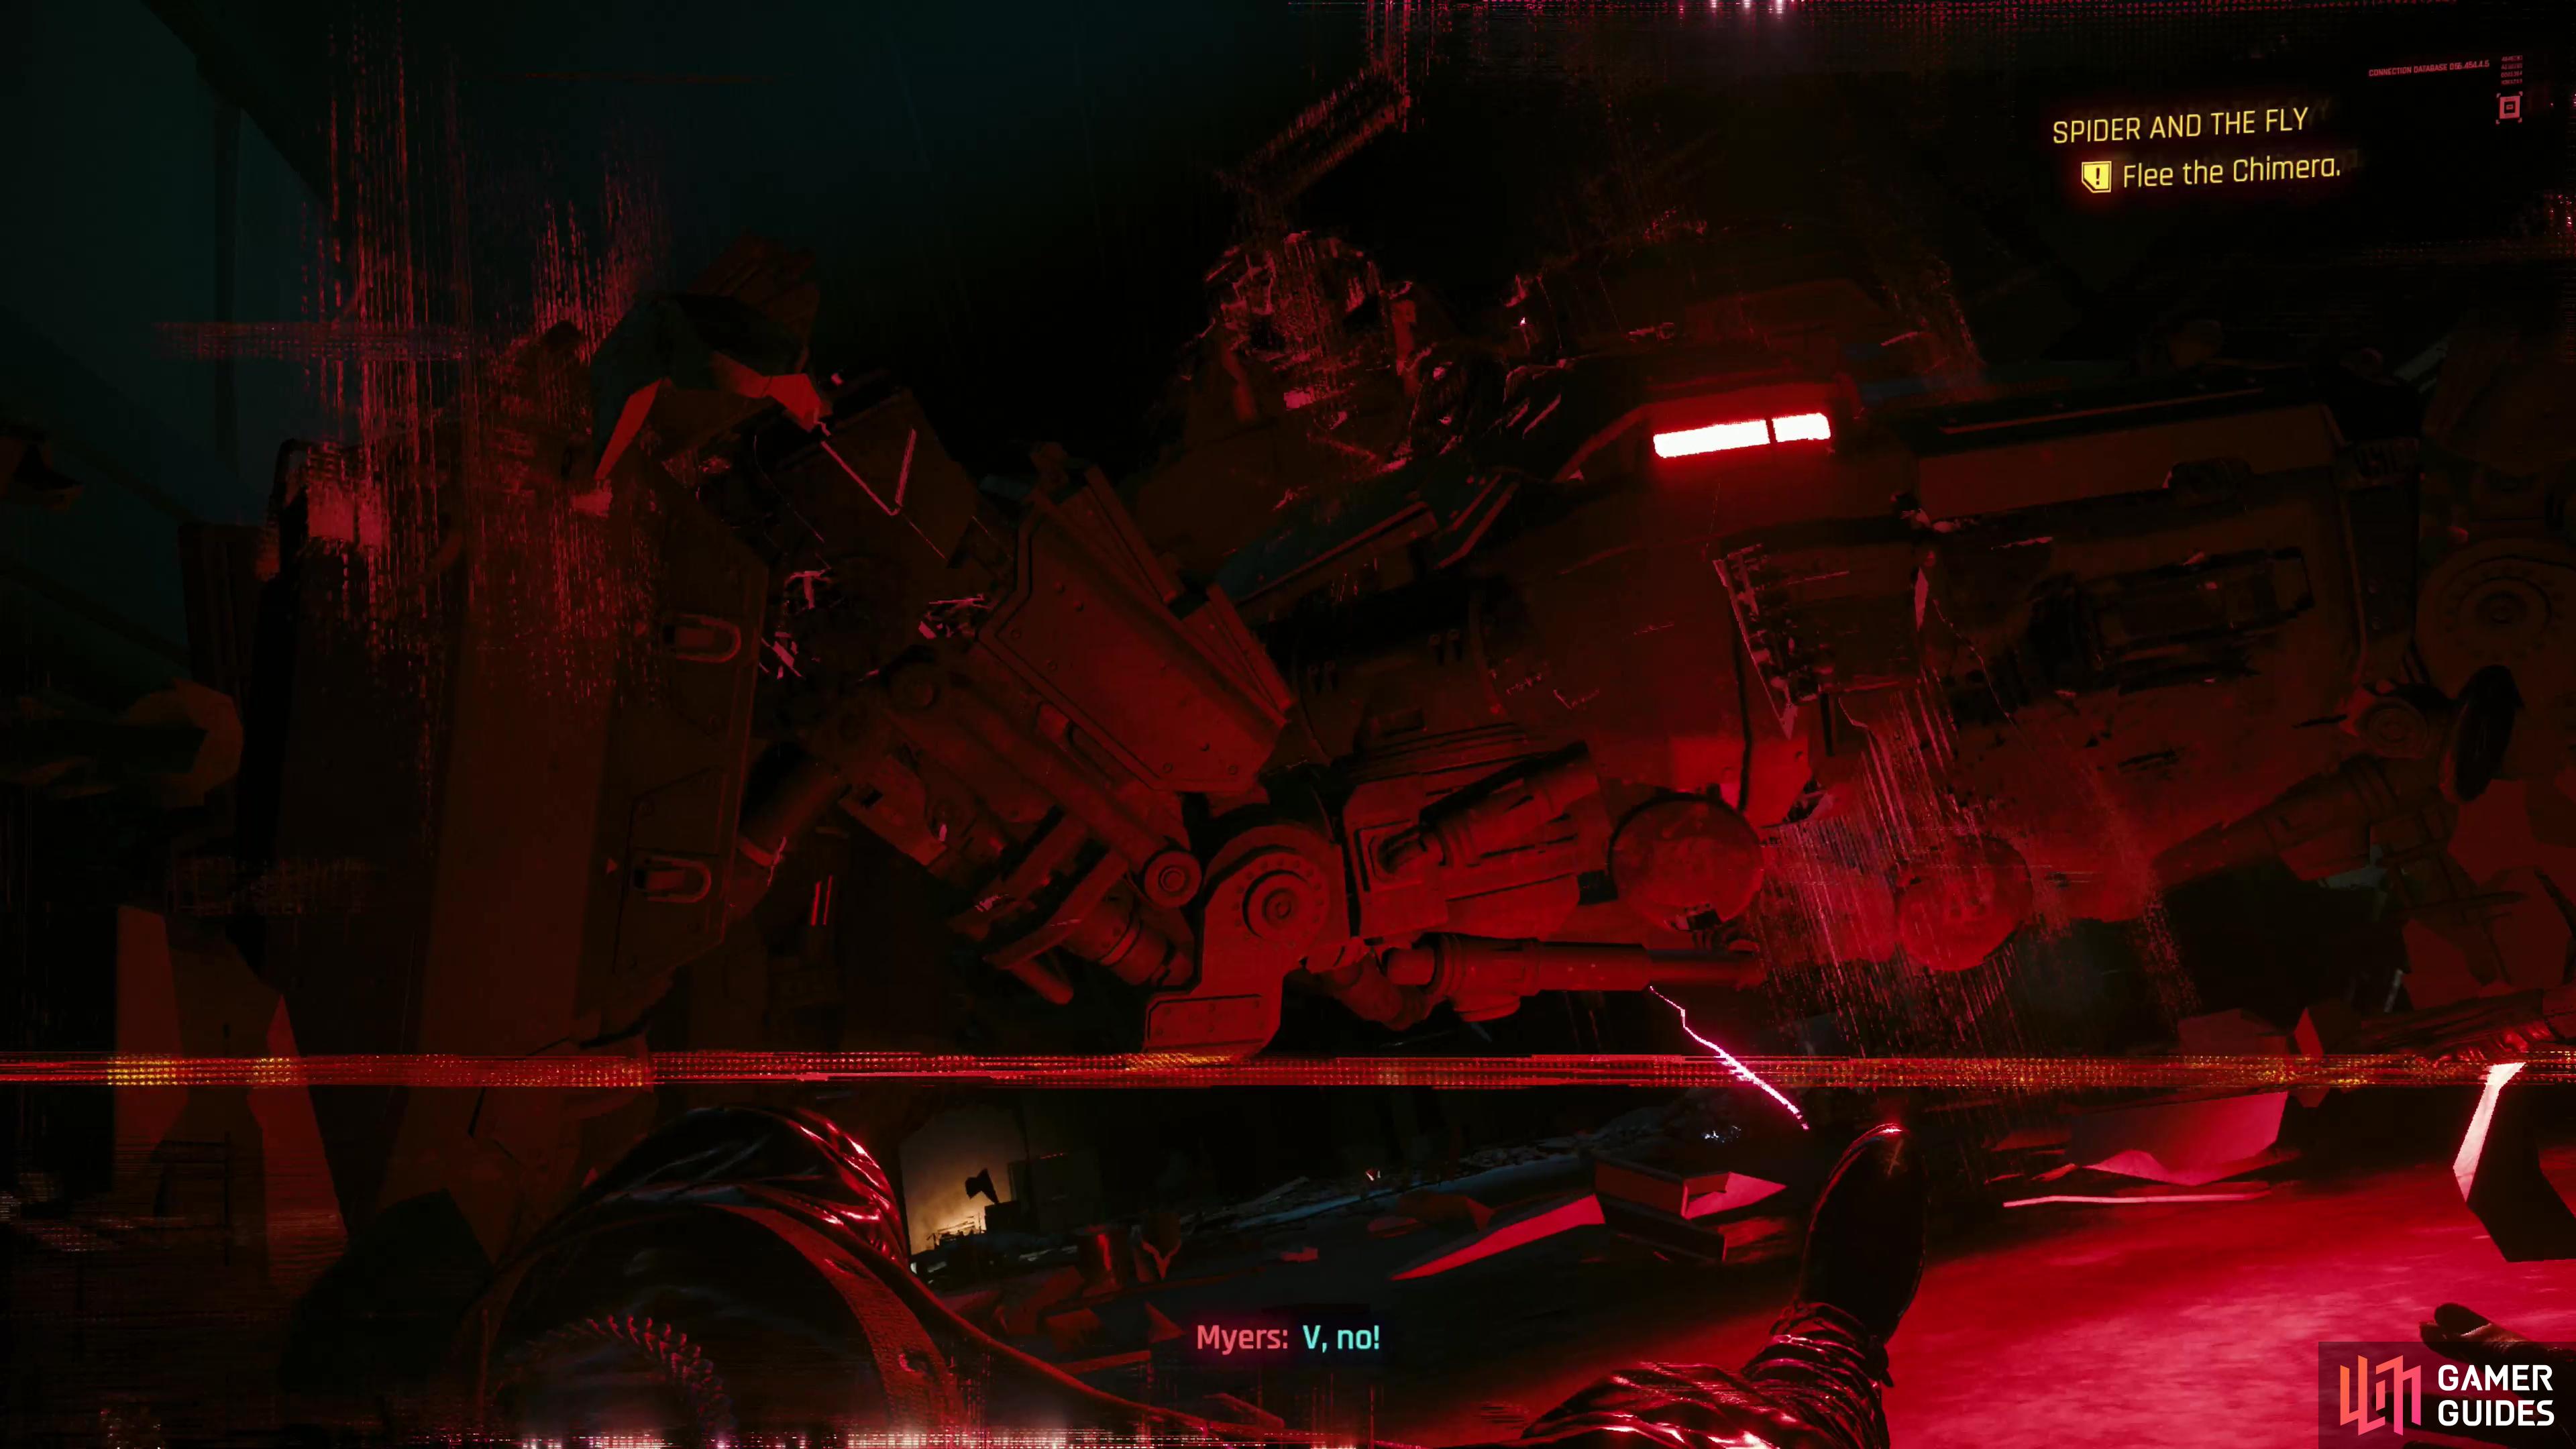
(1 of 4) The Chimera’s pursuit isn’t performative - fail to stay ahead of it, and you’ll end up with a game over screen.
Flee the Chimera
After Songbird uses her pilfered mech to eradicate the BARGHEST troops, she’ll have some… difficulties. After she fires at Myers, follow the prez to a shutter and help her open it, after which you’ll be engaged in a chase sequence. Fun! Real solid there, Songbird! If you don’t move, you’ll get a game over, so this isn’t a performative chase - so run (or rather, jog) down the first room and crouch under a partially lowered shutter door. Once through, you’ll be able to sprint again - do so and head up an escalator, where the Chimera will show off its laser weapon. After that, follow Myers to the right, go through a holographic cityscape, and jump up to an elevator. Press the button to summon the elevator, after which you’ll need to survive until the elevator arrives, so just sit behind a pillar until the prez calls out that your ride has arrived (note that you can’t actually damage the Chimera at this time). Head over to the elevator and open it, only to be thwarted by your mechanic nemesis again. You’ll now have to select several timed dialog options that look suspiciously like QTEs, save you don’t have options and you’d need to be asleep to miss them, after which you’ll finally be in a position to fight the Chimera.
I get killed no matter what I do! I can't make it under the partially lowered shutter door, I run to the end, try to crouch and go under and every single time the Chimera catches me and kills me. I have tried this on easy mode and I still can't make it there, anyone else run into this? I was not crouched the whole time either so I don't know what is the issue.
I get killed no matter what I do! I can't make it under the partially lowered shutter door, I run to the end, try to crouch and go under and every single time the Chimera catches me and kills me. I have tried this on easy mode and I still can't make it there, anyone else run into this? I was not crouched the whole time either so I don't know what is the issue.