
After Reed smuggles Meyers out of Dogtown during the main job Lucretia My Reflection he’ll return in search of Songbird, who, along with V, will make contact with a less-than-reputable netrunner in the main job The Damned, confirming that Songbird is now in Hansen’s custody. While Alex and Reed fruitlessly search for leads, V does some gigs for Mr. Hands in the main job [Get It Together], in exchange for gaining access to intel that’ll help infiltrate Hansen’s stronghold and spring Songbird. This page will provide a walkthrough for the main job You Know My Name in Cyberpunk 2077: Phantom Liberty.
Swim Through the Toxic Tunnels
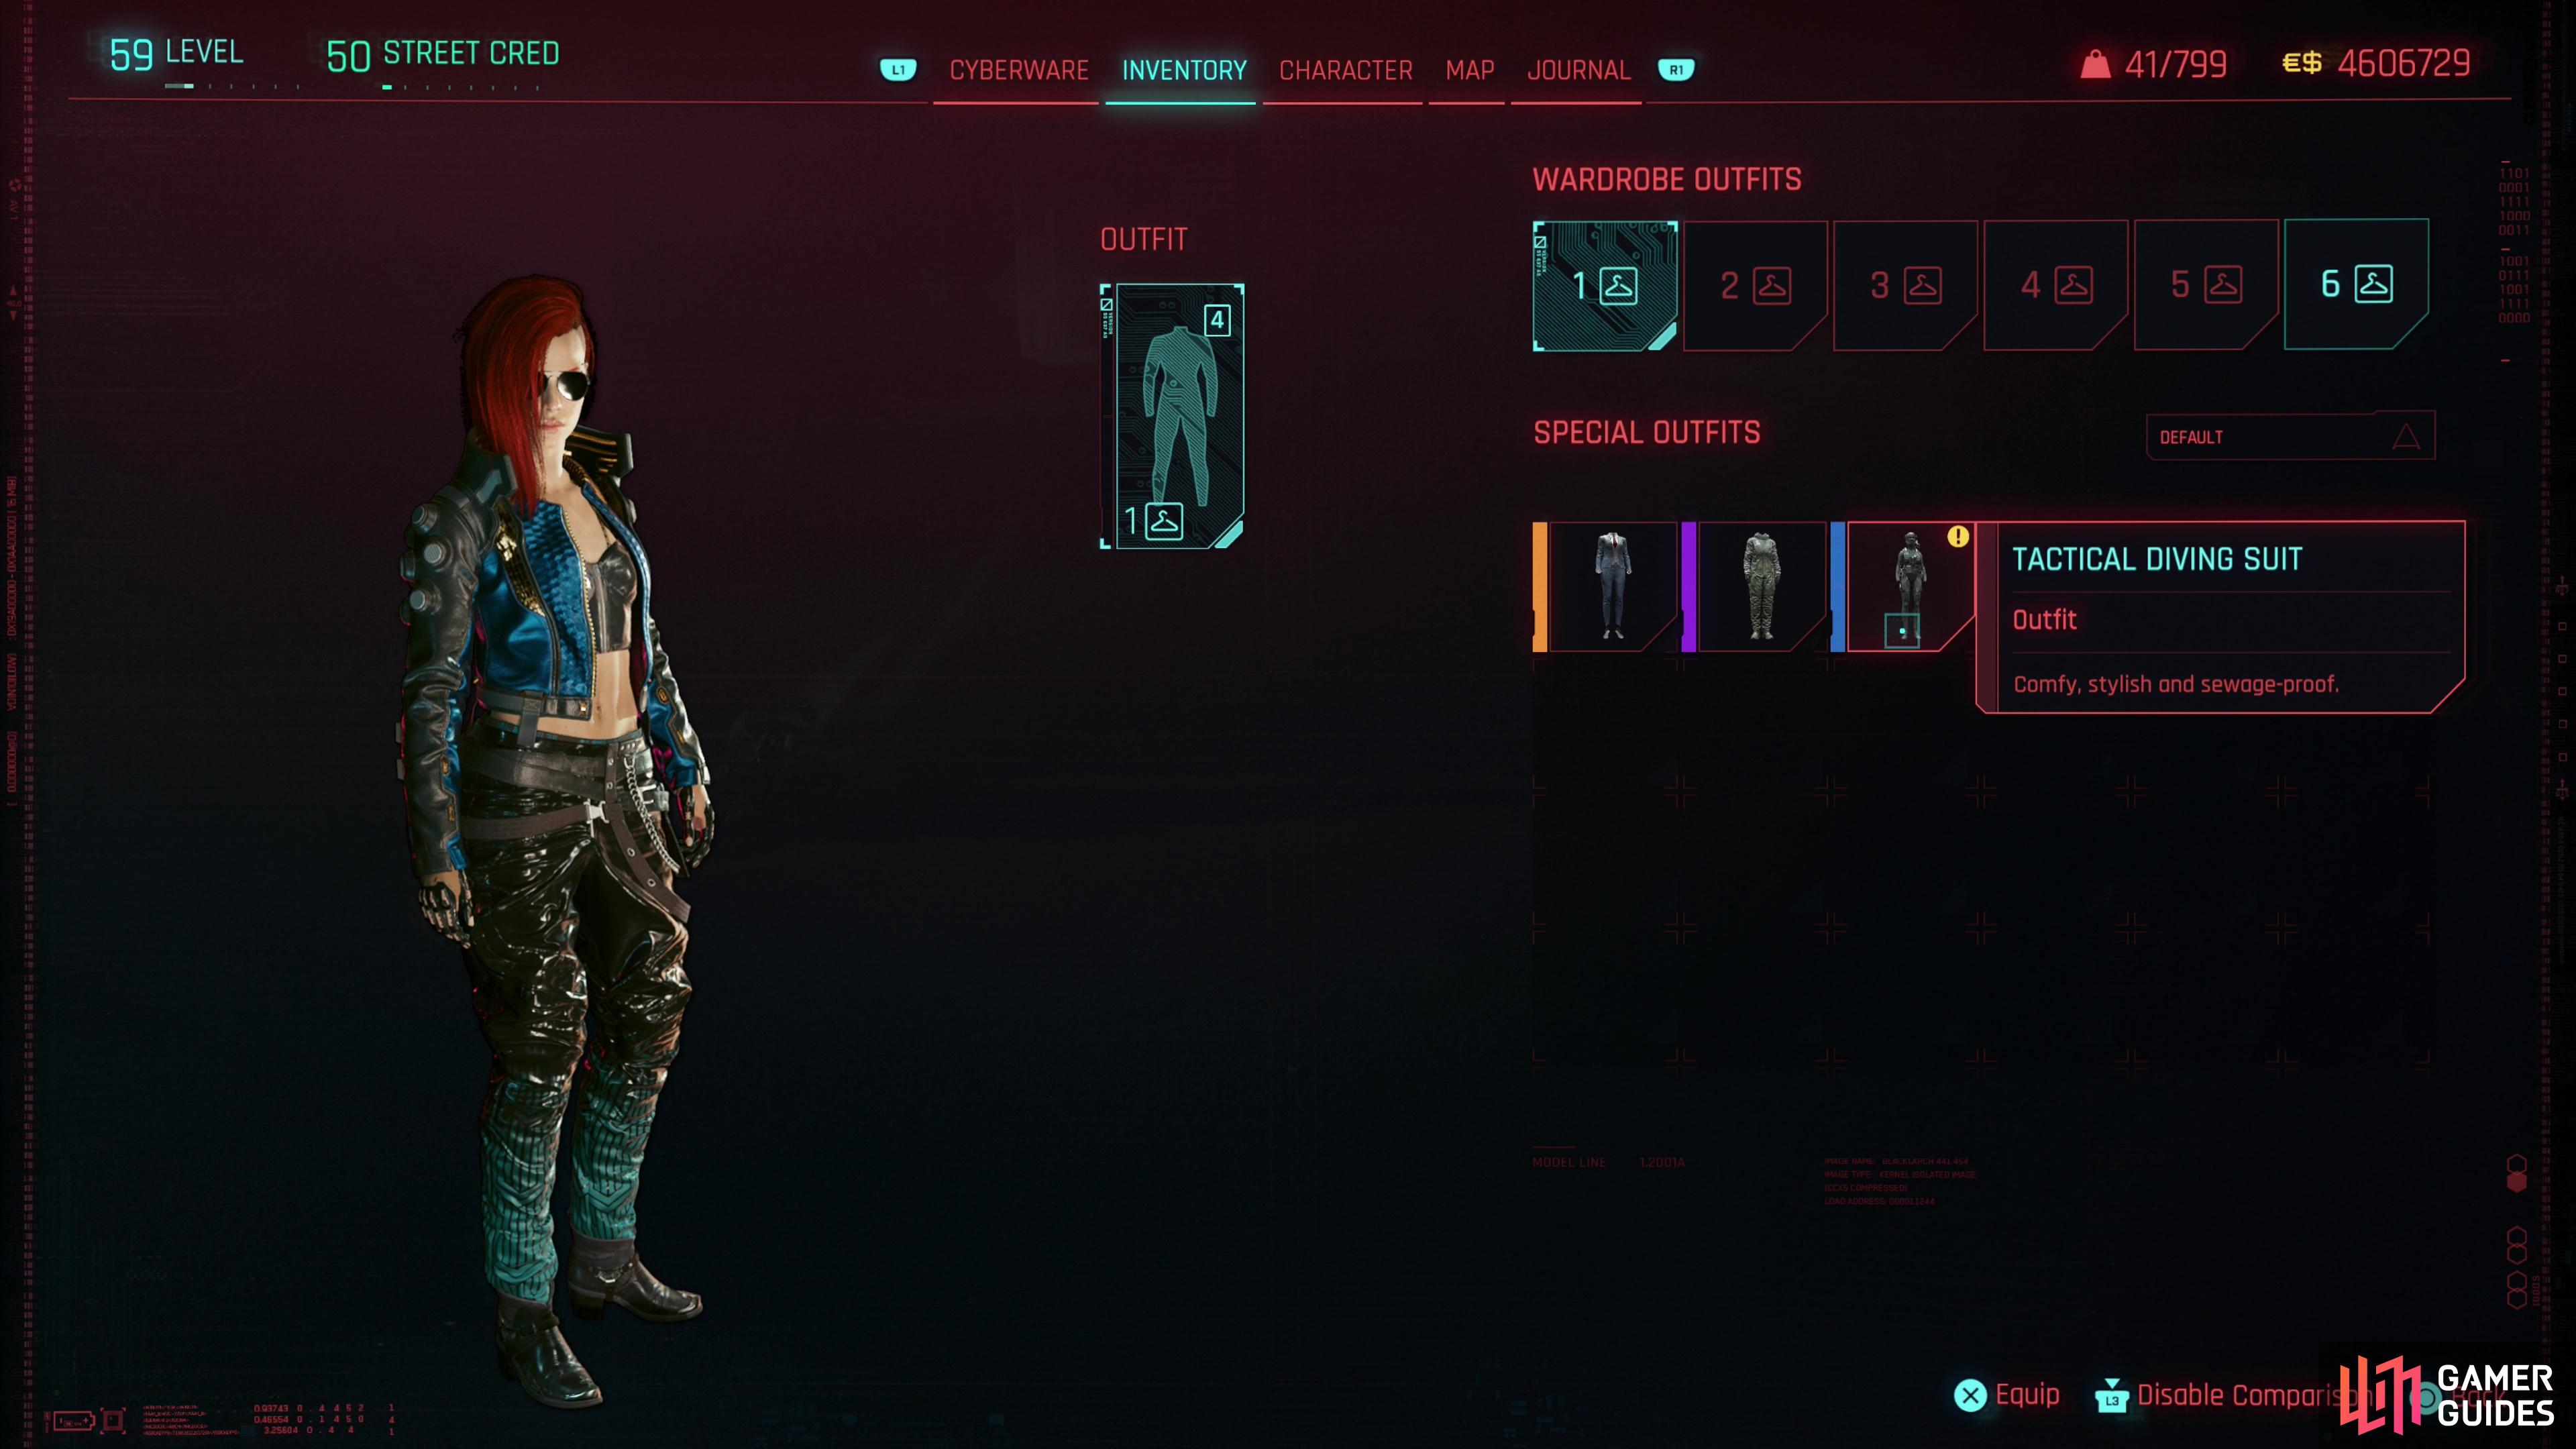
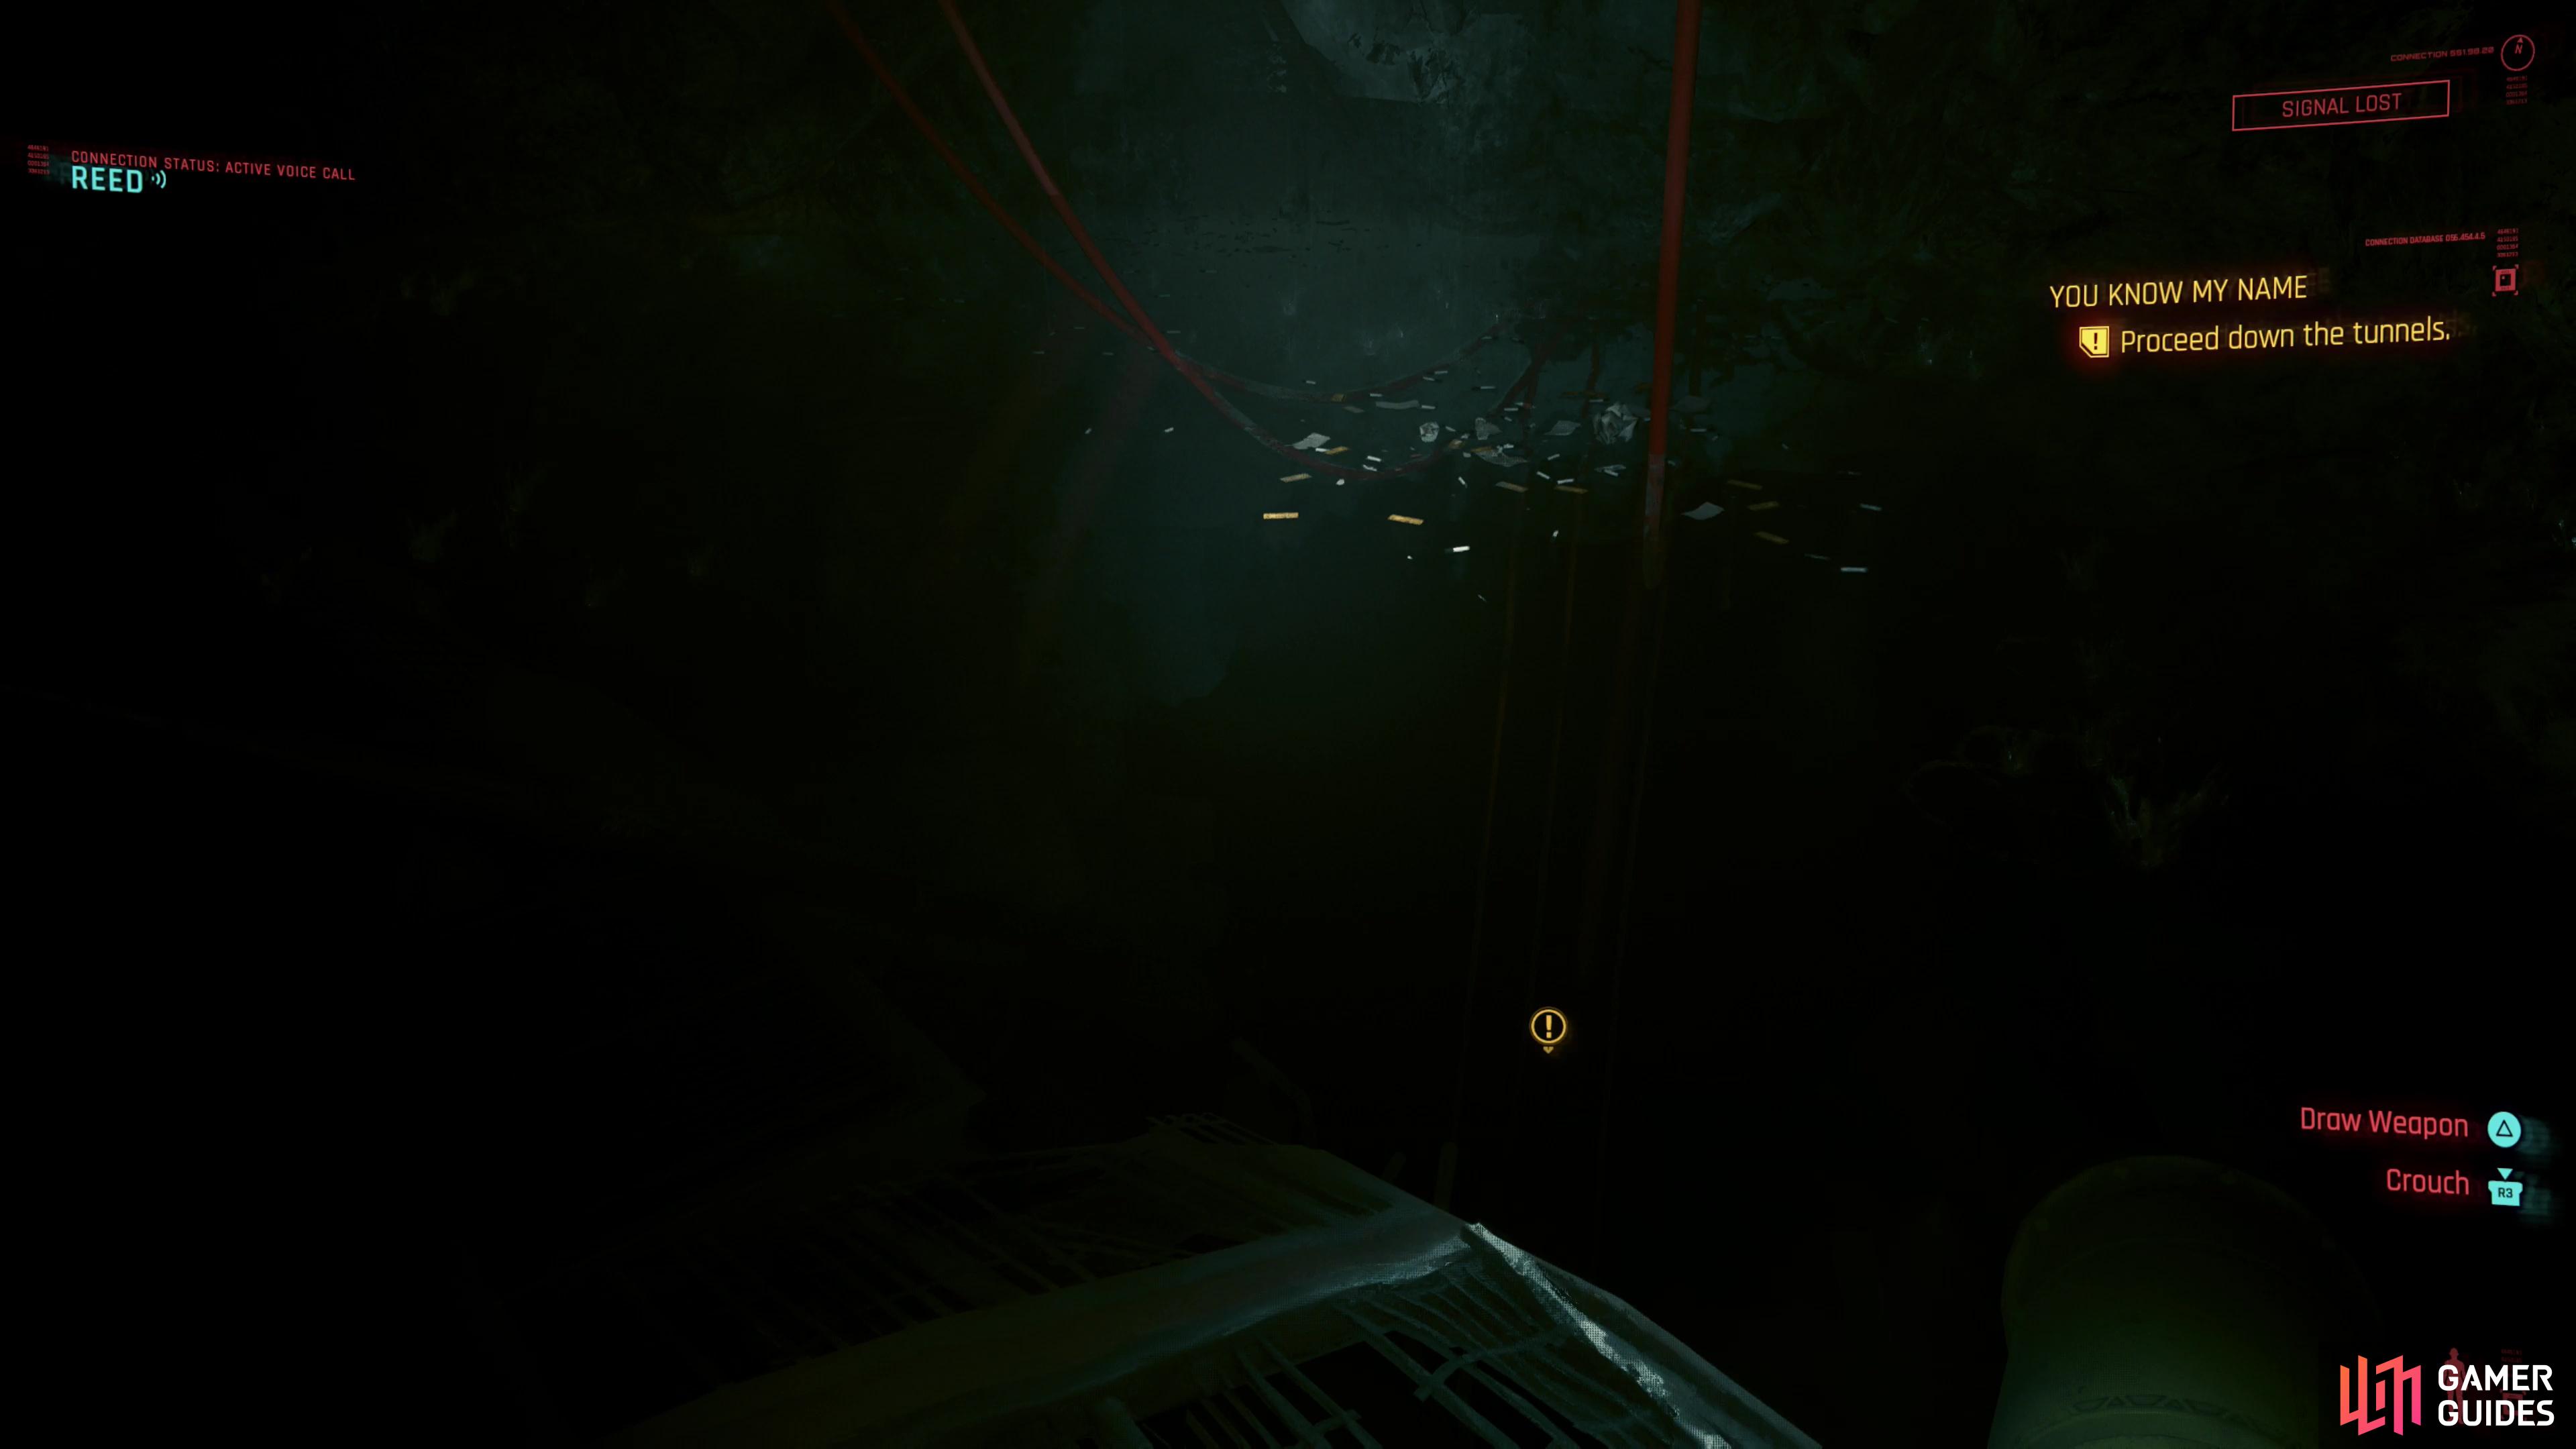
This quest starts out swimmingly. No, really! After conspiring with Alex and Reed, you’ll leave the bunker with the iconic pistol Her Majesty and a Tactical Diving Suit, the latter of which you’ll need to swim through the toxic water during the first leg of this quest. Should we be worried that our eyes are exposed? Nah… it’ll probably be fine. Head to the intersection where Golden Pacific and the Luxor High Wellness Spa fast travel points meet, don your dubious swimwear, then sneak your way into the flooded tunnels, prying open a door [Body 3] as you go. Follow the linear path ahead and V will magically procure a flashlight - wish we could use this whenever we wanted…
Dive into the water and follow some red cables until they run through a gate, at which point turn left and note the red X on the wall. This is a mine. It’s not your friend. Detonate or disarm it via quickhacking, then turn right and swim under another gate, where you’ll find a sewer grate you can pry open. Swim through the pipe (gotta be honest, my journey would end here - nope, nope, nope!) and once outside you’ll be rejoined by your old friends, the red cables. They’re not very helpful, so veer right, deal with a second mine, swim around a wall, then open the door of a red van. You’ll automatically swim through, whereupon a red cable will lead you into a passage. Thanks, pal!
Swim into some ruins and up some stairs to surface. Turn right and grab the shard Order: Tunnel Flooding, then follow the linear path ahead to find some more red cables descending into the depths. Looks like our dive isn’t over quite yet…
Dive in and follow the cables until you find a third mine, neutralize it, then let the red cables guide you to an obstructed shutter door. Open it and you’ll swim through and automatically surface, after which turn around until you find a yellow ladder behind a fence. Swim over to it and lower the ladder, then climb it, follow a catwalk to reach a panel, then press the big red button to lower a lift. Jump back in the water, swim over to the lift, then climb up to reach another panel. Press a button here, too, to lower another lift, then climb back down, duck under a fence, and crawl onto the lift and through a chute.

Rendezvous with Reed
Good news: you’re done diving for now. Bad news, you’re just getting started with this quest.
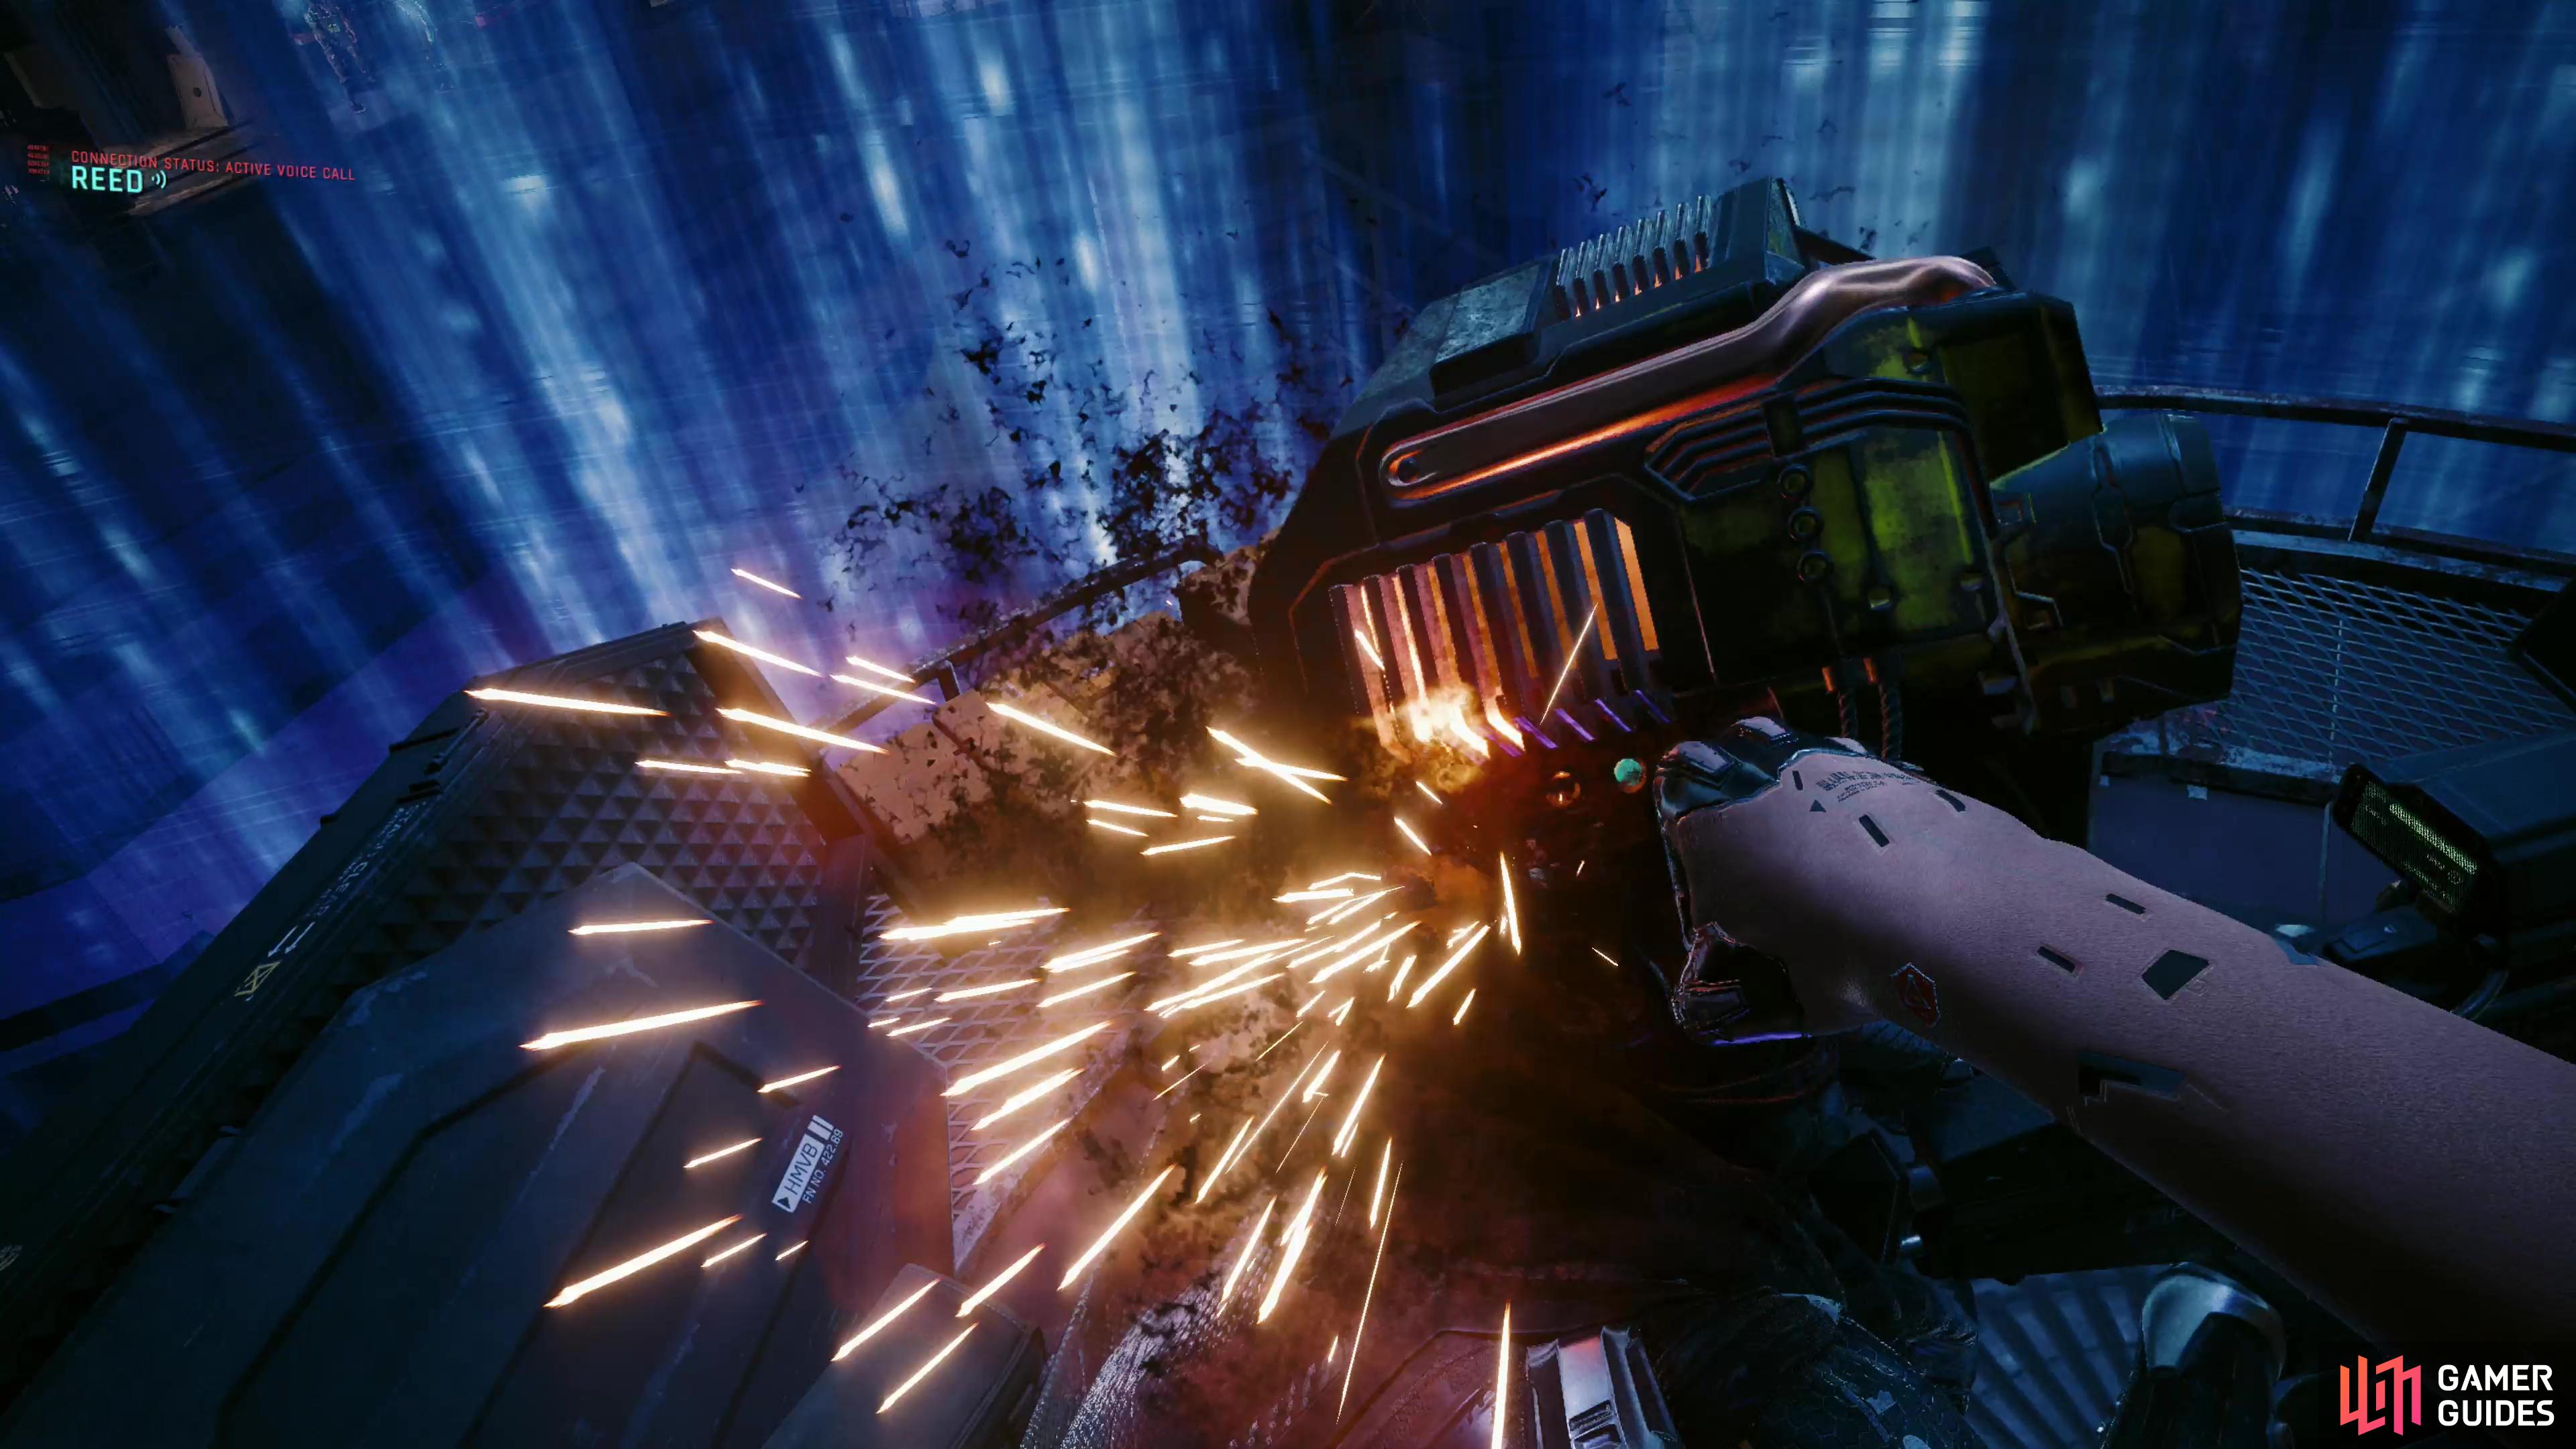
When you reach a watery pit, jump in and climb another yellow ladder, then follow a walkway to find another ladder you need to climb over to. As you climb this second ladder you’ll spot some BARGHEST goons through a ventilation duct, but they shouldn’t notice you. Keep climbing and you’ll exit out onto a platform above the aforementioned BARGHEST goons, from whence you can easily take them out. Do so, then drop down and head up some stairs past an elevator to find an access point [Intelligence 10] and a terminal you can jack into. Do so and switch cameras with the  until you spot Reed taking down a guard. Breach a door for him and you’ll jack out, but note that the CCTV computer turns into another access point [Intelligence 15] after your business with Reed.
Your next task is to return to the elevator downstairs, but be wary, as three more BARGHEST guards will have arrived and will probably not be too happy that you zeroed their comrades. Reunite them in the afterlife (the concept, not the bar) then ride the elevator up. When the elevator stops, follow the linear path ahead to find a sniper nest, which will start the next segment of this mission.
Cover Reed From the Sniper Nest
Walk up and wallop the wimpy sniper and take his primo spot, from which you can oversee the entire level. Well, except for the bits behind you. Or much below you. Still, it’ll suffice for the task at hand. Your goal here is to cover Reed as he makes his way from the right side of the level to the left, ideally covering him so he doesn’t get detected, but failing that, providing cover fire to keep him alive. If you’re a good aim, this will be easy enough, and if you’re a bad aim like yours truly but have spec’d into netrunning, this will also be a breeze. If you’re a poor aim and have a Berserk cyberdeck equipped, this can be a chore, but we’ll cross that bridge when Reed comes to it.
You’ll start out with two objectives: Use Kiroshi to find the meeting point. and Scan the floor for potential threats. The latter is optional, and there are three “threats” for you to mark as you scan across the level. We’ll summarize, below, but what you’re basically doing here is scanning the floor ahead of you with  , looking at targets, and pressing
  to inform Reed about them. To get a better view of things, hold down
  to aim through the scope of your sniper rifle (standard zoom is not allowed here, for whatever reason). Now that you know what you’re doing, let’s find some threats:
- Start out by scanning Reed on the far right of the level. Press to confirm you see him.
- A bit to the left of Reed you’ll find a mine on the wall, easily visible due to its red laser tripwire. Scan it to inform Reed (1 of 3 threats).
- Sweep left until you spot a red laser security door, then keep going left and search a pillar to find a camera. Tell Reed about it. (2 of 3 threats).
- Keep scrolling left until you spot some guards. Scan them to warn Reed (3 or 3 threats). Note that you can (and arguably should) mark guards, cameras and turrets by pressing the
 button while scanning them.
 - Sweep left until you spot an elevator dead ahead. You can scan it and tell Reed, but he dismisses it as a viable way forward. Mark the guards here, and a second elevator to the upper left.
- Further left you’ll find a turret. Mark it.
- Up and to the left of the turret you’ll find a camera.
- To the left of the turret you’ll find several more guards.
- Scan a container bridge at the left end of the level and tell Reed. This is his destination.
Once you’ve confirmed Reed’s location and his destination, he’ll be ready to go, and wouldn’t you know it, the sniper’s nest will be calibrated. What a coincidence. You’ll now get to guide Reed through the level, prompting him to advance by pressing . And he’s not discerning - he’ll bumble into any and all obstacles you left for him and failed to warn him about. If Reed or you are discovered (overloading objects or missing sniper shots are the prime ways for you to bungle things) this will turn into a combat sequence, where Reed’s life bar will appear atop the screen and you’ll need to pick off BARGHEST troopers (normal, elites, snipers and the odd heavy) and drones to ensure Reed makes it to the left end of the level in few enough pieces to be useful.
If you’re bad at aiming, good news! You merely need to be observant and your V capable at quickhacking. You can, while looking through your sniper scope, quickhack cameras, turrets and BARGHEST grunts to clear the way while you leave Reed at the starting point. There’s no time limit, and, depending on your build, the Sonic Shock + Short Circuit combo should be enough to take down hostiles without getting detected. For stronger foes, switch to Sonic Shock + Synapse Burnout. To make this work you’ll need to have enough RAM to zorch entire groups simultaneously, but your mileage will vary depending on your perks, equipped cyberdeck, quickhacks and patience.

Here’s how things play out if you follow the script, be sure to turn all the cameras off before telling Reed to advance!:
- Tell Reed to go forward. If you informed him of the mine, he’ll disarm it.
- Track Reed and he’ll ask if the way forward is clear. Spot two guards approaching and V will automatically warn Reed, who takes cover.
- At the security gate, when prompted, scan the top of the gate then follow a power line up to its power source. Shoot it to take down the security gate.
- Two guards are in Reed’s path. At his queue you’ll need to shoot the one to the left while he takes down the other one.
- Reed will advance. Keep an eye on the central elevator to warn him of a patrol coming his way.
- A sniper will spot Reed, you’ll need to aim left quickly and kill him before the alarm can be raised.
- Reed will sneak past the guards near the elevator on his own, like a big boy. No need for you to intervene.
- You’ll be informed of a guard ahead, who happens to be behind a pillar. The sniper rifle you have should penetrate cover, but if you want to be safe, take control of the camera near Reed and use it to spot the guard. Quickhack kill the guard through the camera and Reed will advance.
- You’ll hear the detected alarm - don’t panic, you didn’t mess up. Reed did. Two guards are approaching from the left and you need to kill them quickly. Again, if you have the RAM and are proficient at quickhacking, they can both be easily killed without much trouble, otherwise you’ll need to rely on your aim.
Guide Reed to the lefthand side of the level and V will abandon the sniper post, taking the iconic sniper rifle Resetsu with her. Go downstairs and cross the bridge when Reed lowers it. If you botched things, he’ll chastise you, but there are no serious consequences for failure. Hack an access point just across the bridge [Intelligence 10] and join Reed by the elevator when you’re ready to advance.
Find Songbird at the Party
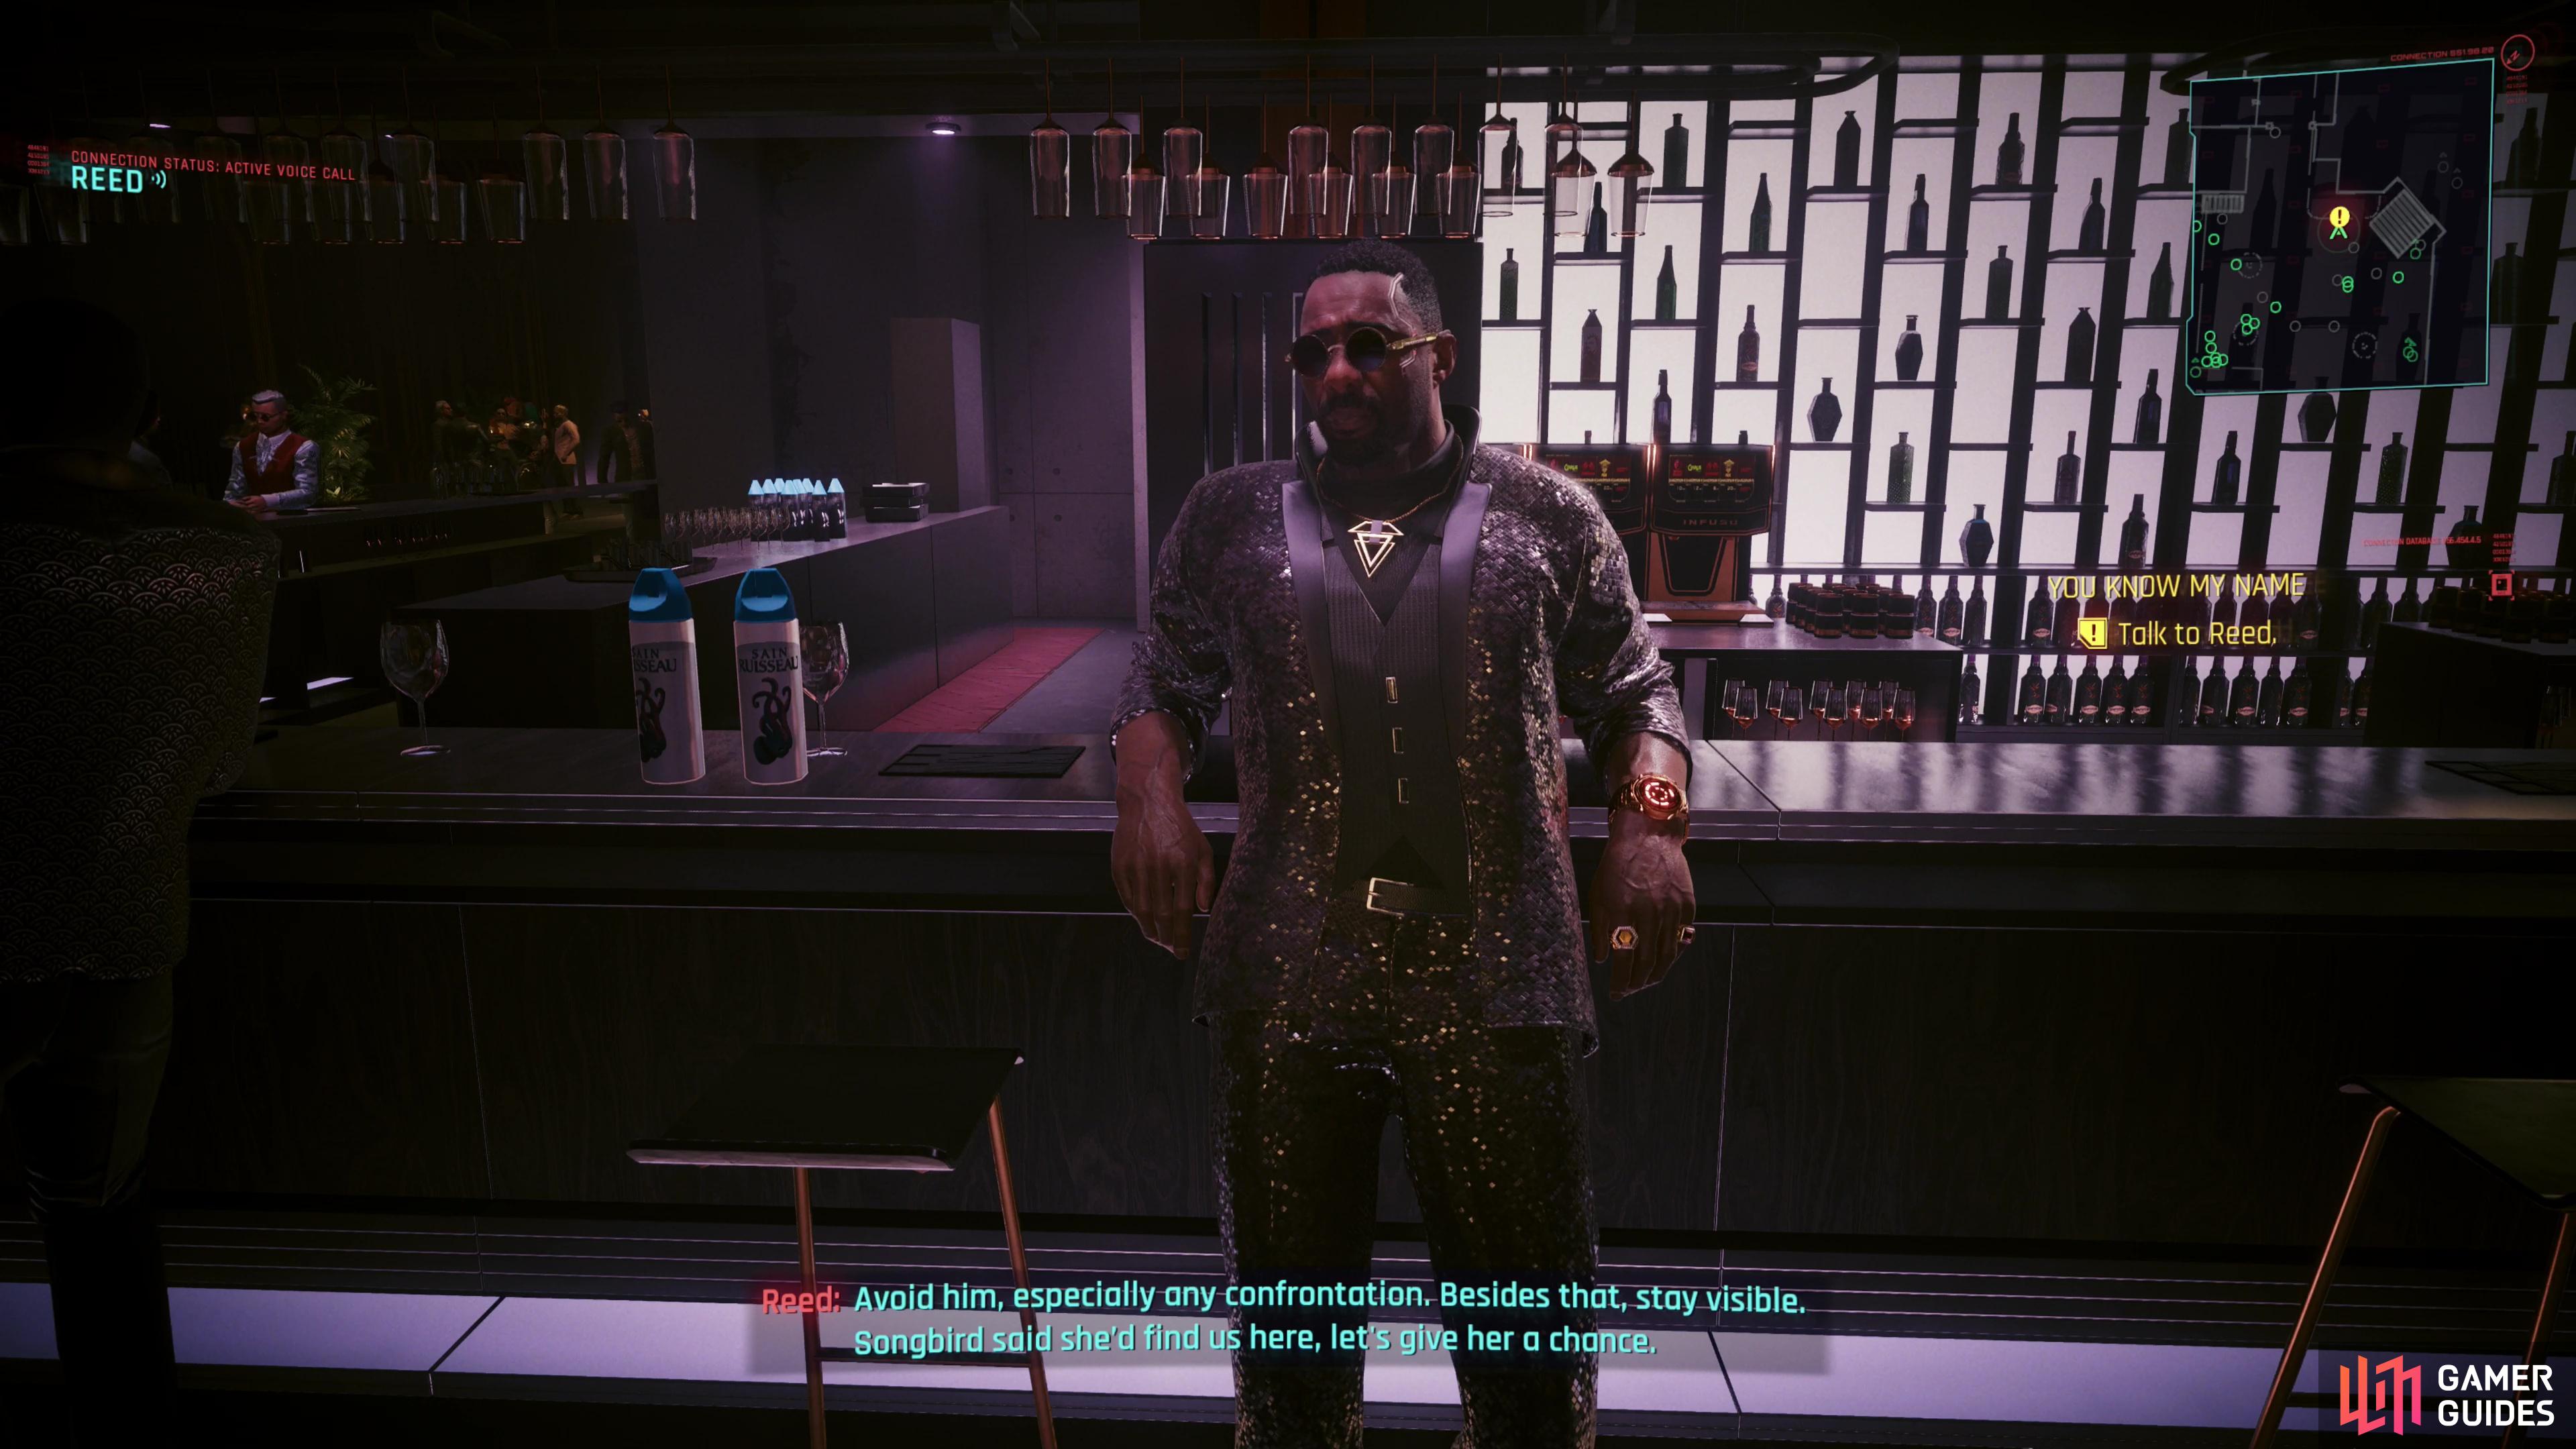
Now that you’ve dredged through toxic water and guided Reed through the less glamorous bits of Hansen’s stronghold through the scope of a sniper rifle, you’re finally ready to attend the party. Walk and talk with Reed, pick up and don a Stylish Suit when prompted, then follow Reed to the party. He’ll immediately ditch you and head to the bar, leaving you to your own devices for a while. You can wander around and snoop for celebrities (scan for any noteworthy characters - they’ll glow green), meet with Mr. Hands, overhear conversations, and ambush unsuspecting champaign glasses - there’s a lot of dialog you can trigger, but none of it serves any purpose. When you’re done wallowing in the spectacle that is Night City’s utter corruption, meet up with Reed at the bar.
Say what you will, and you’ll be tasked with visibly, but unobtrusively, mingling. After a moment of wandering about, Songbird will message you. Look up and to the left at the bar where you left Reed to spot Songbird on the balcony overlooking the party. Head up there and talk to her and pick what dialog choices you wish as the conversation expands. You’ll make some new friends and ultimately end up with some new objectives, both long-term and short-term.
When you’re back in control, grab a Shard from the glass on the table to the right, watch the light show below, if you wish, and when you’re ready to move on, follow the quest trail to find Reed infesting another bar on the floor below. Chat with him and speculate and conspire until the conversation ends, at which point it’ll be time to meet our redheaded netrunner twins at a nearby roulette table.
Roulette Bets and Scanning the Netrunner Twins
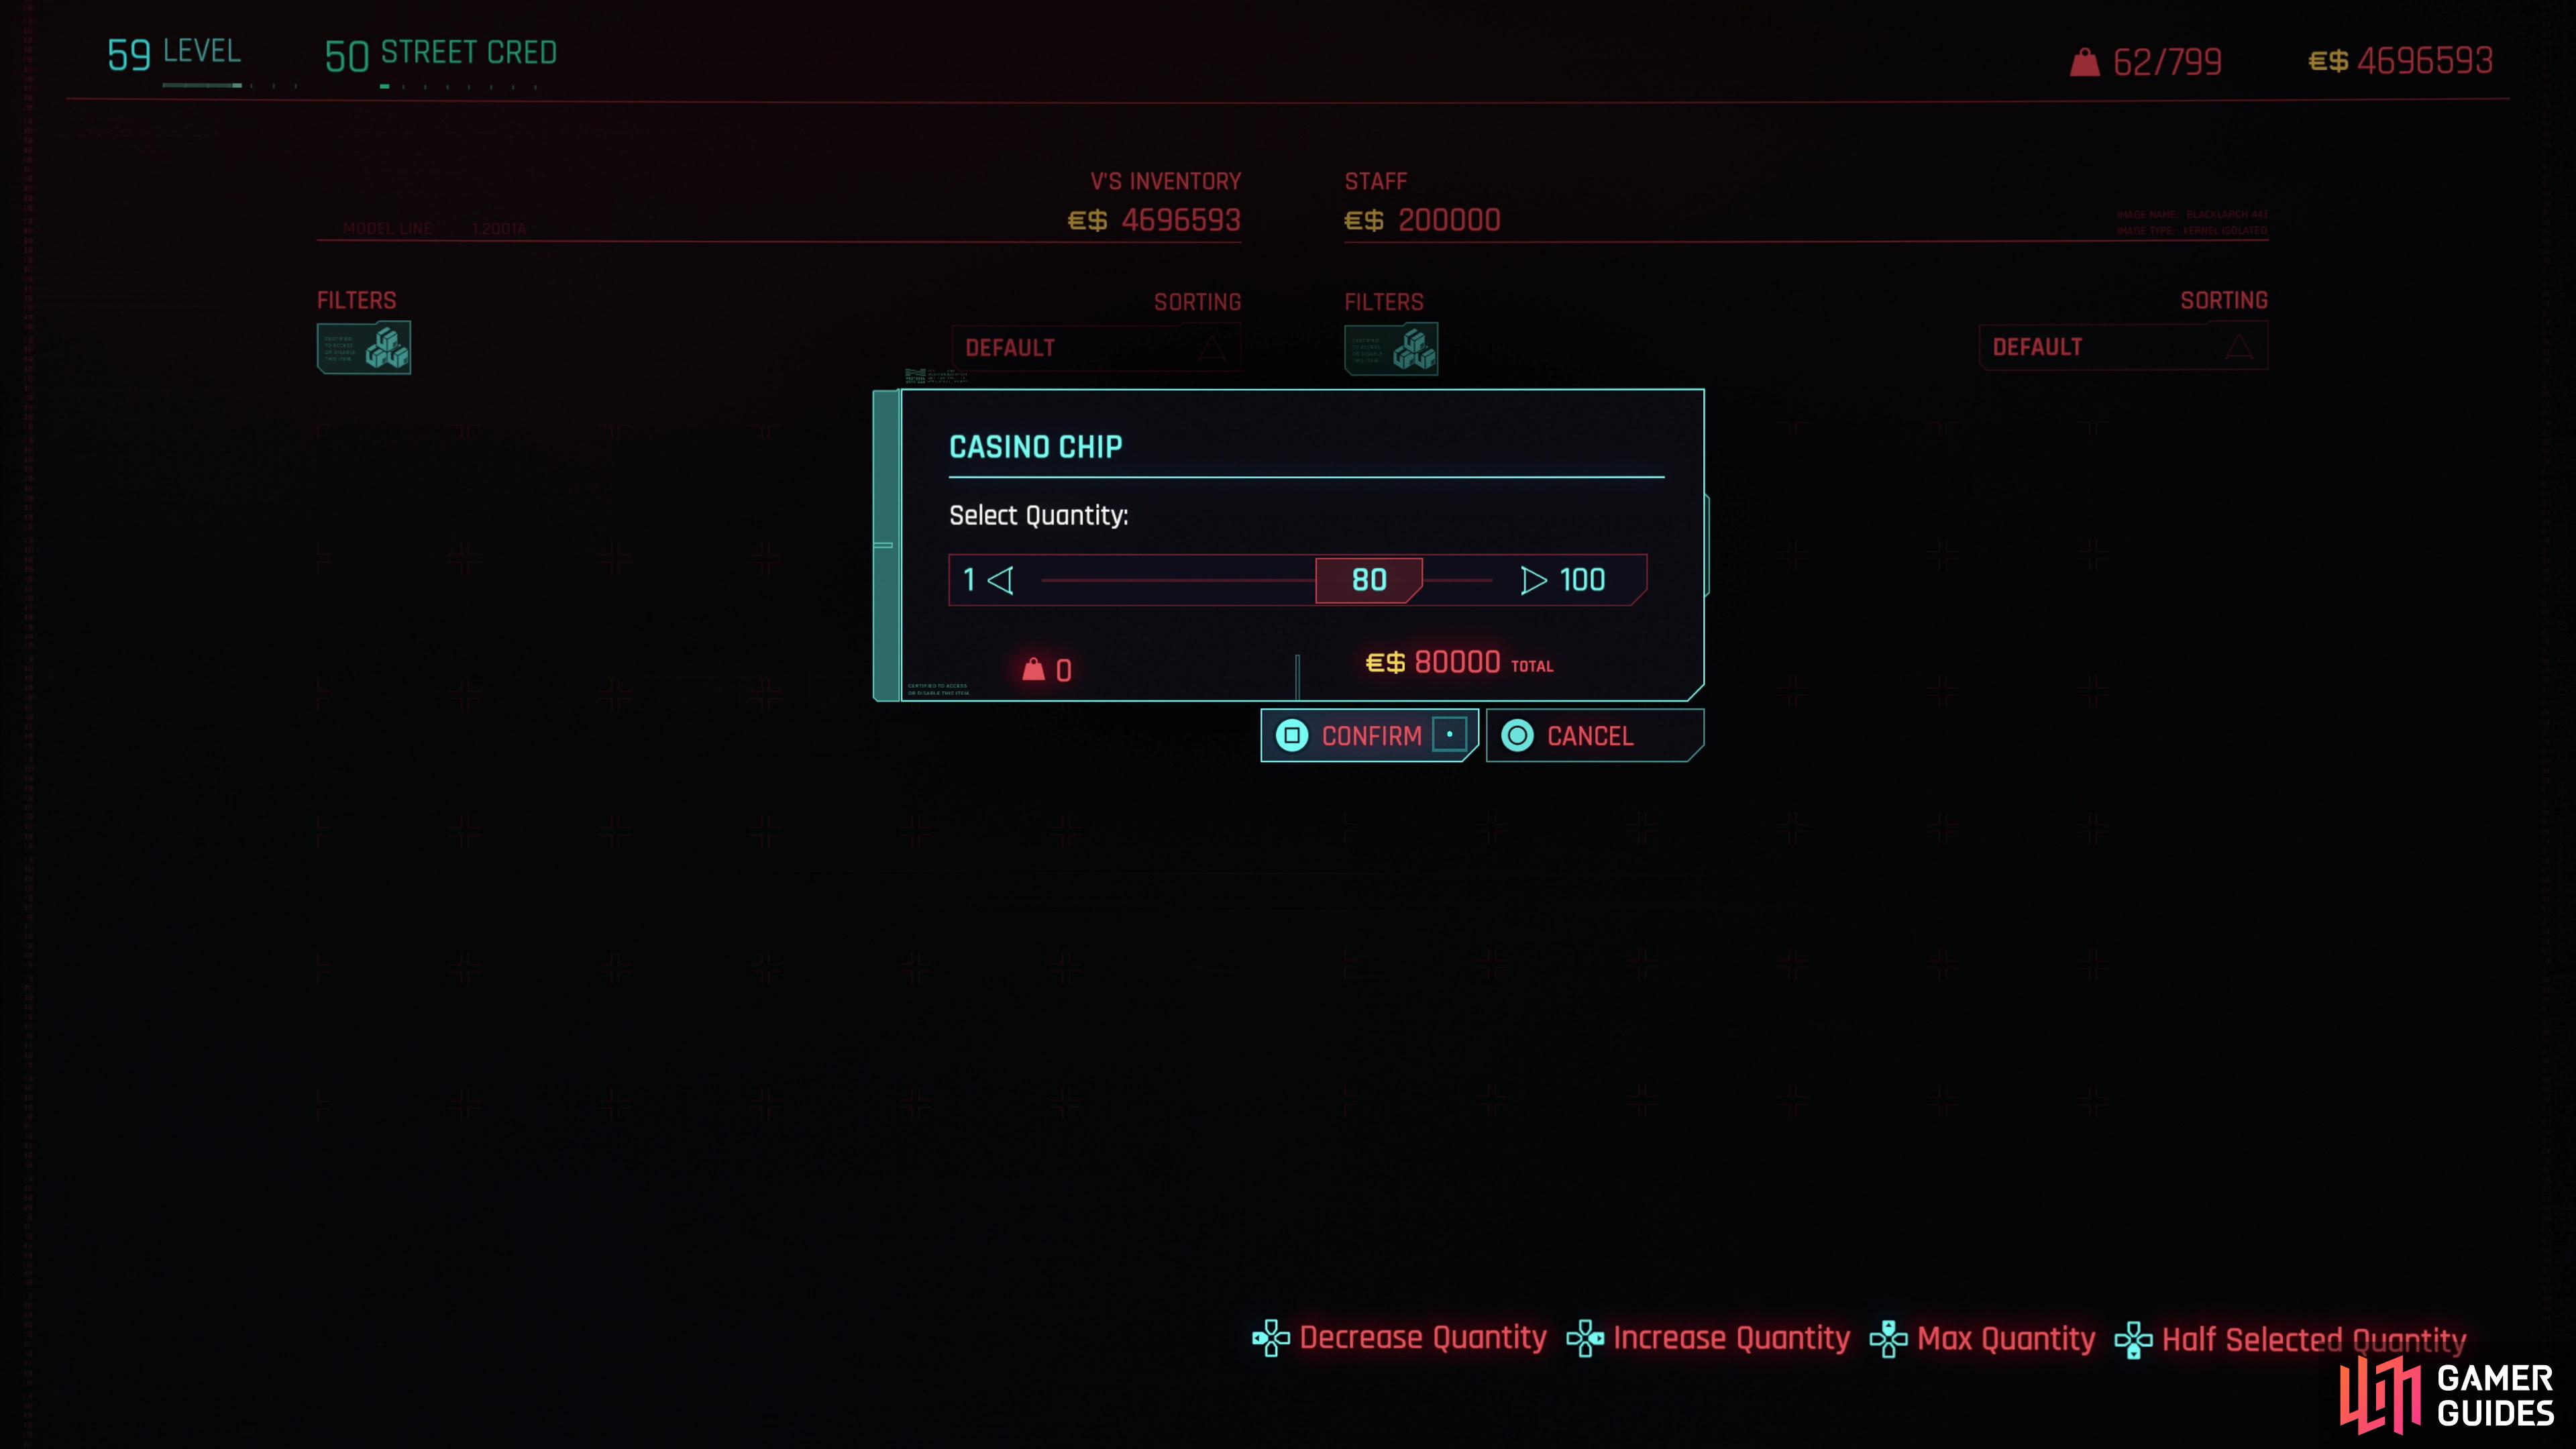
Head down the hallway away from the roulette table and you’ll find a cashier who will sell you chips at the rate of 1000 €$ per chip. You were wired 80,000 €$ to buy at least 80 chips, but you can purchase as many as 100 chips for 100,000 €$, if you want to. When you’re ready, turn around and head to the roulette table, where you’ll need to make a bet. This isn’t a full-fledged roulette game, you don’t have the option to get granular with things, just pick red or black each time you’re prompted. The outcome of each roulette spin is random, and you can’t botch scanning the twins, despite what Alex says. Pick whatever dialog options you want and you’ll achieve your objective, the only thing that really matters is the final roll where you put all your chips on the line, and this is just a matter of RNG. If you win, you’ll get to cash in your chips and walk away with a good hunk of eddies (we scored 120,000 €$ on one attempt - just picking red every chance we got).
Win or lose, you’ll get the data you need, after which Kurt Hansen will appear and put an end to the festivities before kicking you out of the party. Follow the quest trail though, then away from the party and into an elevator which will take you down to the ground floor. Reach your destination and you and Reed will be escorted out by some BARGHEST troopers. Nothing says you have to leave peacefully, but you’ll essentially just end up fighting an endless stream of BARGHEST soldiers. If you walk out, you’ll need to chat with Reed and he’ll head off to scheme, if you fight your way out, you’ll split rather more hurriedly. Either way, this job will end and the next main job, [Birds With Broken Wings] will begin.
No Comments