
Treating Symptoms is one of the new gigs available in the Phantom Liberty DLC and it’ll be accessible once you reach the Getting It Together Main Quest. This mission will lead you to a Voodoo Boys Base where you’ll need to choose to kill or spare Milko Alexis. Read below to find out the best way to infiltrate the base.
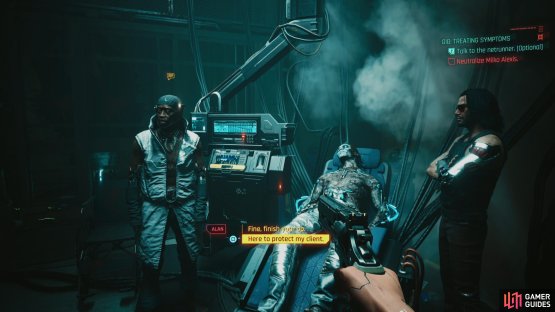
You’ll find someone from NetWatch overlooking Milko.
How to Start Treating Symptoms Gigs in Cyberpunk 2077
Before you can start the Treating Symptoms Gig you’ll need to progress through the main story until you reach the mission Getting It Together which is the sixth mission in the expansion. Here Mr. Hands will request that you complete a couple of gigs around Dogtown to improve his reputation and they are the following: Prototype in the Scraper, Treating Symptoms, and Dogtown Saints. Track the Treating Symptoms Gig via the journal, then head over to the starting location which can be found by traveling northeast of the Luxor High Wellness Spa Fast Travel.
Where to Find Milko Alexis
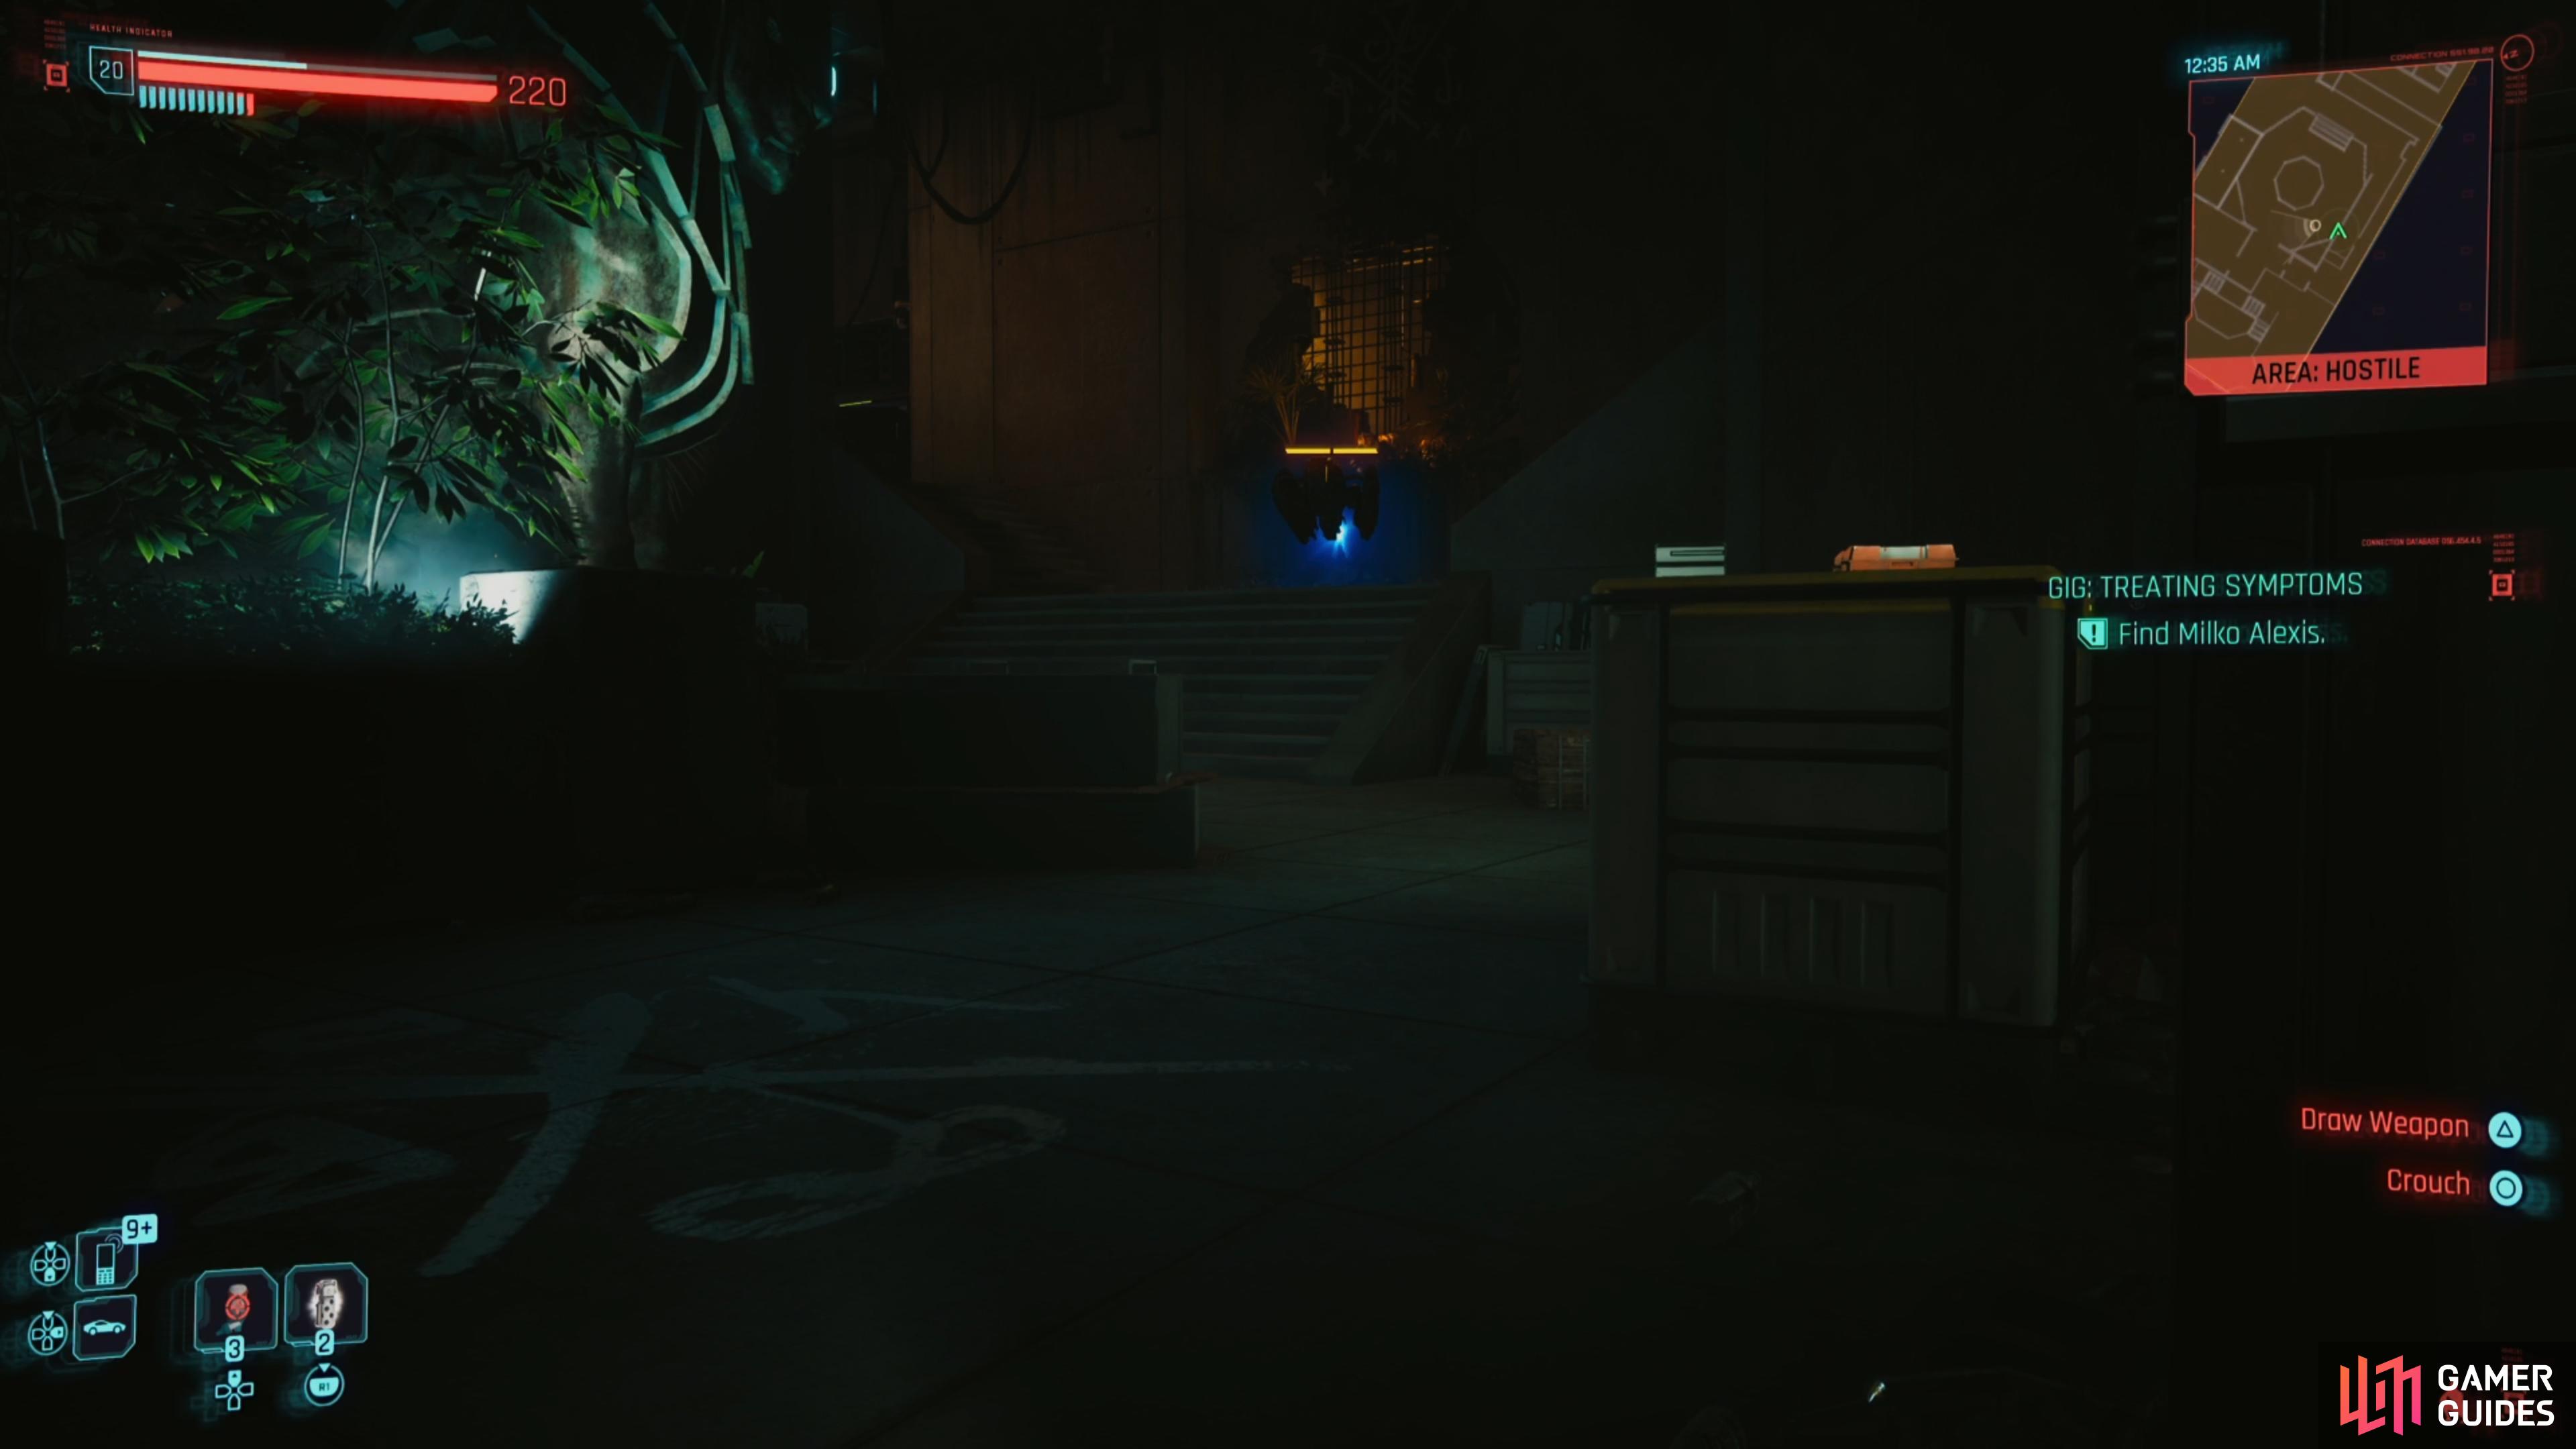
Once you arrive at the Voodoo Boys Base you’ll want to sneak behind the single guard at the entrance and perform a non-lethal takedown, then enter the base and you’ll find another Voodoo Boy roaming around the first floor, so take him down with a silenced weapon or sneak attack. You’ll now want to distract the guy upstairs with the camera and then turn it off before dealing with him. As you make your way upstairs you’ll notice a security turret that you’ll want to turn off so you can safely get past.


(1 of 2) Use the radio to distract the guard in the room and take him down
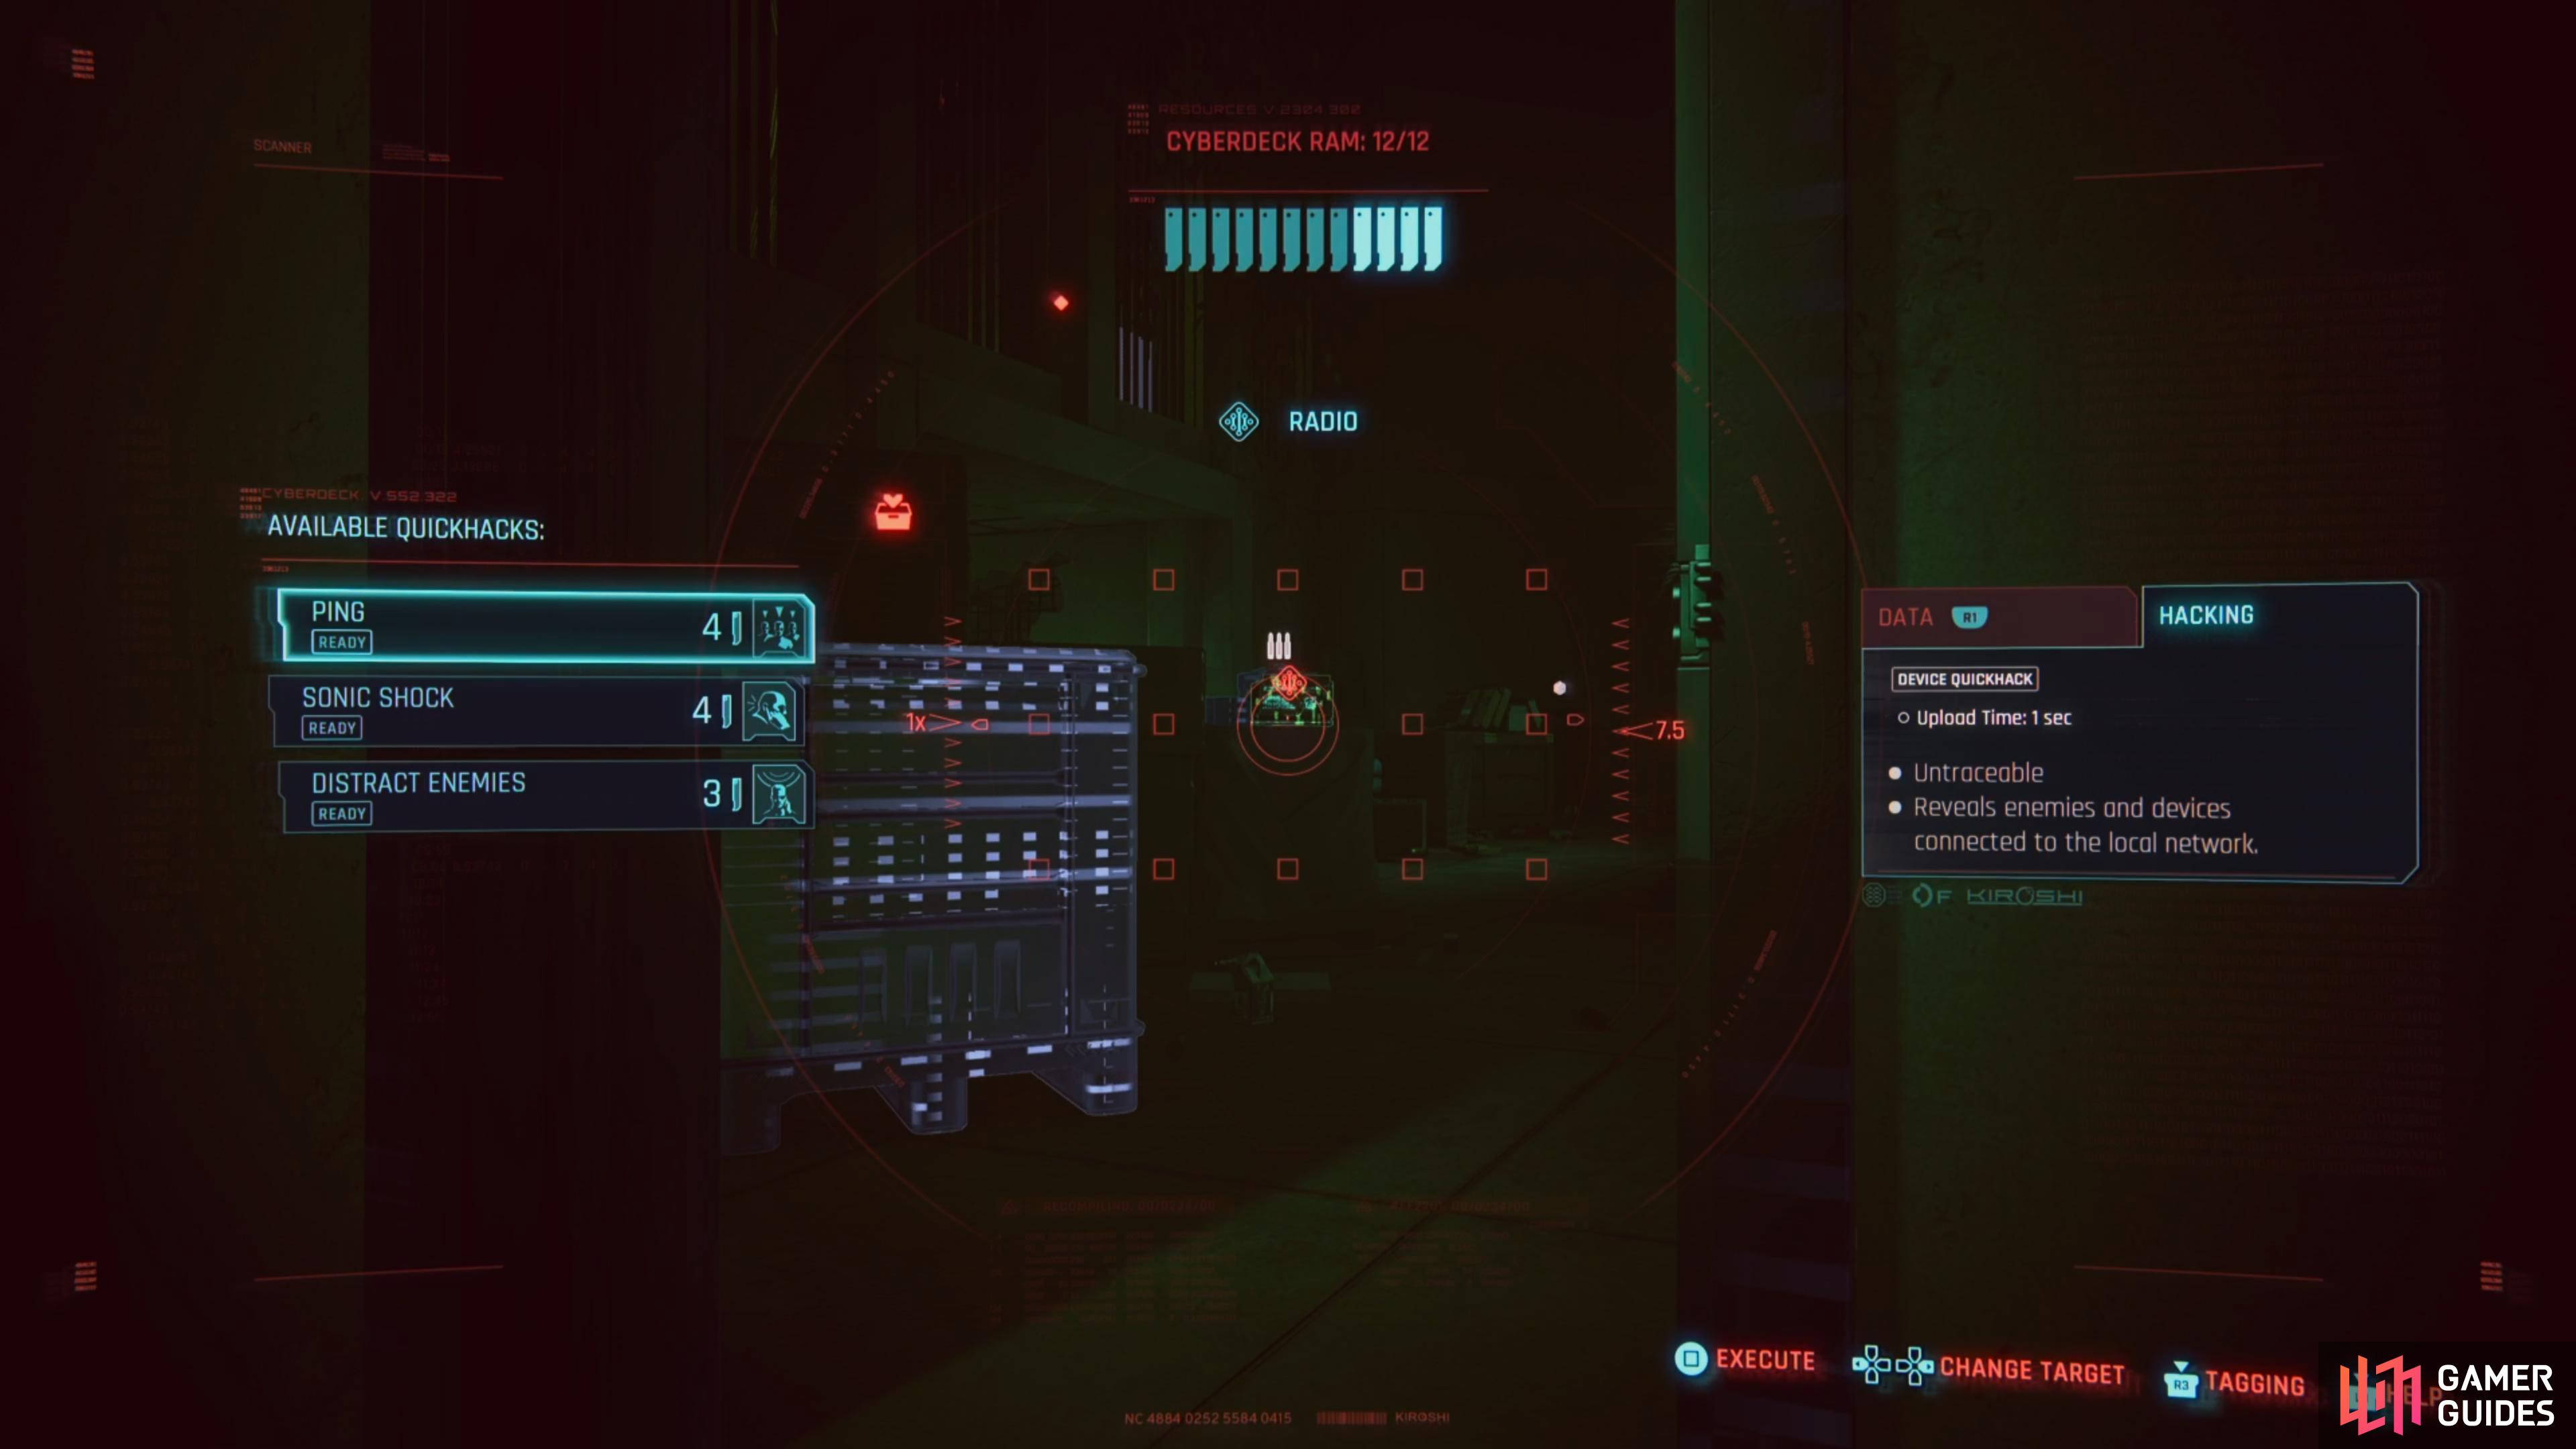
Use the radio to distract the guard in the room and take him down (left), then wait for the drone to move away before heading up the stairs. (right)
Drop down via the hole in the wall and go into the first room on the left and interact with the computer to disable all of the Surveillance Systems in the building, then enter the large open room and distract the enemy with the nearby radio before taking him down. Now you’ll want to wait for the Griffin Drone to fly away and head up the stairs. Wait for the guy to walk all the way over to the left, then distract the guard on the right with the freezer and take him out. From here, you’ll want to head through the double doors at the end of the corridor and you’ll find yourself in a room filled with Robot Mk. 2s.
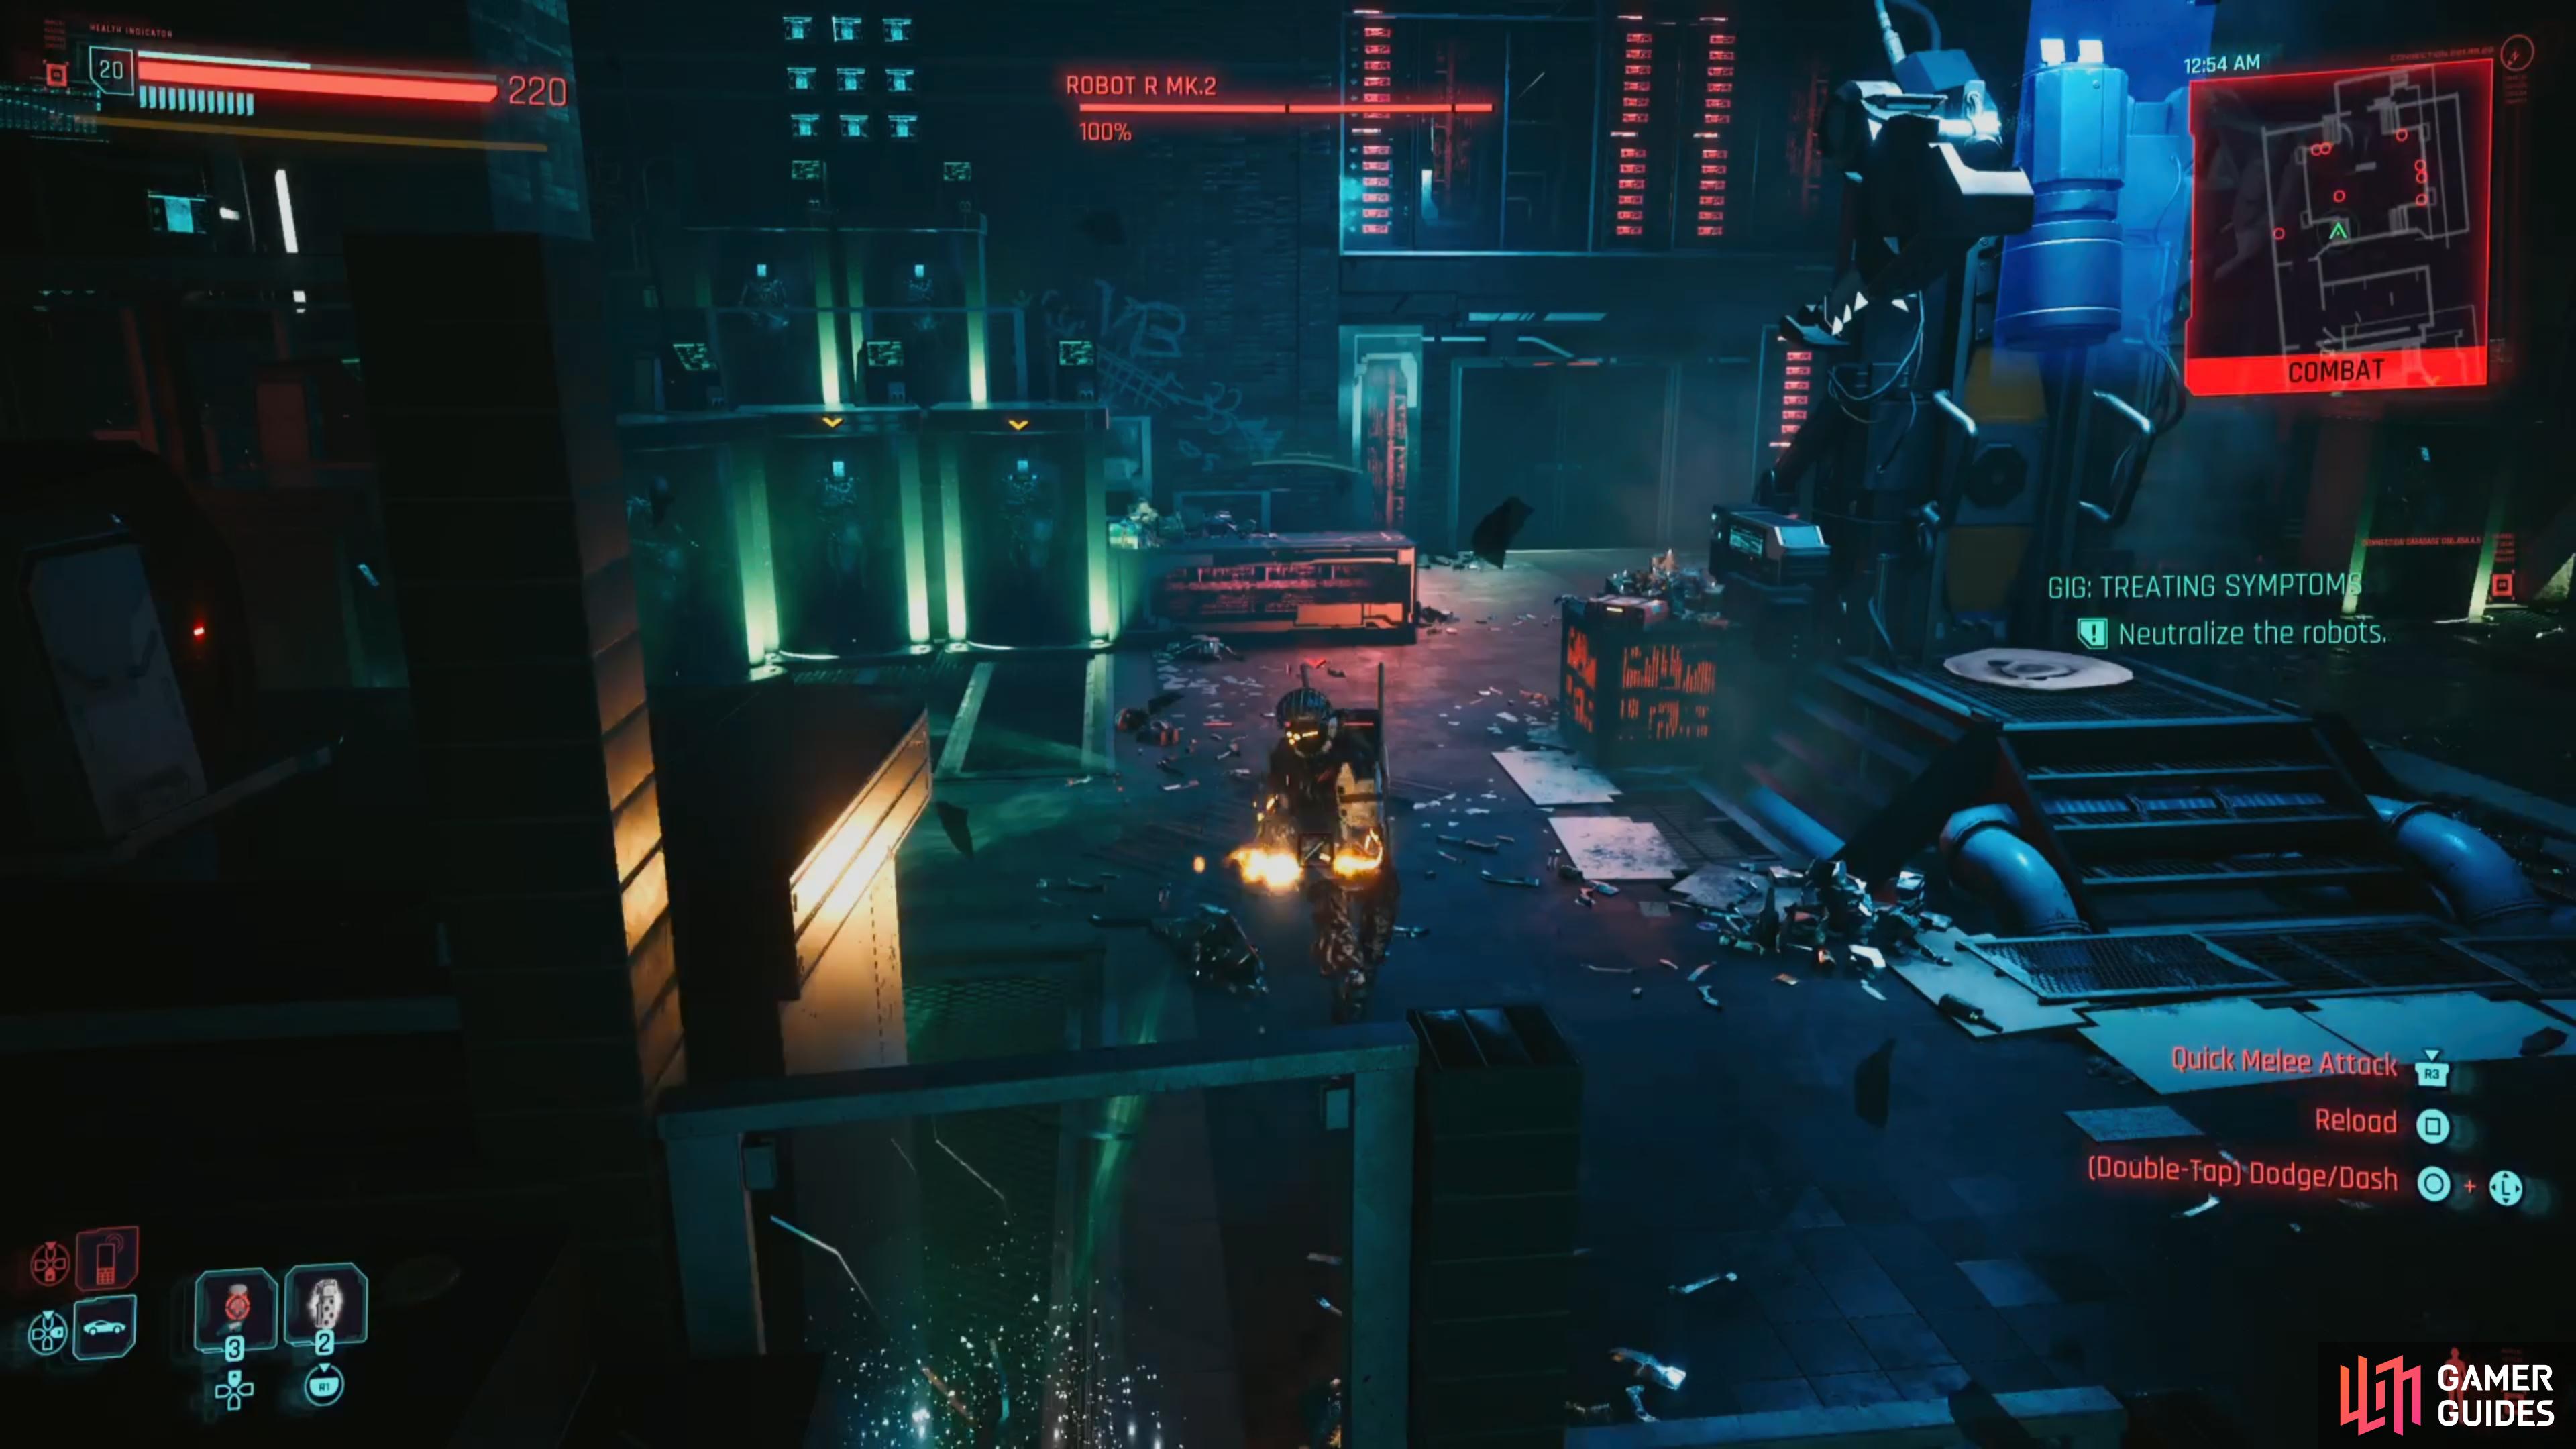
How to Neutralize The Robots in the Treating Symptoms Gig
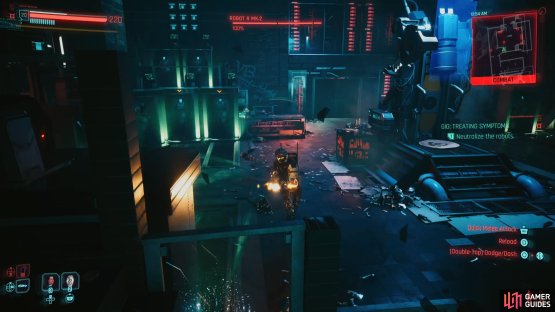

(1 of 2) Focus on the Robot in the center of the room
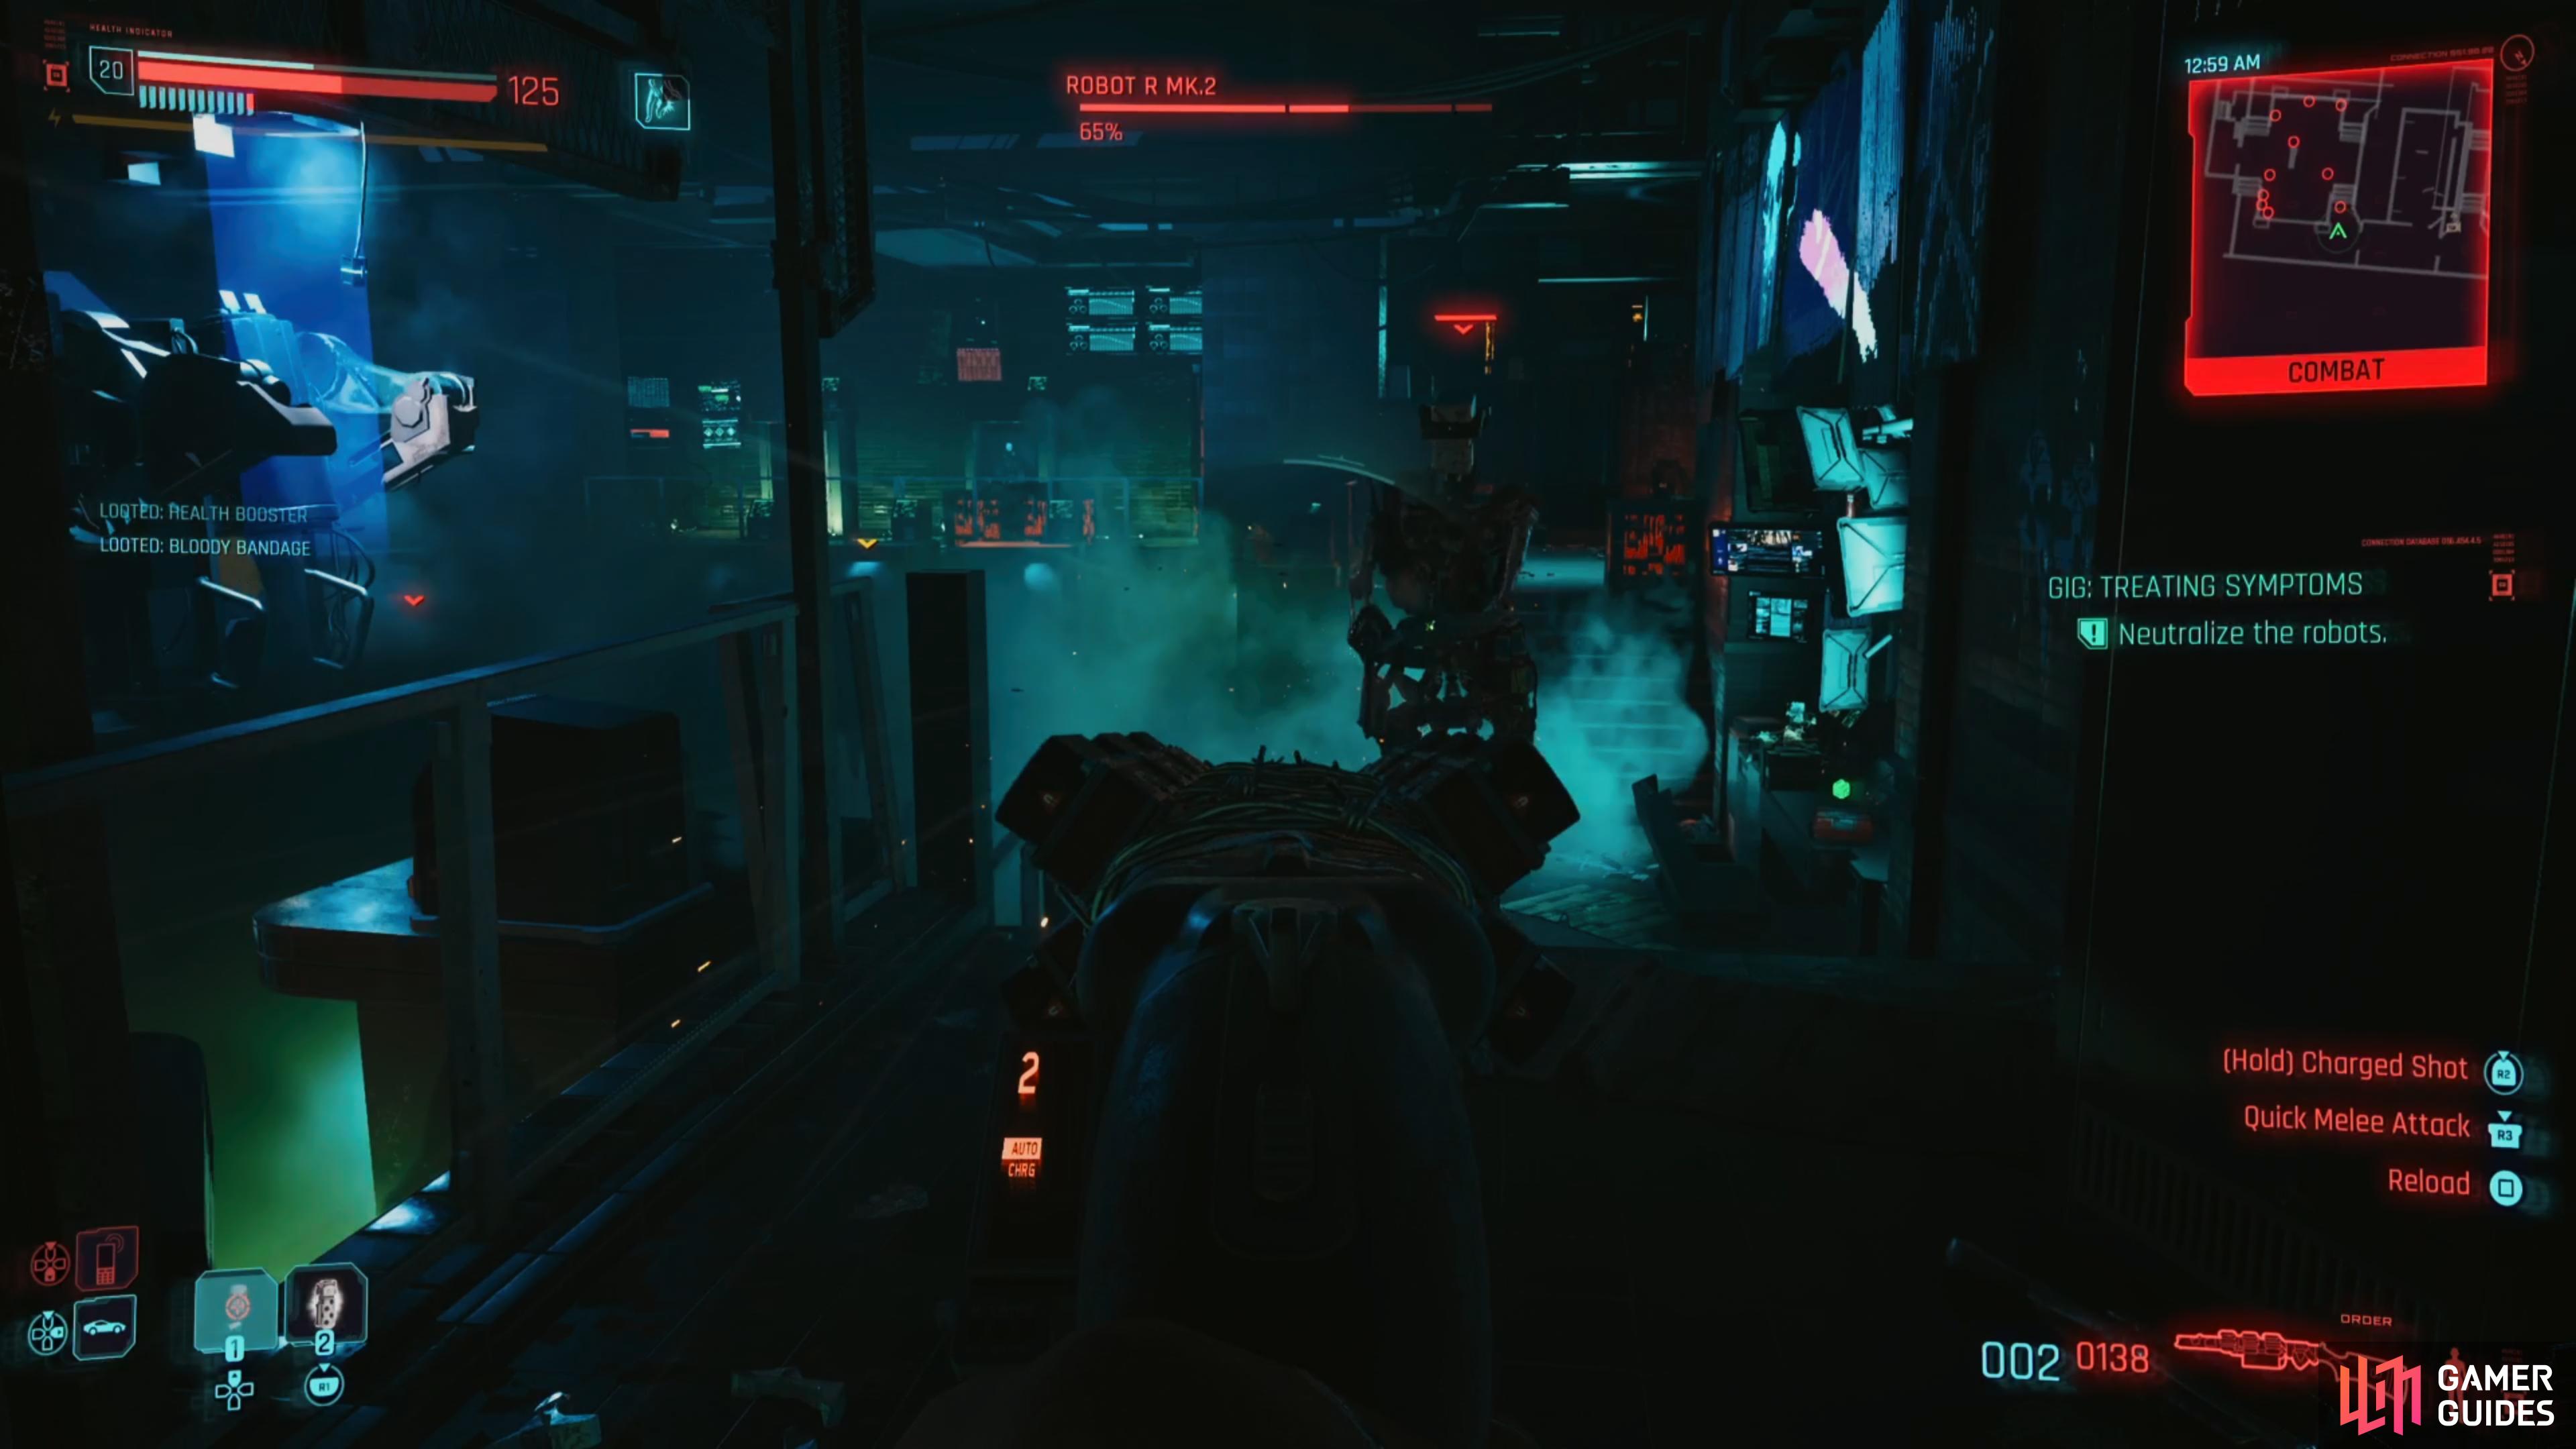
Focus on the Robot in the center of the room (left), and only attack the ads if they surround you. (right)
Unfortunately, you can’t stealth your way past these robots as they’ll automatically activate as you work your way around the room, so you’ll need to be smart about how you take them down without taking too much damage. To begin, you’ll want to focus all your attention on the robot in the center of the area as once he’s dead all the other robots will shut down, so only waste your ammo on the other enemies if they start surrounding you or you can’t find any cover to escape the bullets.
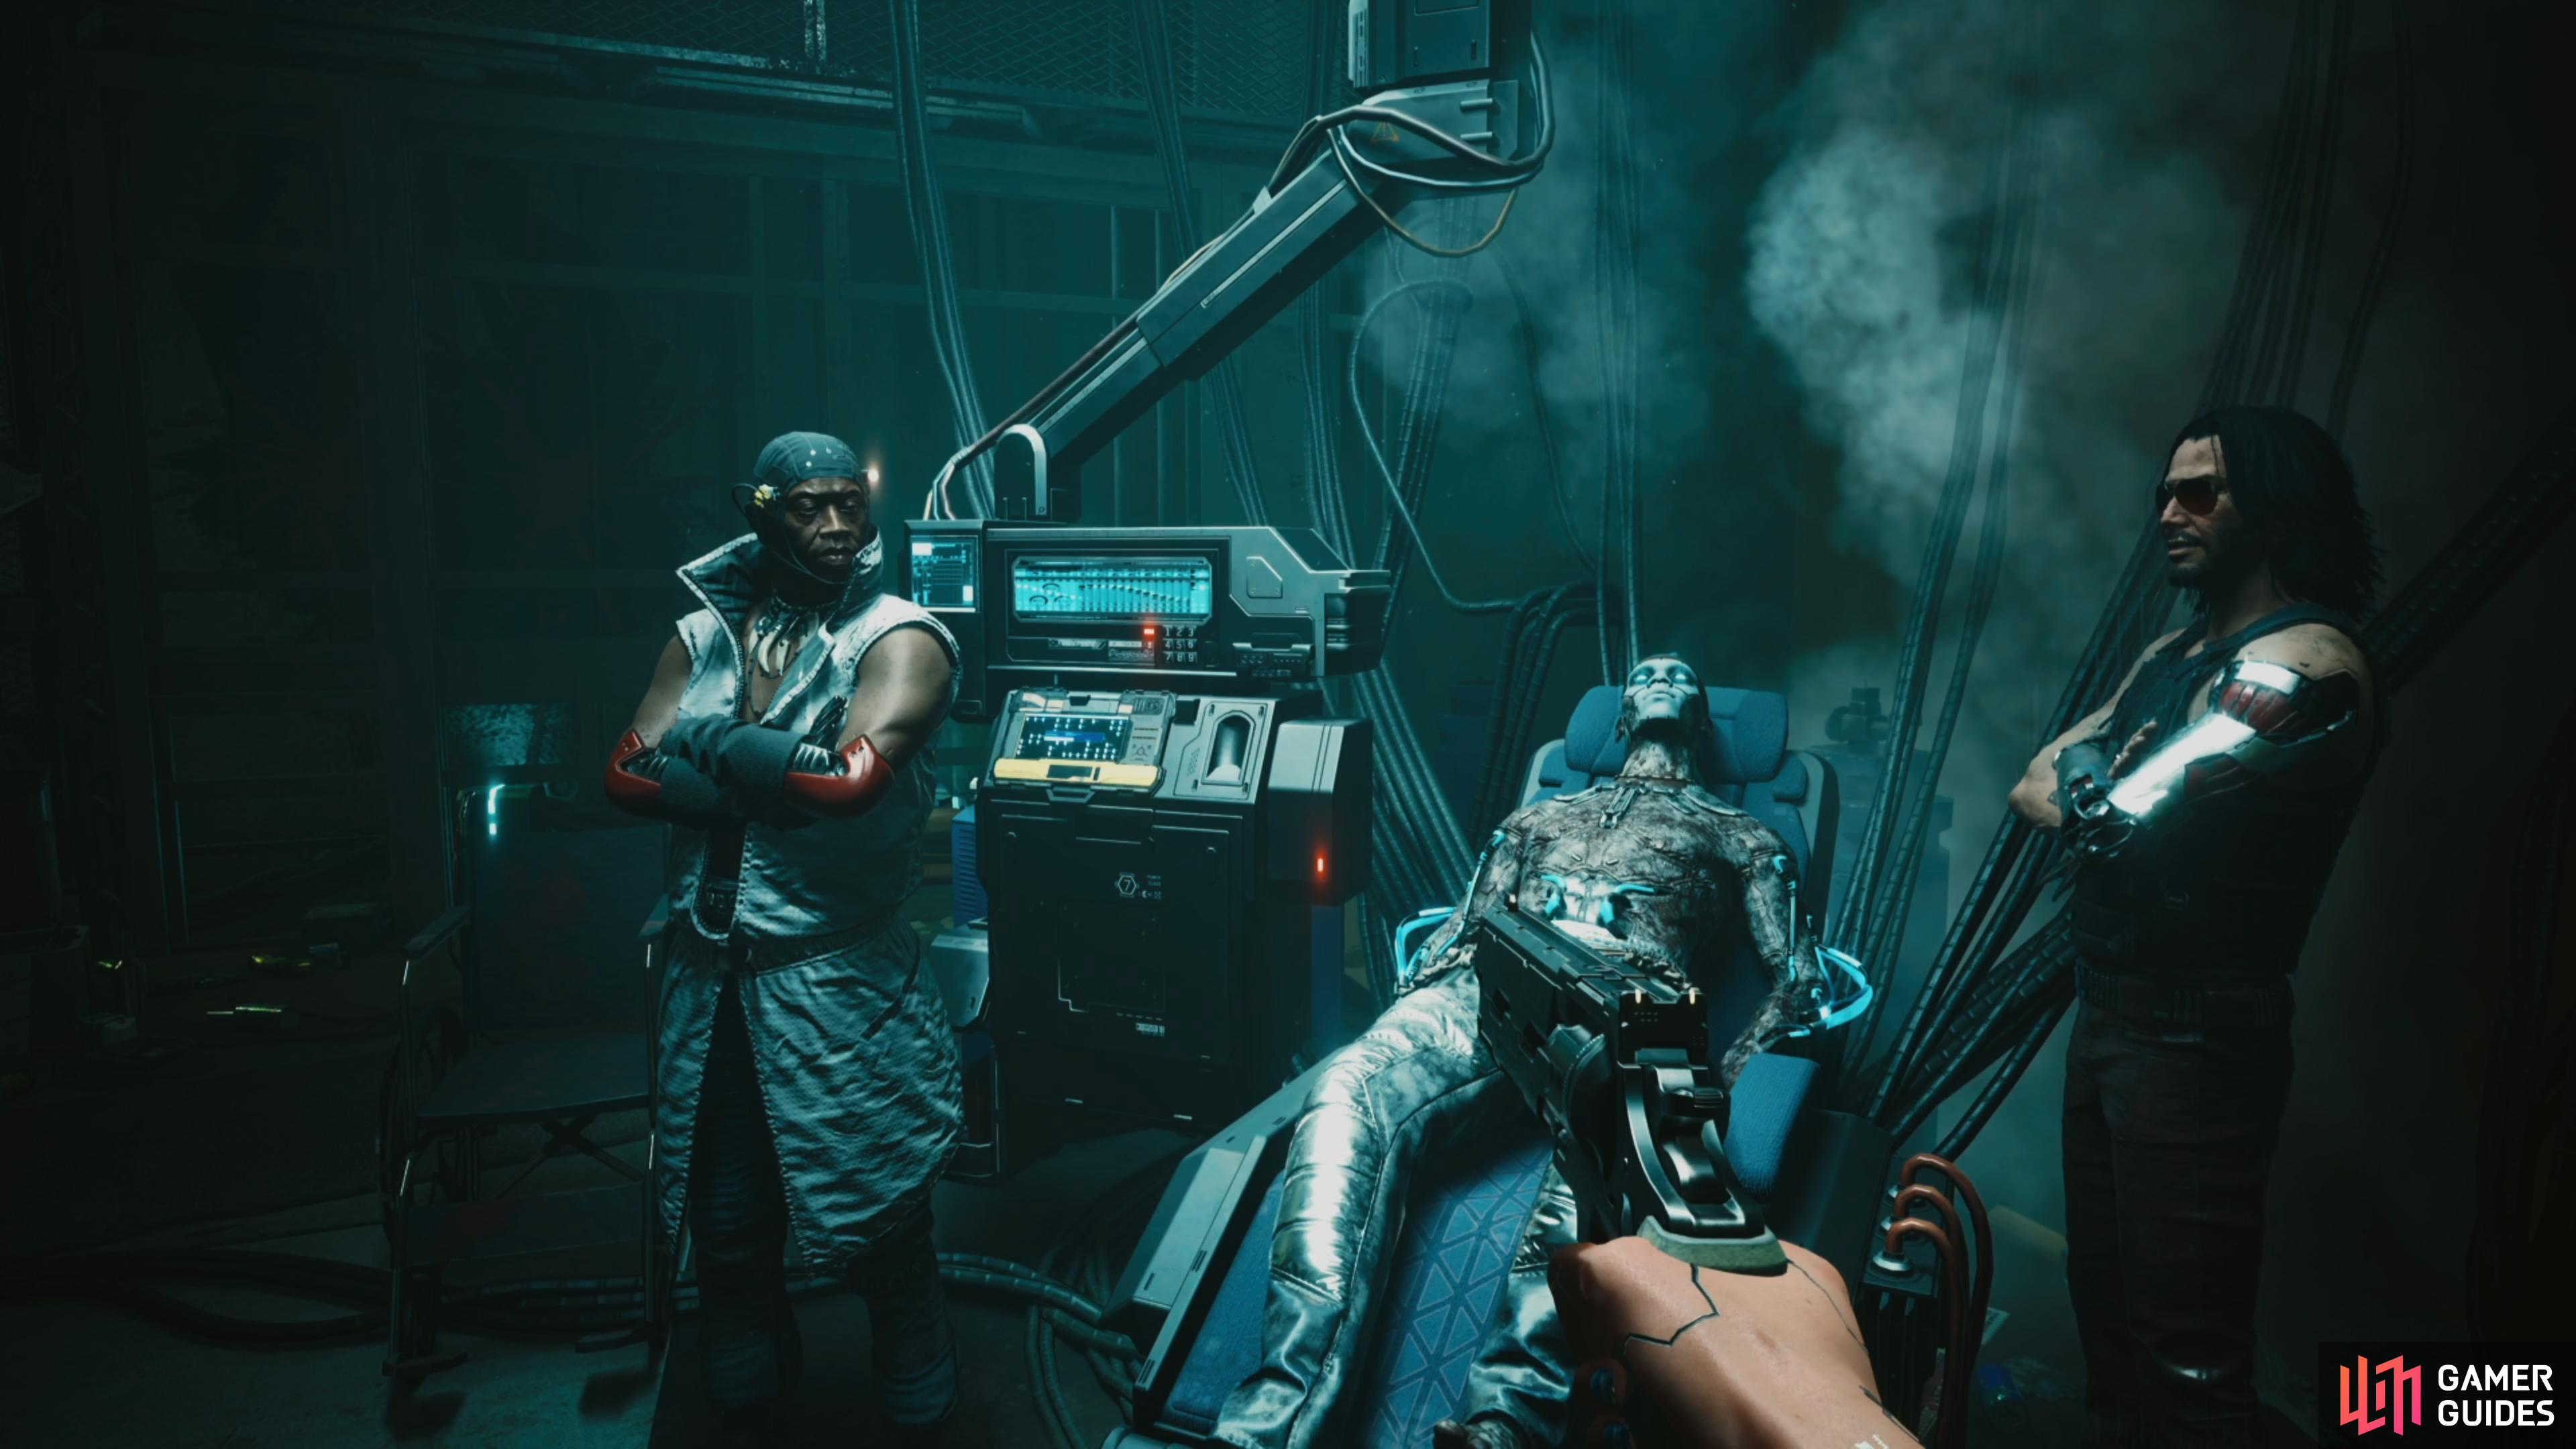
Should You Kill or Spare Milko Alexis?
Once you’ve dealt with the robot situation, collect the Ogou Iconic from the floor and then it’s time to finally meet Milko Alexis by heading downstairs. Before you can take out Milko you’ll have a chance to speak with Alan and he’ll request that you let him live in order to complete his investigation and learn who is dishing out the orders. If you let Alan continue doing what he was doing and let Milko live, then you’ll discover that Indira has been given protection and you’ll be rewarded with some bonus cash down the line.

(1 of 2) You’ll have the option to spare or kill Milko.

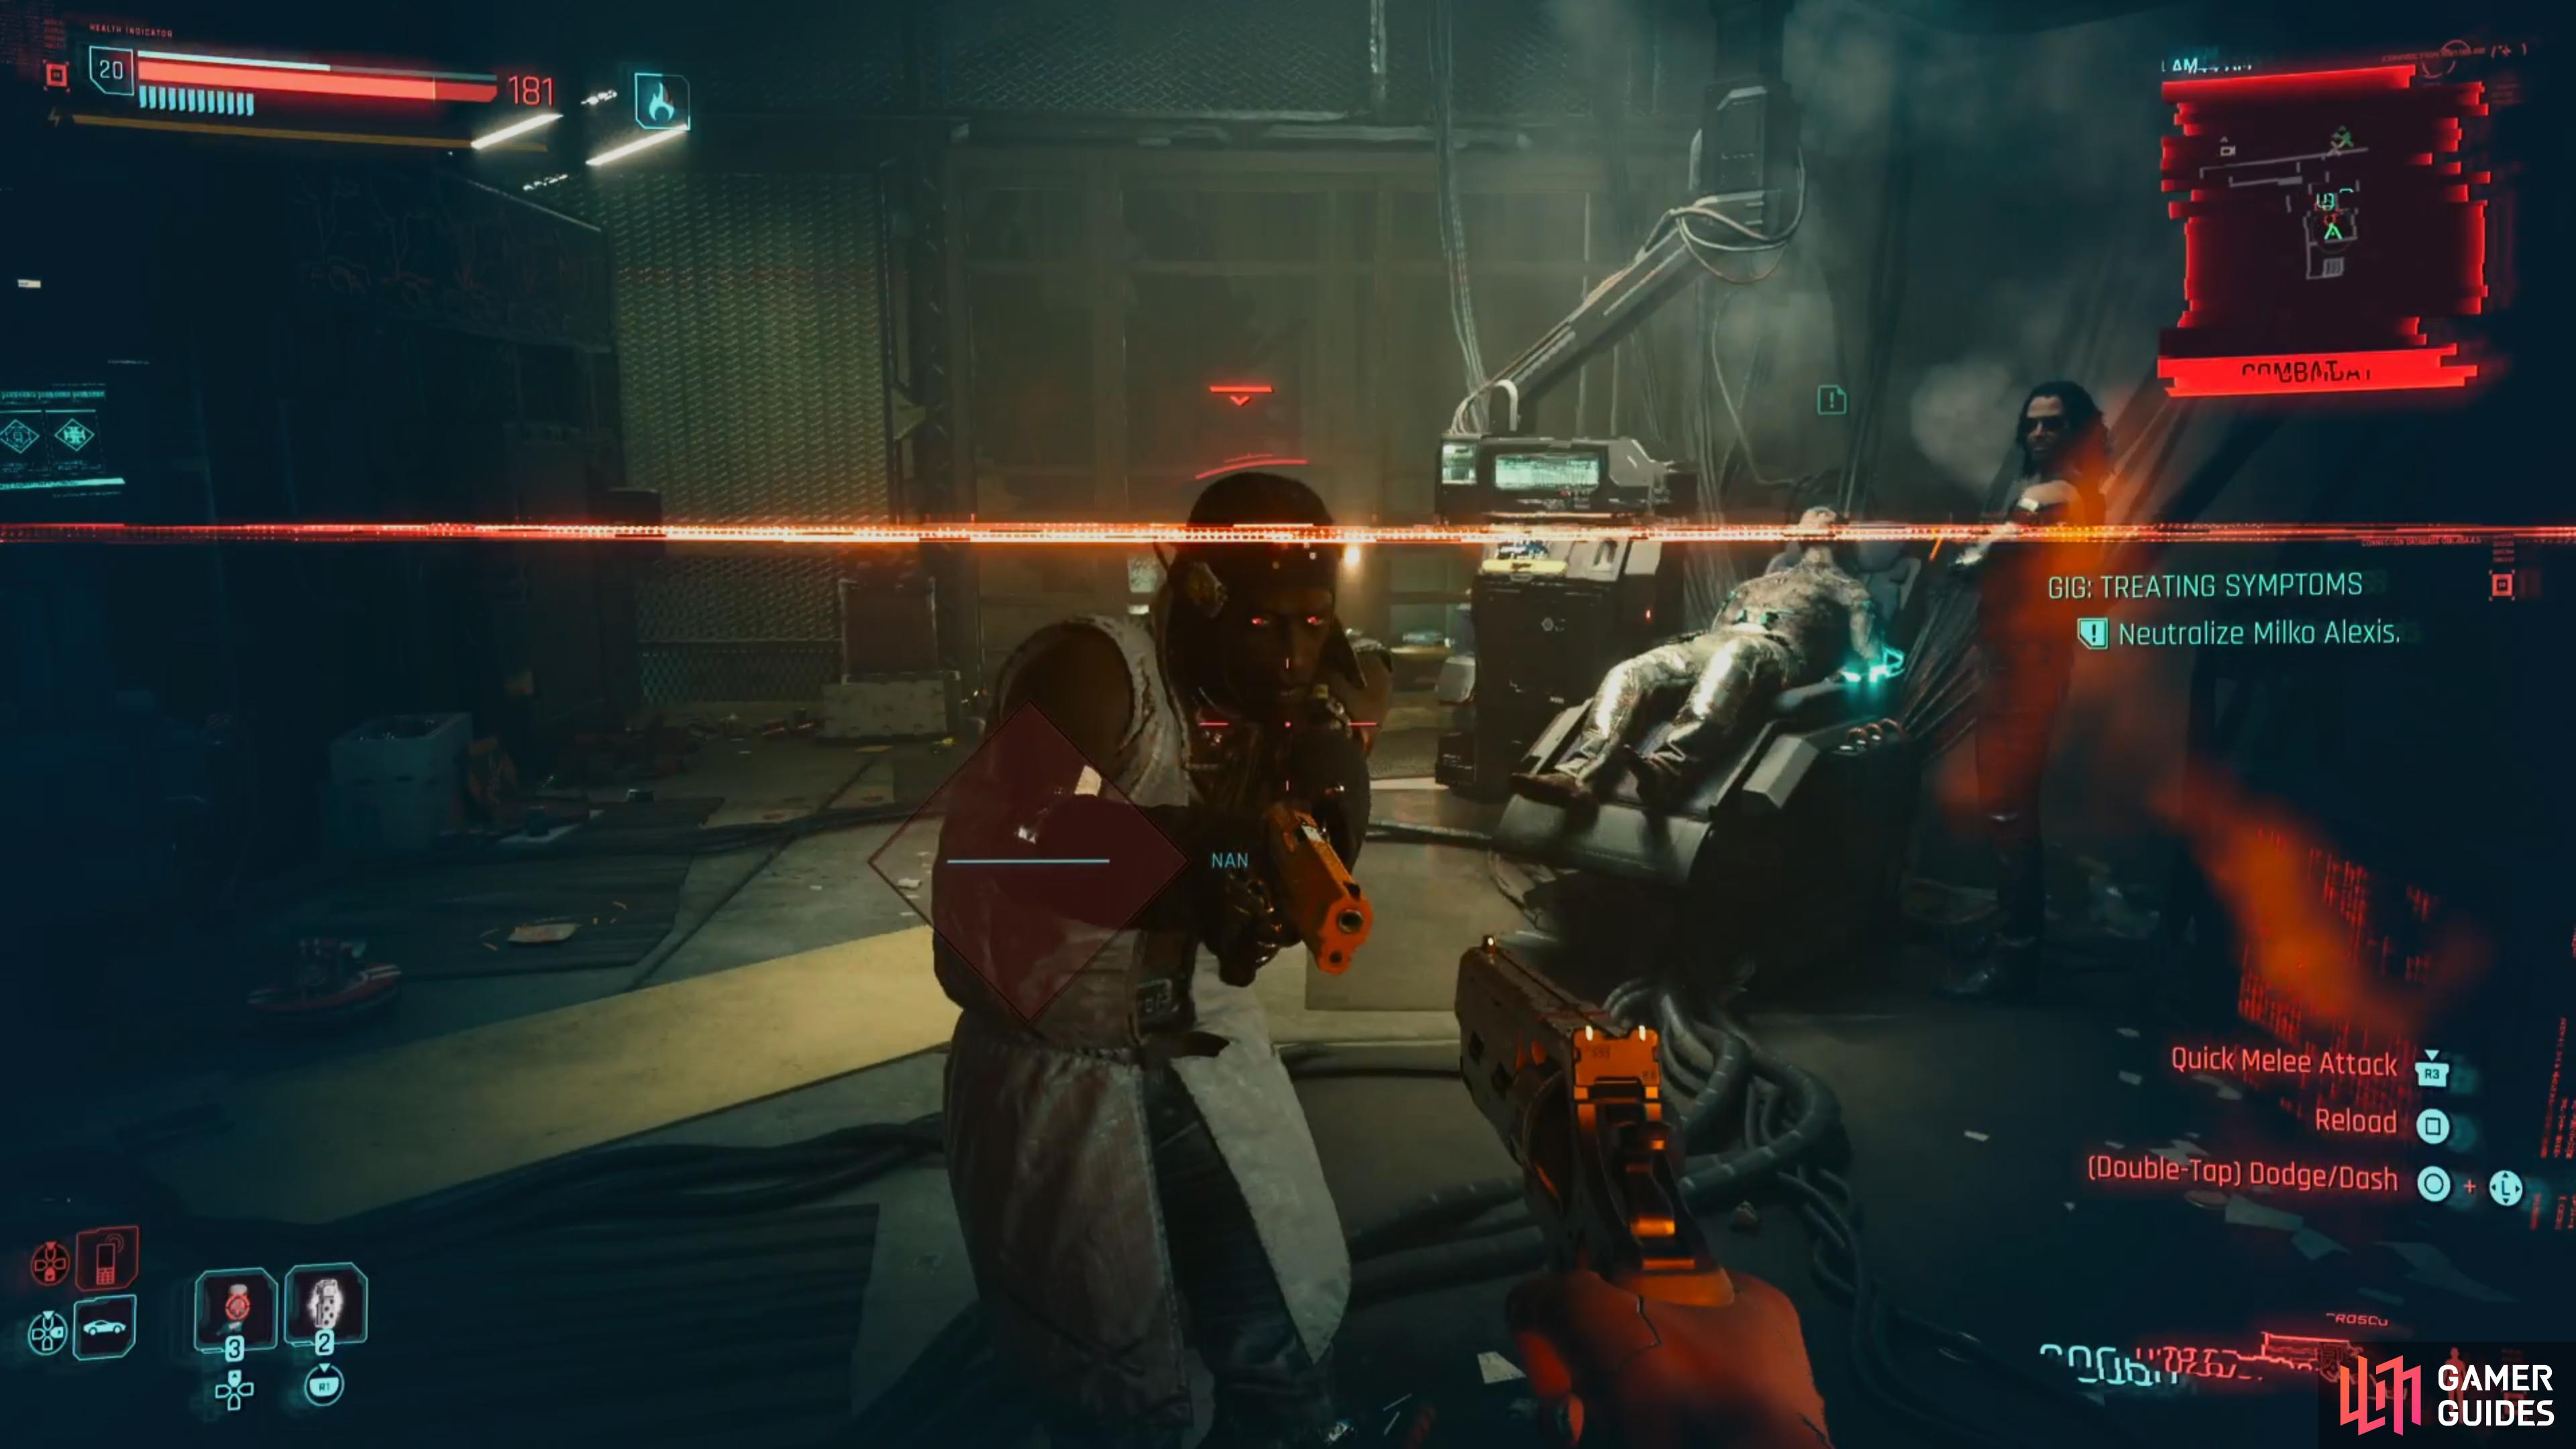
You’ll have the option to spare or kill Milko. (left), Killing Milko will result in Alan attacking you. (right)
Alternatively, if you choose to kill Milko then you’ll need to defeat Alan as well and he only drops his keycard which unlocks the door behind him that leads to the exit. Overall, you don’t obtain anything special for killing Milko so we recommend that you spare him for the bonus eddies. Regardless of your choice exit the Voodoo Boys Base and the quest will come to a close.
No Comments