
You managed to infiltrate Hansen’s meeting with the netrunner twins by impersonating said twins, and when you met up with Songbird at the mainframe you decided to ditch the FIA and instead sided with Songbird and helped her escape both the Hansens and the FIA - and by extension, Myers. This page will provide a walkthrough for the final main job in the Songbird route, The Killing Moon, including information on the endings.
Your escape with Songbird will be fraught with peril.
Meet with Songbird and Drive to NCX
This job starts out with you playing a familiar game - the waiting game - as you’re stuck waiting for Songbird to give you a ring. Reed will beat her to the punch, issuing some threats of a future reckoning, with Songbird calling sometime later (it took two in-game days of waiting to get these calls). After some chatter, fast travel to Downtown Central in the City Center, then make your way on foot to the rendezvous spot and get in the back of the van. Talk to Songbird and she’ll lay out the next phase of her scheme; make whatever dialog options you care to, it’s all consequence-free roleplaying. Eventually you’ll need to take the wheel and drive the rest of the way to NCX - Night City’s air/spaceport. Surrender your gear when prompted, and exit the vehicle - time for a stealth segment, and unlike the stealth segment in the Reed route, this one actually follows the rules the game has established thus far without limiting your capabilities… too much.
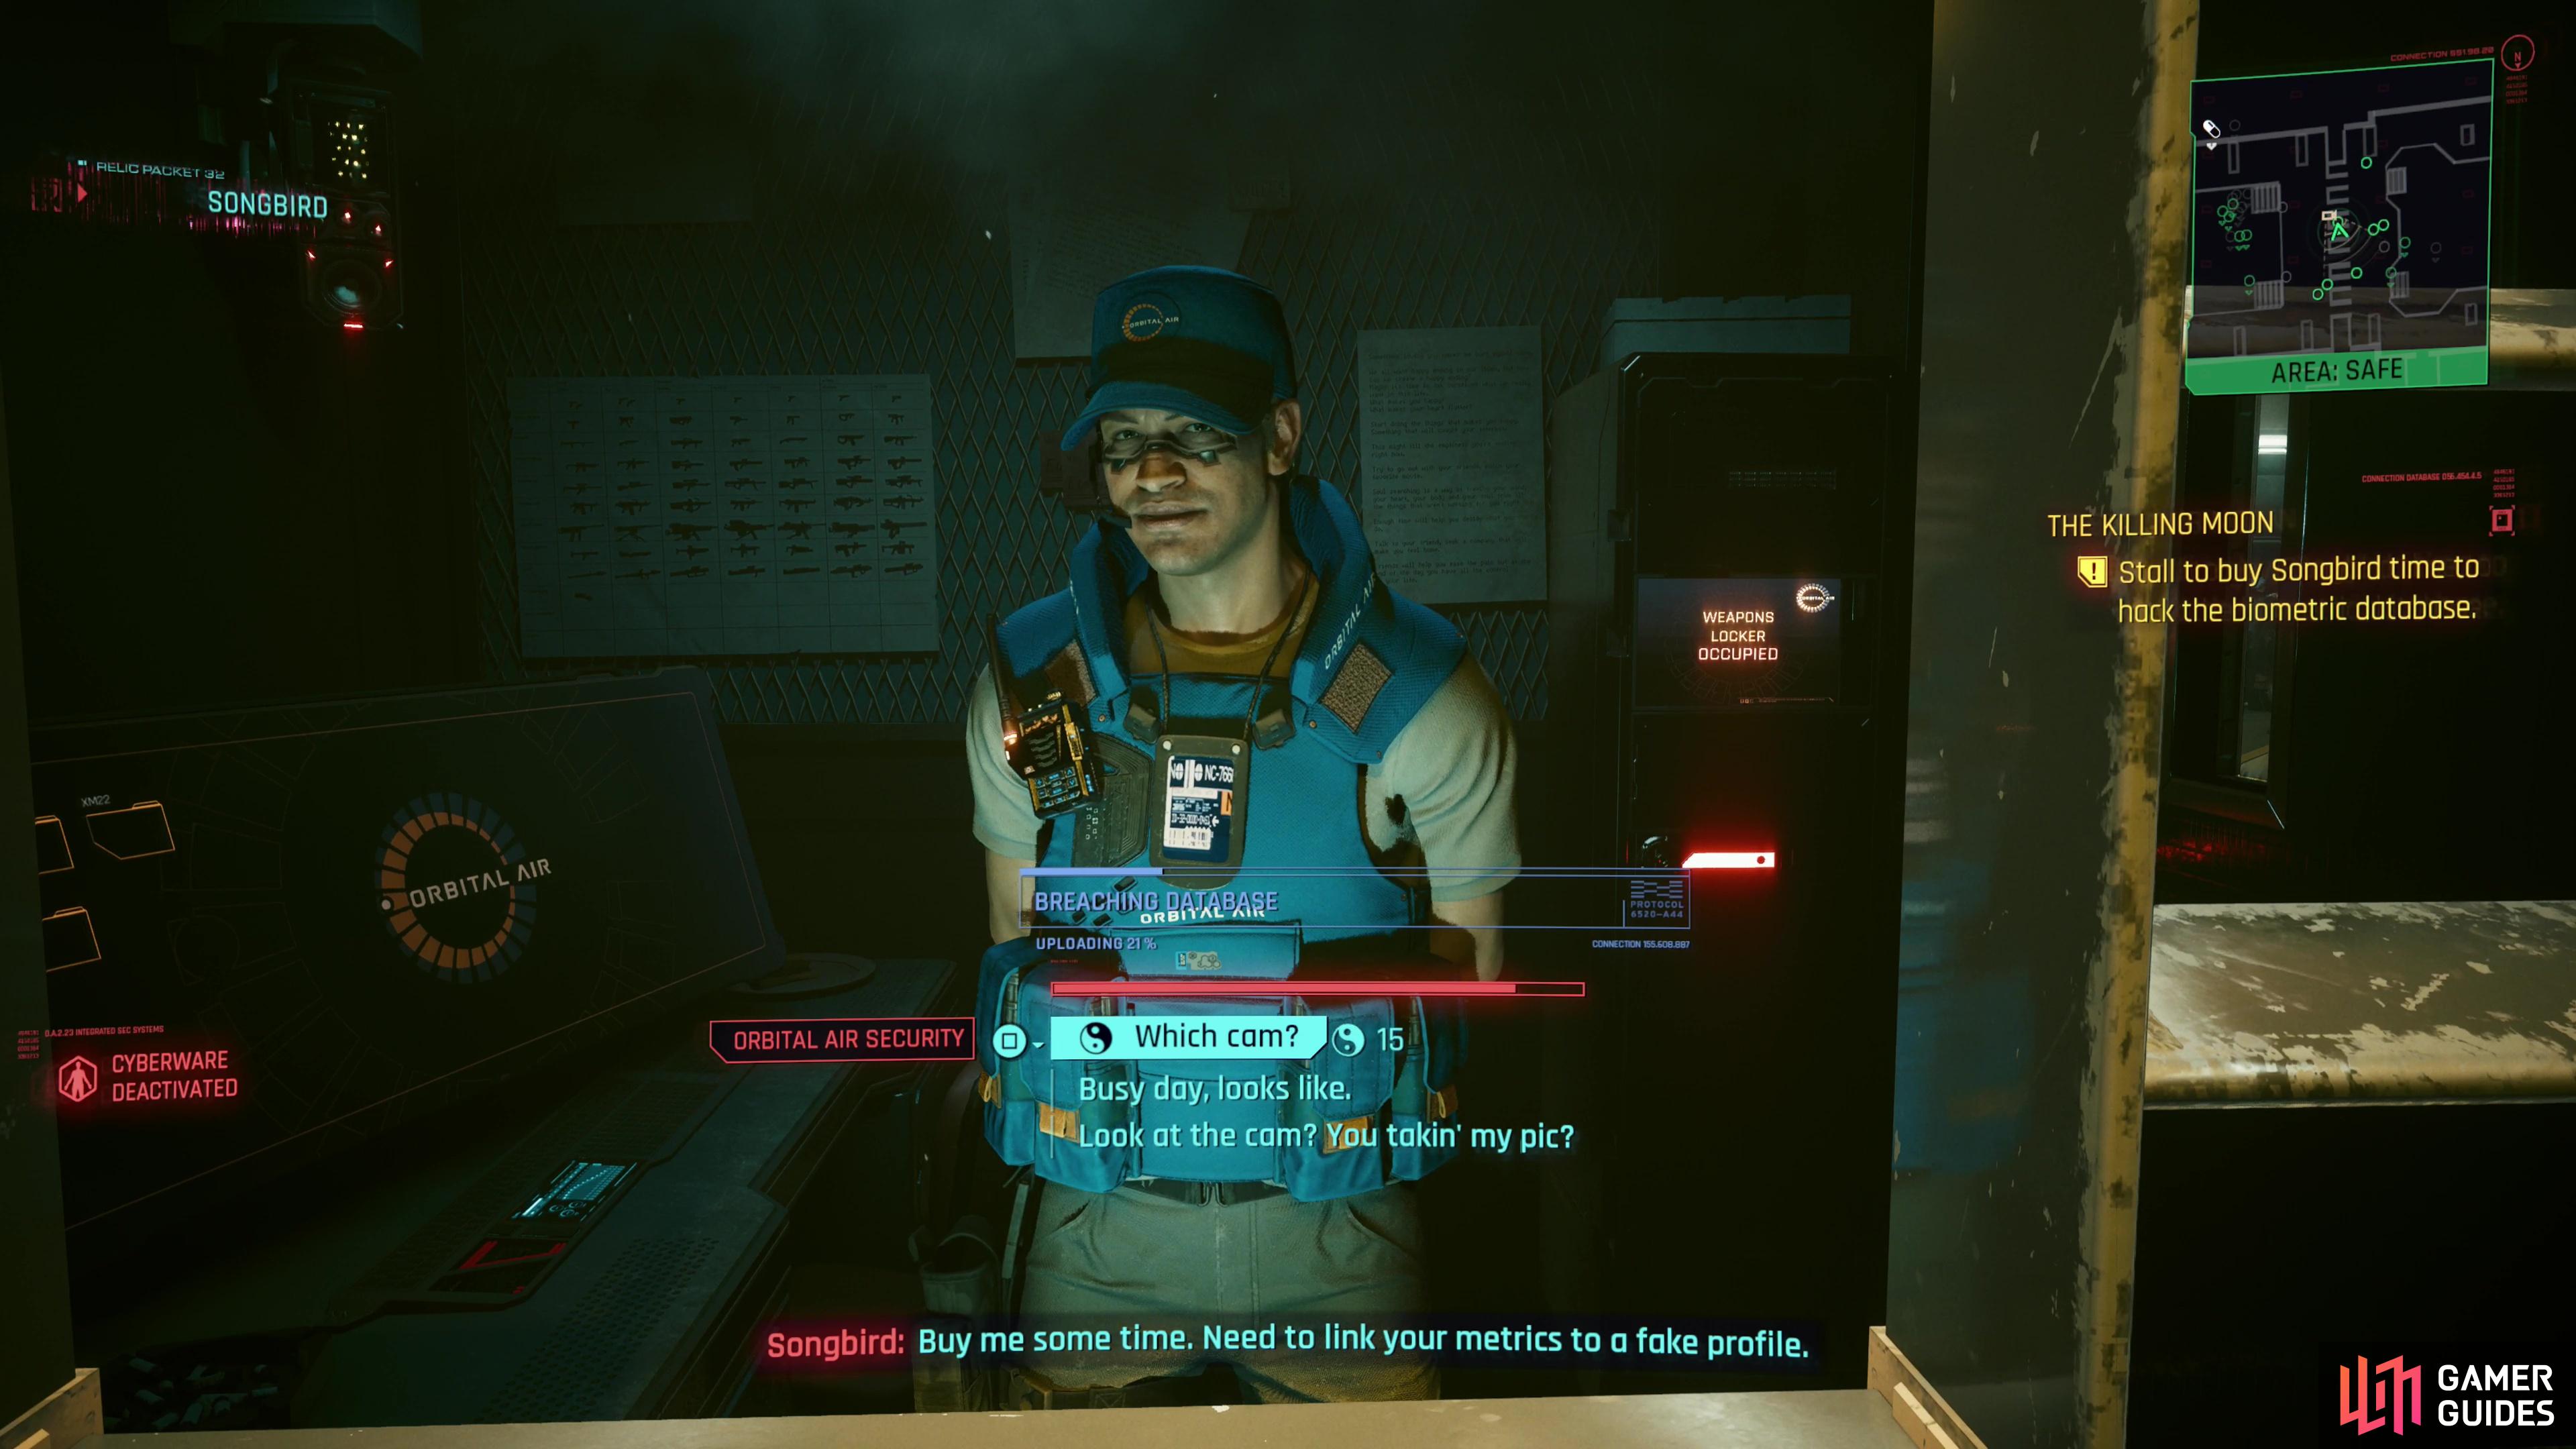
The NCX checkpoint, remain compliant and stall for time when asked to look into the camera.
How to Reach Tycho Terminal
Leave the van, enter the terminal, head upstairs and pass through security. We would say this part doesn’t matter, but it actually does, as if you threaten the OA security guard or look into the camera before Songbird gives you the clear you could end up apprehended by said security guard. You can avoid the former just by not indulging in your violent inclinations, while the latter can be prevented by just making small talk while Songbird provides you cover (or you can just wait - silence can be golden). You can also make a [Cool 15] check if you want to achieve the same end with a bit of a flex. Surprisingly, despite the violent nature of your capture, this doesn’t land you with a big fat game over screen, and escaping from custody is a viable way to advance the job… an option we’ll cover below.
Assuming you make it past security your next goal is to get to Tycho Terminal, specifically the off-limits OA employee areas, and there are several ways to do this, which we’ll cover below (along with the aforementioned escape from OA detainment). While you complete these tasks, keep in mind that you need to keep a low profile, and you’re timed - the FIA is working behind the scenes and they’ll end up flagging the fake biometrics Songbird uploading at the security checkpoint as a terroristic threat, turning OA security hostile to you. This takes quite a while, however, so unless you feel you have to talk to every NPC, search every corner, and take a short nap, it shouldn’t be an issue.
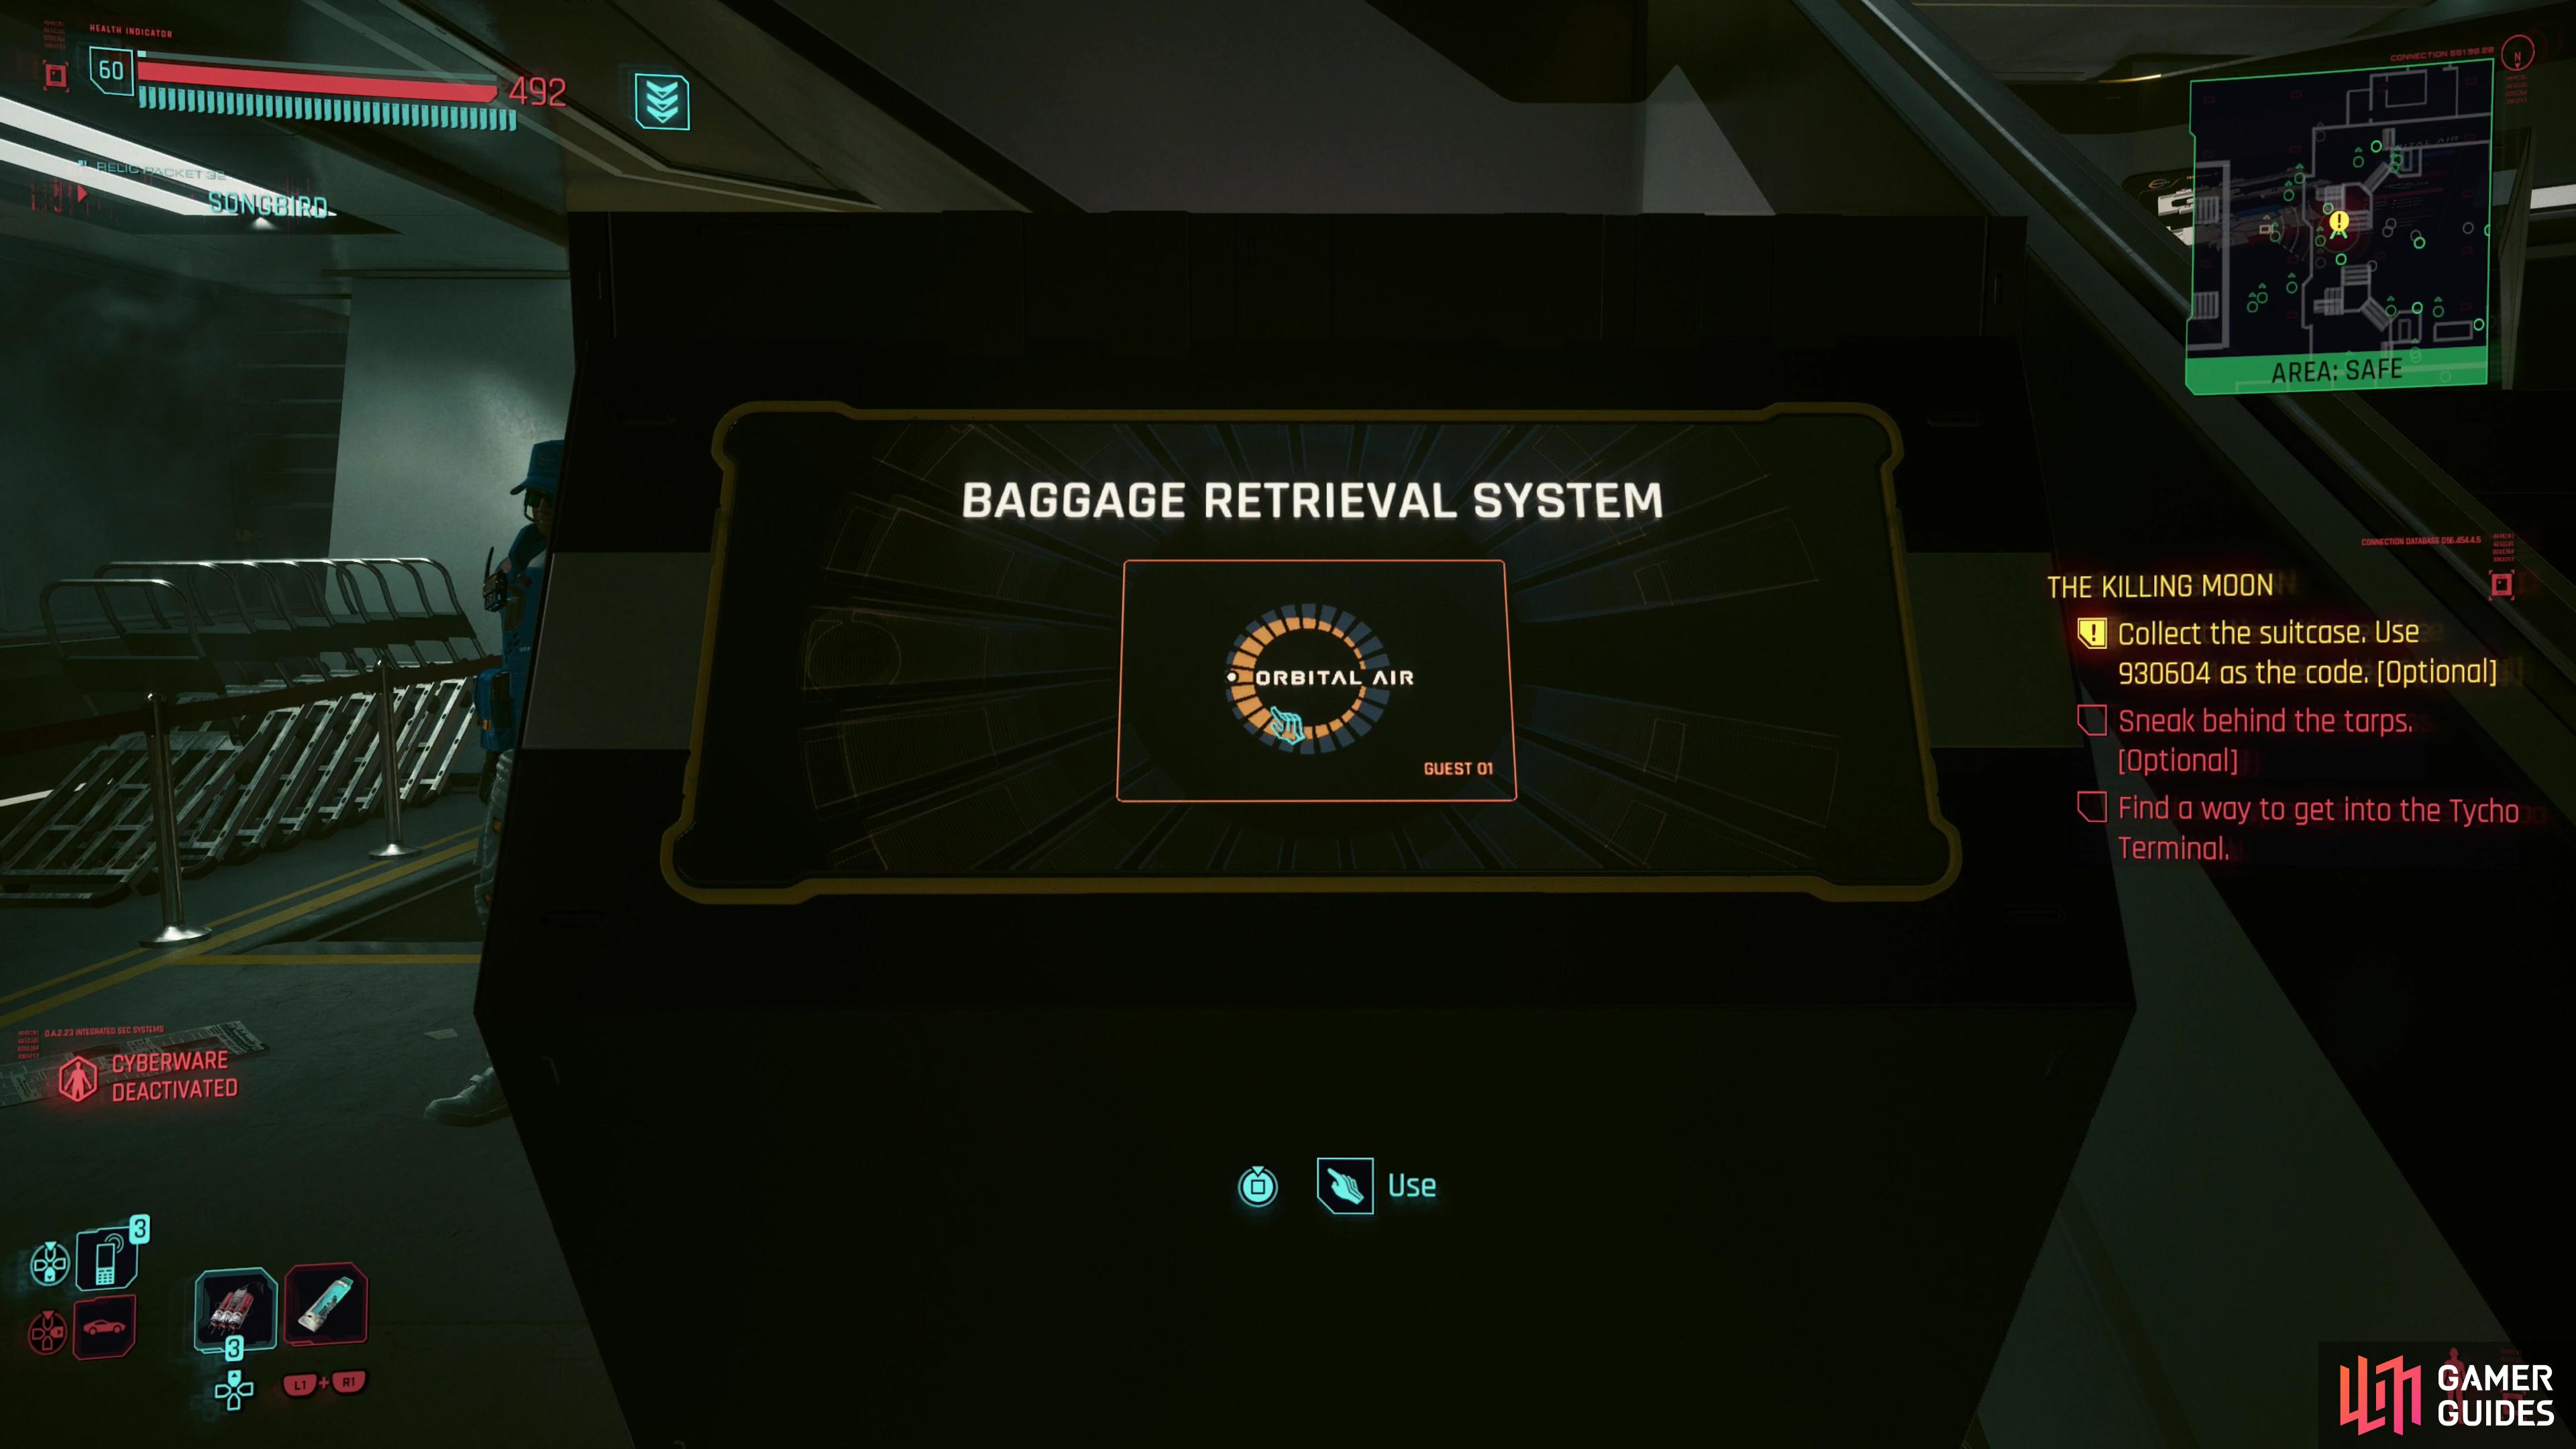
(1 of 4) Once past security, head downstairs to prompt Songbird to tell you to pick up some luggage - find a Baggage Retrieval System and enter the code “930604”.
Get the Corp-Bud Uniform
After crossing through the security checkpoint you’ll find yourself in a large, noisy room. Arguably the best way to get into the Tycho Terminal is to let Songbird do the heavy lifting. Head downstairs and she’ll tell you about a gift a friend left her. Find a “Baggage Retrieval System” console next to the stairs and enter the provided code 930604, then turn left and pillage a yellow luggage container to score a Corp-Bud Uniform and the shard Last Time. With these in hand, turn left again and follow the quest trail into a bathroom, where you can get some privacy in a stall and change into the OA uniform. Once done, exit the bathroom and head back out into the larger room and make your way to the side opposite the bathrooms, where you’ll find an OA security guard watching over some stairs. With the corpo uniform on he’ll stand aside and give you access to the Tycho Terminal area - just push a garbage bin out of the way [Body 3] and you’re good to go. This is the easiest way to proceed, as you’ll be able to just ignore any OA guards and workers without even sneaking… at least until you make it to the construction site, as you still need to avoid cameras and bots. Still, nothing a little quickhacking can’t solve, and you should be able to make it all the way to the roof with minimal effort.
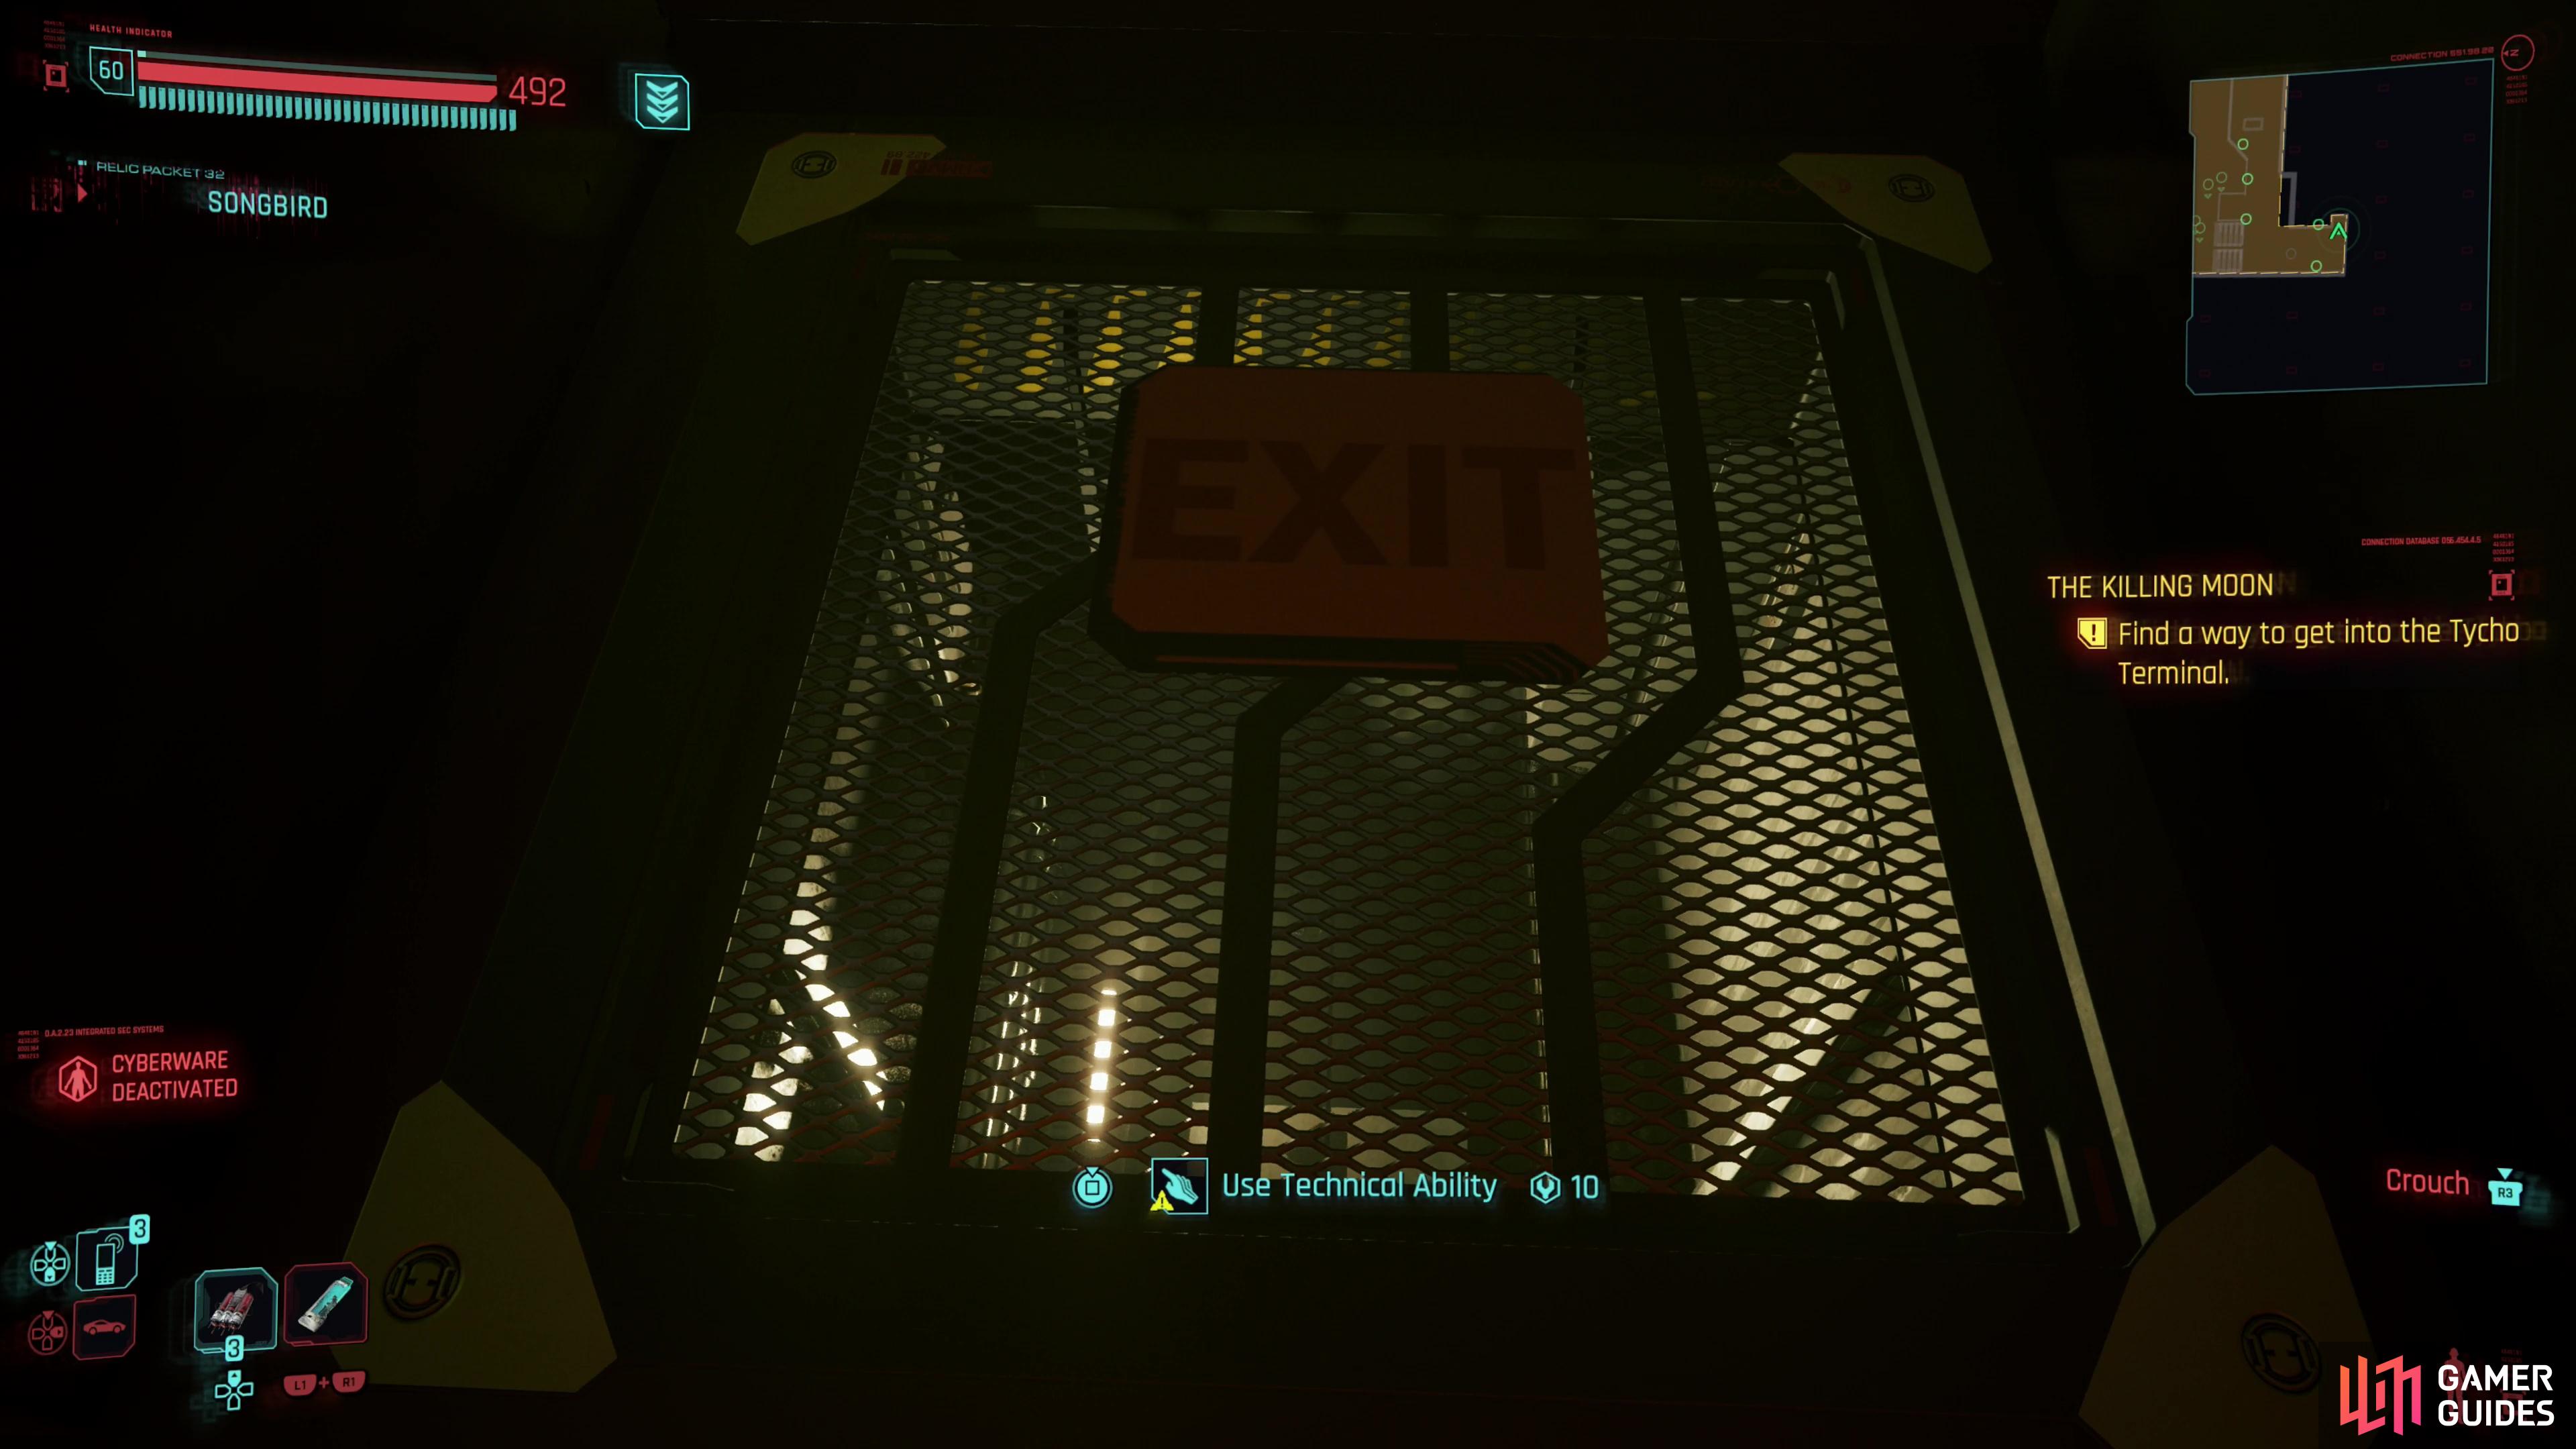
You can find a hatch near a mech if your Technical Ability score is up to snuff,
another hatch can be found in a grassy area near some stairs, but this requires an even higher Technical Ability attribute.
Sneak in Through Maintenance Tunnels
From the security checkpoint, turn left, go past the stairs, then turn right and walk the length of the room, following the terrace until you find a side area where two OA mechs lurk. You can comment on the mechs, but the real interesting thing here is an exit hatch on the floor, in a corner past the two mechs. You’ll need [Technical Ability 10] to open the hatch, but if you can pass this check you just need to drop into the duct, head forward, and climb out the opposite end to find yourself in Tycho Terminal. Without the Corp-Bud uniform (see above) you’ll need to hide from or dispatch guards as you sneak your way forward, but it’s still an option.
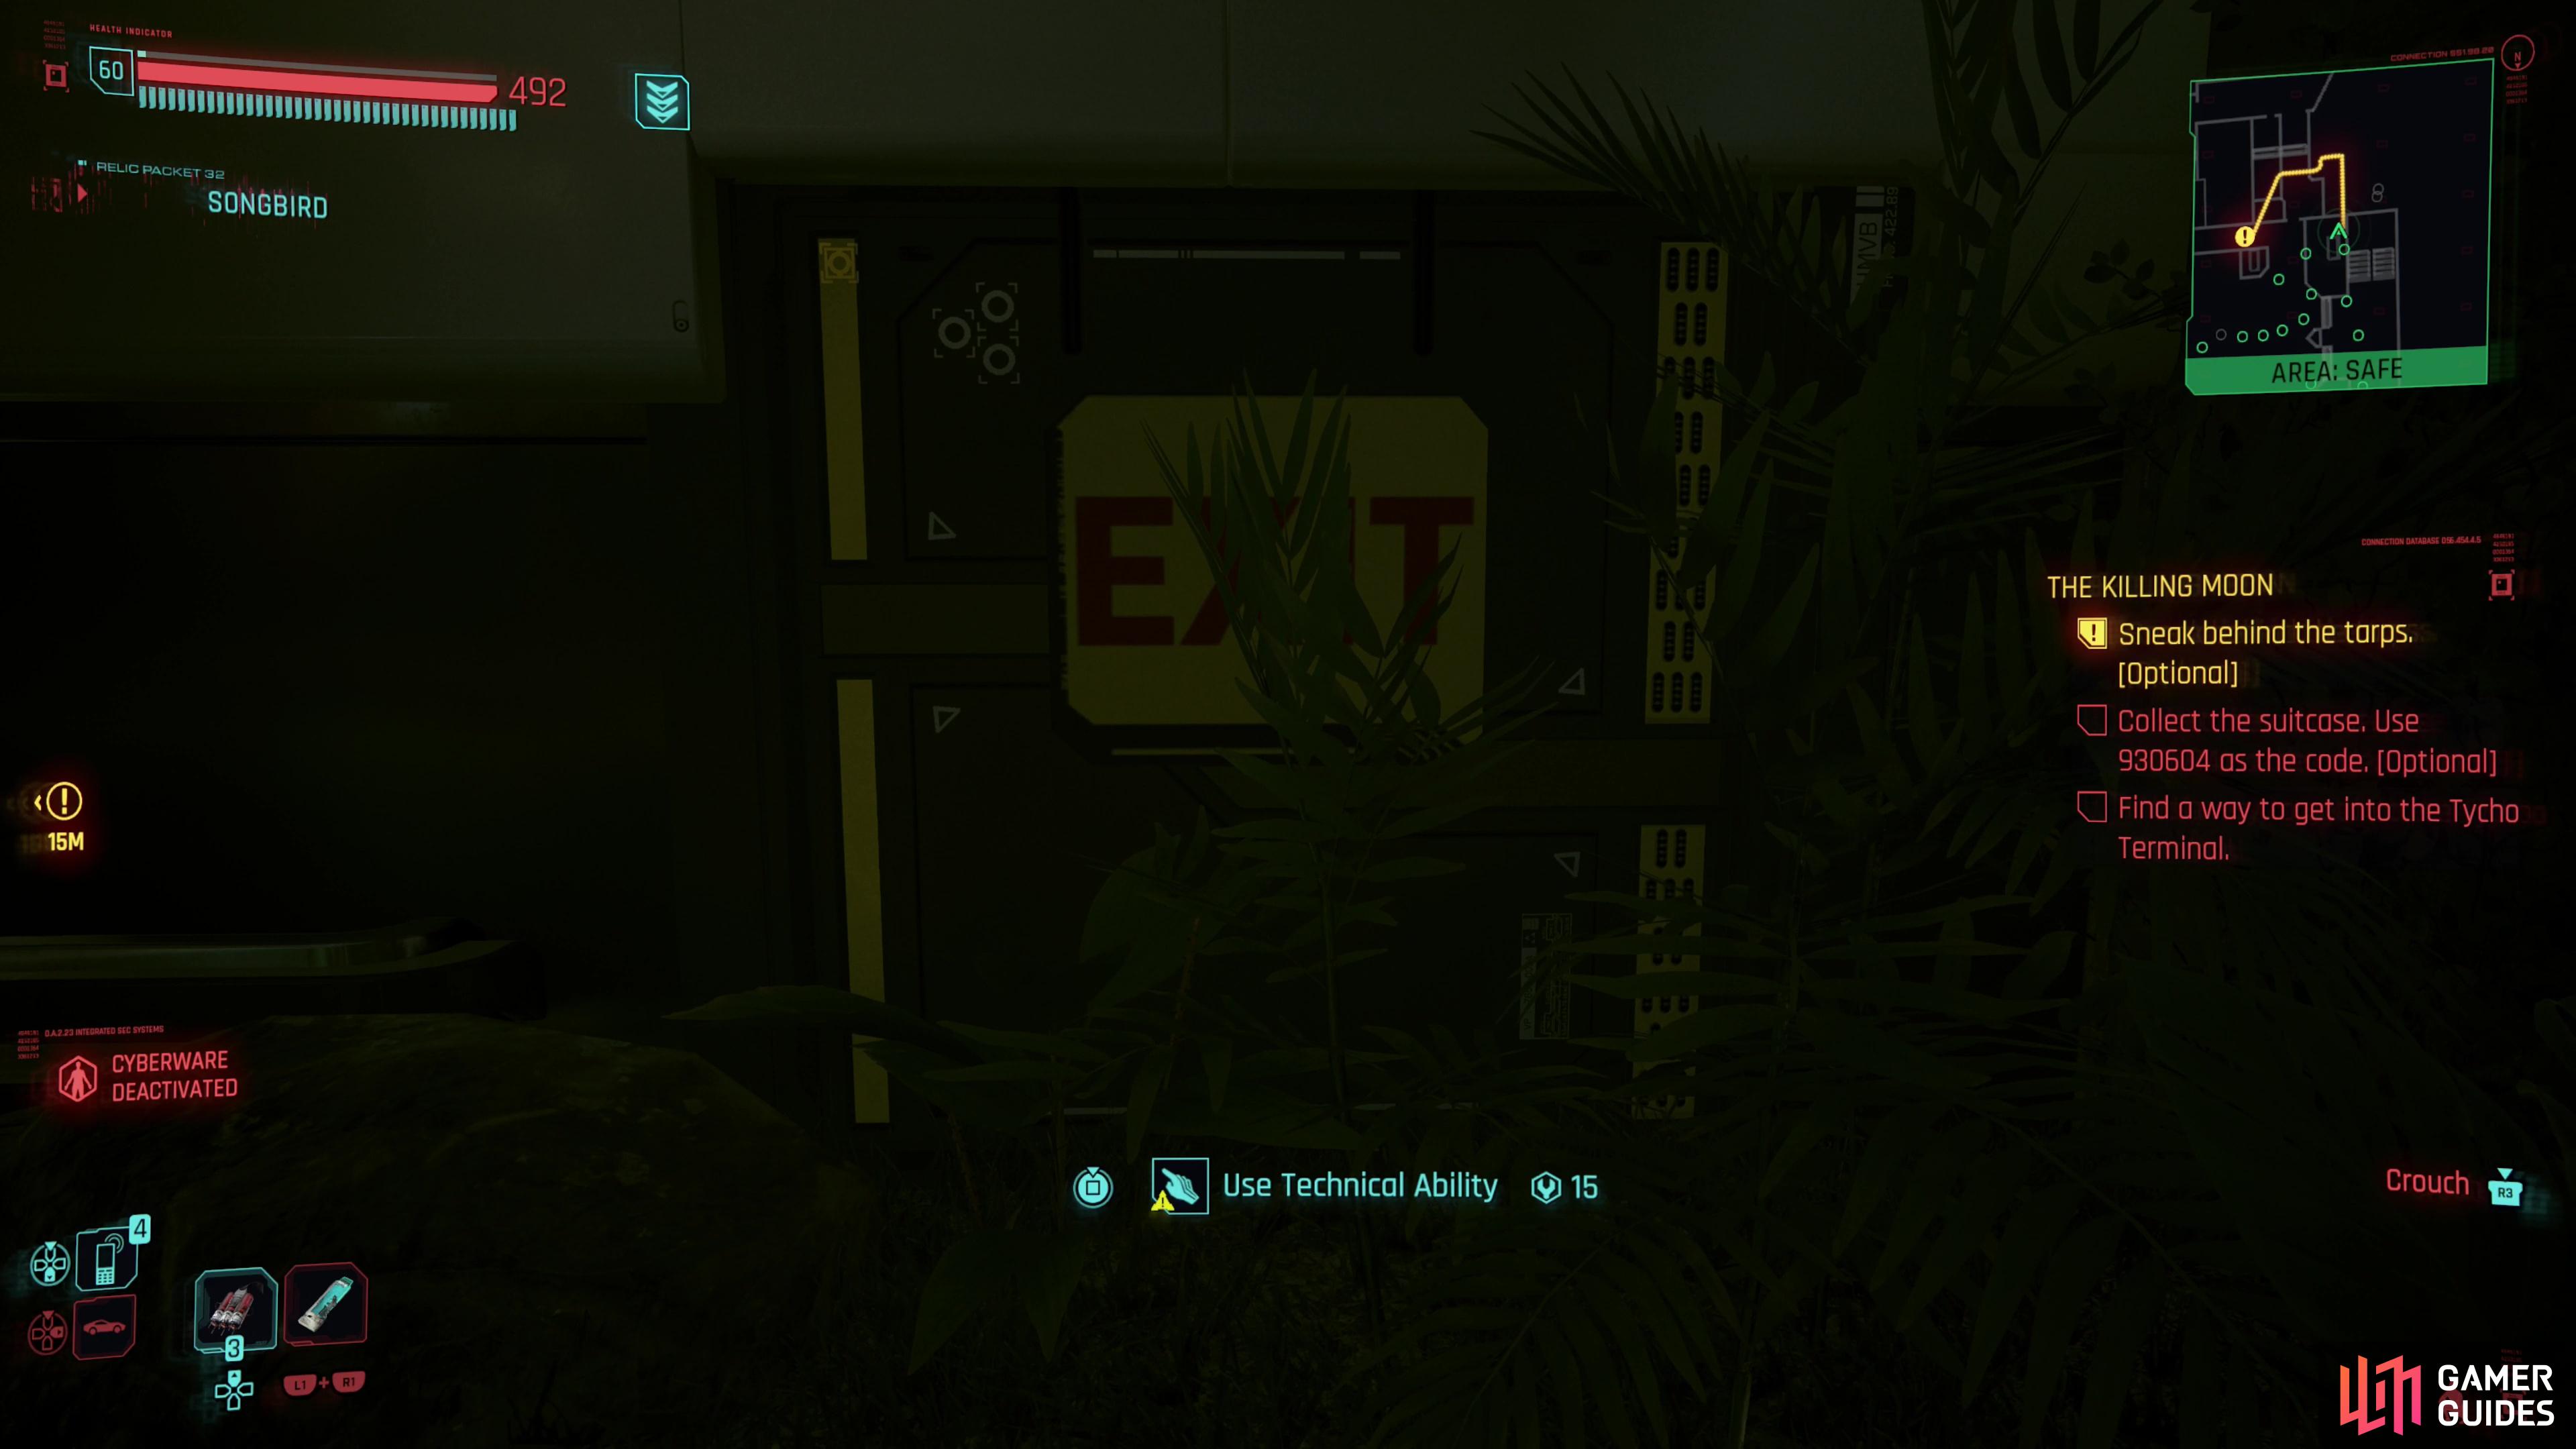
If that route isn’t to your liking, there’s actually a second way to reach these tunnels, via a different hatch. From the security checkpoint, head down the flight of stairs to your left and cross the lower floor, noting the yellow tarps blocking off the Tycho Terminal to the left. Continue on until you find an “OA Tycho City” sign on some grass near some stairs, then jump in the grass and search the wall in the corner near the stairs to find another exit hatch [Technical Ability 15]. An OA security guard will yell at you about treading on the grass, but nothing comes from it. Enter the hatch, turn left at a fork, then jump up to reach the Tycho Terminal area in the same spot you’d have arrived if you took the other route. Why you’d choose this route over the one near the mechs when it offers nothing and requires a more difficult Technical Ability check is certainly a question one should ask oneself, but you do you.
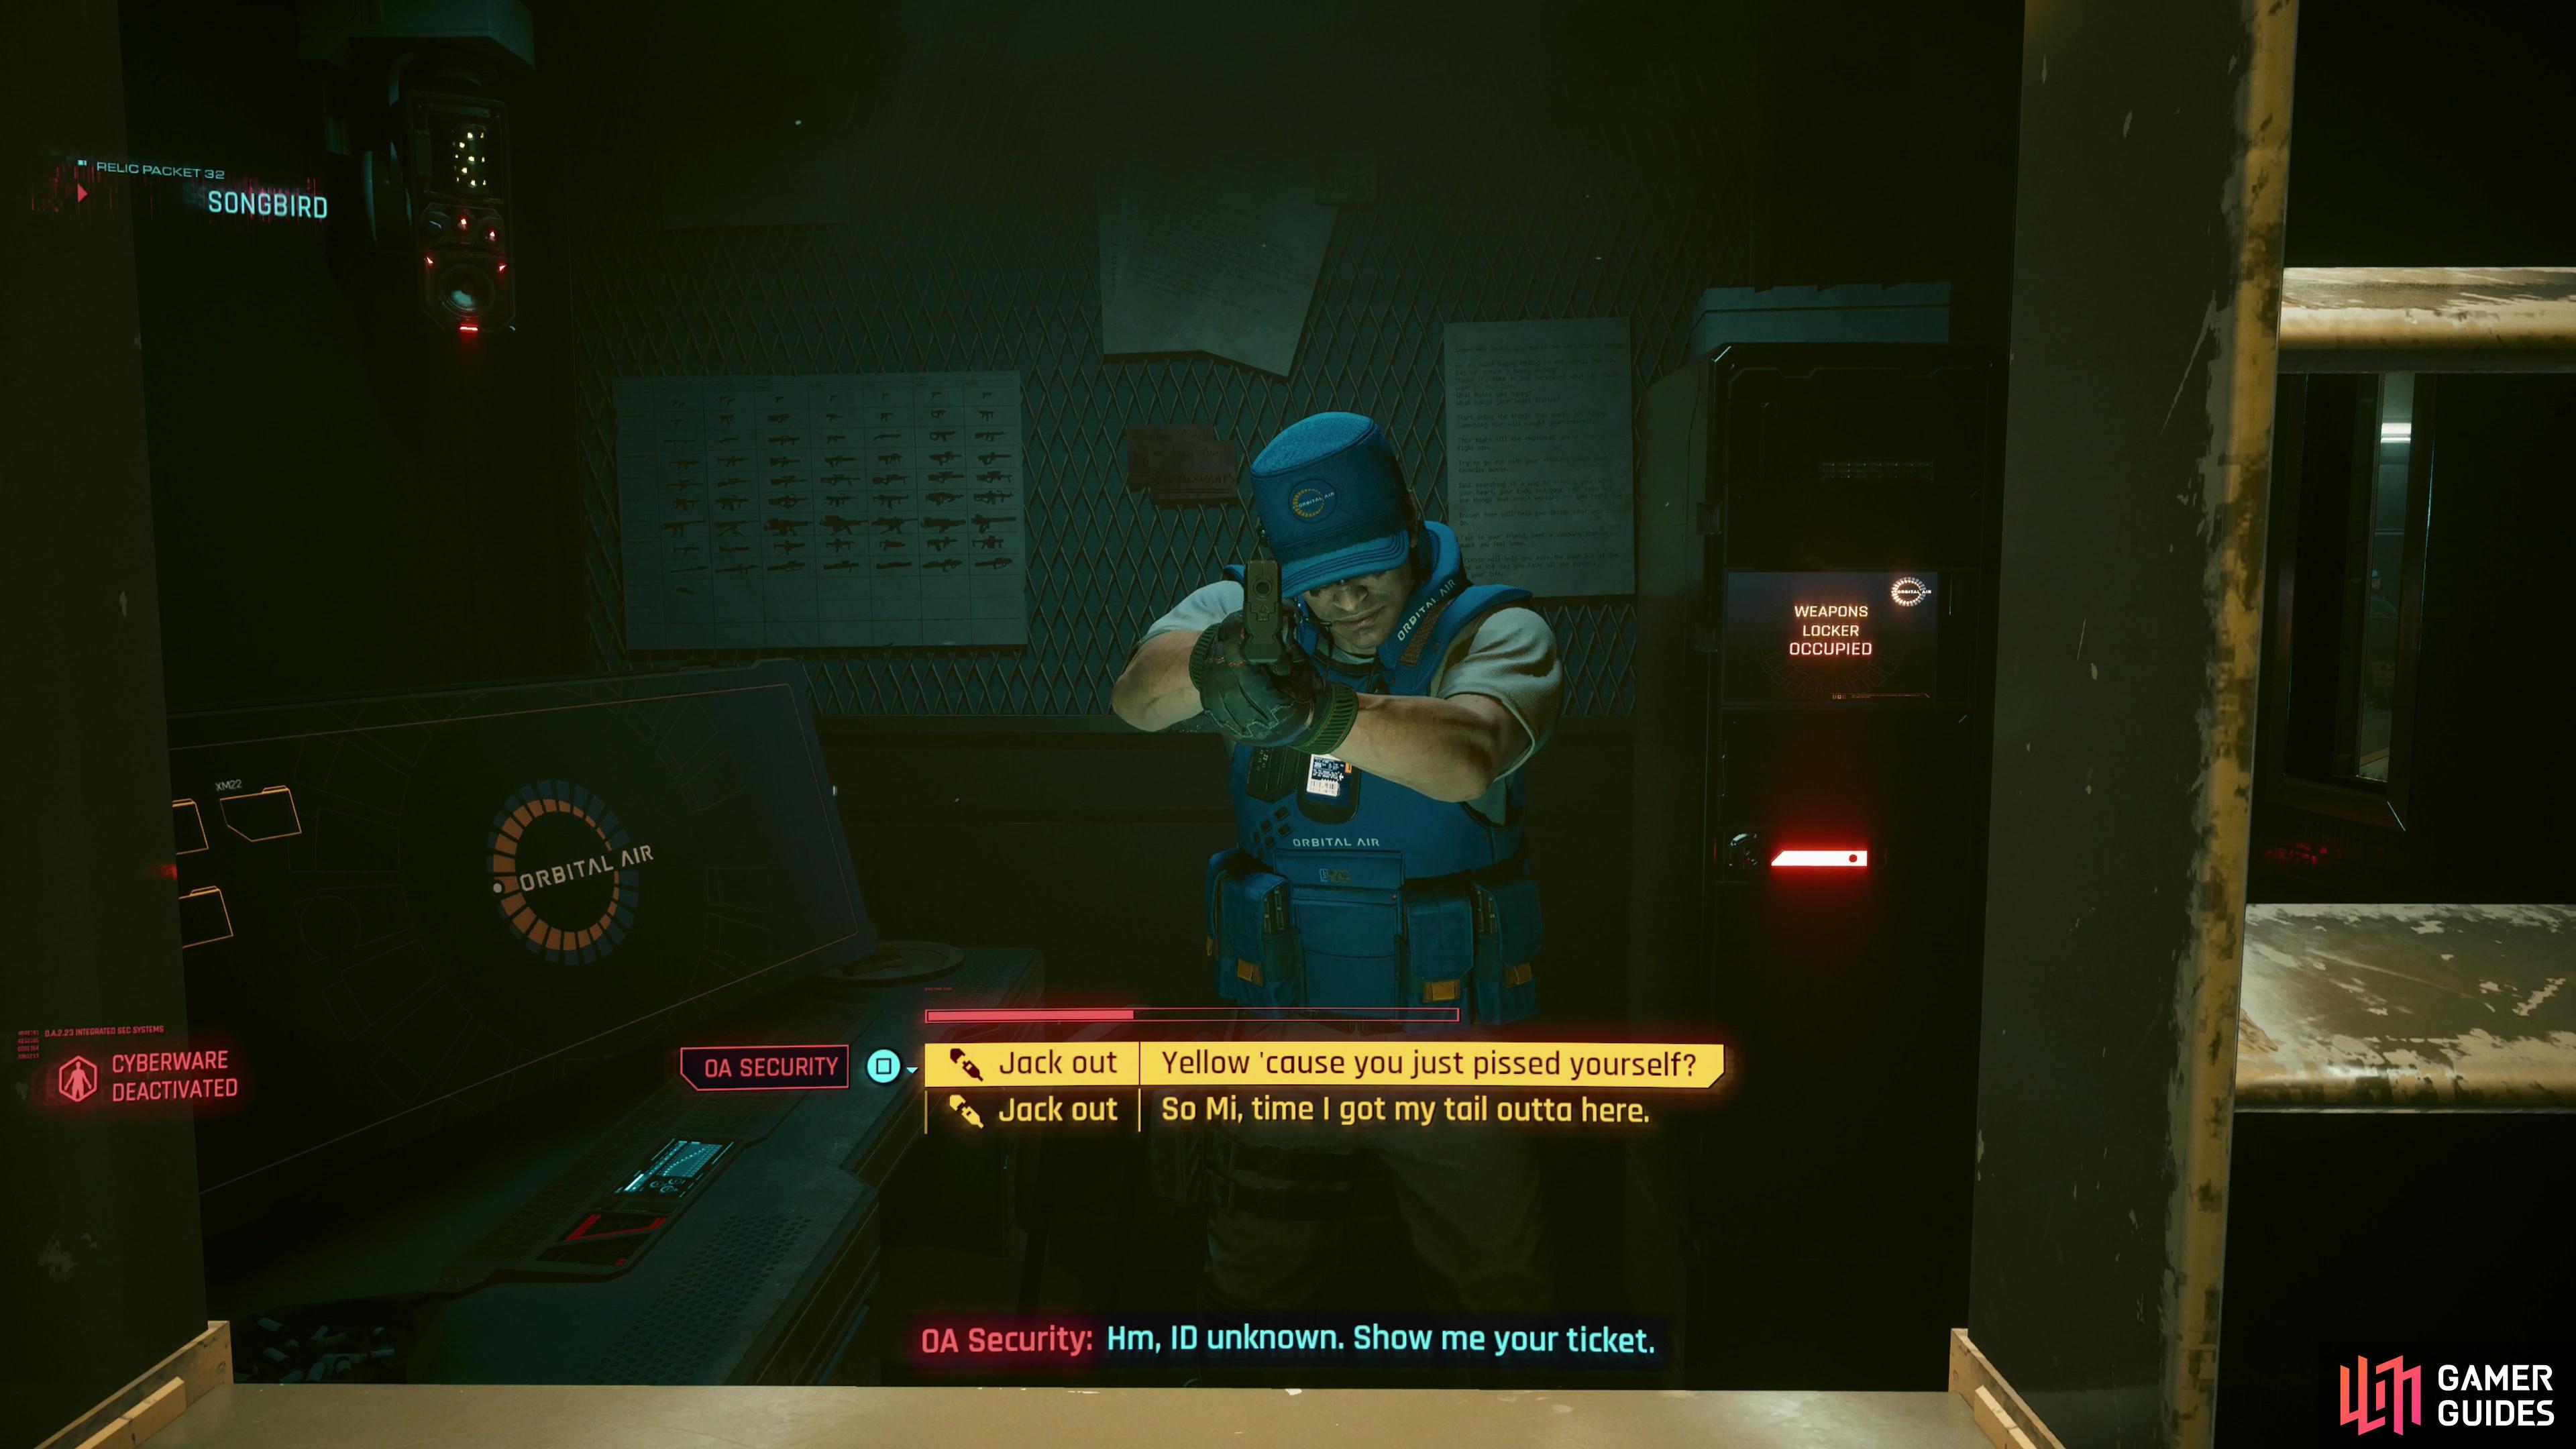
If you get uppity or look at the camera too soon, you’ll end up detained.
Fortunately Songbird will help you escape, getting you into the Tycho Terminal area.
Escape Detainment
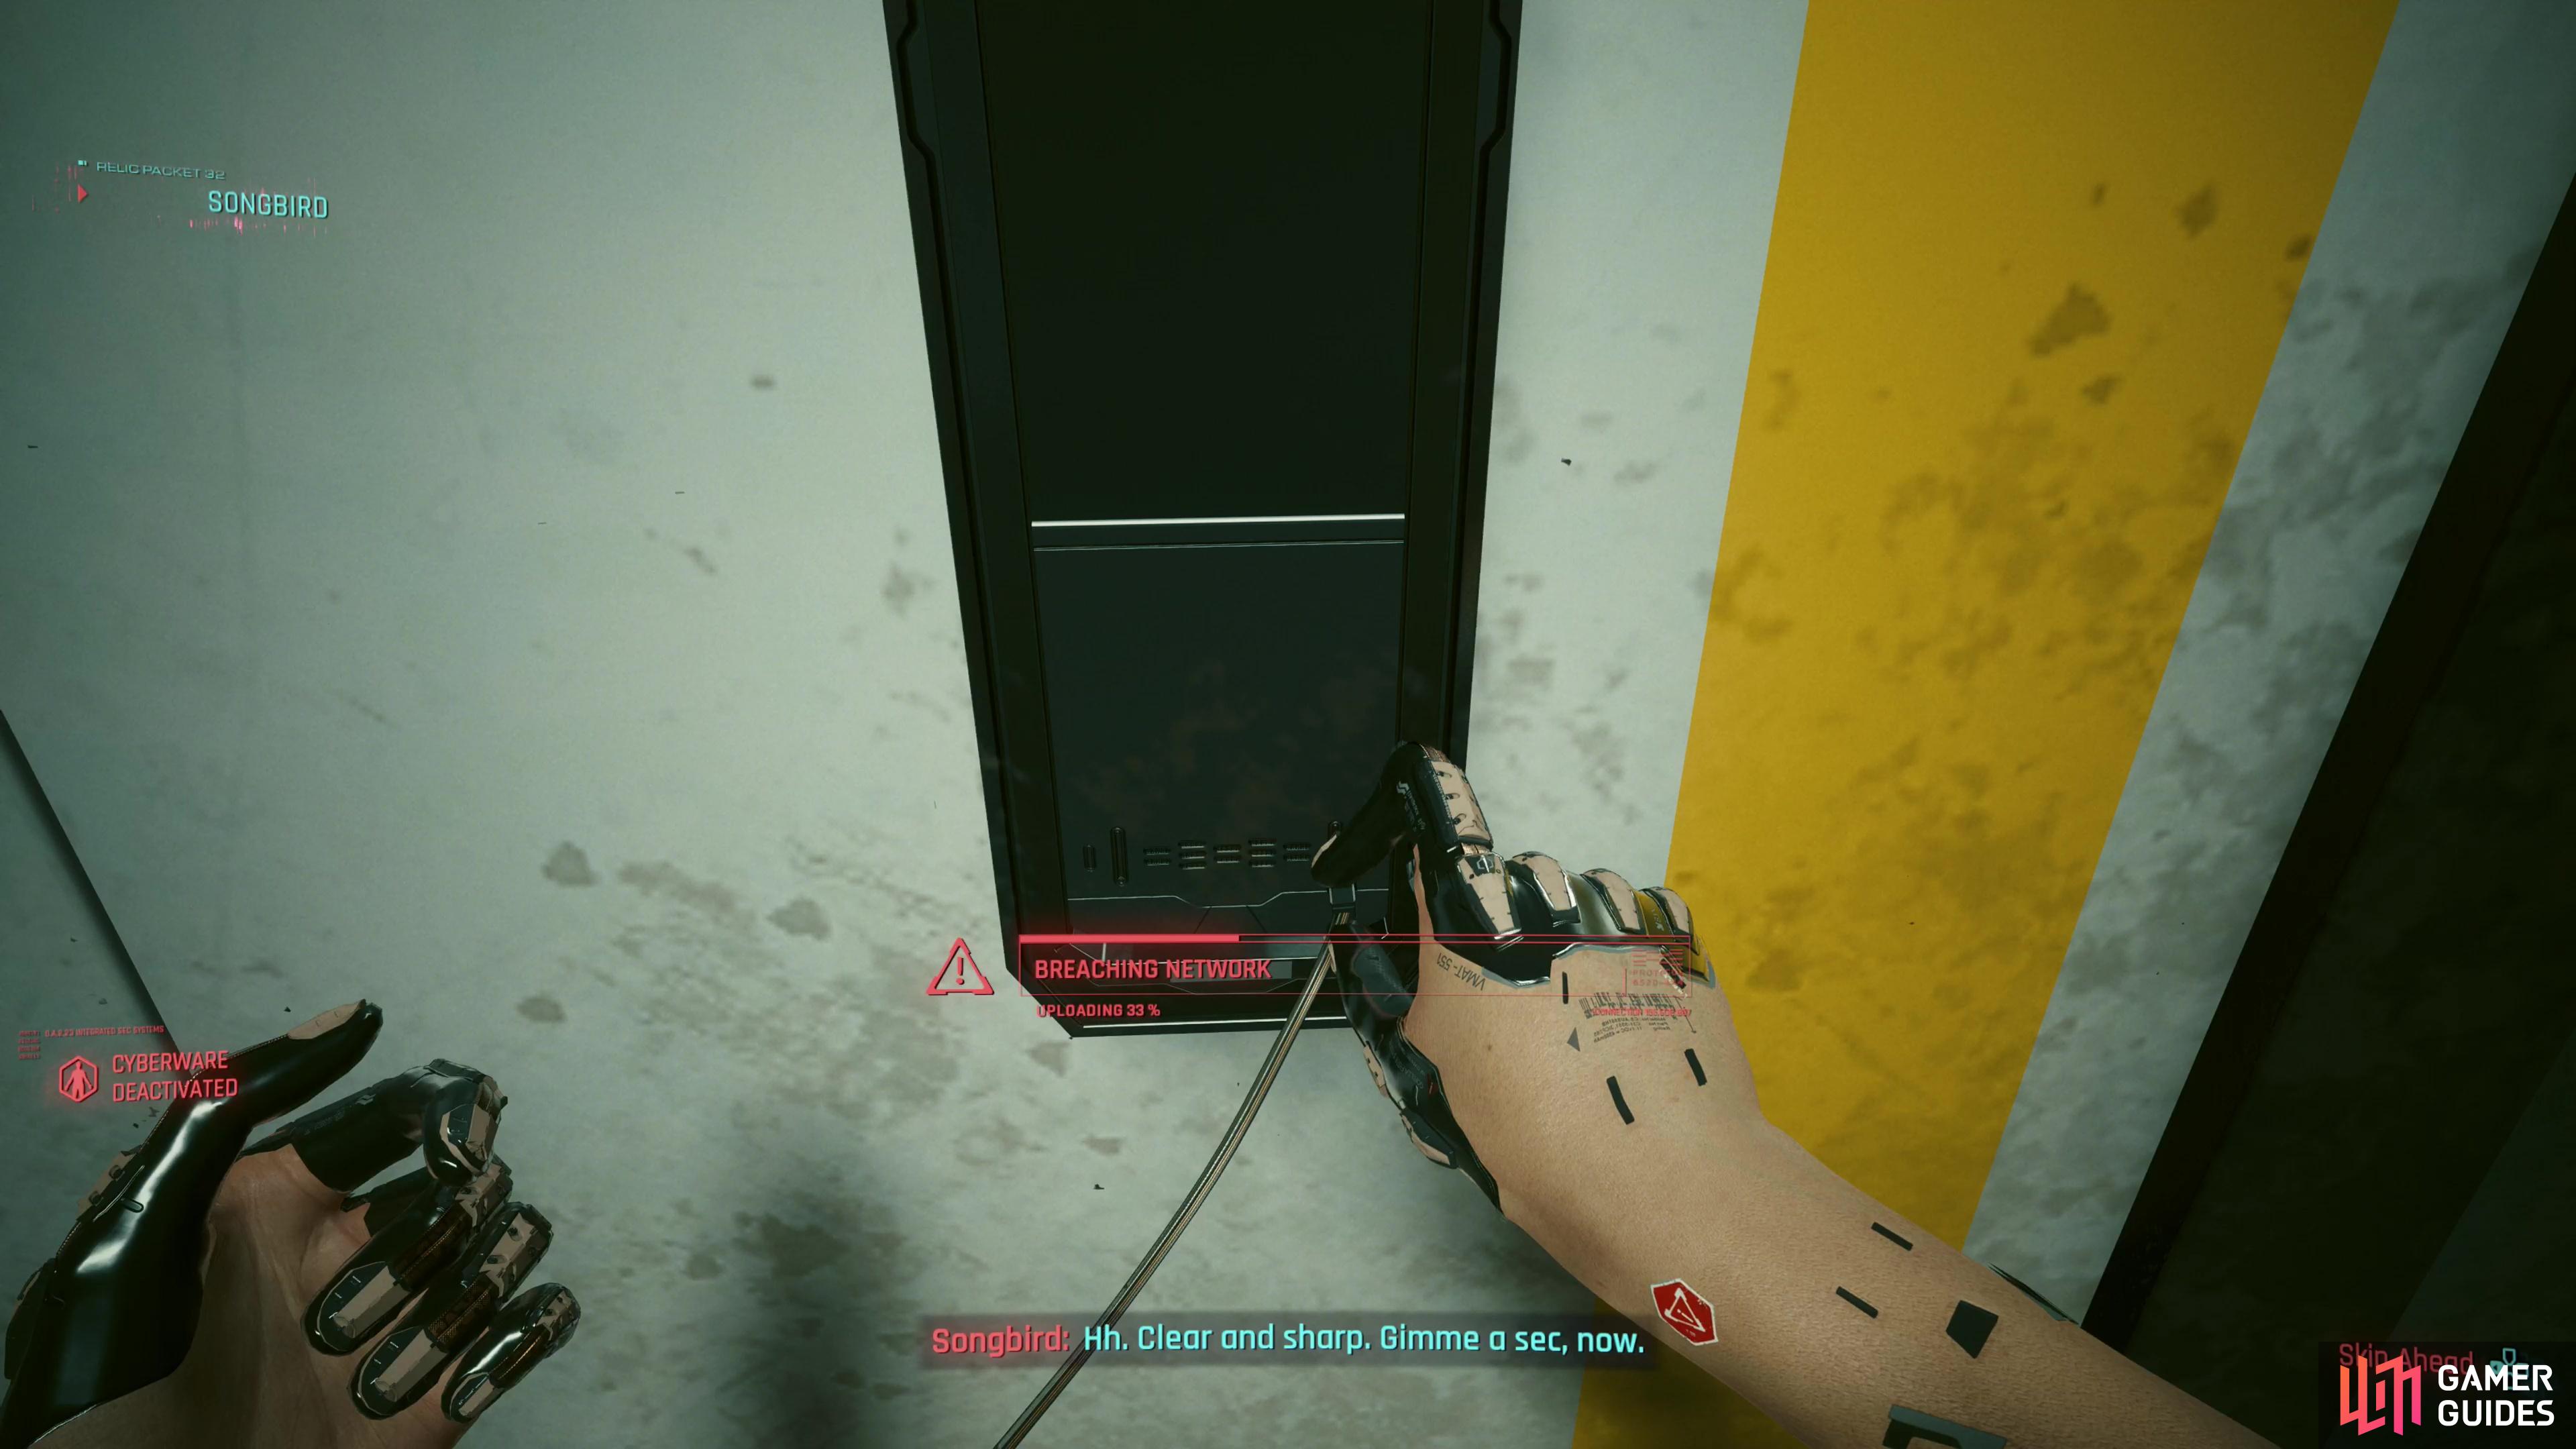
Finally, if you made a ruckus at the security checkpoint you’ll have been detained, and instead of getting a game over screen you’ll wake up in a cell in the Tycho Terminal. Navigate some chatter with Songbird and an OA guard, and when the guard leaves jack into an access point on the wall near the door and Songbird will get it open for you. Exit the cell, disable a camera (hope you have a netrunner Cyberdeck!) then take out the guard. You’re now free to explore the rest of the Tycho Terminal area, and despite the bumpy road to get there, you’re arguably no worse off than you’d have been if you took one of the maintenance tunnels.
Reach the Roof and Reunite with Songbird
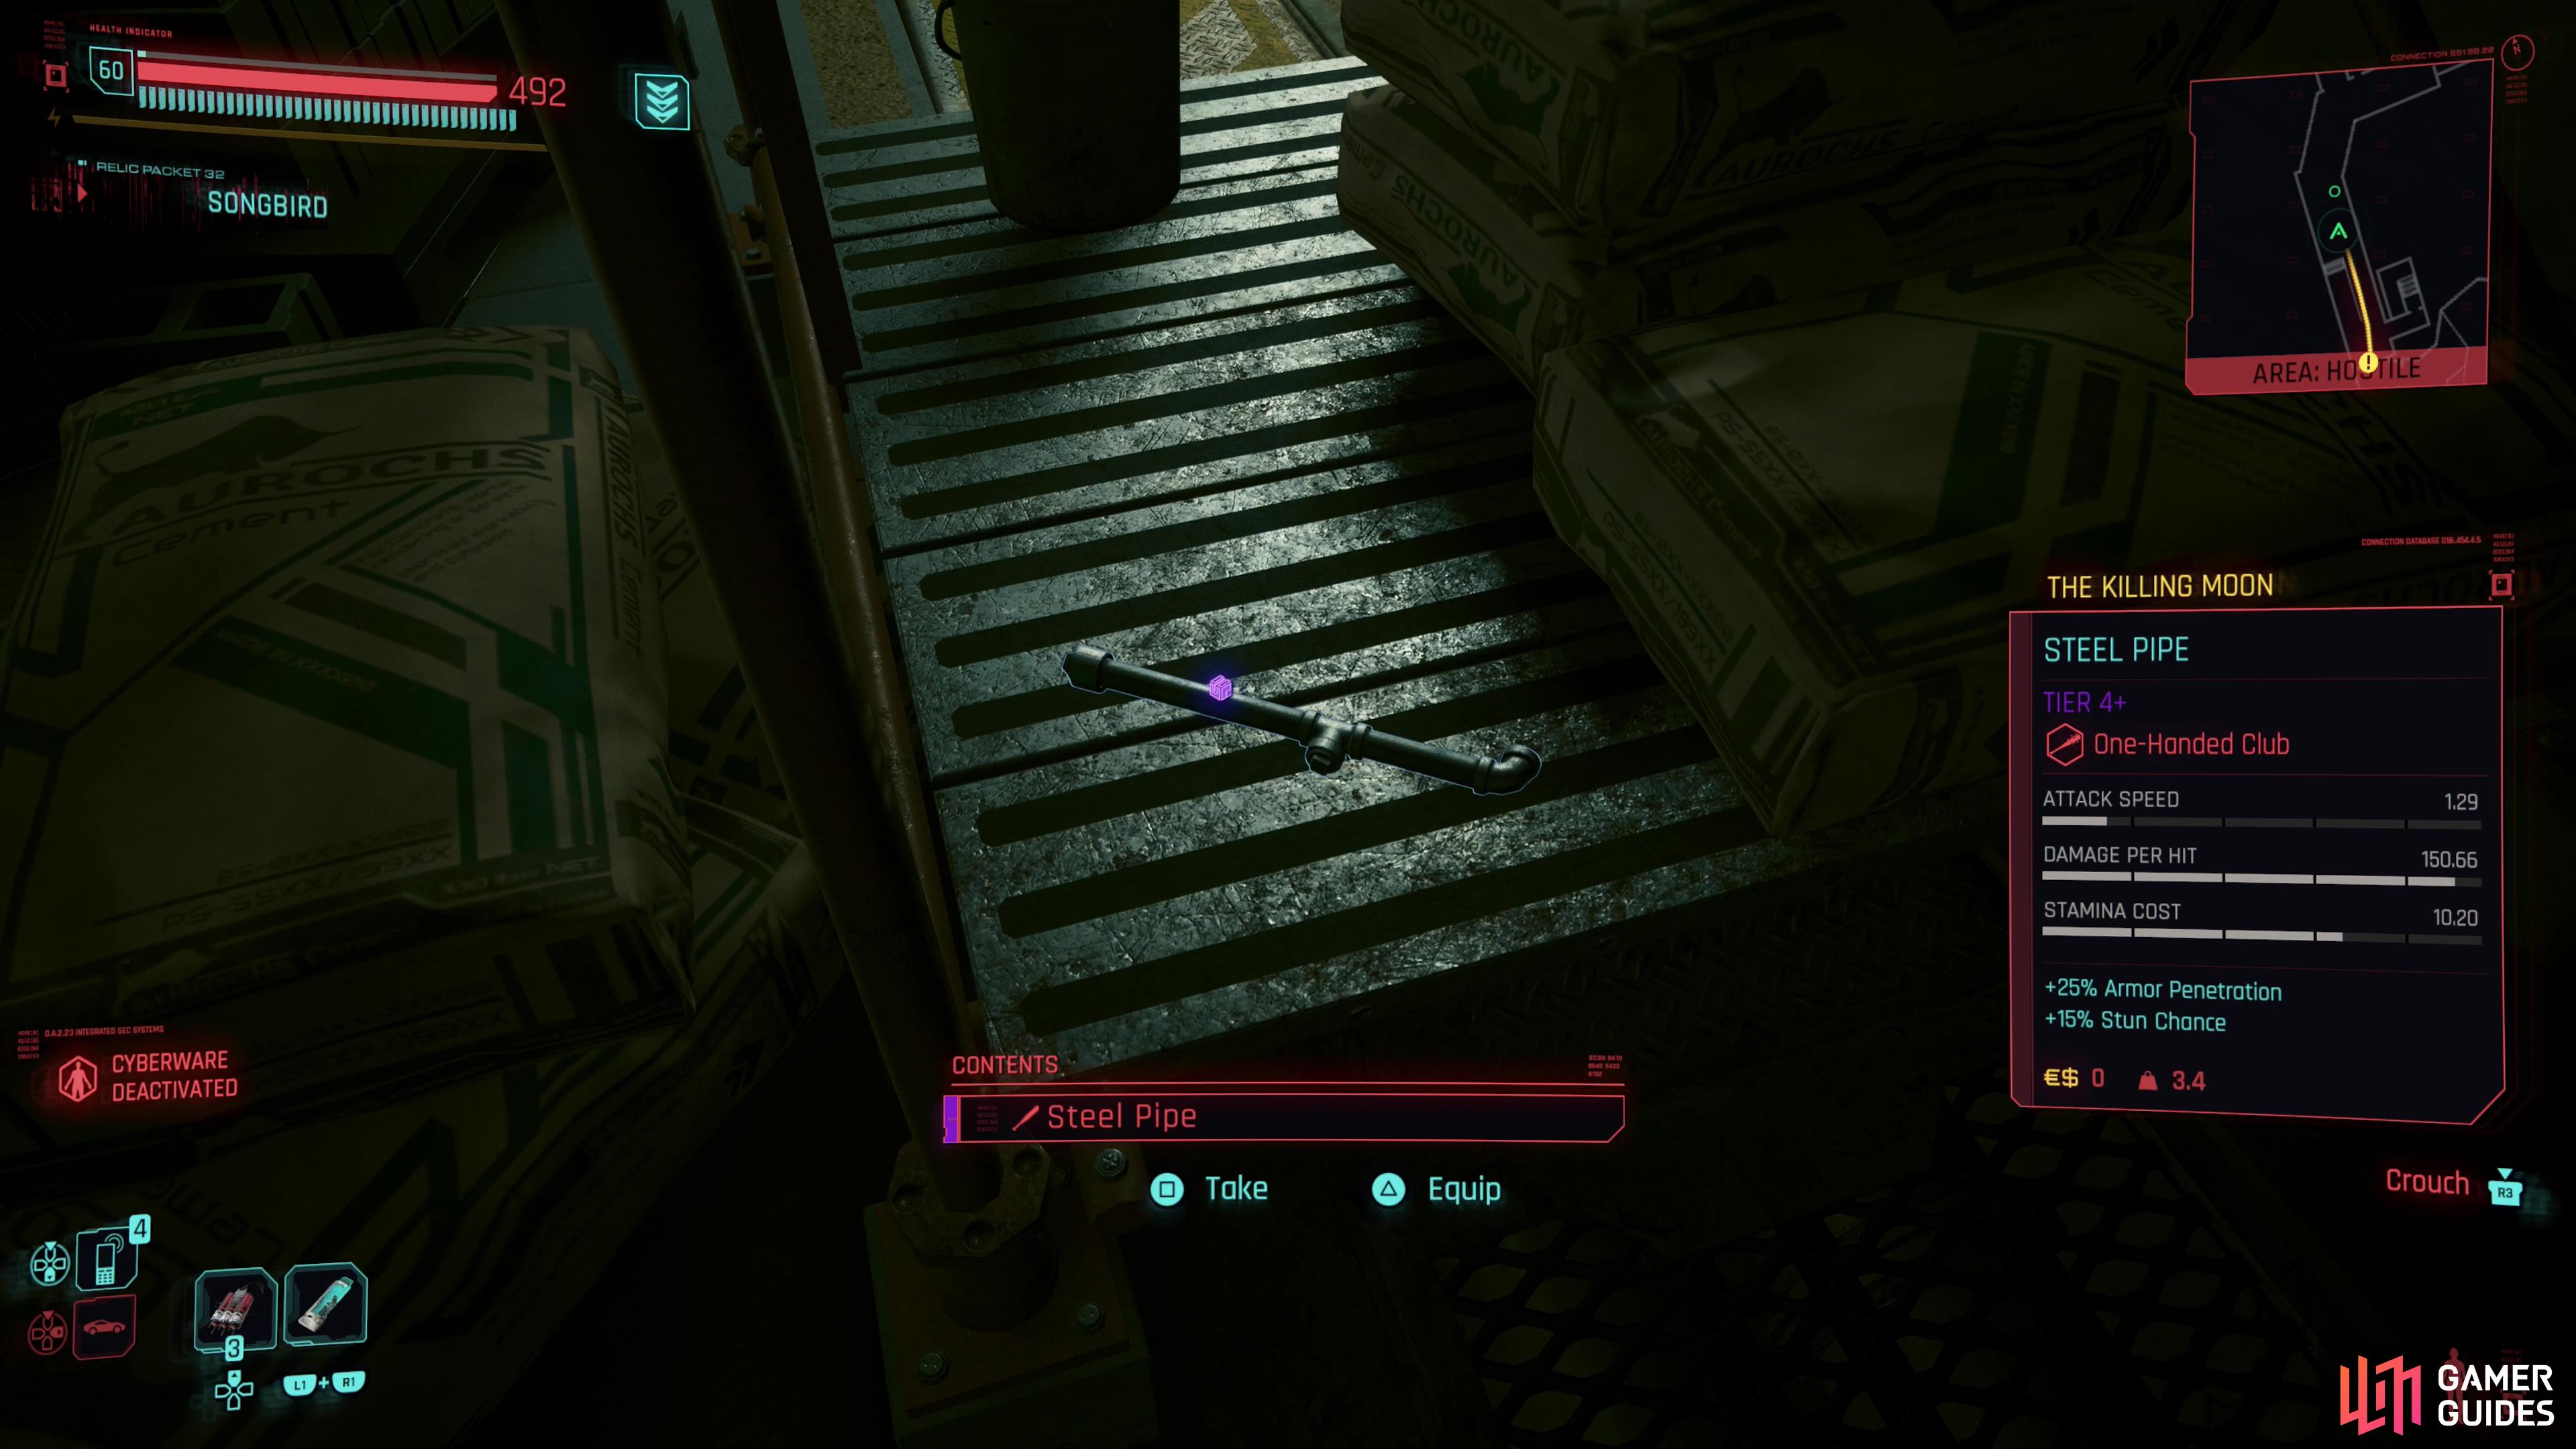
Now that you’re in the Tycho Terminal - however you went about it - you’ll get a call from Songbird telling you that her plans have been foiled. OA is snooping and opening a back door is no longer feasible, you’ll need to get to the roof and find a way to sneak her in from there. The route you’ll need to take varies depending on how you gained access, but the area’s not terribly long or complex, with only a few OA workers and the odd security camera in your way (and most of this lies along the route you’ll only have access to if you end up detained). You can find a security office with an access point [Intelligence 10] and a baton, and later on there’s a steel pipe you can grab. These will be your only weapons aside from built-in arm cyberware or quickhacks.
However you reach Tycho Terminal you’ll end up going down a long corridor which eventually leads to a construction site, and this is where the going gets a bit rough. If you have the Corp-Bud outfit, the OA workers and security still won’t bother you, but there’s the odd security camera on the wall and robots who will detect you just fine. If you have quickhacks, the ol’ Sonic Shock + Short Circuit combo should work well at taking out the bots without anybody noticing, otherwise you need to remain undetected, or failing that, go on a proper rampage. The staircase leading to the roof can be found on the opposite edge of the construction site area, just follow the wall to the left and you’ll get there with minimal enemy scrutiny. Follow the right wall, however, and jump up to a higher level (right where there’s a yellow “Corpo-Bud” sigh) and you’ll find some stairs leading to an office, where you can find an access point [Intelligence 10] and another baton.
Before bothering with the construction site at all, however, note a tarped-off area to the left of the doors leading to the construction site. This leads to a sealed door ([Body 15] | [Technical Ability 10]) beyond which are stairs leading to the roof - if you’ve got the stats, you might as well just avoid the construction site altogether. Taking this shortcut you’ll pass by another office where you can find an access point [Intelligence 20]. Do what you will, go through another door and down some stairs, through another sealed door ([Body 15] | [Technical Ability 10]), which will take you to the construction site - the entrance to the stairs leading to the roof is just to the left.
Once you reach the stairs at the far side of the construction site, go up them and you’ll eventually have to pass through a large office. Be wary of the camera on the wall to the right (you may have deactivated it from the construction site - it can get nosy and start detecting you from there), then head left and ride an elevator to the roof.
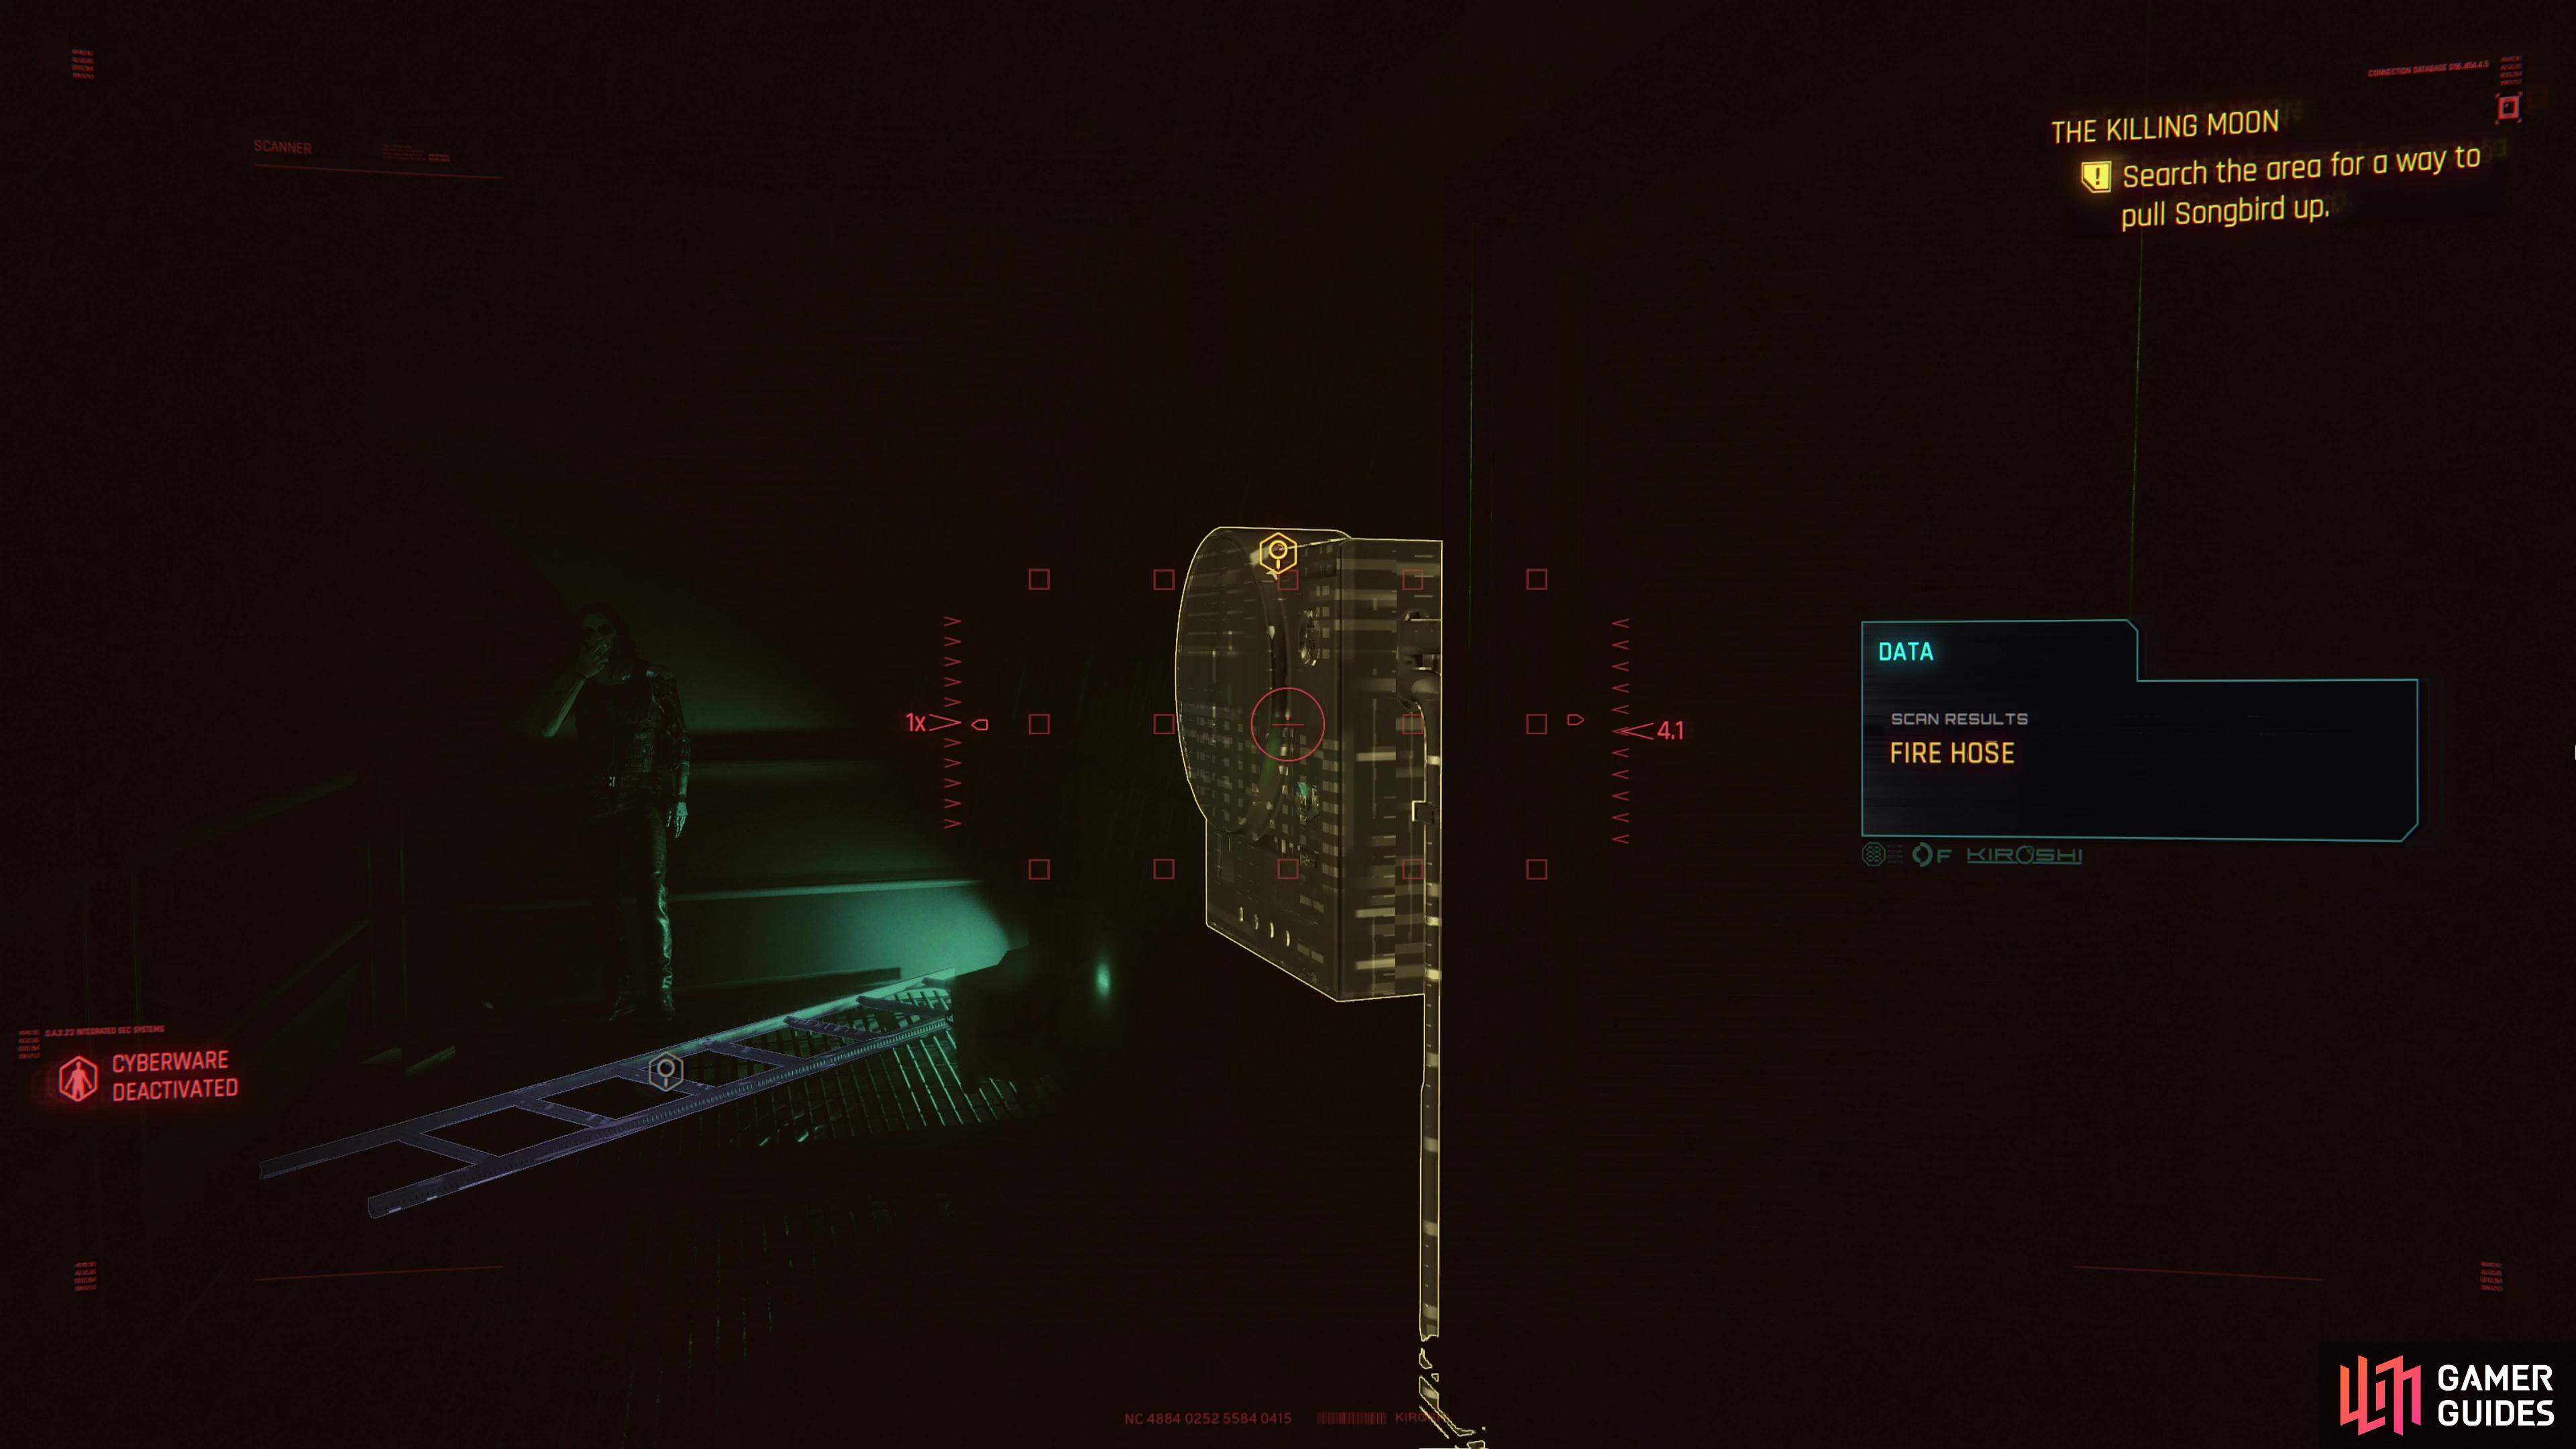
Reach the roof and Songbird will encourage you to hurry up without giving you any specific instructions. Given how poorly things tend to play out when V has plans, this is probably for the best. Go downstairs and follow the linear path ahead - you shouldn’t need to jump over any pipes or anything, just head forward and go down a short flight of stairs, then turn right down another, more substantial set of stairs and scan a fire hose box to the right. If all else fails, keep an eye out for Johnny, he’ll appear on the route. Use the fire hose to bring Songbird up to the roof - and she’ll have brought your weapons with you. Grab them and reequip yourself, then follow Songbird across the roof and through a previously sealed door
You’ll now have a walk-and-talk with Songbird, who will note an unwelcome development that soon becomes realized, and you’ll shortly end up witnessing and overhearing the scheming of some old acquaintances. Follow Songbird and do the odd bit of gate-lifting and fan-blade catching when prompted and you’ll sneak your way through some maintenance shafts, ultimately exiting in another section of the roof. Sneak and ignore the NUSA troops here, you just need to go right a short distance to reach an elevator, which will take you down to the main hall. There’s nothing that prevents you from clearing the roof, but you don’t gain anything but doing so.
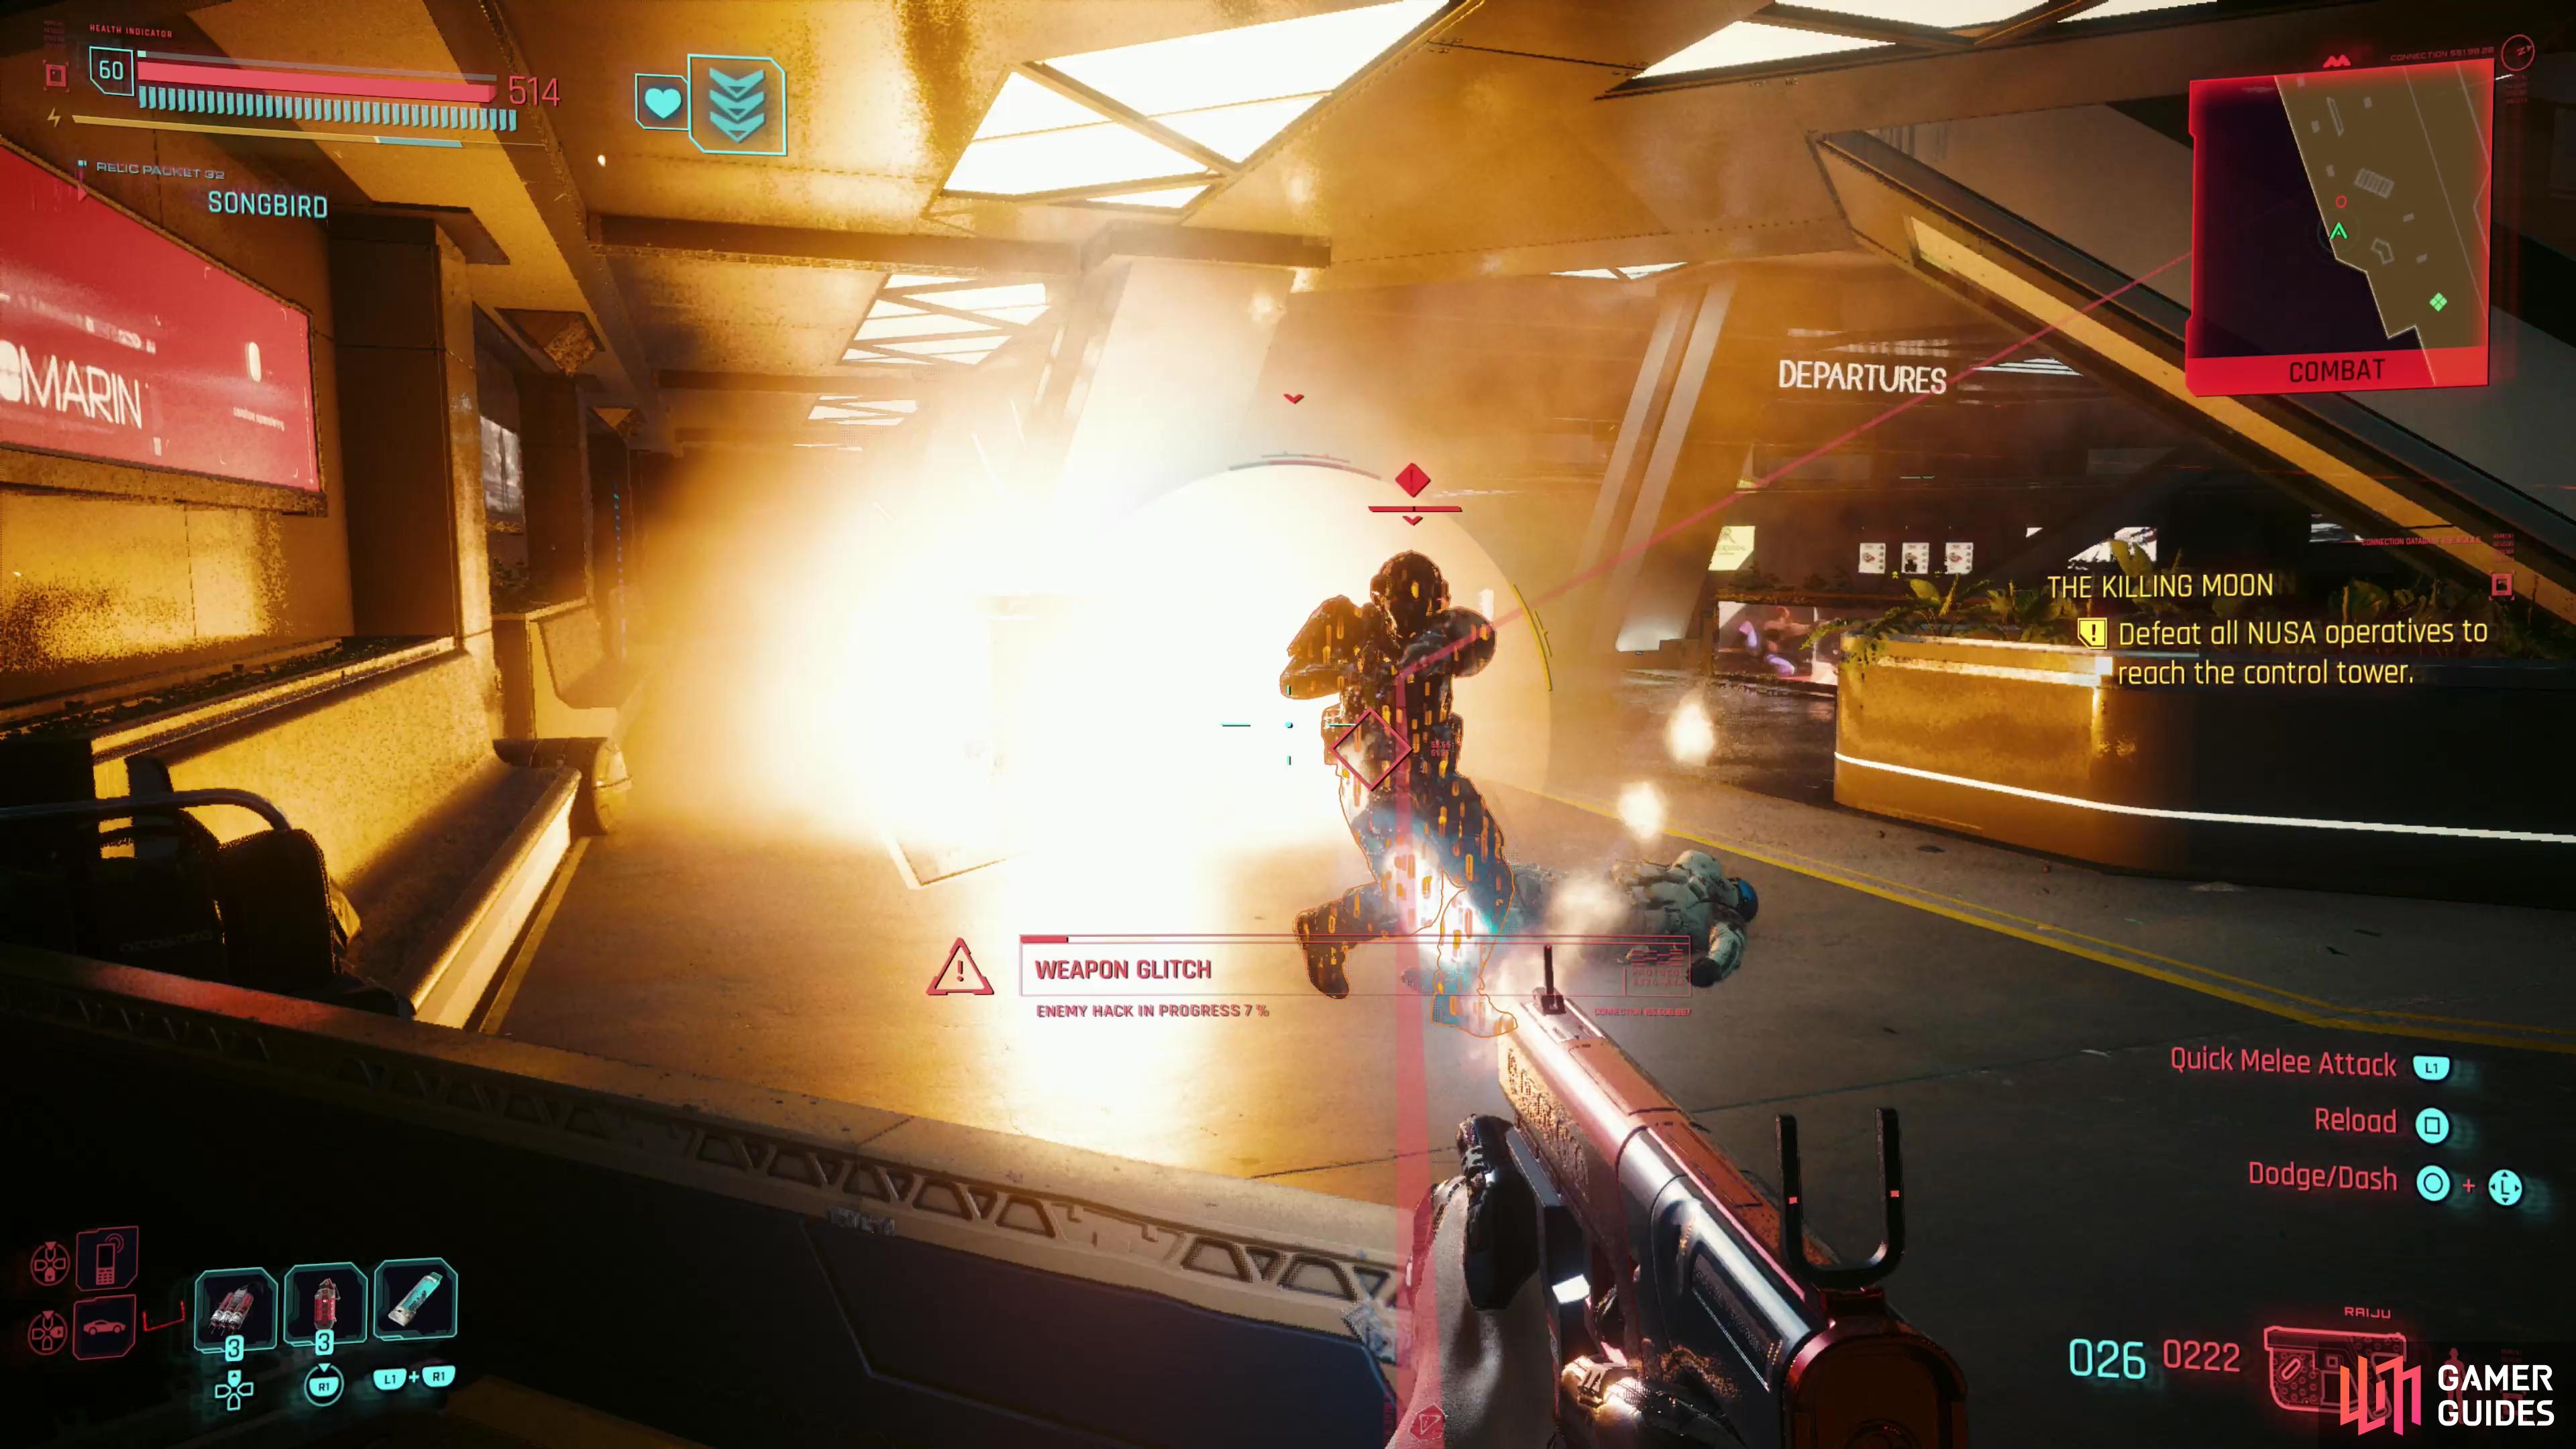
Return to the terminal where you’ll find the time for stealth is over - pick off the NUSA black ops agents you encounter,

and fight your way back to the construction site, where more varied NUSA troops await, including netrunners.
Fight Through Tycho Terminal
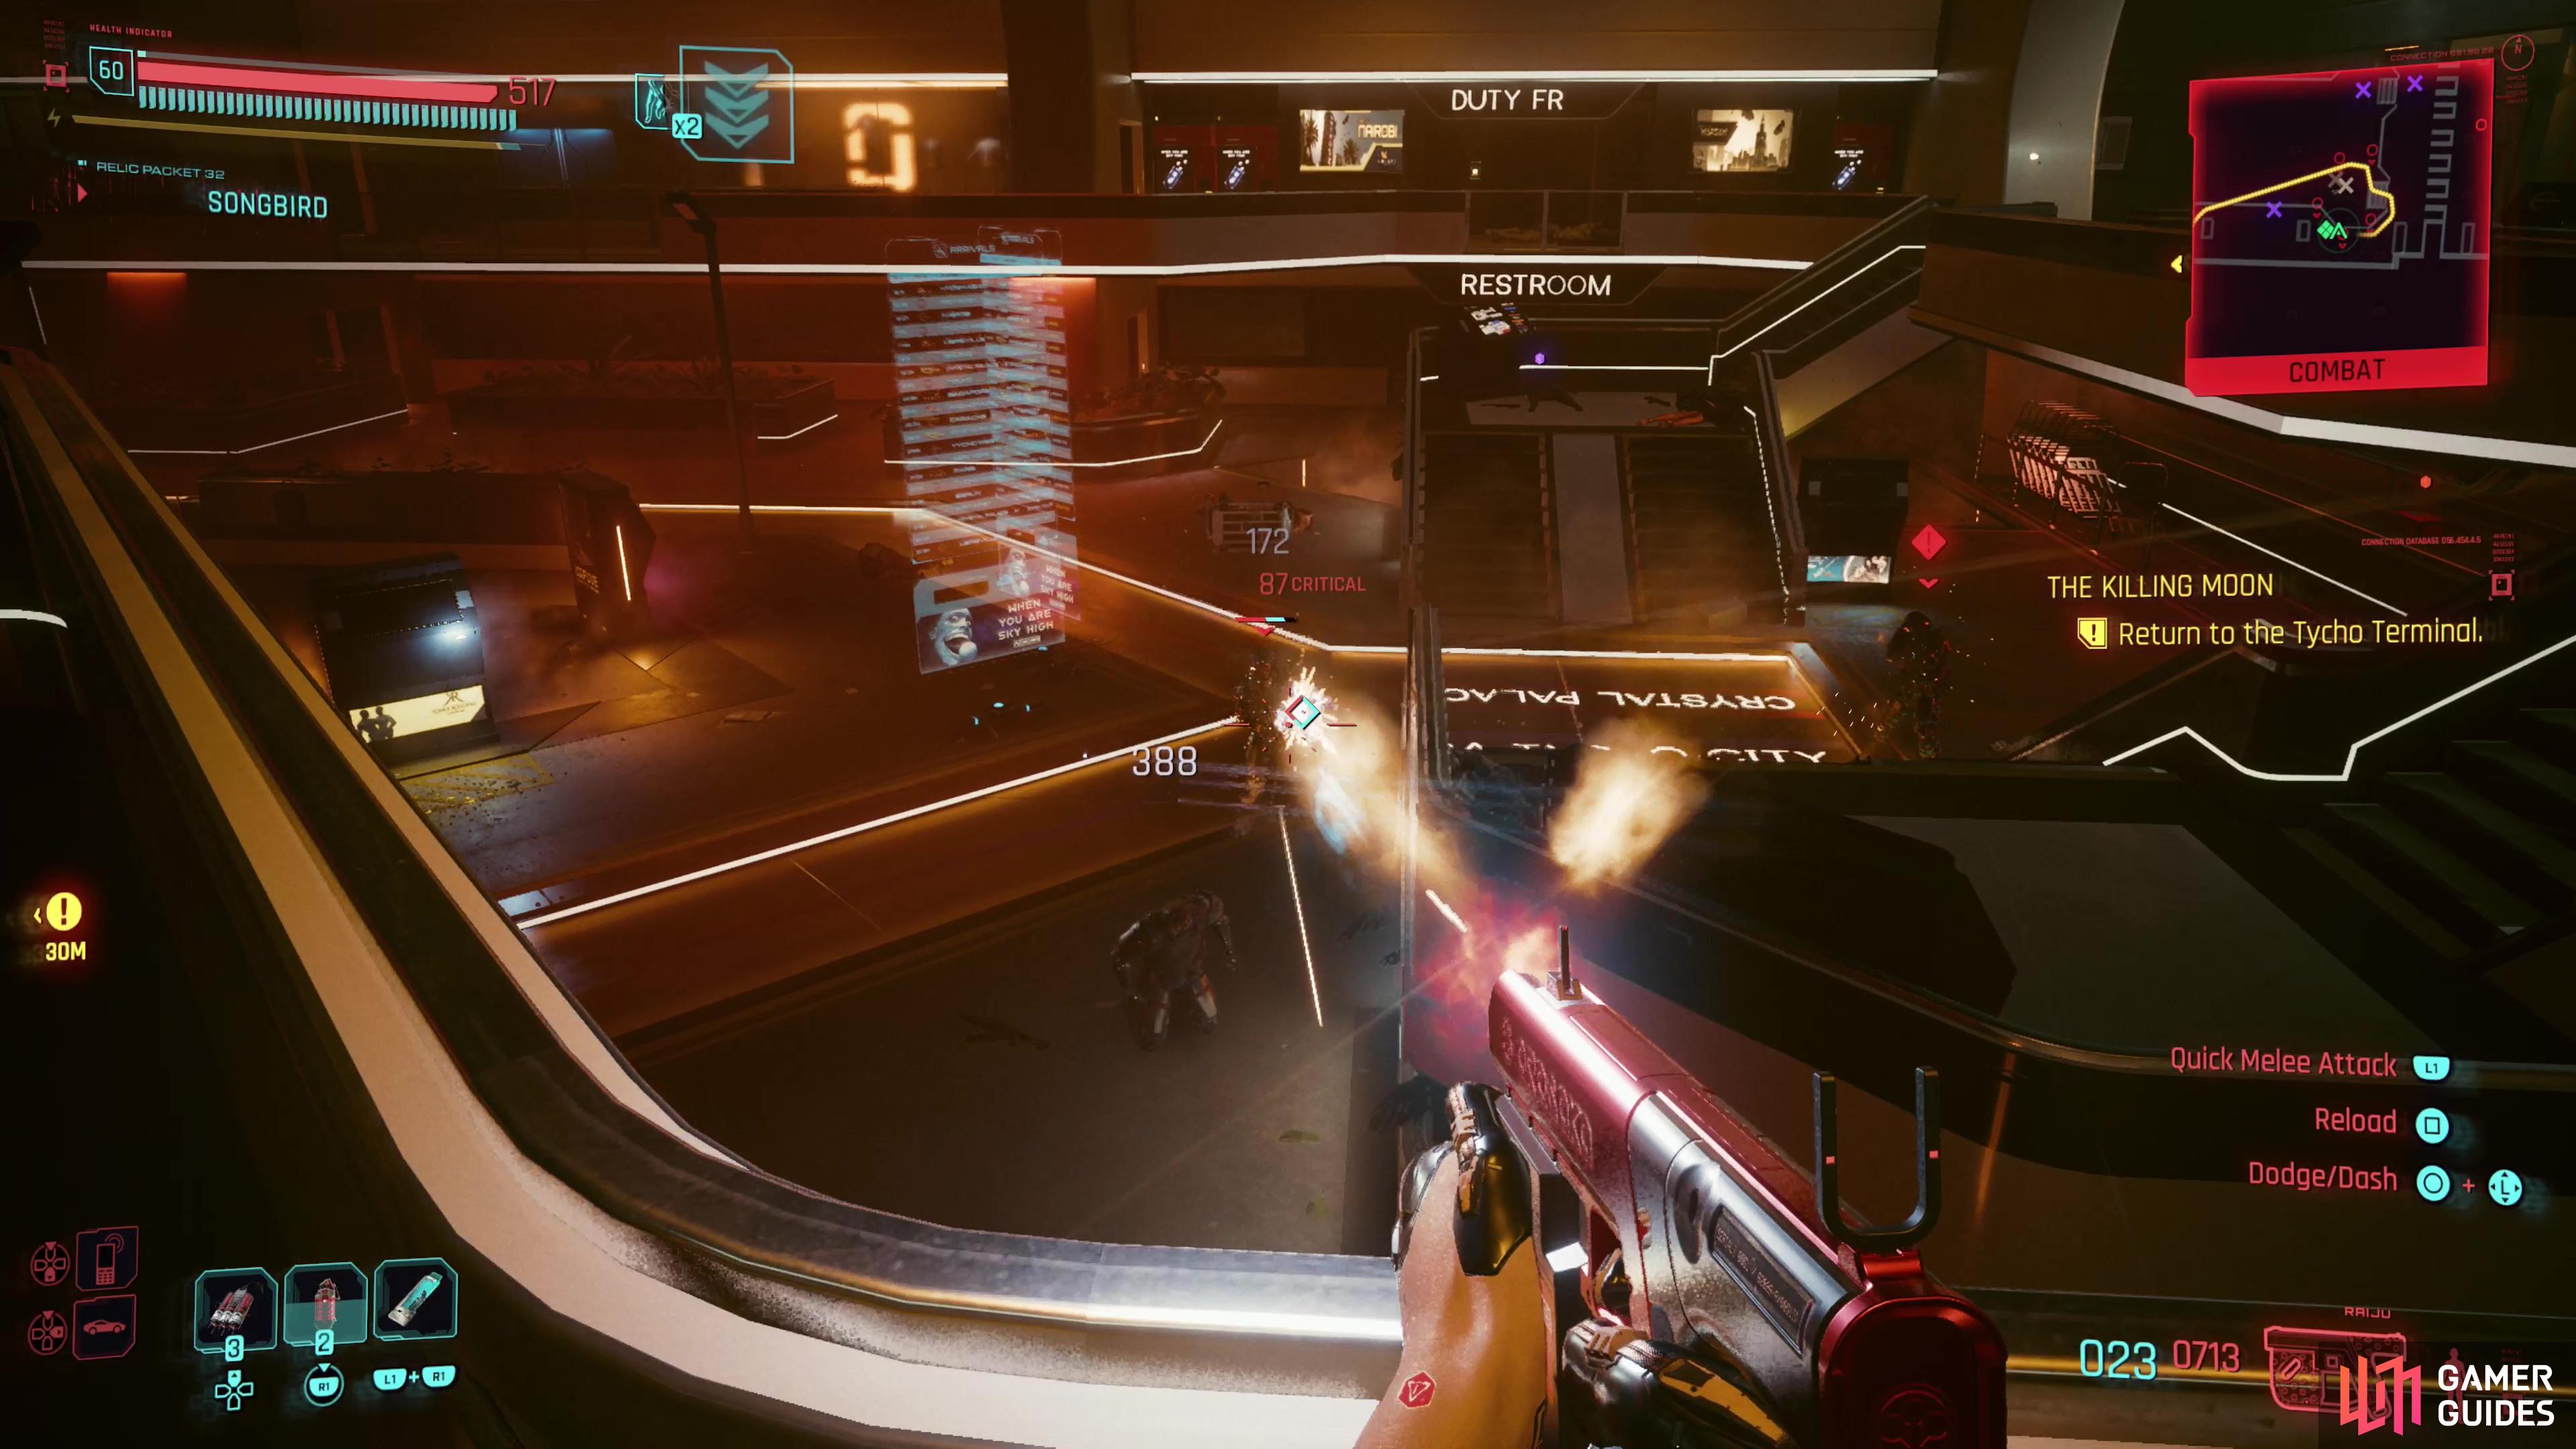
Ride the elevator down and you’ll find yourself back in the terminal you entered after clearing security, albeit on the opposite side of the room. Myer’s ham-fisted, imperious approach to statecraft is in full effect, with the NUSA black ops agents fighting OA security. Looks like Johnny was right on the money with his commentary in the terminal earlier, bunch of dead sheep led to slaughter…
Your goal is to make it back through Tycho Terminal and into the construction area you explored earlier, and given the number of enemies between these two points, stealth is going to be pretty tricky… unless you’re a competent netrunner who is fine standing back and quickhacking everything to death. Point is, don’t feel bad about resorting to run-and-gun if you’ve been using stealth up until now - different tools for different situations, and the stealth segment of this job is past. If you’re still wearing the Corp-Bud uniform, the OA guards shouldn’t bother you until you enter the restricted area of Tycho Terminal, but they exist mostly to put up token resistance against the NUSA black ops agents, so don’t feel bad about gunning them down.
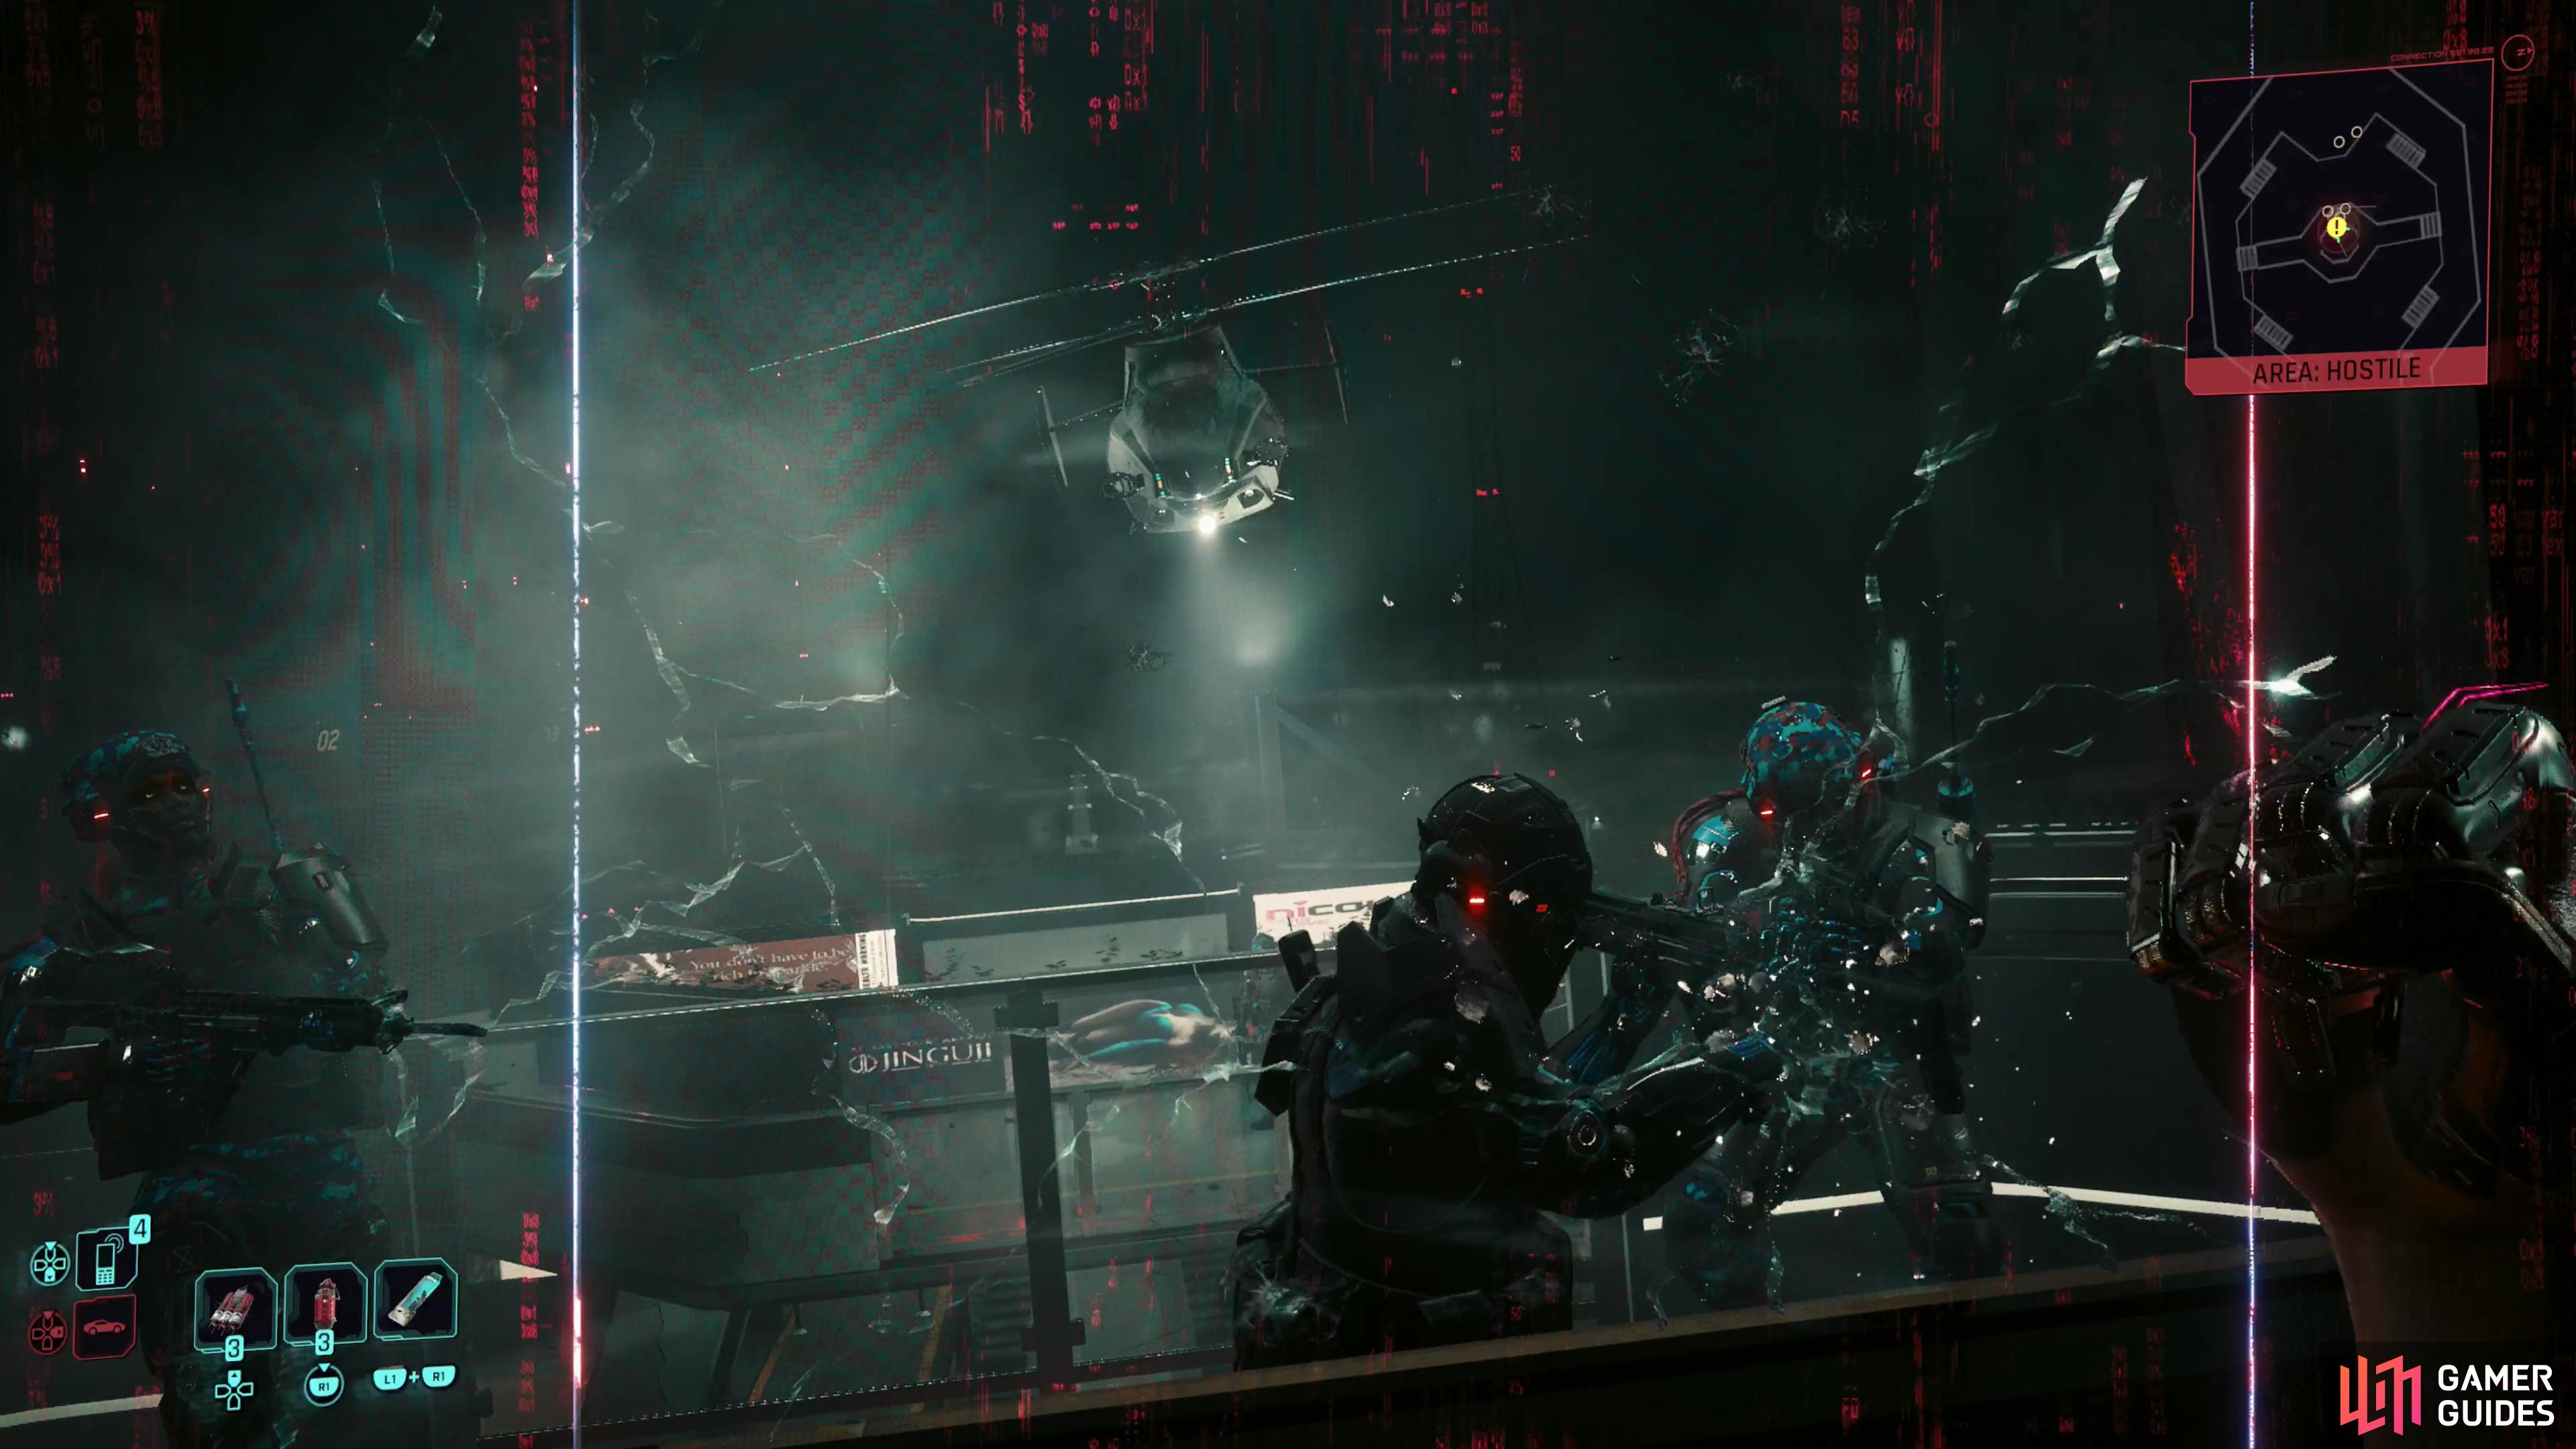
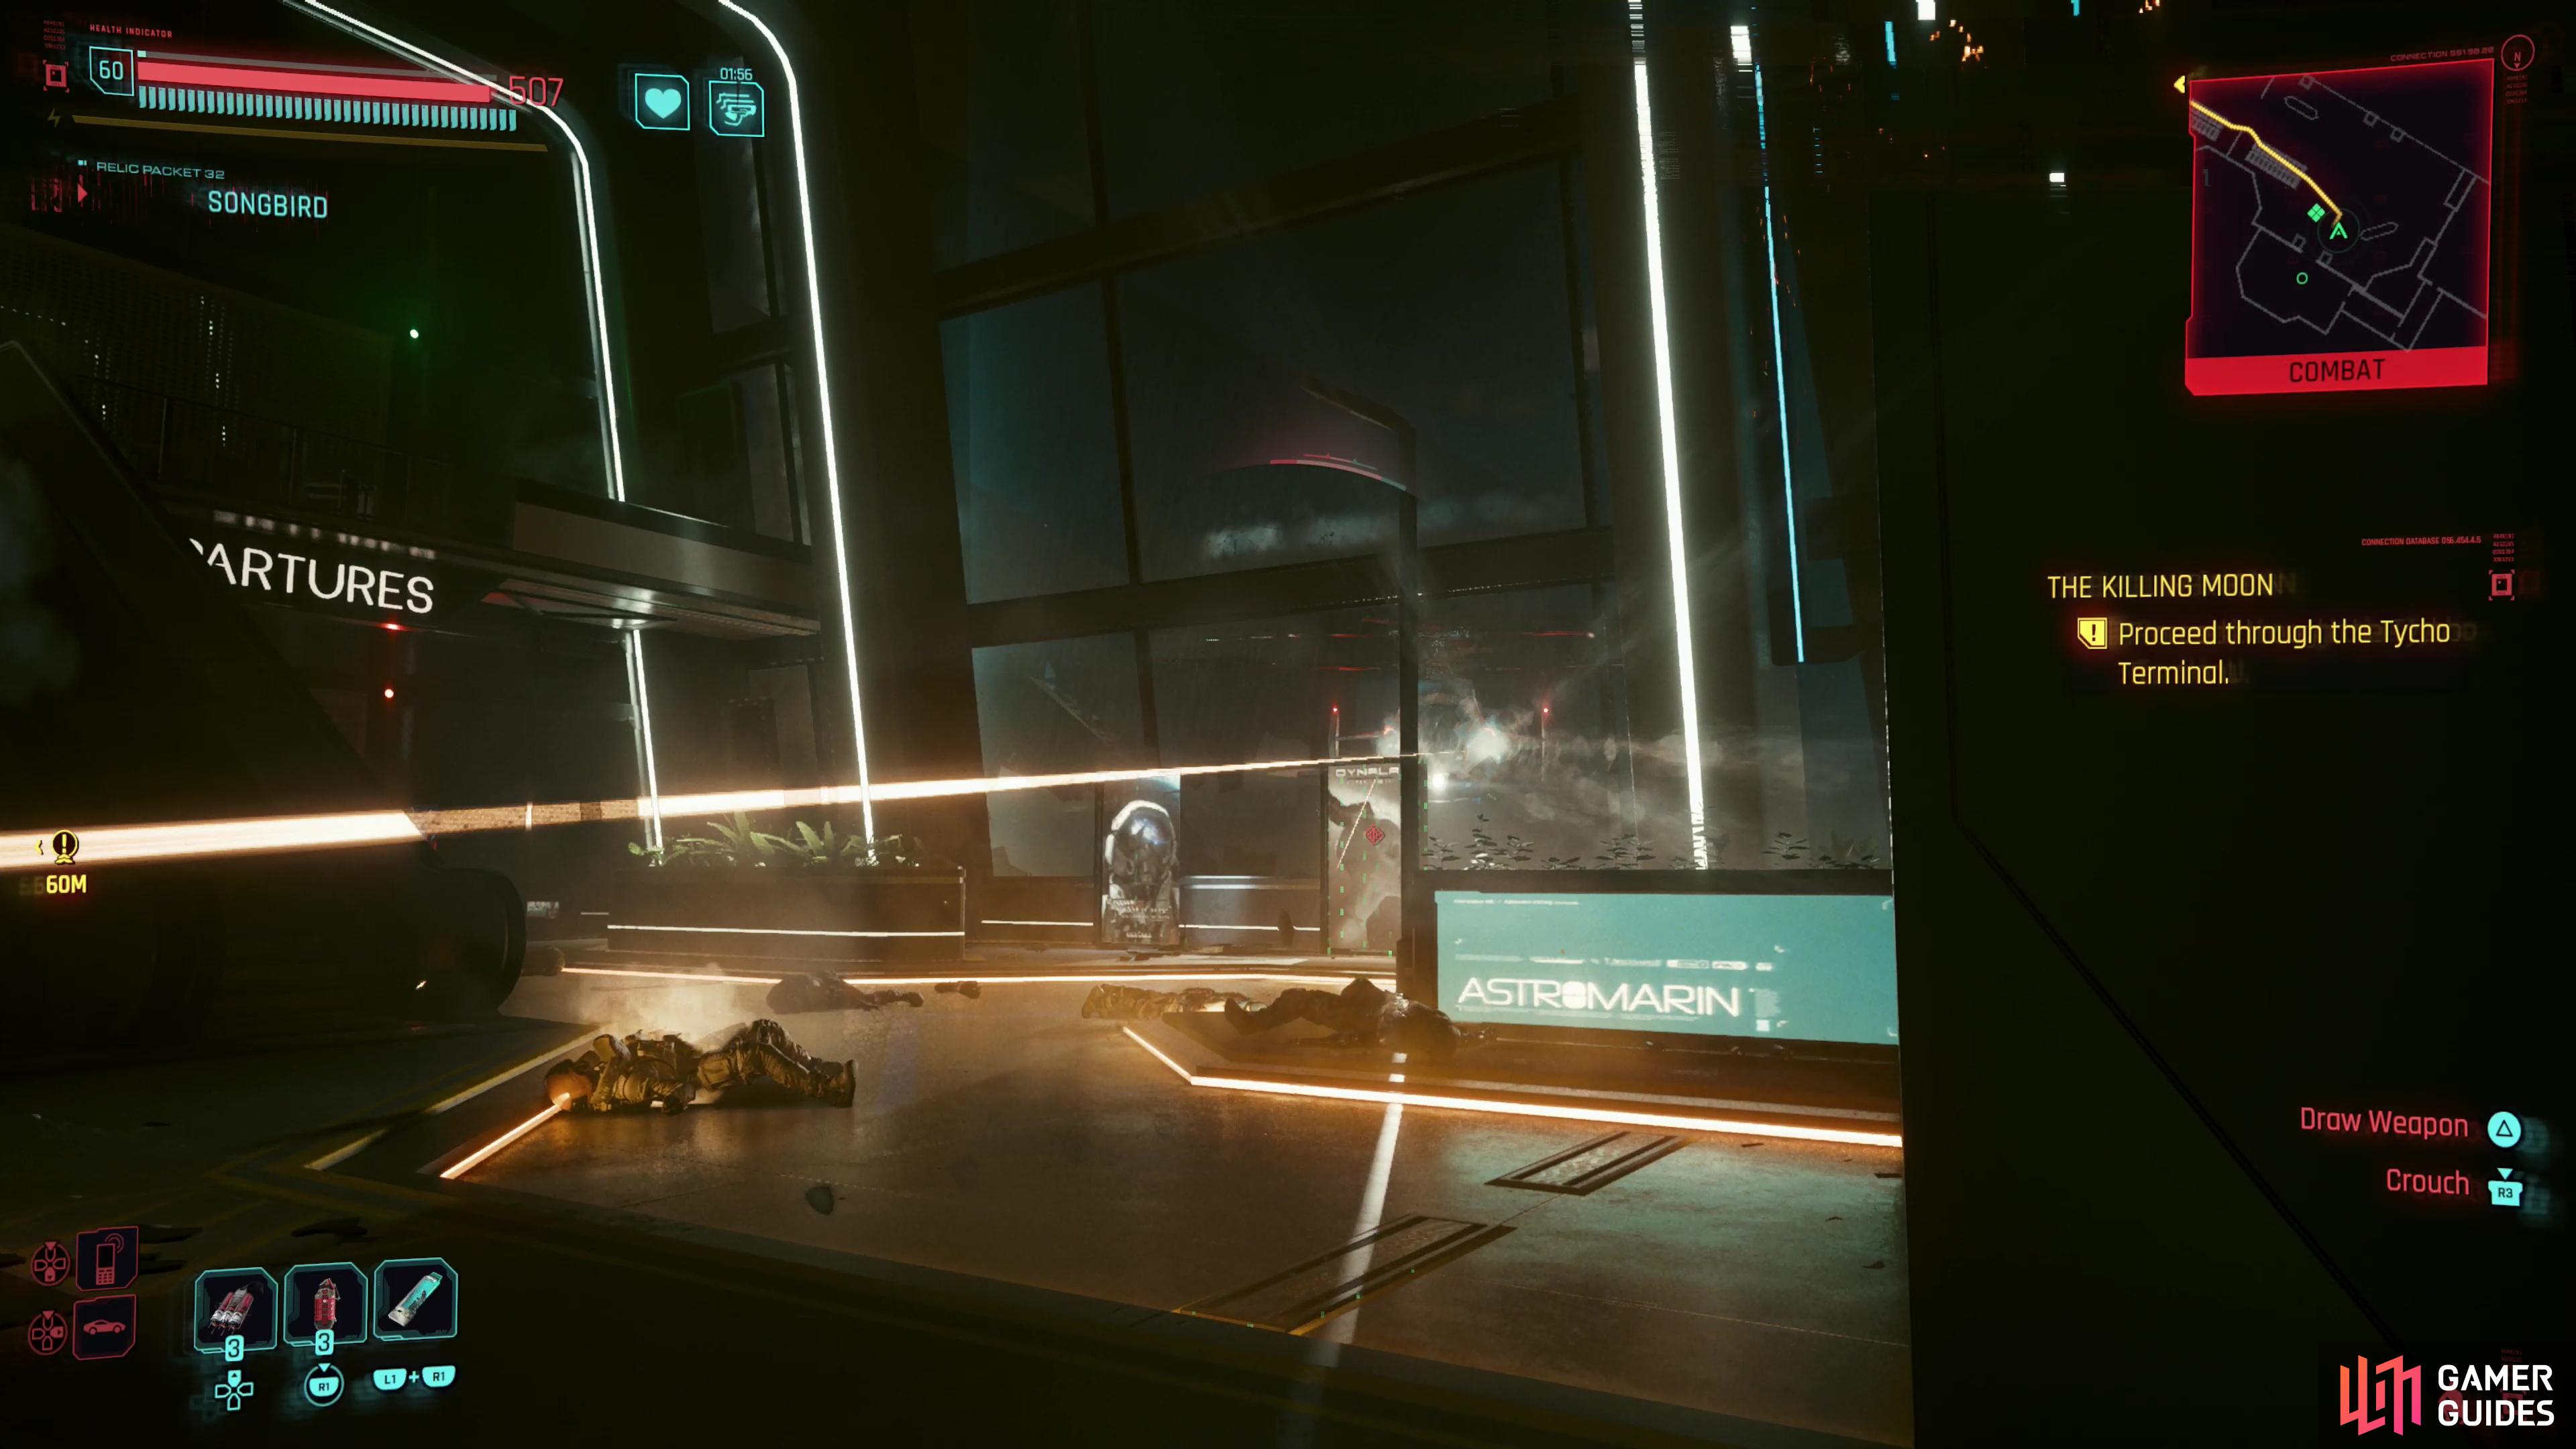
When you reach the construction site, you’ll find heavy NUSA forces waiting for you, including snipers, heavies, and netrunners. Get through the area - your destination is an elevator opposite the entrance to Tycho Terminal. Ride up to “Departures” and you’ll get spooked by a NUSA attack chopper, which will become more of a threat shortly. After it leaves, continue on to a bar and chat with Songbird, picking whatever options you want, then open a gate to reach the next area.
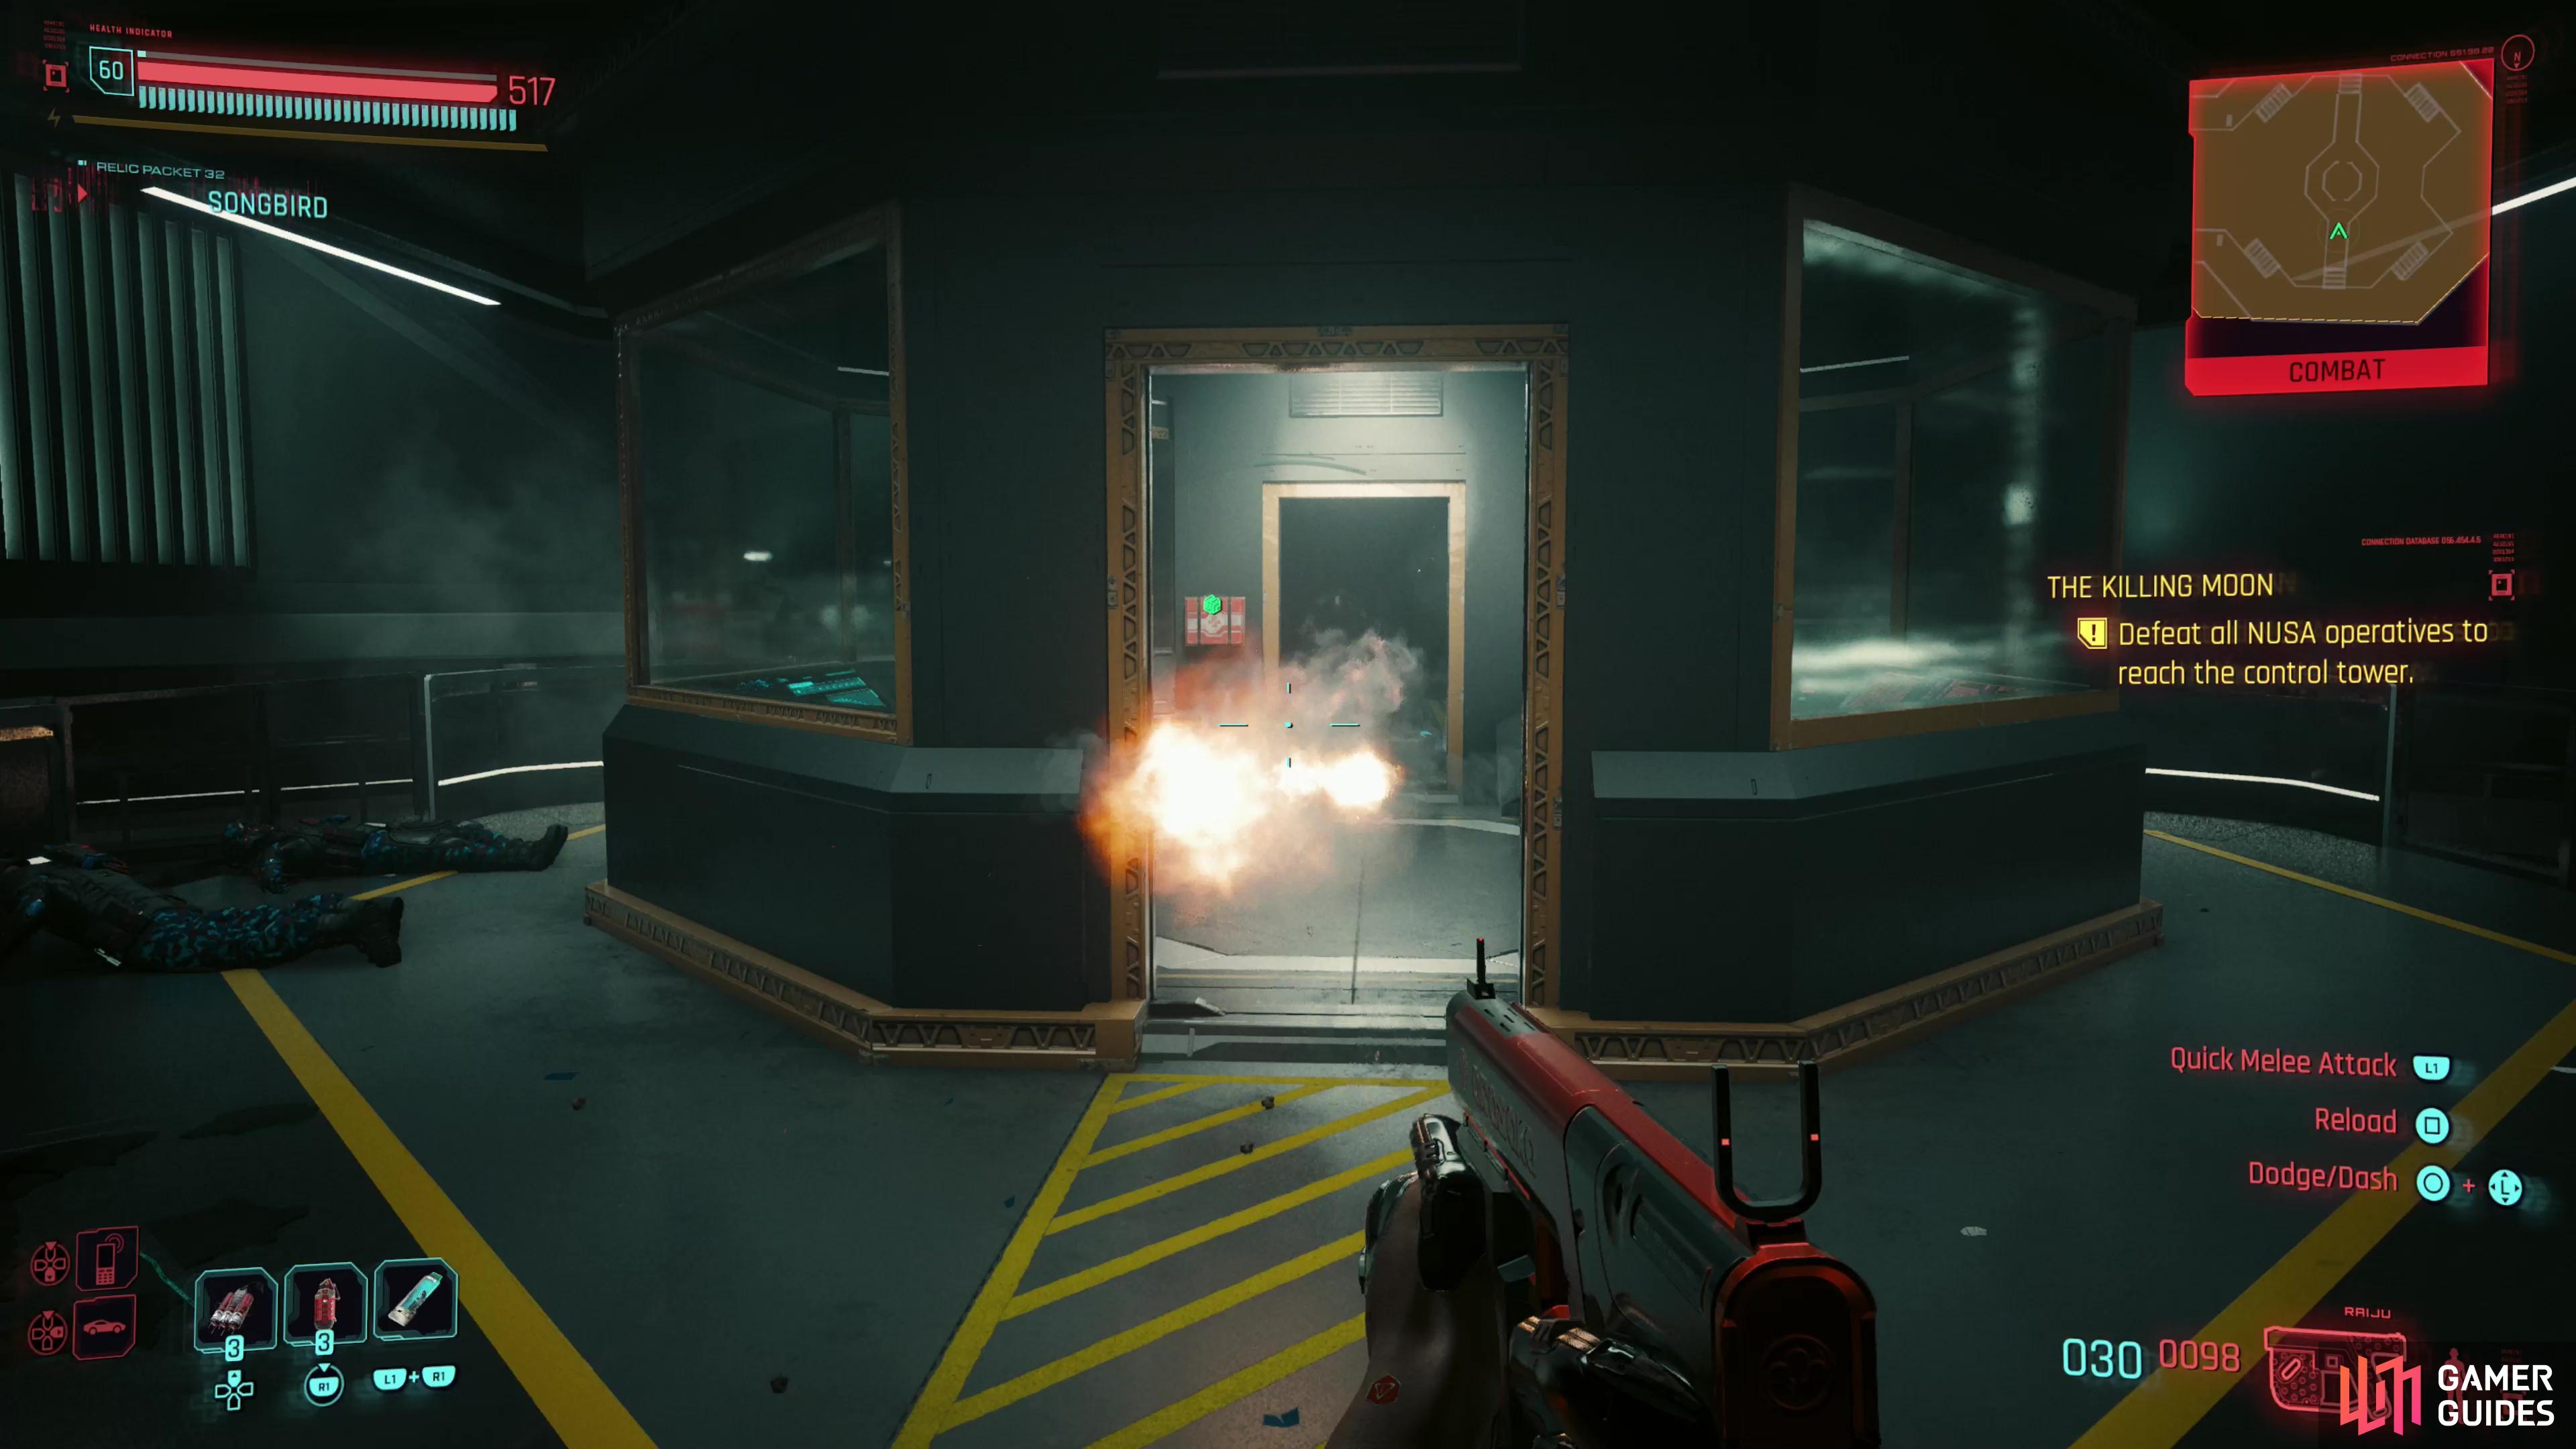
Eventually you’ll draw the attention of an NUSA attack chopper - it doesn’t deal much damage, but you’ll want to take cover from its barrages nonetheless.
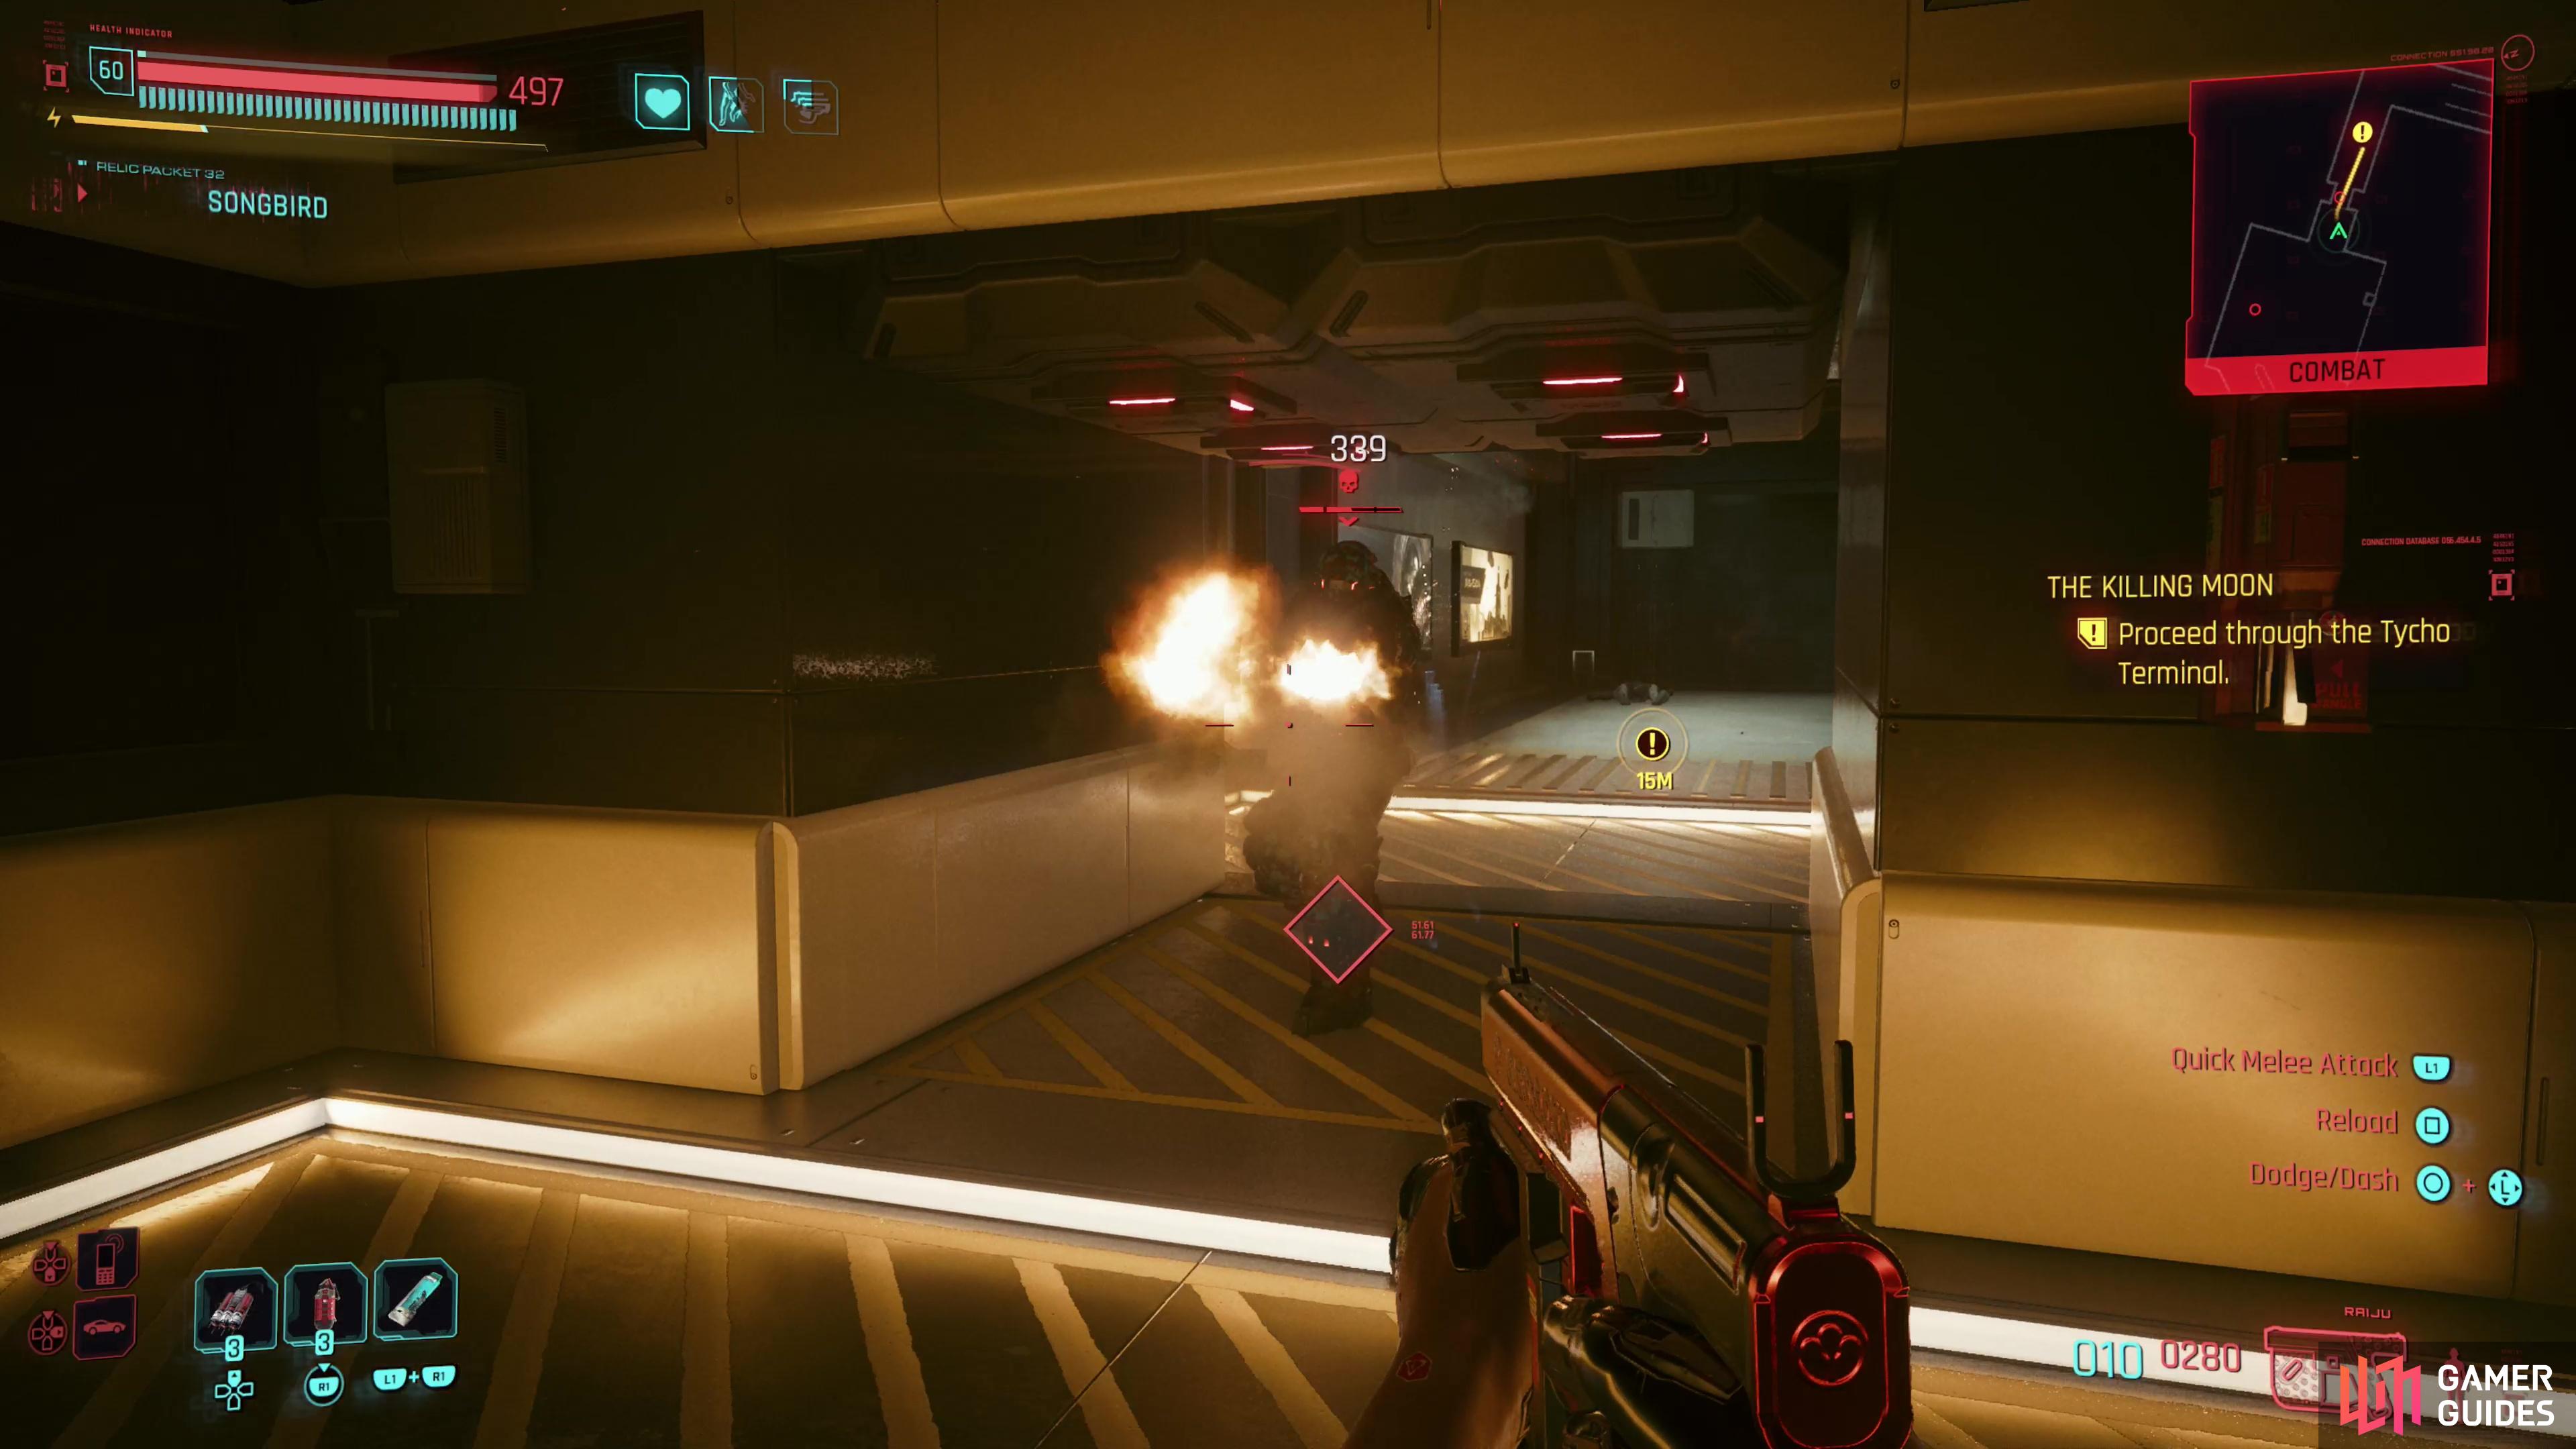
When the chopper stops firing, advance, and eventually you’ll find your way blocked by an NUSA heavy. Take him down and you’ll be free to advance to the maglev station.
Escape the NUSA Attack Chopper
Reintroducing the NUSA attack chopper! Despite the dire warnings you got about this thing just a moment ago, it shoots cotton balls at you, albeit in a relentless torrent. It’s a nuisance that obligates you to seek out cover, but compared to the misery that waited for you in Reed’s route, this is cake. Hide behind a sign until the chopper stops firing, then sprint upstairs and take cover near a partially-opened gate. NUSA troops will appear on the lower level and work their way over to you, so take them out if you can as you continue pressing forward between chopper bursts. Eventually you’ll need to jump over the railing down to the ground floor to continue on, where you’ll be confronted by a NUSA heavy, so be prepared for a close scrap with a nasty enemy if you want to avoid the chopper’s fire. On the plus side, once this heavy is down you can proceed, safely out of sight of the attack chopper.
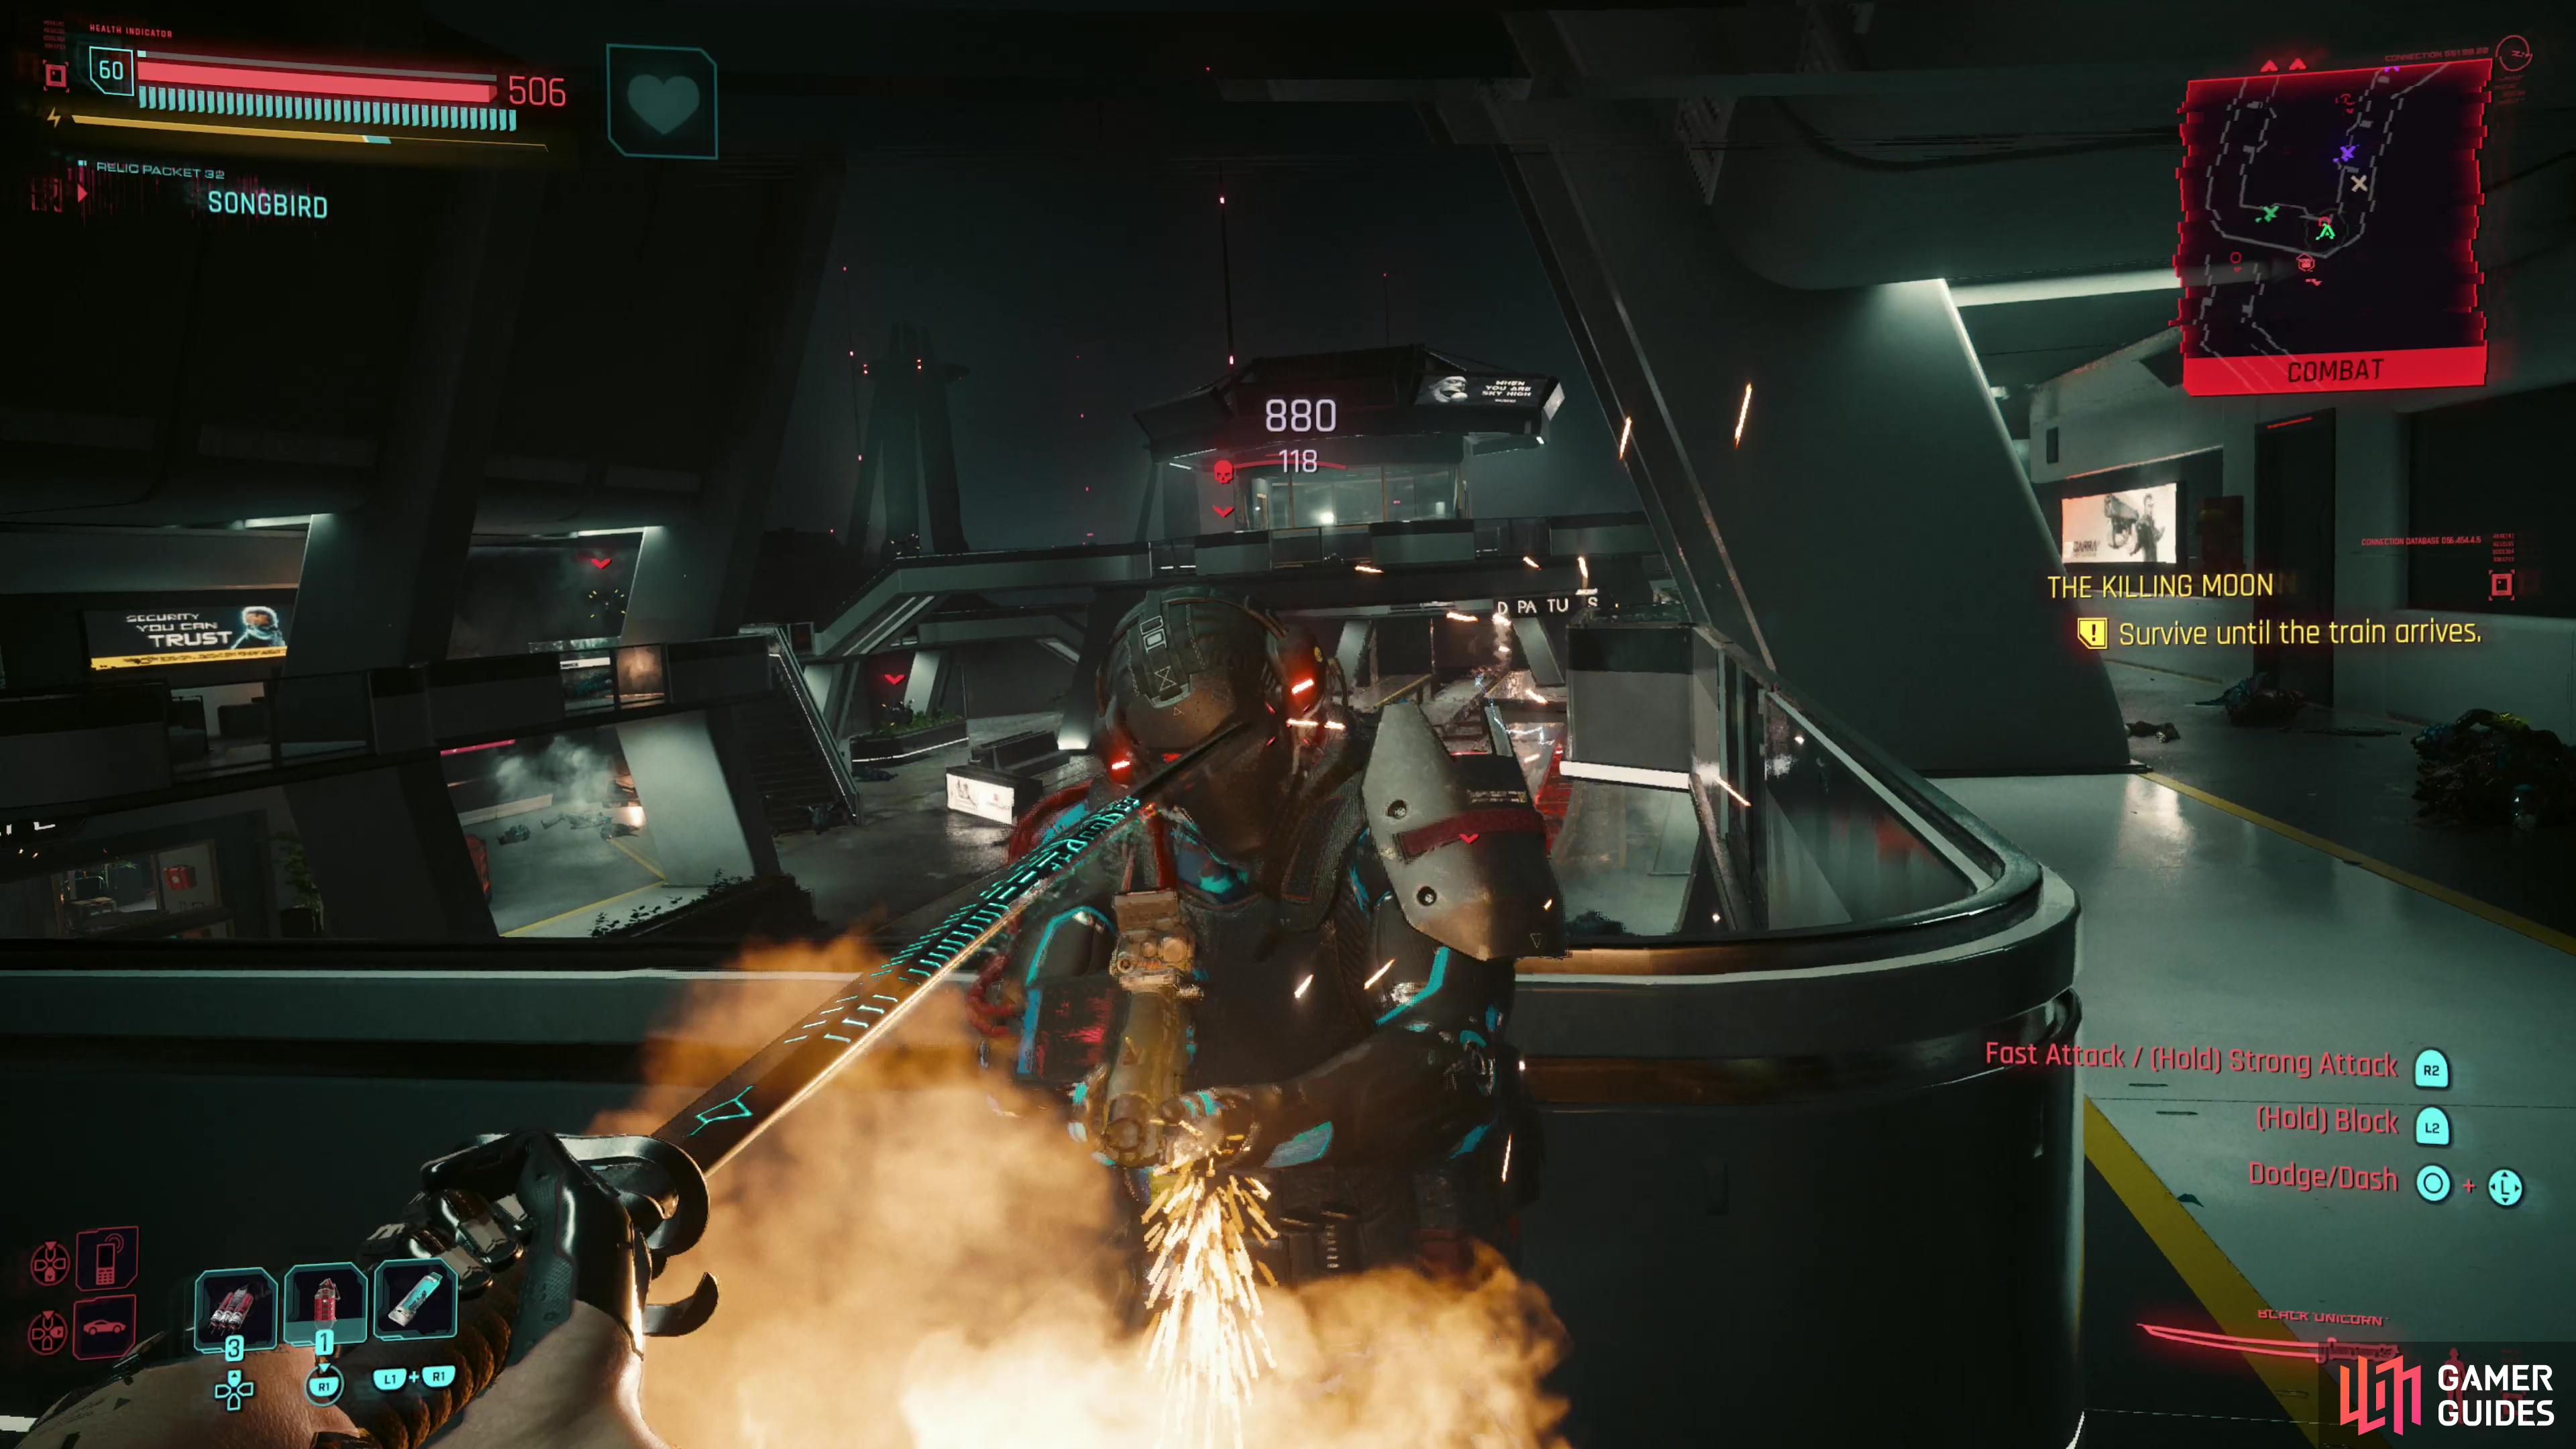
At the train station you’ll be ambushed by more NUSA troopers, including heavies, netrunners and snipers.
The enemies in this ambush also carry more cyberware than normal, including heavies with optical camo!
Defeat the NUSA Forces and Reach the Control Tower
Press on and you’ll reach an open-air maglev station, which initially seems quiet, but as Songbird mutters, it’s too quiet to be legit. Sure enough, once you’re far enough in, a NUSA ambush will spring and you’ll have to eliminate a variety of black ops agents, including the familiar mix of heavies, snipers and netrunners. The netrunner is hiding in the control tower, so you may want to get up there quickly to keep him from harassing you with quickhacks - he’s more than willing to stay crouched, bouncing quickhacks off his allies. There’s also a heavy who will use optical camo - an odd combination, so keep your eye out.
Kill all the NUSA troopers, then enter the control tower with Songbird, and after some chatter you’ll have to exit again and engage in more combat with the same assortment of troops as earlier, albeit with less cyberware. They also likely won’t have another netrunner, though. Keep killing, but don’t overextend yourself, as our old friend the NUSA attack chopper will eventually show up and start bombarding the control tower, signaling it’s time to return to help Songbird. Retreat back to the control tower and after some chatter you’ll get a prompt to put an end to the assault by releasing a Blackwall Pulse.
Do so, then carry Songbird down to the maglev train below. Your movement will be greatly hindered here, but you can just delete any enemies that show up with more Blackwall Pulses by pressing the  button.
On the maglev you’ll get a few options that’ll propel you towards the end of Phantom Liberty, but only the decision to call Reed potentially locks you into anything.
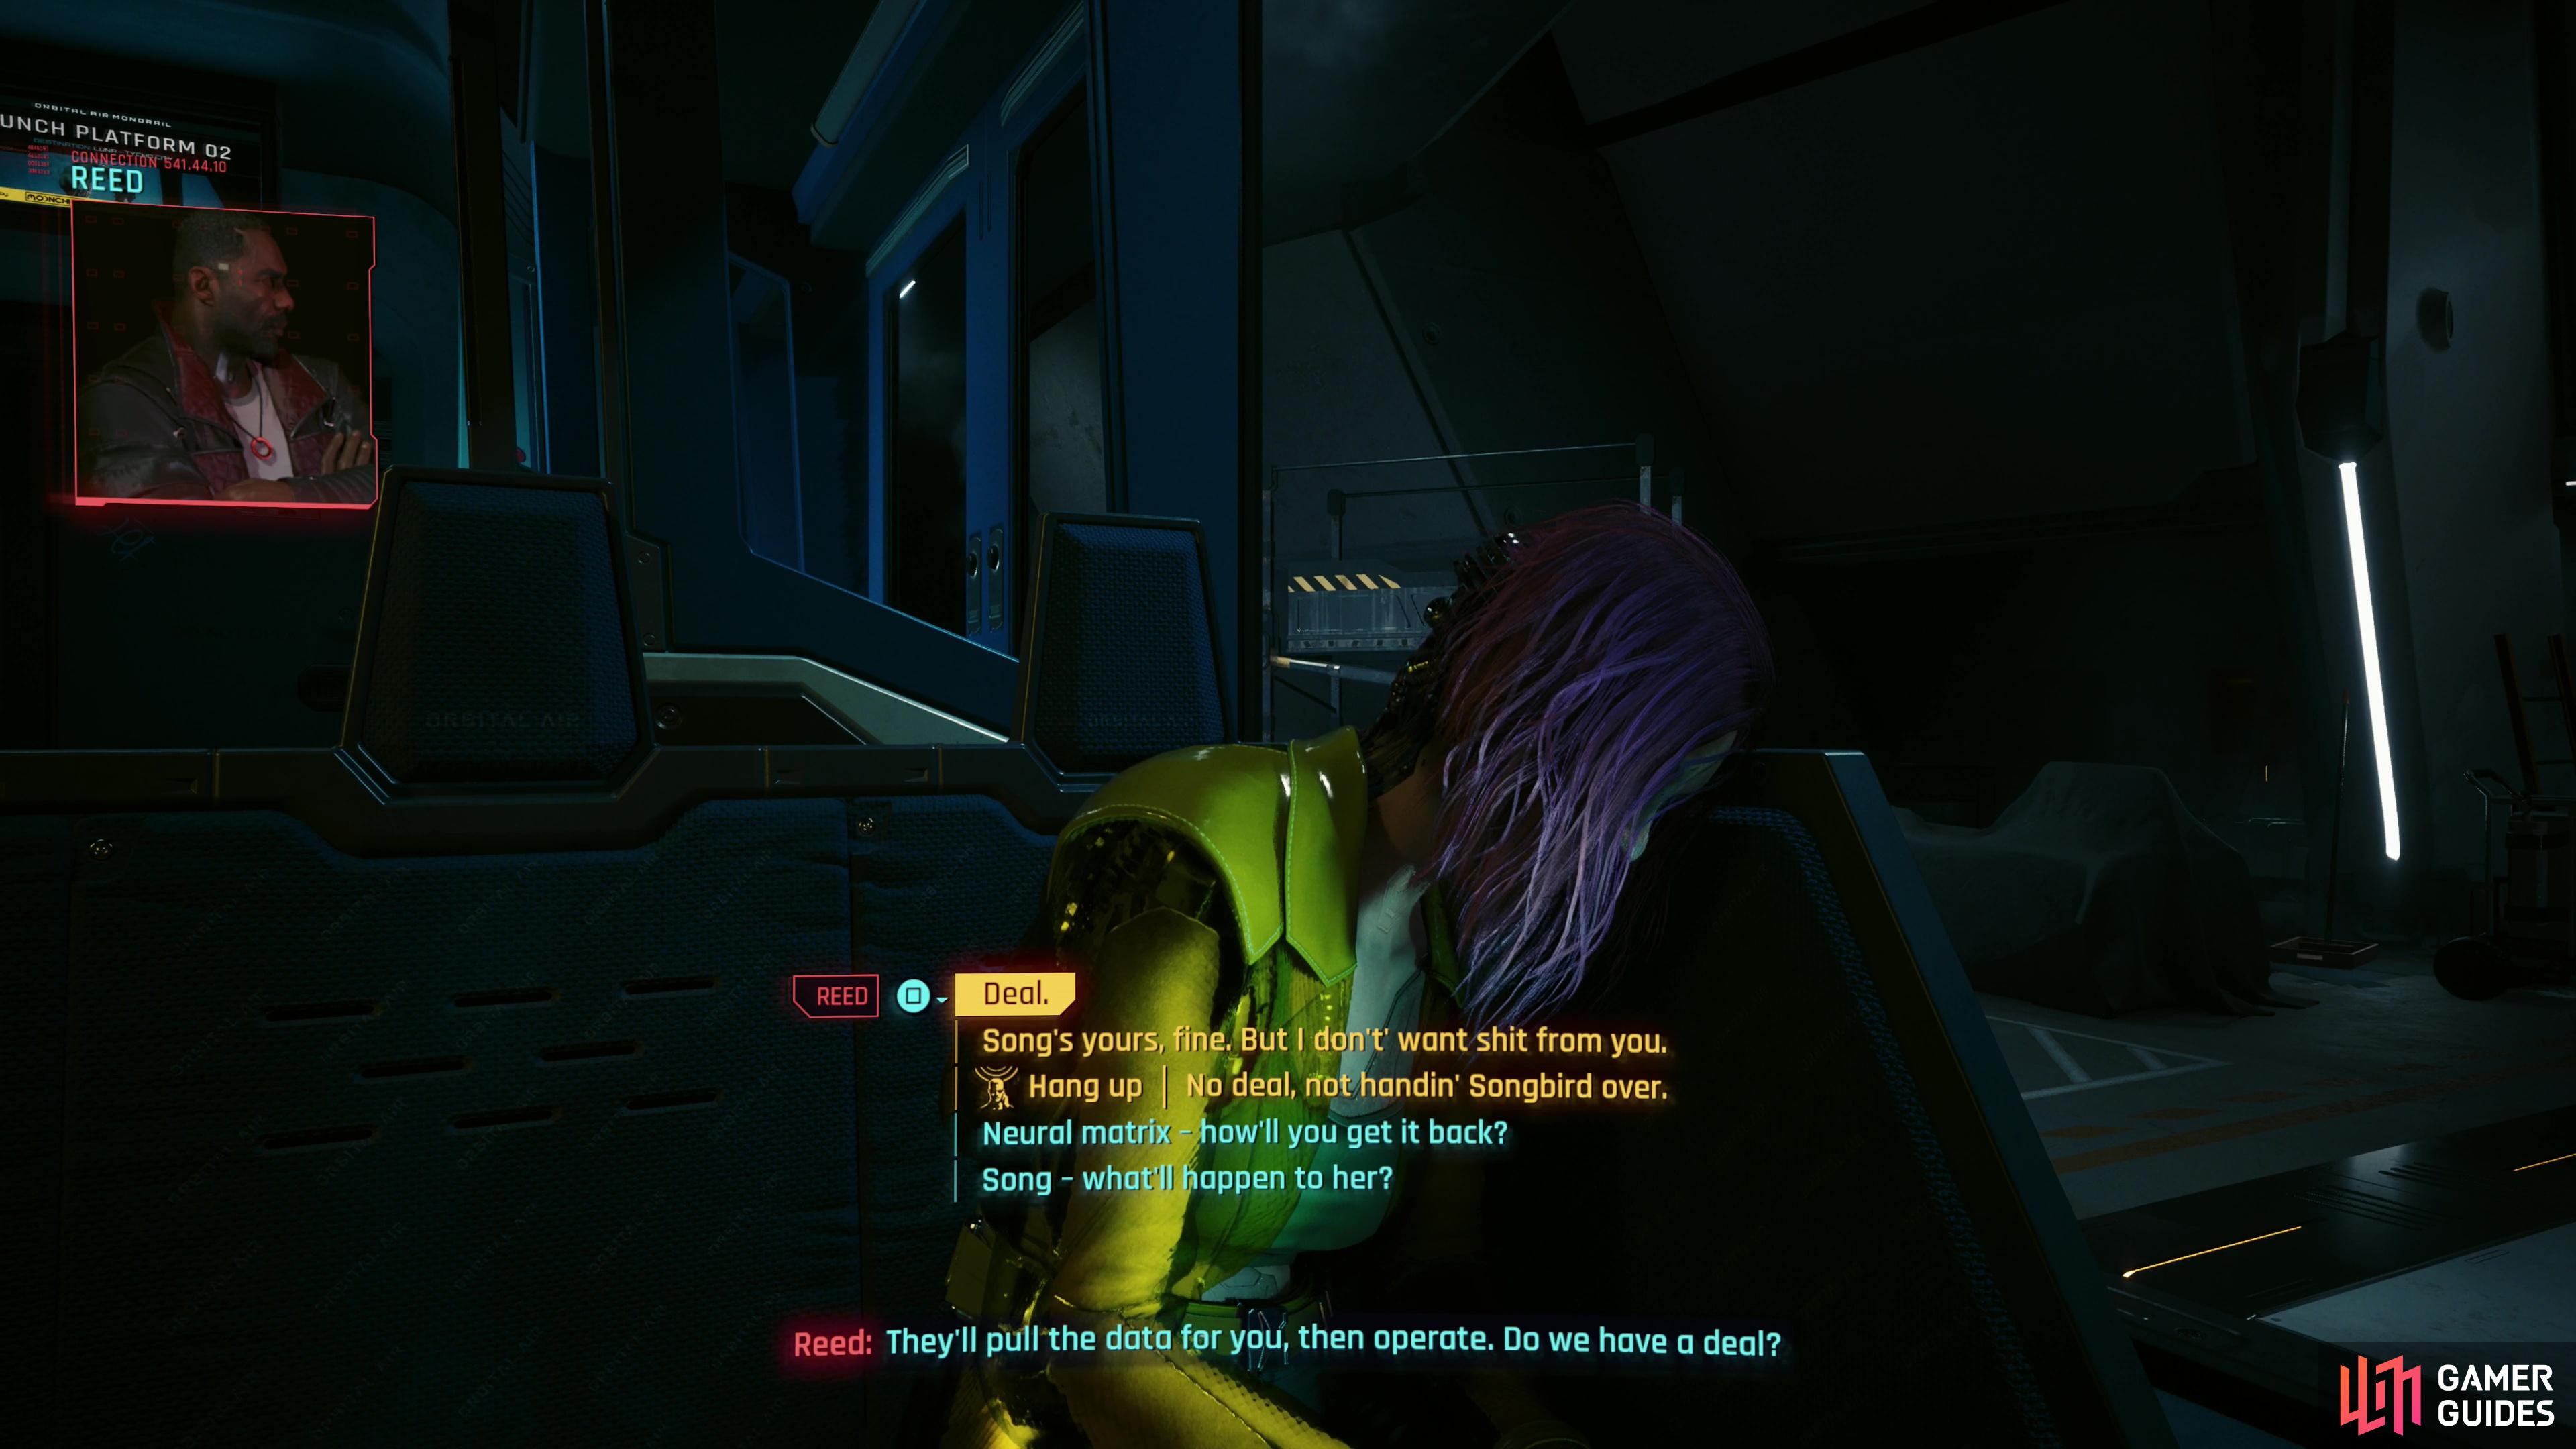
If you call Reed and don’t renege on your offer to turn over Songbird, you’re locked into the King of Swords ending for Phantom Liberty. If you negotiate for the cure you’ll get The Tower ending for the main game, as well.
Kill Reed or Surrender Songbird - Phantom Liberty Ending Choices
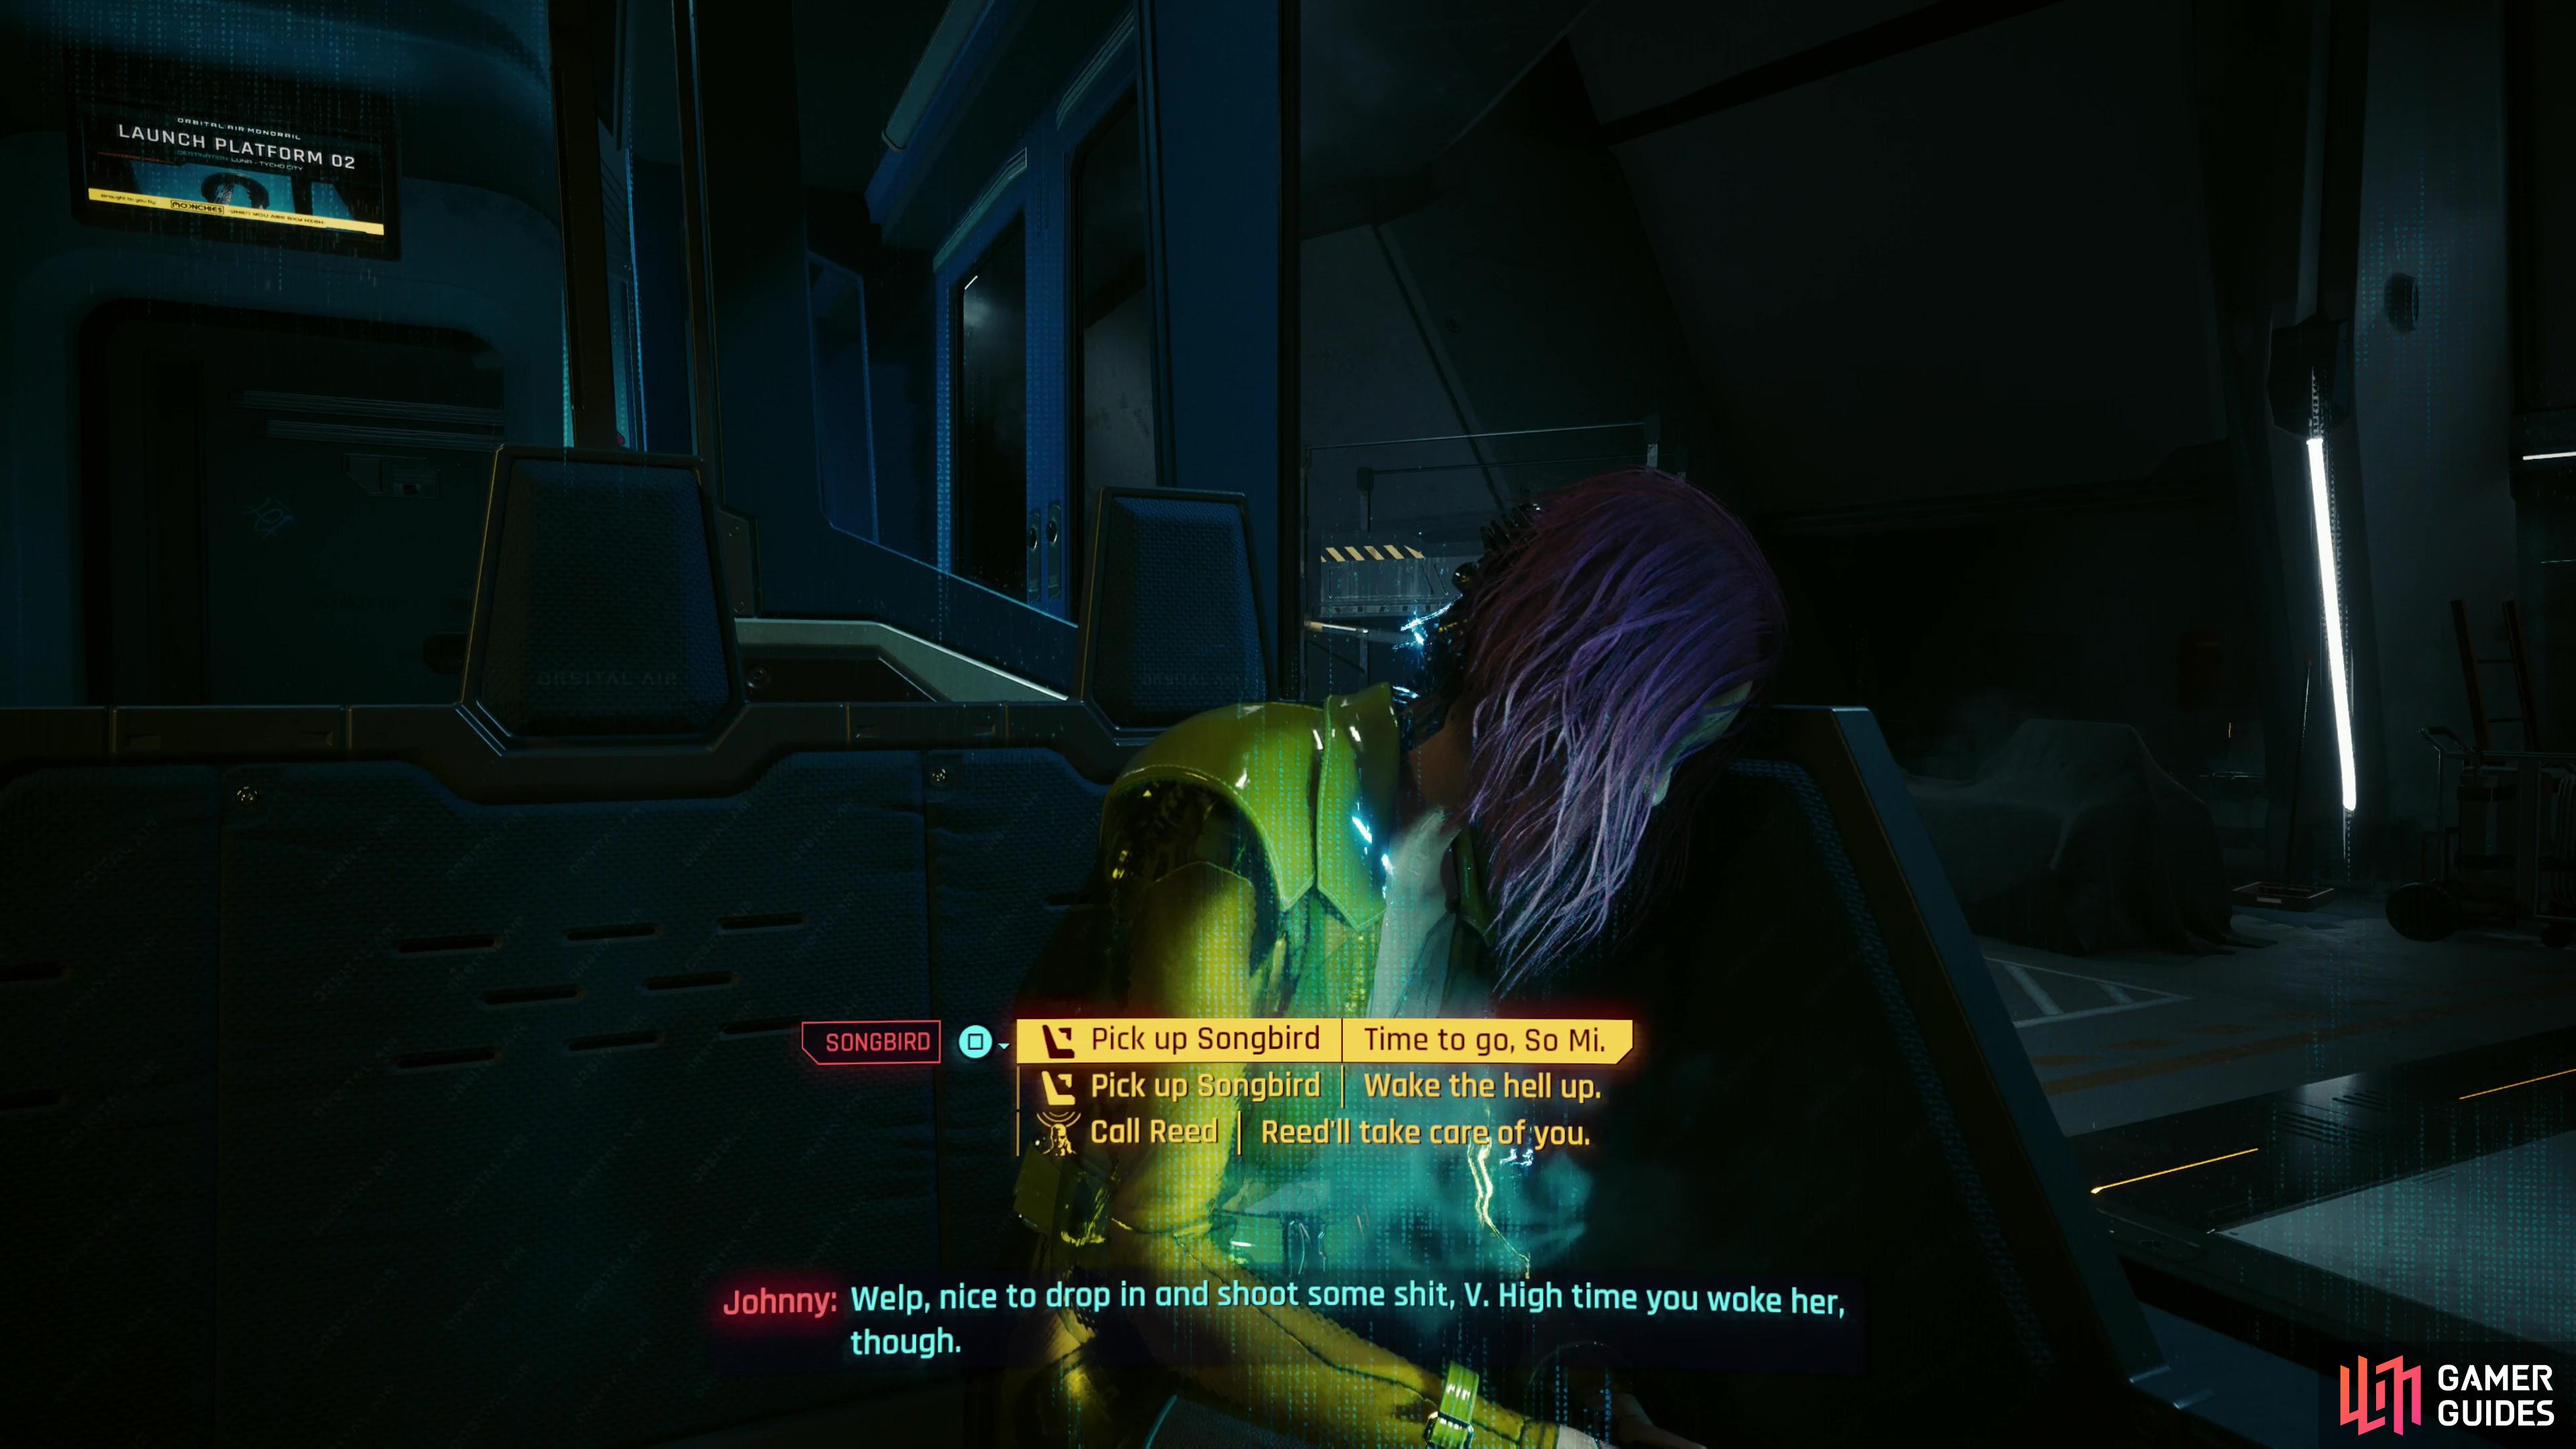
After you place Songbird down on the maglev train, you’ll speed away, while Songbird makes a confession. Your responses here don’t matter until you reach the three following options:
| Response | Effect |
|---|---|
| [Pick up Songbird] Time to go, So Mi. | Open-ended. Can still give Songbird to Reed or help Songbird escape. |
| [Pick up Songbird] Wake the hell up. | Open-ended. Can still give Songbird to Reed or help Songbird escape. |
| [Call Reed] Reed’ll take care of you. | Locked into giving Songbird to Reed unless you renege before leaving the maglev. |
These choices have a relatively minor influence on how things will play out shortly, but you’re still not locked into anything. Calling Reed just has a conversation earlier that you can still trigger without calling him, but it does lubricate the path towards turning over Songbird, while the other two keep your options slightly more open. If you call Reed and don’t welch on your offer to turn Songbird over before leaving the maglev you’ll be locked into surrendering her, but if you renege on your offer (pick the option [Hang up] | “No deal, not handin’ Songbird over.”) the upcoming encounter will mostly play out as if you’d pick either of the first two options. Point is, if you want to turn Songbird over to Reed without any doubt, pick the third option and Reed will ask you to state what you want in return, at which point you’ll get two options:
| Response | Effect |
|---|---|
| Wanna live on. | Surrender Songbird. Unlocks The Tower ending. |
| Got nothin’ I want, nothin’ you can give me… | Surrender Songbird. Unlocks the King of Swords ending. The Tower does not unlock. |
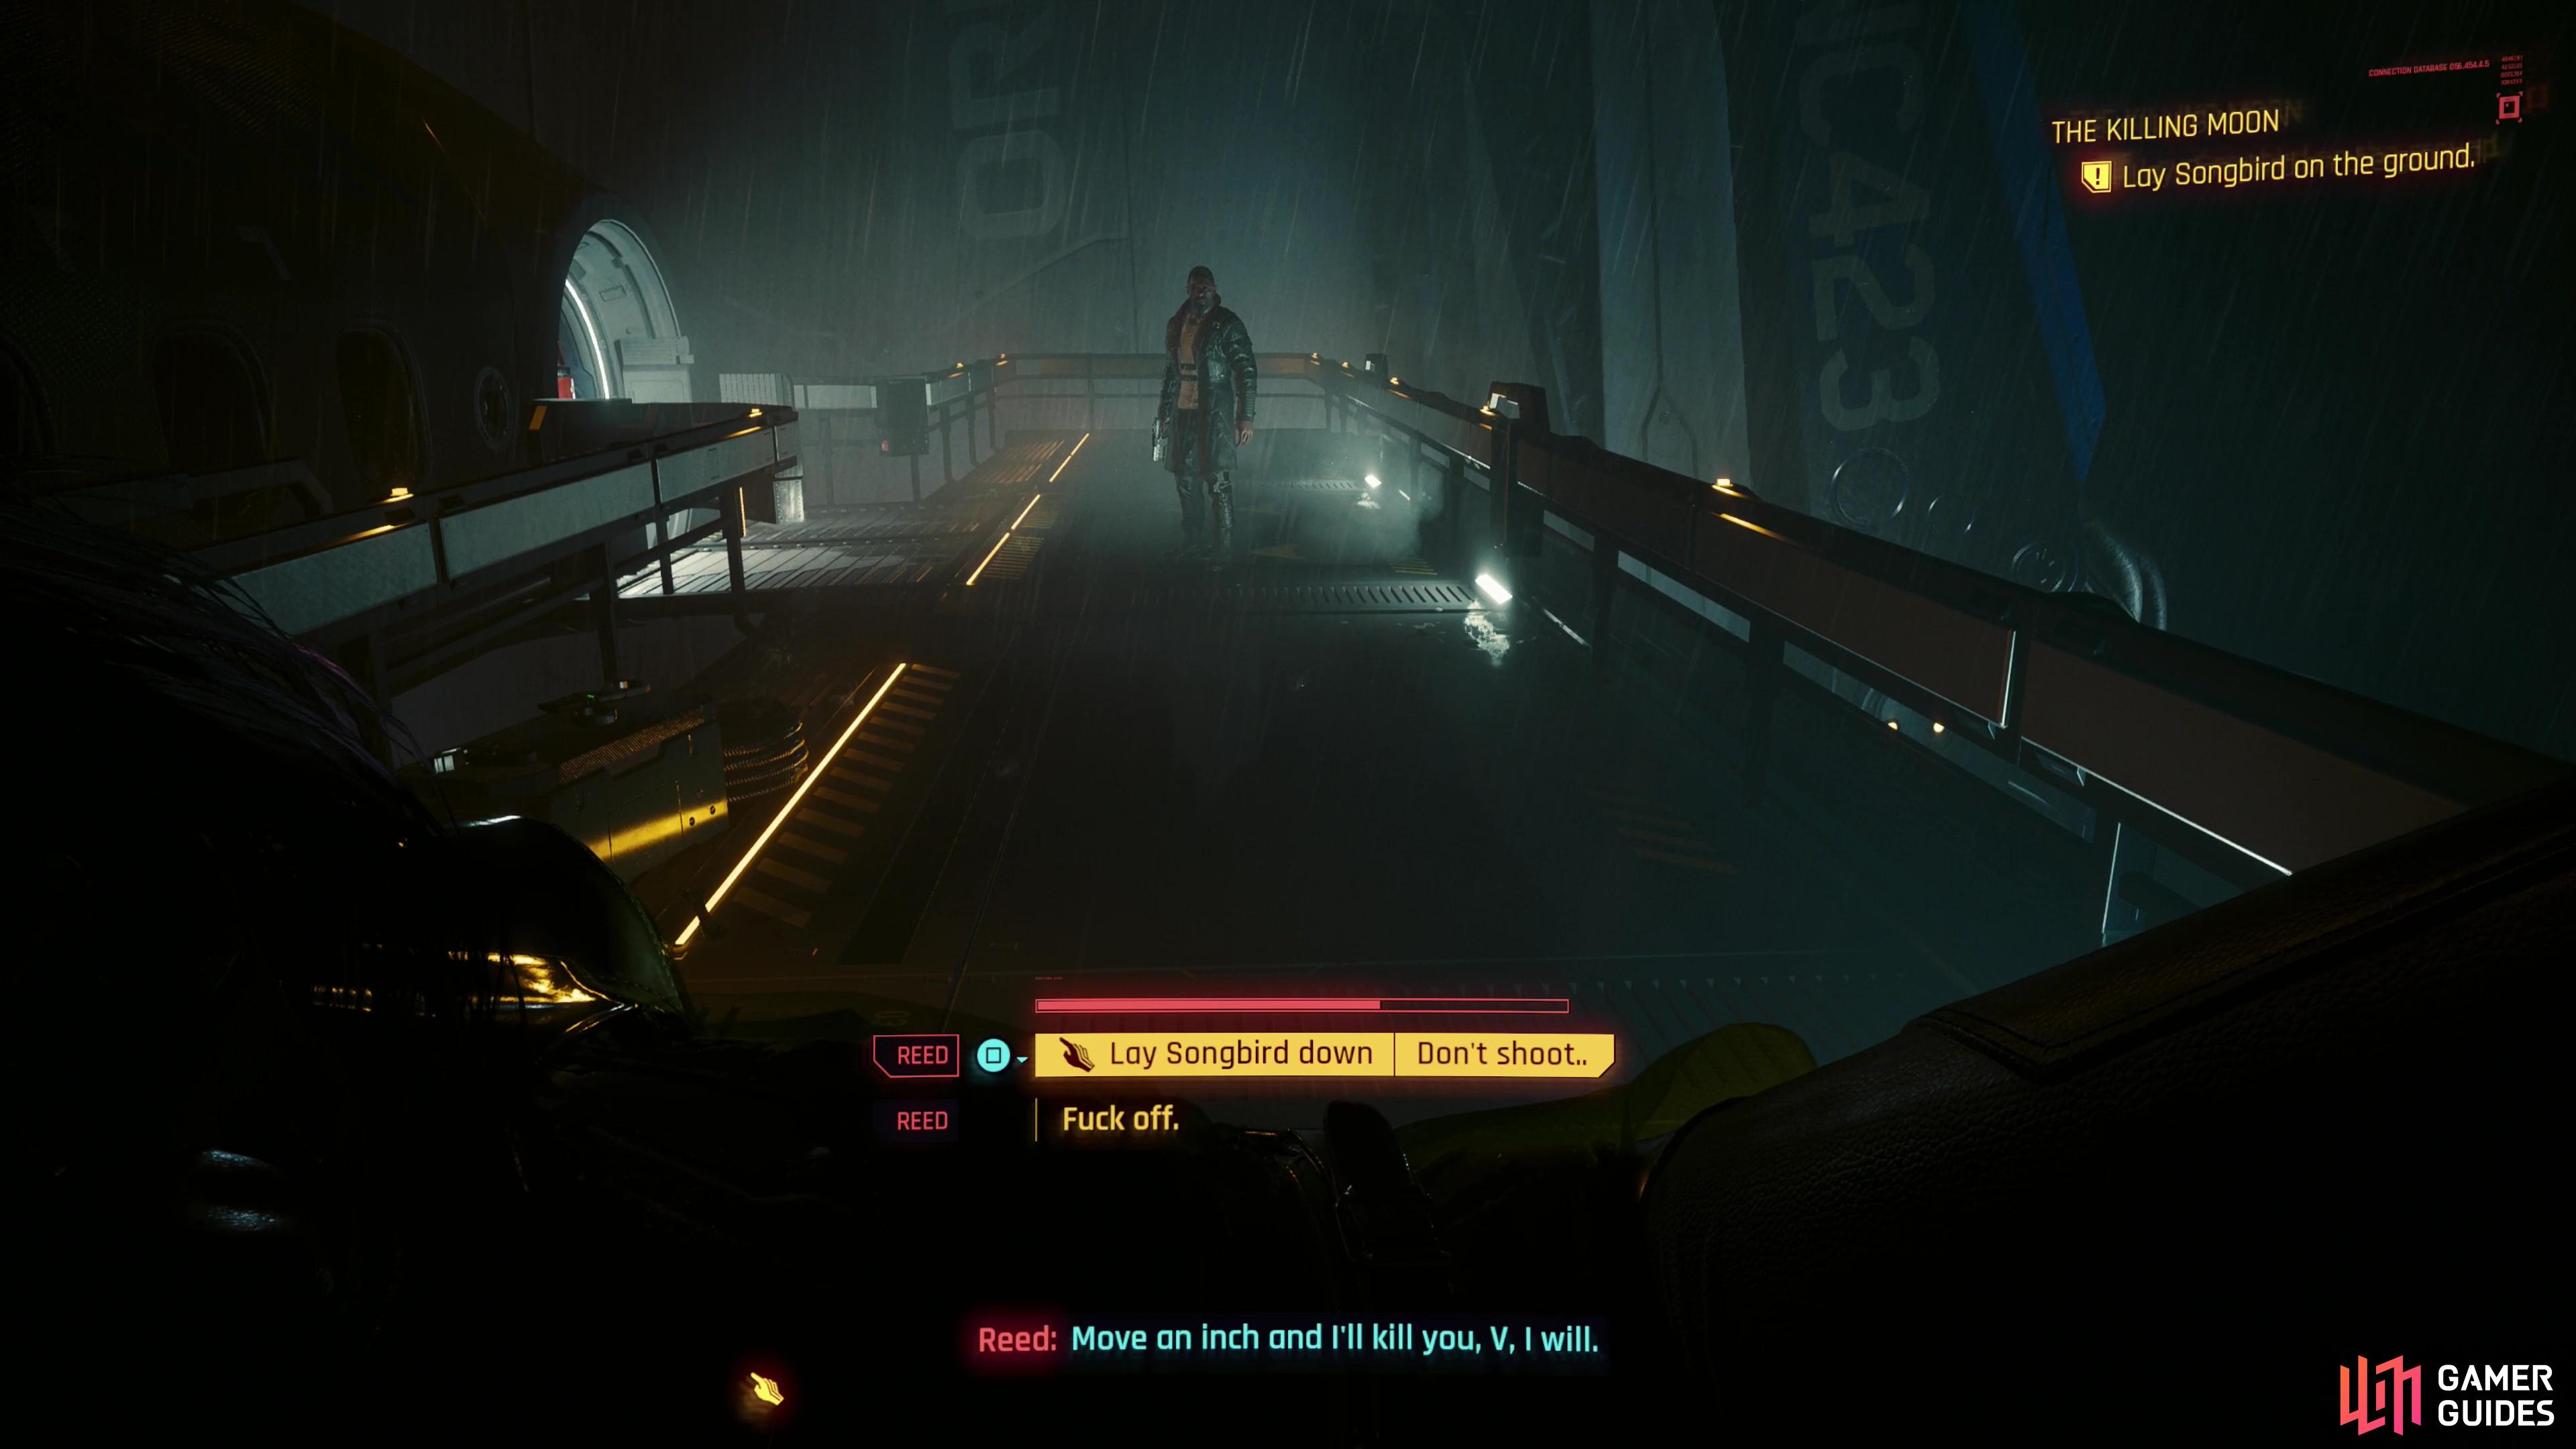
Reed will confront you on the bridge near the shuttle,
slip up and he’ll give you an automatic game over.
Either way you’ll end up picking up Songbird and walking towards the launchpad. When you reach a bridge, Reed will step out to confront you whether you called him earlier or not. If you do not stop walking forward when he tells you to, Reed will kill you. If you continue to banter with him without putting Songbird down, Reed will eventually kill you. To put Songbird down you have to move forward a bit to get the prompt to appear, so be careful with this section - it can be surprisingly easy to die here by not following the game’s picky script. Set Songbird down after Reed tells you to and you’ll get a variety of dialog options, but things only play out two ways: You either kill Reed and help Songbird on the shuttle, or you surrender Songbird to Reed.

Kill Reed
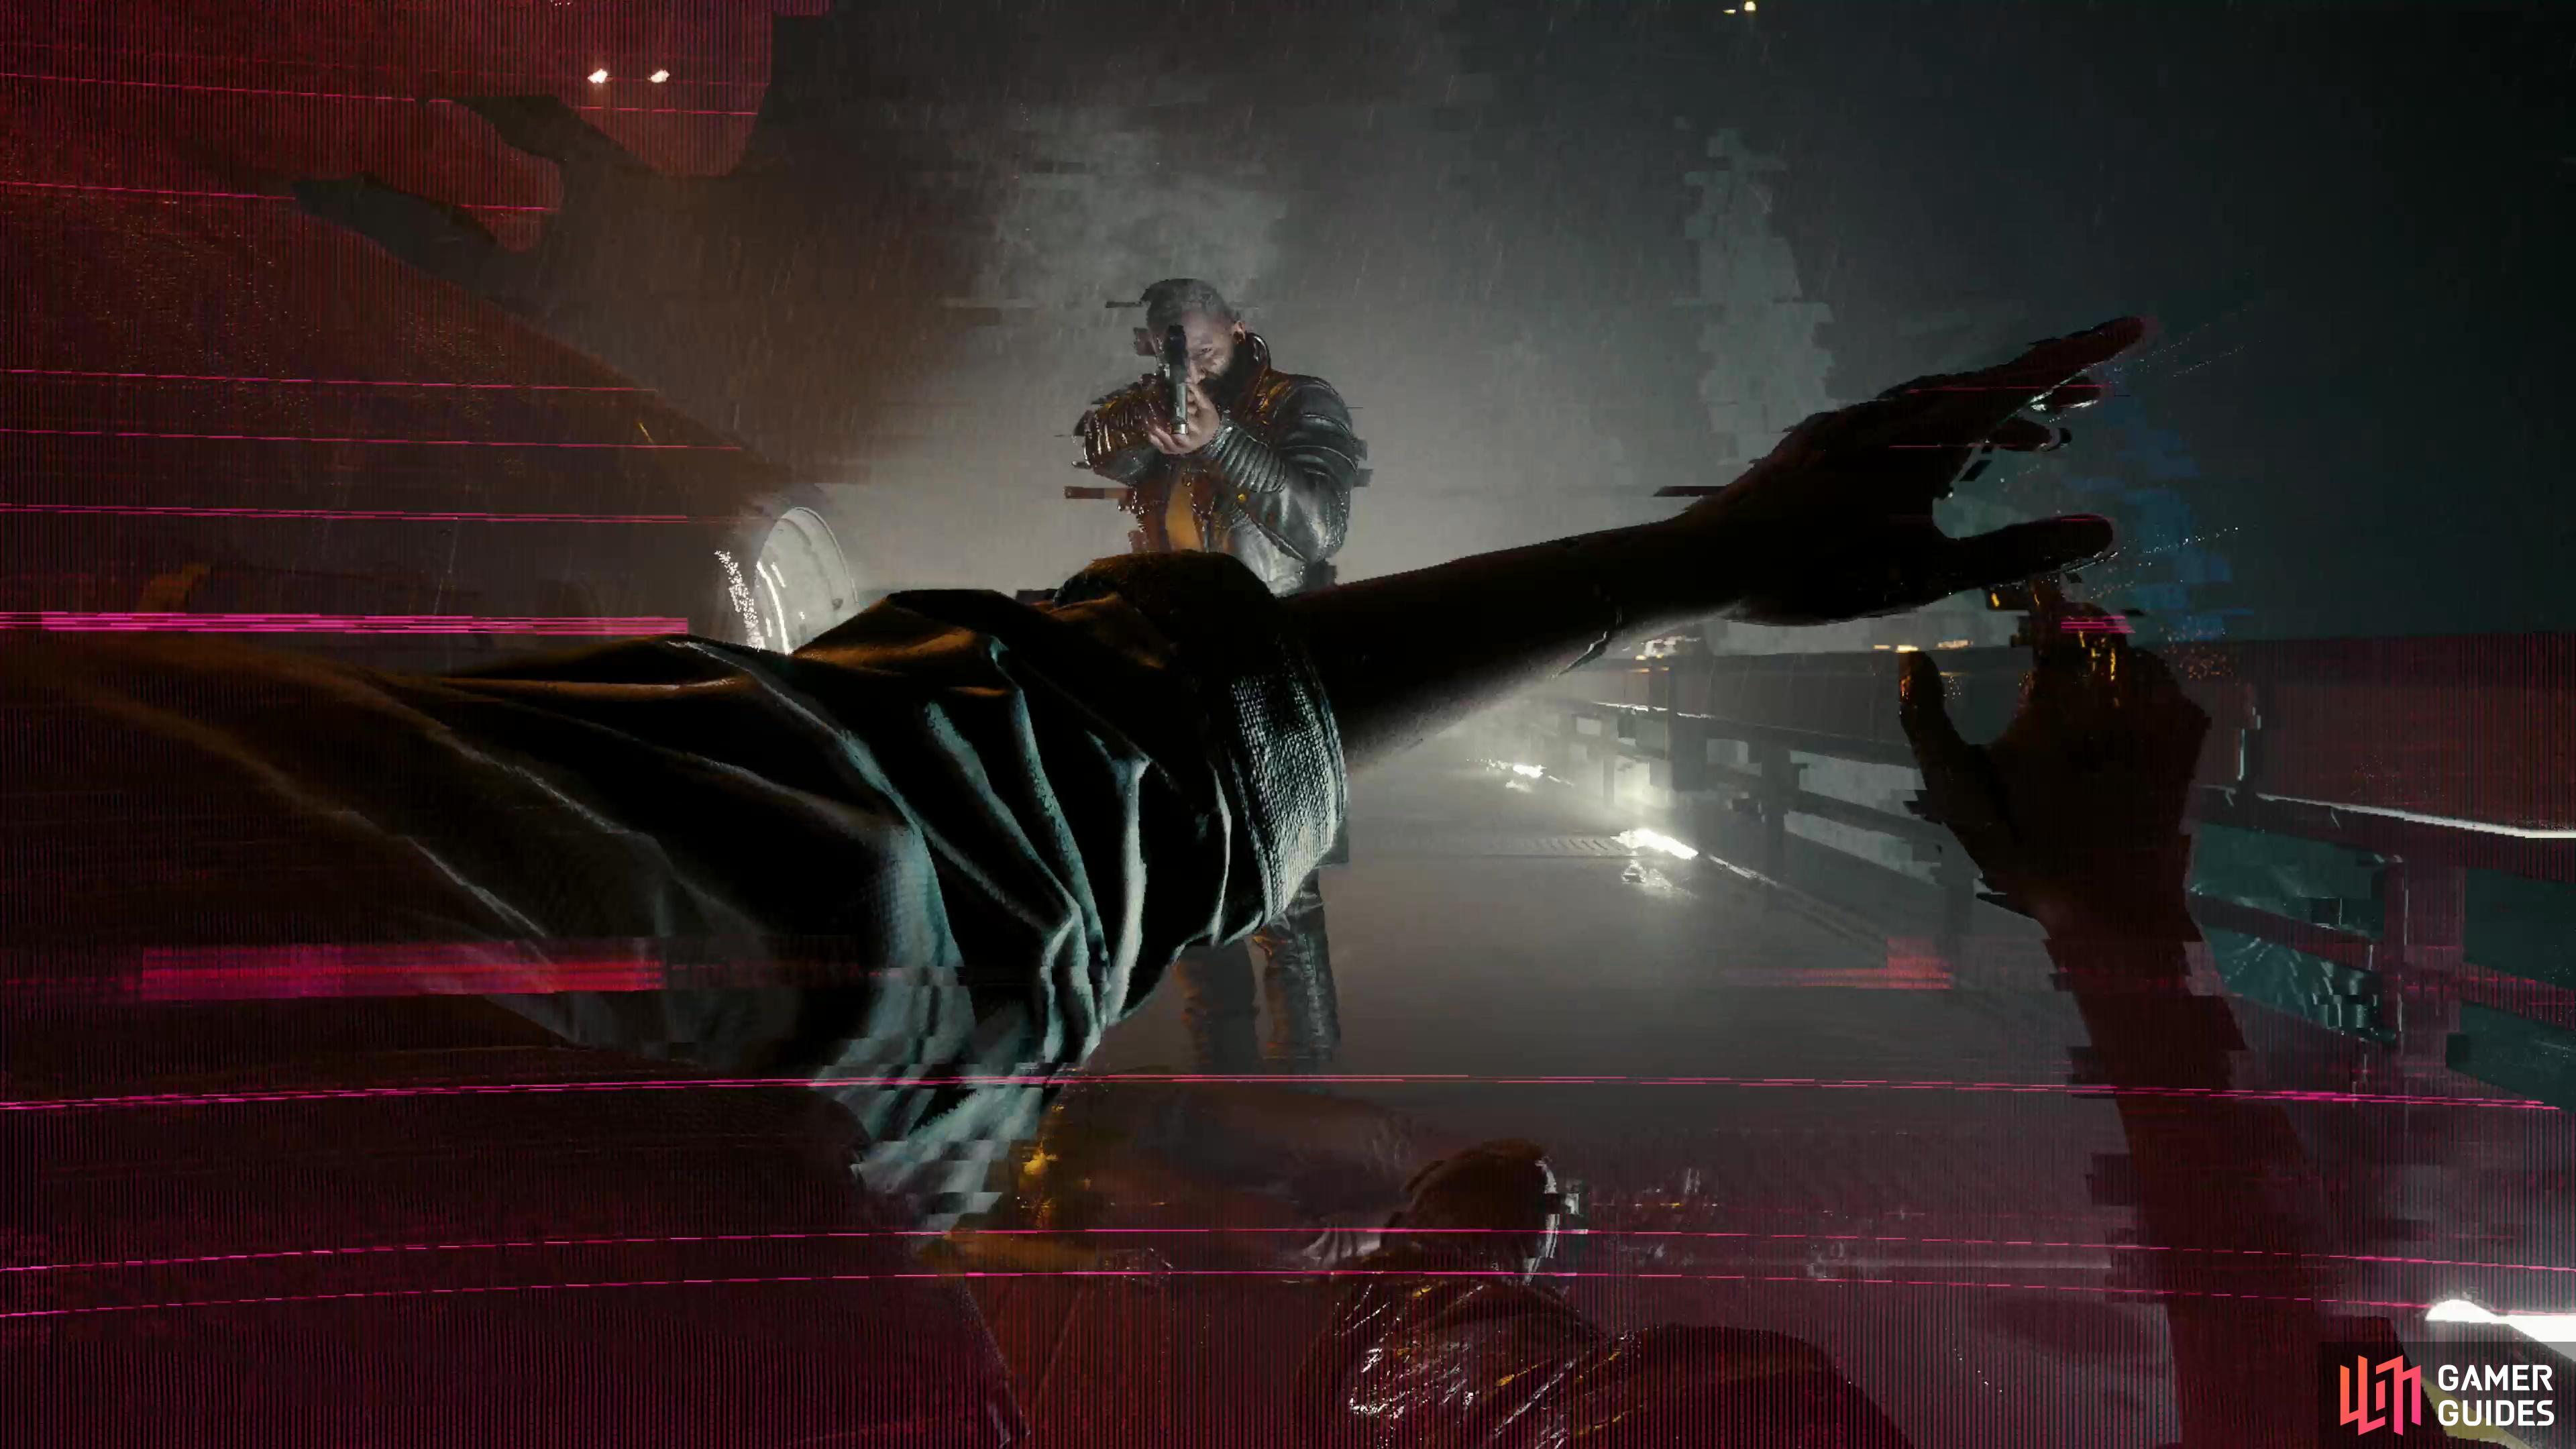
If you give Reed an ultimatum about Songbird’s custody at any point, or draw things out until the only dialog option left is ”FIA’s done with you.”, Reed will start a countdown. At this point if you respond with ”Reed…” or at any point in your conversation with Reed pick any of the [Draw weapon] options, you’ll have to kill Reed. This is mostly done automatically - you’ll draw a weapon on your own, and you need to do is pull the trigger by pressing .
After shooting Reed, put Songbird in the shuttle and pick whatever dialog options you want. You’re pretty much locked-in at this point, the only “choice” you really have is whether to pick up Reed’s iconic weapon, Pariah. After putting Songbird in the shuttle, be sure to grab the aforementioned weapon, then go sit down and watch the shuttle take off while you chat with Johnny. Following the launch you’ll regain control of V a day later in Night City, at a pier in Heywood. You’ll unlock the King of Wands achievement, but not the bonus ending exclusive to Phantom Liberty. From this point on you can take care of any outstanding Gigs and Side Jobs in Dogtown, but the game effectively plays like Phantom Liberty doesn’t exist going forward, limiting you to the original endings.
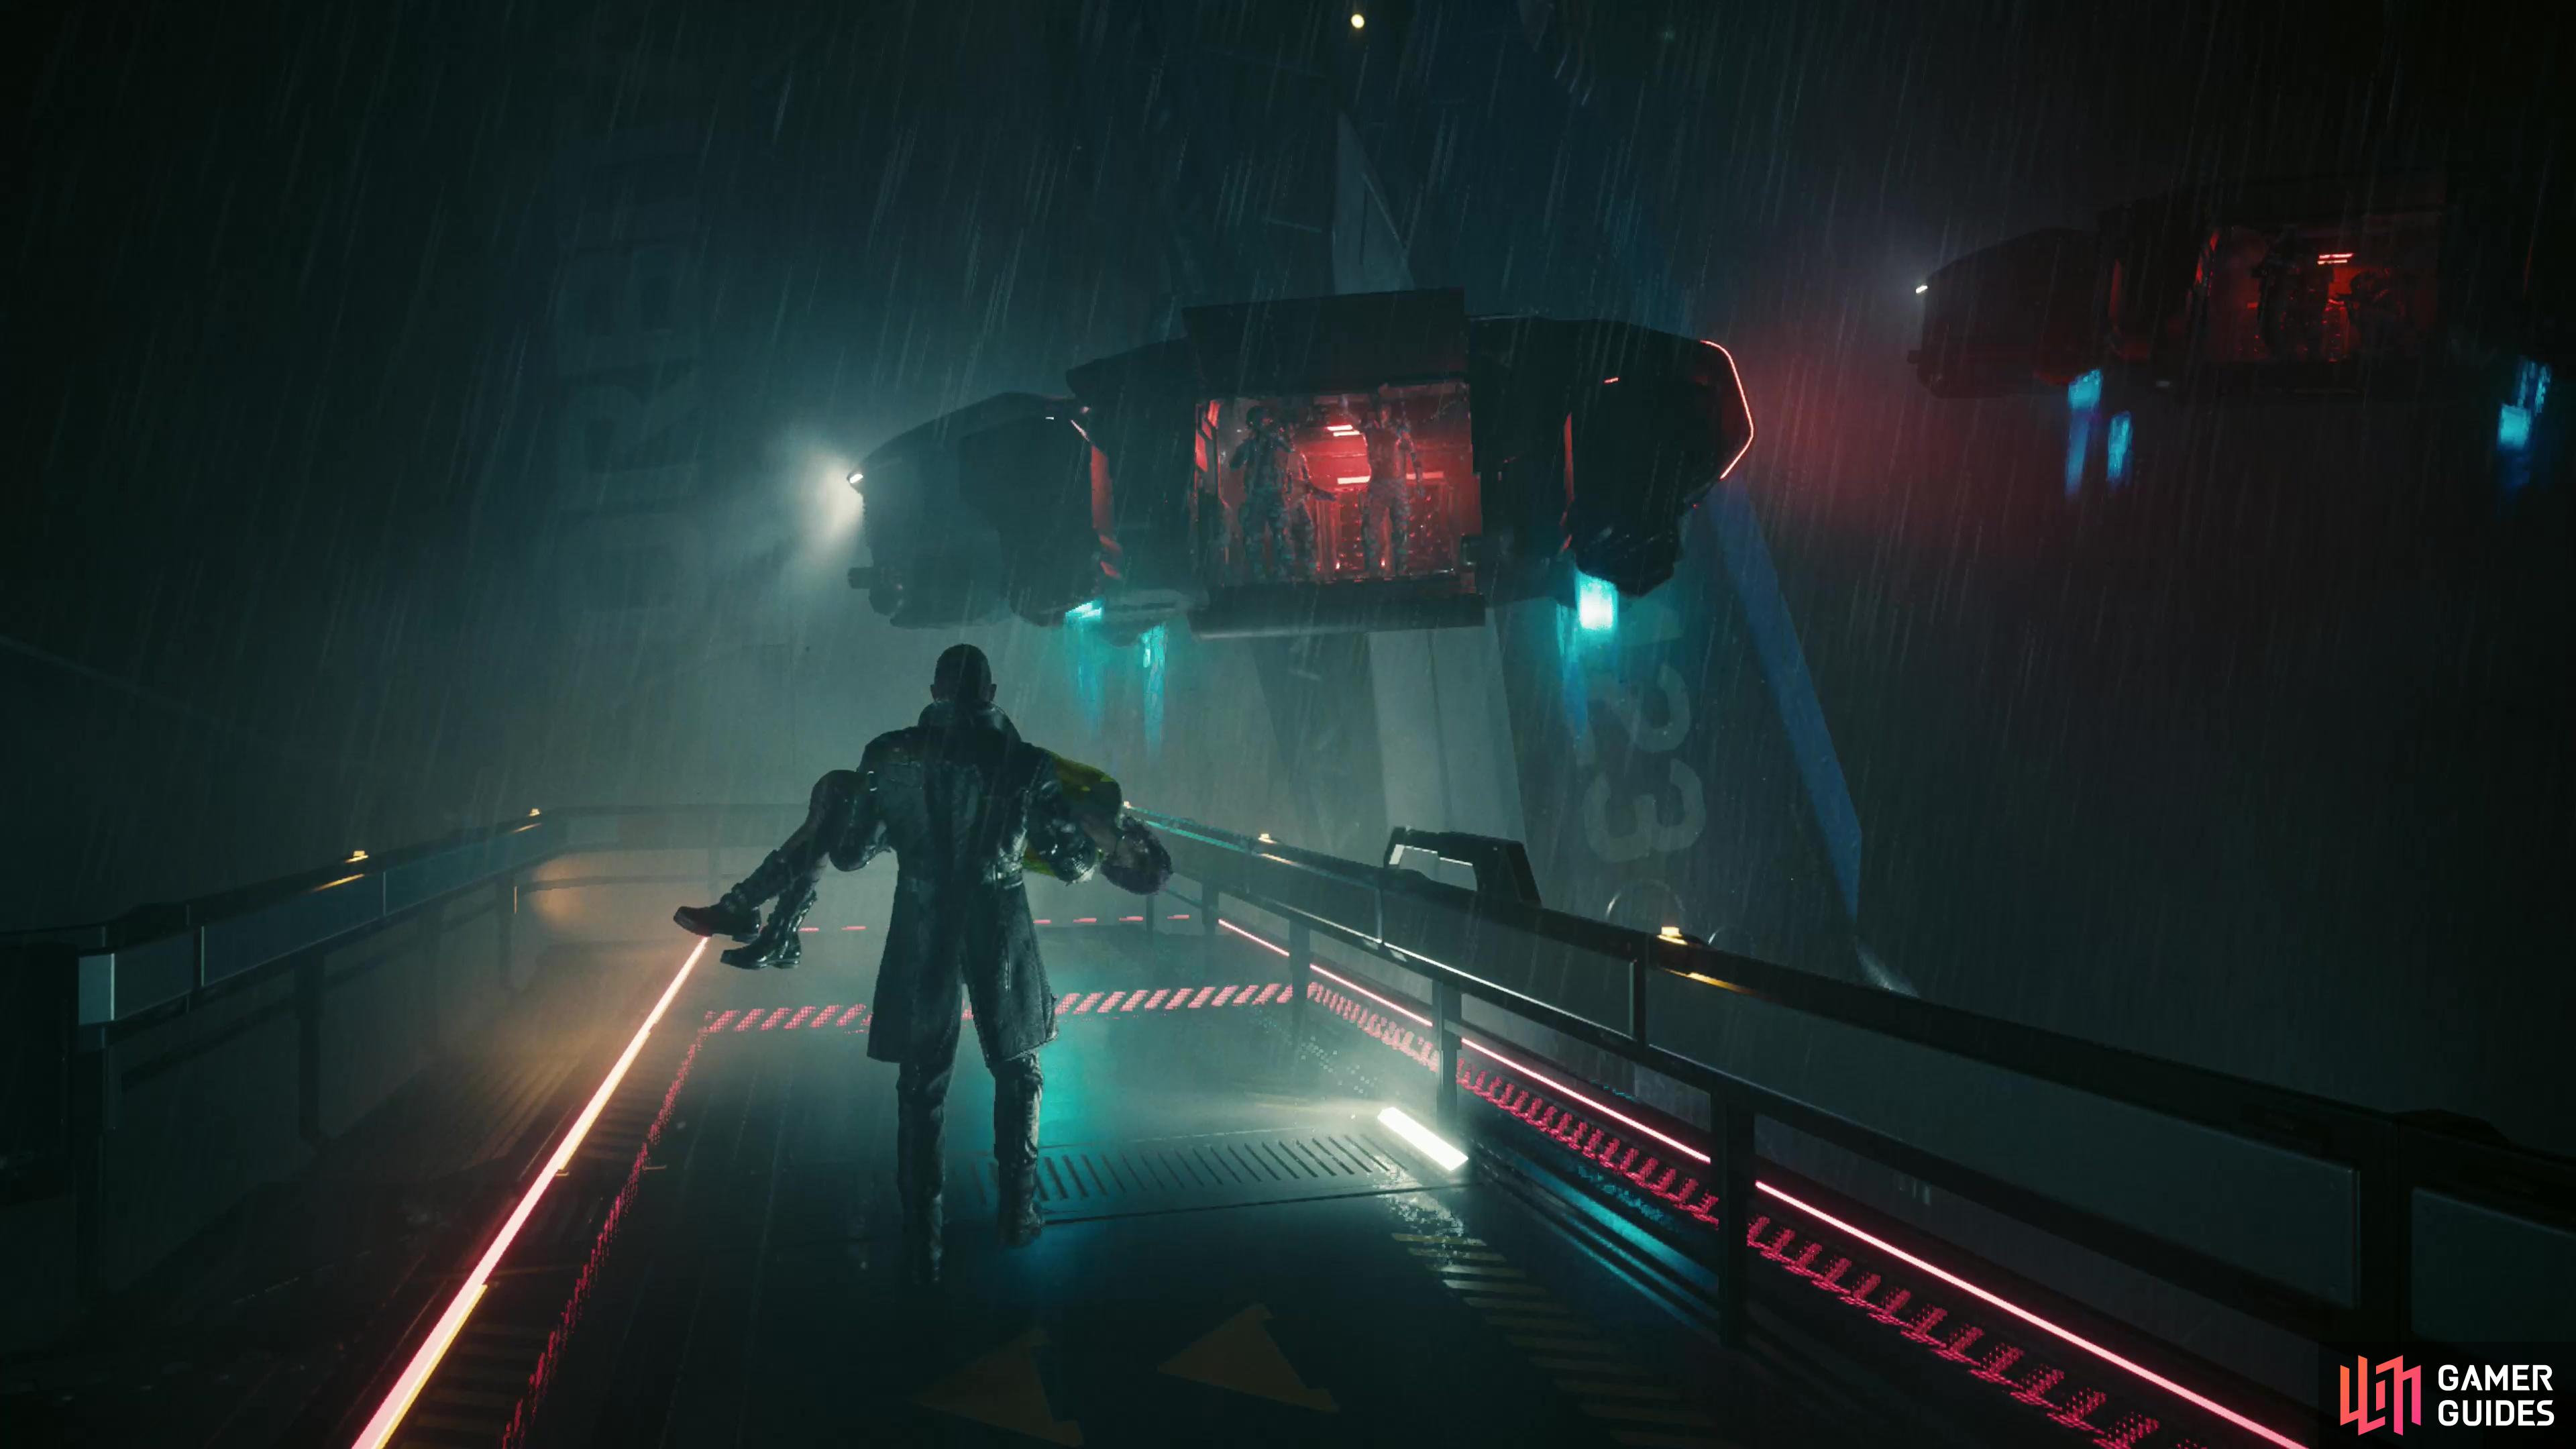
If you surrender Songbird, Reed will take her into FIA custody - the ending you get will depend on whether you negotiated a cure or not.
Surrender Songbird
You can do this by picking the option [Call Reed] Reed’ll take care of you. on the maglev and not reneging, at which point you’ll end up giving Songbird over to Reed on the bridge. You can also do this by picking any of the other options on the maglev and choosing any of the [Holster weapon] options when talking to Reed. You can also surrender Songbird through a series of dialog options, as follows:
- ”Song’s dying.”
- ”Song - what’ll happen to her?”
- ”Song regretted selling you out.”
- ”Betrayed me too, Song did.”
- ”Cure - just one dose of it exists.”
This is, of course, very similar to the [Call Reed] option you had on the maglev. The more interesting part of this route isn’t how you go about giving Songbird up, but what you demand for it. If you say you don’t want anything, that’s exactly what you’ll get - nothing. Reed takes Songbird, dropships arrive, the NUSA leaves, and you resume things the next day on a pier in Heywood. This unlocks the King of Swords achievement, but like killing Reed, you get no cure, no Phantom Liberty exclusive ending and the game plays on as normal from here on out.
If you demand a cure, however, things play out much the same way, save that the next main job Through Pain to Heaven will begin after the post-Phantom Liberty pier scene, and after you’re done with that job, Who Wants to Live Forever and finally Things Done Changed will begin. These first two jobs mostly consist of you waiting an in-game day for Reed to call, meeting him, then heading over to the proscribed location where the NUSA will pick you up. This triggers a point of no return warning like the original endings in the main game and the aforementioned Things Done Changed is just you playing through the new ending, seeing, as the title suggests, what changed and how everybody has moved on. If you want The Tower achievement you’ll need to play through it, but if you’d rather settle on a different ending or just continue with main game content after Phantom Liberty, you can just reload the point of no return save that’ll automatically be made during Who Wants to Live Forever.
Whatever your choice, the future is in your hands, choom.
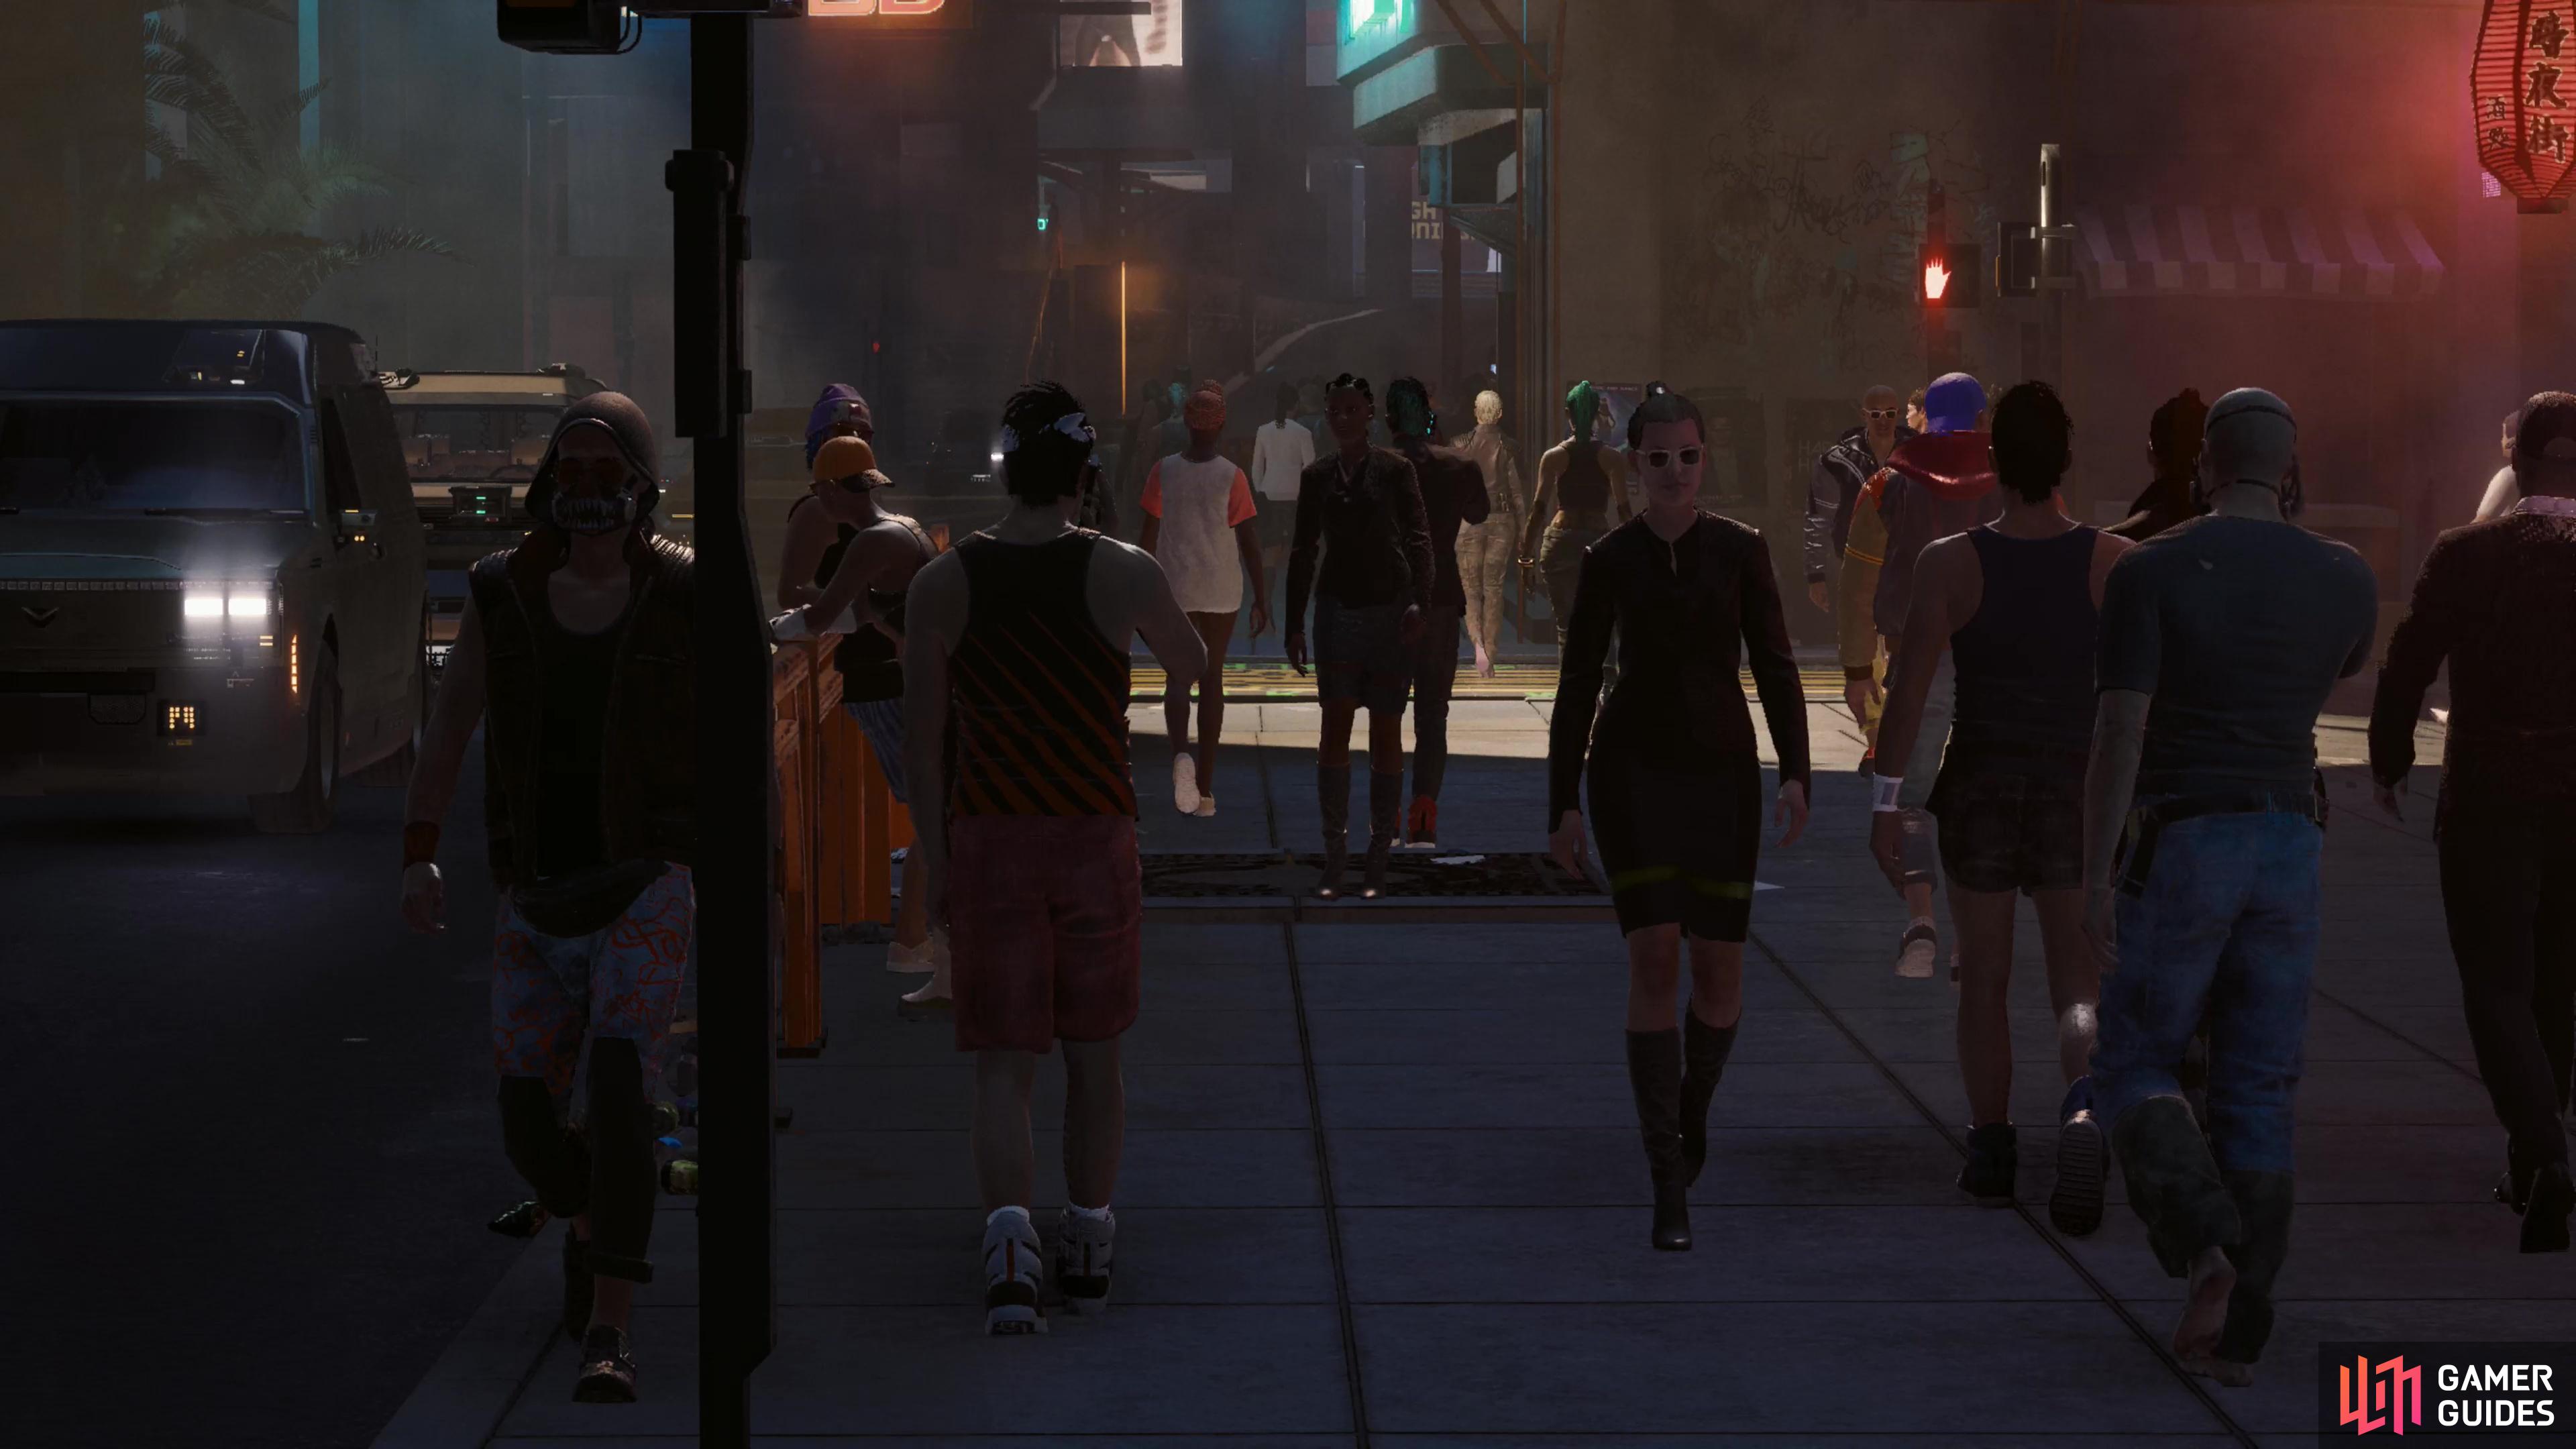
At the end of The Tower ending, V becomes just another face in the crowd. But one with a future, however mundane.
No Comments