


Searching for Evelyn
This quest will begin immediately after [The Space in Between] ends - as soon as you’re done talking to Fingers, in fact. First up, you’ll need to talk to Judy about what transpired, and eventually you’ll get to choose a course of action:
- ”I know a local fixer.”
- ”Let’s give the dark net site a shot.”
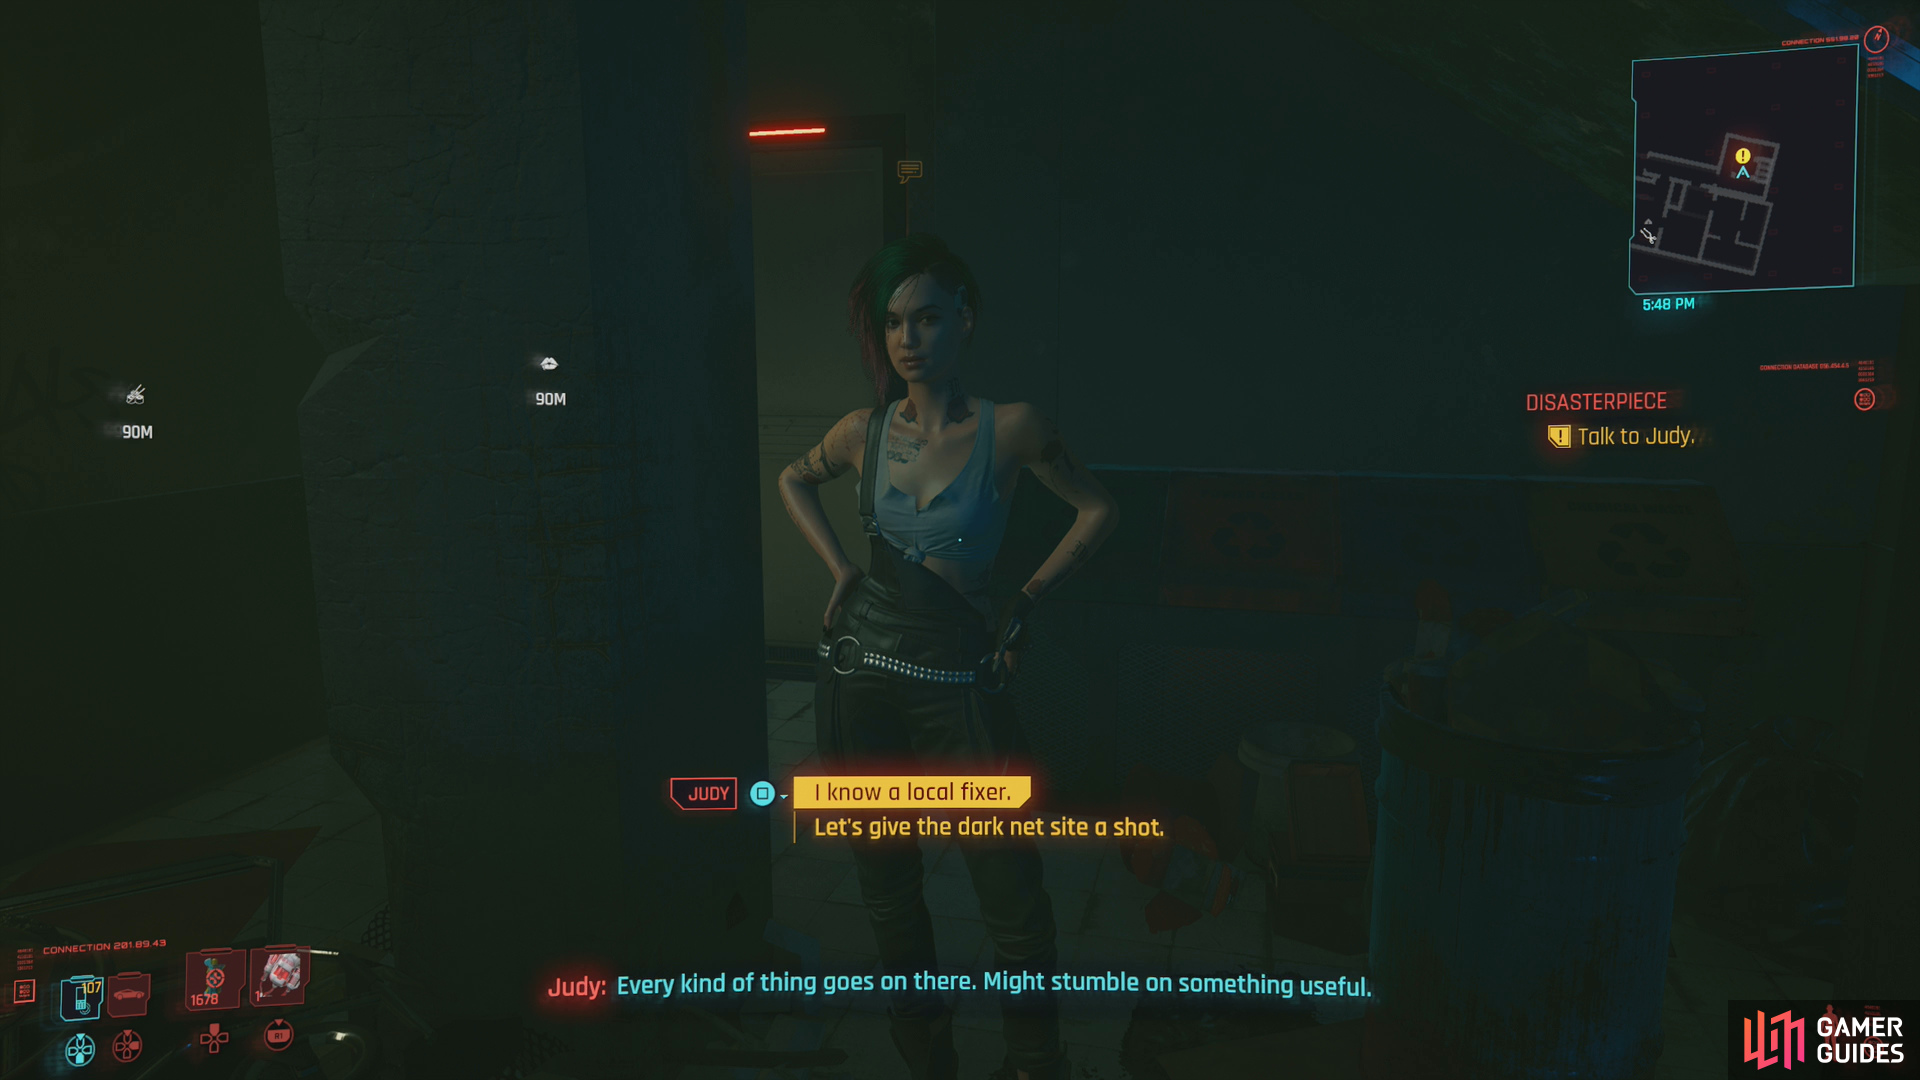
Talk to Judy after leaving Fingers’ office and you’ll get a choice determining how you’ll proceed.
There are actually three ways to proceed from here, as the ”Let’s give the dark net site a shot.” option will lead to two objectives “Ask around about XDBs on Jig-Jig Street” and “Locate a terminal and find the Pleasure of NC domain”. Whichever route you pursue doesn’t make a whole lot of difference - they’re all equally valid and will yield the same results.
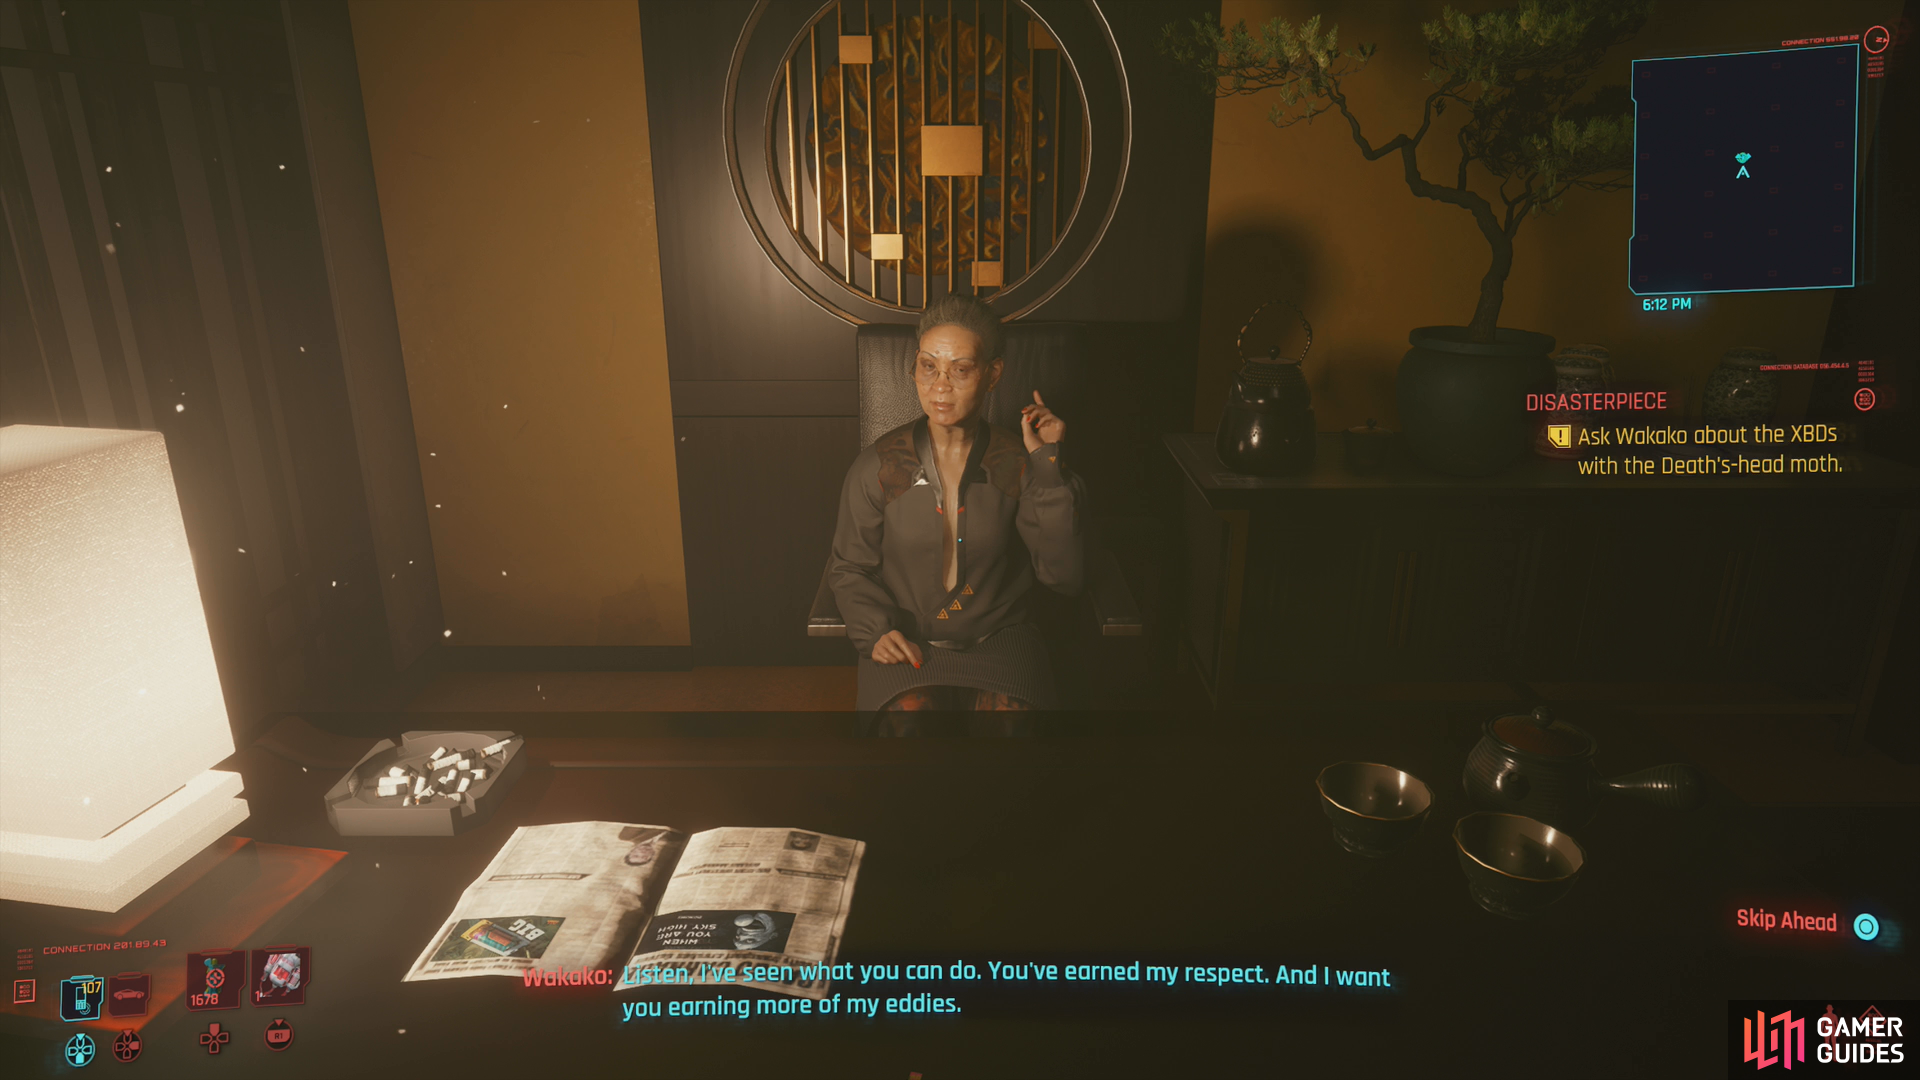
You can meet up with Wakako,
and get the XBD you’re after relatively painlessly.
Contact Wakako
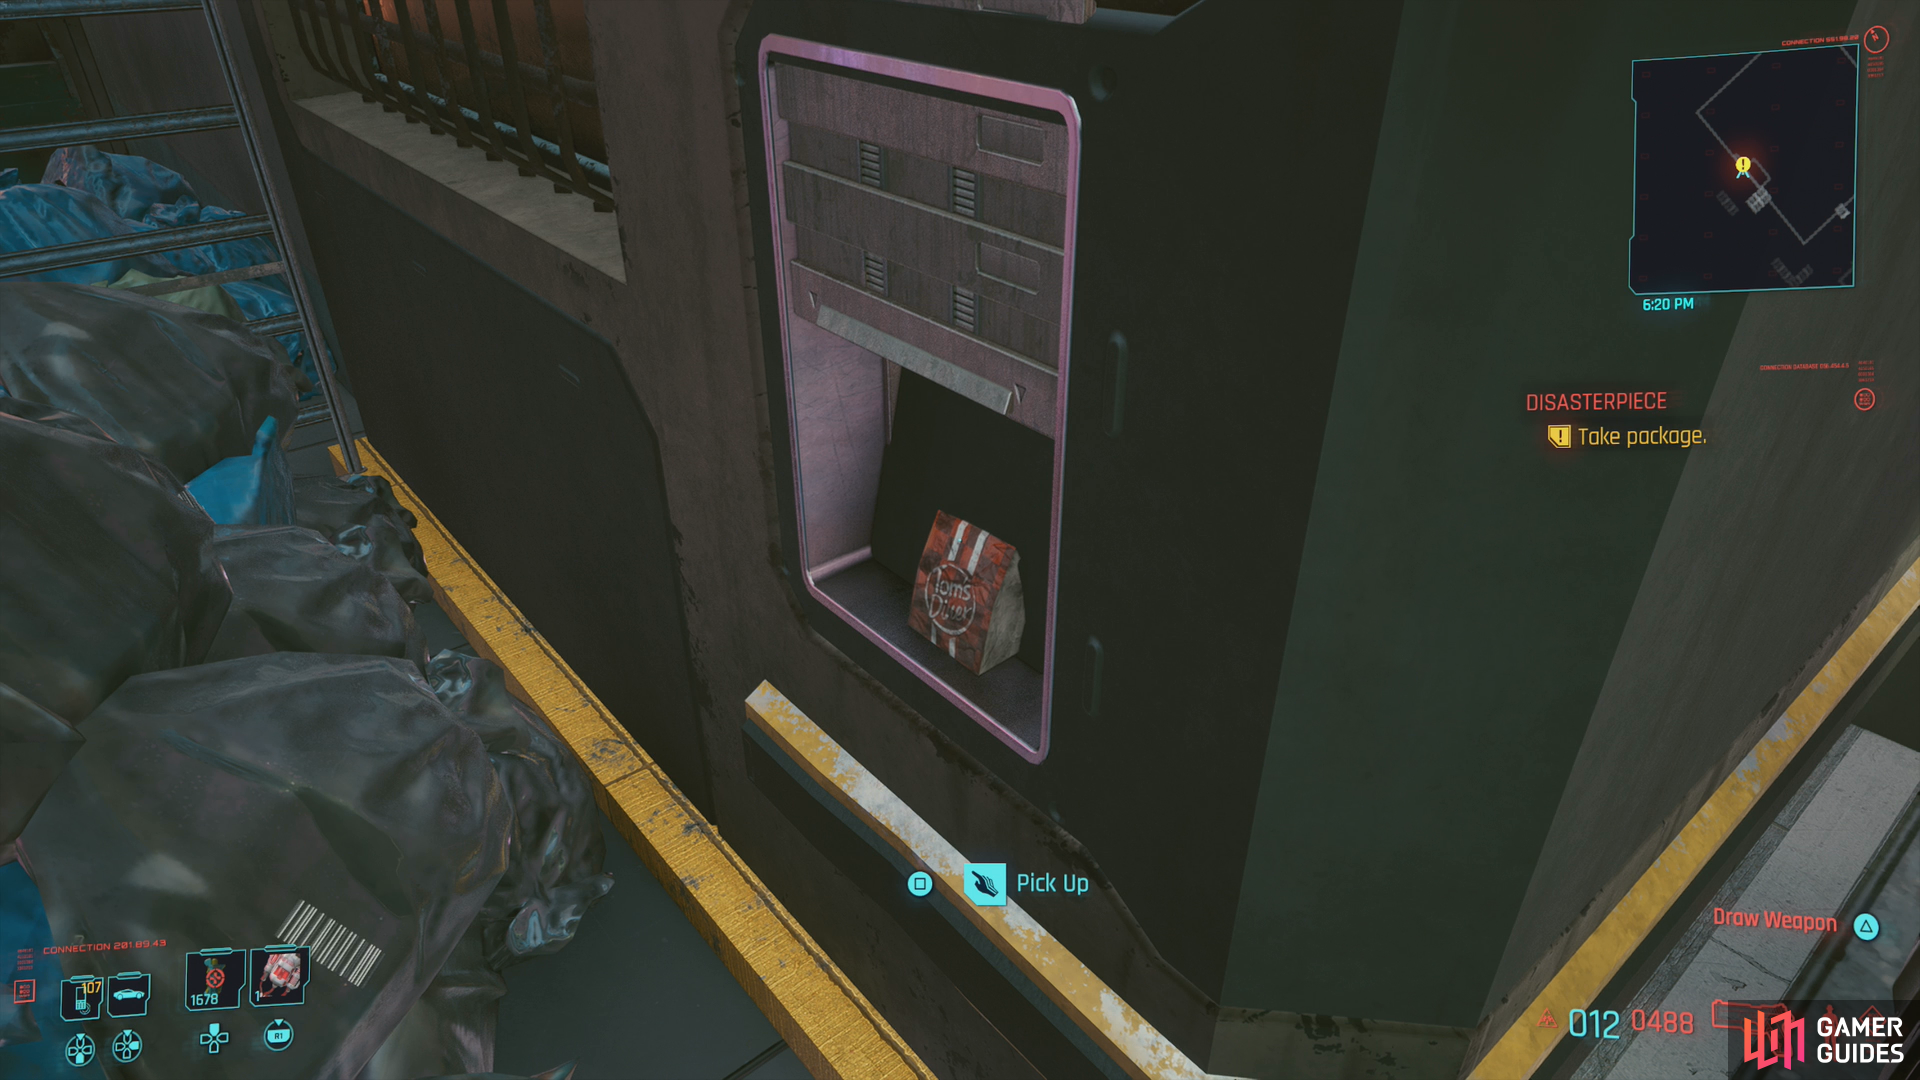
Respond to Judy with ”I know a local fixer.”, which will cause V to suggest getting info from Wakako. After this you need to either call Wakako or visit her in person to negotiate for a Death’s Head braindance. Whether you visit her in person or call doesn’t matter, and she’s close enough that the choice is even more moot than the outcome suggests. After talking to her, one way or another, go to the pickup point and get Wakako’s delivery.
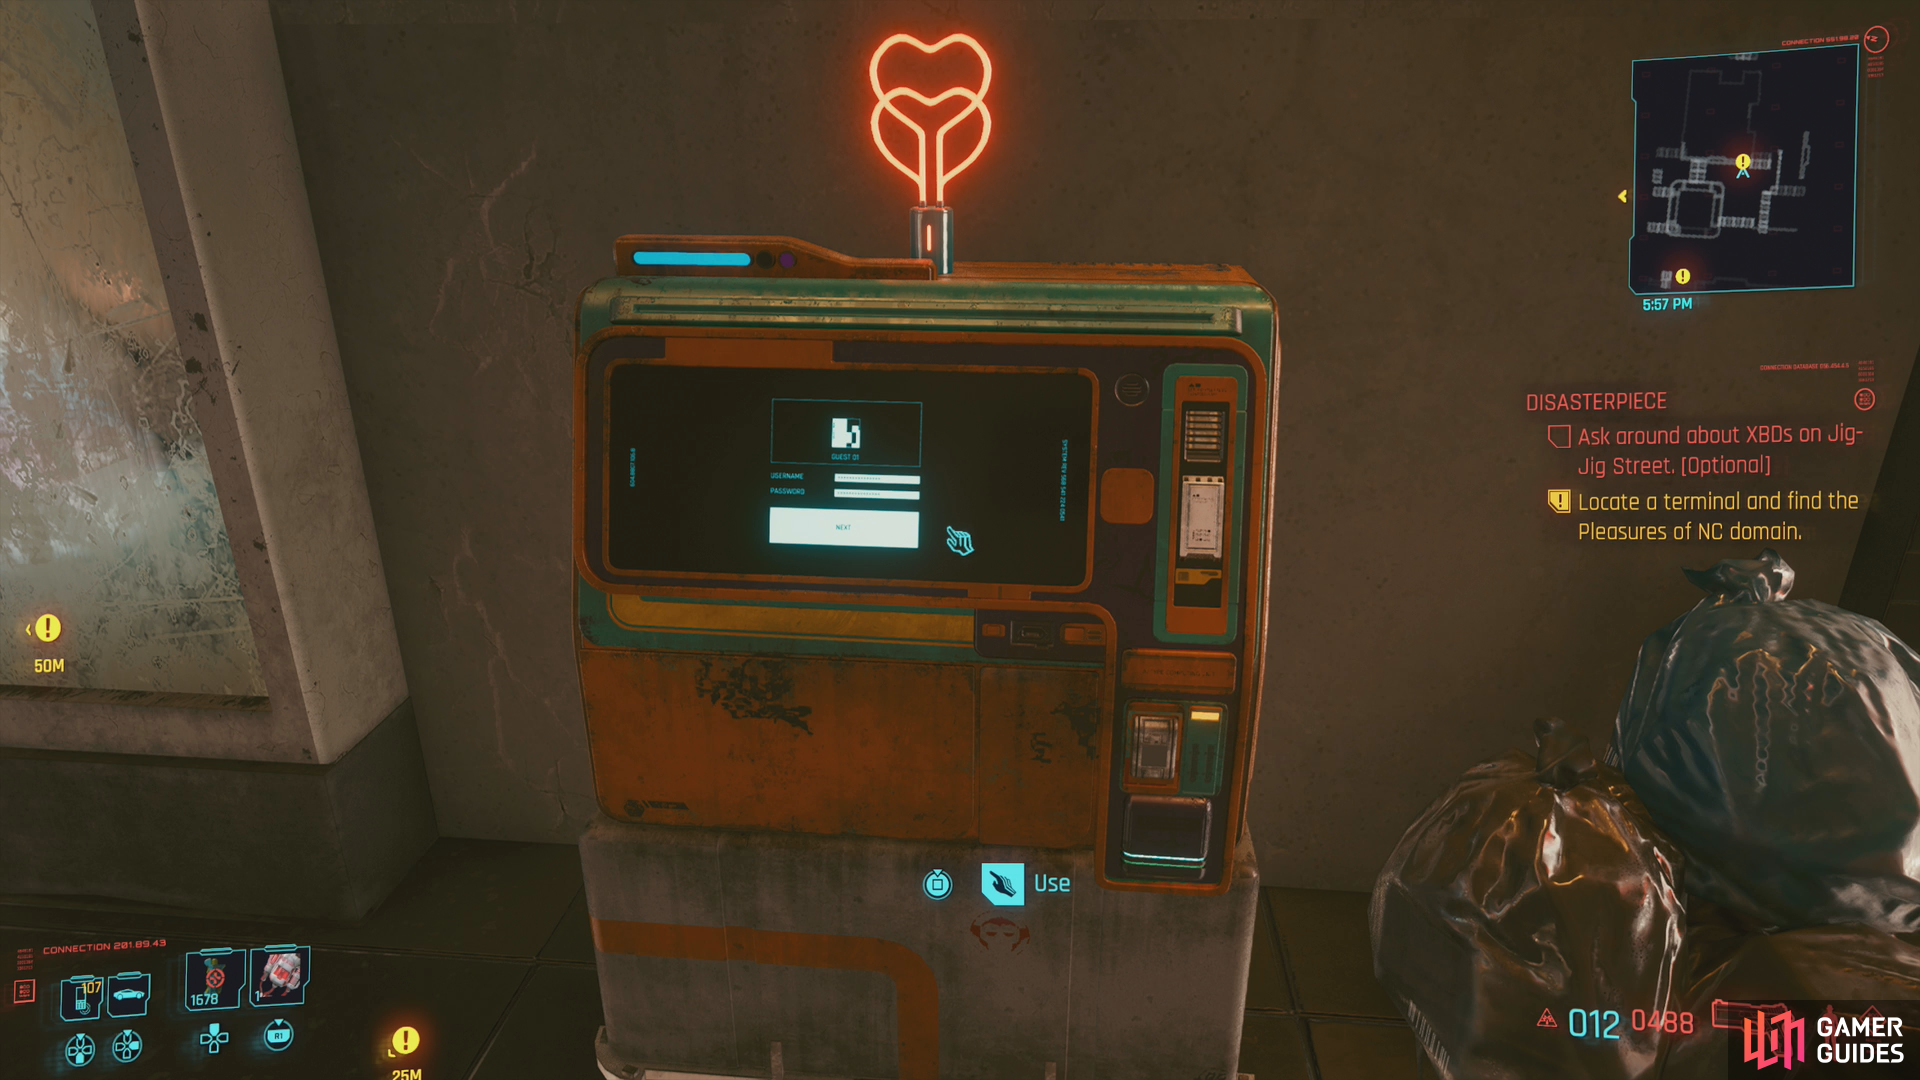
(1 of 4) If you want to get your hands on the XBD yourself, you can use a terminal on Jig-Jig Street,
Find a XBD Dealer
Respond to Judy by saying ”Let’s give the dark net site a shot.” and you’ll endeavor to find this Death’s Head XBD on your own. There are two ways to go about this, as indicated by the two objectives you’ll have:
- “Locate a terminal and find the Pleasure of NC domain”
To do this, head to one of the quest markers, which lead to various terminals on Jig-Jig Street. Access the terminal and go to “Log In”, which requires you to pass an easy breach hacking minigame. Do so, then select the “Braindances” tab and you’ll locate a prospective dealer.
- “Ask around about XBDs on Jig-Jig Street”,
Relevant for this course of action is the objective “Ask around about XBDs on Jig-Jig Street”, which will create a search area (yellow highlight on the minimap). Find the female Joytoy in the area and search near her for a sex shop - let the gaudy neon lights guide you. Head into the sex shop and ask the clerk about XBDs and he’ll refer you to a dealer in the area.
Either way, after you learn the location of the dealer you’ll get a yellow quest trail leading you to a tunnel where you’ll find a Dealer. Talk to him and he’ll open up shop, allowing you to buy the XBD: Deep-Fried Death’s Head Moth for €$1,000. Expensive going your own, but at least you don’t owe anybody any favors.
The XBD
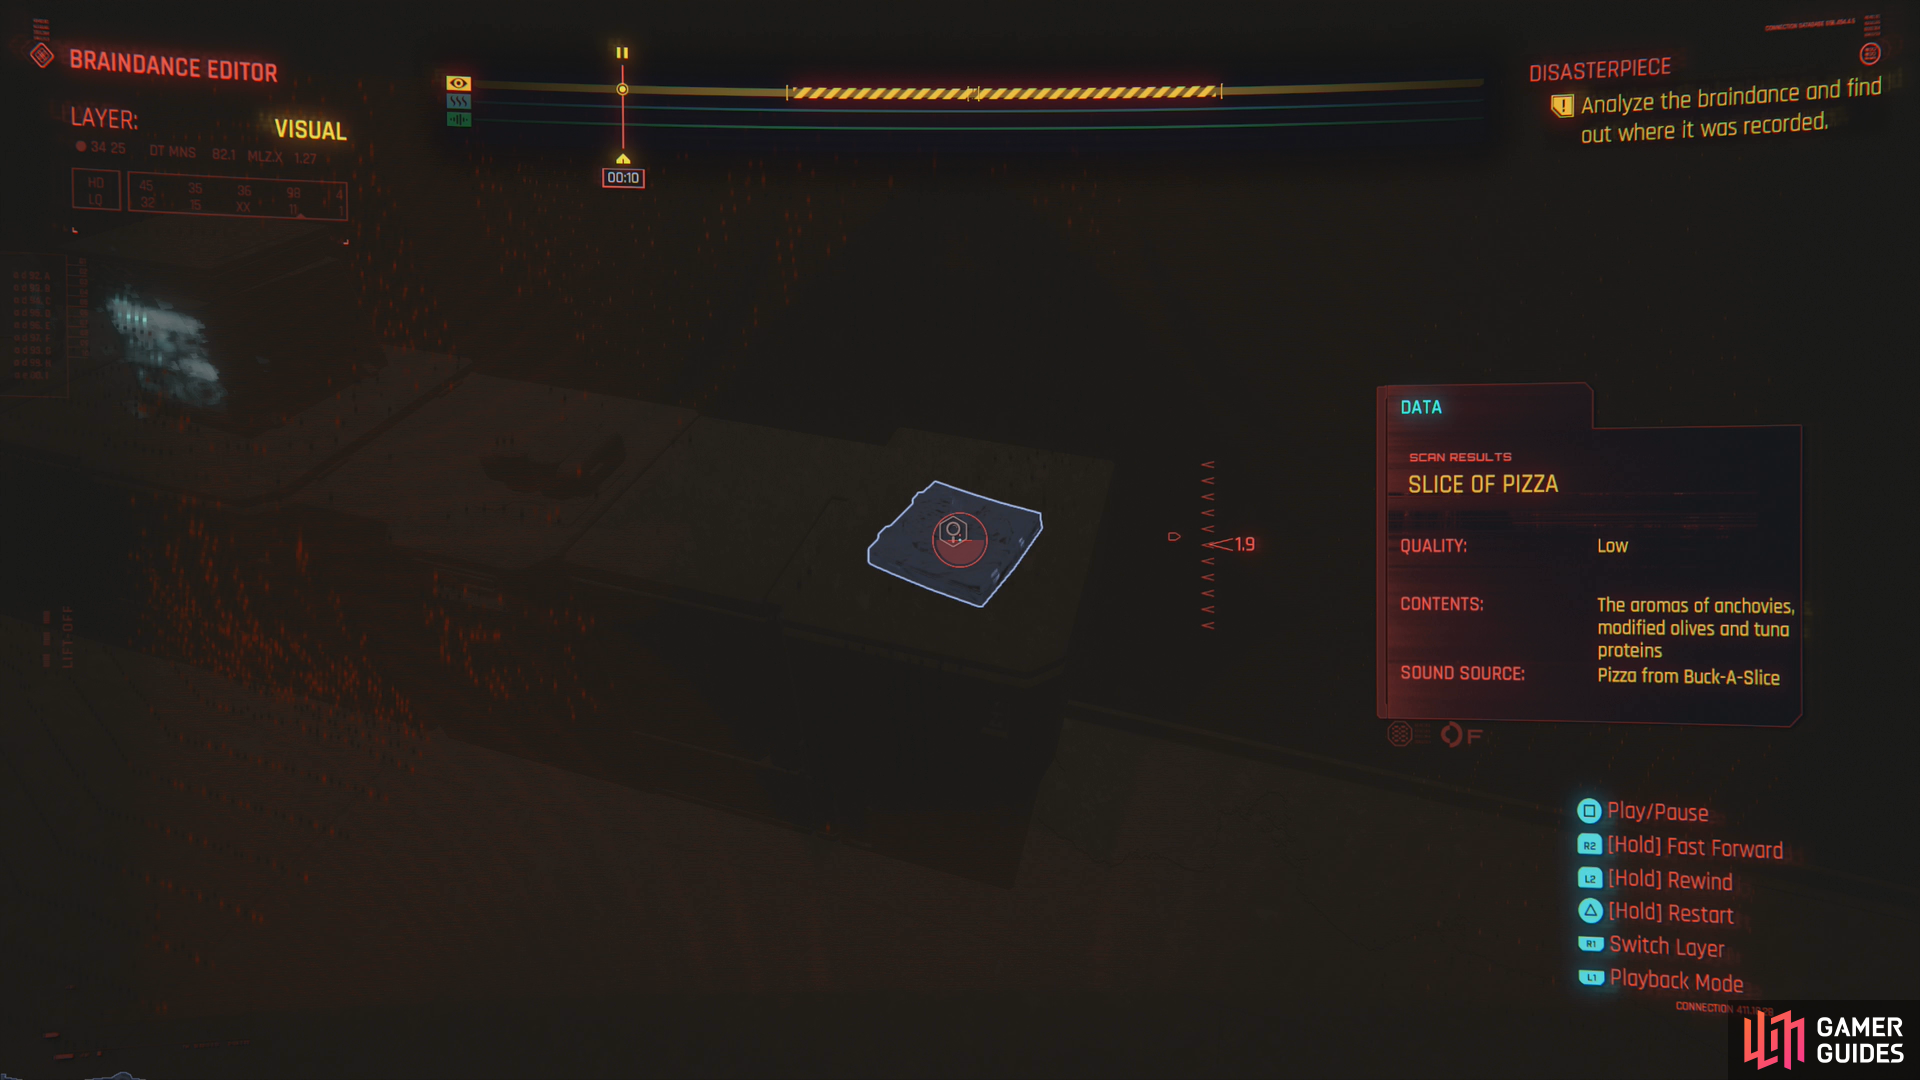
Once you have the XBD, follow the quest trail to Judy’s van. Hop in and you’ll start an XBD. Watch it to the end, then press [L1] to enter editing mode and hold [L2] to rewind to the beginning of the XBD. You’ll need to scan the following:
- Scan a box of pizza (visual layer).
- Scan a lab suit (visual layer).
- Scan a cup of coffee (visual layer).
Get the clues you need, then exit out of the braindance. Judy will offer to drive you to the location of interest, and there’s no good reason to turn her down. Take the free ride and Judy will drive you to where the rest of the job will take place.
The Power Plant
Reach the Main Building
When Judy stops her van, disembark and head down the sidewalk. Note the crumbling building to your left, beyond which - also to the left - is a gate leading to the power plant. The place is crawling with Scavs, and if you want to go in guns blazing (or if you’ve invested enough into quickhacking to dispatch foes from a distance) there’s not much nuance here; Just dispatch all the Scavs that challenge you, enter the factory and head to the far right corner (from the front door) to find some stairs leading down. Simple.
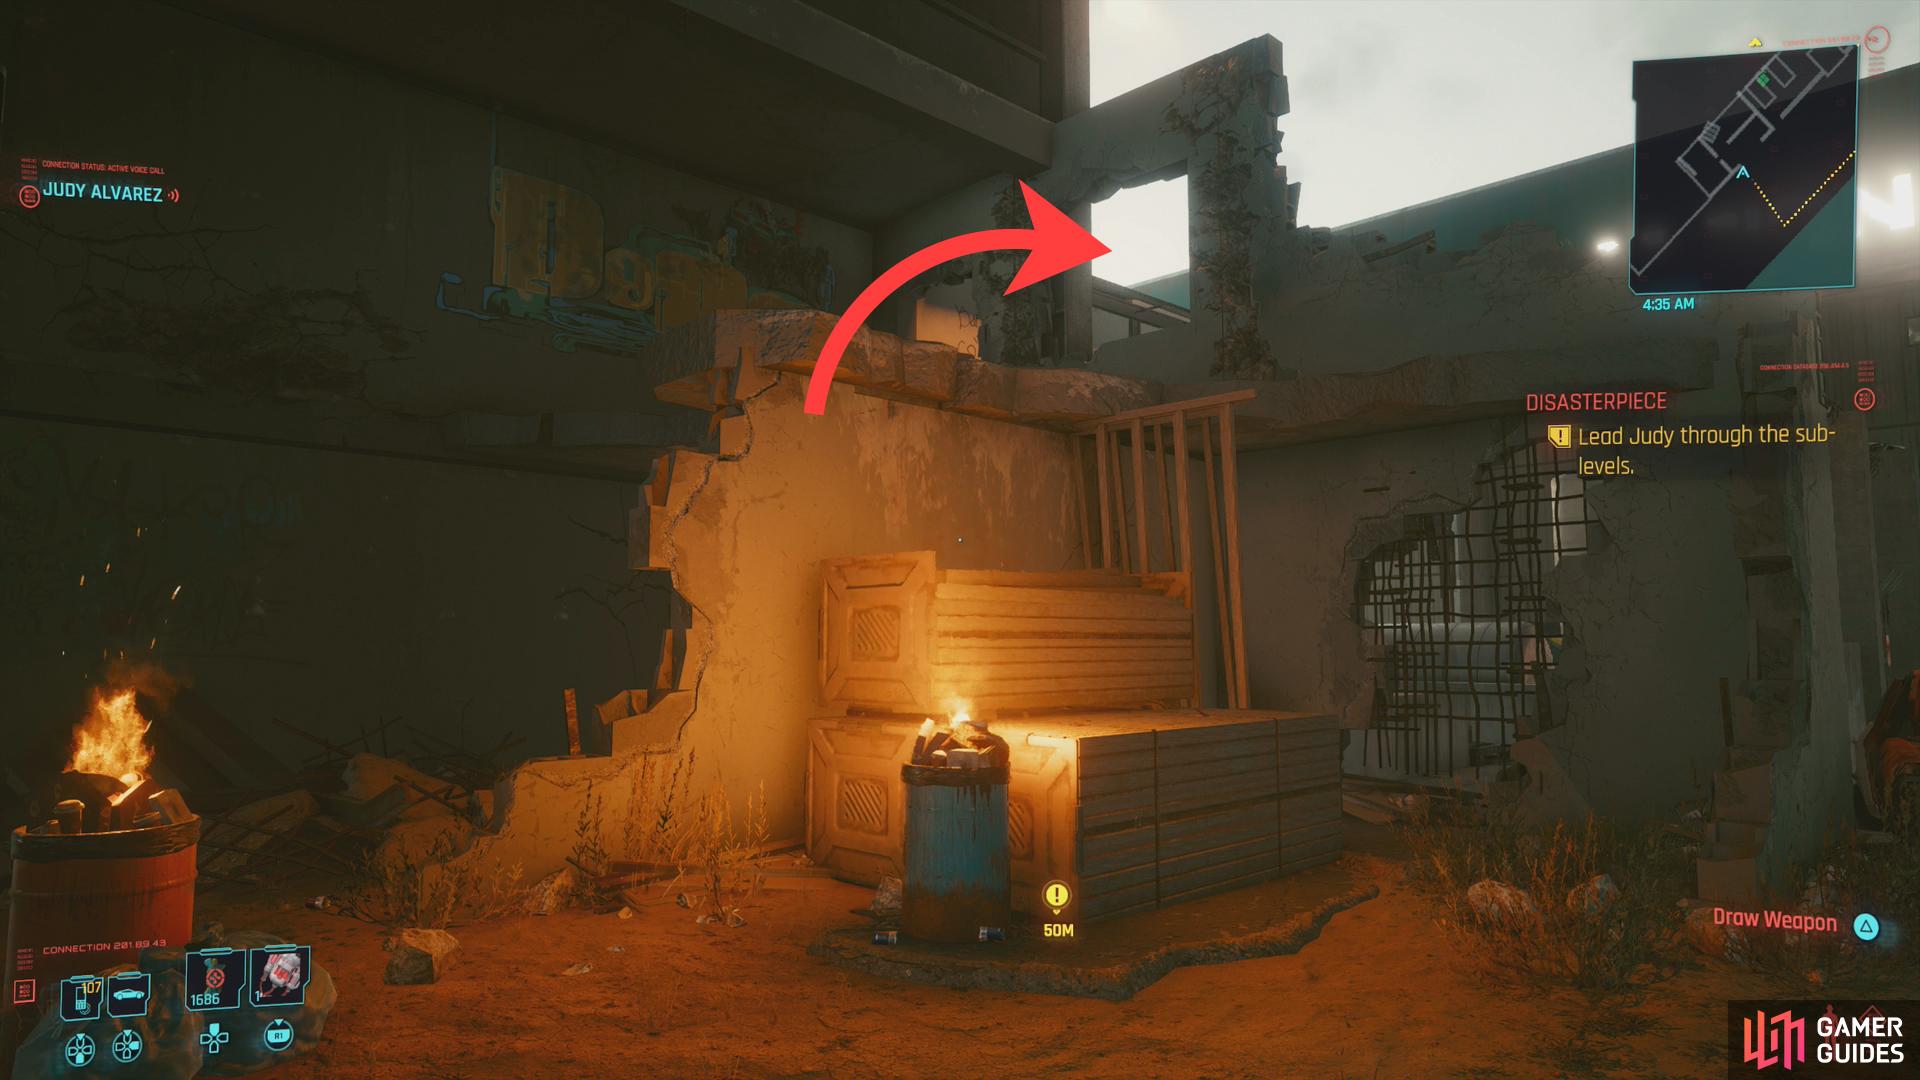
If you want to be a bit sneakier, however, this is the first Main Job that allows you to really spread your wings and indulge in multiple options for accessing areas and dispatching foes. First up, you’ll need to get into the grounds, which you can do by sneaking into the ruined building near the power plant lot and climbing up into the interior. Down the sidewalk beyond that you’ll find a locked door [Technical Ability 7], and further on from that you can also head to the front gate, where you’ll find an abandoned security checkpoint. Force some shutters open [Body 7] or double jump onto the roof. You can also force open the front gate itself [Body 9], but doing so is probably going to attract attention.
However you get inside, when you’re there two Scavs in the lot should start arguing. Wait for them to finish and one will stomp off, going to rest outside the power plant lot. Dispatch them or ignore them, either way, the number of foes you have to deal with have decreased. Always a good thing.
Once the Scav defects, you can set about clearing the remaining Scavs outside the power plant. The ideal way to go about this, as far as we’re concerned, is to jump into the ruined building, take a left, head through the ruins and cross a metal bridge to reach another building where a lone Scav sits watching TV. He’s easy to dispose of if you sneak this way, and his vantage makes him the most likely spoiler when it comes to clearing out the rest of the lot. There’s also an Access Point [Intelligence 5] in the computer nearby, for what that’s worth.
From this vantage, look over the lot and scan and tag Scavs. There’s one on the side of the building and three in the front. Simple math, here, the side route is easier to infiltrate, and the Scav on the side shouldn’t have any eyes on him, and is easy to sneak up on. Once he’s gone, you can clear the front of the lot without much trouble.
Clear however many Scavs you care to, by whatever means you can, then it’ll be time to infiltrate the power plant. If you made a ruckus, you can just go in through the shutter door in the front - getting into a fire fight in the lot will probably lure out any Scavs, so the way should be clear. If you were being stealthy, the shutter door in the front is still a fine option, although there are three Scavs inside you need to be wary of. Quickhacking the shutter door and closing them is probably not a bad idea while clearing the lot.
The side offers more options than the front, as along the side of the building you’ll find a window whose shutters you can unlock [Technical Ability 9], a side door you can just walk in through, or, if you have double jump, you can jump onto a ledge to reach another side door. The latter choice is, once again, preferred, as you can take out a Scav on some elevated walkways without the two on the ground noticing. Once he’s gone, listen to the two Scavs below you talk, after which they’ll separate, making it a trivial matter to head down to the ground floor and deal with them. A good opportunity to make use of the Hidden Dragon perk, if you have it.
Once the main floor of the power plant is cleared, note that you can find a locked door in the front right corner [Technical Ability 7] which leads to a small room with… honestly trivial loot. There’s a sealed door [Body 9] in the back center, which can be circumvented by another door and shutter… not that there’s any point (aside from the welcome Athletics XP), and finally there’s a sealed door in the back left corner you can open by quickhacking the door terminals, but this just allows you to reach the catwalks. If you are able to double jump, you don’t need this.
Scour the factory floor, then head to the far right corner to find some stairs leading down. When you descend them, Judy will join you and mention you have to reach level -2. Still got a ways to go.

Level -1
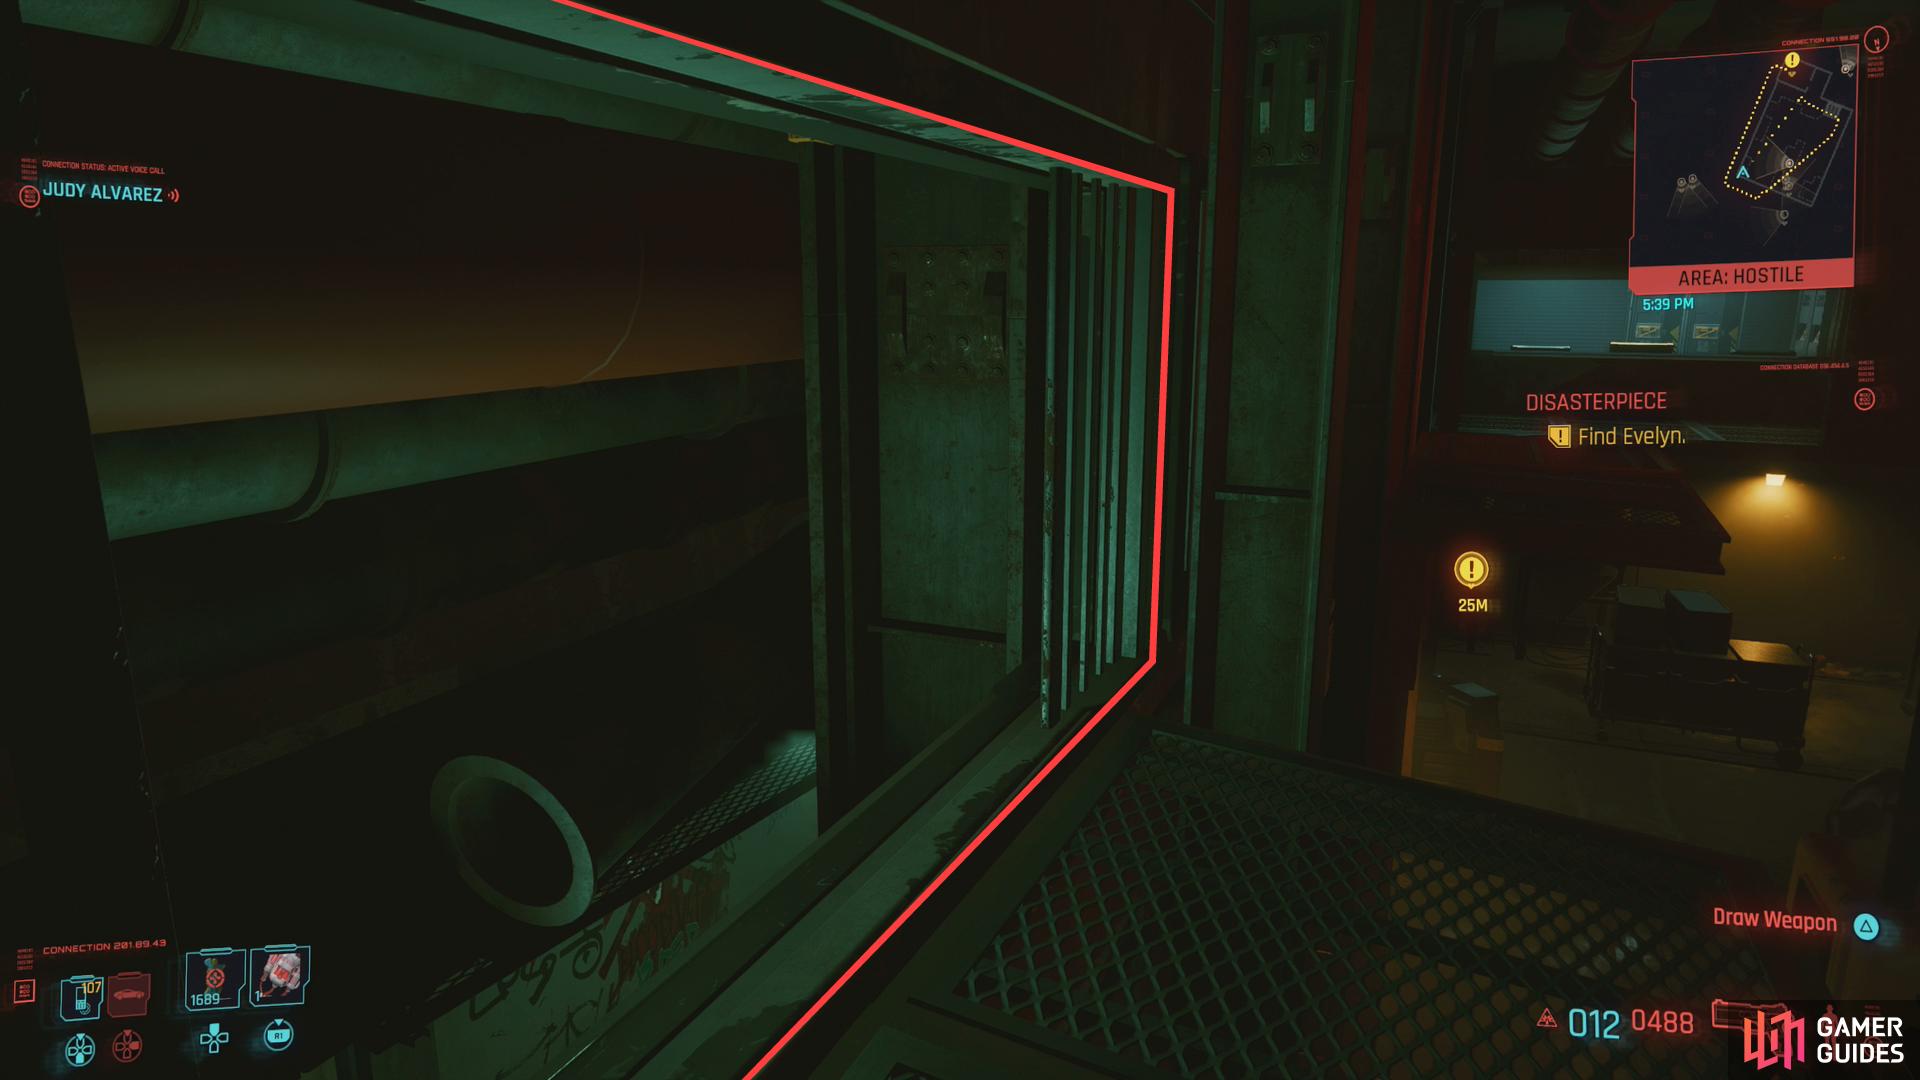
Head downstairs and pass through a door until you reach a fork. Going forward and right just leads to an elevator you can’t access yet, so go left through a gate and Judy will comment on some discarded clothes to the left. Looks like we’re on the right track, but also doesn’t look like Evelyn’s in good hands.
Continue through another gate, but be careful, as two Scavs can be found just to your left. Let them chat and when they’re done they’ll go through their routines. Wait for the standing Scav to face away, hit the sitting Scav with Reboot Optics, then take them both out and stash their bodies. Once they’re gone, you can jack into an Access Point [Intelligence 5] near the sitting guard to the left and interact with an electrical box [Technical Ability 5] on the wall in the room to the right.
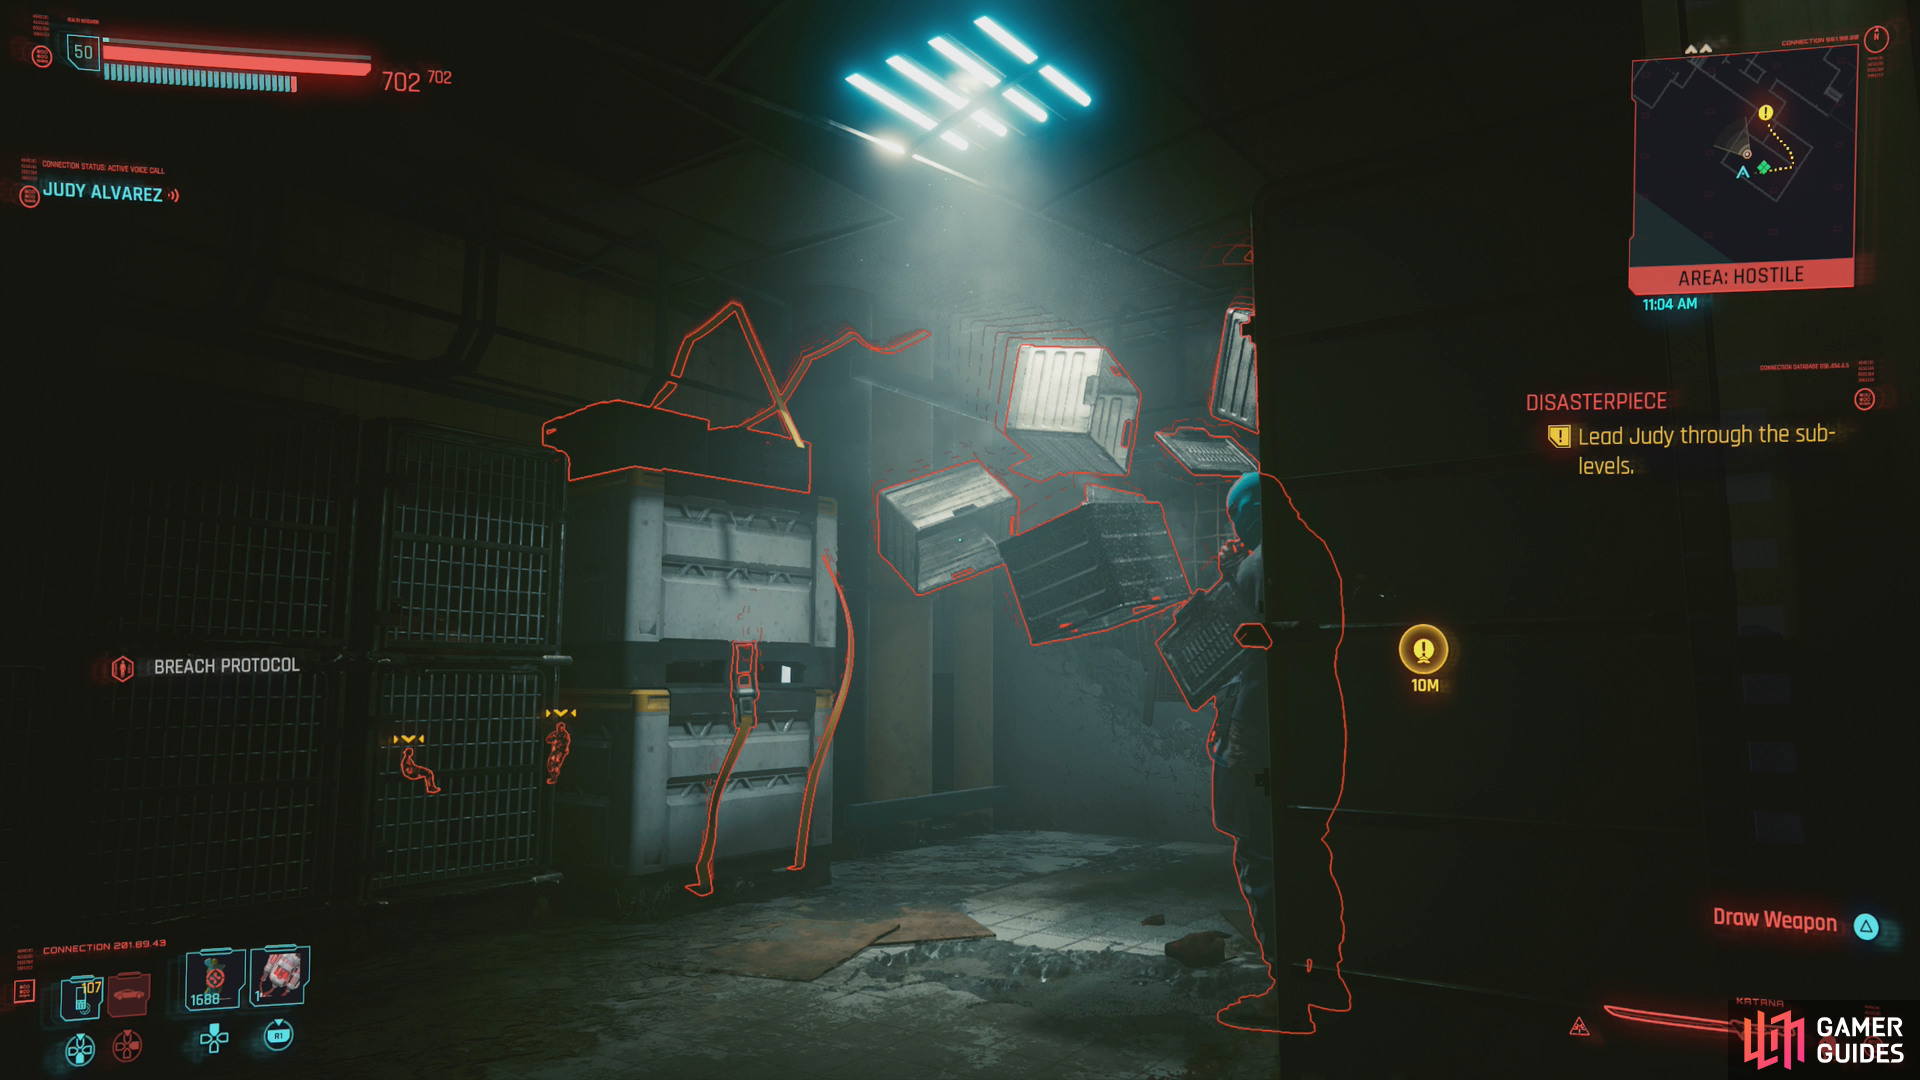
There are two ways to advance from here, either keep going straight to reach a small room adjoining a larger room filled with Scavs, or go through a locked door [Technical Ability 9] that leads to the same large room, albeit via a side passage which may be more advantageous. As usual, when you’re close to the enemies, listen to them chat and they’ll go about their routines. This will likely leave you with two Scavs to dispatch, and honestly, going through the side shutters (quickhack them open) is just as easy as going through the locked door. As a bonus, if you remained stealthy, Judy will take down one of the Scavs for you, so you really only need to dispatch the one on the left.
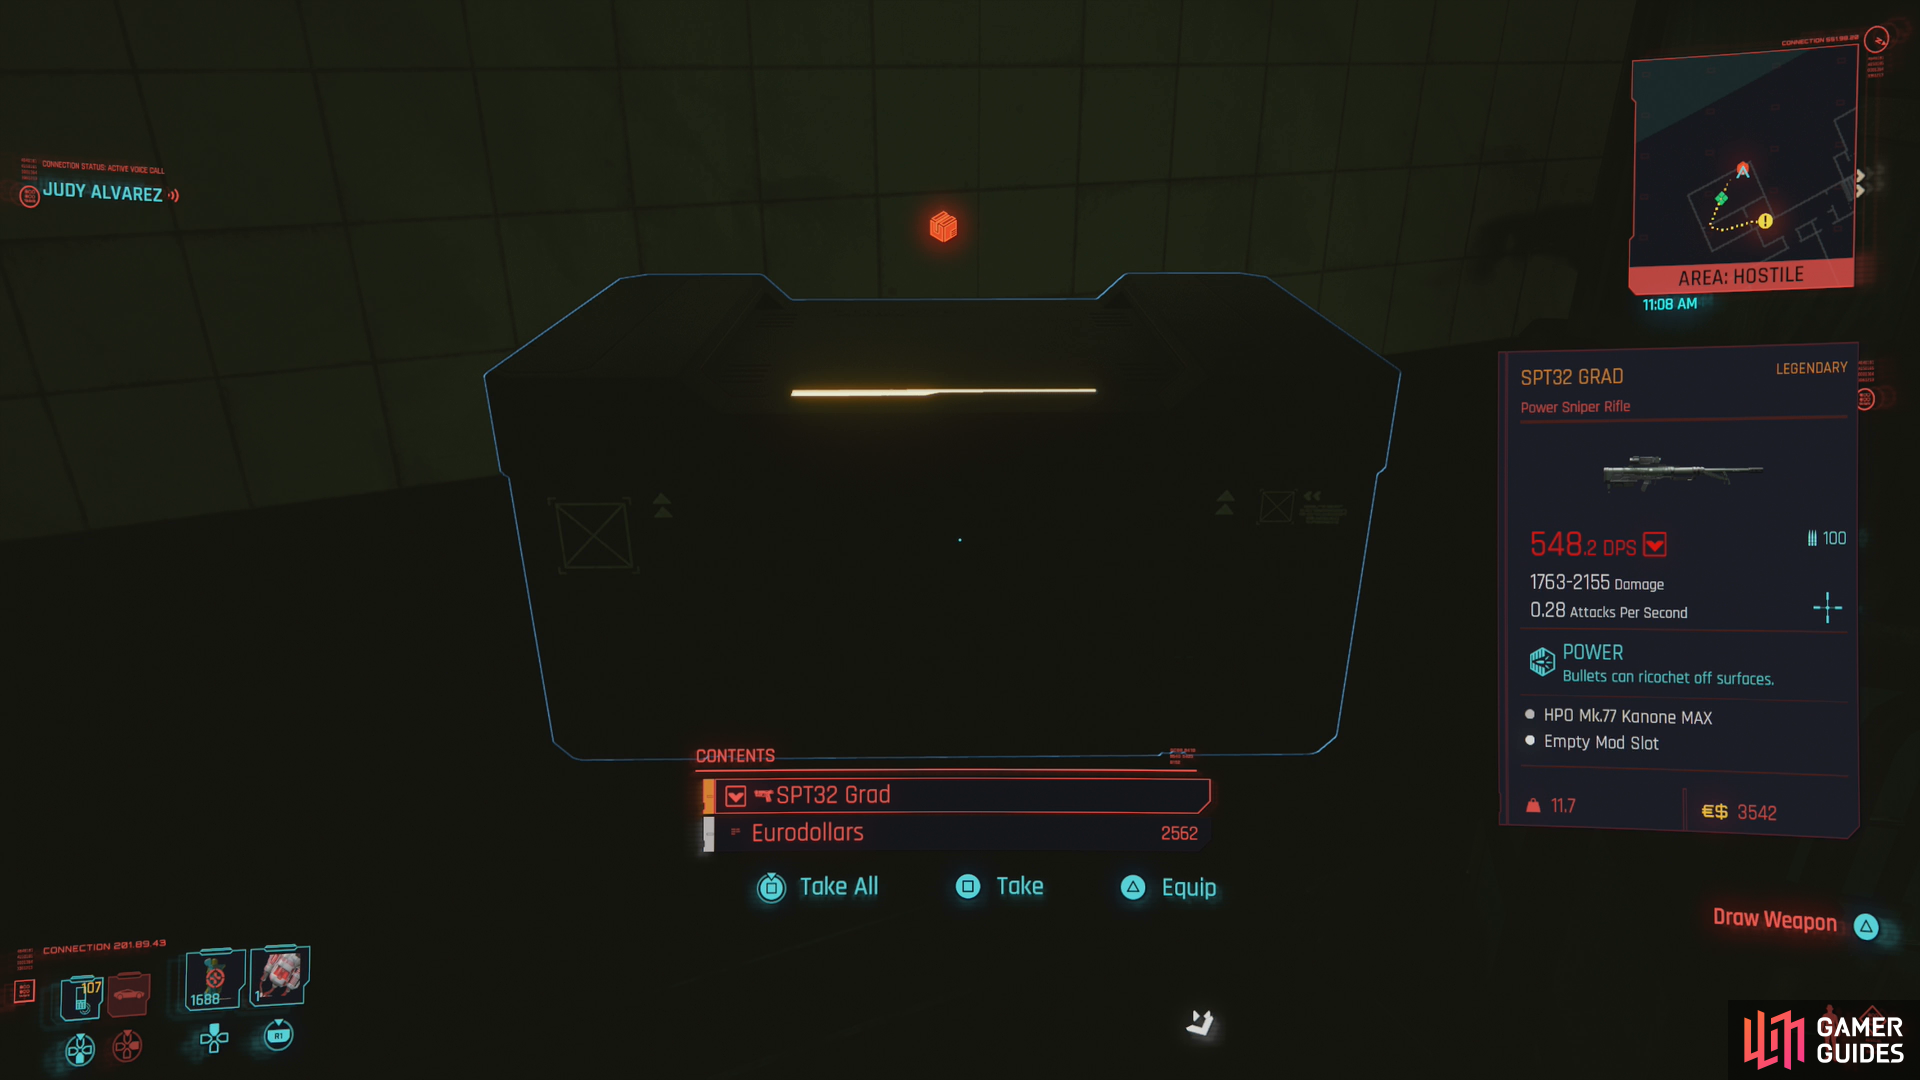
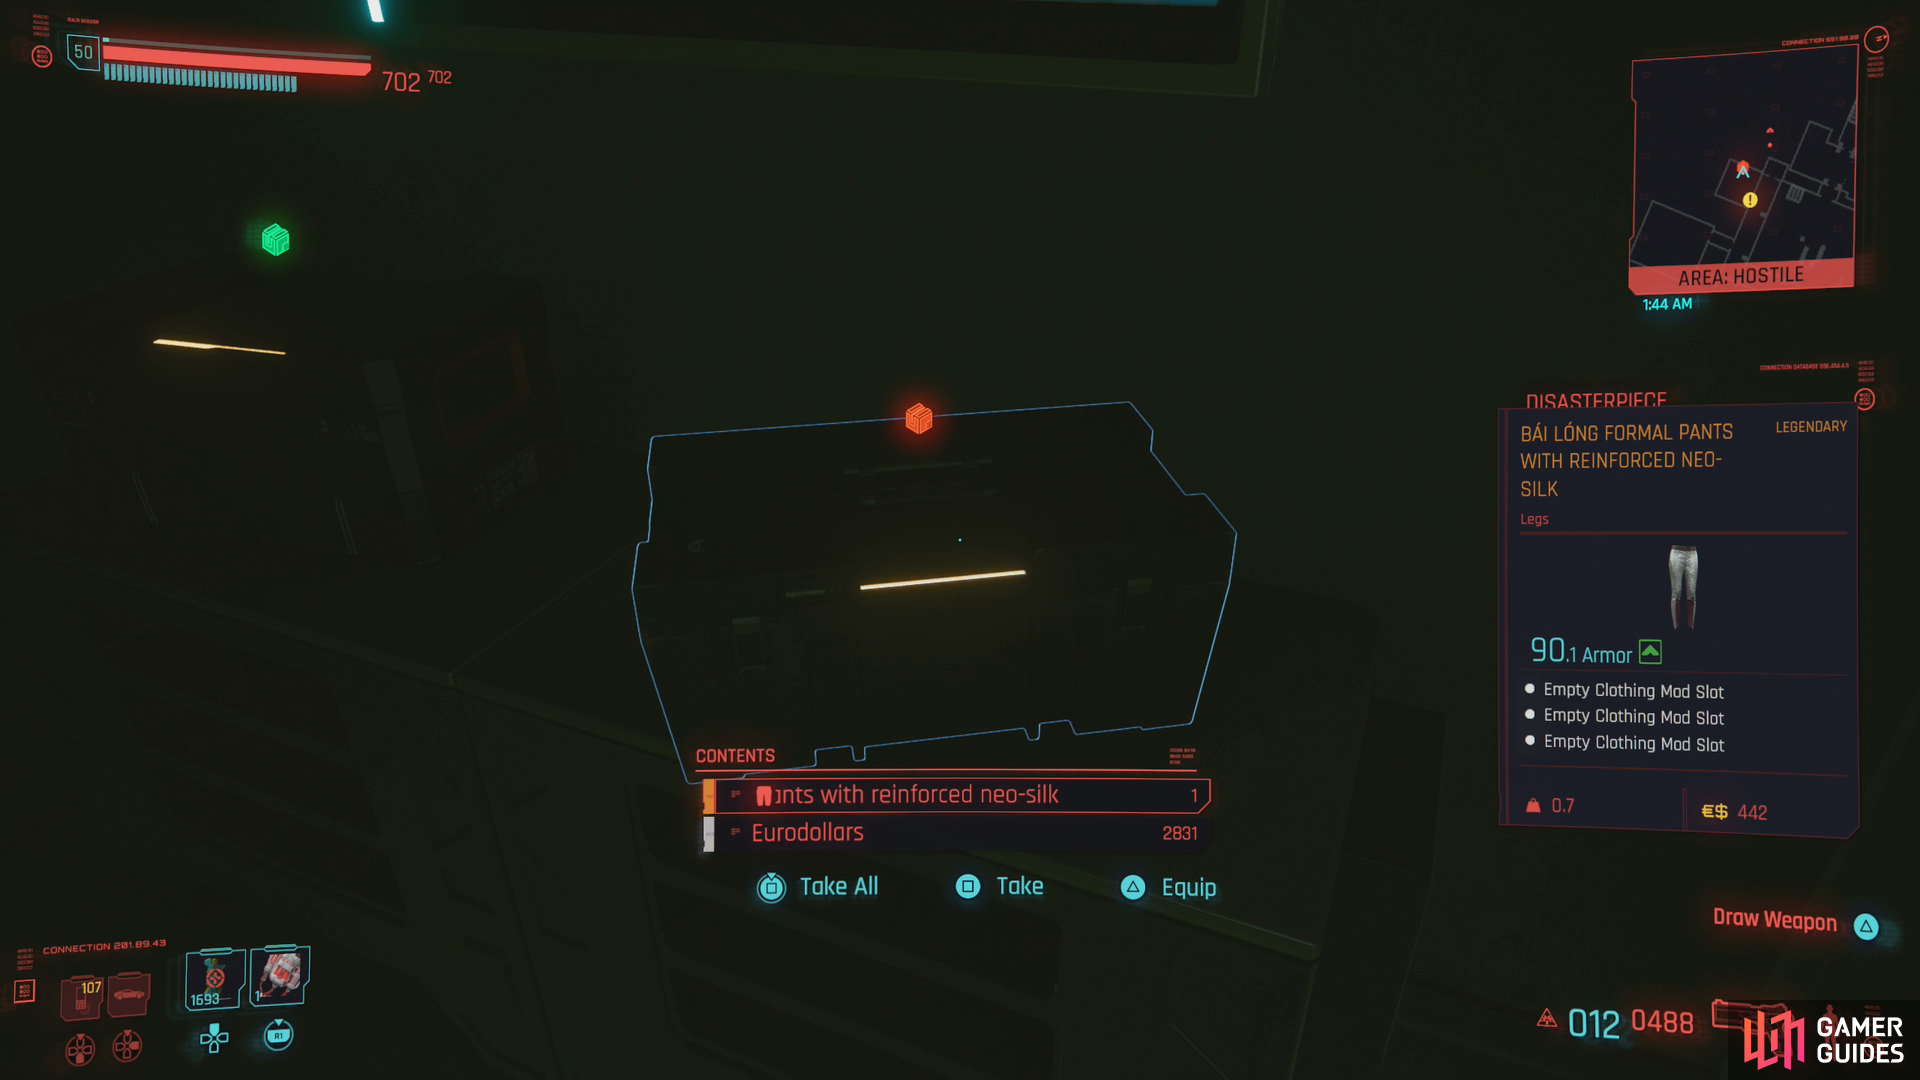
With that done, search the large room for loot (you can find a large weapon case on some crates which has a chance of dropping a legendary gun), then head across the large room and take out a third Scav sitting on a couch watching TV. You can then jack into the Access Point near the TV [Intelligence 5] and override an electrical box on the opposite end of the room. Finally, there’s a lapto you can use to turn off some networked devices, which should already be off if you maintained stealth.
Creatively use quickhacks to take down wandering Scavs,
then loot a container for a second potential legendary drop.
When you’re ready to move on, follow the quest marker through a door on the left side of the room and you’ll quickly find a fork. If you turn left you’ll find a locked door [Technical Ability 5] beyond which some Scavs lurk. A combination of patience and pertinent quickhacks should be sufficient to take them both out, after which you can search these rooms for a terminal [Intelligence 5] you can use to disable some networked devices and a crate in the room through the gate containing another potential legendary drop.
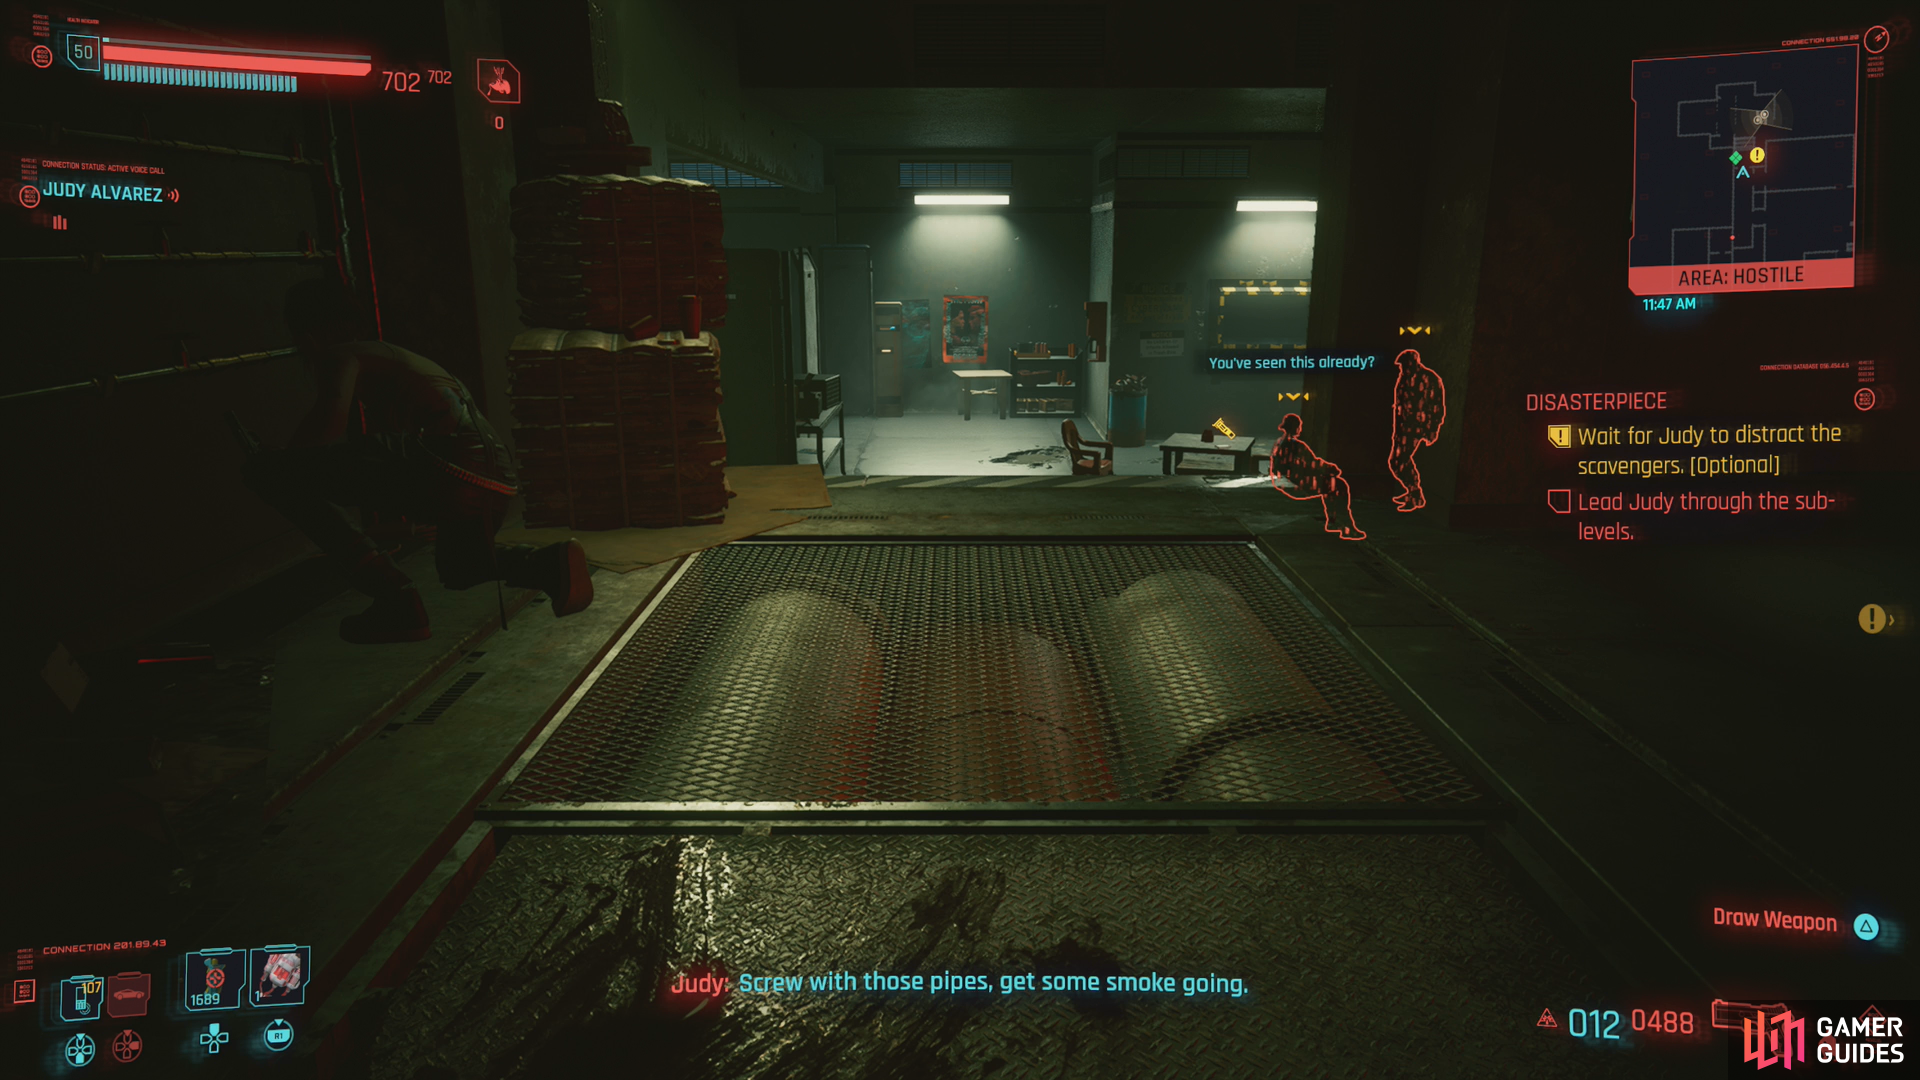
Wait for Judy to sabotage some pipes,
then help her take down two nearby Scavs.
Leave the rooms to the left, return to the forks and this time head down some stairs to the right to find two Scavs waiting for you. Approach until they start talking, and Judy will join in shortly, opting to create a distraction by tinkering with some pipes. Get behind cover and let her do her thing, and when she gives the call wait for the two Scavs to separate, then head on down and take down one of the Scavs (preferably the further one, on the left). Judy will handle the other. Nothing works like teamwork.
Level -2
You can search a side room to the left for some loot and Johnny commentary, but to proceed you’ll need to head down some stairs to the right. After descending two flights, Judy will offer to cause trouble in a maintenance room to the left, while the quest points you through a door straight ahead. You can join Judy in the maintenance room, but there’s little to do here aside from using a terminal to remotely control the surveillance systems up ahead, or to disable them. Using the cameras to scan and tag enemies in the upcoming rooms isn’t a bad idea, and if you’re keen you can even spot Evelyn in what appears to be an XBD filming studio.
Continue into the next room and put down a Scav, then search the to the right to find another computer you can use to commandeer the surveillance system. This computer doesn’t allow you to do anything the one in the maintenance room didn’t. Search to the left to find a mutilated corpse on a medical table (you can chat with Johnny about this), jack into a terminal [Intelligence 5] then note a locked door along the left wall [Technical Ability 9]. You can get to a side passage via this door, which will make it easier for you to take out a Scav (who otherwise is out of sight of cameras). With some patience, this Scav is the only foe you’ll need to kill to advance - you can safely ignore the other three foes in the furnace room.
If you can’t get through the locked door, or want to try a more explosive solution, exit through a door between the two operating rooms you just explored and mark the locations of the enemies in the room beyond. Wait for the coast to be clear, then head into the large room ahead and immediately take a right and go upstairs to reach an elevated metal walkway. There are two interesting tricks we can play from up here, one being somewhat more useful than the other. First, note that you can enter a room via this elevated catwalk to find a terminal on a desk. Access the computer and select “Local Network” to find the novel option “Furnace (Explosive)”, which will detonate the furnace in the room below. Sadly, this is more of a distraction than a feasible means of dispatching any enemies.
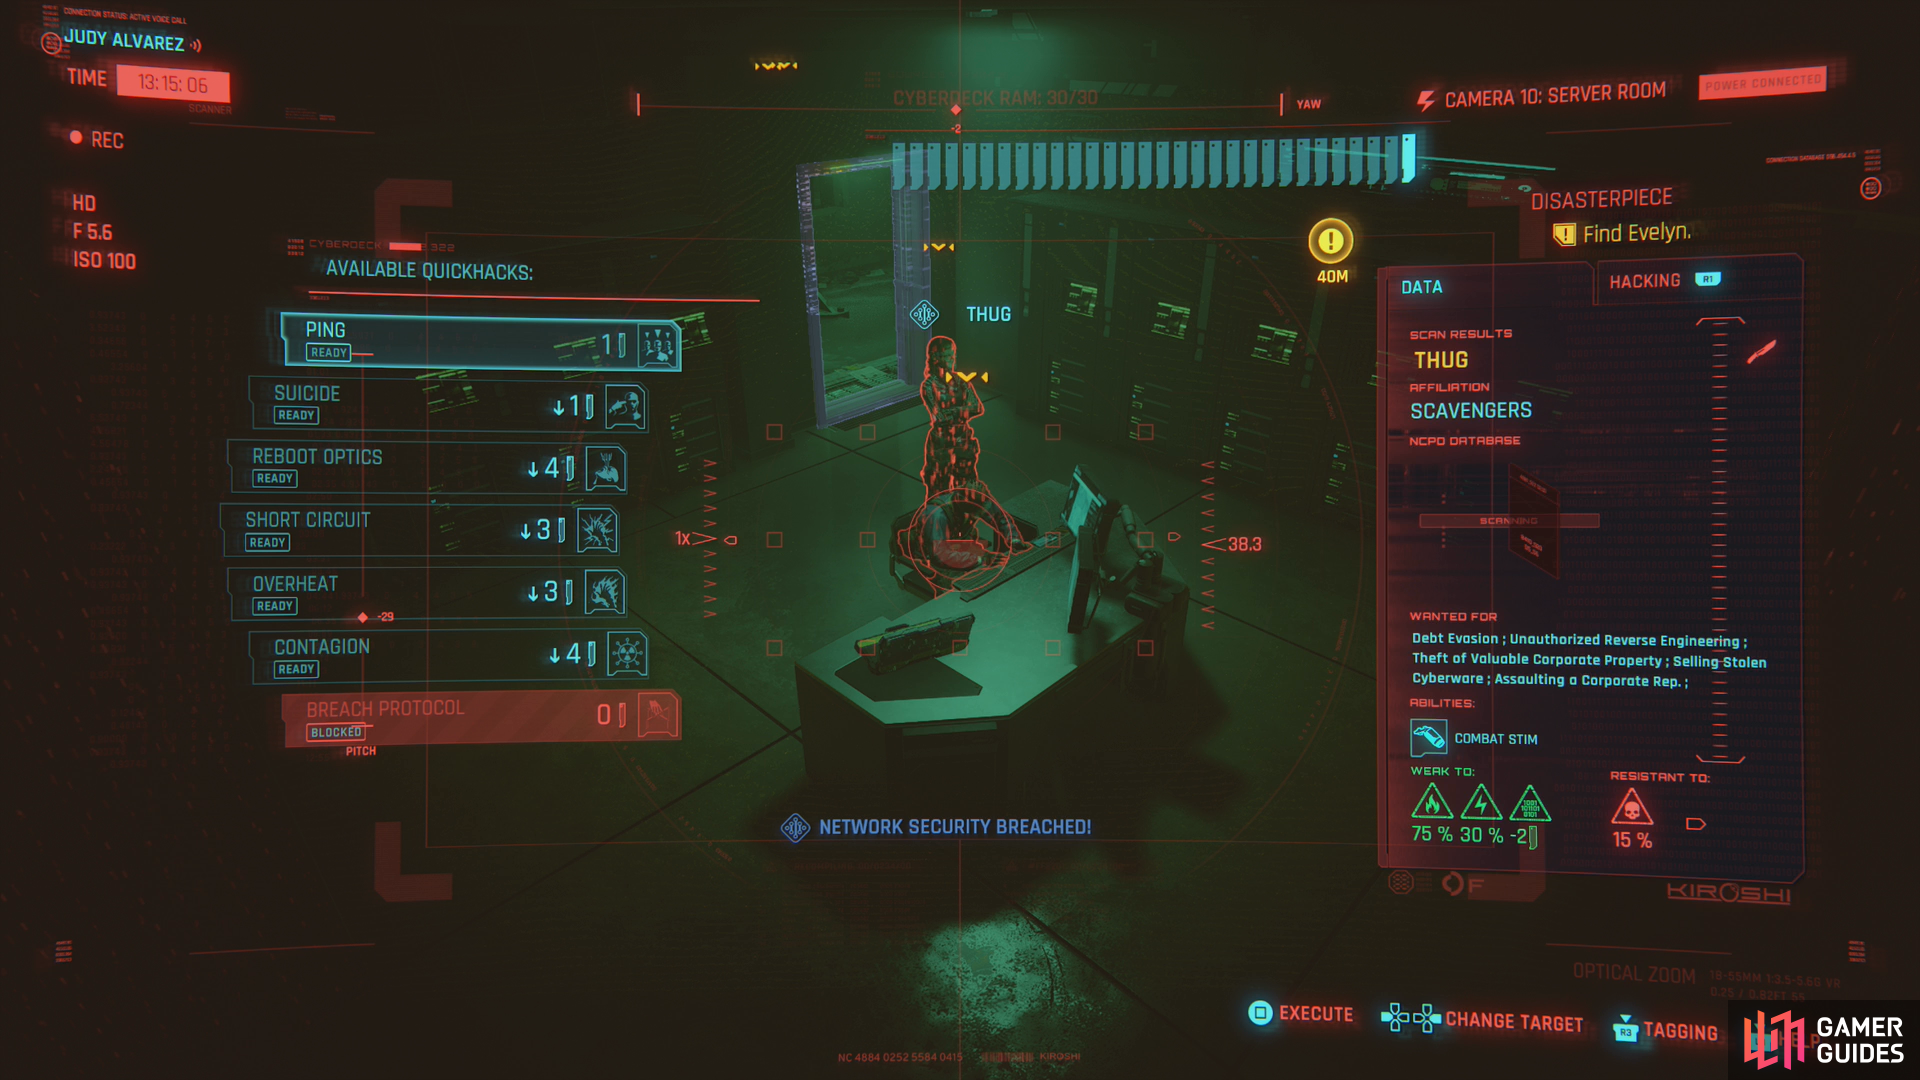
Of more practical interest, be sure to scan the enemies in the room below you. Two should stand near each other and chat, one of which will be a “Spider” - a Scav Netrunner. Over his head and to the right you’ll find a walkway, particularly a “Catwalk Segment” you can remotely detach via a quickhack. This should drop the catwalk on the two Scavs below, including the Spider. It’ll also alert the third Scav in the room, who will investigate and send out an alert if he makes it over to the bodies, which will boot up the surveillance system (assuming it’s not already active), but if you’re quick you can drop down and dispatch him before he can reach his downed allies. There’s still the matter of the fourth Scav in the tunnel opposite the elevated walkway, but nothing a silenced Revolver and/or Reboot Optics can’t fix.
Gimmicks are all well and good, but patience and stealth has its place, too. Wait for the Scavs to finish talking and go about their routes, which will take the Spider to the far side of the room (opposite where you entered, or to the right if looking from the walkway. He’ll have no eyes on him from this location, allowing you to drop down and take him out. Leave him on the ground behind the furnace - he should go unnoticed.
Hide behind the boxes under the walkway you were just on and scan for a Floodlight you can hack to distract an enemy on the opposite side of the furnace - the business end, just opposite the door you entered from. This will lure the Scav to the side, where he’ll considerately put his back towards you. With an invitation like that, how can you refuse? Dispatch him and move his body behind the furnace so he can spend time with the Spider you squashed a moment ago. Now there are only two Scavs left, the one in the tunnel along the far side of the chamber (left from the door you used to enter) and the Spider’s buddy, now standing alone. Quickhack the Catwalk Segment to take out the latter, then head over to where he was and look for another Floodlight down the tunnel from the fourth and final Scav. Use it to distract him into turning his back to you, and put him down. Voila, one more room cleared.
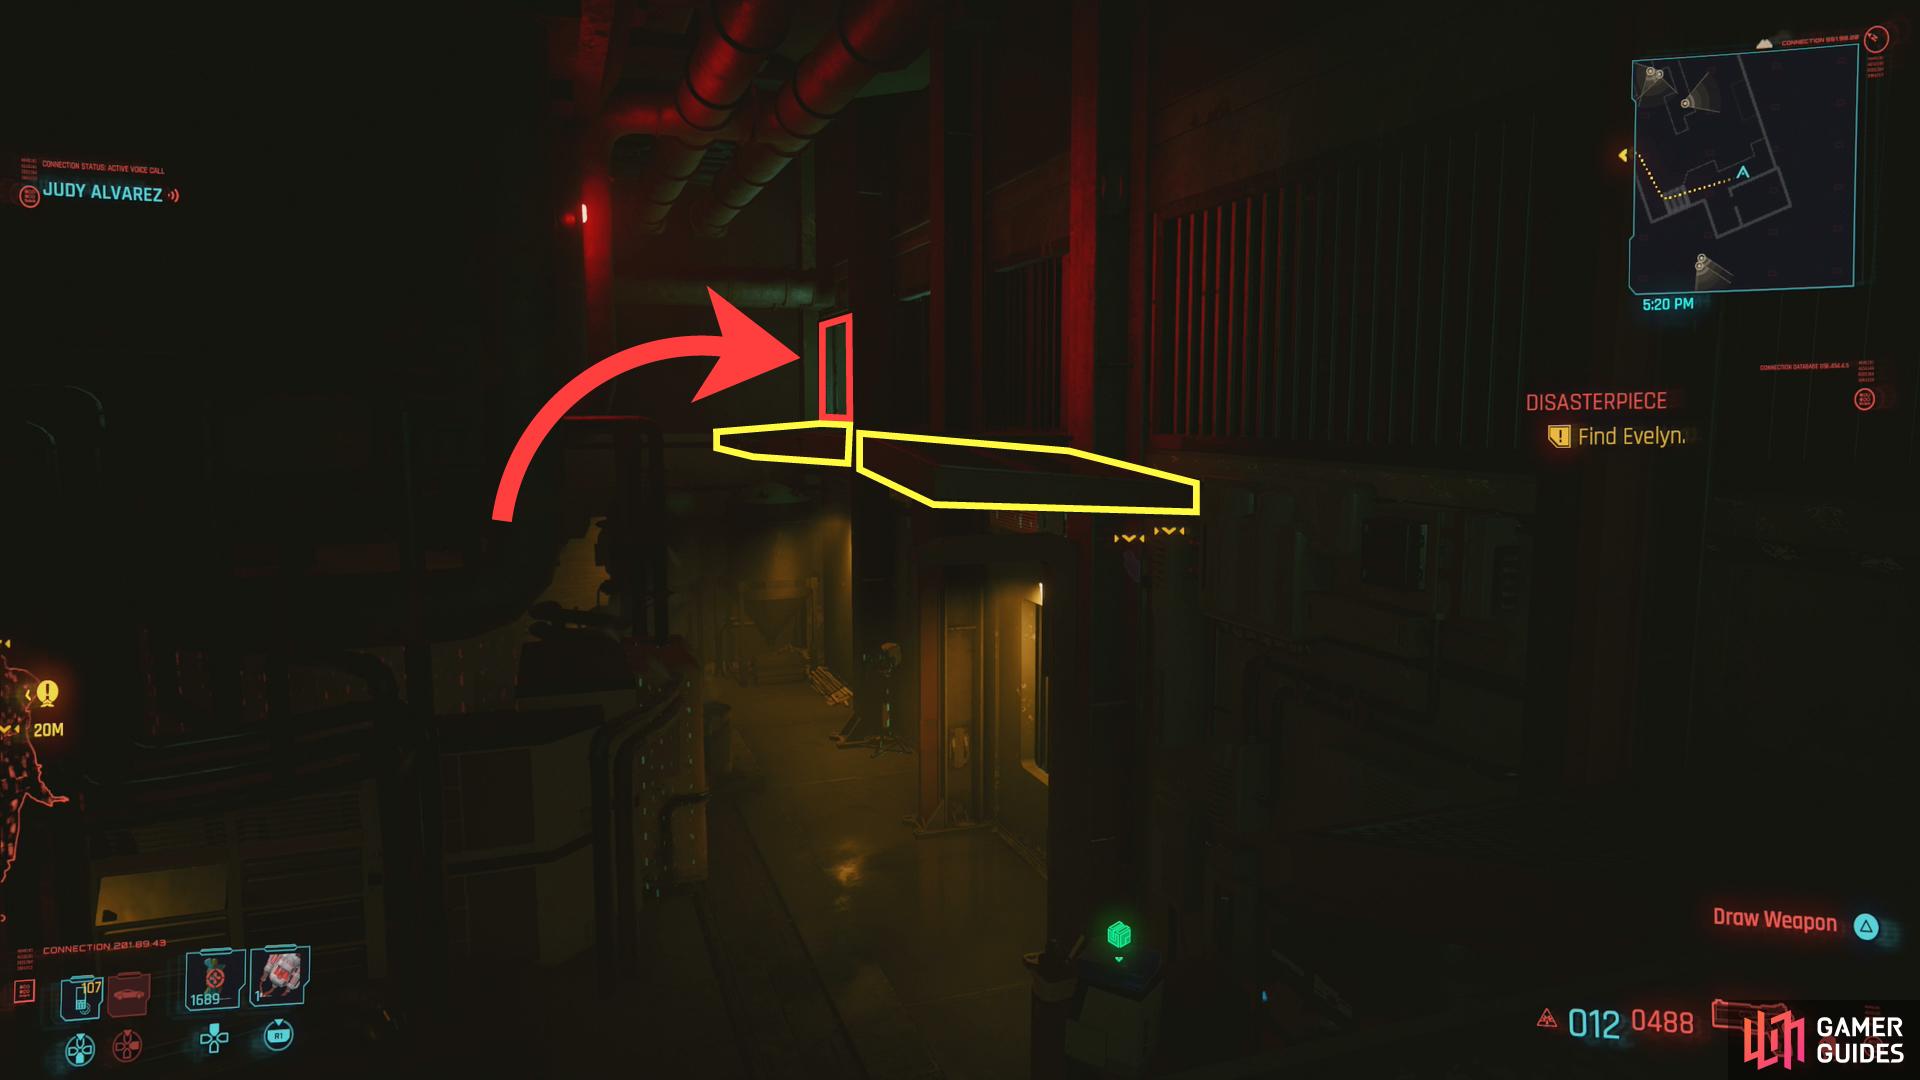
Use some segmented walkway platforms to reach a hole in the wall,
which will allow you to bypass the furnace room.
If you can’t be bothered to dispatch any Scavs in the furnace room, you don’t actually have to. Sneak into the room via the front door and head right, go up stairs to reach the metal walkway and head to the far end opposite the stairs. Turn left and you should see some sections of walkway running along the wall, which you can leap across to reach a hole in the wall to the left, which you can drop down to reach the hallway beyond the furnace room. No need to fight anything, just keep an eye out for the Scavs below you as you jump to make sure none of them can spot you.
With that room cleared, you’ve eliminated half the remaining enemies - you should just have two pairs of two enemies left, and one loner wandering about. Scour the area for loot, then, from the door you entered, head to the far left corner to find some double-doors leading deeper into the factory. Turn right and head down a hallway, then go through the first door on the left to reach another hallway, where you’ll find another door to the left. Two Scavs occupy space here, but both are partaking in some virtual distraction which leaves them oblivious to the world. They won’t bother you, but if you want to take them out just to be safe… well, nobody’s going to cry over some Scavs.
Exit the room with the two distracted Scavs and continue down the hallway past some trash to find a locked door, which you can open by passing a [Body 7] or [Technical Ability 9] check. Beyond you’ll find some loot, including a gun box that sadly does not have a chance to roll a legendary. Across the hall from this door you’ll find an Electrical Box [Technical Ability 6] you can override and at the end of the hallway is an elevator you can’t access.
Return to the previous hallway and continue down it to find two more doors, another to the left, and one at the end of the hallway. The door through the left leads to an operating room with a lone Scav who is easy to dispatch and an Access Point [Intelligence 5] in a computer in the corner of the room.

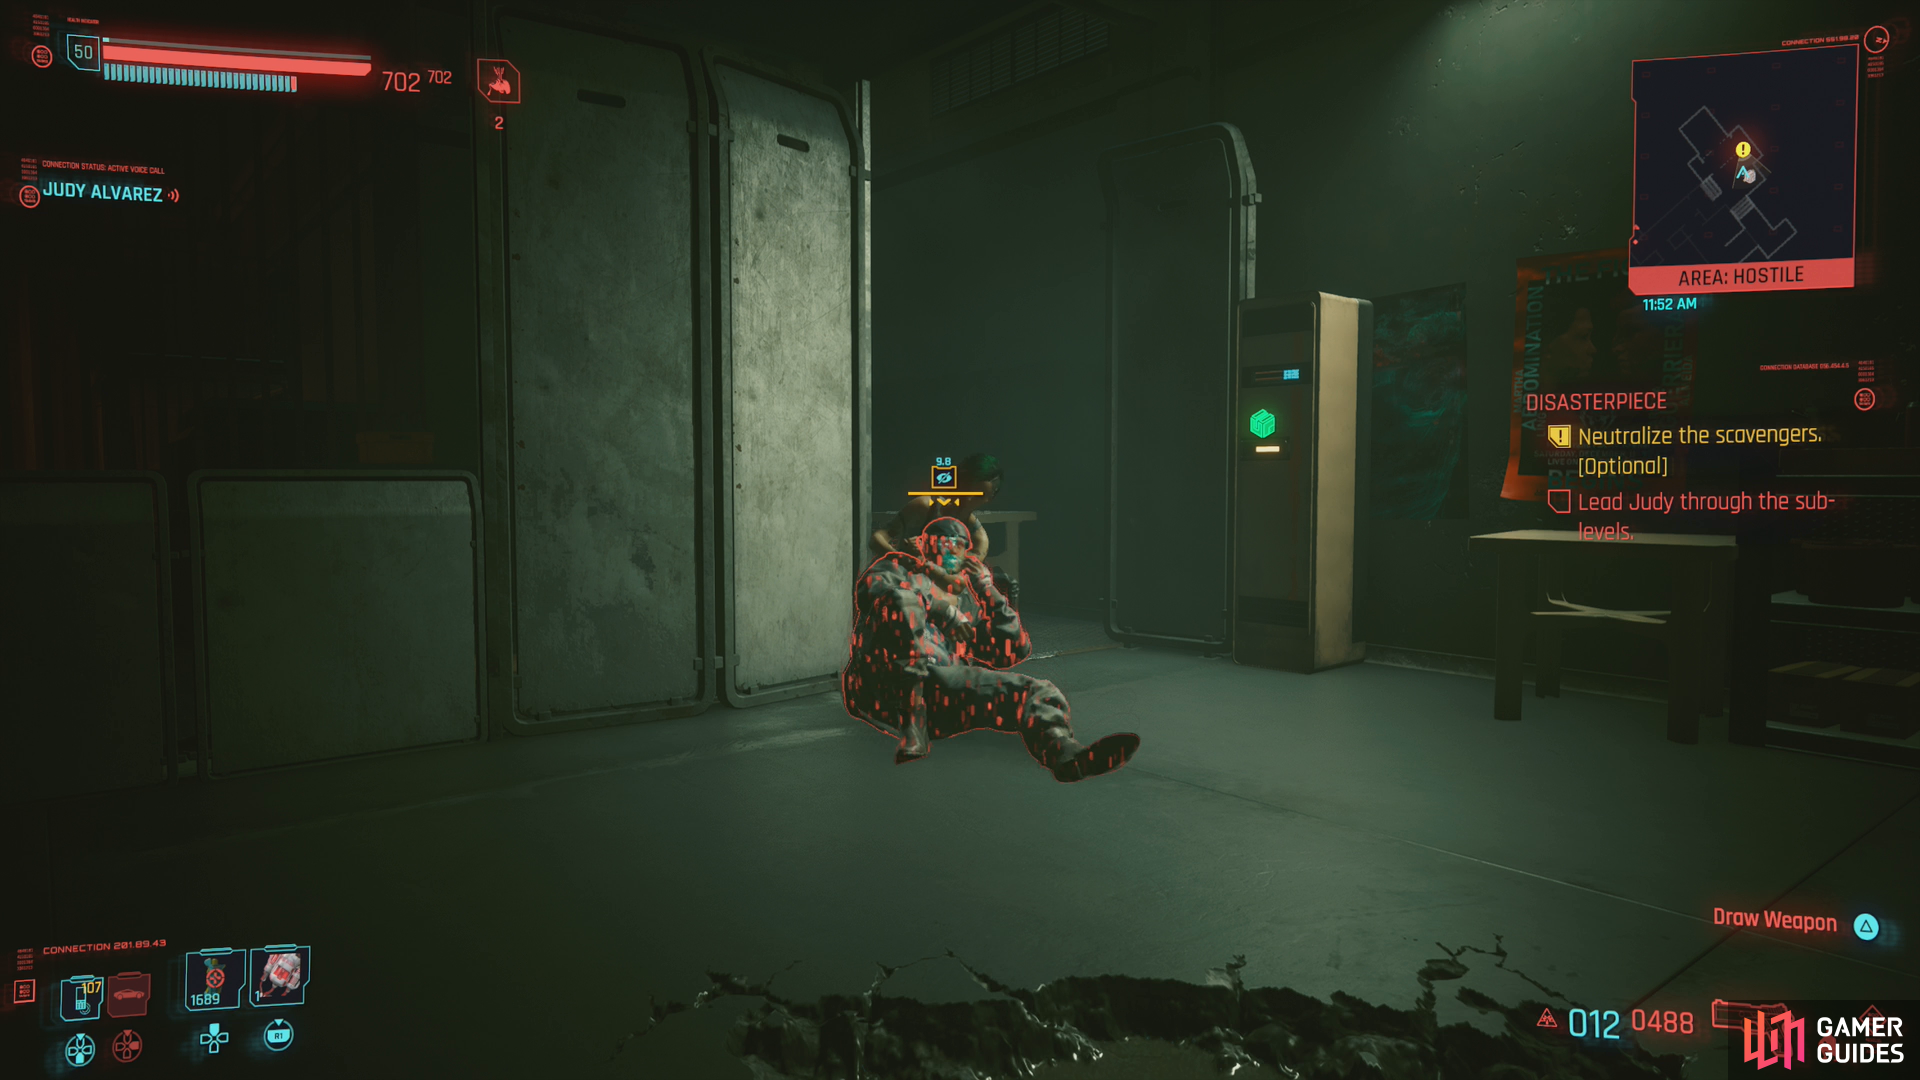
In the last room you’ll find two Scavs close together - Reboot Optics is one solution for a stealth takedown.
However you clear the final room, you can find a potential third legendary drop inside.
Backtrack to the hallway and continue to the door at the end, which leads to… another hallway. Last one, promise. Down this hallway you’ll find two doors to the left, the first one leads to Evelyn, while the second one leads to the last two Scavs in the factory. Skip the first door and head to the second, wherein you’ll find two Scavs near each other - one sitting, one standing. Suffice to say, you can’t take one out without the other noticing, not without some help. Using Reboot Optics on one should allow you to dispatch the other, and if your quickhacking is up to snuff, it’ll keep the other blinded long enough to take them out, too. However you manage it, once the room is clear, loot a container to the right for this area’s third potential legendary drop.
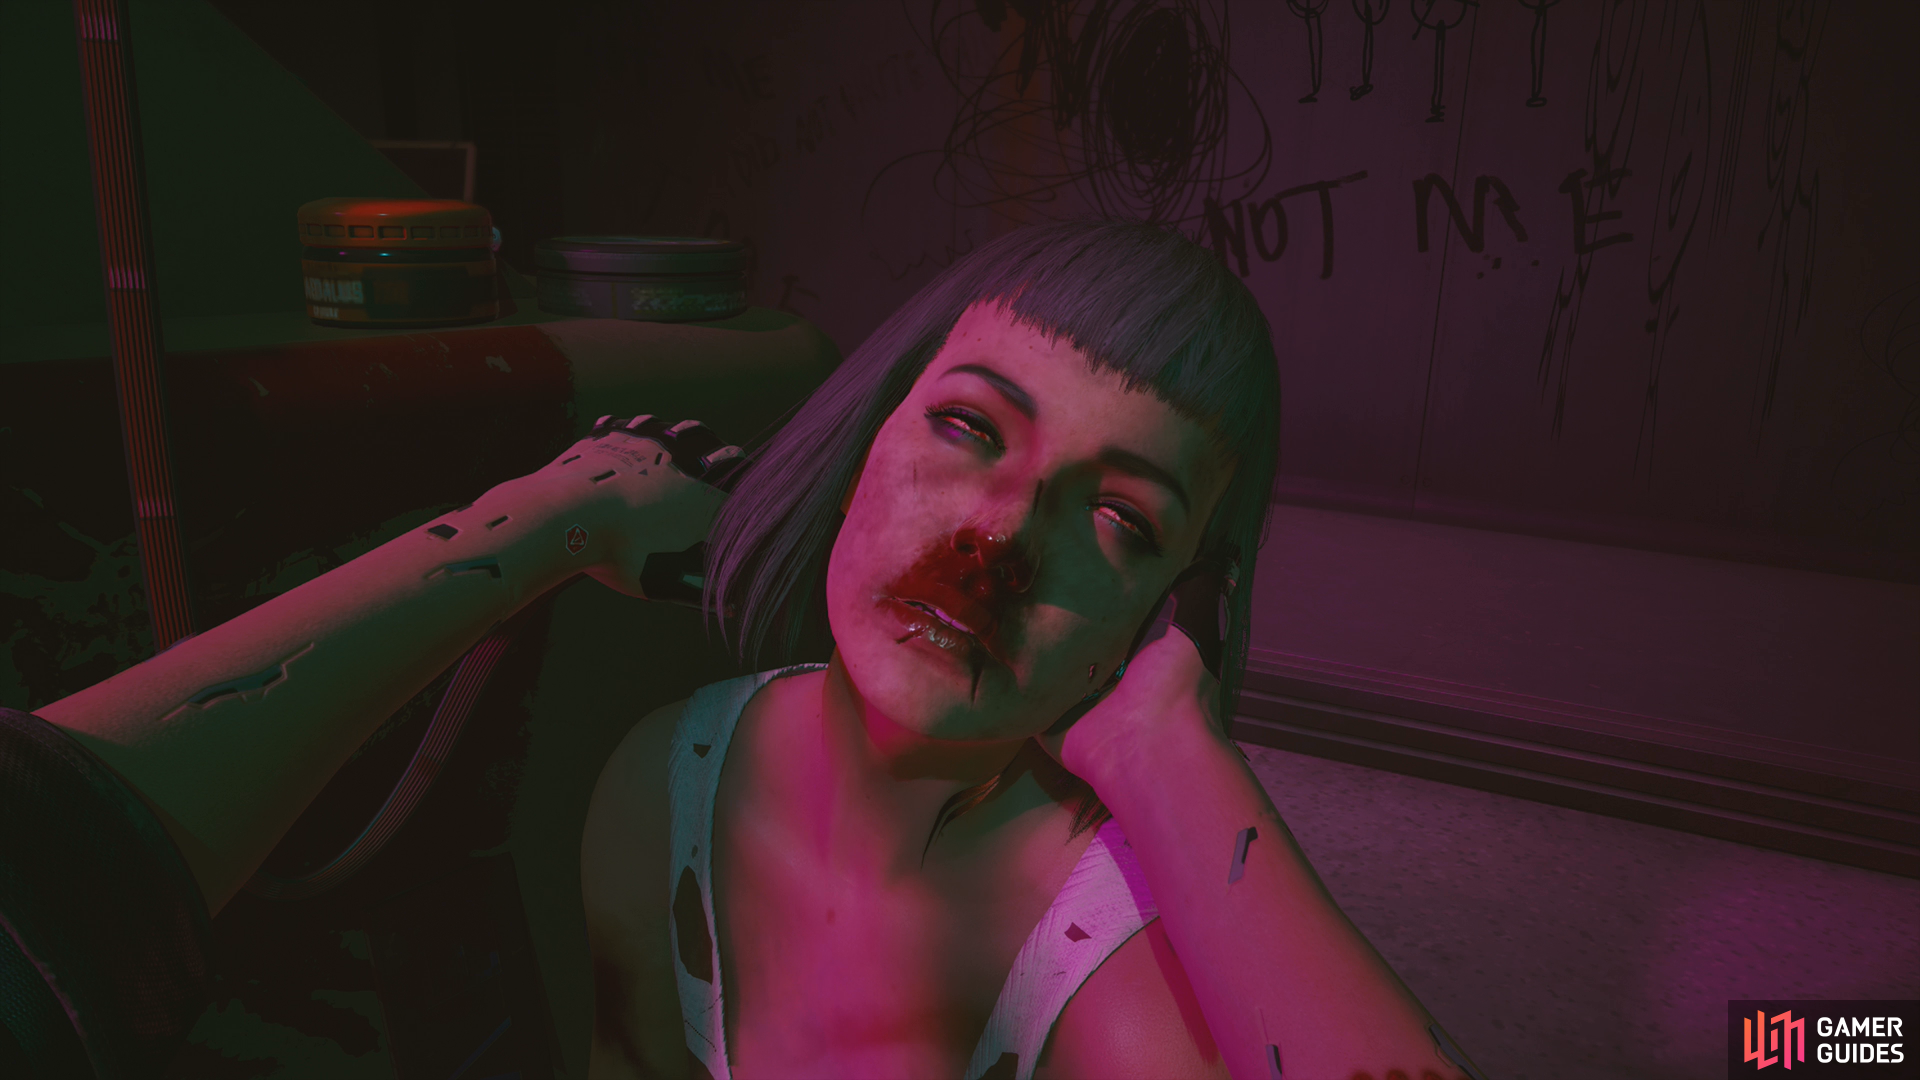
Now it’s time to attend to Evelyn. Return to the previous hallway and backtrack to the door you neglected earlier. Just follow the quest trail on your minimap and it’ll lead you to the XBD studio where Evelyn is being kept. Follow Judy’s instructions, then take Evelyn and leave via the elevator.
The job Disasterpiece will end and the followup job Double Life will immediately begin.
No Comments