


This job will begin immediately after Forward to Death, with your chat with Panam once again being a vehicle to mark the transition between jobs.
When the basilisk reaches its destination, get out and talk with Mitch, Saul and Panam and another name will be left to burden your conscience. Follow Panam up some stairs and jack into a terminal to start up the drill, then, after some more drama, head down the passageway you dug with Panam and Saul.
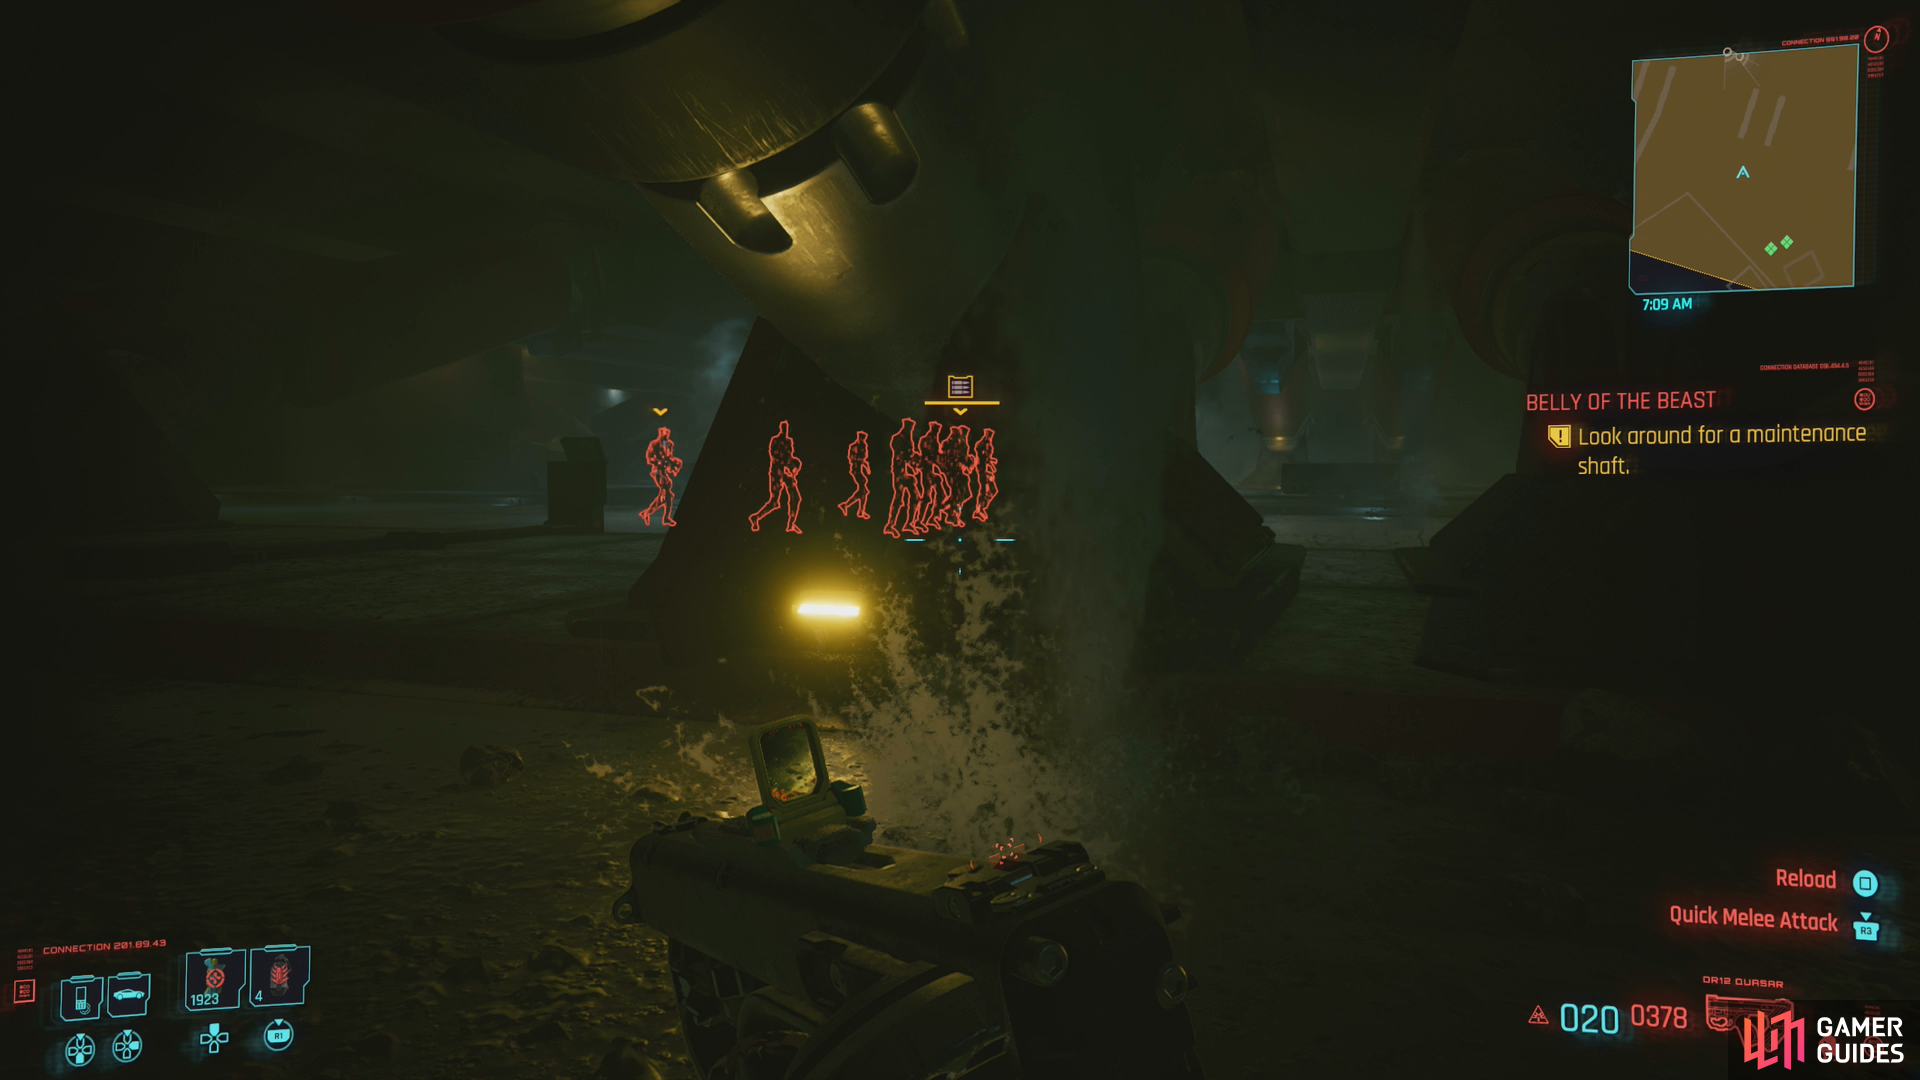
In a large underground chamber you’ll find a squad of Robots patrolling - avoid them or defeat them,
then find a ladder leading to the interior of Arasaka Tower.
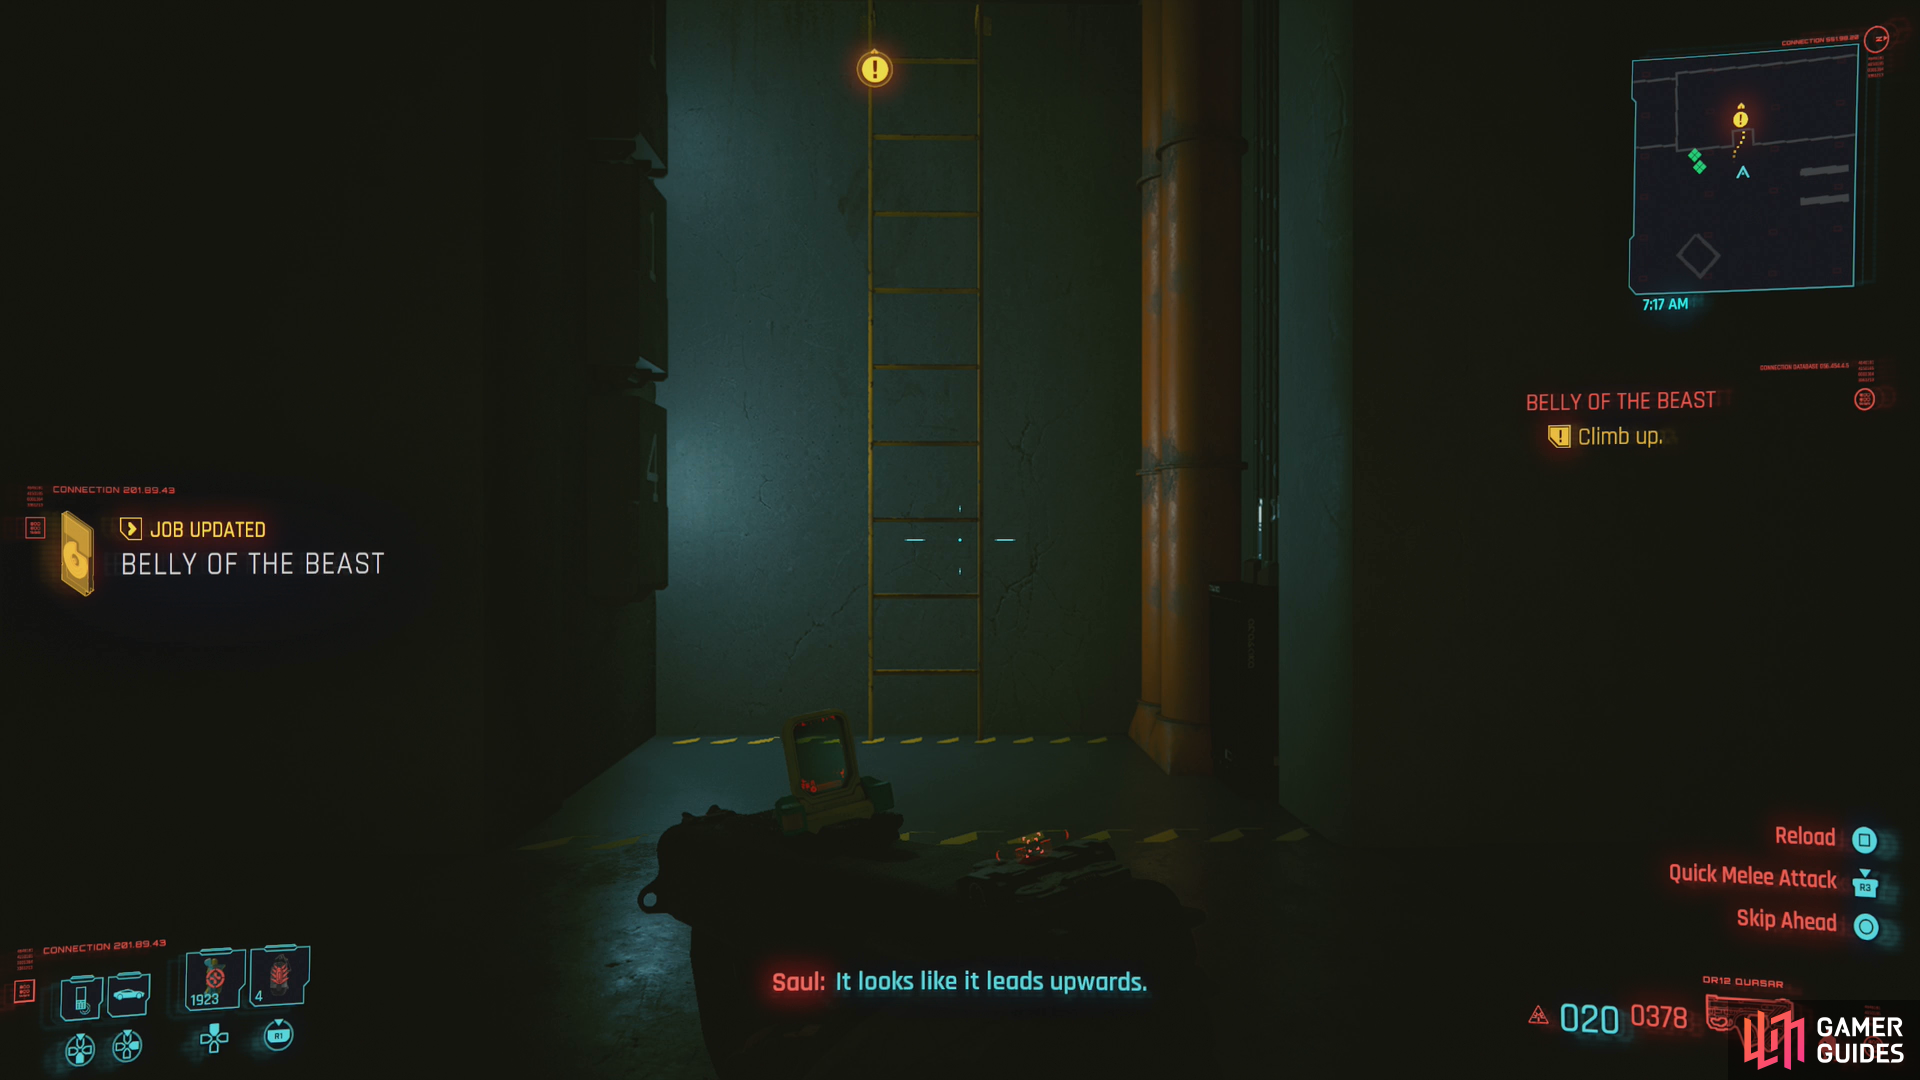
Turn right to reach a massive chamber, where a squad of Arasaka Robots patrol, marching back and forth. Either hide or take them out, they’re mere distractions from your true objective: finding a maintenance tunnel that’ll get you to Mikoshi. You can find this tunnel on the wall to the left, just past where the robots patrol. Just follow the wall left, then right and you’ll find what you’re looking for - a cubby housing a ladder.
Climb the ladder, go through a door, then some double doors, then seek out another ladder behind some pipes. Turn left, crawl through a shaft and when you recover from a relic malfunction you’ll finally be inside Arasaka Tower.
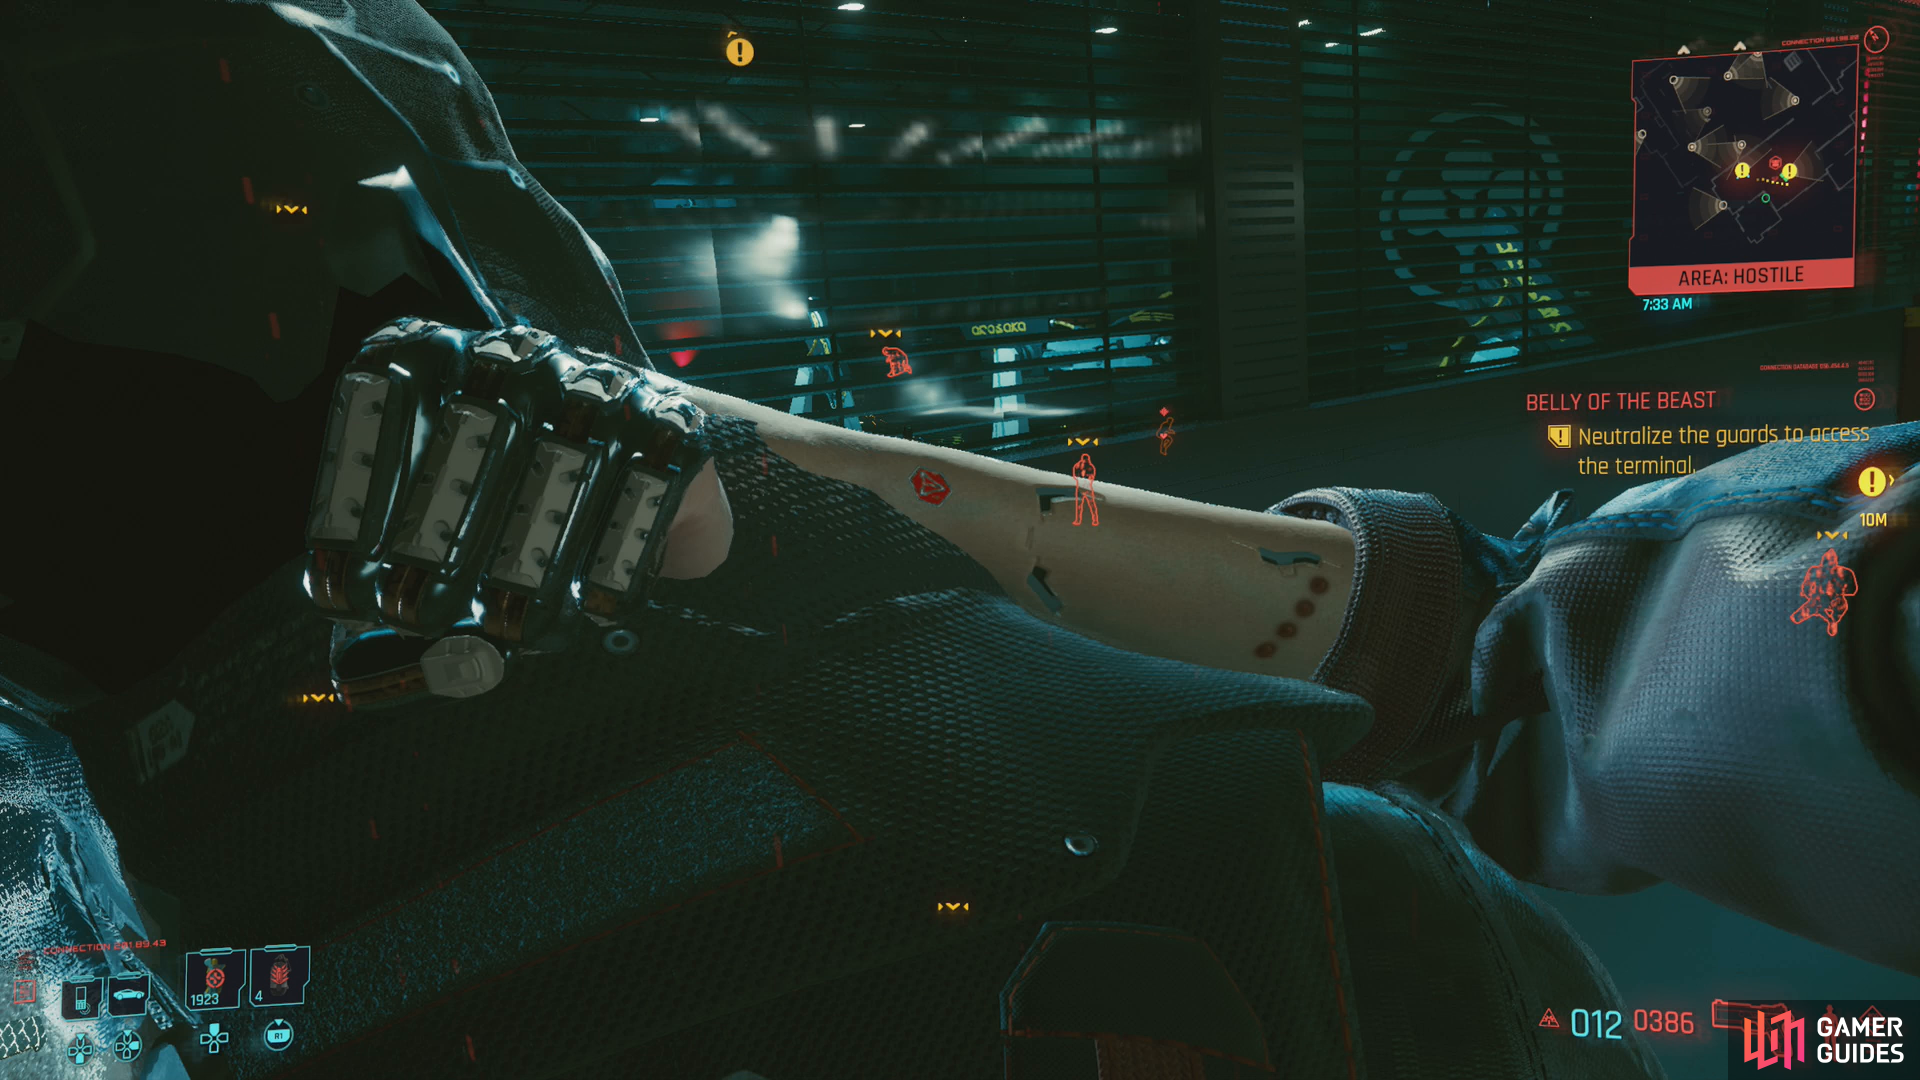
Work with Panam to take down some guards,
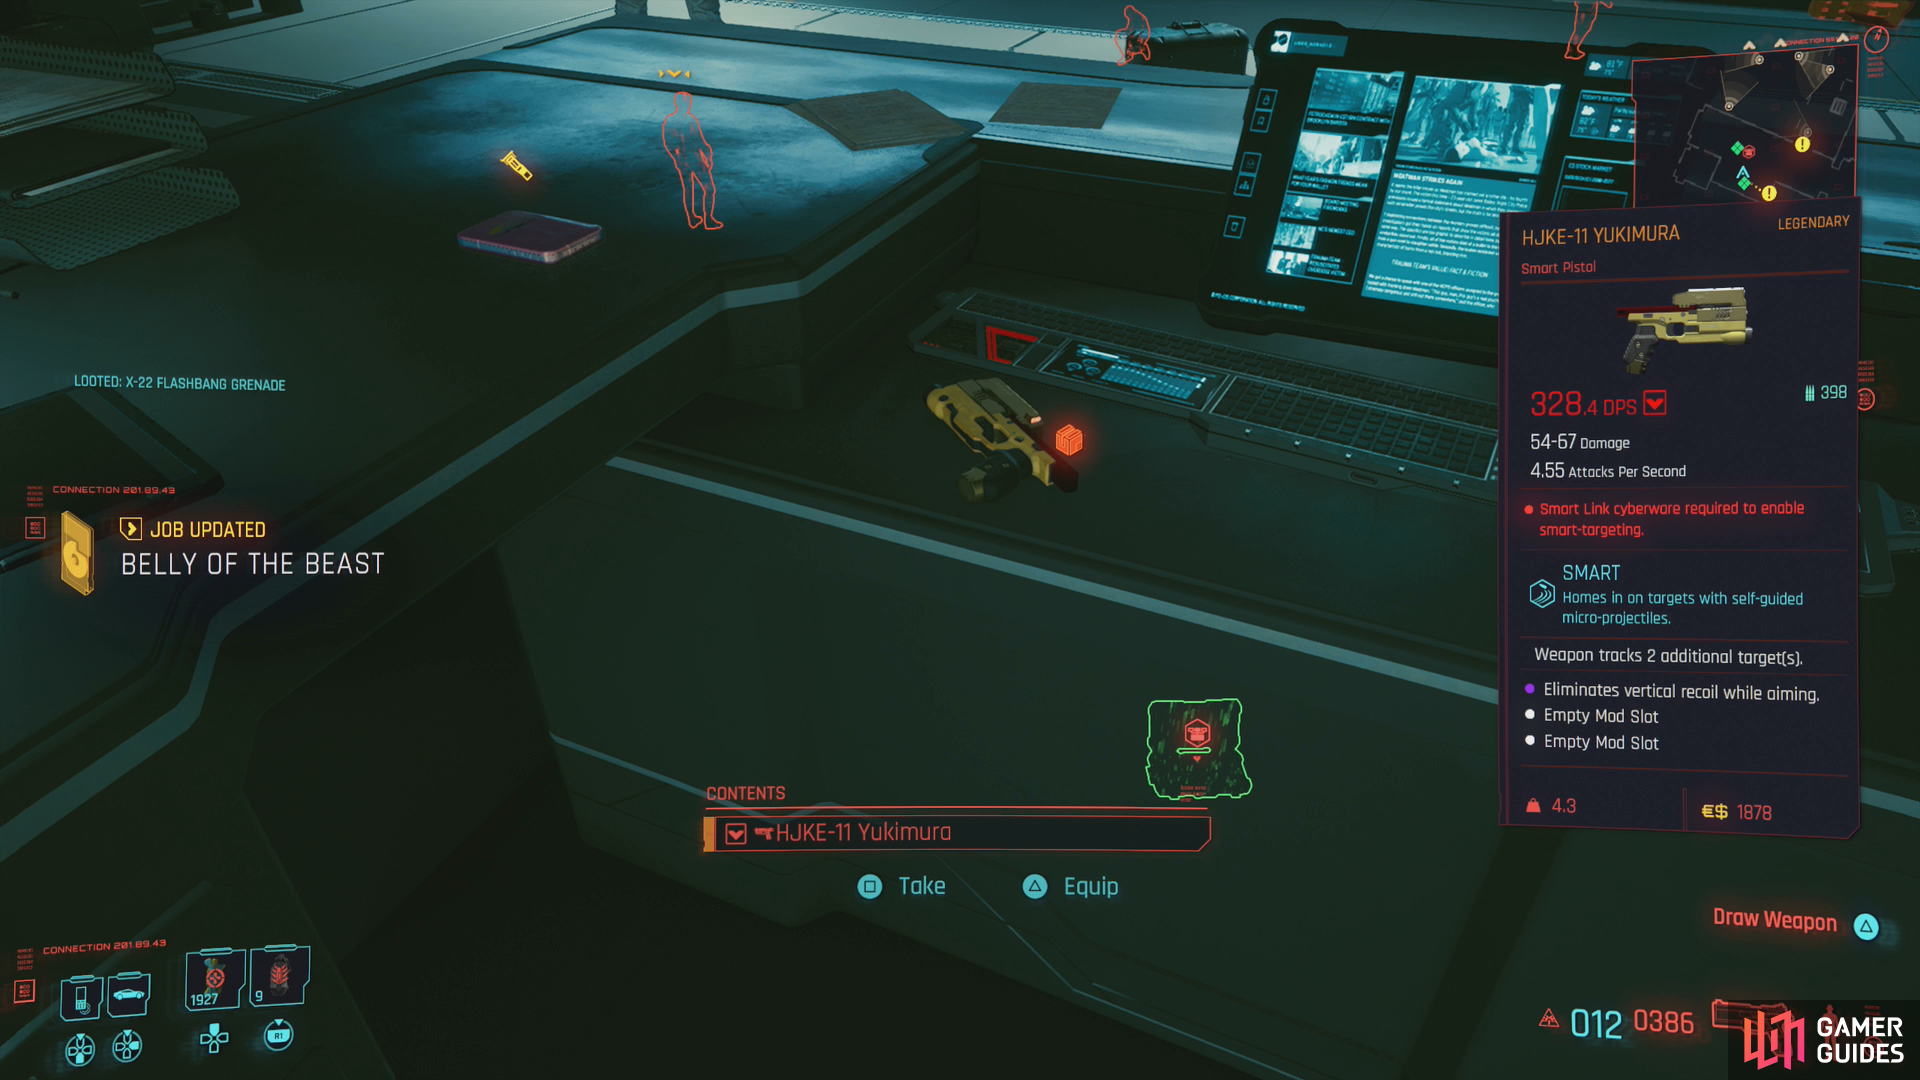
and loot a legendary Yukimura off a table.
Manufacturing
Scan and tag some guards just outside of the room you entered via the shaft (legendary Ping will allow you to spot and tag some enemies further on, as well), then take the two guards out by whatever means you prefer. Panam advocates for stealth, but it’s merely a suggestion. That said, stealth is quite easy, just wait for the Ranger to move out of the Agent’s sight and take him down - if you do this, Panam will handle the Agent on her own. Saul will try to make himself useful by using a terminal to locate Mikoshi and the Access Point where you need to install Alt.
Grab a legendary Yukimura of the desk in this room, then consider your options. There are two exits out of the room, and the quest marker will direct you to exit via a sealed shutter door [Body 13] to the left, which Panam warns against using. Even if you have the Body. Despite Panam’s misgivings, if you have the correct attributes and perks, this is a pretty quick and easy way to reach your destination. Naturally you’ll need [Body 13] to get the door open, after that you’ll need to take out a guard beyond the door (he’s courteous enough to stand near a container where you can stash his body), then go through a nearby hatch to find an enemy Netrunner waiting below you. You can quietly dispatch them with a silenced weapon, or you can make use of the “Hidden Dragon” perk to do an aerial takedown. A rare instance that seems designed for this perk.
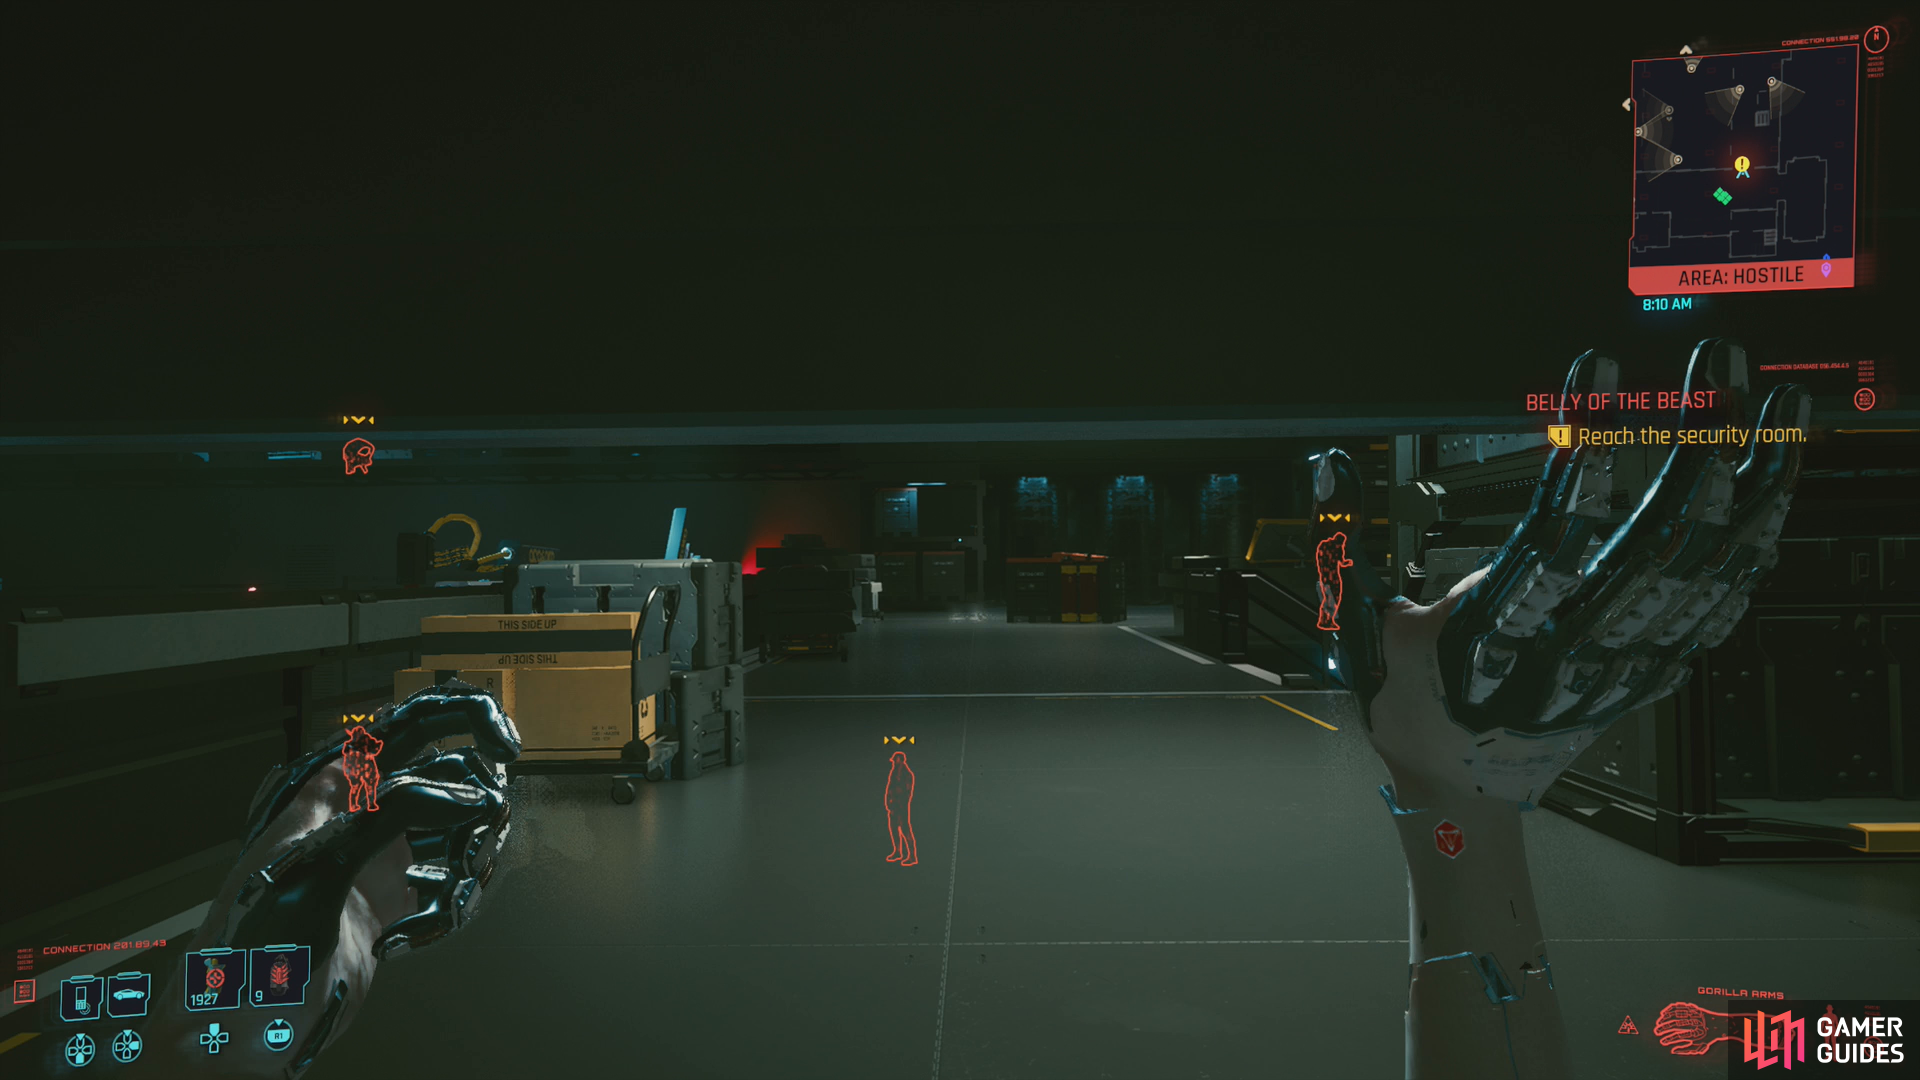
Should you lack the means, don’t fret - you’ve still got options. There are some double doors to the left that have no stat barrier. Go through them, head downstairs and cross the room to find a door. Scan and tag an enemy (an Arasaka Officer Specialist) just outside the door, wait for him to put his back to you, then take him out and drag his body back into the room, stashing it in a convenient container. Head back out into the larger room and note the locked door [Technical Ability 10] to your right. Alas, this isn’t a shortcut, it just houses some loot.
Sneak along the right-hand wall and you’ll find some stairs, which you can use to get up to the upper floor, where you’ll be in prime position to take out the guard, open the hatch and get the drop on the Netrunner. If this still isn’t an option, keep slinking along the right-hand side of the room, very carefully sneak behind a guard, then go through the doors he’s standing just outside of to reach the server room.
However you do it, once you’re in the server room slot Alt in and she’ll take care of the rest of the Arasaka forces on this floor. There are, of course, other ways to get through this room, but we opted for two of the simpler routes, and once you get Alt into the network, nothing else really matters.
Speaking of something that doesn’t matter, you can now loot the manufacturing wing of Arasaka Tower, if you wish. You don’t really get to keep anything, but for some reason there are five computers with Access Points [Intelligence 7] on them. Fun!
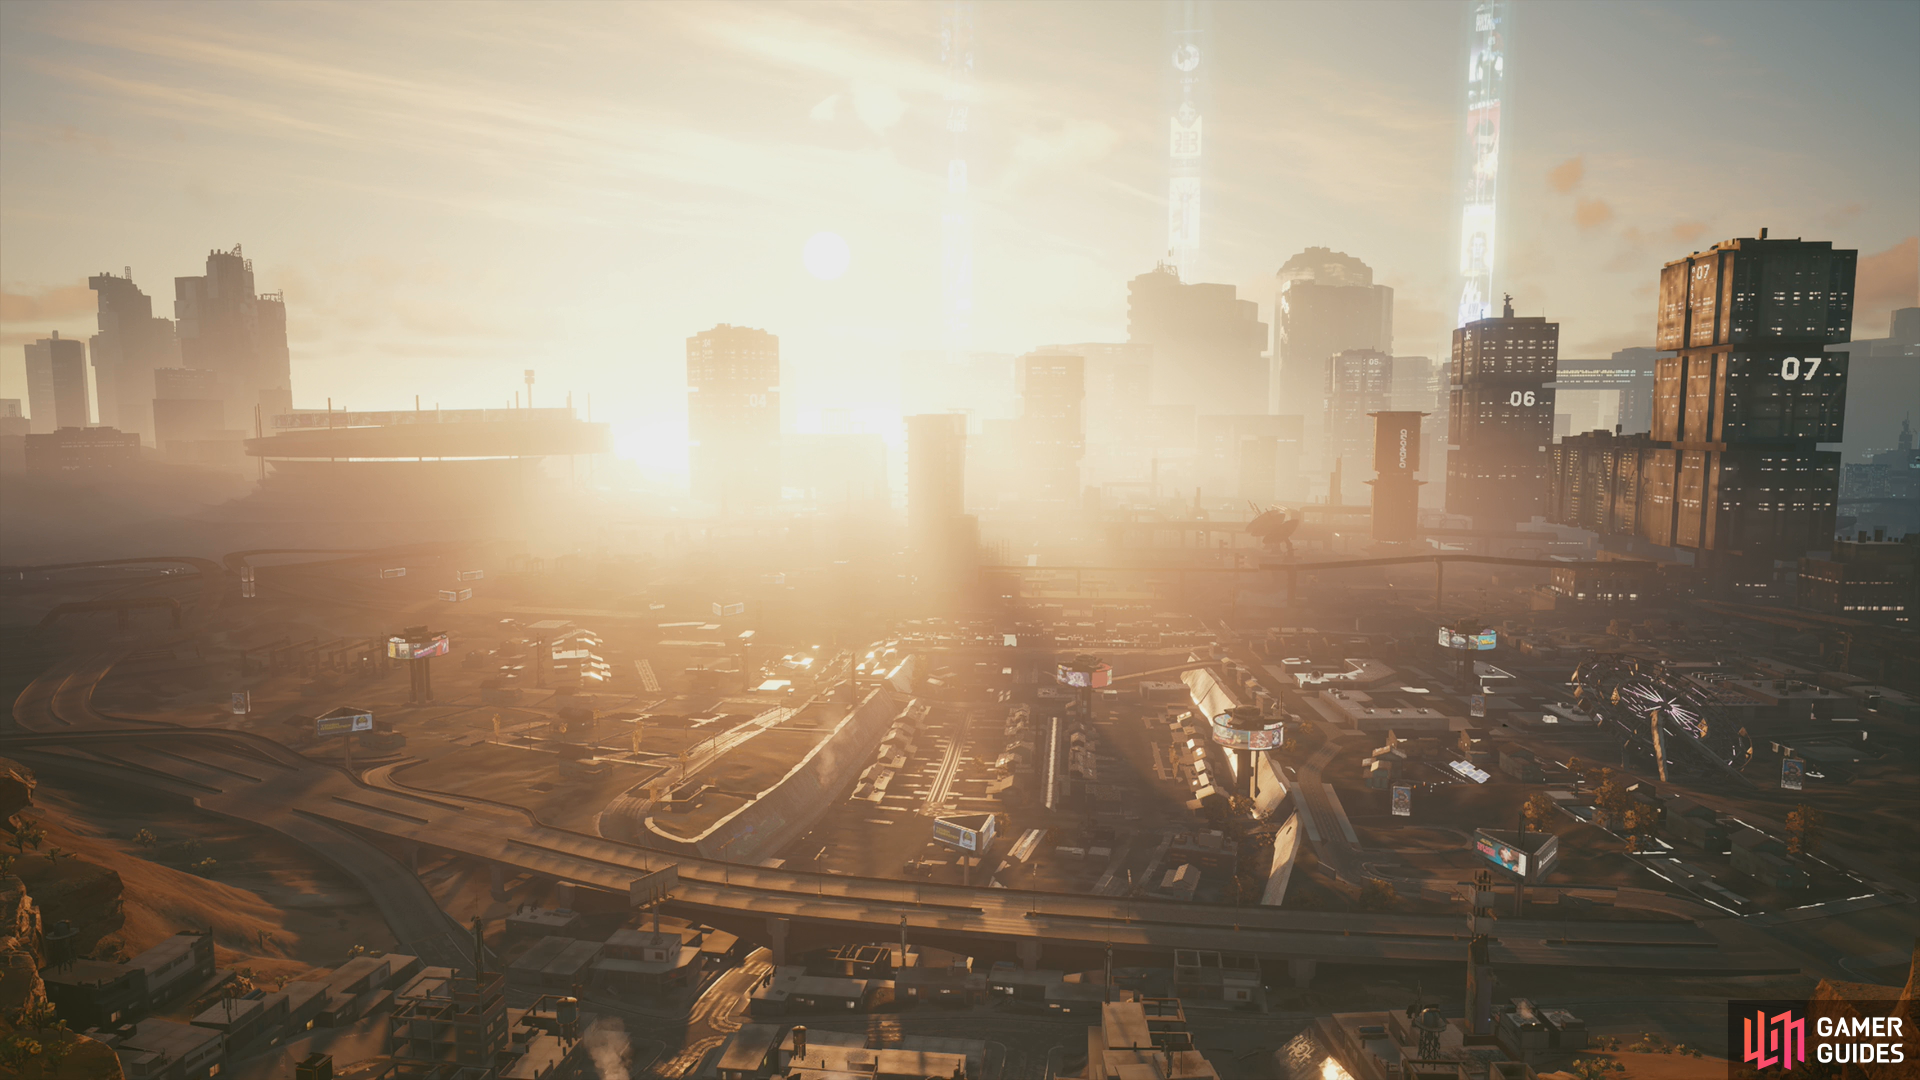
When you’re done wasting time, go through the marked door to reach the area outside the mainframe. Alt has seized control of the mechs and drones here, and while there may be a guard or two still alive, it’s mostly an opportunity for Alt to flex her muscles. Follow the quest trail into the mainframe where you’ll get to bear witness to more brutality, then go through a sliding gate which Alt will open for you. Head down a short hallway and manually open a second gate, whereupon you’ll be met with a blast from Johnny’s past…

During the first phase of the battle, Smasher will repeatedly charge and try to strike you.
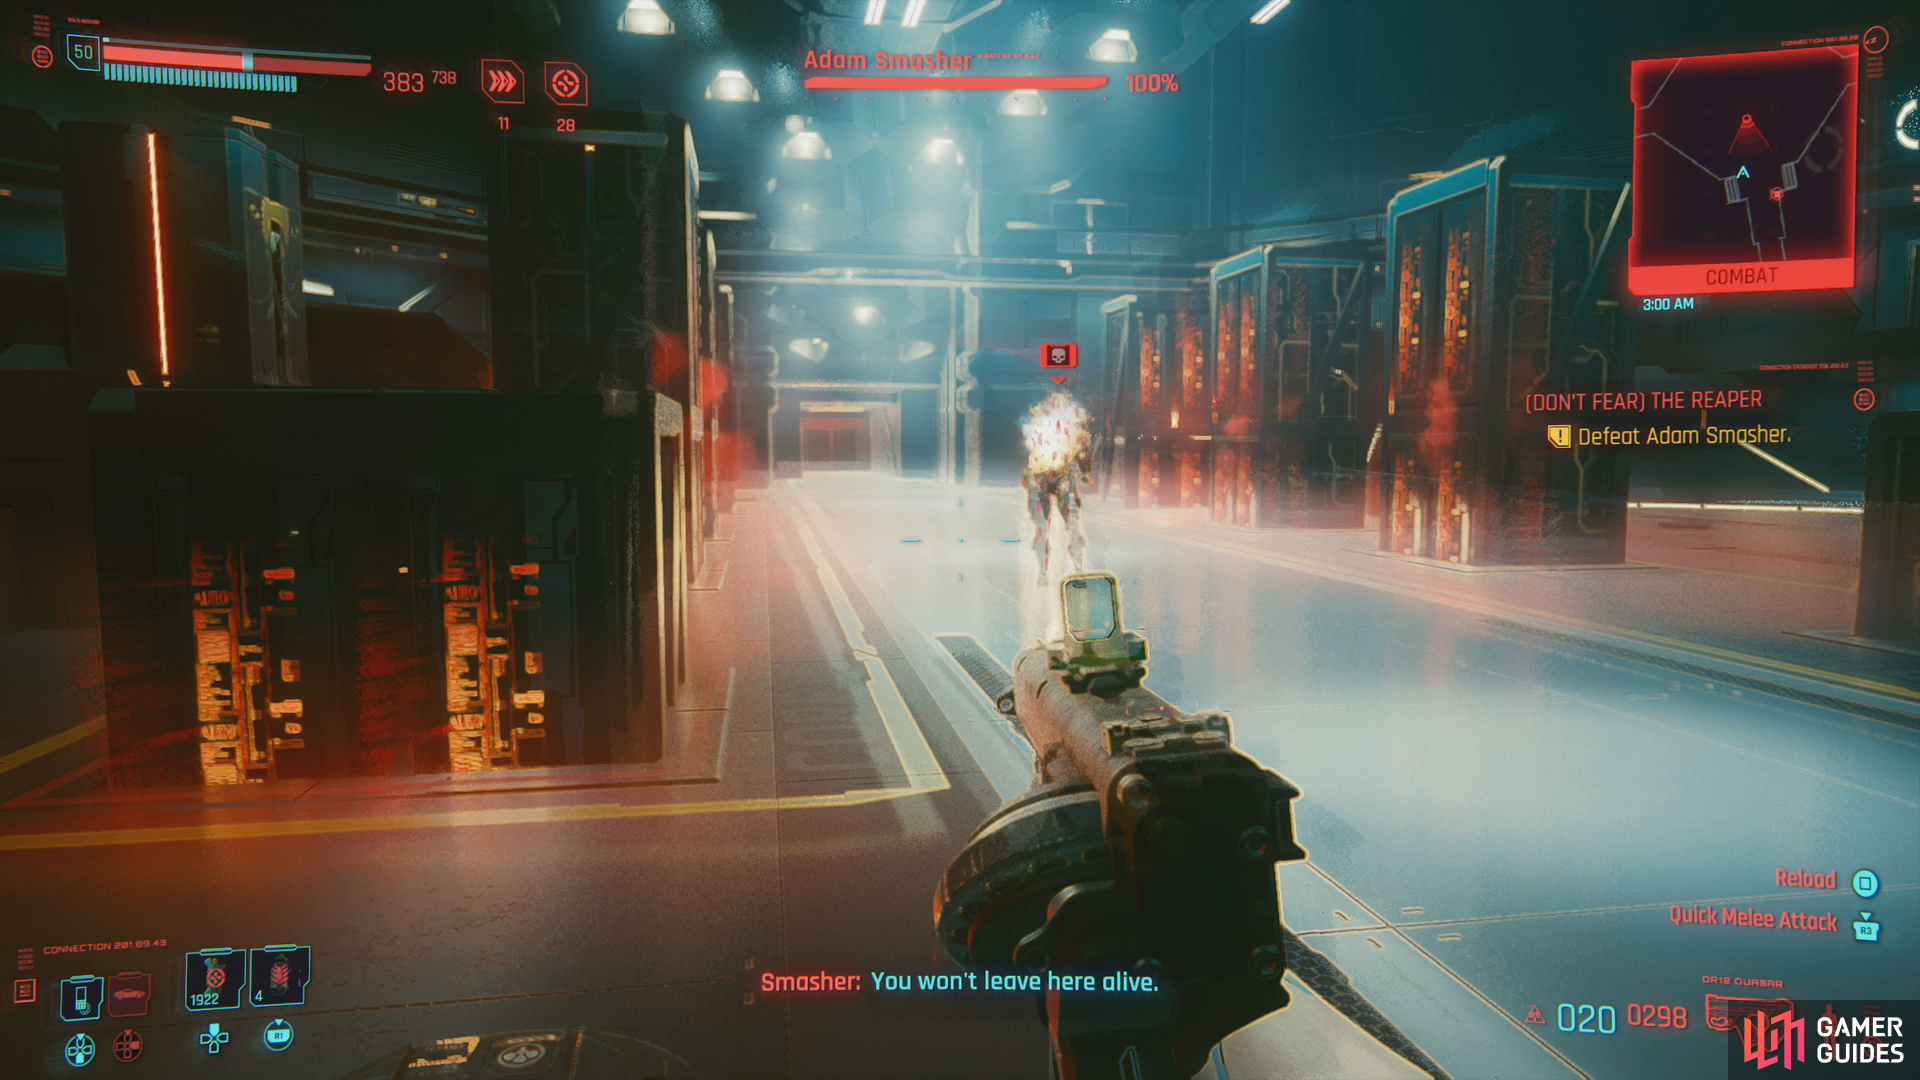
He’ll follow this melee assault up with a blast from his arm-gun.
Boss: Adam Smasher
Push open the second gate and after a brief scene you’ll be in a suitable large arena for your fight with Adam Smasher. Adam Smasher’s routine is simple, but effective: Most of the time he’ll charge at you and attempt to swat you, then follow up with a blast from his arm-gun. You can use cover, double jump, or dodging to keep away from his charge, although the arm-gun is another matter. If he stops to fire a prolonged barrage from his arm-gun, you’ll need to get behind cover. The arm-gun does respectable damage (even with an absurdly high Armor score!) and Smasher is keen to keep firing long past the point you can be reasonably expected to endure it. It is, however, a good opportunity to pop a healing item and reload, as Smasher will fire for a while whether he can hit you or not.
Panam will assist you during this fight. Her performance early on leaves much to be desired, as Smasher will take her out using the same series of attacks he used to dispatch Johnny back in the day. Panam will recover, eventually, and even if she’s not doing much else, she still serves as a fine distraction.
Smasher is weak to shock damage and is generally receptive to physical damage, but he’s resistant to chemical damage. Short Circuit can deal massive damage if you’re a capable Netrunner, but you should be wary that upload times against Smasher are increased and it’ll take +5 RAM to utilize quickhacks against him.
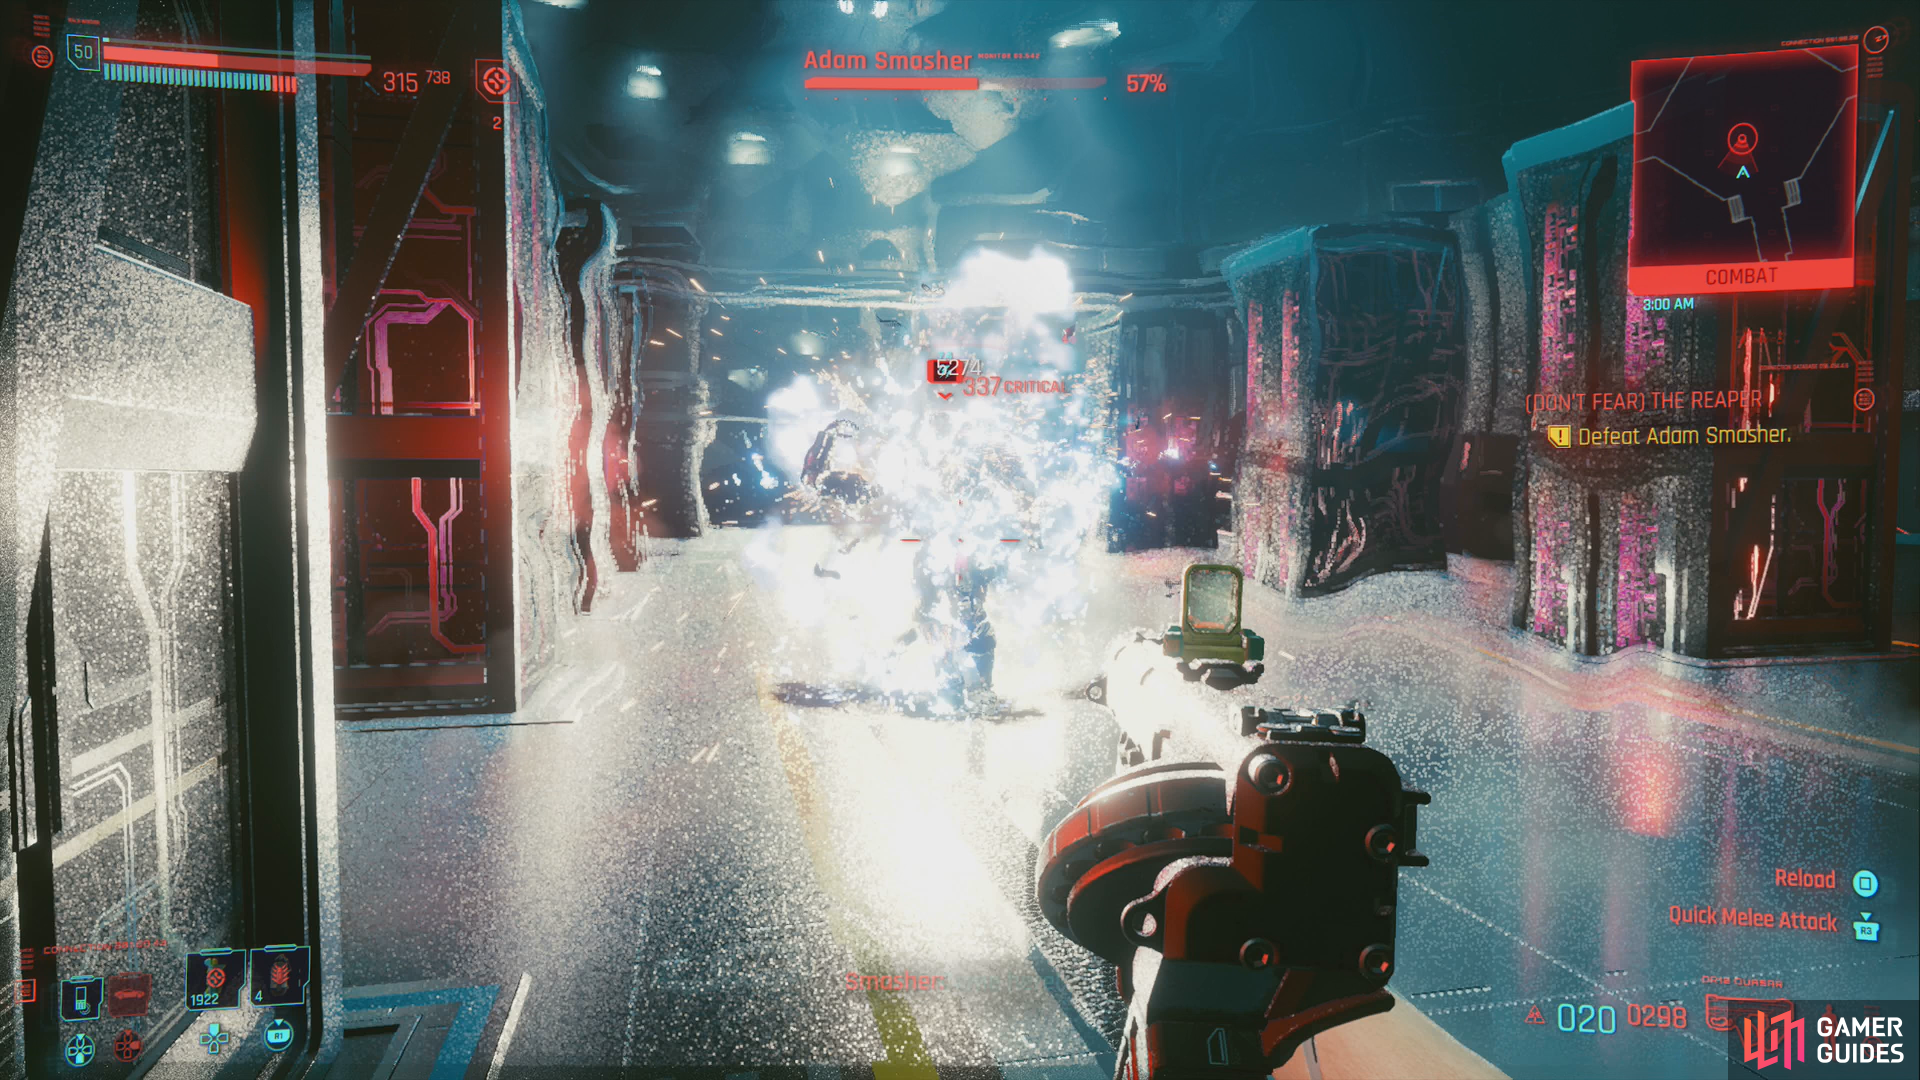
(1 of 3) Reduce Smasher’s HP to 50% or less - shock damage like Short Circuit will work wonders for this.
Once Smasher’s health is reduced to 50%~ or so, Smasher will call in reinforcements, which in this case includes a Juggernaut and a Sniper who will appear on a walkway above you, as well as a Mech on the ground floor. Smasher himself will become more fond of rooting himself in place and spamming barrages of gun-arm fire at you, so get behind cover and work on taking out the lesser enemies before they can cause you trouble. While Smasher will still employ his gun-arm barrage, he’ll also start firing micro-missiles at you. If you see red target reticles, steer clear (this is a good time to activate Sandevistan if you have it, and get behind cover) as Smasher will either fire a massive cluster of missiles in a few quick bursts, or he’ll stand in place and fire barrages of several missiles at a time in a smaller, targeted bursts. In the former case, you just need to get clear to avoid taking too much damage, in the latter case, Smasher tends to over-commit to this attack, allowing you to circle around him and dish out some damage.
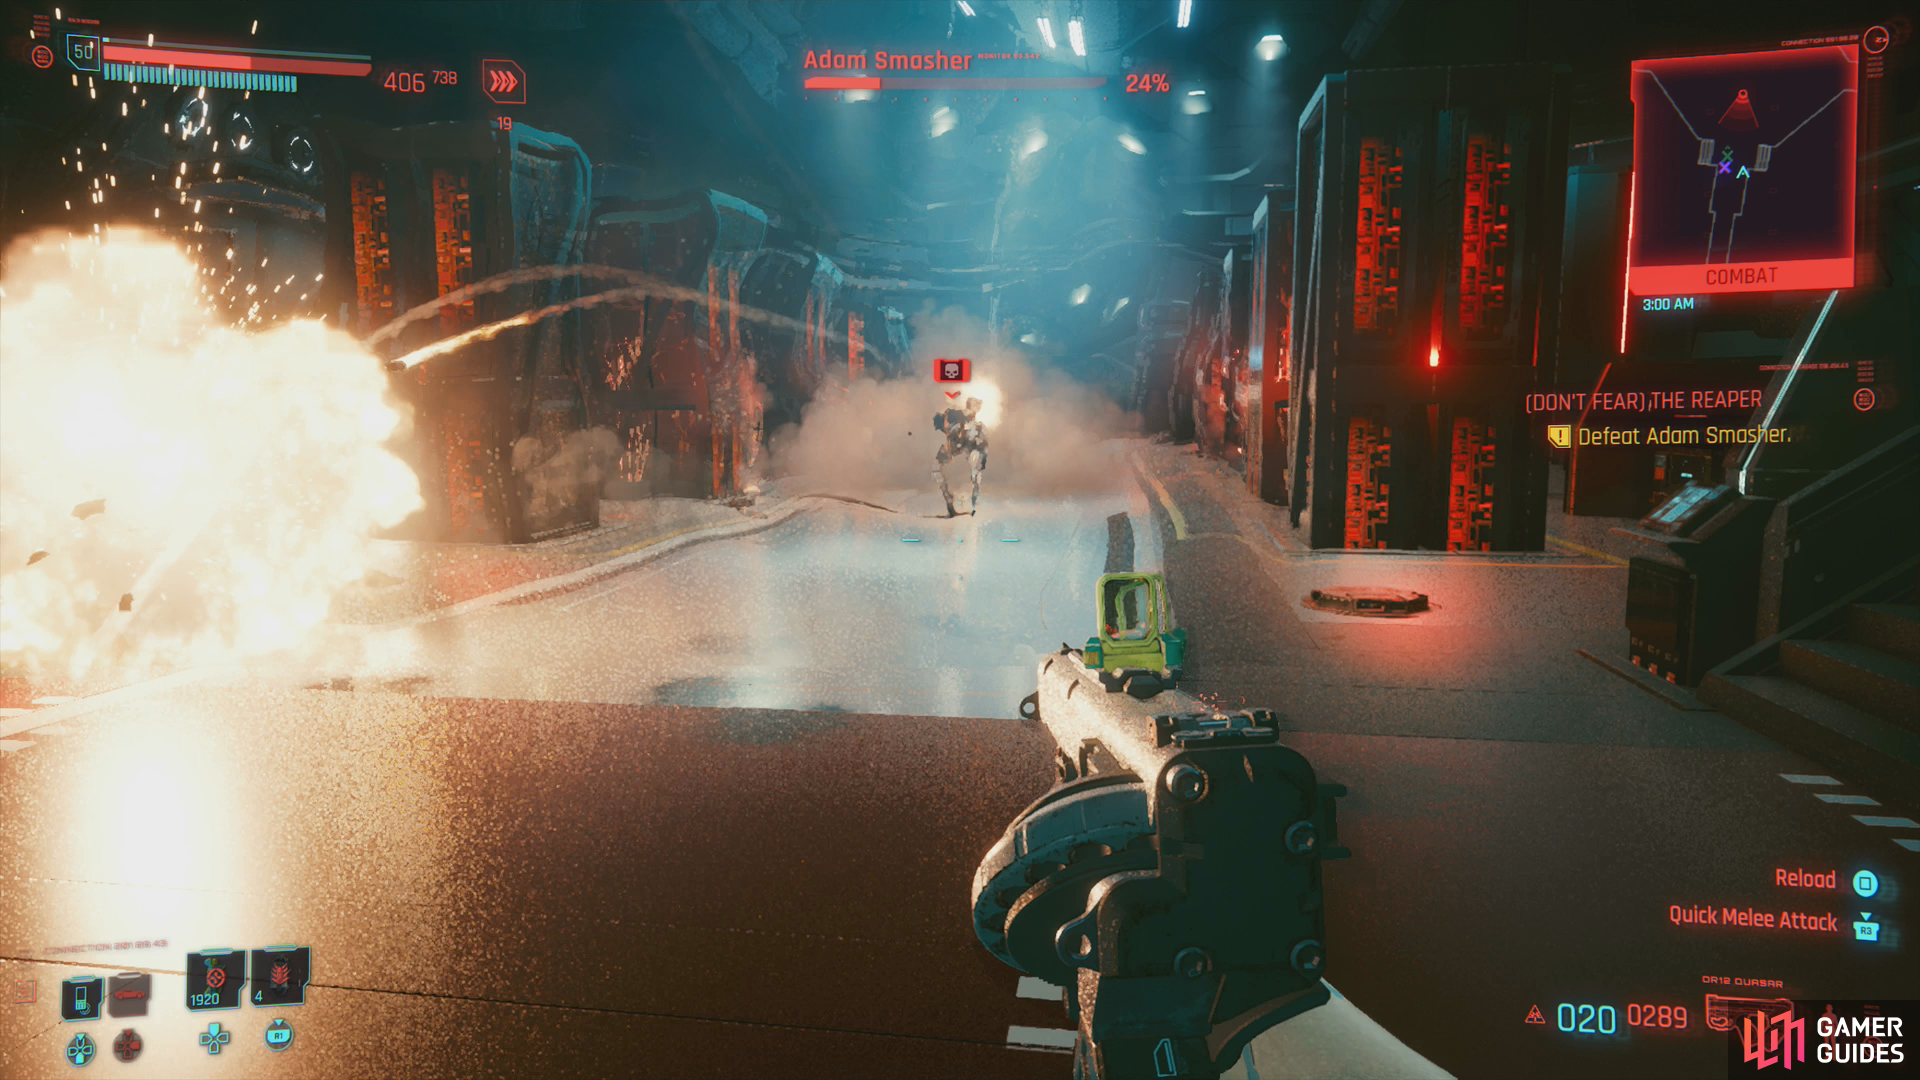
When reduced to under 25% of his health, Smasher will start firing micromissiles.
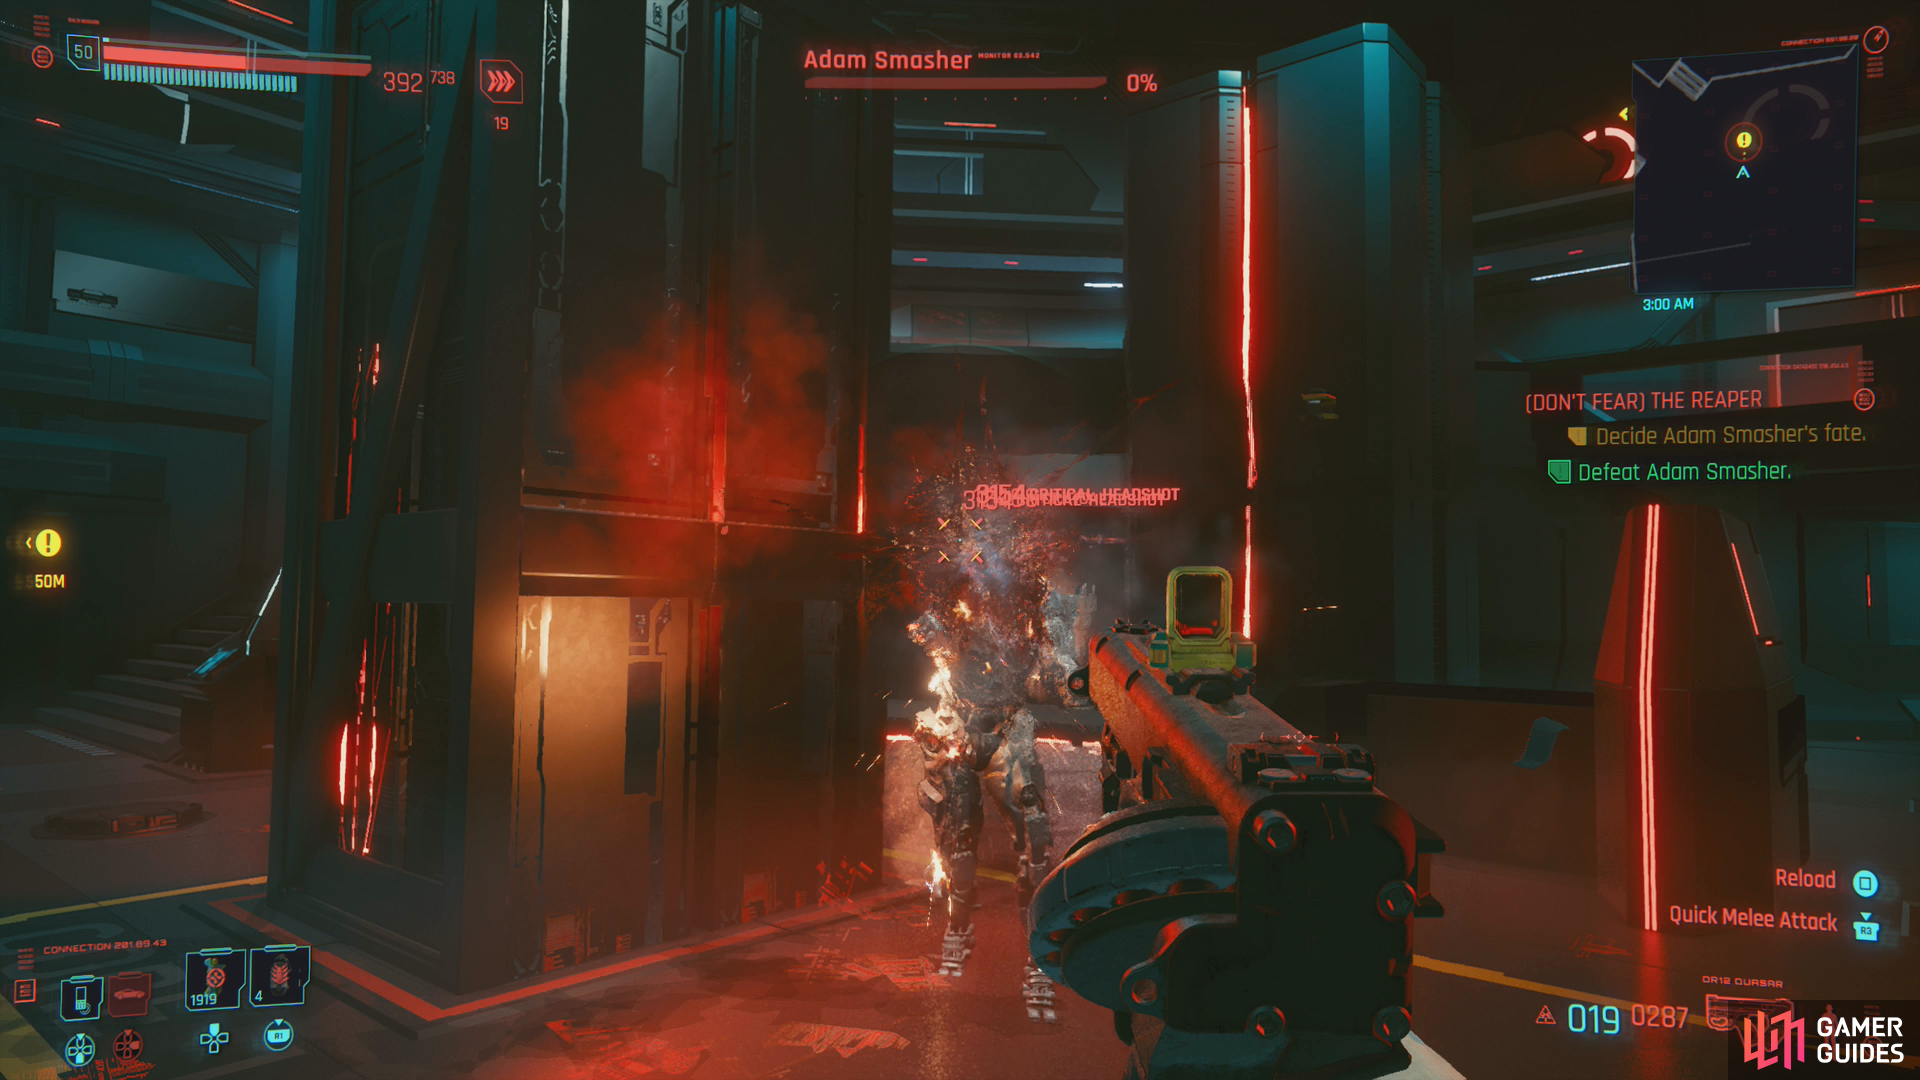
Brave the onslaught and put Smasher down for good.
When reduced to 25%~ of his health, Smasher will again be joined by reinforcements, consisting of another Juggernaut and another Sniper. Put them down and keep the pressure up and eventually Smasher will fall. Take his Access Token, then decide Smasher’s fate.
Nothing left to do but continue on to Mikoshi. Say goodbye to Panam, if you wish, then, after a tortuous journey you’ll be able to jack into an Access Point, which is functionally the end of your journey.

Decision at Mikoshi
The only major decision left to be made (we assume you can handle the walking bits by yourself) is when you’re talking to Alt and Johnny in cyberspace. Alt will give you some bad news, followed by two options: Go with Alt beyond the Blackwall and persist as a digital entity, or return to your body to enjoy what time you still have left. In the former case you’ll get the epilogue New Dawn Fades and the trophy/acheivement Temperance, while in the latter case you’ll get the epilogue All Along the Watchtower and the trophy/achevement The Star.
You won’t need a walkthrough for this, play through whichever epilogue you get, make what choices you want and witness the consequences of your actions.
No Comments