


One of your leads following Playing for Time, this Main Job is the first of a series of related quests that comprise Panam’s questline, followed by Lightning Breaks and Life During Wartime. You can do this job any time after Playing for Time, but be warned, you’ll need a significant amount of cash to get this questline started. If you don’t have €$15,000 ready to burn, you might as well go do something else, first.
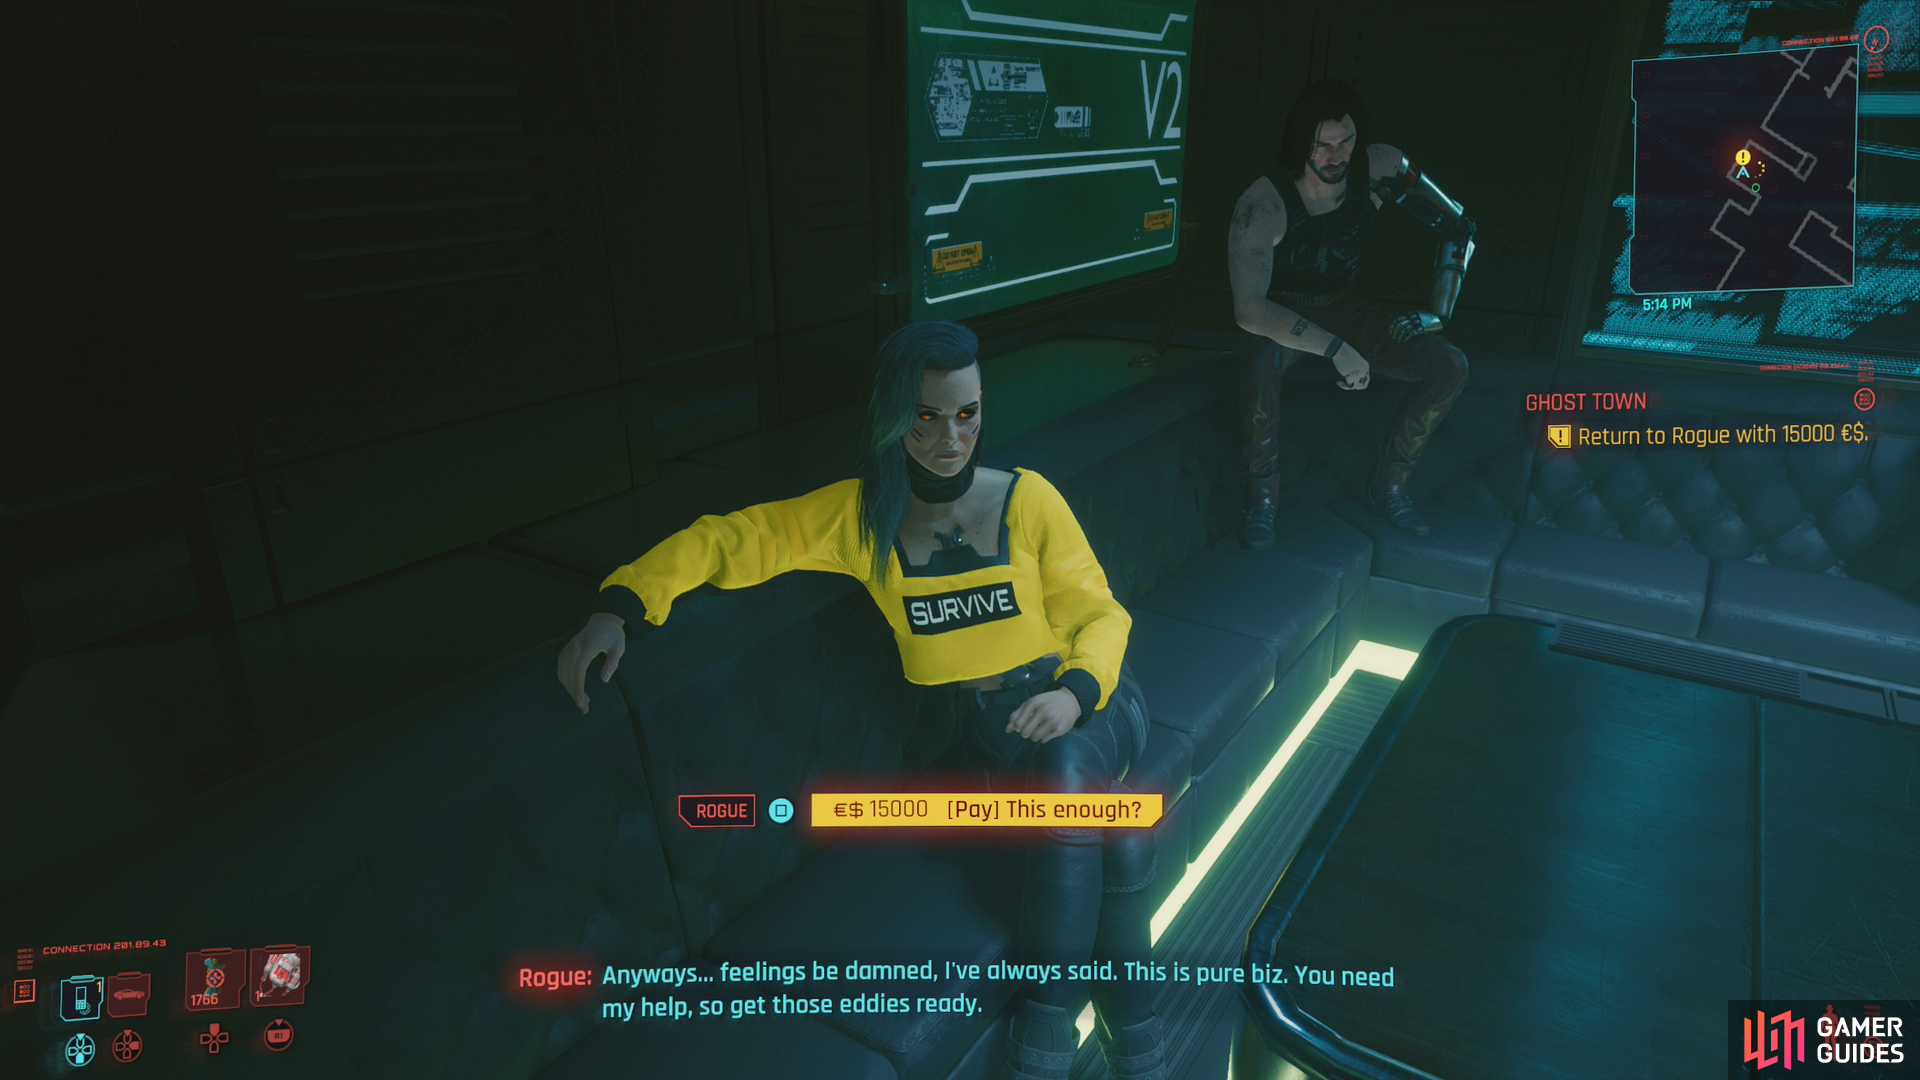
To get “Ghost Town” moving, you’ll need to pay Rogue €$15,000.
Meeting Rogue
Reliving some of Johnny’s memories during Love Like Fire, (and perhaps also during Never Fade Away, if you did the Voodoo Boys questline) gave you quite a bit of intel to work with, but most relevant is the fact that Johnny used to work with a fixer named Rogue, who is apparently still haunting Night City fifty years later. Perhaps one of the figures from Johnny’s past can help preserve your future by helping you locate Hellman? Your possible salvation can be found where your troubles began - Afterlife.
Head to the bar on the southern end of Watson and make your way into its bowels, where you’ll find Rogue conducting business in a booth. After the woman she’s arguing with leaves, talk your way past a bouncer, then speak to Rogue. Not looking too bad, for a 70+ year old. Must be some good cyberware.
Say what you will to her (Johnny has some opinions on what you should say, of course) and it’ll boil down to money - you need to pay Rogue a whopping €$15,000 to enlist her aid. Get the cash, pay her, and she’ll tell you to wait a day. This isn’t as much of a hassle as it may seem, as you can just go crash at the bar to pass the time.
After passing the time, return to Rogue and you’ll get the intel you need regarding Hellman. Not just the intel, but a working plan for getting your man. She’ll also recommend enlisting Panam’s aid, and give you some information that may help with that. Leave Afterlife and after having another relic-induced fit, call Panam to get a meetup location.
Panam’s Plan at Rocky Ridge
Follow the quest trail and meet up with Panam. Say whatever you wish and you’ll end up striking a deal, then get in Panam’s car and ride with her to the Aldecaldo nomad camp. When you arrive, Panam will chat with some nomad acquaintances, prompting several meaningless timed dialogue choices. After her tantrum subsides, follow her through the camp and carry a box back to Panam’s car. Once the box is loaded, ride with Panam to Rocky Ridge.
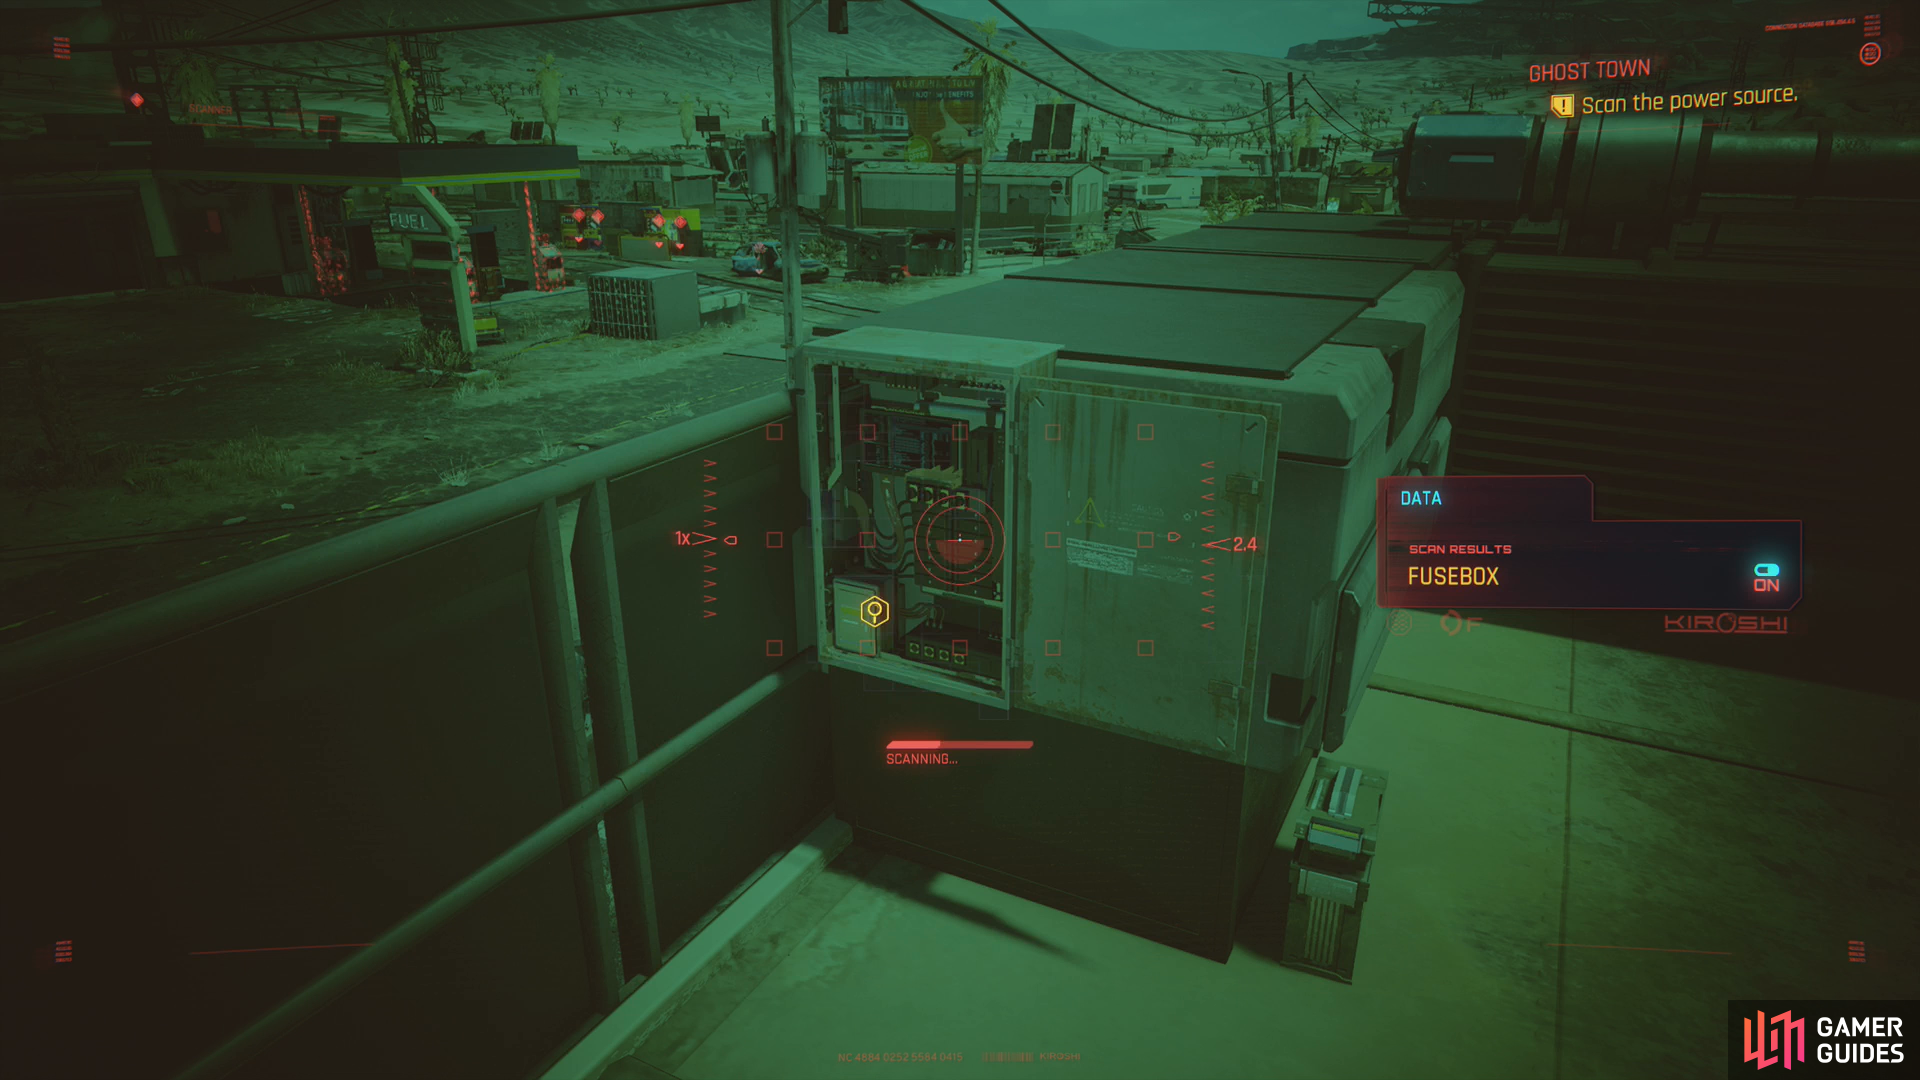
Exit the car and follow Panam to the “BD Shack” building, then scan various objects on the building’s exterior to establish that the abandoned town has no power. Follow Panam to the substation, scan the transformer and the power source (climb onto the roof for this one), then jump back down and scheme with Panam some more. You can pass an [Intelligence] check to become the instigator of a plan to deal with the Raffen Shiv, but if you don’t, Panam will, so it’s the same outcome either way.
Follow Panam’s instructions and after a bit of busy-work you’ll have successfully jumped the substation. Enter the control building by either breaking through the window or by forcing open the door [Body 8], then use the terminal inside to restore power to the power source. Once all that’s done, head back up to the roof where the power source is located and pass the time until the Raffen Shiv arrive.
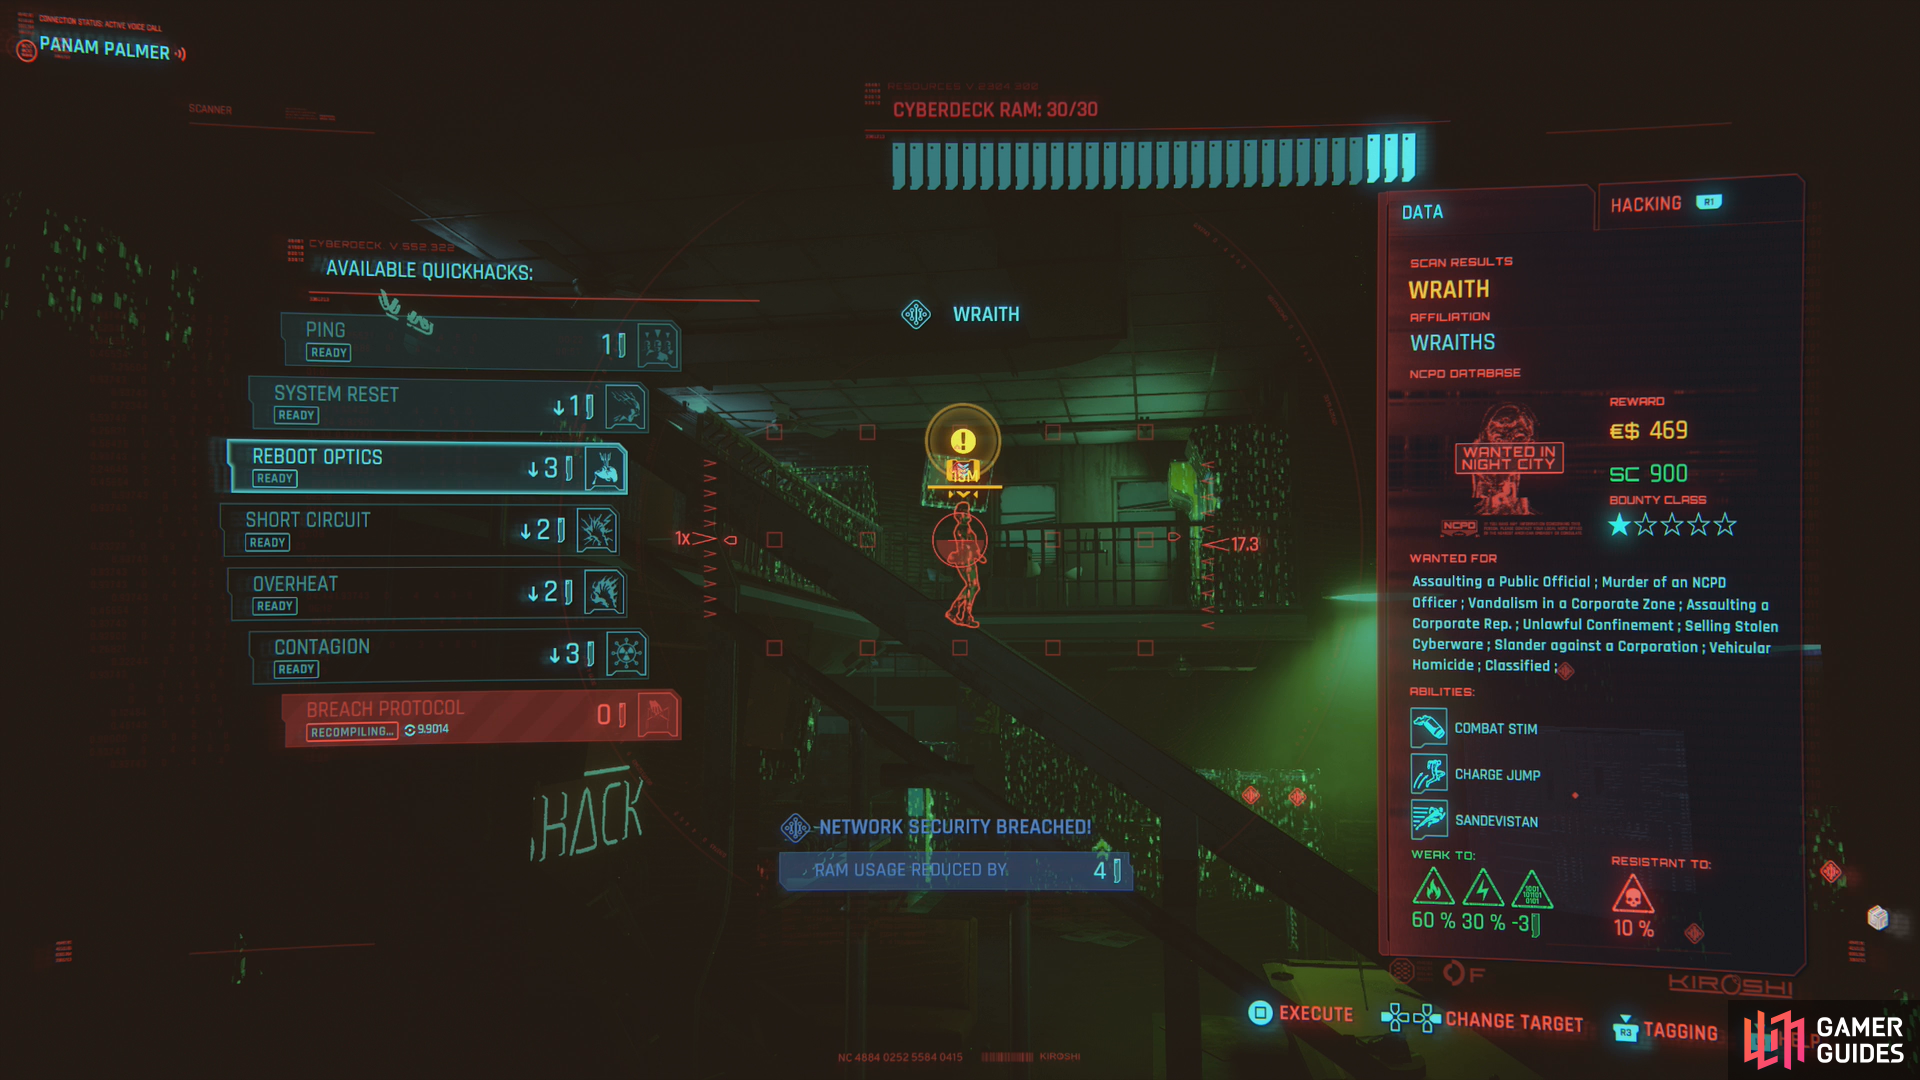
You’ll carry out the plan regardless of the cosmetic option you get - another illusion of choice - after which you’ll find numerous gangers fanning out in the ruined town below you. Get behind cover, then scan and tag as many of them as you can. Pretty standard stealth section here, there’s over half a dozen enemies, arguably the most tricky of which are the ones on high ground. As usual, legendary Ping, Reboot Optics, and good, old-fashioned patience will serve you well, if you have them. If you get caught, Panam will aid you from on high with her sniper rifle, and there’s really no harm in just going in guns blazing, if you prefer.
Your ultimate goal is a ganger on the second floor of the bar across the street. Dispatch him however you can and loot him for the Key to Thorton Mackinaw. Once done, rendezvous with Panam at the car (assuming no enemies are left)… perhaps after taking a detour to jack into two Access Points on roofs around Rocky Ridge, which should be active now that power has been restored.
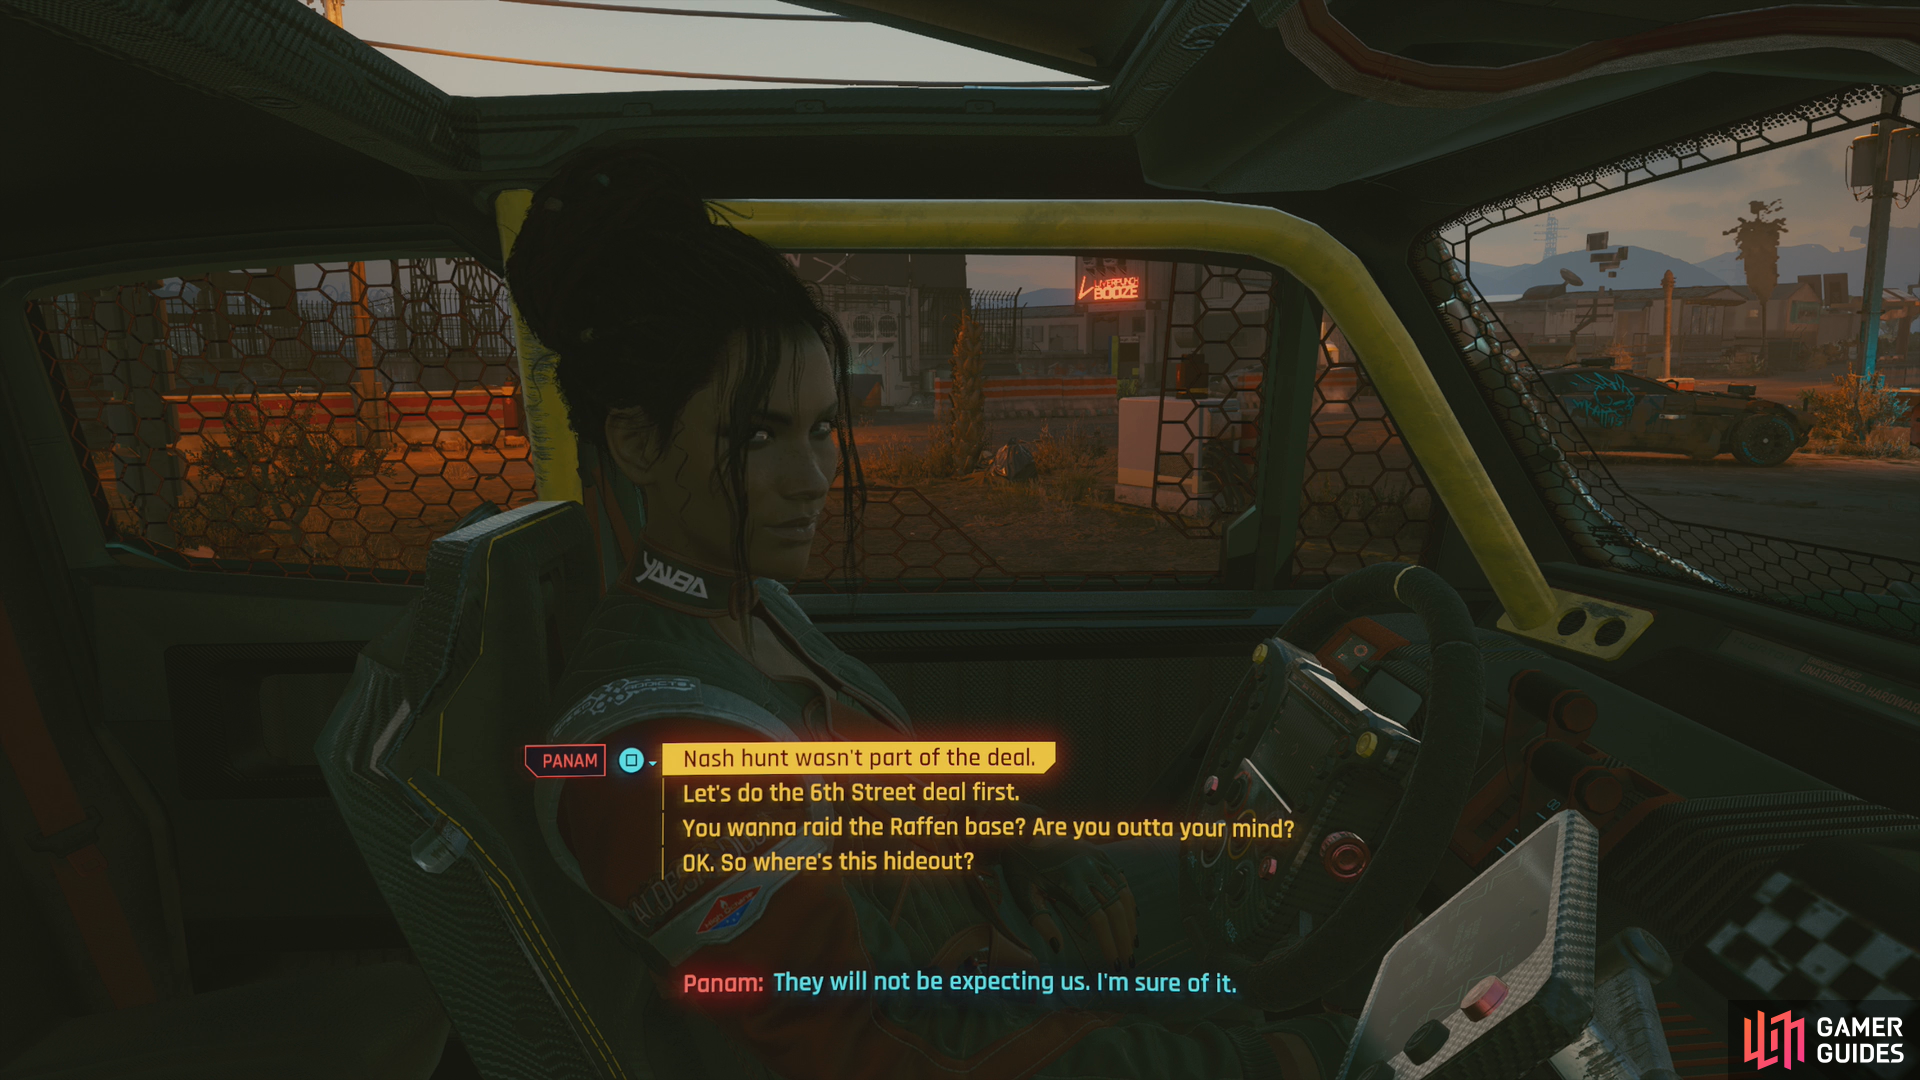
When you’re ready, enter Panam’s vehicle and she’ll try to lure you on another adventure. She got her ride back, but she didn’t get revenge on her former partner, Nash. She claims to know where he is, however, leaving you with a choice:
- ”Nash wasn’t part of the deal.”
- ”Let’s do the 6th Street deal first.”
- ”You wanna raid the Raffen base? Are you outta your mind?”
- ”OK. So where’s this hideout?”
If you respond with ”OK. So where’s this hideout?” you’ll indulge her murder kick, which makes her happy. Not that it really matters much - you can still start Panam’s Side Job questline and romance her even if you decline to hunt down Nash. Still, you can grab some loot, including an iconic weapon, if you help Panam take out Nash, so it might be worth the effort regardless. If you pick any of the other three options, Panam will throw one of her characteristic tantrums and you’ll get two more dialogue options:
- ”Fine. Where’s this den?”
- ”No. Not what we agreed.”
Should be pretty obvious what these two do; ”Fine. Where’s this den?” will capitulate to Panam and cause you to set off after Nash, ”No. Not what we agreed.” will shut her down. In the latter case, skip the header Raiding the Raffen Den.
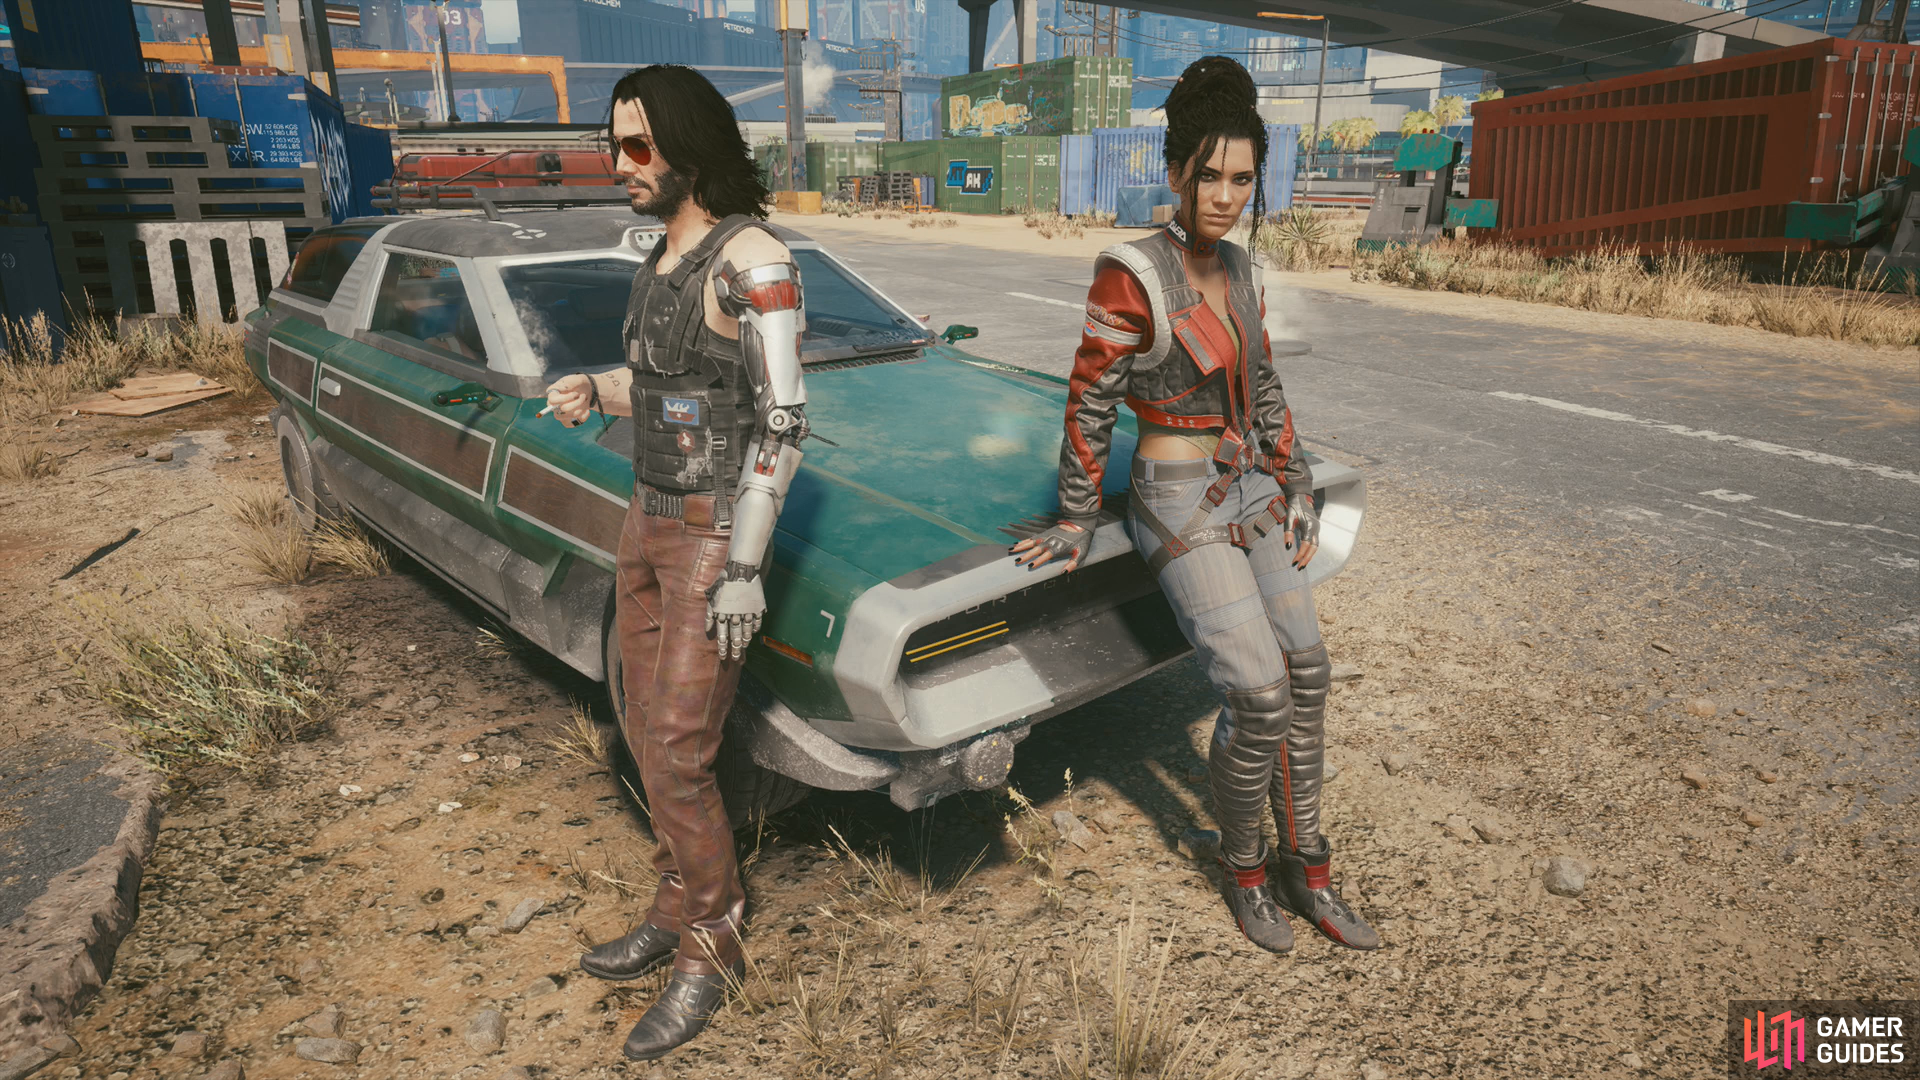
(1 of 5) After recovering Panam’s ride, she’ll ask for further assistance, prompting this quest’s sole important decision.
Raiding the Raffen Den
If you decide to help Panam sate her bloodlust, she’ll drive you a short distance to the mines where the Raffen Shiv - led by Nash - can be found. Engage in small talk, but when you arrive a fight will begin. No room for stealth here, no nuance, nothing - once you’re out of Panam’s vehicle, you’ll be in the midst of a firefight.
There’s cover right out of the vehicle, so you’re not in a terrible position. Your options are limited if the enemy starts lobbing grenades, though, so don’t get too complacent. You’ll need to fight your way forward, then right, downing over a dozen enemies in total. There’s a sniper on an elevated walkway to the right, and vehicles will come bringing reinforcements as the fight drags on - something to be wary of.
Dispatch all the Raffen Shiv, then loot Nash for his iconic precision rifle, Widow Maker. You can also find an Access Point [Intelligence 3] in a laptop in an elevated structure across from the one Nash occupied. When you’re done killing and looting, return to Panam, who, naively thinking she has some leverage, calls Rogue to gloat. It doesn’t end well. Talk to Panam, then Johnny will give his two cents. Get in the car with Panam and she’ll drive you to meet with the 6th Street gangers.
Sealing the Deal
Whether you helped Panam kill Nash or refused, the next stop is to complete Panam’s deal with the 6th Street gang. She’ll drive you there and you’ll get some meaningless dialogue options. Things go… smoothly, actually.
After the deal is done, follow Panam to the bar inside the Sunset Motel, have a drink, chat. You can attempt to flirt with her about the sleeping arrangements available, if you wish, after which you need merely follow Panam to your room to end this jof. The followup, Lightning Breaks will begin immediately thereafter.
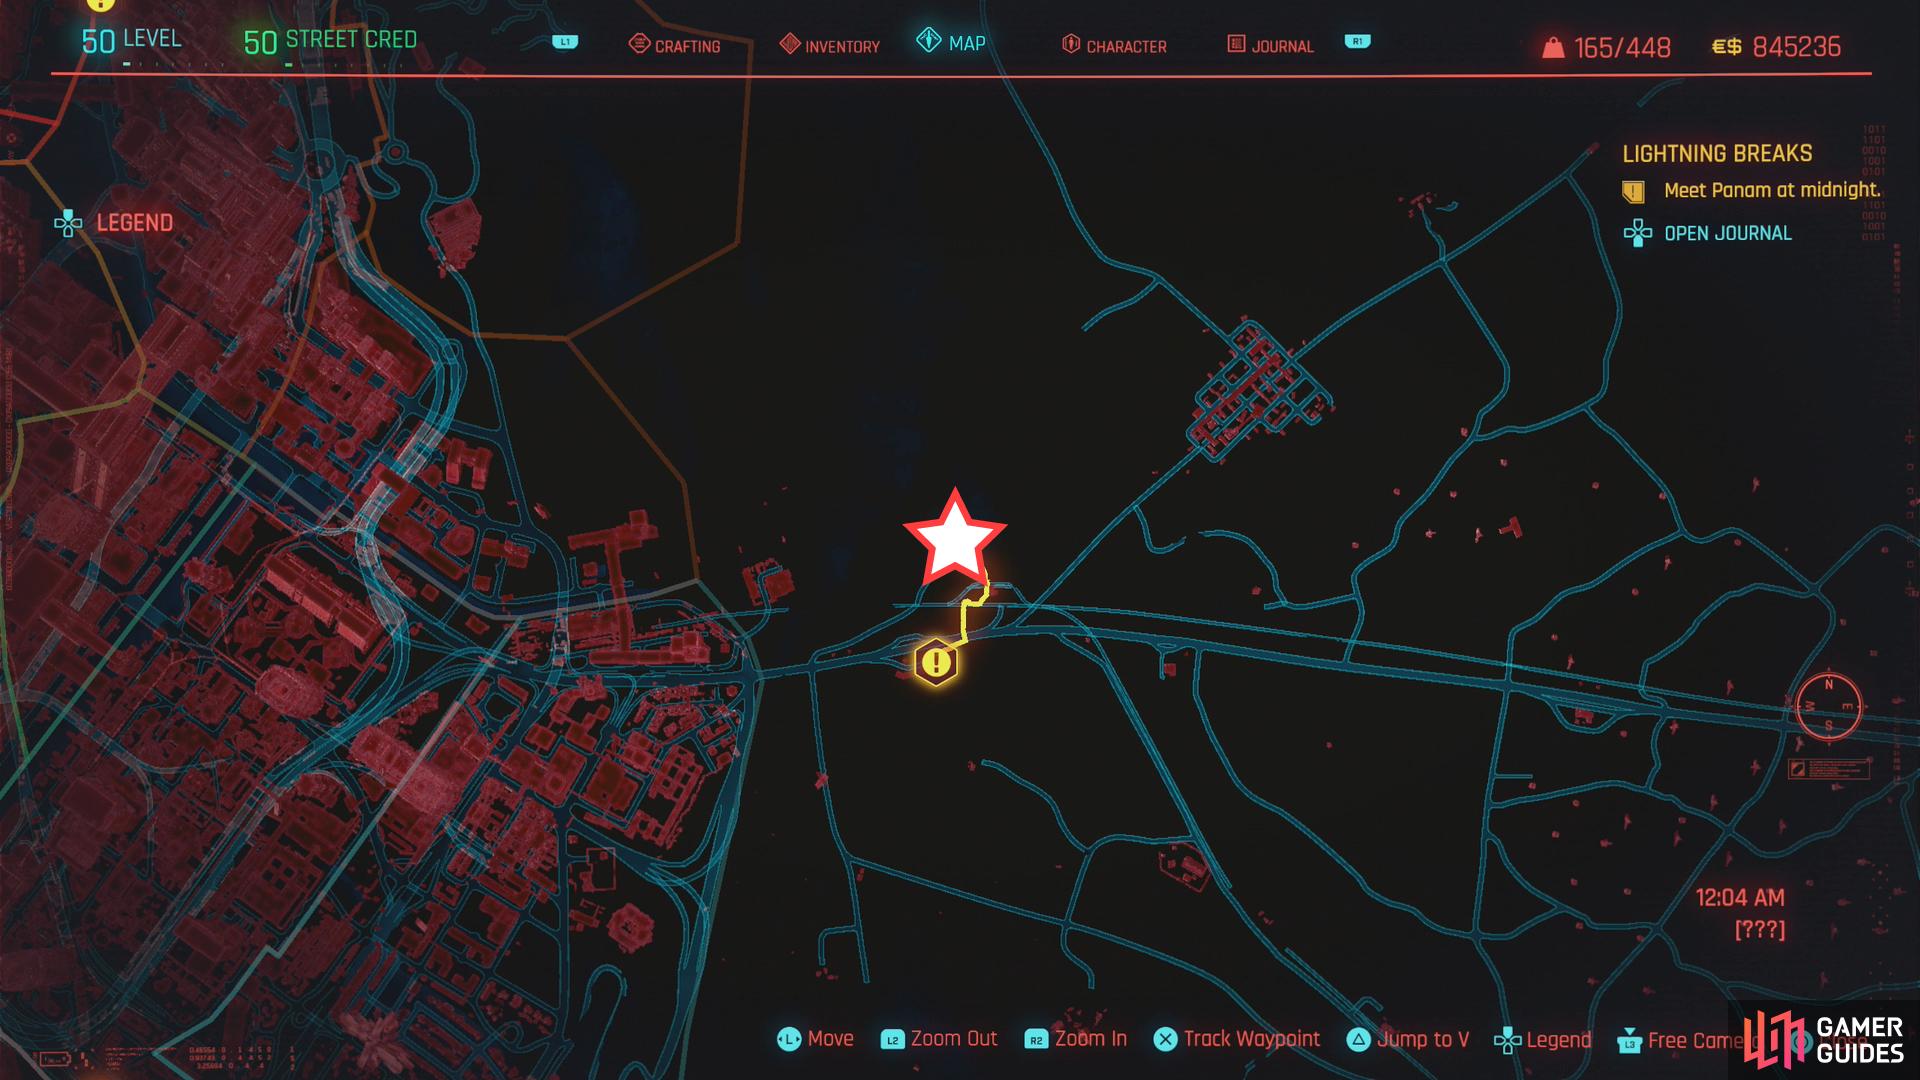
Wait a week, then return to the mine where you fought Nash and his Raffen Shiv.
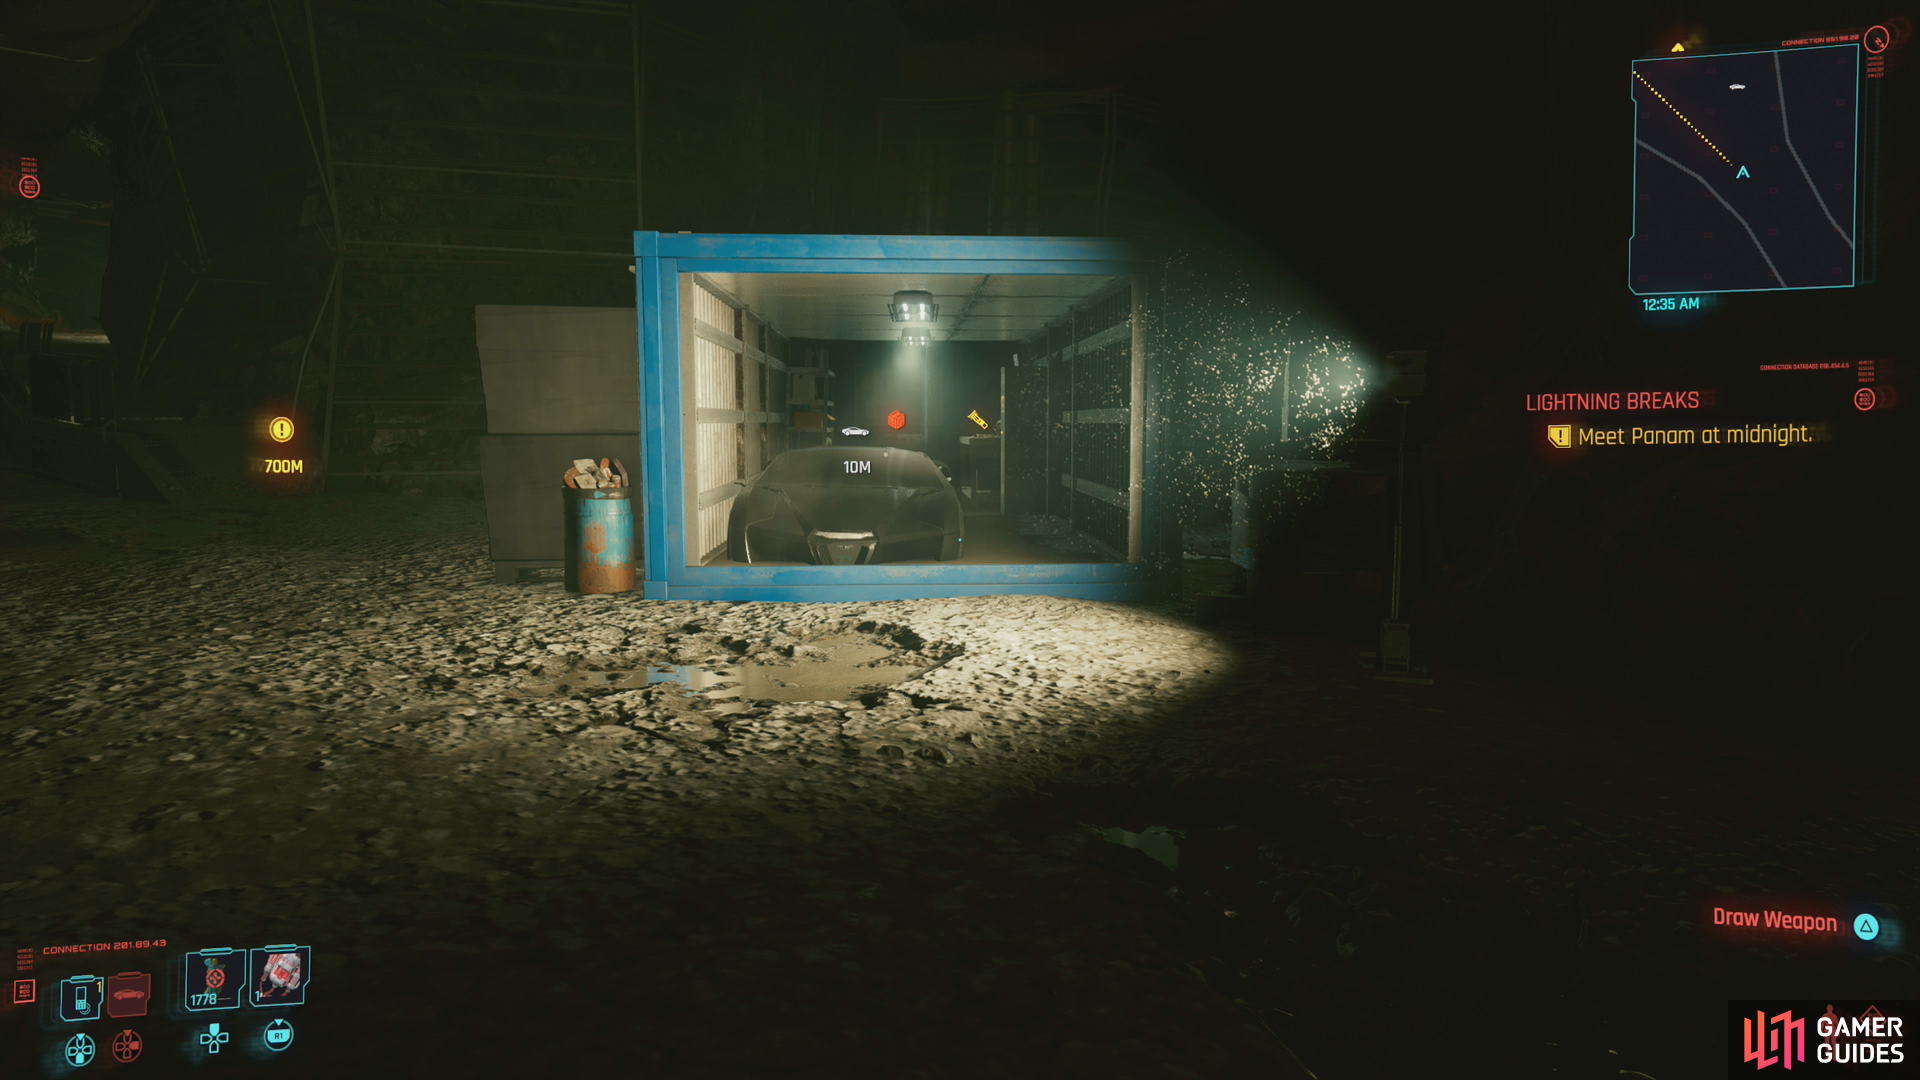
You should find a new shipping container there, which is loaded with goodies.
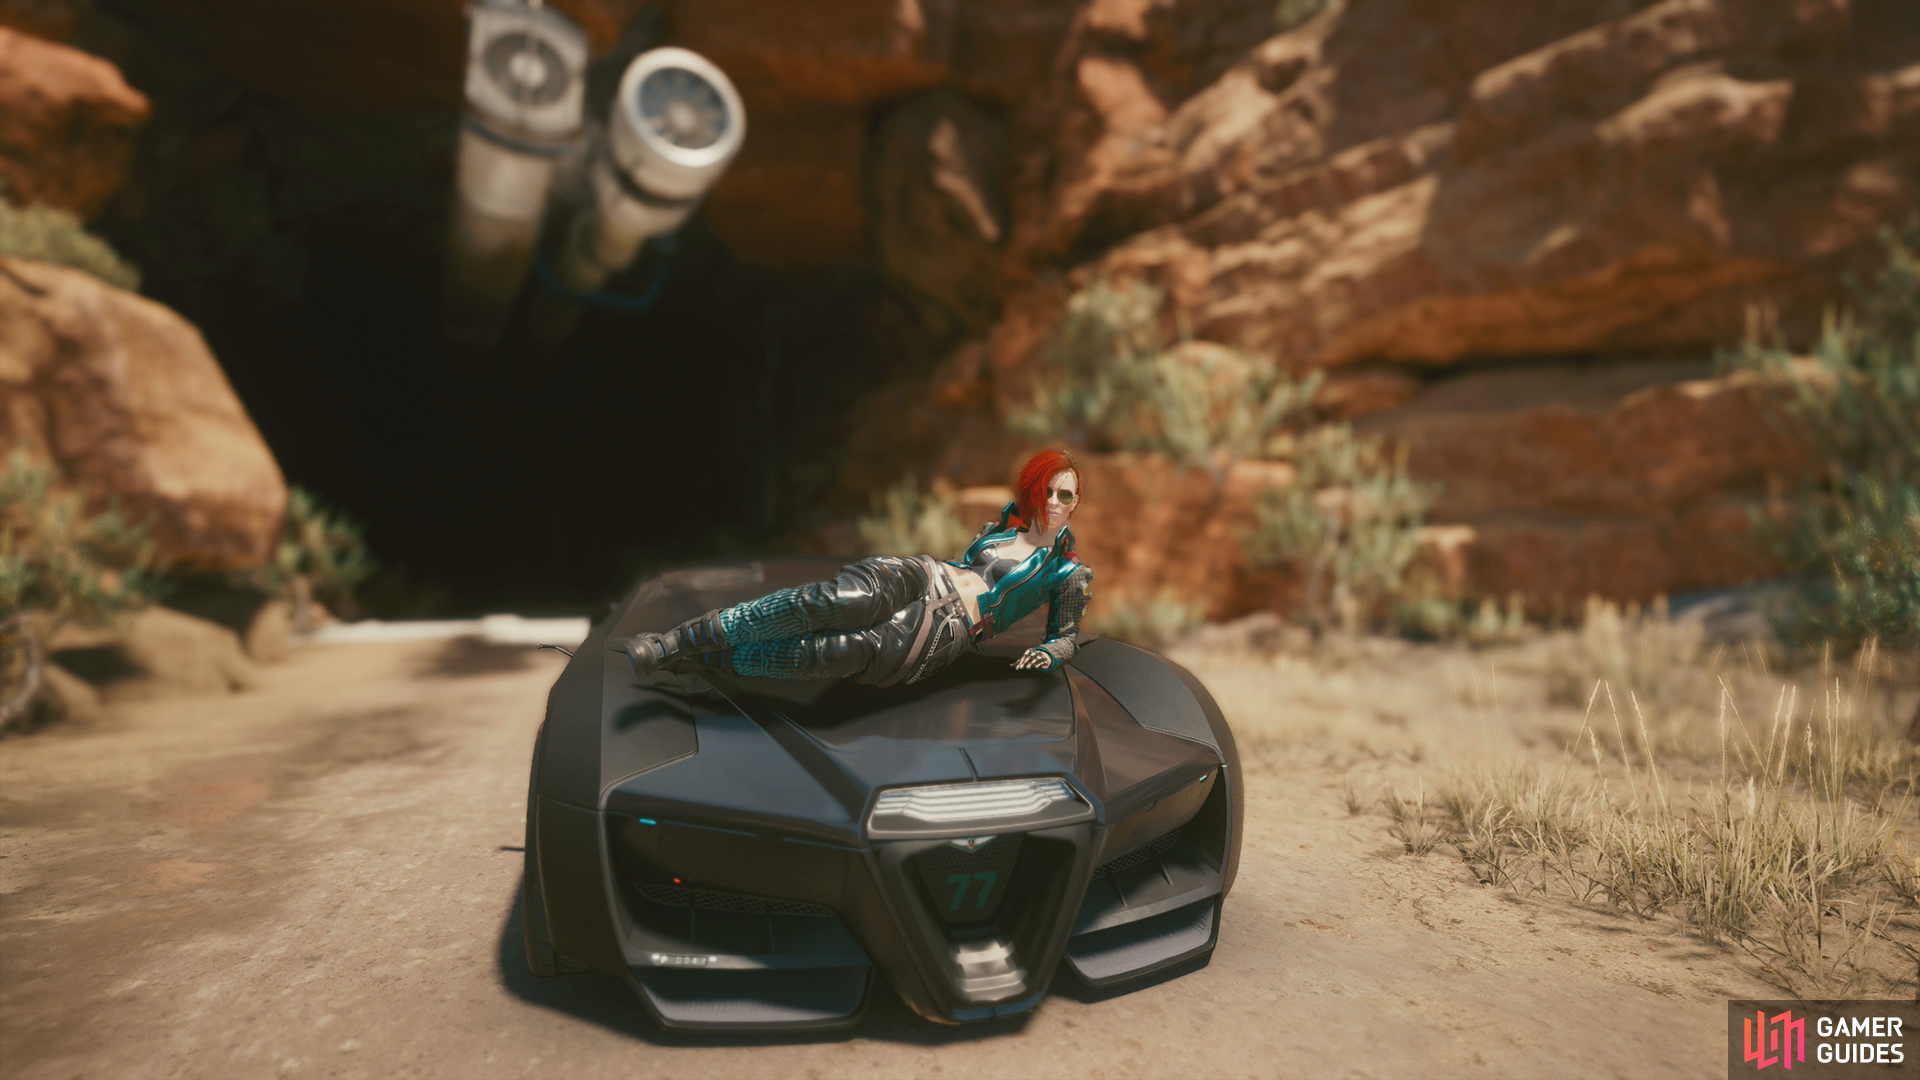
Rayfield Caliburn
There’s some choice loot that’ll become available after completing Ghost Town, and while it’s not technically part of that quest, since it’s the triggering event, we’ll discuss it here. Skip time forward about a week (don’t worry, Panam’s not going anywhere) then head back into the mines where you fought Nash. The mines are at the end of a road just north of the Sunset Motel, about 400 meters away, so it’s not even much of a detour.
Work your way down the mine shaft and keep your attention to the left, as you should eventually spot a shipping container that wasn’t there earlier. If you hear the sound of a car arriving and see a car icon on your minimap, all the better. Inside the shipping container you’ll find a Rayfield Caliburn, a container with a potential legendary drop, a data shard giving some explanation for why this is all here, and some other, more mundane loot.
No Comments