


| Subdistrict | Prerequisite |
|---|---|
| Little China | Complete the Main Job Tapeworm |
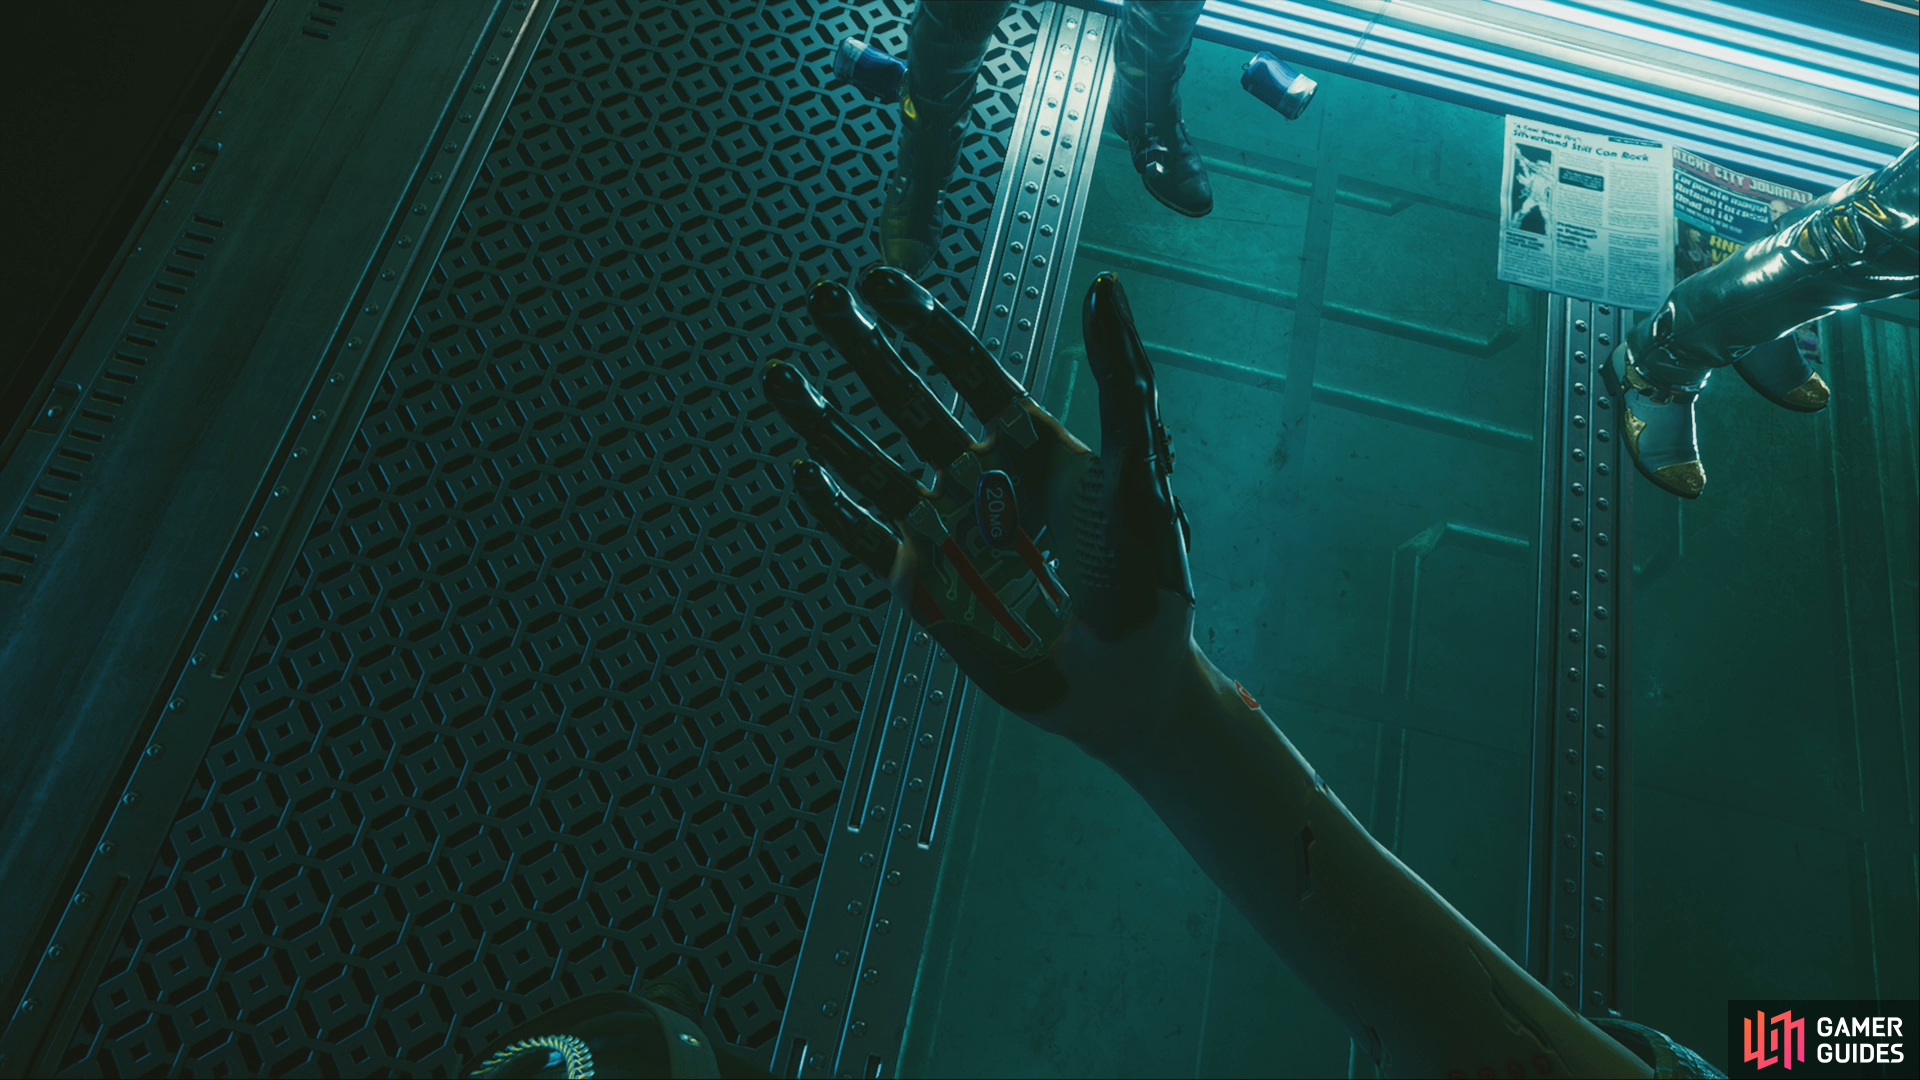
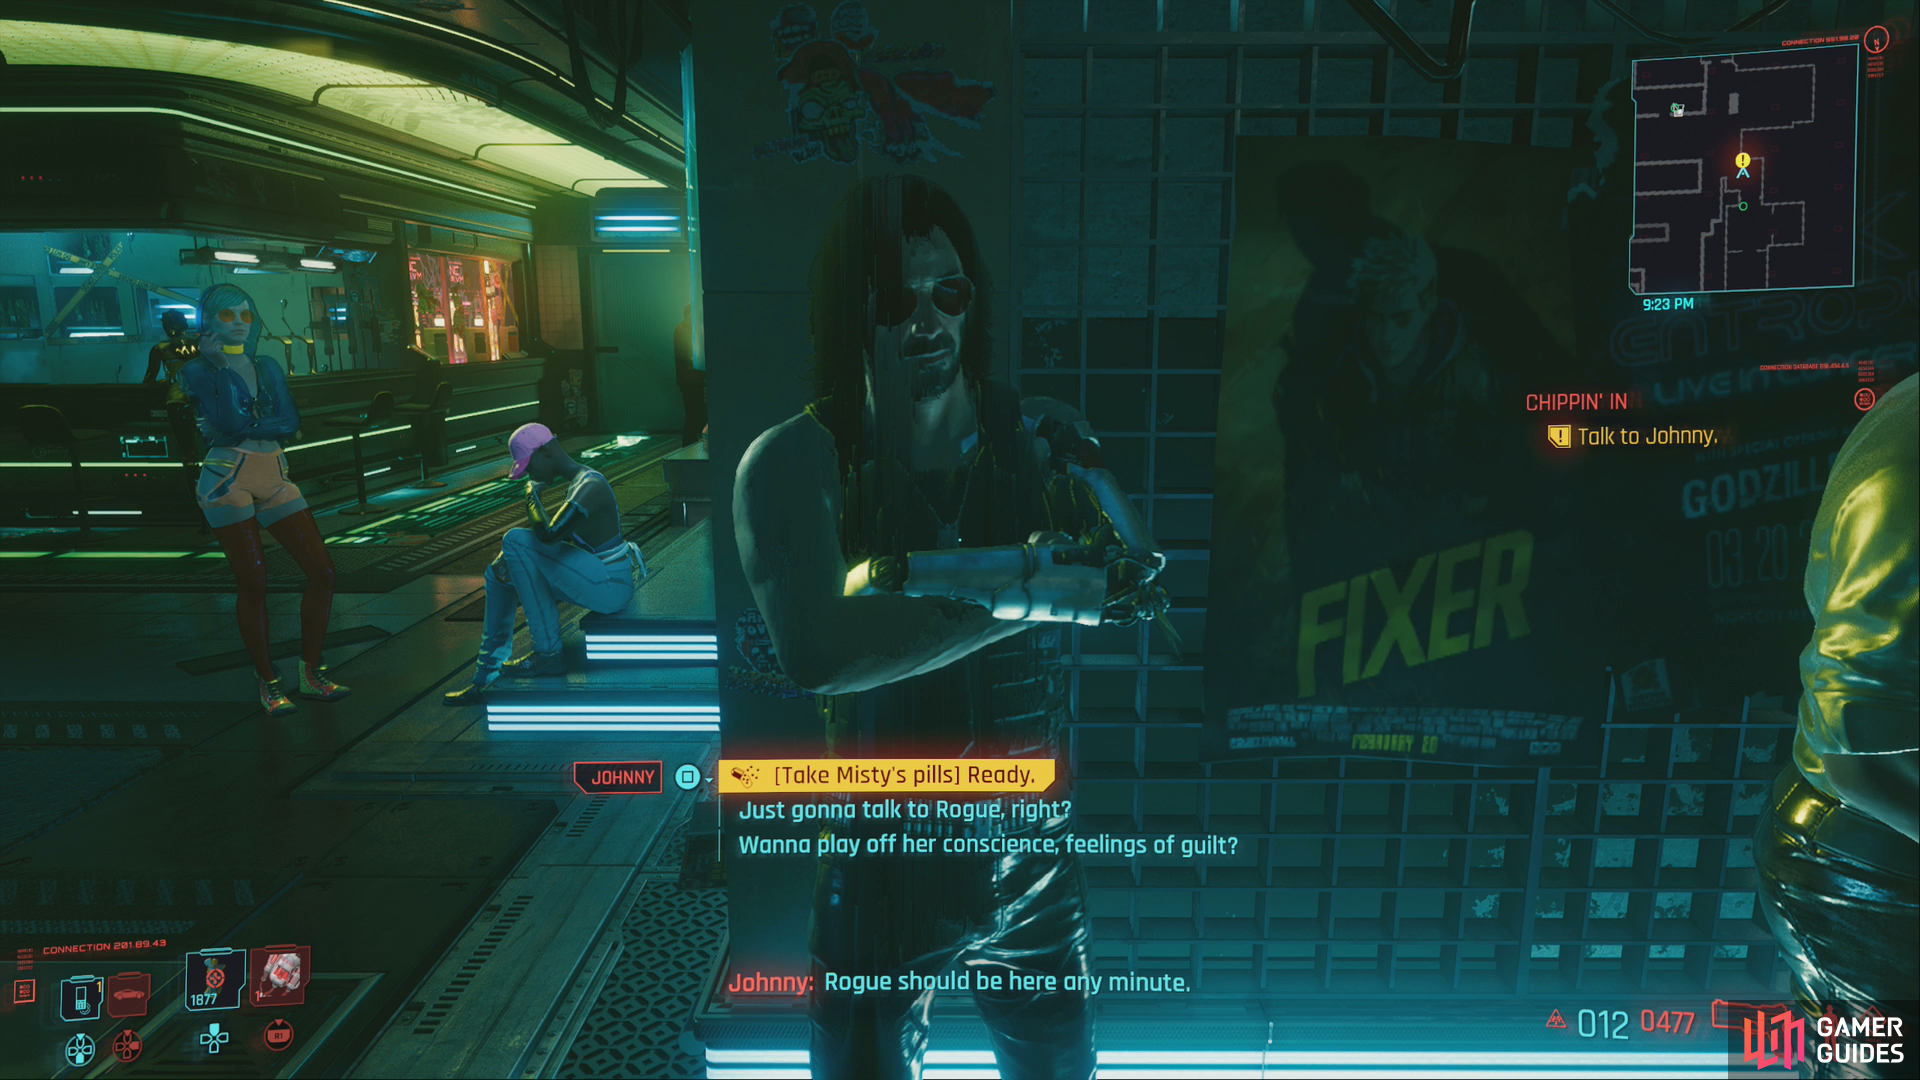
This quest will begin following the conclusion of Tapeworm, regardless of what you say to Johnny at the end of the aforementioned quest. If you head to Afterlife with this quest active, you’ll be met by Johnny, who will ask you to facilitate his request. You can, of course, just ignore him if you have other business to attend to, but if you want to cede control over to Johnny and get this quest started in earnest, pick the dialogue option [Take Misty’s pills] Ready.”.
Head to Afterlife, where you’ll get the option to give Johnny control.
After a wild binge, meet up with Rogue at the Afterlife and she’ll give you a “Replica of Johnny’s Samurai Jacket”.
A Cool Metal Fire
In a series of scenes, Johnny will make you regret your decision to let him take control. Make what choices you wish as Johnny, and eventually you’ll be woken up by Rogue. You’ll talk shop about Smasher, including what little intel Johnny managed to gather during his prolonged bout of debauchery. Get up, talk to Johnny, then leave the motel. This will complete the Side Job A Cool Metal Fire, which takes place entirely during the scenes with Johnny in V’s body - hardly a proper job at all, and it’s wholly subordinate to Chippin’ In.
In addition to the little… alteration… Johnny made to your arm during his binge you’ll obtain Johnny’s Aviators, iconic face armor. After you leave the motel, you’ll need to wait a day (skipping time will suffice) to trigger a call from Rogue, who promises you intel when you meet her at Afterlife.
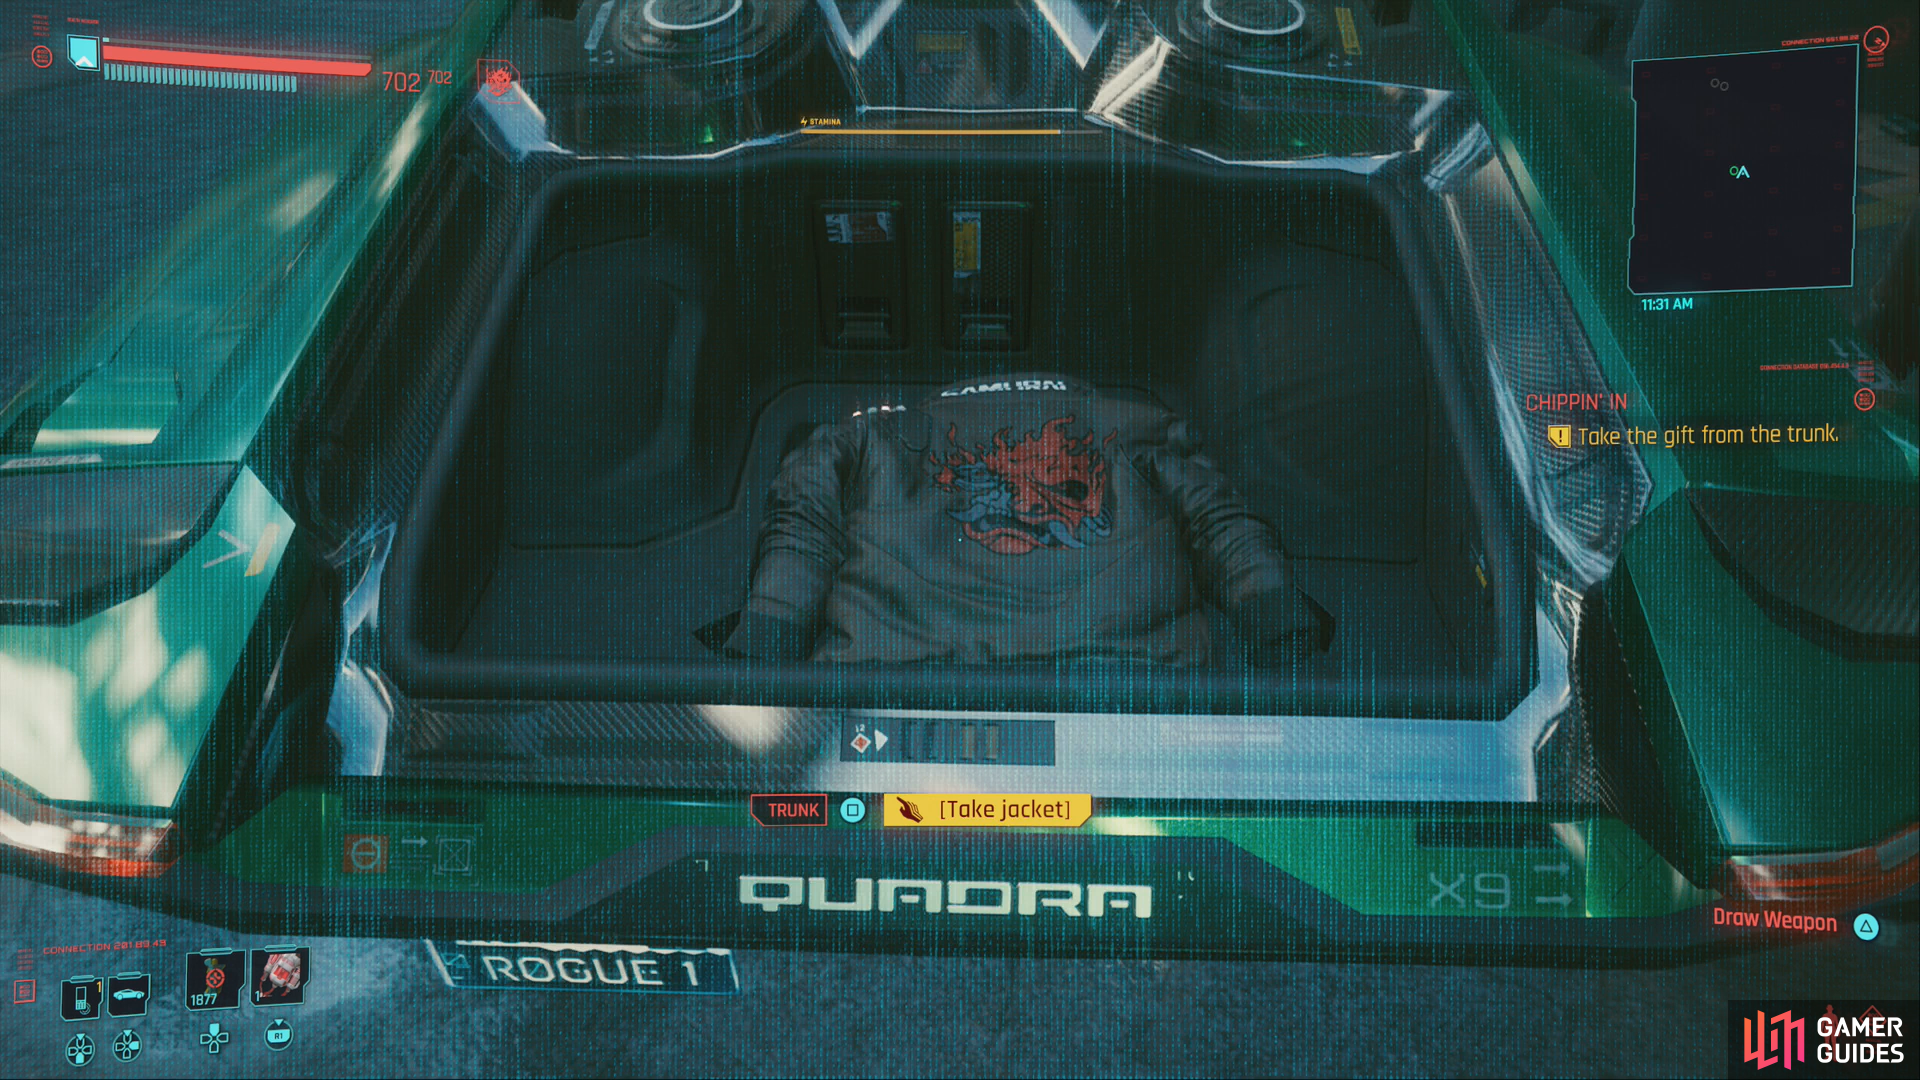
Get the call, return to Afterlife, then walk and talk with Rogue, then take the jacket she offers you to obtain the Replica of Johnny’s Samurai Jacket, a piece of iconic outer torso armor. This will be automatically equipped, but you’re not compelled to keep it on. Do what you will with the jacket, then ride with Rogue to the Ebunike Docks. You know the drill, hurry up and wait.
The Maelstrom Dataterm
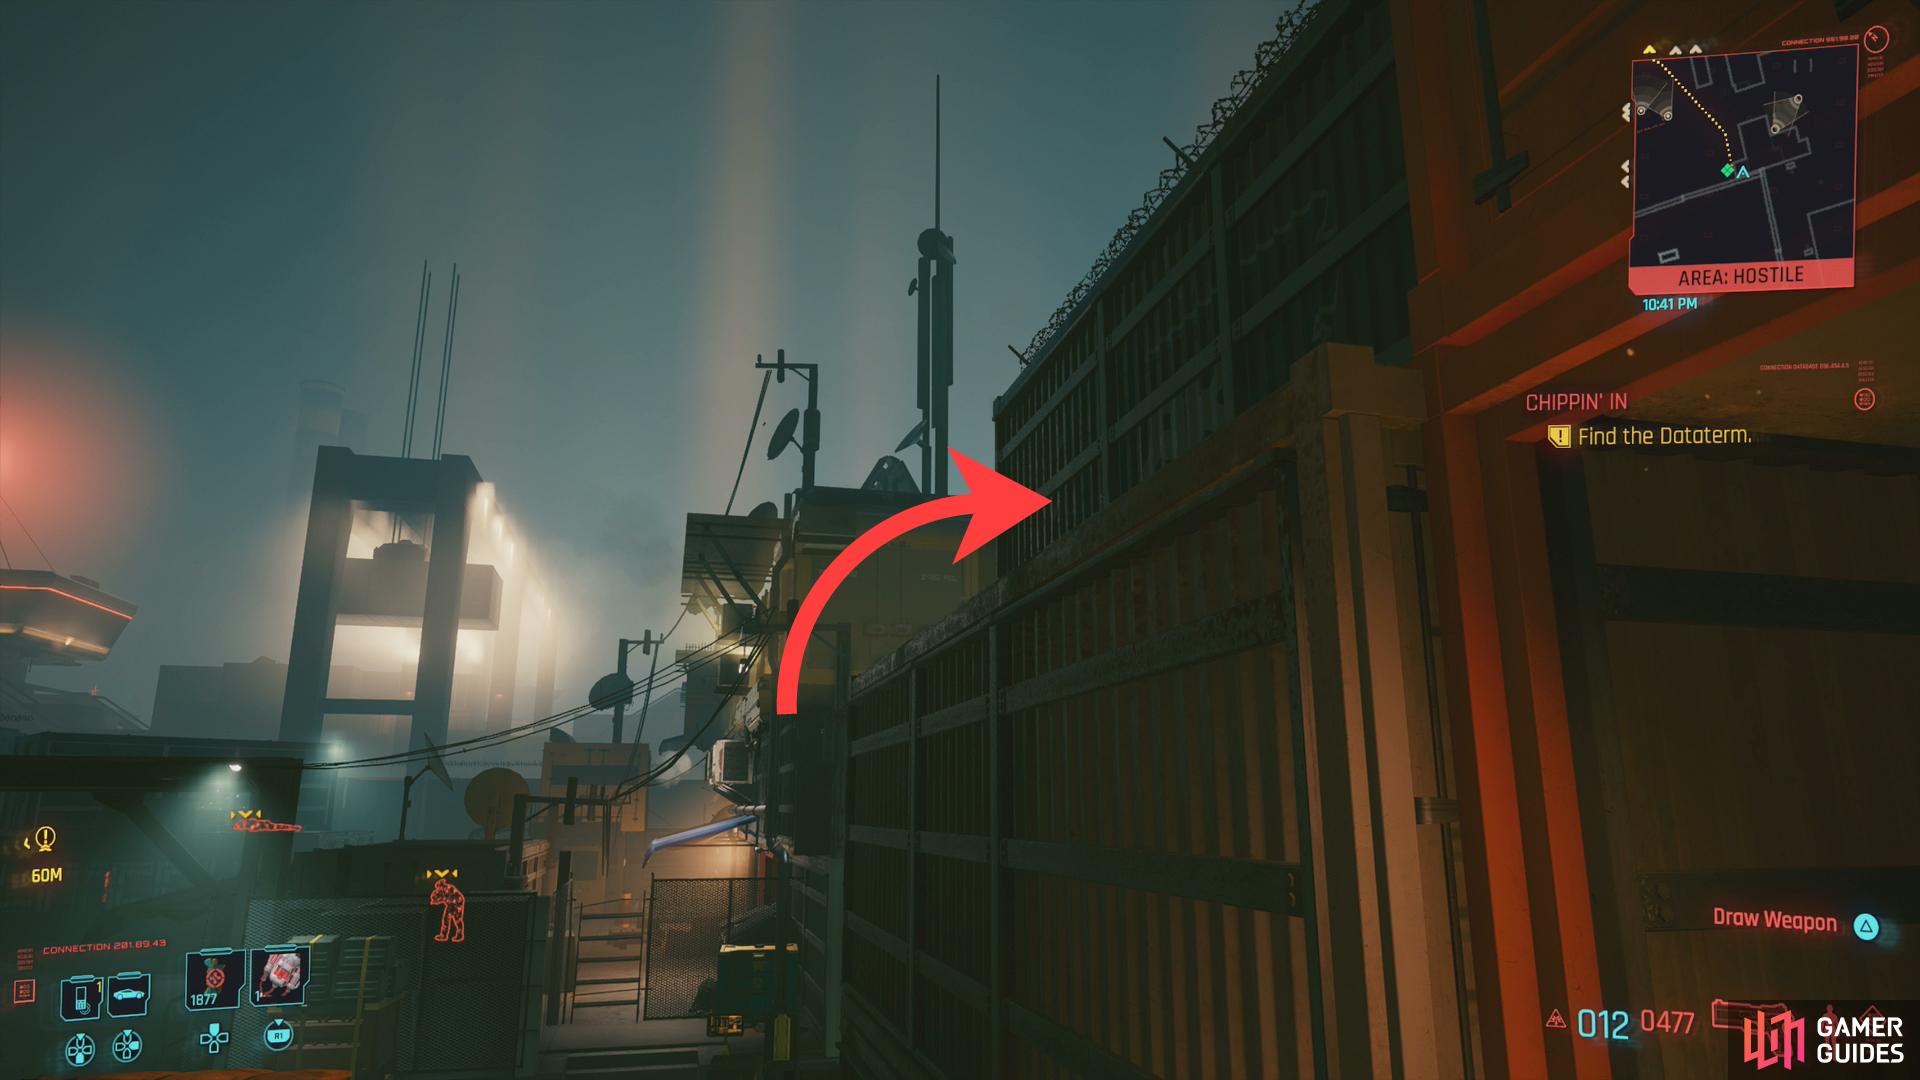
After skipping time with Rogue she’ll initiate the infiltration. Follow her, stay out of sight, jump onto a shipping crate and open a gate, after which the rest of the infiltration will be left up to you. Stealth isn’t mandatory, if you start a fight or otherwise get caught, Rogue will resign herself to combat, but we’ll attempt a stealth approach regardless, falling back on violence as a secondary option.
These docks aren’t anywhere near the most difficult area we’ve traversed, and including the two Maelstrom gangers you bypassed while following Rogue you can expect a dozen or so enemies to lie between you and the dataterm you’re after, as well as several security cameras. Honestly, giving the distance between enemies and the numerous shipping containers you can hide on and behind, this infiltration is cake.
Scan, Ping and tag your enemies to make an easy job even easier, then set about seeking out isolated gangers and taking them down. Plenty of containers to hide their bodies in, so this should be an easy sweep even if you don’t resort to quickhacks like Reboot Optics, which, of course, will make things even easier. In addition there are various locked doors that require [Technical Ability 6-9] checks and a few sealed doors [Body 5], but there’s no noteworthy loot locked behind any of these, and double jump will get you over most locked doors.
Speaking of double jump, you can use it to reach your destination - a building on the opposite end of the complex - while just sticking to the high ground. From where you breach the compound, turn right and look up to see the edge of a shipping container you can jump onto. From here you’ll need to run across the shipping container and make a running double jump to reach an awning on the outside of a distant shipping container which now serves as a domicile. Continue across the tops of these shipping containers and past some solar panels, beyond which you’ll want to look down to see a yellow shipping container with a satellite dish on it. Drop down on it, then perform a running jump onto a blue shipping container, behind mindful of the sleeping ganger on a lower shipping container below. From here, just jump across to the roof of a nearby building and enter via a hatch on the roof.
However you reach it, once inside this building put down one ganger roaming around inside and go through a door to reach the room where the dataterm is… which, to your eyes, is just a typical console. Interact with the computer, check the “Messages” tab and read the message “Ebunike” to get the intel you’re after.

(1 of 3) Fight several Maelstrom gangers, including a dangerous Fiend with Mantis Blades,
Ebunike
Leave via some double doors (to the right after you exit the dataterm room), dispatch or avoid two more Maelstrom gangers (assuming you didn’t deal with them already) then cross to the Ebunike.
Two infiltrations in one mission! What a treat. Board the ship via the stairs and turn right (towards the bow of the ship), as that’s where the enemies - and hence presumably anything worthwhile - can be found. It is worth noting, however, that if you search near the stern you’ll find a locked room. You can deactivate the door terminal via quickhack to get inside of Adam Smasher’s private quarters, but you can’t claim the main prize just set, so ignore it.
As you move through the shipping containers on the deck you’ll find evidence of Smasher’s activities. Age clearly hasn’t made him kinder. There are three Malestrom gangers at the front of the ship - don’t bother trying stealth takedowns, as one will always spot you when you approach. The reason why is so Johnny can complain that one of them has his gun. Be wary of the right-most ganger, the Maelstrom Fiend, as she’s heavily modded and will Sandevistan-charge at you with her Mantis Blades ready to carve you up.
Engage the Maelstromers and take them down, then head to the bow of the ship and dispatch Grayson. The Maelstromers are mobile, but Grayson prefers to sit back and take potshots at you with Johnny’s gun. Put him down, take back Johnny’s iconic gun, the Malorian Arms 3516, then interrogate Grayson. After he says what little of use he has to say, you’ll get a chance to spare him or kill him. Doesn’t matter what you pick, the reward he was going to entice you with for sparing him can be gained by killing him just as well, and he really looks hungry for a bullet.
If you spare him (respond with [Put weapon away] “Got lucky today.”) he’ll give you an Old Access Card and tell you about some item of interest in a shipping container you can claim with it. If you kill him ([Draw weapon] “Don’t want anything from you.”) you can just grab the Old Access Card from his corpse. After this Rogue will complain about the futility of your mission and leave, and Johnny will encourage you to leave her be for now.
(1 of 3) From the bow where you fought Grayson, jump over to some crane controls on a platform,
Paying Respects
While your collaboration with Rogue may be over for the moment, there are still two things to do. First, find whatever treasure Grayson was hiding from you. If you spared him, it’ll be an active objective, if you didn’t, you’ll just have to seize the initiative without any guidance in-game. Either way, look out towards the bow and you’ll notice a raised platform to the left. Climb up there, use a console to lower a shipping container, then head down and open it up with the key you got from Grayson. Inside you’ll find Johnny’s wheels, the 911 II (930) Turbo. All you have to do is take her shroud off and hop in to claim the vehicle for yourself, and what better ride for the next objective than this?
Johnny’s awfully talkative for a guy who has been dead fifty years, and without raising larger issues of what it means to be alive, biologically, he’s dead. Dead things leave corpses, and since Johnny found out where his physical remains were laid to rest, he wants to go visit the spot. A morbid fascination, to be sure, but could you honestly say you wouldn’t do it if you had the opportunity?
Pick your responses carefully,
and you’ll end up befriending Johnny Silverhand.
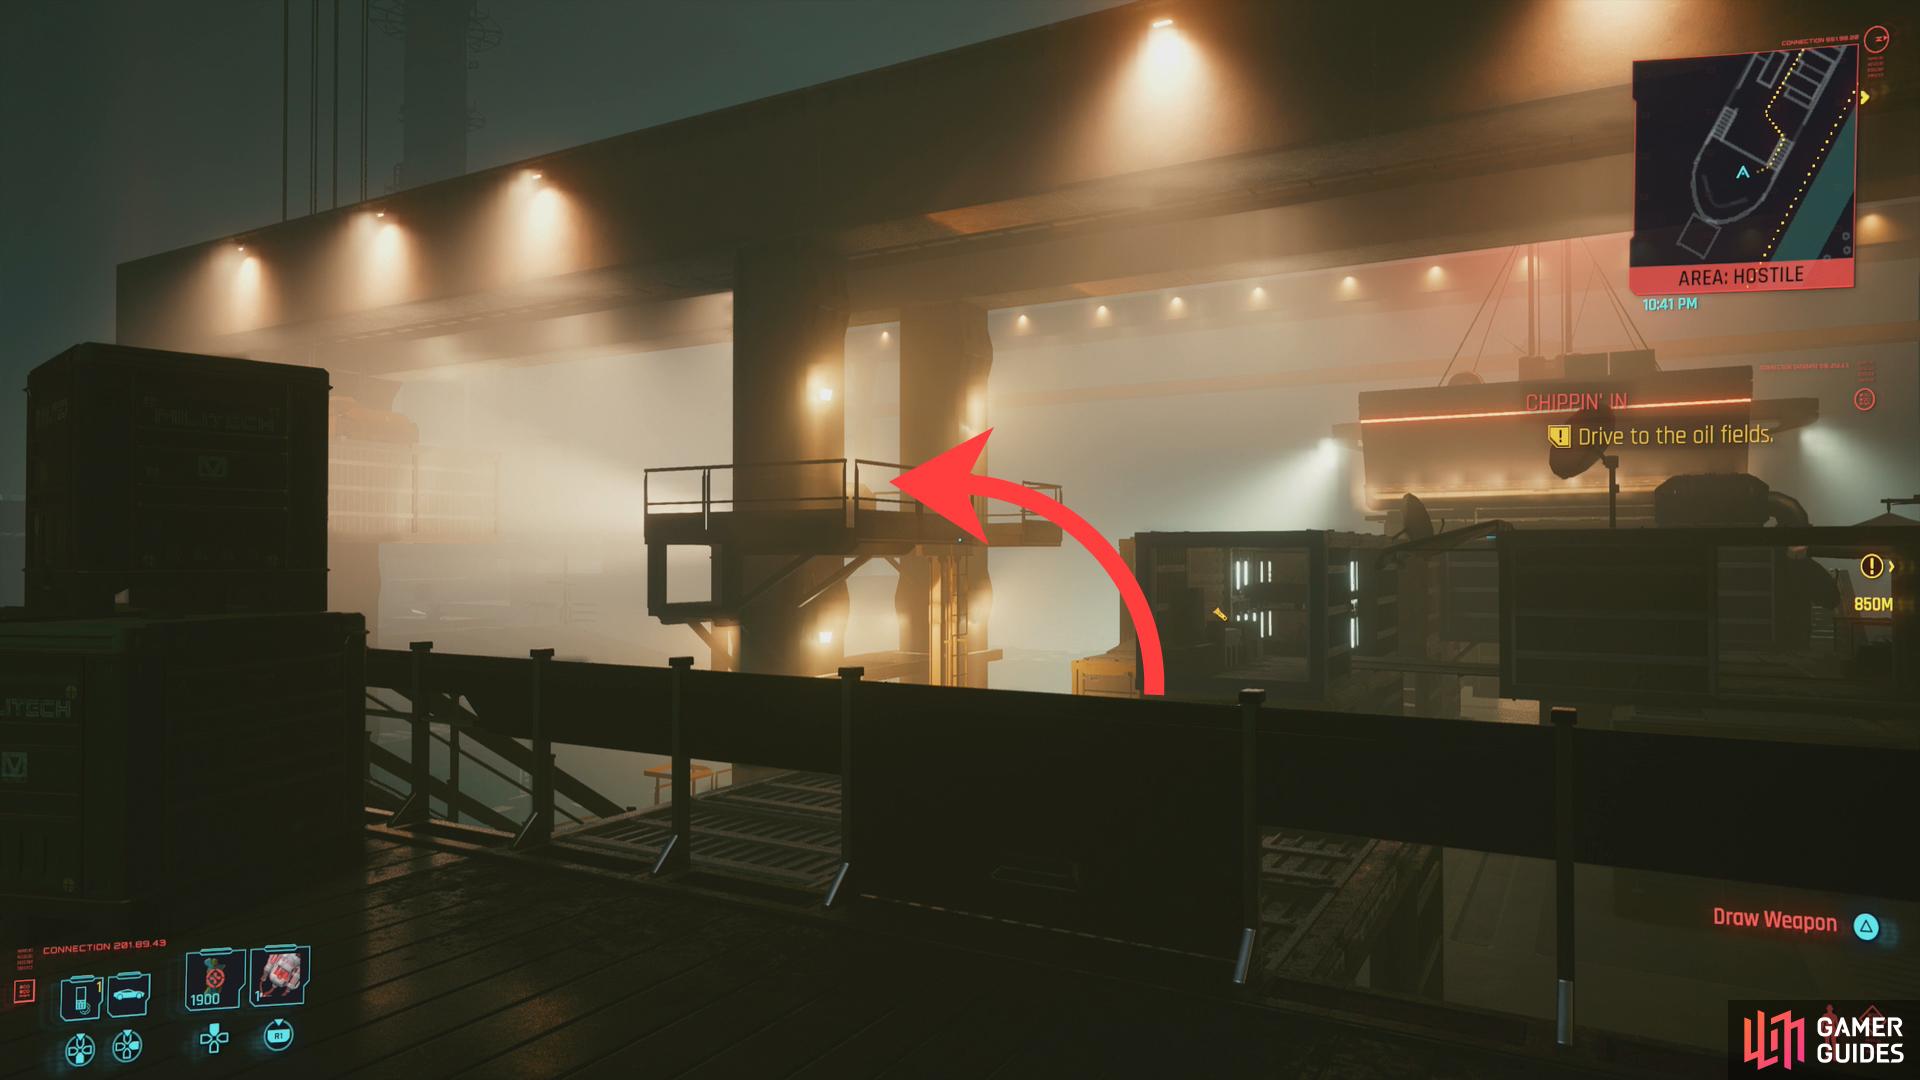
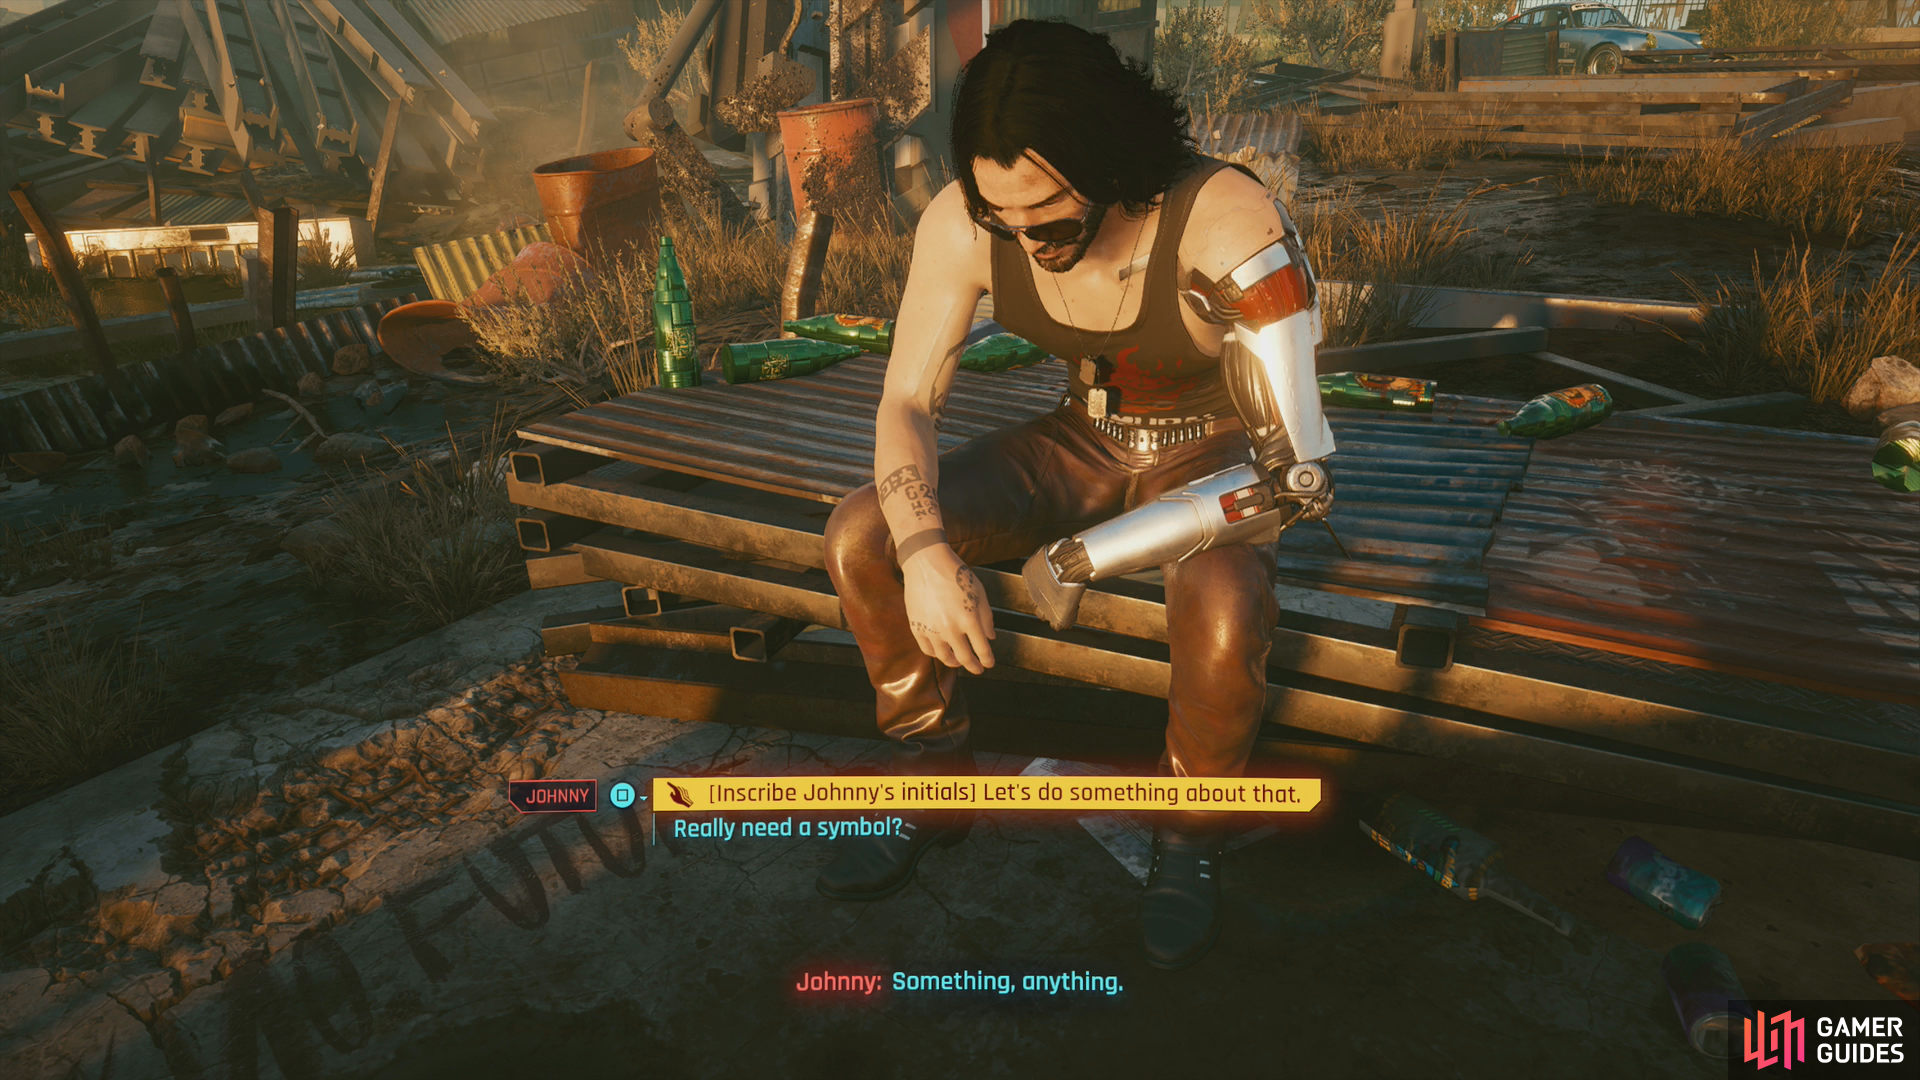
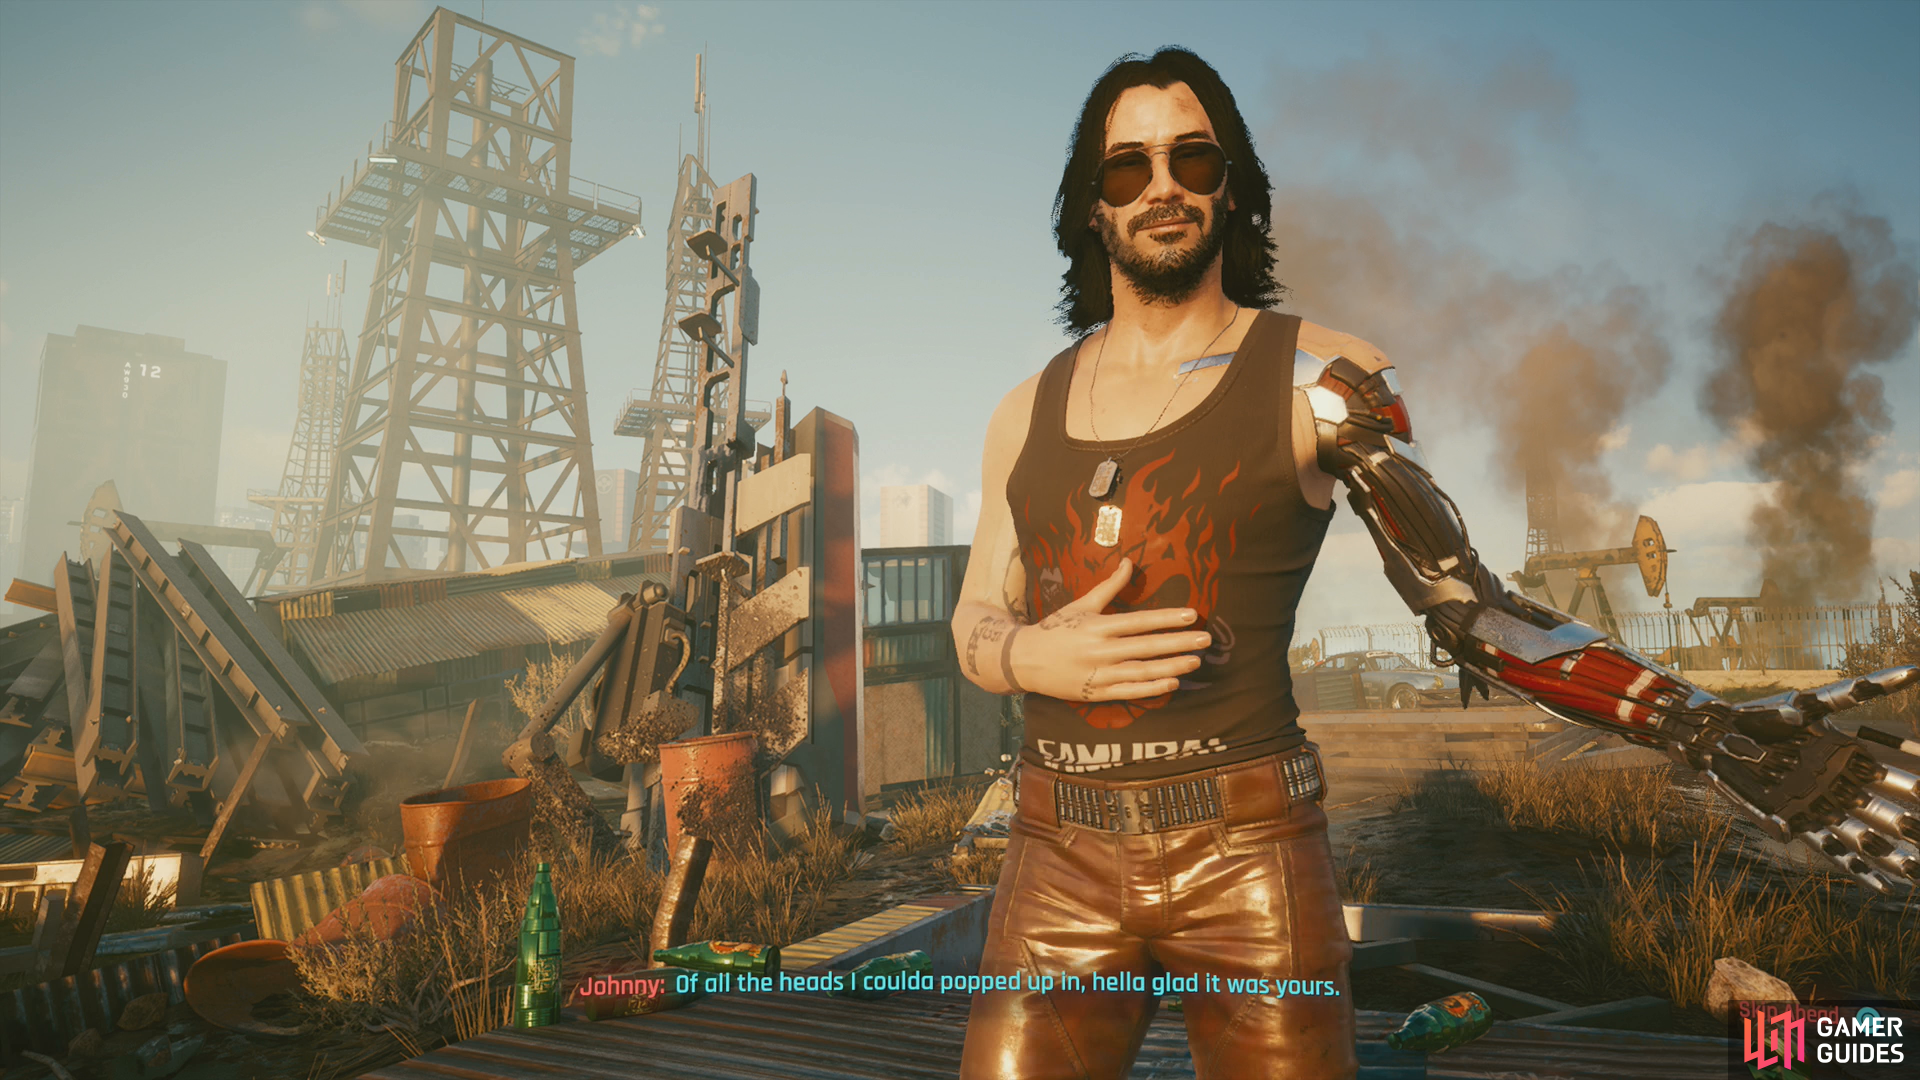
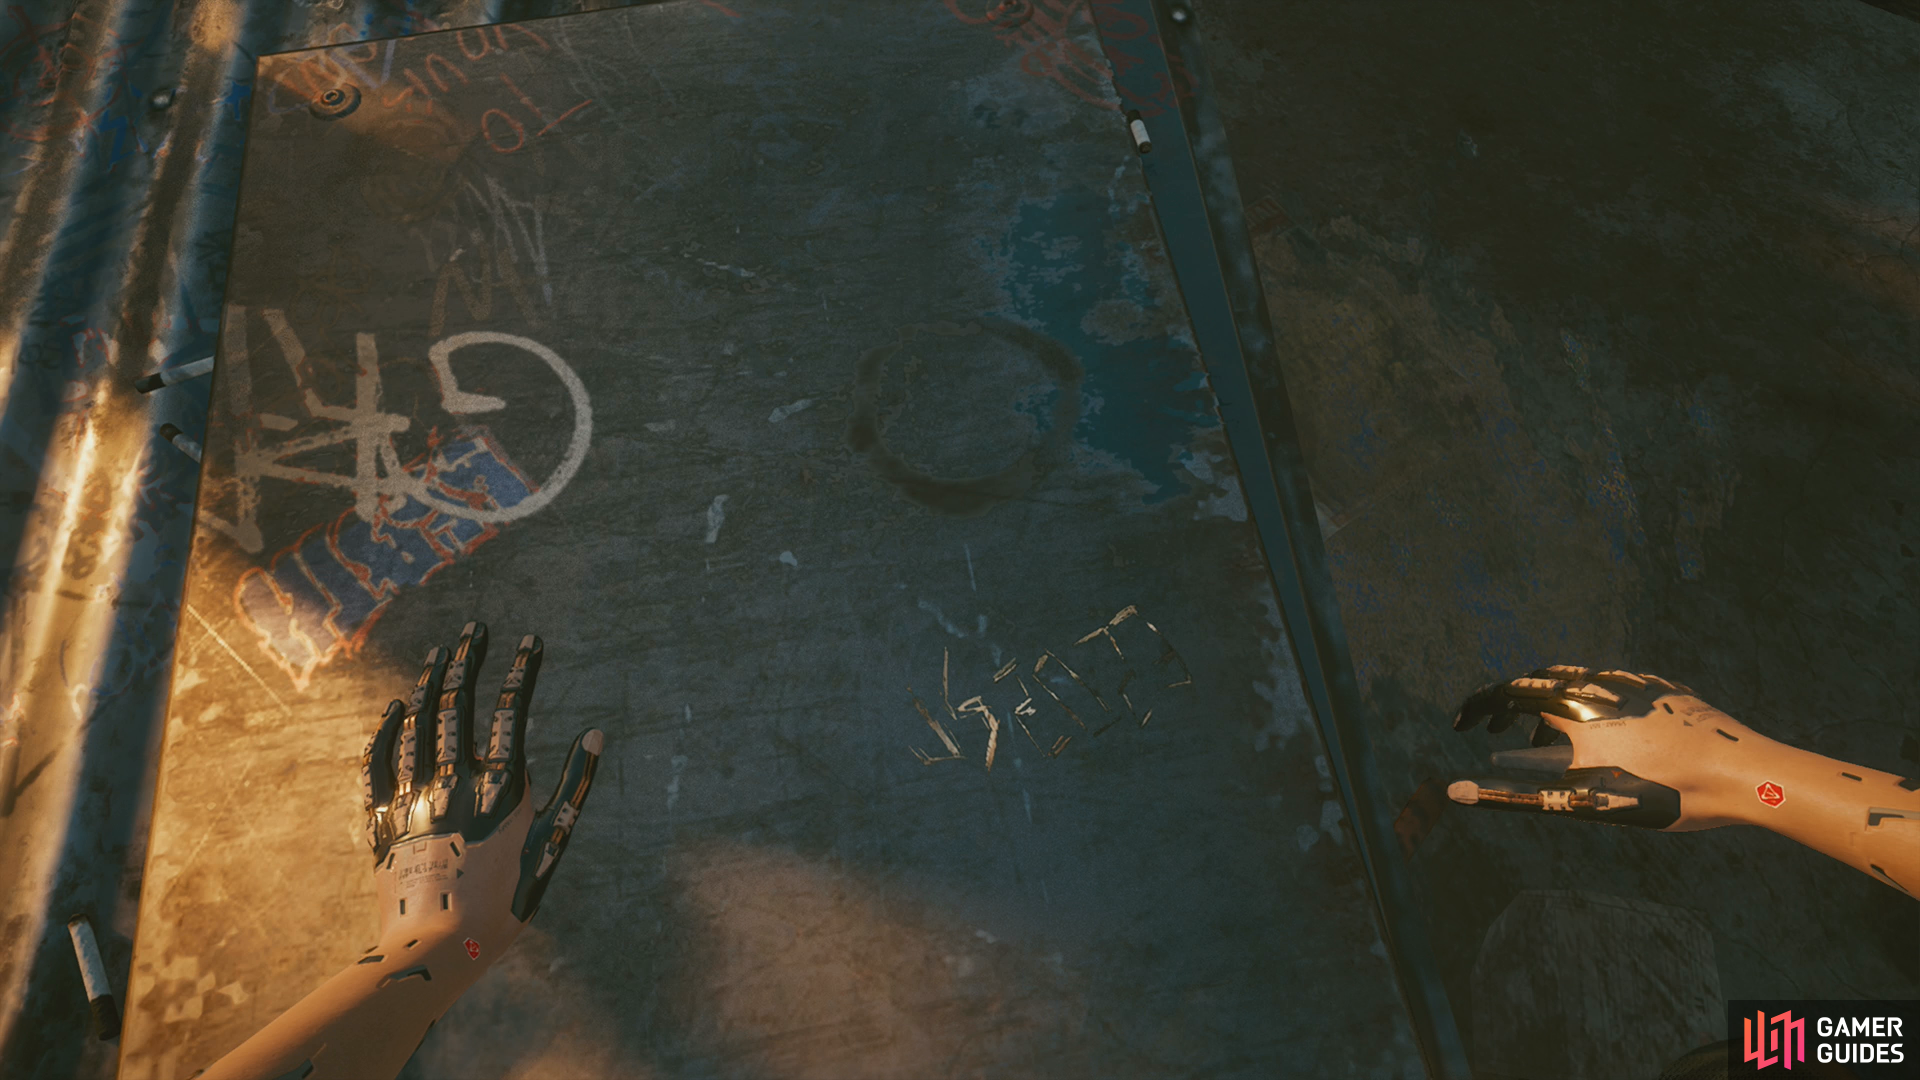
Follow the quest trail to the oil fields north of Night City, where you’ll find Johnny’s burial site. Suffice to say, he wasn’t memorialized by the soulless corporation he died fighting. Sit down and talk to him, and carefully consider your dialogue choices here. You have the opportunity to befriend Johnny, depending on what you say, and if you do you’ll get access to another ending. Aside from the mercurial fancy of roleplayers, there’s absolutely nothing to lose by befriending Johnny. Here are the dialogue choices you’ll want to pick:
- [Inscribe Johnny’s initials] “Let’s do something about that.”
- ”The guy who saved my life.”
- ”Nah, fucked that up too.”
- ”What do you want from me?”
- ”OK. But as second chances go, this is your last.”
- ”You were a real dick in the beginning.”
- ”When you said you let down your friends…”
- ”Smasher biz really got to her.”
- ”Yeah. I’ll call Rogue.”
If you pick those dialogue options you’ll befriend Johnny Silverhand and unlock the ending (Don’t Fear) The Reaper, although you’ll have to press on with Nocturne Op55N1 to see that play out. Whatever you say to Johnny, you’ll finish Chippin’ In when you’re done talking with him and the followup job Blistering Love will begin. It’s highly suggested you complete this Side Job as well, as it, too, will unlock another possible ending.
No Comments