


Never Fade Away is a Johnny quest that occurs in the middle of the Main Job Transmission.
Watch some scenes, then follow Kerry off stage and pick whatever dialogue options you want while talking to him, and then later Alt. Many of the dialogue choices with Alt are timed, but none of them really matter, so feel free to be Johnny at his worst. After a few time skips you’ll find Johnny outside with Alt, where things will go south, fast. Your performance here doesn’t matter, nor does anything you say after you recover, and after you leave the Ripperdoc time will skip forward again.
Find Rogue
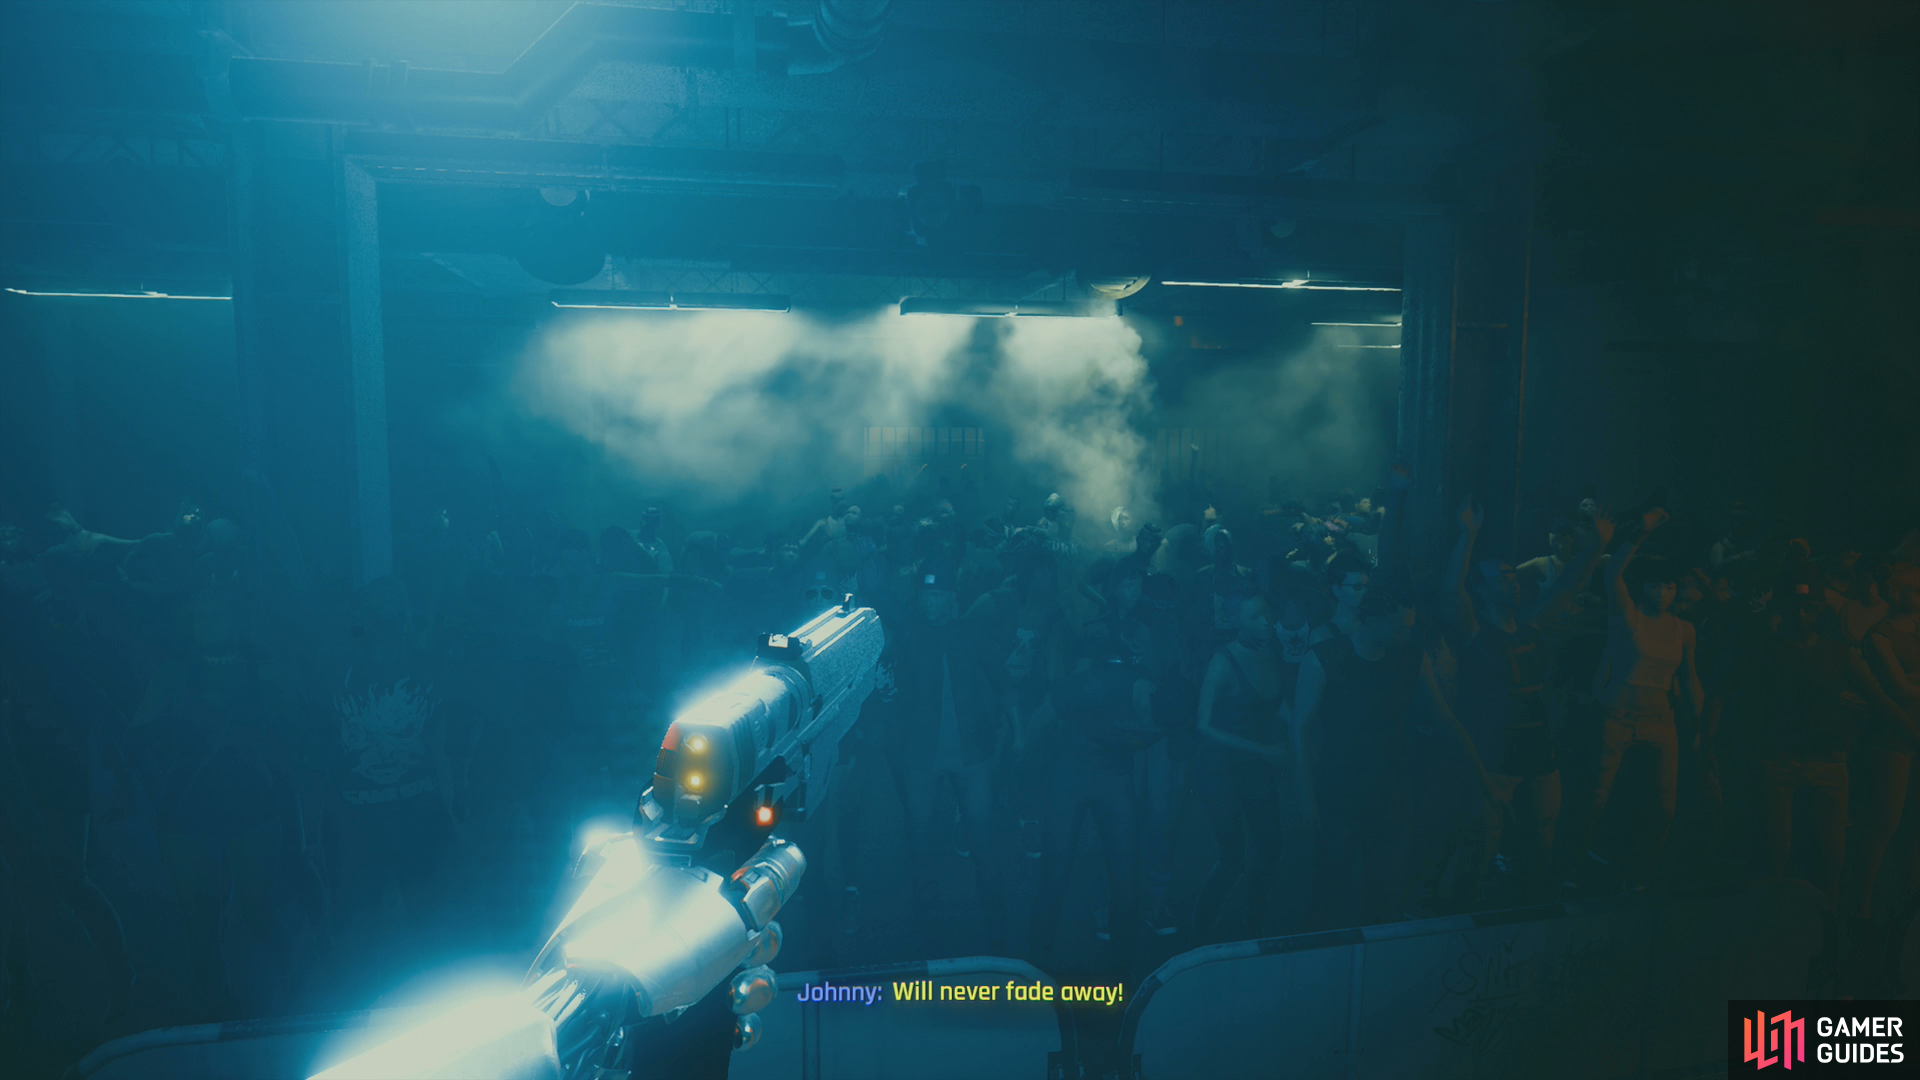
After some more chatter and a few more skips you’ll be in a club called “The Atlantis”, where you’ll be tasked with finding one “Rogue”. Turn left and you’ll be hailed by a bartender named Ringo, whom you can ask about Rogue. Ask or not, you don’t need to get the intel to head up the nearby stairs. Help a woman named Yishen out or not, then go through a doorway and turn right to find a bouncer named Engels guarding a door. Talk him, head on through, then intrude on Rogue and a man named Santiago. Say what you wish, and after you strike a deal an unexpected catalyst will prompt you into action.
There’s not much nuance when it comes to playing Johnny - aim for the head and seek cover when you’re hurt.
After escaping the club you’ll need to play through another canned car chase sequence.
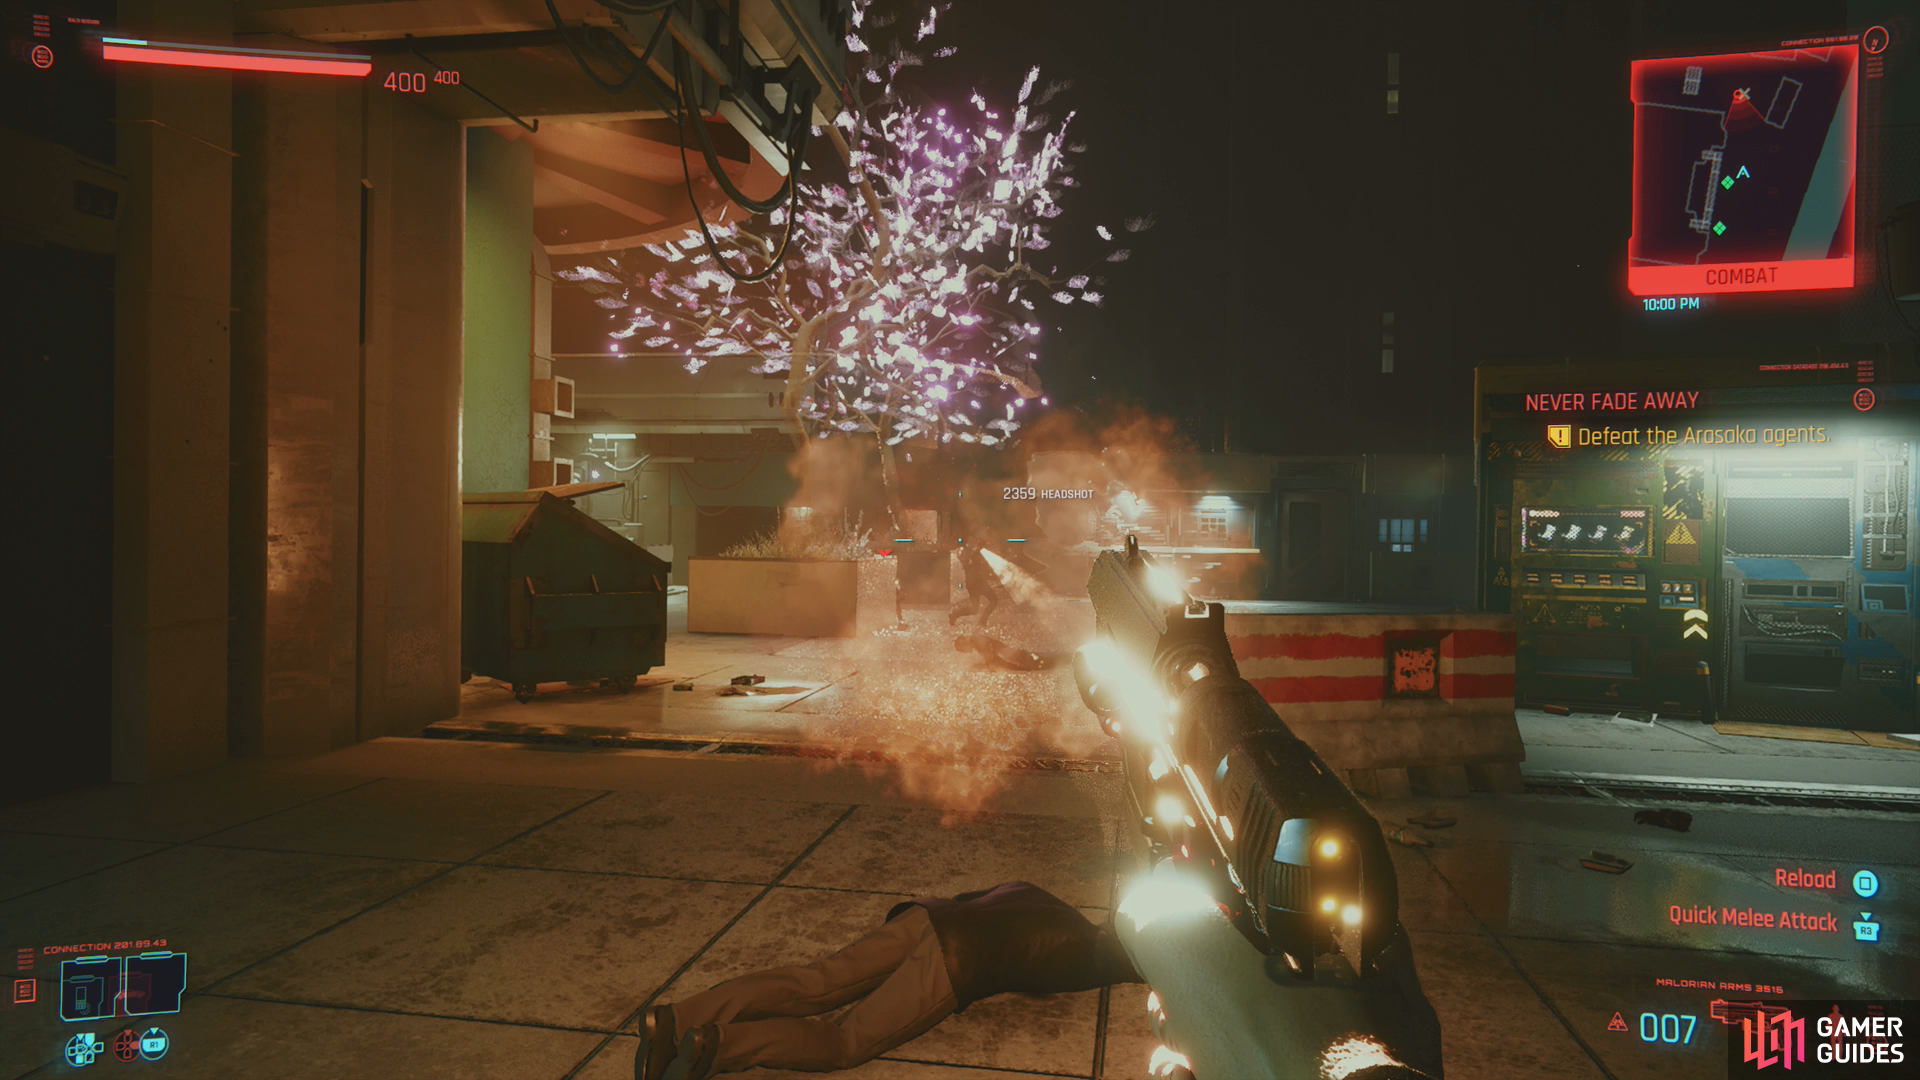
Escape from Arasaka
What follows is a running battle between Johnny and his allies and various groups of Arasaka agents. Johnny’s stats and capabilities haven’t changed since Love Like Fire, so you should know what to expect: Johnny’s armed with a hand cannon that deals heavy damage (especially if you can pull off headshots regularly) and while his armor is decent, he’s probably outclassed by V by now, which might be a change of pace since the last Johnny mission. Fortunately Johnny regenerates health quickly, so if you’re taking damage, get behind cover and take a breather. Otherwise, Johnny can’t use items or quickhacks, so there’s not much to these battles.
Clear the top floor of the club, then the ground floor before fighting your way outside and around the corner. Most of your foes are generic Arasaka agents with guns, but occasionally you’ll run afoul of a Sandevistan-equipped foe that’s fond of zipping in and attacking at close range with a katana. Their attack might look impressive, but the damage it inflicts isn’t terribly impressive, so you need not worry about them too much, save as spoilers if you try to heal.
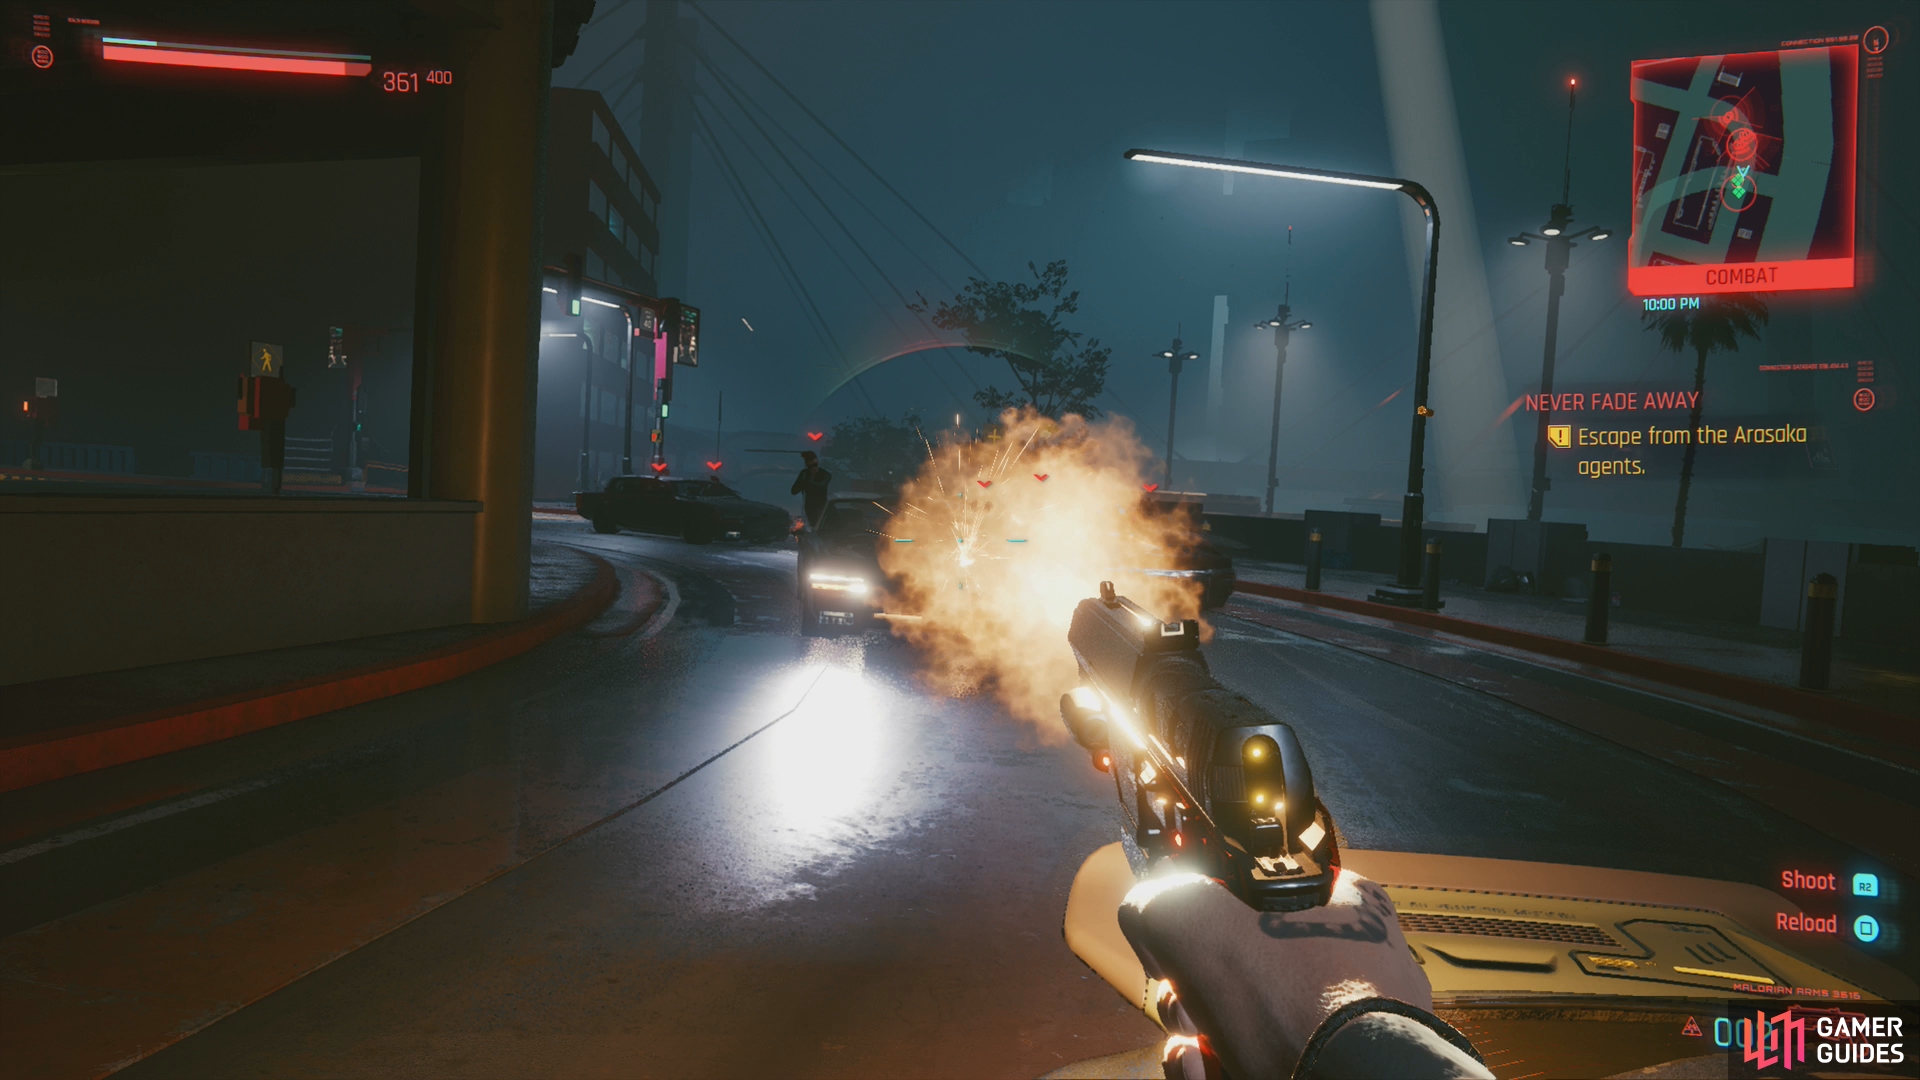
Fight through the Arasaka agents and when Thompson arrives in a car, get in. What follows is a scripted car fight sequence - shoot the pursuing cars until you break away, then after some more chatter time will skip forward again.
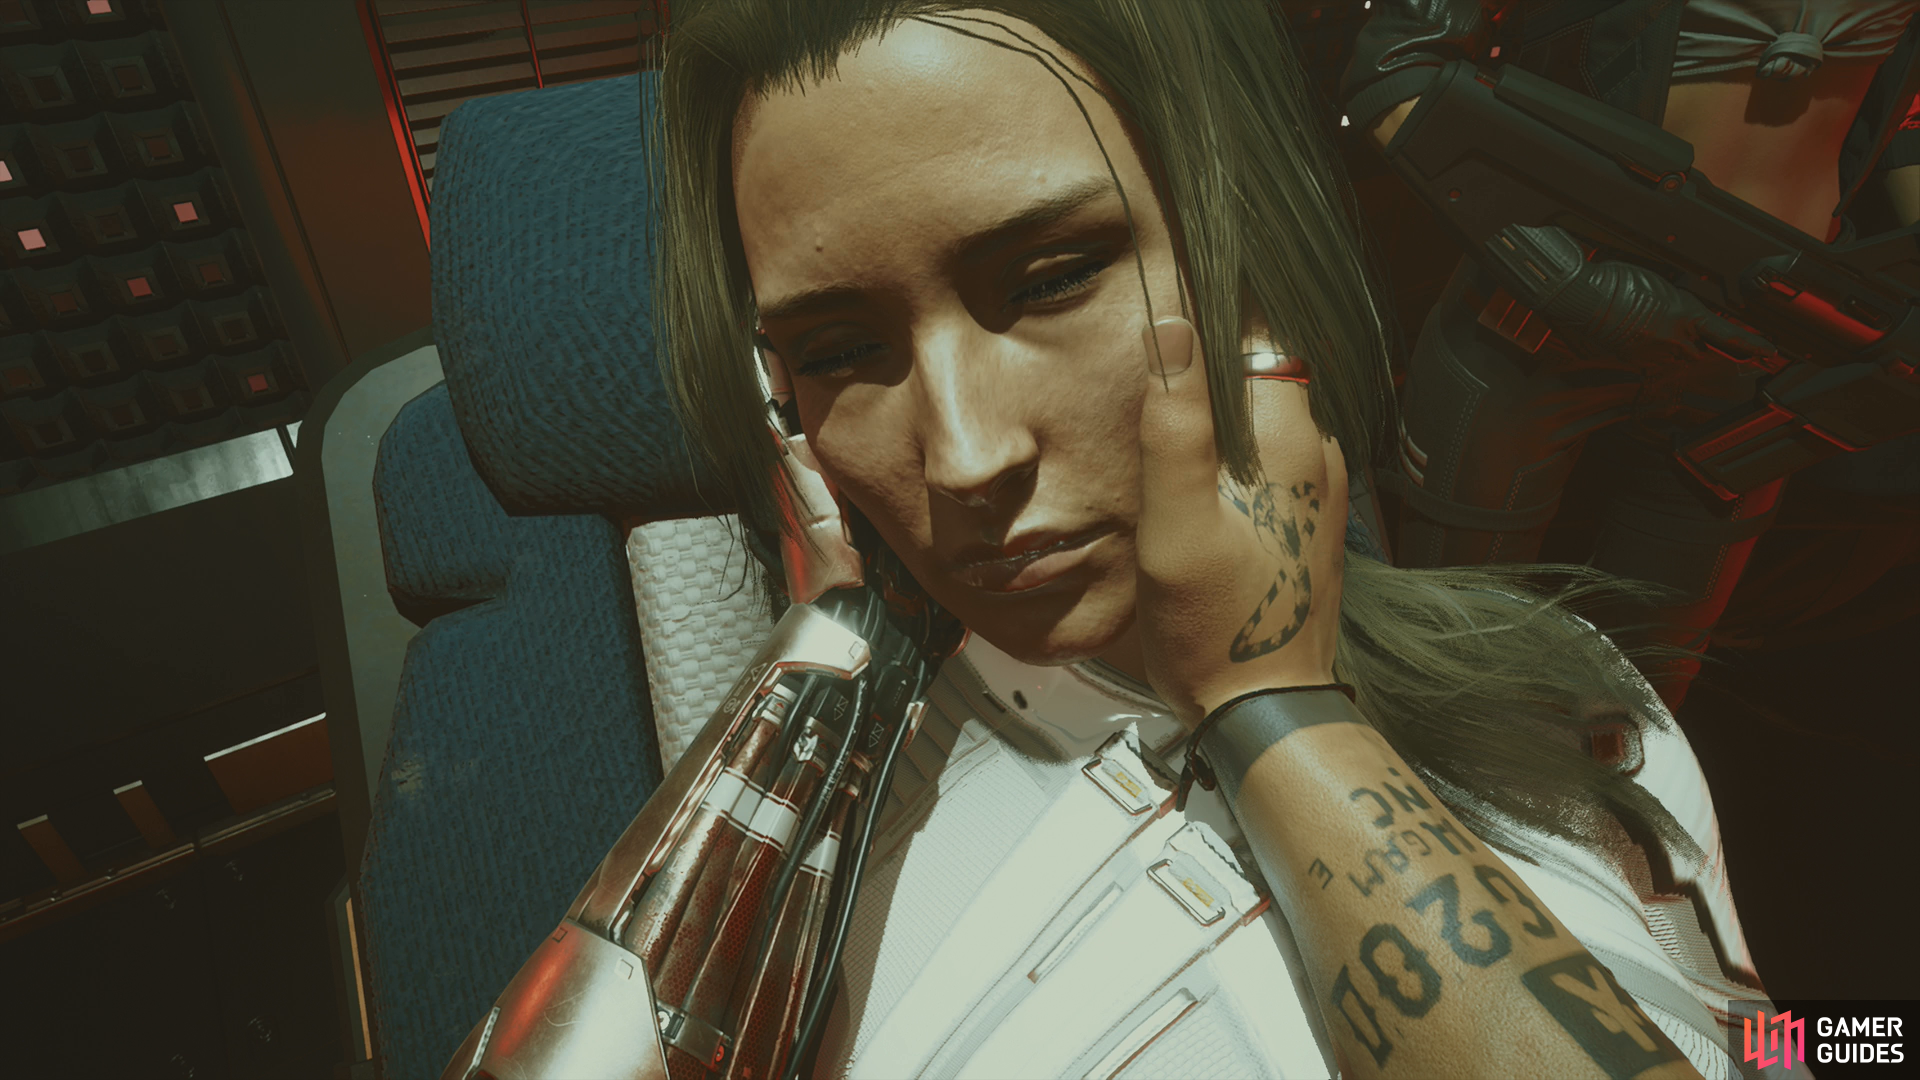
Rescue Alt
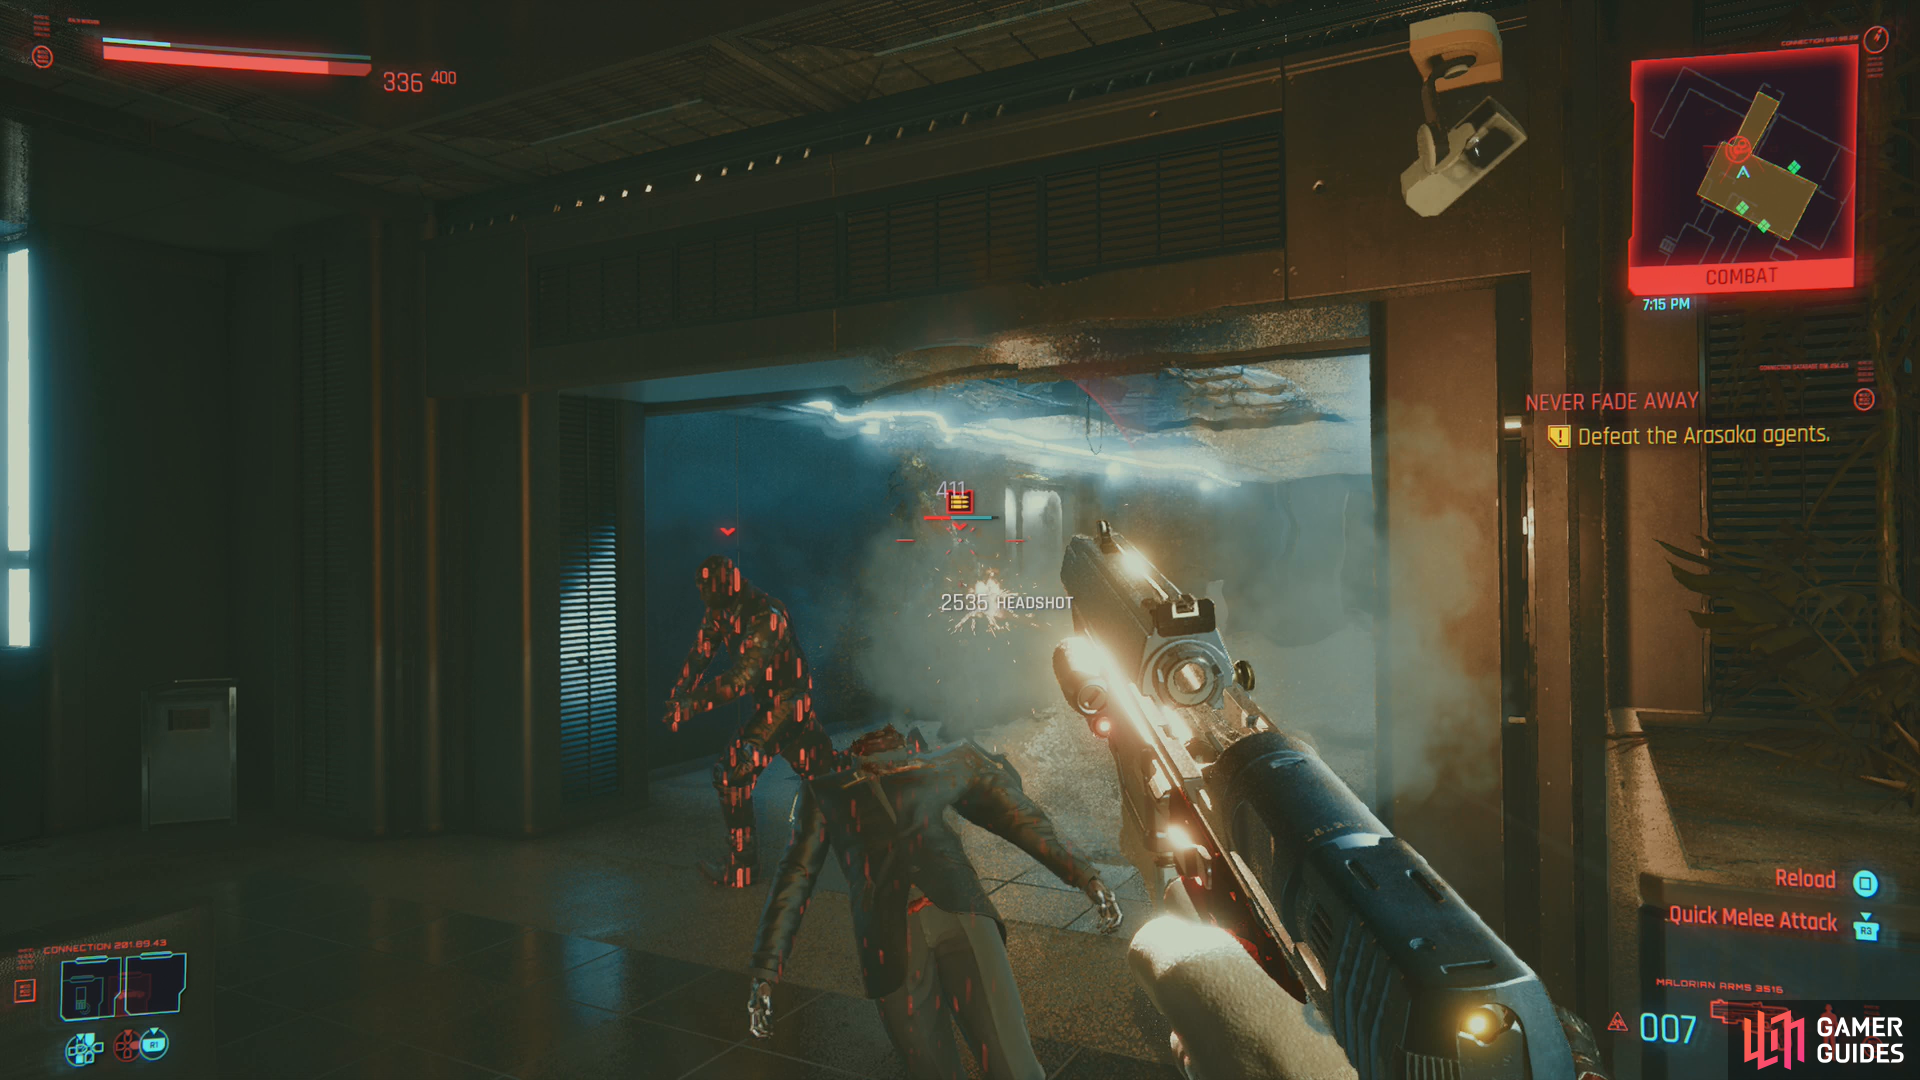
“The Rebel Path” will start playing as you once again find yourself controlling Johnny in Arasaka Tower. He hit the same place… twice? Oh, Johnny… After some chatter, leave the elevator, head down a hallway, and start putting lead into the heads of every Arasaka goon you find. Turn left and keep killing, then when enemy reinforcements appear behind you, take them out before turning right and heading into another large room full of enemies. Clear them out, continue onward through a glass door (just follow the quest trail, or the red line/white arrows on the floor), turn a corner, fill some more Arasaka goons with holes and you’ll shortly be at your first major obstacle: a turret.
Not much nuance here, as Johnny has one solution to every problem: Shoot it. In a straight fight with a turret, he’s going to lose, but your health regenerates and the turret’s doesn’t, so poke your head out, take some pot shots, and hide again to avoid counterfire/heal. If you want to pretend to be strategic, sneak through a hallway to the left to get behind the turret, in theory allowing you to flank it with your allies. In practice, they’re not intelligent enough to cooperate. Plink away at the turret until it explodes, then pass through the door it guarded.
Go upstairs and you’ll find another room occupied by some guards and two turrets. No rewards for bravery here, get behind cover, take out the guards, then use the same tactics as before to shoot down the turrets. When they’re gone, press on to the next room.
No turrets here, but you will find a named enemy who pretends to be a proper boss. Really, he’s just another Arasaka minion, just with a health bar. This pretender-boss, Akira, starts out on an elevated walkway. If you get a bead on him and feed him enough lead aspirins, he’ll never make it down to bother you. After that it’s just a matter of mopping up the rest of the Arasaka goons and checking on Alt to end this Johnny sequence.
The second part of Transmission will begin after this.
No Comments