


Unlocking this ending route requires you to befriend Johnny during the job Chippin’ In, then, during Nocturne Op55N1, when you’re on the roof deciding what ending route you’ll take, say nothing. Let the game idle, and eventually Johnny will interrupt you and suggest going out in a blaze of glory. The odds aren’t in your favor, and assaulting Arasaka Tower on your own is only a slight step up from outright suicide, but there’s at least a chance you’ll succeed, and even if you fail, you won’t have risked the lives of any of your friends. Pick the following dialogue options in response:
- ”Let’s hear this plan.”
- [Attack Arasaka Tower] Means goin’ out with a bang - I like it.”
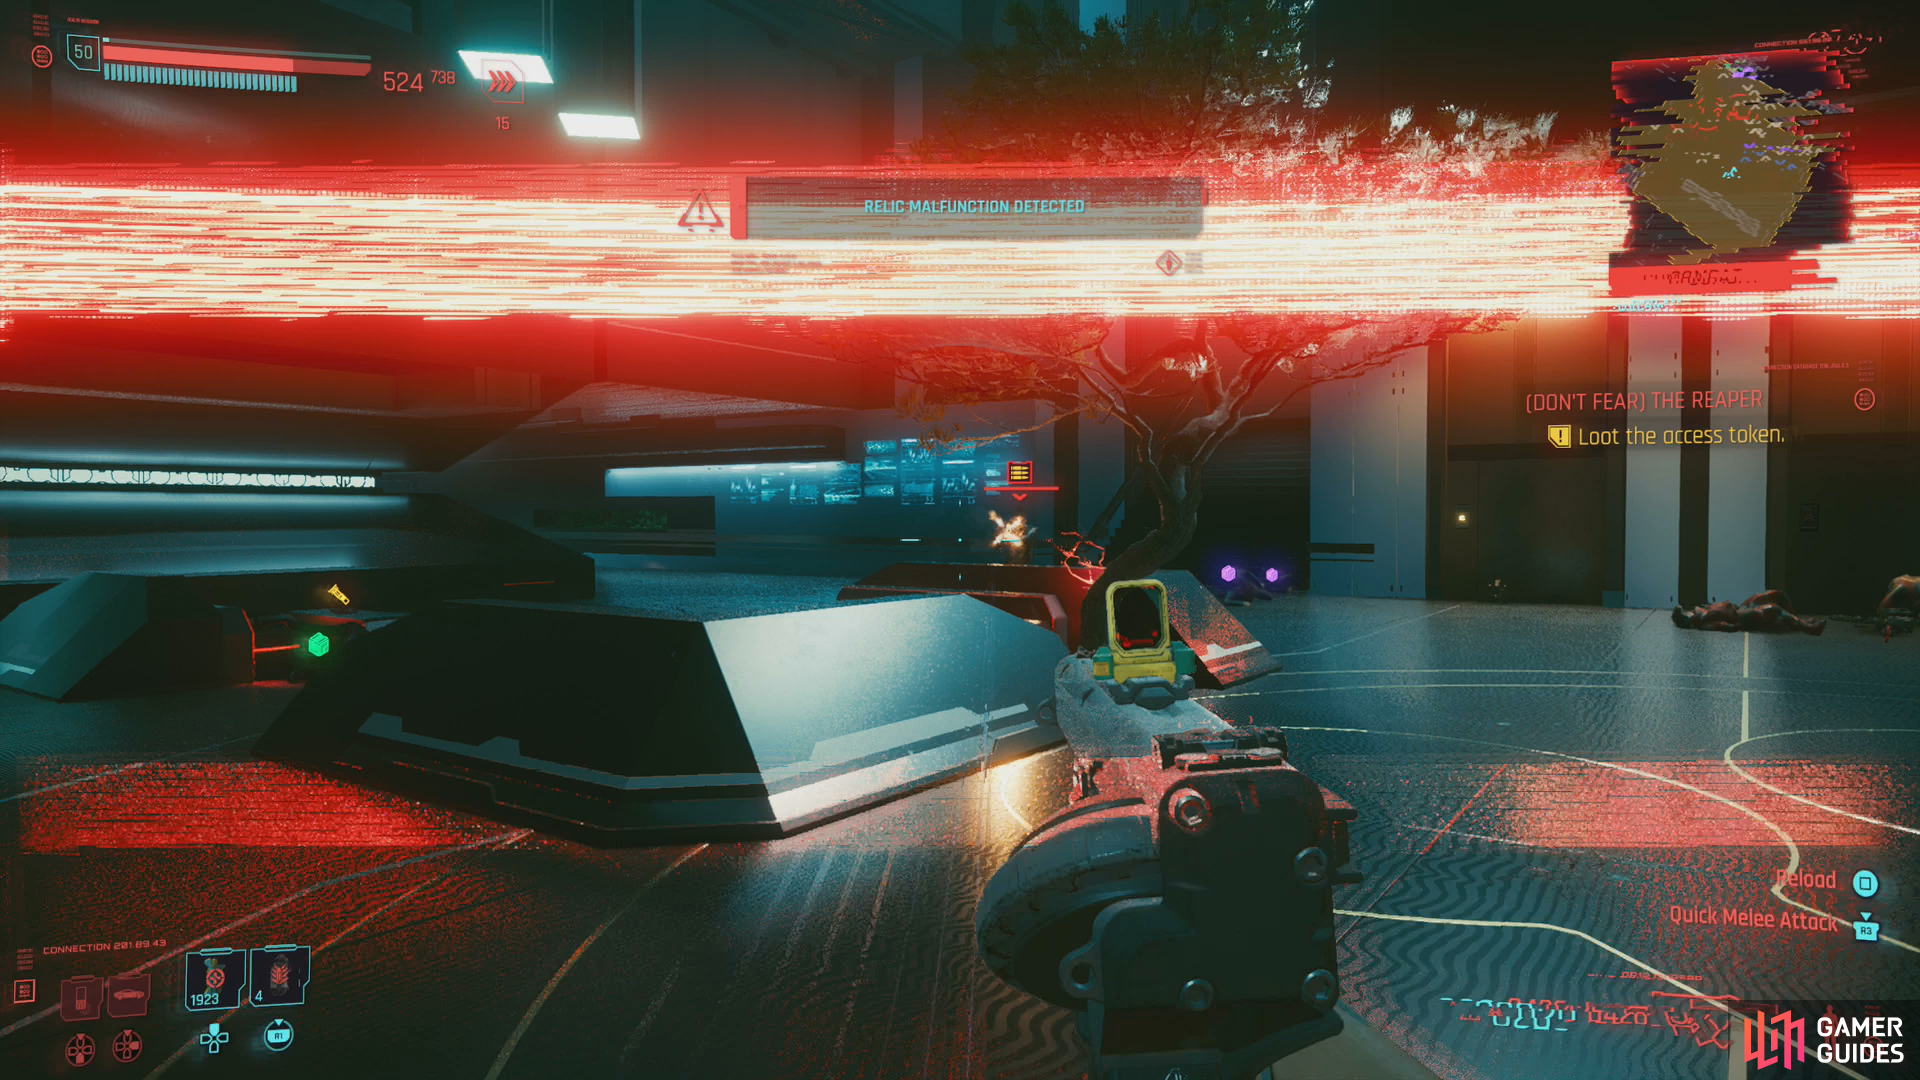
As time goes on, the relic will continue to malfunction, dropping your maximum health.
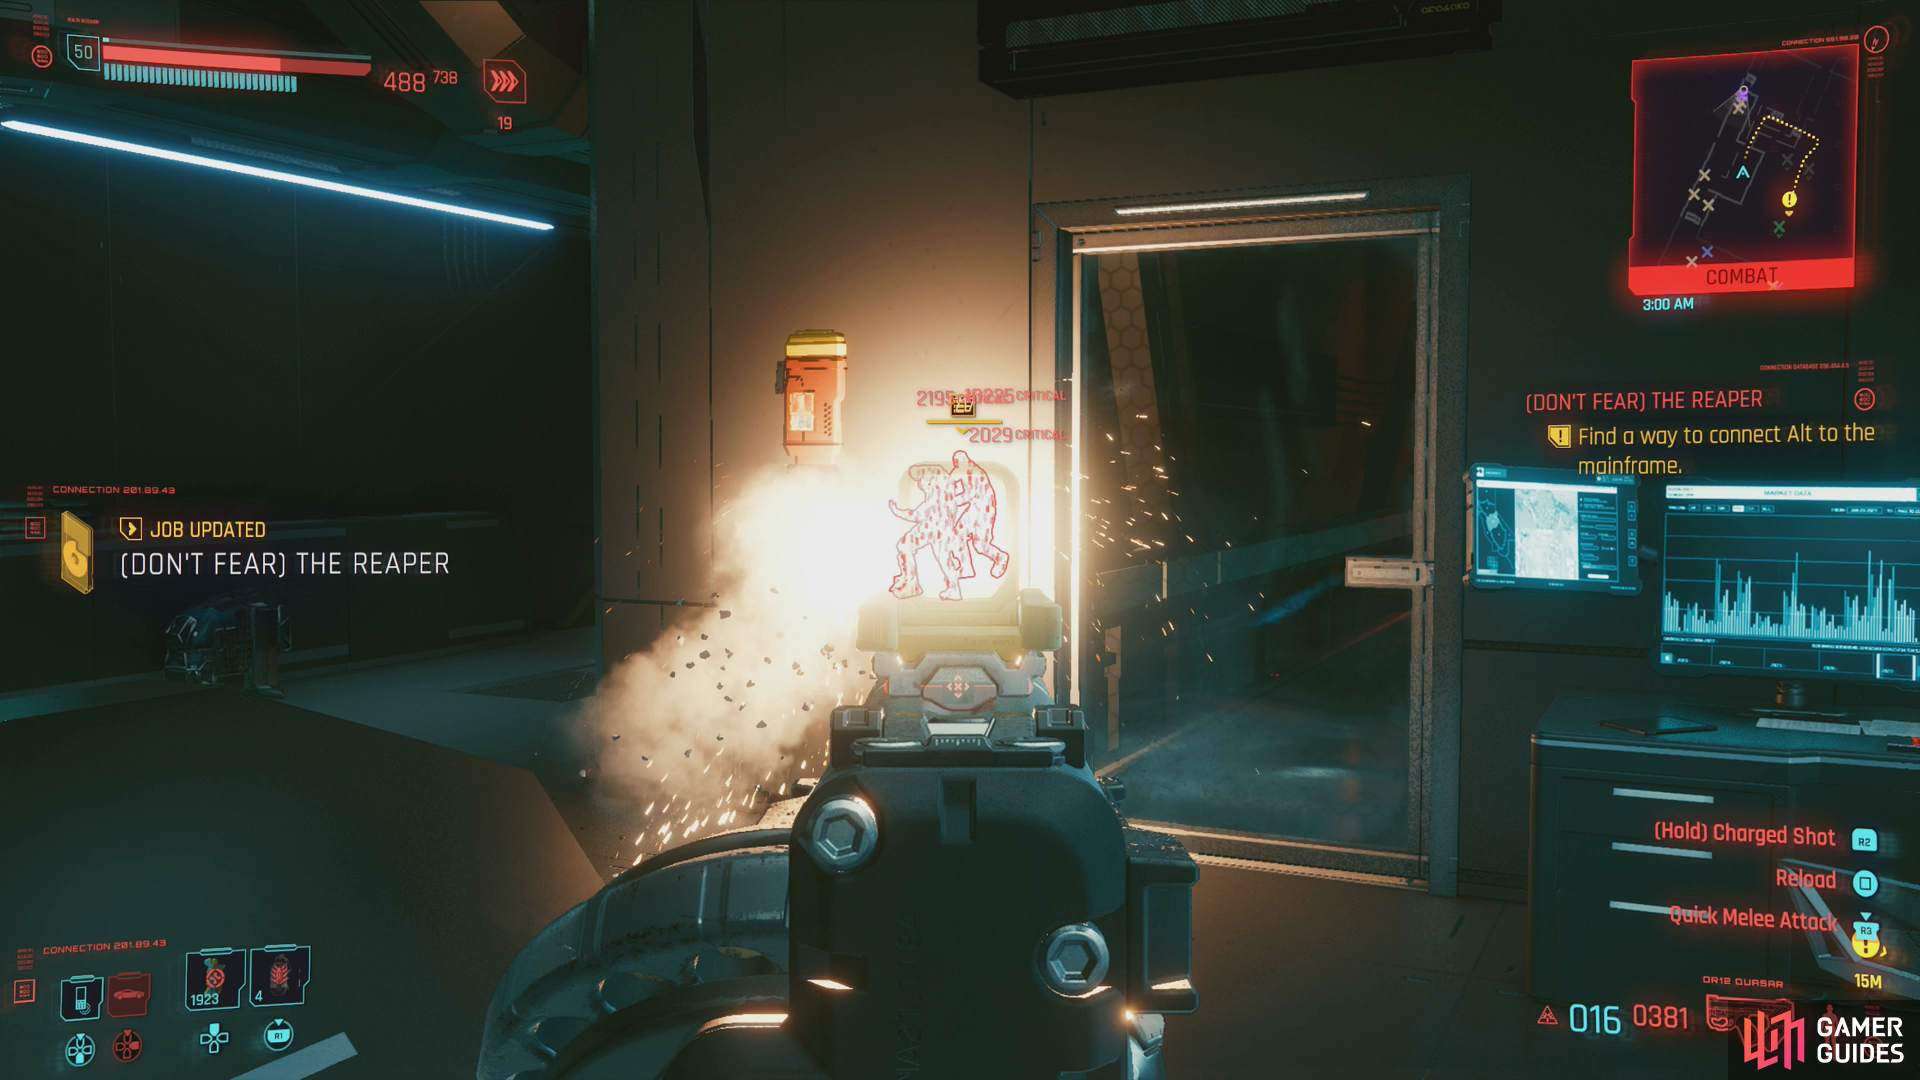
Using Tech weapons to shoot through walls can give you an edge against the Arasaka hordes.
Before you make this decision, there are some things you should keep in mind:
- You will not be able to save during the upcoming job. The game will make the odd autosave at various points, but these are largely irregular. If you die, the credits will roll - this is a survival mission.
- The relic will continue to malfunction as time passes, reducing your maximum health over time. Don’t idle, as you’ll only get weaker as time goes on.
- This is largely a run-and-gun scenario. Stealth will be difficult, if not impossible at times.
- Bringing along a Tech weapon (like a Quasar) will allow you to shoot enemies through cover, making it easy to pick foes off as they approach but before they themselves can attack. If you pair this with a Threat Detector mod (Ocular System) will allow you to spot and react to enemies well in advance.
- While you can’t recover lost maximum health via relic malfunctions, you can still heal normal damage. Bring plenty of healing along.
- Make sure you have some components lying around so you can craft ammo, healing and grenades on the fly.
Lobby
Make the call and time will skip forward, after which you’ll find yourself in Arasaka Tower, where you’ll immediately have to fight two Bodyguards (melee brutes), two Agents (will use Sandevistan-charges to close to melee range) and a Ranger (standard ranged soldier). Kill them and continue upstairs to encounter two Mechs. Destroy them, then turn around a check an elevator, which requires an access token.
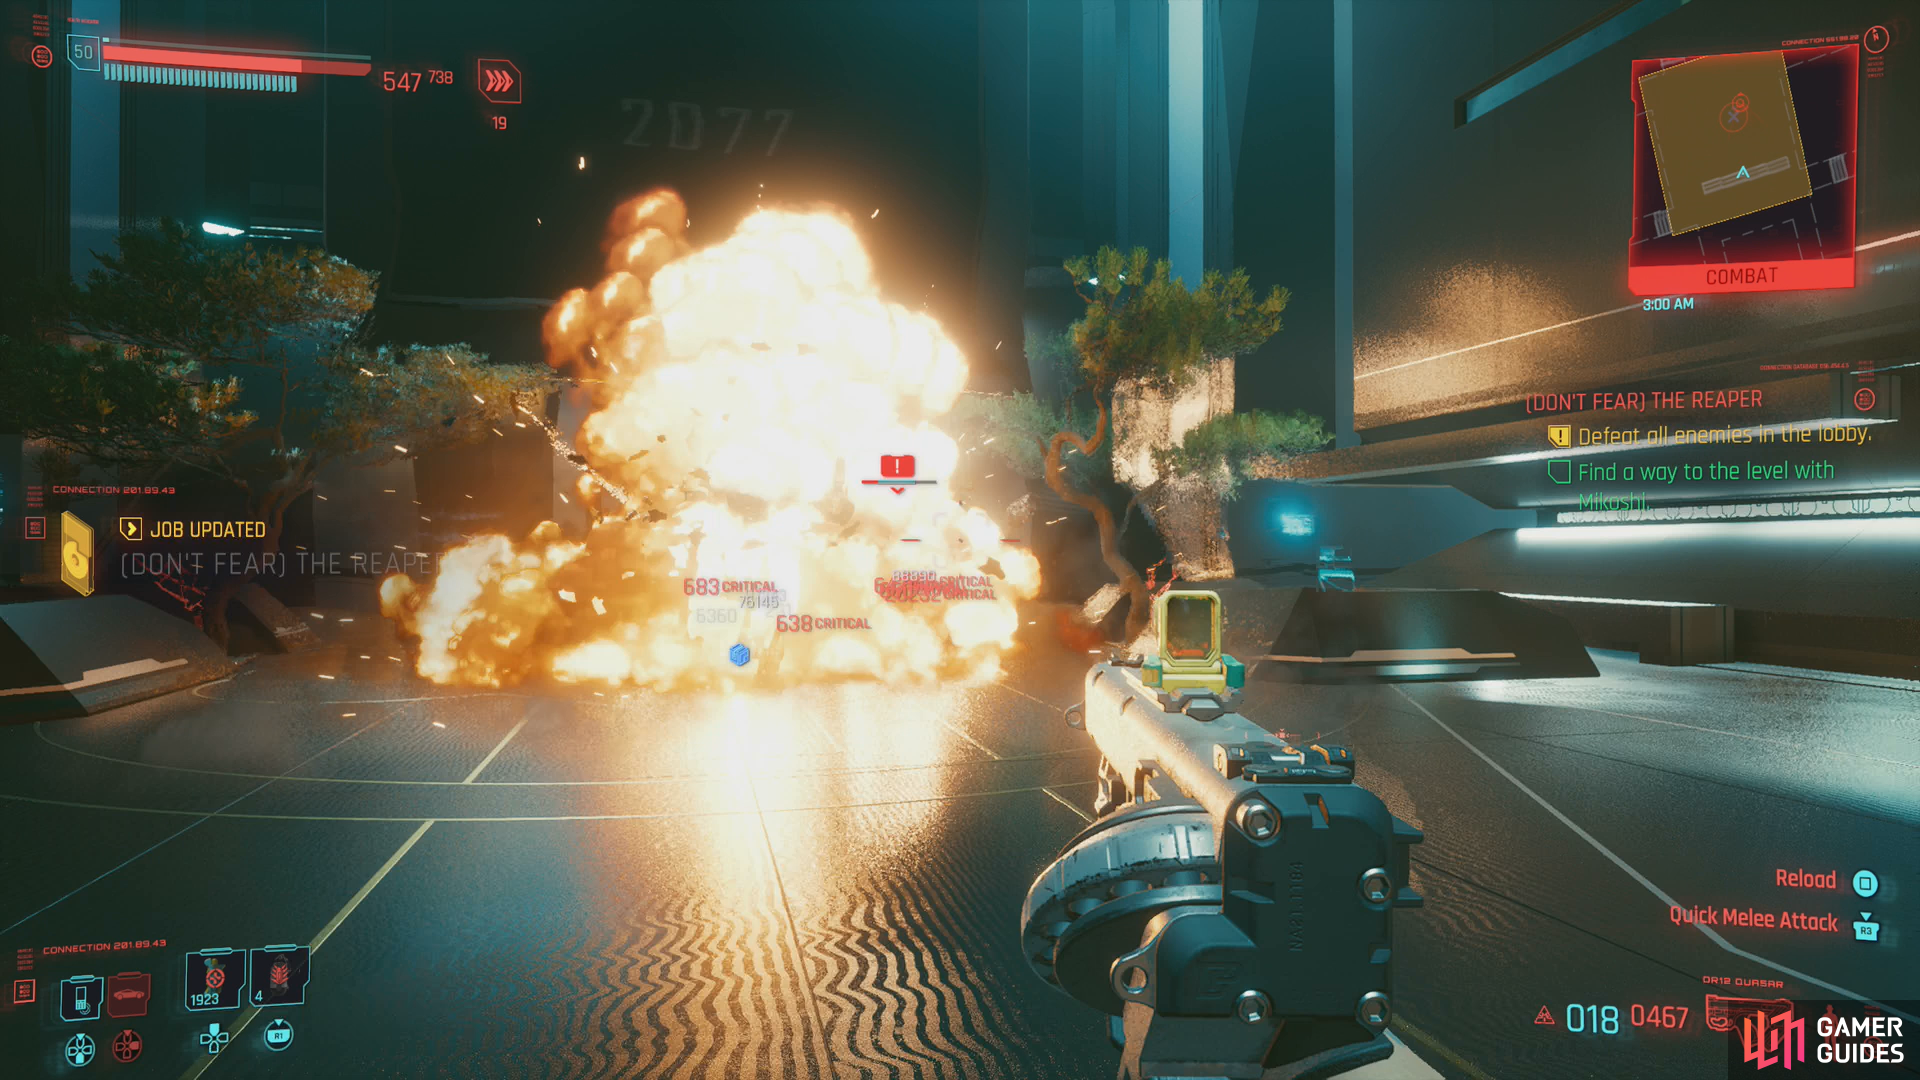
Fortunately, your intrusion has not gone undetected, and Arasaka soldiers will arrive in waves to expel you. One of them will eventually have an Access Token. First you’ll end up fighting waves of Agents who will come down stairs, then a trio of heavily-armed brutes wielding HMGs (Juggernauts) will come out of elevators between the stairs the waves of Agents came from. Finally you’ll be assaulted by Arasaka Soldiers and Rangers, the former being more heavily-armored versions of the latter. One of these Soldiers will leave behind an Arasaka Tower Access Token.
Grab it, summon the elevator, then wait. Once it arrives, get inside, but be wary - another Mech will drop from the ceiling just outside, so be prepared for it. Once it’s defeated, ride down to “Netrunner Operations”.
Netrunner Operations
On the ride down, Johnny will warn you of an ambush. Aren’t we the ones ambushing them? Whatever, point well taken - expect opposition. Exit the elevator, round a corner to the left, then dust some Rangers and a turret. Be mindful of the door to your left, however. It might be sealed to you [Body 13], but a pair of Assault Specialists will shortly attack, one from beyond the turret (where the Rangers were) and one from the door. You don’t want to get caught in a pincer by two shotgun wielding elite troopers.
Dispatch these foes, then either continue through the sealed door [Body 13] or down the hallway past and to the left of the turret. Both lead to the same place - down some stairs to the right, where you’ll find more Soldiers, Rangers, an Assault Specialist and a Juggernaut. Put them down and head into the room they guarded, where you’ll be hailed by Johnny, who points out the mainframe below. Kill two more Arasaka Rangers coming down a hallway, then jump down into the mainframe.
Exit through a doorway past them to find yourself on a walkway, then jump down to the right where you’ll find yourself confronted by a mech and a squad of Arasaka Rangers and Robots. Decommission them, then head forward to where the Robots were, then take a right, following the quest trail towards the mainframe. You’ll be stopped again by more Arasaka forces, this time a Juggernaut, two Agents and a Special Agent. Deal with them based on proximity, as the Juggernaut is especially keen on closing on you in melee, then enter the mainframe room.
Mainframe
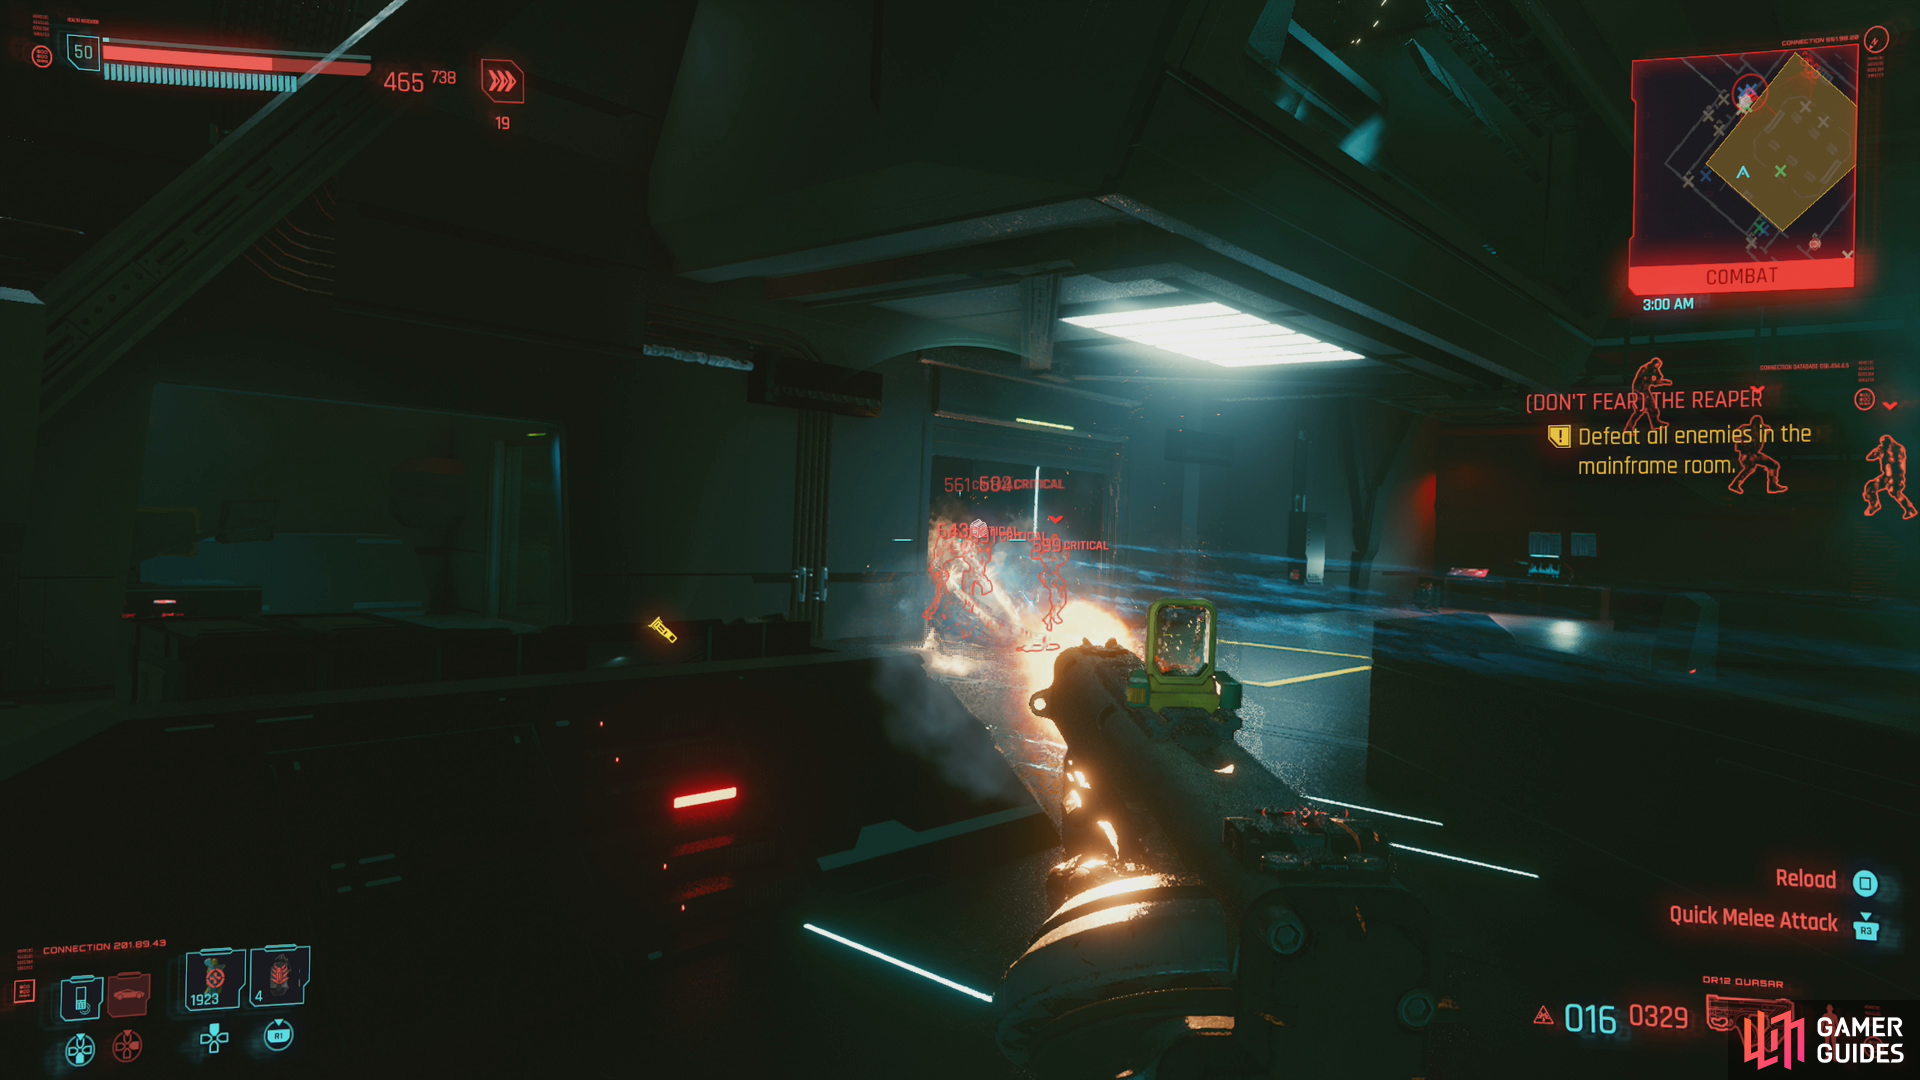
As soon as you enter you’ll be attacked by some Robots coming through a door to the left, and some Rangers descending some stairs across the room. Wreck them, then after some chatter with Johnny go through the door the Robots came out of, turn right and go through some double doors. Interact with a terminal and use the “Enable” command to expose a console you can interface with in the mainframe.
Return to the mainframe room, but be wary, as Juggernauts and Rangers will soon arrive from the stairs and from where you entered earlier. This is a great opportunity to pick off enemies from behind walls and cover with a Tech weapon, as there’s a lot of light cover in between you and your foes, and they don’t have the ability to reciprocate.
After downing two Juggernauts and several Rangers, interface with the mainframe, then turn around and head through a gate past where you scrapped the Robots. Alt takes a short eternity to get this open, but use the opportunity to heal, as beyond the second gate you’ll get a nasty surprise.

During the first phase of the battle, Smasher will repeatedly charge and try to strike you.
He’ll follow this melee assault up with a blast from his arm-gun.
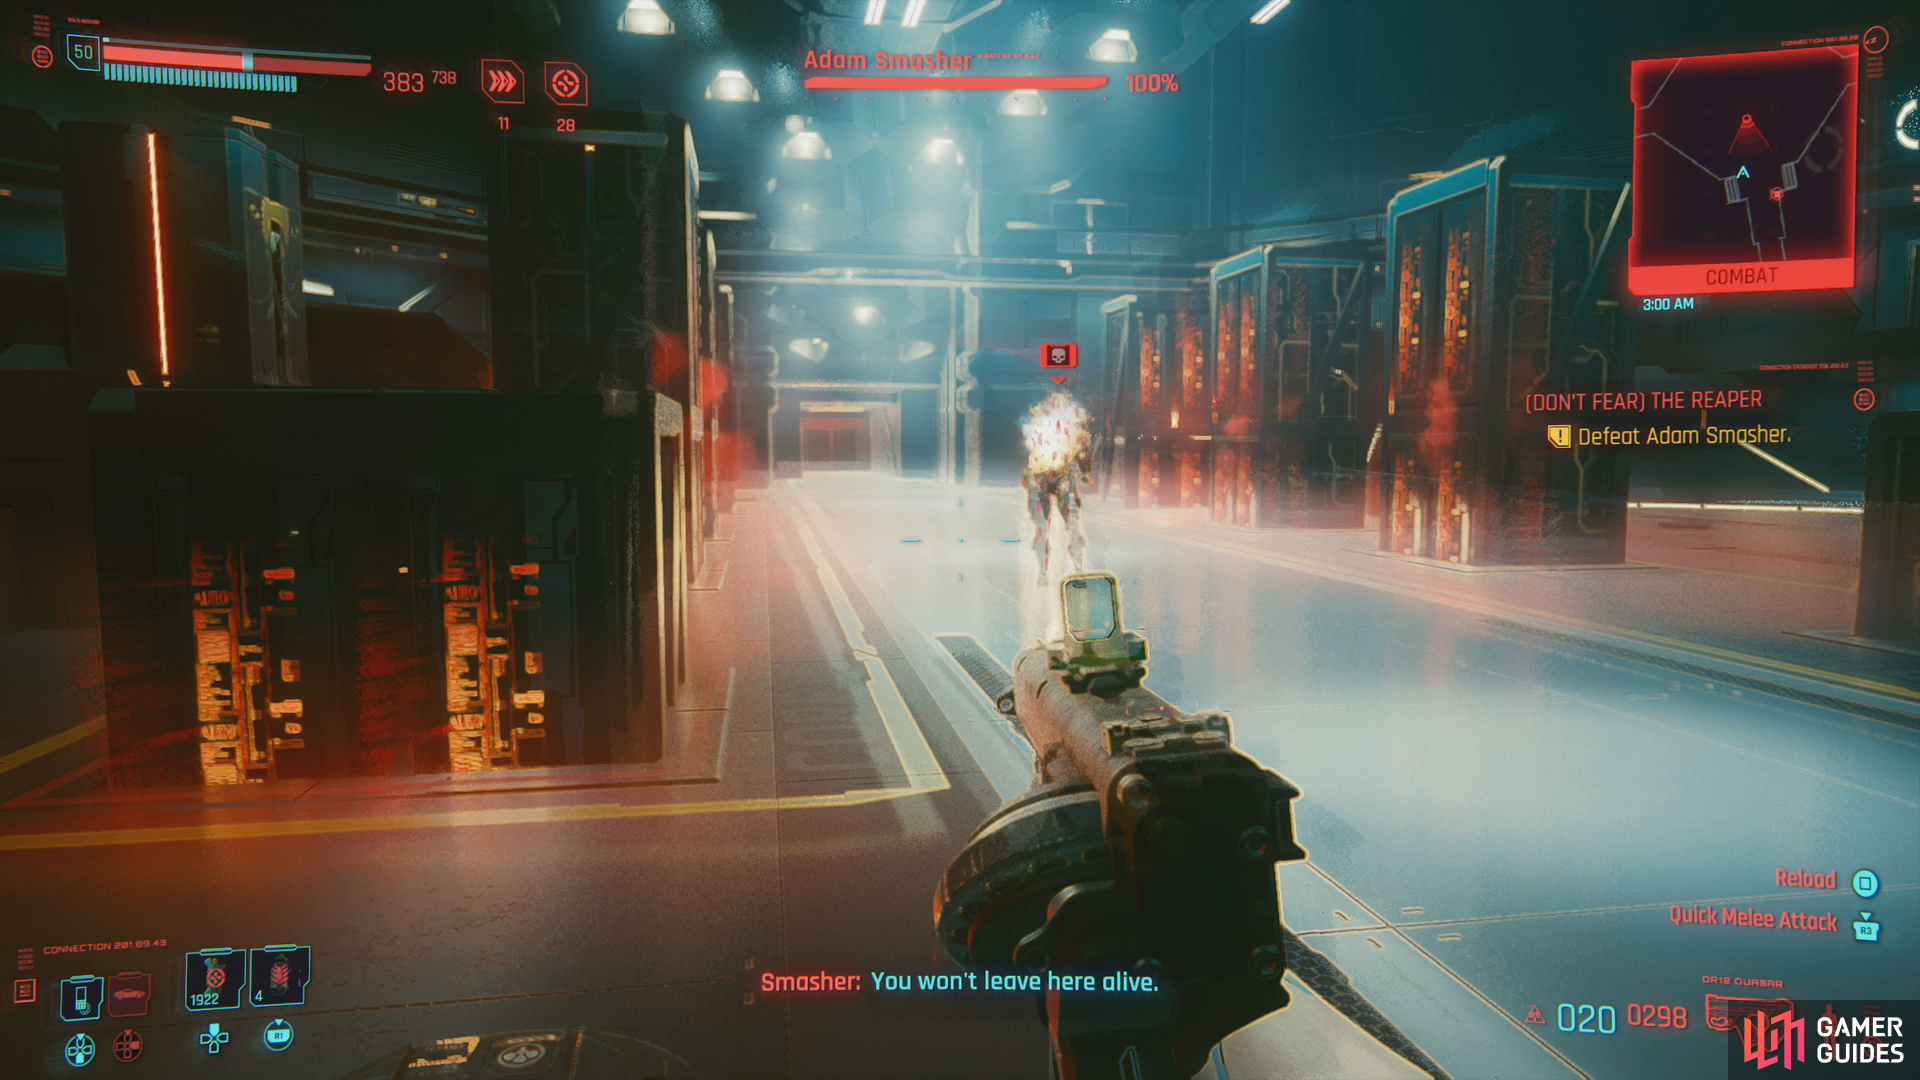
Boss: Adam Smasher
Push open the second gate and after a brief scene you’ll be in a suitable large arena for your fight with Adam Smasher. Adam Smasher’s routine is simple, but effective: Most of the time he’ll charge at you and attempt to swat you, then follow up with a blast from his arm-gun. You can use cover, double jump, or dodging to keep away from his charge, although the arm-gun is another matter. If he stops to fire a prolonged barrage from his arm-gun, you’ll need to get behind cover. The arm-gun does respectable damage (even with an absurdly high Armor score!) and Smasher is keen to keep firing long past the point you can be reasonably expected to endure it. It is, however, a good opportunity to pop a healing item and reload, as Smasher will fire for a while whether he can hit you or not.
Smasher is weak to shock damage and is generally receptive to physical damage, but he’s resistant to chemical damage. Short Circuit can deal massive damage if you’re a capable Netrunner, but you should be wary that upload times against Smasher are increased and it’ll take +5 RAM to utilize quickhacks against him.
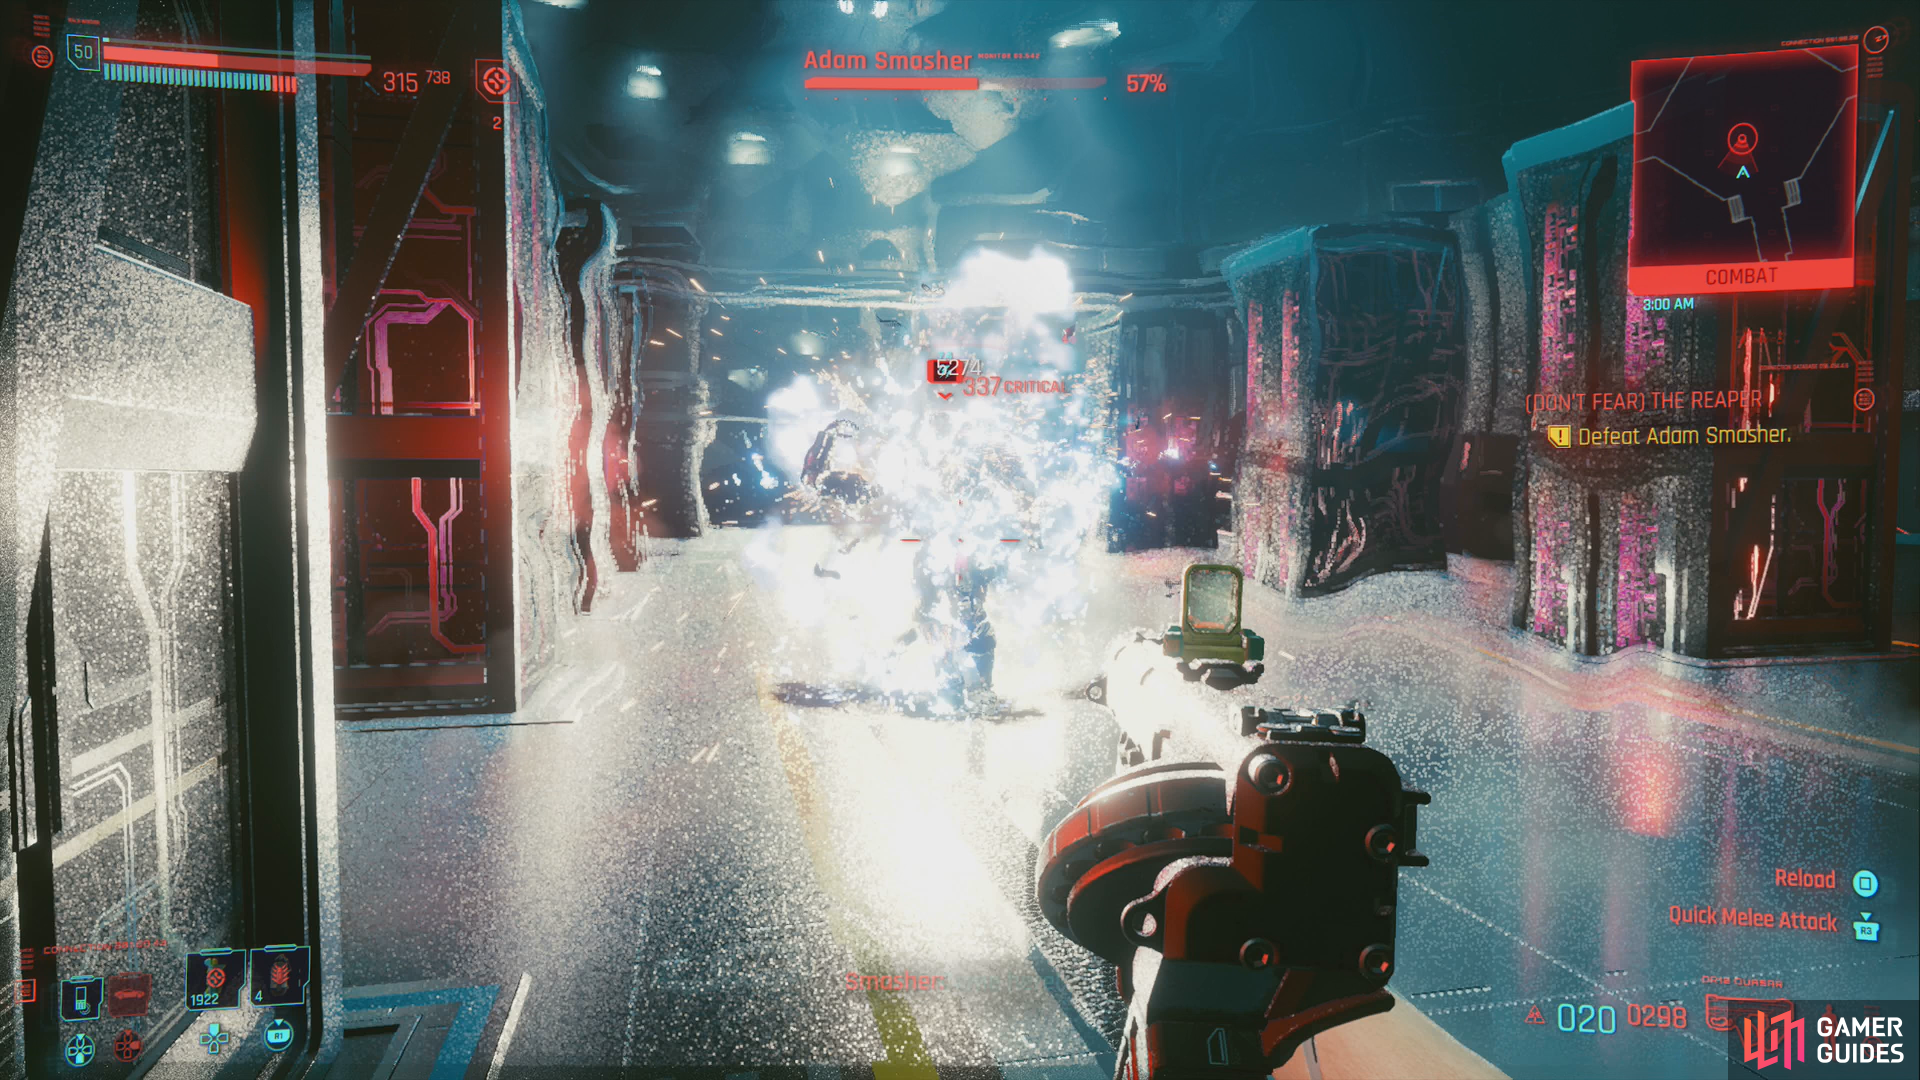
(1 of 3) Reduce Smasher’s HP to 50% or less - shock damage like Short Circuit will work wonders for this.
Once Smasher’s health is reduced to 50%~ or so, Smasher will call in reinforcements, which in this case includes a Juggernaut and a Sniper who will appear on a walkway above you. Smasher himself will become more fond of rooting himself in place and spamming barrages of gun-arm fire at you, so get behind cover and work on taking out the lesser enemies before they can cause you trouble.
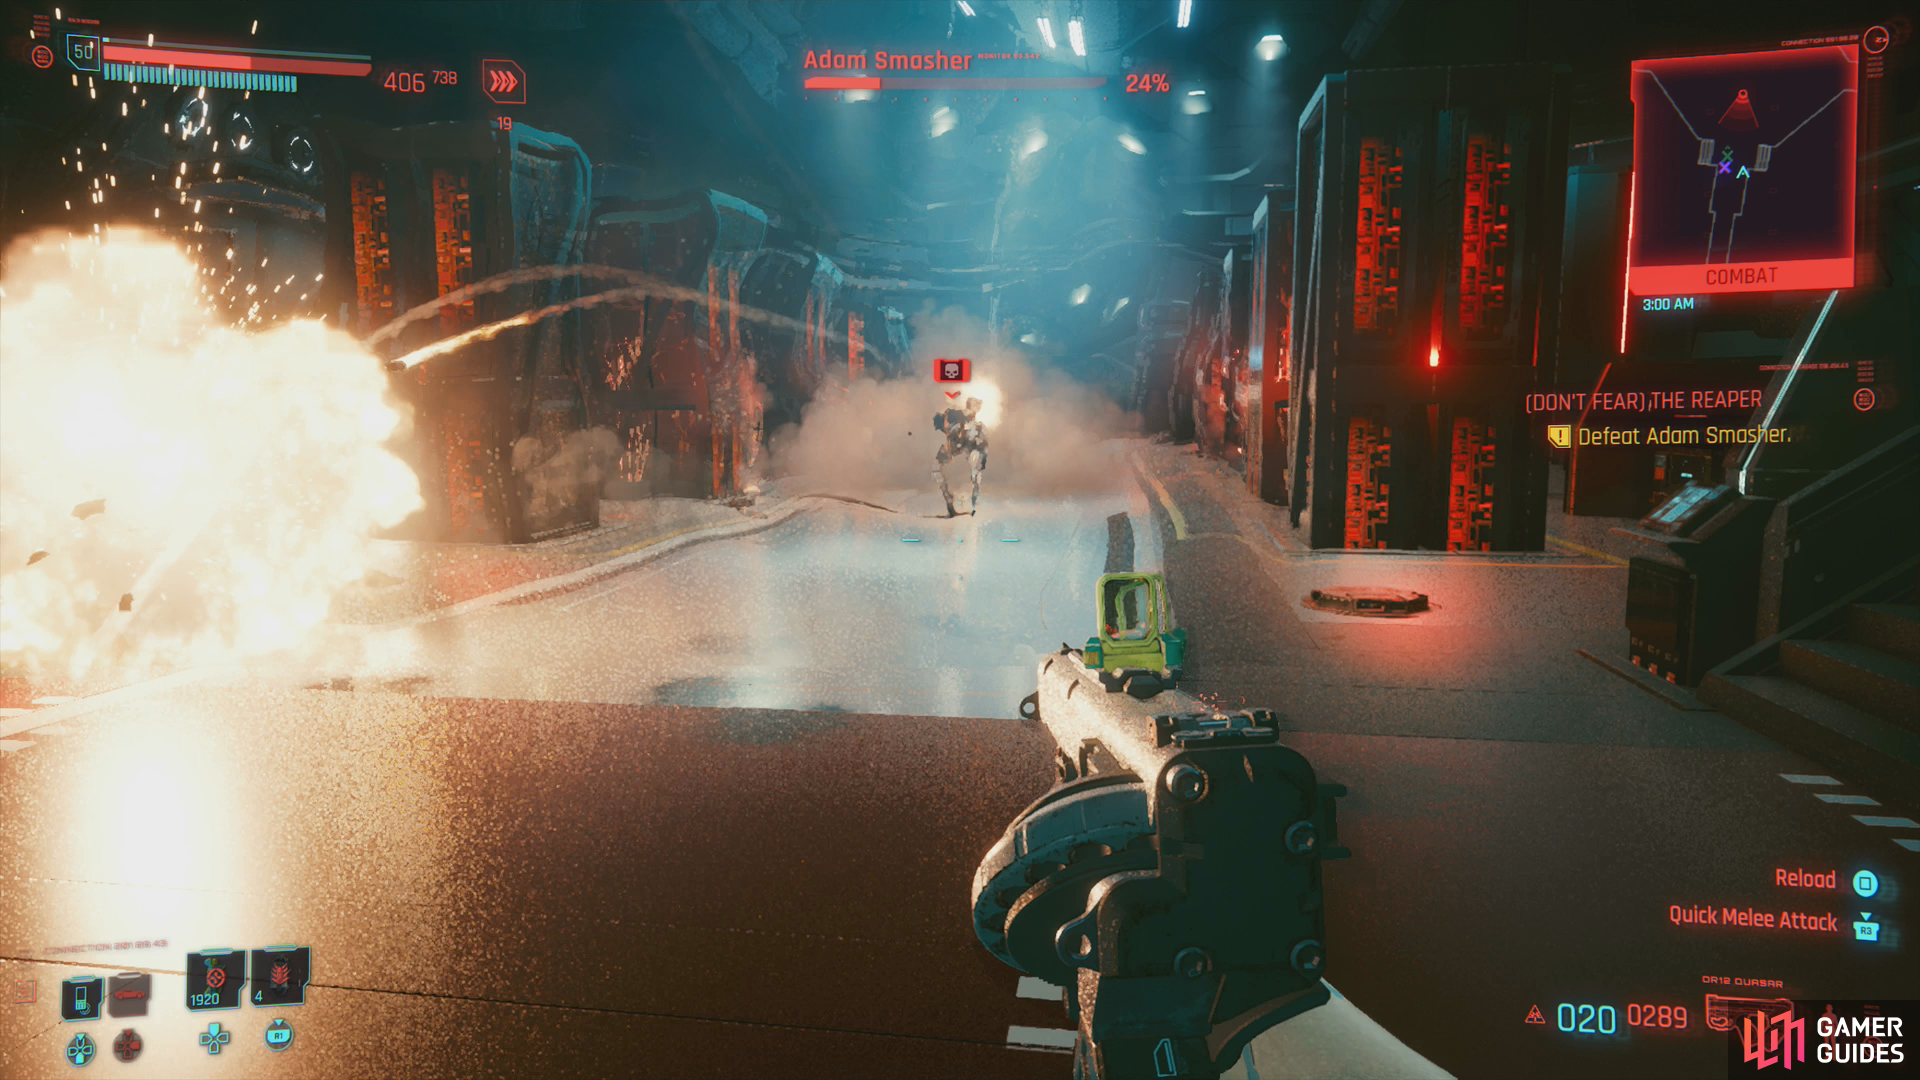
When reduced to under 25% of his health, Smasher will start firing micromissiles.
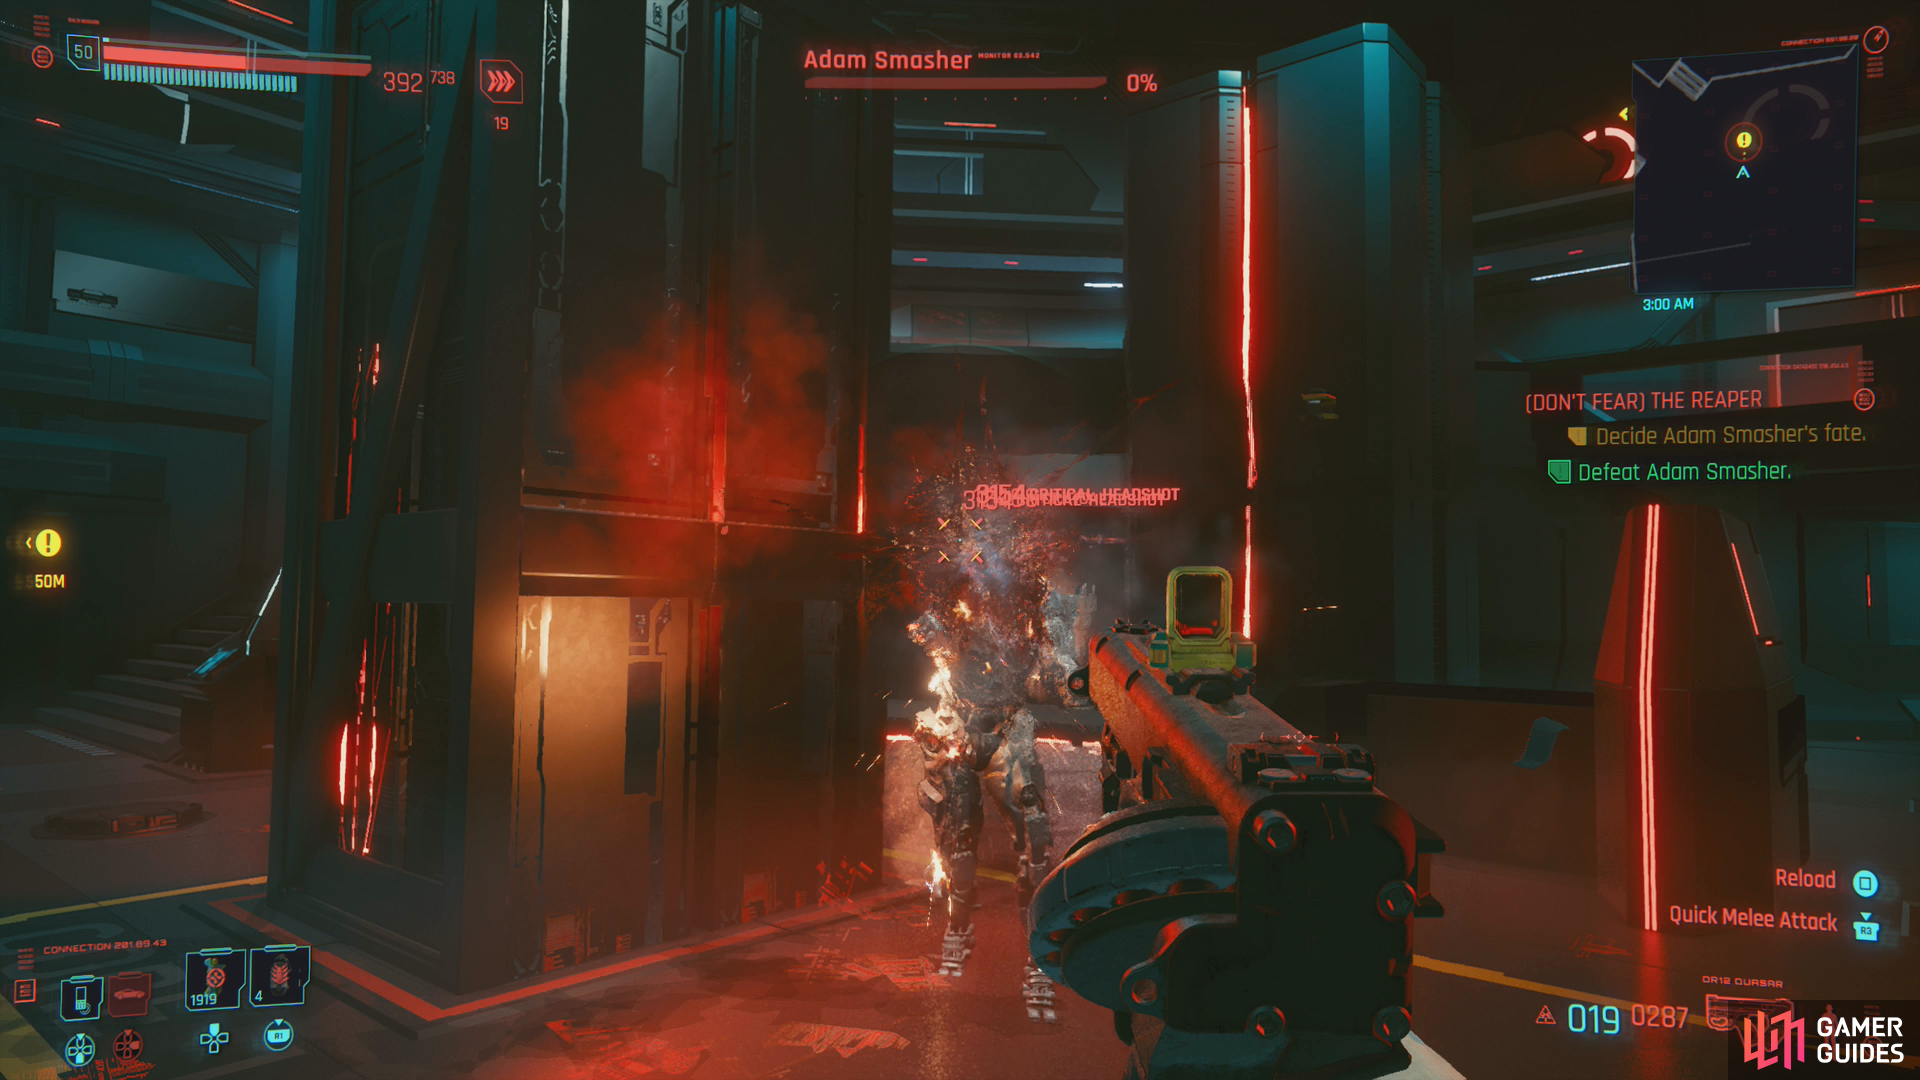
Brave the onslaught and put Smasher down for good.
When the Juggernauts are defeated, wait for a break in Smasher’s assault, then take some shots at him, or upload a quickhack. Repeat until he’s at 25%~ of his health and he’ll switch to phase three. He’ll still employ his gun-arm barrage, but he’ll also start firing micro-missiles at you. If you see red target reticles, steer clear (this is a good time to activate Sandevistan if you have it, and get behind cover) as Smasher will either fire a massive cluster of missiles in a few quick bursts, or he’ll stand in place and fire barrages of several missiles at a time in a smaller, targeted bursts. In the former case, you just need to get clear to avoid taking too much damage, in the latter case, Smasher tends to over-commit to this attack, allowing you to circle around him and dish out some damage.
Keep the pressure up and eventually Smasher will fall. Deliver the coup de grace, then continue on into Mikoshi. After a tortuous journey you’ll be able to jack into an Access Point, which is functionally the end of your journey.
Decision at Mikoshi
The only major decision left to be made (we assume you can handle the walking bits by yourself) is when you’re talking to Alt and Johnny in cyberspace. Alt will give you some bad news, followed by two options: Go with Alt beyond the Blackwall and persist as a digital entity, or return to your body to enjoy what time you still have left. In the former case you’ll get the epilogue New Dawn Fades and the trophy/acheivement Temperance, while in the latter case you’ll get the epilogue Path of Glory and the trophy/achevement The Sun.
You won’t need a walkthrough for this, play through whichever epilogue you get, make what choices you want and witness the consequences of your actions.
No Comments