


The last job (not counting the epilogue) in Hanako’s ending route, TotalImmortal will begin as soon as the AV lands atop Arasaka Tower. This job follows Last Caress.
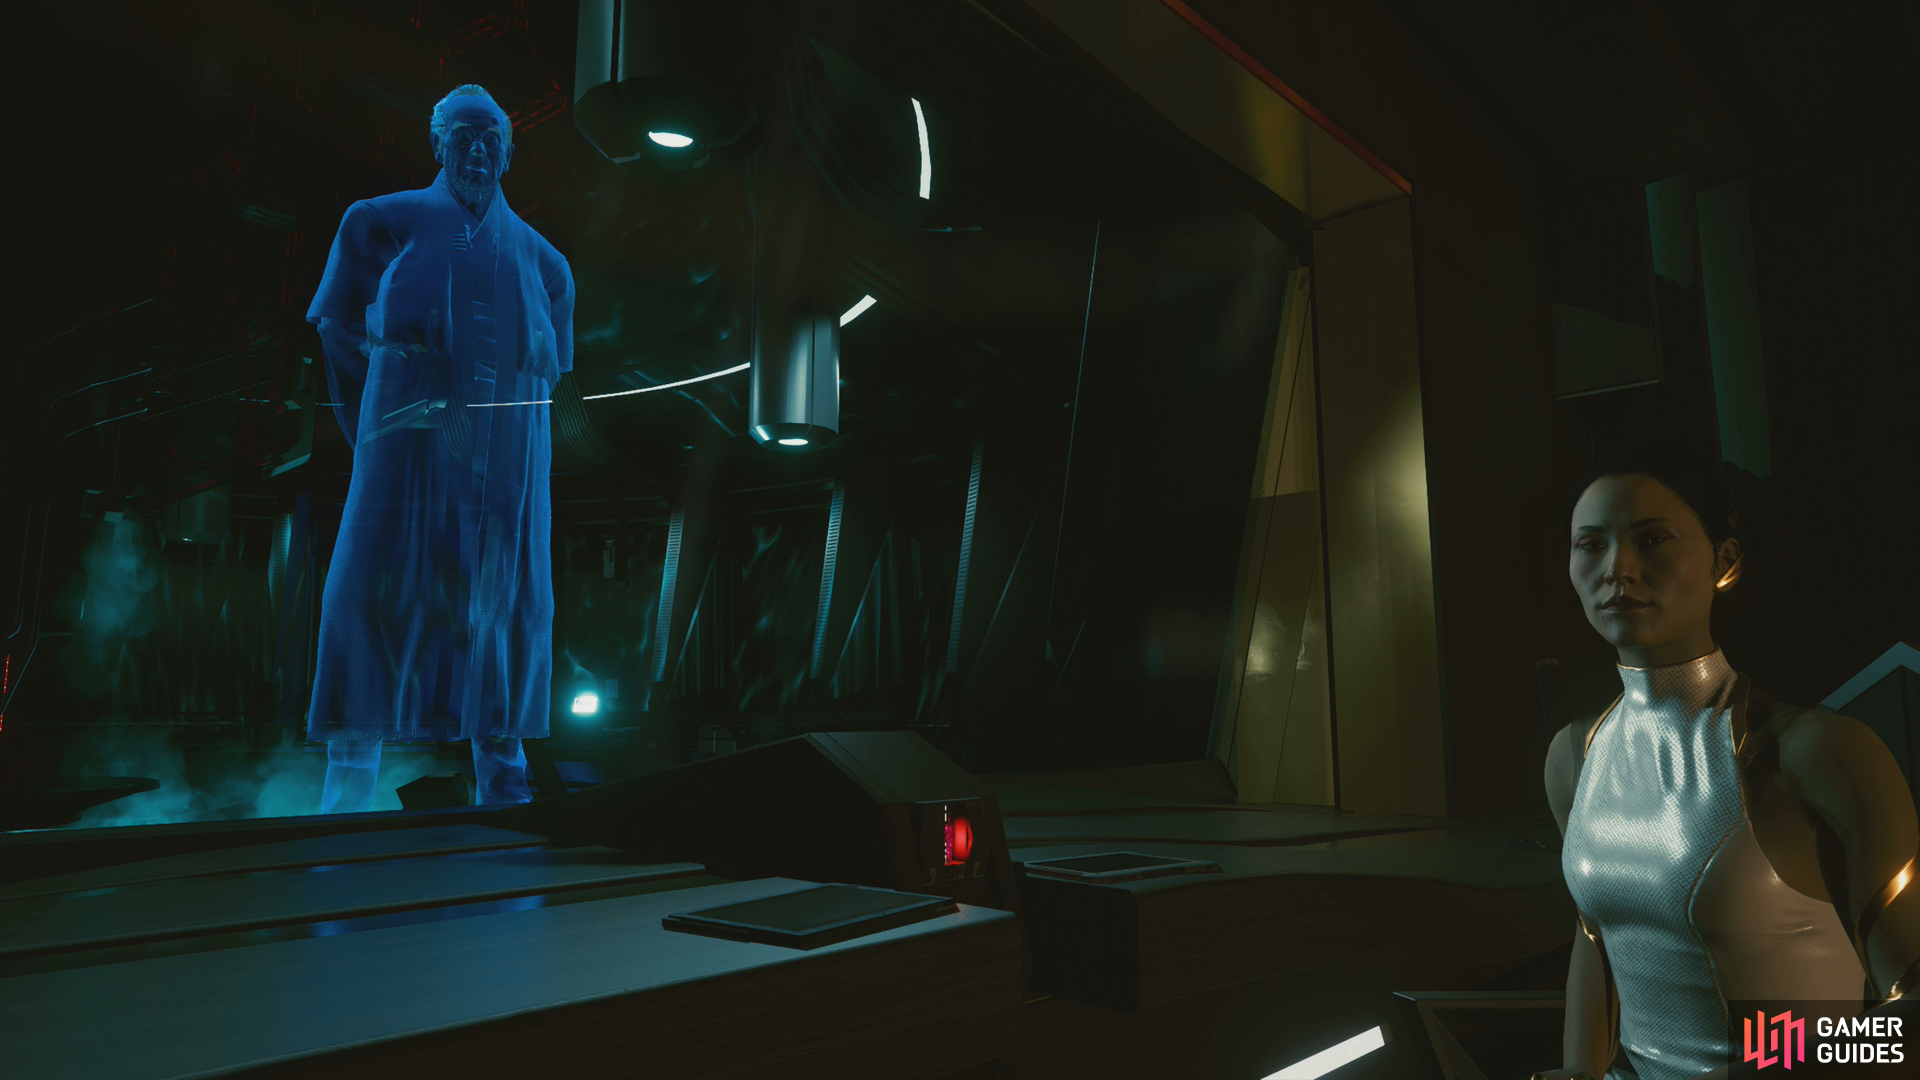
Follow Hanako into the building, then walk and talk with her until she leads you to an elevator - pausing to stop at Saburo’s old office along the way. Ride the elevator down and you’ll have a meeting with a ghost from Arasaka’s past. Say what you will, then return to and ride up the elevator.
Press on through chatter and follow Hanako and her squad until you reach the board meeting. Say what you will, and after Hanako’s surprise witness throws his weight around, Yorinobu will send some soldiers to make his position on the matter clear.
Civil war it is.
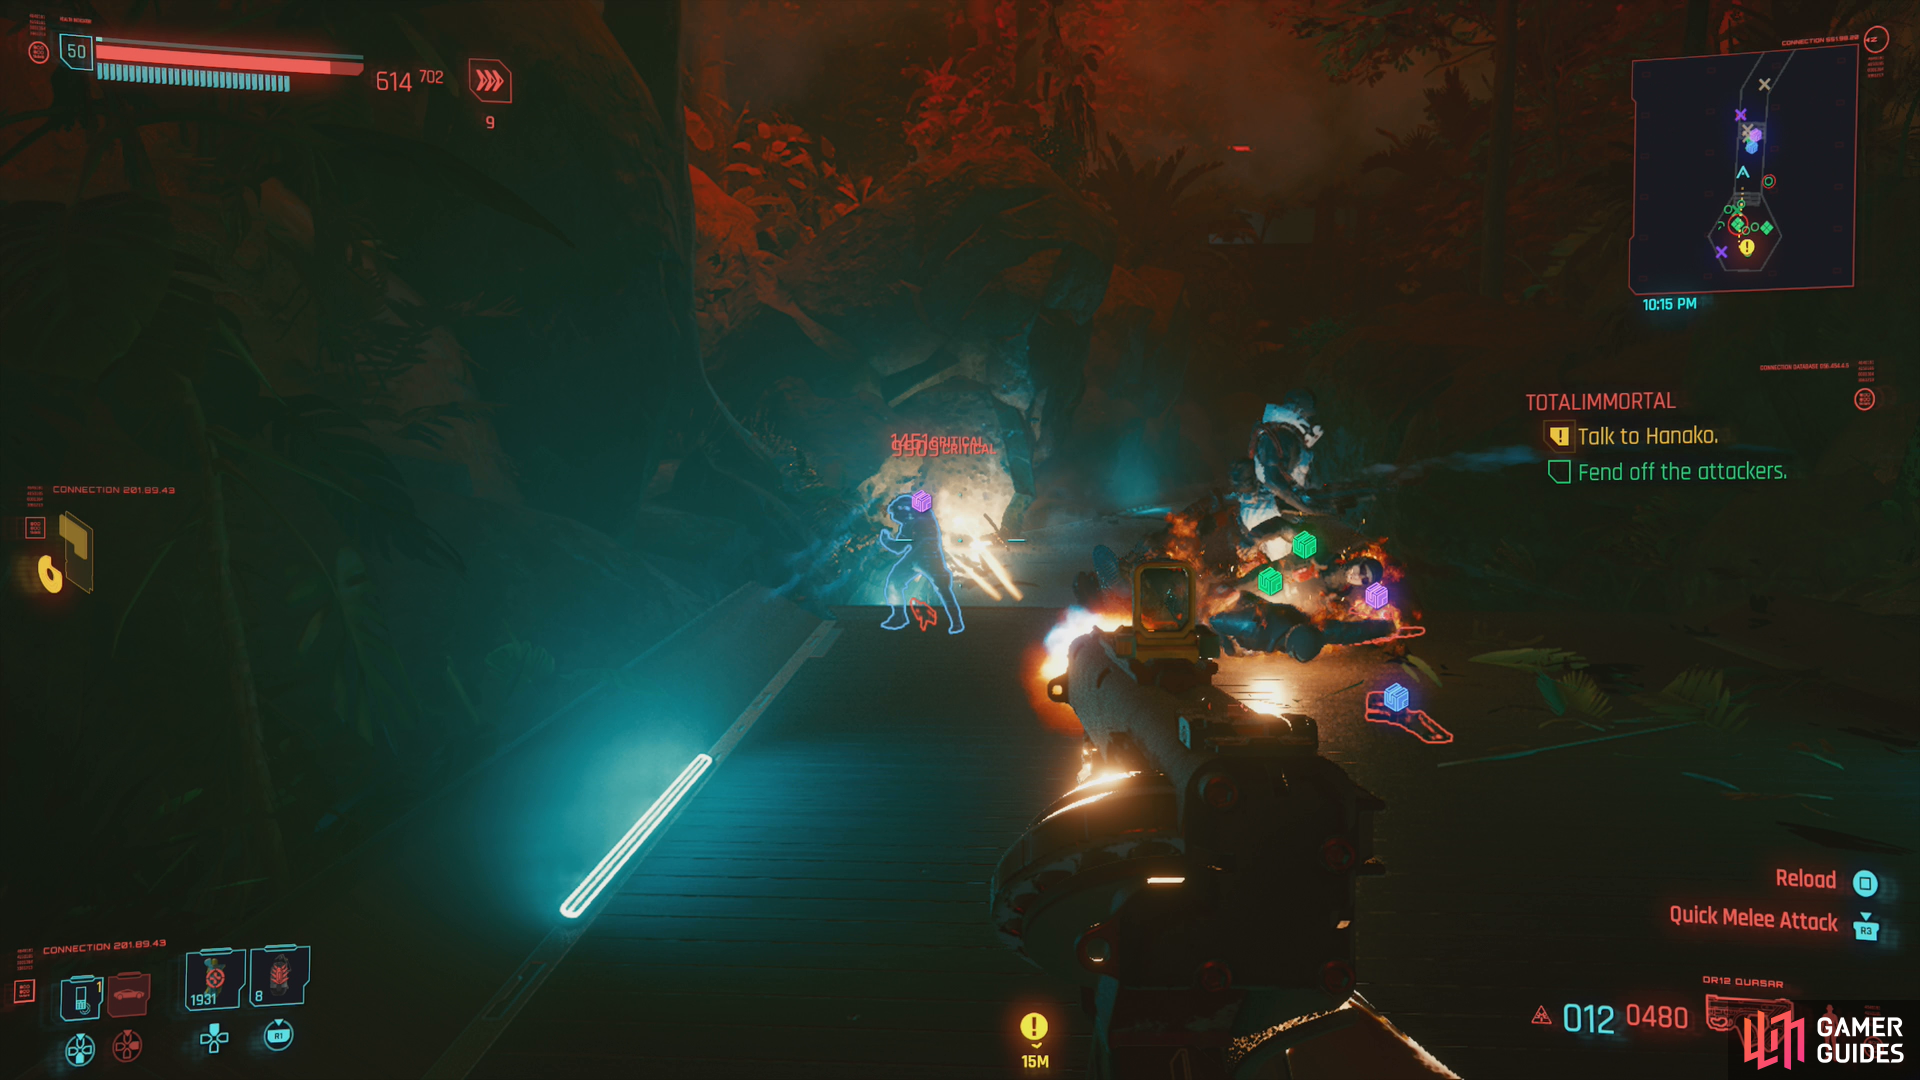
Fend off Yorinobu’s troopers,
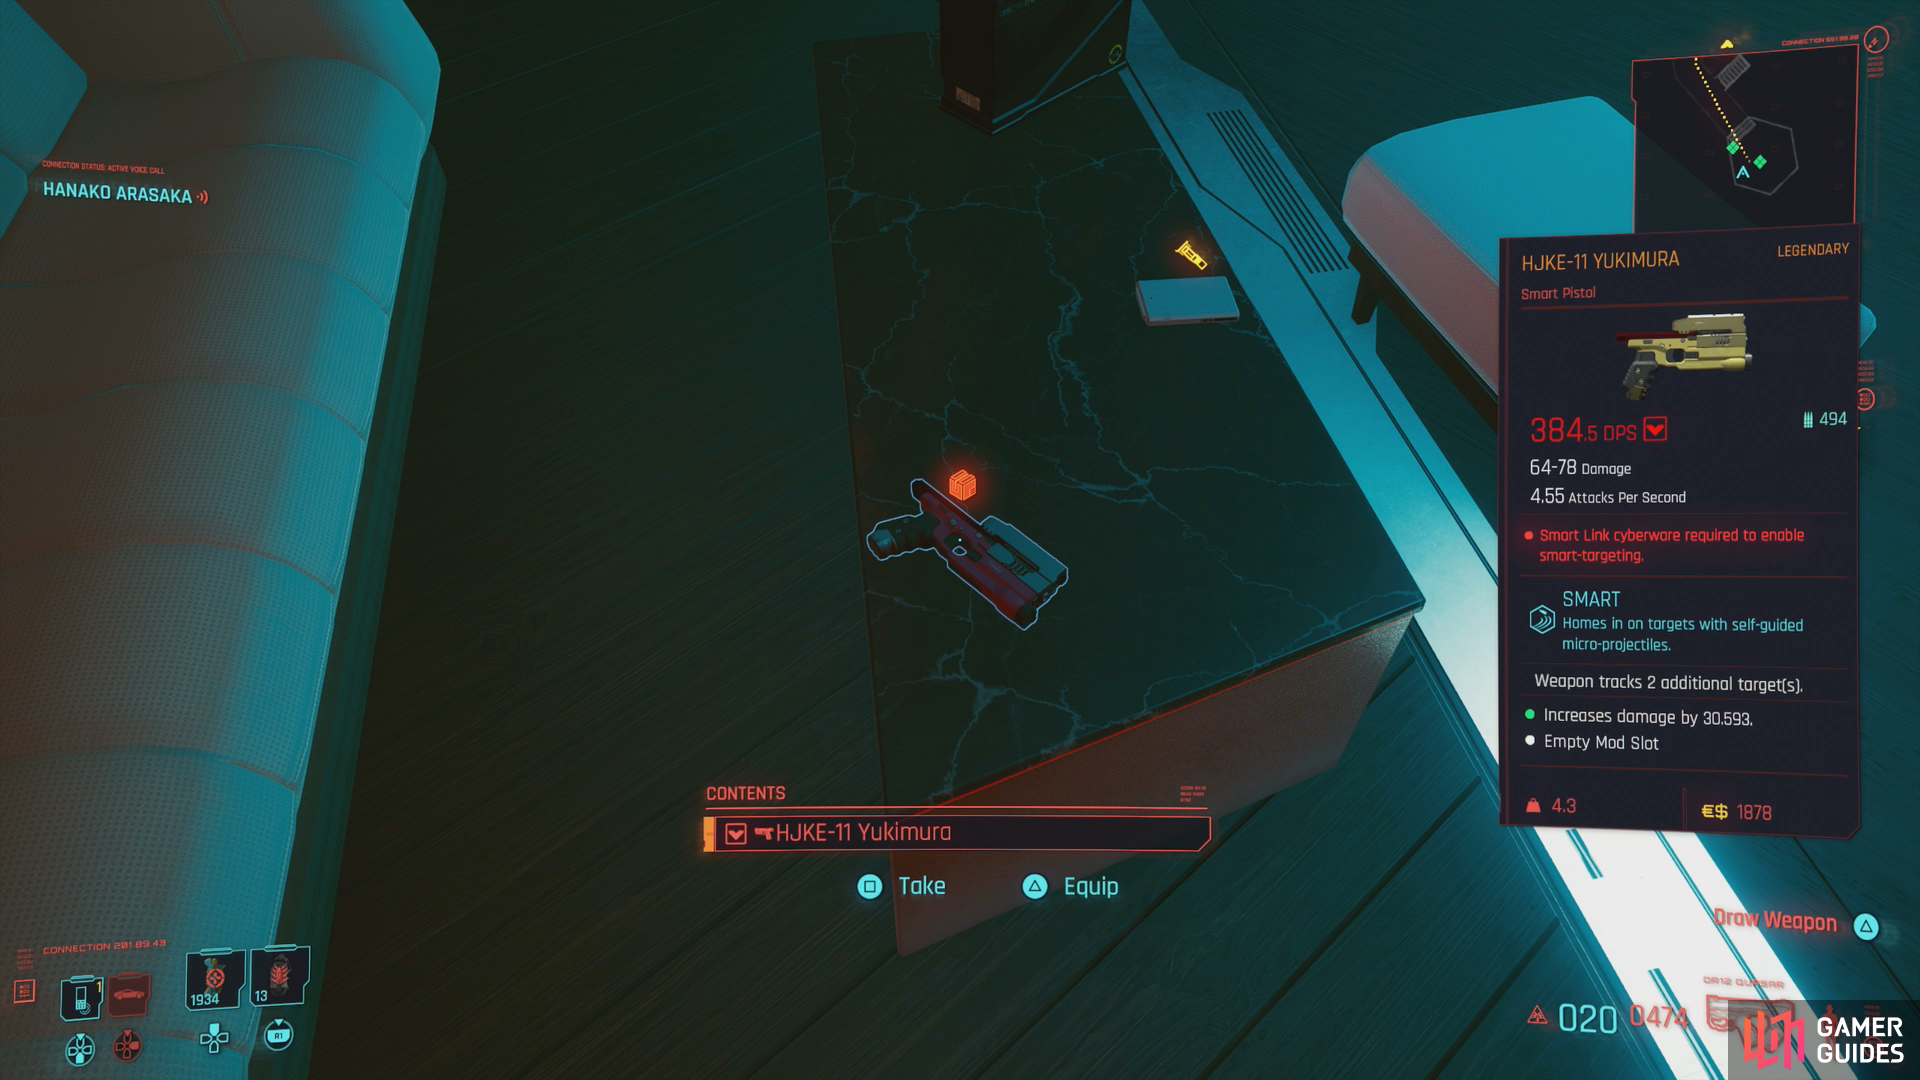
and if for some reason you still care, you can pick up a legendary Yukimura before leaving the garden.
Hunting Yorinobu
Defeat the minions Yorinobu sends to attack you, then regroup and after some chatter you’ll be tasked with hunting Yorinobu down. You’ll need to fight your way back to the elevator now, and the walkway back will be guarded by a mech and various Arasaka goons. There’s also numerous foes hiding in the trees off the walkway, but there’s not much incentive to go hunting them down when they can just be ignored. If you still care about such concerns, when you reach the elevator you can follow a walkway to the left to find a legendary HJKE-11 Yukimura pistol, for what that’s worth.
Kill as many or as few enemies as you wish, then ride the elevator up to the atrium. Along the way, Takemura will ask you how you wish to use the forces at his disposal:
- ”Yeah. Too late to play nice.”
- ”No. Better t o be sly and quiet.”
Guns blazing or stealth, it’s your call, but in our experience, actually getting Takemura’s troopers to stay back was impossible. This doesn’t mean stealth is off the table entirely, but between the nuisance of having enemies fighting and the fact that these unusually wary enemies will detect you almost instantly does make it difficult to the point of futility.
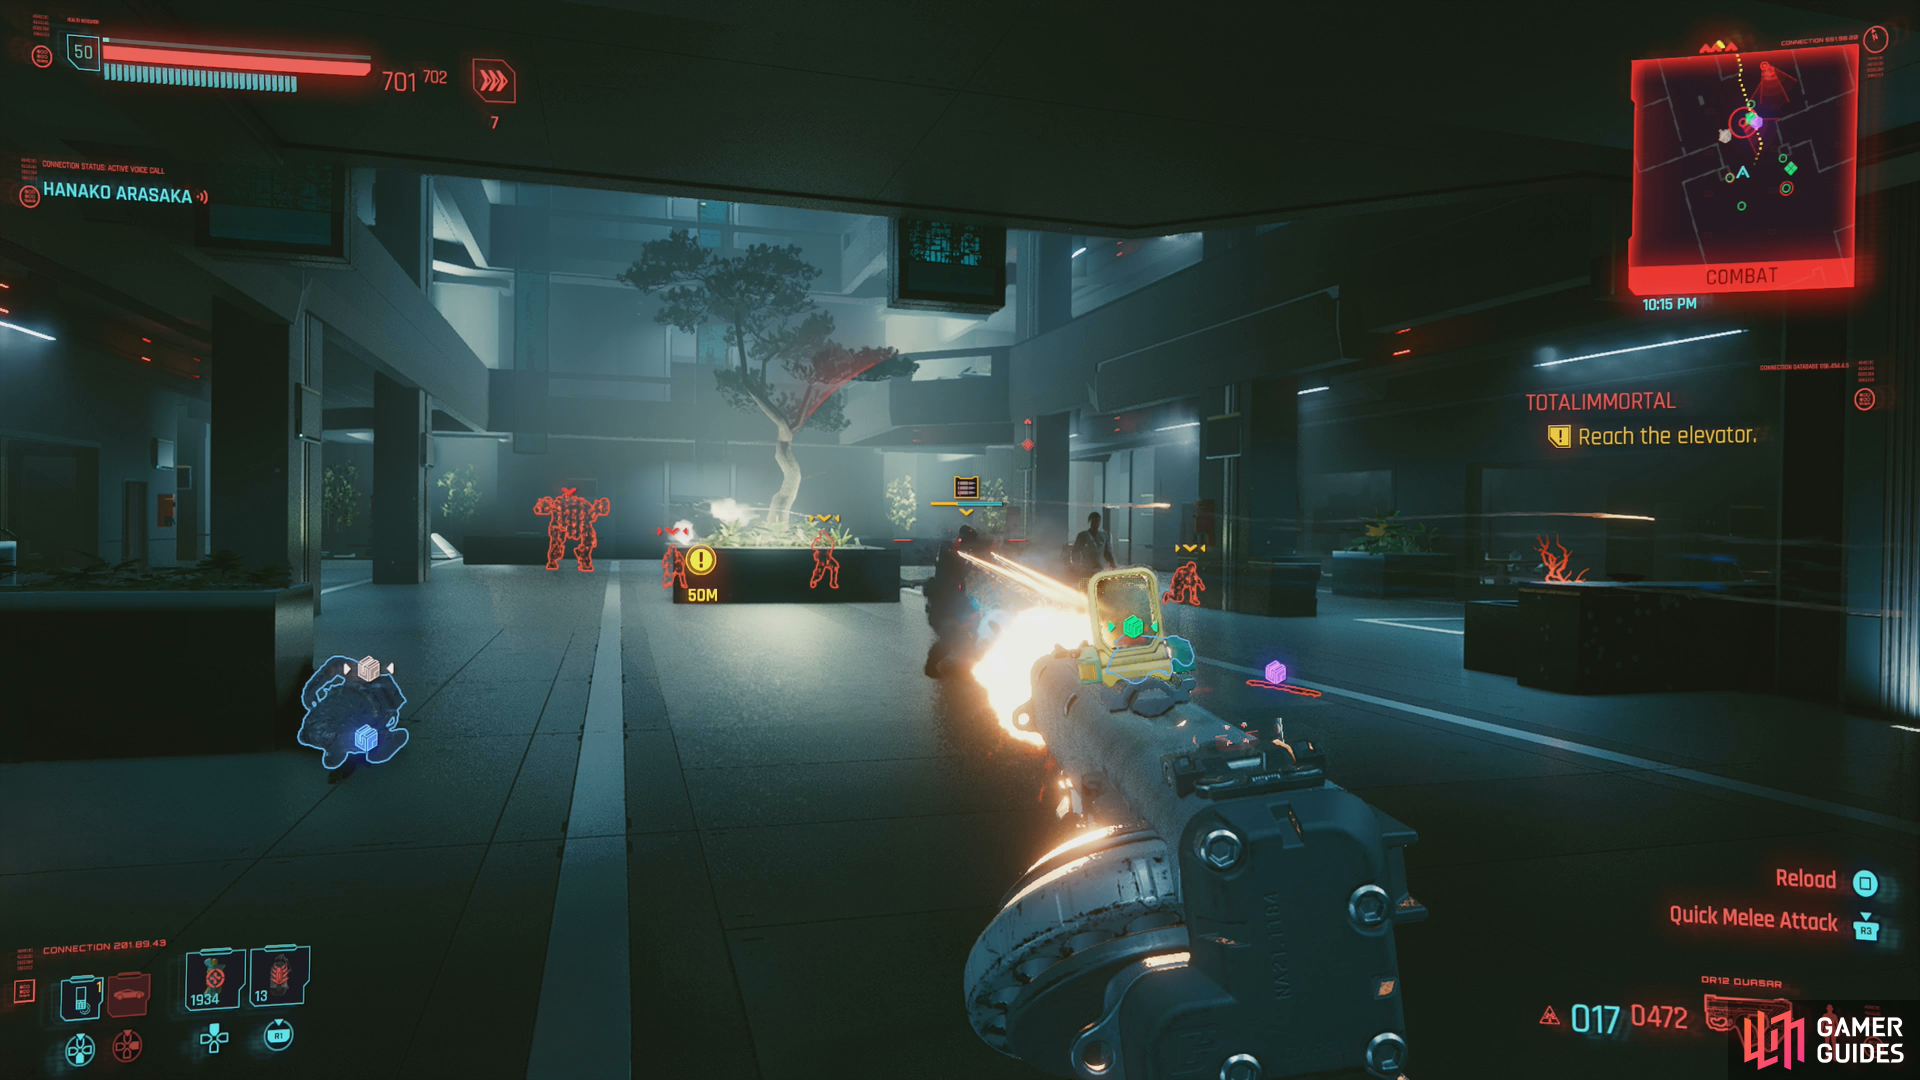
From the elevator press forward and you’ll meet opposition in the large room at the end of the hallway. Likely just a handful of Arasaka Rangers, but more foes can be found down a corridor to the left, including another Arasaka Mech. Most of the foes here are simple Rangers, but you’ll need to be wary of some reinforcements - including a “Juggernaut” with an HMG - that’ll come down some stairs to the right.
Defeat whatever foes lie in front of you, then head up the stairs the reinforcements came down to find more Arasaka Rangers waiting for you. Fight forward, making your way to a room opposite the stairs, as an Arasaka Netrunner lurks within, and he’ll be more than happy to use the cameras scattered about to hit you with quickhacks if you let him. When he’s been dealt with turn right and fight your way through more guards. Once again, reinforcements will come down the next flight of stairs you need to head up, and once again they’re led by an HMG-wielding Juggernaut.
Go upstairs to the next level, where you’ll be immediately charged by two Bodyguards (melee brutes) while several Rangers hide behind cover opposite you. To the right are two Juggernauts with HMG. Needless to say, it’s best you don’t go rushing in - shoot down the Bodyguards, use the stairs as cover while you pick off the Rangers, then, when your flank is secure, ascend and take the fight to the Juggernauts.
Third floor’s the charm, once it’s cleared head over to the elevator and ride it up to the CEO’s floor. Make sure your health is in good order and you have plenty of ammo, as there’s a massive firefight ahead. Get in cover and try to hold your position, being wary of grenades and advancing enemies, keeping clear of the latter and prioritizing the former for destruction. Hanako will remotely help you with Arasaka Netrunners and turrets, so turtling up for this battle is a viable strategy. When the path ahead is clear, head forward into the next room, where you’ll be ambushed by a blast from Johnny’s past…
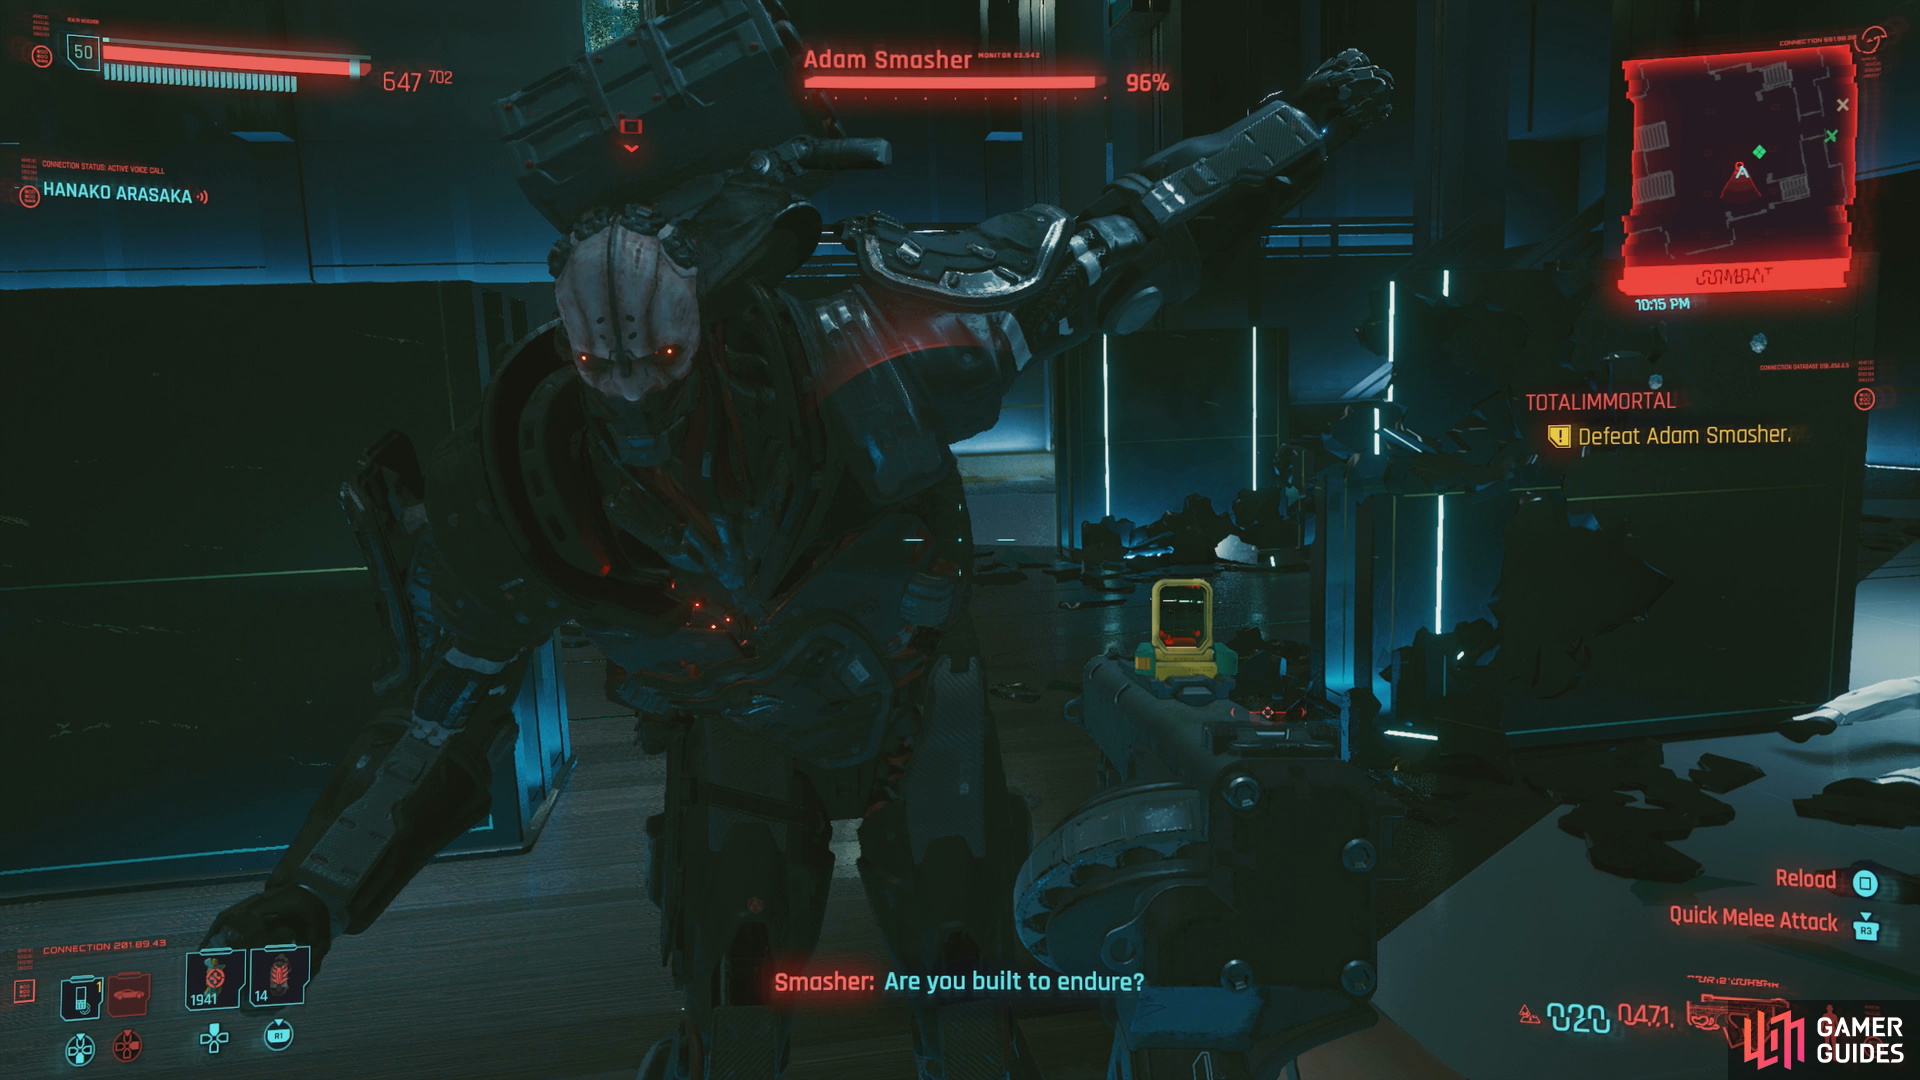
Boss: Adam Smasher
Adam Smasher’s routine is simple, but effective: Most of the time he’ll charge at you and attempt to swat you, then follow up with a blast from his arm-gun. You can use cover, double jump, or dodging to keep away from his charge, although the arm-gun is another matter. If he stops to fire a prolonged barrage from his arm-gun, you’ll need to get behind cover. The arm-gun does respectable damage (even with an absurdly high Armor score!) and Smasher is keen to keep firing long past the point you can be reasonably expected to endure it. It is, however, a good opportunity to pop a healing item and reload, as Smasher will fire for a while whether he can hit you or not.
If you helped Takemura escape during Search and Destroy, he’ll assist you during this fight. His performance early on leaves much to be desired, as Smasher will take him out using the same series of attacks he used to dispatch Johnny back in the day. Takemura will recover, eventually, and even if he’s not doing much else, he still serves as a fine distraction.
Smasher is weak to shock damage and is generally receptive to physical damage, but he’s resistant to chemical damage. Short Circuit can deal massive damage if you’re a capable Netrunner, but you should be wary that upload times against Smasher are increased and it’ll take +5 RAM to utilize quickhacks against him.
Once reduced to under 50% of his health, Smasher will run off and call in reinforcements, including a Juggernaut, some Assault Specialists (melee combatants who will use a Sandevistan charge to close in on you) and turrets in some side cubbies. Depending on your quickhacking abilities, these turrets can be easily disabled or turned into allies.
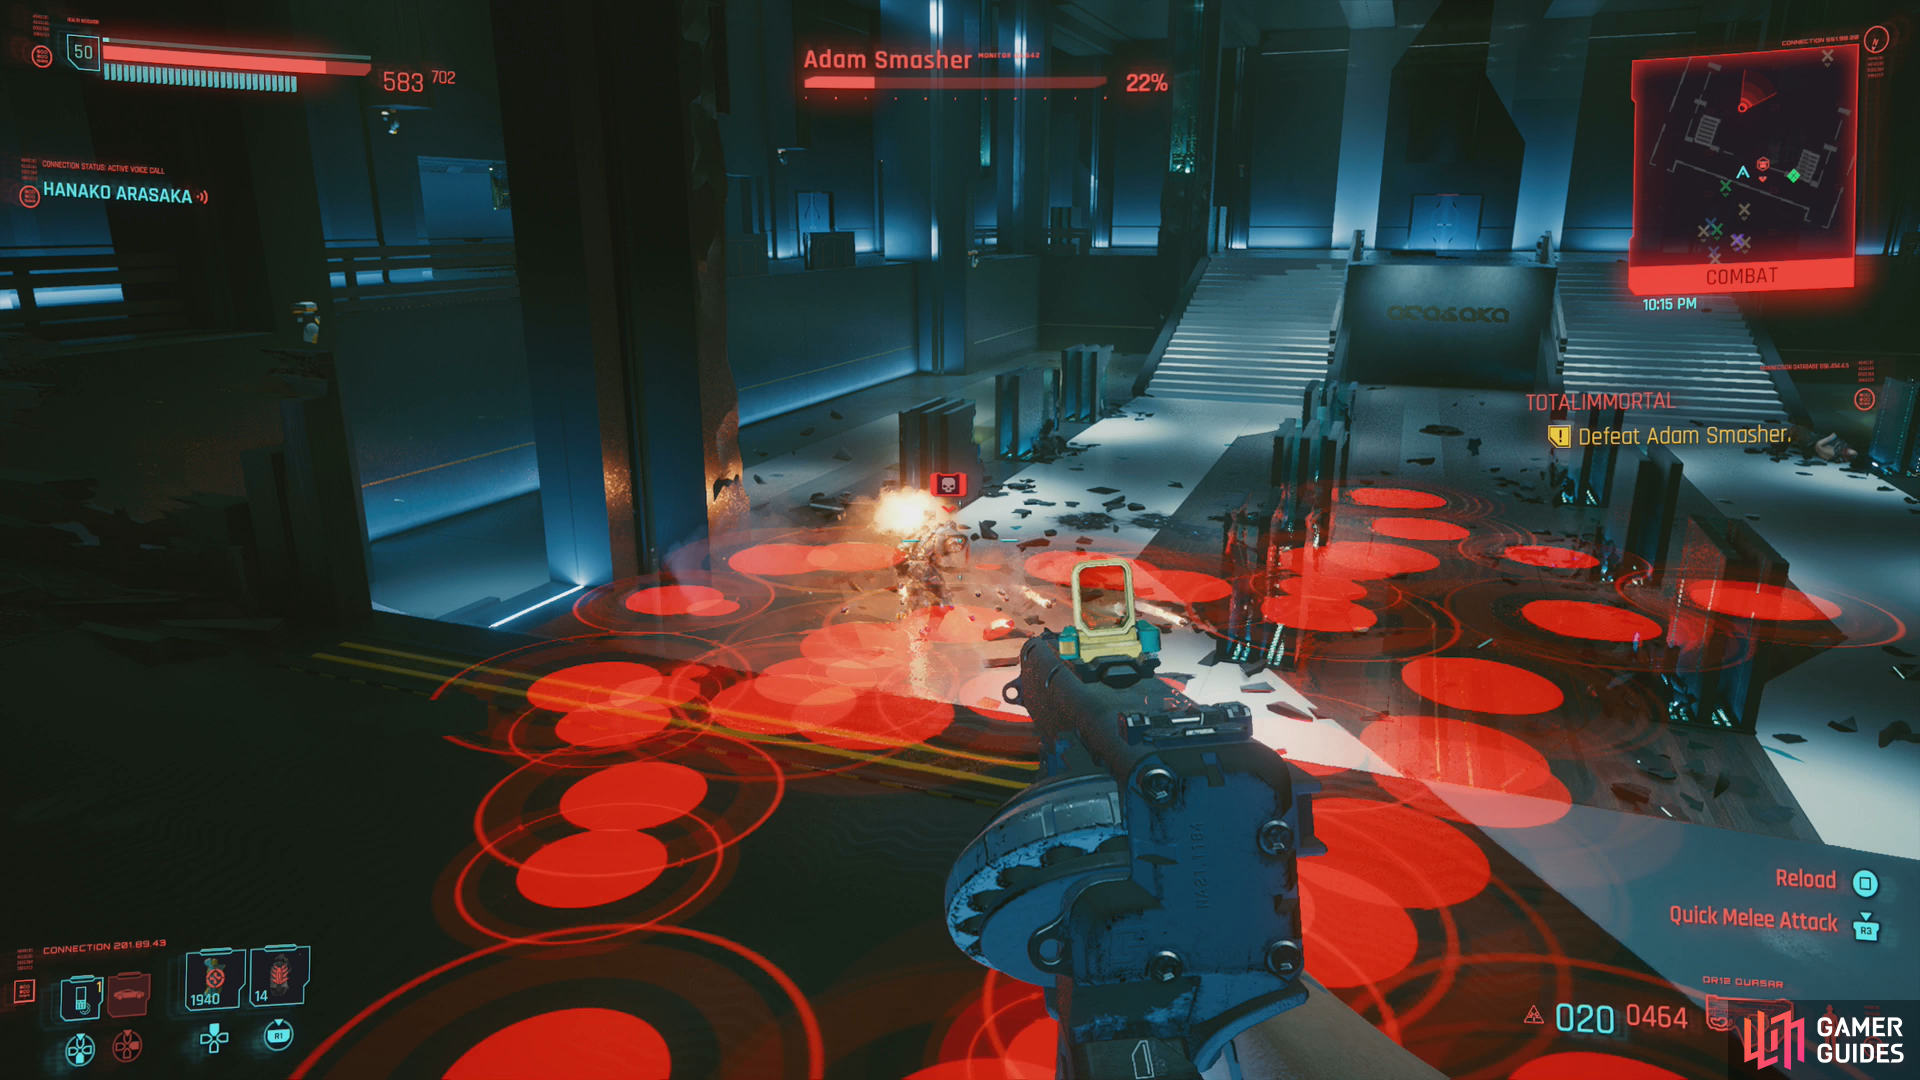
Smasher will also employ new attacks during this phase of the battle, mostly two different ways of firing clusters of micro-missiles at you. If you see red target reticles, steer clear (this is a good time to activate Sandevistan if you have it, and get behind cover) as Smasher will either fire a massive cluster of missiles in a few quick bursts, or he’ll stand in place and fire barrages of several missiles at a time in a smaller, targeted bursts. In the former case, you just need to get clear to avoid taking too much damage, in the latter case, Smasher tends to over-commit to this attack, allowing you to circle around him and dish out some damage.
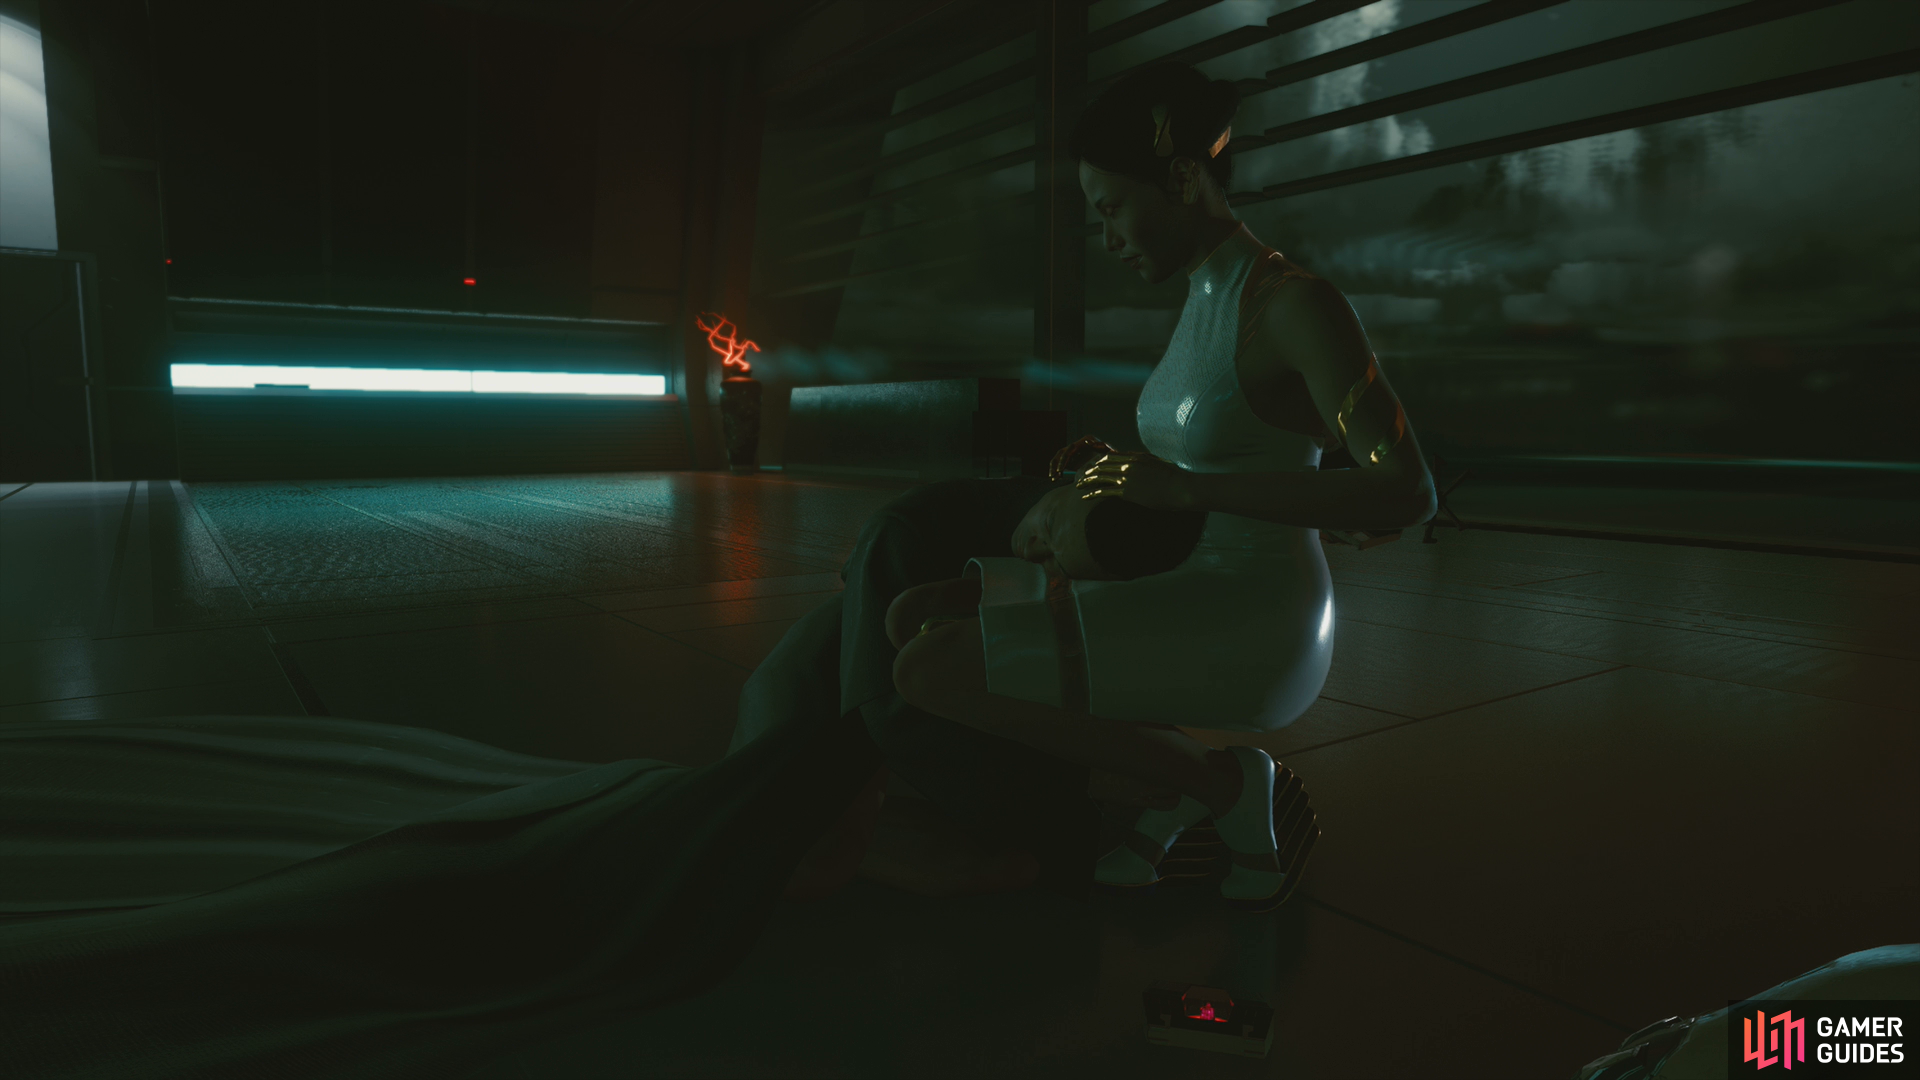
Keep the pressure up and eventually Smasher will fall. Pick an Access Token off his remains, then press on towards Yorinobu’s office. If you befriended him, exchange some last words with Takemura then confront Yorinobu. Say what you will, then get in the elevator and ride it.
Where is My Mind?
This will unlock the trophy/achievement The Devil and allow you to play through the epilogue Where is My Mind?. You won’t need a walkthrough for this, play through it, make what choices you want and witness the consequences of your actions.
After the credits roll you’ll get the option to return to just before the point of no return (before you enter Embers during Nocturne Op55N1.
No Comments