
With Songbird going quiet, or maybe even being dead, this mission will have you meet up with Reed who’ll suggest talking to an old acquaintance of his. This person may be able to help you track down Songbird who went quiet during the Spider and the Fly mission. Reed will tell you to meet him at The Moth in Longshore Stacks while he works on finding a safe place for President Myers to hide. Read below for a full walkthrough on how to complete The Damned mission in Cyberpunk 2077 - Phantom Liberty, including all choices, and where to find all the best loot.

Meet Alex, one of Reed’s old acquaintances.
How to complete all The Damned Objectives in Phantom Liberty
If you find yourself caught out at a specific objective, you can use these quick links to jump to the section you need:
Meet Reed at The Moth Bar
Reed will tell you to head to The Moth bar which is situated in the Longshore Stacks area of Dogtown. He’ll tell you to wait for him outside while he sorts out the small matter of finding a safe place for President Myers. Fast Travel to the Longshore Stacks, and head up to the bar which is up the stairs to your north. At the top of the stairs, take a seat at the table outside and the time will skip by to the night.


(1 of 2) Travel to the Longshore Stacks Fast Travel point.
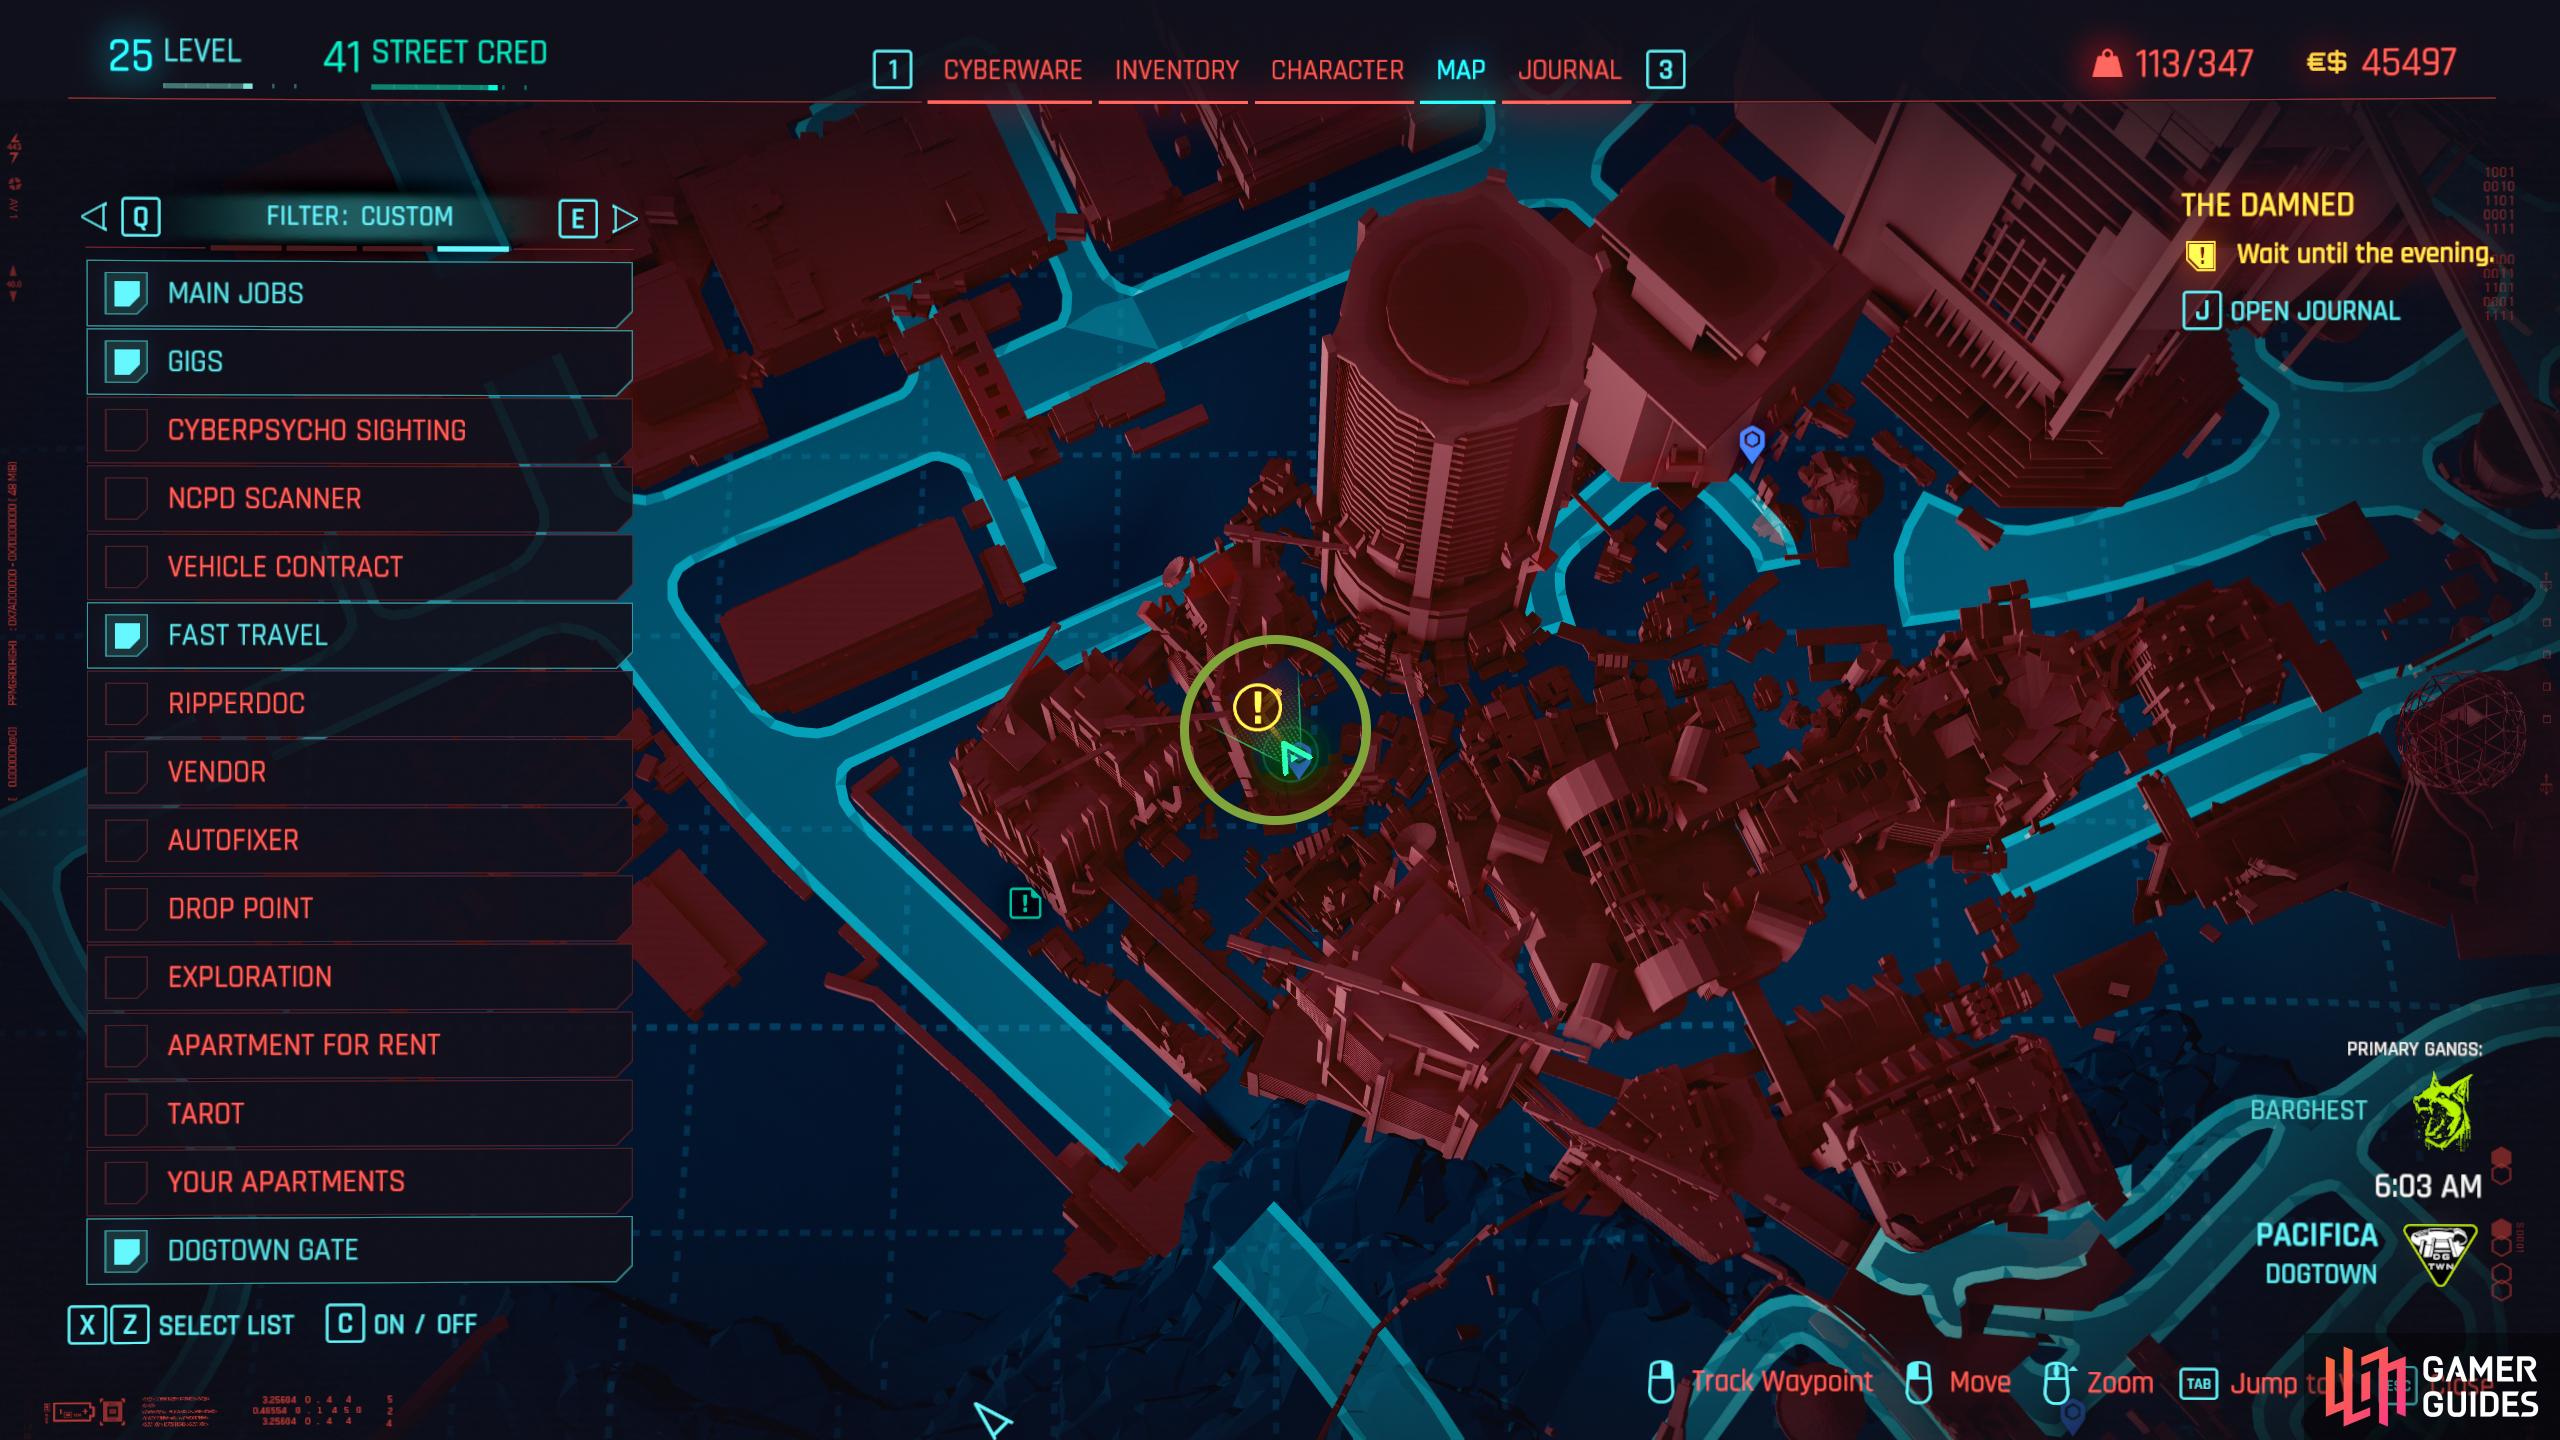

Travel to the Longshore Stacks Fast Travel point. (left), Then head north, up the stairs to find The Moth Bar. (right)
Go to The Moth Bar
Reed still isn’t here, so head inside, take a seat on the left side of the bar, and order a drink if you want while you wait. Reed will give you a call, and ask if you’re at the bar then tell you that the person you’re meeting thinks he sold out to Arasaka, so as you could imagine, this won’t go down well. Shortly after, Reed will walk through the door, and the bartender will immediately tell him to politely leave. Well, I guess we’ve found Reed’s acquaintance.
Once again, Daphne will use her “charm” to empty the bar before she pulls out a gun on Reed. She’ll then show her real face before she turns and aims the gun at you. You’ll have a choice to make here, disarm her, or show her the coin. Select Disarm if you can as the scene is pretty cool, but regardless of the choice; you’ll have to show her the coin.
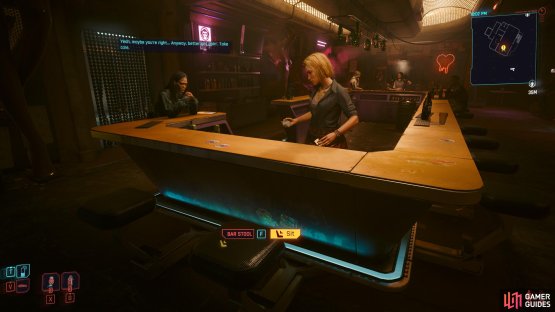

(1 of 2) Take a seat at the bar, and order a drink if you want while you wait for Reed.

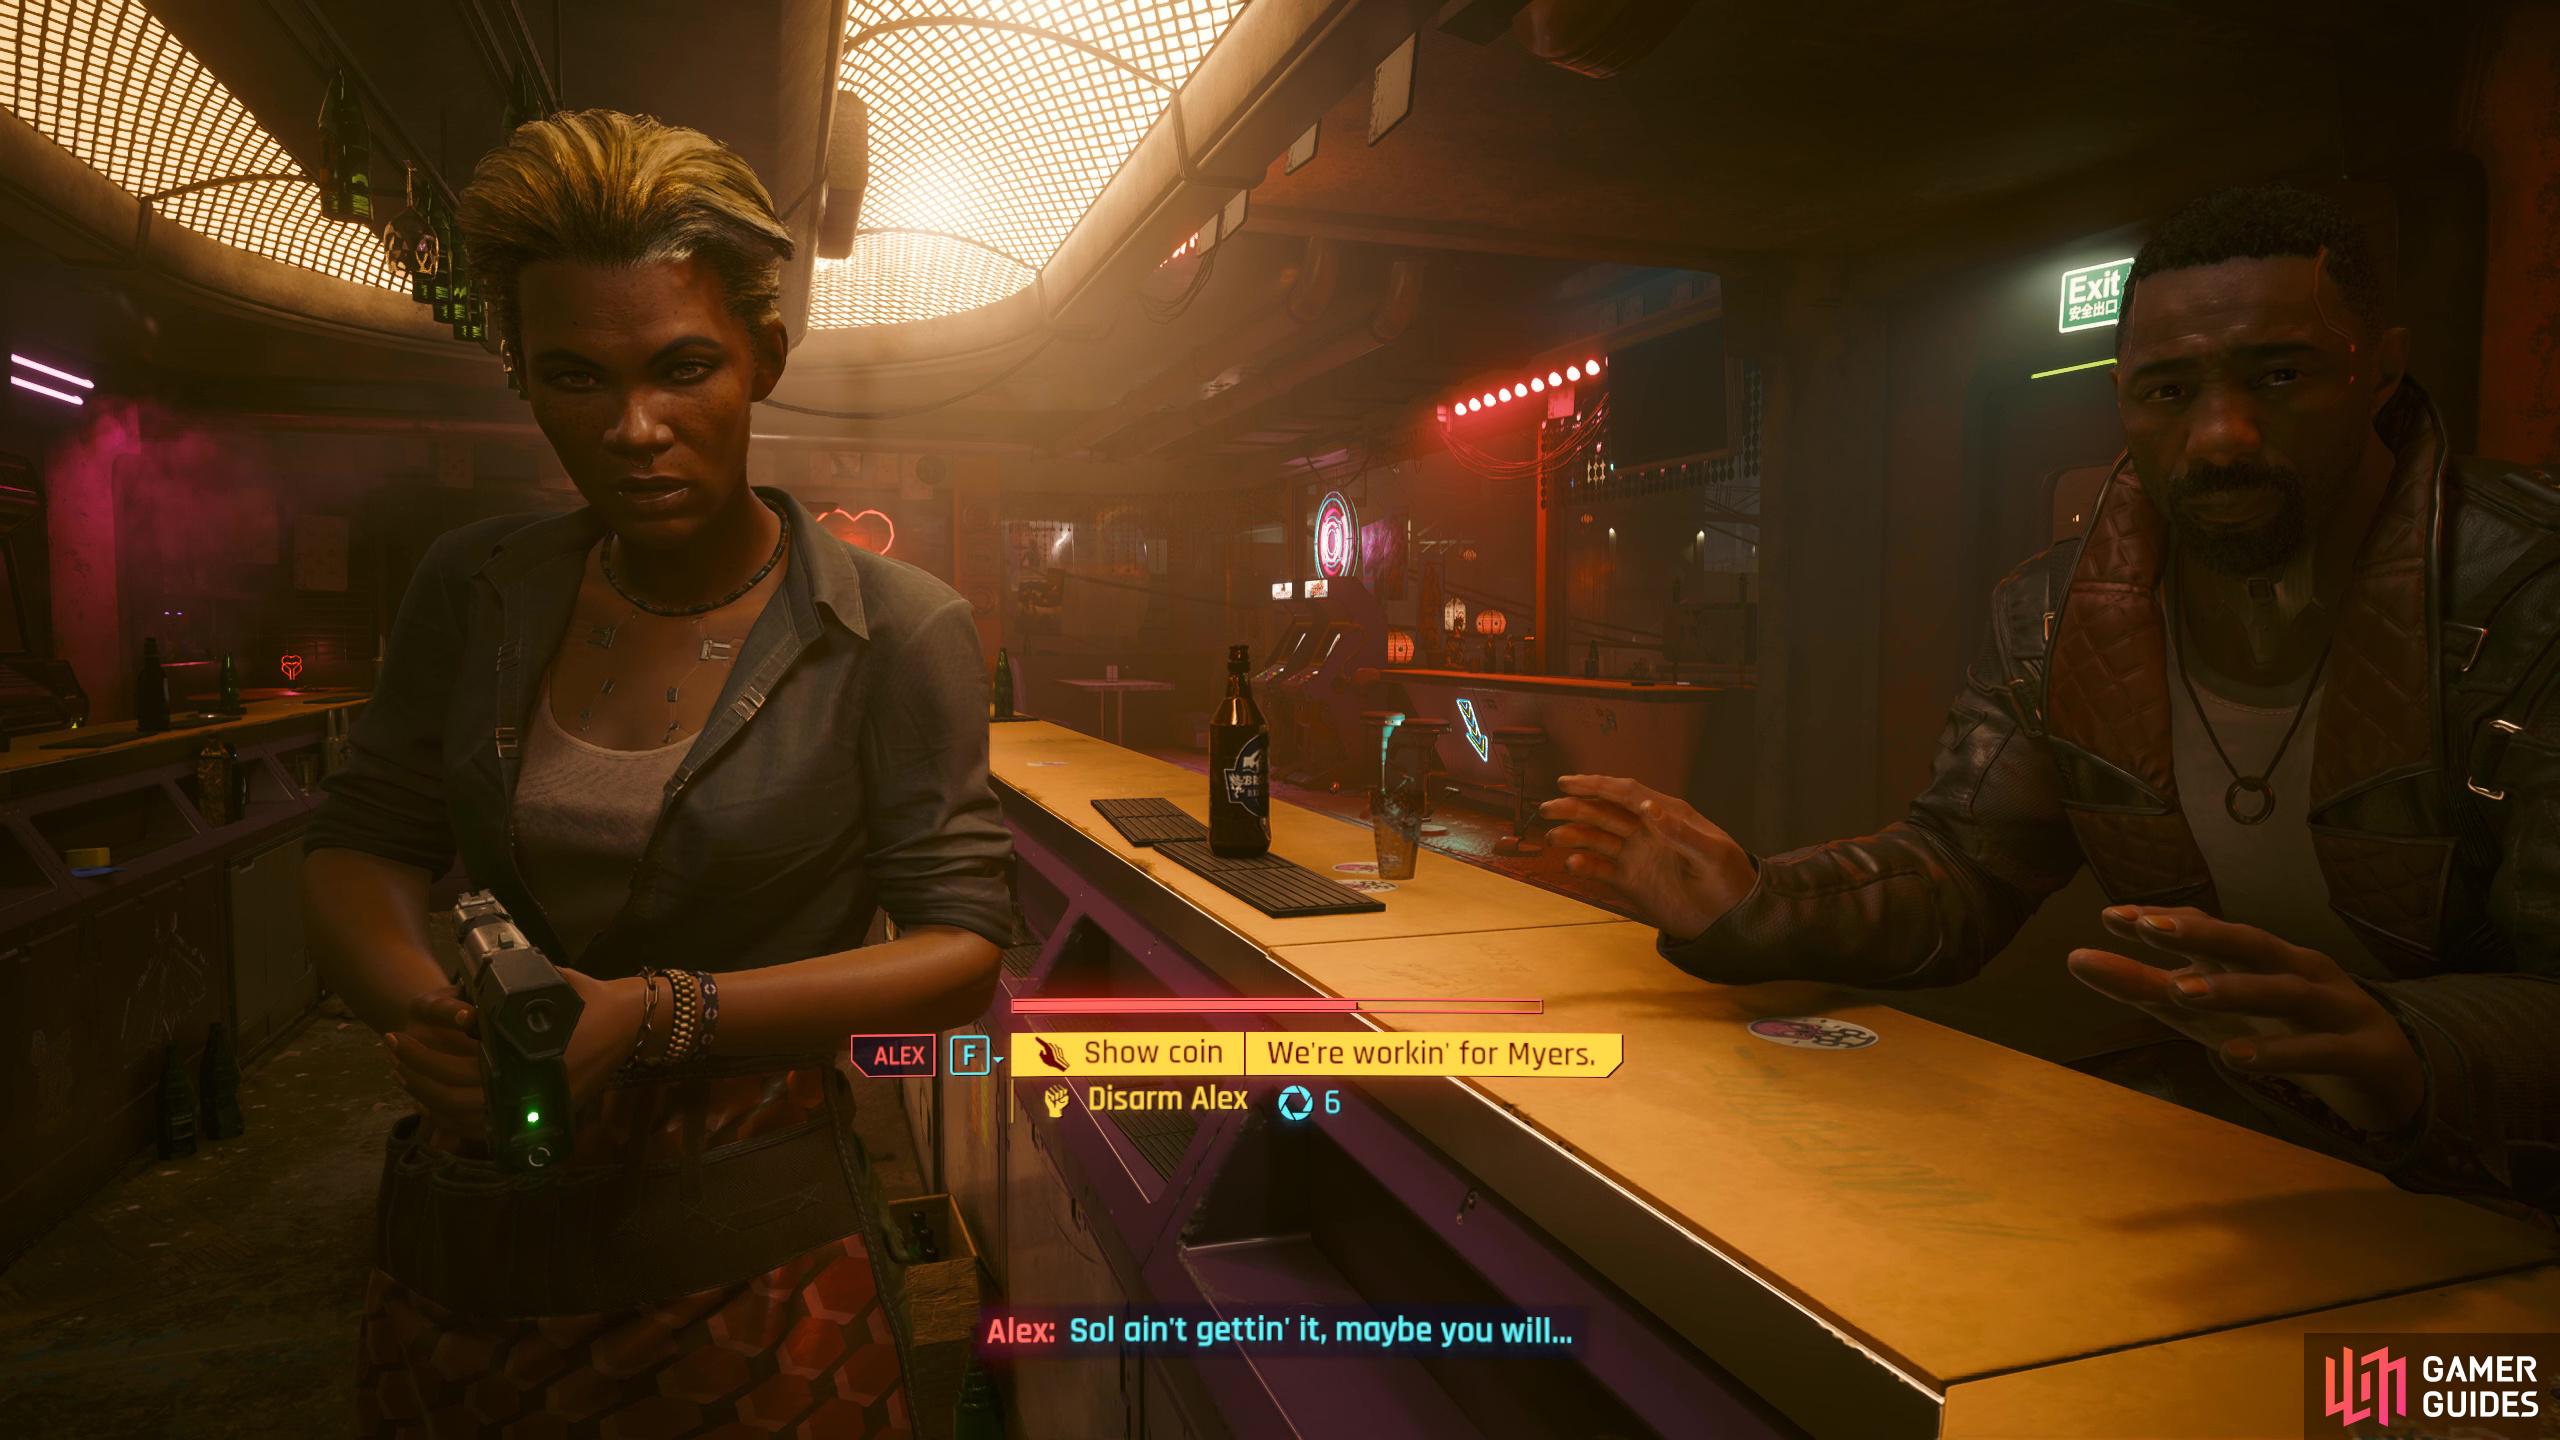
Take a seat at the bar, and order a drink if you want while you wait for Reed. (left), When Alex pulls a gun on you, choose to disarm if you can for the scene, otherwise select the coin. If you let the bar run down, you’ll still have to show the coin anyway. (right)
Talk to Alex
Daphne, now Alex, will head outside to cool down, and you’ll tell Reed that you’ll handle it; head outside the bar and talk to Alex. Now’s your chance to “serenade” her to get her to help. Select what you want as none of these choices impact anything other than the dialogue itself. After you mention Songbird, you’ll get the story of why Alex isn’t too happy with Reed before she agrees to help you, providing her conditions are met, a spy’s retirement.
Head back into the bar and speak to Reed, and select whatever tickles your fancy, and you’ll tell him her conditions. When Alex comes back in, tell her what you know about Songbird, which isn’t a lot, and Alex will tell you that you need a Netrunner called Wilky “Slider” Laguerre. If you ask them who he is, you’ll find out that he’s a voodoo lowlife with exceptional netrunning skills. Reed will tell you to meet him at Slider’s hideout while he talks to Alex.

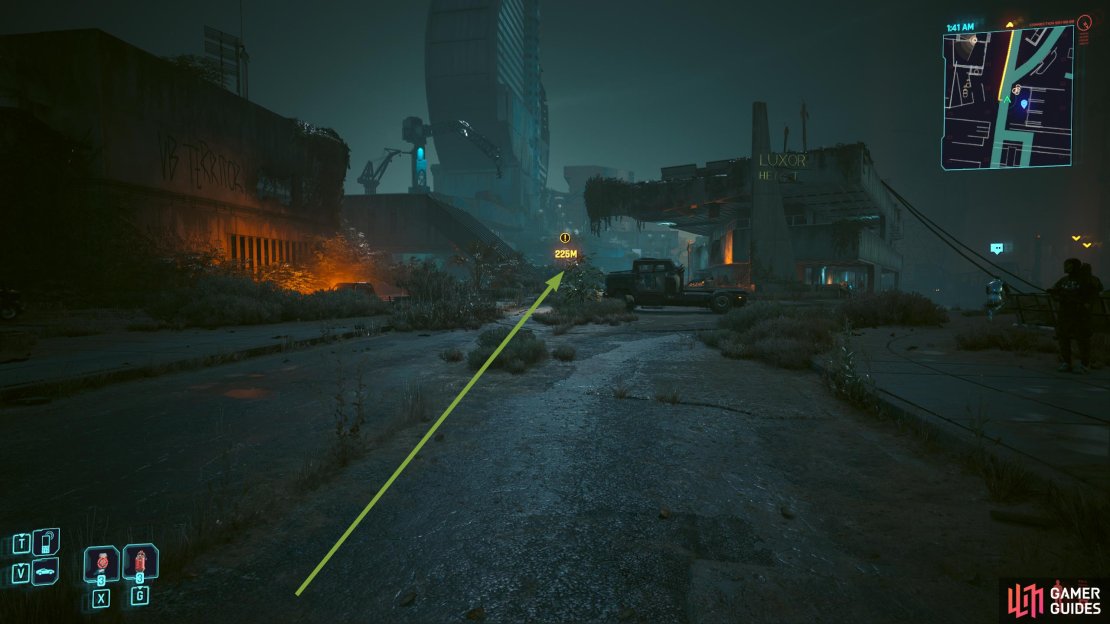
(1 of 4) Travel to the Luxor High Fast Travel.
Meet with Reed near Slider’s Hideout / Talk to Reed
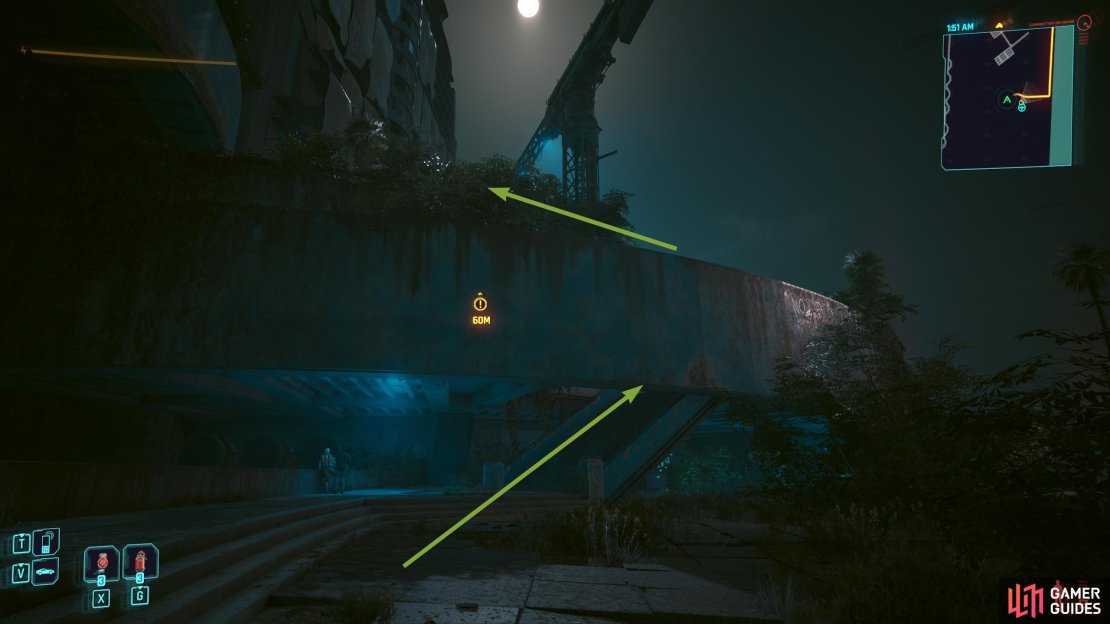
Slider’s hideout can be found by following the road southwest of the Luxor Highness Well Spa Fast Travel. Follow the road, and then head up the stairs to the voodoo stronghold then take a seat on the bench at the top of the stairs to the left and wait for Reed. Follow Reed inside the building, and you’ll notice lookouts. Here, you’ll have a few choices on how you can meet Slider:
-
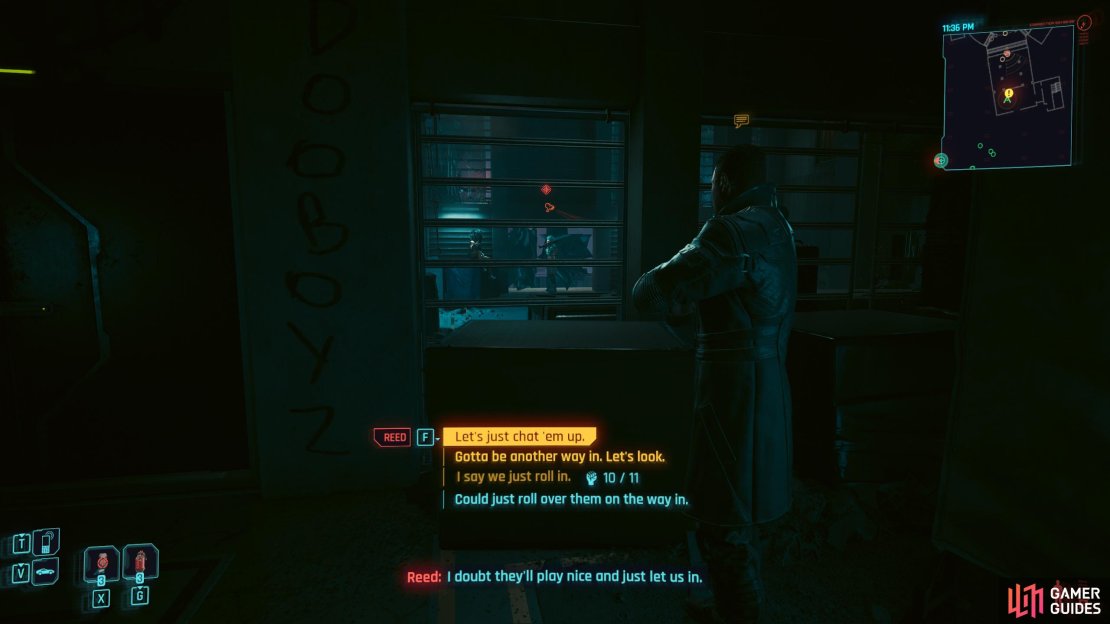
Let’s just chat ’em up.
This is the best option. Mainly due to the scene you’ll get, but you’ll end up leaving the hideout which will lead to the second choice anyway. -
Gotta be another way in. Let’s look.
Reed will mention he spotted a shaft outside which allows you to sneak in. -
I say we just roll in. (Requires 11 Body)
Choose this option if you want to brute-force the area. Note, that this will be a lot more difficult as you’ll have to contend with the Daemon which will constantly hack you.
Find a Way into the Ventilation Shafts
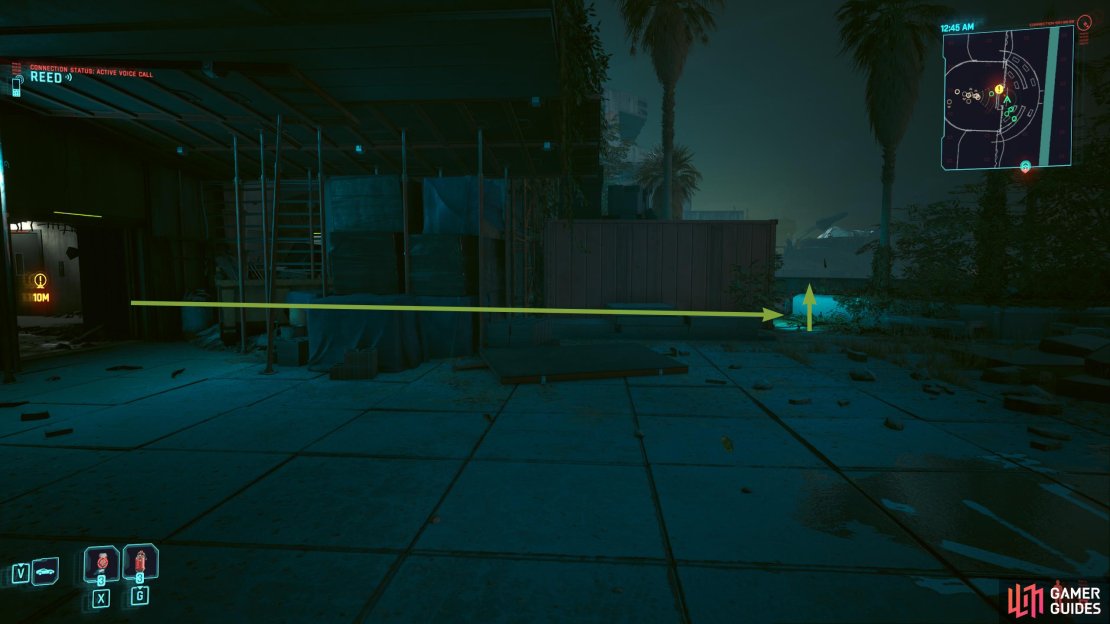
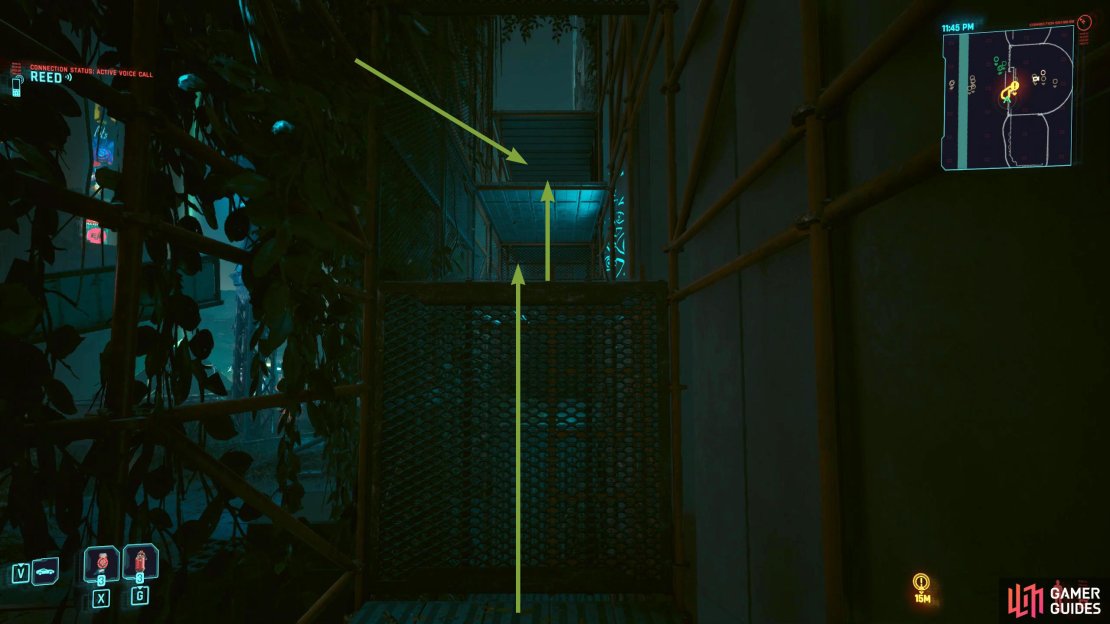
This guide will follow the stealth method as it is easier, and it feels like the game intends for you to choose this route. First things first, if you have 15 Body, you can skip the finding the vent part, and open the door to the right of the entrance (inside) instead. However, if you don’t, you’ll need to find the vent. As you exit the building, turn left and use your scan; that’s where you need to get to.
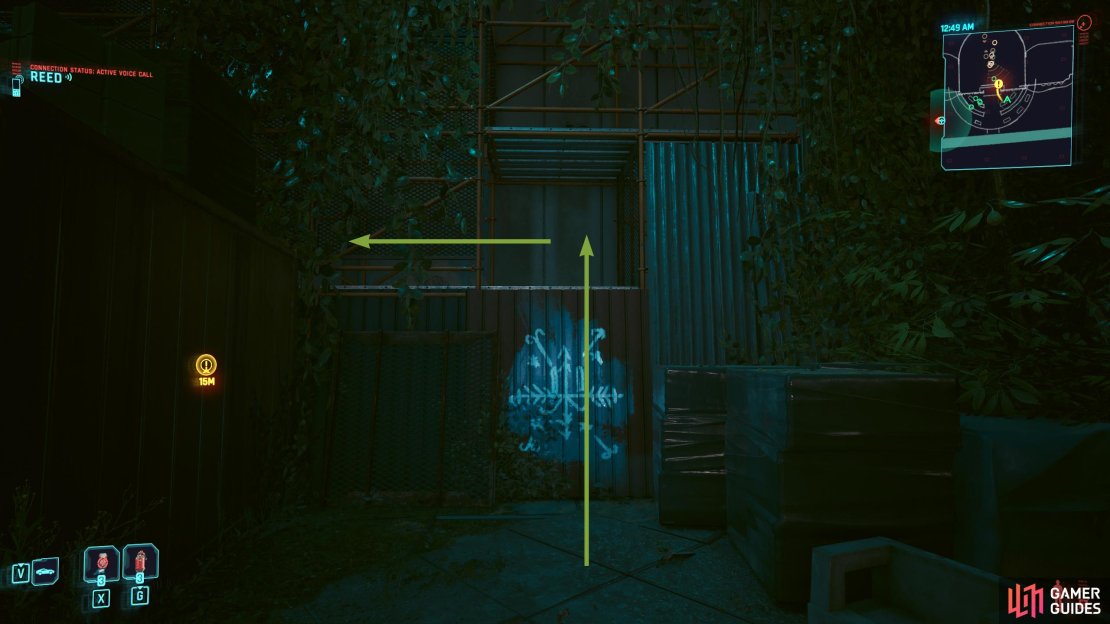
Head forward a bit, then go behind the container to your left where you’ll find a gap in the scaffolding you can jump into. Follow the ledges until you reach the top, but don’t climb up. Instead, follow the path around the corner to the right then drop. Head through the door, and pick up the loot straight in front if you want then open the door mentioned earlier to allow Reed in. Follow the linear path up the stairs, and you’ll find the incredibly large vent shaft.

Find Slider
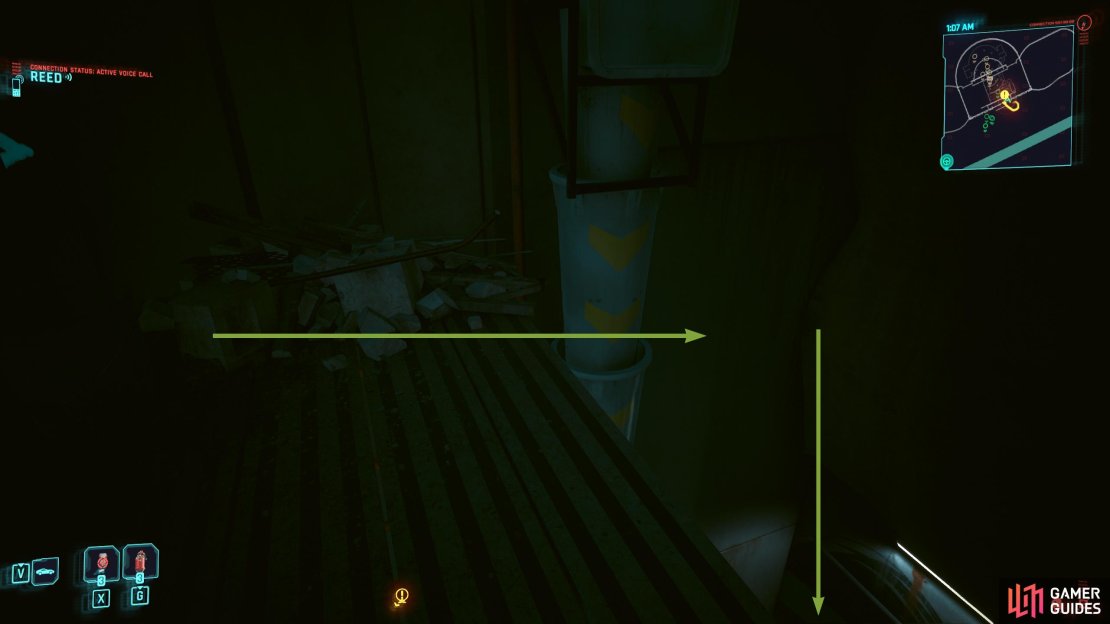
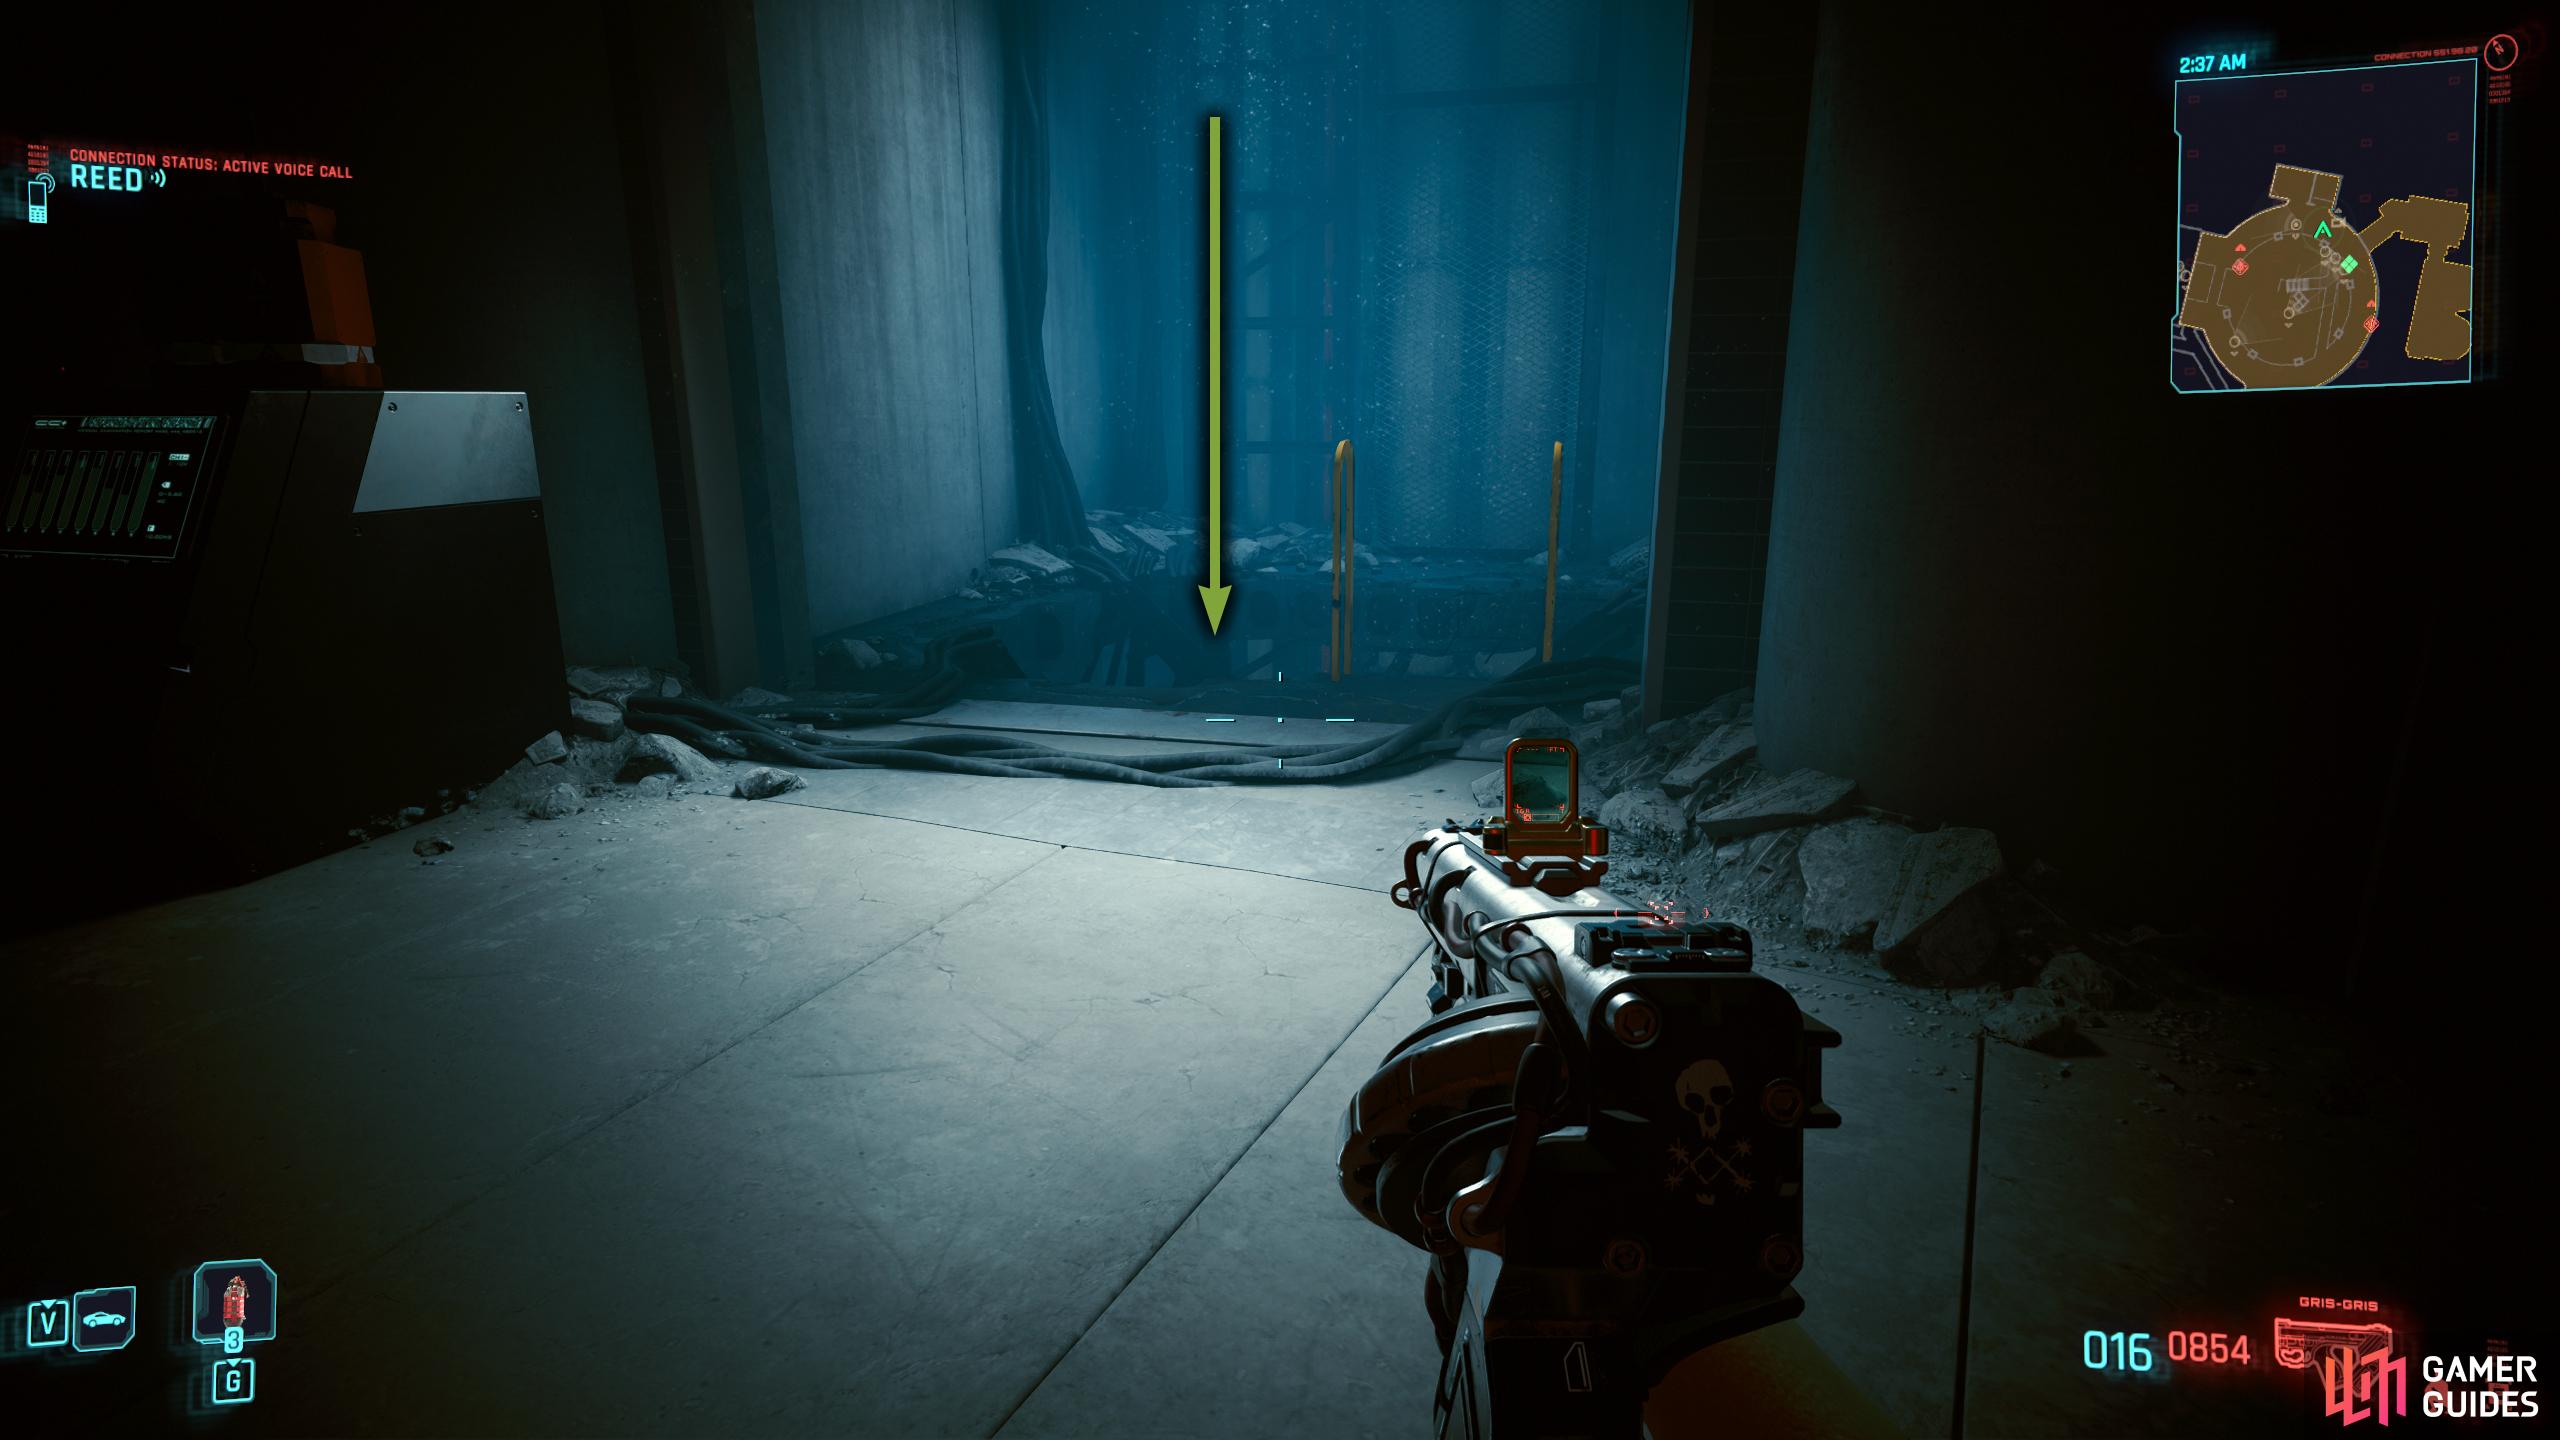
Proceed forward and hack the camera through the grate to your left then continue until you reach an intersection. To your left is a breakable hatch provided you have 20 Body and to your right is a trapdoor that can be disarmed. If you fool down the trapdoor, you’ll be trapped briefly before Reed busts you out, but the whole area will be on high alert, and you’ll have to defeat the Server “boss”, more on that later. Disarm the trapdoor, and follow the shaft to the right, pick up the loot, and exit the shaft.


(1 of 2) At the intersection in the vent shaft, you can either disarm the trapdoor, and go right.
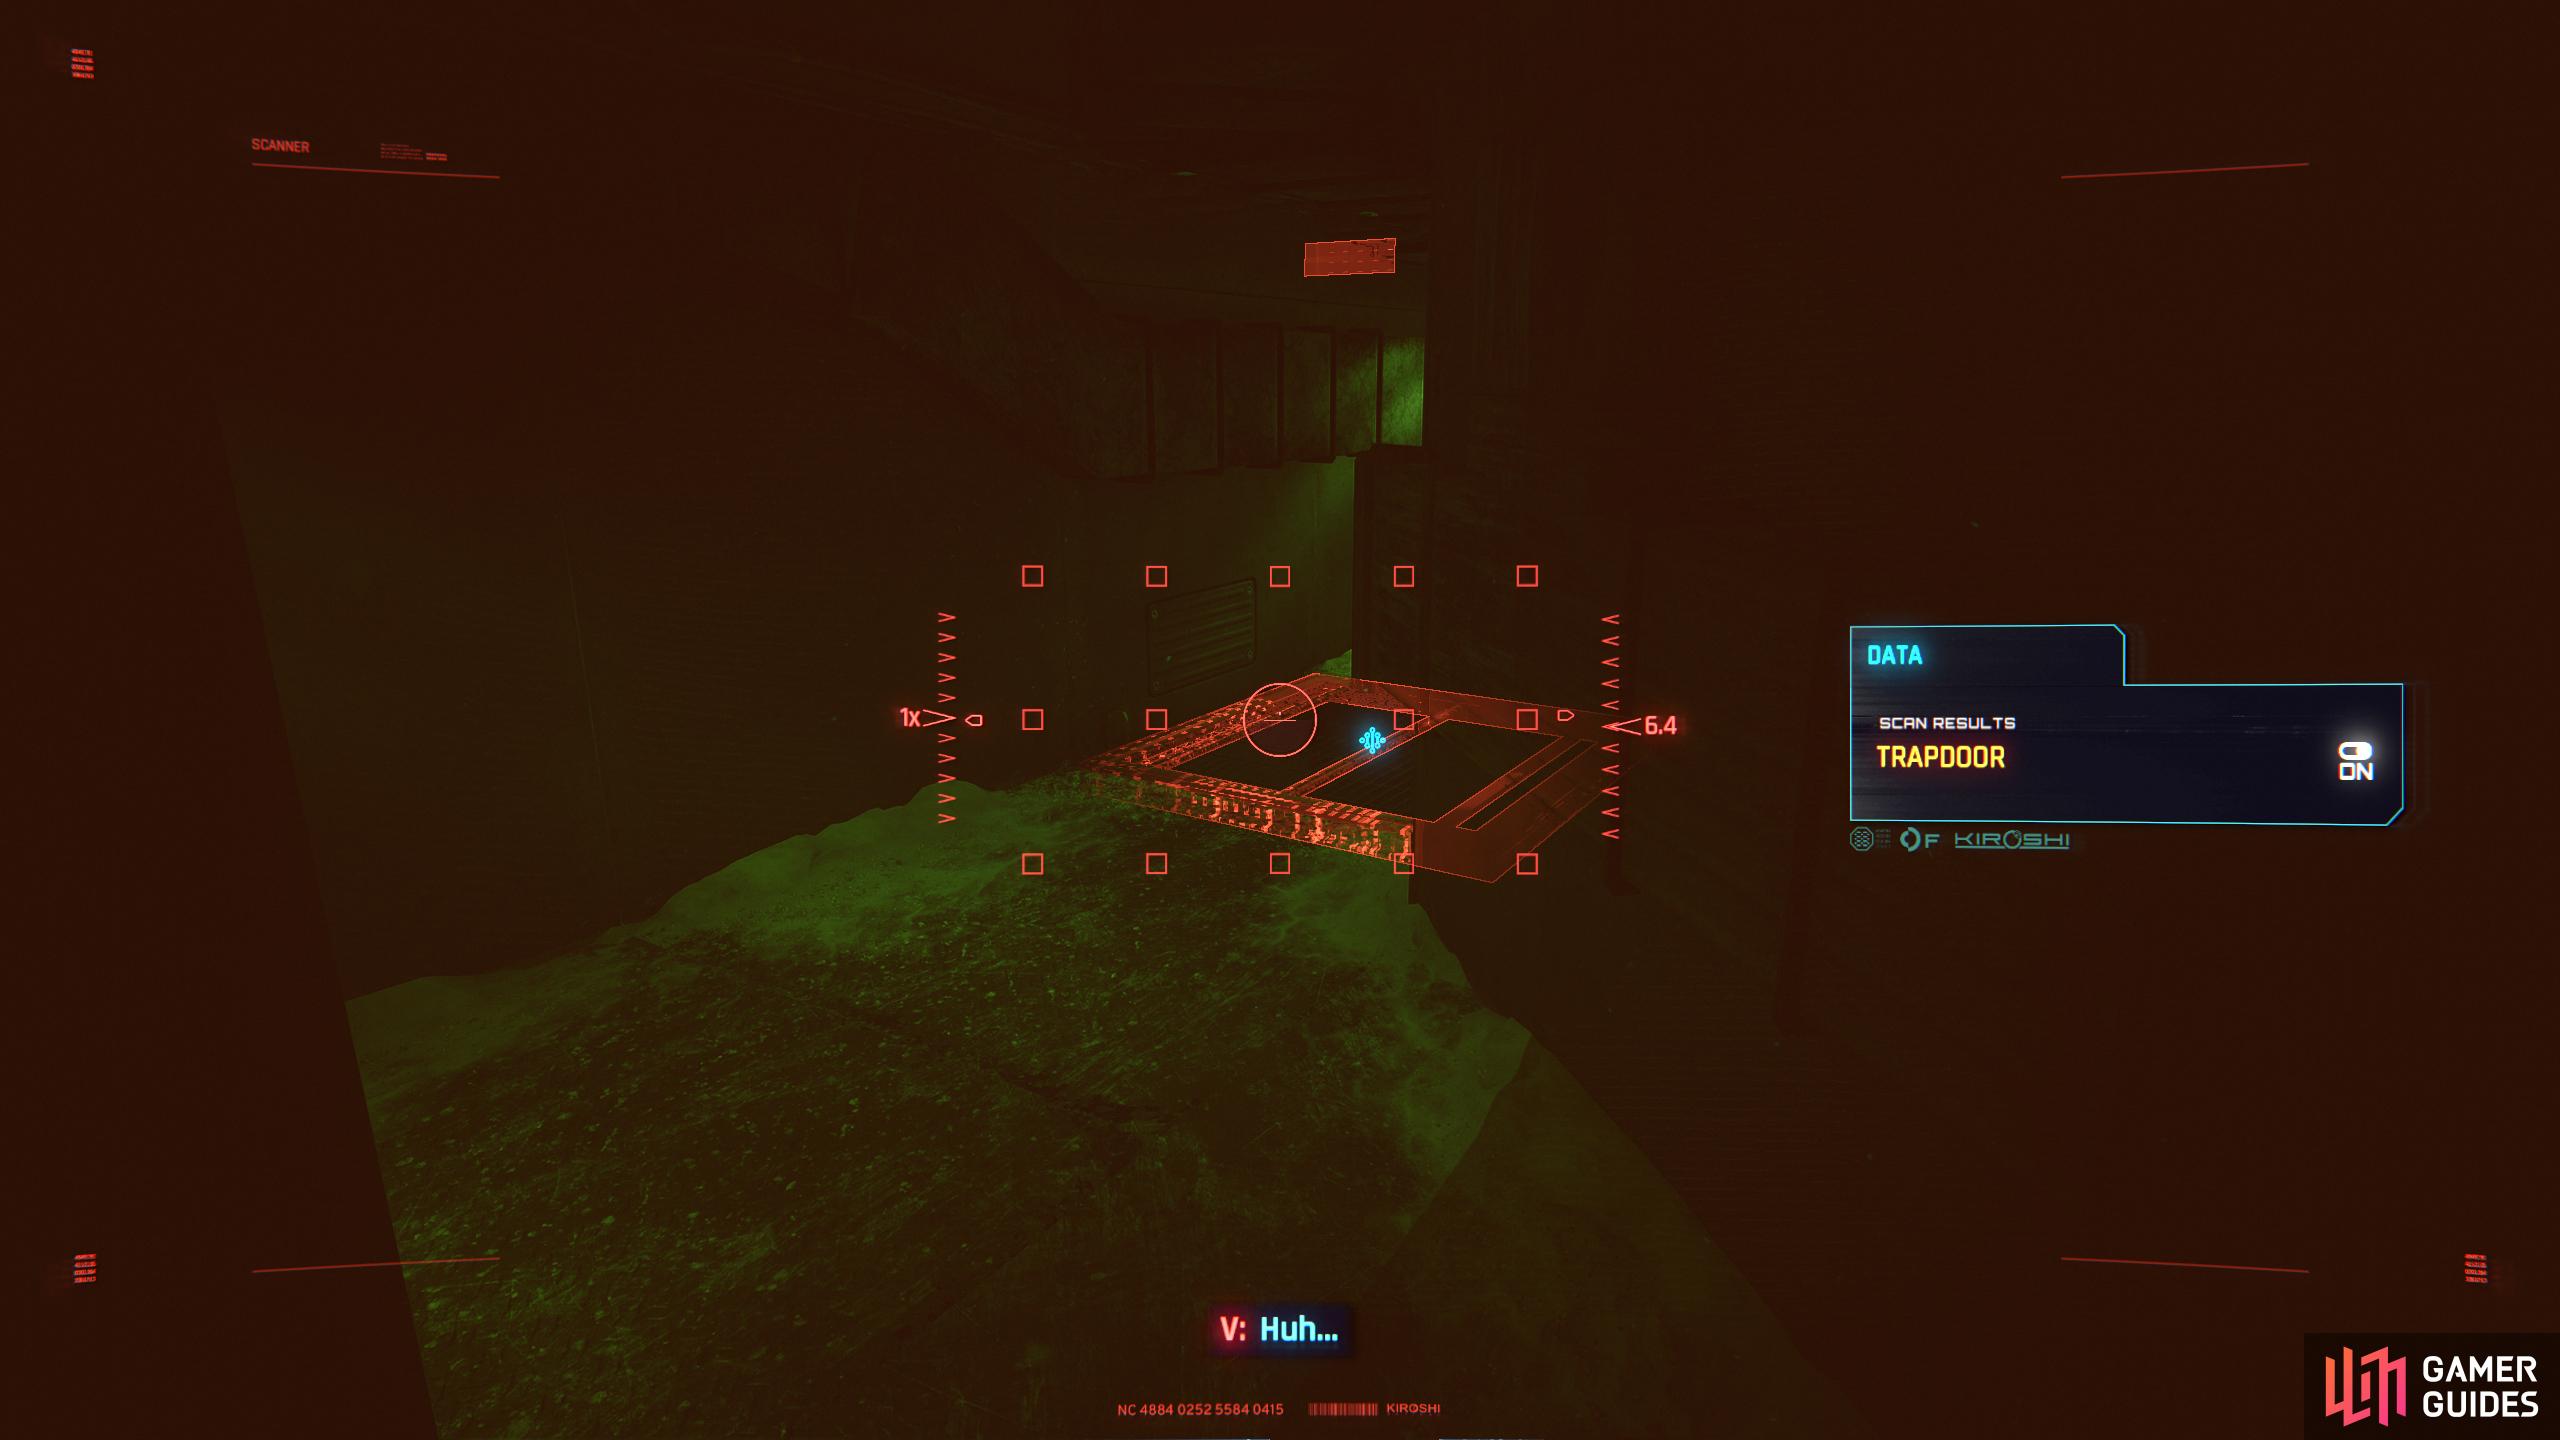
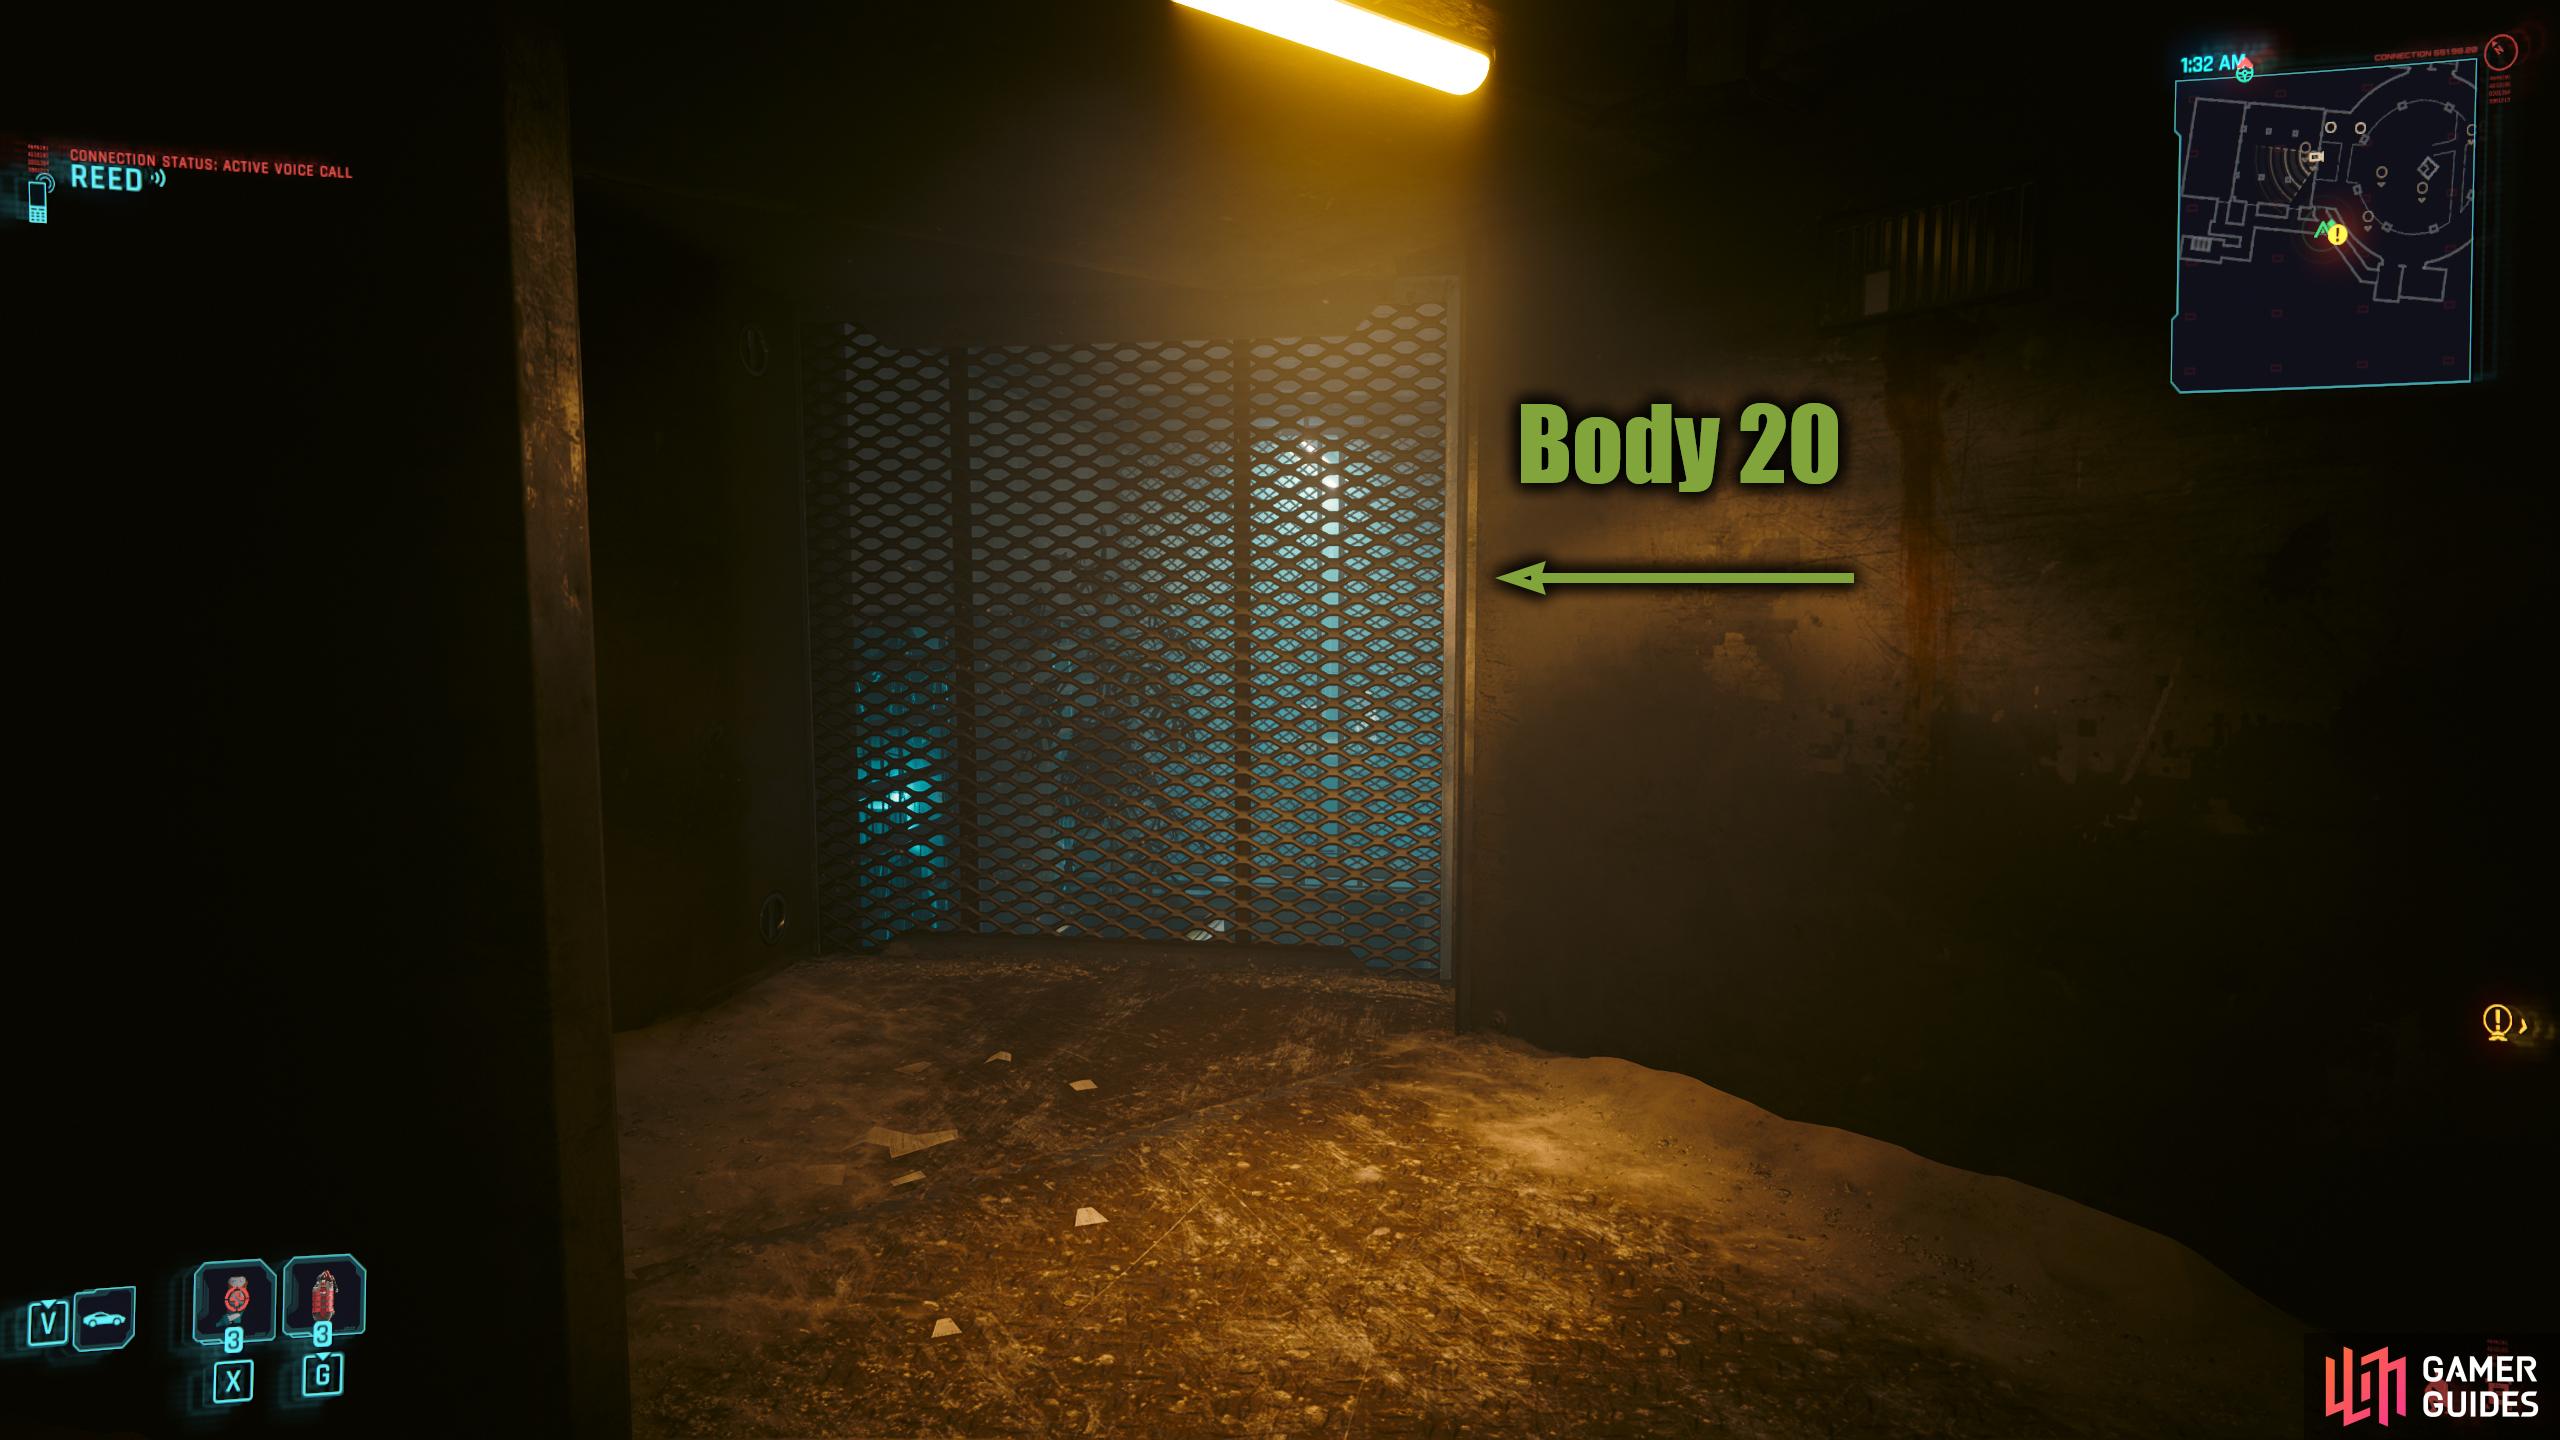
At the intersection in the vent shaft, you can either disarm the trapdoor, and go right. (left), Or, force open the shutter providing you have 20 Body. (right)
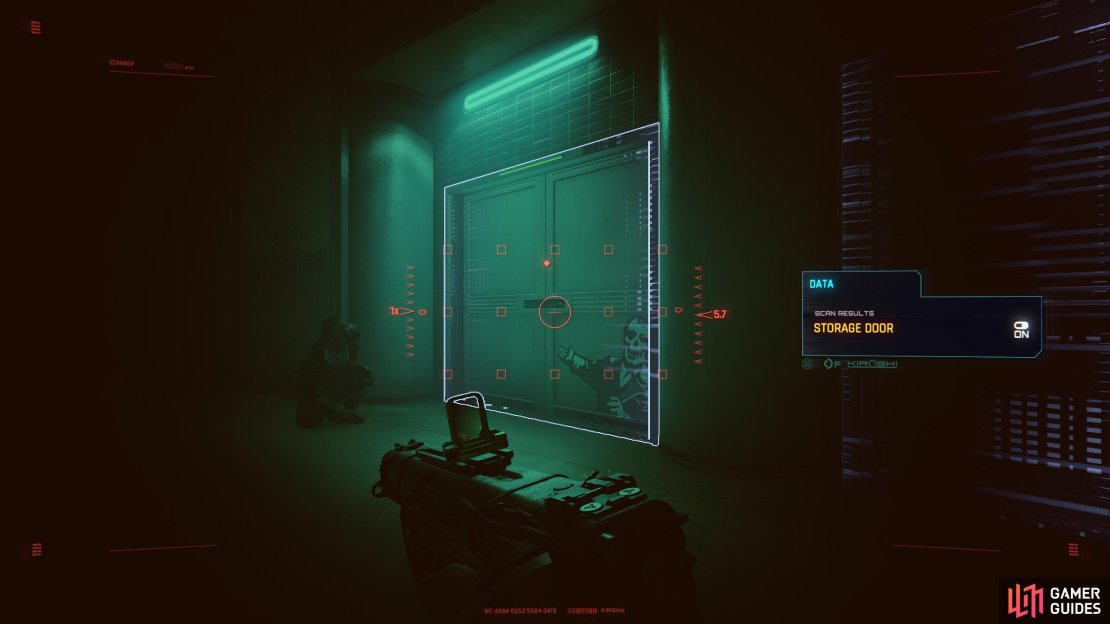
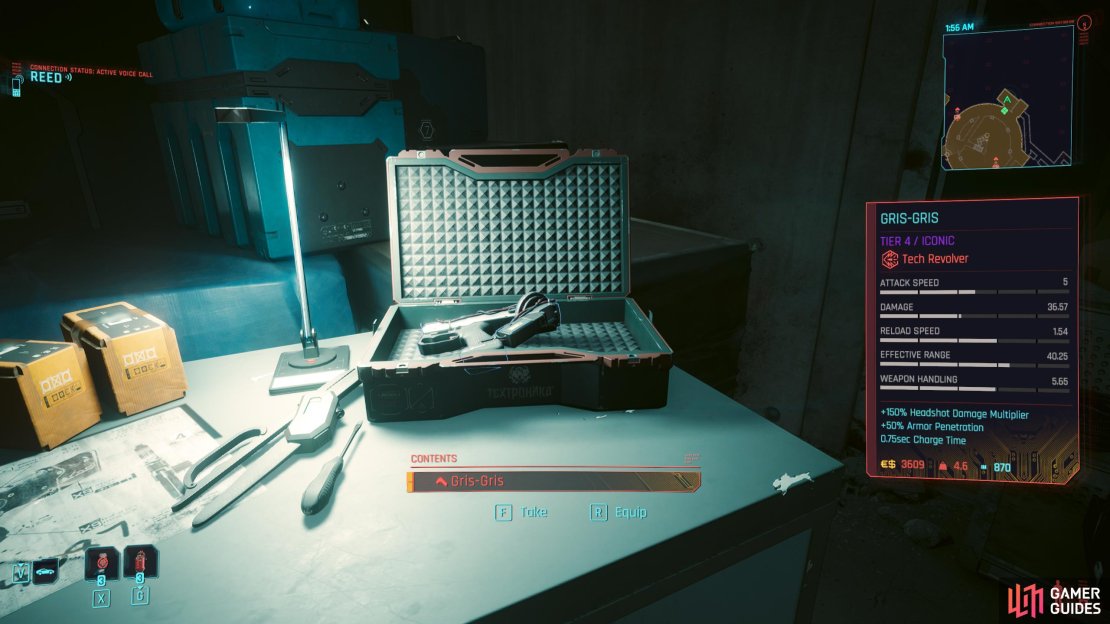
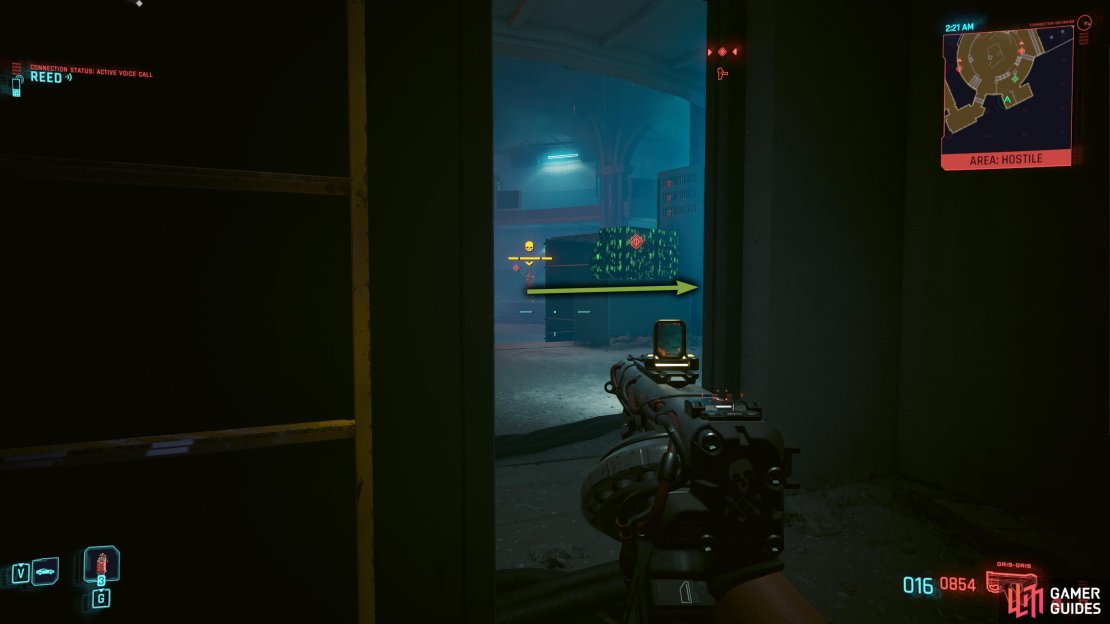
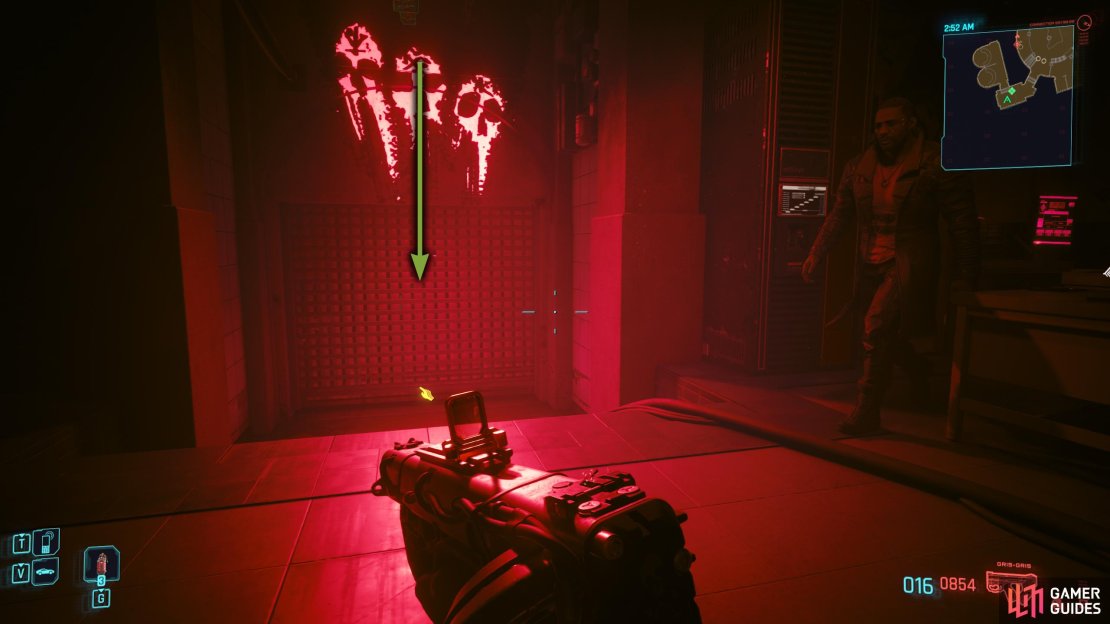
Open the door, and you’ll be on top of the walkway. The first thing you need to do is hack the cameras and turn them off. There are two from where you are, one to the left, and one to the right. With them taken care of, open the storage door to your right first, and you can find the iconic weapon Gris-Gris in the weapon cache as well as some tier 5 components in the ammo boxes. Now, sneak around the walkway to the left and take out the enemy. Use a distraction on the nearby server, grab the enemy, and dispose of them in the nearby dumpster. Now, hack the nearby computer to turn off the surveillance system, pick up the data shard, and continue heading around the walkway, taking out the enemies until you reach a ladder leading to the floor below (opposite side of where you came in).
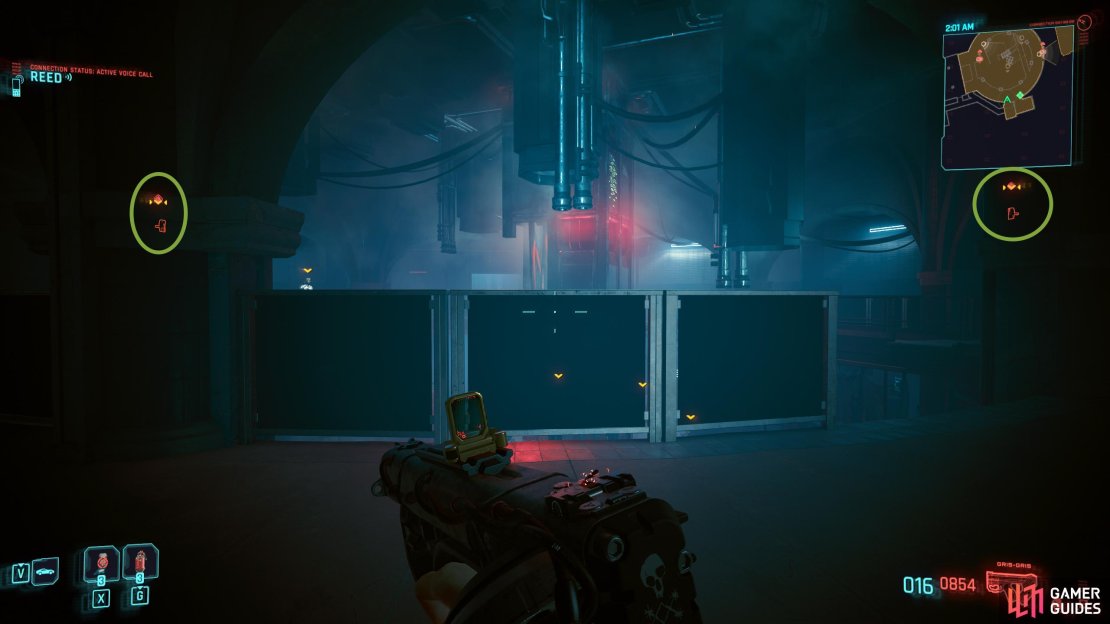
(1 of 3) Hack the camera’s to your left and right to turn them off.
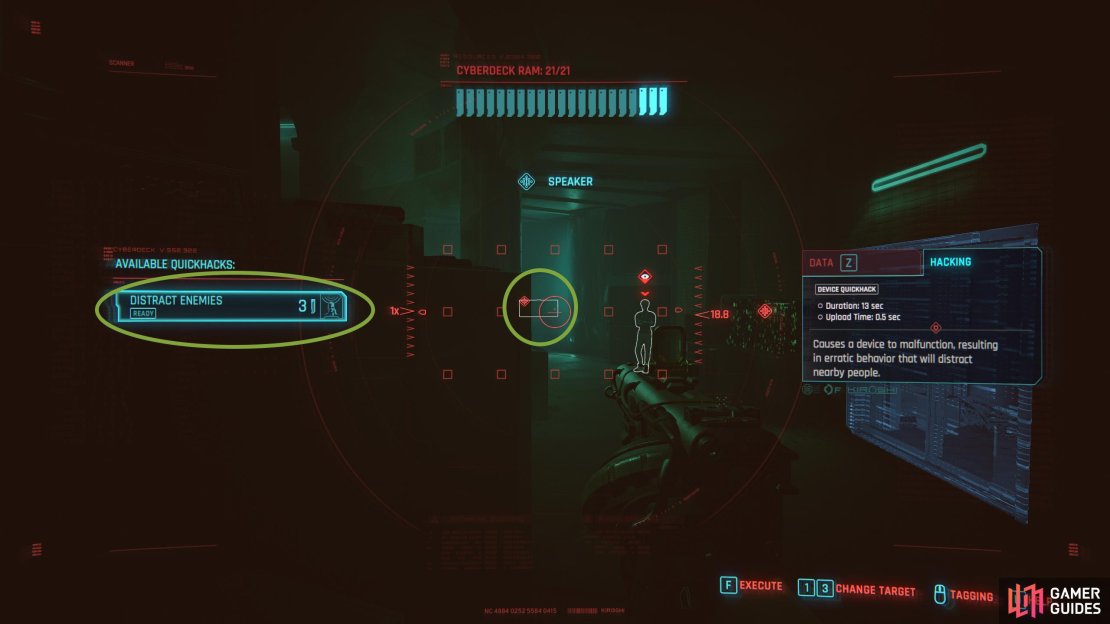
On the bottom floor, exit the small ladder room and head right. Once again, stay hidden, use the environment to move enemies by distracting them, and perform a stealth kill on the guards then place them in the nearest dumpster. Two enemies on the lower floor are hard to get past. The first one is when you get near the main door as they will be standing in front of you, looking in your direction. Distract them by hacking the speakers behind them, and quickly sneak to the right corner behind the dumpster.
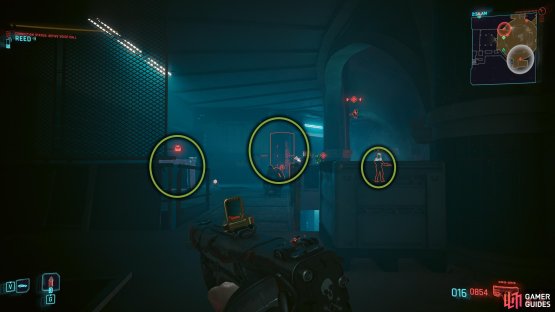

(1 of 2) Distract the guard by hacking the machine in the middle. Grab them, and throw them in the dumpster to the left.

Distract the guard by hacking the machine in the middle. Grab them, and throw them in the dumpster to the left. (left), Follow the walkway until you find a ladder leading down. (right)
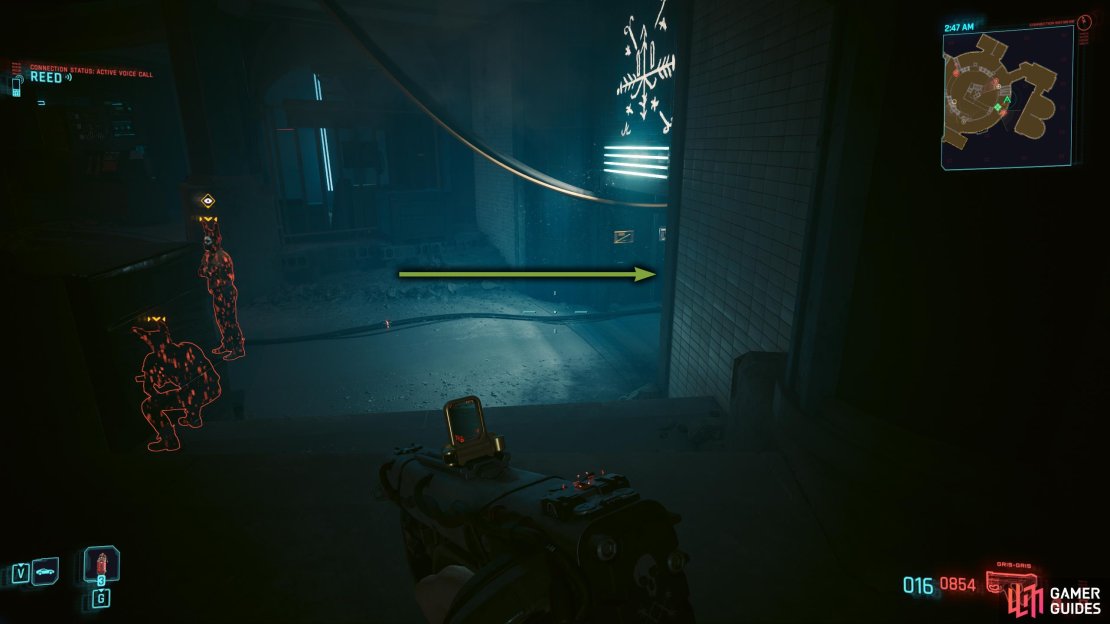
They will walk your way, and stop near you, looking in the opposite direction. Quickly grab them, and throw them in the dumpster. If you start getting seen again, wait in the same corner until it passes. The next troublesome customer would be the enemy near the computer, past the door, you can force open (15 Body) due to the same reason. Hack the computer system, turn the surveillance system off, and then hack the screen behind the enemy to distract them. Now, head over to them, grab them, and throw them in the nearby dumpster.
Finally, hug the right wall (if Reed doesn’t get in your way) and sneak past the two guards on the left into the room on your right. There is a security camera at the back of the room, but it should be off if you used the computer earlier. Now, you can loot the room (data shard on the desk) before opening up the shutters to your right. In this area, Slider will know you’re here, but there are no more enemies for now. You can check out Wilky Laguerre’s aka Slider’s medical assessment from the nearby data shard on the couch to your left then continue along the linear path until you meet Slider.

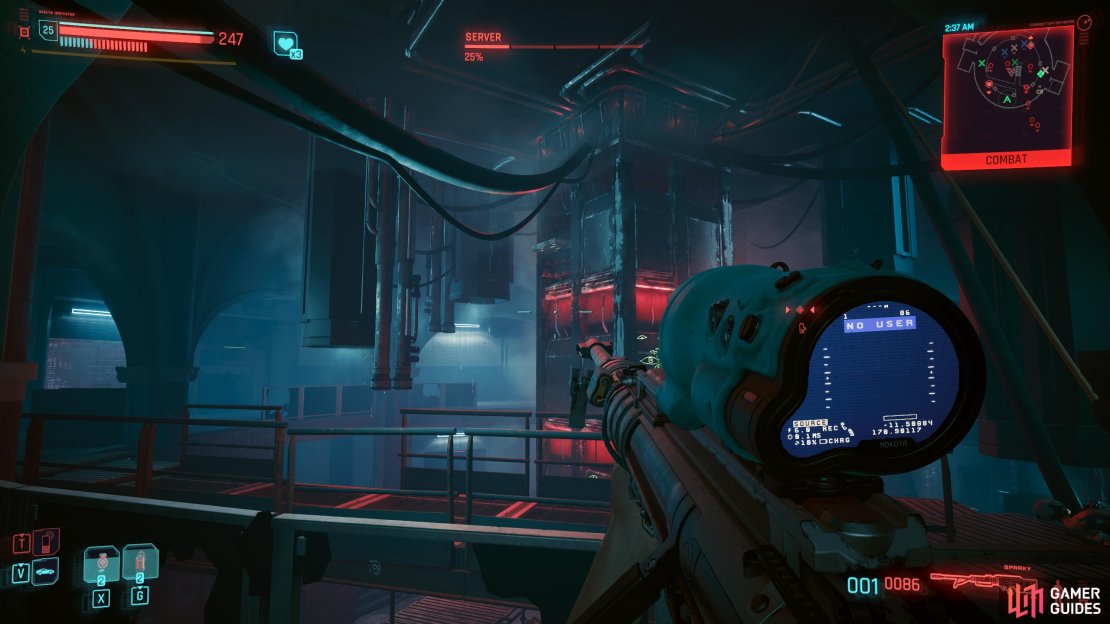
How to Defeat the Server Boss
We are calling this a boss even if it is just a server. It has a health pool and deals damage to you, that’s good enough for us. If you fight your way to Slider, or you get caught before finding him, you’ll have to deal with this. You will constantly get hacked by the Server with Voodoo Daemon which will deal damage to you when the hack finishes. While this is happening, you will have to fight the entire stronghold of the Voodoo members which can make this overwhelming.

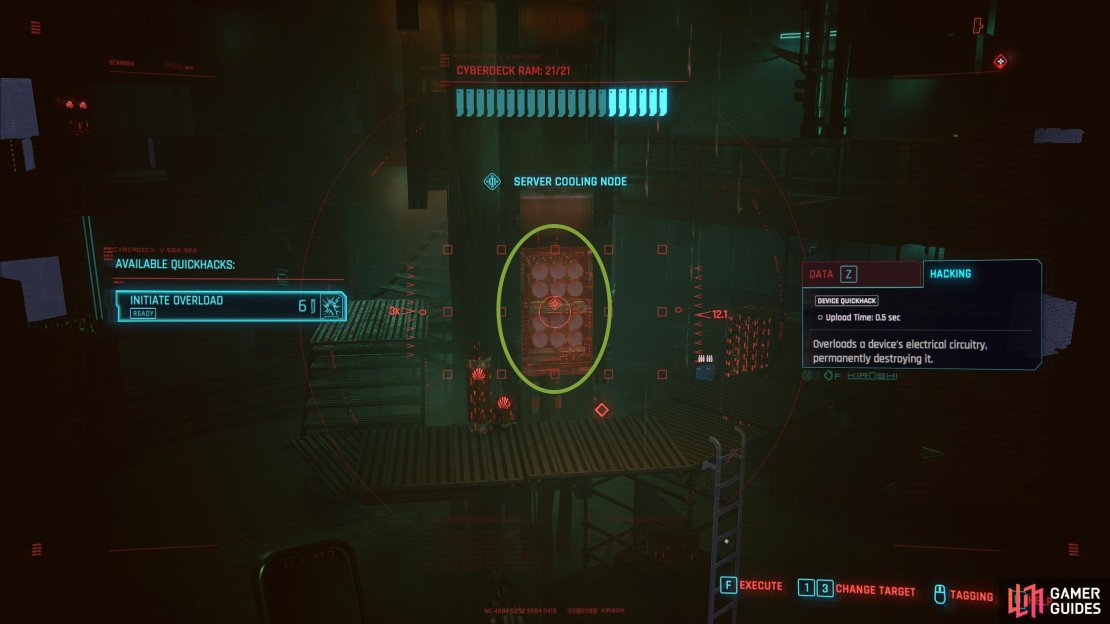
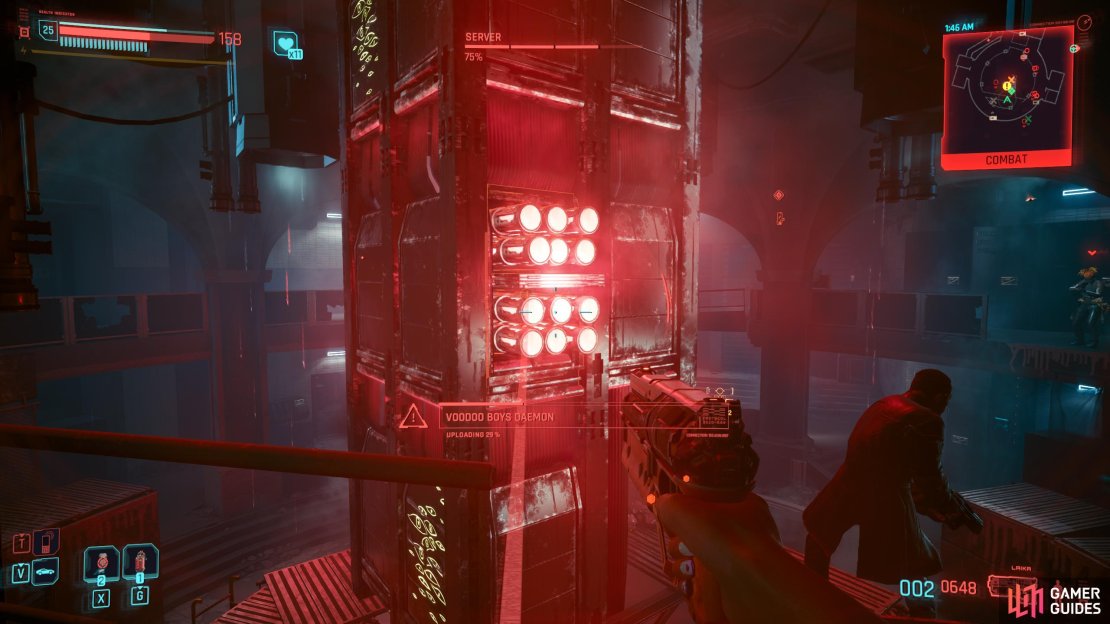
(1 of 4) The Server will lose 25% damage every time you destroy one of it’s cooling nodes.
The best way to deal with this is to head to the top floor. That way you can use the railing as cover while you take out the enemies, and destroy the cooling nodes in the center. There are four in total to destroy, and each time you destroy one, the current hack being deployed will be stopped. The easiest way to destroy the nodes is to scan/overload them, but they can be shot by destroying them too.
Talk to Slider
Now, Slider isn’t the cooperative type, but he really doesn’t have a choice. Speak to him, and select any of the choices as they will all lead to the same thing including the choice about him looking at your relic, so just agree to that, and jack in. Proceed through the scene answering how you’d like, and you’ll find out that Songbird contacted you through the Blackwall which is a big no-no for netrunners. When netrunners are found using the Blackwall, they are normally flat-lined, regardless of your station in life which makes Slider want to stop straight away. Unfortunately for him, Reed won’t give him a choice, even if you would.
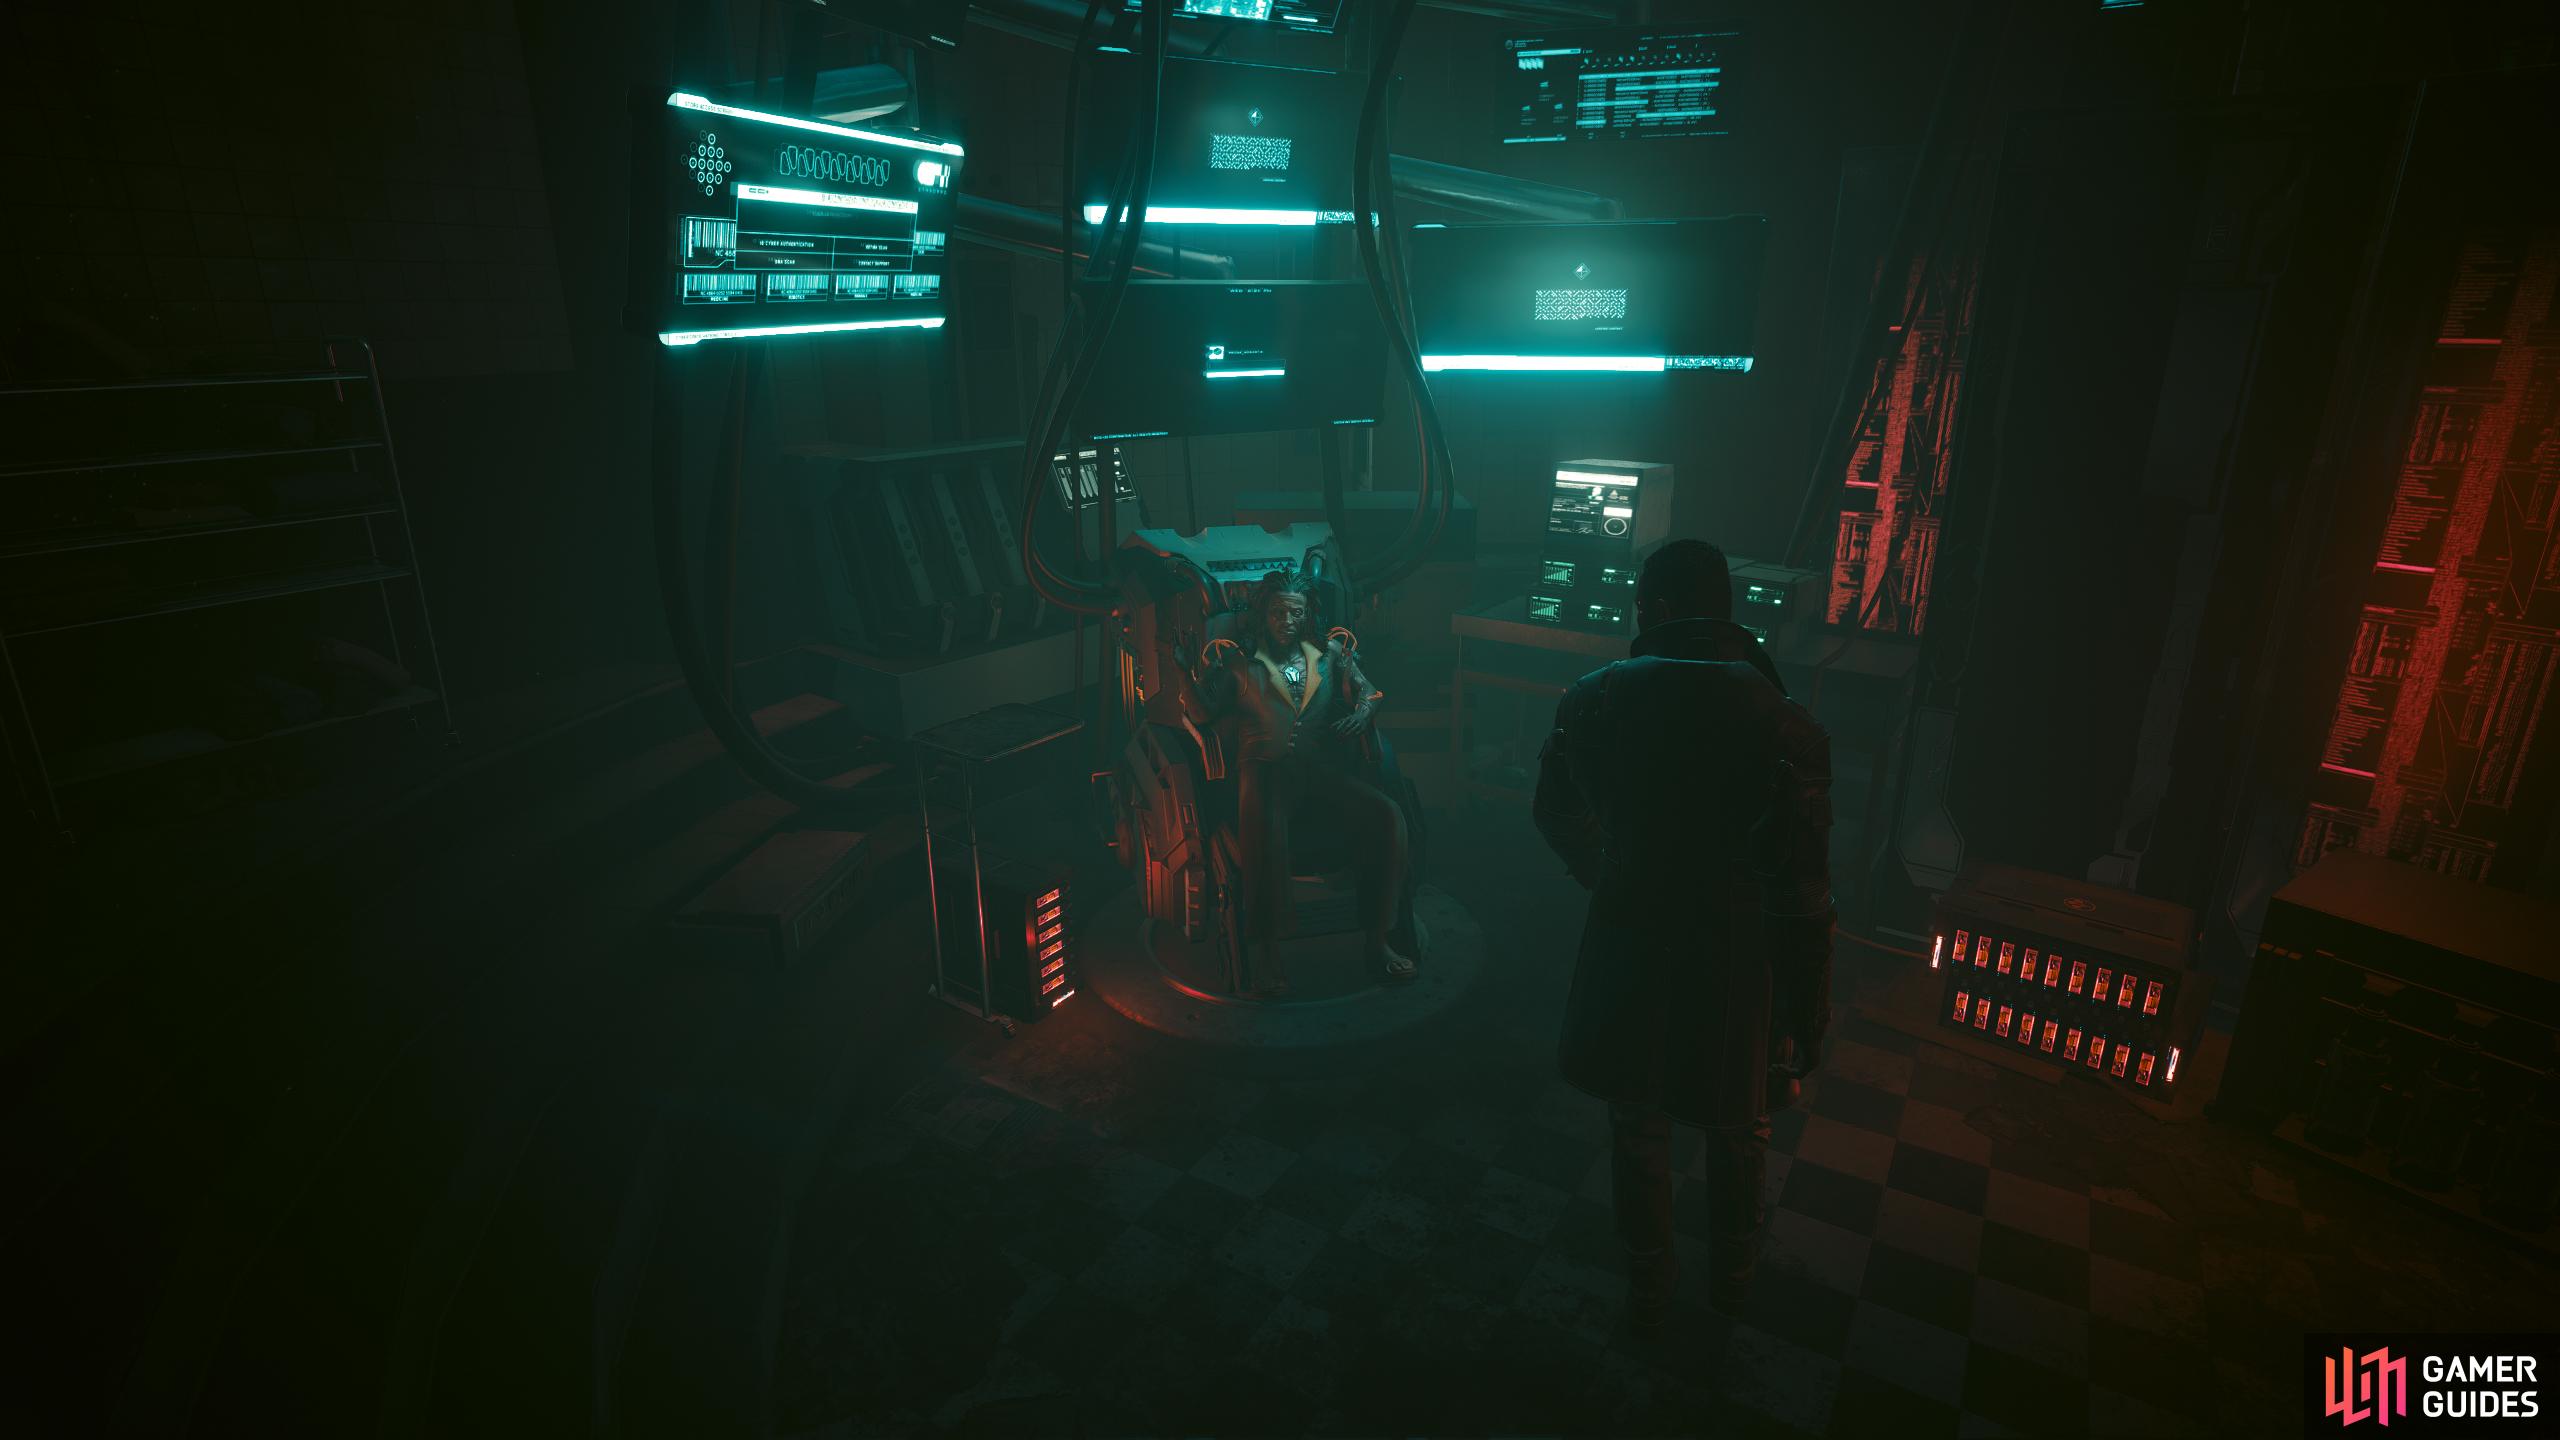
Now that you’ve found Slider, you just need to get him to agree to help you. Don’t worry, Reed has you covered.
After Slider’s been persuaded, he’ll connect to the Blackwall, and you’ll eventually talk to Songbird. A lot of stuff goes on here, but the short of it is that Songbird has been taken by Hansen, and you’ll need to find a way into the Black Sapphire shindig that he’ll be hosting. When you’ve found out what you need, you’ll have to quickly try to jack out before Slider flat lines, but it’ll be too late regardless of what you do.
Leave the Voodoo Boys Hideout with Reed
You have what you came from, but now you need to escape the hideout. Before you do, pick up the data shard from the table on the opposite side of the room then leave the way you came in. There is some loot to pick up in the main server room which you may want to pick up, especially the Tier 5 components in the weapon cache near the turret as well as a terminal to hack for quickhack resources/crafting spec.
When you’re ready, head toward the exit via the vent shaft, or if you’re feeling lazy, the front door, but you’ll need to take out a few enemies. Once you’ve exited the building, follow Reed until you’re safe, and tell him what Songbird told you. After the conversation, the mission will end, and the next mission, Get it Together will start.
More Cyberpunk Phantom Liberty Guides
If you fancy a change from all the story missions, why not try out some other new features of the expansion, such as Airdrop, Relic Points, or even purchase some new cyberware. Follow the links below for more Cyberpunk goodness:
No Comments