


No good deed goes unpunished, so it should be no surprise that your last job - pure mercenary work, at the very best - came with unexpected complications. The mysterious woman you rescued last mission apparently came with more than a swanky insurance policy - you seem to have caught some neurovirus from jacking into her. After explaining the situation to Jackie, V will suggest meeting with Viktor.
Well, you won’t be very effective with your implants bugging out.
How to Complete The Ripeprdoc
Exit your apartment and once outside wait for a call from a woman named Regina, who conveniently offers you some jobs. Nothing comes of this immediately, but she’ll be peppering your map with various Gigs before long.
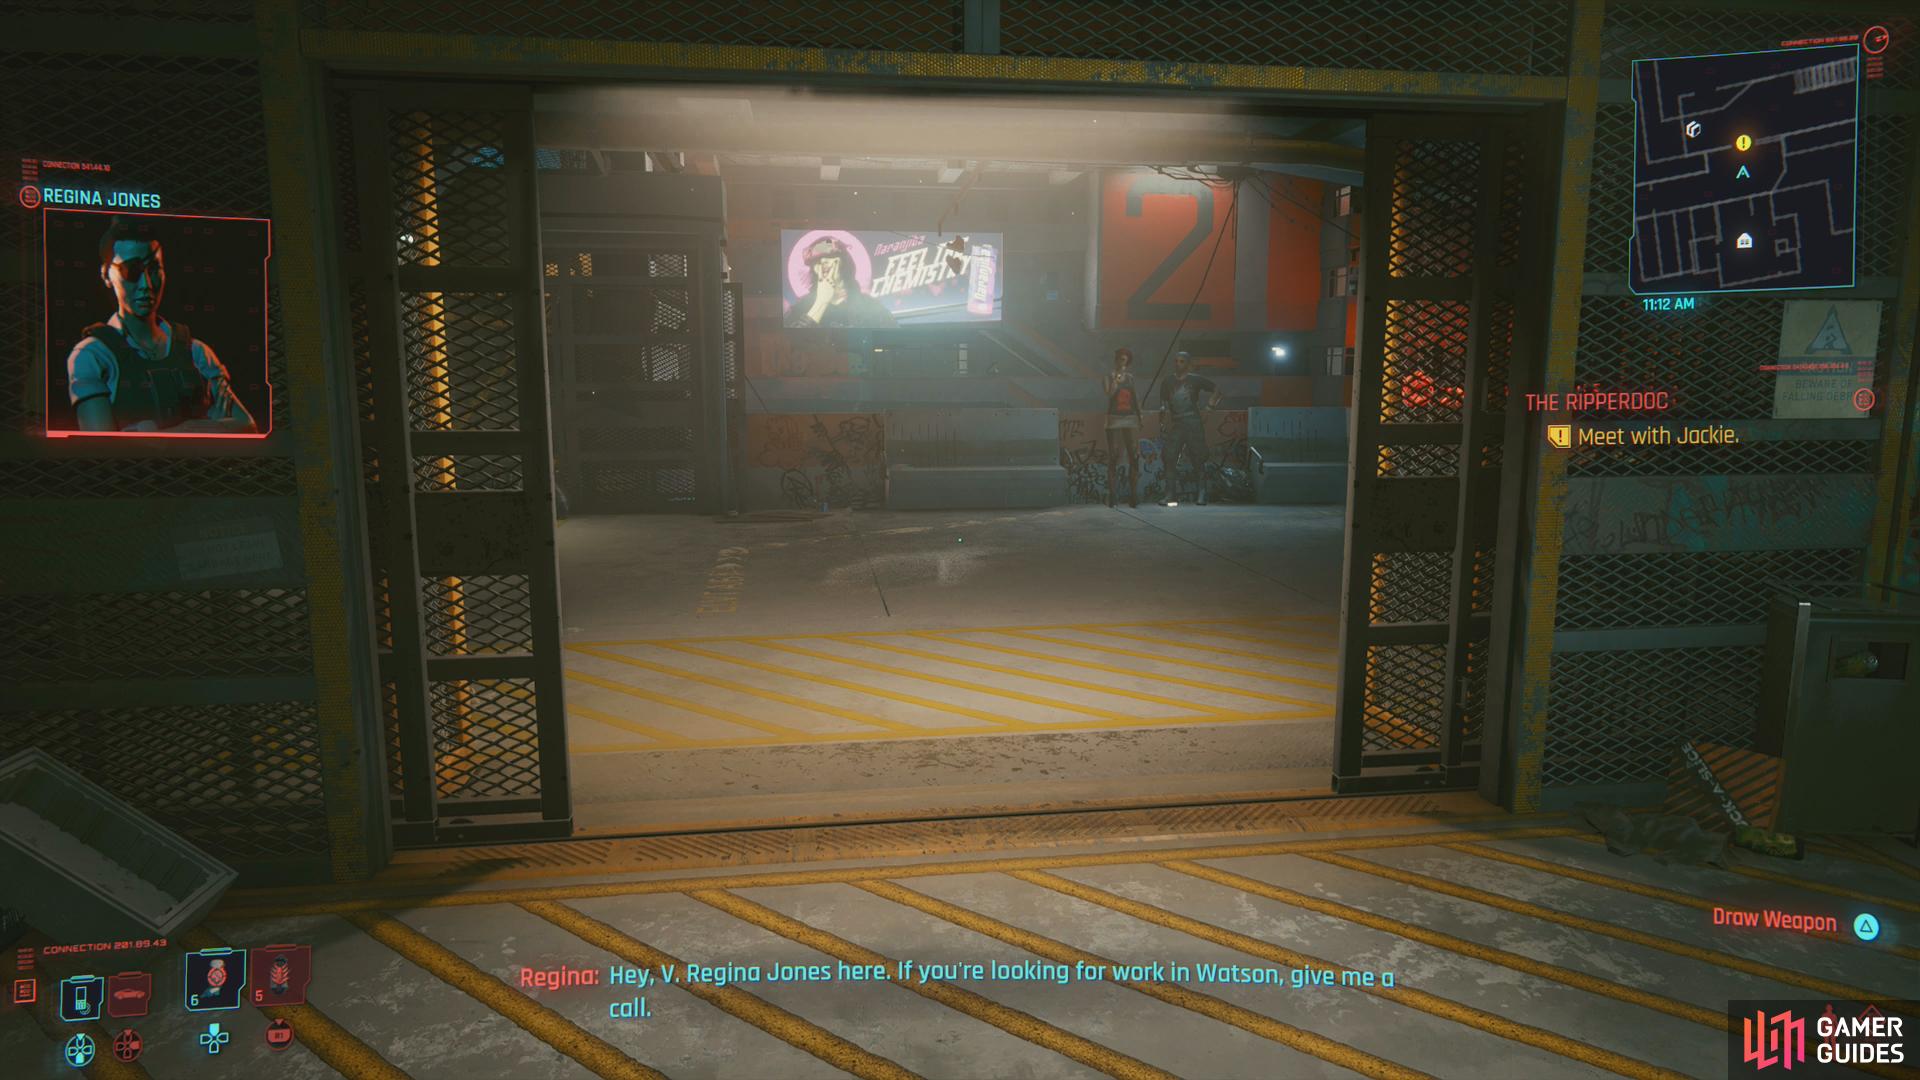
Shortly after exiting your apartment you’ll get a call from Regina, offering you work.
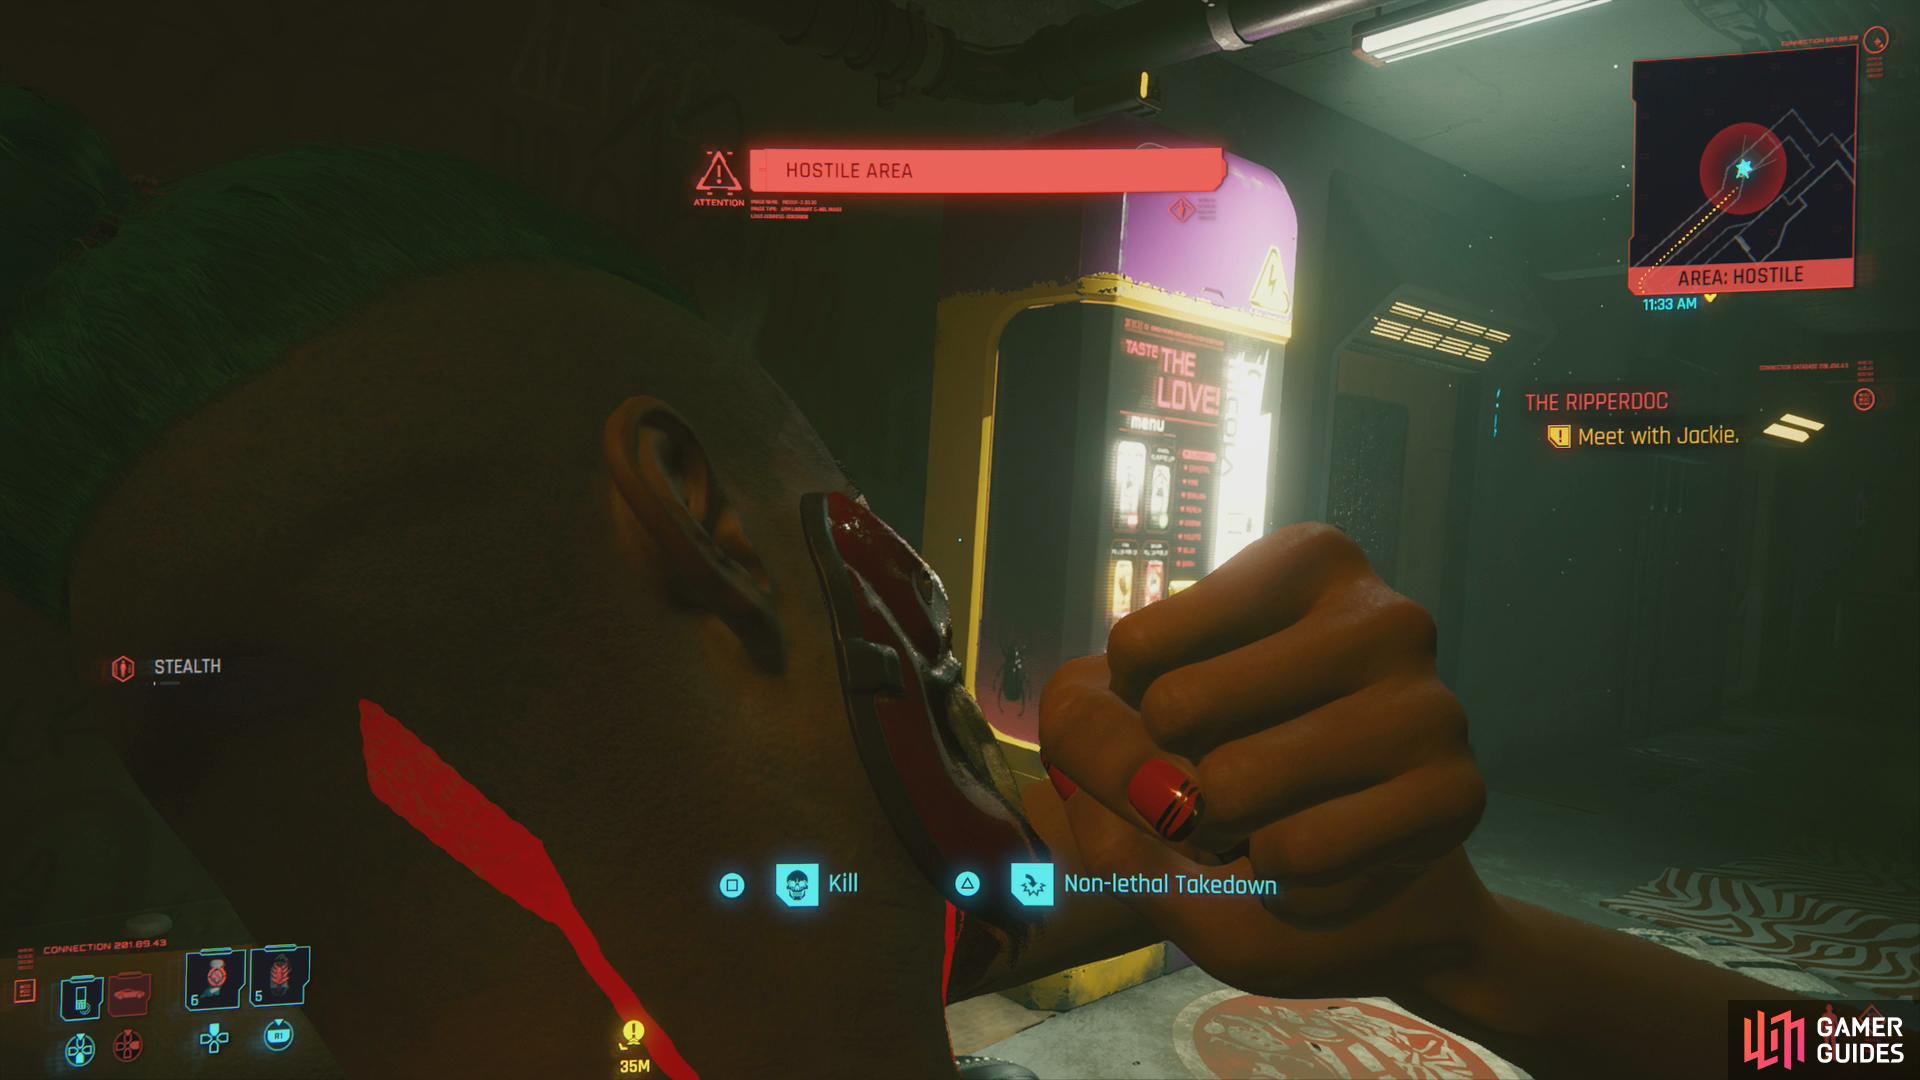
Take a detour down a hallway and put down a thug to introduce yourself to the lucrative art of vigilantism.
Note the now-open gates across from your apartment, which is where you’re supposed to go. Before continuing on, turn left and head down the hallway, following it until you find some thug attacking a woman. This introduces you to “hostile situations’, which are indicated by a star on your map. These are just random world events that pop up as you explore, and while there’s no reward for helping distressed victims out, the experience and loot you’ll earn from doing so might be worthwhile enough. In fact, most criminals, thugs, and other ne’er-do-wells can be freely attacked without serious repercussions.
Potential hostiles are marked with a yellow triangle, be they some ganger, unaffiliated thug, scavenger, or NCPD beat cop. Most of these potential enemies will leave you well enough alone if you keep your distance, but some are understandably territorial. If you want to grind and just terrorize the streets of Night City for random foes to prey upon, they’ll respawn every couple of days - just return to your apartment, enter the [Touchpad] menu, and opt to “Skip Time” and/or rest in your bed, repeating the process until a few days have passed.
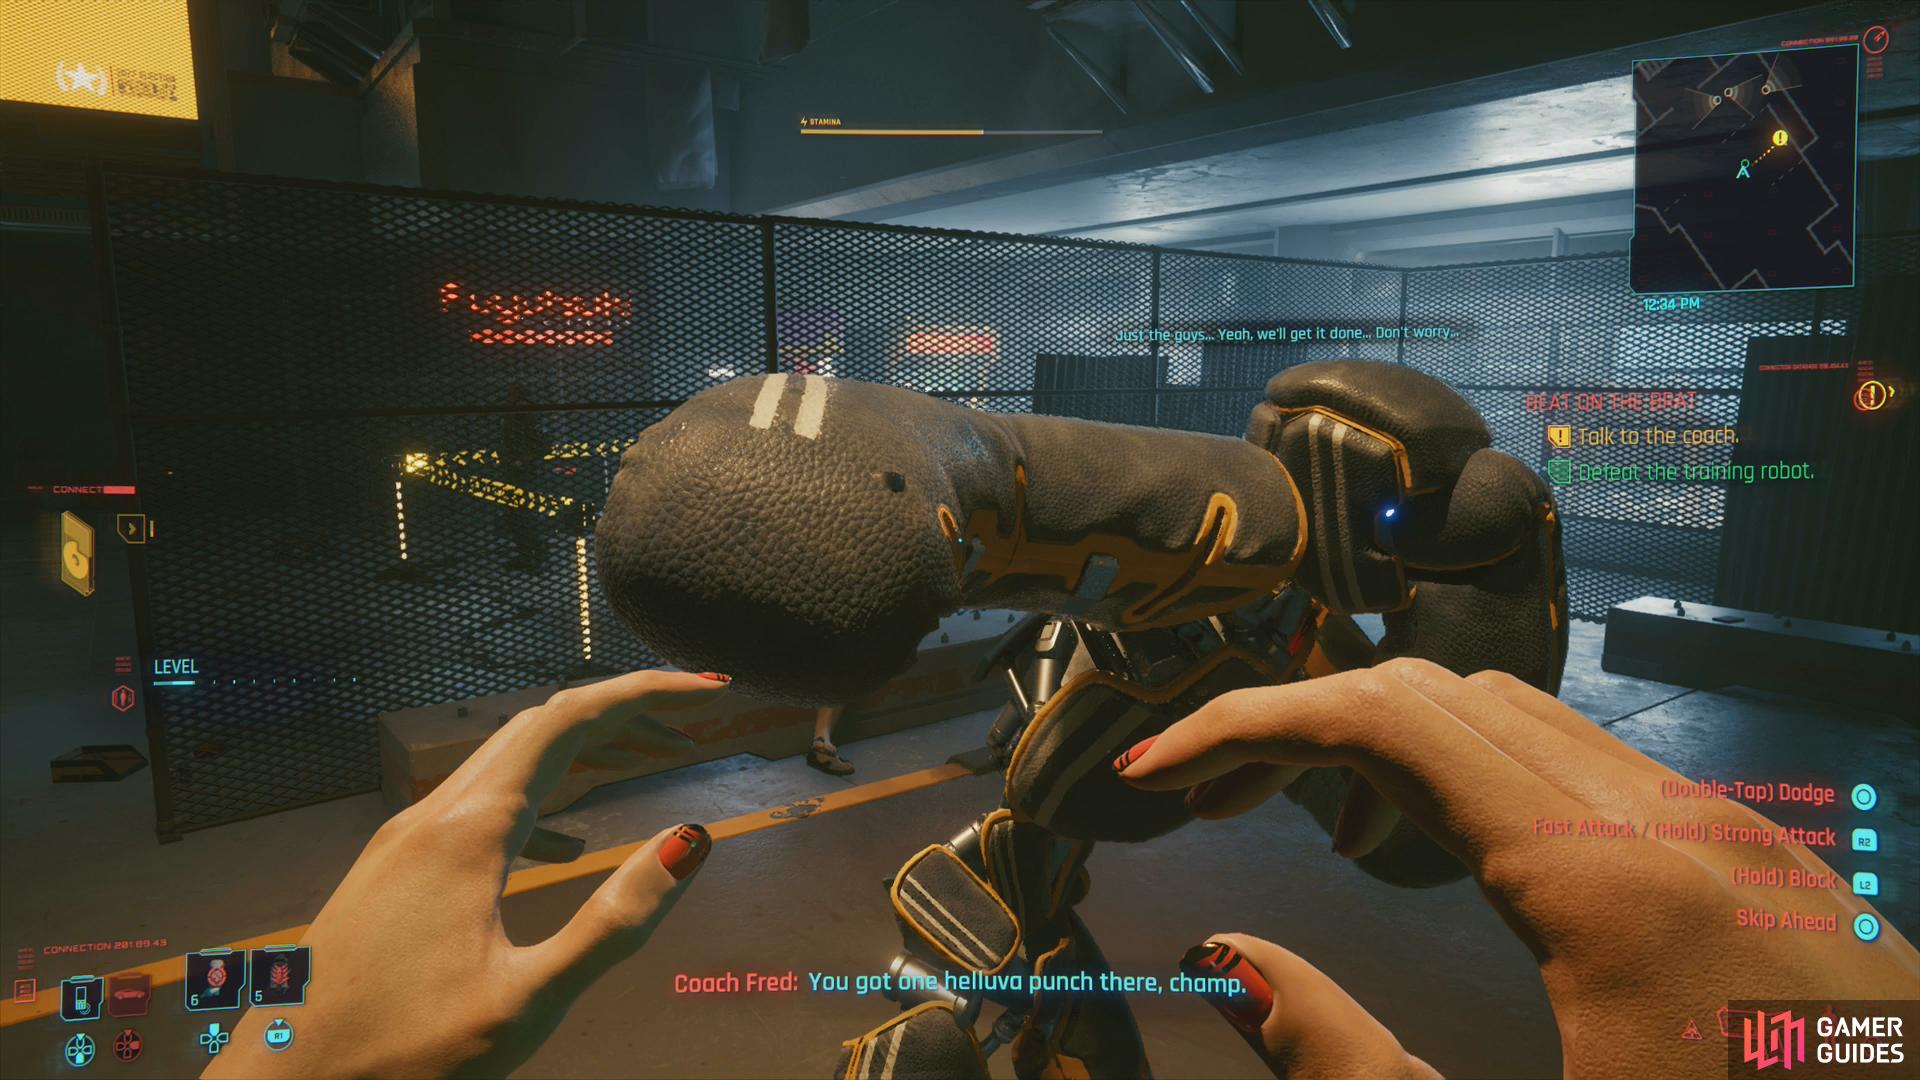
Thrash Coach Fred’s training bot,
then talk to him about turning your violent impulses into cash flow.
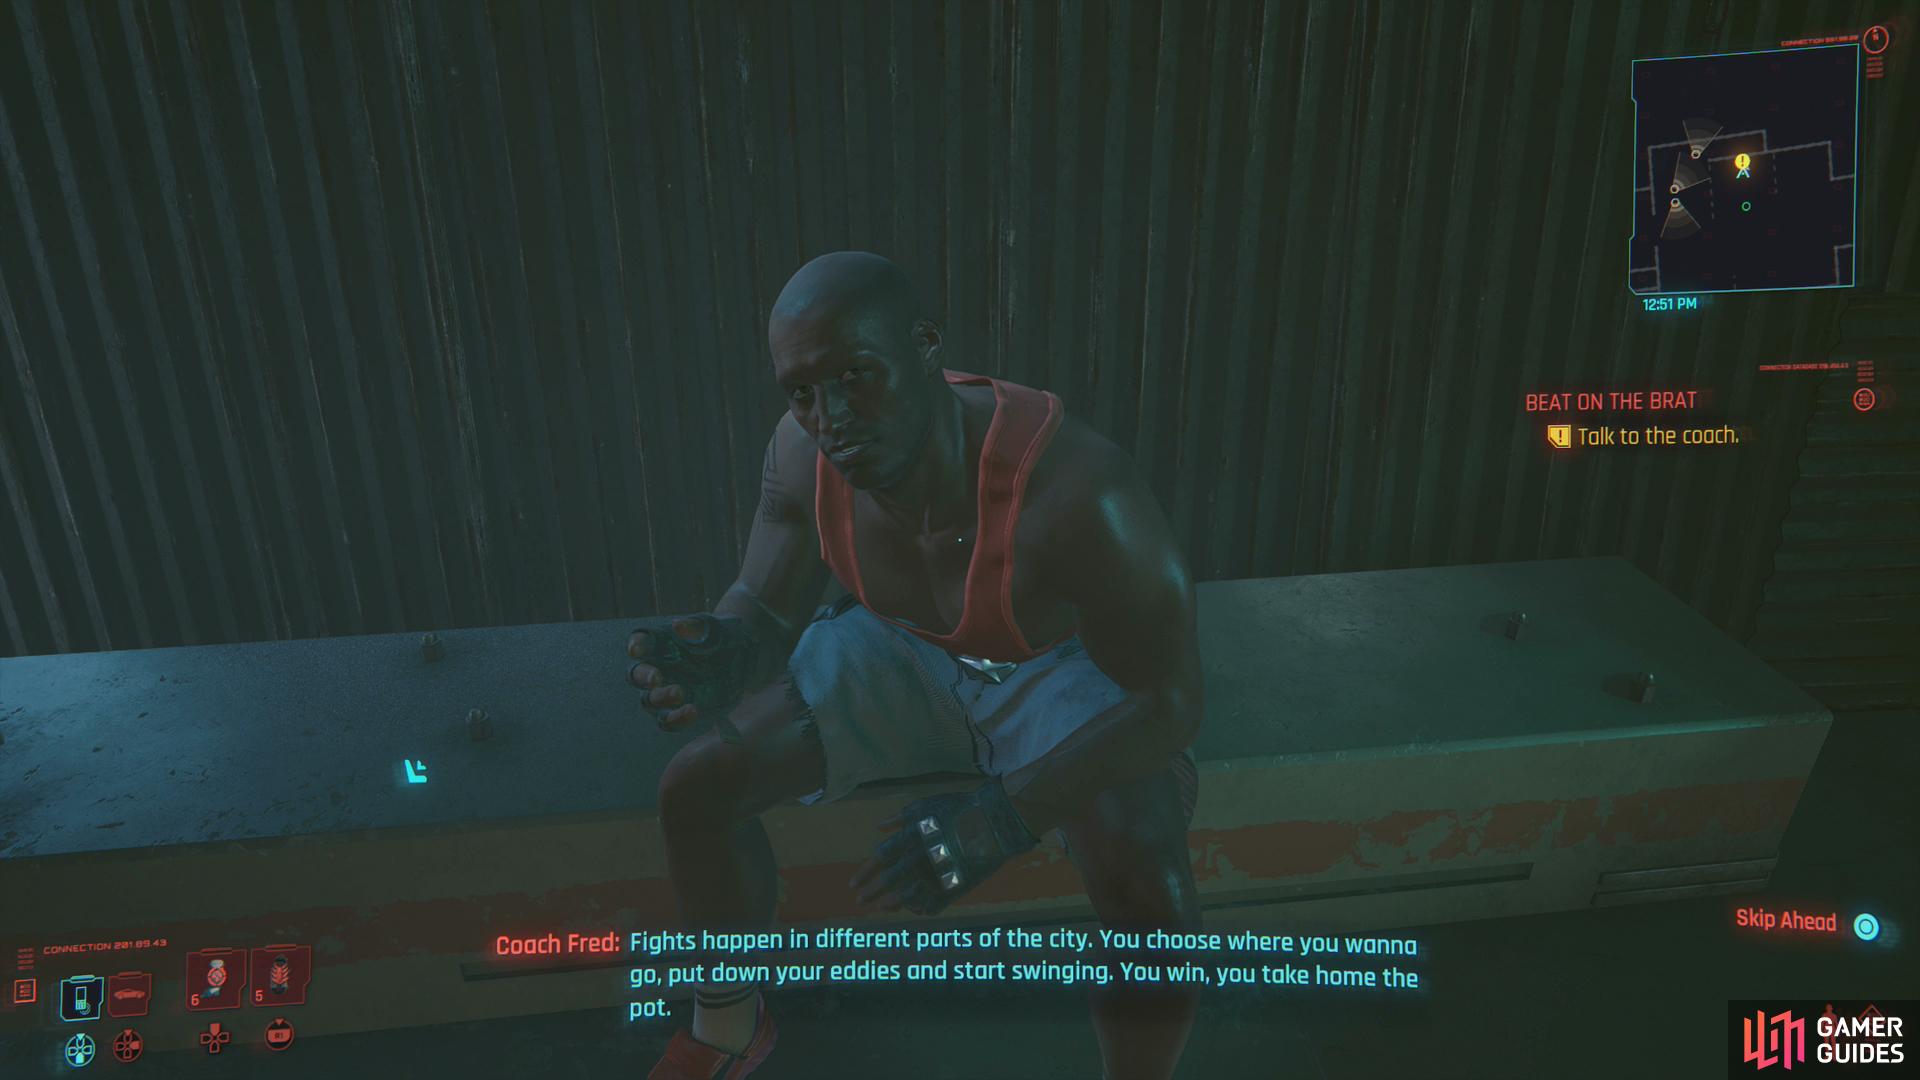
Anyways, return to your apartment door and continue through the open gate across from it, head down the stairs to the right, continue forward until you’re forced to turn left, then keep on until you’re hailed by Coach Fred. Talk to him and he’ll introduce you to his robotic “punching bad”. Agree to fight it, then smack it a few times to impress Coach Fred, who offers you an opportunity to monetize your pugilistic prowess. Respond with ”About these fights…”, then follow up with either yellow dialog option to start the superquest [Beat on the Brat] and one of its component side jobs Beat on the Brat: Kabuki.
Given the danger ratings on these, you might as well avoid them for a while. Still, it doesn’t hurt to pick them up now. It’s also worth noting that Coach Fred sells a variety of goods, including melee weapons. The best of the bunch are a legendary Baseball Bat and a legendary Katana, which you have neither the €$ nor the Street Cred to afford right now.
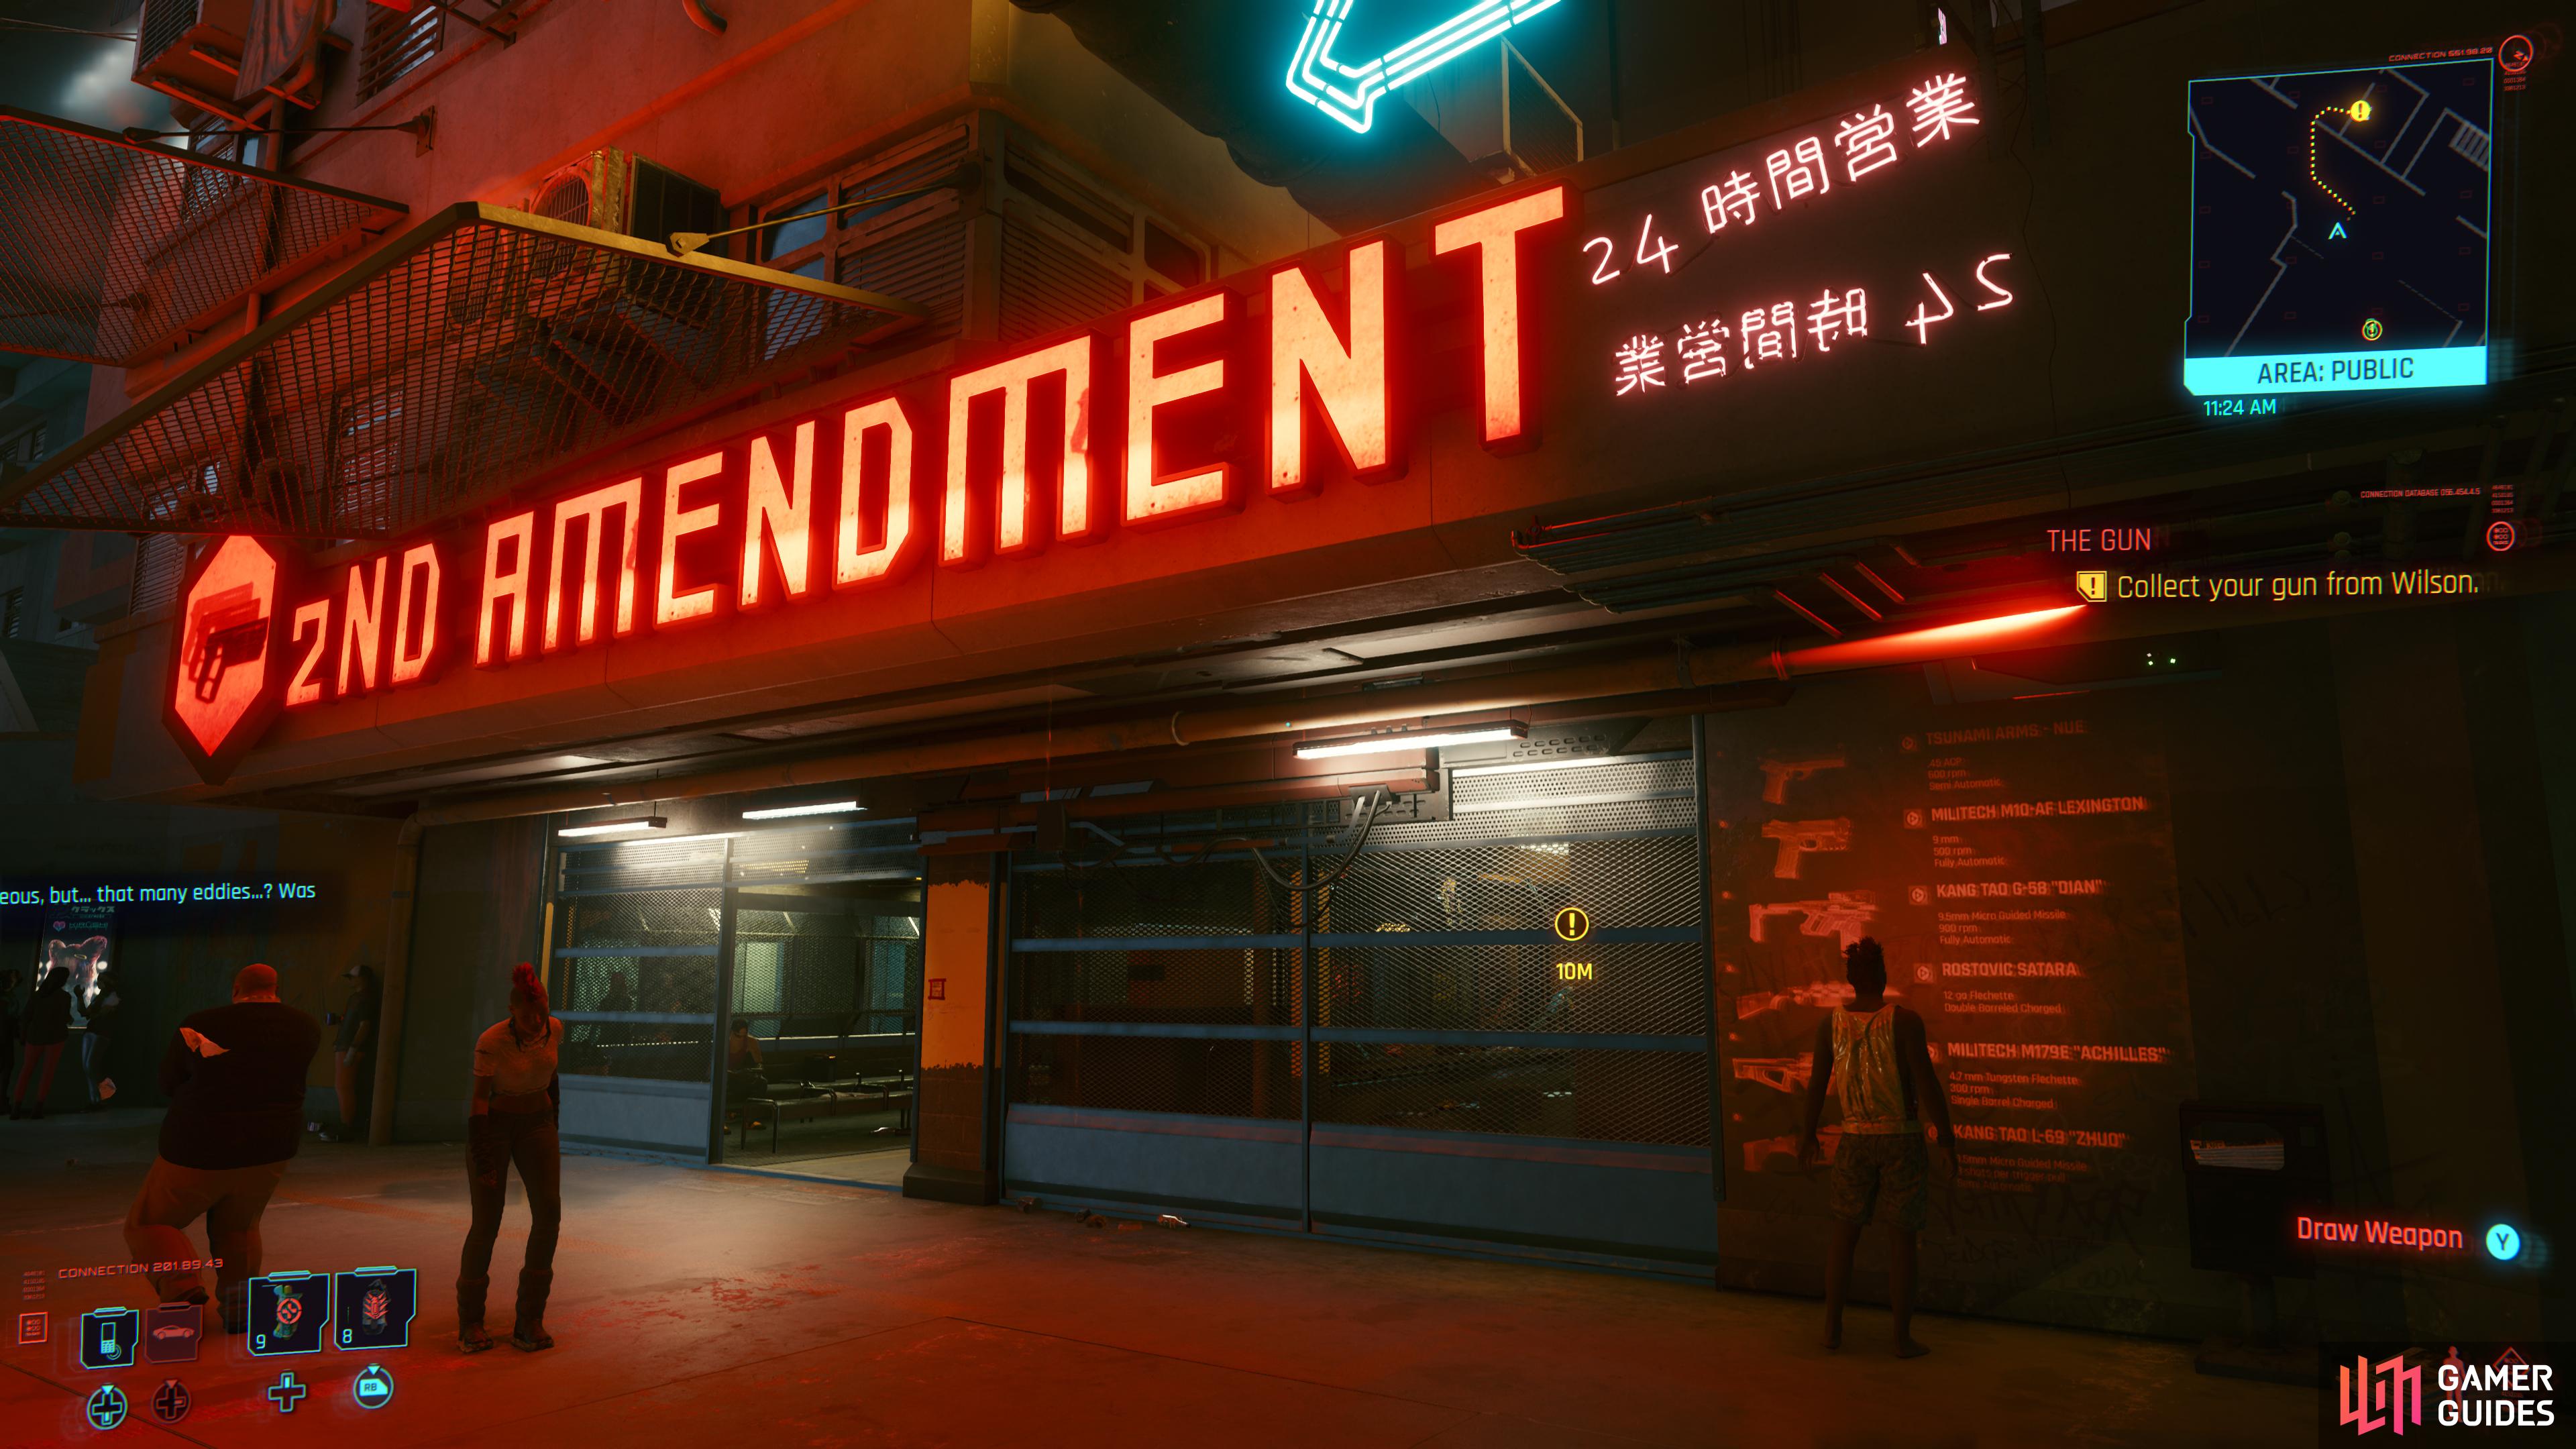
Head over to Wilson’s gun shop,
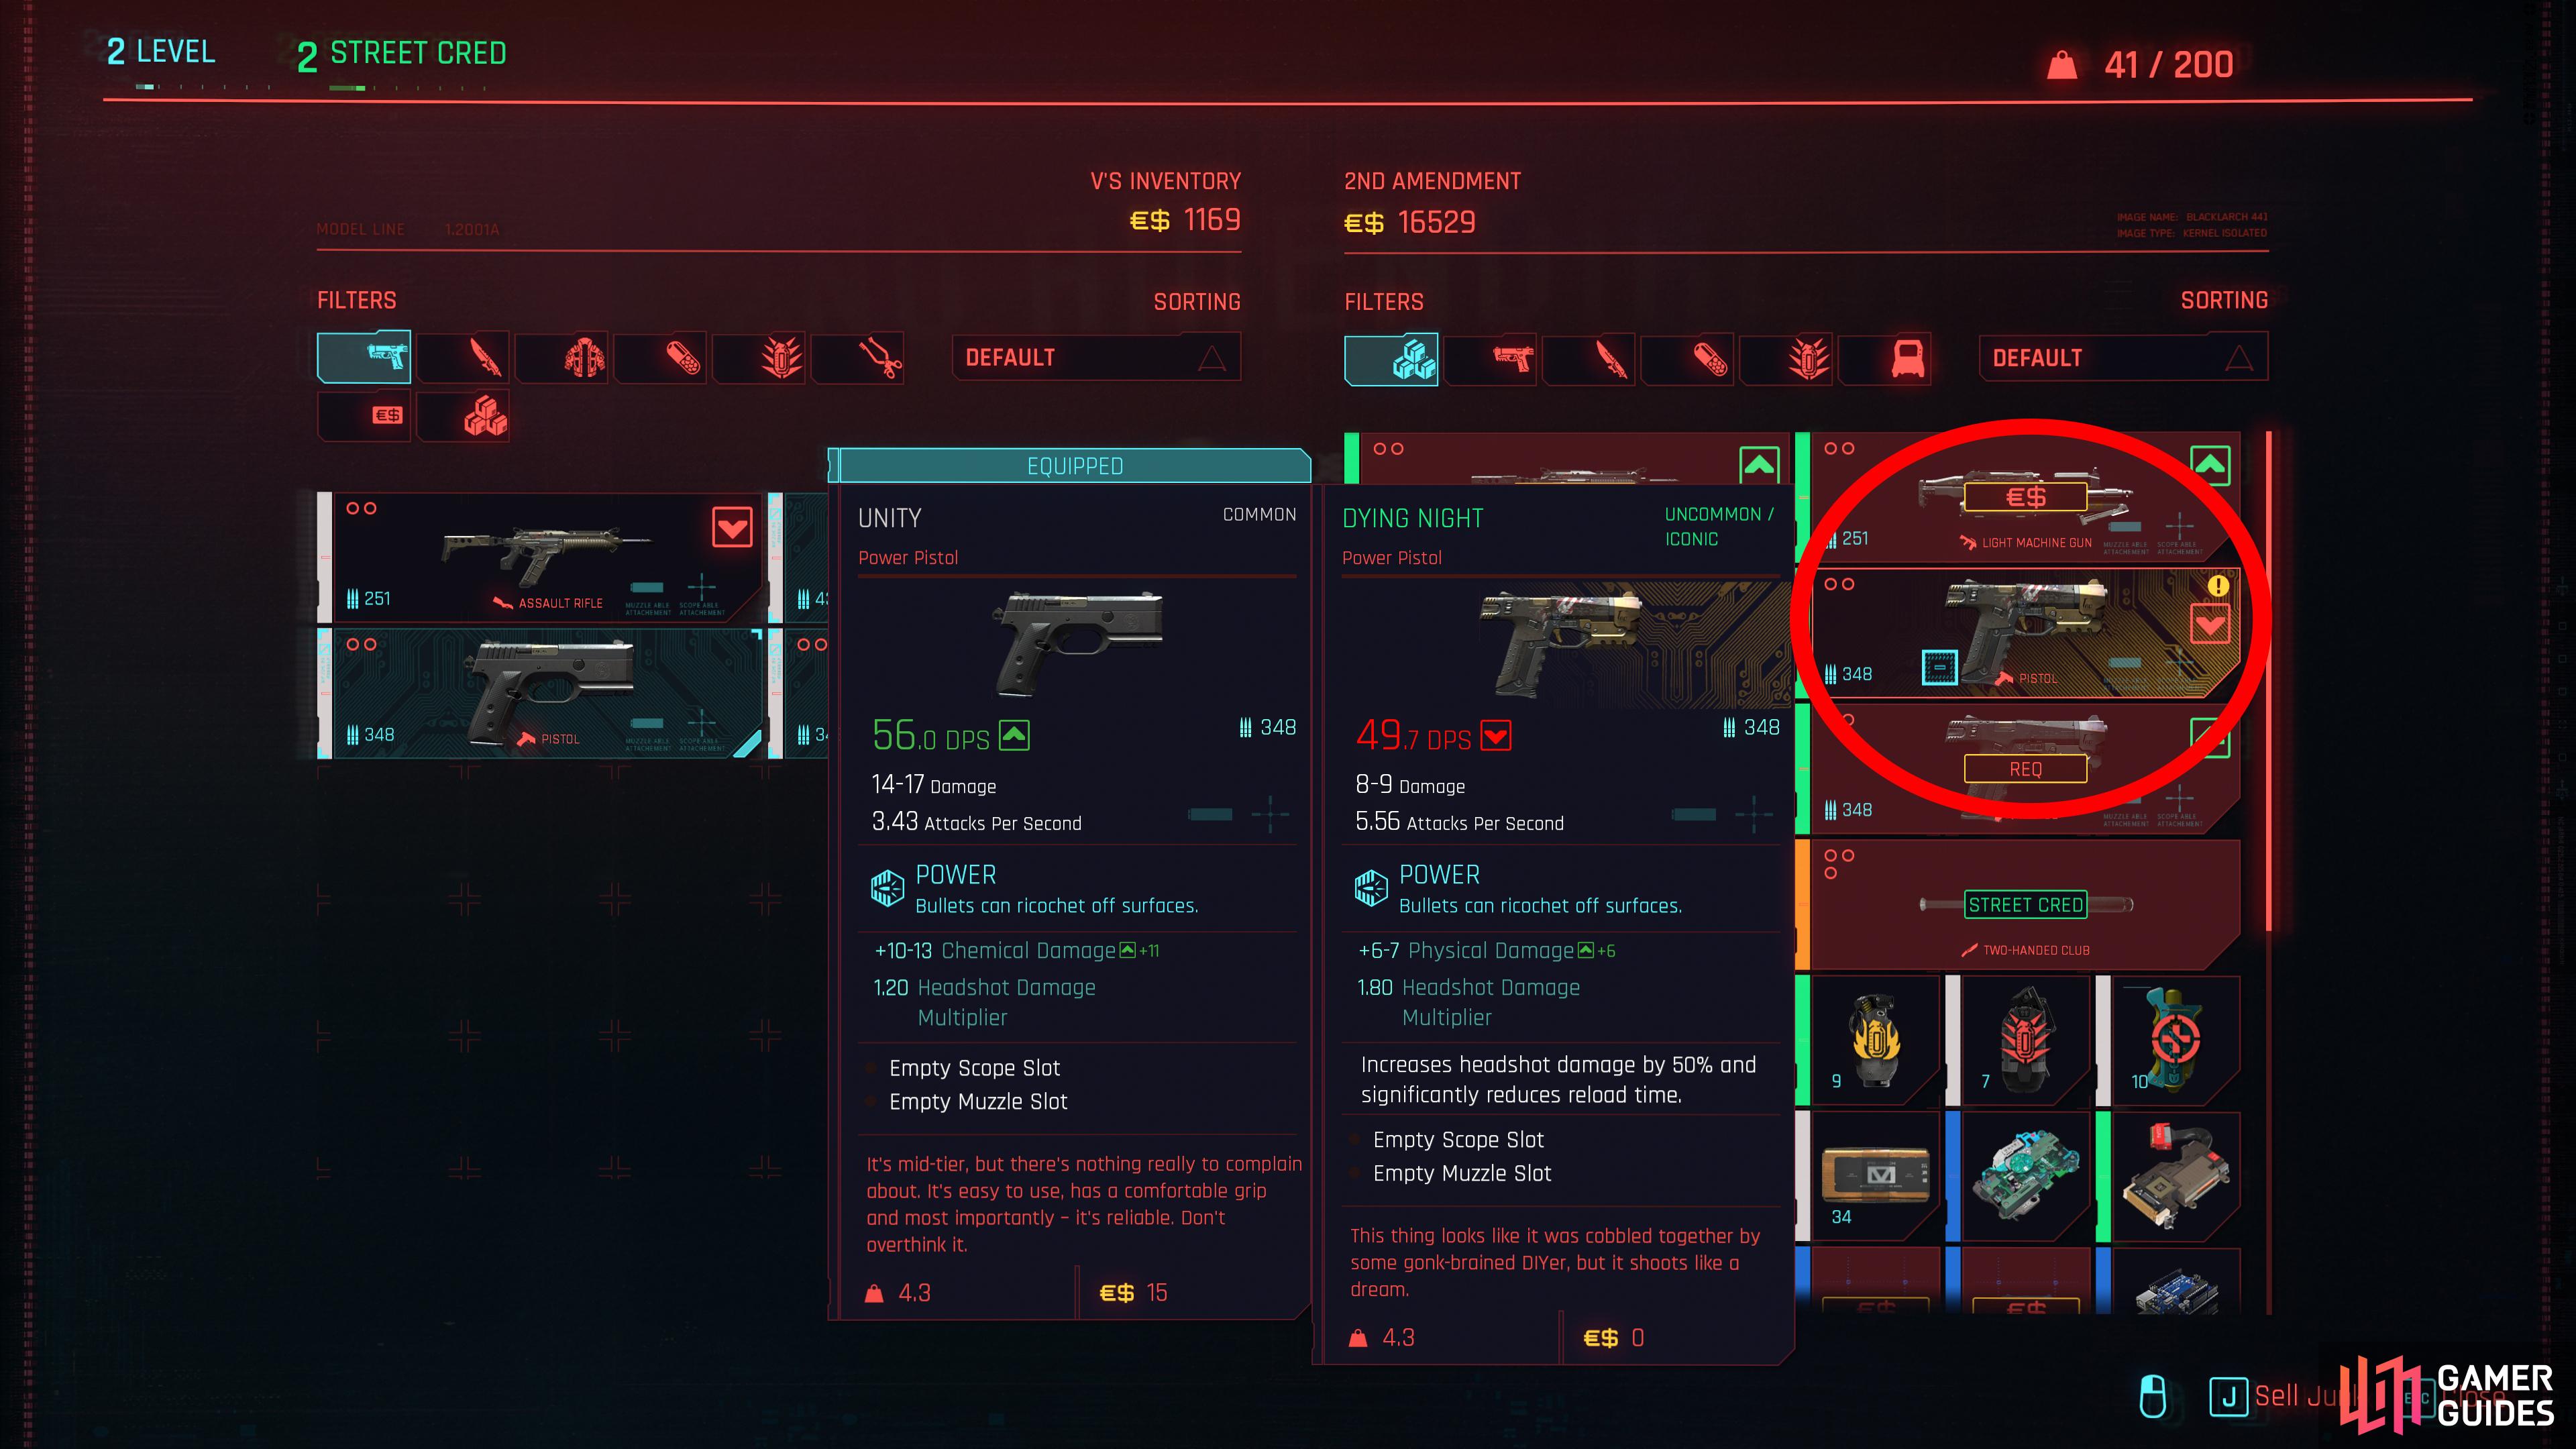
and pick up the Dying Night pistol.
Continue past Coach Fred, then turn left to find an elevator to your left and a gun range/shop to your right. The shop’s owner, Wilson, will hail you, starting the quest The Gun, so you might as well head over there and talk to him. Browse his inventory and pick up the gun Dying Night, which can be yours for a cool €$0.
Not only will this score you a new weapon, but since it’s an “Iconic item” you’ll also get a set of Crafting Specs, allowing you to craft superior versions of this weapon… once you get your hands on the required crafting materials.
Wilson also sells a legendary Unity pistol and a legendary Baseball Bat. Like the noteworthy wares offered by Coach Fred, however, these are currently beyond your means to purchase.
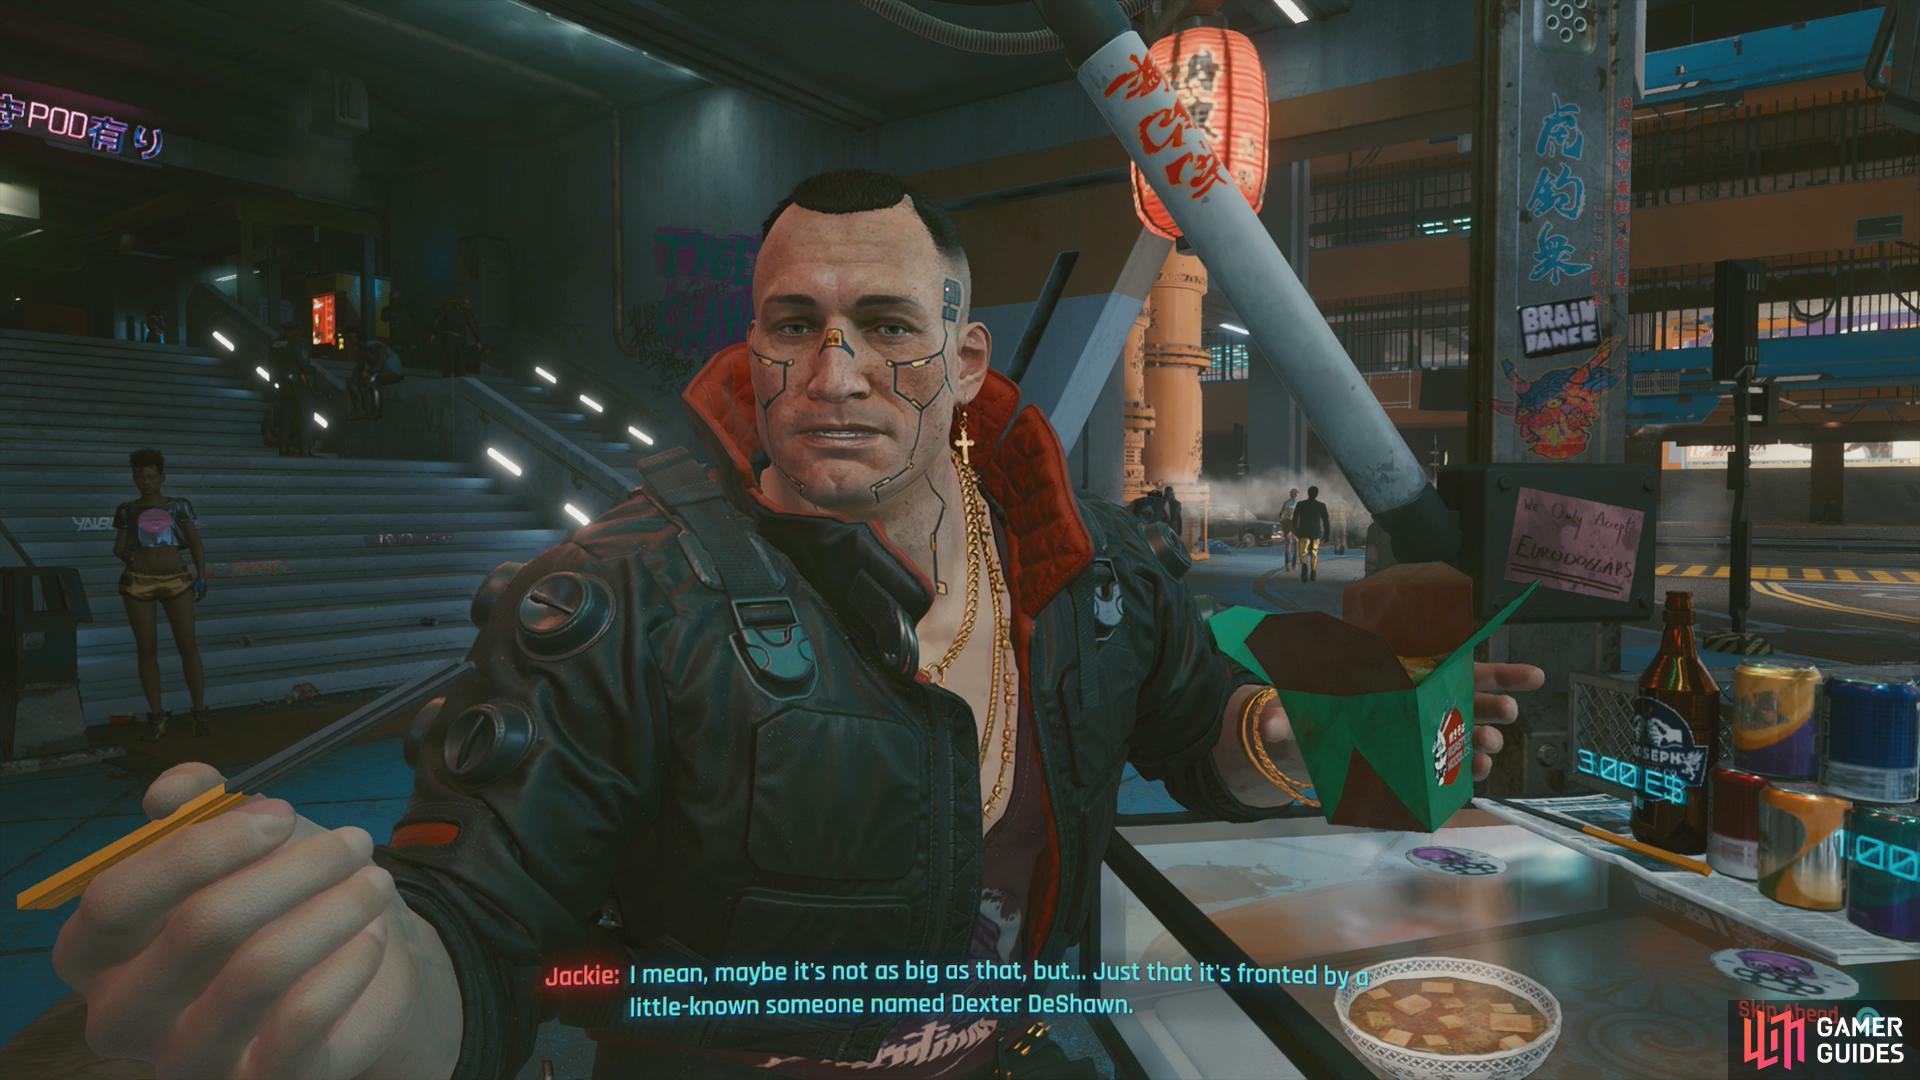
Exit the gun shop and ride down the elevator, then head outside (stopping for a tutorial about map markers along the way) and rendezvous with Jackie at a food stall. As he finishes his lunch he’ll tell you about another job he landed us, this time with a fixer named Dexter DeShawn. All you need to do is meet with the man himself to seal the deal and get the details.
First things first, however: you need to get fixed up. Call your car by holding down [Right] on the D-Pad, and when it arrives, get in and follow the yellow quest trail to your destination. Park, then continue on foot to Misty’s Esoterica. Note along the way a raving loon named Garry the Prophet ranting nearby - stop and respond to him how you wish, it’s something you’ll have to do a few times to trigger his [quest]. This will take repeated visits and some main job progress, so don’t bother fishing for multiple responses.
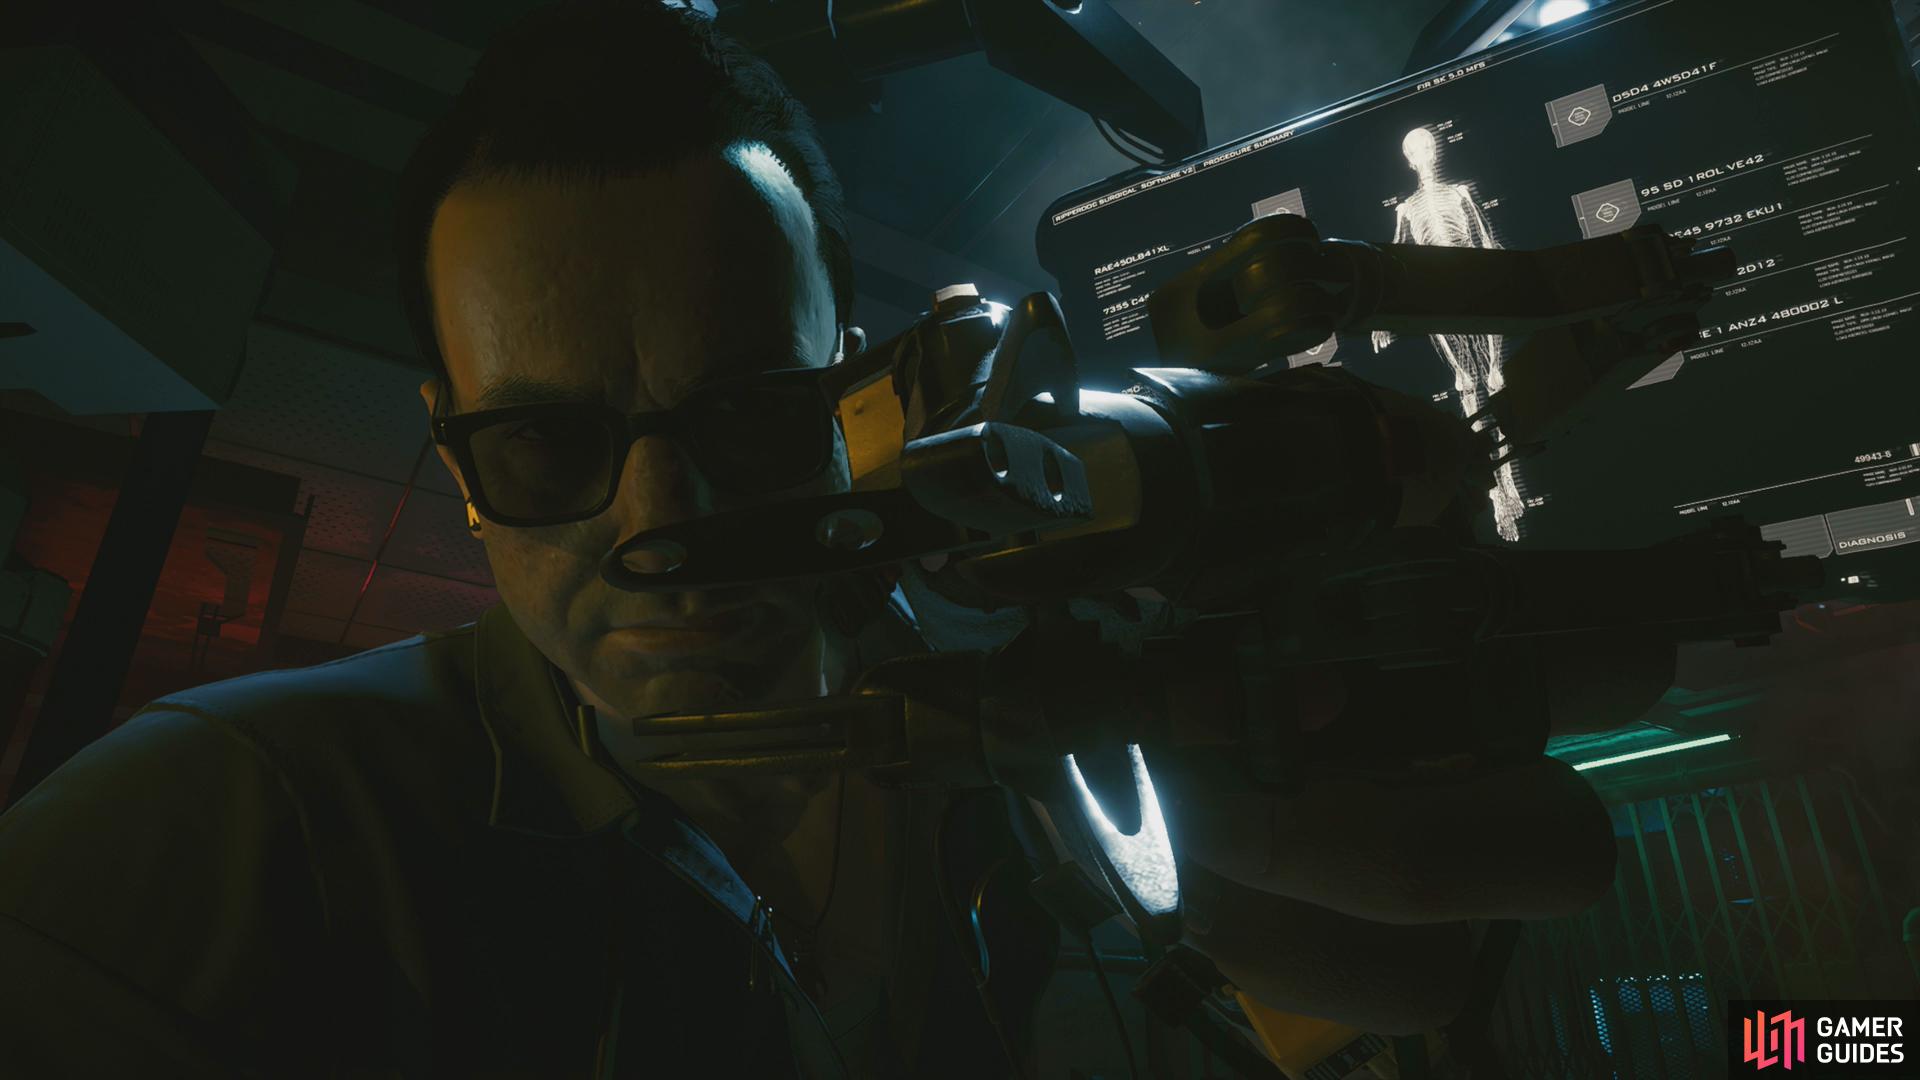
Head into Misty’s Esoterica and after some chatter with Misty and Jackie, continue following the quest trail through the shop, down some stairs and through a gate to finally reach Viktor, the friendly neighborhood Ripperdoc.
Bypass a tutorial message, then talk to Viktor, eventually lying down on the operating chair. Viktor will be surprisingly generous, upgrading your optics and more importantly, allowing you to enjoy his services on credit. Seems like you already owe Vik a whopping €$21,000, and paying him back is the subject of the side job Paid in Full.
Don’t worry about the eddies right now - Vik is surprisingly cool. After accepting his upgrade you’ll be brought to the cyberware installation screen. Select “Ocular System” and equip the Kiroshi Optics Mk.1 Vik gave you, then go to “Hands” and equip the Ballistic Coprocessor. Exit out of the cyberware menu and after some more chatter you’ll go under the knife, and when you regain consciousness, scan Vik, then draw your weapon - both at his prompting - to test out your new cyberware. Once you’re sure everything is working as intended, you’re good to go.
This completes the quest The Ripperdoc and starts The Ride.
No Comments