


This job begins immediately after you escape from the Arasaka Industrial Park at the end of Gimme Danger, although before you can progress it you’ll need to wait for Takemura to call you back. Either see to other jobs/gigs, or just sit idle until you get the call.
When you do, return to the market where you met Takemura back at the beginning of Gimme Danger and you’ll find him waiting for you again. Talk to him and peruse the shard he gives you, after which time will skip forward and the parade will begin…
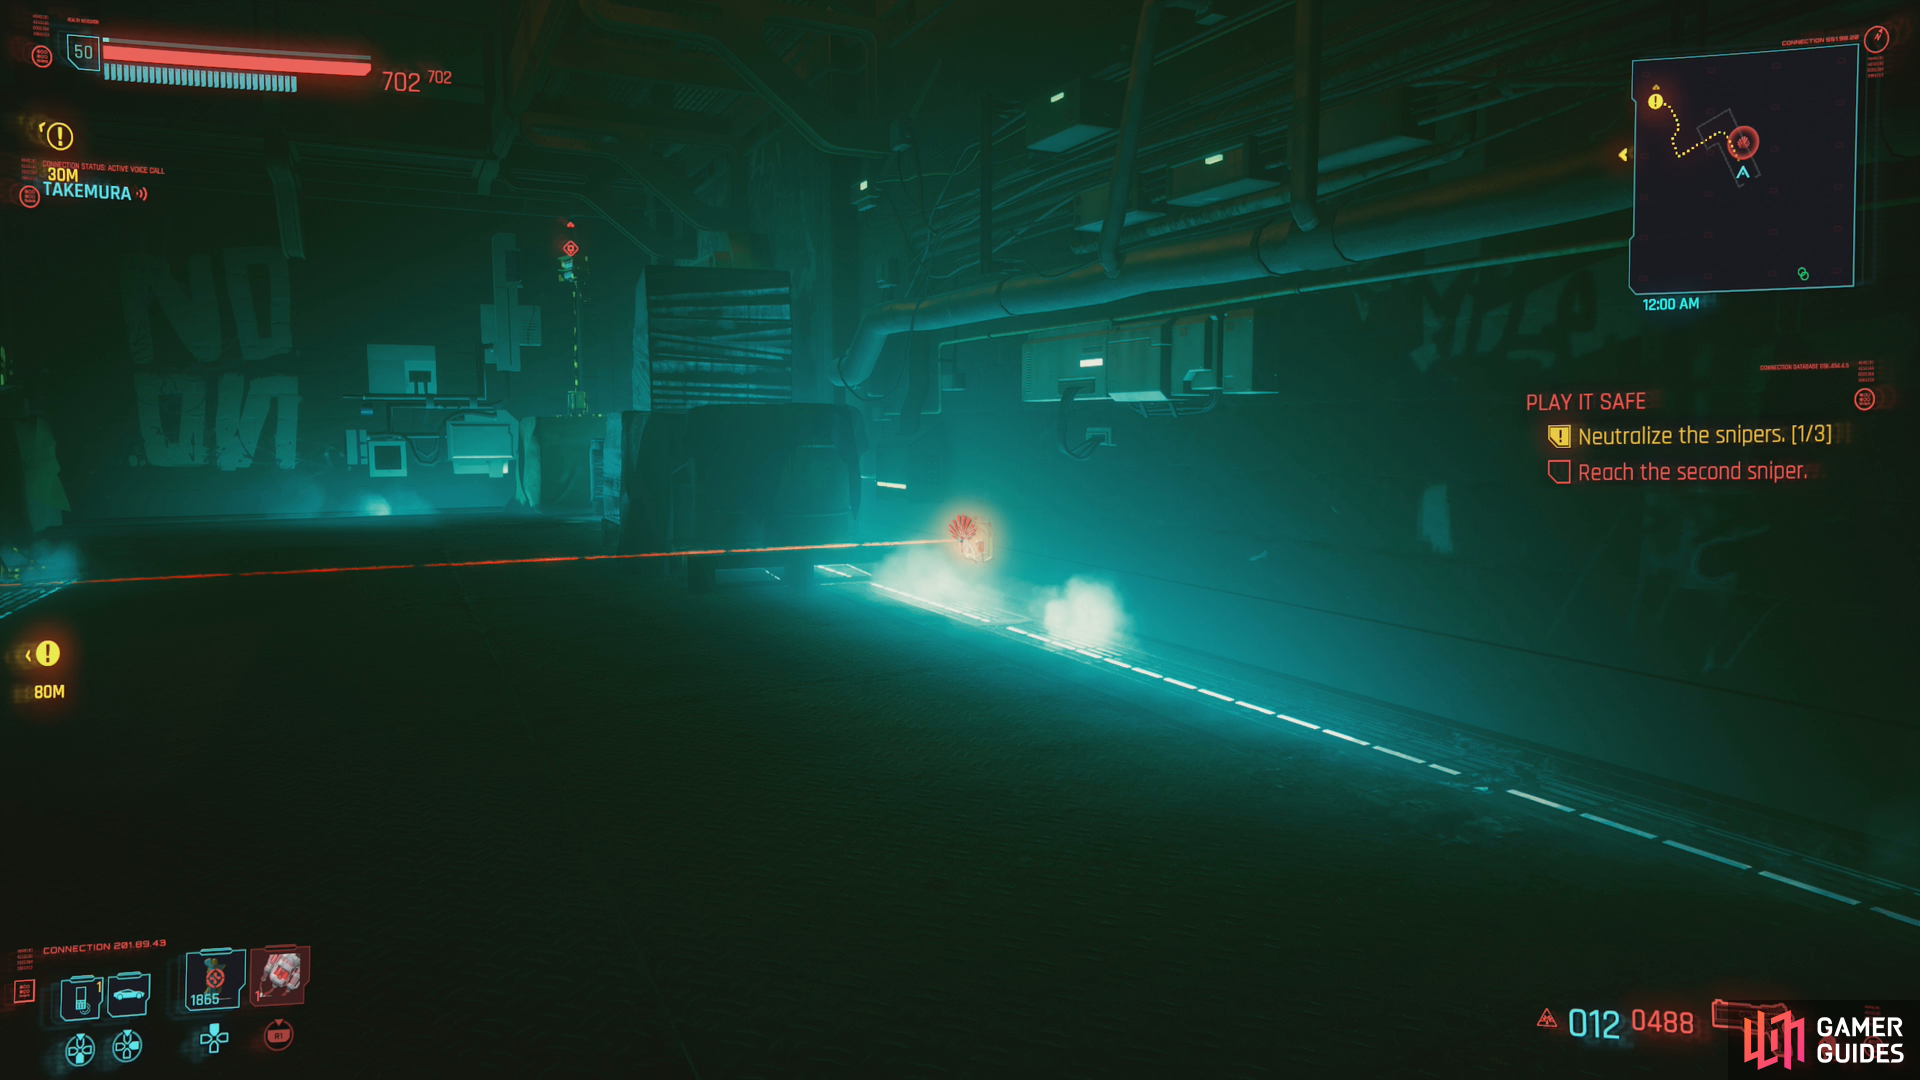
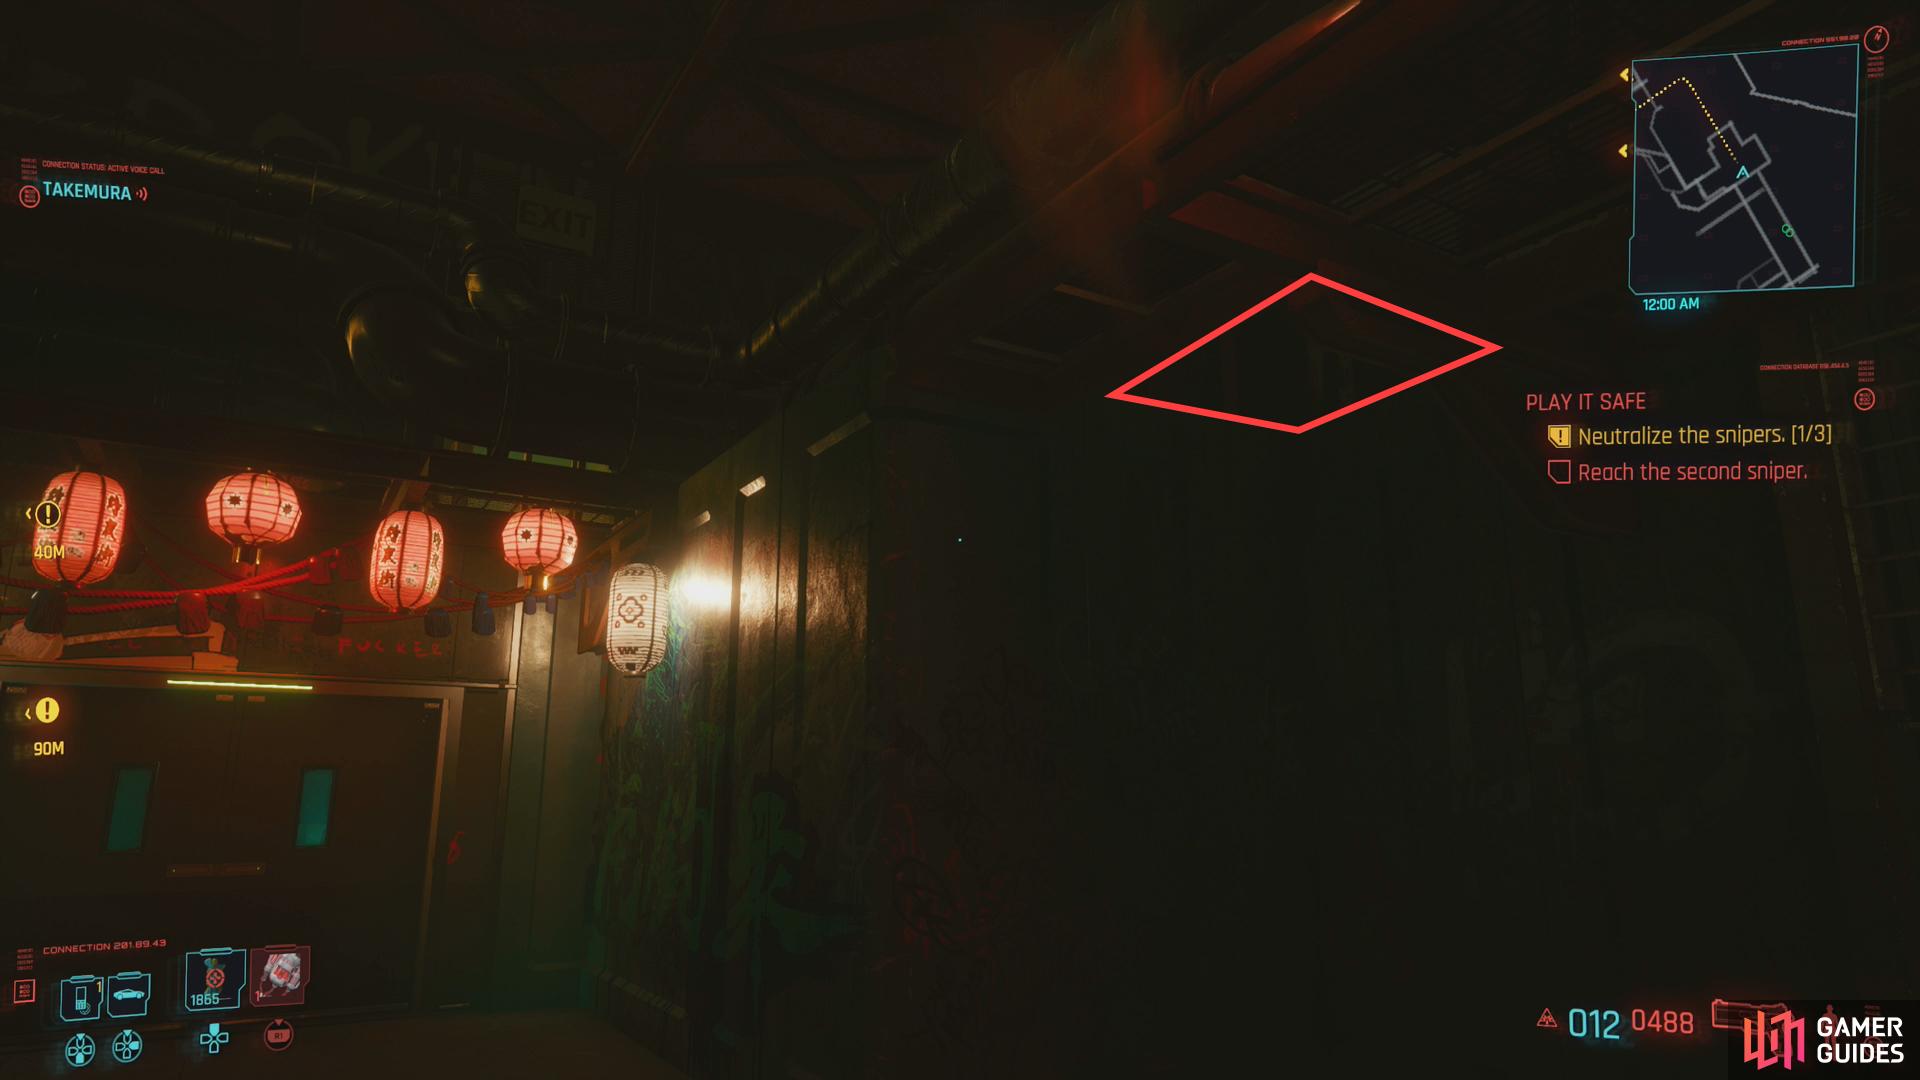
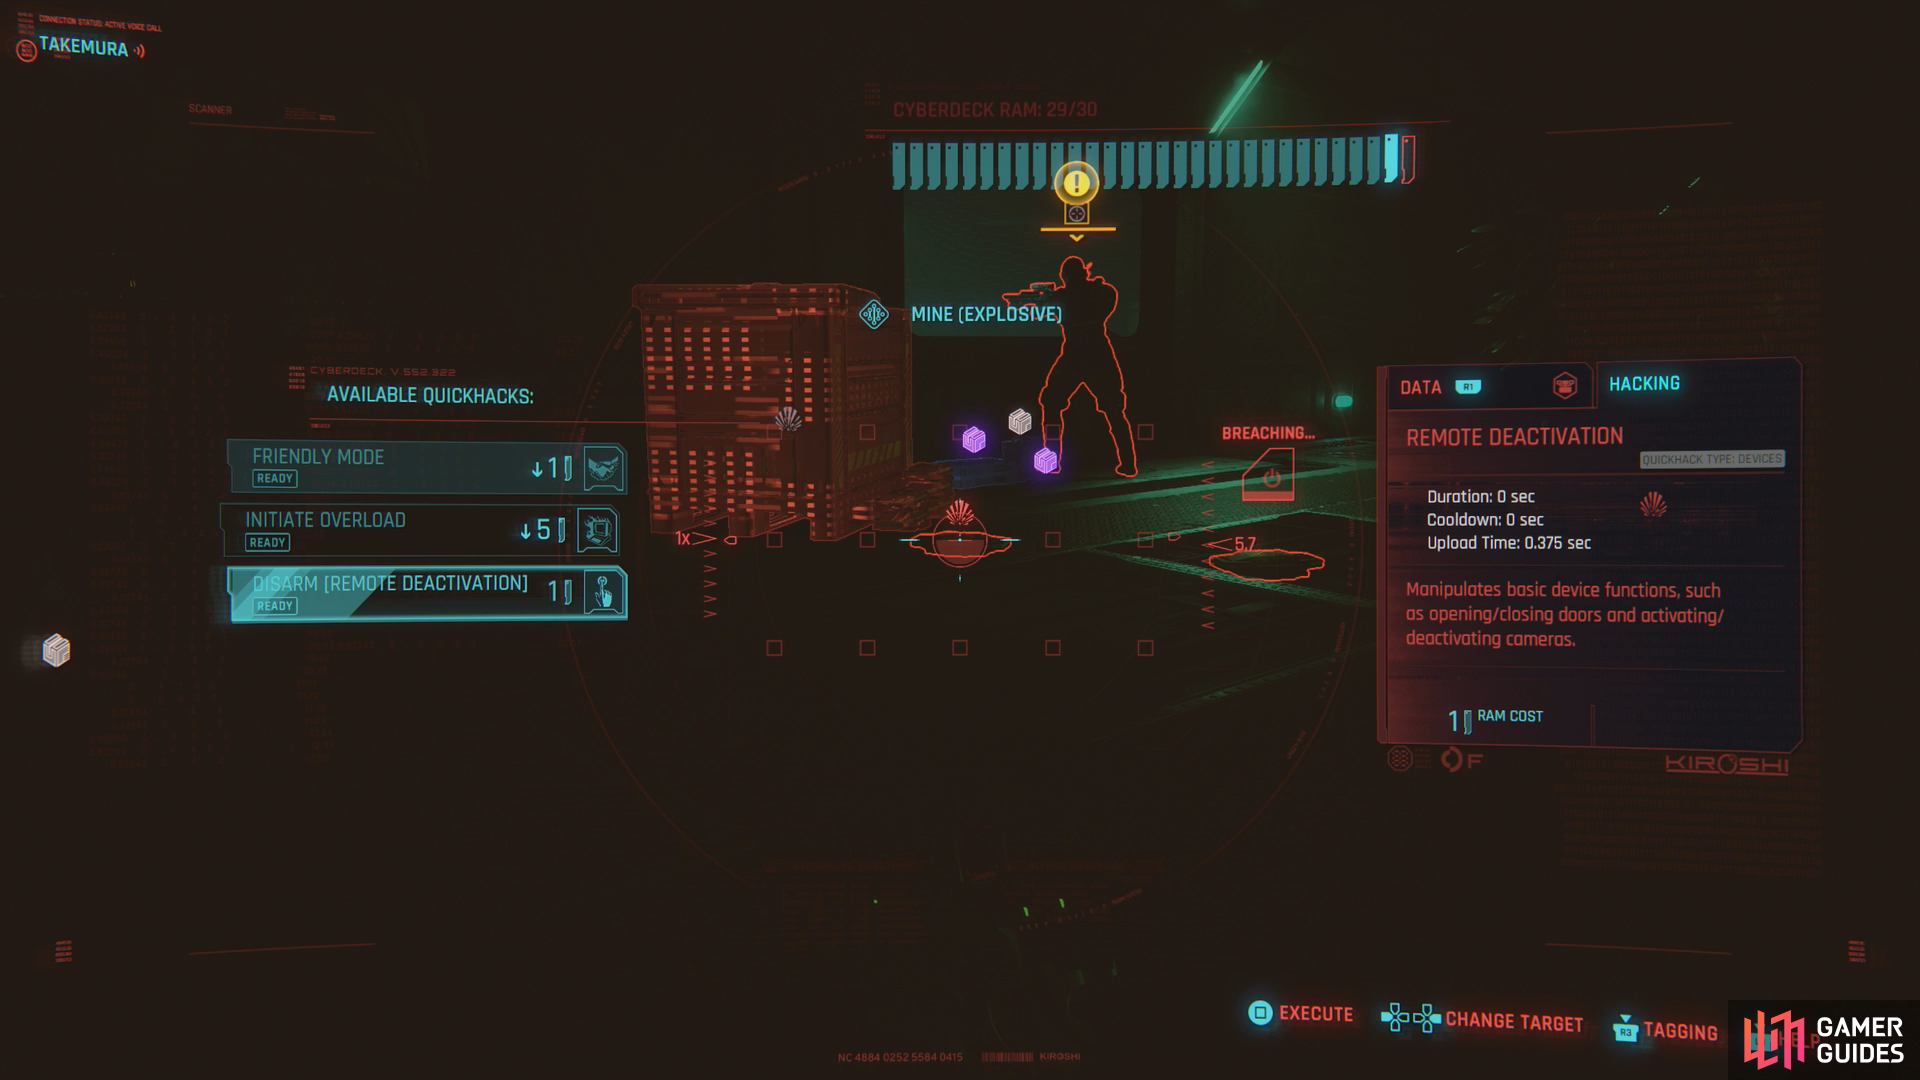
(1 of 3) If you barge on ahead through the double doors you’ll need to evade a mine in your path.
The First Sniper
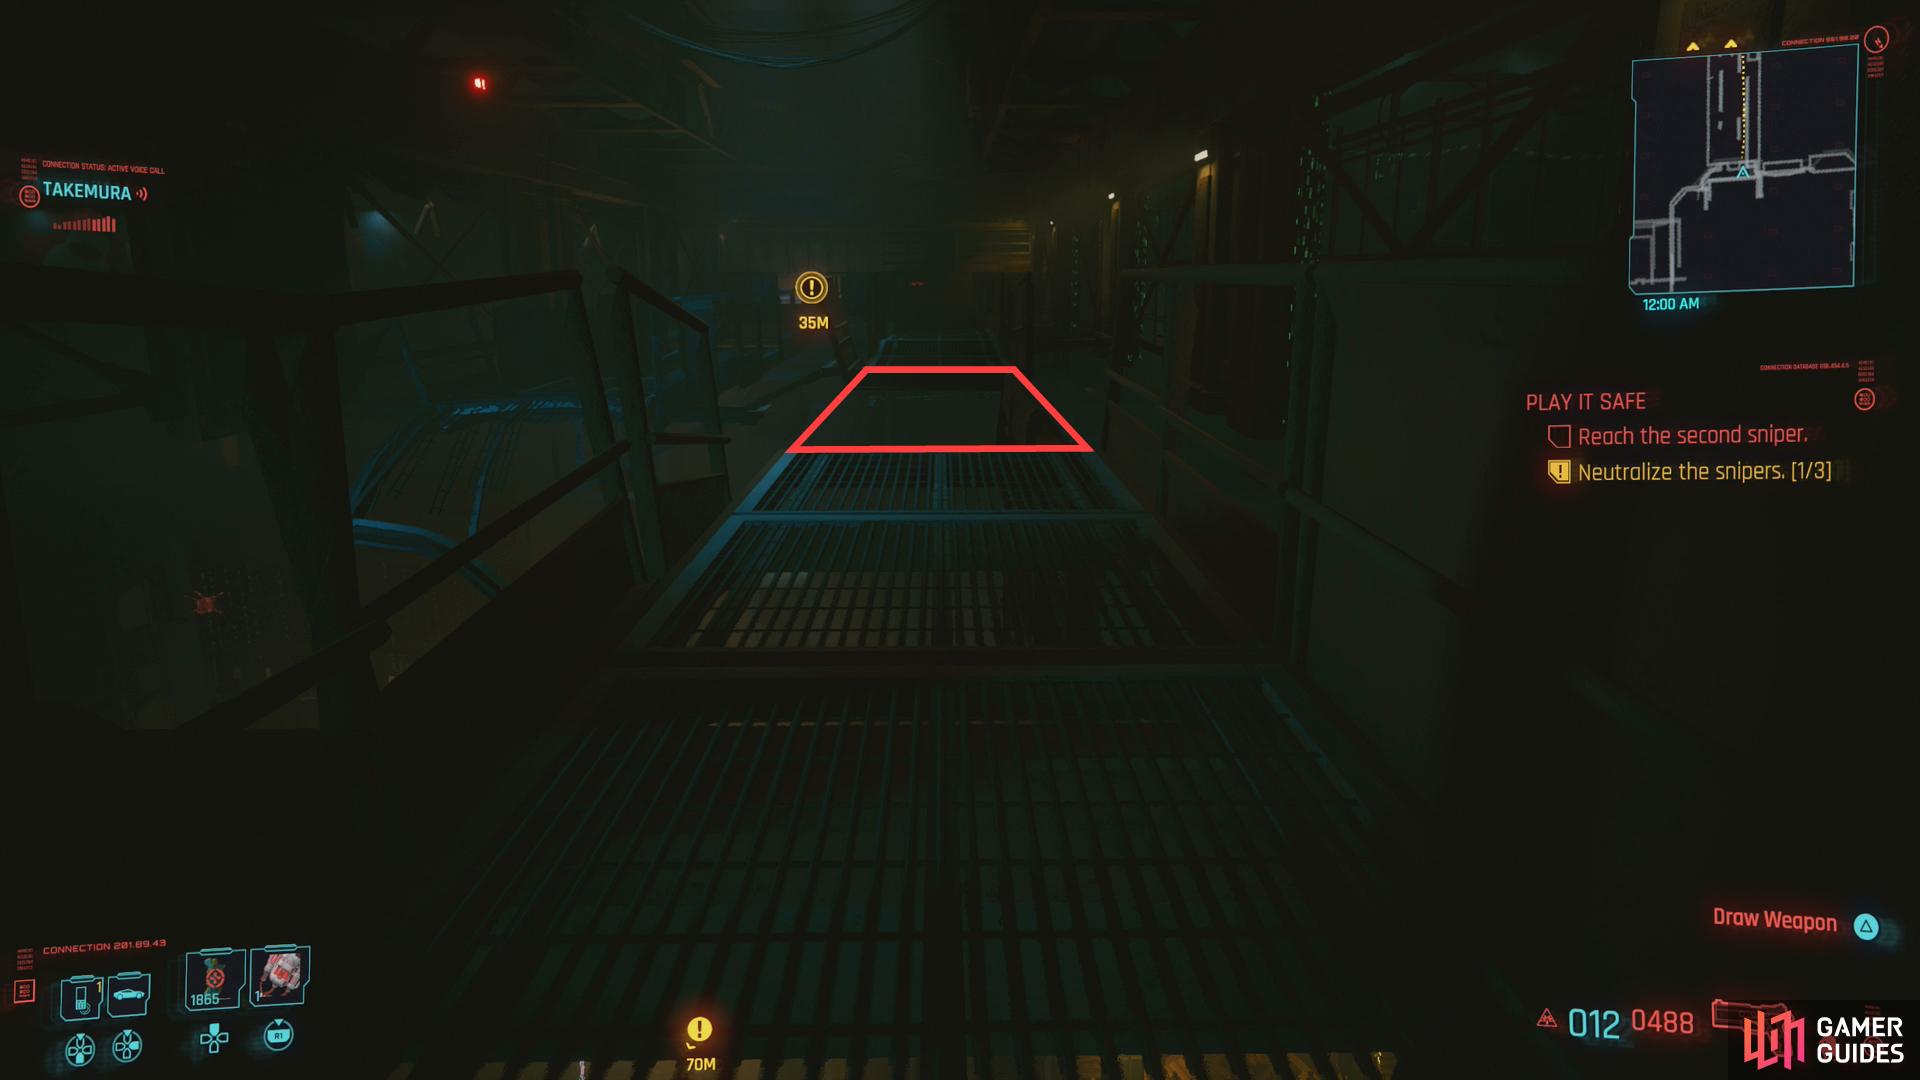
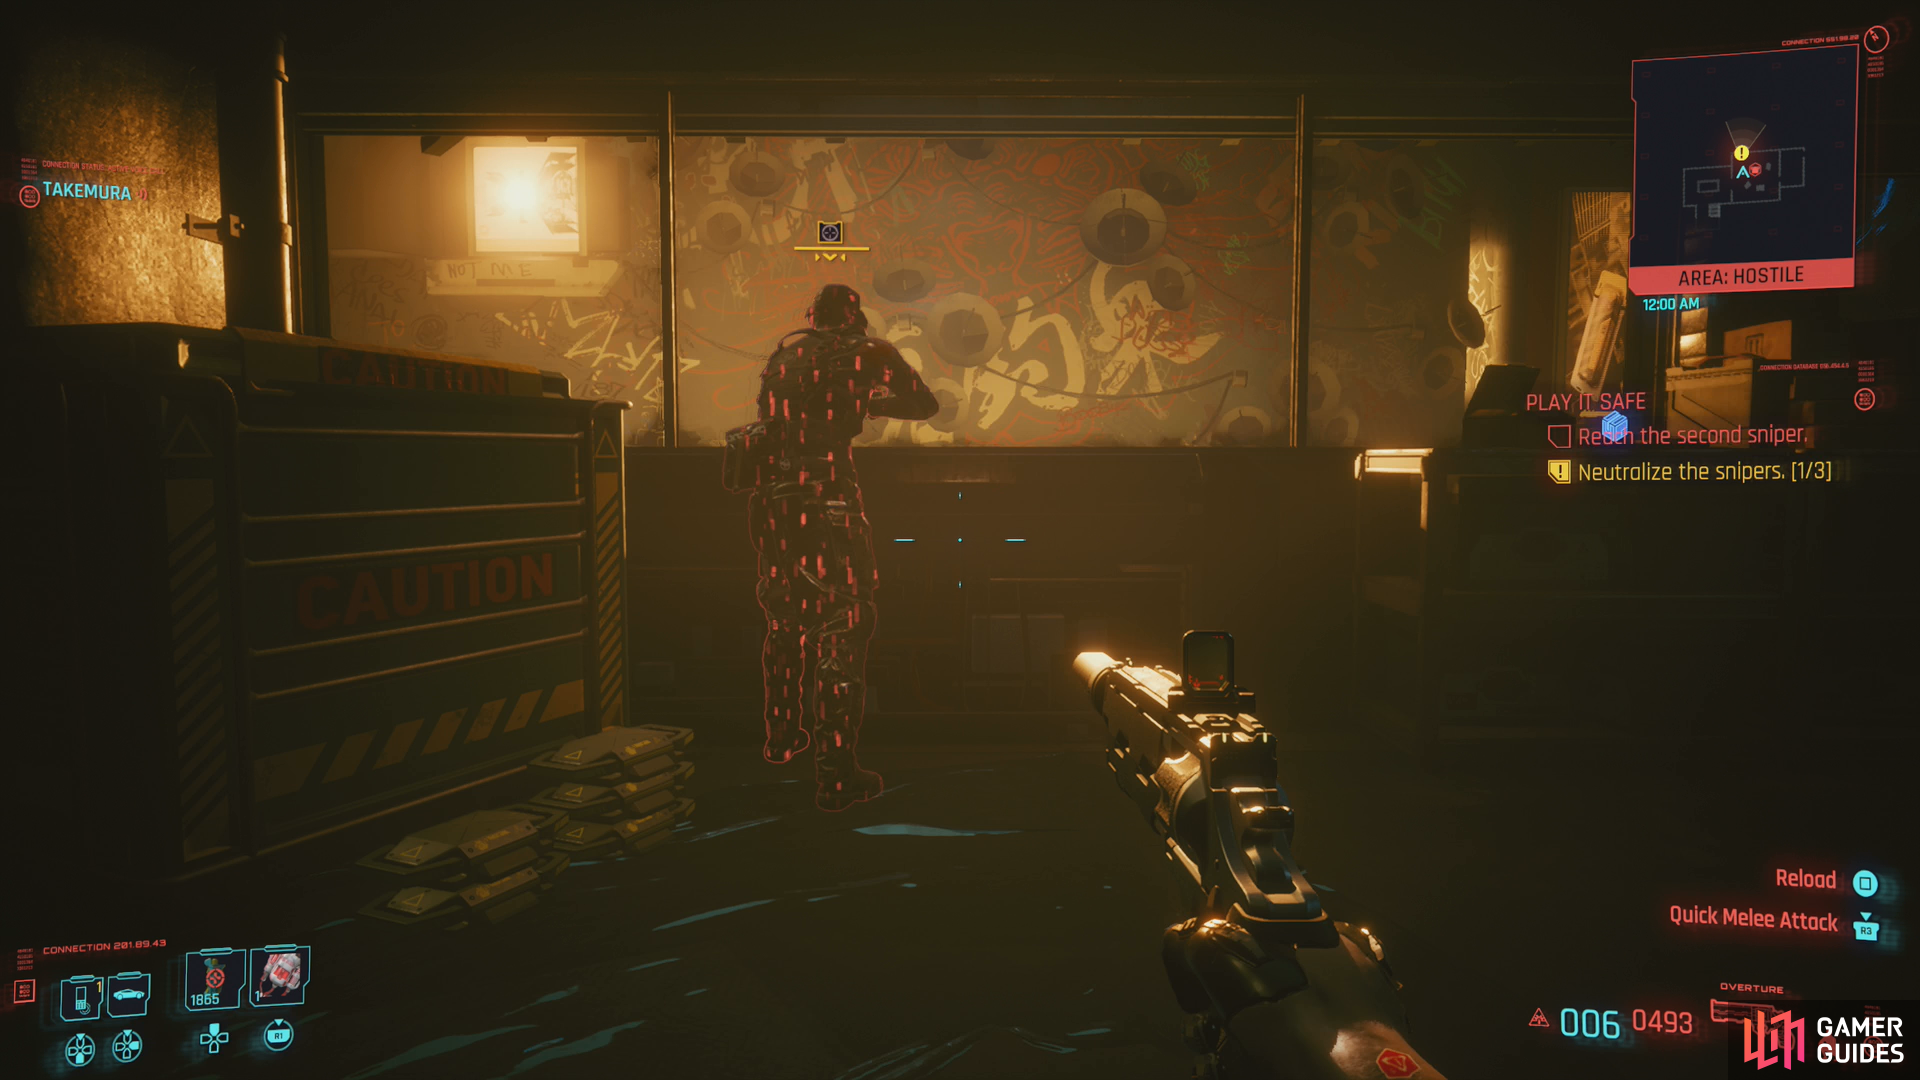
When you’re back in control, follow the quest trail through the crowd and up some stairs. The path you can travel is linear, so there’s really not much choice you have here. When you reach some double doors you can take three paths, but before you continue on, keep in mind that you cannot use weapons at this point in time, nor can you deploy quickhacks. Your job is to remain incognito, and brandishing iron would probably be something that’d draw a sniper’s attention. If you do get in a sniper’s line of sight, you’ll be warned by Takemura and you’ll have a very brief window to get back in cover before you catch a bullet to the brain. Your Armor doesn’t matter here - if you get sniped, it’s an insta-kill. Oddly enough, if you manage to provoke a sniper into actual combat, they lose this magical ability to one-shot you. Funny thing, that.
With that out of the way, your options for reaching the first sniper follow:
First, obviously, go through the double doors. Jump over a mine in the hallway beyond, turn left and jack into an Access Point in a laptop [Intelligence 6] if you wish before climbing a ladder. Once atop the ladder, climb a ledge in front of you, then turn left and you’ll spot the sniper on a platform.
Second, from the double doors turn right and look up to spot some pipes. If you have double jump, you reach a ledge behind these pipes, then follow the path forward left, then right, down a metal walkway, then left. You’re now on the ledge the ladder from the previous step would have taken you - just climb up a ledge opposite the ladder and turn left to find your sniper atop a platform.
Third, you can turn left from the double doors, round a corner to the right near some vending machines and continue forward until you find a ladder. Well, two ladders. Climb the ladder going up and you’ll be facing the sniper on his platform.
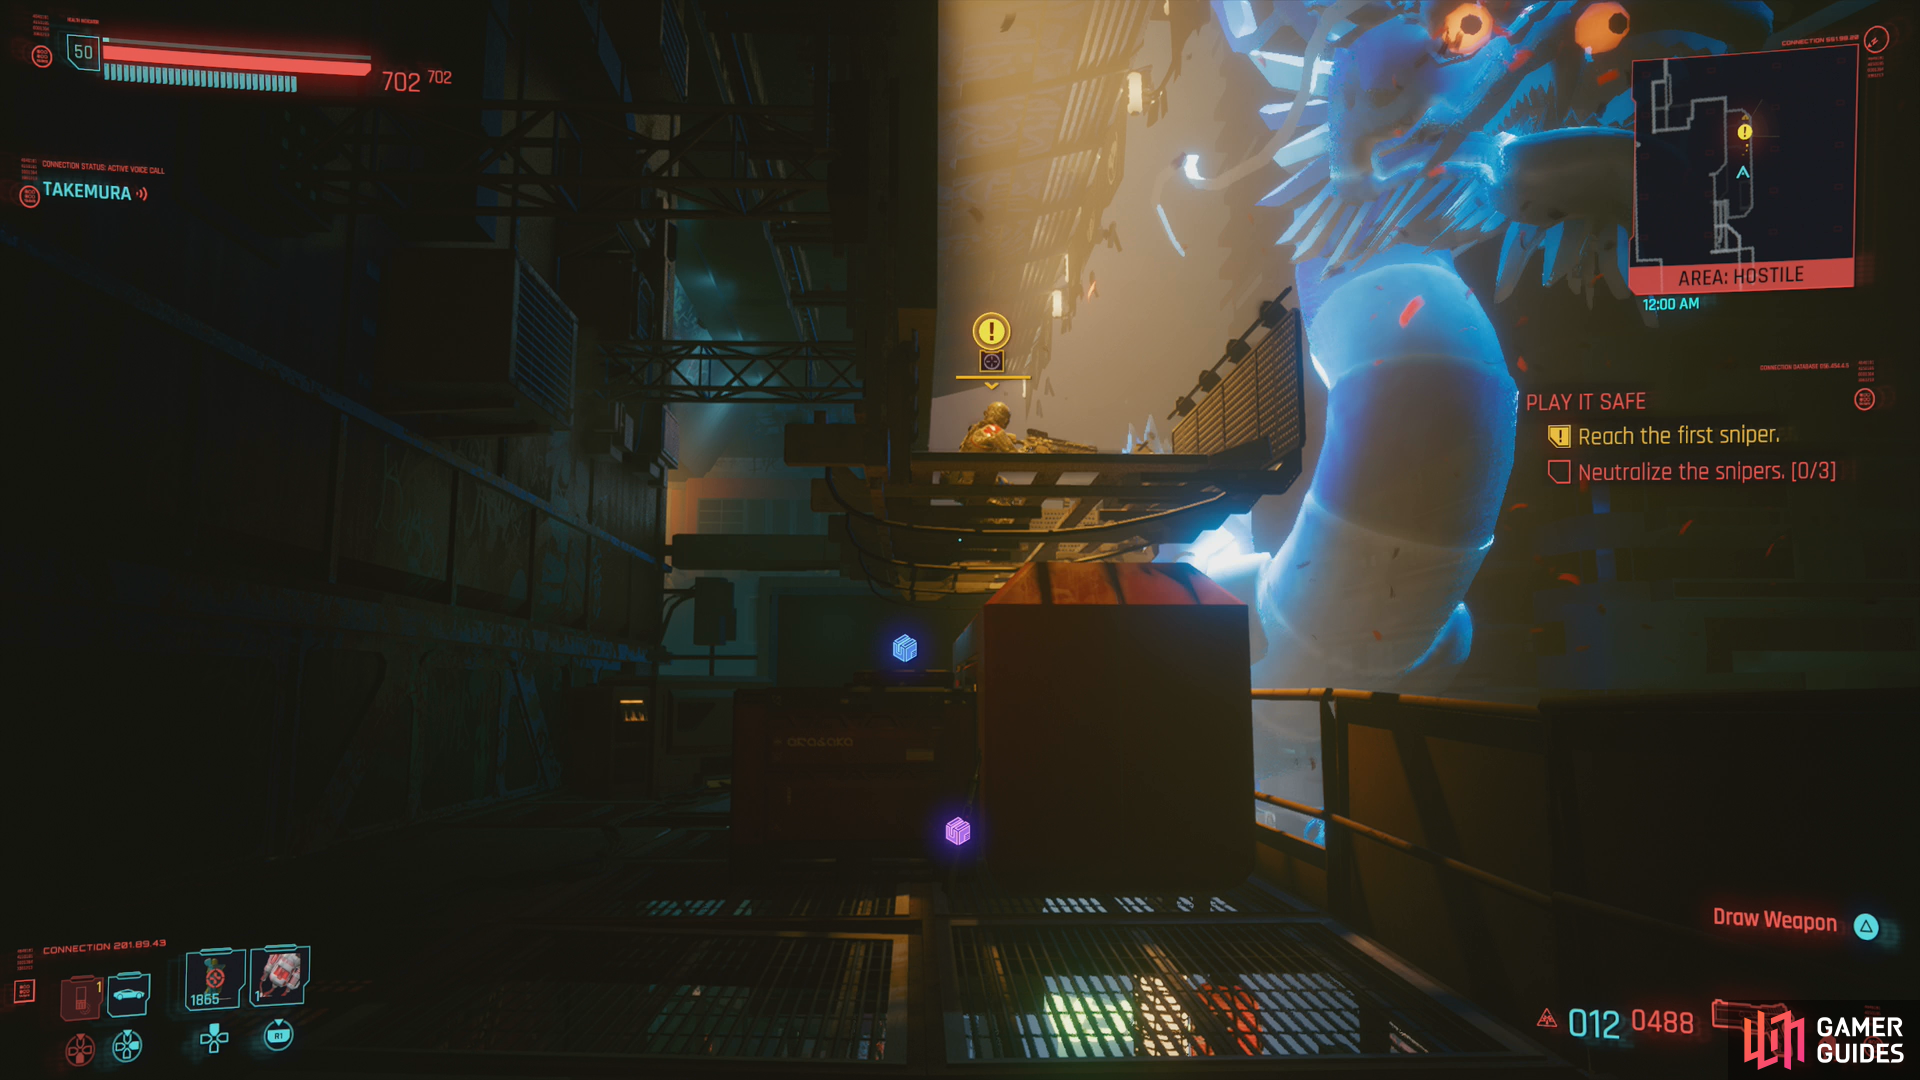
However you reach your target, you’ll now be able to use your weapons and quickhacks. Or you can just climb up to the platform and perform a takedown. You don’t need to hide the body nor do you need to remain quiet - we emptied an entire clip into the sniper’s corpse without any trouble. Take him down by whatever means you prefer, then it’ll be time to move on to the second sniper.
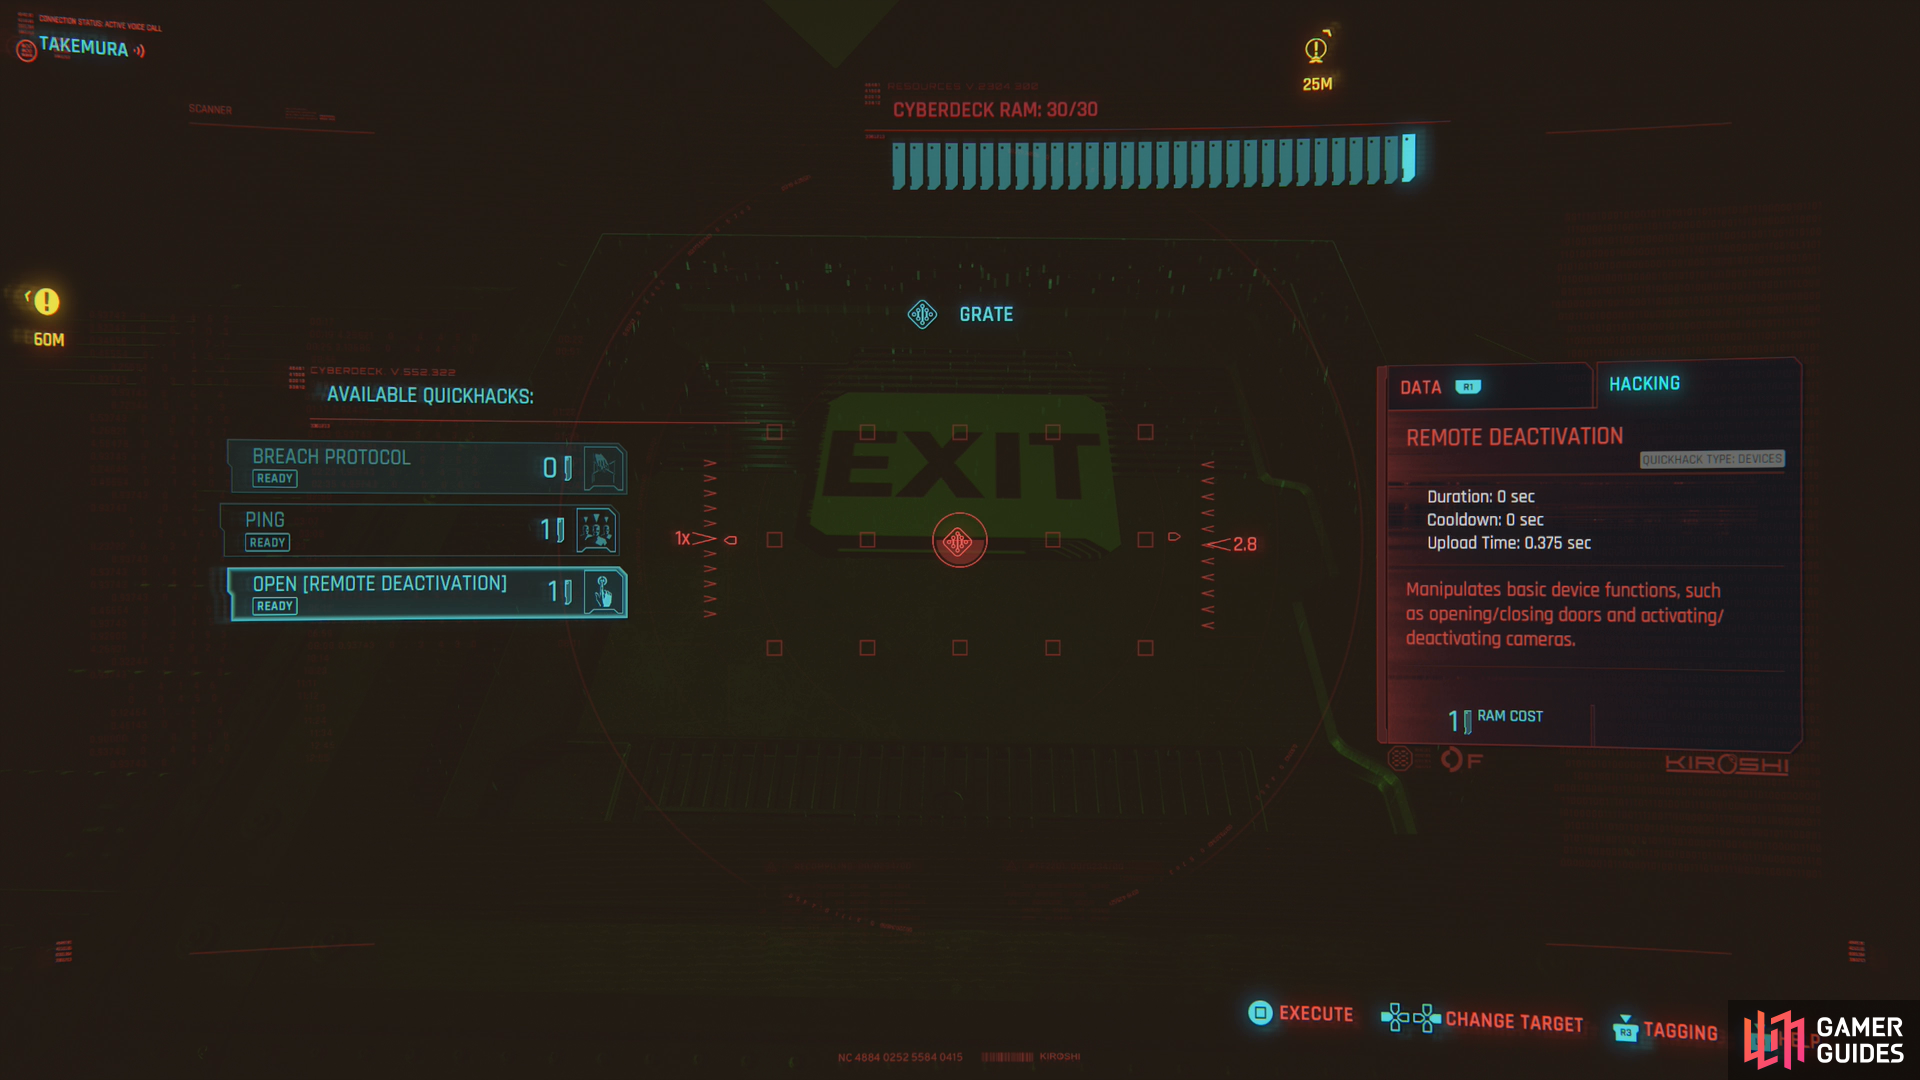
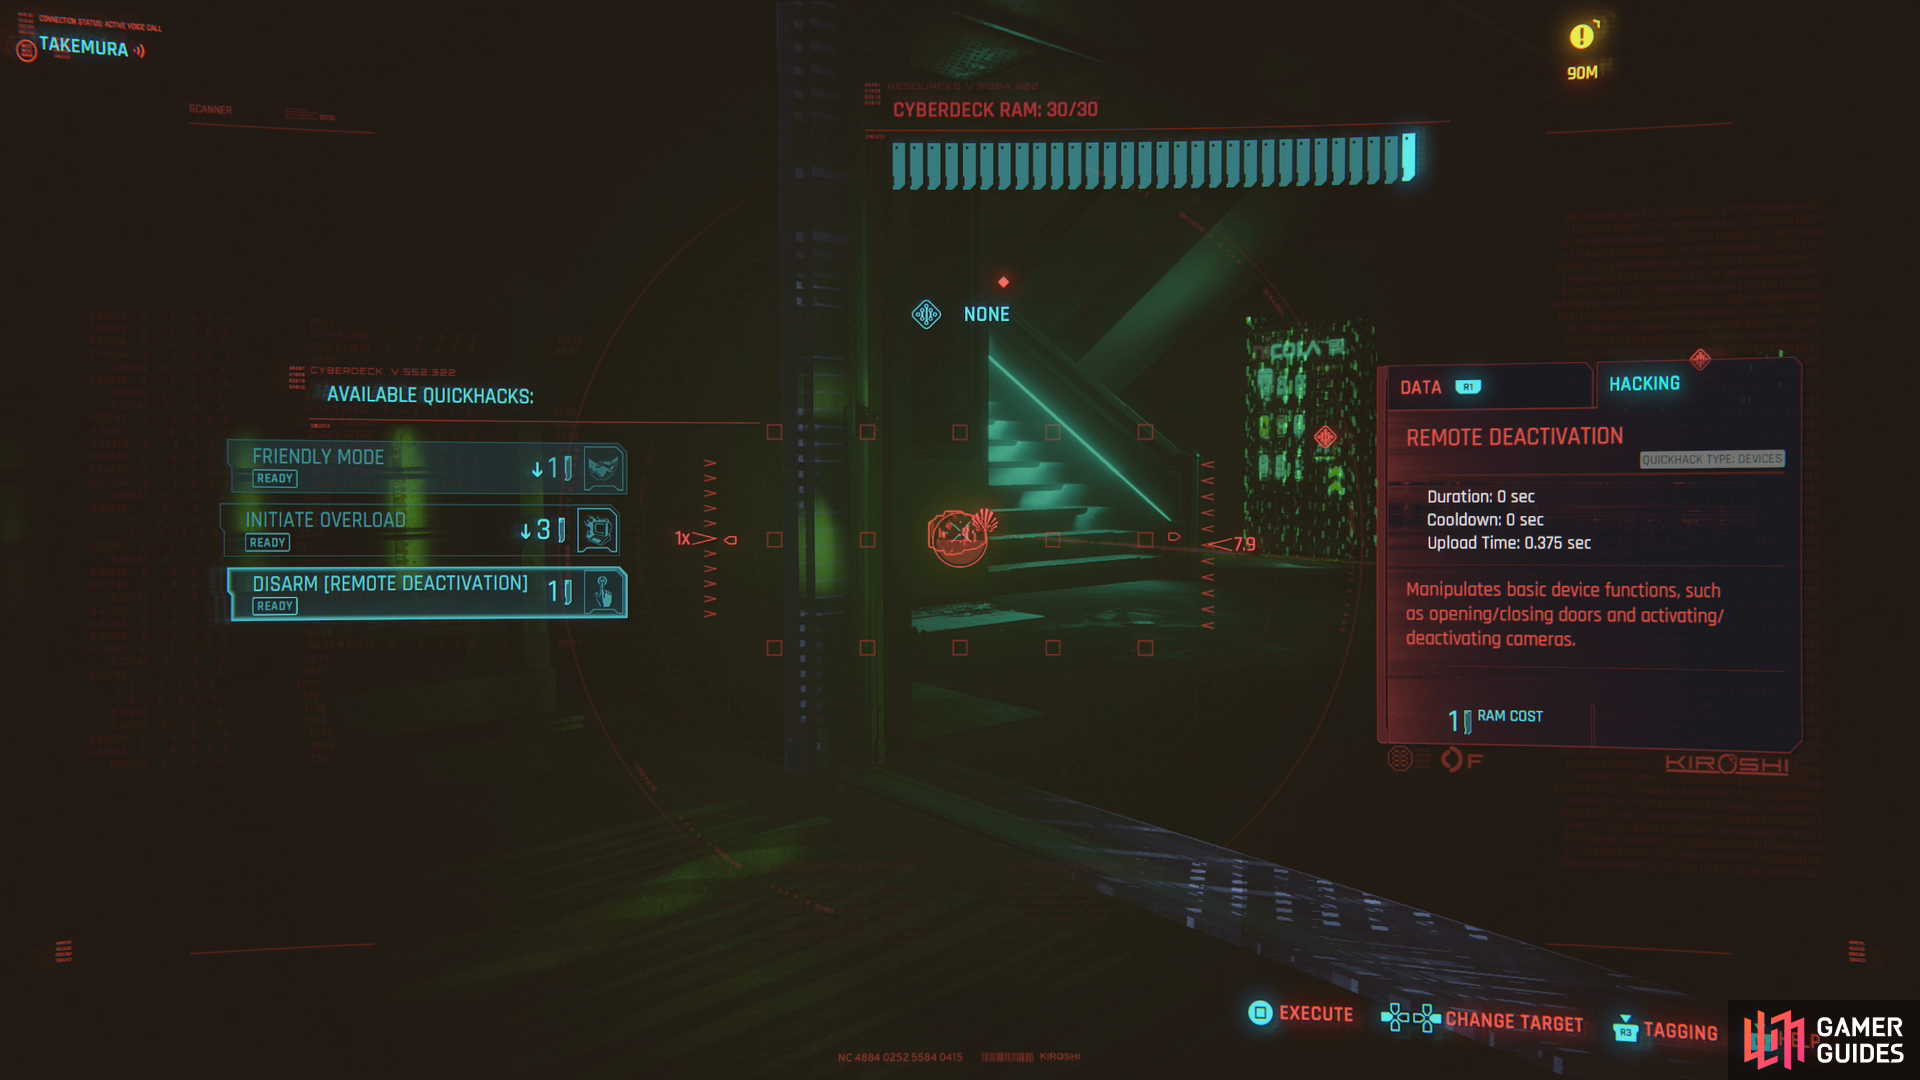
(1 of 2) Takemura may be stumped, but a simple quickhack can open a hatch,
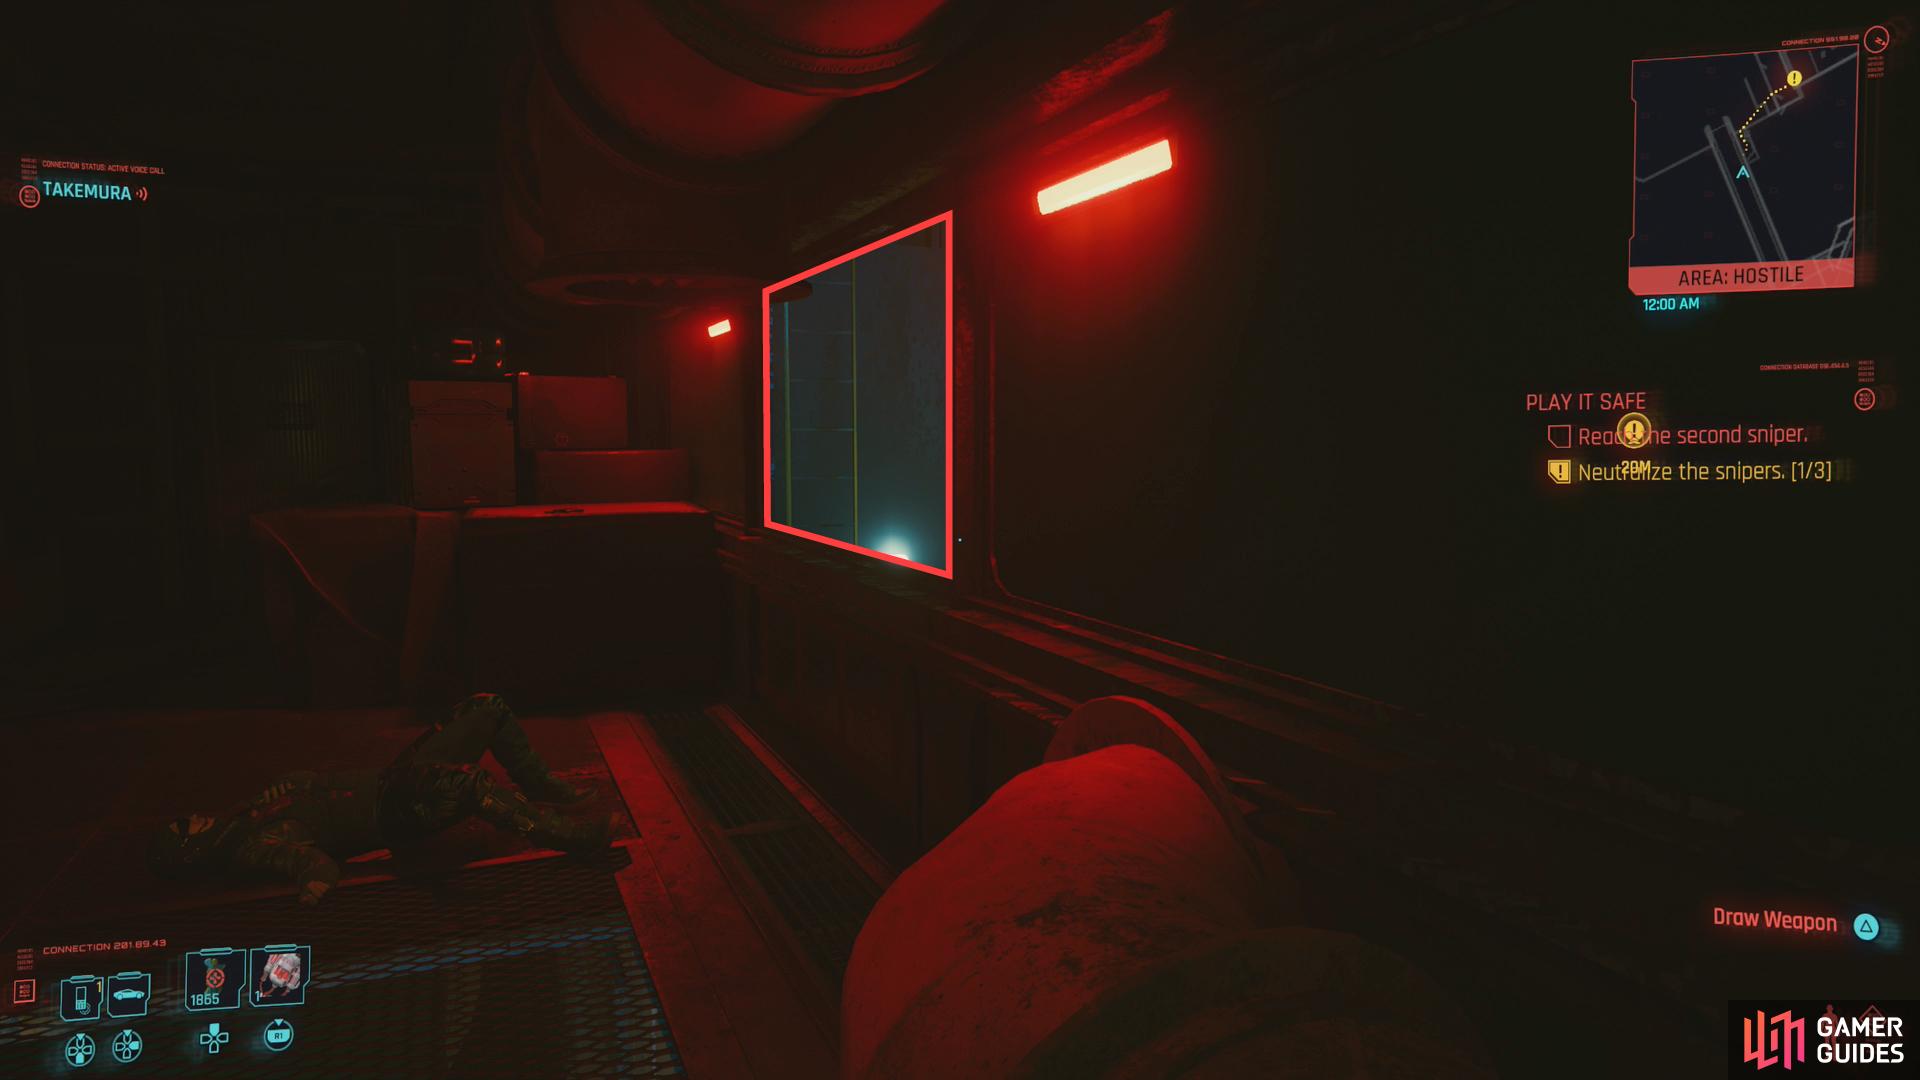
Takemura may be stumped, but a simple quickhack can open a hatch, (left), beyond which you’ll find a window leading to a ladder. (right)
The Second Sniper - Down the Hatch
There are two main ways to reach the second sniper:
Opposite the platform where the first sniper dwelt you’ll find a ladder. Descend it, then go down another ladder to find a hatch on the ground. Takemura will complain about not being able to open it, but you’re not Takemura. If you can quickhack, you can open it, then drop down into a tunnel crossing the street. Dispatch two Arasaka guards down here (both conveniently have their backs facing you) then go through a window and climb a ladder.
At this point Takemura will contact you and let you overhear a conversation with Oda and some unsympathetic mystery figure. Johnny will finger the mysterious person talking to Oda as none other than Adam Smasher, and he seems keen on getting revenge. Easy to talk big when you don’t have a body on the line.
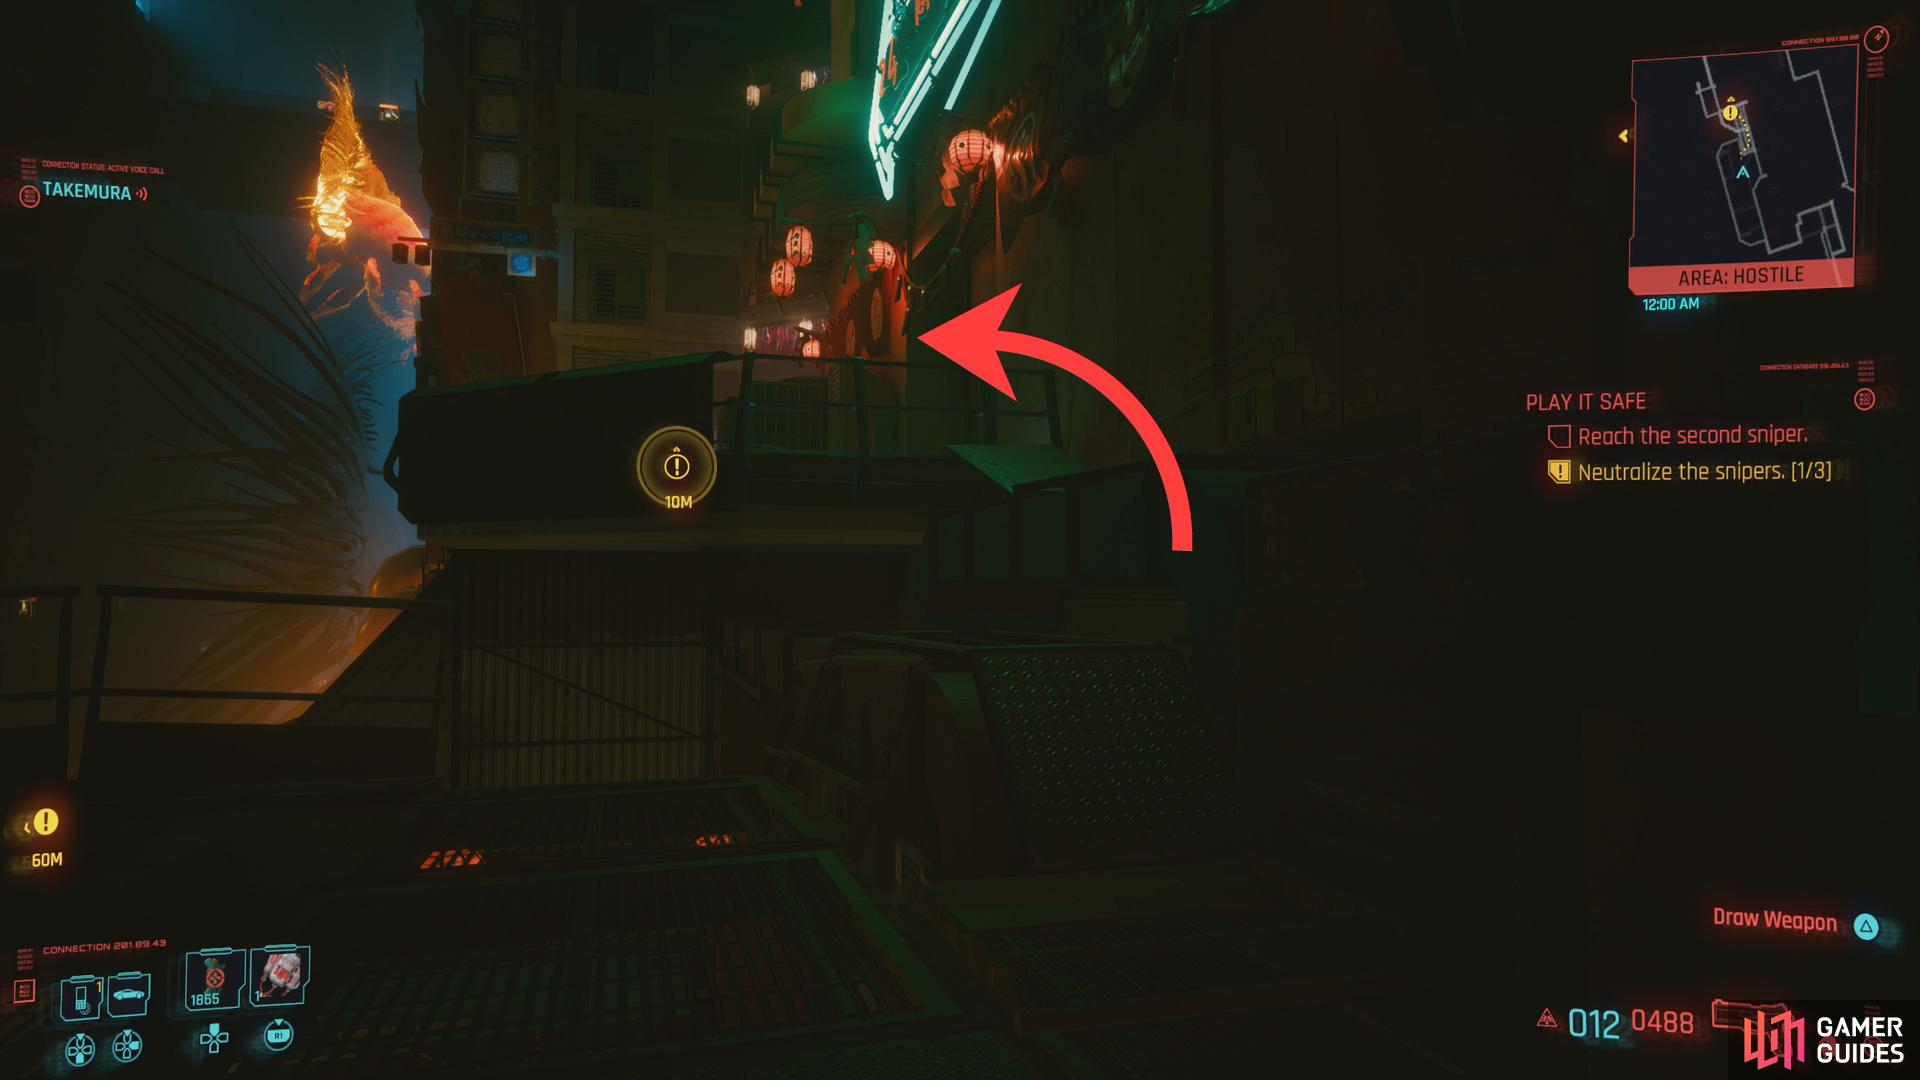
Continue forward and you’ll find a ledge you can drop down, although you need to be wary of an Arasaka Soldier standing about. Wait for him to move to the railing, drop down, and take him out, or use a silence weapon to take him out from a distance. Either way, once he’s out of the way you can go through a door or window to reach the building the sniper is in. We advise you take the door, unless you like explosions, as there’s a mine on the wall under the window.
Once you’re past the mine, go through a doorway and put down the sniper. Easy-peasy. You can also hack a computer [Intelligence 6] in this room, if you wish.
Now that you’ve dispatched the second sniper, you can move onto the third… or, if you want to get some of the loot from the other route you can take to reach the second sniper, backtrack to where you dispatch the first sniper and follow the directions below.
The Second Sniper - Up the Elevator
Alternatively you can cross some ducts opposite the platform the first sniper was on to reach another balcony overlooking the parade. Walk through the crowds and get on an elevator, where you’ll get the option to go to the “20. Balcony” level or “21. Balcony” level. The former only leads to some trivial loot, while the ladder will allow you to pursue the second sniper.
As you ride the elevator, Takemura will allow you to eavesdrop on a conversation between Oda and some mysterious caller, the latter of which doesn’t seem keen on securing Honoka’s safety. Once you reach the “21. Balcony” level, Johnny will identify the caller as Adam Smasher. Needless to say, Johnny has a grudge, and seems to think you should risk your life for Johnny’s revenge.
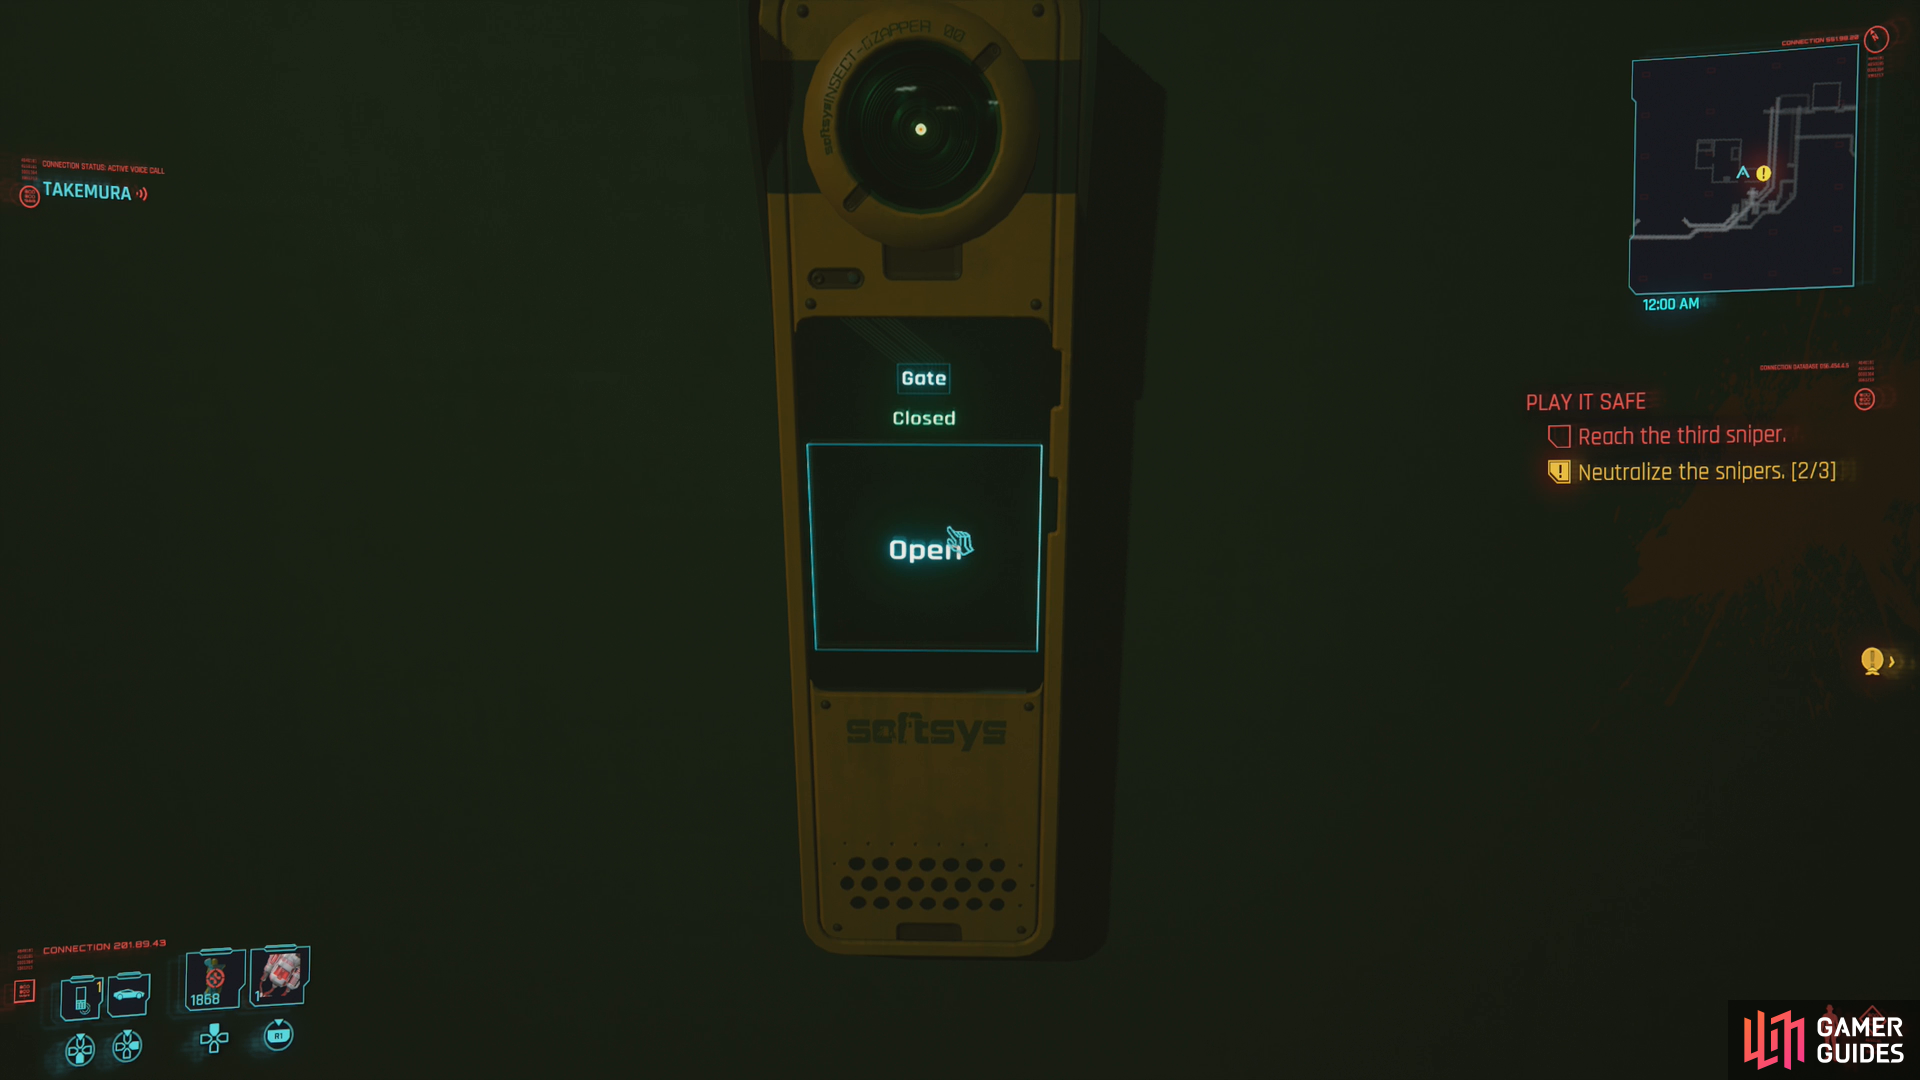
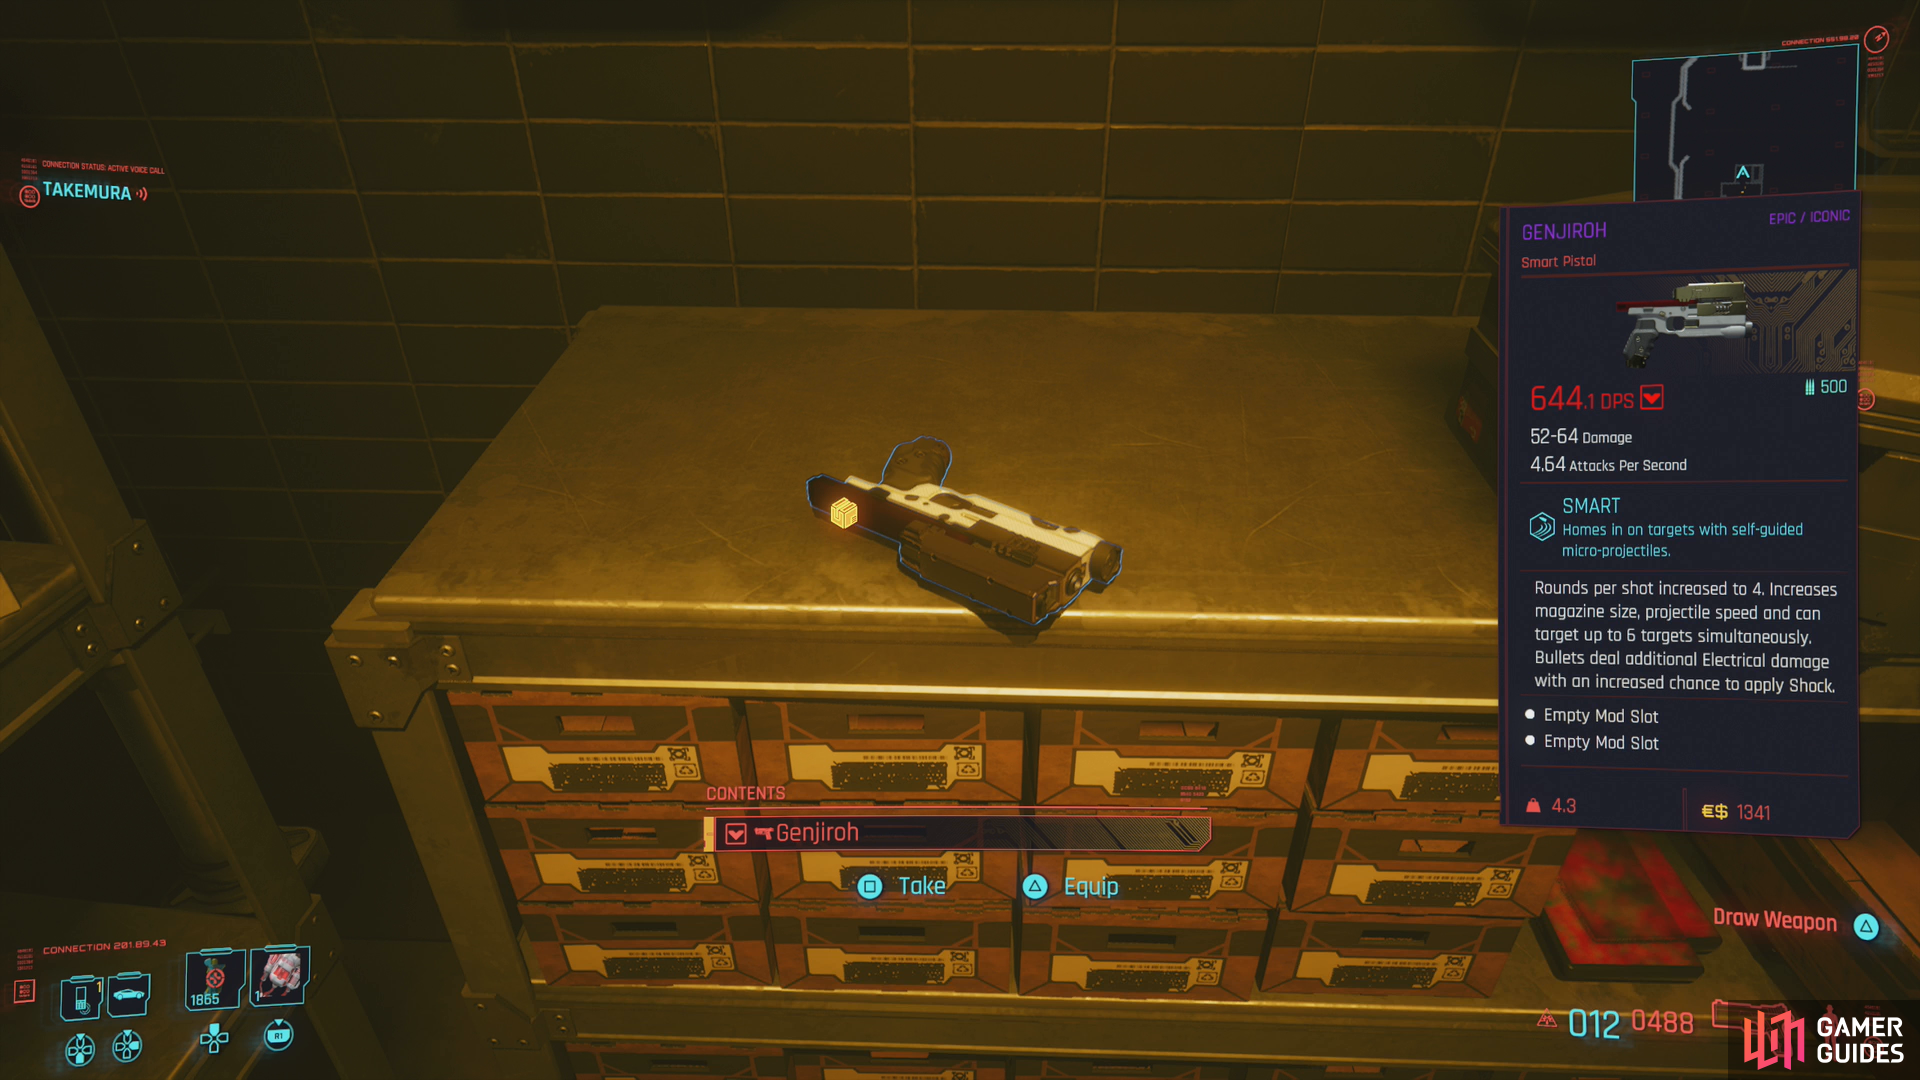
Exit the elevator and turn right, then left to spot a door to your right. If you go through it you’ll reach a locked gate [Technical Ability 11] behind which you’ll find the iconic gug Genjiroh and a gun box with random loot. If you don’t have the Technical Ability to open the cage, never fear! Search the wall to the right of the door you entered through to find a “Door Terminal” and enter the code “2906” to get it open.
Grab the iconic weapon if you can, then head back outside and continue following the balcony past the door until you find a ladder leading up. Climb it, then cross a flimsy walkway, part of which collapses. Jump the gap then continue crossing. Turn left, head forward, then drop down to the right to reach a hatch. Open it and drop through and continue through a doorway to find yourself back outside.
Now you have to drop down some narrow walkways, using cover to hide from some drones. Or, ideally, you can dispatch the drones all sneaky-like, either with a silenced weapon or the Short Circuit quickhack.
(1 of 2) Disarm a mine inside the building where the second sniper is holed up,
However you manage it, get past the drones and drop down as far as you can, then head downstairs and drop down some more to find an Arasaka Soldier far below. Snipe him if you can, or hit him with Reboot Optics and drop down and dispatch him. Once he’s out of the way you can go through a door or window to reach the building the sniper is in. We advise you take the door, unless you like explosions, as there’s a mine on the wall under the window.
Once you’re past the mine, go through a doorway and put down the sniper. Easy-peasy. You can also hack a computer [Intelligence 6] in this room, if you wish.
(1 of 2) Shortly after dispatching the second sniper you’ll need to disarm another mine.
Shortly after dispatching the second sniper you’ll need to disarm another mine. (left), Beyond the mine you’ll find guards in tricky positions - distract them to lure them out, then take them down. (right)
The Third Sniper
Two down, one to go. After you’ve vanquished the second sniper you’ll overhear another call from Oda and Smasher. When it’s done, go through some double doors and immediately you’ll spot another mine laser. Disarm the mine (it’s on the wall to the left), then go up some stairs (also to the left), but do not exit onto the next floor, as an Arasaka Specialist awaits on the next flight of stairs up.
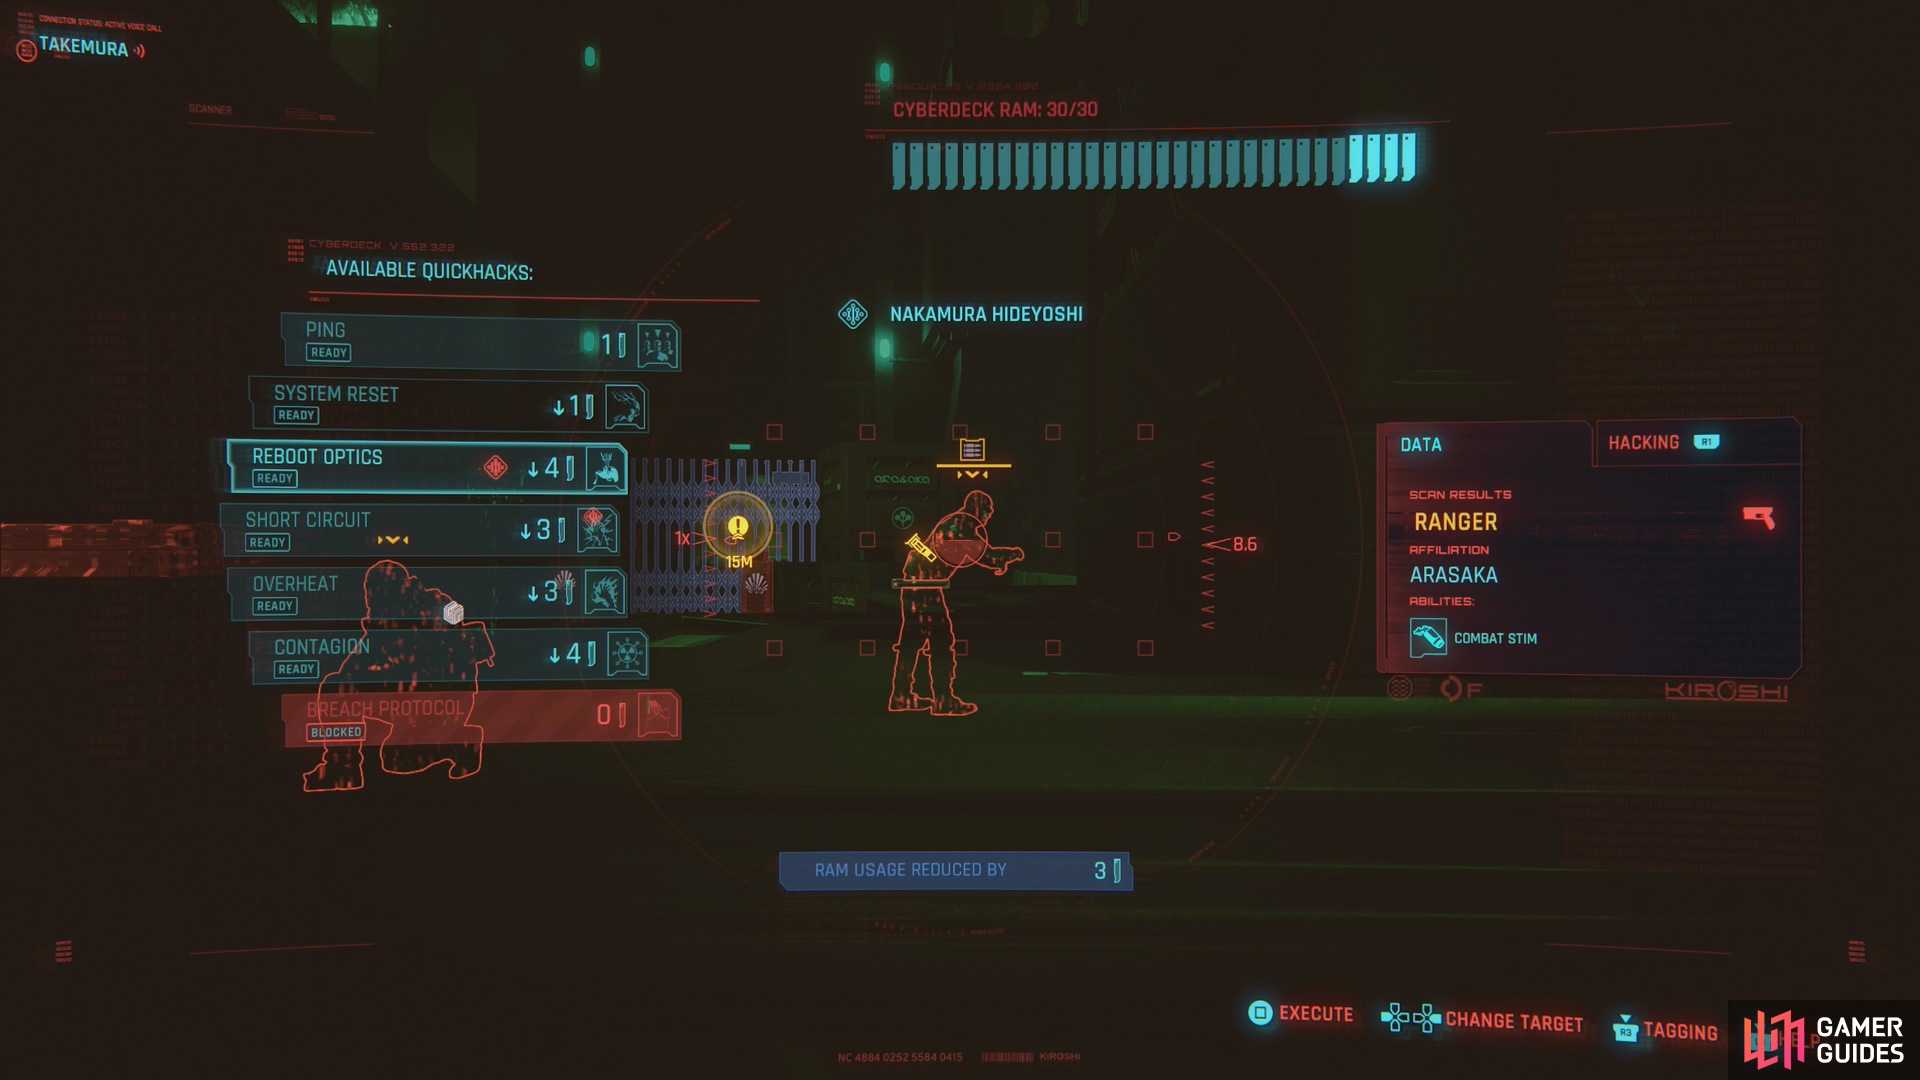
Scan out to the left and you’ll spot a possible solution - some objects you can quickhack to distract the guard. He’ll play along and expose his back to you, allowing you to take him down as he walks past. Failing that, a stealthy quickhack or a carefully aimed silenced weapon might do the job.
Head up to the next floor and you’ll find an Arasaka Ranger sitting down, having himself a nice phone call. He’s much easier to get behind, but to take him down you’ll need to get him standing. Once again, a distraction quickhack on the computer opposite him should do the trick. Afterwards, you can thank the computer by jacking into it [Intelligence 6]. Useful device.
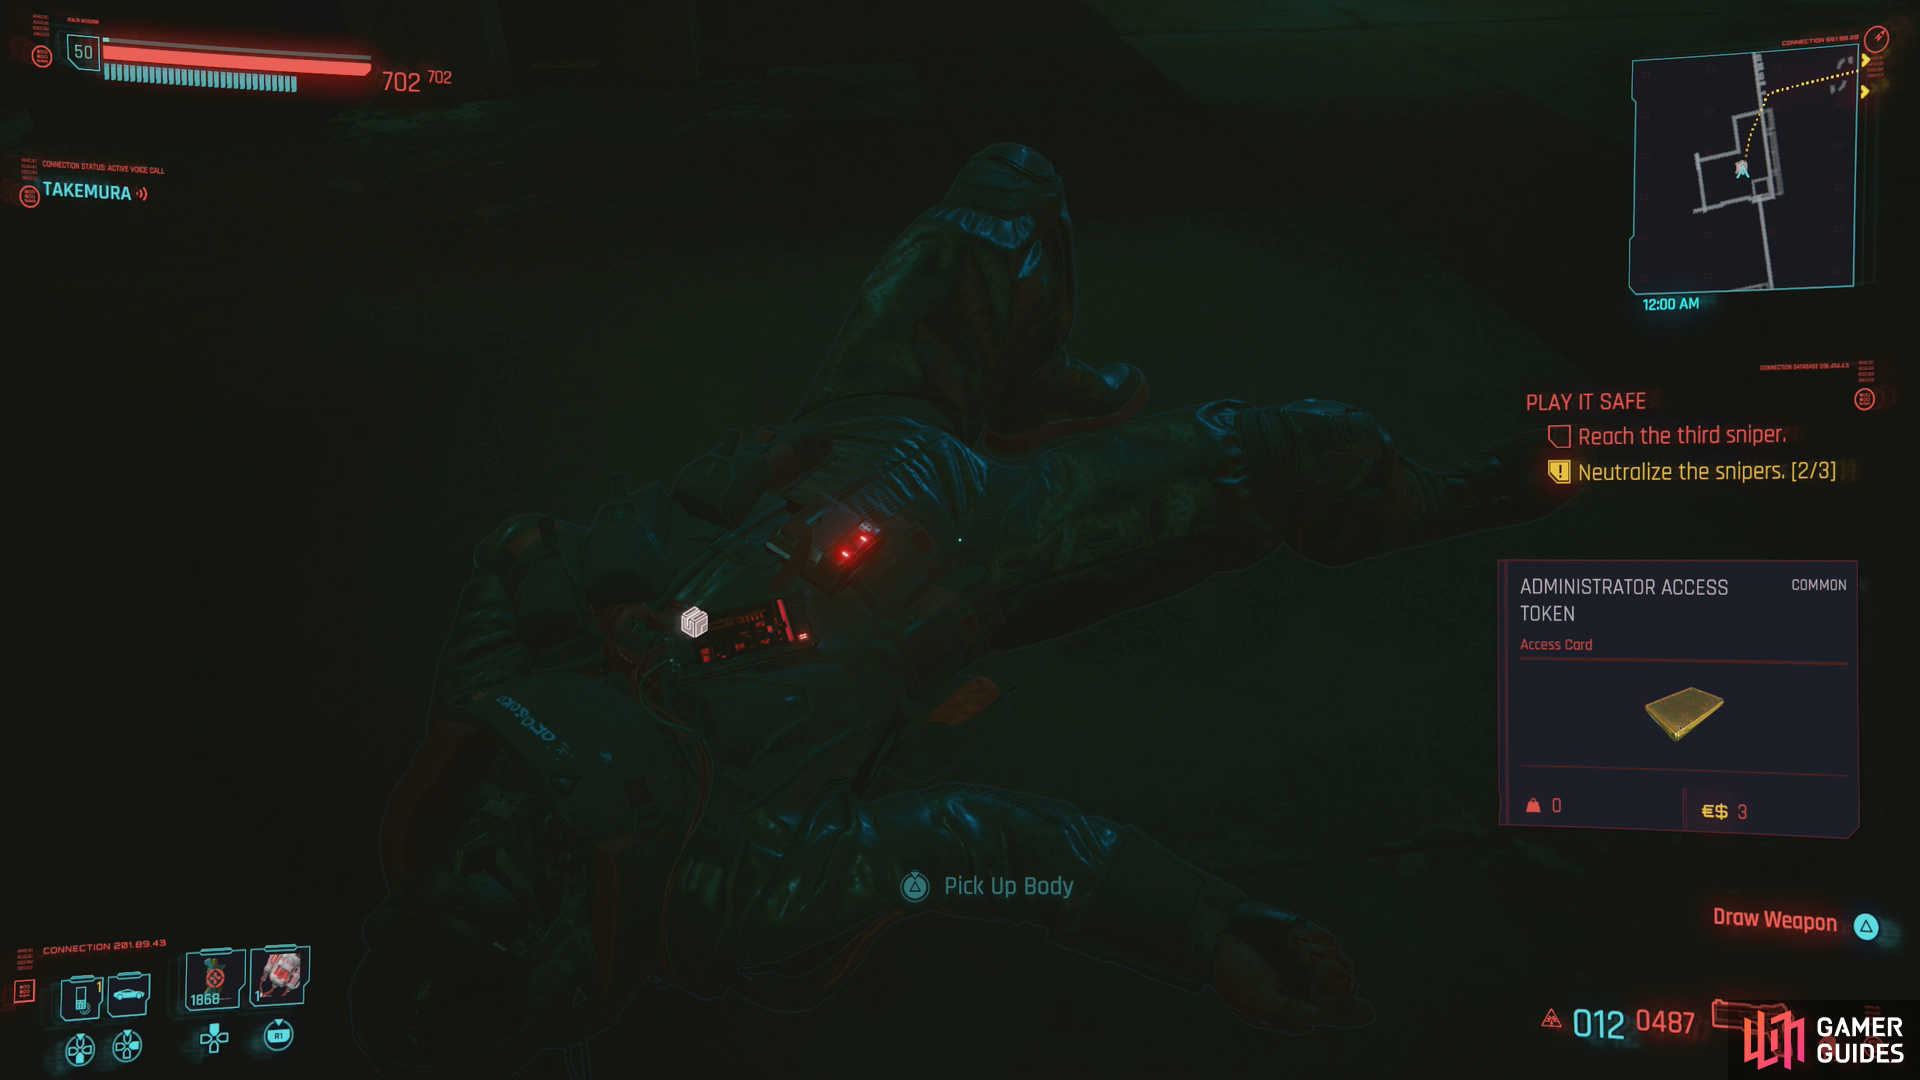

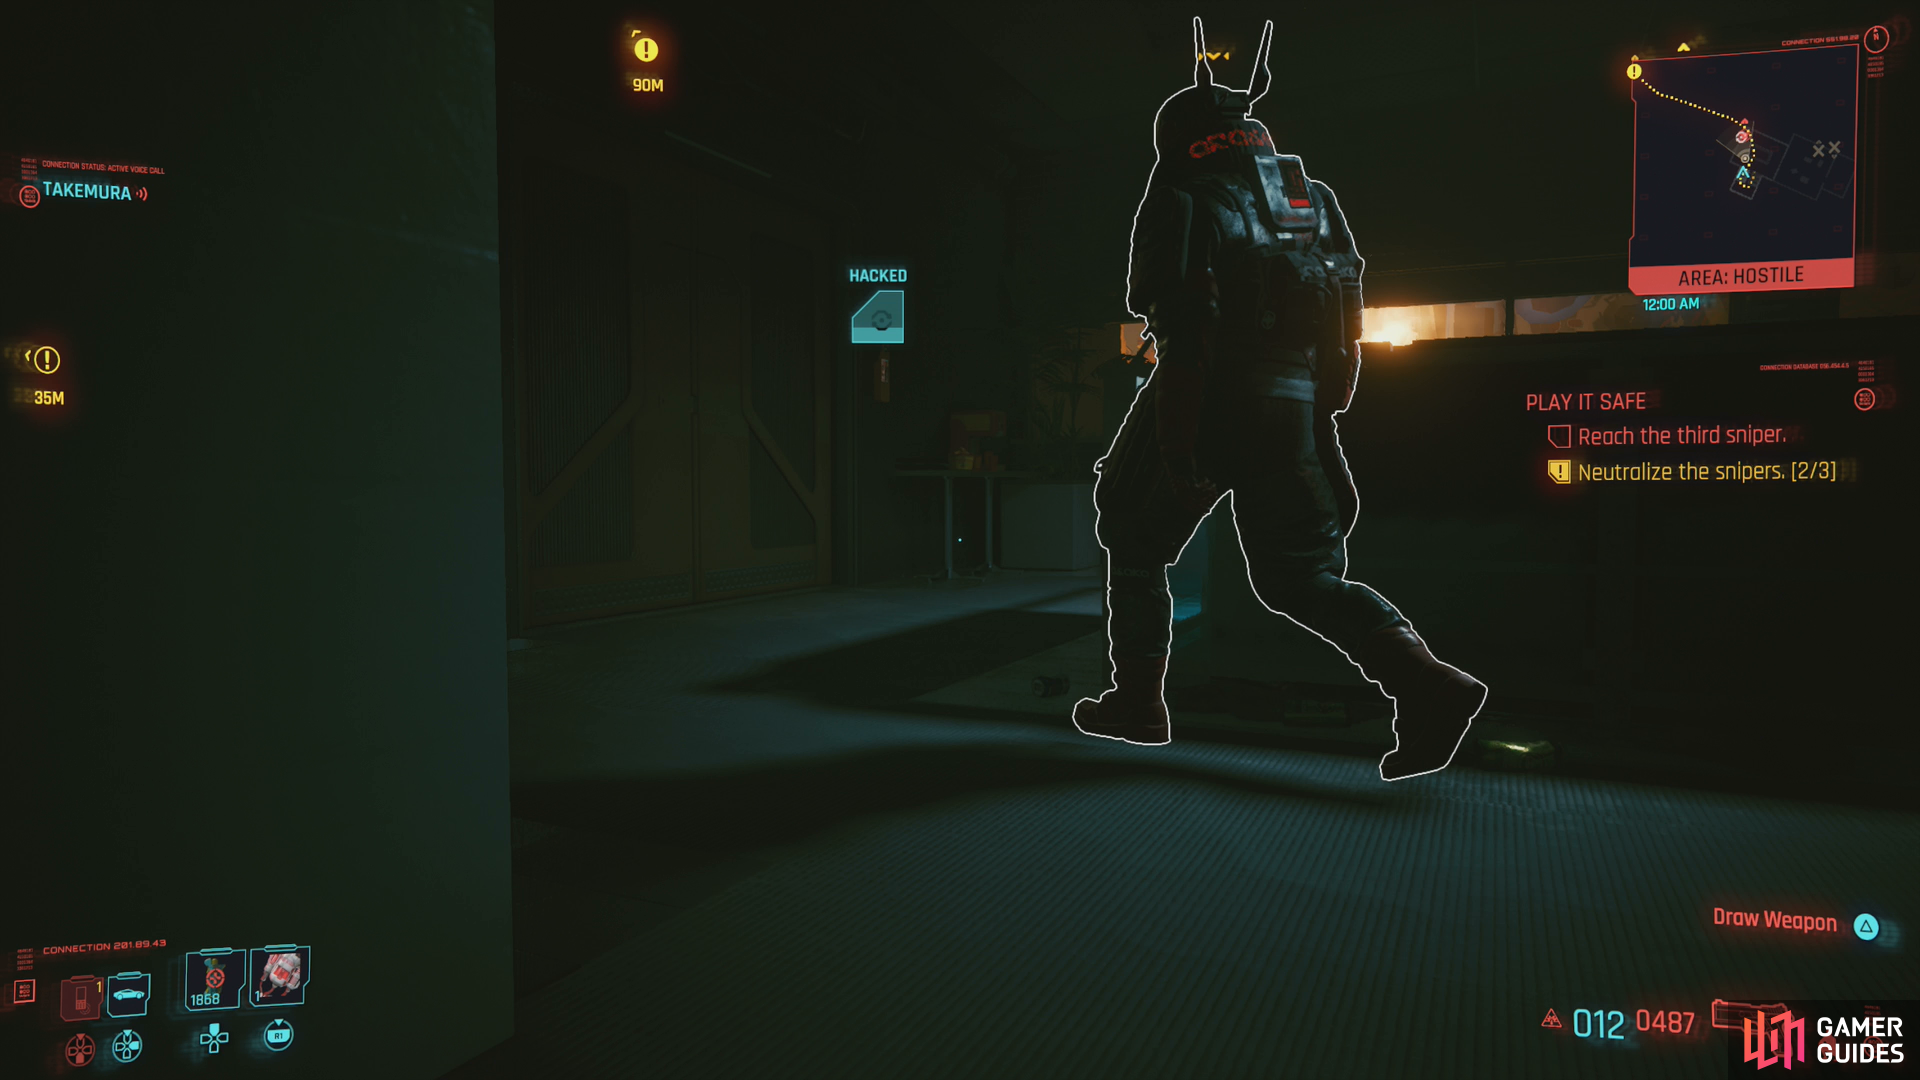
(1 of 3) Dispatch a guard and take his “Administrator Access Token”,
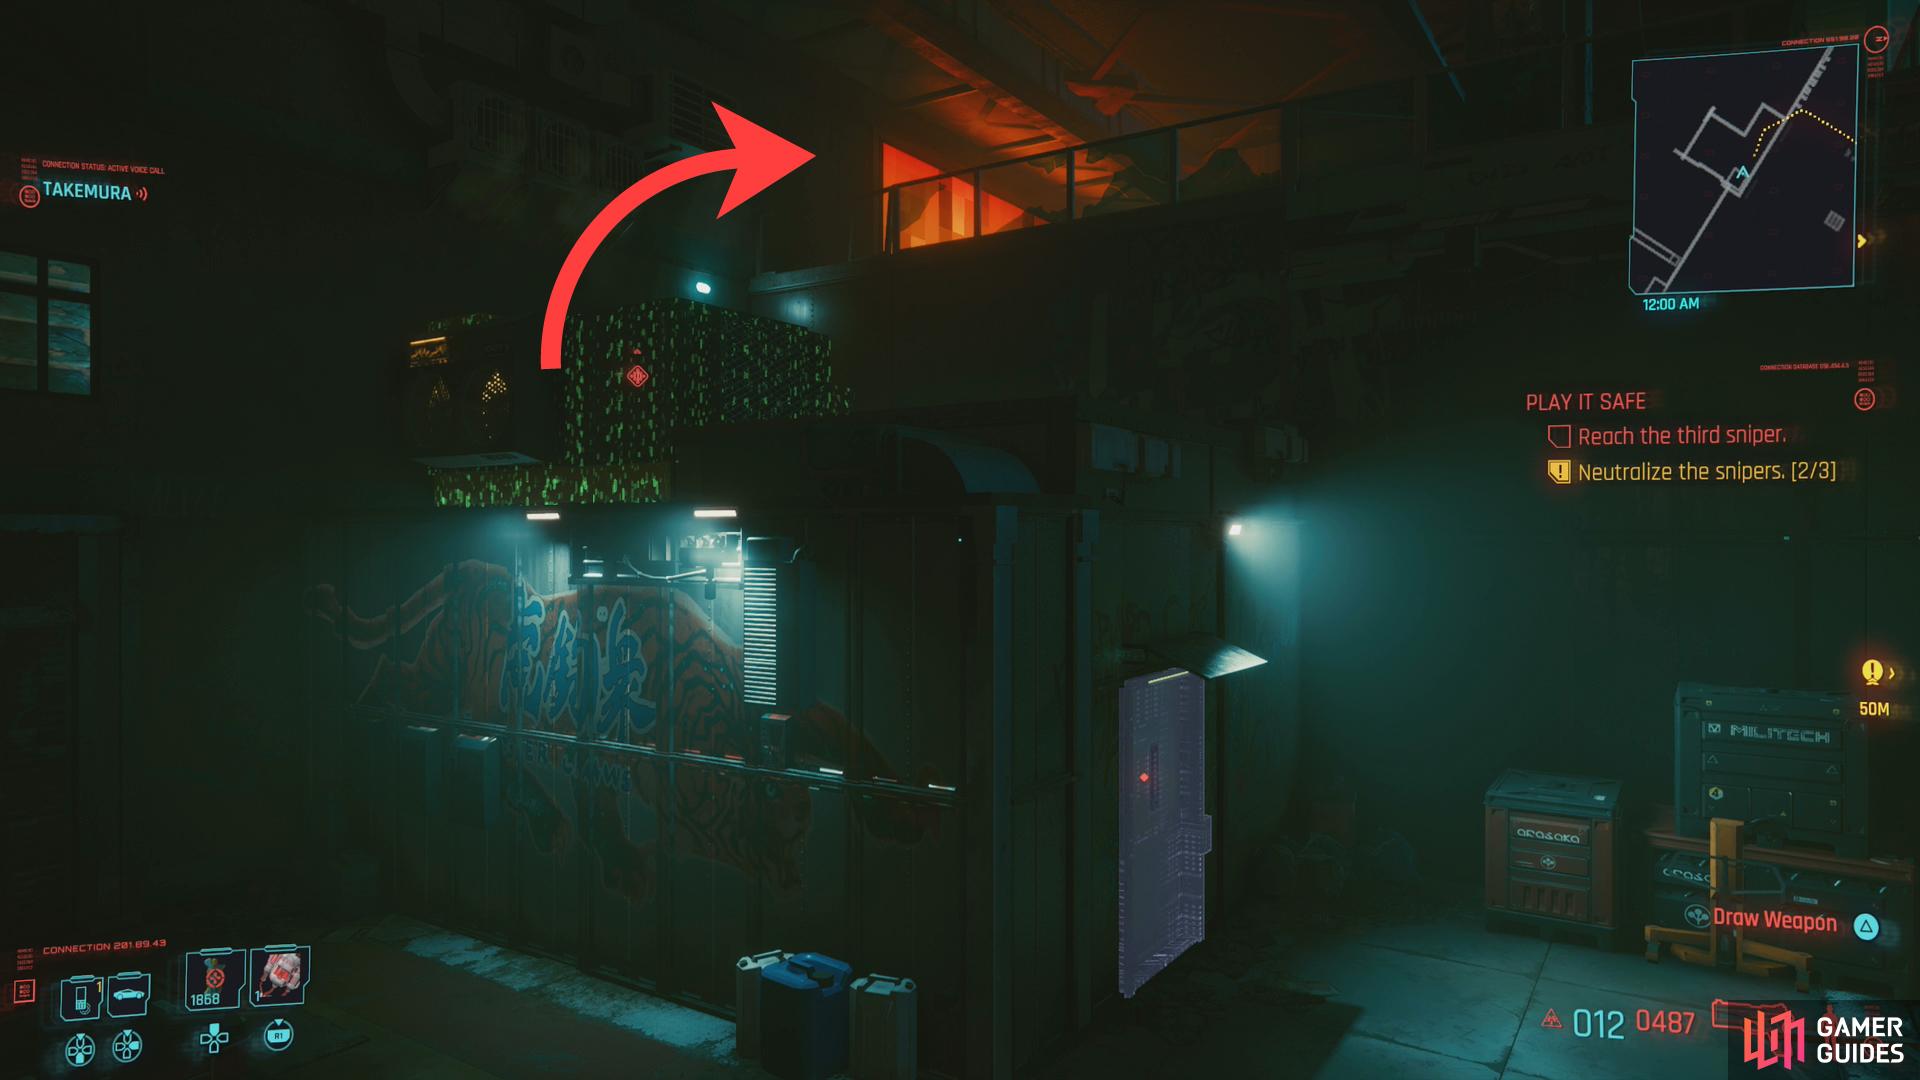
Continue down a hallway and exit back outside, where Takemura will tell you about two paths you can take. Dispatch a guard to the right, then loot him for an Administrator Access Token, which will get you through a door to the left (or you can just unlock it by passing a [Technical Ability 5] check). If you want to take this route, go through the door and climb a ladder to reach the roof (or just double jump up here), climb onto an air conditioner, then use this device to reach a balcony to the right, where you’ll find an elevator you can take up.
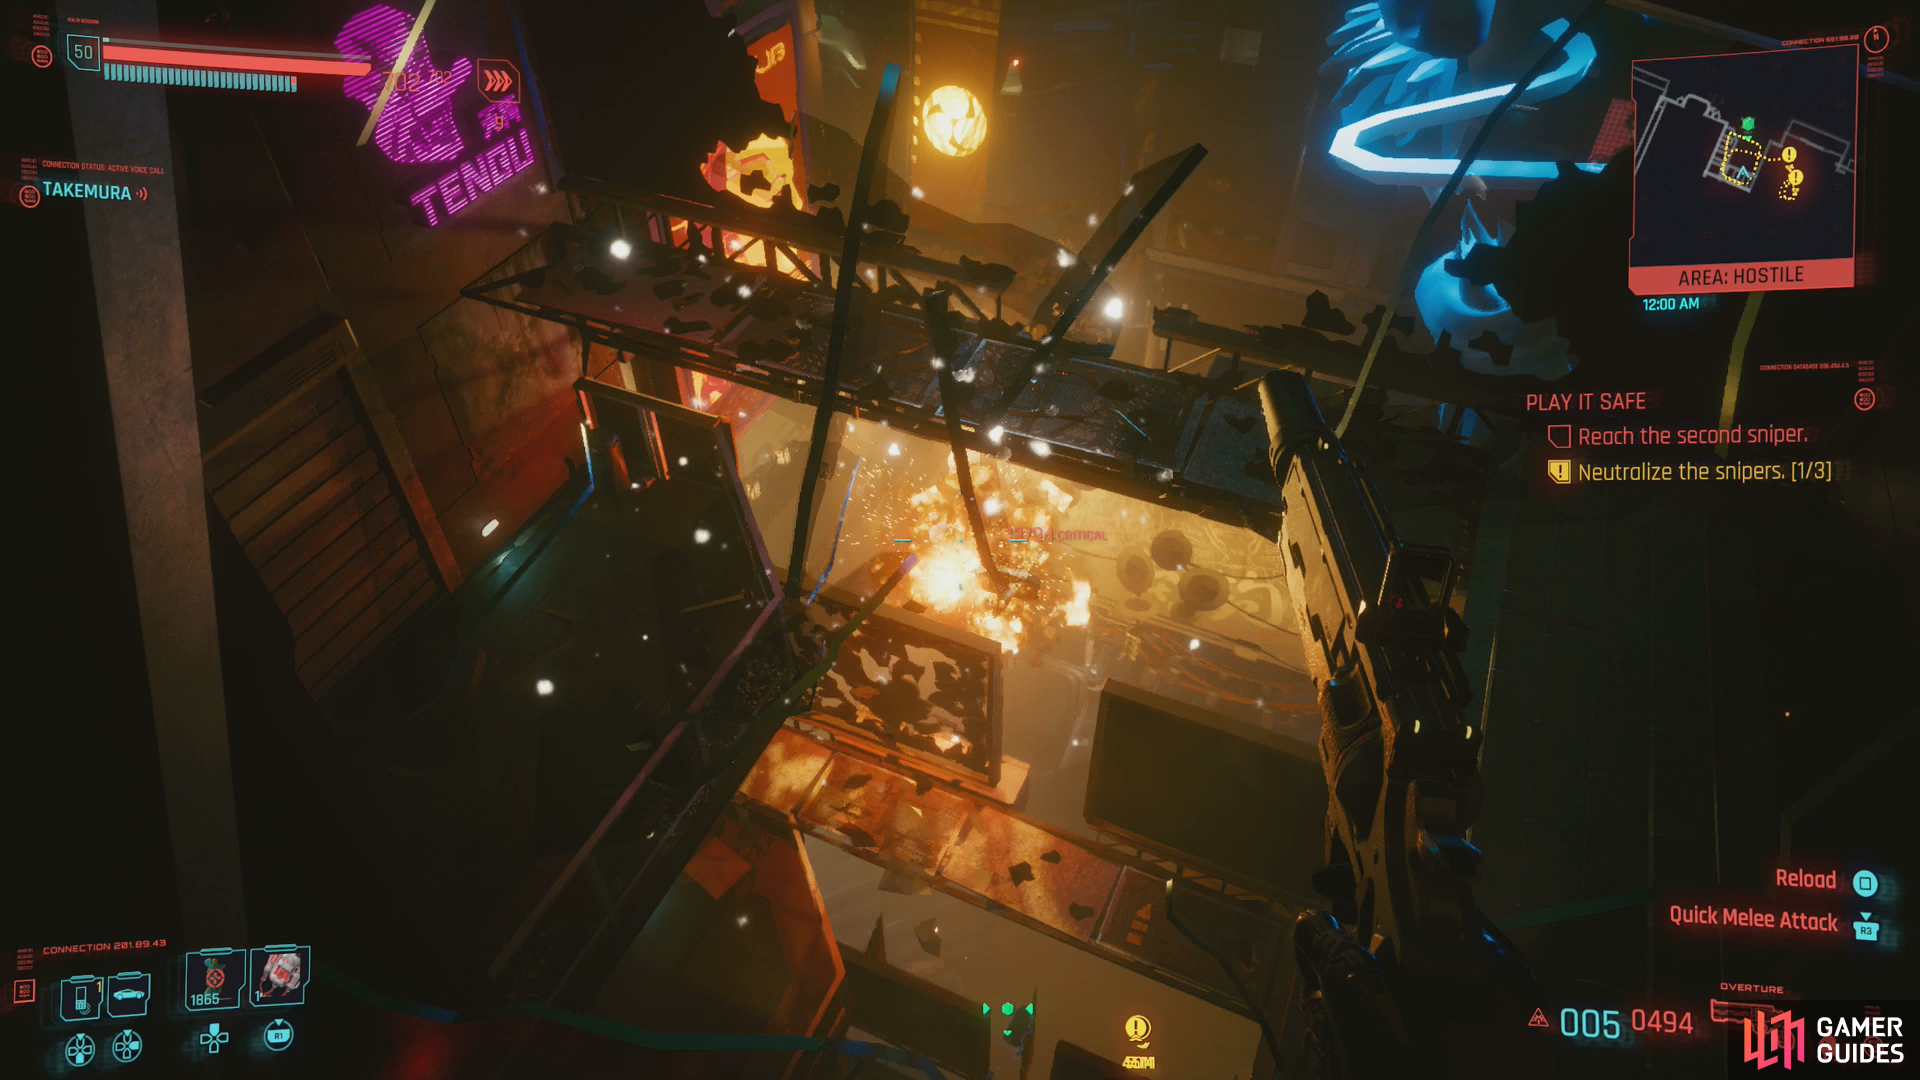
If you want to go the footbridge route, well… go through the broken railing near where the guard was, drop down and walk across the pipe-cluttered walkbridge. Despite Takemura’s warning, the floats above aren’t a great threat, just as long as you don’t go out of your way to stick your head in a flaming exhaust vent.
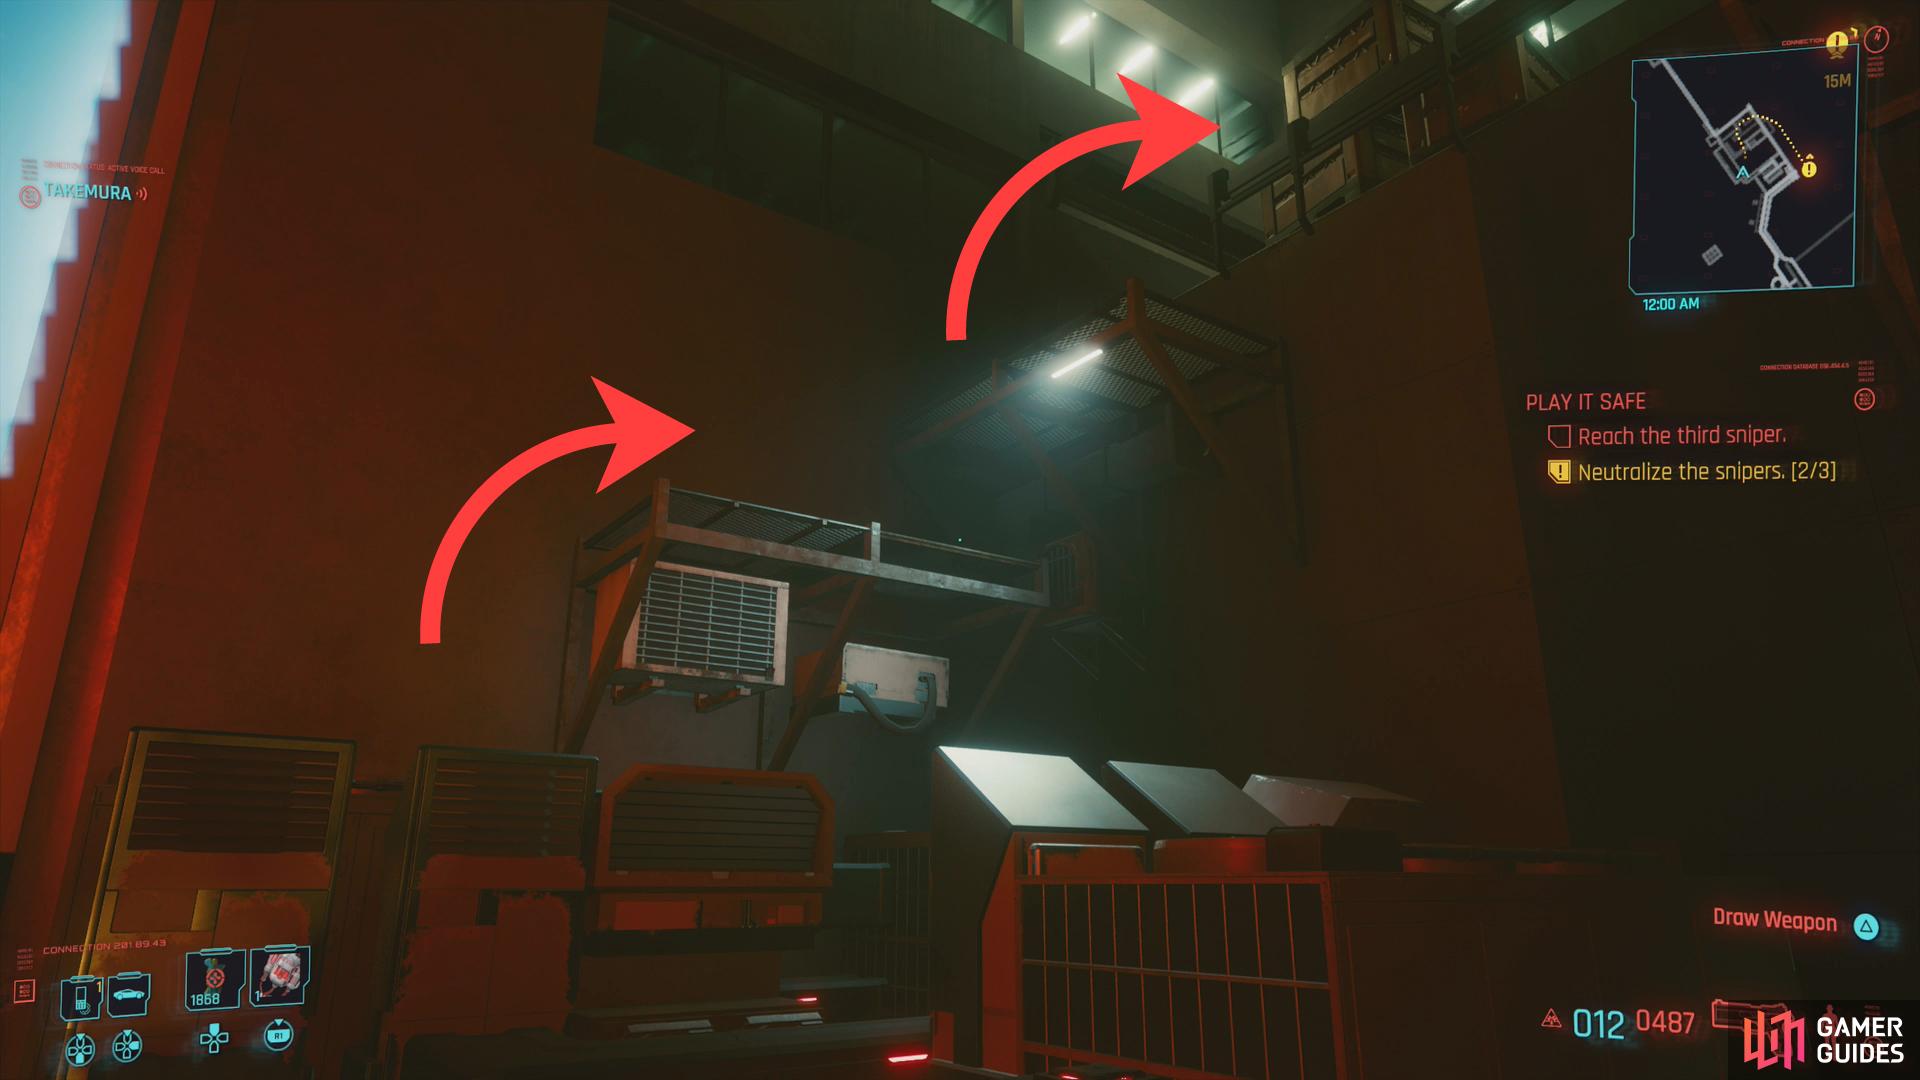
(1 of 4) Jump up various platforms after crossing the pipe-clad bridge,
The Third Sniper - Footbridge
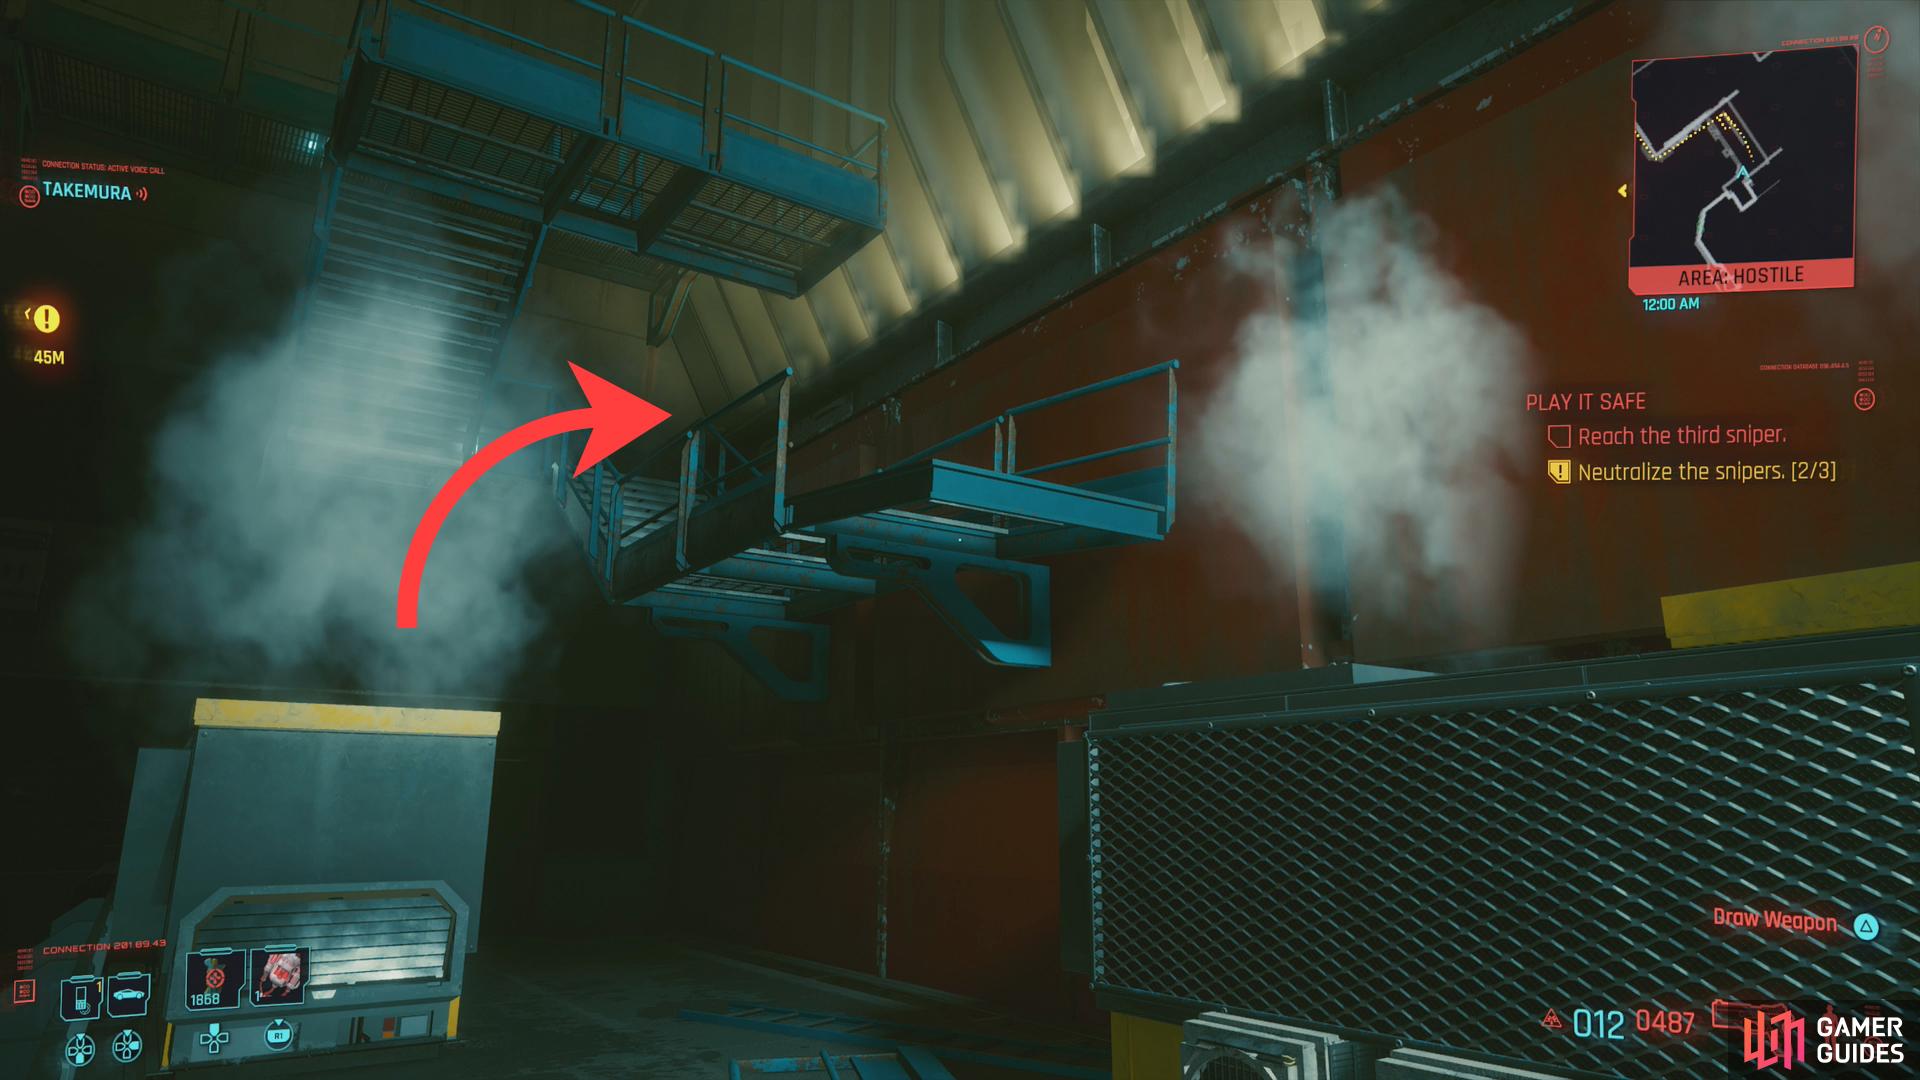
Cross the footbridge, climb up onto some metal walkways, then head upstairs. When Takemura warns you to keep your head down, that’s an alert indicating that guards wait ahead. Climb up several platforms to reach a balcony above you, where two Arasaka guards await. Reboot Optics works wonders here, otherwise this can be a somewhat tricky encounter. Defeat them both, then continue into an elevator beyond and ride it up to “24. Construction”.
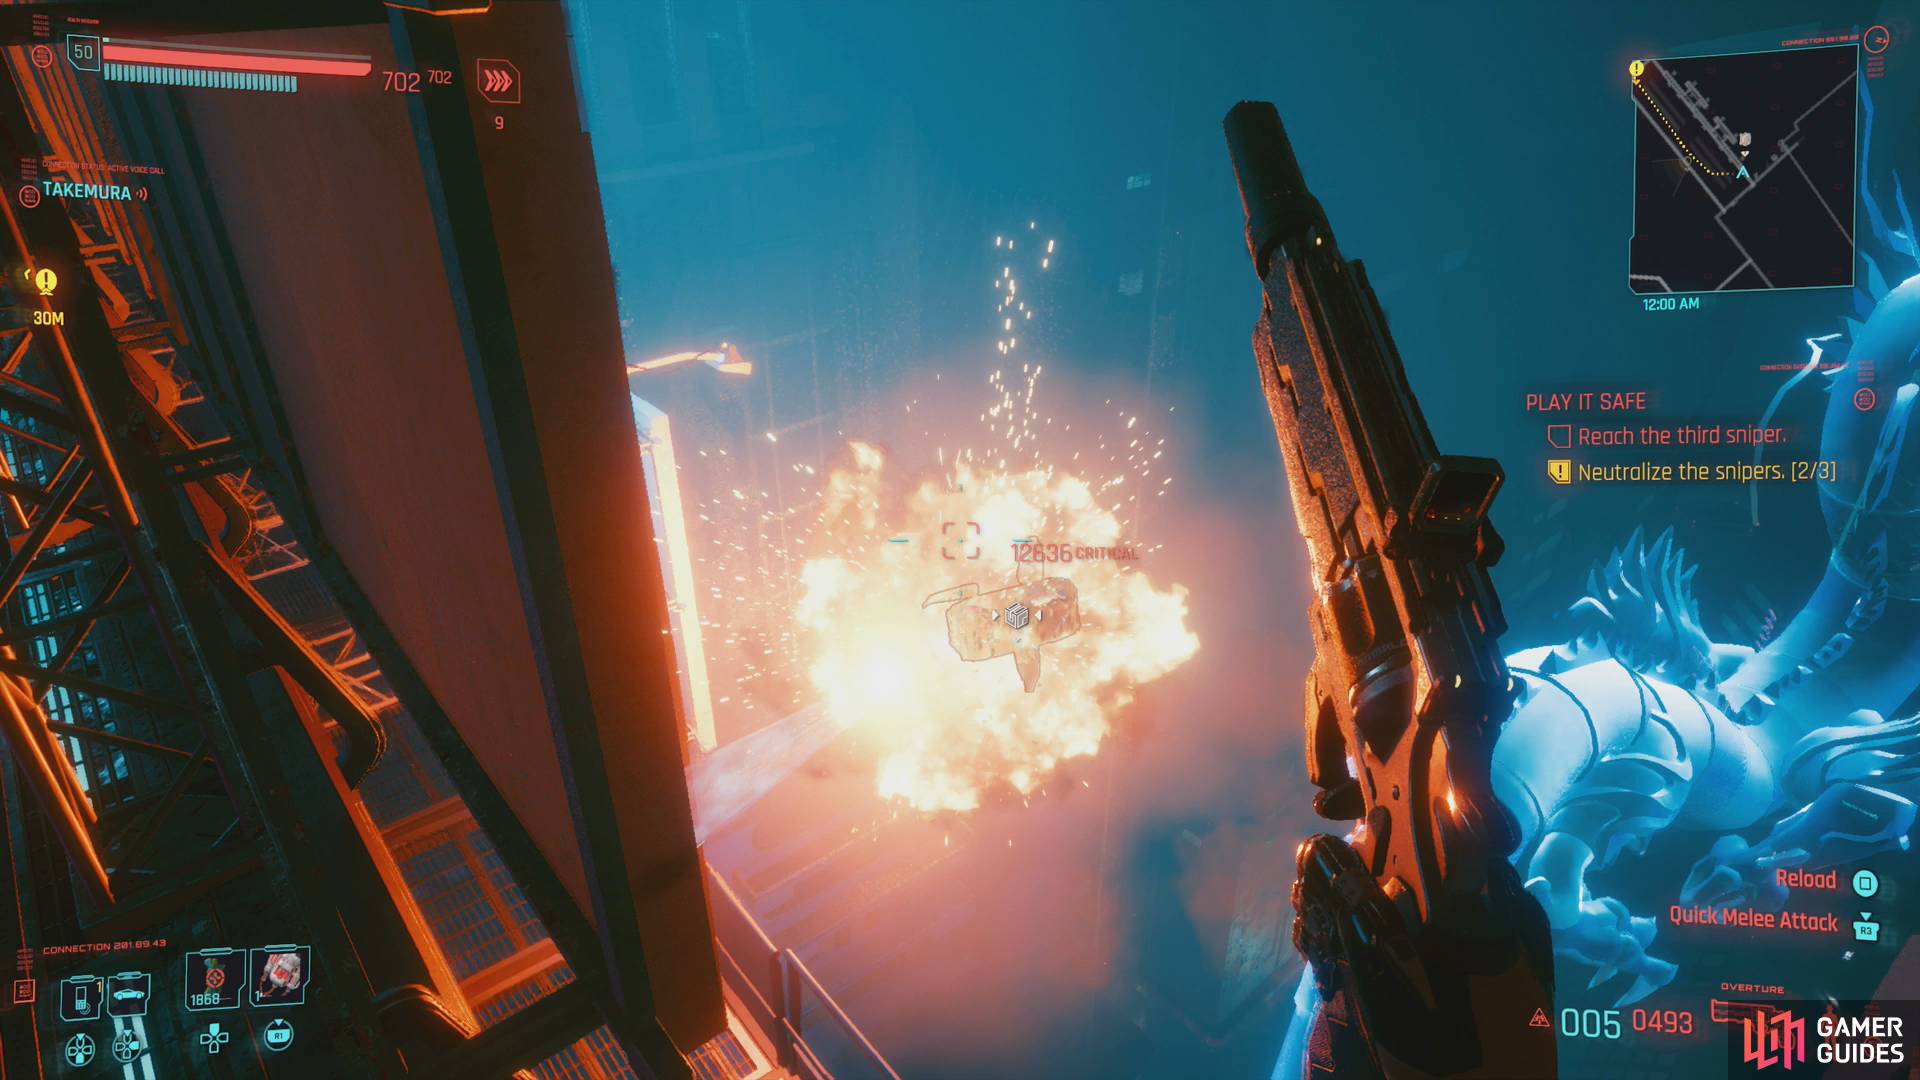
Once the elevator reaches the desired floor, immediately put down a guard leaning against a railing, then use air conditioners and/or double jump to reach a metal walkway and follow it to reach a ladder. Before you climb it, look up to spot a drone floating about. It would just love to spoil your approach, so take it out if you can, then climb up the ladder and look through a window to the left to find your third and final sniper. Be wary before you jump in after him, however, as there are several mines scattered around between the window and the sniper.
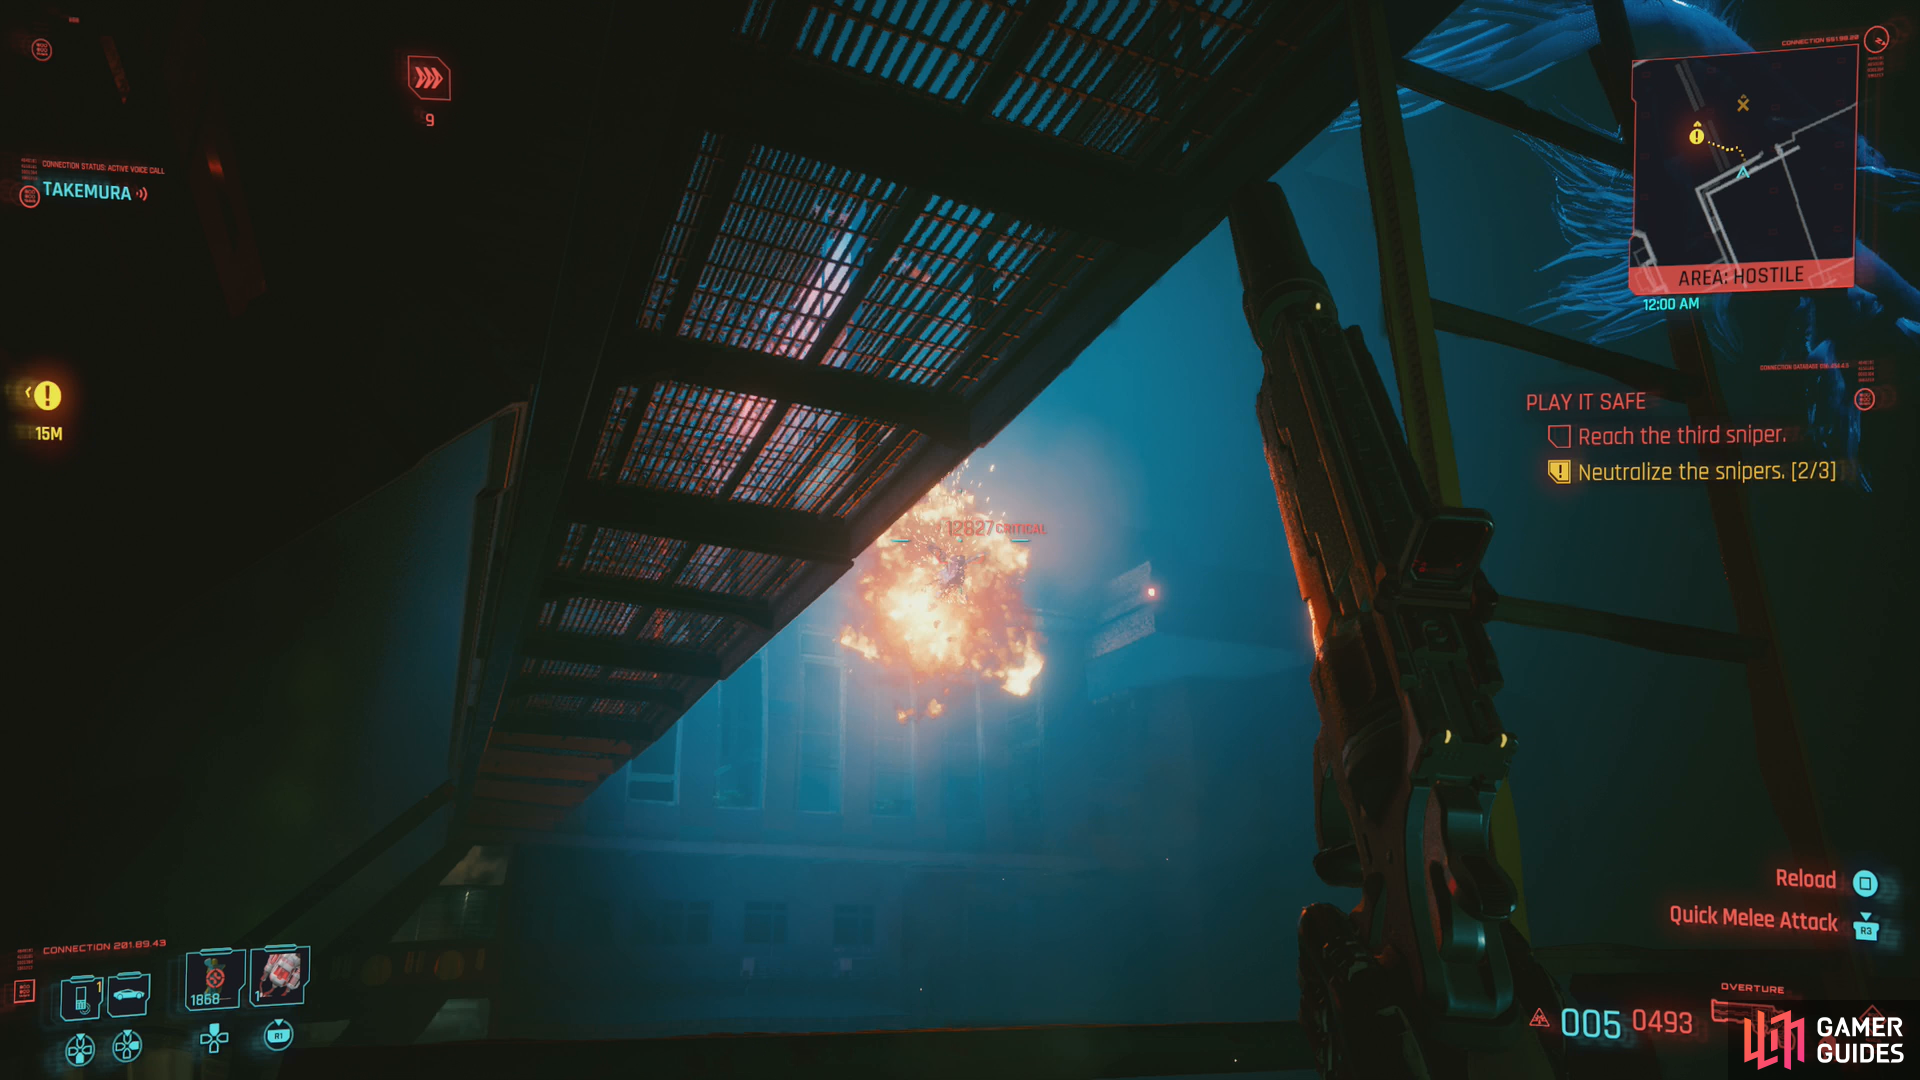
(1 of 3) If you go through the double doors to reach the footbridge, shoot a drone out of the sky,
The Third Sniper - Elevator
If you chose to climb up to the elevator, ride it up to “30. Foyer” and exit when you reach your destination. Once off the elevator you’ll have two ways to reach the sniper, either by going downstairs to the left, or by continuing forward and exiting through a doorway:
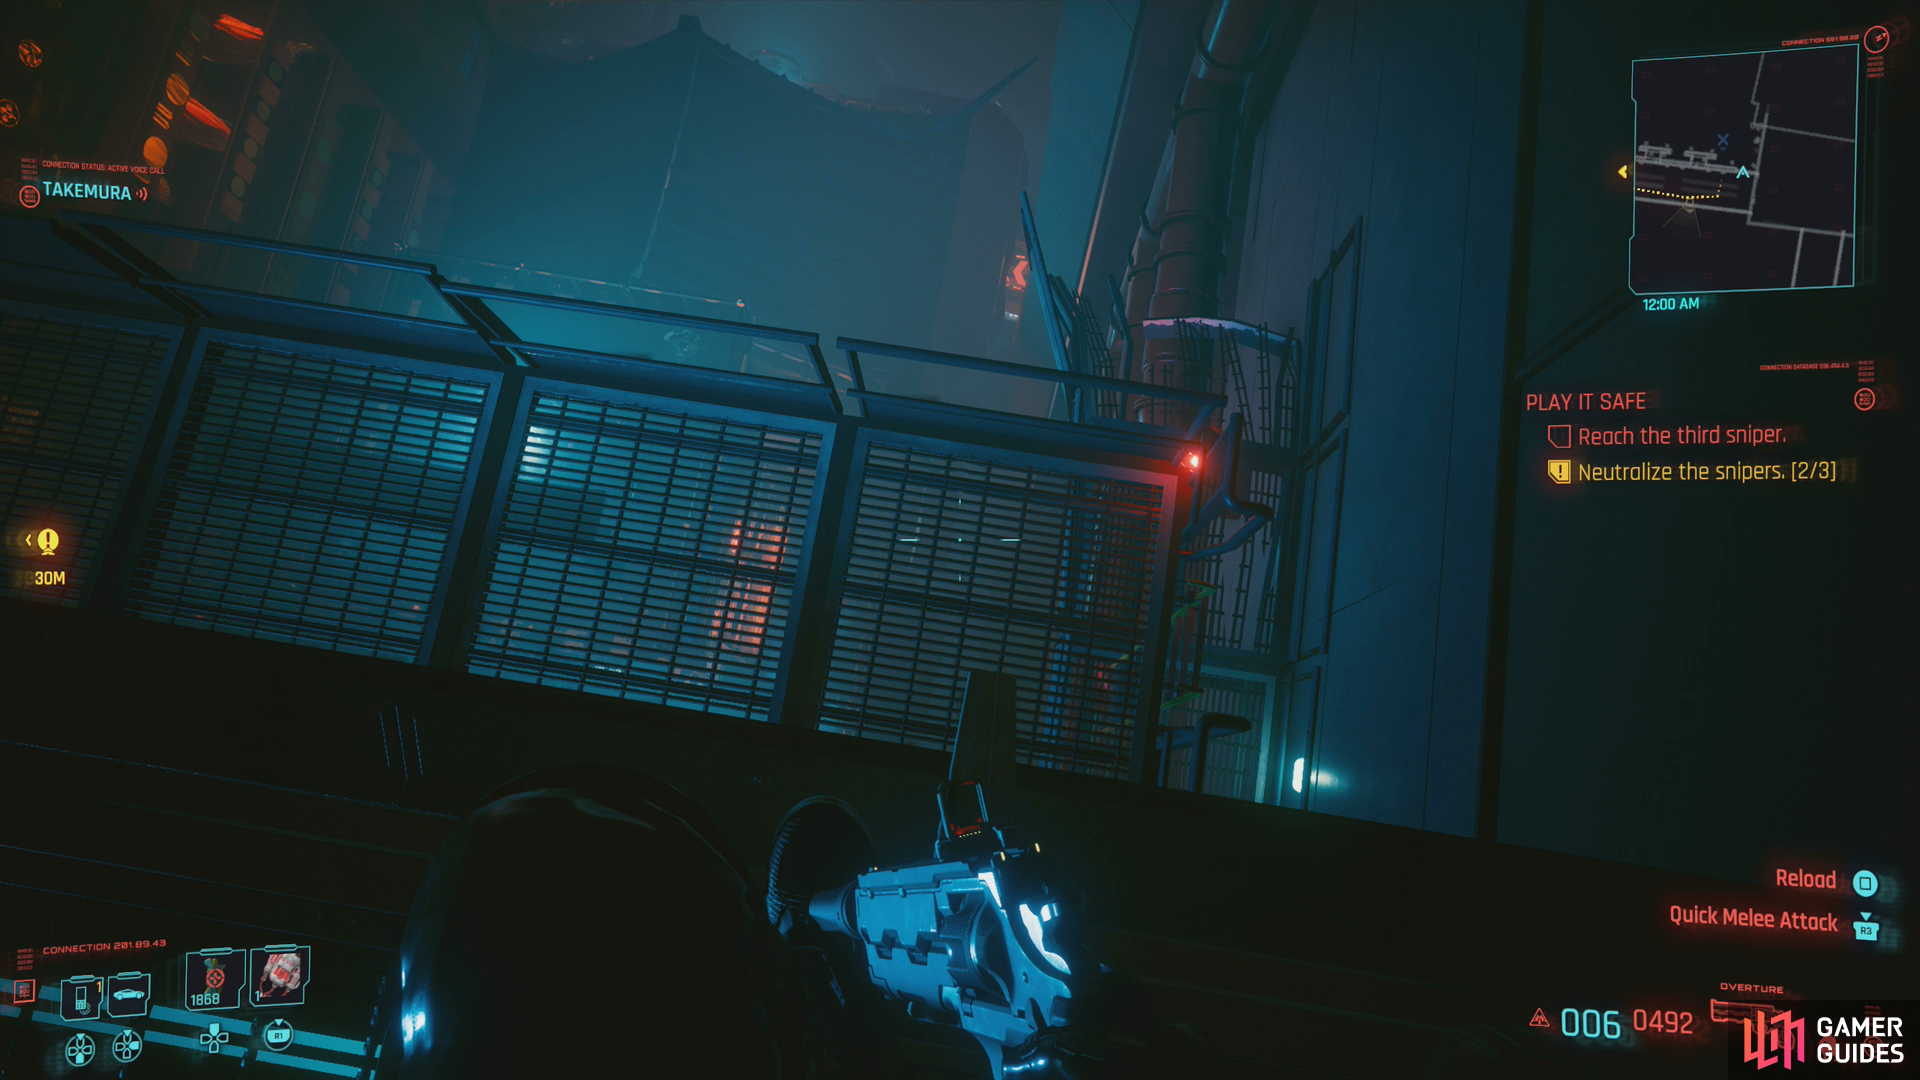
If you exit through the doorway you’ll find yourself outside on a footbridge. Wait, wasn’t that the other path? Oh well. Head to the end of this footbridge and keep your eye to the left. Billboards occupy most of the railing to the left, but when they end, climb the railing and look down. Dispatch a drone if you see one flying about, then drop down onto the walkway below you. Once down, turn around to find a window, through which you’ll find your third and final sniper.
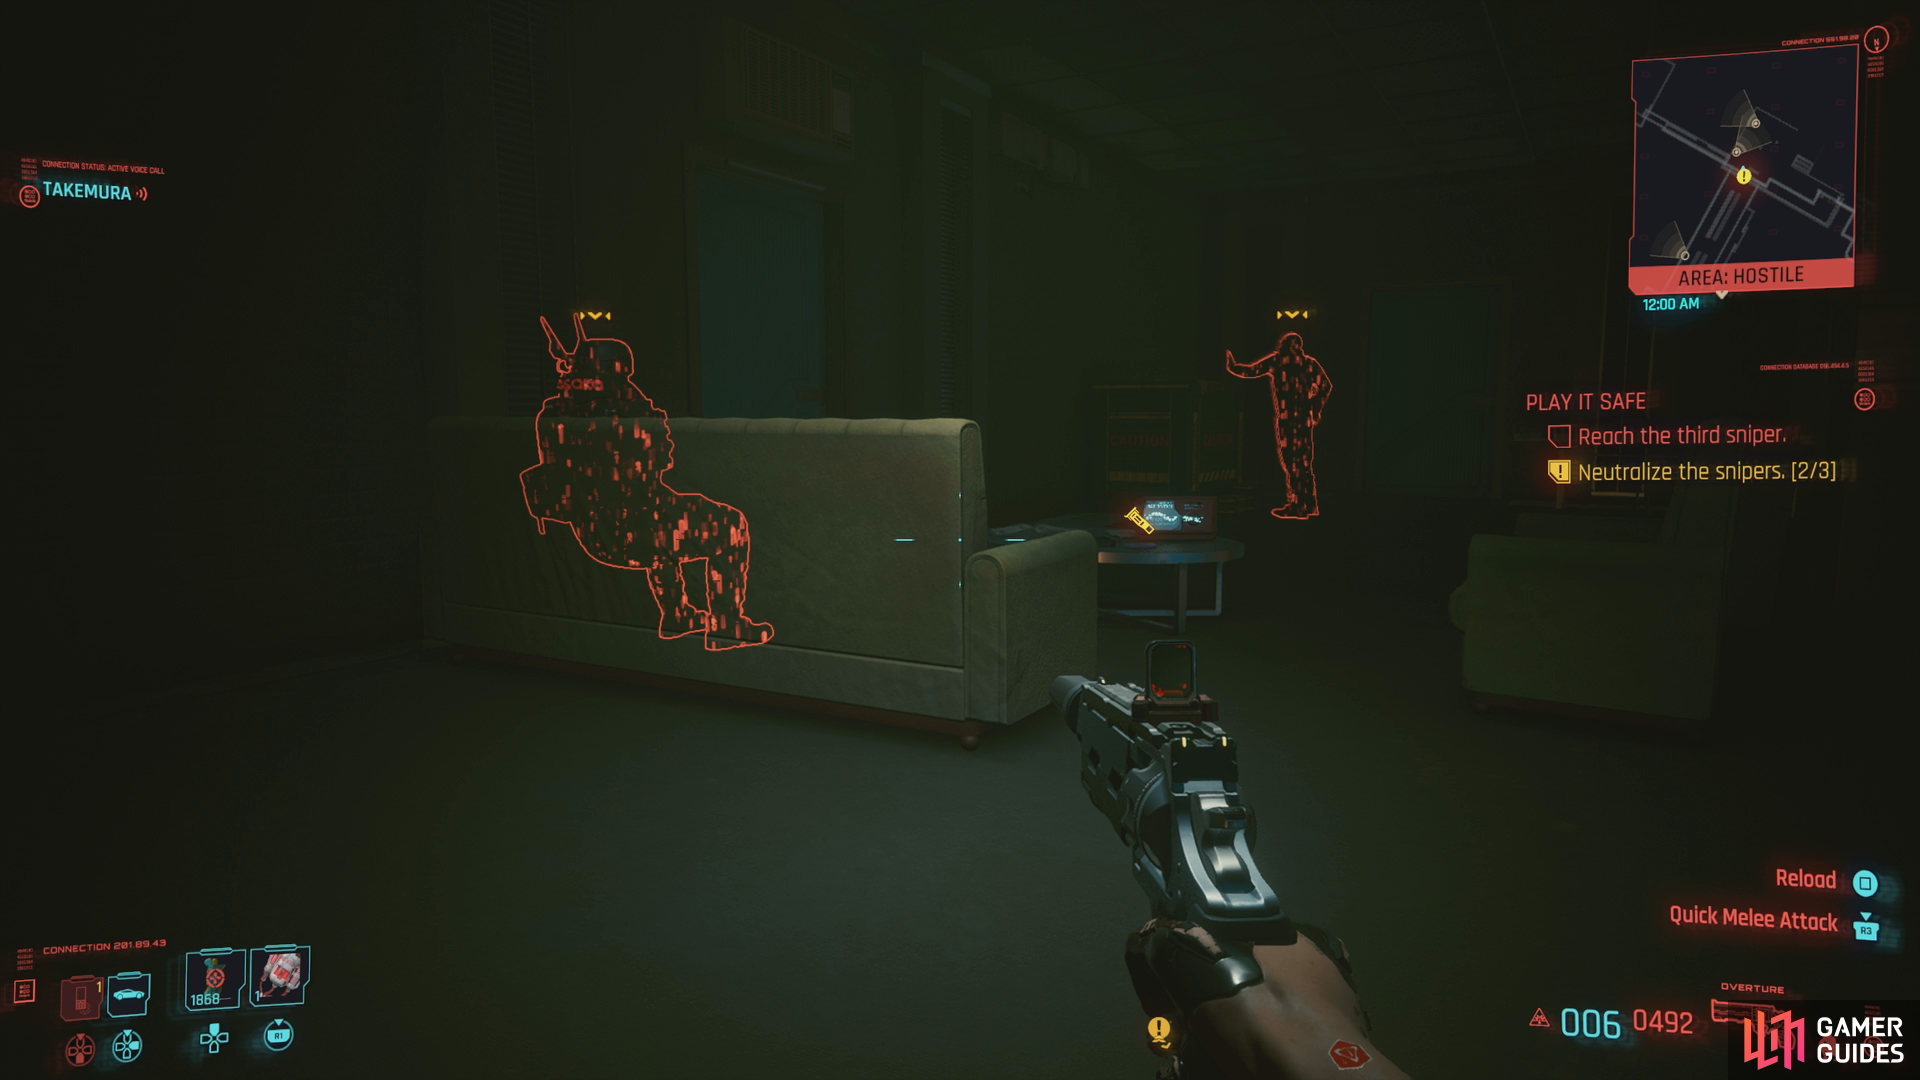
Should you go down the stairs to the left you’ll find two guards to your right when you reach the bottom. One sitting on a couch, the other fiddling with some explosives. Don’t lose your nerve and sneak around behind the one sitting - he might start to notice you, but he shouldn’t detect you. Get behind him and take him down, then dispatch his buddy at your leisure. The sniper will just be through some doors the two Arasaka soldiers were guarding.
(1 of 2) Disarm several mines,
Disarm several mines, (left), then take out the third sniper. (right)
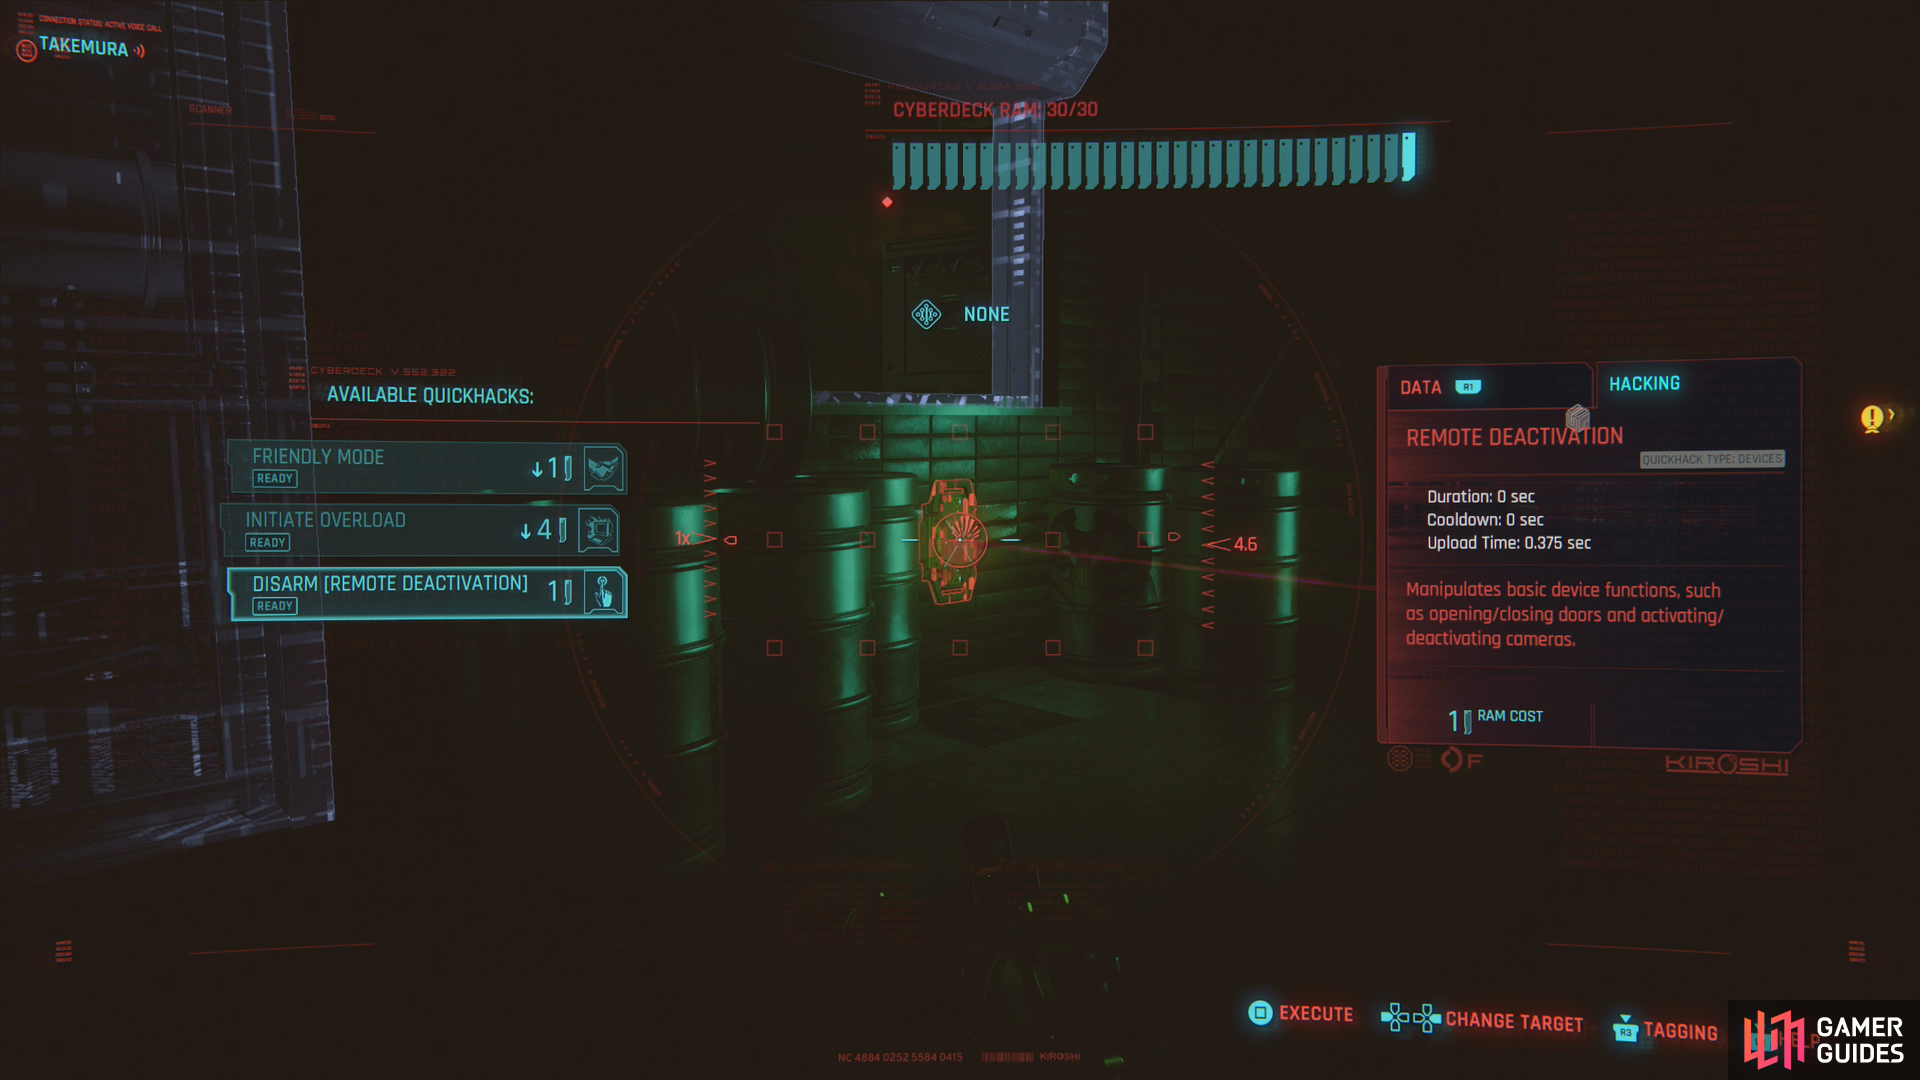
Either way, be wary as you approach the sniper, as he’s got several mines around him. If you go in through the window, they’ll be uncomfortably close when you get inside. If you go through the doors, the mines won’t be between you and the sniper, but they’ll be awfully close to where you’ll have to go to sneak behind him. They can be safely disarmed via quickhack at a distance.
The Netrunner
After you take out the third sniper, Takemura will contact you and tell you about a complication - an Arasaka netrunner is causing trouble, and needs to go. Jack into an Access Point on a computer [Intelligence 5] for some goodies if you can, then head through the double doors at the end of the hallway… which you very well may have come through to reach this sniper. Once through, turn right and head down another hallway to find an elevator and ride it down to “21. Balcony”.
This isn’t a long trip, but you’d better make sure you’re prepared. Have a shotgun, burst-fire, or any weapon that otherwise can put a lot of lead in the air in a short period of time and one that doesn’t rely too much on pin-point accuracy. Some high-end healing items can’t hurt, either. When you’re ready, follow the quest trail to reach the netrunner, who is sitting alone in a suspiciously large room…
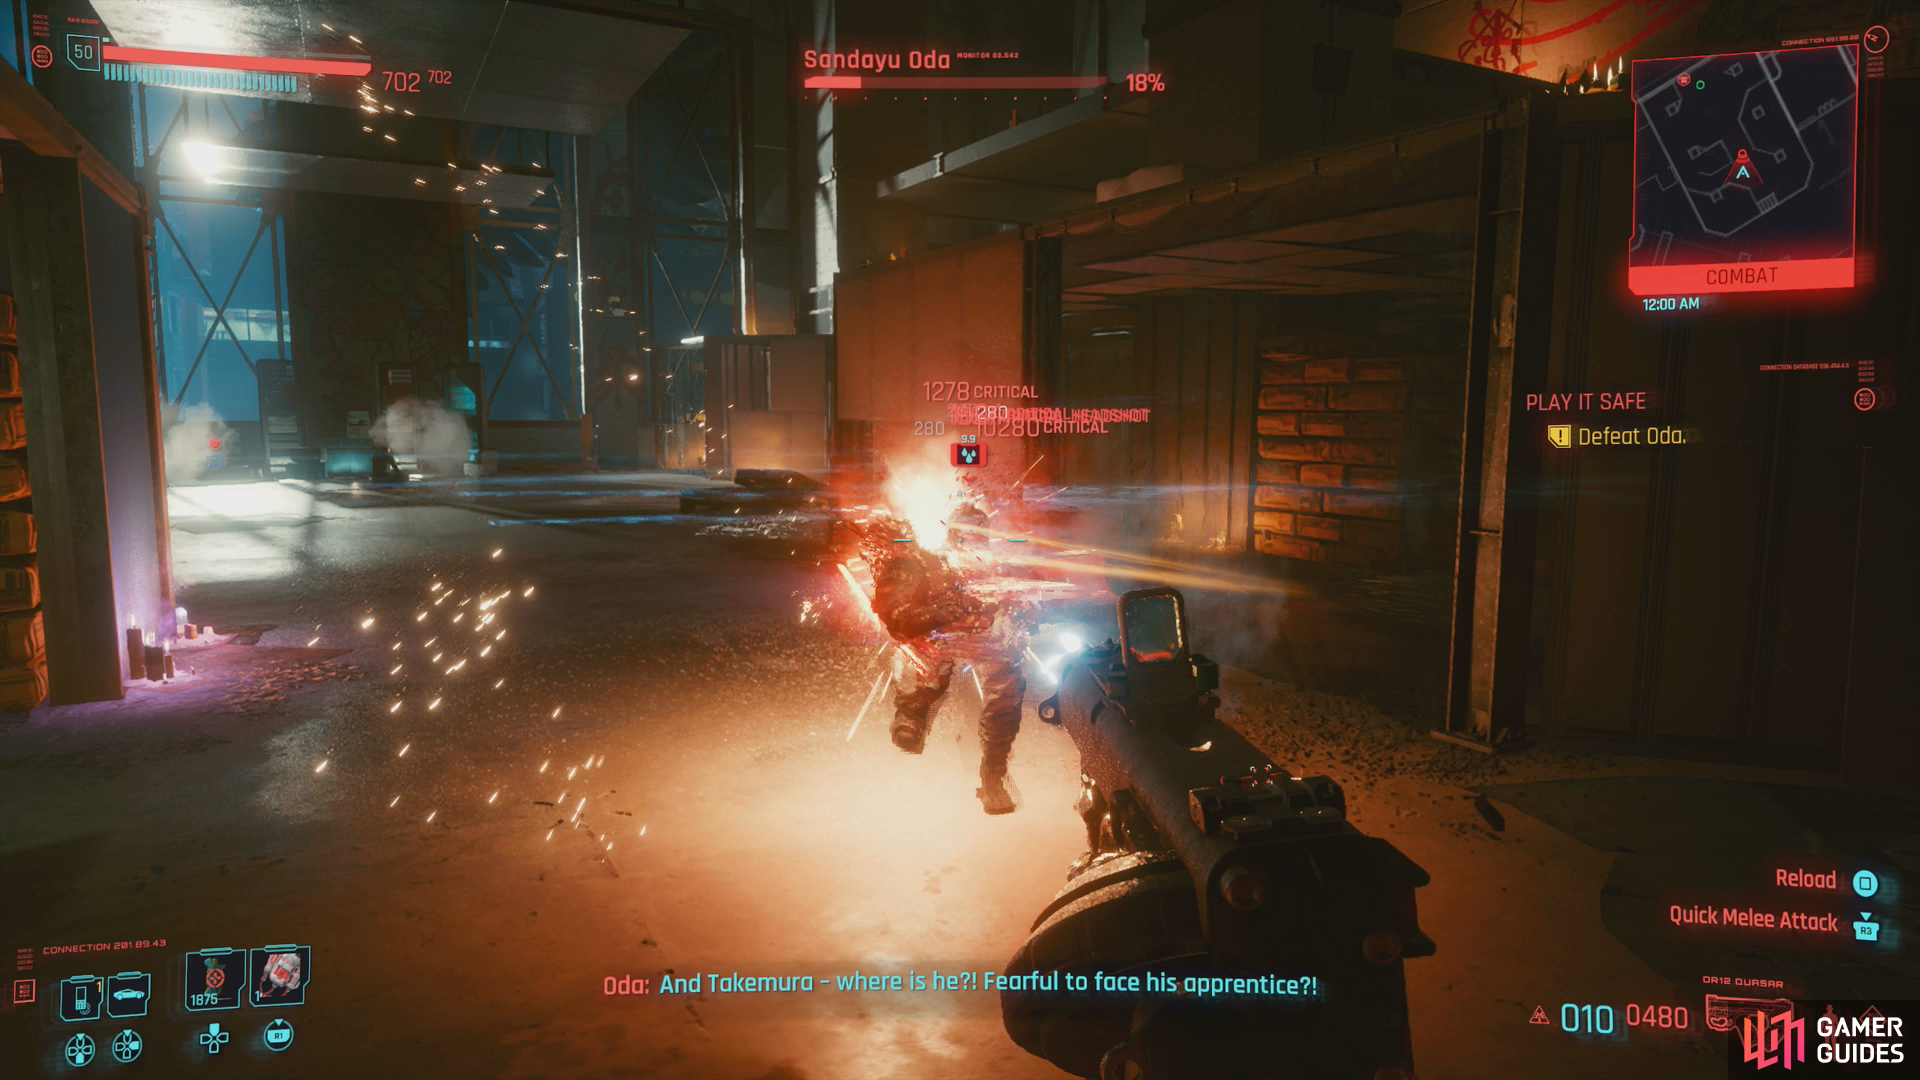
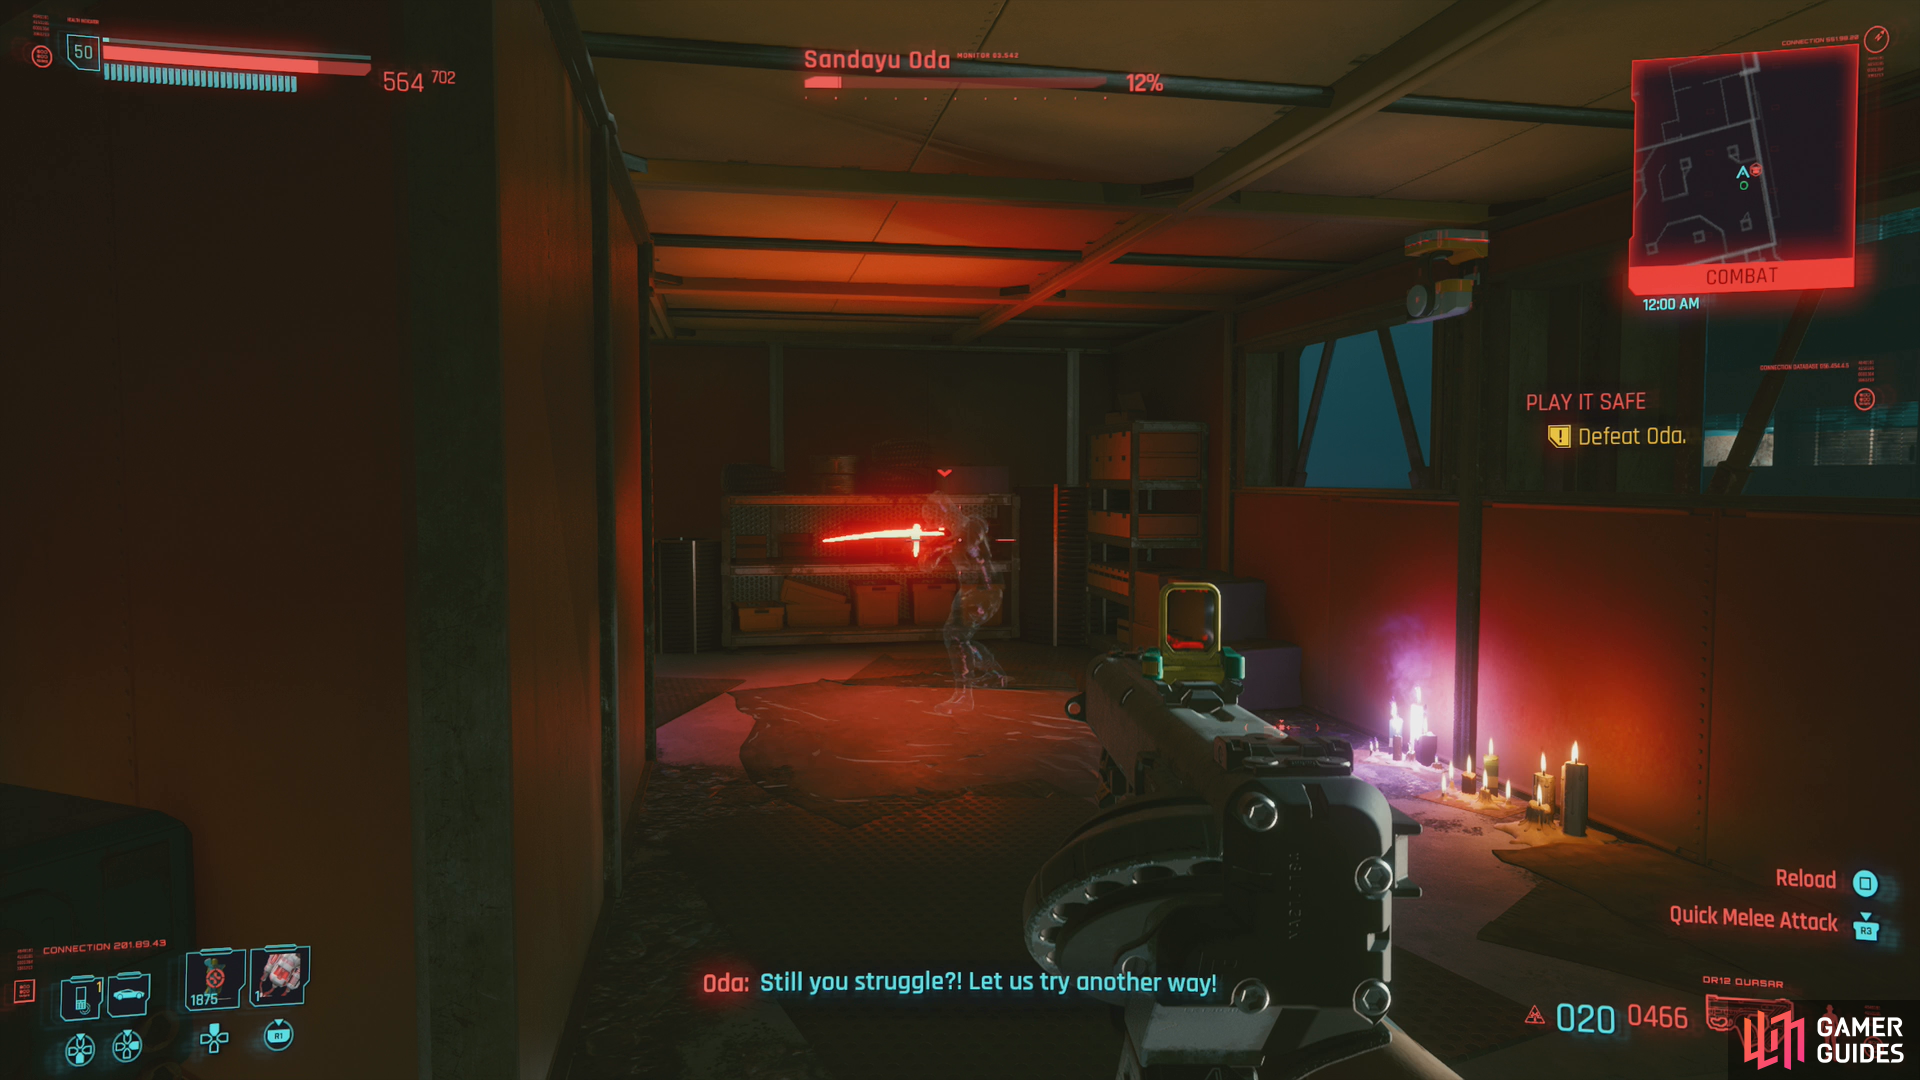

(1 of 5) At first Oda’s strategy is to simply perform lightning-quick charges , which, to be fair, is pretty effective.
Boss - Oda
Walk up to the netrunner and pull the plug. It’s a short-lived victory, as Oda, ever vigilant, comes through a window and attacks.
At first, Oda will seem like little more than a melee brute, and to be fair, his speed and blades make him dangerous enough. He’s not above using Sandevistan to close the gap, and if he lands a combo on you, he can eat away chunks of your HP bar. This is especially true on harder difficulties, and you’ll definitely want to keep your distance. Since he uses melee attacks, you shouldn’t count on you Armor being much help, either.
His speed also makes him difficult to hit, despite his penchant for zig-zagging towards you in a somewhat predictable manner, so weapons with some spread will make it easier to deal damage. Trying to be overly precise is likely just a way to waste ammo and let Oda gain ground without paying a price.
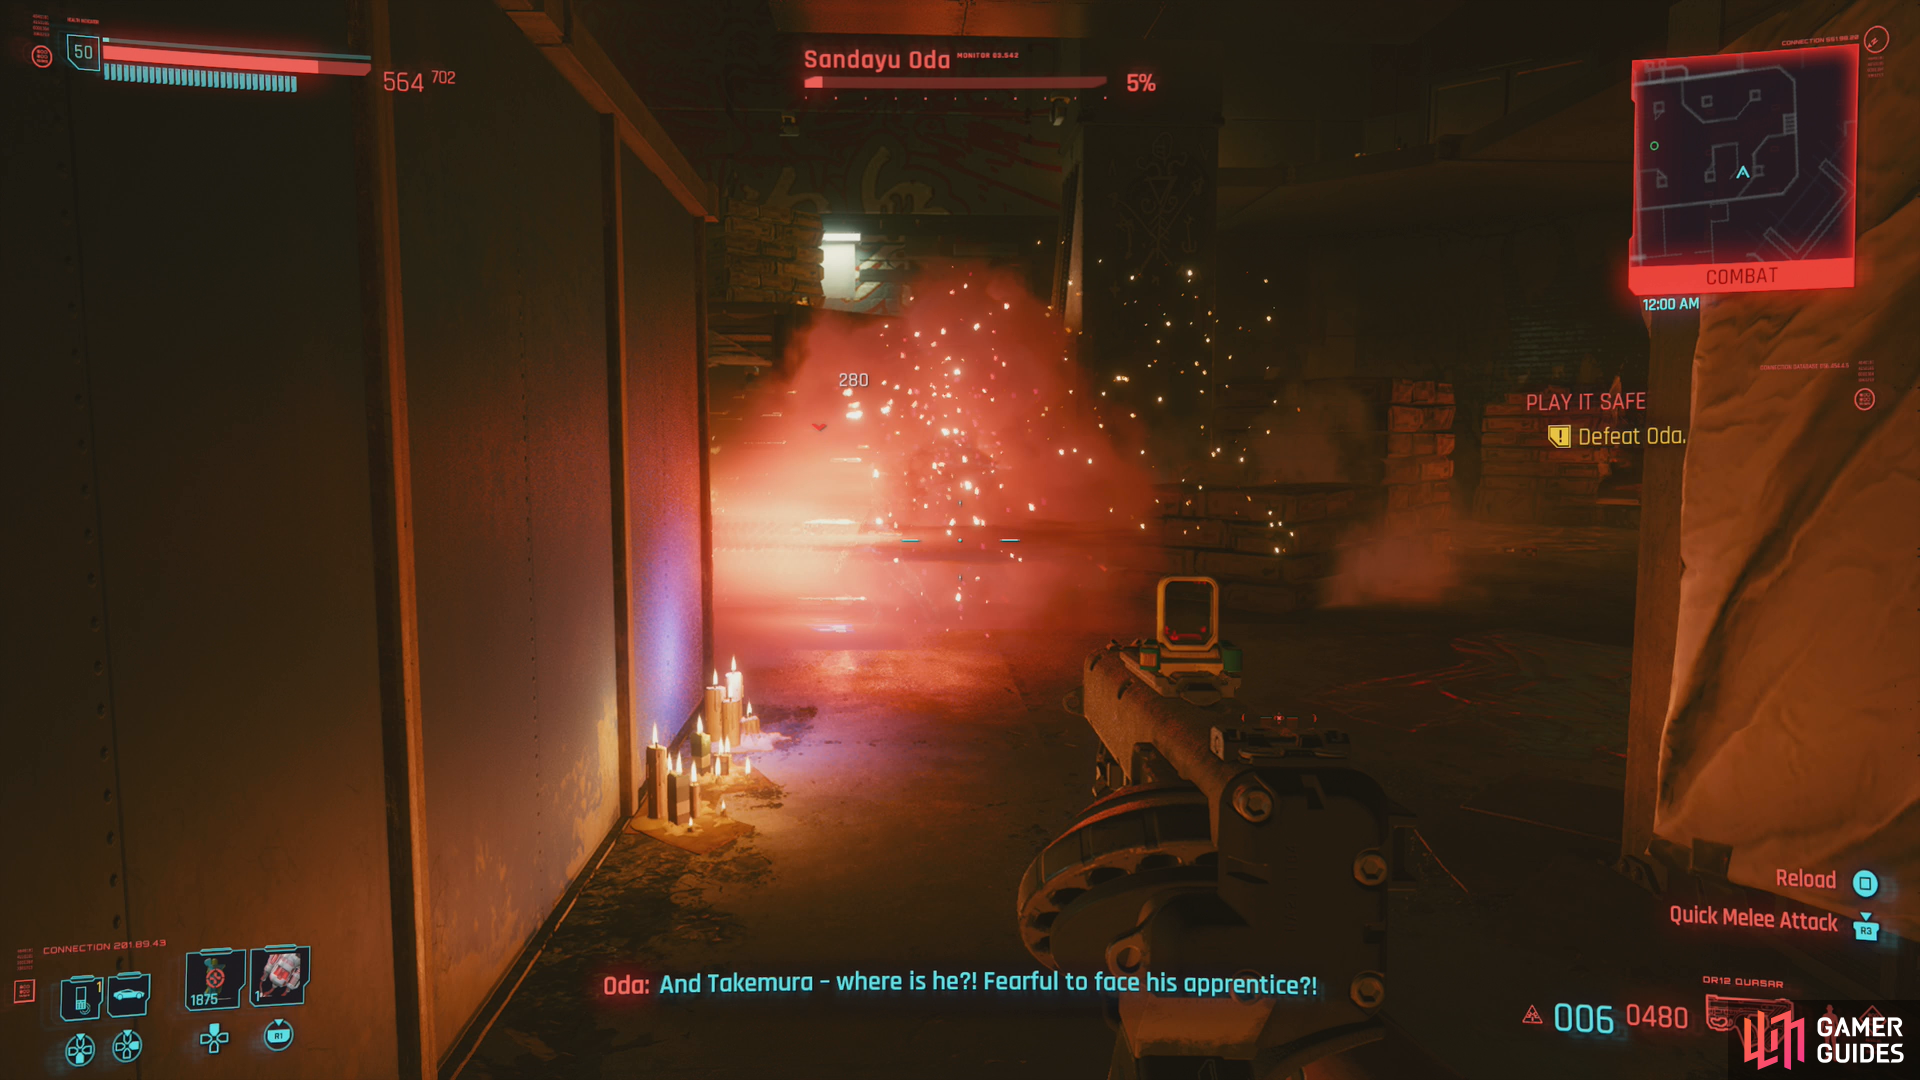
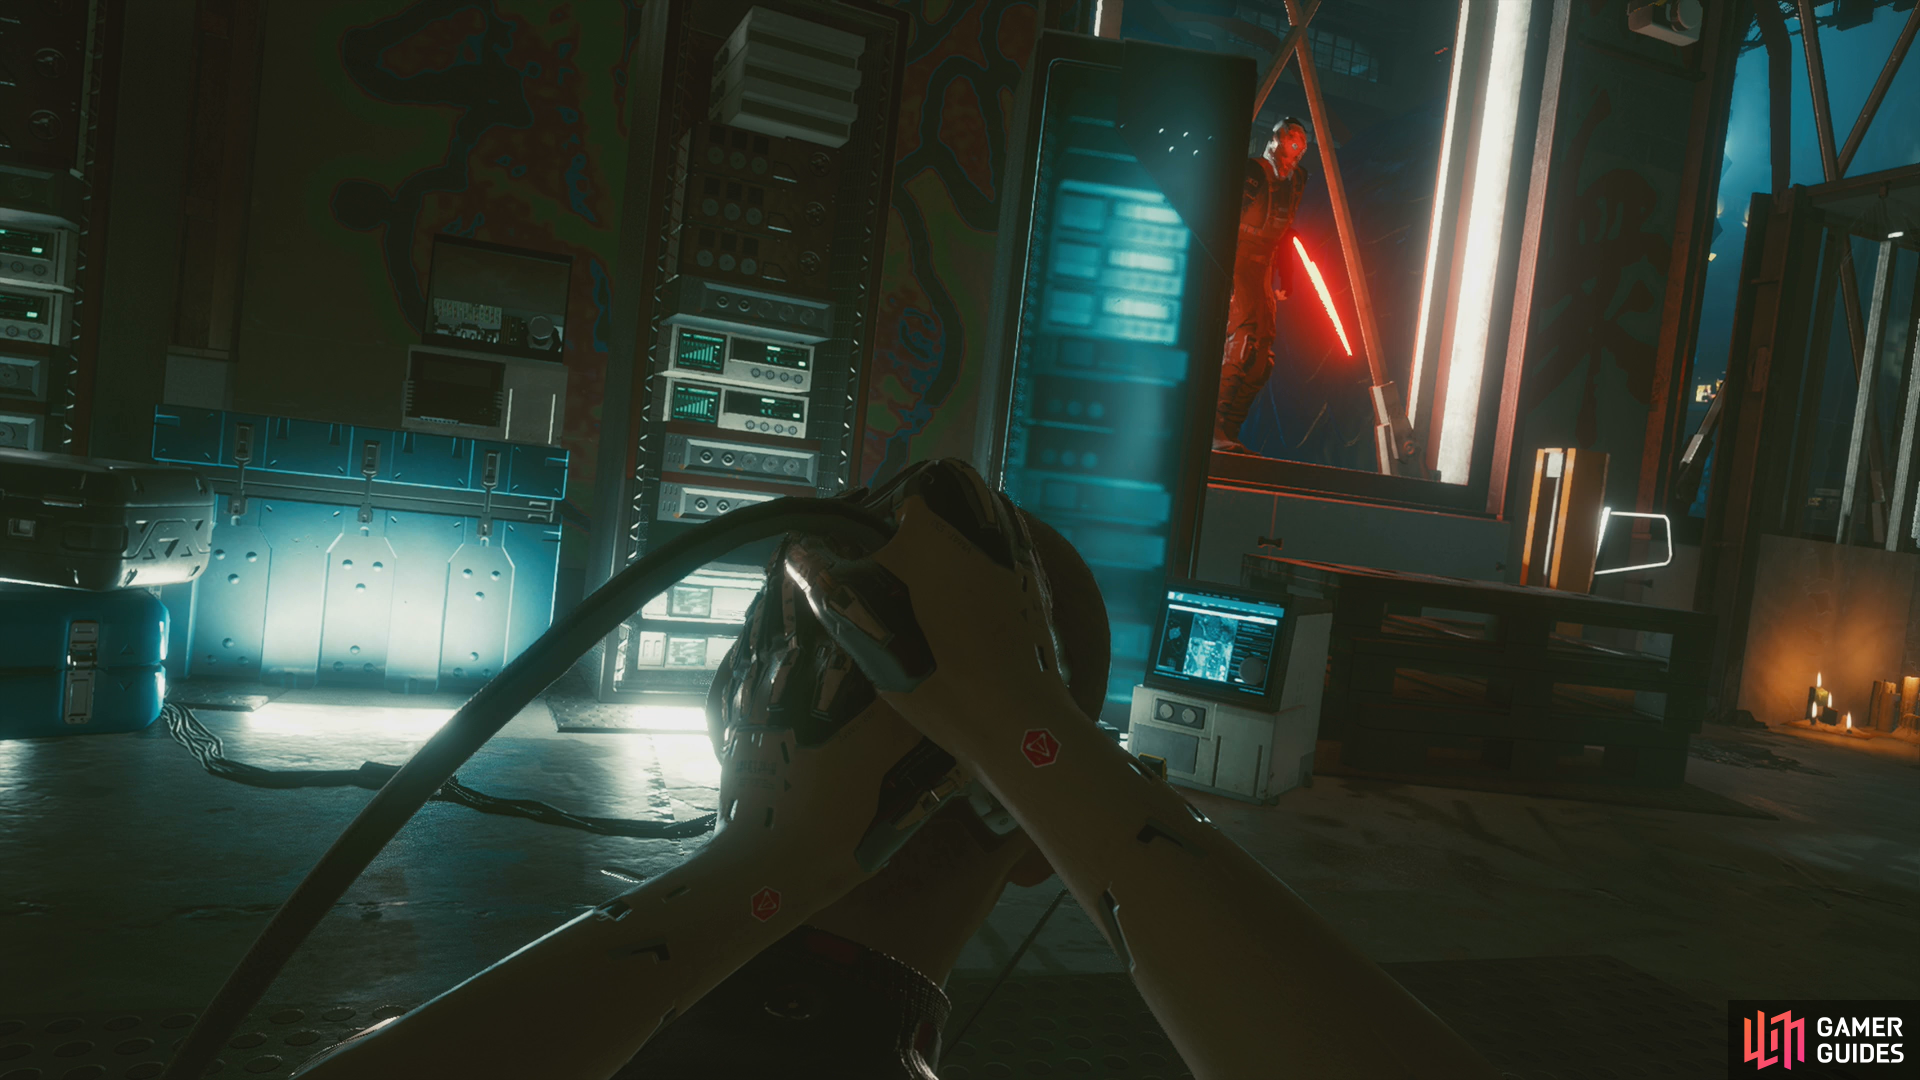
Reduce Od’s health low enough and he’ll attempt to regroup by detonating a smoke bomb and turning invisible. This can knock you down if you’re too close, but is otherwise a diversionary tactic, not an offensive maneuver. He’ll regenerate health over time, so don’t just let him sulk in some corner somewhere - seek him out and keep your ears open. If you don’t find him first, you’ll hear him coming before you see him.
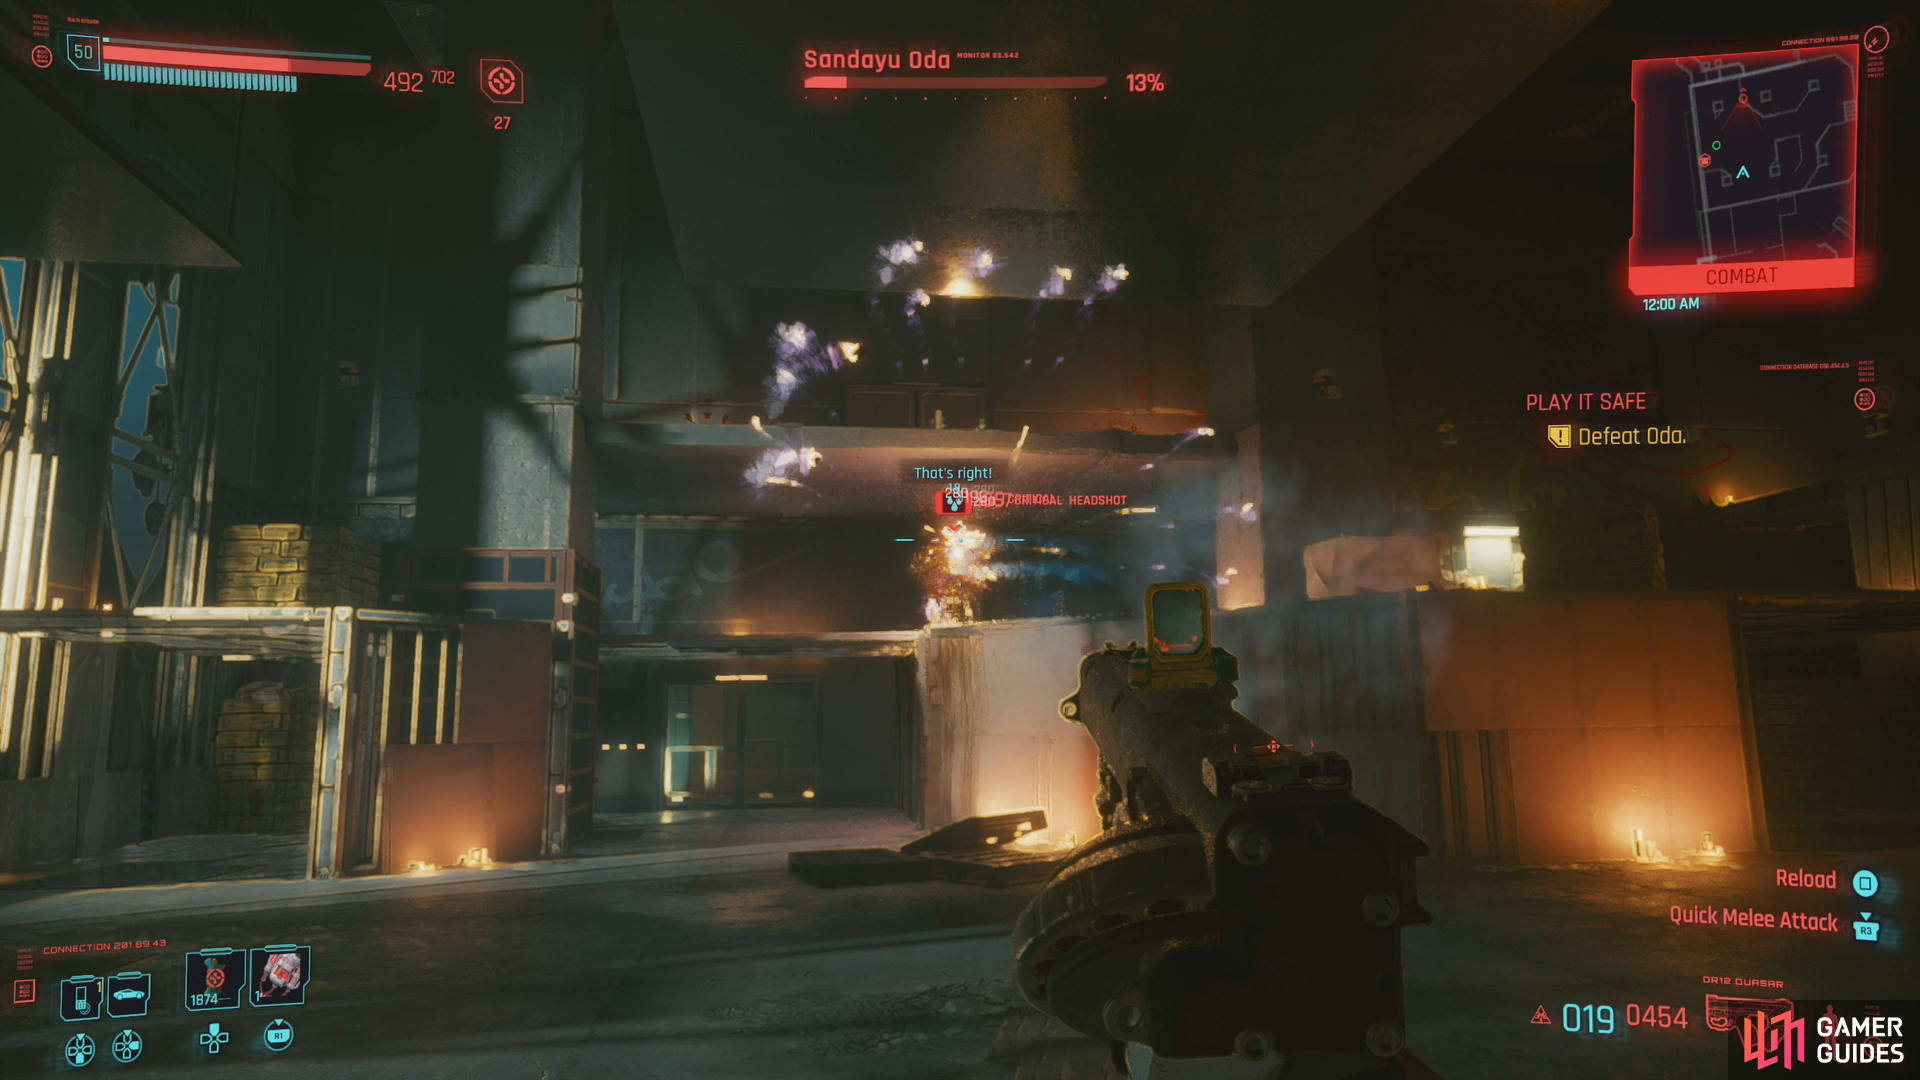
After he retreats like this he’ll add a new move to his arsenal, a jumping attack where he’ll shoot out a barrage of smart projectiles at you. They’re not terribly fast and their homing ability isn’t great, something they make up for by being numerous and having a wide spread. Be wary of this newfound ranged attack and his willingness to spam it.
When you finally bring Oda down he’ll leave behind his iconic weapon, Jinchu-maru and two random legendary pieces of Arasaka clothing. Takemura will call you immediately afterwards and ask you to spare his pupil, which you can do by just… not attacking him anymore. Make what choice you will, but looting him is definitely on the table. To the victor go the spoils, after all.
Make what decision you wish and head up to the Arasaka netrunner, where you’ll find an Access Point you can jack into [Intelligence 6], then jack into another terminal in front of the netrunner and watch Takemura’s attempt at democracy. Turns out he doesn’t do much better with Hanoko in the room than we did with Yorinobu.
Now you’ll have to make a run for it, a task which will be easier if you shoot down some large drones stalking you. Follow the quest trail outside, across a bridge, onto some pipes then drop down to the right and put down one more Arasaka guard before continuing to an elevator. Ride it down to the street. To complete the quest. Search and Destroy will immediately begin after this.

 Sign up
No Comments