


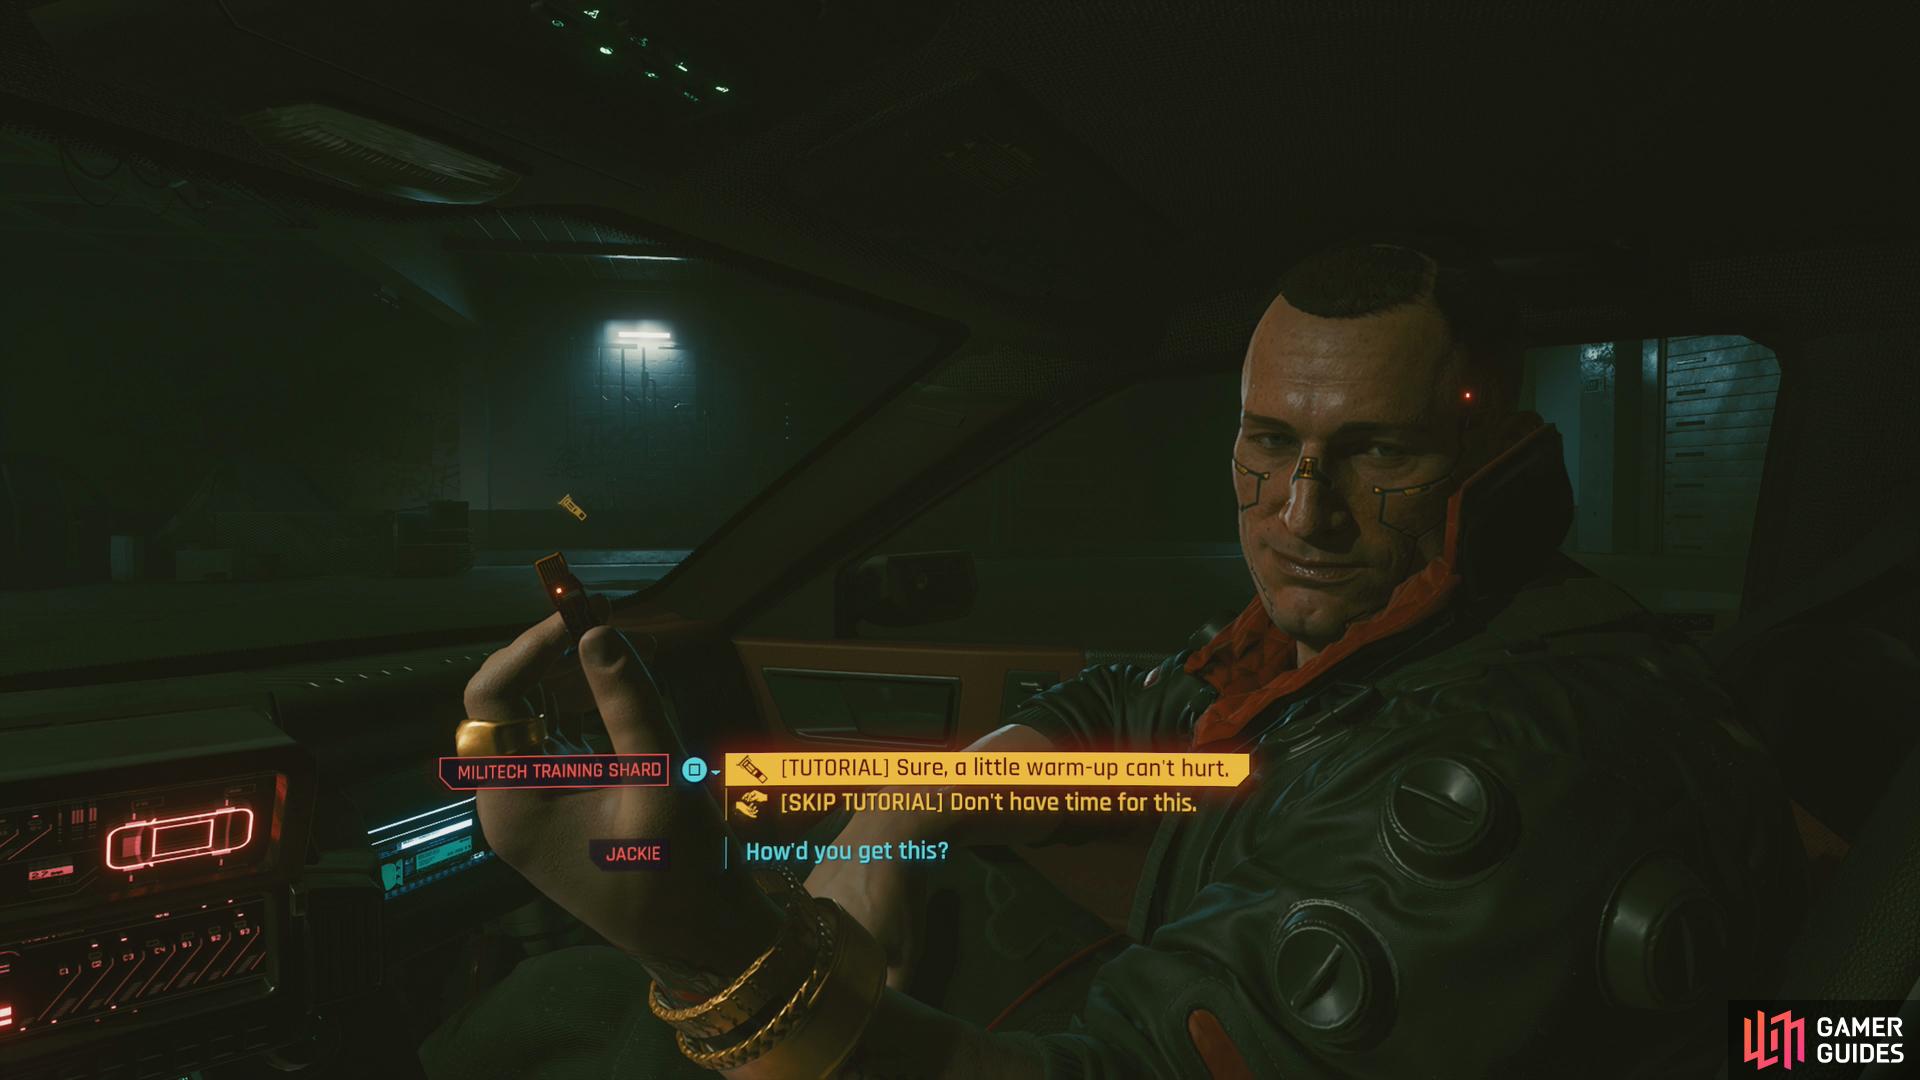
You’ll start this quest after completing your origin story, assuming you accept the offer from Jackie to indulge in some training.
When you load into the training sim you’ll be yelled at by a Militech Drill Sergeant, who is shortly replaced by T-Bug. Interact with the first training module - Combat Basics - and the first training sim will load up.
Combat Basics
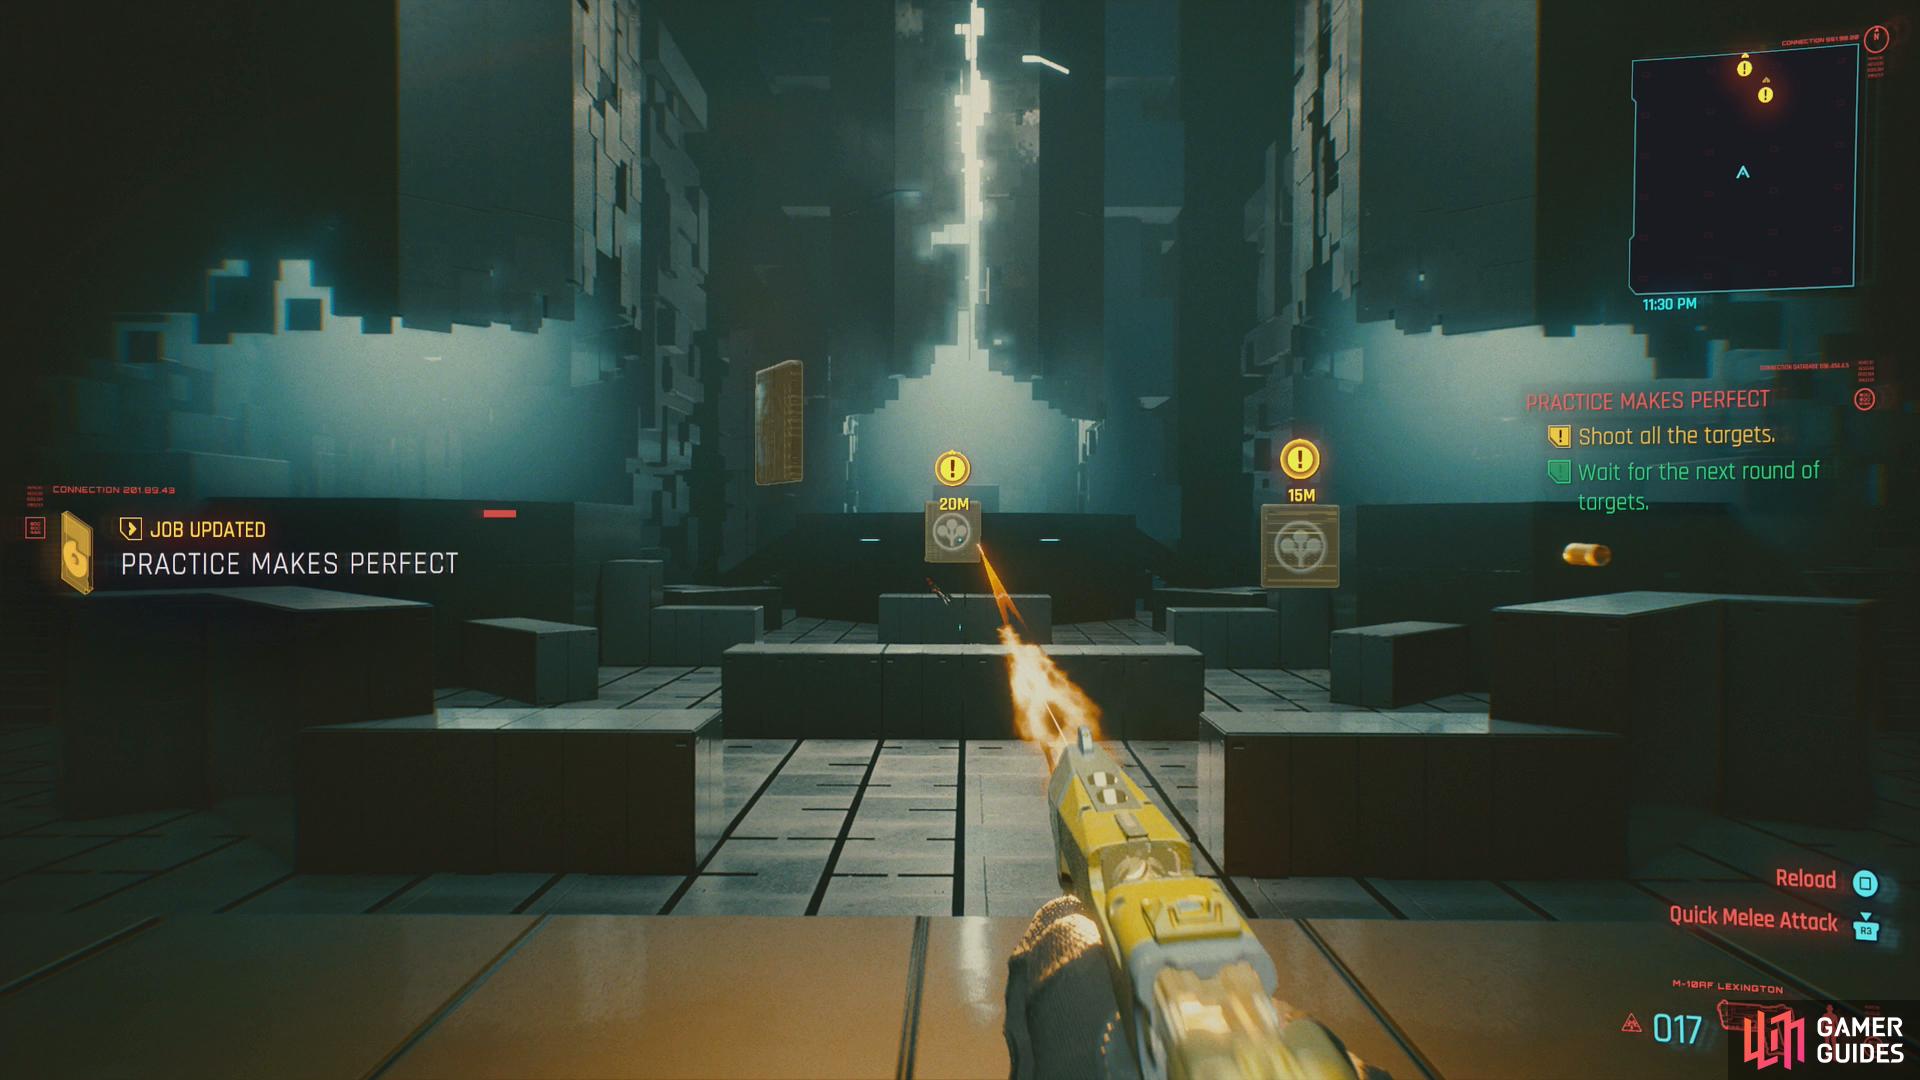
Head up to the counter and pick up the pistol by pressing [Square], aim at the targets when they appear with [L2] and fire with [R2]. You can reload by pressing [Square]. Shoot the first three targets, then shoot them again when they start moving.
After this you’ll need to pick up an assault rifle, after which an enemy will appear on the firing range. When it opens fire you’ll be prompted to take cover by pressing [Circle]. When in cover, you can fire out by aiming. After the fight, pick up a MaxDoc Mk1, then press [Up] to use the healing item.
Vault over your cover by pressing [X] and head forward to the next training location, where you’ll be tasked with putting down three enemies. Use cover and healing if you need it (you were given 10x healing items for this) and keep in mind that you can switch weapons by pressing [Triangle]. Headshots will score varying amounts of bonus damage, depending on what weapon you’re using.
Defeat these foes, then continue forward to finish up this module.

You can use your scanner to reveal information about enemies and objects.
While scanning, you can quickhack objects and enemies, producing various effects depending on the quickhack deployed.
Hacking
The next module is hacking - interact with the module to begin the next training course.
Once it has begun, head forward to the window and hold [L1] to activate your scanner, which will highlight various interactable objects in the room ahead. Scan the objects in the room and note their colors, as these indicate whether the object is a hazard (red), a hackable object (green) or loot (blue). Scan everything in the room to proceed with the next phase of this module.
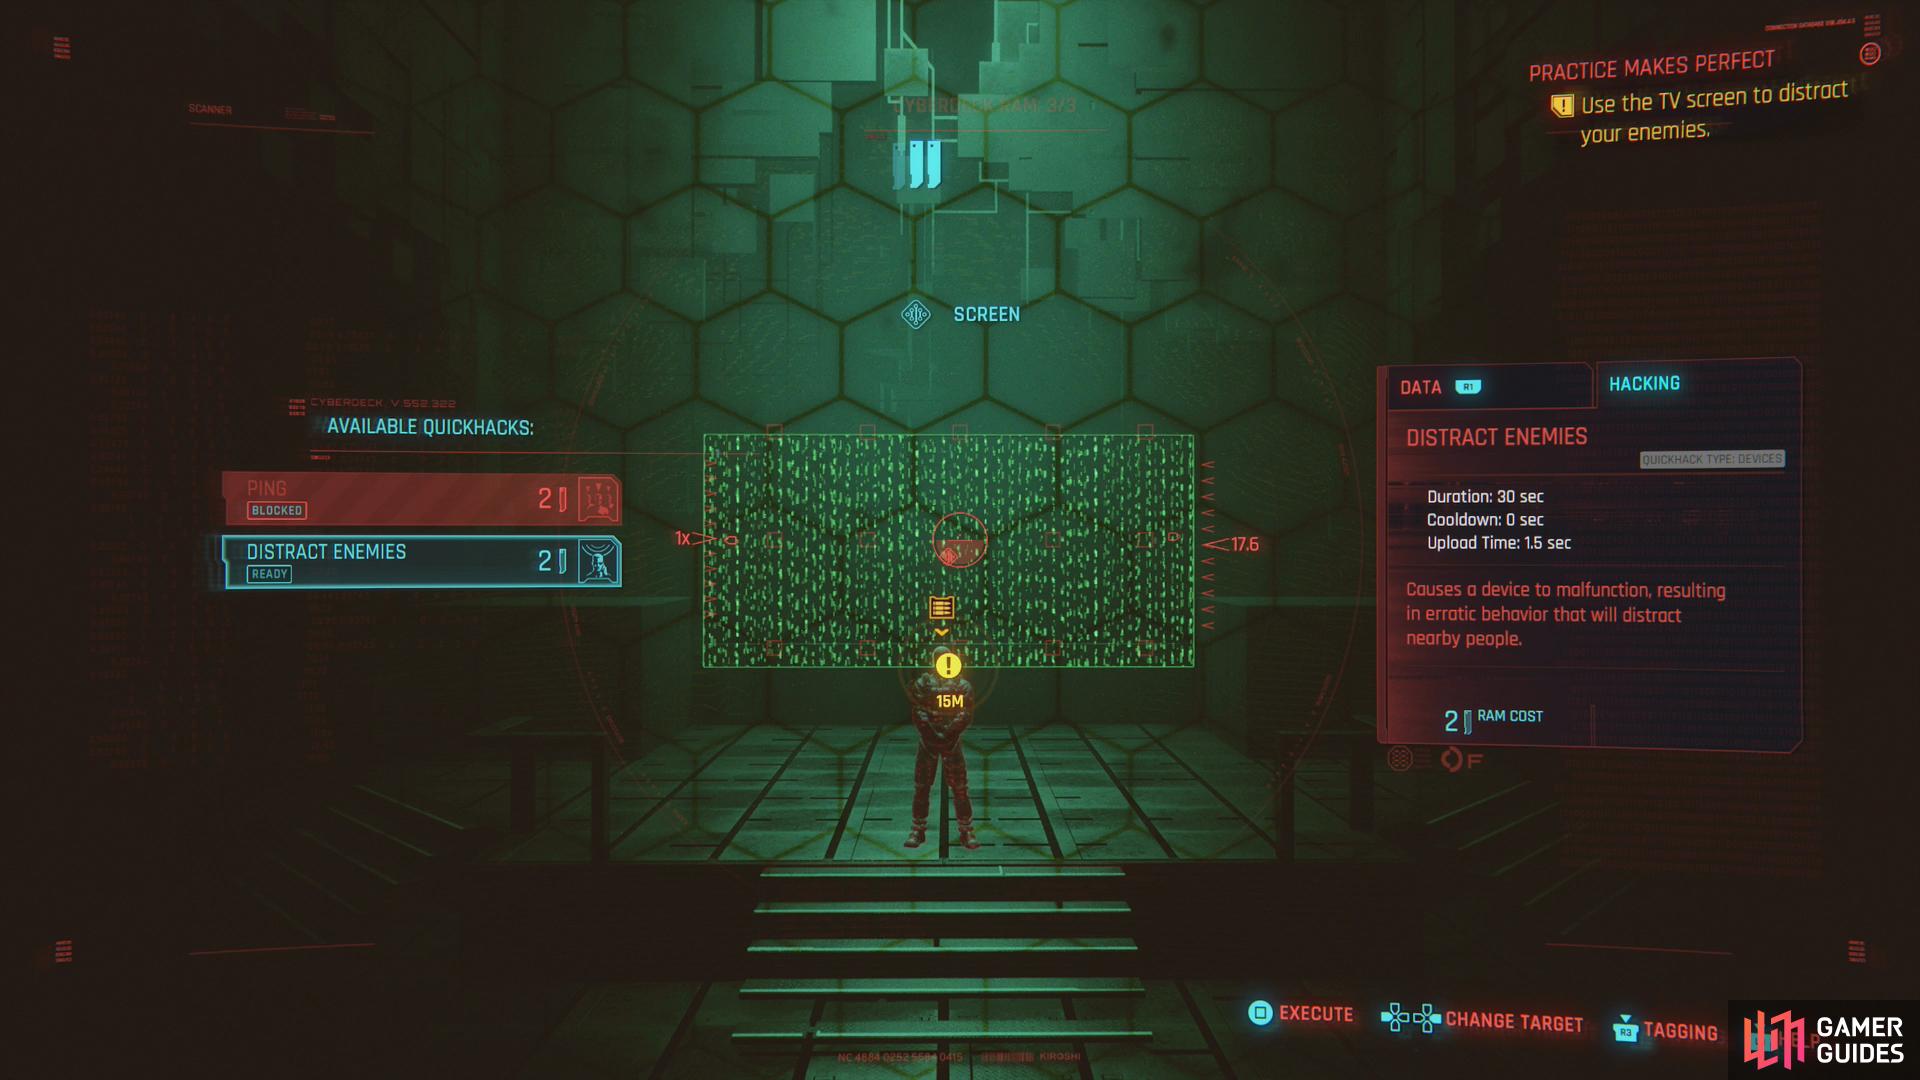
Approach the next window and note the guard and the large screen in the room beyond you. Scan the screen and you’ll get some info on the right of your screen, and a list of applicable quickhacks to the left. Right now you should only have the “Ping” and “Distract Enemies” options, so select the latter and press [Square] to execute. Using quickhacks consumes varying amounts of RAM, indicated by the number on the quickhacks list. Your total available RAM is indicated by vertical blue bars on the top of your screen when scanning (right now you should have 3 bars of RAM). Quickhacking also takes a variable amount of time. RAM costs and upload time varies by enemy and your skill level, perks and gear. Individual quickhacks also have a cooldown time, and RAM regenerates over time… at least when you’re not in combat.
Deploy the “Distract Enemy” quickhack on the TV screen, then note the red and blue boxes that appear on said screen. The red box indicates the upload progress of the quickhack, while the blue box indicates the duration of the quickhack’s effects - in this case, how long the guard will be distracted by the TV.
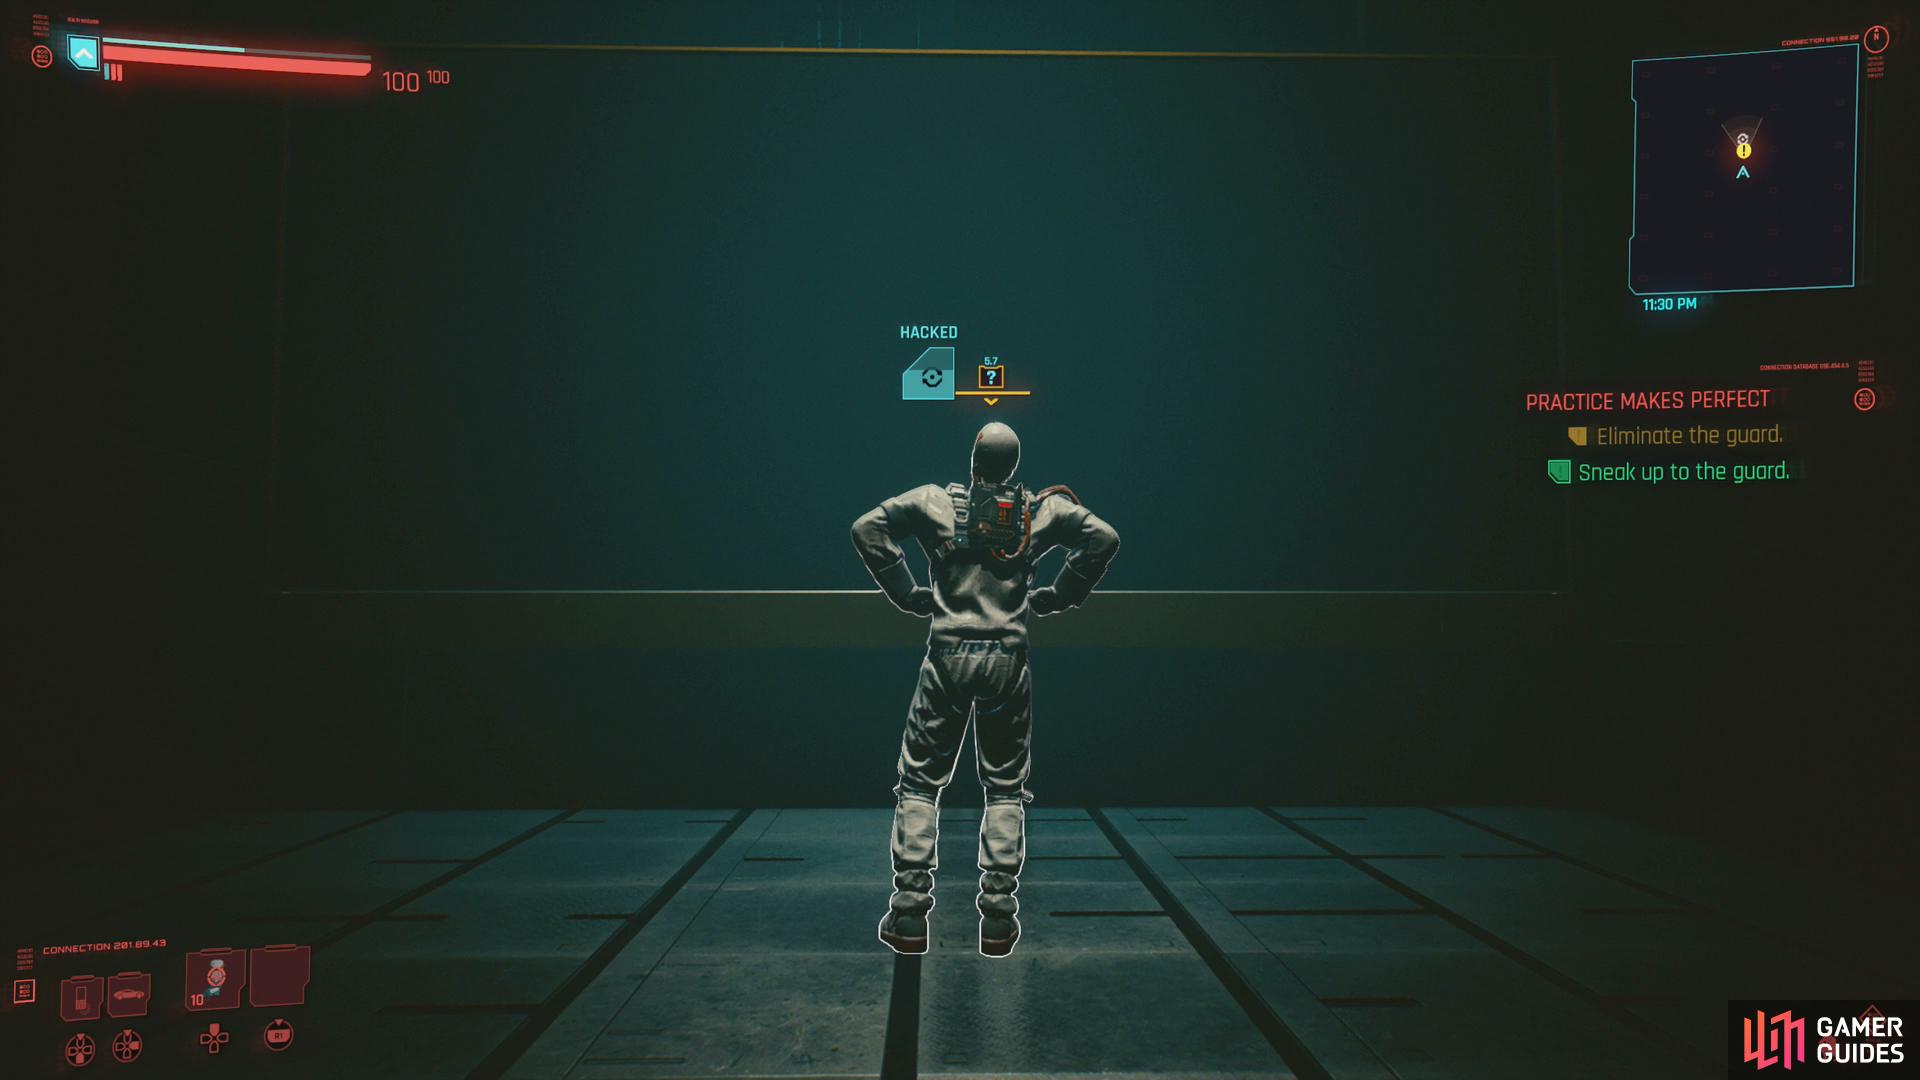
While the guard is distracted you’ll need to dispatch him. Press [Circle] to sneak, vault through the window in front of you, then over some cover. Sneak up to the back of the guard and press [Square] to perform a takedown, after which you’ll get the option to kill the guard ([Square]) or perform a non-lethal takedown ([Triangle]). Don’t worry, this program doesn’t have a family, and he’s not going to collect retirement in the near future, so you can off him if you please. After that’s done you need to dispose of the body - hold [Triangle] to pick up the body, carry it over to a dumpster to the left, then dispose of it with [Square].
Next up, pretty much the same thing - you need to sneak up on a guard and grab them, but don’t go for the kill or KO immediately. Instead, make sure you’re close enough to the dumpster to dispose of the body after dispatching your foe (the button prompt on the bottom will change) in one fluid move.
Finally you’ll be given more freedom, and you’ll get back to, you know, actually hacking. Go up to the window and scan through it to spot a camera, which you can quickhack. You’ve got plenty of RAM for this (your maximum RAM has been temporarily boosted to 12), so hack the camera to take control of it, then use the camera to scan some guards. The guards are outside your line of sight, but not the camera’s, and as the tutorial points out, you can hack enemies via a camera.
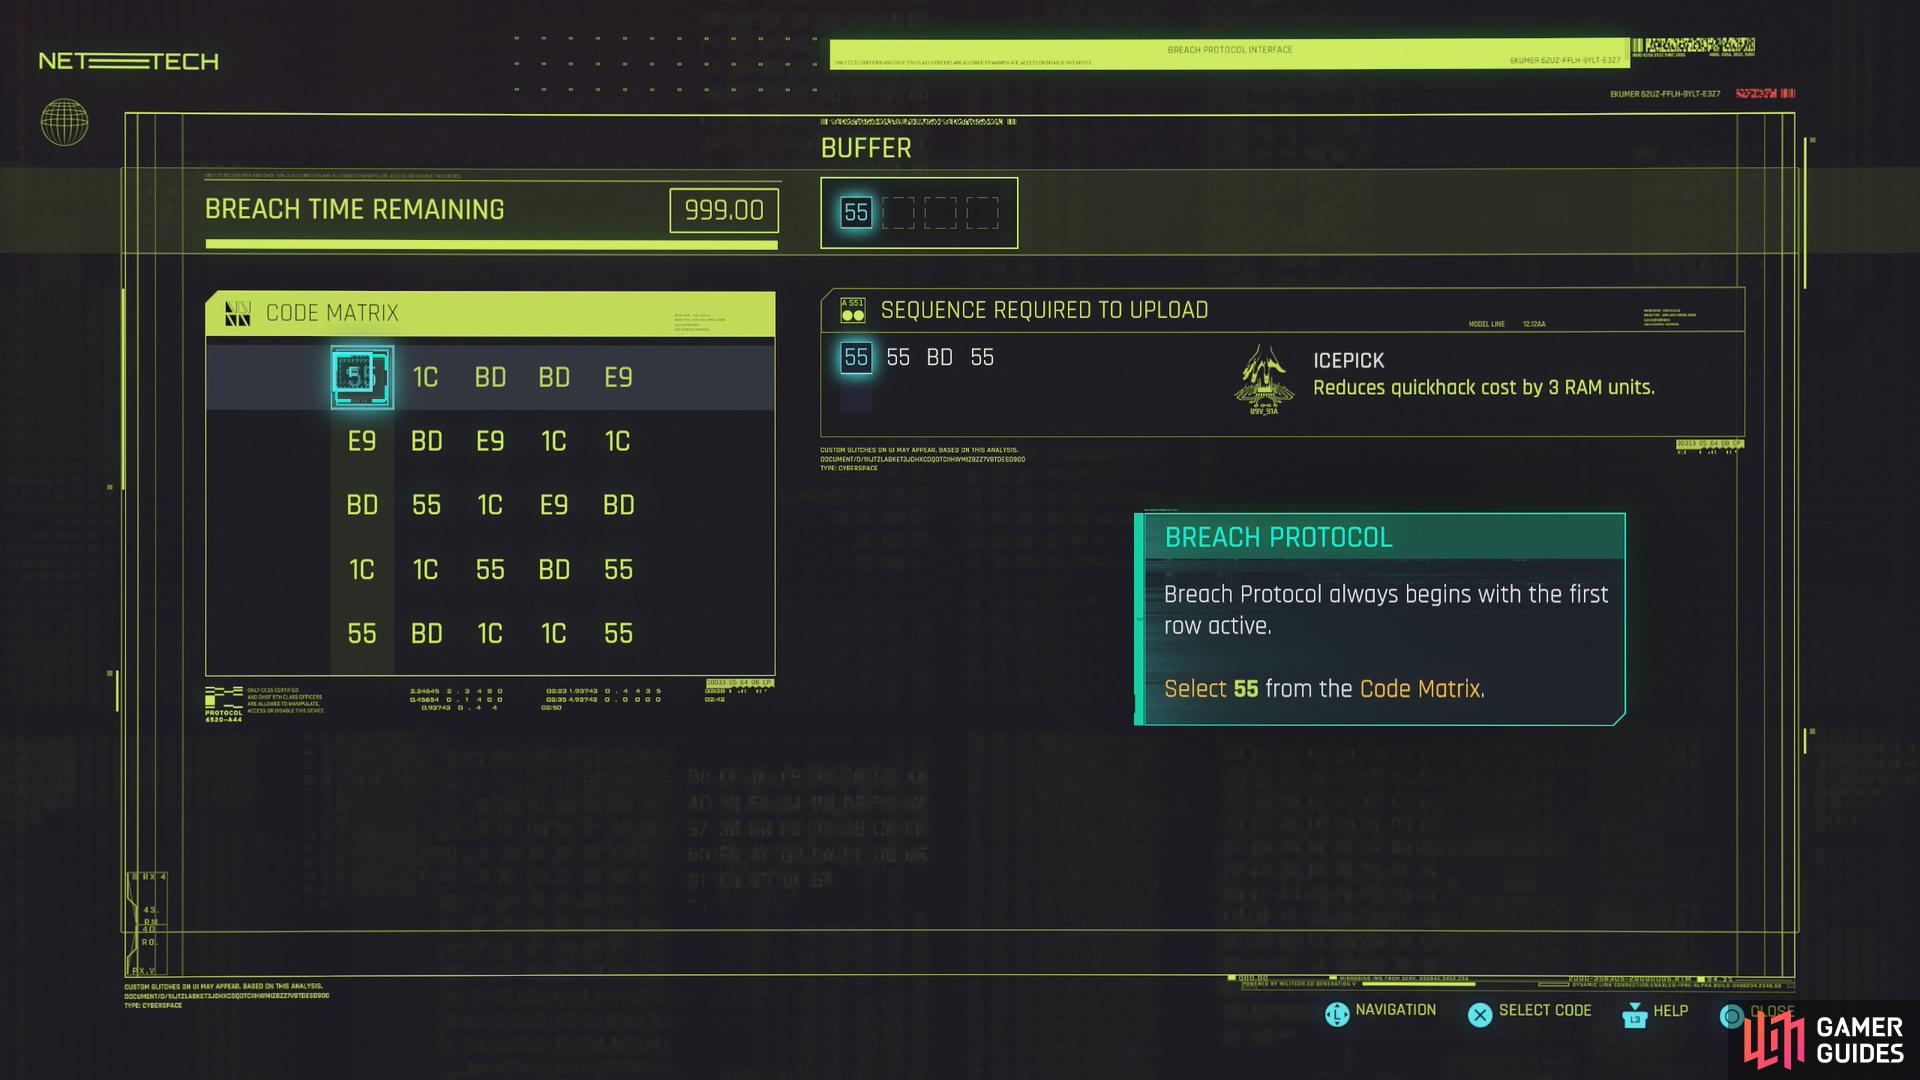
(1 of 3) To upload daemons you’ll need to enter the correct sequence in the Code Matrix.
Alas, these guards are made of stiffer stuff than the last, and our “Detonate Grenade” quickhack is sitting at a whopping 11 RAM, which is more than we can afford after hacking the camera. Time to learn about another layer of hacking - Breach Protocol. Use “Breach Protocol” on a guard to bring up a grid of paired numbers and letters - the Code Matrix. What you’re doing here is trying to upload a daemon - specifically the “ICEpick daemon” - which will reduce the RAM costs of quickhacks. Note that different daemons may have different effects.
To upload a daemon you’ll need to enter the correct sequence (found to the left of the daemon description in the “Sequence Required to Upload” box on your screen) in the Code Matrix. While not an issue right now, keep in mind that each daemon’s sequence is randomized (as are the contents of the Code Matrix) each time you use Breach Protocol, and when you have more daemons it’ll be possible to attempt to upload numerous ones at the same time… which can be tricky as each has a different sequence required to upload.
The in-game tutorial is pretty adequate here: your goal is to recreate the daemon’s sequence by selecting the same codes in the Code Matrix. For example, our code for this segment was 55 - 55 - DB - 55, so we’d need to recreate that in the Code Matrix to upload the ICEpick daemon. Your first entry must always be made in the top-most row of the Code Matrix, after that, you’ll be limited to codes in that selection’s column. Each selection will change between selecting rows and columns, so plan out your entry route before you input your first code - you’ll be on a timer after you input something.
Once you enter the sequence, scan the guards again to notice the RAM cost for “Detonate Grenade” has been reduced, as promised. Use it to kill the guards, exit the camera view, then step onto a podium to finish this module.
Next up is the stealth module which… wait… didn’t we just do that? Oh, whatever. Note that only the first two modules were mandatory - if you’re sick of learning how to play the game, you can exit the simulation by going through the door opposite the modules. If you’re done doing tutorials, skip ahead to The Rescue, otherwise continue with the stealth module, below.
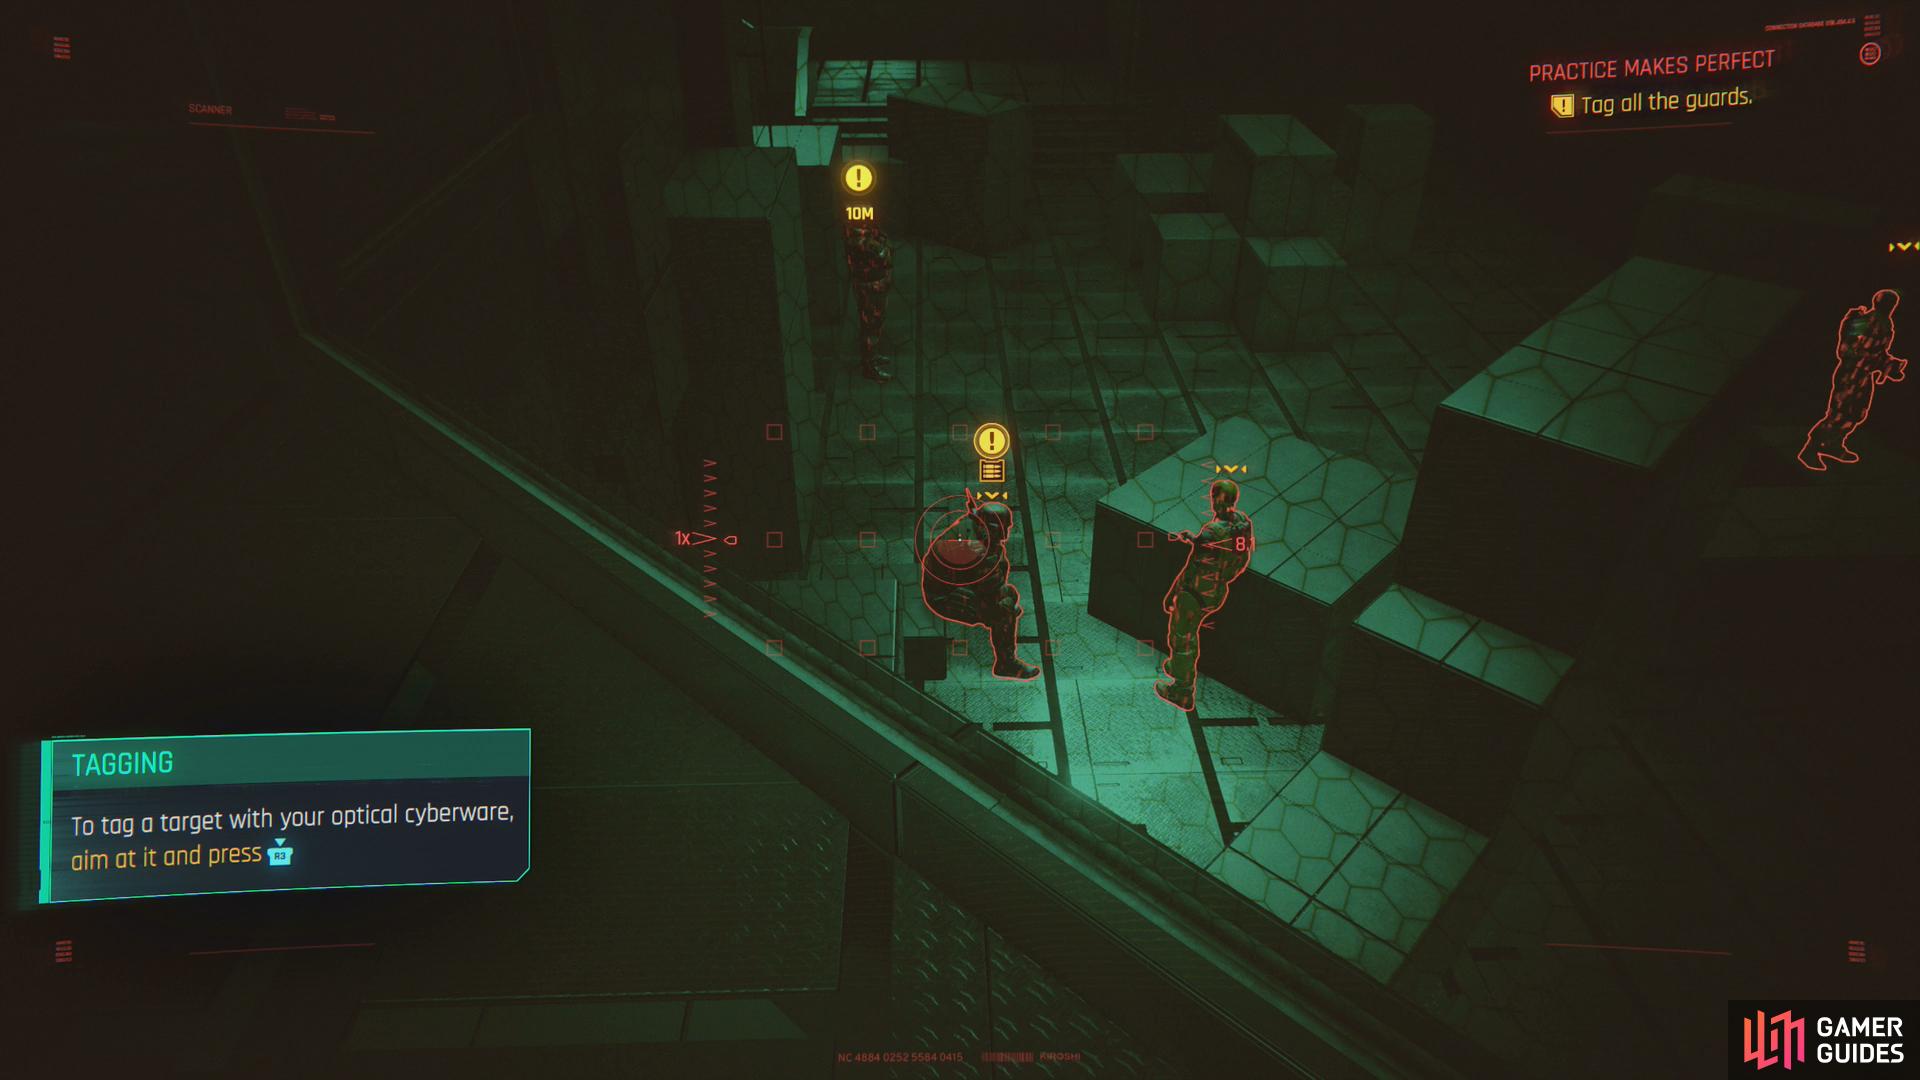
Tag enemies while scanning to track them without having to maintain a line of sight.

As you sneak, you’ll be alerted to enemies who are becoming aware of you via a red eye icon.
Stealth
Head up to the window and use your ([L1]) scanner and while scanning, tag all the guards in the room below by aiming at them and pressing [R3]. Once tagged you’ll be able to see them even without line of sight - a useful boon if you’re trying to be sneaky.
Once done, head through the door that opens and go downstairs to reach the room the guards occupy. All you have to do now is sneak past them, which should be trivial now that you have them all tagged. Just stay behind cover and sneak past the guards; one will start to detect you, introducing you to the detection icon, but you should be able to walk through his line of sight before you’re fully detected. The final guard will move about, so wait for him to be looking away from the stairs before sneaking past.
Next up, more of the same, save you need to tag and sneak past a security camera. Just stay behind cover and mind the red lines indicating the camera’s cone of sight and you’ll be fine. Once done, stand on the platform provided to return to the tutorial hub area, completing this module in the process.
Advanced Combat
Finally, load into the advanced combat module, which covers melee combat. When you’re in, head forward and sneak up on the guard in the room below you, noting the skull above the guard’s life bar as you go. Grab him and he’ll extricate himself from your attack, teaching you a valuable lesson: mind the gap. The level gap, that is. Enemies far stronger than you are difficult foes, so much so that a skull isn’t an invitation to a particularly challenging fight as much as a warning that your time is probably better spent leveling up elsewhere.
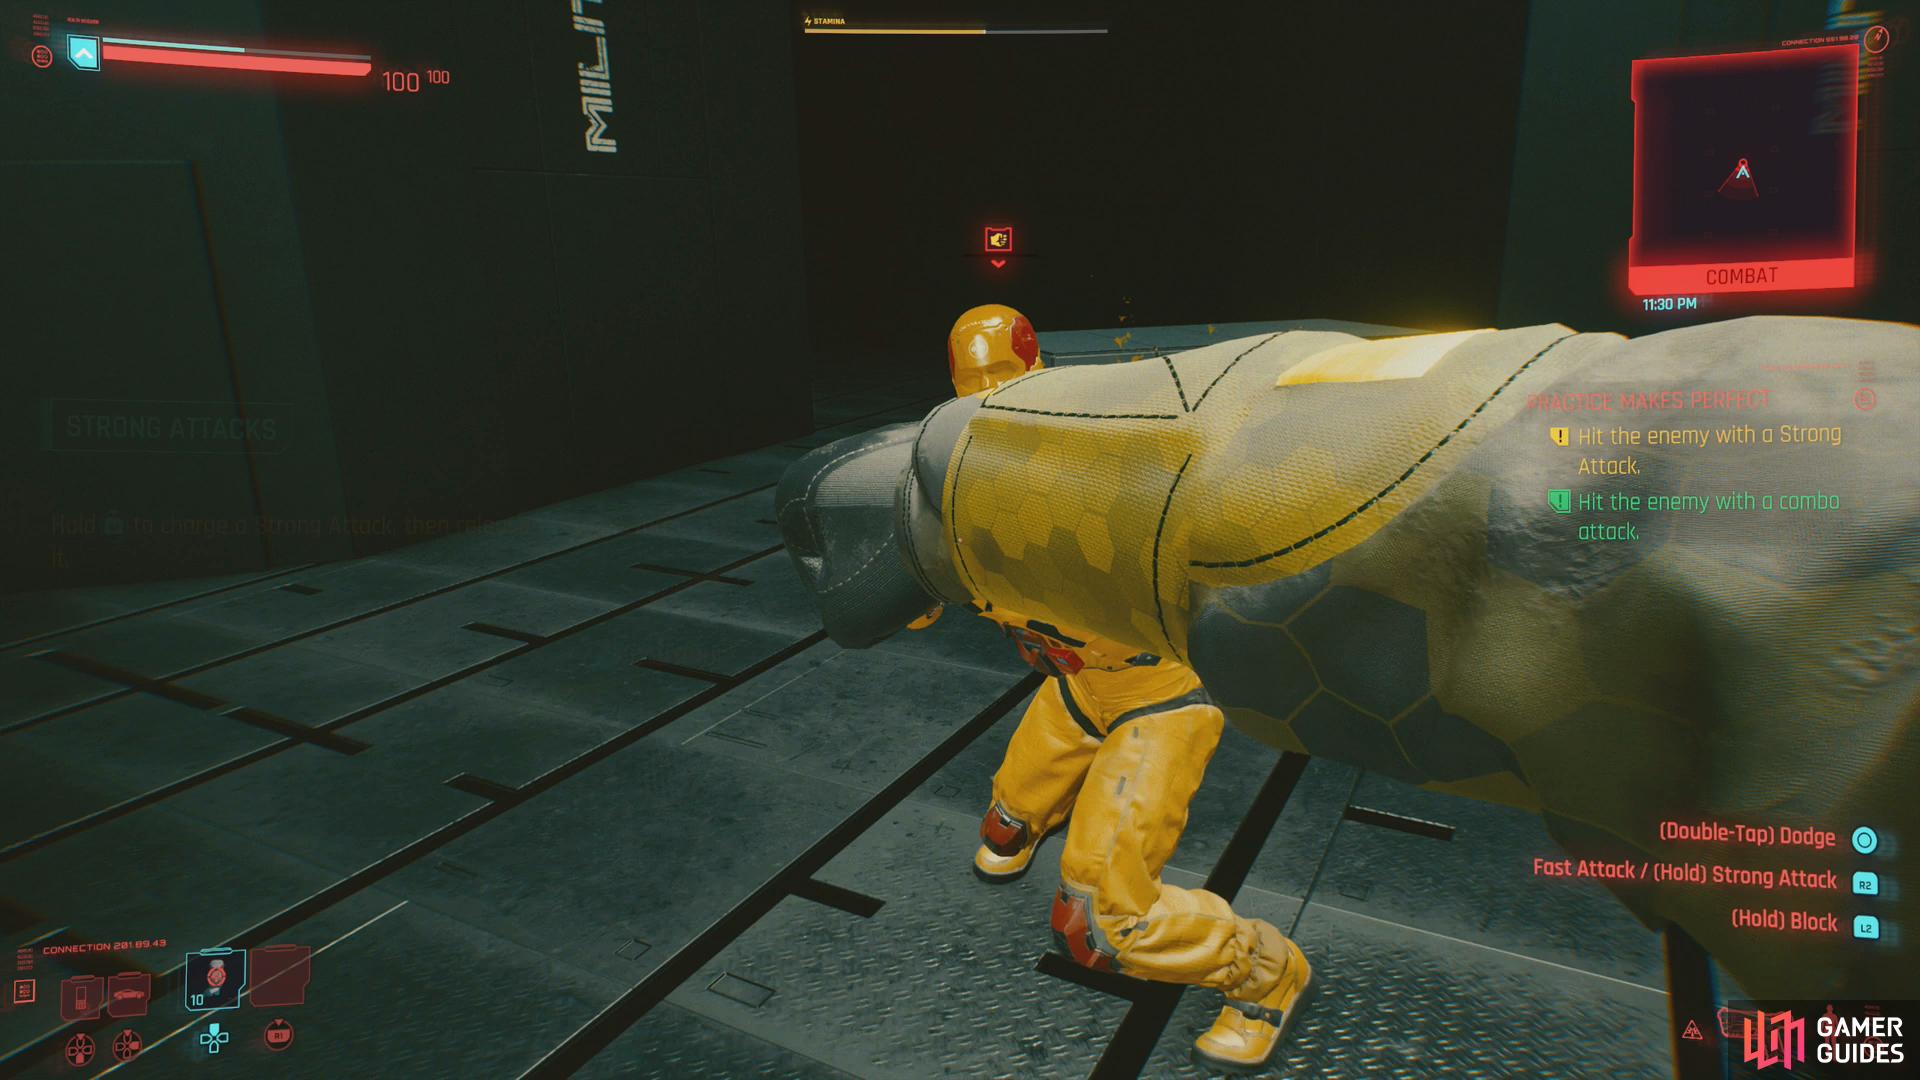
After that the melee tutorial will begin in earnest. As directed, hit your foe with a fast attack by pressing [R2], then do this three times to be introduced to combo attacks, which just involves spamming [R2], something you were probably already doing. Next up, hold [R2] to perform a strong attack. As you attack, keep an eye on your stamina (yellow bar at the top of the screen), which is depleted as you attack and block.
Speaking of blocking, the enemy will enter a blocking stance, which you’re directed to futilely attack with fast attacks. Use a strong attack to break their guard, after which it’ll be your turn to block some attacks, which you can do by holding down [L2], which just shows you what it’s like to be on the other end of a pugilistic onslaught. After you’ve blocked some fast and strong attacks, you’ll need to parry two attacks, which can be done by blocking just before your opponent lands a strike. Get the timing down, parry two attacks, then you’ll move onto dodging. You can dodge enemy attacks by choosing a direction with [Left Analog] and double-tapping [Circle] - do this three times and you’ll move onto the last bit of the fisticuffs portion of the module, putting everything together to trounce an enemy.
Defeat the overmatched simulation and T-Bone will spawn in a sword for you. Time to learn about melee weapons. Same rules apply with a katana as with fists, so chop down your next foe, then you’ll be tasked with defeating three foes using a combination of ranged and melee attacks.
Once done, stand on the platform to return to the tutorial hub. You’re done with all the tutorial modules now, so there’s nothing left to do but go through the doors opposite the modules and exit the simulation. This will return you to the start of the quest The Rescue.
No Comments