


The first of the Side Jobs in Panam’s Side Job questline, Riders on the Storm will start after you finish Life During Wartime. The choices you make during Panam’s Main Job questline do not matter, you’ll be able to start her Side Job questline regardless of what you say or do (or refuse to do) during the Main Job questline.
You’ll get a text from Panam shortly after the aforementioned Main Job ends, but this is just meaningless whining from Panam. For this Side Job to start, you’ll need to wait for a call from Panam, which won’t occur for some time (skip time a few days to speed things up, if you wish). As with Judy’s Side Jobs, you just need to avoid turning Panam down entirely, as that can sabotage the entire questline.
After you get the call, meet up with Panam at the Aldecaldo’s camp (the Mobile Camp fast travel terminal will get you there) and talk to Panam to learn about the latest setback suffered by the Aldecaldos. Follow Panam through the camp and you’ll go over the details with Panam and some of the Aldecaldo vets. When Mitch shows up, agree to have a look at the Wraith stronghold via a drone, which mostly involves you listening to Panam narrate while the drone flies. Scan some tracks when prompted, then a short while later, scan a truck.
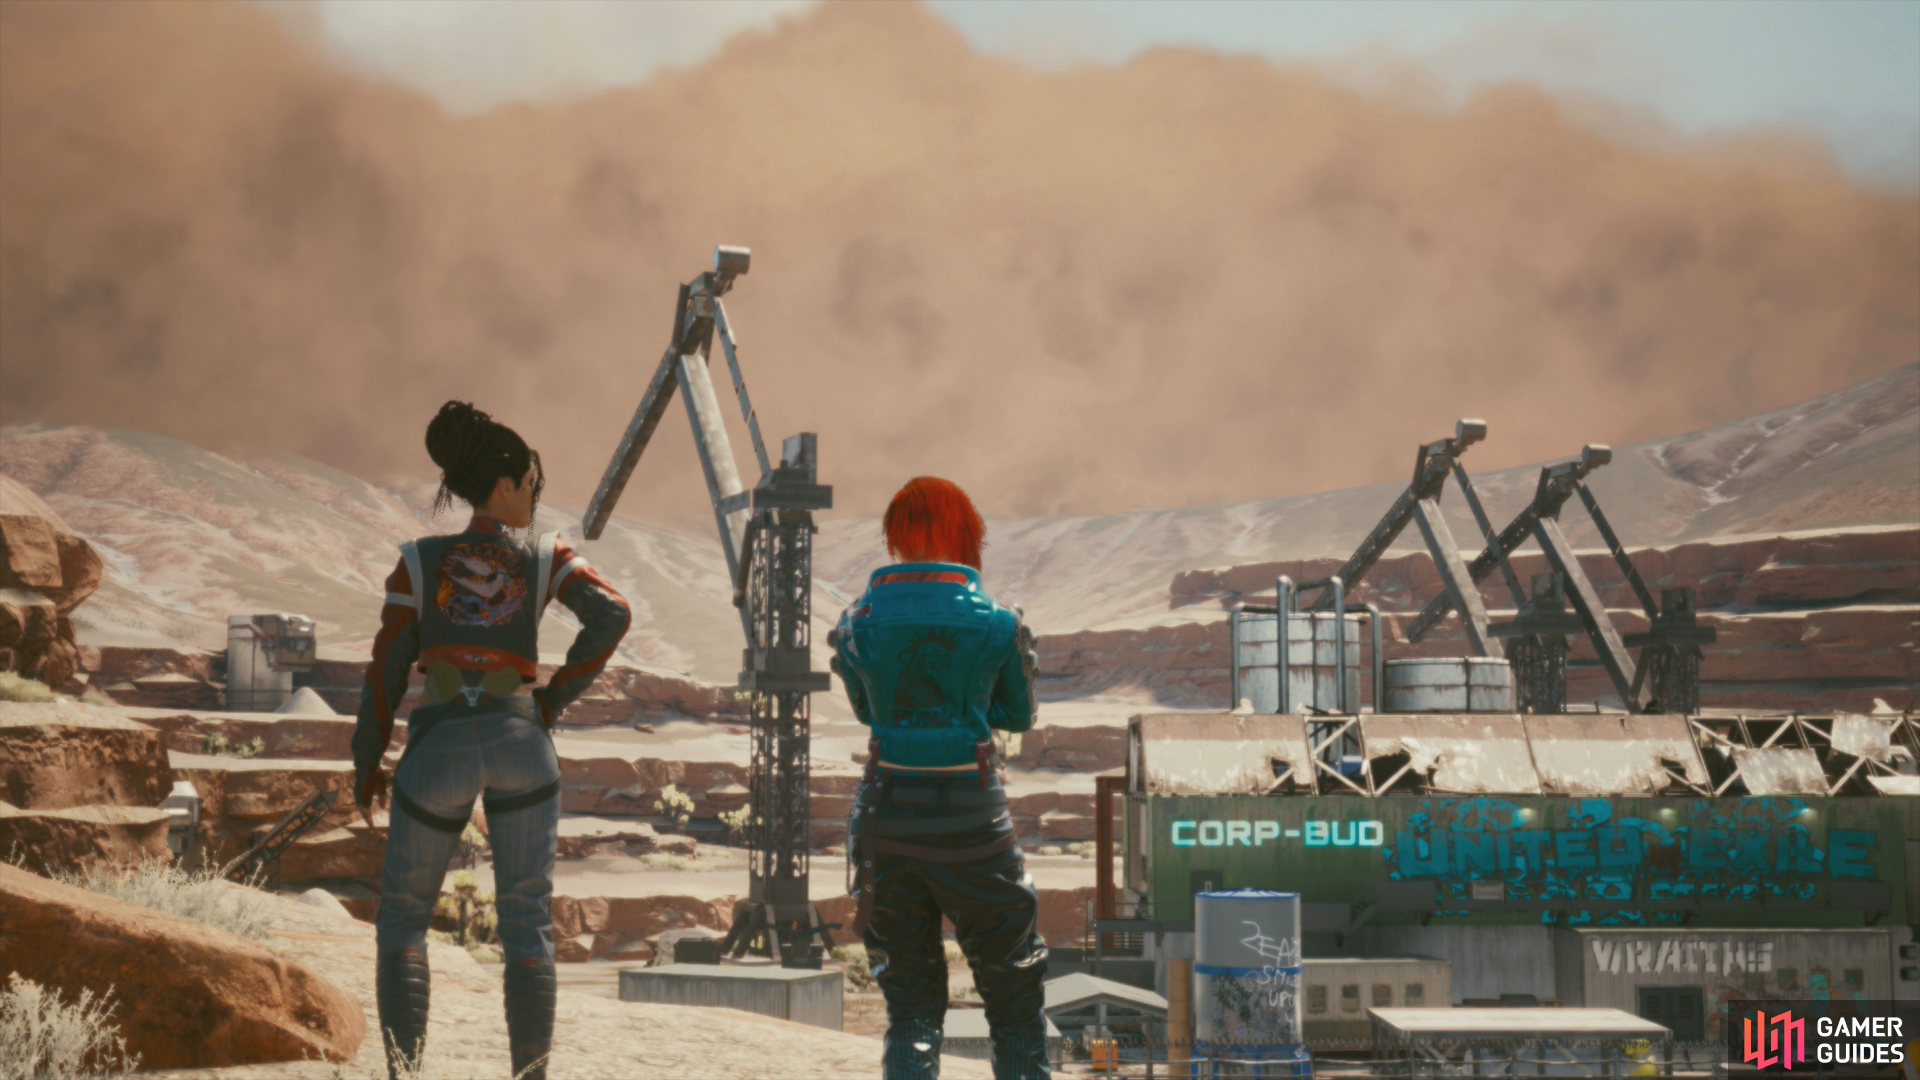
With that done, follow Panam and Mitch to a van, take some “SuperJet” from Mitch when offered, then agree to ride with Panam. The van you’ll drive doesn’t handle that well off-road, and there’s no real reason to rush, so just follow the quest trail to the Wraith camp, take it easy, park where Panam indicates, then go look over the camp.
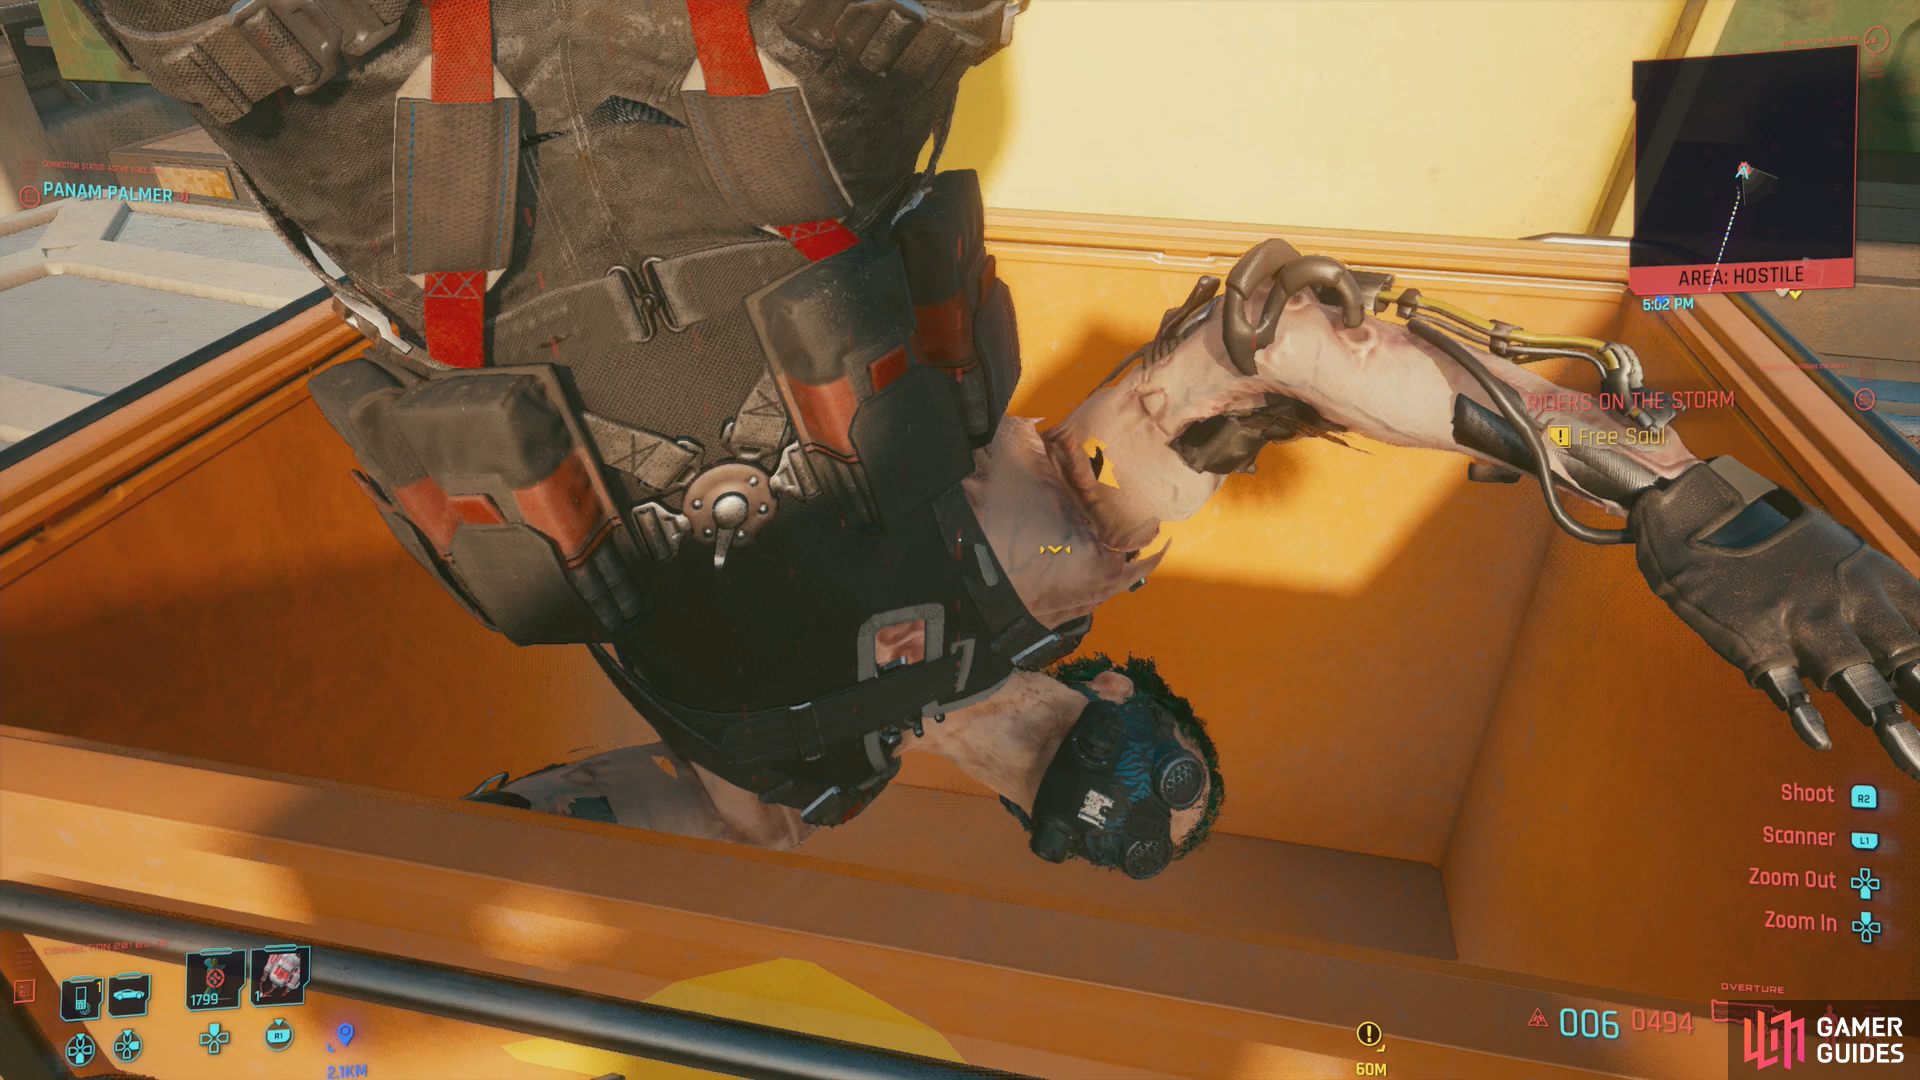
In terms of enemy density and overall numbers, the Wraith stronghold is as populated as almost any dungeon you’ve dealt with thus far. It’s also fairly complex, from a gameplay perspective, as there are numerous ways to get into - and through this area. Going in through the front gate probably isn’t the best option, as it can be quite tricky to dispatch all the foes stealthily (if that’s even a concern for you), so you’re advised to strafe the perimeter, scanning and tagging enemies.
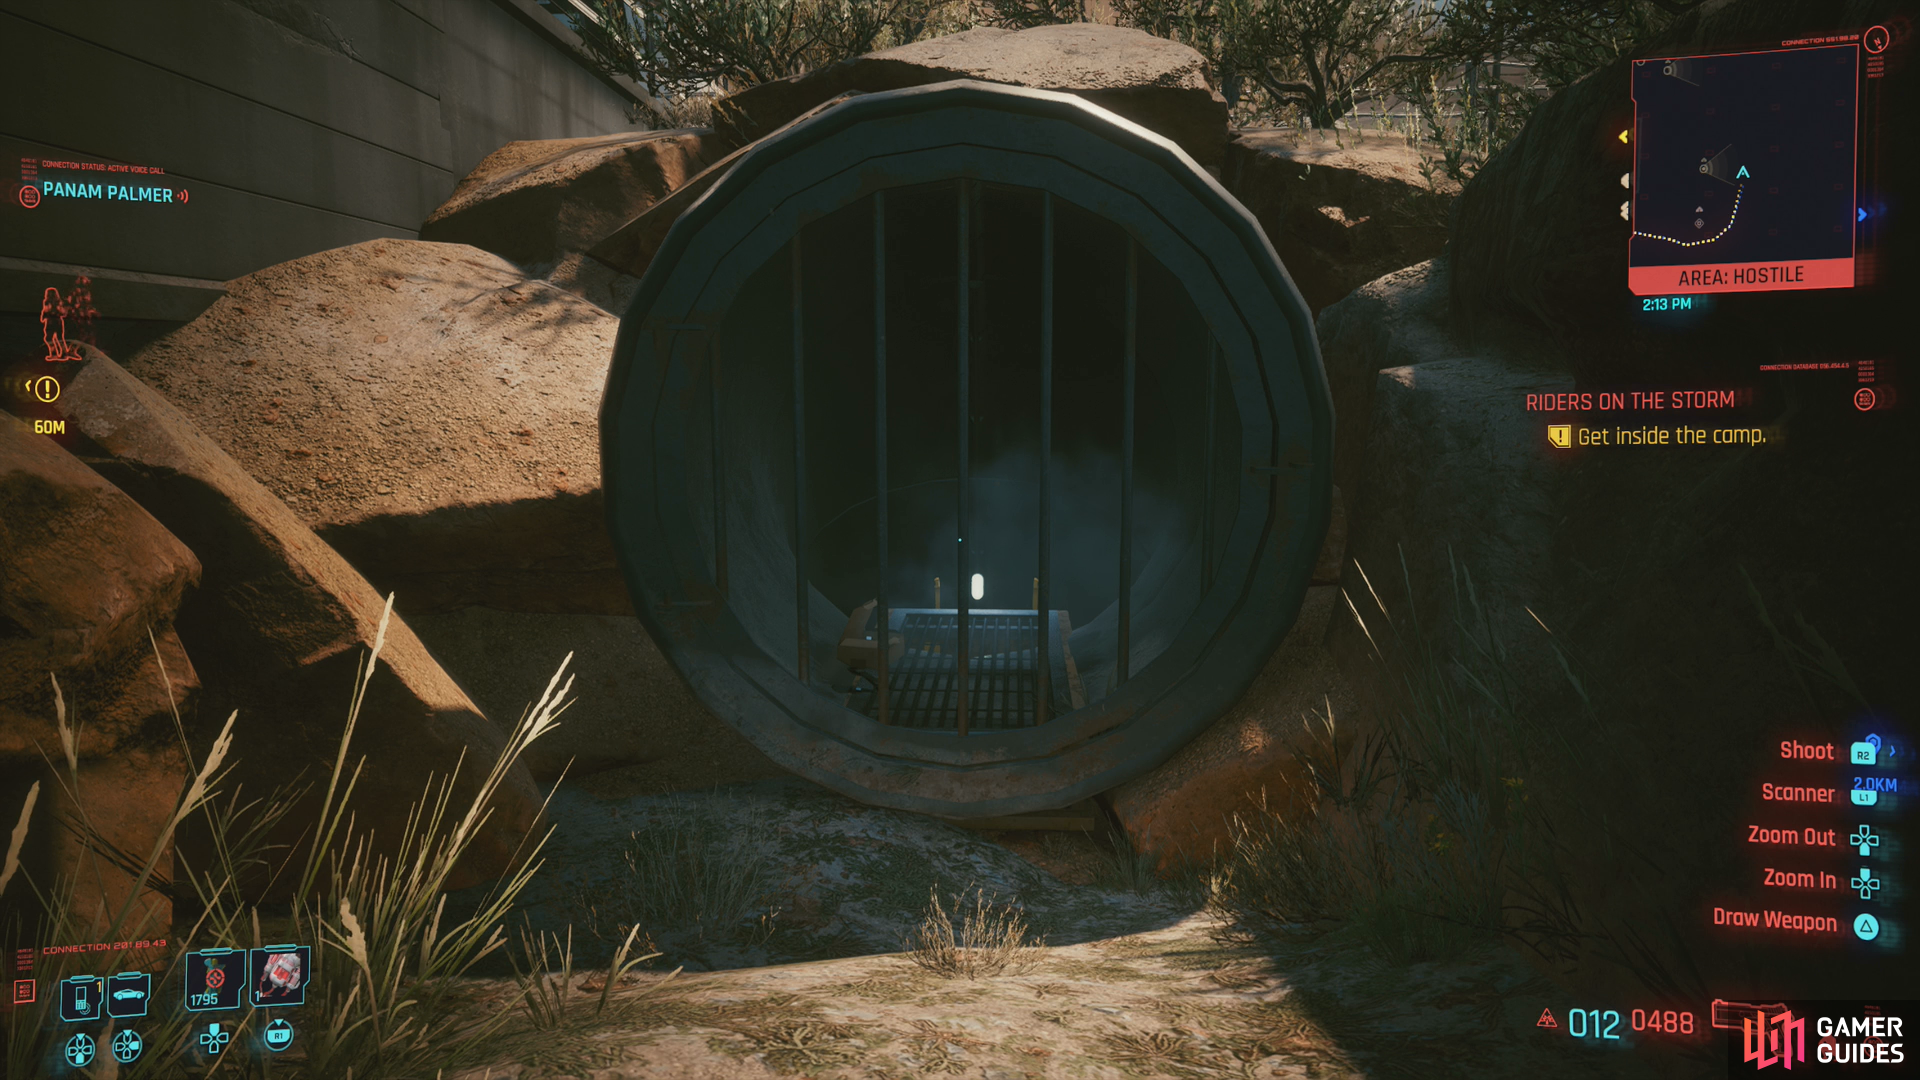
Wraith Stronghold: Drainage Pipe Route
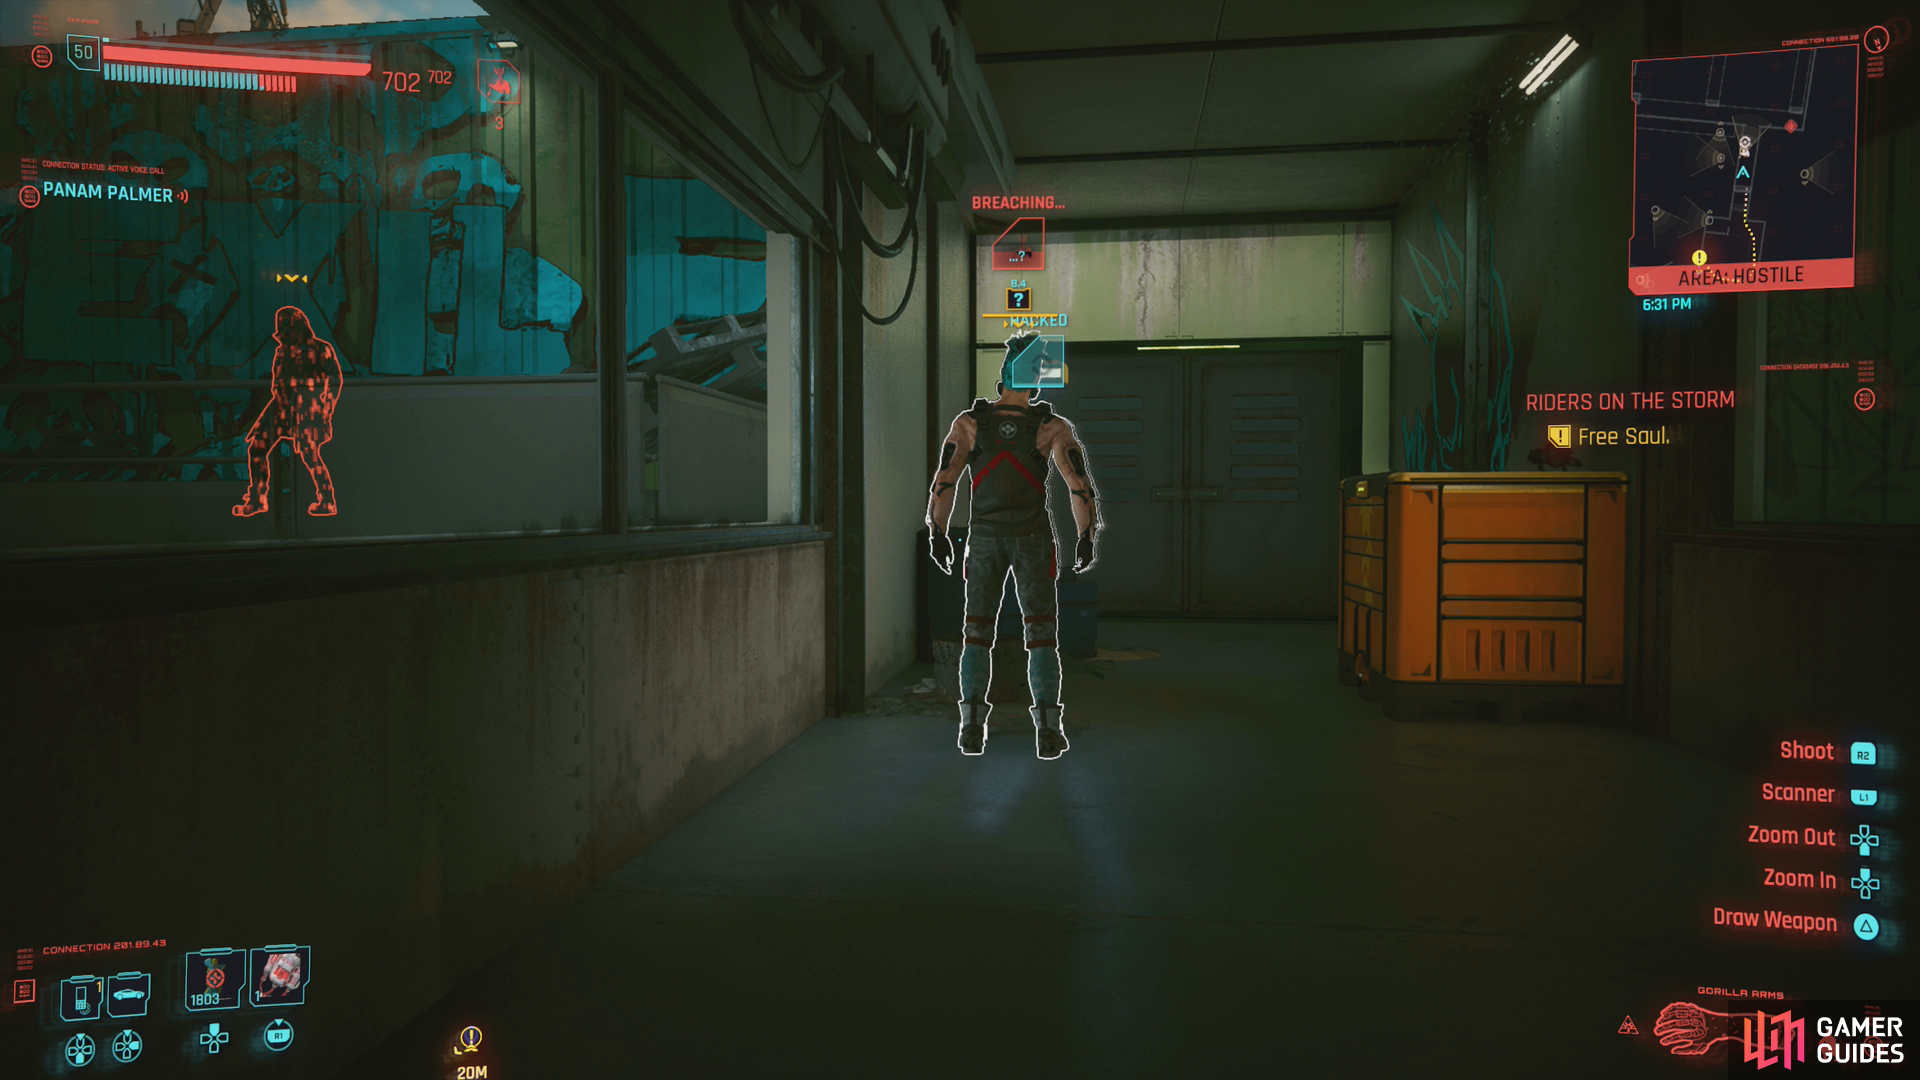
The easiest route, if your attributes are up to the task, is to circle around to the right of the base until you find a drainage pipe. Enter through it and go down a ladder until you find yourself at a sealed door [Technical Ability 9] beyond which is another door [Technical Ability 9]. If you can get through these two barriers, you’ll find yourself right in the chamber where Saul is being held.
Unfortunately, for some reason you still have to sneak up into the main building, use a terminal in the control room to hijack the security system and scan Saul, then go back down and free him. Alternatively, you can try sneaking back down the drainage pipe and exiting to the surface once you reach the first sealed door [Technical Ability 9]. If the quest objective remains Go to the main building., you’ll have to sneak deeper into the complex. If the objective changes to Find Saul and Find info on Saul (Optional), you should be able to just talk to Saul when you break into the chamber where he’s being held.
Sounds kind of glitchy, but as of this writing, it works under repeated testing.
Anywho, if you were able to sneak in and find Saul, but still need to sneak into the main building, go up some stairs and into a control/observation room and take down the Wraith distracted by some video game. Turn right and open two doors, then stop and wait for a Wraith to walk across the path in front of you, moving from right to left. Sneak forward and take out the Wraith who just walked left, then dispatch another Wraith to the right.
Once they’re gone, head upstairs to reach the main building, where you’ll find a Wraith on the walkway above you, and two off to the right. Mark them, then head forward and go up some stairs - you should make it to the stairs before either of the guards on the ground floor spot you. The guard on the walkway patrols back and forth, so wait until he’s walking away from the stairs you ascended to take him down, then continue on into the control room, where another distracted Wraith awaits a long sleep. Alternatively, a silenced weapon can just kill this elevated guard through the floor grate, if you prefer.
When you’re alone inside the control room, use the terminal to take control of the surveillance system, use the camera to spot Saul, then disable the security system for good measure. One less thing to worry about, right? After that the quest should have updated its objectives to Free Saul., in which case you just need to go back to the chamber where Saul is being kept - a significantly easier trek now than it otherwise would be.
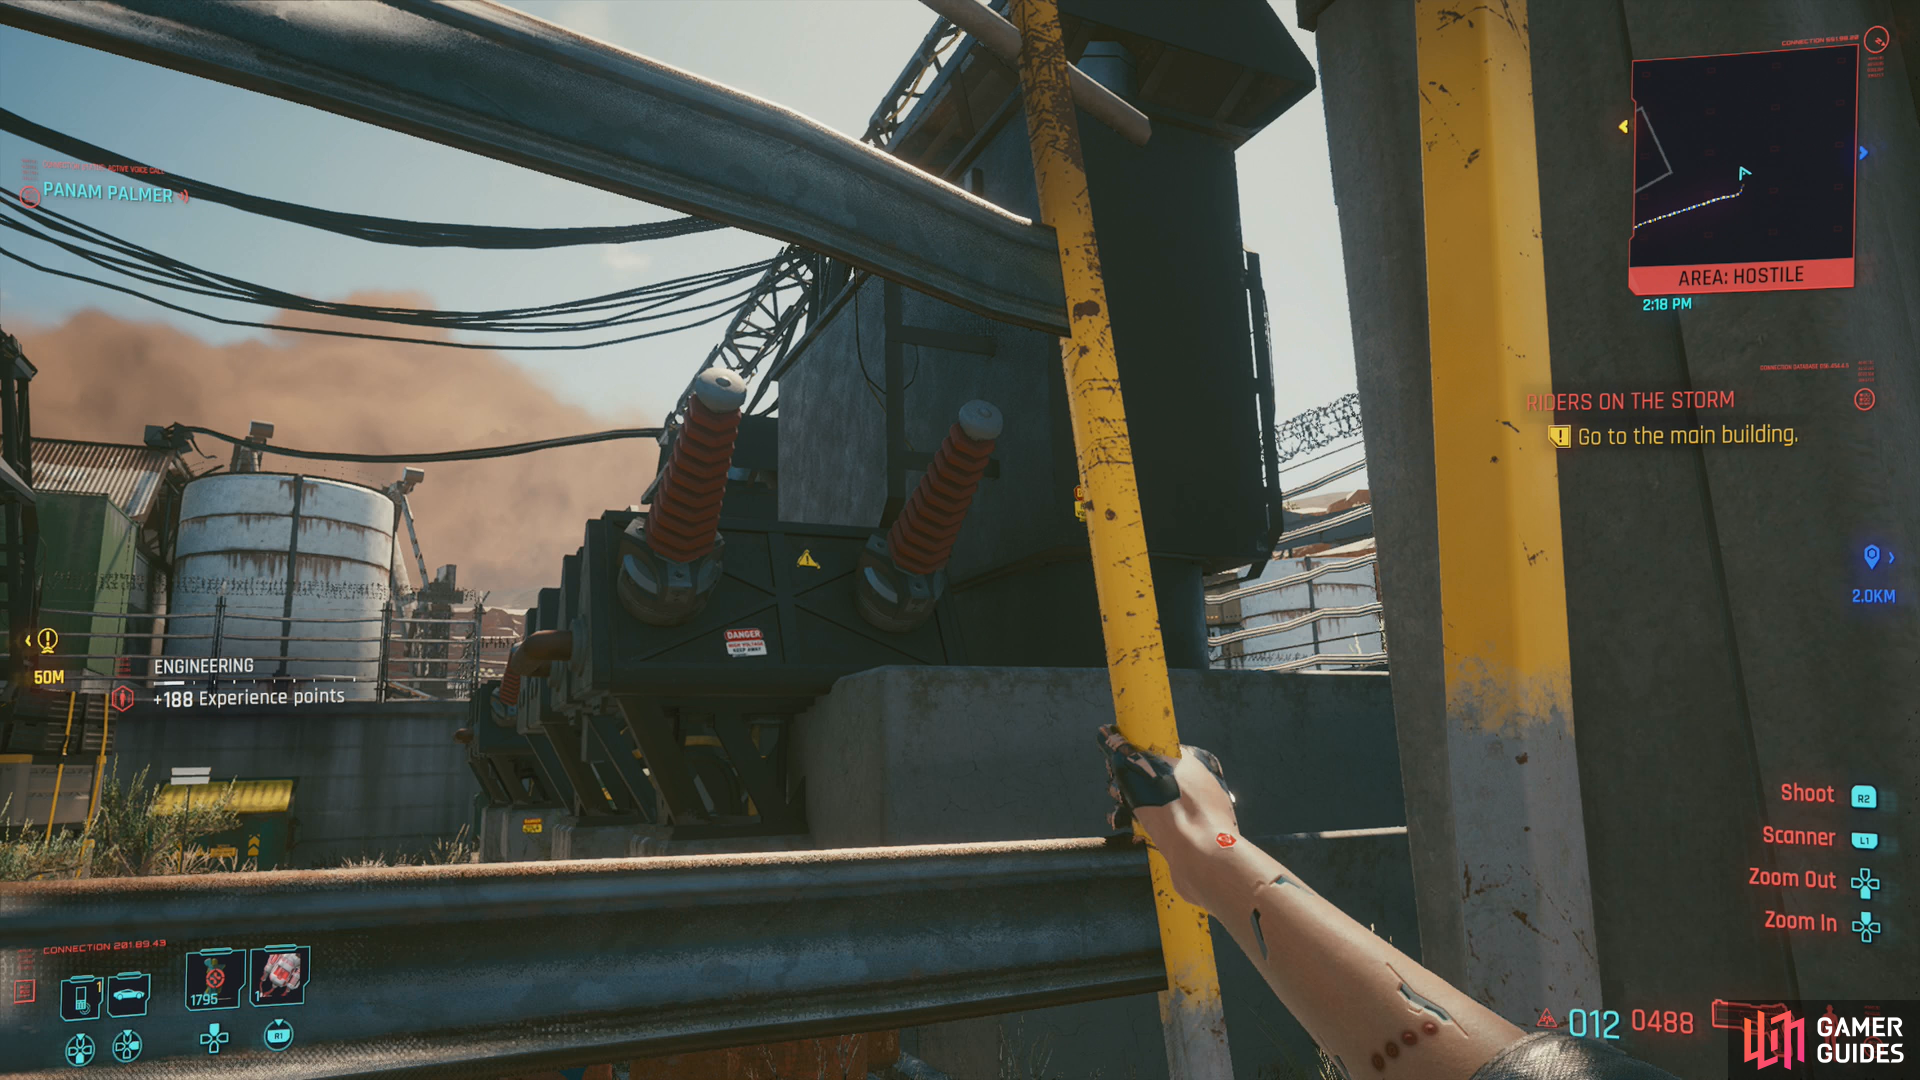
Wraith Stronghold: Breach the Fence Route
If you don’t have the attributes to go through the drainage pipe (or if the suspiciously wonky route gets patched), you have other options. Also on the right edge of the stronghold, you can force your way through a gate to reach the interior of the compound by passing a [Technical Ability 9] check to break through a gate. Dispatch a guard and turn left to find another gate [Technical Ability 9] you can bully your way through and you’ll find yourself just outside of the garage, which attaches to the main building via a skybridge. If you lack the Technical Ability to get through these doors, you can always just climb over them. Not double jump. Just a single jump and climb will suffice.
However you get past these two doors, once you’re outside the garage you have several ways in. Circle around to the left and go through a door, or head right and climb in a window. The latter is safer. Inside the garage, head upstairs to find the skybridge, where one rather unobservant guard awaits. You can probably just sneak past him, but you’ll need to be quick, as guards on the roof have a better line of sight to you. As Panam says “Keep your head down and plow straight ahead!”.
Once across the skybridge you’ll be on an elevated walkway in the main building. Look down through the walkway and to the right to find a camera that might bother you - deactivate it through the floor if you can - then head left to reach the control room virtually unopposed. Snuff a guard inside, dump his body in a container, then use the nearby terminal to hijack the surveillance system and use a camera to spot Saul.
Now that you know where Saul is, you just have to reach him. Go back through the door you entered, then return to the door leading to the skybridge. From here, continue around the walkway opposite from the control room until you find some stairs down - there’s a guard on the walkway up here, but if you tag him, he’s easily avoided. You can also kill him with a silenced weapon, if you prefer.
Go downstairs to reach the ground floor of the main building, then sneak across to find some other stairs leading down. Once down this second set of stairs, turn left and wait for a guard to walk past, and when he does, follow him and put him down, then turn left and dispatch a second guard. Continue forward and head through two sets of doors to find yet another Wraith playing some game console in a control room overlooking the room where Saul is being held. Their distraction makes them easy pickings.
After that, it should be a simple matter to reach Saul, just turn left and go downstairs.
(1 of 3) Walk along the cliffs until you find a ramp leading onto the roof of the main building,
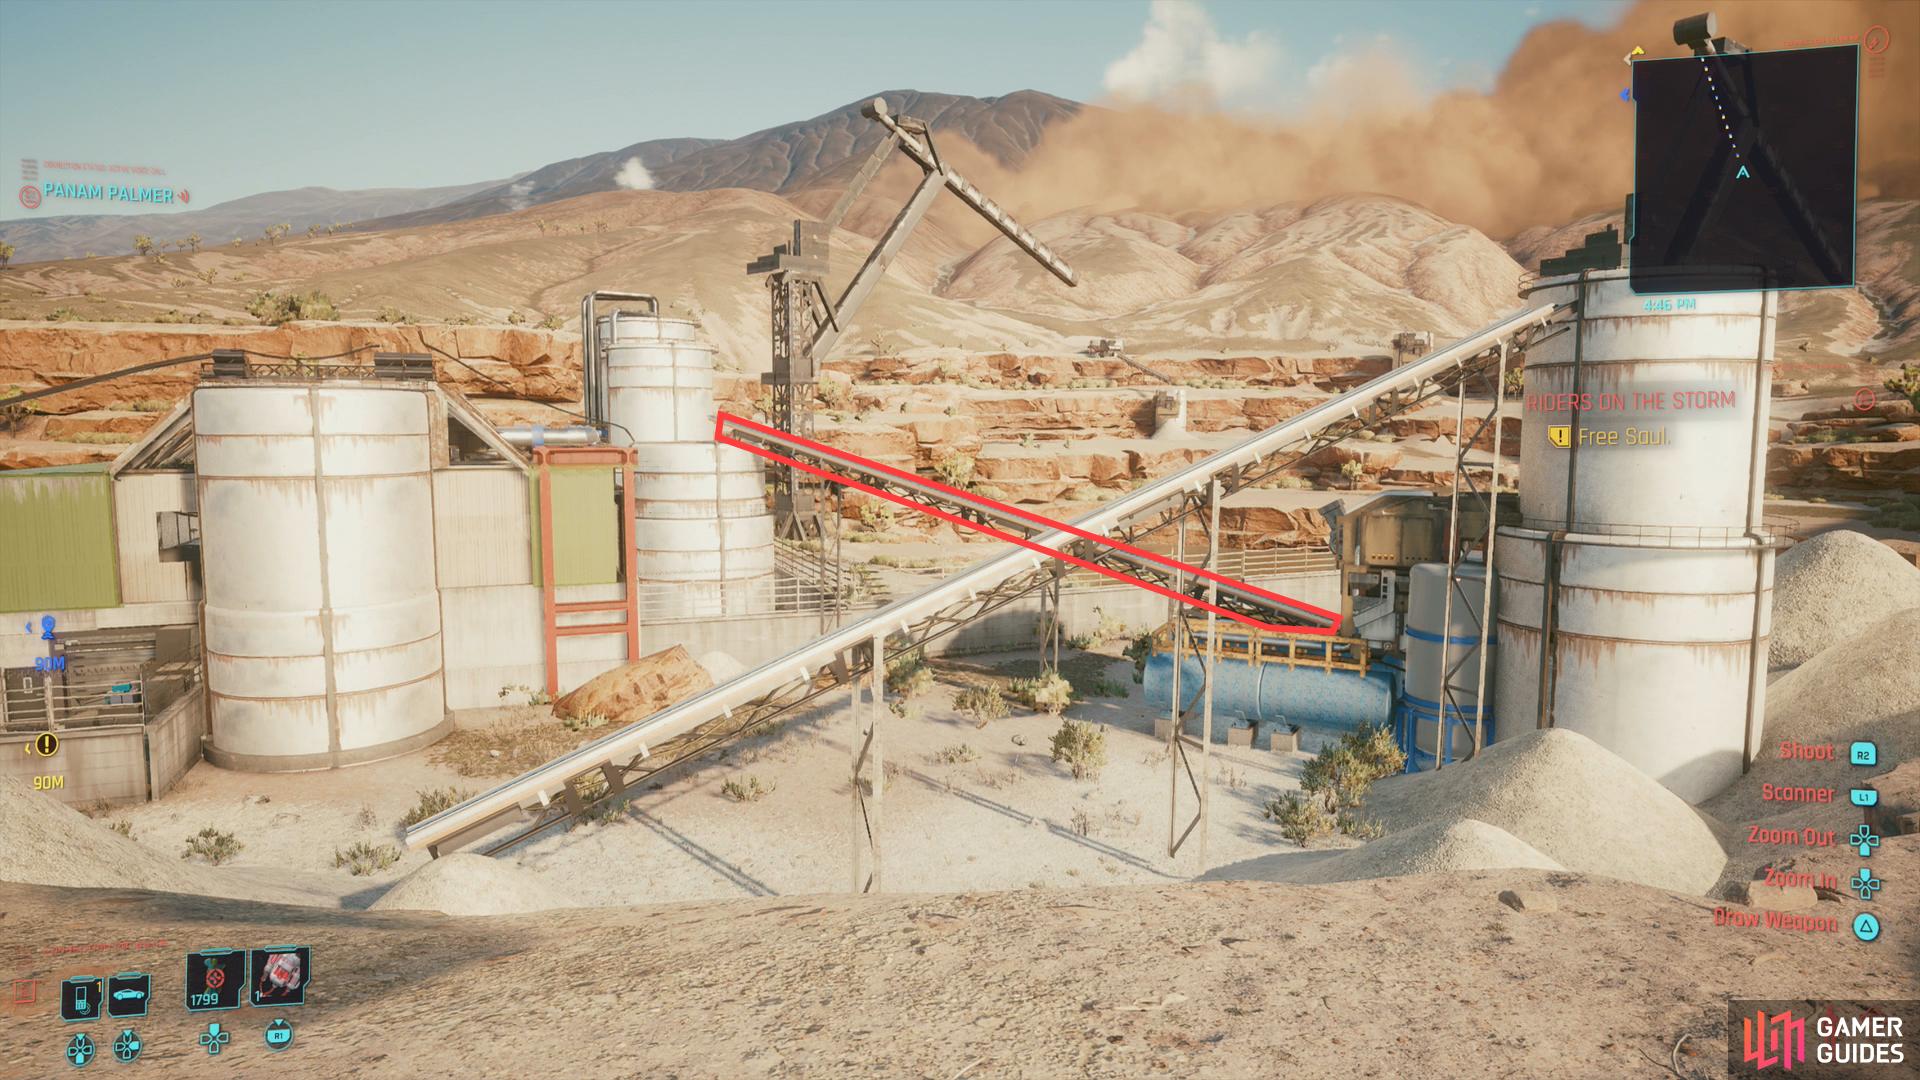
Wraith Stronghold: Cliffs Route
Perhaps the sneakiest route to get into the stronghold, you can circle around to the right until your way is blocked by some cliffs. Perhaps blocked isn’t quite the right word - where some see a barrier, others find opportunity. Head along these cliffs away from the base until you find an easy way to ascend onto them, then follow the edge of the cliffs back towards the stronghold, past the walls, continuing on until you find yourself overlooking some mounds of rock. Particularly some mounds clustering around a white tower with two ramps running off it. The more distant ramp runs up onto a silo adjoining the main building.
This is where you want to go.
Drop down onto the mounds below and circle around to find a mound that you can use to reach the ramp, then climb up the ramp to reach the roof of the main building. The roof is riddled with holes, many of which you can use to slip in, but the safest route will see you crossing to the opposite corner of the building, across the roof, where you can drop down onto some stairs near the control room. Just have to hope a guard up here isn’t looking your way when you take the plunge, but otherwise, it’s a way to get into the main building without any combat or attribute checks. You don’t even need double jump (although it helps).
Once you’re safely inside, this route plays out like the previous one - enter the control room and put down a guard, use the surveillance system to locate Saul, sneak downstairs and put down two guards, go through two doors and dispatch a third guard in a control room overlooking Saul, then turn left and down some stairs to find Saul. Easy-peasy.
Wraith Stronghold: The Left Route
So far all the routes discussed have been on the right side of the stronghold, but the left is viable, too… albeit less interesting, in many ways. If you go left you’ll find a guard standing near a convenient container near a shipping container. The one Wraith not inside the stronghold’s walls, in fact. Dispatch him and dump his body in the nearby container, then climb up some crates to reach the interior of the shipping container which you can use to get beyond the walls.
Guards will be patrolling to your right, and while they’re not particularly dense, you don’t need to engage with them at all. Just sneak behind some stacks of shipping containers to your left and follow them along the edge of the cliff until you’re forced to climb onto some red shipping crates. At this point, you should be just across from the main building, and while there’s a few guards walking around down here, their routes don’t have a lot of overlap, making it easy to evade them or take them down.
Either way, get up to the main building and note two likely ways of entry - a garage door, and some stairs. The garage door will get you inside easily enough, but the stairs are arguably the better choice, as you can find some windows you can jump through to reach the control room, or you can just ascend the stairs fully to reach a door that leads just outside the control room.
At this point, this route also plays like the previous ones: enter the control room and put down a guard, use the surveillance system to locate Saul, sneak downstairs and put down two guards, go through two doors and dispatch a third guard in a control room overlooking Saul, then turn left and down some stairs to find Saul. Easy-peasy.
(1 of 3) To clear out the rest of the Wraiths, you’ll need to deploy more advanced tactics - quickhacks should suffice.
Looting the Stronghold
As you can see, with a little bit of patience, reaching Saul isn’t some Herculean task. A little bit of patience is all you really need. Clearing the area is trickier, and if you want to escape easier - or loot the place before saving Saul - you might want to thin out the Wraiths. Sneaking down to Saul by the various means provided above can help with this, as each route has some vulnerable guards you can pick off. More can be done if you’re willing to toss out quickhacks to distract enemies, and Reboot Optics to blind potential spoilers.
Of course, the whole “stealth” thing is purely optional. If you don’t care about Panam whining a bit, there’s no harm in going in guns blazing, especially if you can thin the herd with quickhacks like Contagion. The Wraiths in the stronghold are close enough to each other that spreading quickhacks can down several in one go, depending, of course, how much you’ve invested in quickhacking
Should you clear things sufficiently enough to indulge in some looting, there’s plenty of it to find throughout the stronghold. On the ground floor of the garage you’ll find an Access Point [Intelligence 6] on a wall near a door, while another Access Point [Intelligence 6] awaits you in the control room in the main building, on the edge of a console.
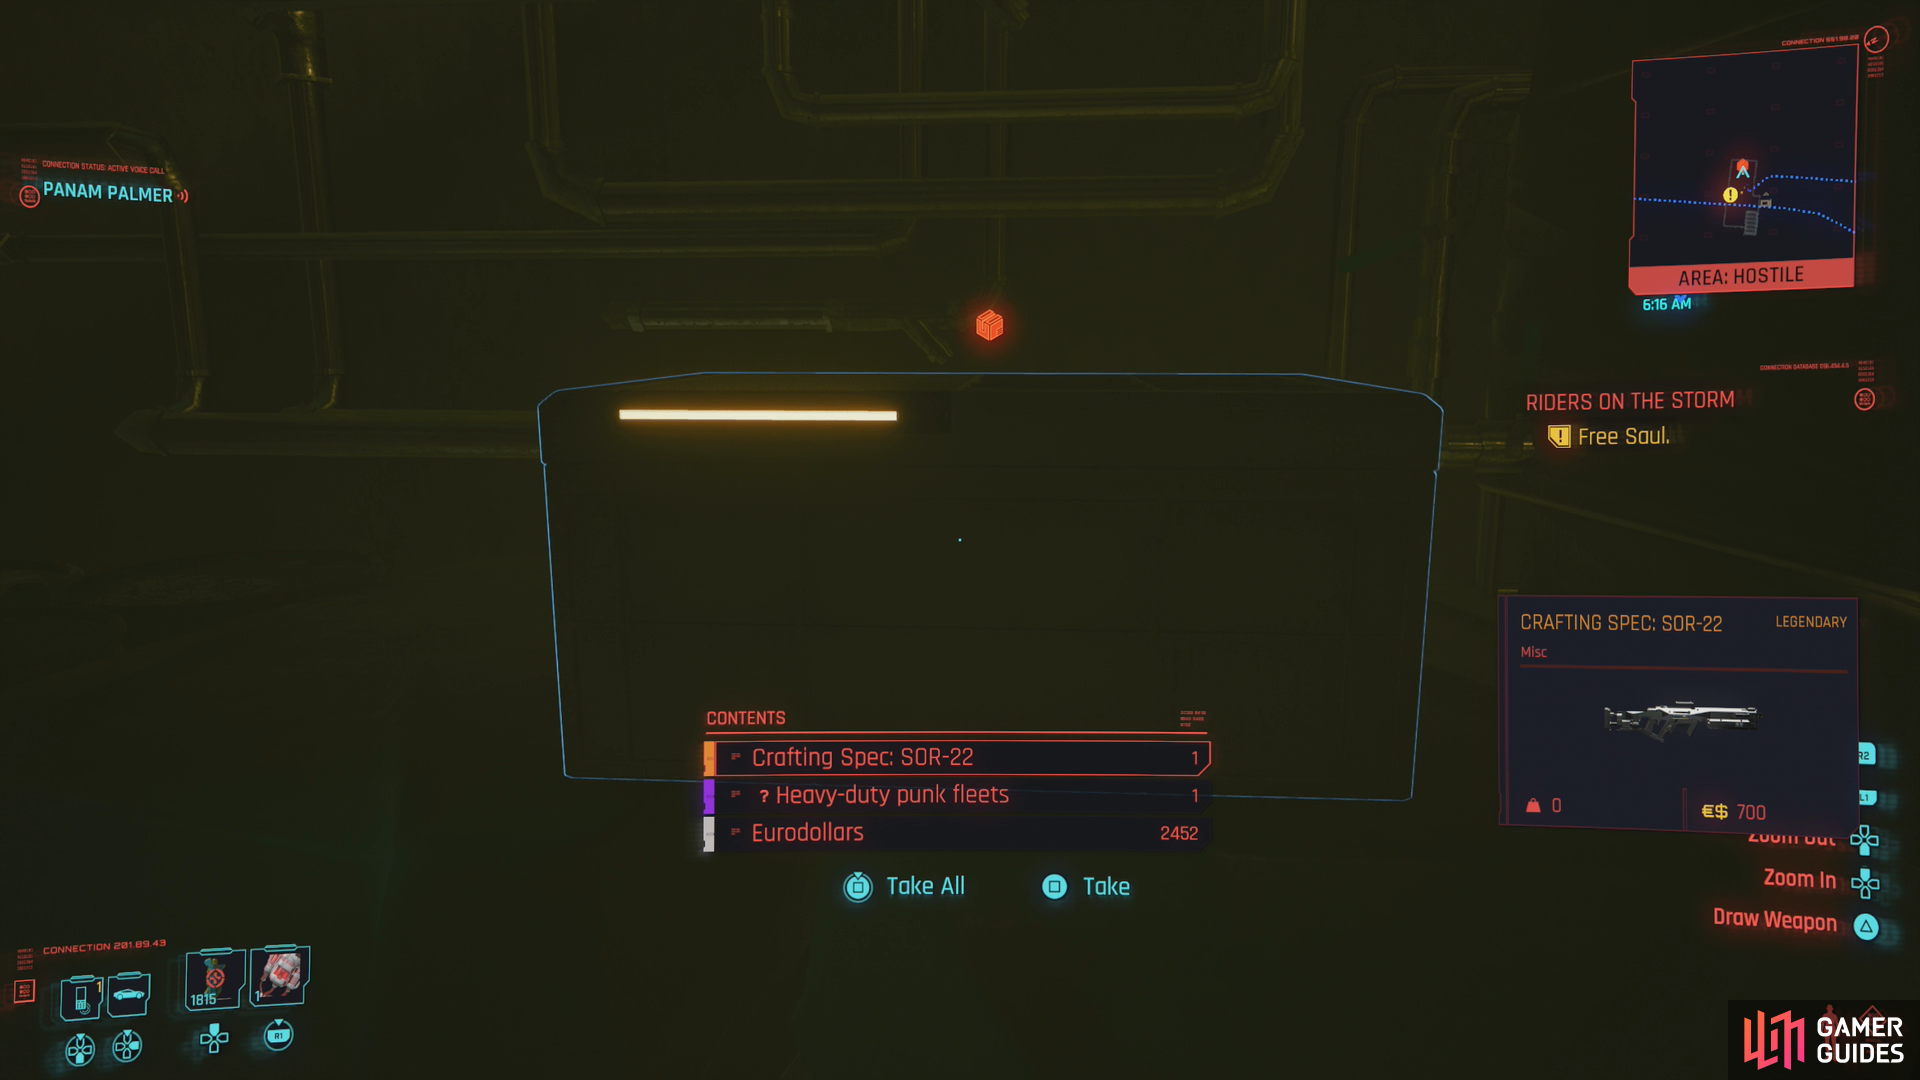
The ground floor of the main building also has some goodies, mostly in the corners, as two containers house potential legendary drops. In a third corner (near the stairs) you’ll find a sealed door [Body 6] which leads to a room with more, albeit unexceptional, loot.
The courtyard is more difficult to clear and also less lucrative. All you’ll find out here are two small buildings, once of which you can force your way into [Body 5] to score some trivial loot while the other houses an Access Point [intelligence 6].
Grab whatever you can/care to, after which we’ll discuss escaping with Saul.
(1 of 4) Loot the room where Saul is being kept to potentially score more legendary items.
Saving Saul
Saul is being kept in an underground chamber below the main building, which the game expects you to learn by reaching the control room in the main building and commandeering the surveillance system.
When you reach the room where Saul is being kept captive, loot two containers to score another pair of potential legendary drops, then rouse Saul and give him the SuperJet Mitch gave you earlier to get him on his feet. Getting out is another matter. The easiest way out is by going through the fence atop the stairs [Technical Ability 9], which leads to the drainage pipe and through there, to the surface.
If you didn’t come in through the drainage pipe, there’s no reason to suspect you’ll have the ability to leave through it, in which case you’ll need to leave the way you came in… assuming it’s free of prying eyes. Get out by whatever means are at your disposal, follow the quest trail to Panam and the van, then get in and ride through the storm. If you didn’t raise the alarm back at the Wraith stronghold, you’ll just drive to your destination. Easy-peasy. If you ended up getting caught, however, your ride will be a bit less serene…
A noisy break-in naturally results in a vehicle ambush, and like most vehicle ambushes, this one is highly scripted. Play your part and shoot at the enemy vehicles until they dutifully explode, or be a bit cheeky, quickhack the enemies in the vehicles. A powerful Contagion quickhack can wipe out all your pursuers. Not that something so trivial will stop the cars they drove from continuing to chase you, but at least it cuts back on all the gunfire until the scripted “chase” sequence ends.
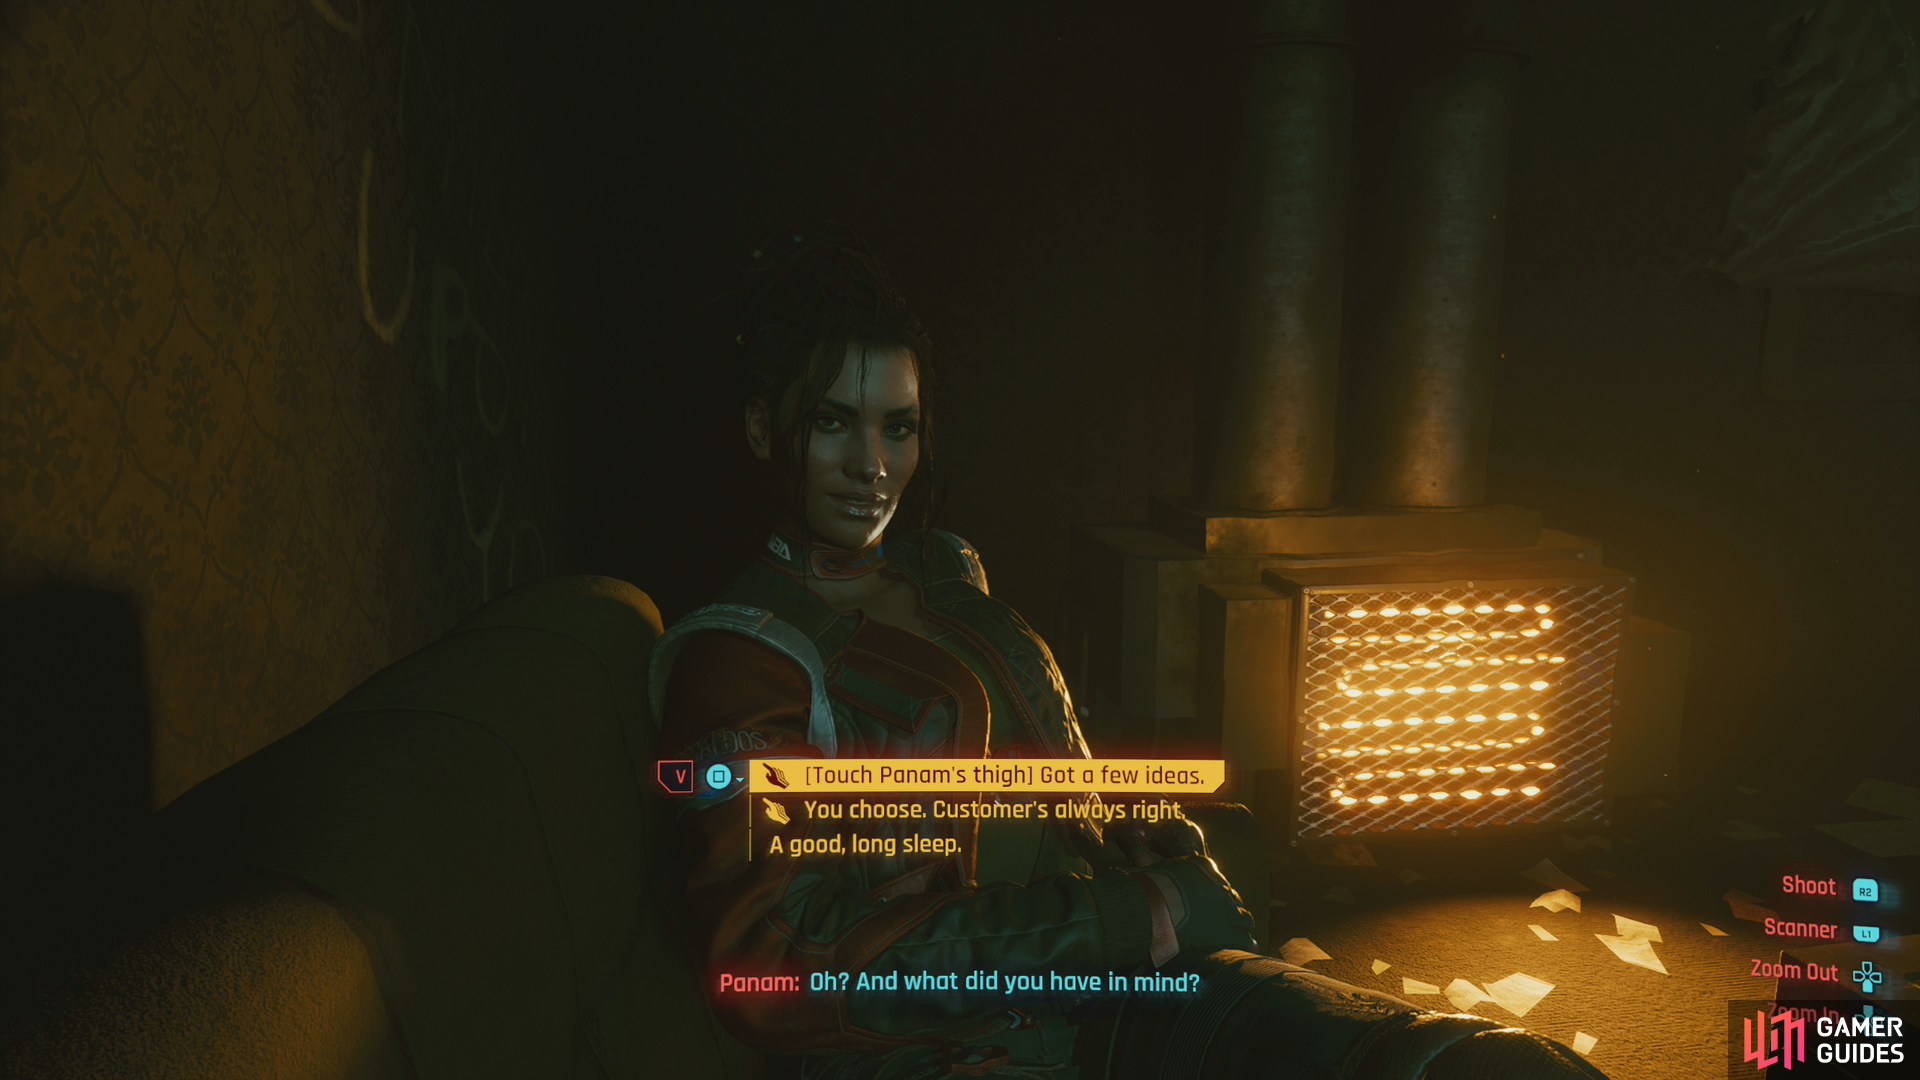
In the farm house, you can flirt with Panam. It doesn’t go anywhere, nor does it affect your prospects of romancing her later.
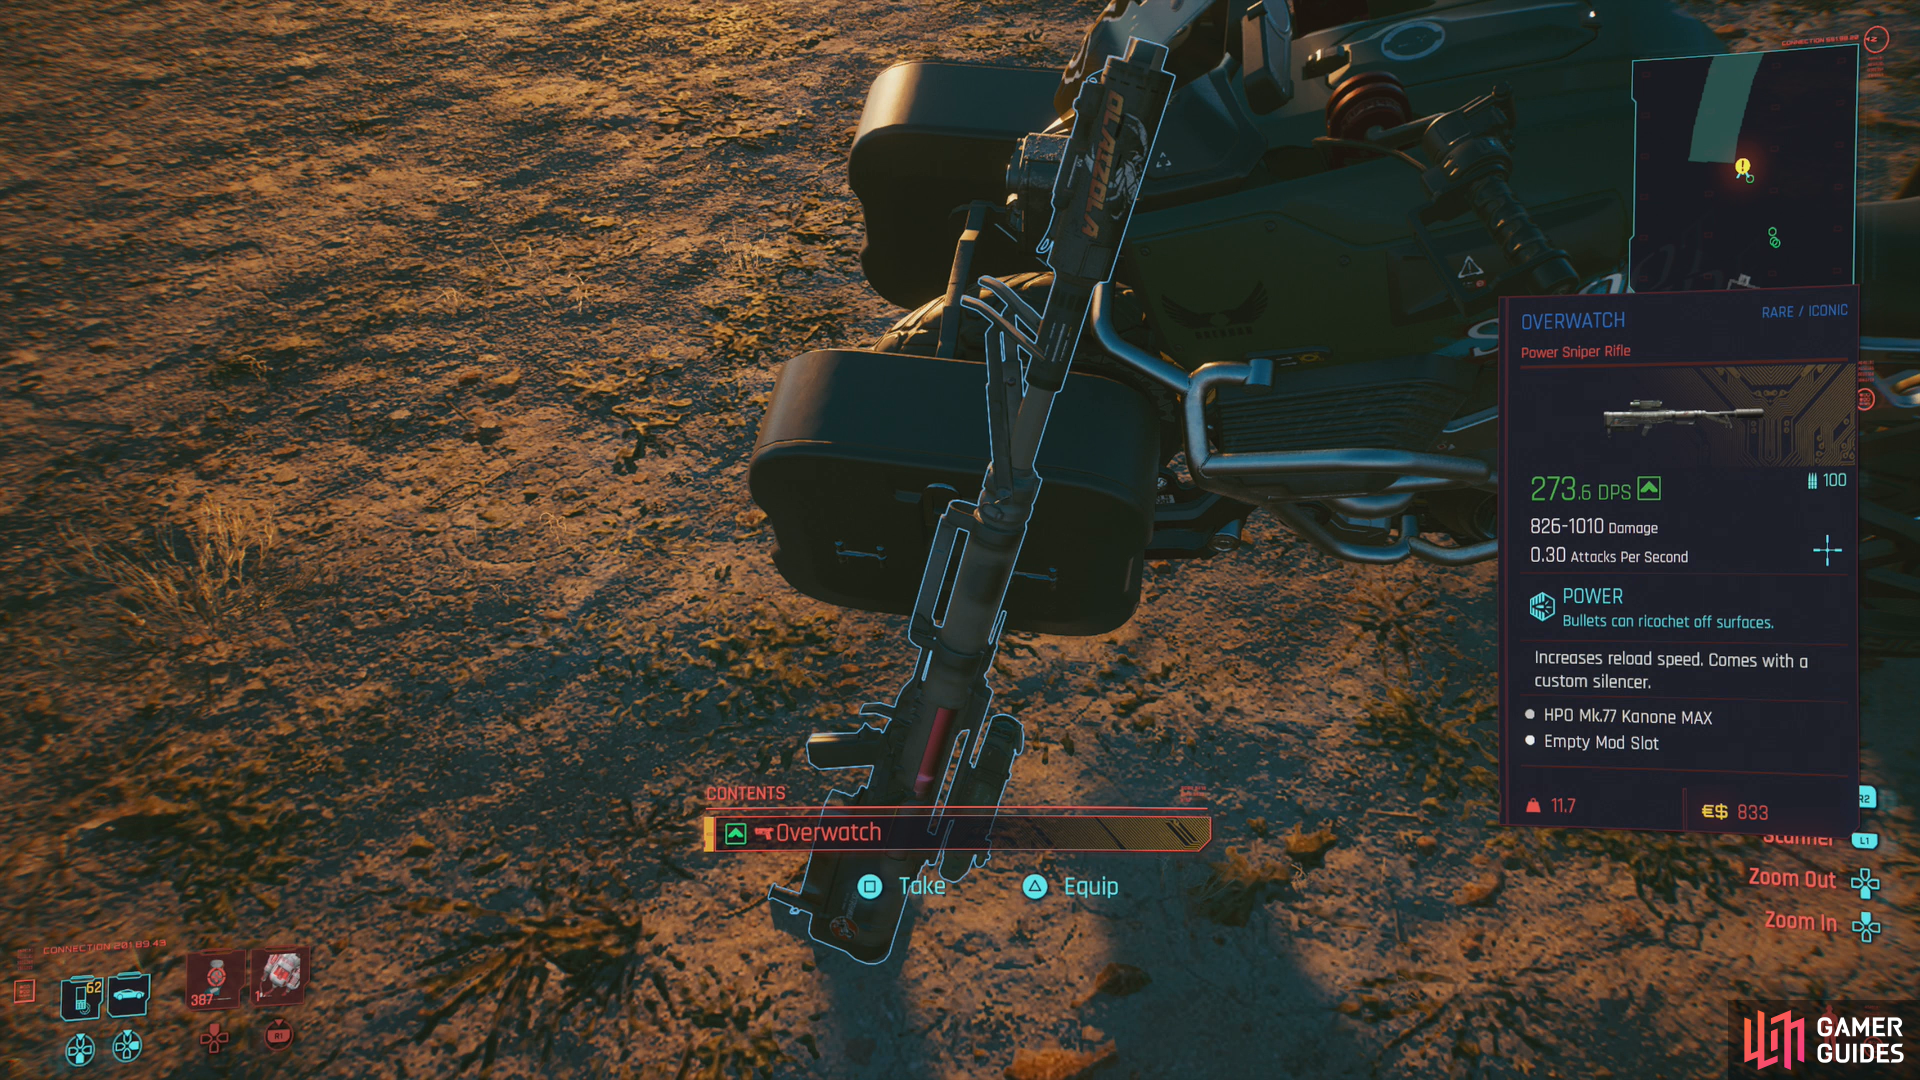
The next morning, grab the iconic sniper rifle, Overwatch.
Waiting Out the Storm
Once you’re out of the van, enter an abandoned farm house and you’ll be badgered into helping restore power. Head into a back room and “Repair” an Electrical Box on the wall, then go report back to Panam, who sends you outside to get the heating situation under control. Trudge out into the storm, circle around the house, fiddle with a fuse box, then head inside.
You’ll have to pass the time by chilling out on the couch, where you’ll get an opportunity to flirt with Panam. This surprisingly doesn’t seem to matter as far as a potential romance goes - you can even agree with Saul without sabotaging a potential relationship with Panam! So, once again, respond how you will.
When you wake up, head outside and talk to Panam, follow her to some bikes and after some more chatter she’ll give you the reward she promised earlier - the iconic sniper rifle Overwatch. Panam will drive off and Johnny will get a few words in before this job finally ends.
It’ll be awhile before Panam’s next Side Job, With a Little Help from My Friends starts up, although you can speed things up by skipping time forward a few days. In this case, however, that might not be the best option, as you should be on the lookout for a new Side Job that’ll pop up near the Mobile Camp fast travel terminal. It’ll be a generic “undiscovered” quest on your map, but when you see it, you should head over and take care of it. The job in question is [I’ll Fly Away], and it’s got a very limited time window, so keep an eye out for it and try to complete it before With a Little Help from My Friends begins.
No Comments