
Somewhat Damaged is one of the last missions in the Phantom Liberty story in Cyberpunk 2077 providing you chose Reed’s plan during the Firestarter mission, otherwise, you would have got The Killing Moon. These two missions are completely different and have different endings associated with them. Read below for a full walkthrough of the final mission, Somewhat Damaged, and all the ending choices.
Find Songbird and decide her fate in the Somewhat Damaged mission.
How to Get the Somewhat Damaged Mission
In the Firestarter mission, Reed will ask you to upload the Icebreaker hack to Songbird when you’re removing the Neural Matrix. Songbird will tell you to input the Access Codes, and the next choice you make will completely change the last mission as well as the ending. If you picked “Help Songbird Escape”, you’ll end up on The Killing Moon. However, if you select “Help Reed capture Songbird”, you’ll end up on the Somewhat Damaged mission. There isn’t really a what’s right scenario here, and it’s all based on what you think will be the best. Both final missions are fantastic, so the choice is yours, but the fact you’re here reading this means you chose to believe Reed. Note, choosing this mission will end up with a boss battle against Kurt Hansen at the end of Firestarter where you’ll get three iconic weapons as loot when you defeat him.
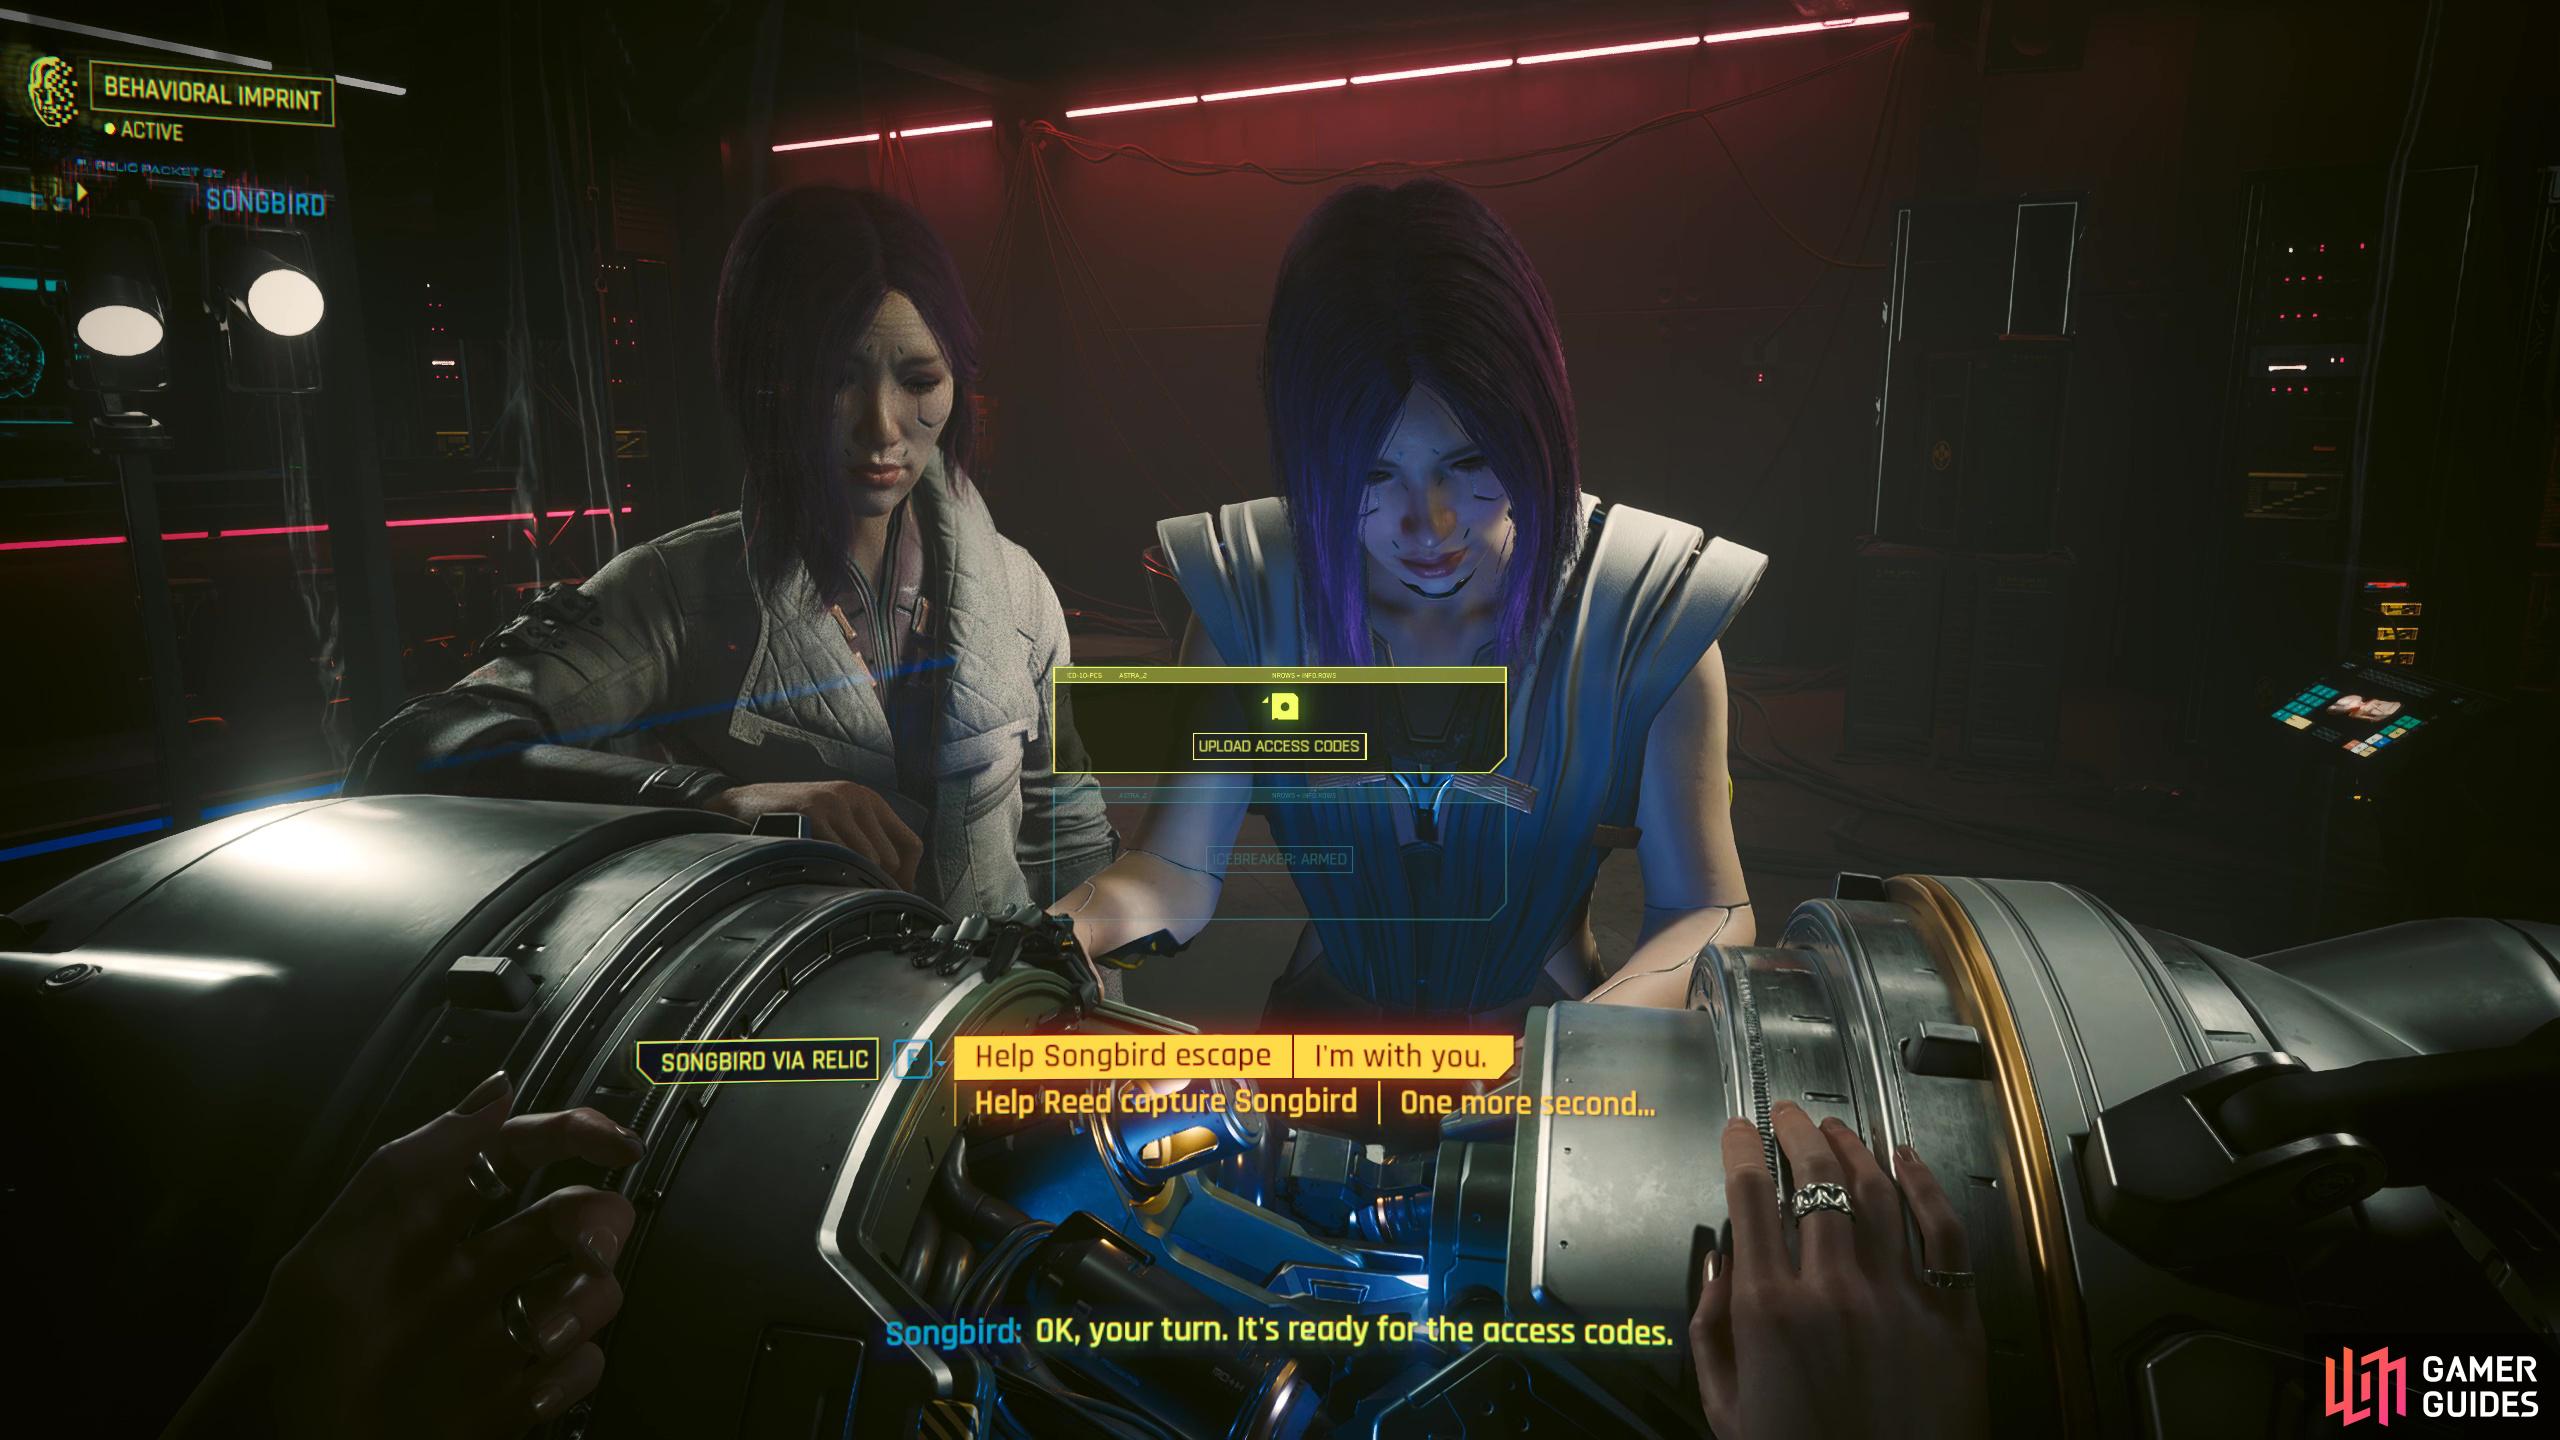
In the Firestarter mission, Reed will ask you to upload the Icebreaker virus to Songbird. This choice will determine what last mission you get.
Rescuing Songbird from MaxTac
At the end of Firestarter, Songbird will get picked up by MaxTac which isn’t good for you, or her, and you’ll need to call up a Netrunner to find the location of Songbird which is part of the “Black Steel in the Hour of Chaos” mission. This can be either Mr. Hands, or Sandra Dorsett with the latter not up for it, and the former requiring 15,000 credits. Eventually, this will lead you to find the route that MaxTac is taking which leads to you setting up an ambush, and fighting three bosses at once. Once you’ve defeated the bosses, head to the back of the truck, and Songbird will drive off. Follow her, and she’ll have driven the truck through the side of a building. This starts the Somewhat Damaged mission.
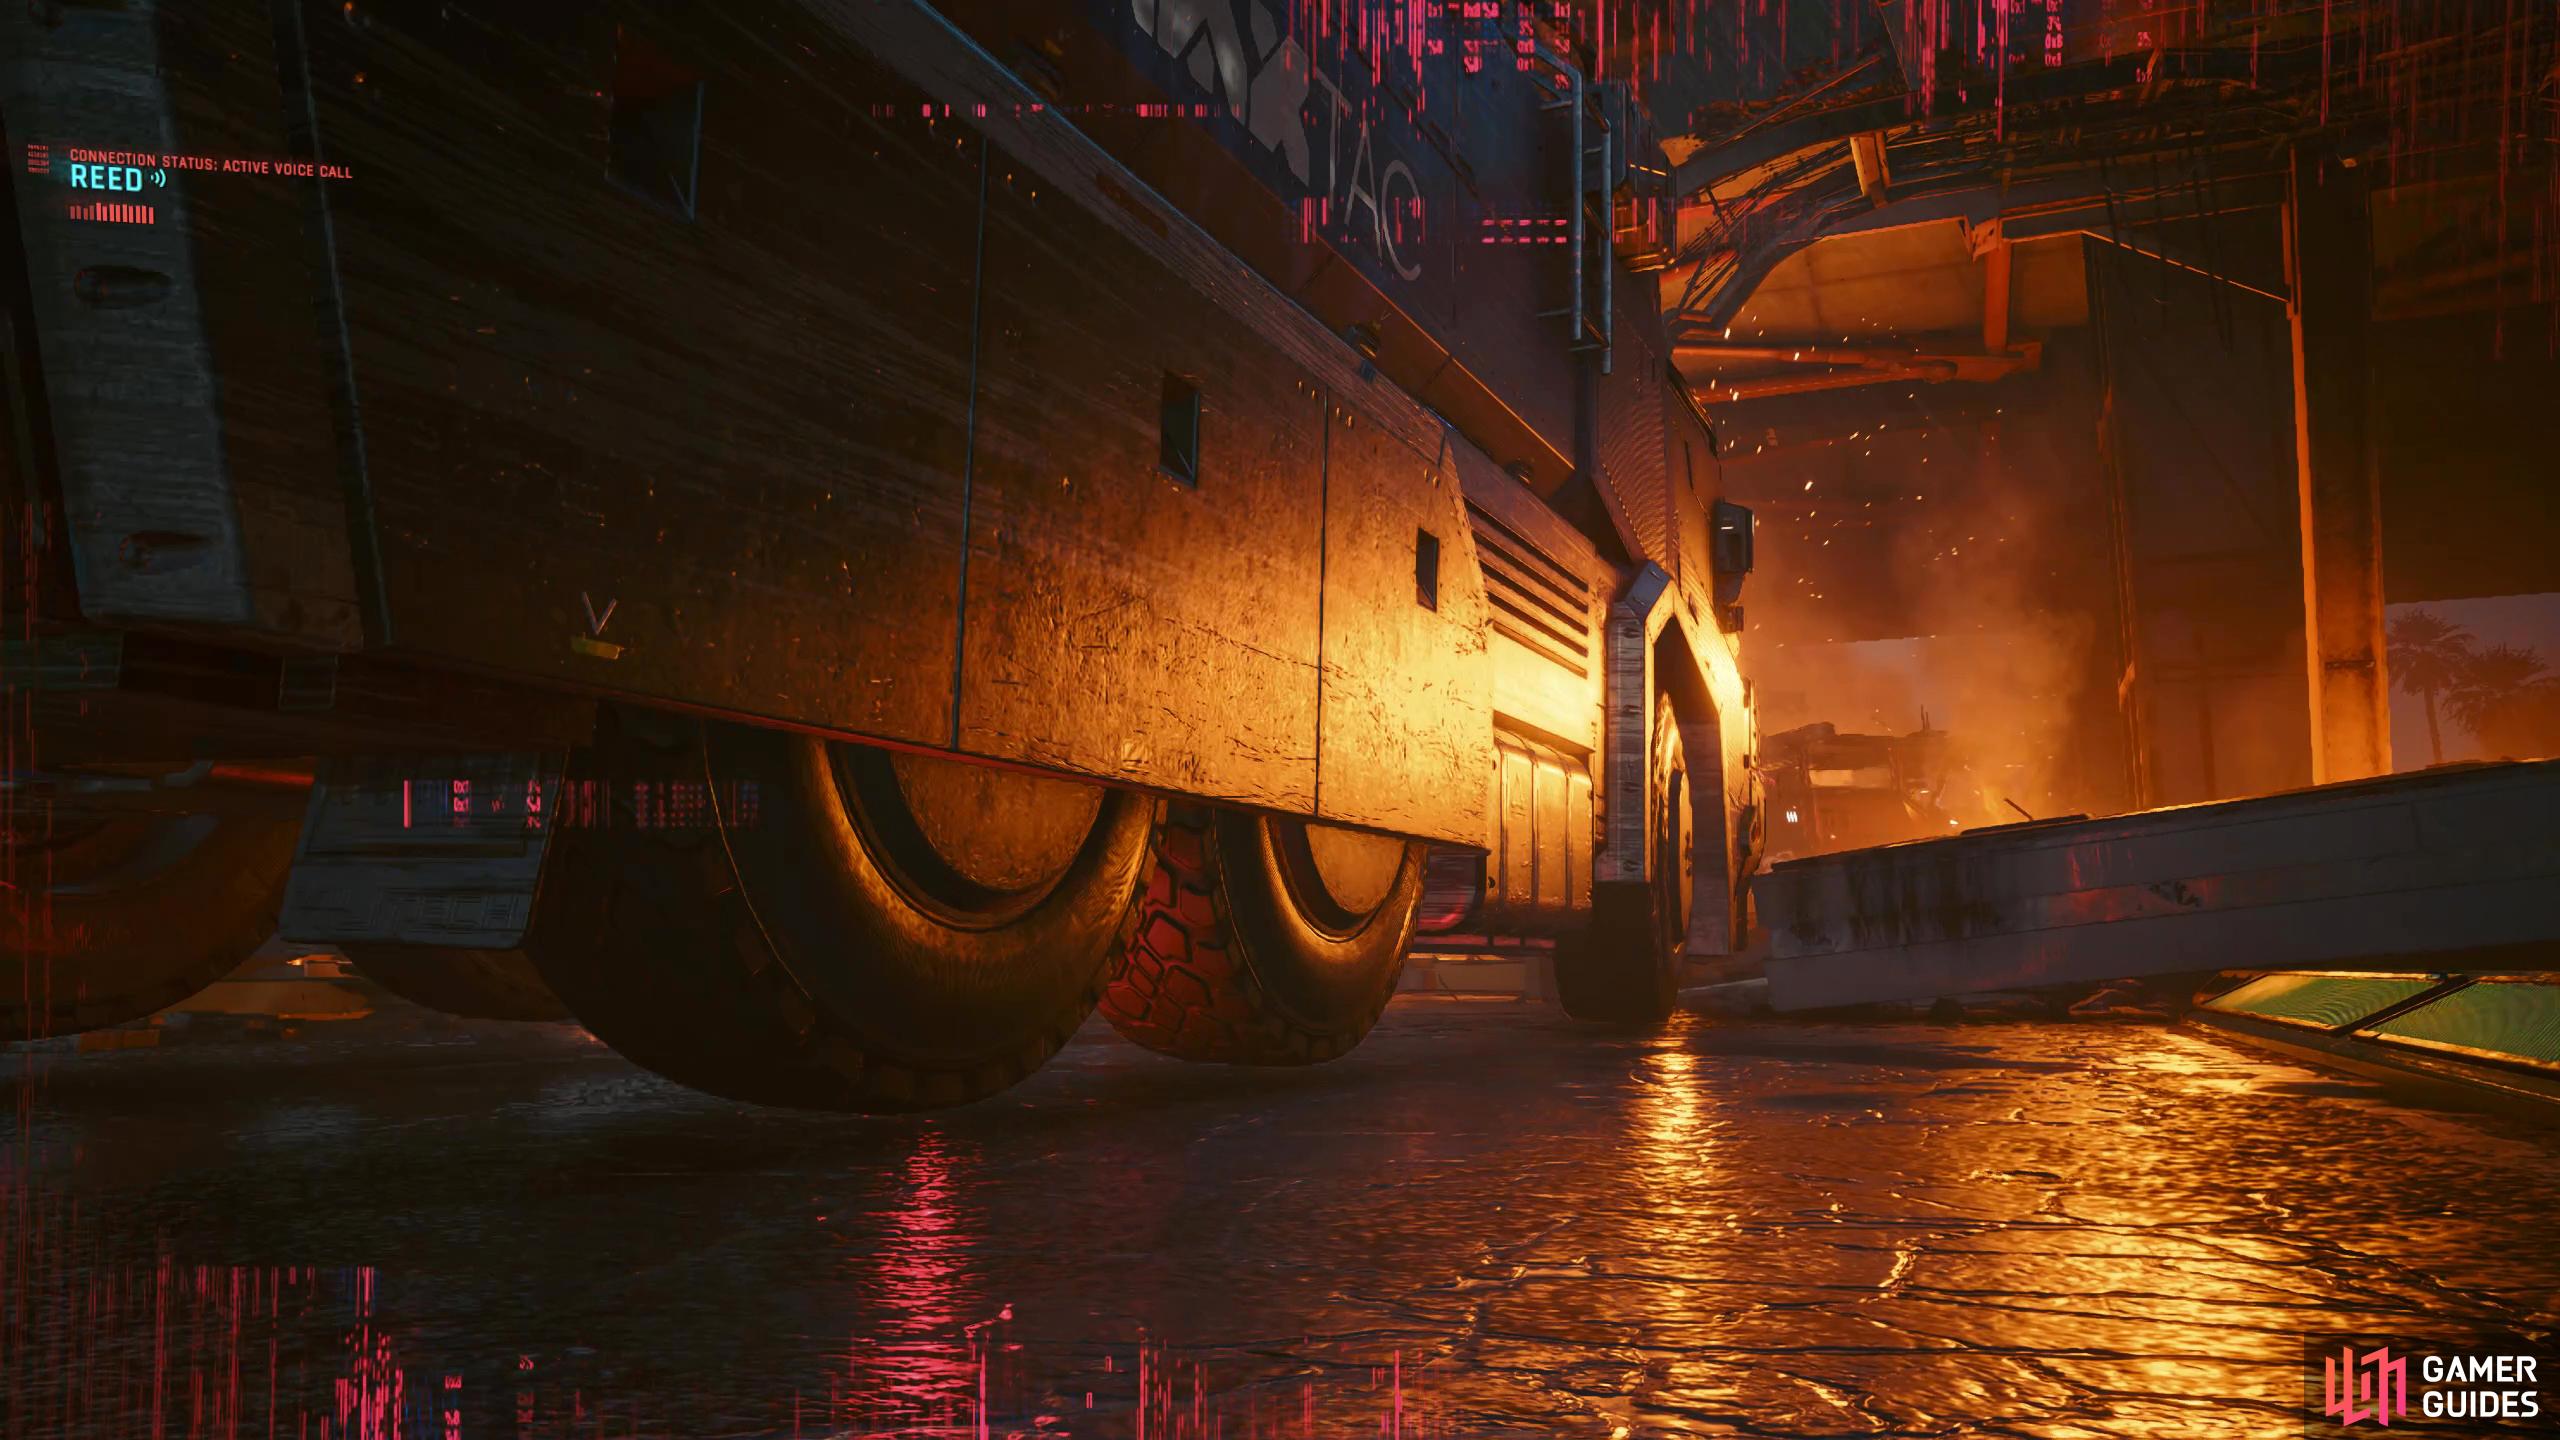
At the end of the Black Steel in the Hour of Chaos mission. Songbird will drive away from you when you attempt to open the truck.
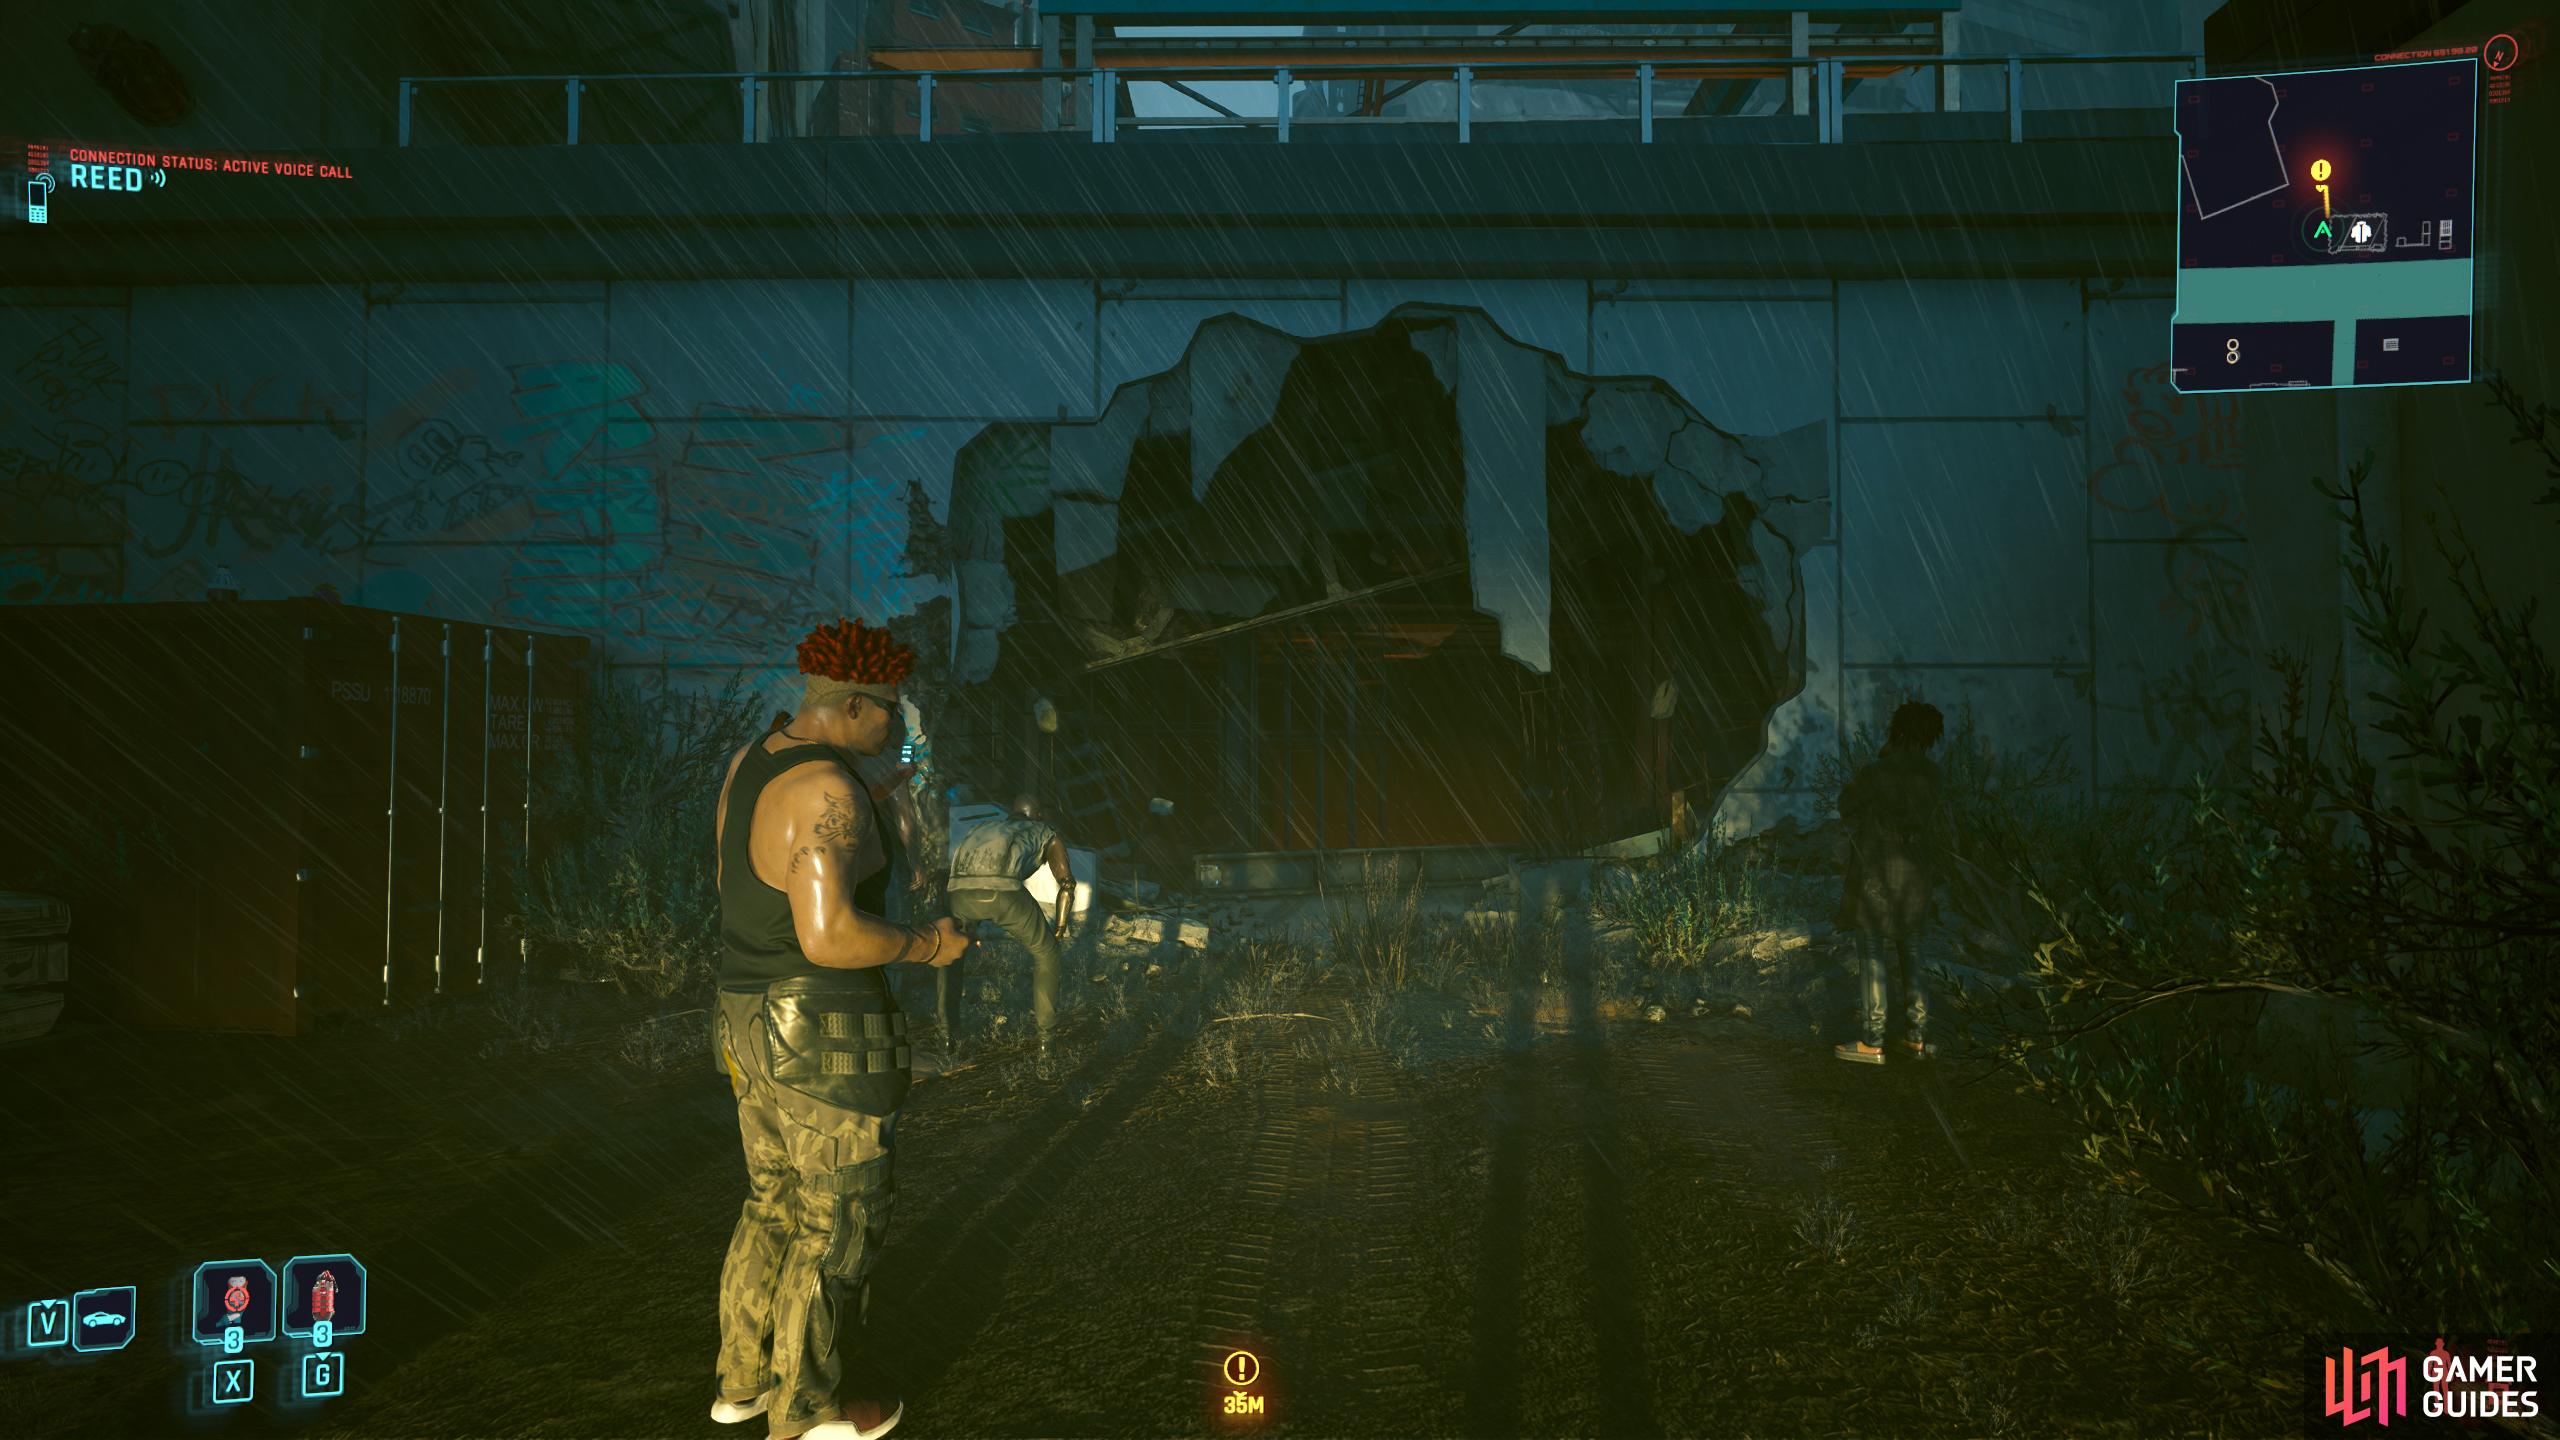
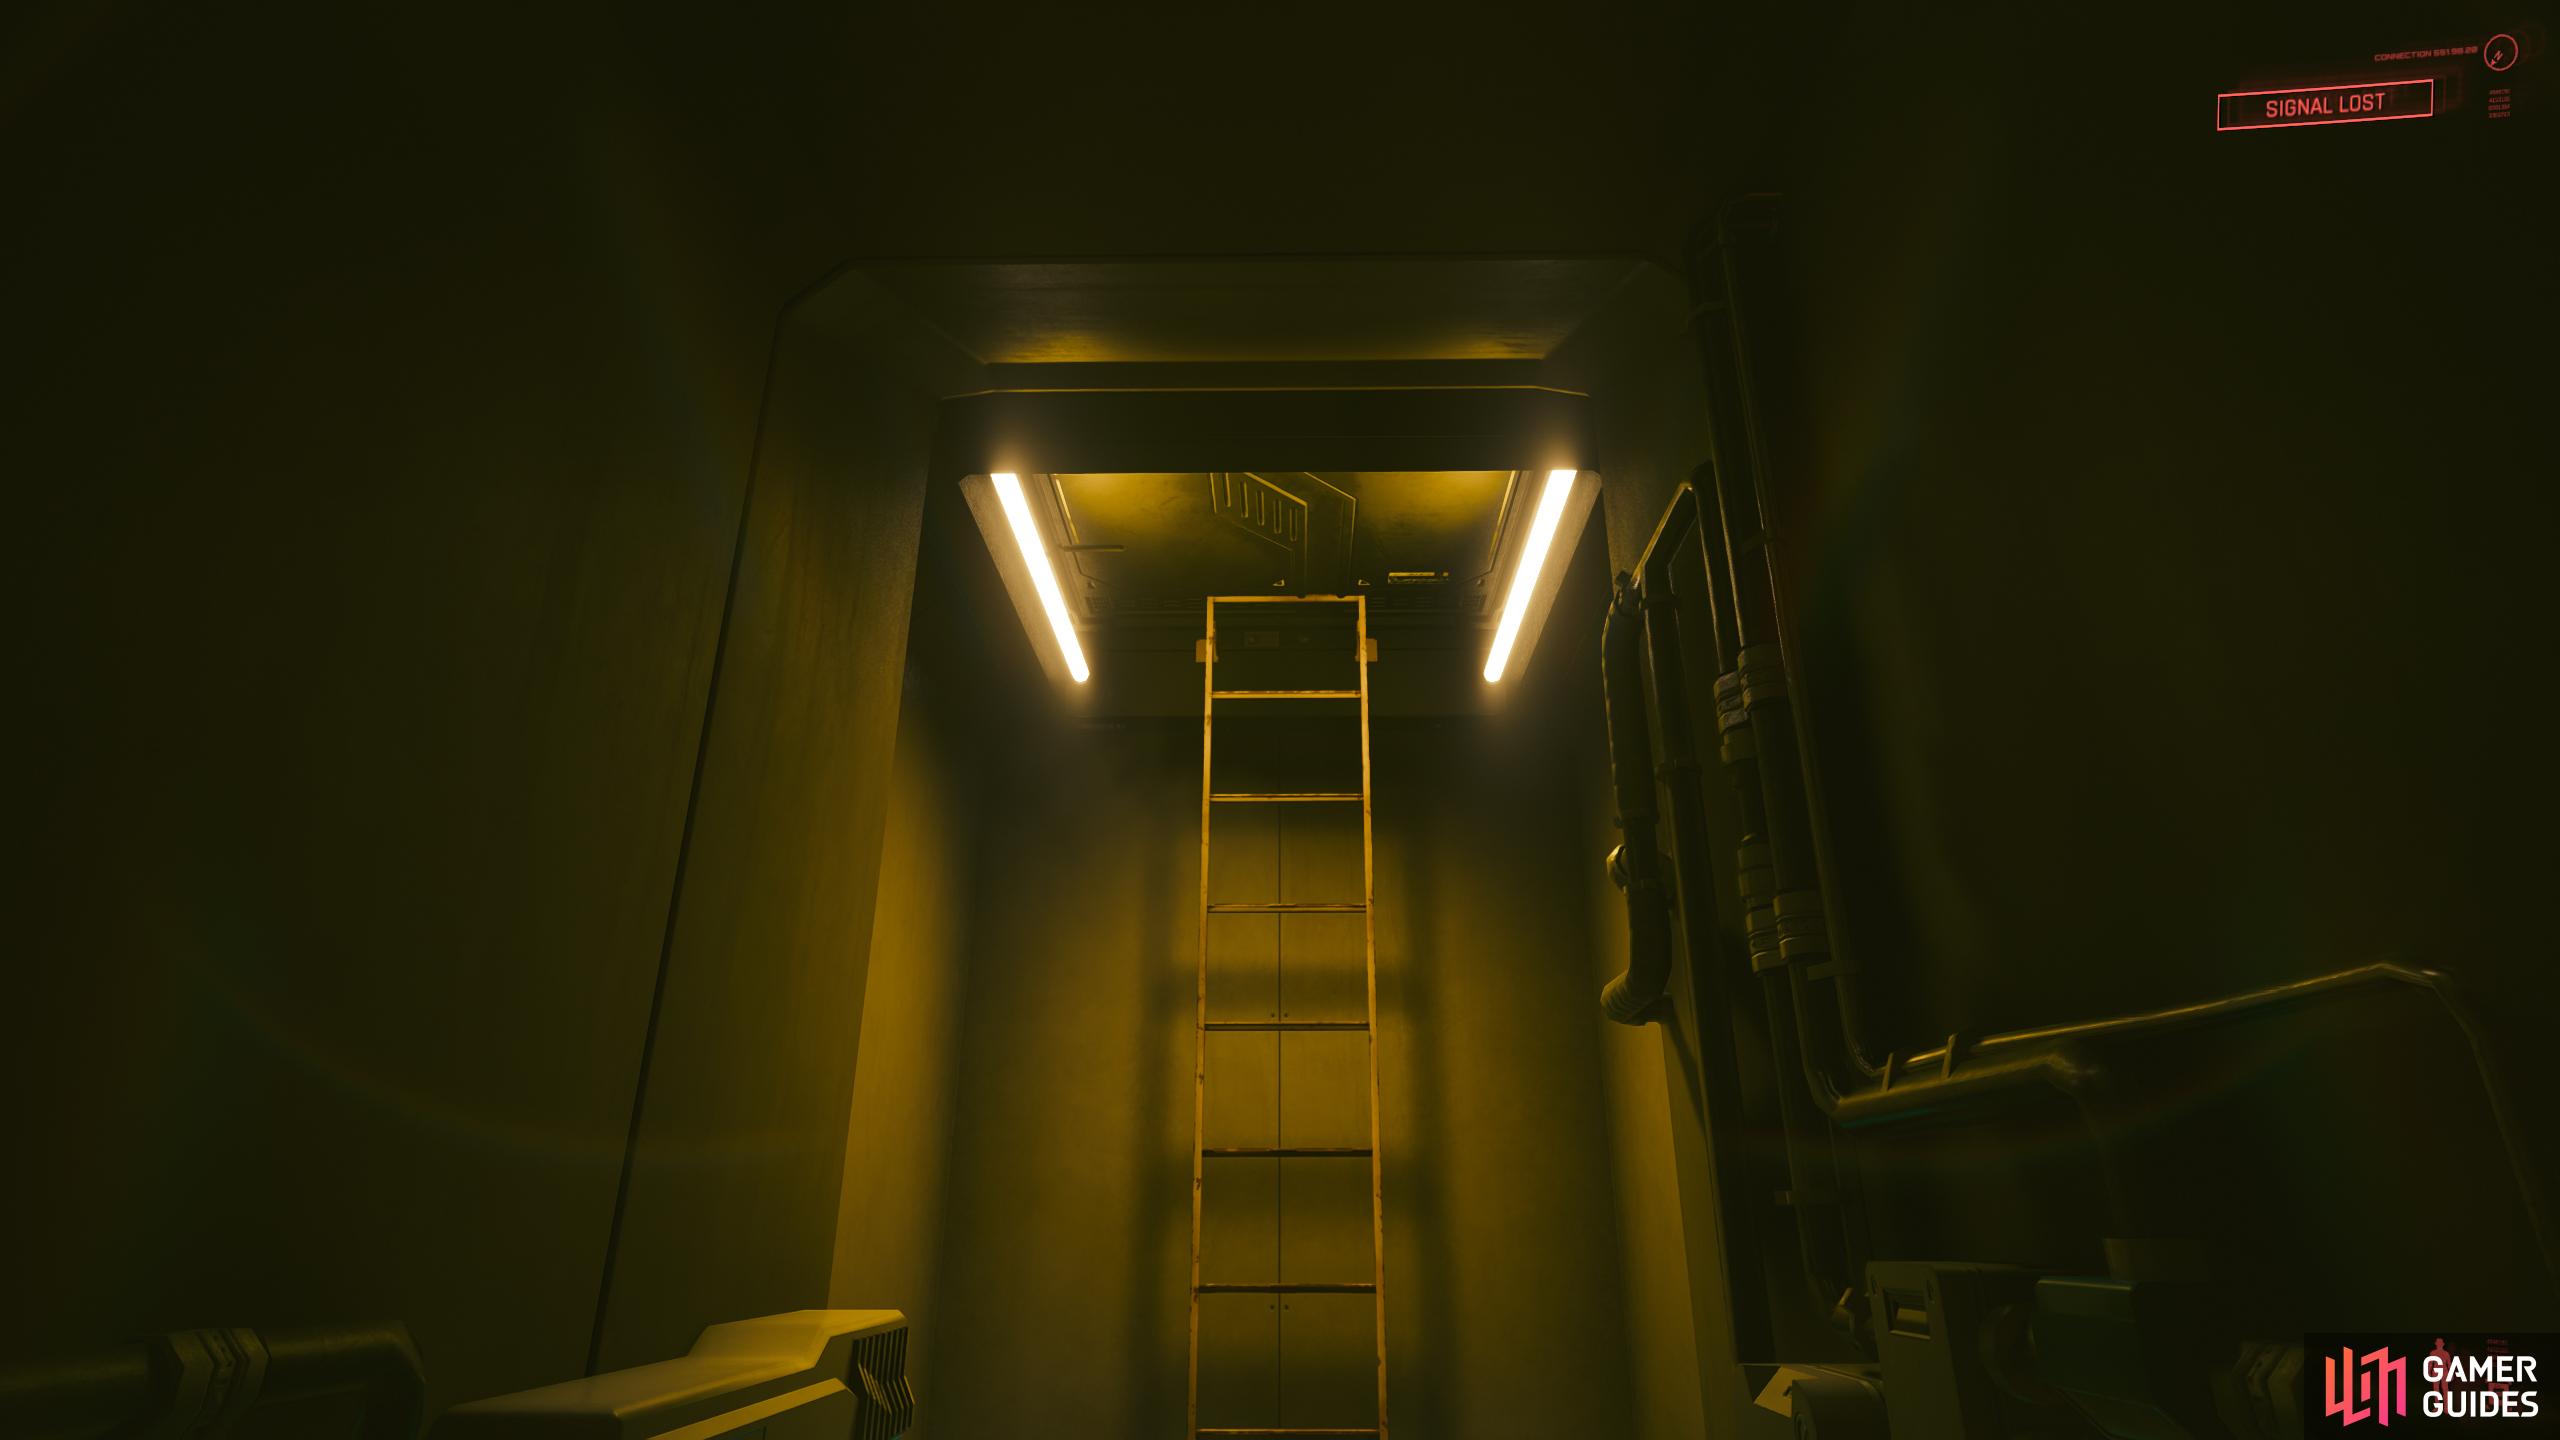
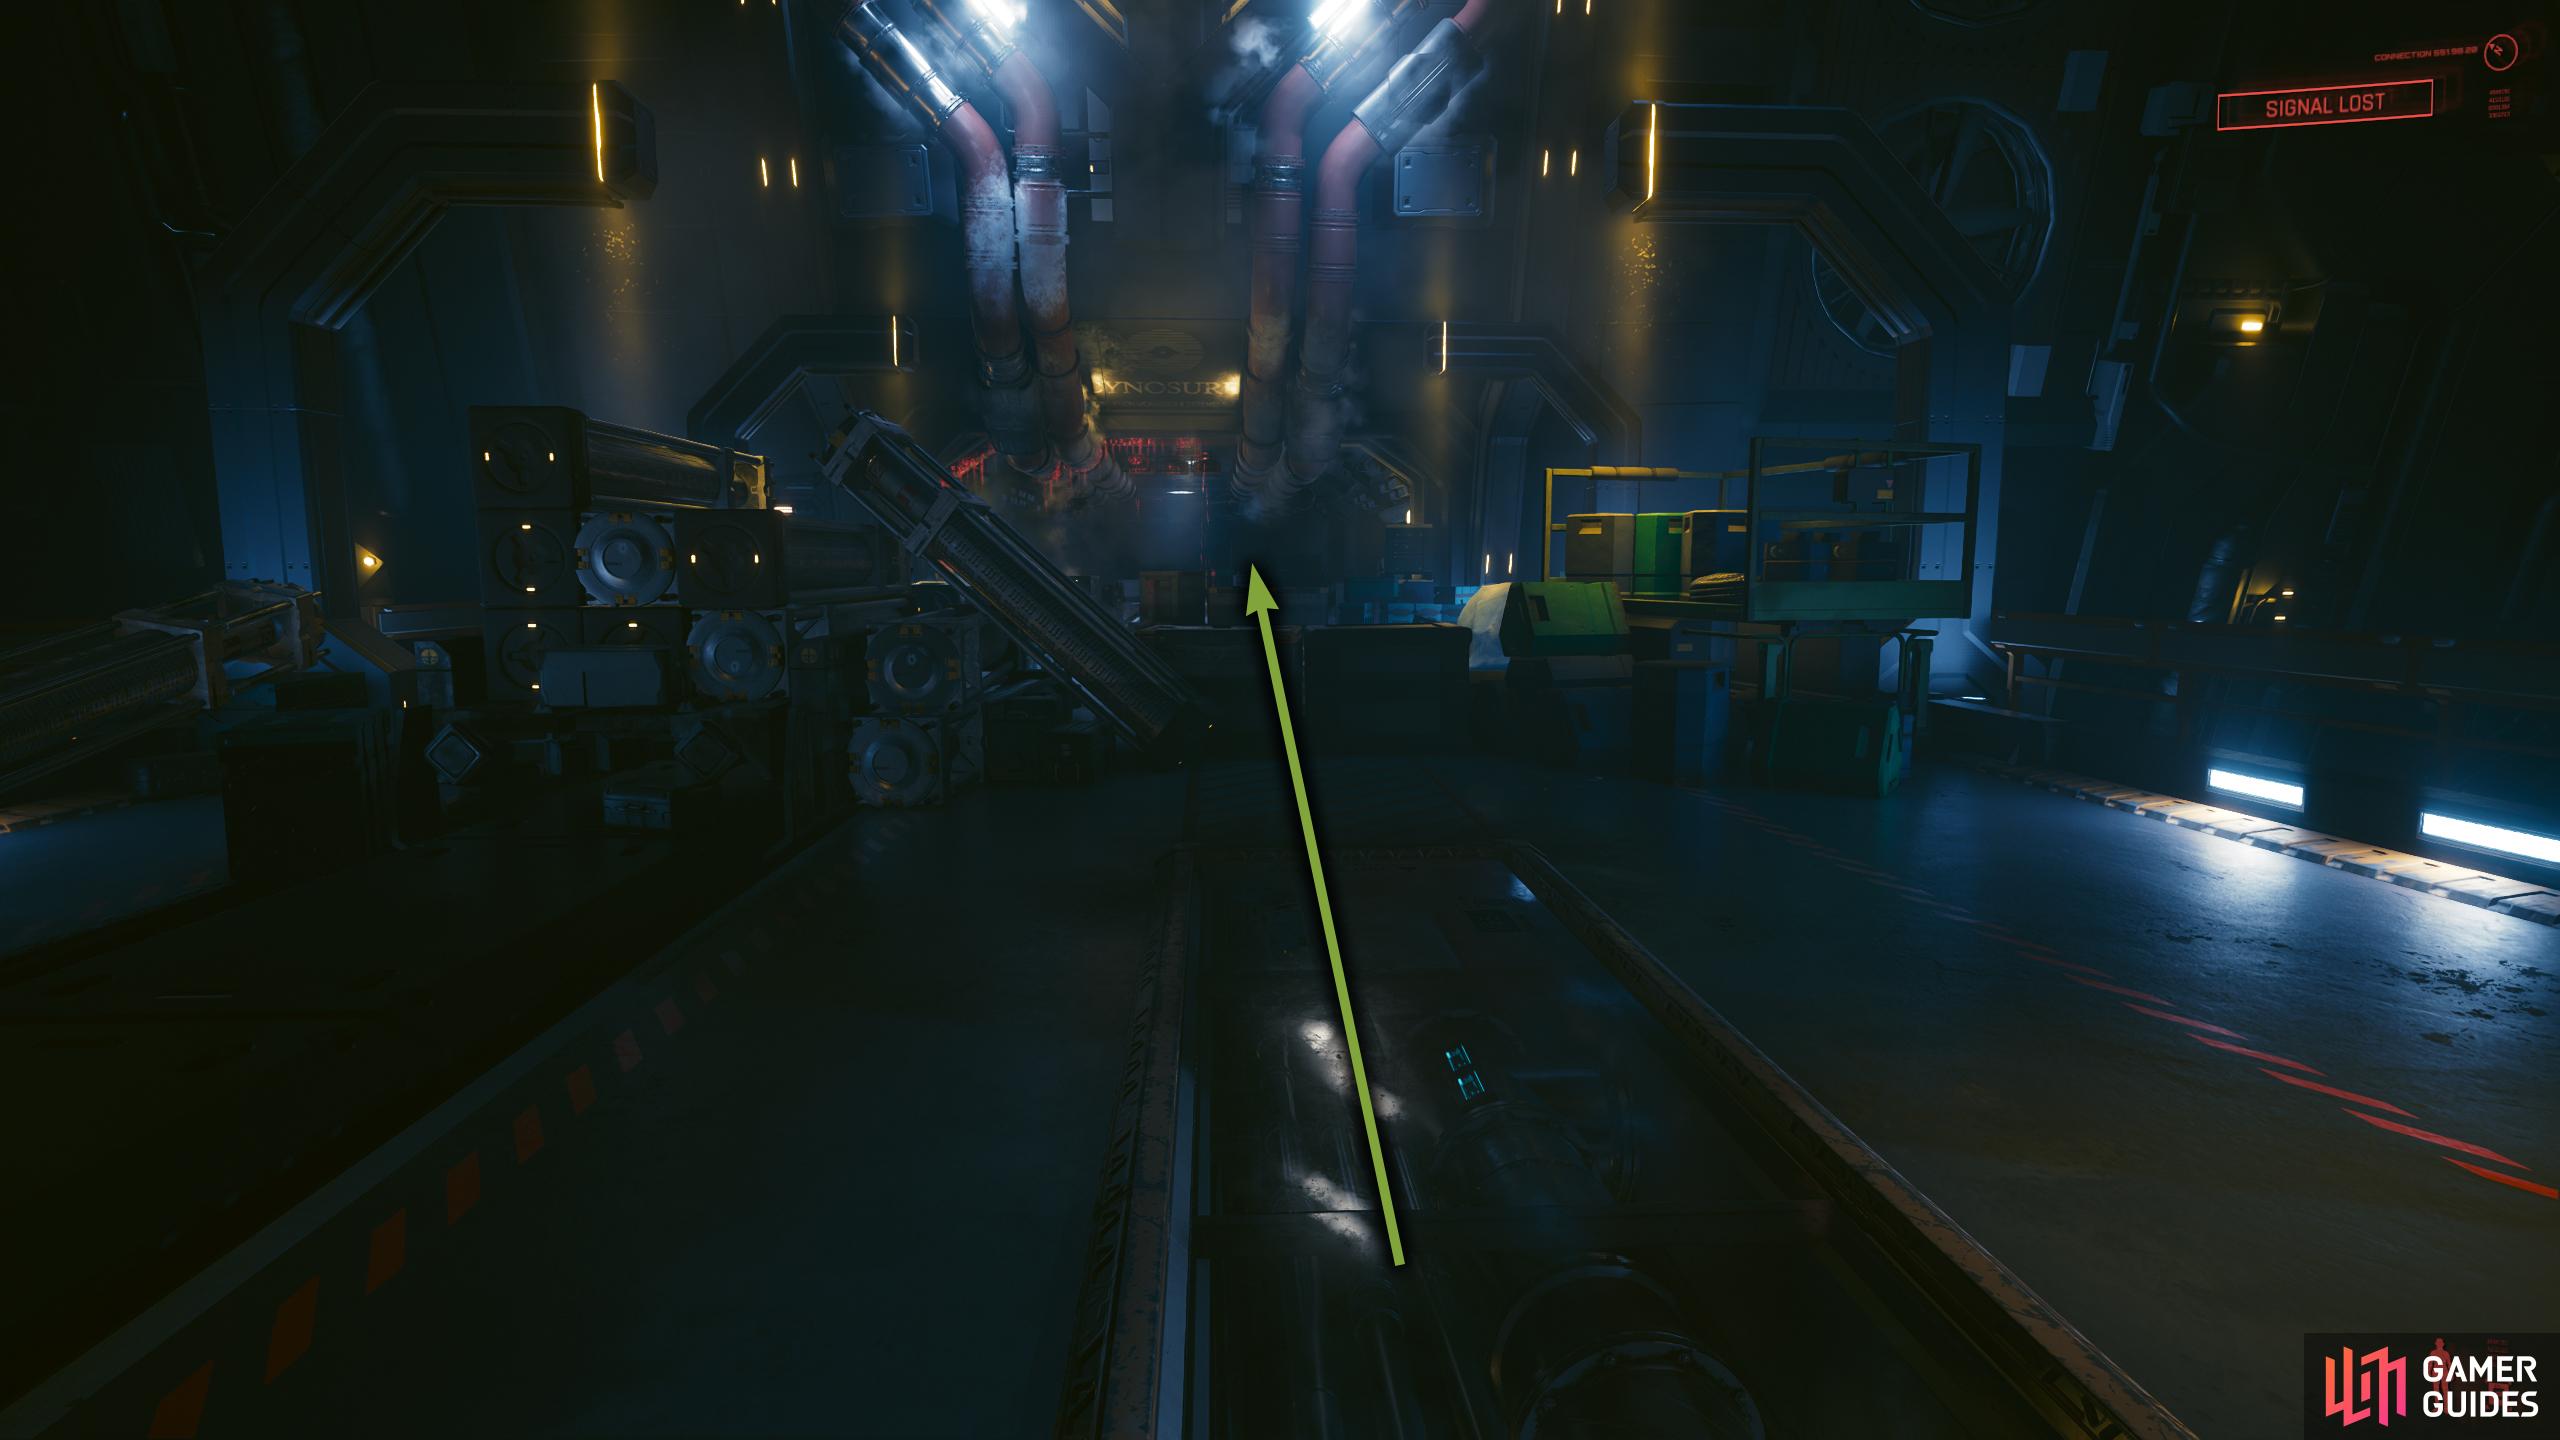
Follow the path, and you’ll find out that she crashed it into the side of a building.
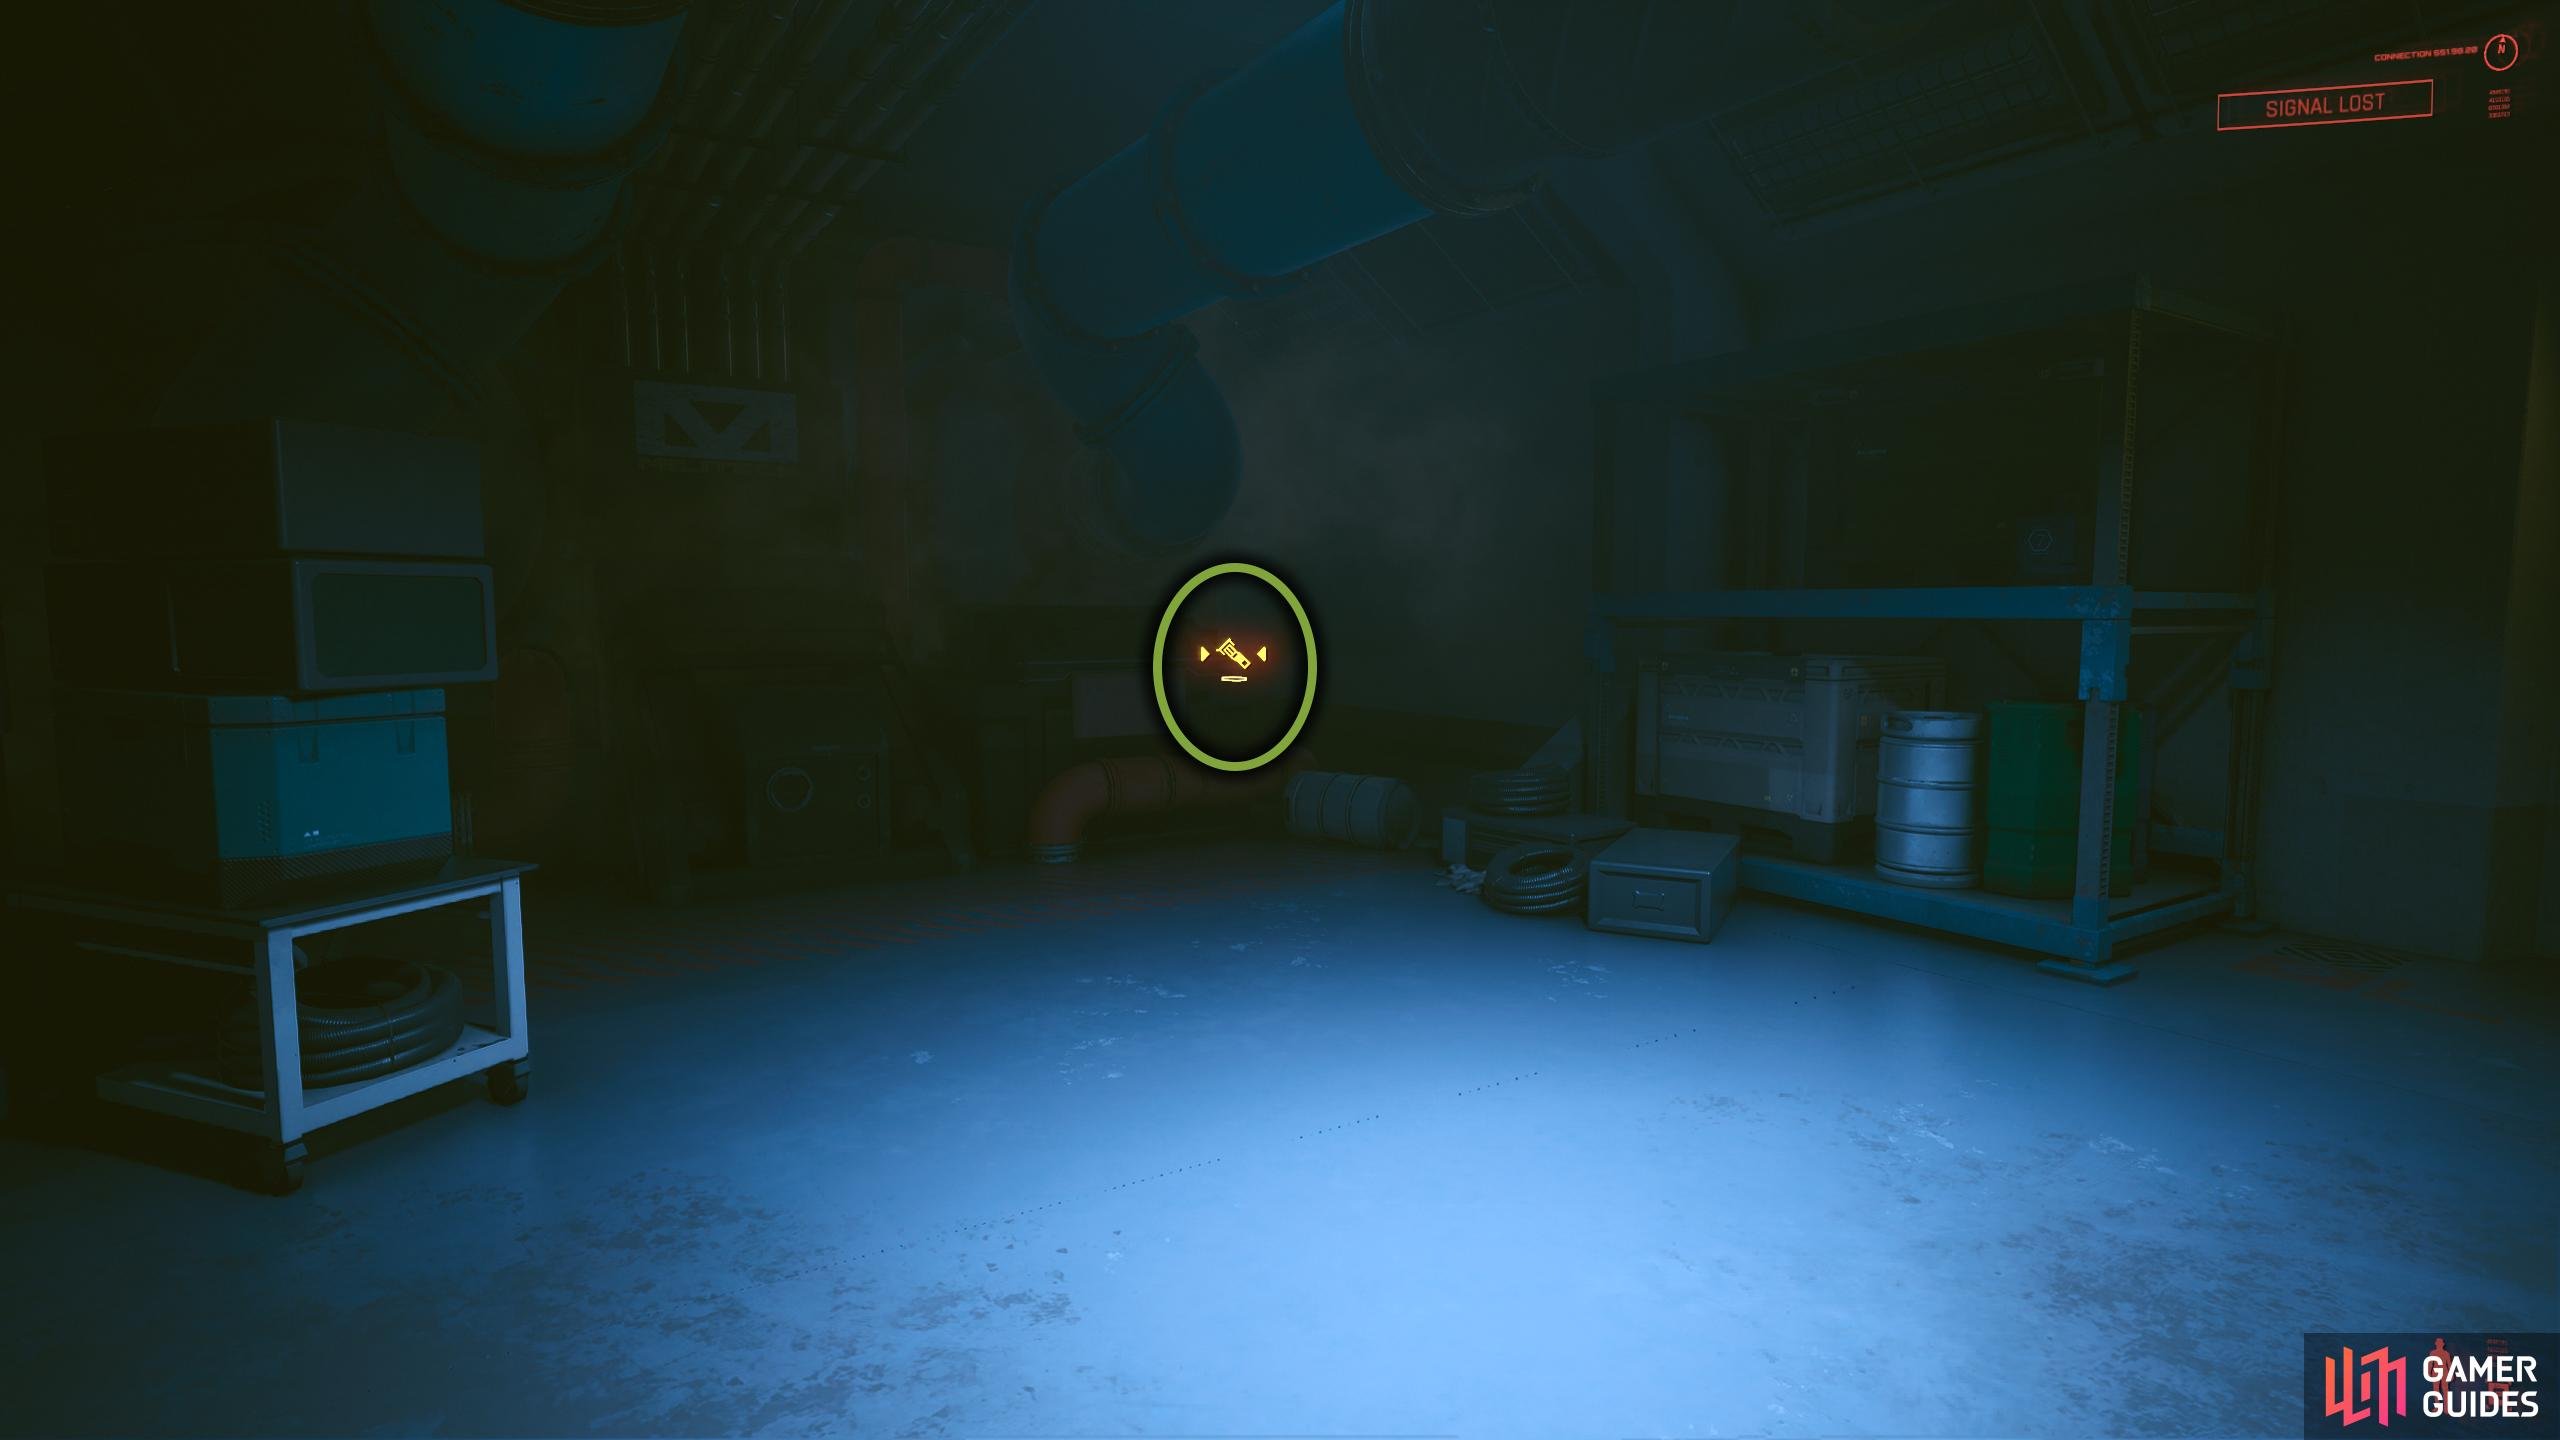
Investigate the Area - Find Songbird
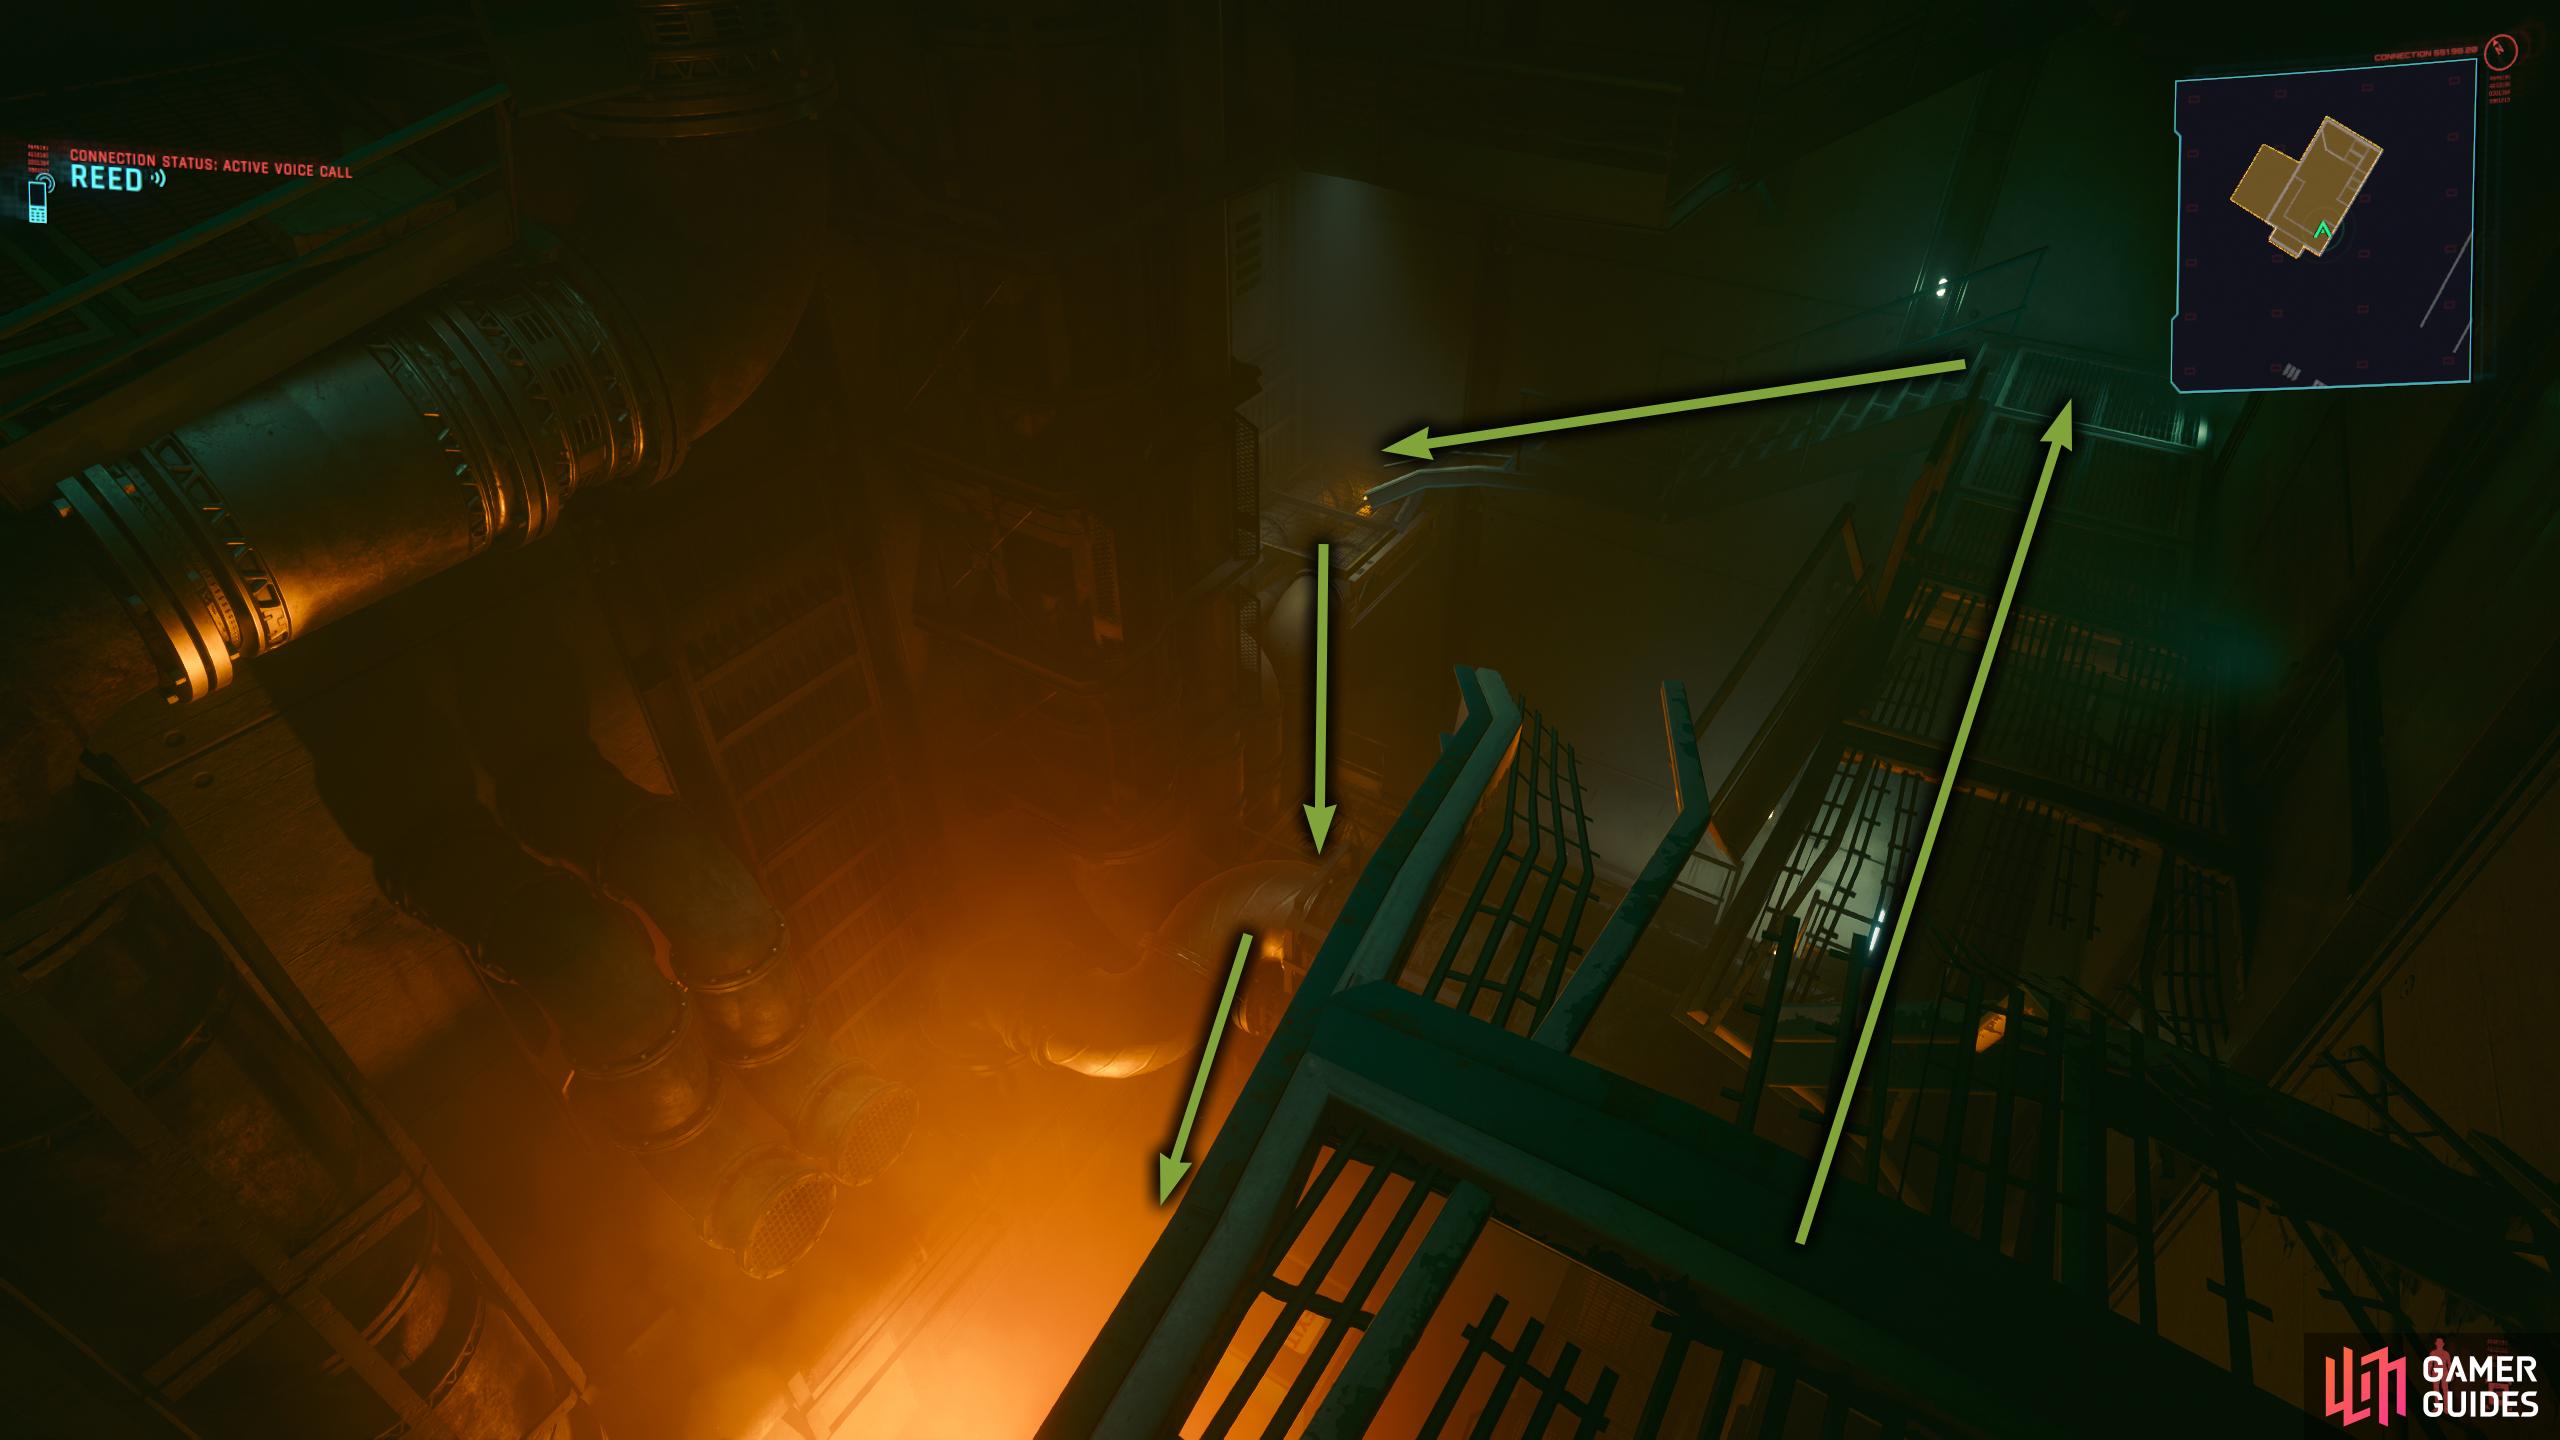
The first call of action is to investigate the entrance Songbird has created. Head inside the hole, and make your way to the bottom. A few component chests are lying around, so make sure you pick them up on your way down. On the bottom floor, you can force open the gate (20 Body) next to the truck for a shortcut, otherwise, open the grate on the floor opposite it and jump into the water. Follow the linear path, and climb up the ladder into the next room. Open the nearby chest for some clothing, and continue along the path, picking up the loot along the way until you reach another area with water.
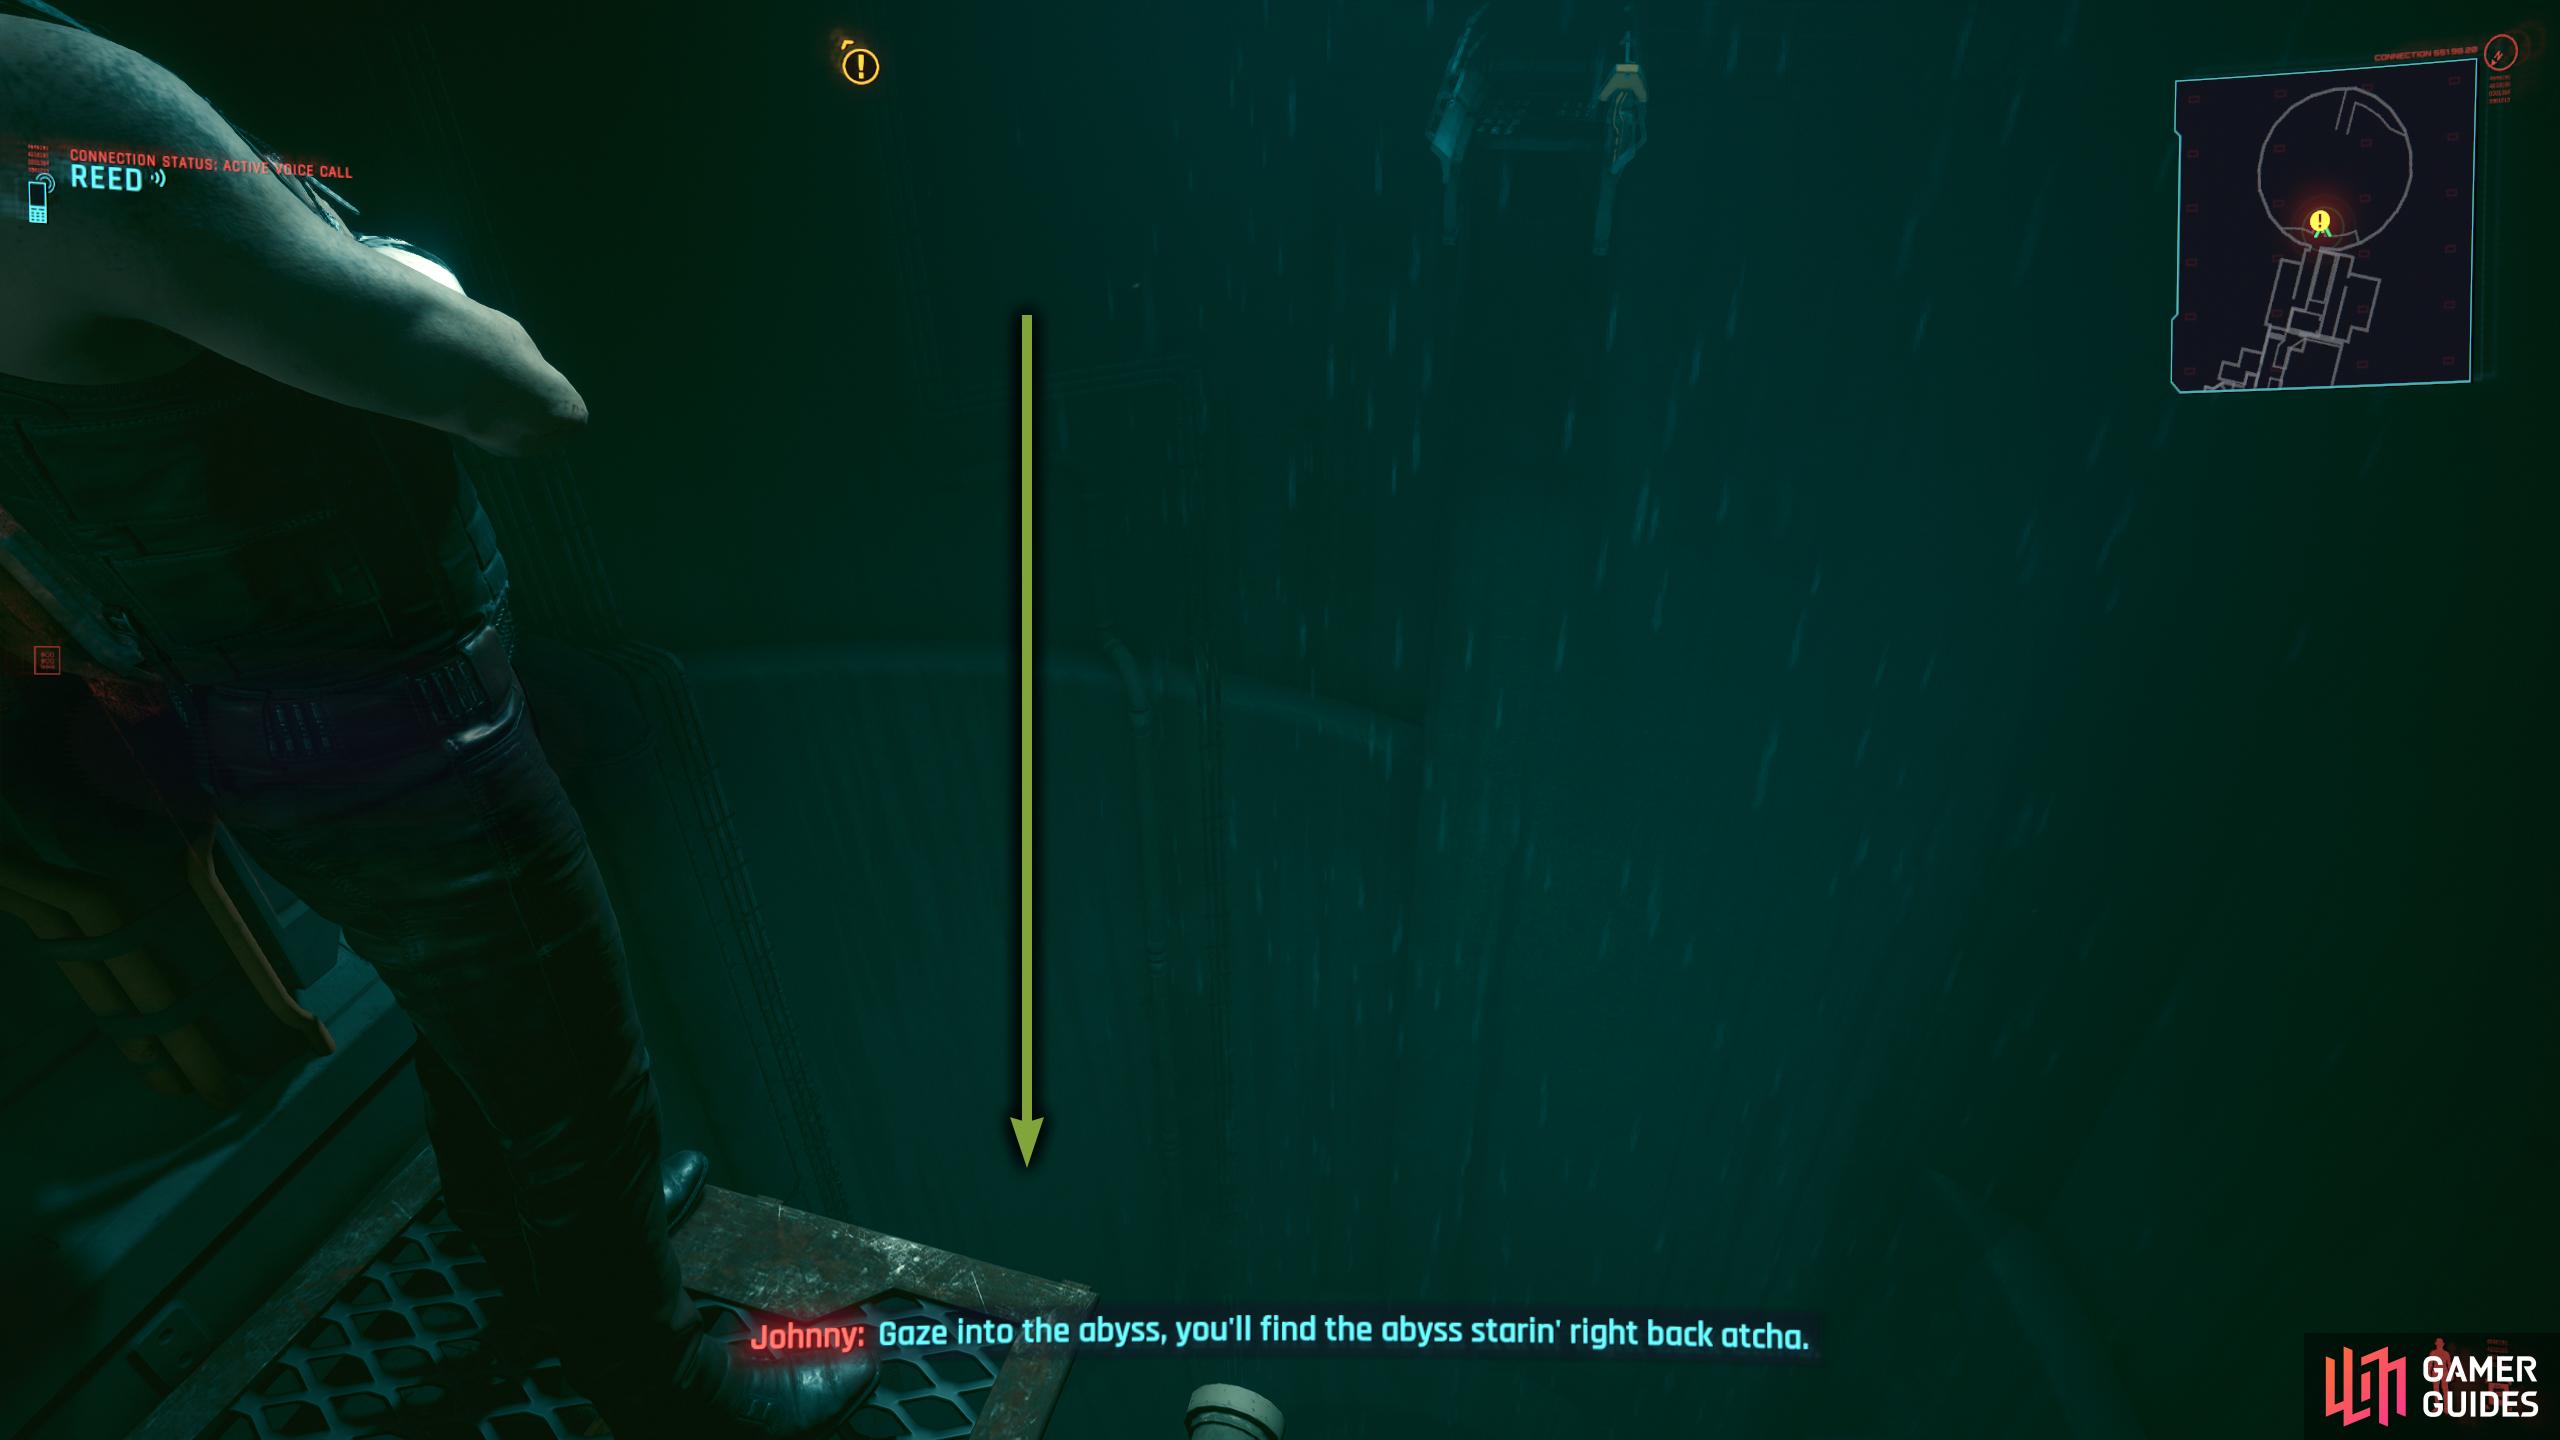
Once again, follow the linear path into the next area, and climb up the ladder next to the yellow light. At the top of the ladder, head to the opposite side and pick up the MAXDOC MK.5 Inhaler then head into the door to the right of it for some more loot and a data shard. When you’re ready, head forward along the other path and you’ll see Johnny. After your conversation with him, jump down the shaft.
Follow Blackwall Traces Left by Songbird / Find the Terminal
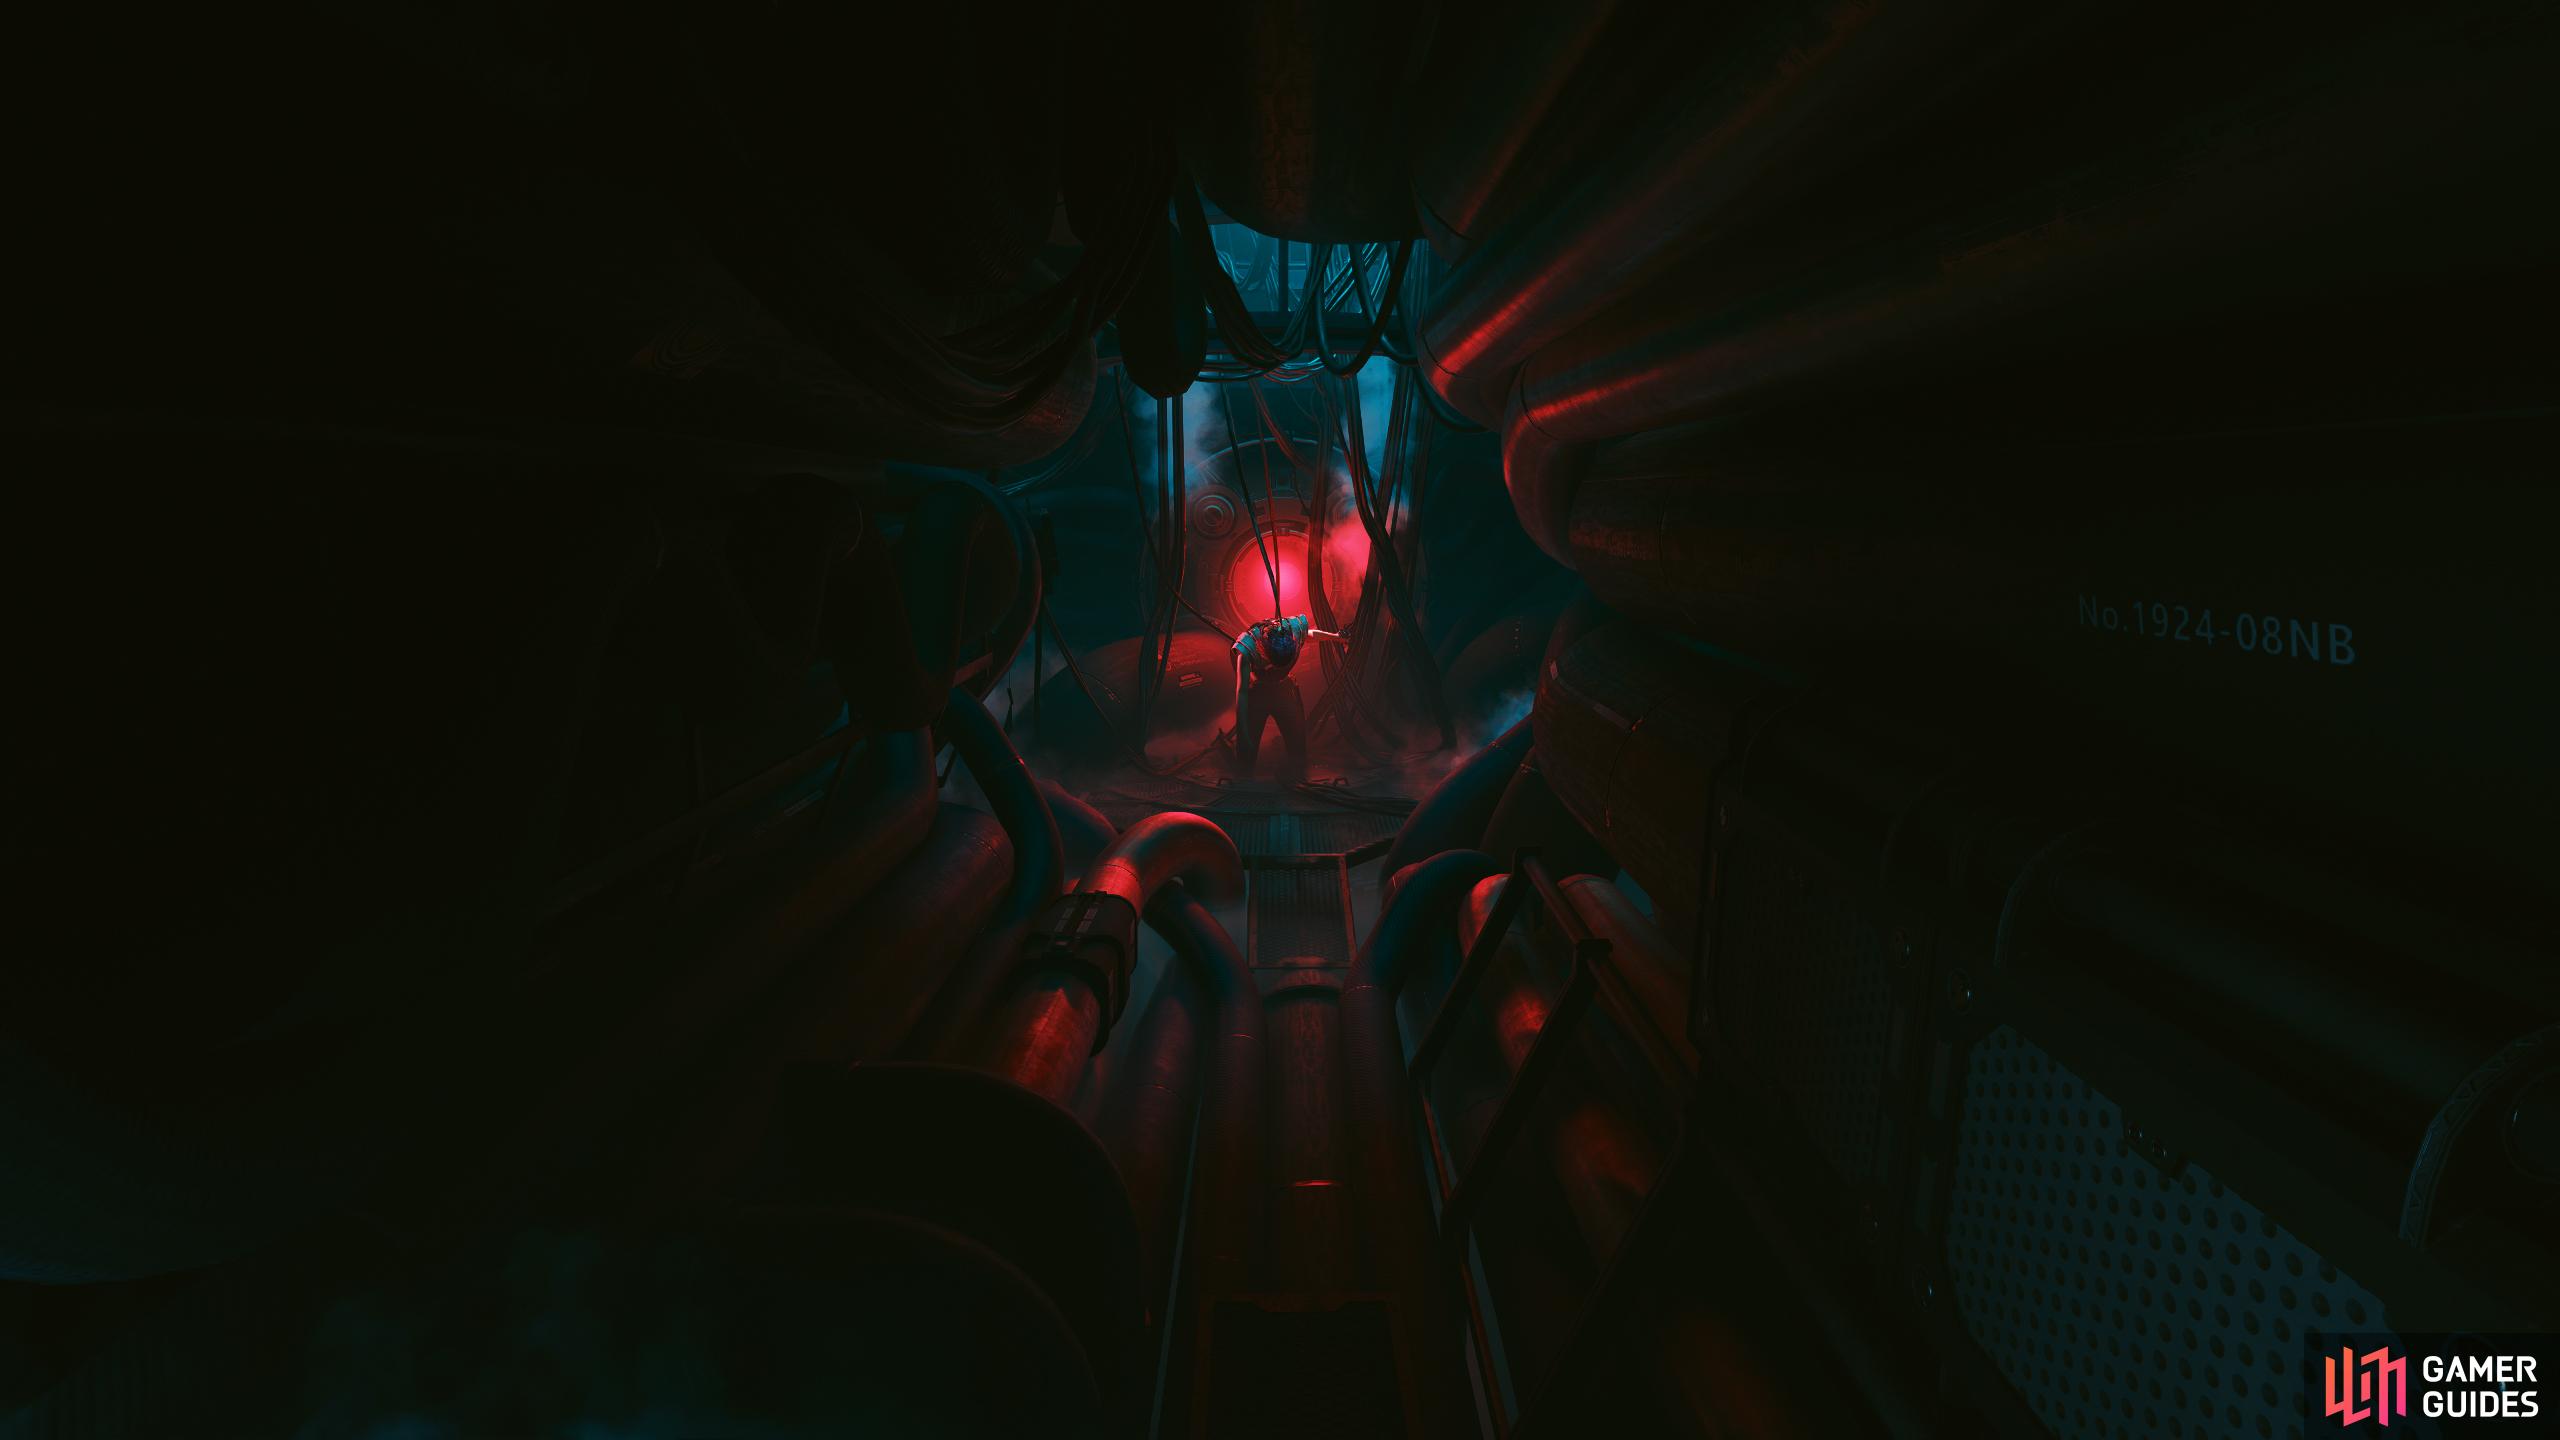
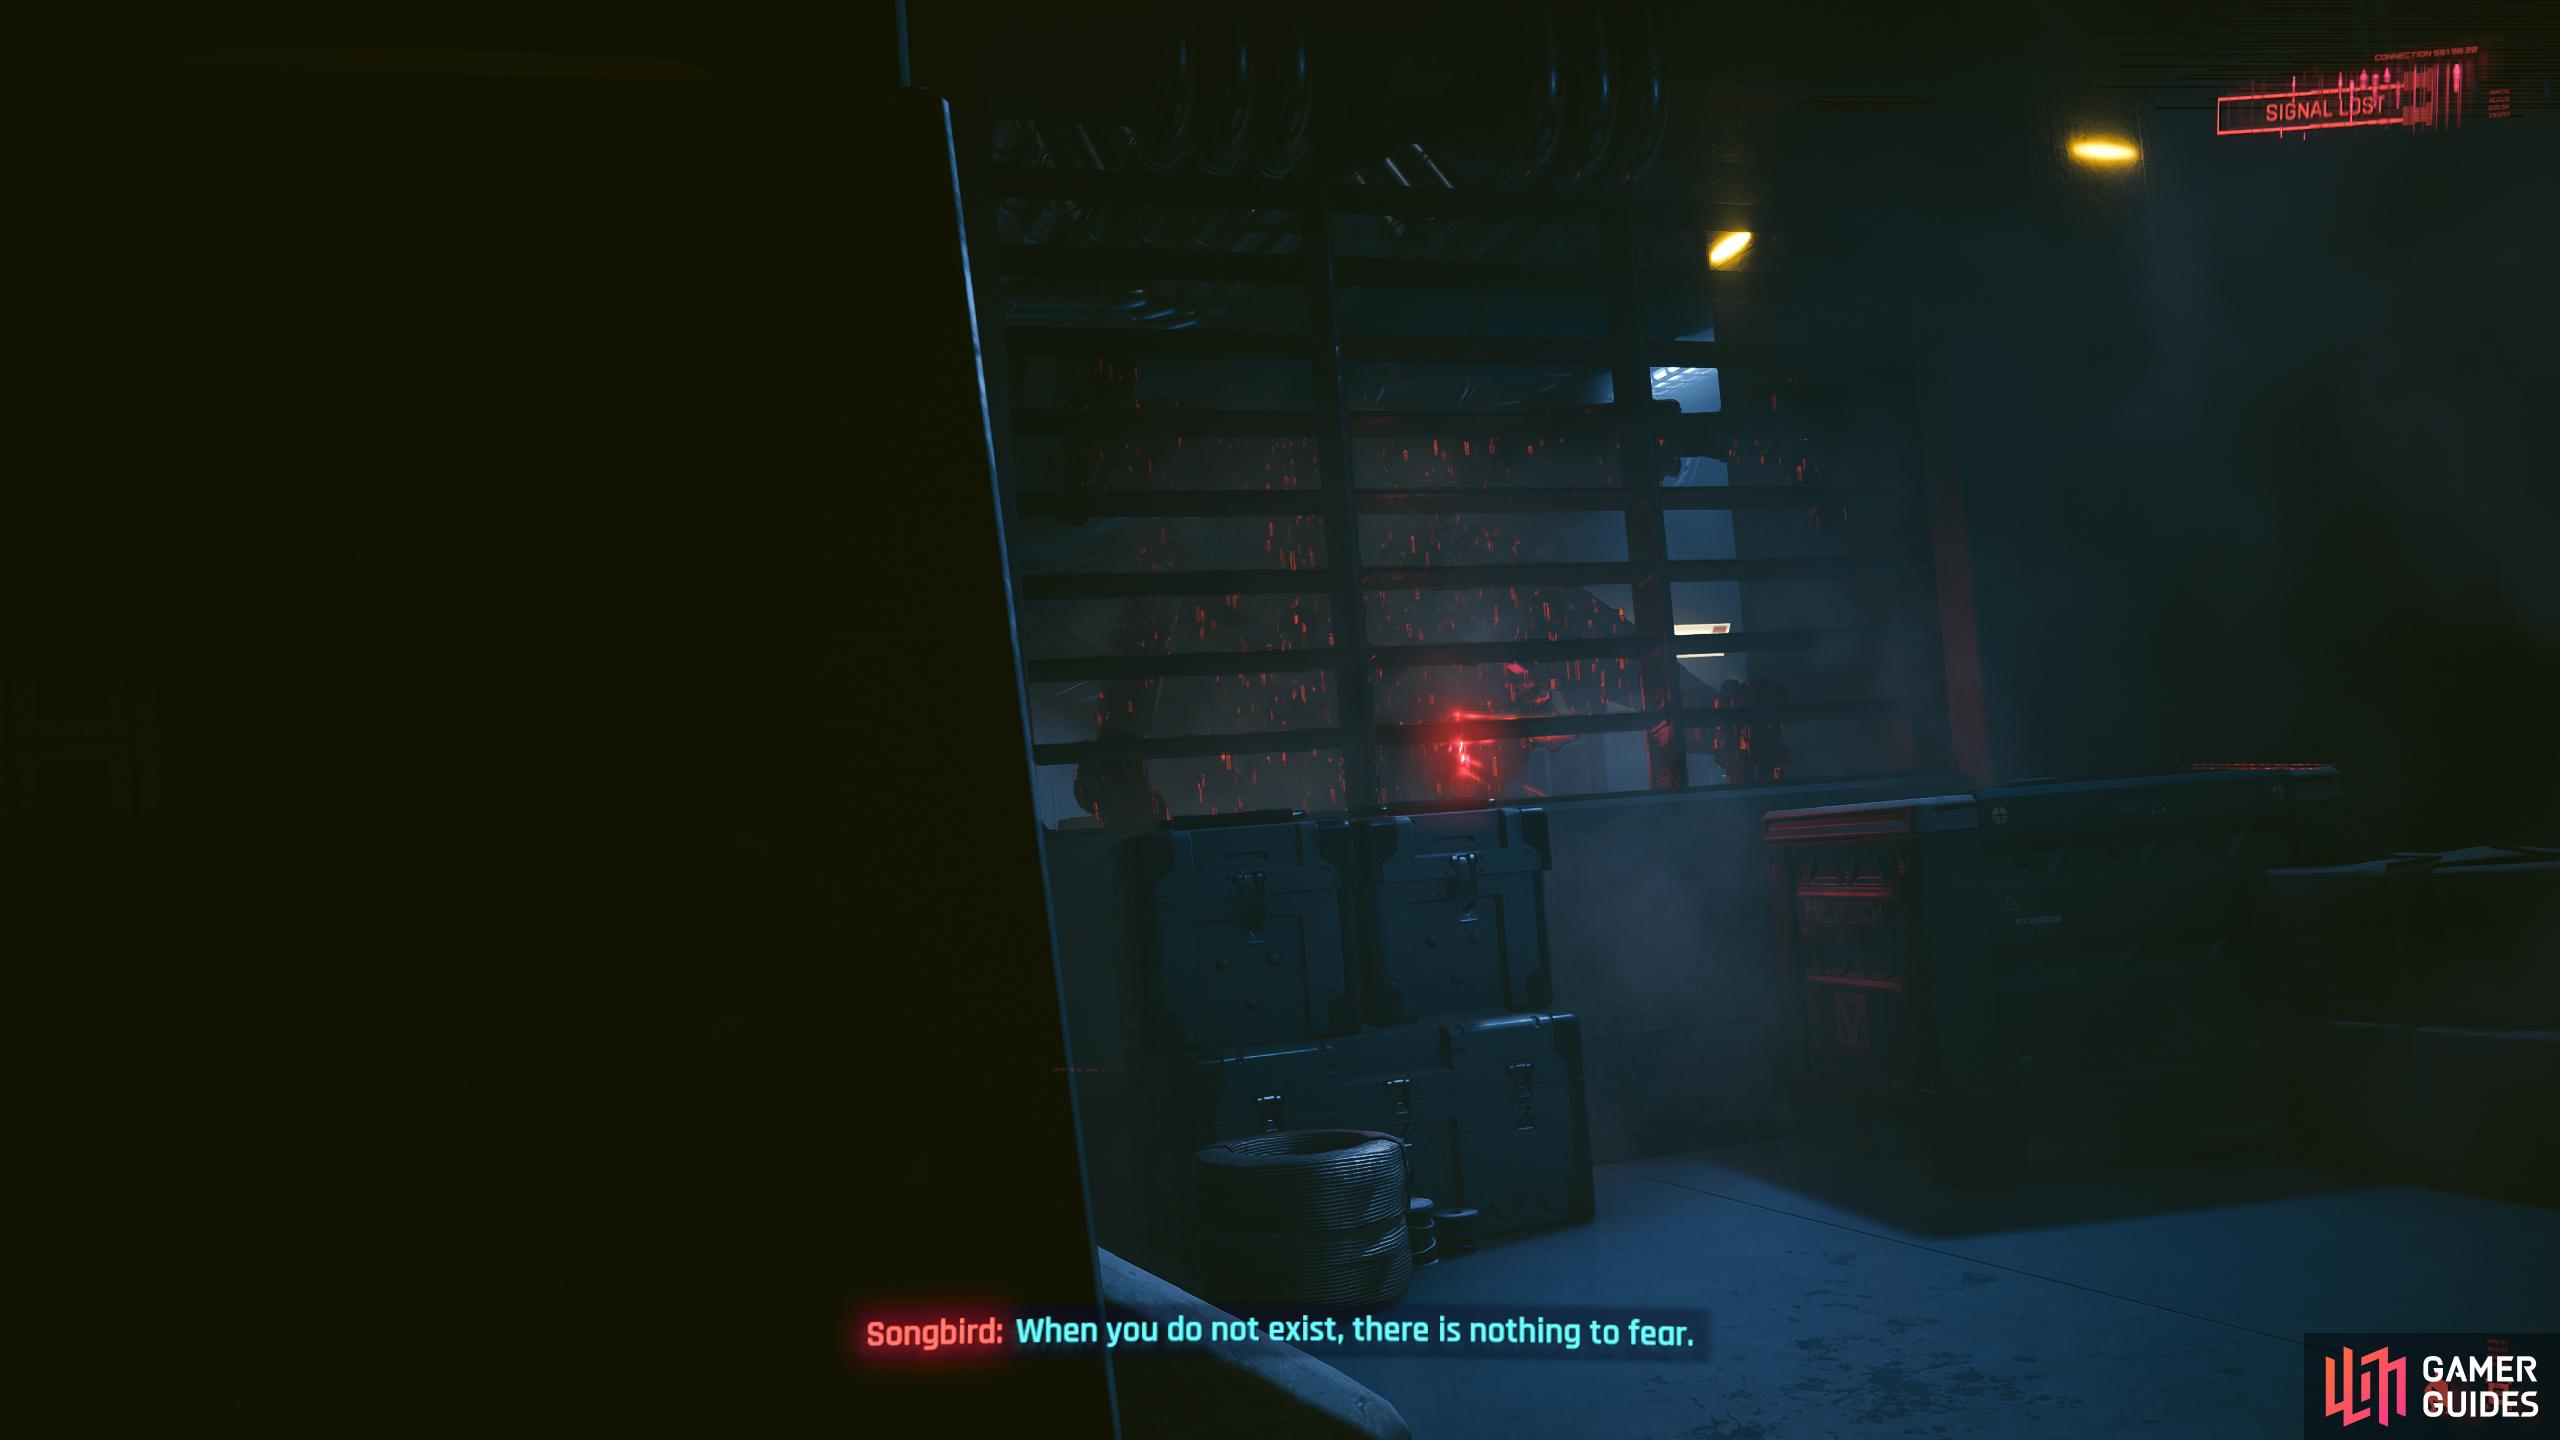
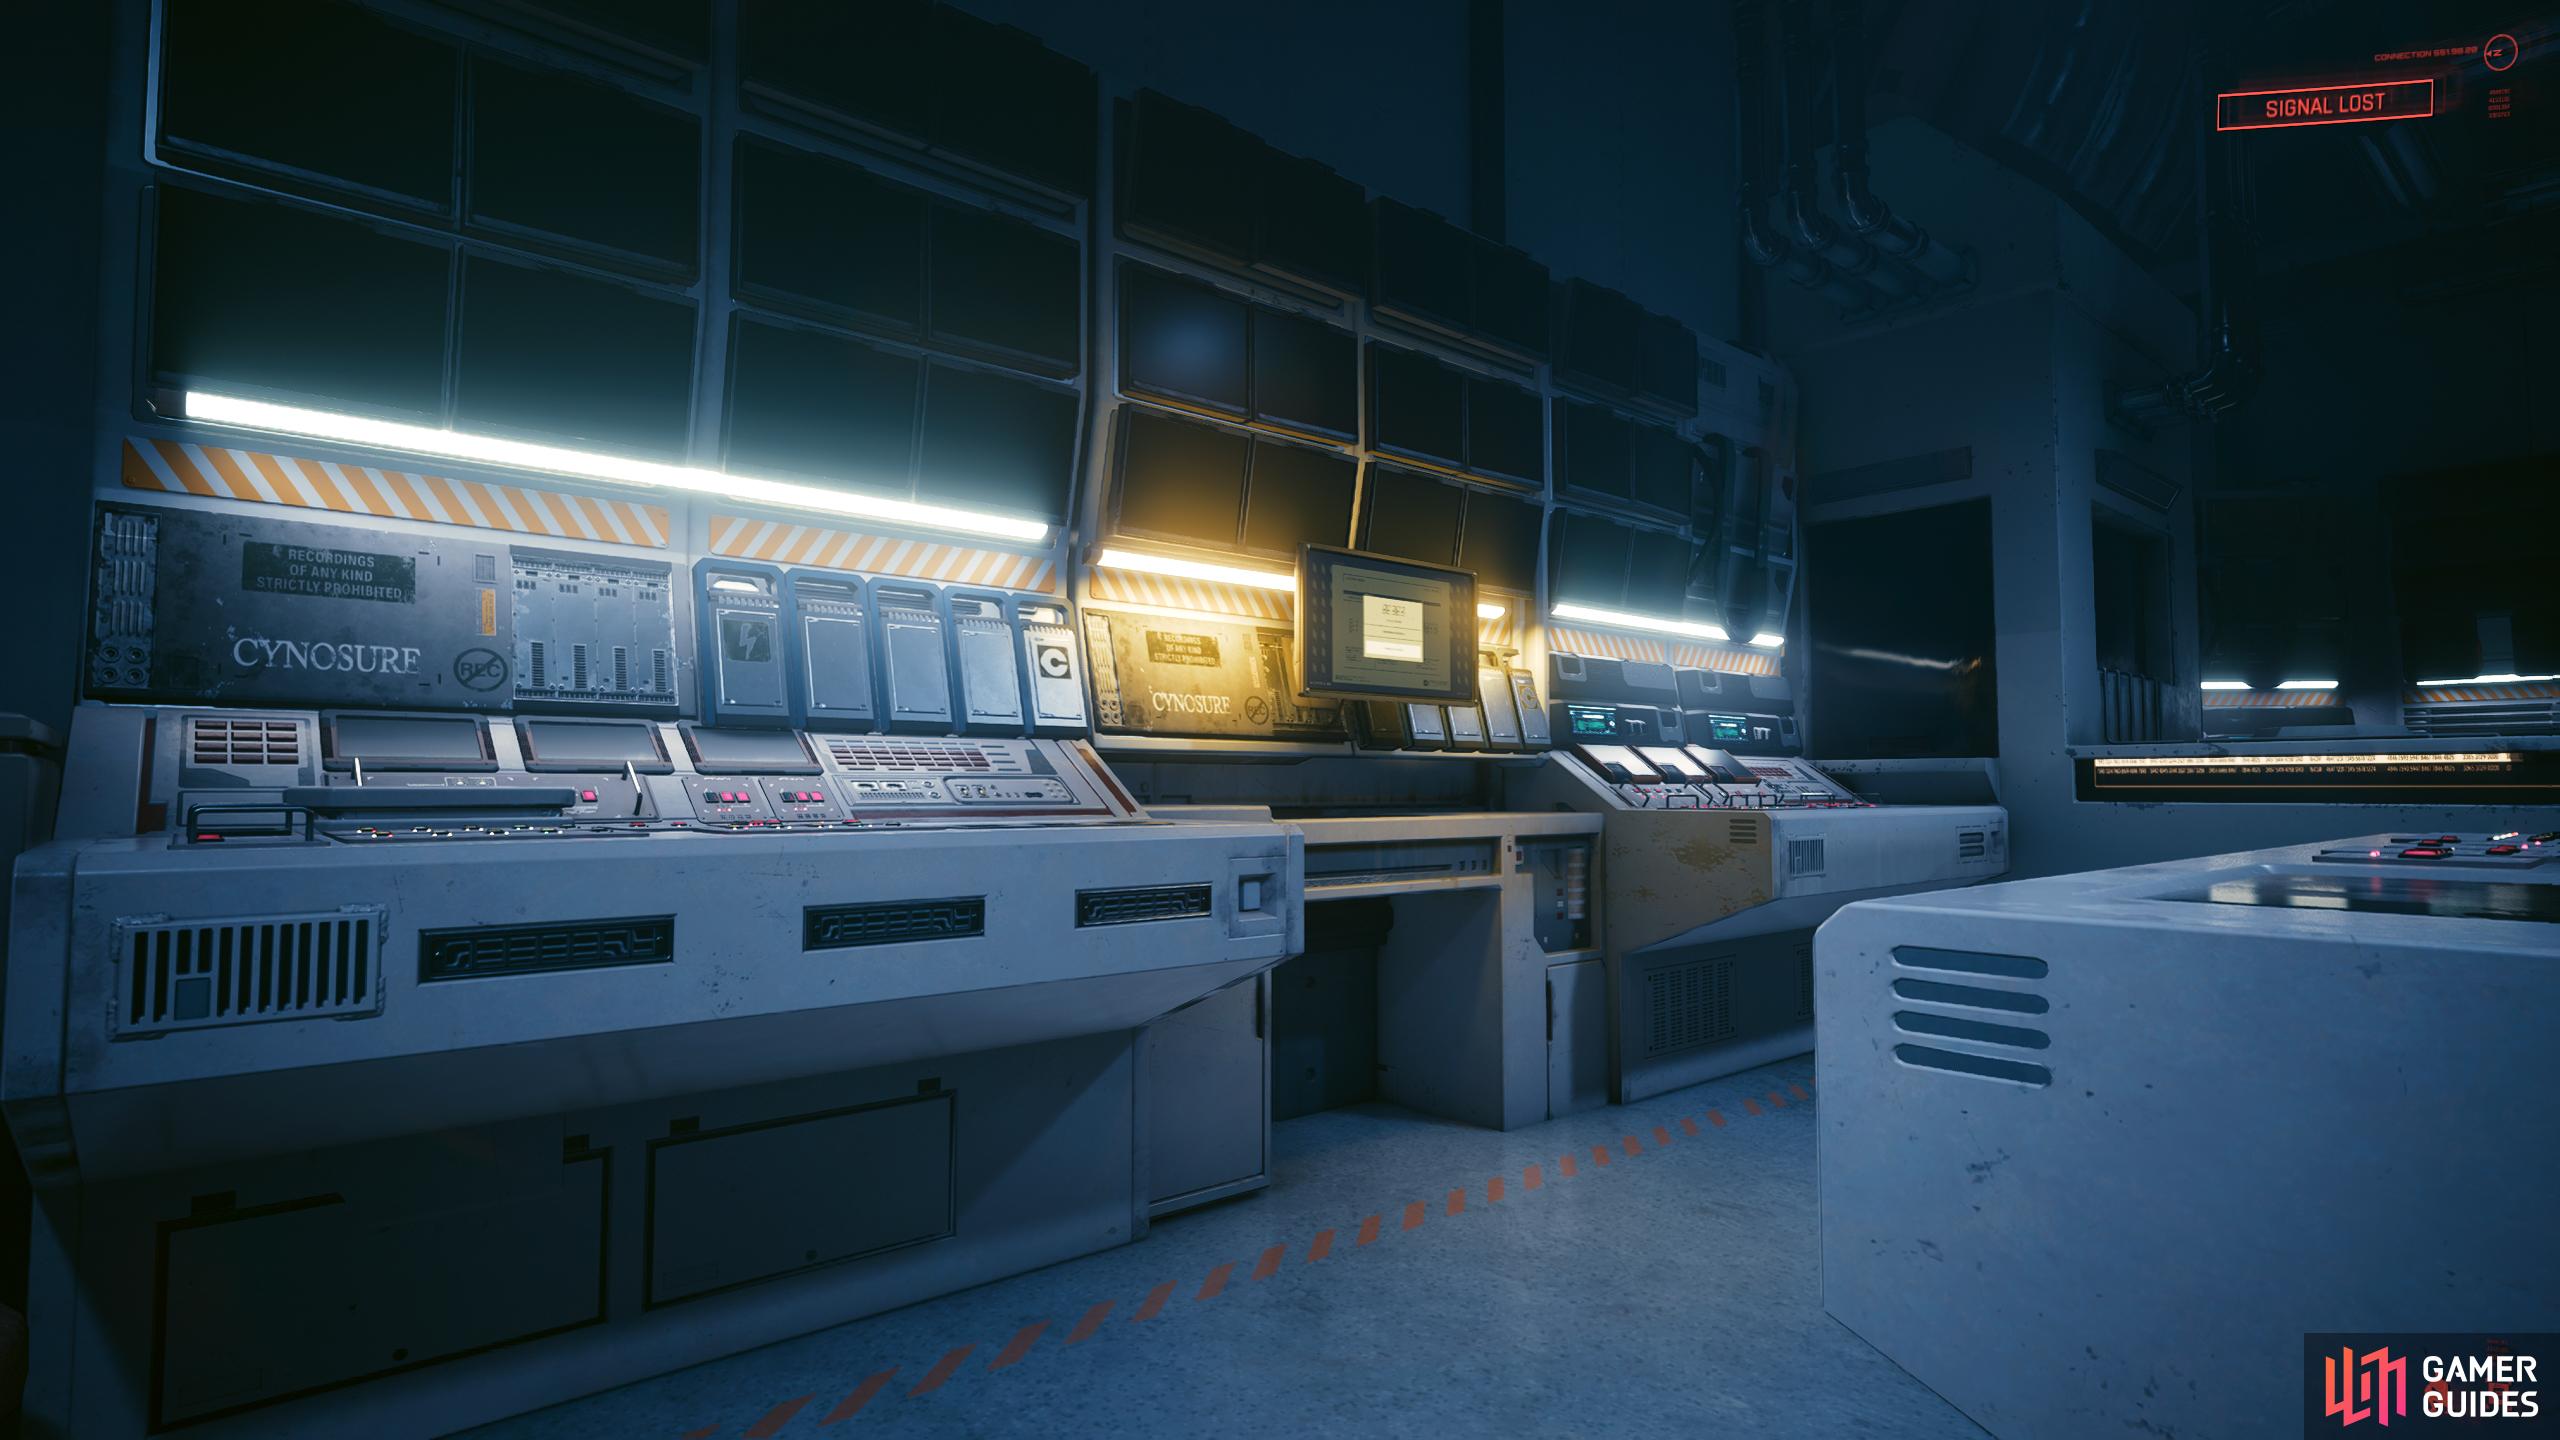
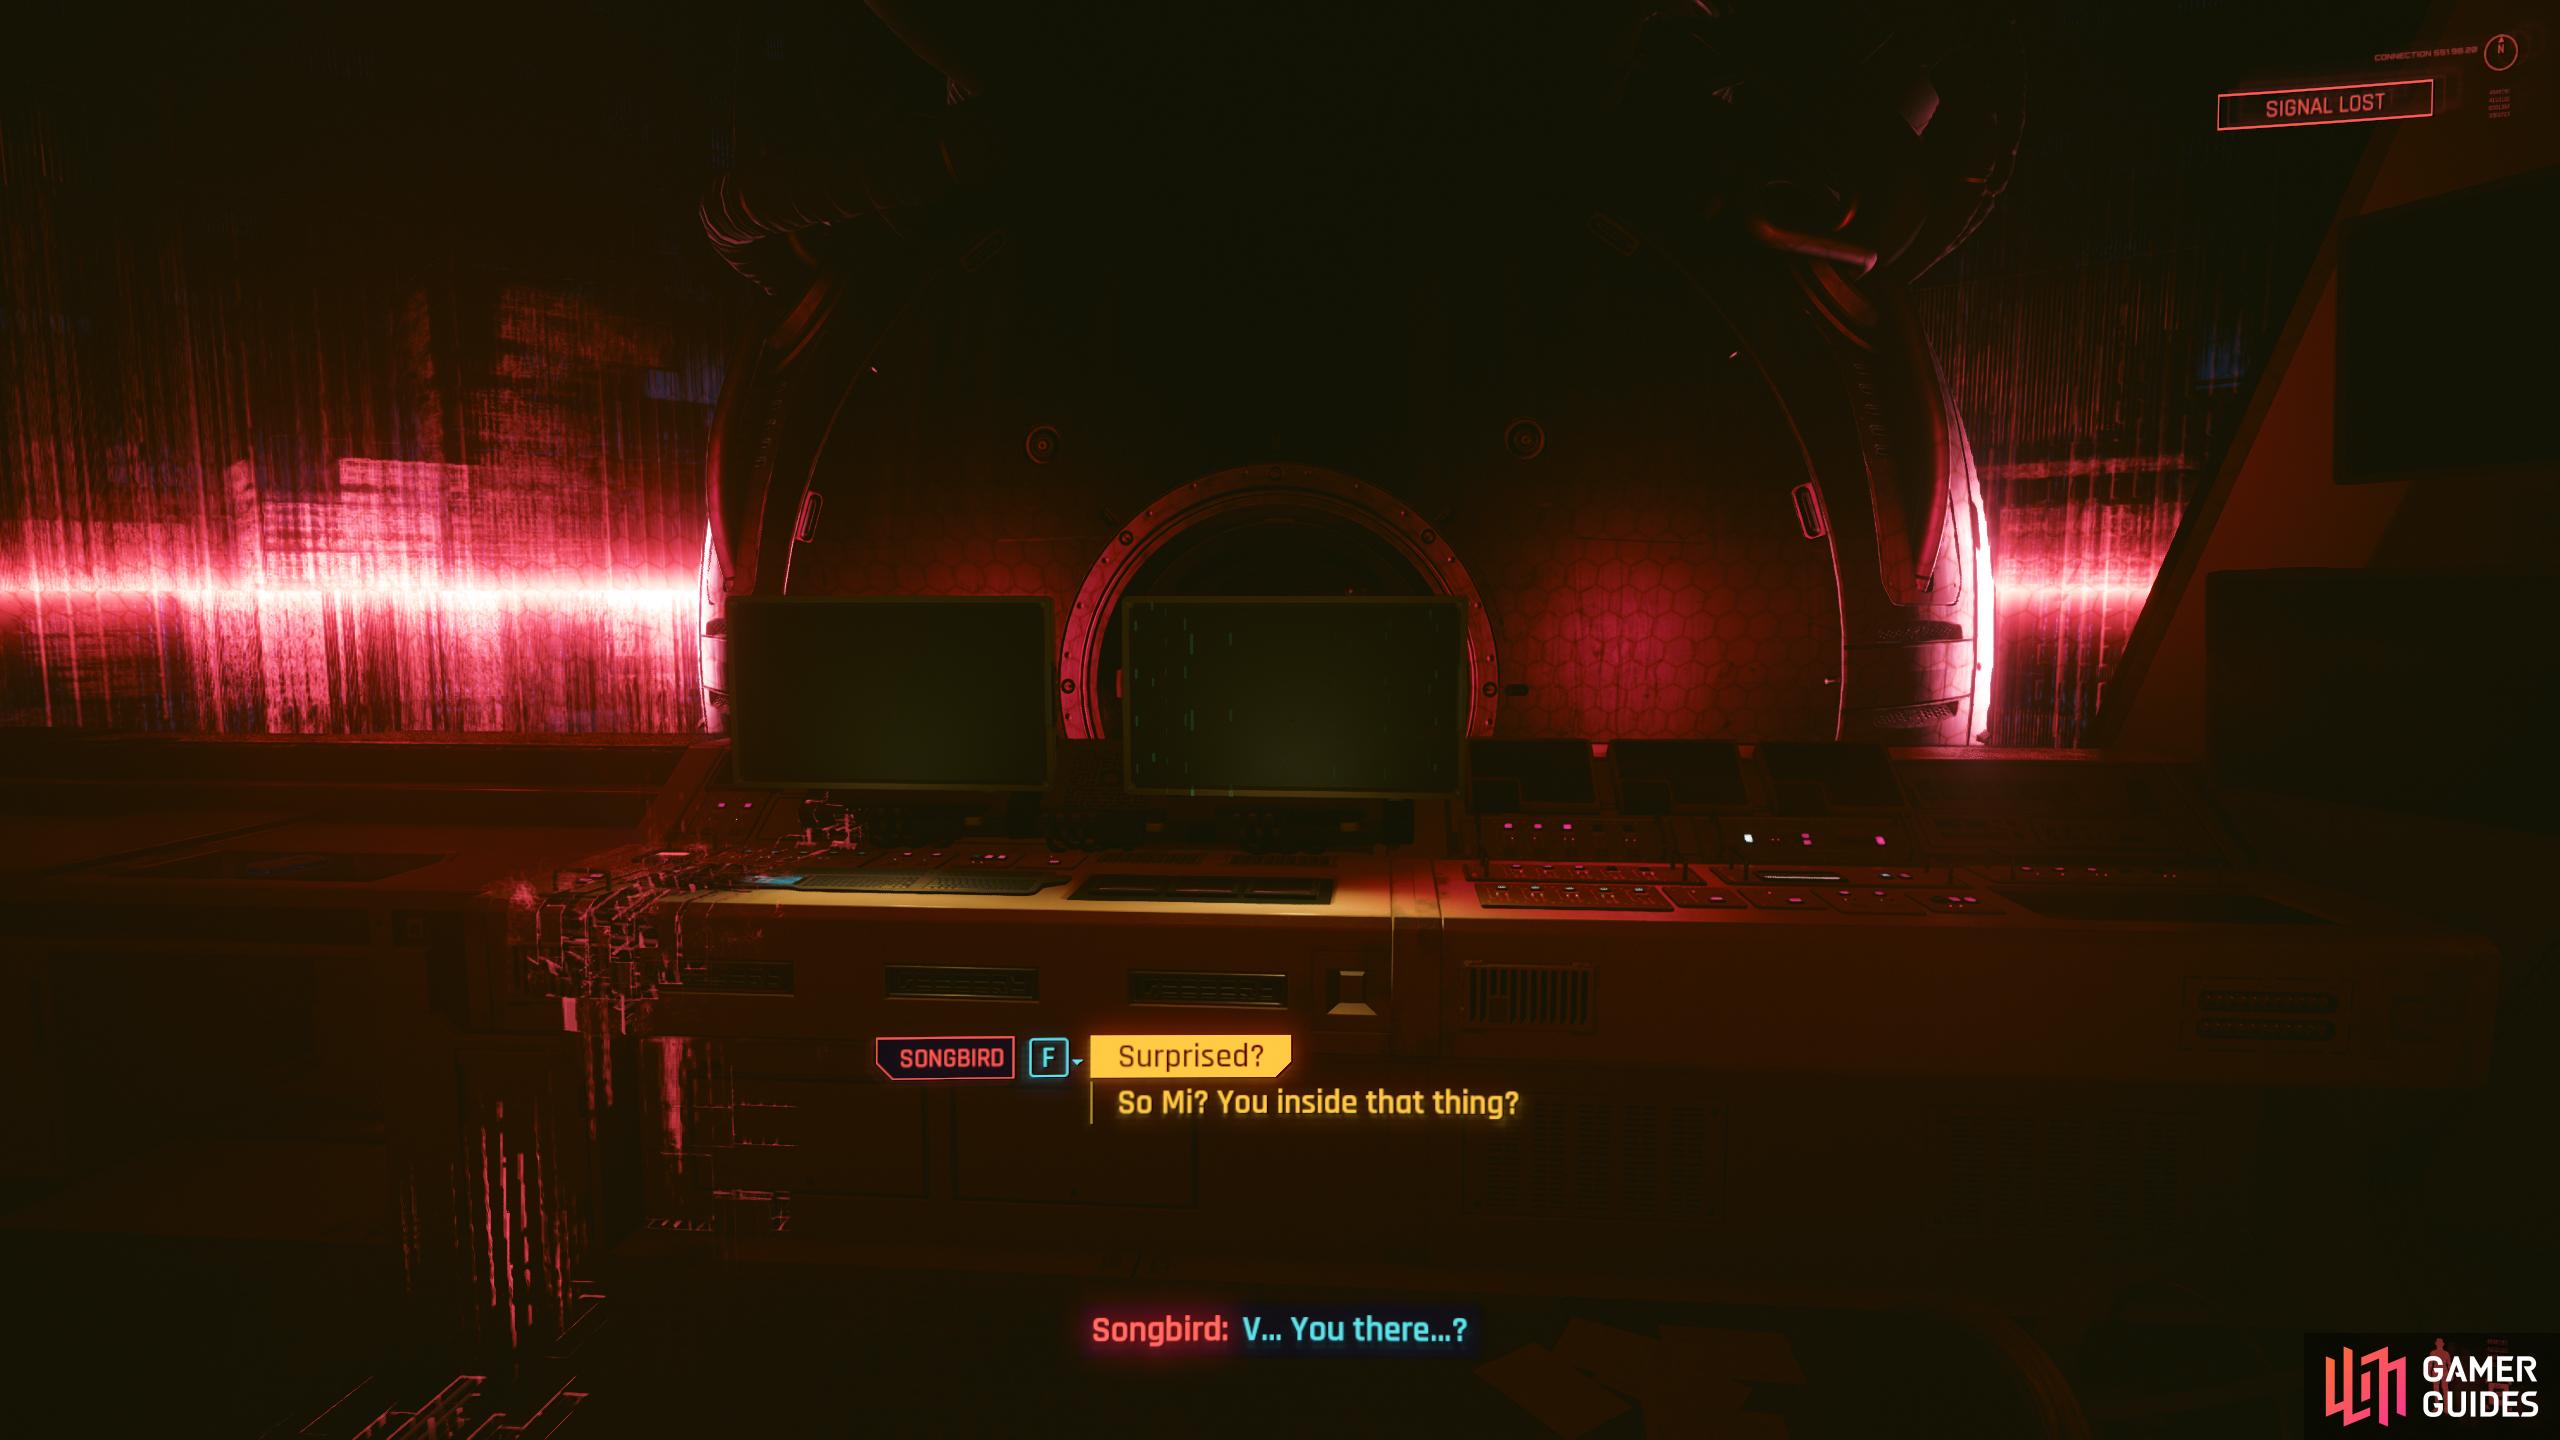
Get out of the water and follow the linear path into the hole from which the red light is coming. It looks like you’re in an underground bunker, but Reed will confirm what the place is after you find a terminal. Go through the hole, and head left to find some ammo then head to the opposite end, and drop through the gap up the ramp to your left to find the terminal Reed is looking for. Jack into the terminal on your left, and Reed will tell you that you’re in a top-secret military facility called Cynosure.
Reed will talk to you for a bit before he gets disconnected, and Songbird takes over the conversation. You’ll have a few dialogue choices you can make, but they all result in the same outcome, so choose what you want. After Songbird disconnects, pick up the components down the stairs to the right, then head back up and force open the door (3 Body) and head into the next area.
Follow the path right, and take the stairs down around the corner to your right. There is a data shard on the crate to your left, next to the crashed truck. Continue past the truck, pick up the components to your left then head up the stairs and open the safe for some Eurodollars. Head back to the main room and head up the left side to find some more Eurodollars in the safe to your left, on the bottom shelf. A bit further forward is another crate of components, and finally, one more crate of components can be found on the opposite side. When you’re done looting, jump on the large elevator and select the Restricted Area.
While the elevator is slowly heading down, you can chat with Johnny. When you reach the bottom, jump off the elevator and loot the room. There are a few crates of components hidden in the corners of the room, and you can find clothing/armor in a crate up the stairs to your left. On the left side of the room is a small room you can enter with a locker that has some clothing in it while on the other side of the room is the control room with a safe of Eurodollars. When you’re done looting, follow the Blackwall Traces down the corridor. Head through the door at the bottom of the corridor to your right, and you’ll enter a hostile area.
Find a Way Around the Gate
At the end of the path is a shutter you can open with a few ledges you can climb up just beyond it. Climb the ledges, and follow the path to the end where you’ll find a vent to drop through. As you land, you’ll hear Songbird talking to Kurt, but as you’ve already killed the latter, it’s obviously a flashback/memory. Head through the door, and you’ll see the memory play out that shows you Songbird’s deal with Kurt. Leave the room, but pick up the Eurodollars from the safe in the corner before you do.

At the end of the path, enter the shutter.
Follow the next path and drop through the vent into the room below.
Follow the Blackwall Traces…Again
Proceed around the corner to the left, pick up the components on the shelf to your left then go through the door (3 Body). In the next room, turn left to find a data shard on the crate in the corner which will give you a basic map showing you where each sector is. This is useless for now, but it can help you navigate the area later.
Now go the opposite direction and take a left at the intersection where you’ll see Songbird in the distance. Approach her, and as you attempt to go through the gate, it will slam shut in your face, and a computer will appear next to it. If you attempt to open Sector 3 via the computer, you’ll be told that access is denied from the Cynosure AI, and you’ll need to locate the Alpha and Bravo terminals.
To the left of the door is a data shard with a pop-up map for the area.
Head to the end of the corridor where Songbird is heading. When you reach the door, it will trigger the Cerberus.
How to Get the Iconic Erberus Weapon / Bypass Dataterminals
If you have 17 Technical, you can hack the Fuse box on the wall in the storage room of Engineering which will allow you to bypass the whole section of the dataterminals. Not only that, but you’ll get the iconic tier 5 blueprint for the Erebus SMG. The door you’ll open will be opposite the entrance to Engineering. When you enter the room, make sure you lock the door behind you, so Cerberus can’t reach you.
In the middle of the room, in between the two inactive Cerberus units is a ladder. Take it up, and follow the walkway to an area with yellow lights. Crouch to reach the lights, then climb up the ledge to the vents. Cerberus will walk through here, but you can just use the gap on the left side of the room to hide from it. When it passes, head the way it came from and drop to the room below.
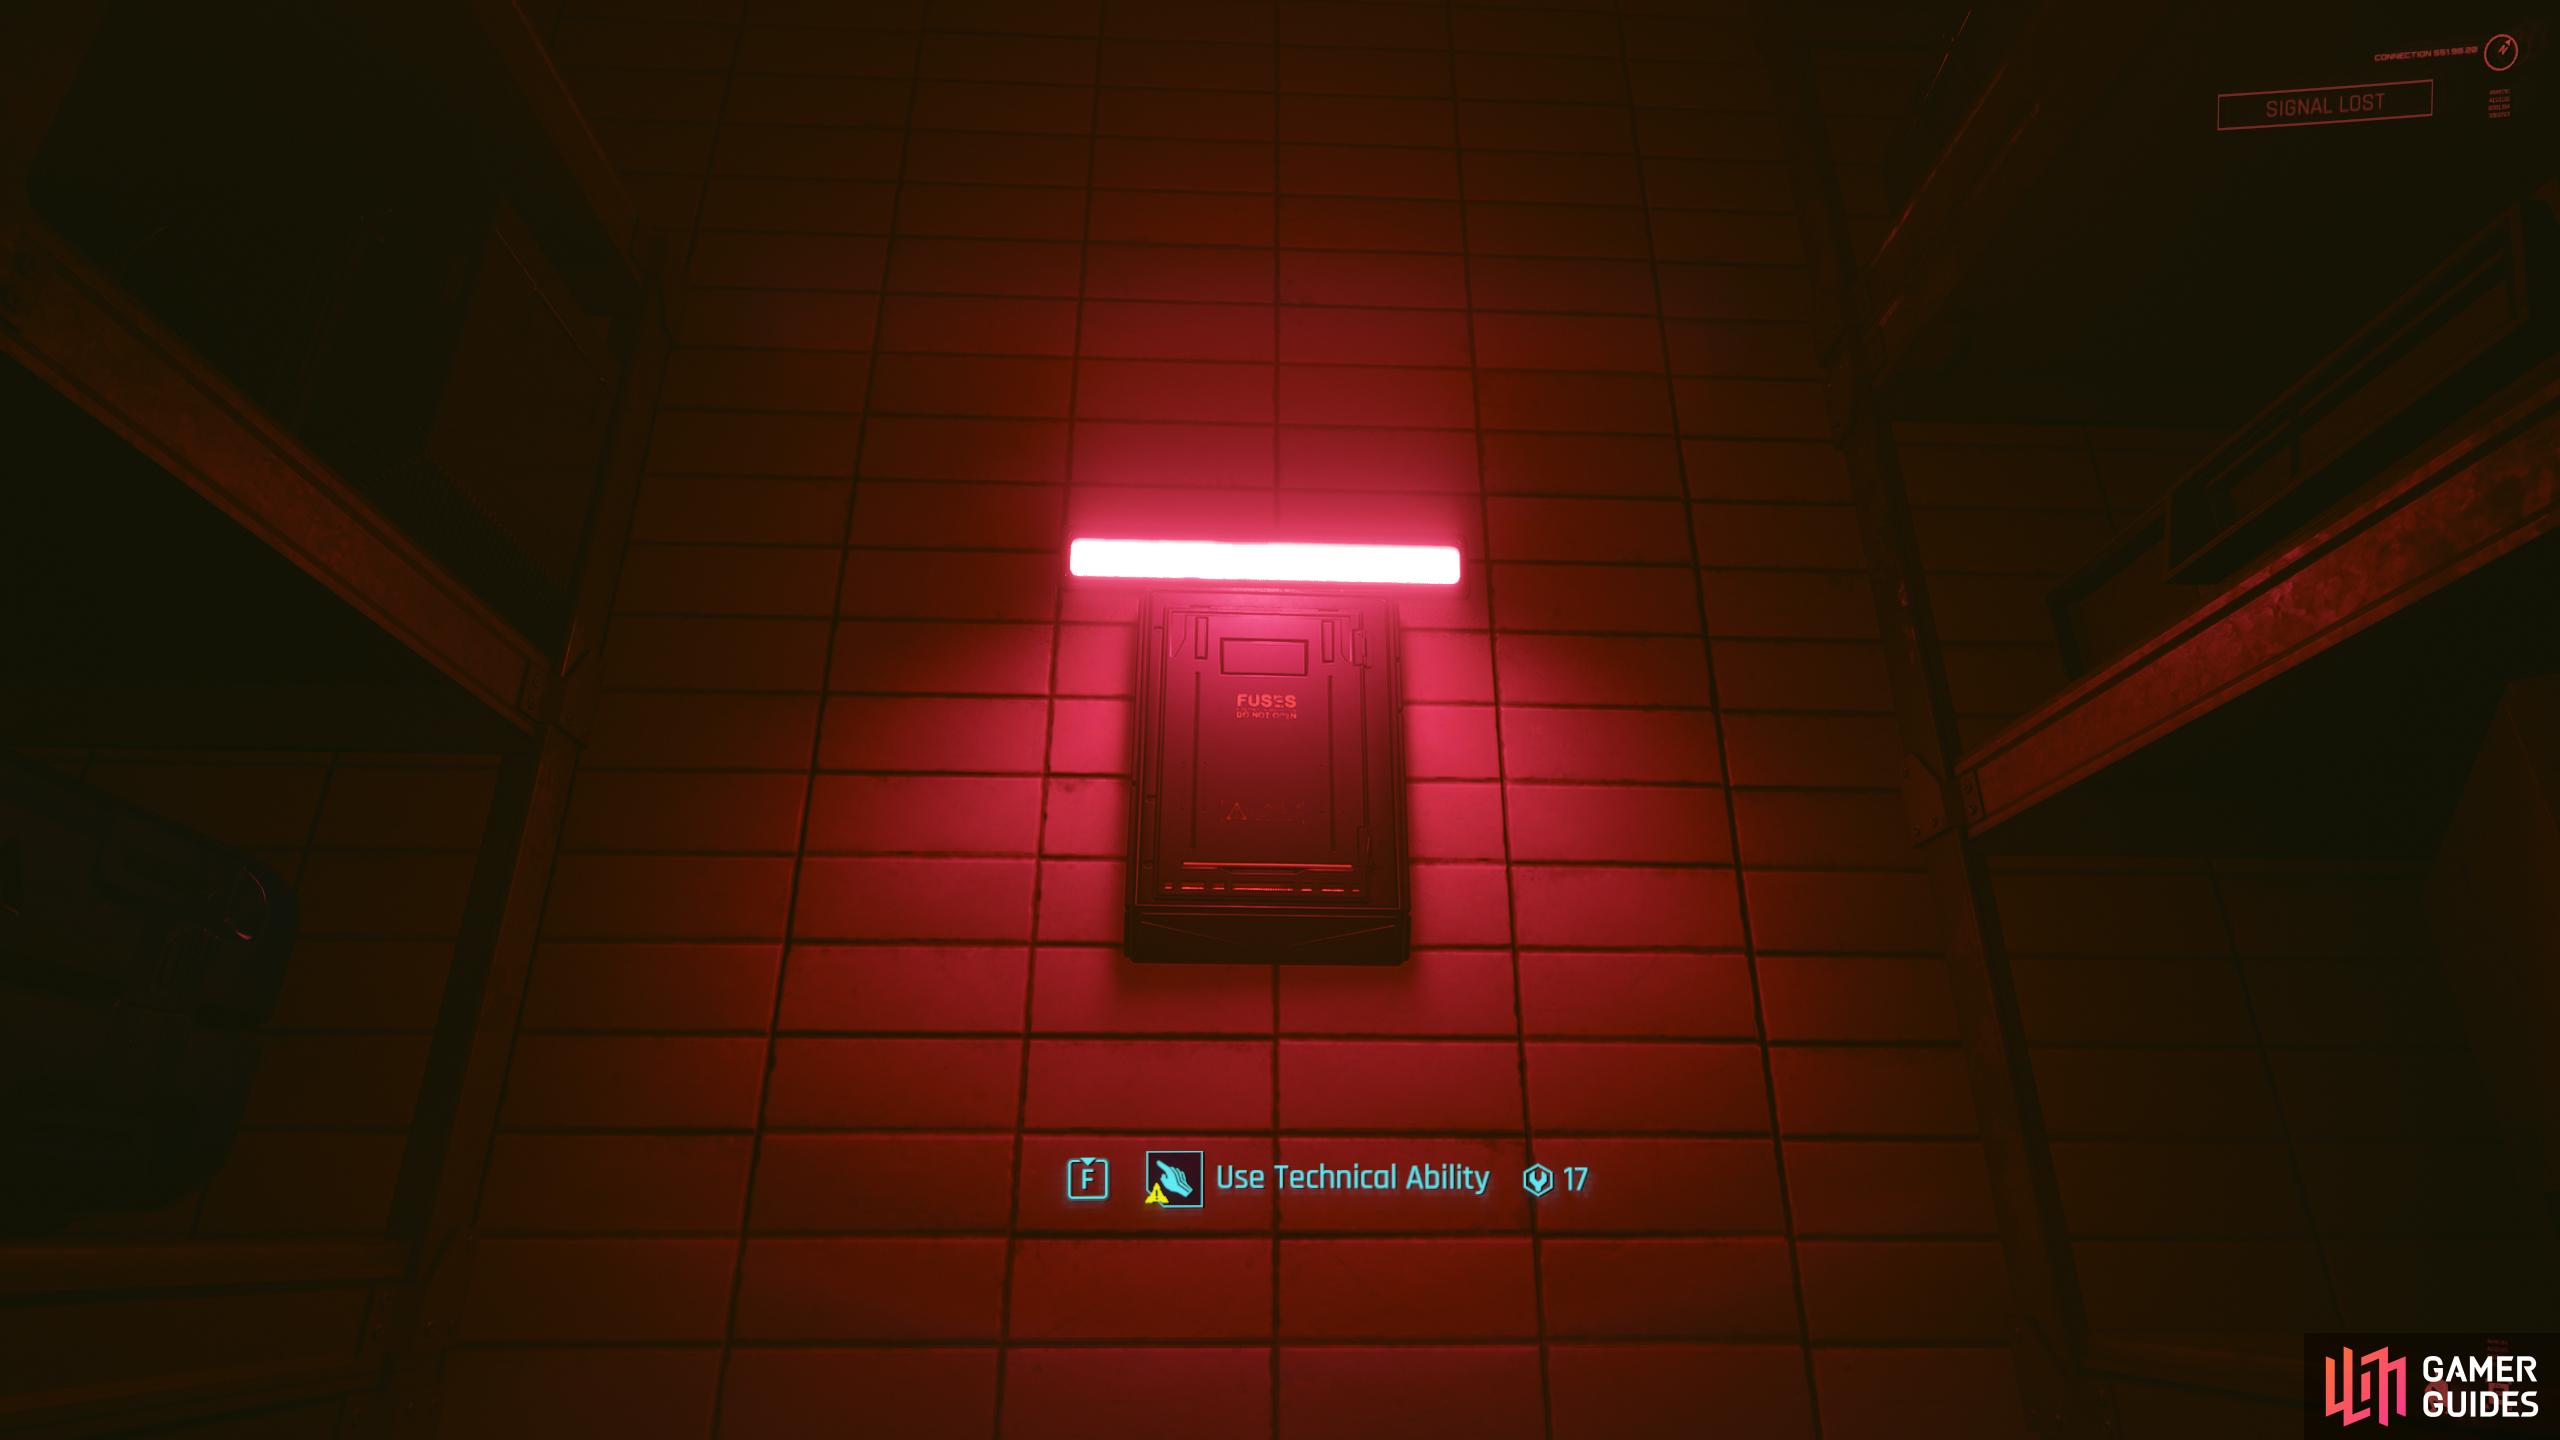
(1 of 7) In the storage room in the Engineering Sector, you’ll find a switch requiring 17 Technical.
Use the Terminal to Disable Dataterminal Alpha
Head back down the corridor and take the first right where you’ll find some shutters you can force open (3 Body). Here, you’ll find the Alpha dataterminal, but when you attempt to disable it, you’ll find out that you don’t have authorization. Exit the computer, and you’ll be able to jack into it where you’ll be met with the breach minigame. Enter the correct digits, and you’ll disable the dataterminal. If you check the Gate Status, it will tell you that information.
Use the Terminal to Disable Dataterminal Bravo
Once you disable Alpha, a vent will open up on the floor behind you. Drop and follow the linear path where you’ll find a ladder to climb that will take you to dataterminal Bravo. Pick up the components to the left of the computer then jack into it to disable it. As you attempt to do just that, you’ll be attacked through the computer by Songbird which will stop you from disabling it. Scan the computer, and V will suggest disabling it by going under it which will give you the crawl prompt. Do it, then disable the wire as well, and Bravo will be disabled.
As you crawl back out, you’ll be met with a scene where you’ll get to meet Cerberus for the first time. From this point forward, Cerberus will chase you around the area, and if it catches you, you’ll die instantly. On top of that, it takes no damage from any weapons or abilities, so you can only avoid it which makes this part of the mission a lot more difficult.
During the scene, remove the grate that lands on top of you, and just as it’s about to impale you, Songbird makes it malfunction briefly which allows you to escape. When you get up, you’ll need to run from Cerberus. Follow the corridor around the corner, and head into the room to your left. Here, you’ll find a vent you can drop into which will make you safe… for now.

(1 of 5) Opposite terminal Alpha, the vent will open, drop, follow the path to the end, and climb the ladder.
Find Dataterminal Sierra
Now, you’ll need to head to the rest of the dataterminals and disable them, but with Cerberus stalking you. You’ll know when it’s safe to do so, as Cerberus makes a distinctive noise when it moves, and you’ll see glitches over your screen when it gets near to you. As you head to the dataterminals, make sure you hide when you hear/see Cerberus who likes to come out of the ceiling vents (Alien Isolation anyone?). Cerberus tracks via the lasers on the front, so provided you don’t get caught by that, you should be fine. Another thing worth noting is if it notices you from a distance, it will run at you, and unless you find a hiding spot ASAP, it will kill you.
In the vent room, follow the linear path until you find the ladder. As you reach the ladder, Cerberus should disappear briefly. Exit the vent room, and you’ll find a computer you can read for some lore, and another Site Map on the bed if you missed the previous one. Head around the other side of the room, and you’ll find a container with some clothing. When you’re ready, exit the room.
In the next room, you’ll get another memory of Songbird being operated on. At the far right side of the room is another container with some clothing, pick it up then exit the room. If you have at least 17 Body, you can head straight to Engineering, if not, you’ll have to take the long way around. This guide will assume that you don’t, and guide you from there. Exit the room via the left doorway, and head right towards the Engineering room. Just as you reach the corridor, Cerberus will appear. If it sees you, you will die, so quickly run to the containers straight ahead on your left, and wait for it to go the other way then it will climb back into the ceiling.
Now, run to the Engineering sector, head through the door, and walk forward a bit. This will trigger Cerberus to check out the area. Quickly, head into the Storage room, go around the corner to the left, and go through the door inside the room where you can use the crates as cover. There is a 17 Technical Fuse box in here, but more on that later. First, you want to disable Sierra, so once Cerberus disappears, exit the storage room, but when you do, be careful that Cerberus is not looking through the window to your left. When the coast is clear head back around the corner, odds are, Cerberus will come again, if it does, simply run back to the storage room and hide again.
When it has gone for good, head around the corner again, and enter the door on the left where you’ll find the Sierra dataterminal. Hack the computer to disable it, and pick up the various components in the room before heading back out. As you head out the door, Cerberus will come yet again, but you can hide to the left of the door to avoid it. When it goes, force open the door (3 Body) and head out of Engineering.
While in the Engineering sector, be careful of the window near the storage room. Cerberus can and will get you from here.
Head through the door to the right of the Engineering entrance, and disable Sierra.
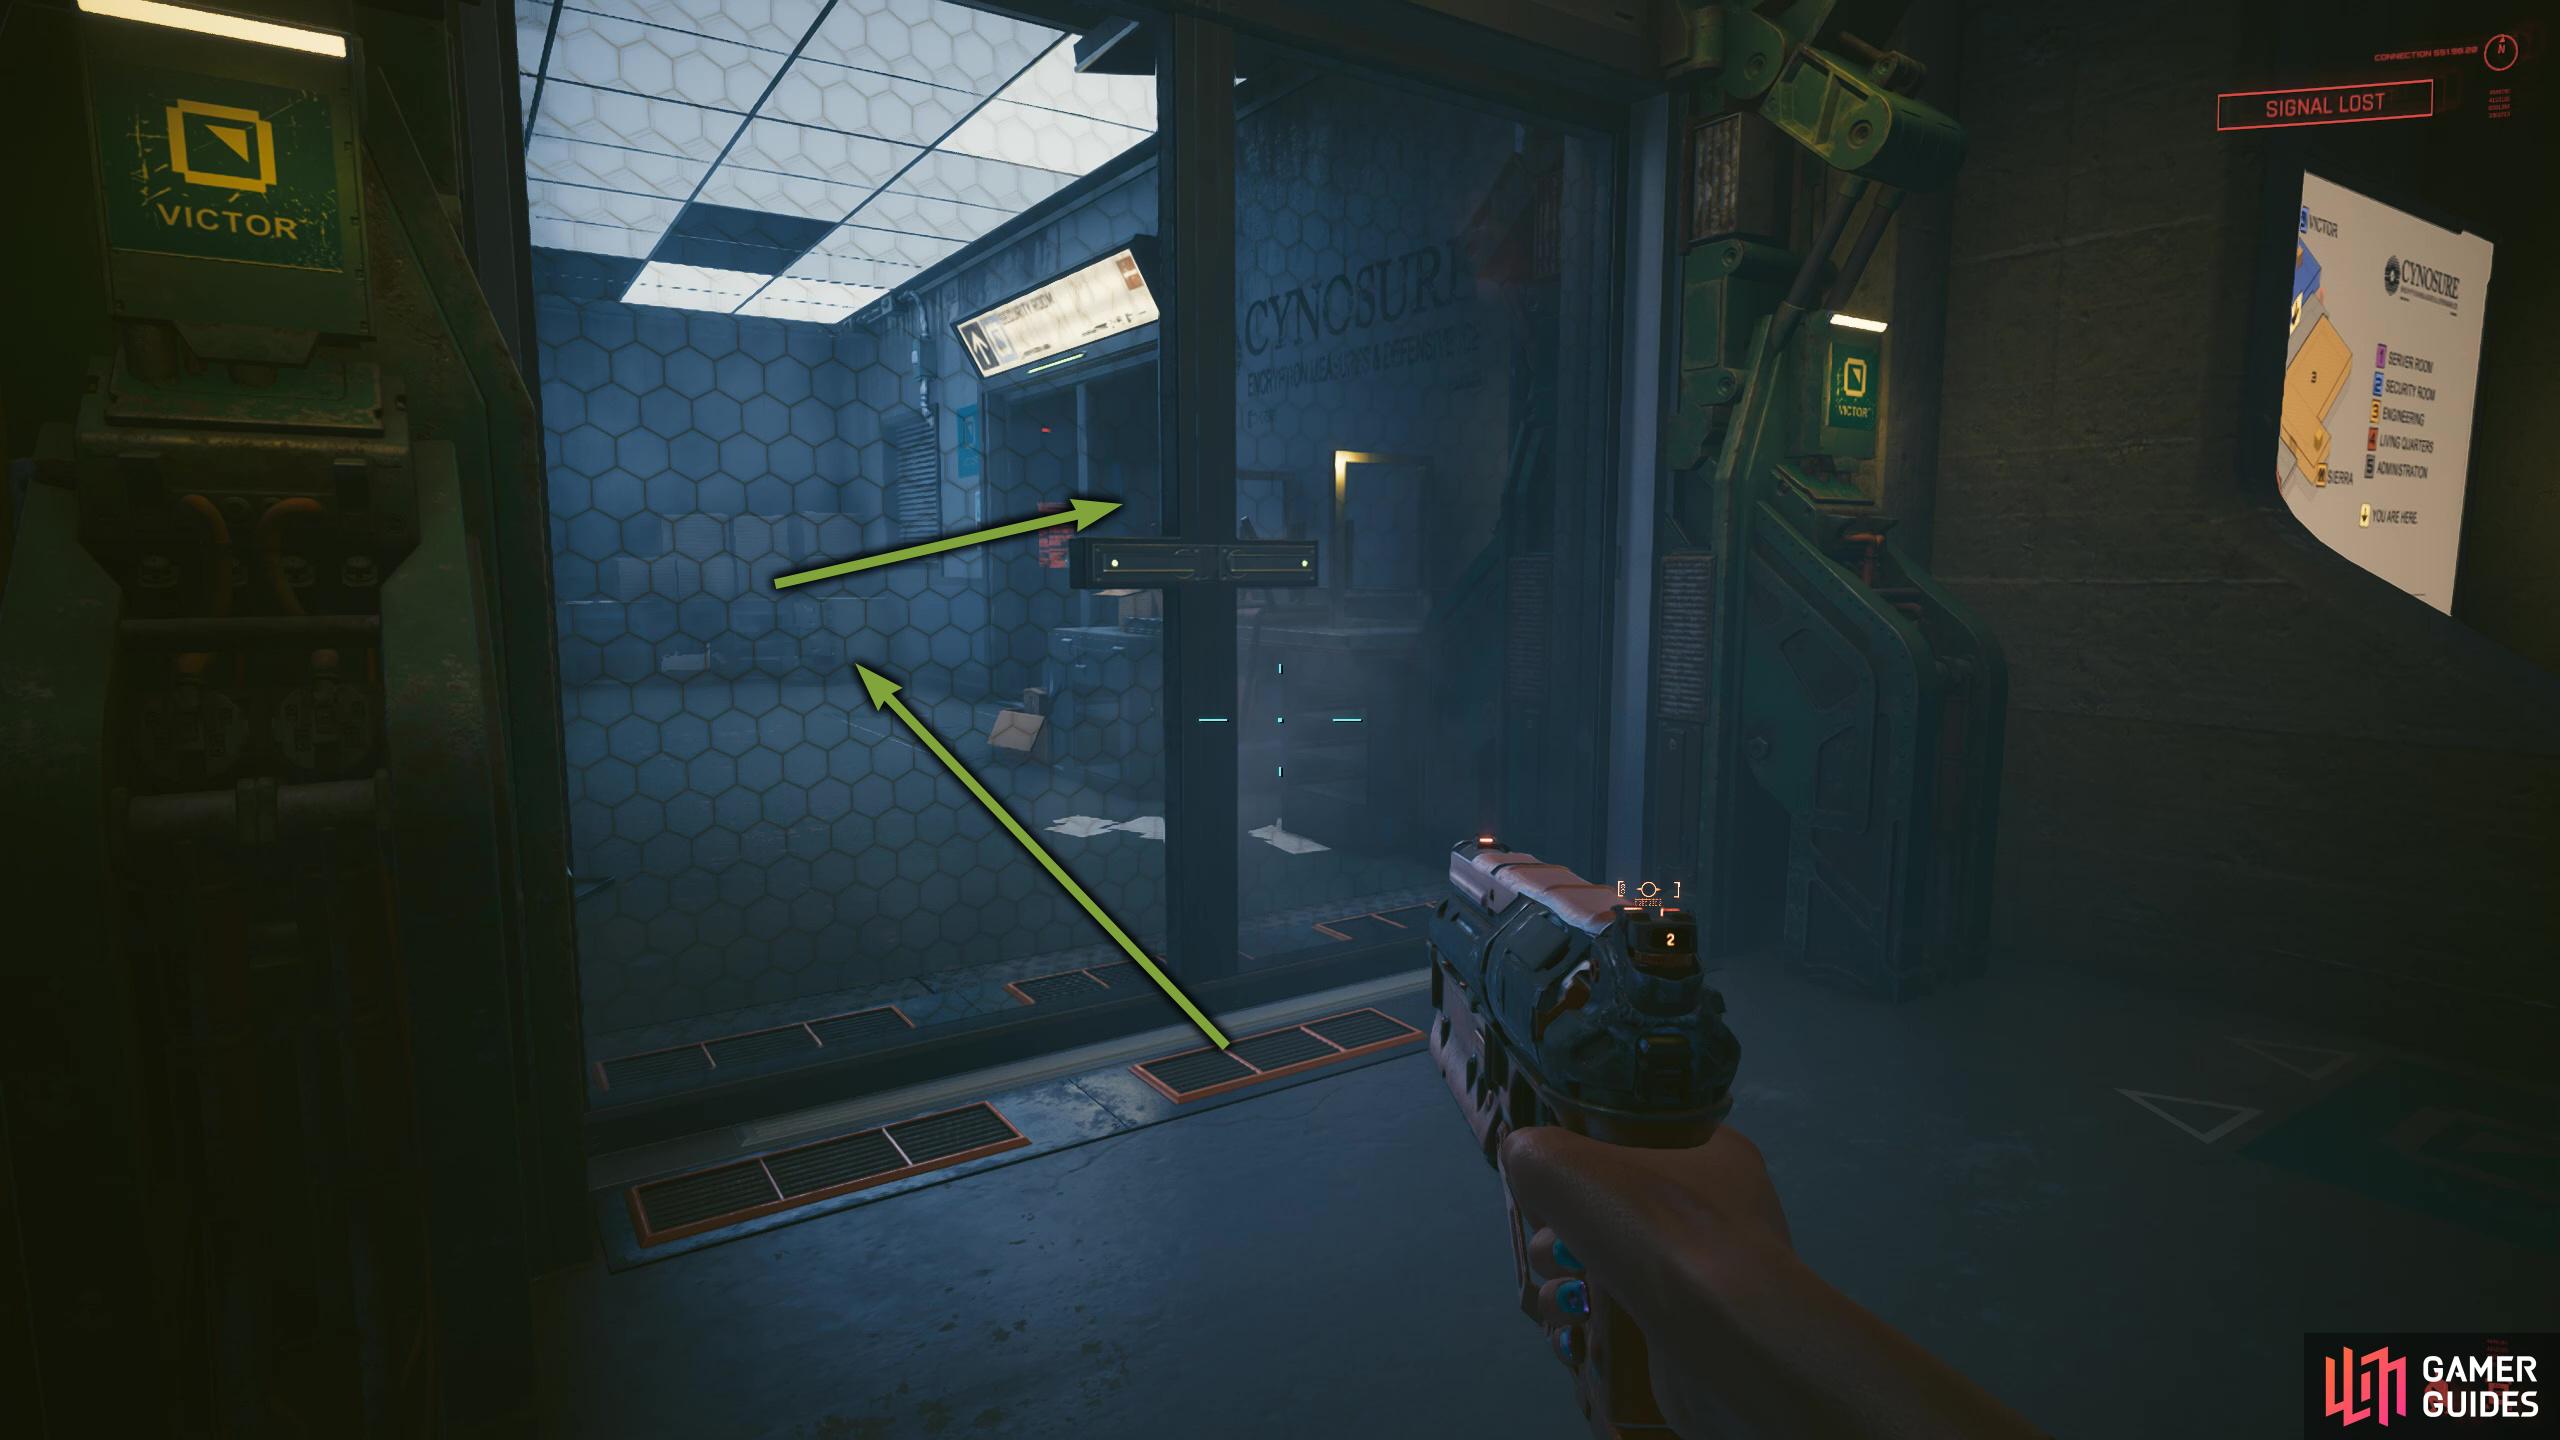
Find Dataterminal Victor
Dataterminal Victor can be found in the Security Room which is situated at the opposite end of the corridor from Engineering. If you’re quick enough, you can sprint from one to the other, but if Cerberus drops, you’ll need to hide behind the environment such as containers and crates. The door to the security room will be on the left at the far end of the corridor. As you enter the first room leading into the security room, you can find some Eurodollars and a site map on the desk at the end. The next room to the right, there’ll be a side room which you can enter via the shutter. If Cerberus comes, head in here, and stay crouched, and it won’t find you. Also, you’ll find some clothing loot at either end of the room.
When Cerberus leaves, head through the door at the end, and jack into the Victor terminal on your left. Complete the breach minigame, and that should be all dataterminals disabled. Opposite the terminal is a computer you can check for some more lore, and if Cerberus comes in the room, you can hide in the corner behind the boxes just past the computer desk. Alternatively, you can hide behind the computer desk near the room entrance, but this is more risky.
Follow the Blackwall Traces - Sector 3 Gate
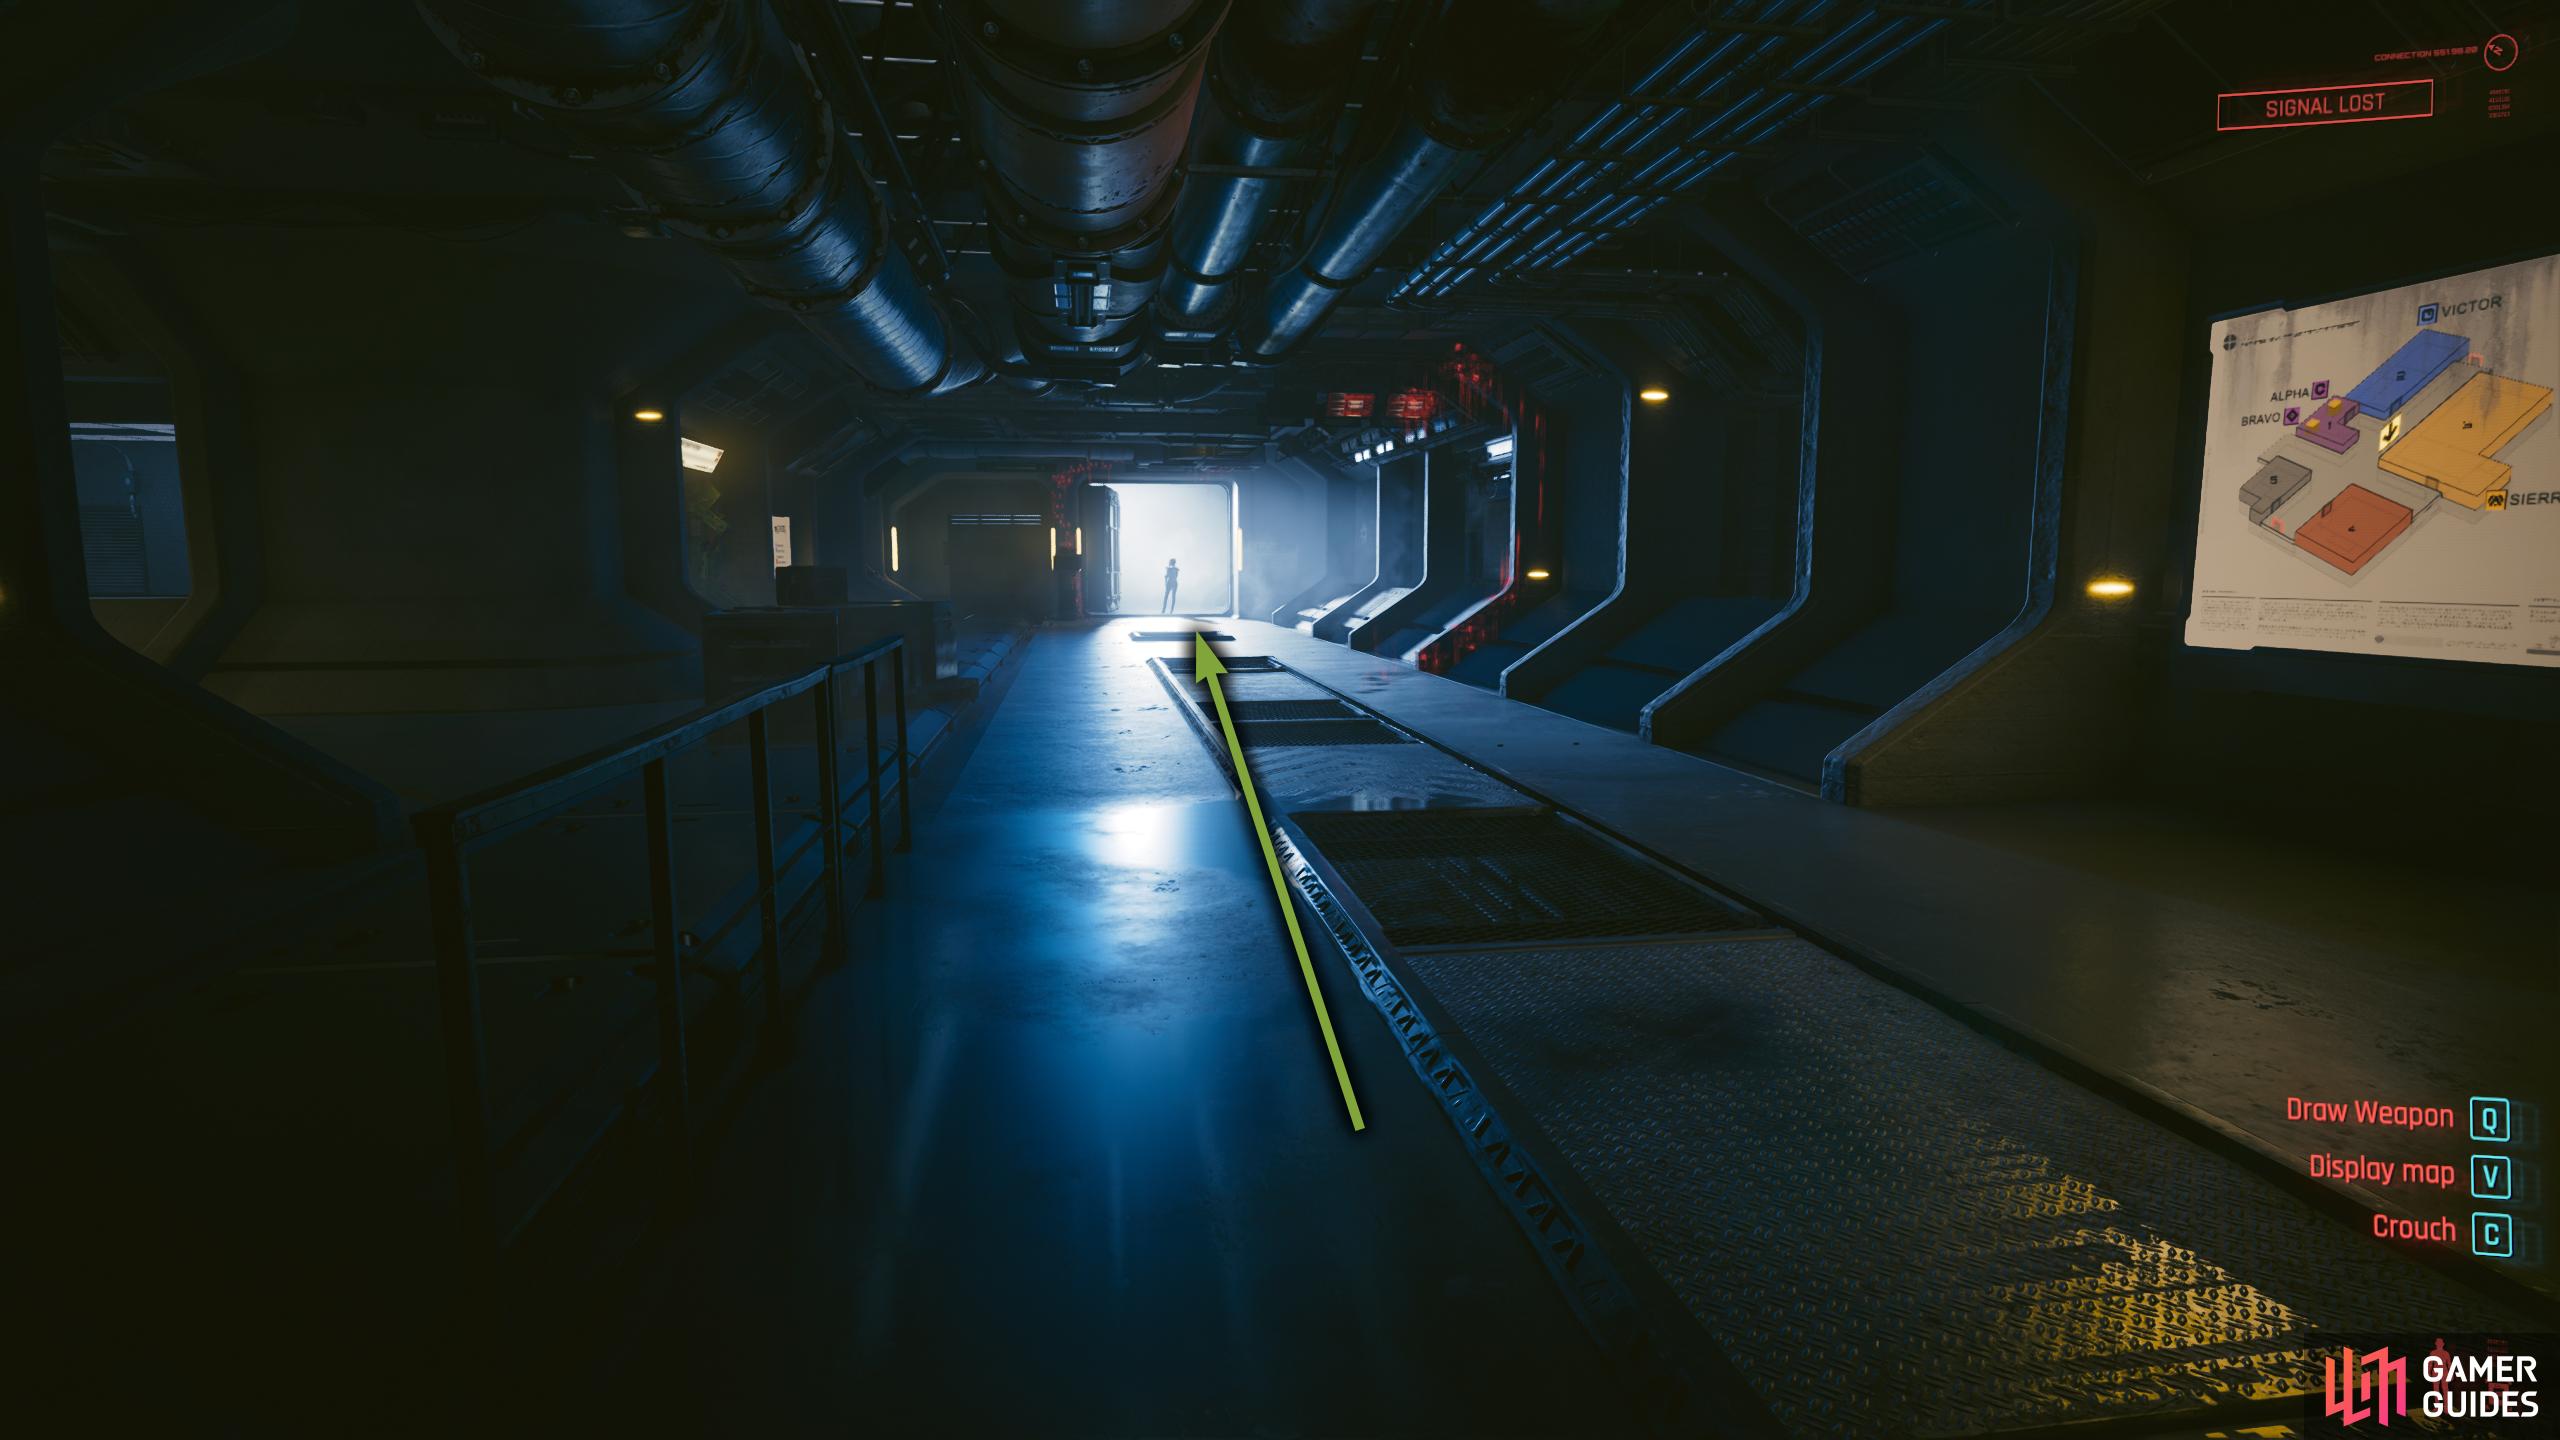
Regardless if you disabled all the dataterminals, or skipped via the Engineering door, you’ll end up in the same place, on the opposite side of the Sector 3 Gate. As you head into the room, Songbird will tell you to run, and she’s not lying as Cerberus will drop behind you, and chase you to the end of the corridor. What you need to do is sprint down the corridor while running around/jumping over the obstacles in your way. At the end of the room is a door to your left, but you’ll need to quickly press the button to open it to the right of the door, and then quickly close the door behind you. This is tight timing, so you may have to try a few times. Fortunately, you’ll reload at the start of the room if you get caught.
Pick Up Songbird’s Trail Deeper Within the Facility
For the time being, you’ll be safe. Activate the airlock, and go through the door. Follow the corridor, and enter the open room to your right. Here, you’ll find a data shard, Eurodollars, a computer for lore, and some components. When you’re done with the room, exit it and enter the room opposite for another data shard, and a hazmat suit in the container in front of the door. Now, head through the only other door where you’ll get a memory between President Myers, and Songbird. Watch the scene, then head through the following door.
Follow Traces Left by Songbird - Core Control
This will take you out into a corridor with two rooms, Labs, and Core Control. The former is locked for now, so head inside the Core Control room, and force open the door (3 Body). As you enter the room, Songbird will talk to you briefly, tell her what you want as it won’t impact anything, and she’ll tell you to turn it off. Obviously, she means the core, but she disappears again before she can confirm it. Interact with the only working computer and turn off the core, and it will begin disabling the various systems, but it will fail on three of them, typical. This means you’ll need to turn them off manually.
Head to the terminal in the Control Core

When you try to shut it down, three of the systems won’t respond.
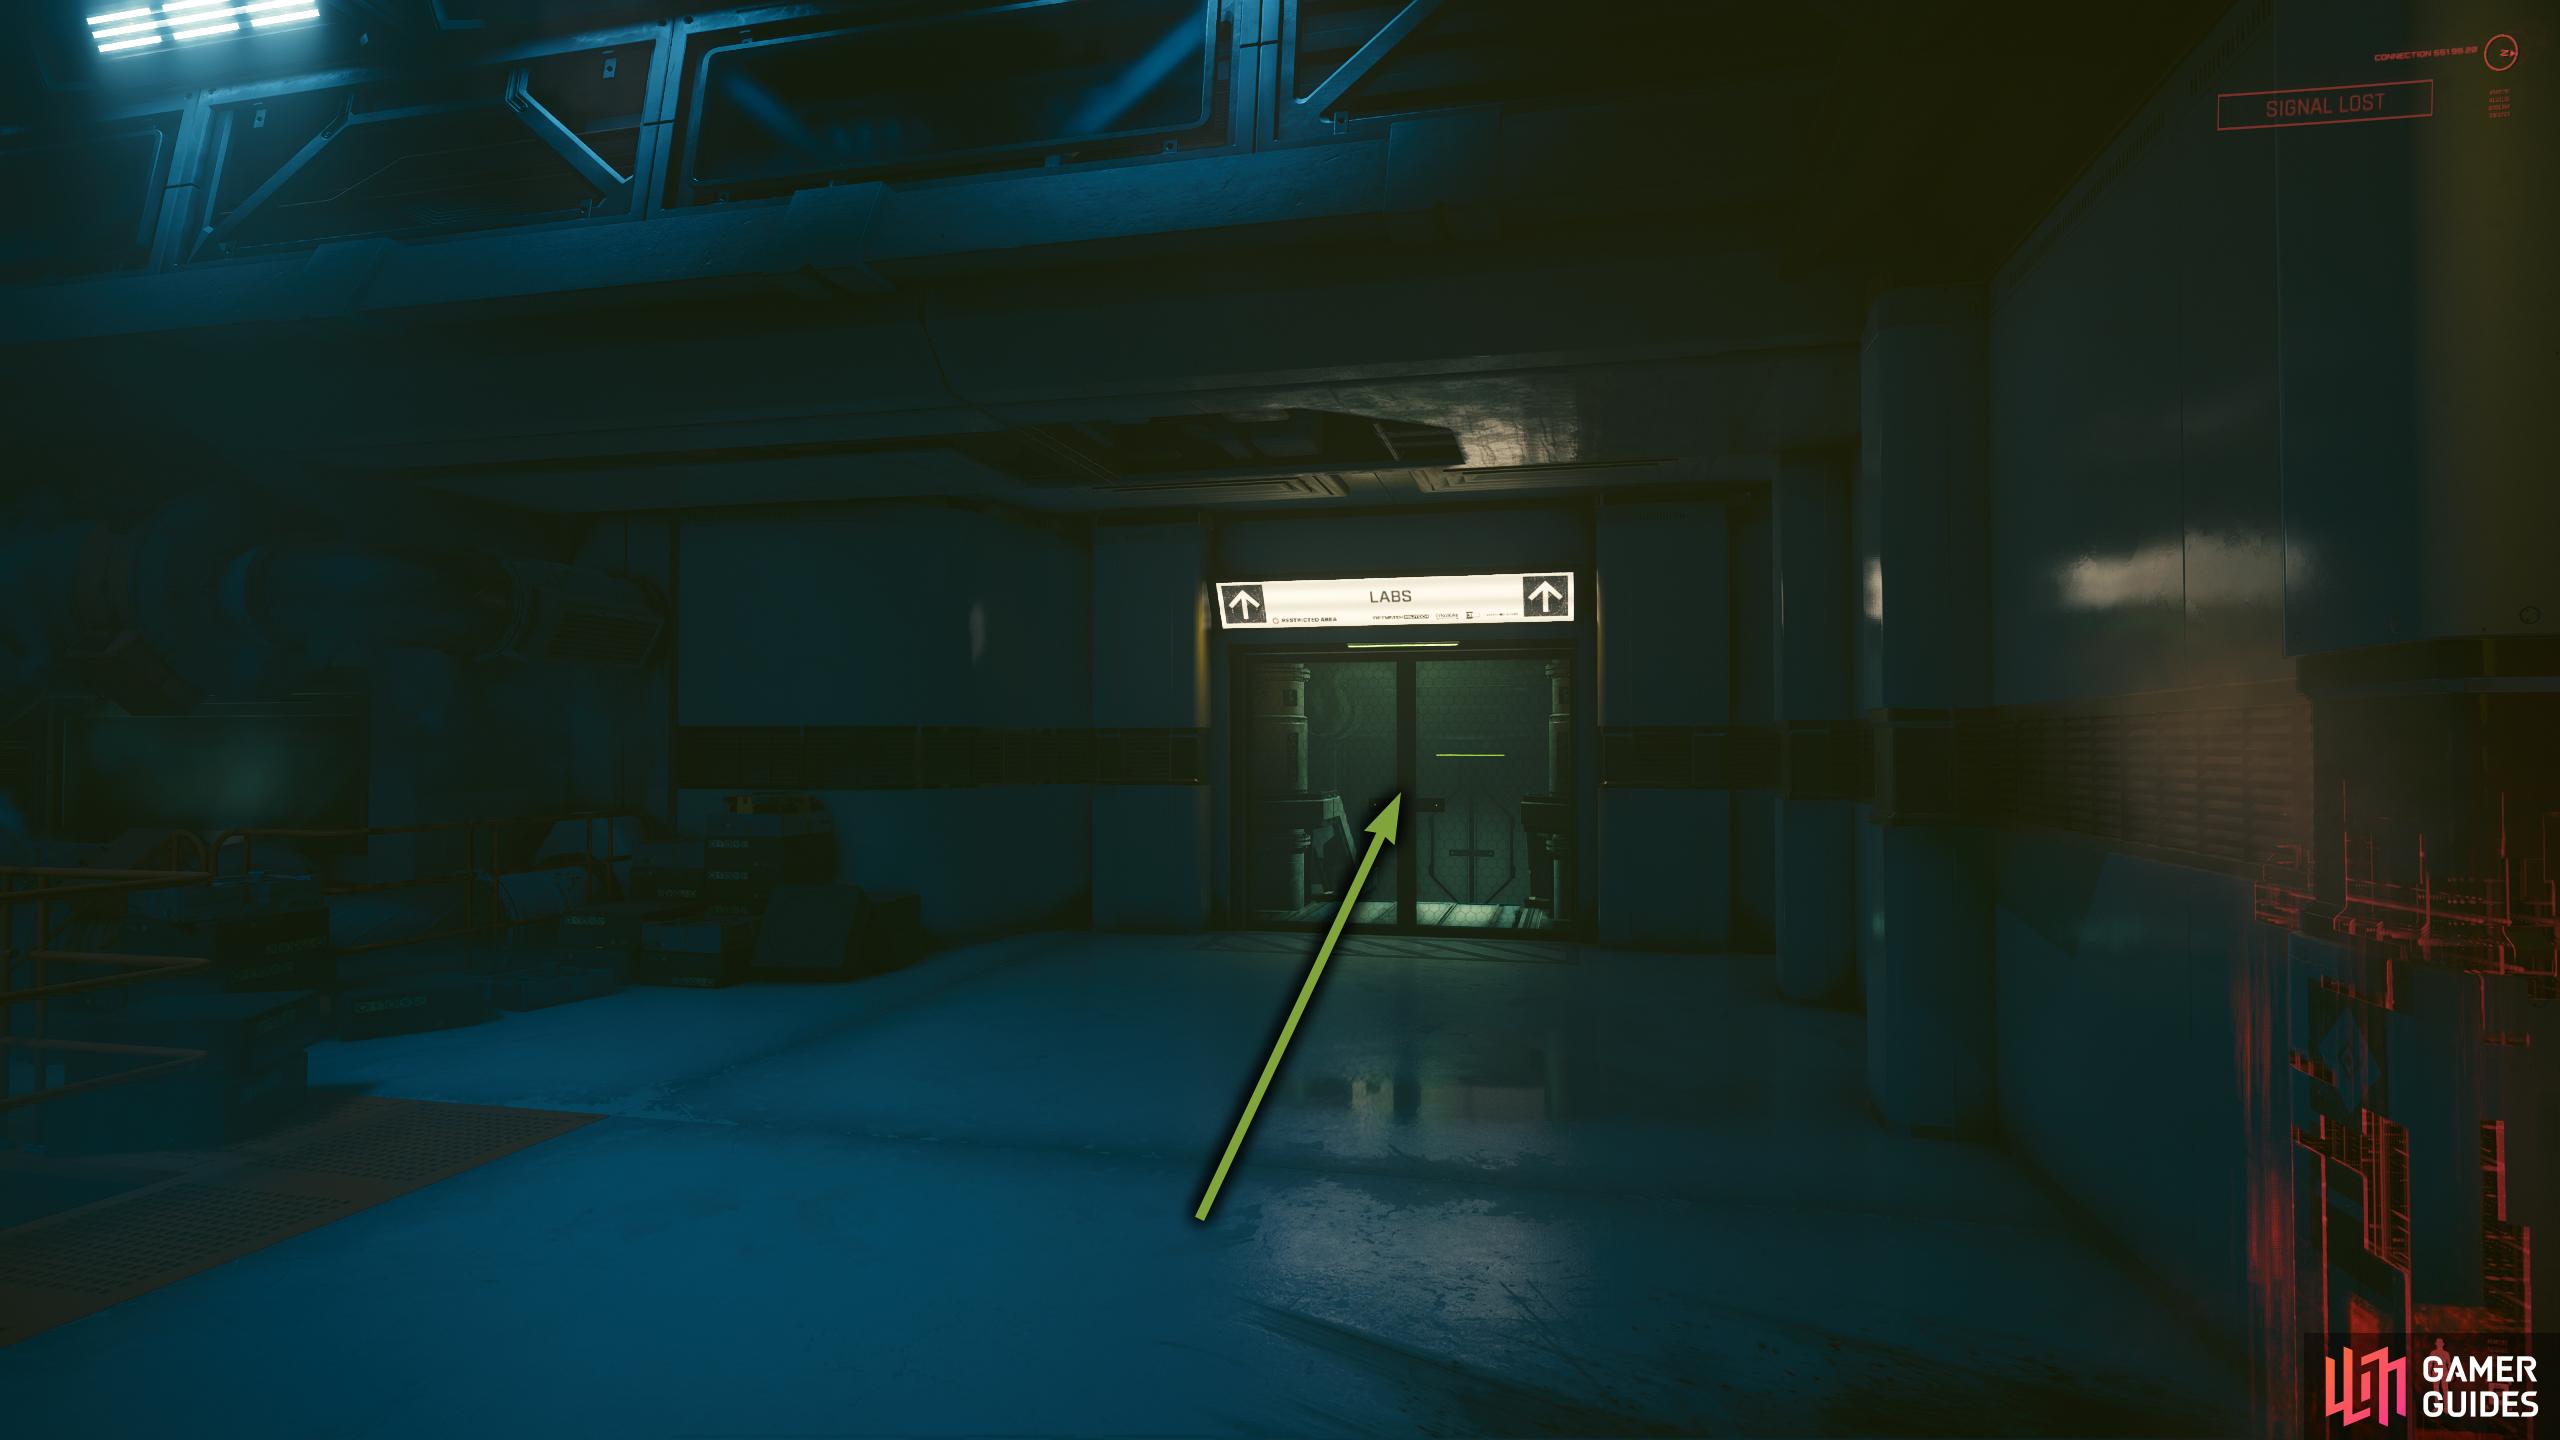
Find the Neural Network Room
Head back out the way you came, and you’ll see a memory between Songbird and Reed. Watch the scene, then head through the LABS room to your right. All the rooms you’ll be looking for will be in here, but once again, you’ll be hunted by Cerberus. The Neural Network room can be found by heading left at the intersection and left again. In the room, to your left will be the terminal; interact with it to find it not working. Scan the tube, and then follow the pipes and disconnect them. There are three in total, one to the left of the terminal, one to the right, and one at the back of the room, below the container of components.
Once you disconnect the second one, your friend Cerberus will appear! Hide behind the machine in the middle, near the last connector, and move around it to the opposite side that Cerberus goes. At first, Cerberus will come down your left side (if you’re facing the door), so head to the right while staying crouched. As it begins to get closer, continue around the machine to avoid it. You can use the computer to distract it if you want provided you don’t disconnect all three connections, but you’ll still need to avoid it after. You want to play ring around the roses on the machine in the middle to not catch its attention, but you need to play it smartly. Once it’s done one loop around the machine, it’ll leave the room, and you’ll be free to disconnect the last wire.
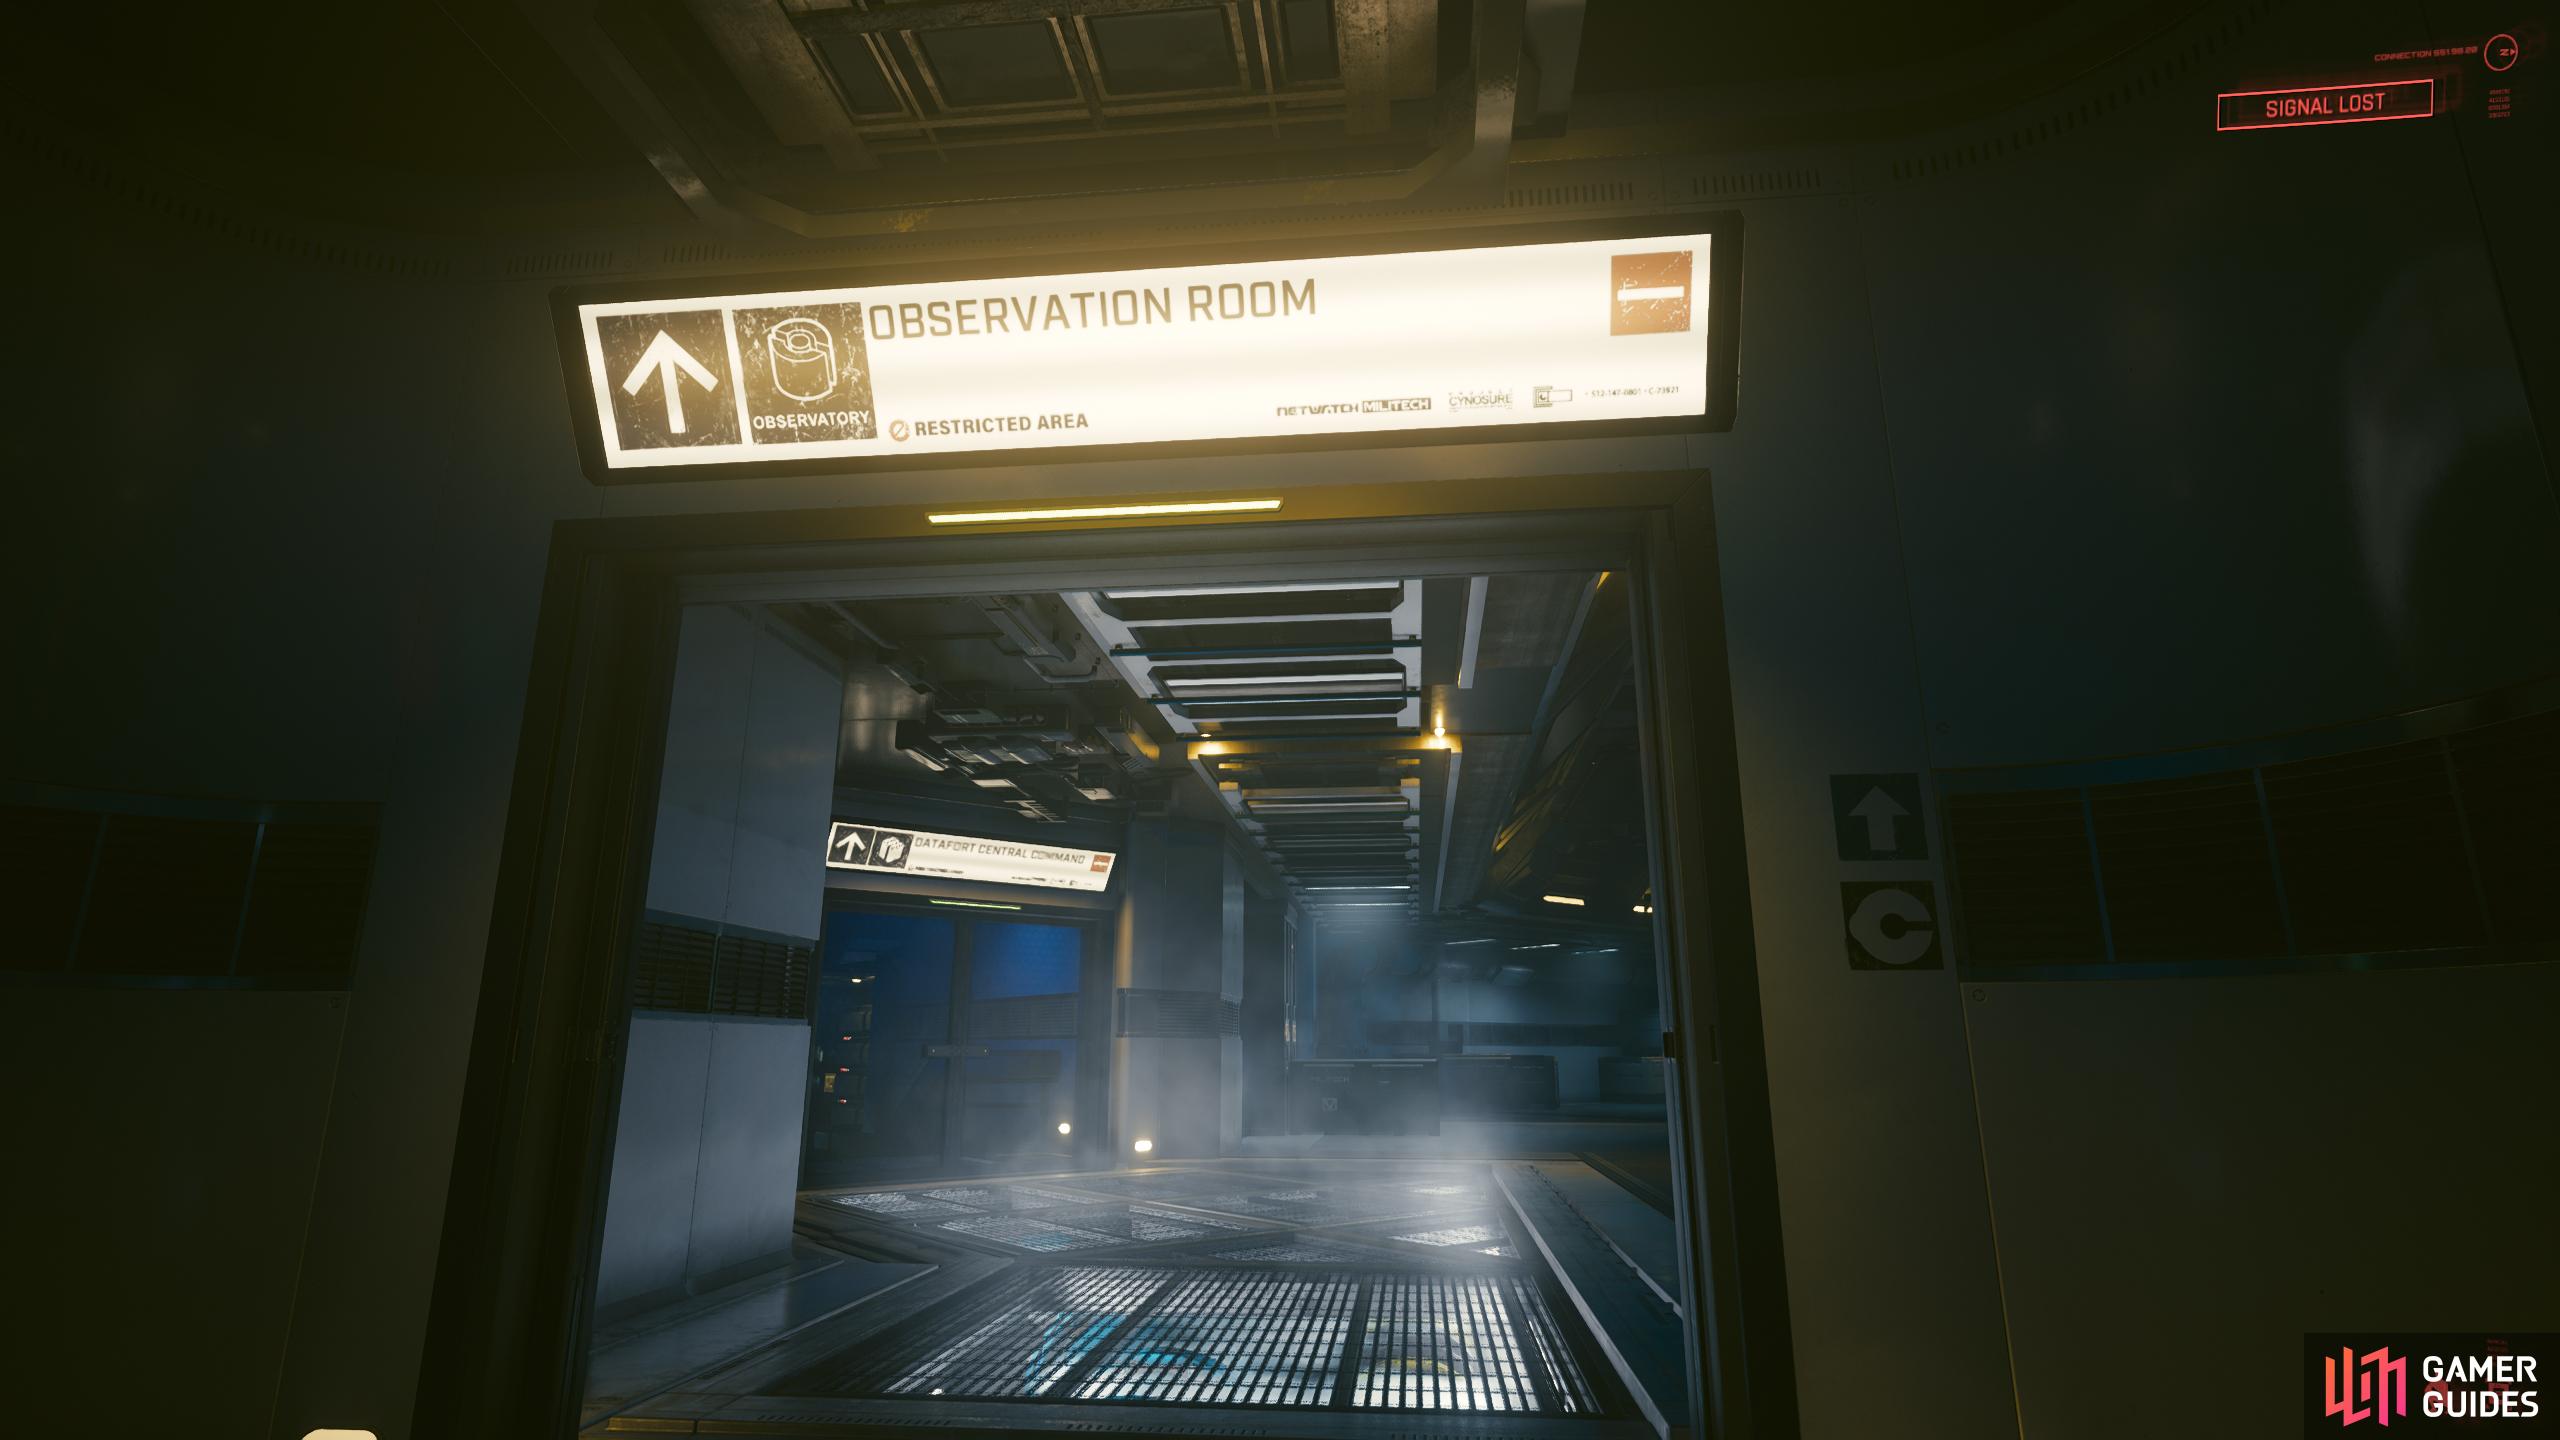
Find the Thermic Control Room
Exit the Neural Network room, turn left, and enter the Observation room. In this room, Cerberus will frequently drop into it. When this happens, the doors will become locked, and you’ll have to force them open (3 Body). If you do this while Cerberus is still in the room, it’ll instantly find, and kill you, so wait until it leaves before opening them. You can use the environment (pillars, walls, machines) here to hide from Cerberus, as long as you’re not in its line of sight, you’ll be fine.
Once it leaves, the doors will be unlocked, so head over to the back room on the right called Thermic Control, and you’ll see the terminal. As you can imagine, when you go to disable it, you’ll get hacked by the AI, and Cerberus will appear again. Quickly get in the crawl space opposite the terminal, and wait for it to leave.
When it’s gone, scan above the terminal to find a series of wires heading outside. Follow them to the windows, deactivate the shutter, and climb out onto the walkway. Follow it to the end, and override the fuse box to deactivate the Thermic Control systems. Head back the way you came, and you’ll get another memory before Cerberus comes back. Stay on the walkway crouched, and hide to the right for it to leave.
Find the Datafort Central Command Room
After it’s left the room, head back to the Observation room, and Cerberus will most likely be in here again. If it is, wait it out, then head through the door to the Datafort Central Command. Sometimes, you may see Cerberus appear in this corridor, if so, hide behind the server stack to your left. Follow the linear path from room to room, and you’ll eventually find the terminal. When you attempt to disable it, you must do it manually again. In each corner of the room is a server for you to overload (Scan, Initiate Overload), and a couple more in the adjoining room.
When you destroy some of them, your friend Cerberus will come. Hide behind the computers by either climbing over or walking around them. Cerberus will not come behind here unless it spots you. Wait for it to leave, overload the rest of the servers in the room, and then scan the terminal to find the last two. You can overload them from here through the wall, if this isn’t the case for you, you’ll need to head into the room that has them which you’ll need to go through anyway when leaving the area.
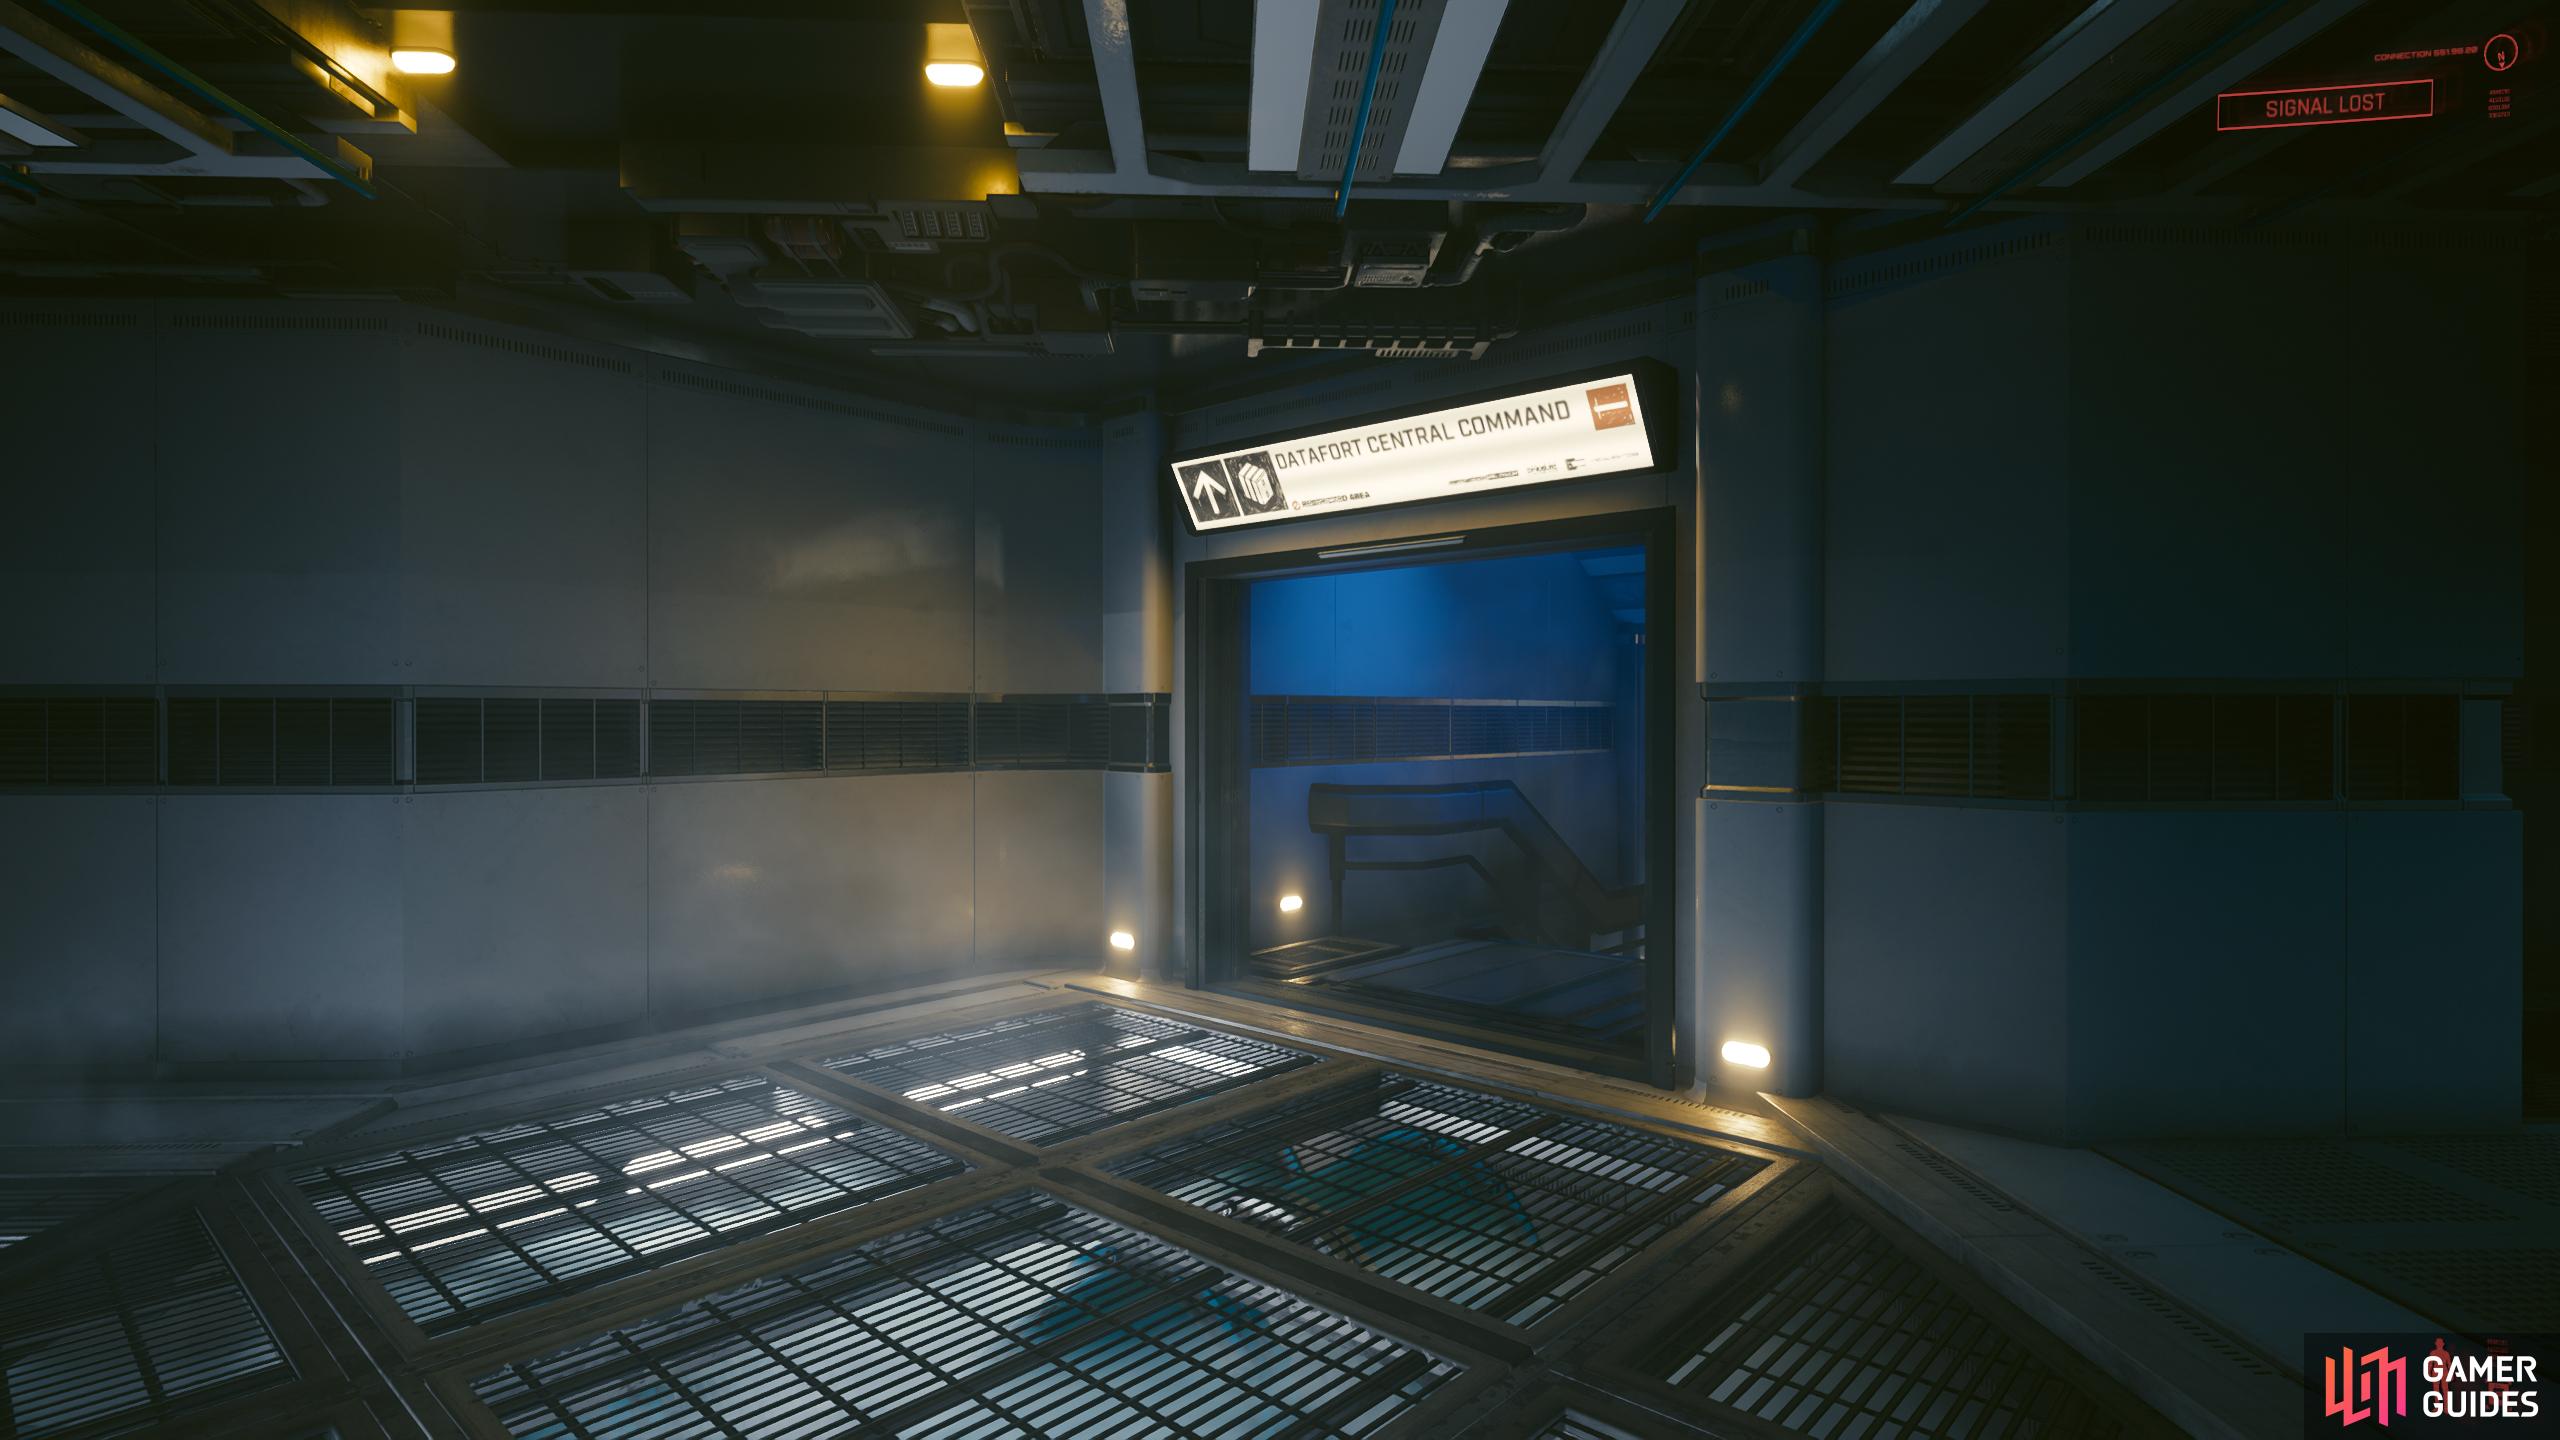
(1 of 7) On the same side of the room as the Thermic Control Room is the Datafort Room.
Return to the Core Control Room
When all the terminals have been disabled, head back to the Core Control room which can be accessed via the Observatory room. However, when you enter the room, Cerberus will drop into the room right above you! This is arguably the hardest part of the mission as you have to be quick without getting caught. Quickly sprint to the computers in the center of the room (where the holographic globe-like object is), and crouch around the opposite side it goes to. Cerberus will first check the side of the room it drops into. Then it will walk up the right side of the room toward the computers you’re standing at. Then it will go up the left side of the room, and check the back side of the room (near the Thermic Control door) before coming back down the right side where it’ll leave where it came from.
As you begin to leave, you’ll find Songbird crying on the stairs, and to the left of her is a container with a tier 5 Bounce Back MK.5. Pick it up, and leave the Observation room via the Neural Network door (force it open), and head back into the hallway. If you have Technical at 13 or above, you can get the tier 5 iconic Militech Canto MK.6 Cyberware crafting spec which unlocks the powerful Blackwall Gateway quickhack.
Use the Computer to Complete the Shutdown Procedure
When you’re ready, head back to the Core Control room, and interact with the computer for a scene. After the scene, you’ll be in Songbird’s memories, more specifically, back in her apartment in Brooklyn. In these scenes, you can talk to Songbird, and try to convince her that she’s safe, and/or tell her what’s going on. After she’s had the short scene in front of the mirror, she’ll disappear. At first, it may be difficult to know what to do, but head to the record player to the right of the window and interact with it to continue the memories.
After that scene plays out, open the front door for yet another memory, and then eventually she’ll start feeling sorry for herself. Either hug her, or shake her, and she’ll tell you to stop it and to meet her in the core.
All Somewhat Damaged Endings Explained
Before you enter the core, make a save as the next few choices will determine your ending then head around the walkway around the core for some hidden loot. It’s nothing spectacular, but you will get tier 5, and 4 clothing, so it’s worth getting, even if it’s just to disassemble them. When you’re ready, enter the core. Here is where you’ll make the first set of choices. Note, these endings are only for this specific mission, you’ll get another ending after the Phantom Liberty missions which gives you another ending to the main game.
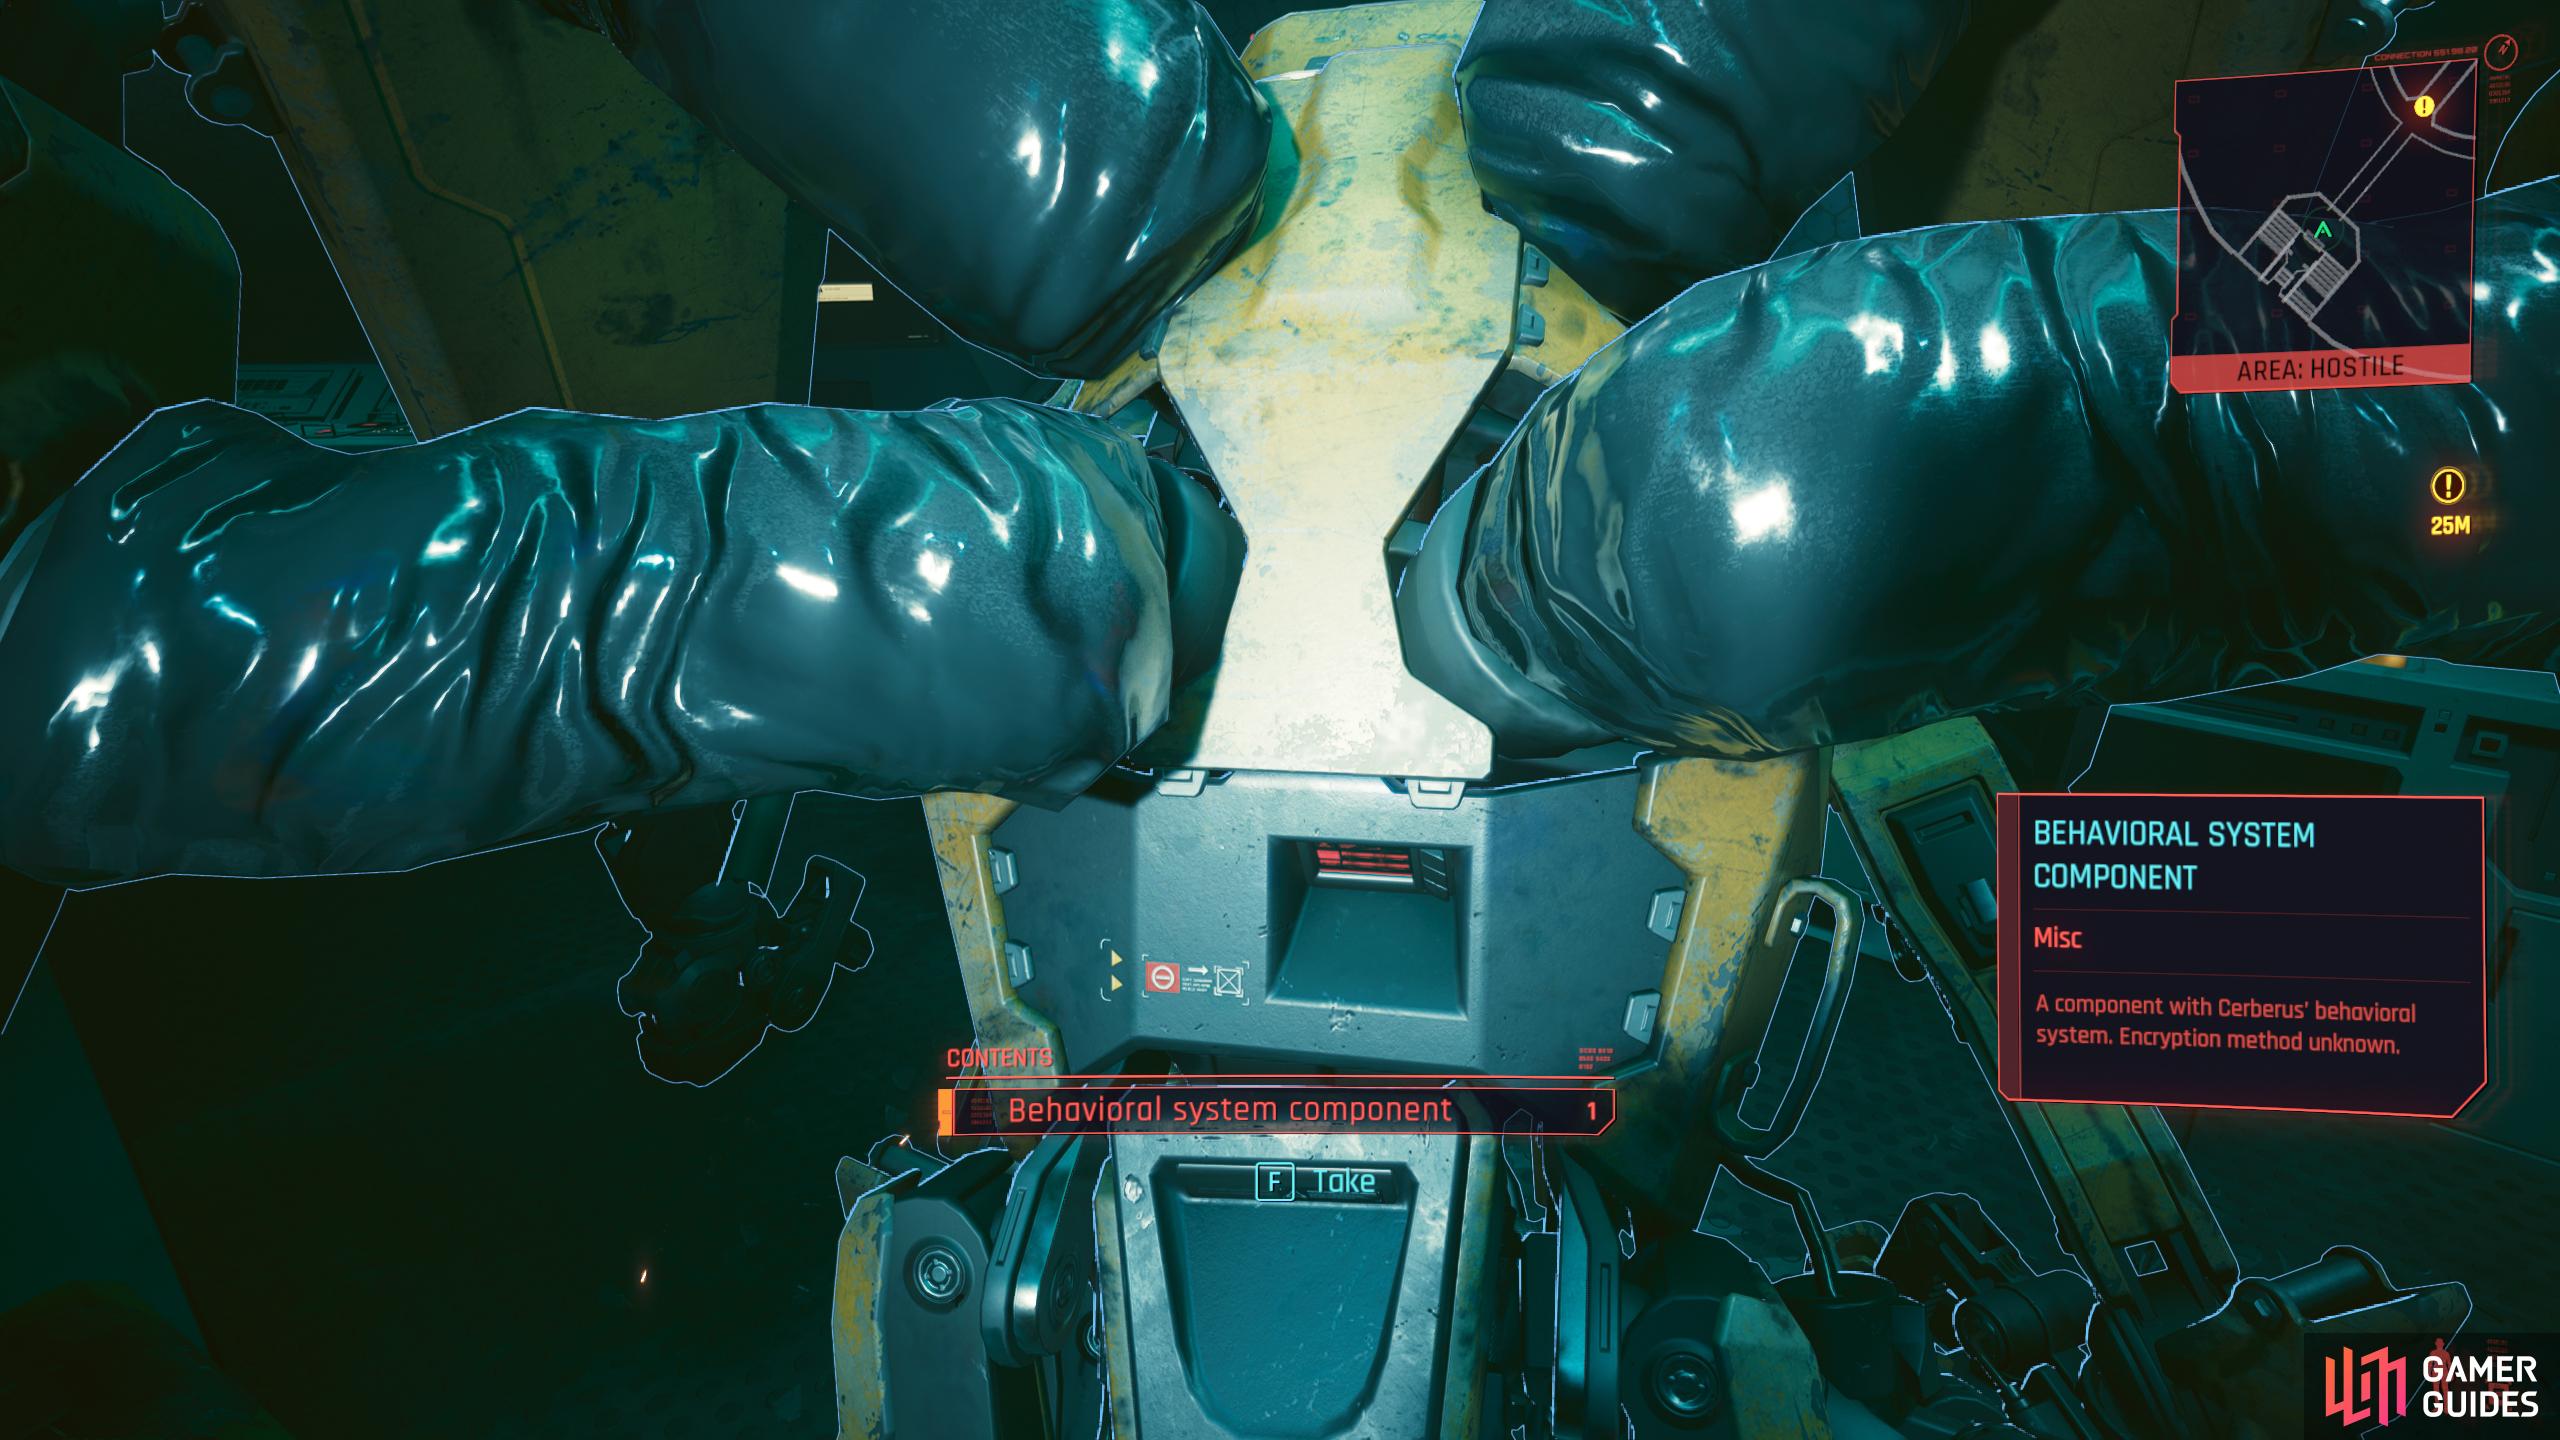
When Cerberus stops functioning, make sure you loot the Behavioral System Component of it.
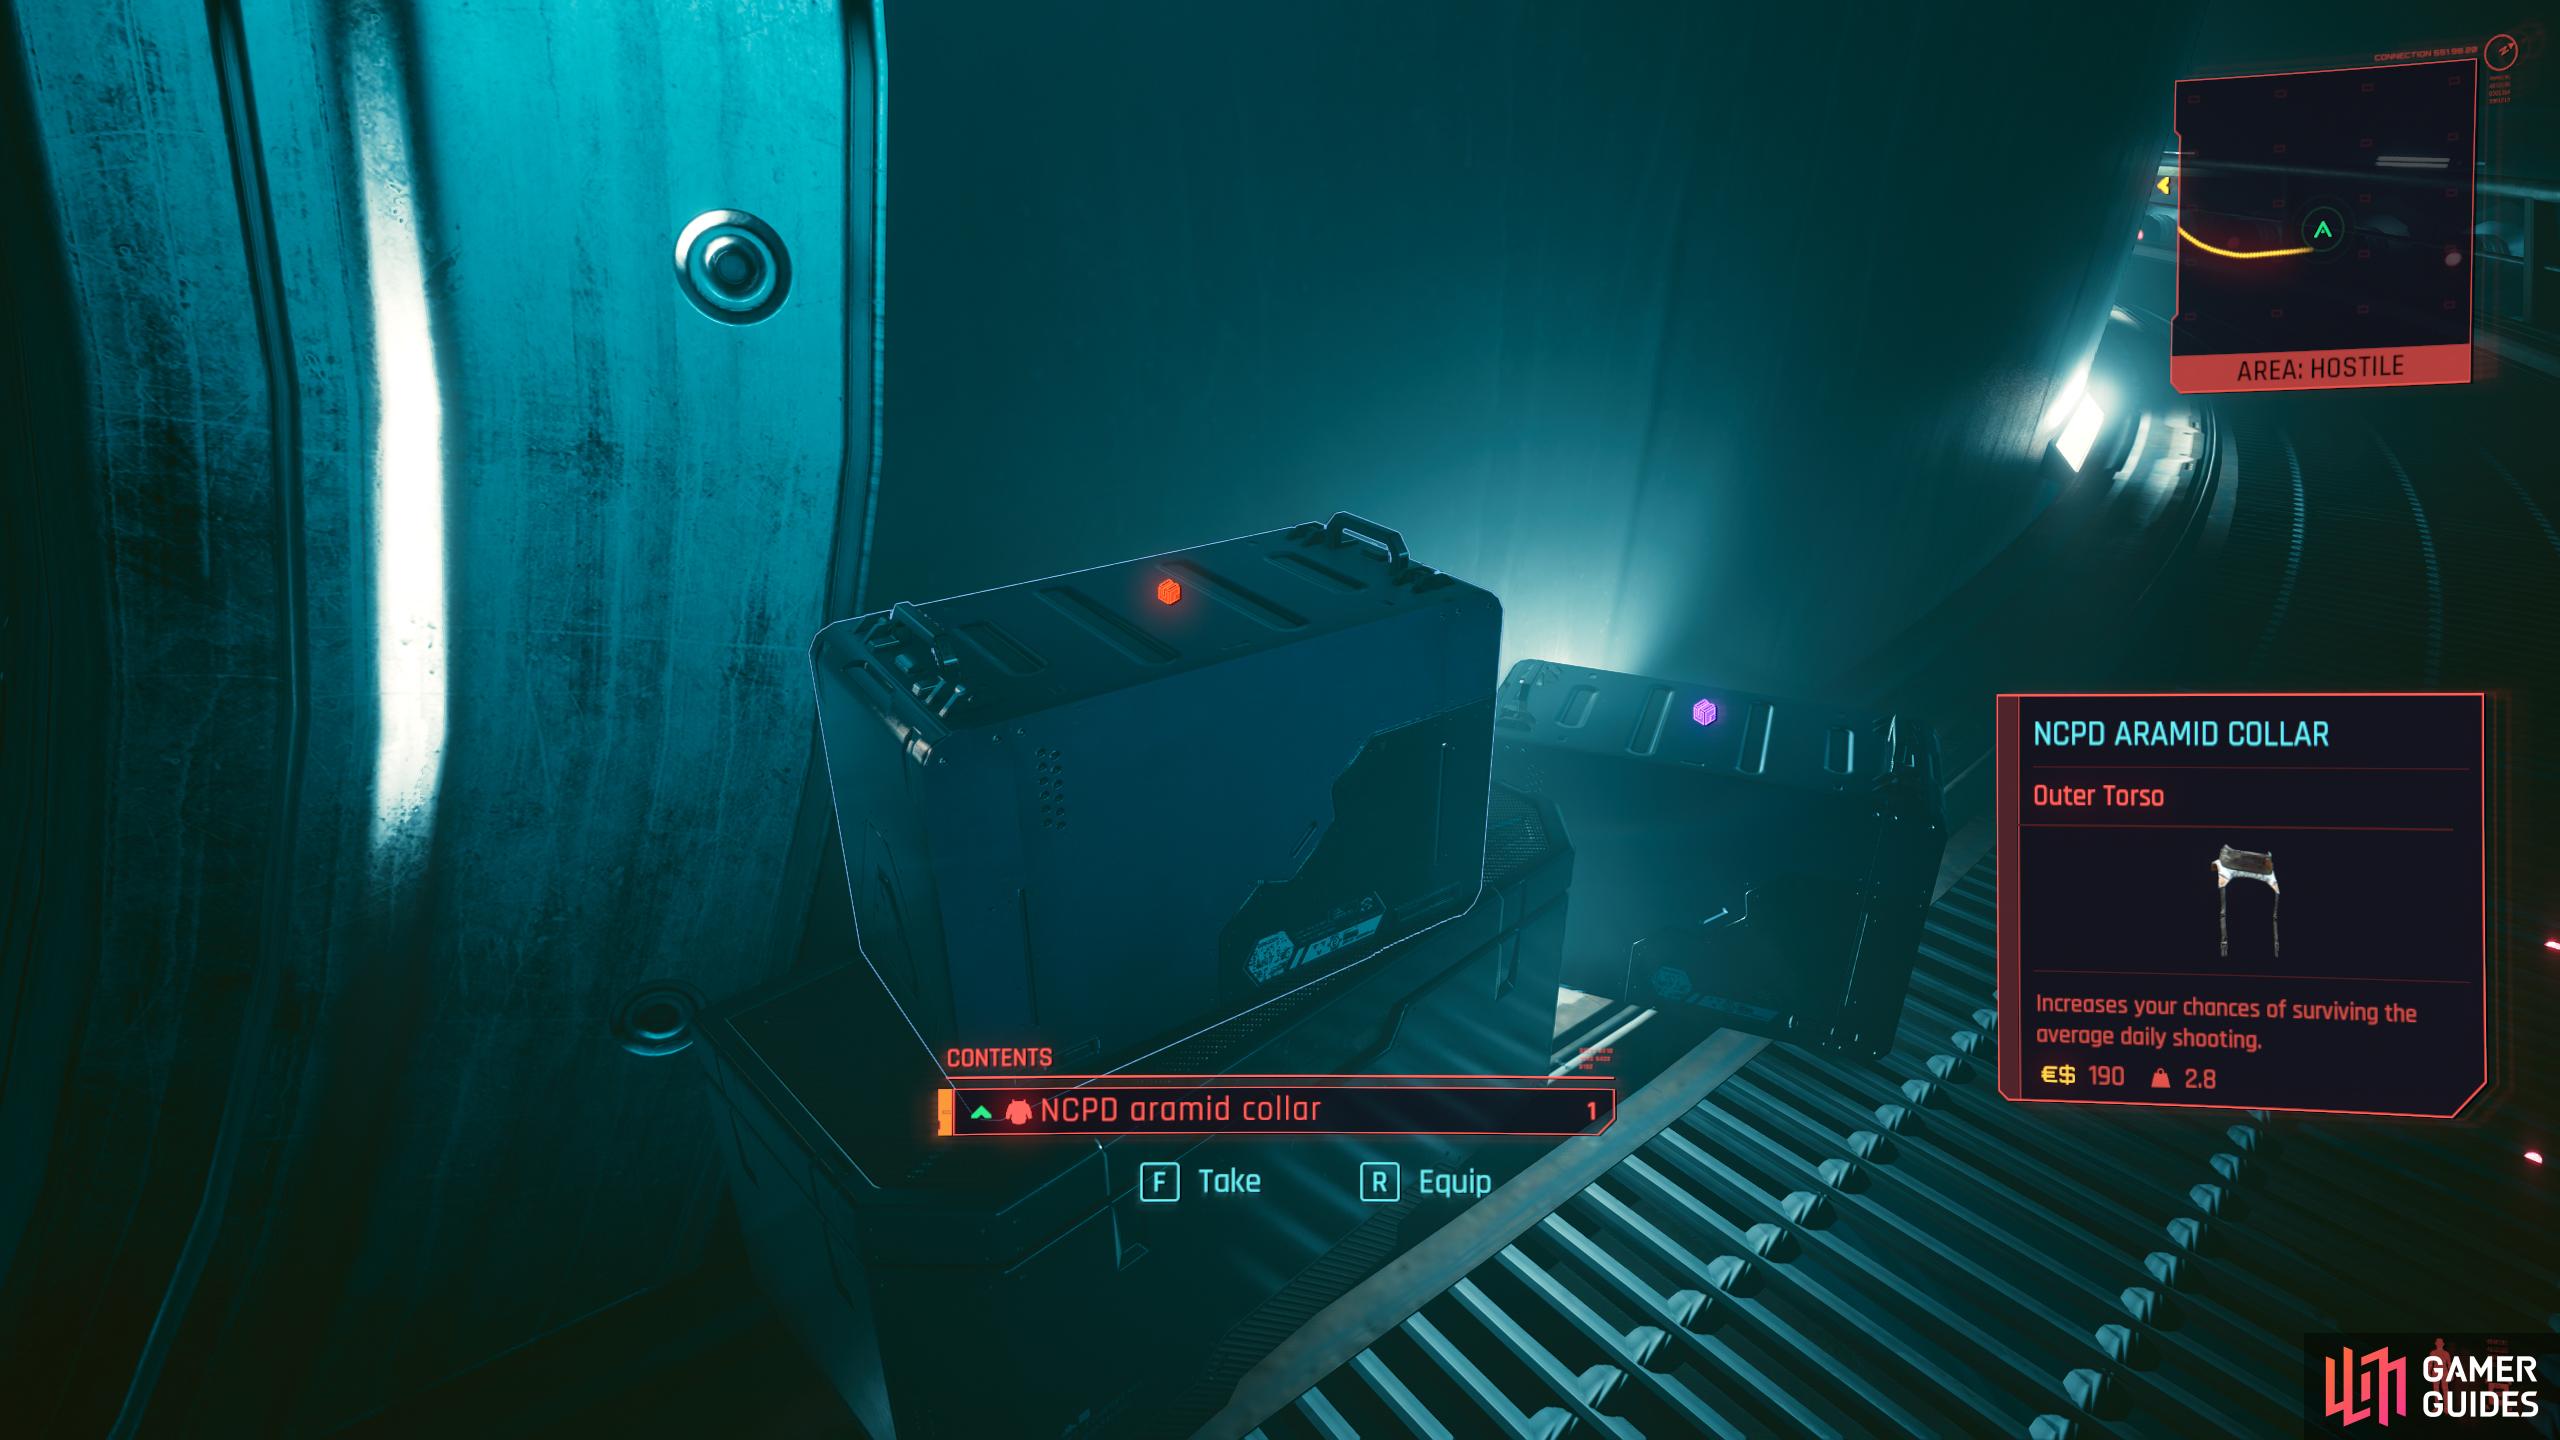
Before heading into the core, follow the walkway behind it to find some more loot.
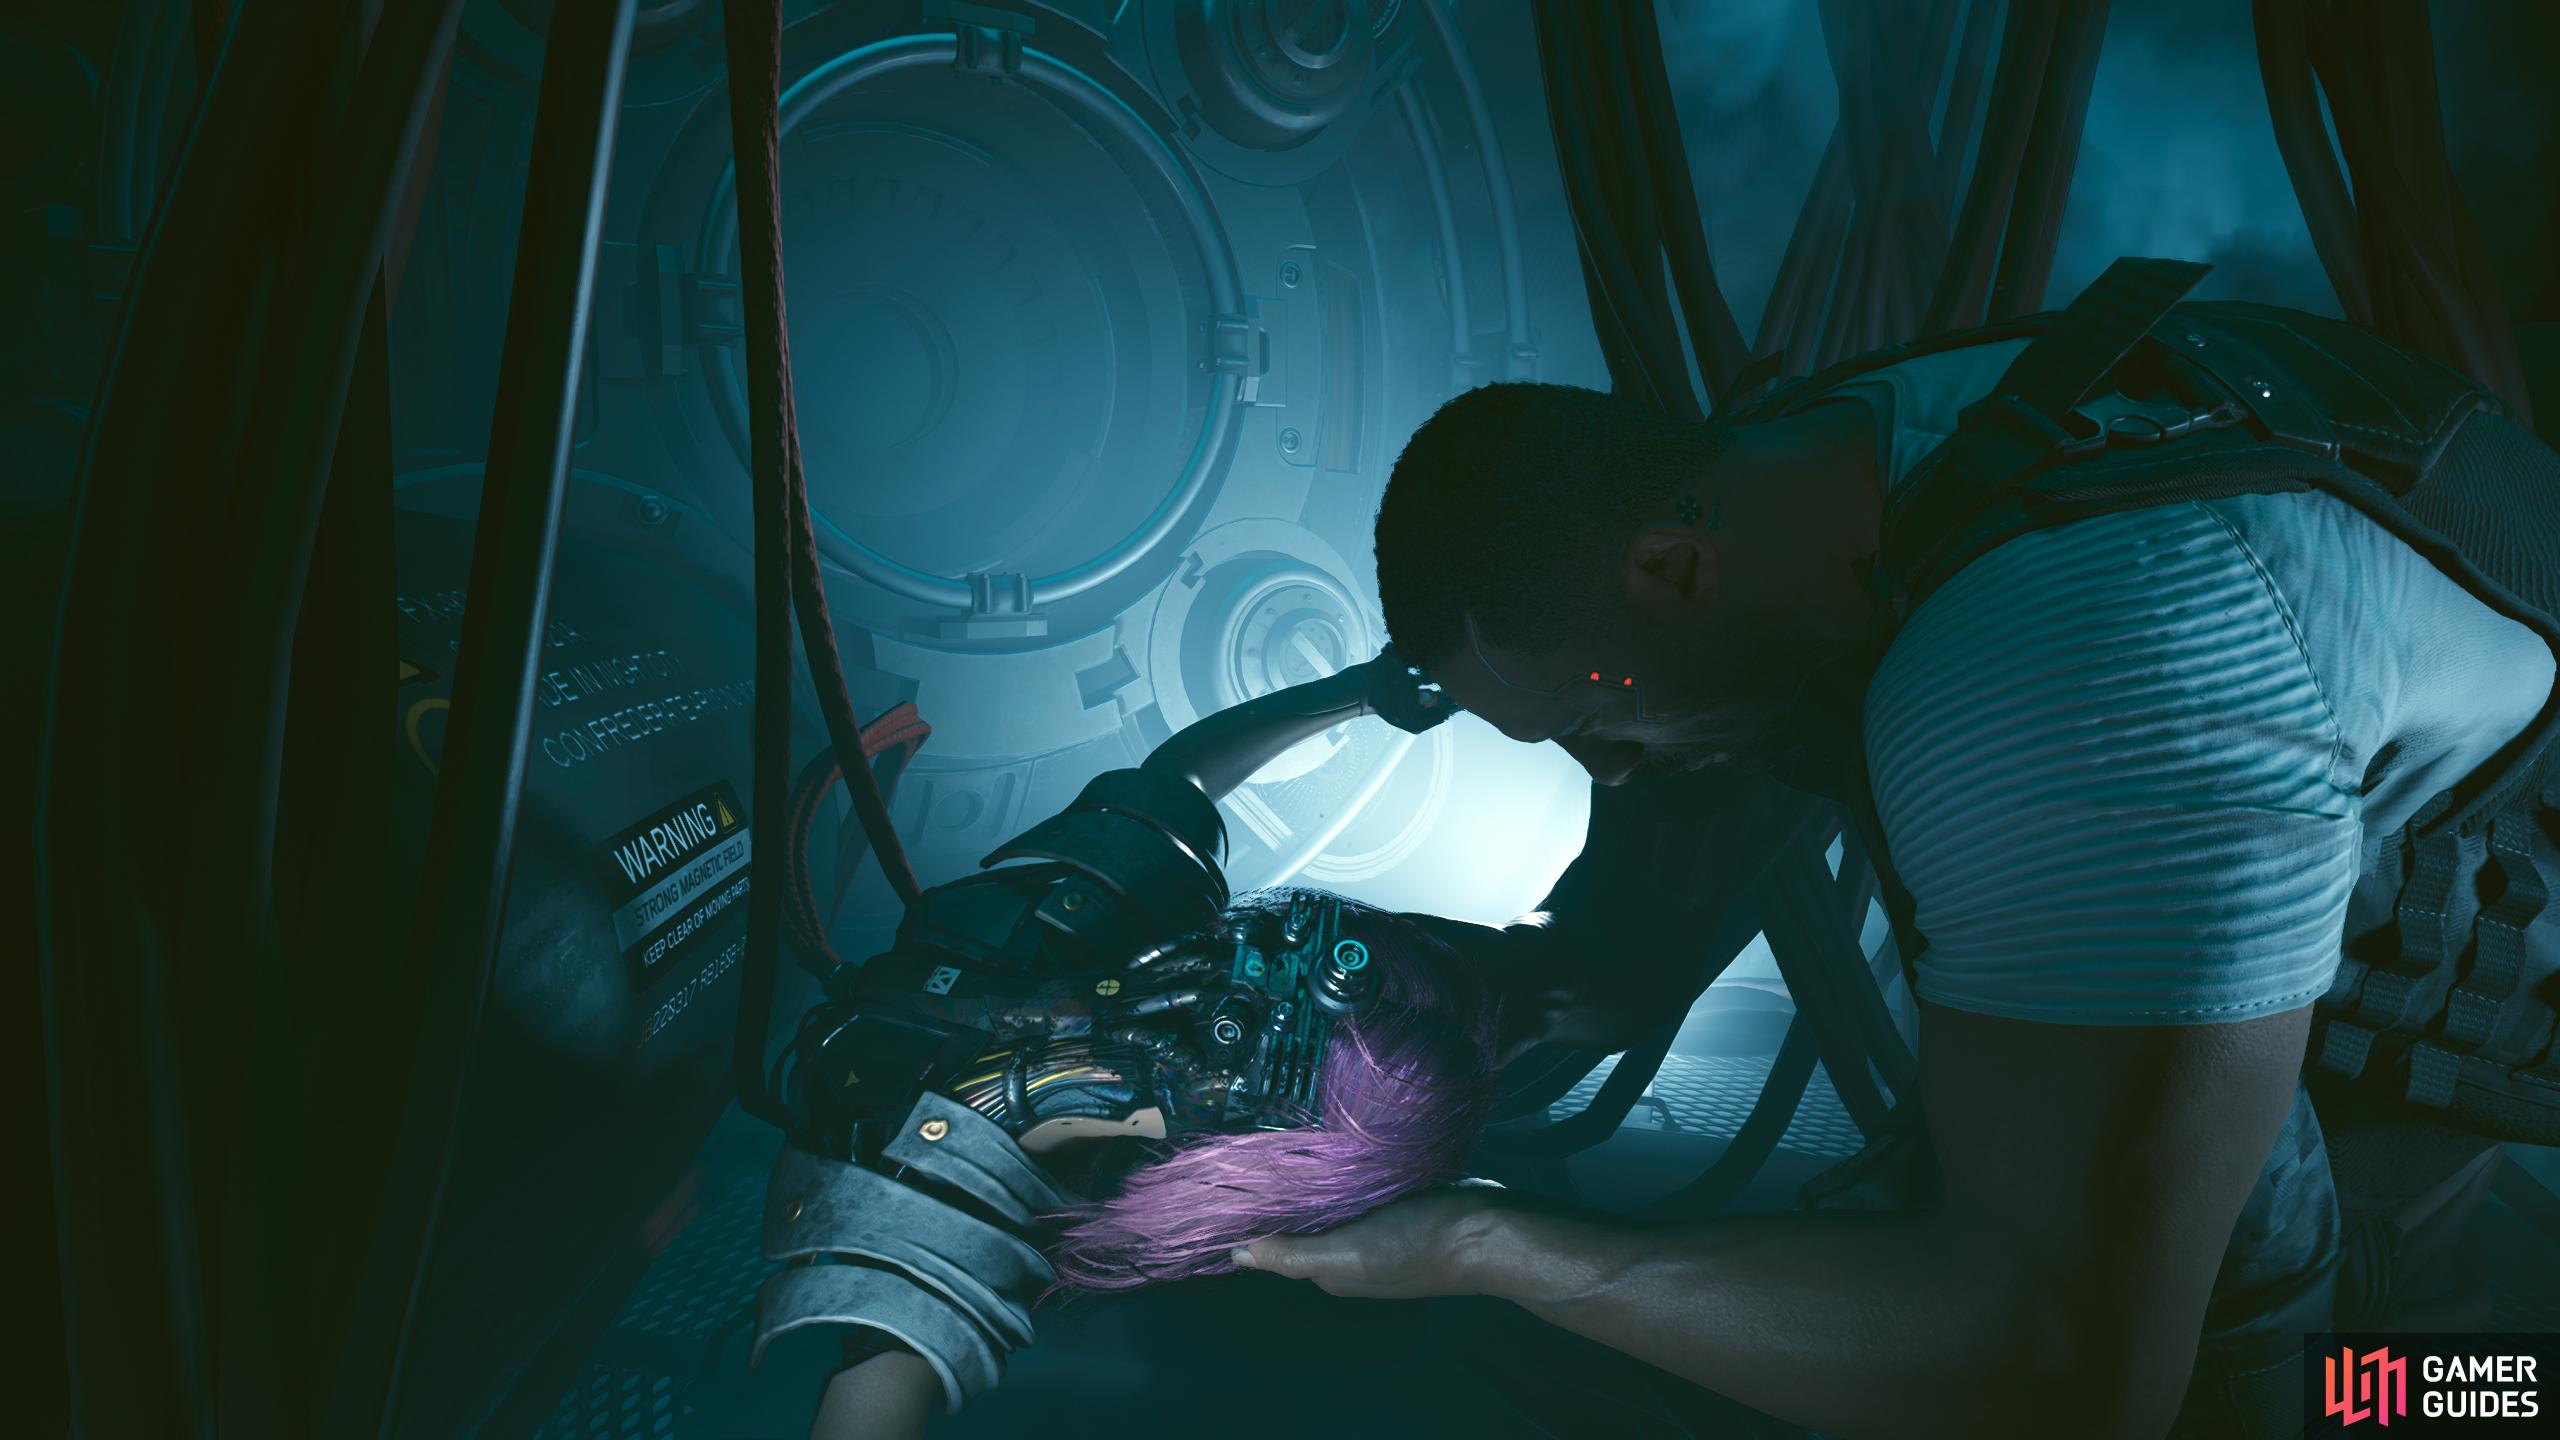
Kill Songbird / End So Mi’s life
When you get into the core and talk to Songbird, she’ll tell you that she doesn’t have much time left, and she wants you to end her life as she doesn’t have the strength to do it herself. If you choose this option, you’ll fulfill Songbird’s request, but Reed will blame you for it while also losing a lot of respect for you. On the ride back, he’ll barely speak to you other than a couple of times, and he’ll be blaming you for what transpired.
This will have a knock-on on effect with President Myers, as your job was to bring her back alive. Now, you can still get a reward from Myers, but it’ll require some proper butt kissing, and you’ll only get a paltry 5,000 credits due to you not bringing Songbird back alive.
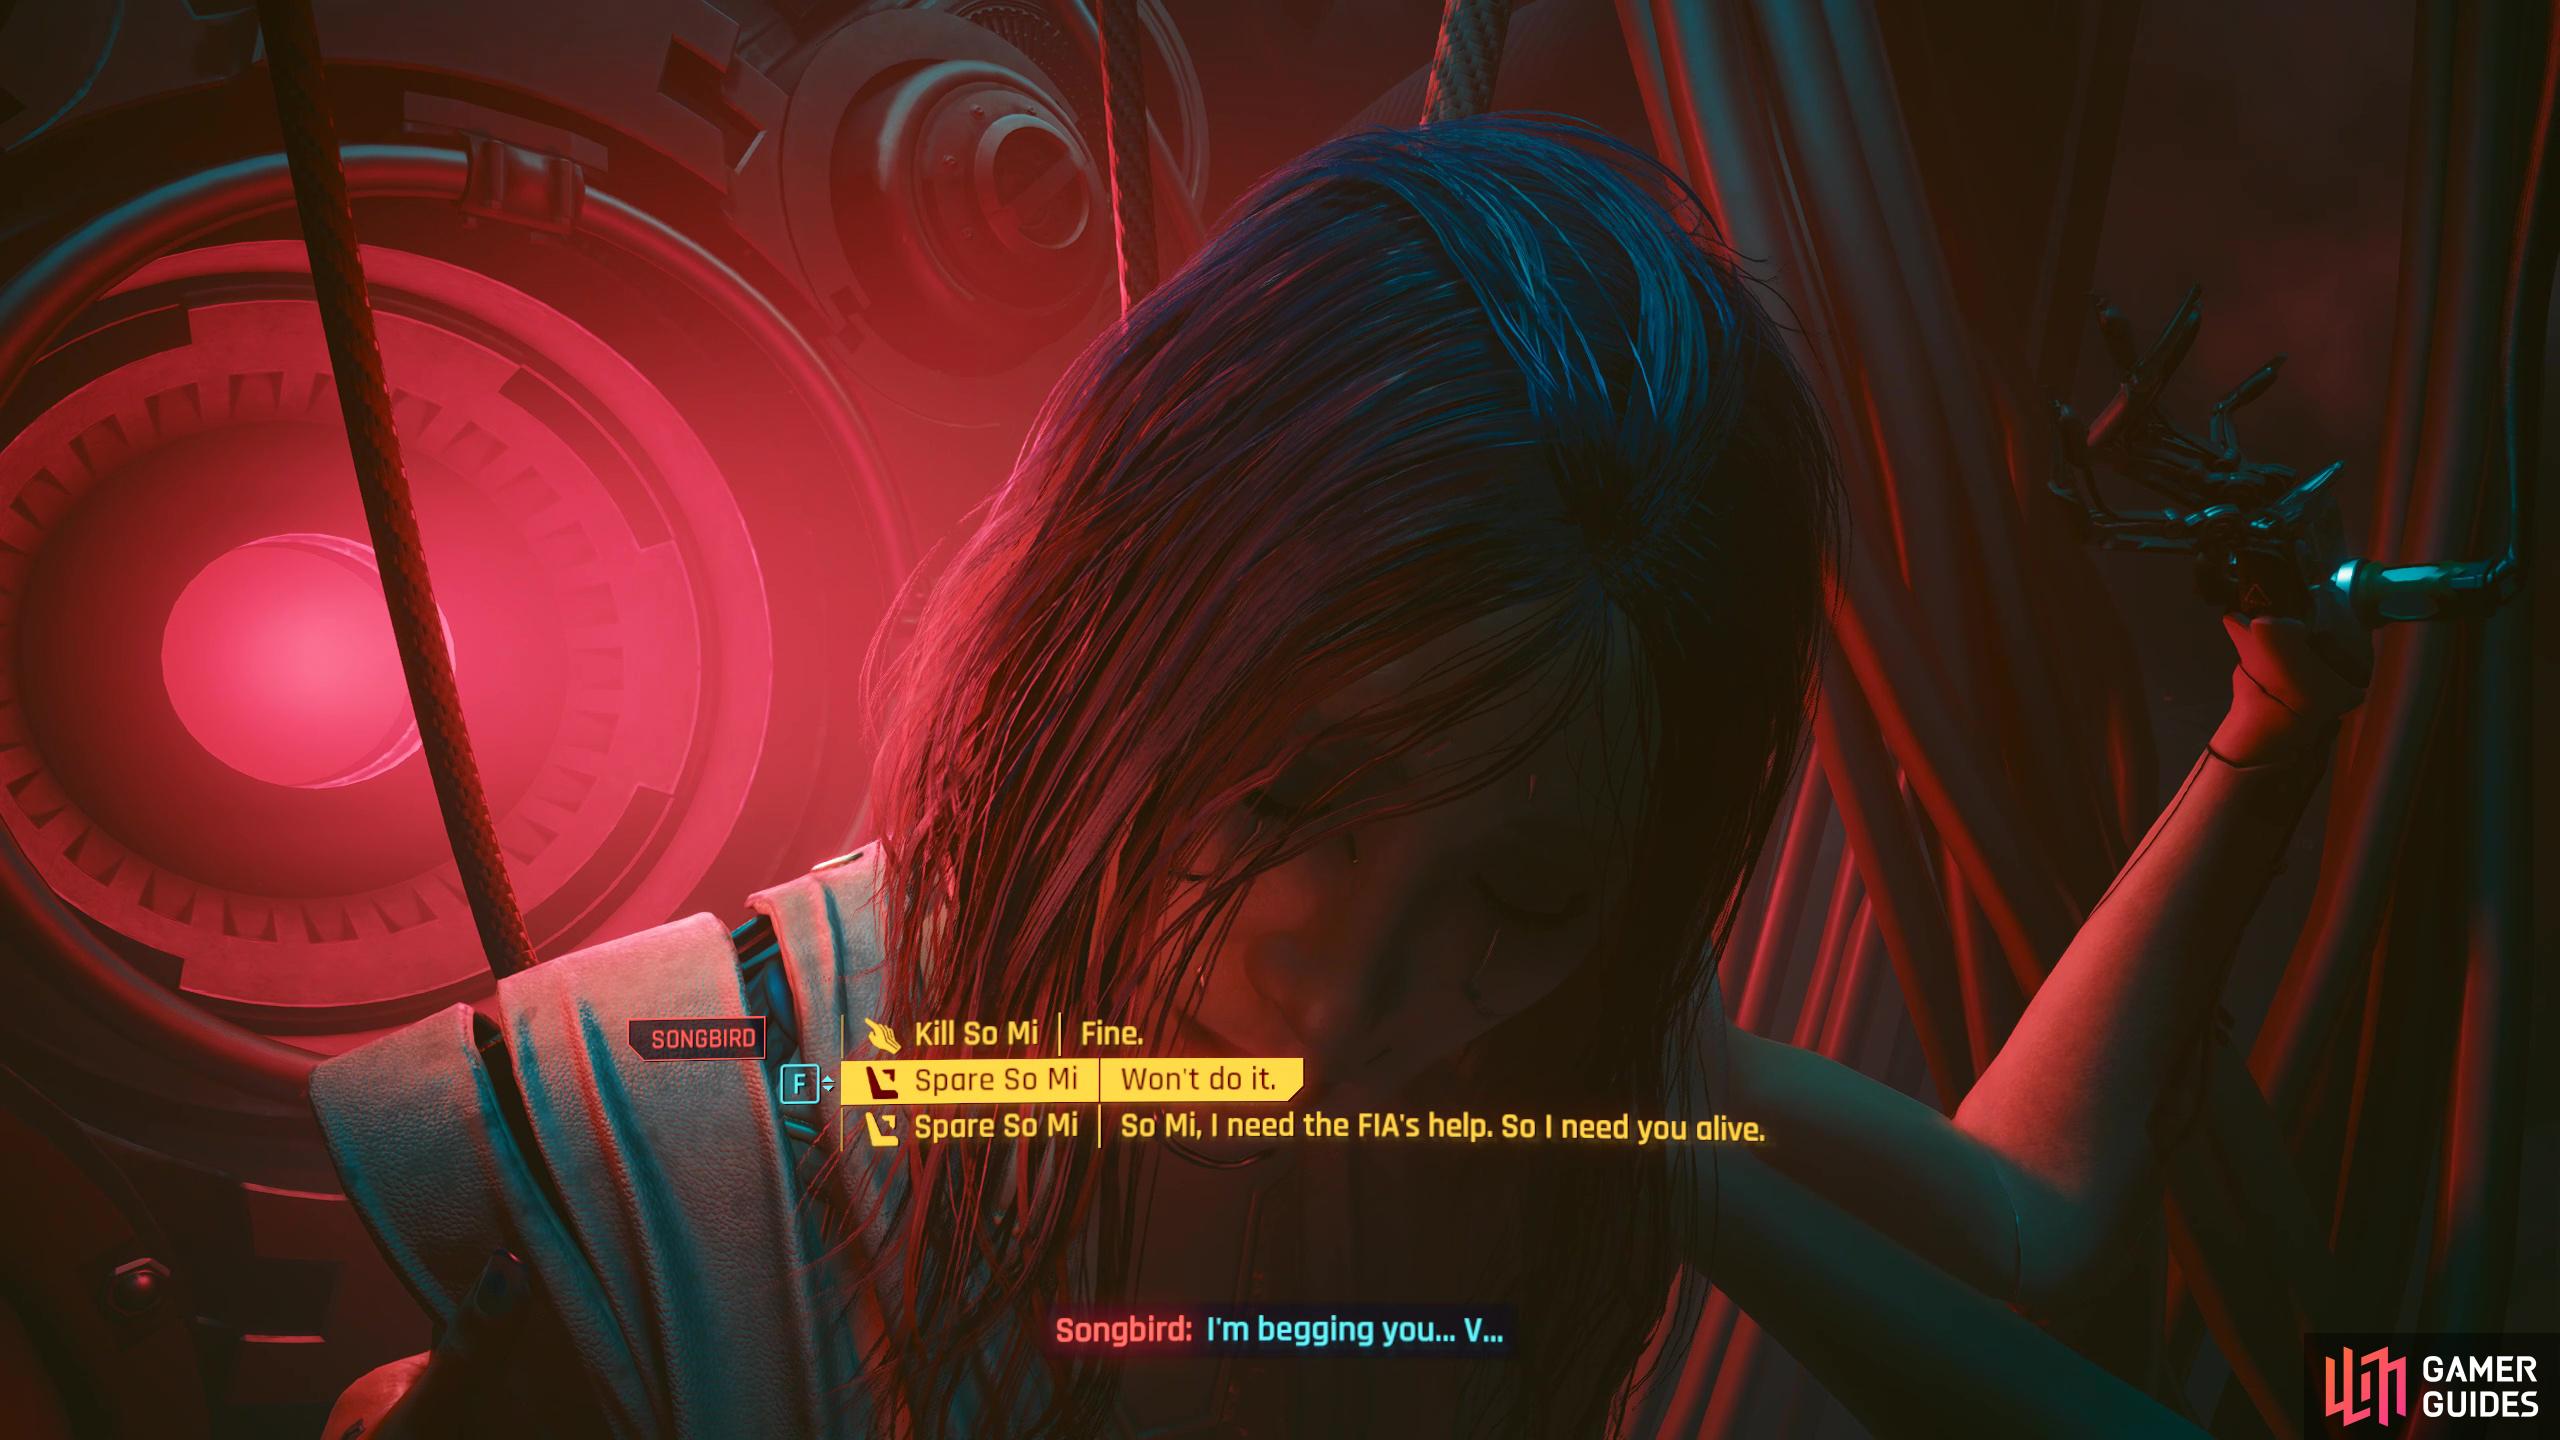
Songbird will ask for you to end her. This choice will change the ending, so pick carefully.
If you agree to her request, Reed will not be happy with you, neither will Myers.
That’s not a Solution / Save Songbird
When Songbird asks you to kill her, you can ask her “What if I refuse”, and she’ll tell you what the future holds for her if you don’t do as she pleads. Now, saving Songbird is bad for Songbird, as it’s clear she’d rather die than be kept in this state. On the other hand, you only get your cure if you save her (which you can tell her), plus both Reed and President Myers will be happy with the outcome. If you want to save her, tell her “That’s not a Solution”, and Reed will appear, and you’ll take her back to his car. Reed is still upset, but he thinks you did the right thing.

Shake Myers’s hand, and take the medal if you want your cure. That’s assuming that you saved Songbird.
When you get to President Myers, shake her hand (President or Rosalind), accept the medal, then ask her what was promised, and she’ll tell you that Reed will speak to you about the details. In the post-story mission, you’ll find out that Songbird is still alive, but the FIA can’t fix her deterioration, so she was right, that the Blackwall will take over, and she’ll be a puppet for the President. Still, you’ll get your end of the bargain, the cure, so it’s not all bad, right?
No Comments