
While you may have been lured into Dogtown by Songbird’s promises, her eccentricities and long absence have led to you collaborating more with the FIA, specifically Reed and Alex. Spooks and liars abound, but Reed’s promise to ensure you get the help you need holds more weight, and the NUSA’s resources are greater than Songbird’s vague IOU. Plus, who can betray Idris Elba? That being the case, you’ve decided to side with the more competent and reliable Reed instead of the flakey, loose-cannon Songbird… likely infested with who knows what kind of malicious AI from beyond the Black Wall, and if this ailing Songbird has to remain caged for you to get the cure you seek, so be it. This page will provide a walkthrough for the Reed route of the main job **Firestarter in Cyberpunk 2077 Phantom Liberty, including details on how to defeat Hansen and obtain his iconic weapons, Fang, Wild Dog and Bald Eagle.
During the main job Firestarter you’ll have to either betray Songbird or betray Reed - choose to side with Reed to start this route.
How to Side with Reed During Firestarter
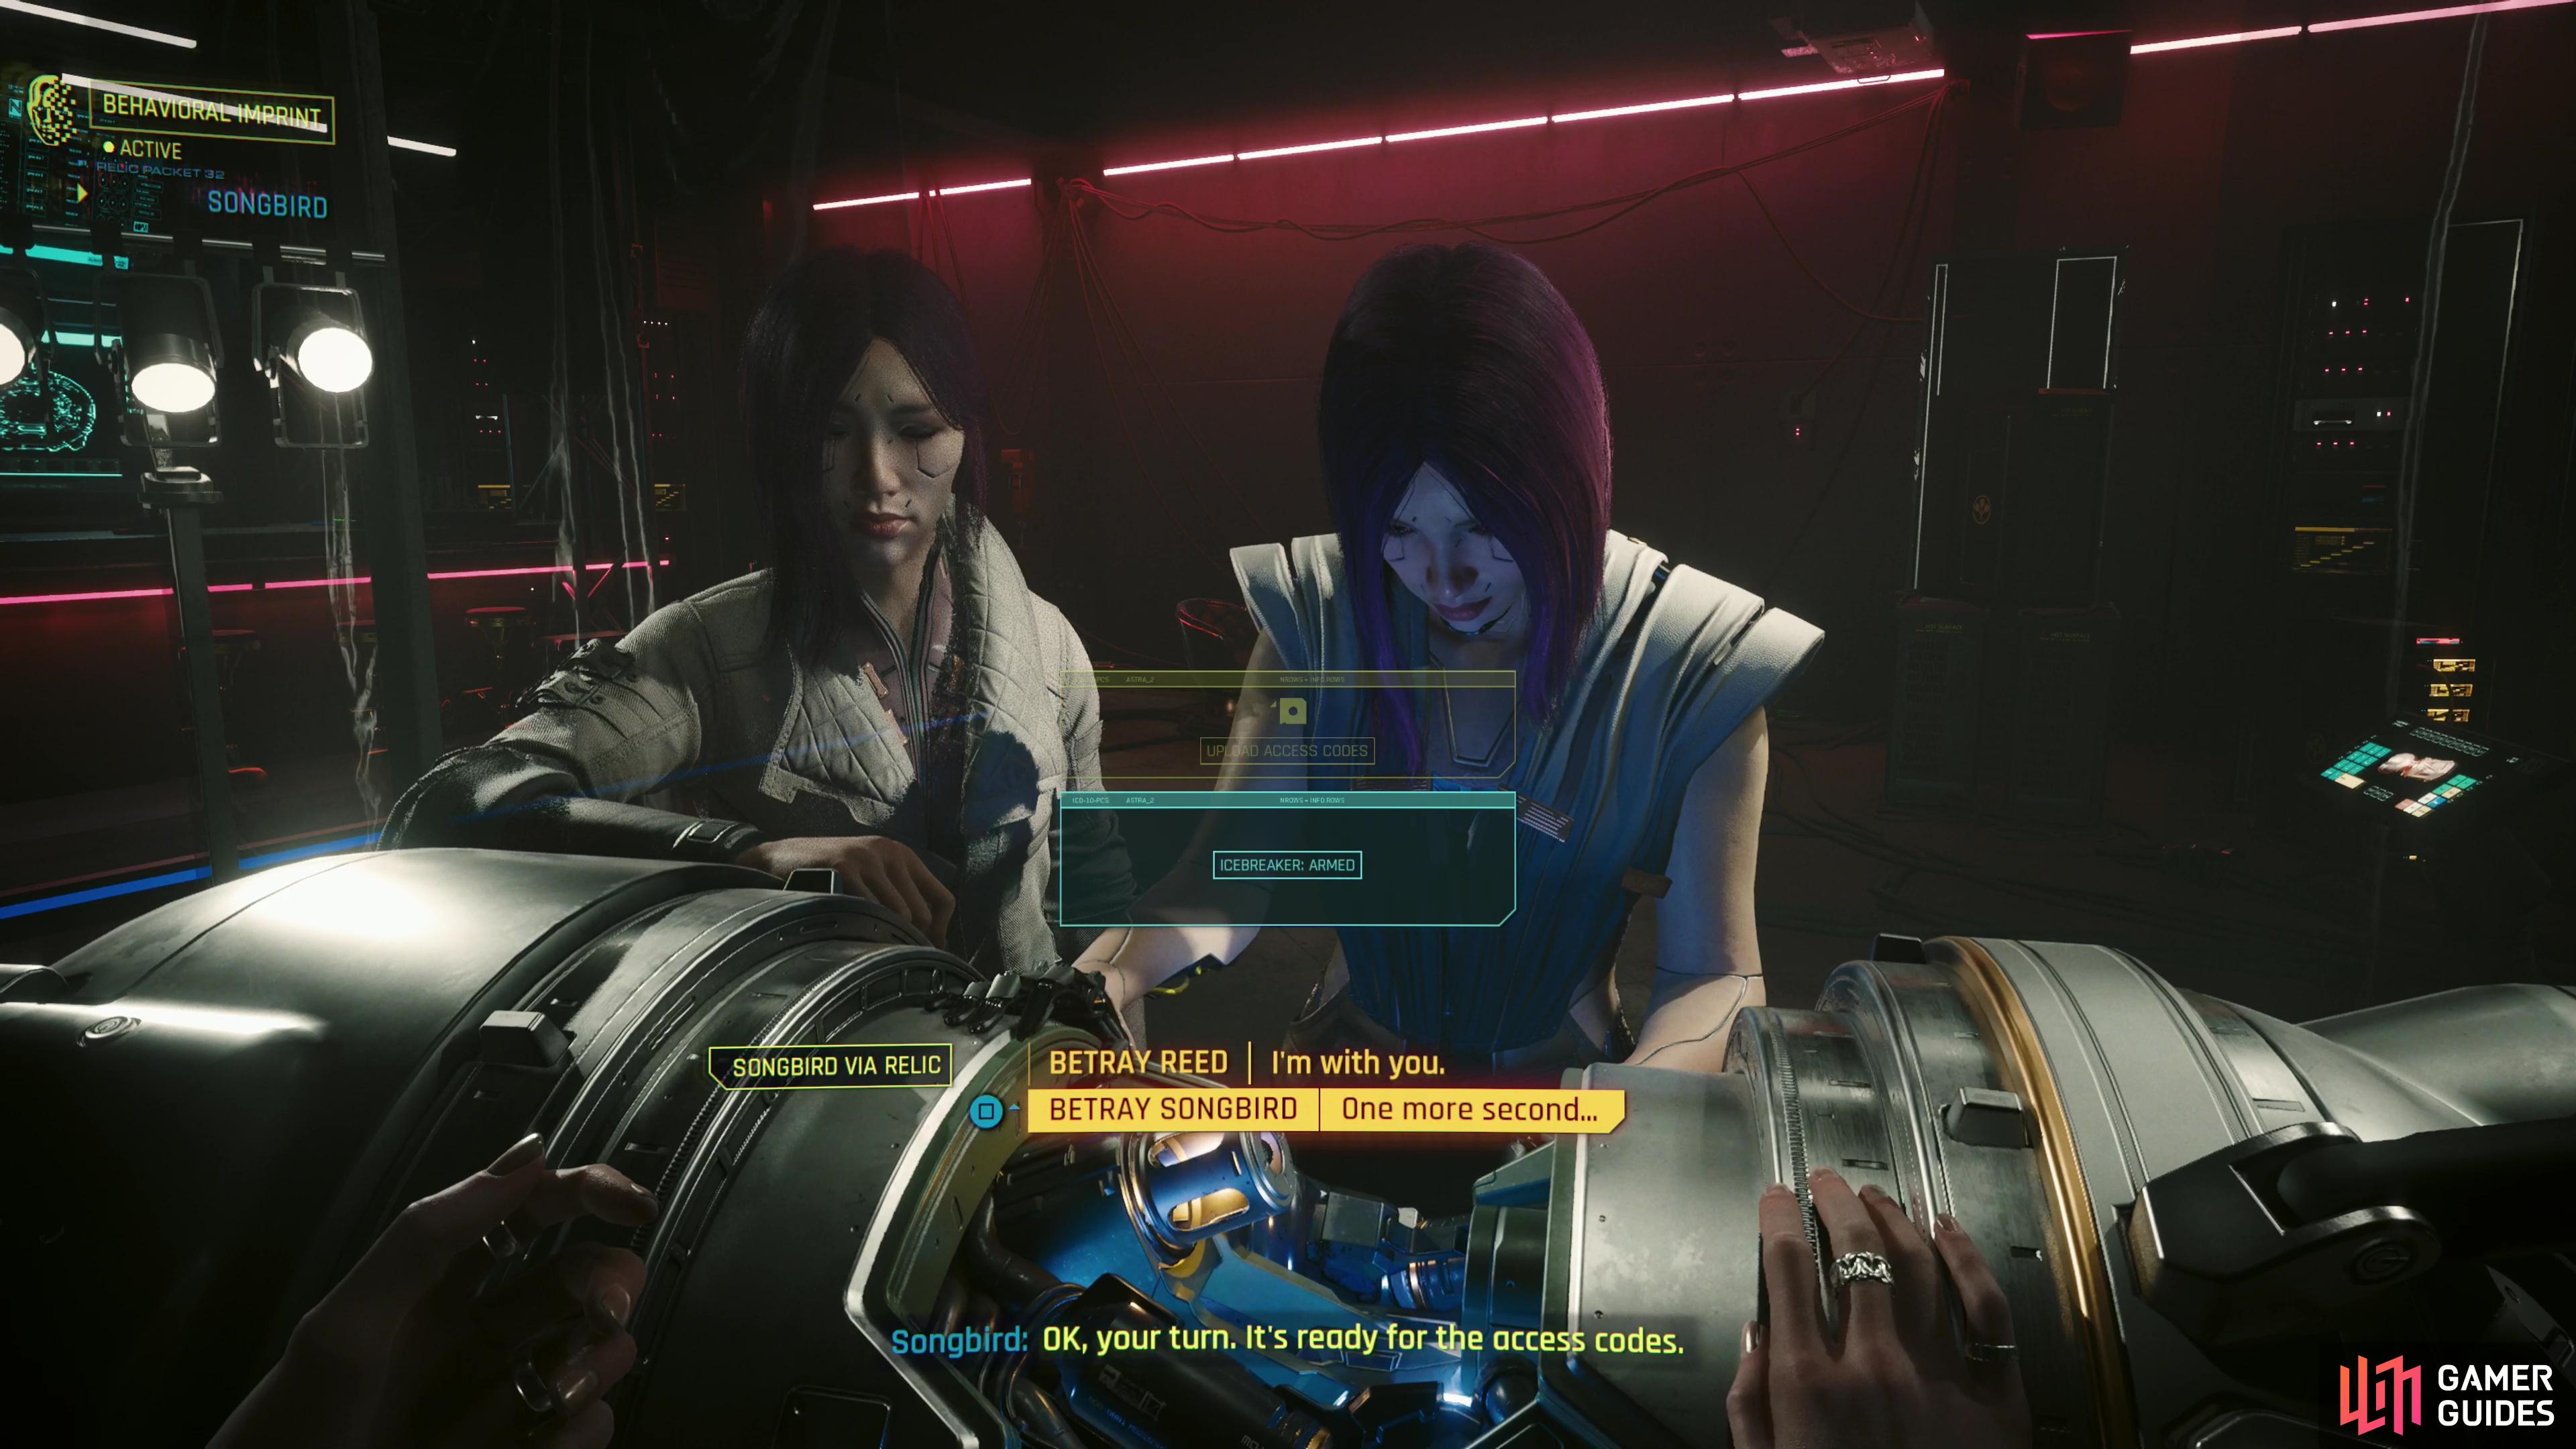
During the first half of Firestarter, your chief goal will be passing Hansen’s scrutiny while disguised as the netrunner twins, whose mannerisms you’ll have to mimic in order to rendezvous with Songbird near the mainframe. Succeed at this and you’ll be presented with two choices:
- Betray Reed | I’m with you.
- Betray Songbird | One more second…
After detecting your ICEbreaker, Songbird will tip off Hansen, who will kill Alex,

only to turn full cyberpscyho a few moments later, when your ICEbreaker finally does its job.
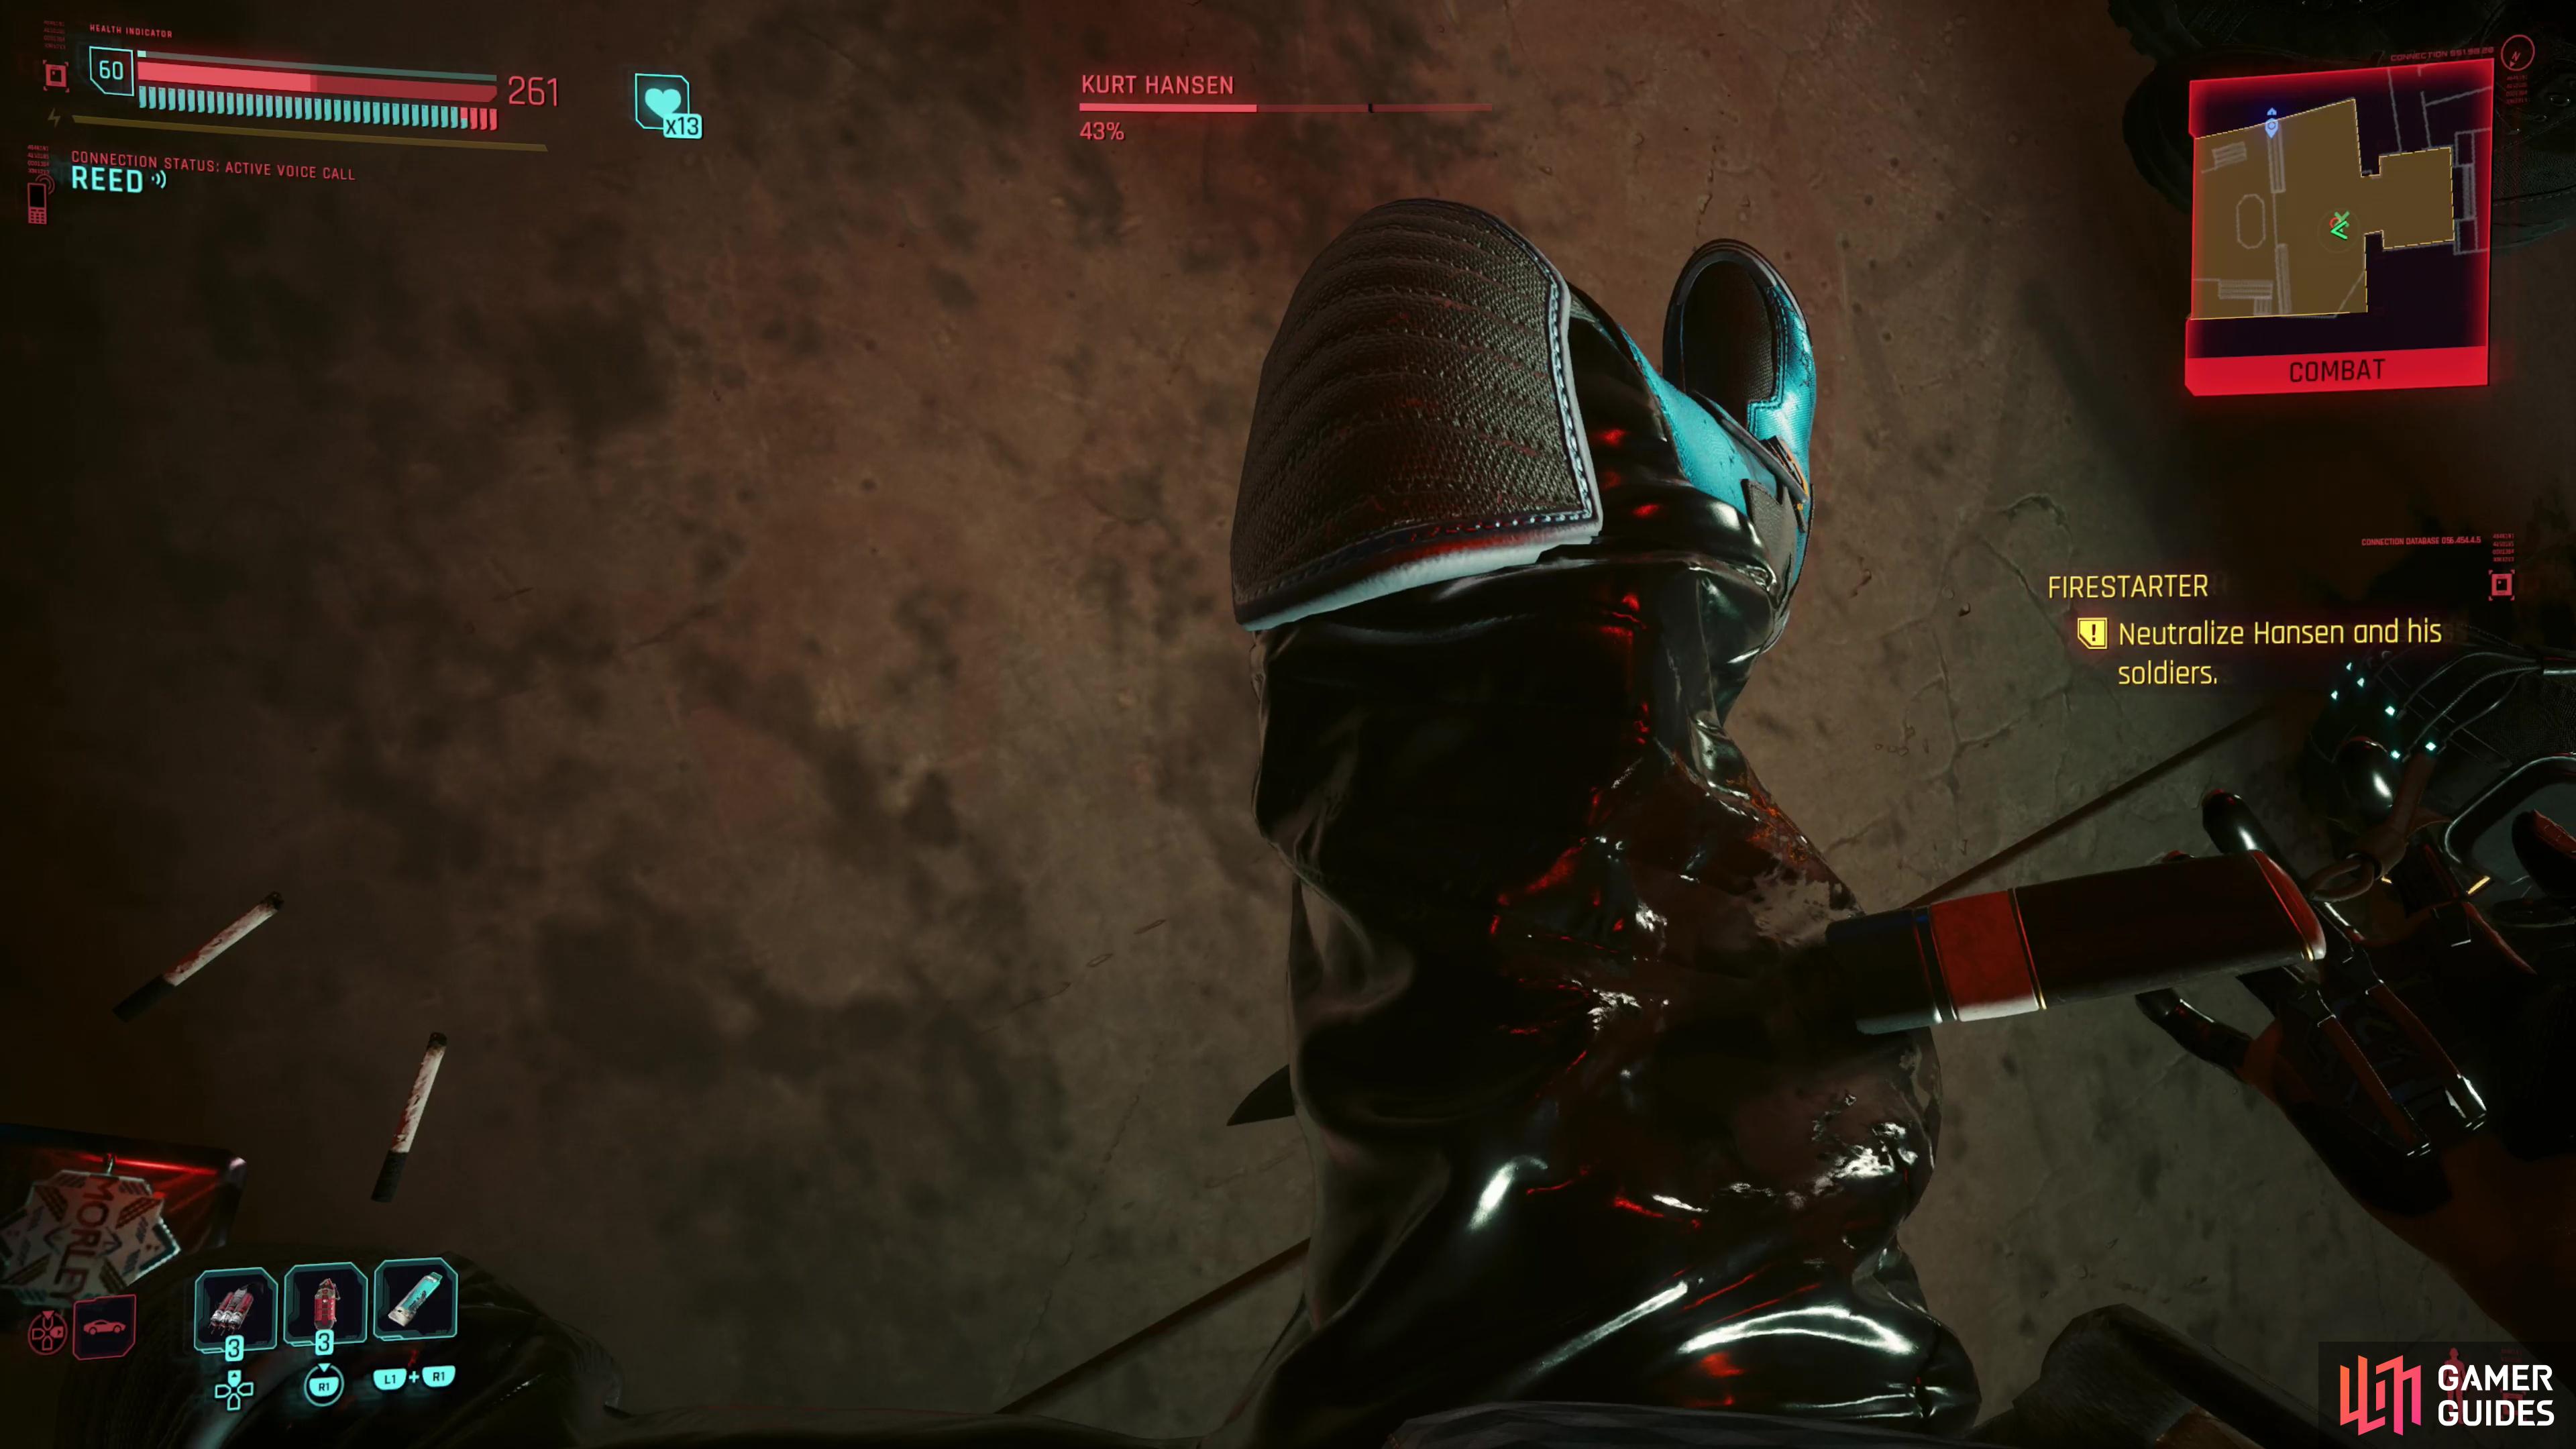
To start this route, you must pick the option Betray Songbird | One more second…, which leads to Songbird going cyberpsycho and devastating the stadium before she makes her escape. There are many consequences to this; not only will the stadium be in worse shape following in Songbird’s wake, but Hansen will kill Alex. Worse still, since you won’t have Songbird accompanying you during the rest of this job, you’ll be left to deal with the heavy BARGHEST response on your own, and there will be more BARGHESt enemies in your way since you didn’t take out Hansen. Speaking of Hansen, you’ll also have to fight him before you can escape, and he’s a proper boss unlike the alternative, Murphy, who opposes you in Songbird’s route. Defeating Hansen will get you all of his iconic weapons, including his knife Fang, but you won’t get Murphy’s iconic weapon Murphy’s Law, making it something of a wash, as far as rewards go.
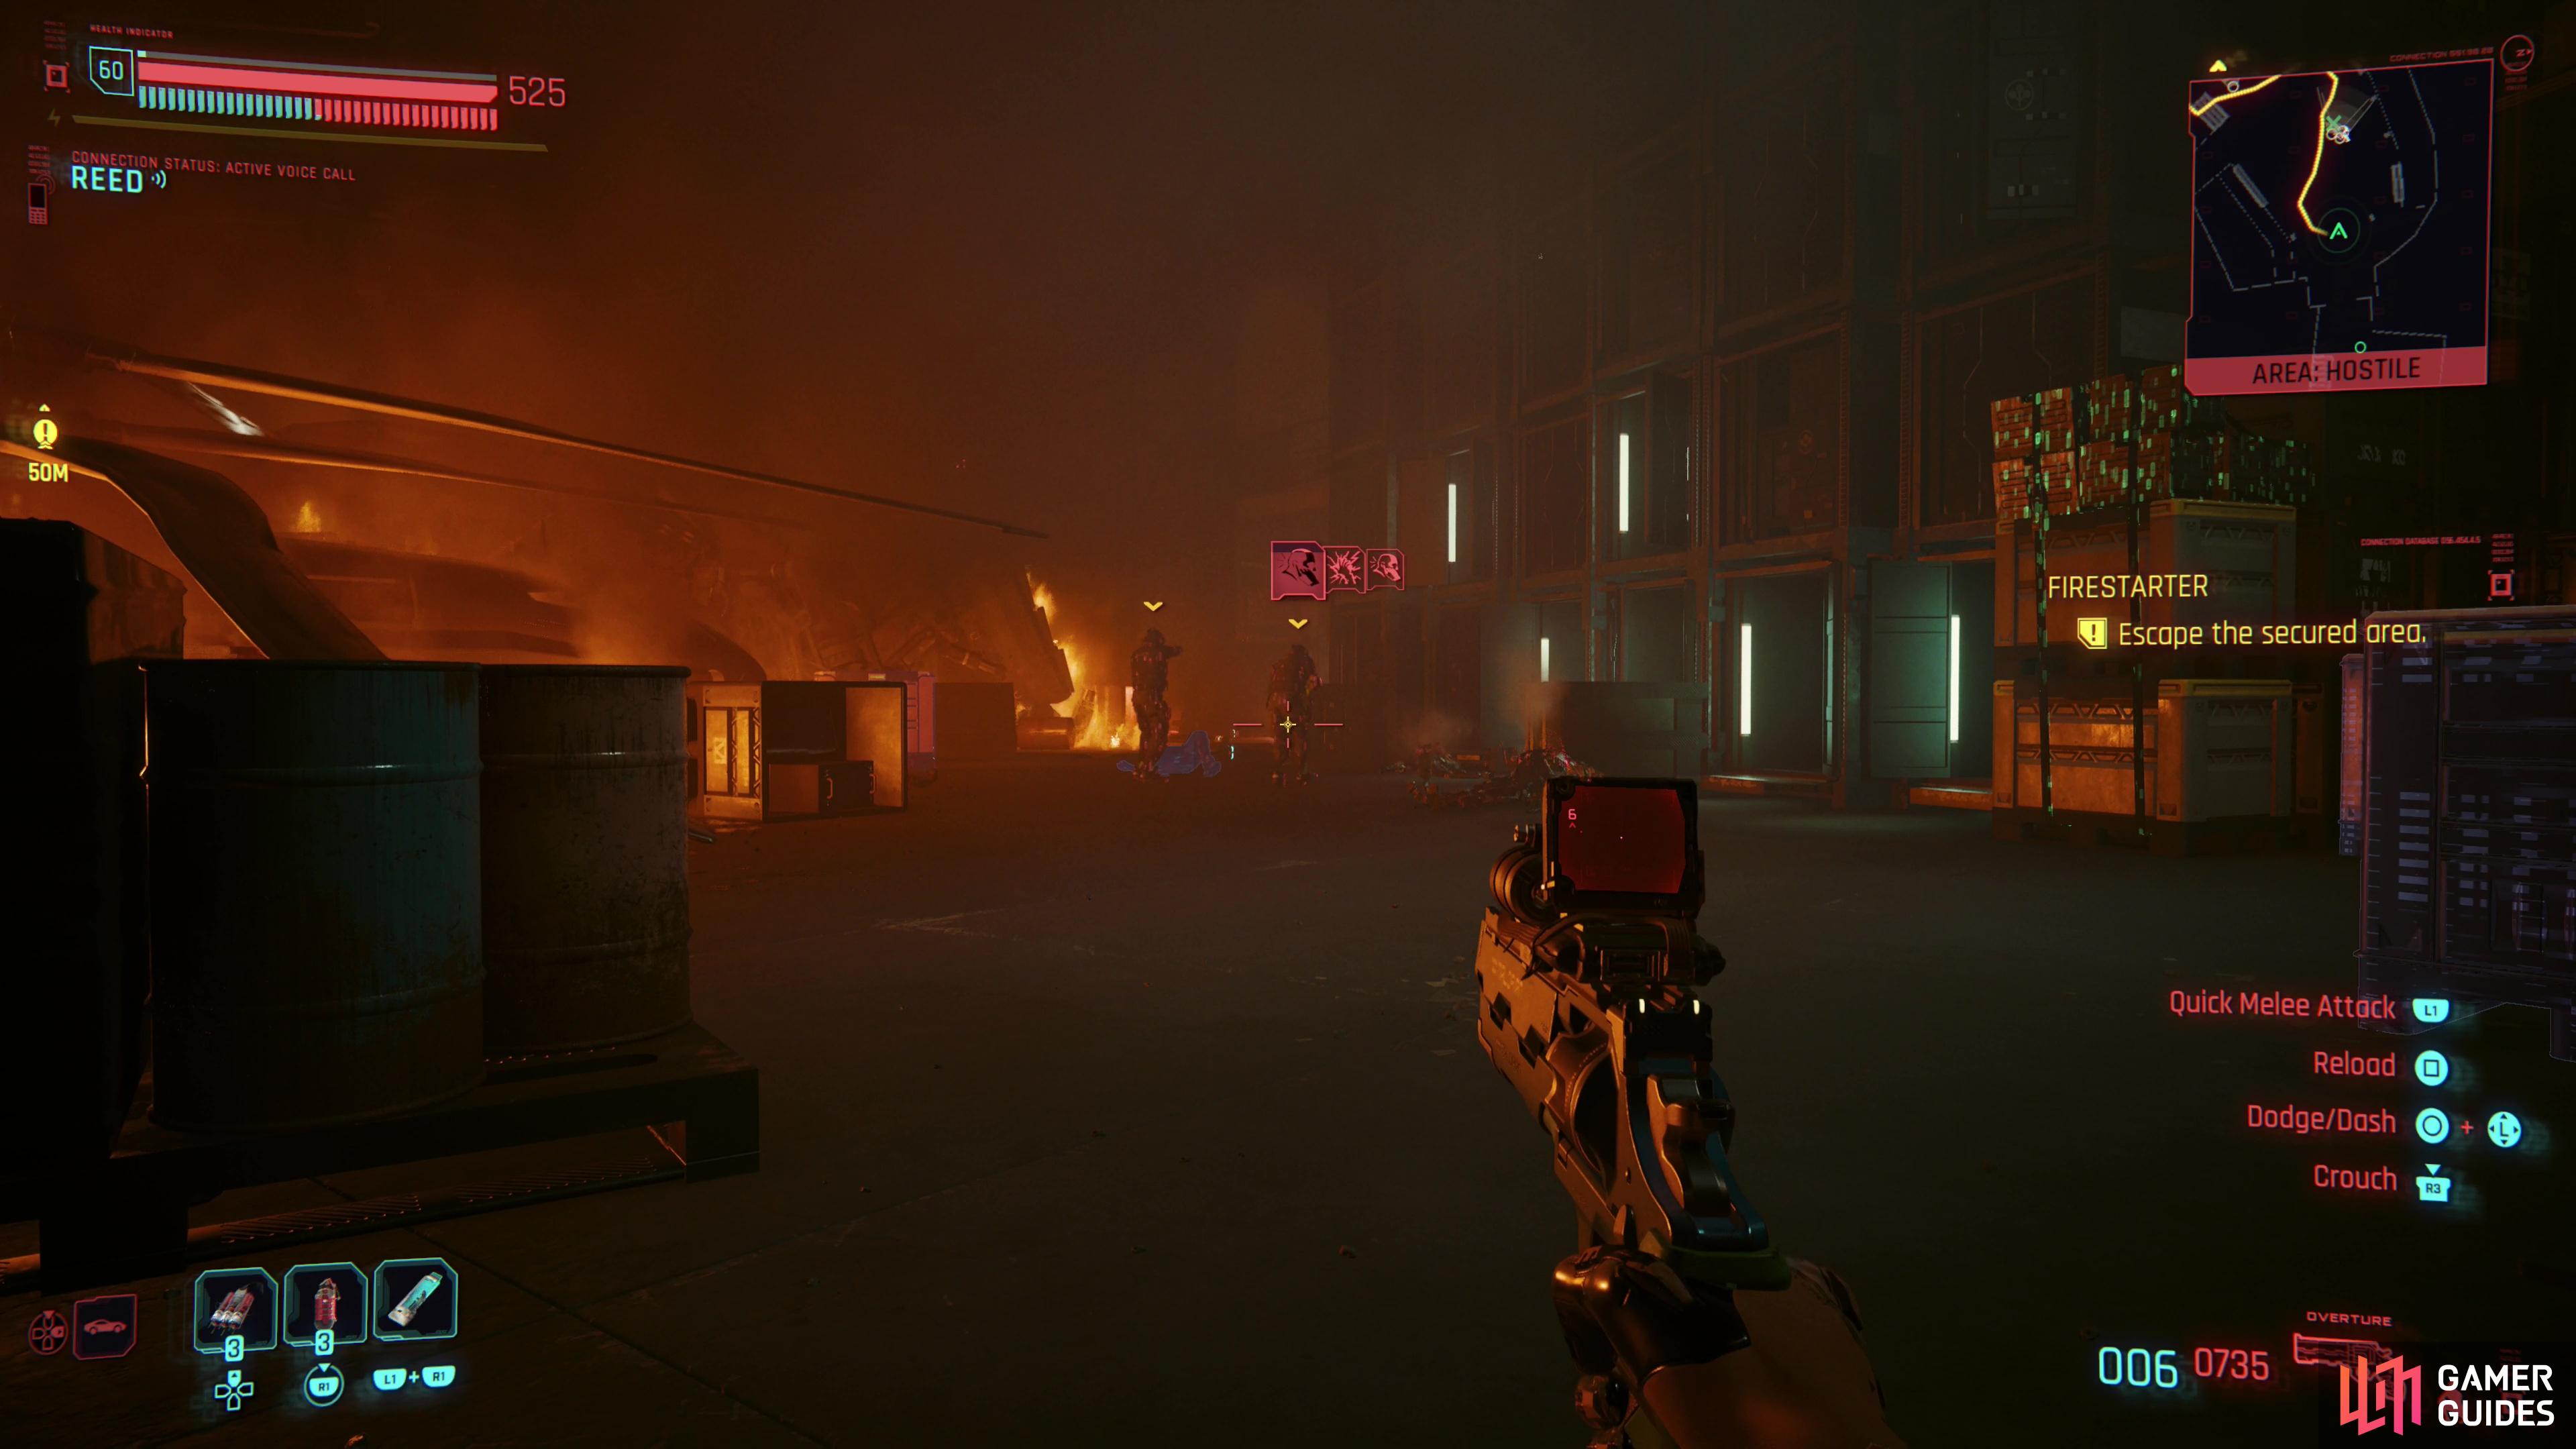
(1 of 3) You’ll have to fight your way through numerous BARGHEST troopers - being proficient in quickhacks will make this easier,
Escape the Stadium
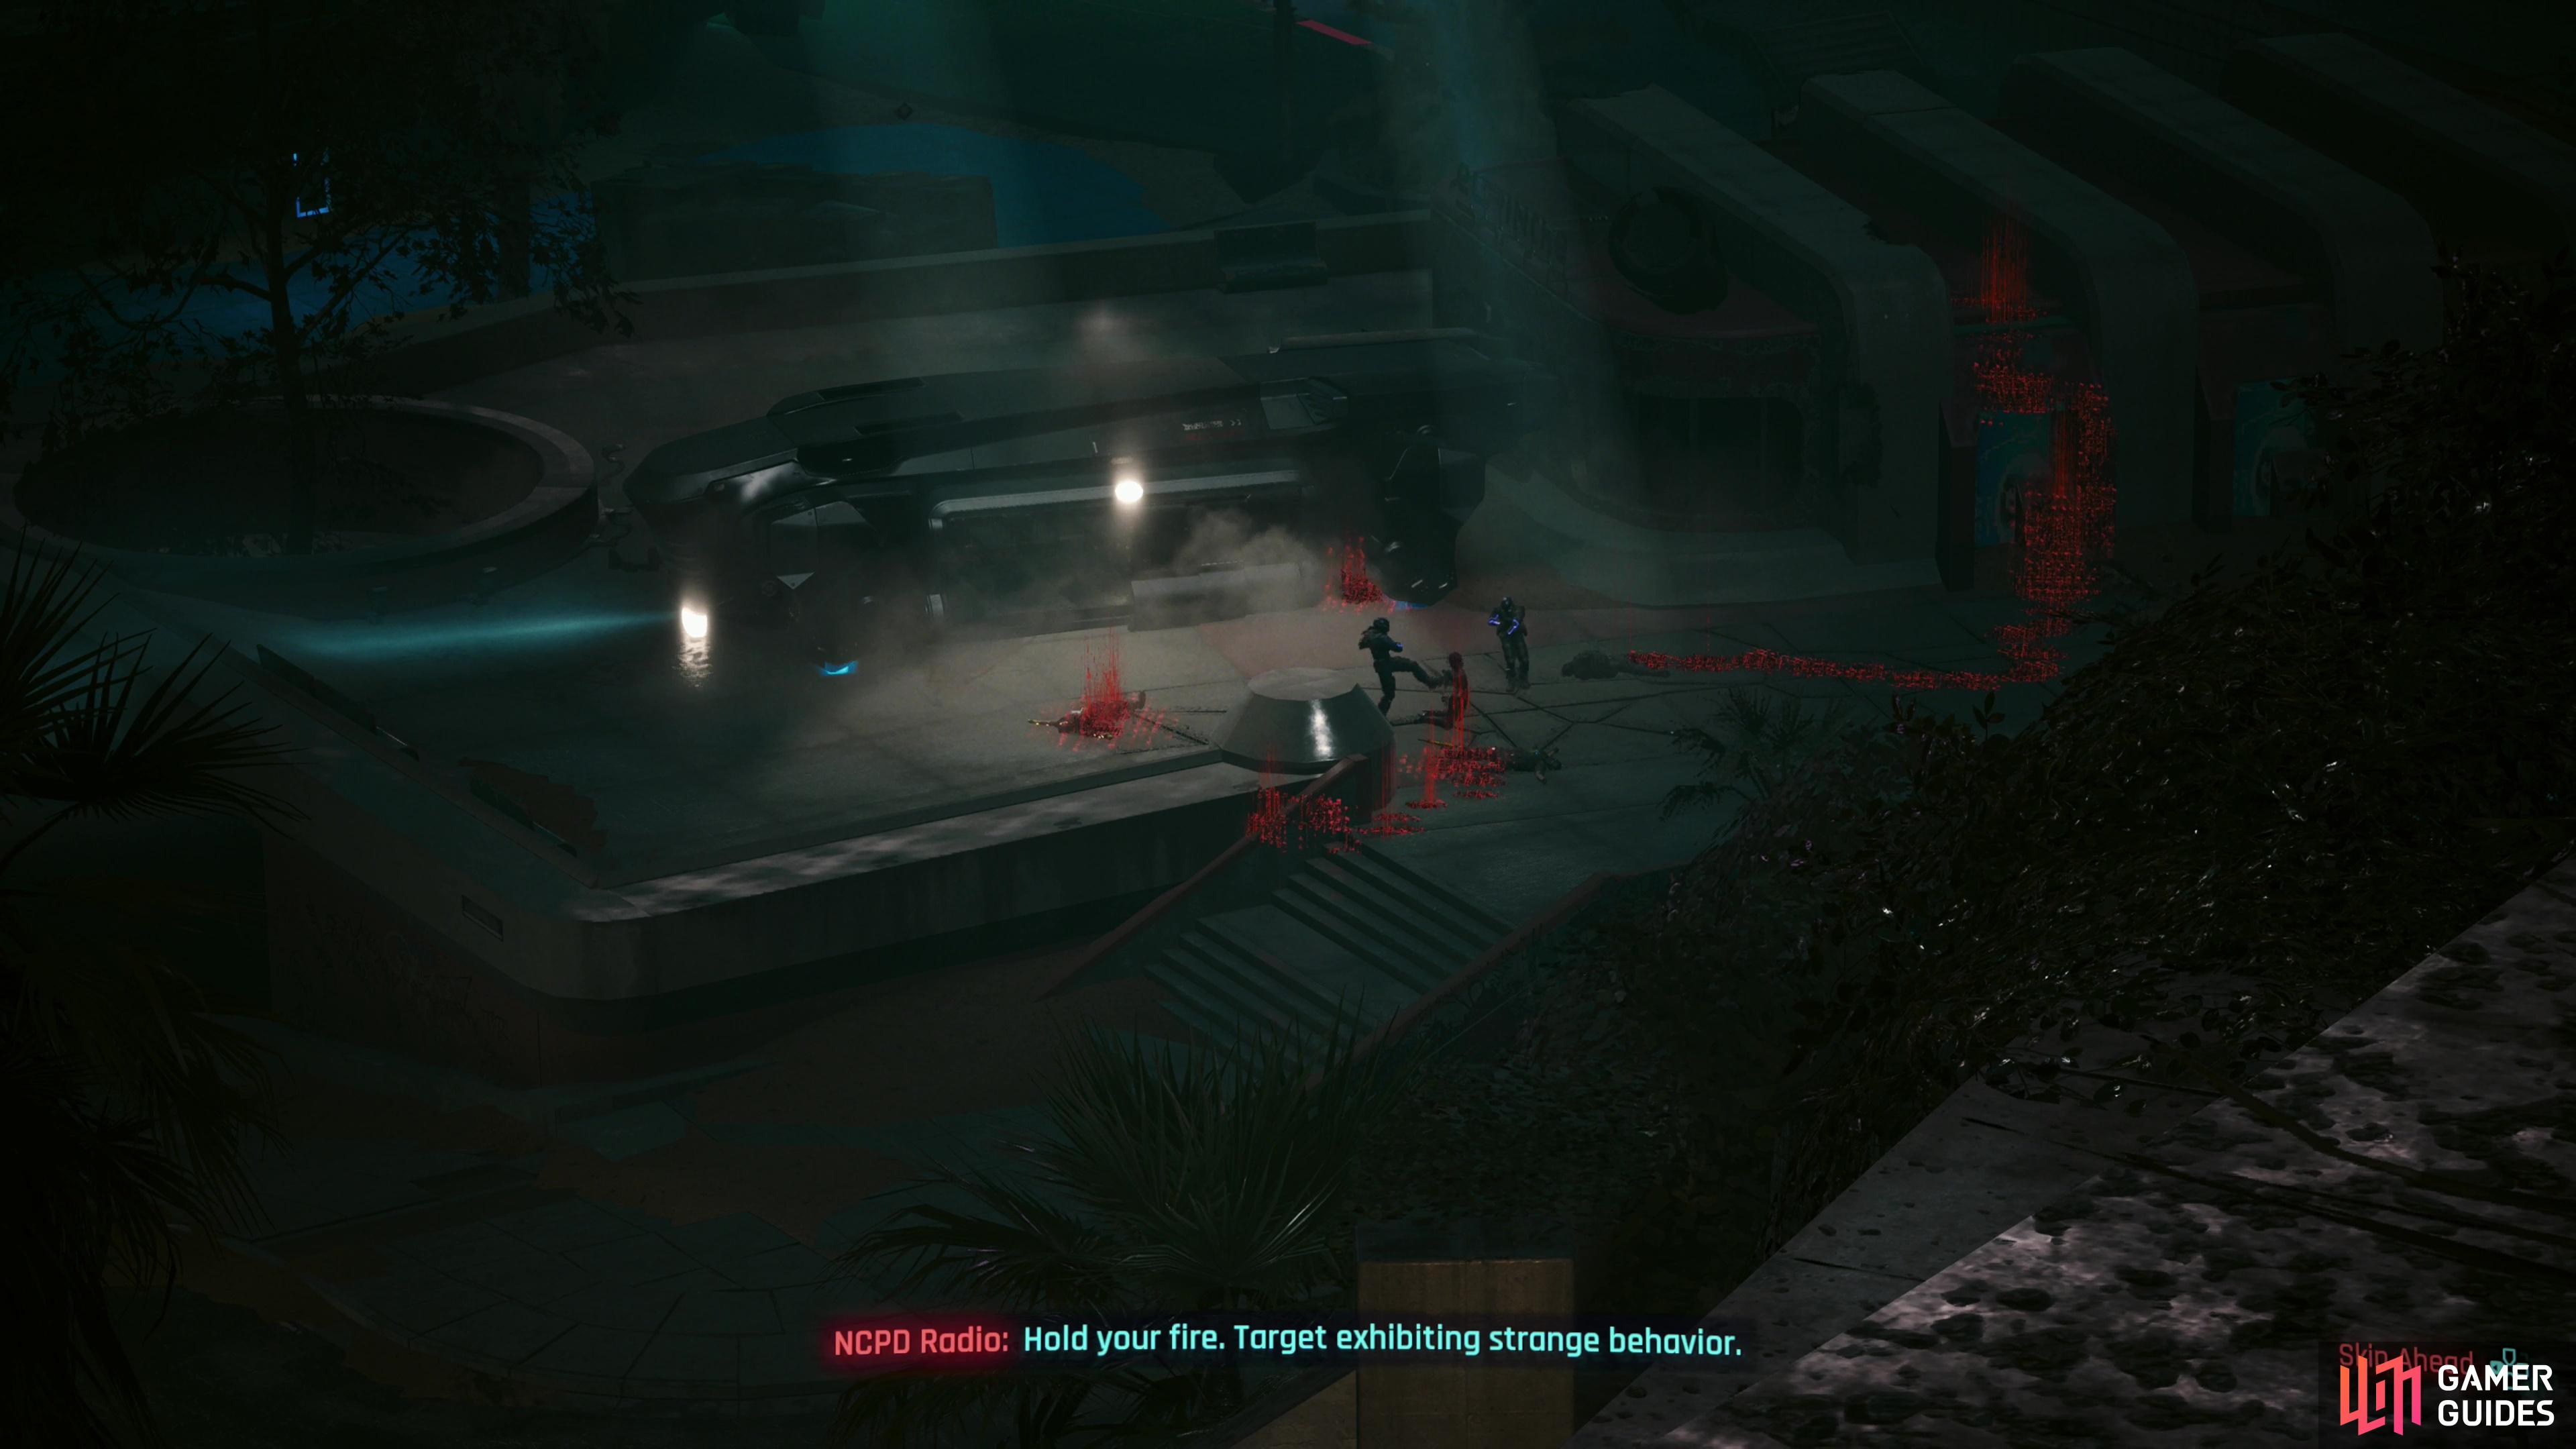
After you recover from Songbird’s tantrum, you’ll need to quickly go grab some weapons from the nearby door (left of where you start), as some BARGHEST troopers will be coming downstairs shortly - a complication you didn’t have to worry about in Songbird’s route. Deal with them, then head through the door near where you found your weapons, which features a burning helicopter and plenty of BARGHEST soldiers. While your weapon options are limited, you can still get by with stealth, arm cyberware (gorilla arms, mantis blades, monowire, etc.) and quickhacks, although it should be noted that none of the weapons you’re initially given are great for ranged stealth takedowns.
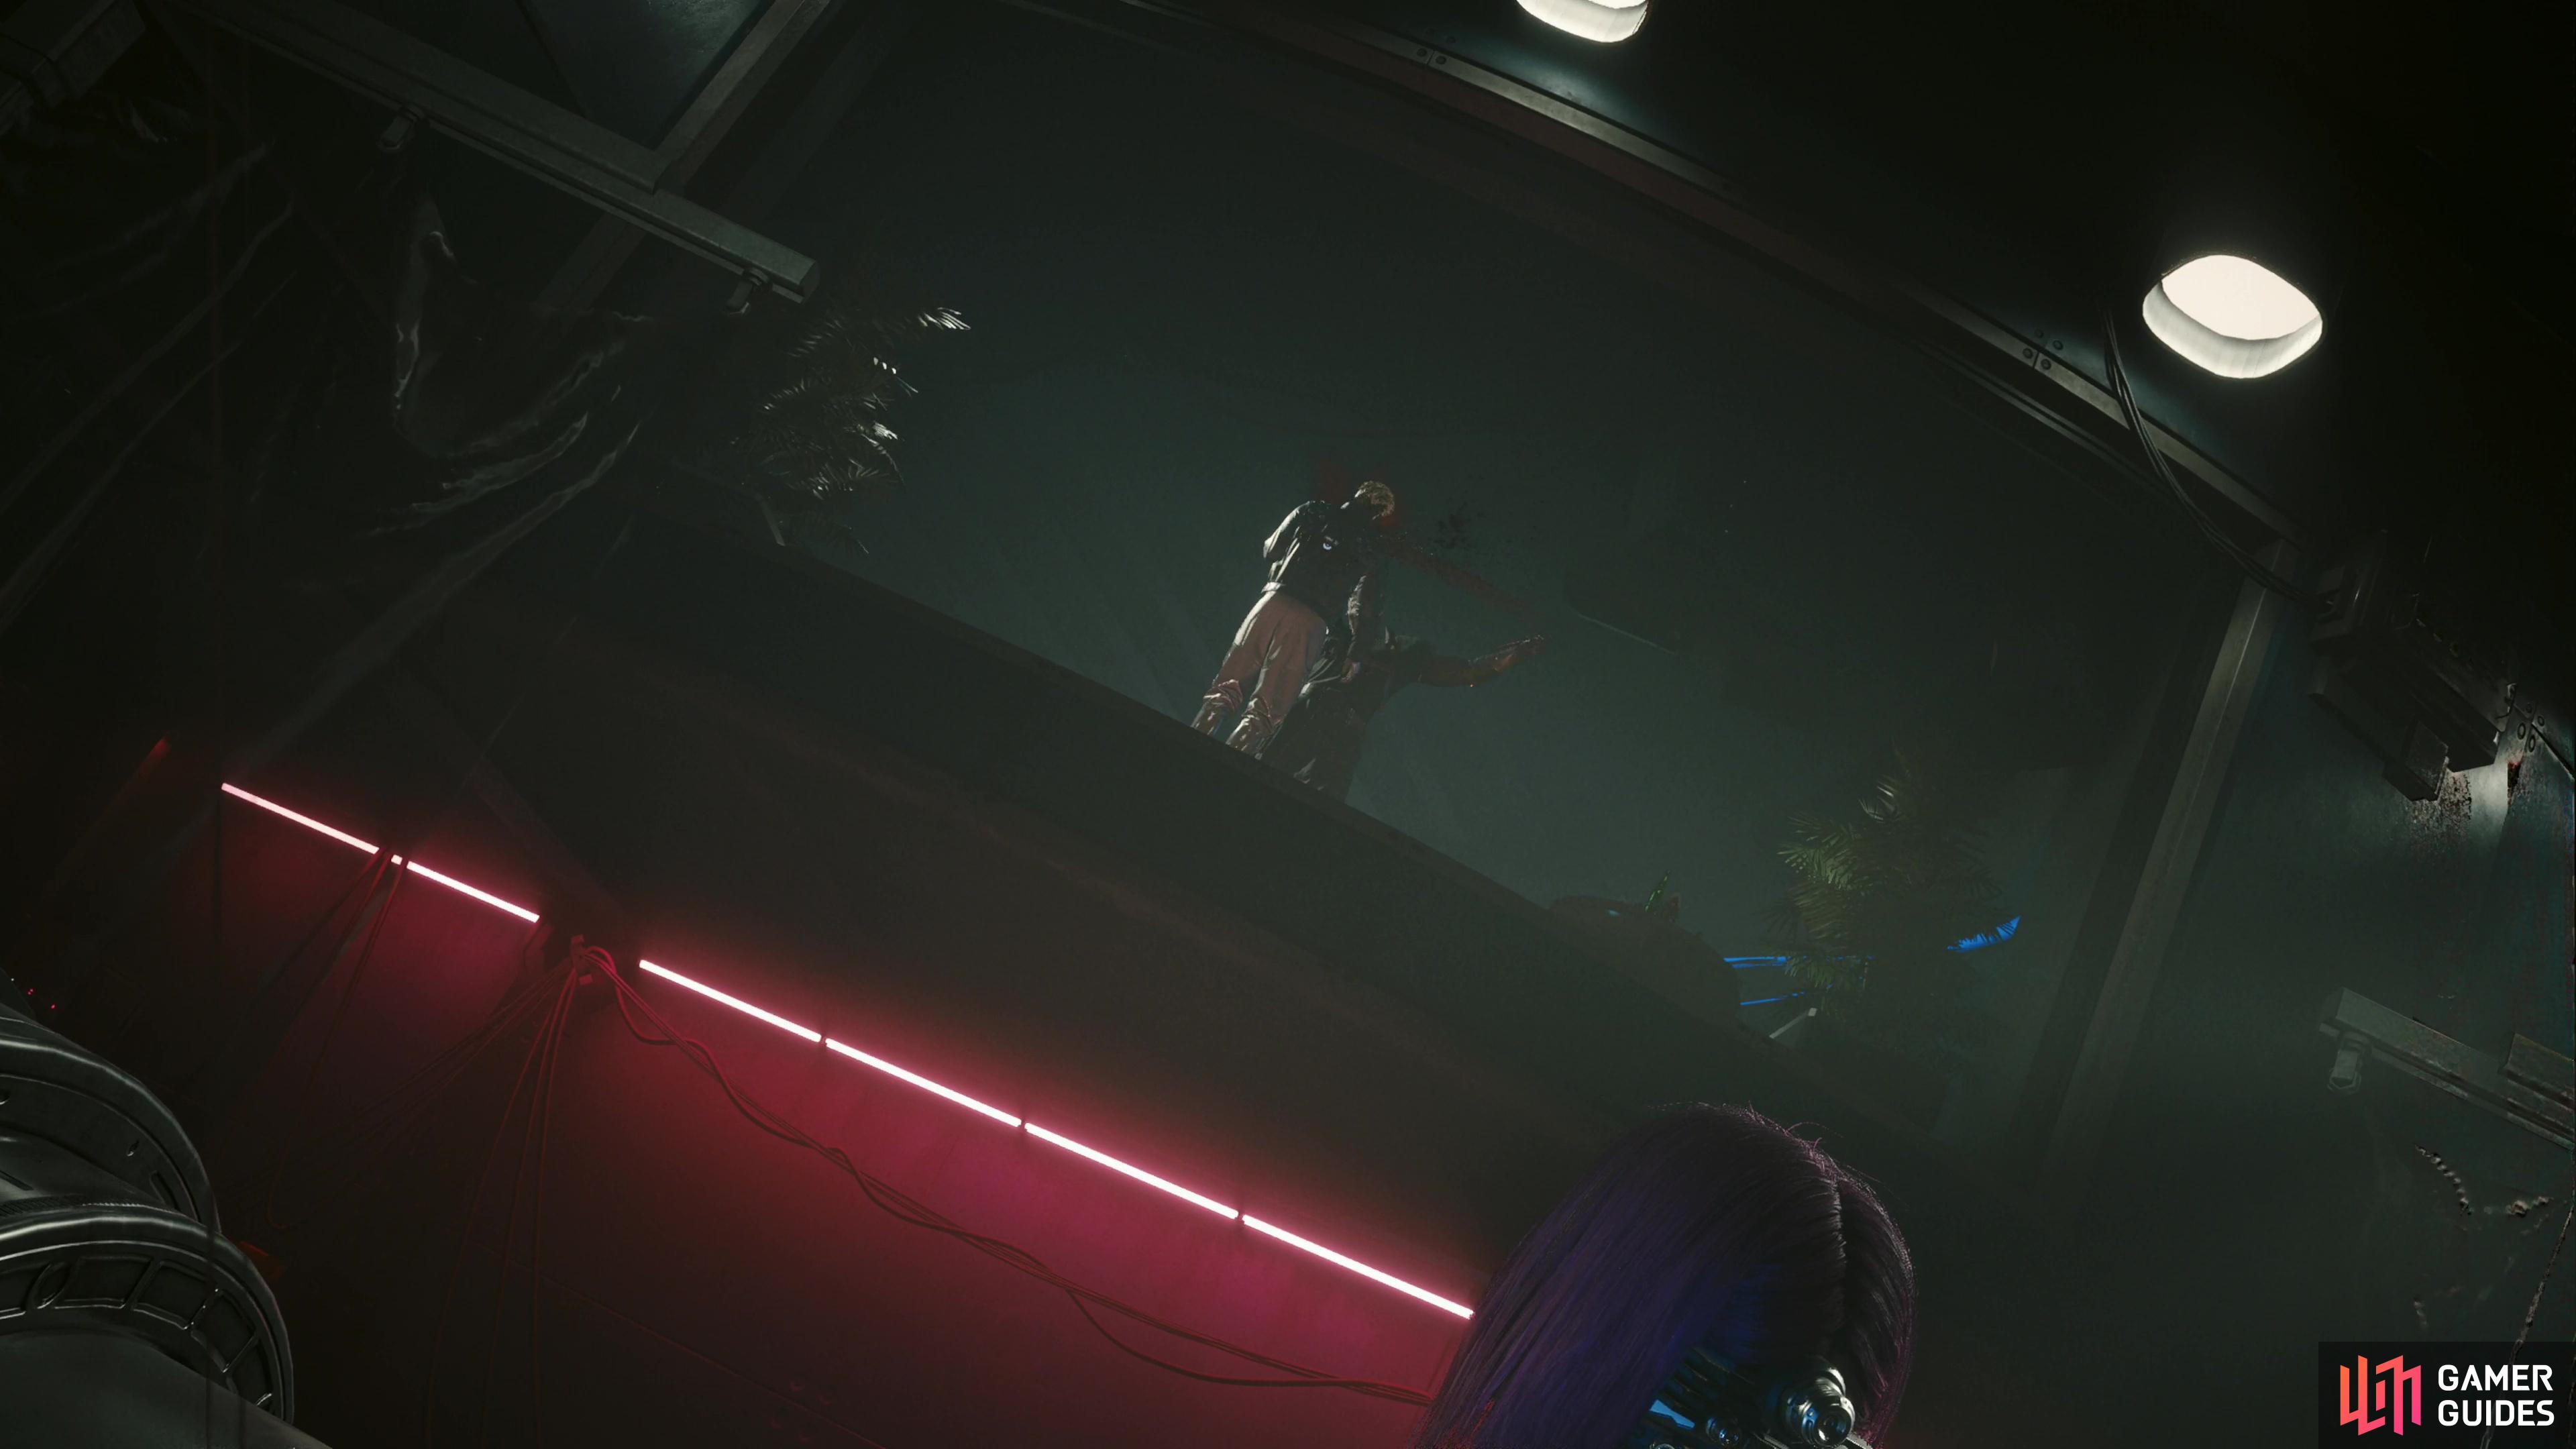
Dispose of the enemies ahead of you by whatever means you find most expedient and be wary of the large number of foes occupying the balcony wrapping around the level. Head upstairs and take the first left to reach a room with some lockers - search the collapsed locker on the floor to find the gear you surrendered earlier, bringing you back up to full strength just before you have to run a gauntlet of enemies.
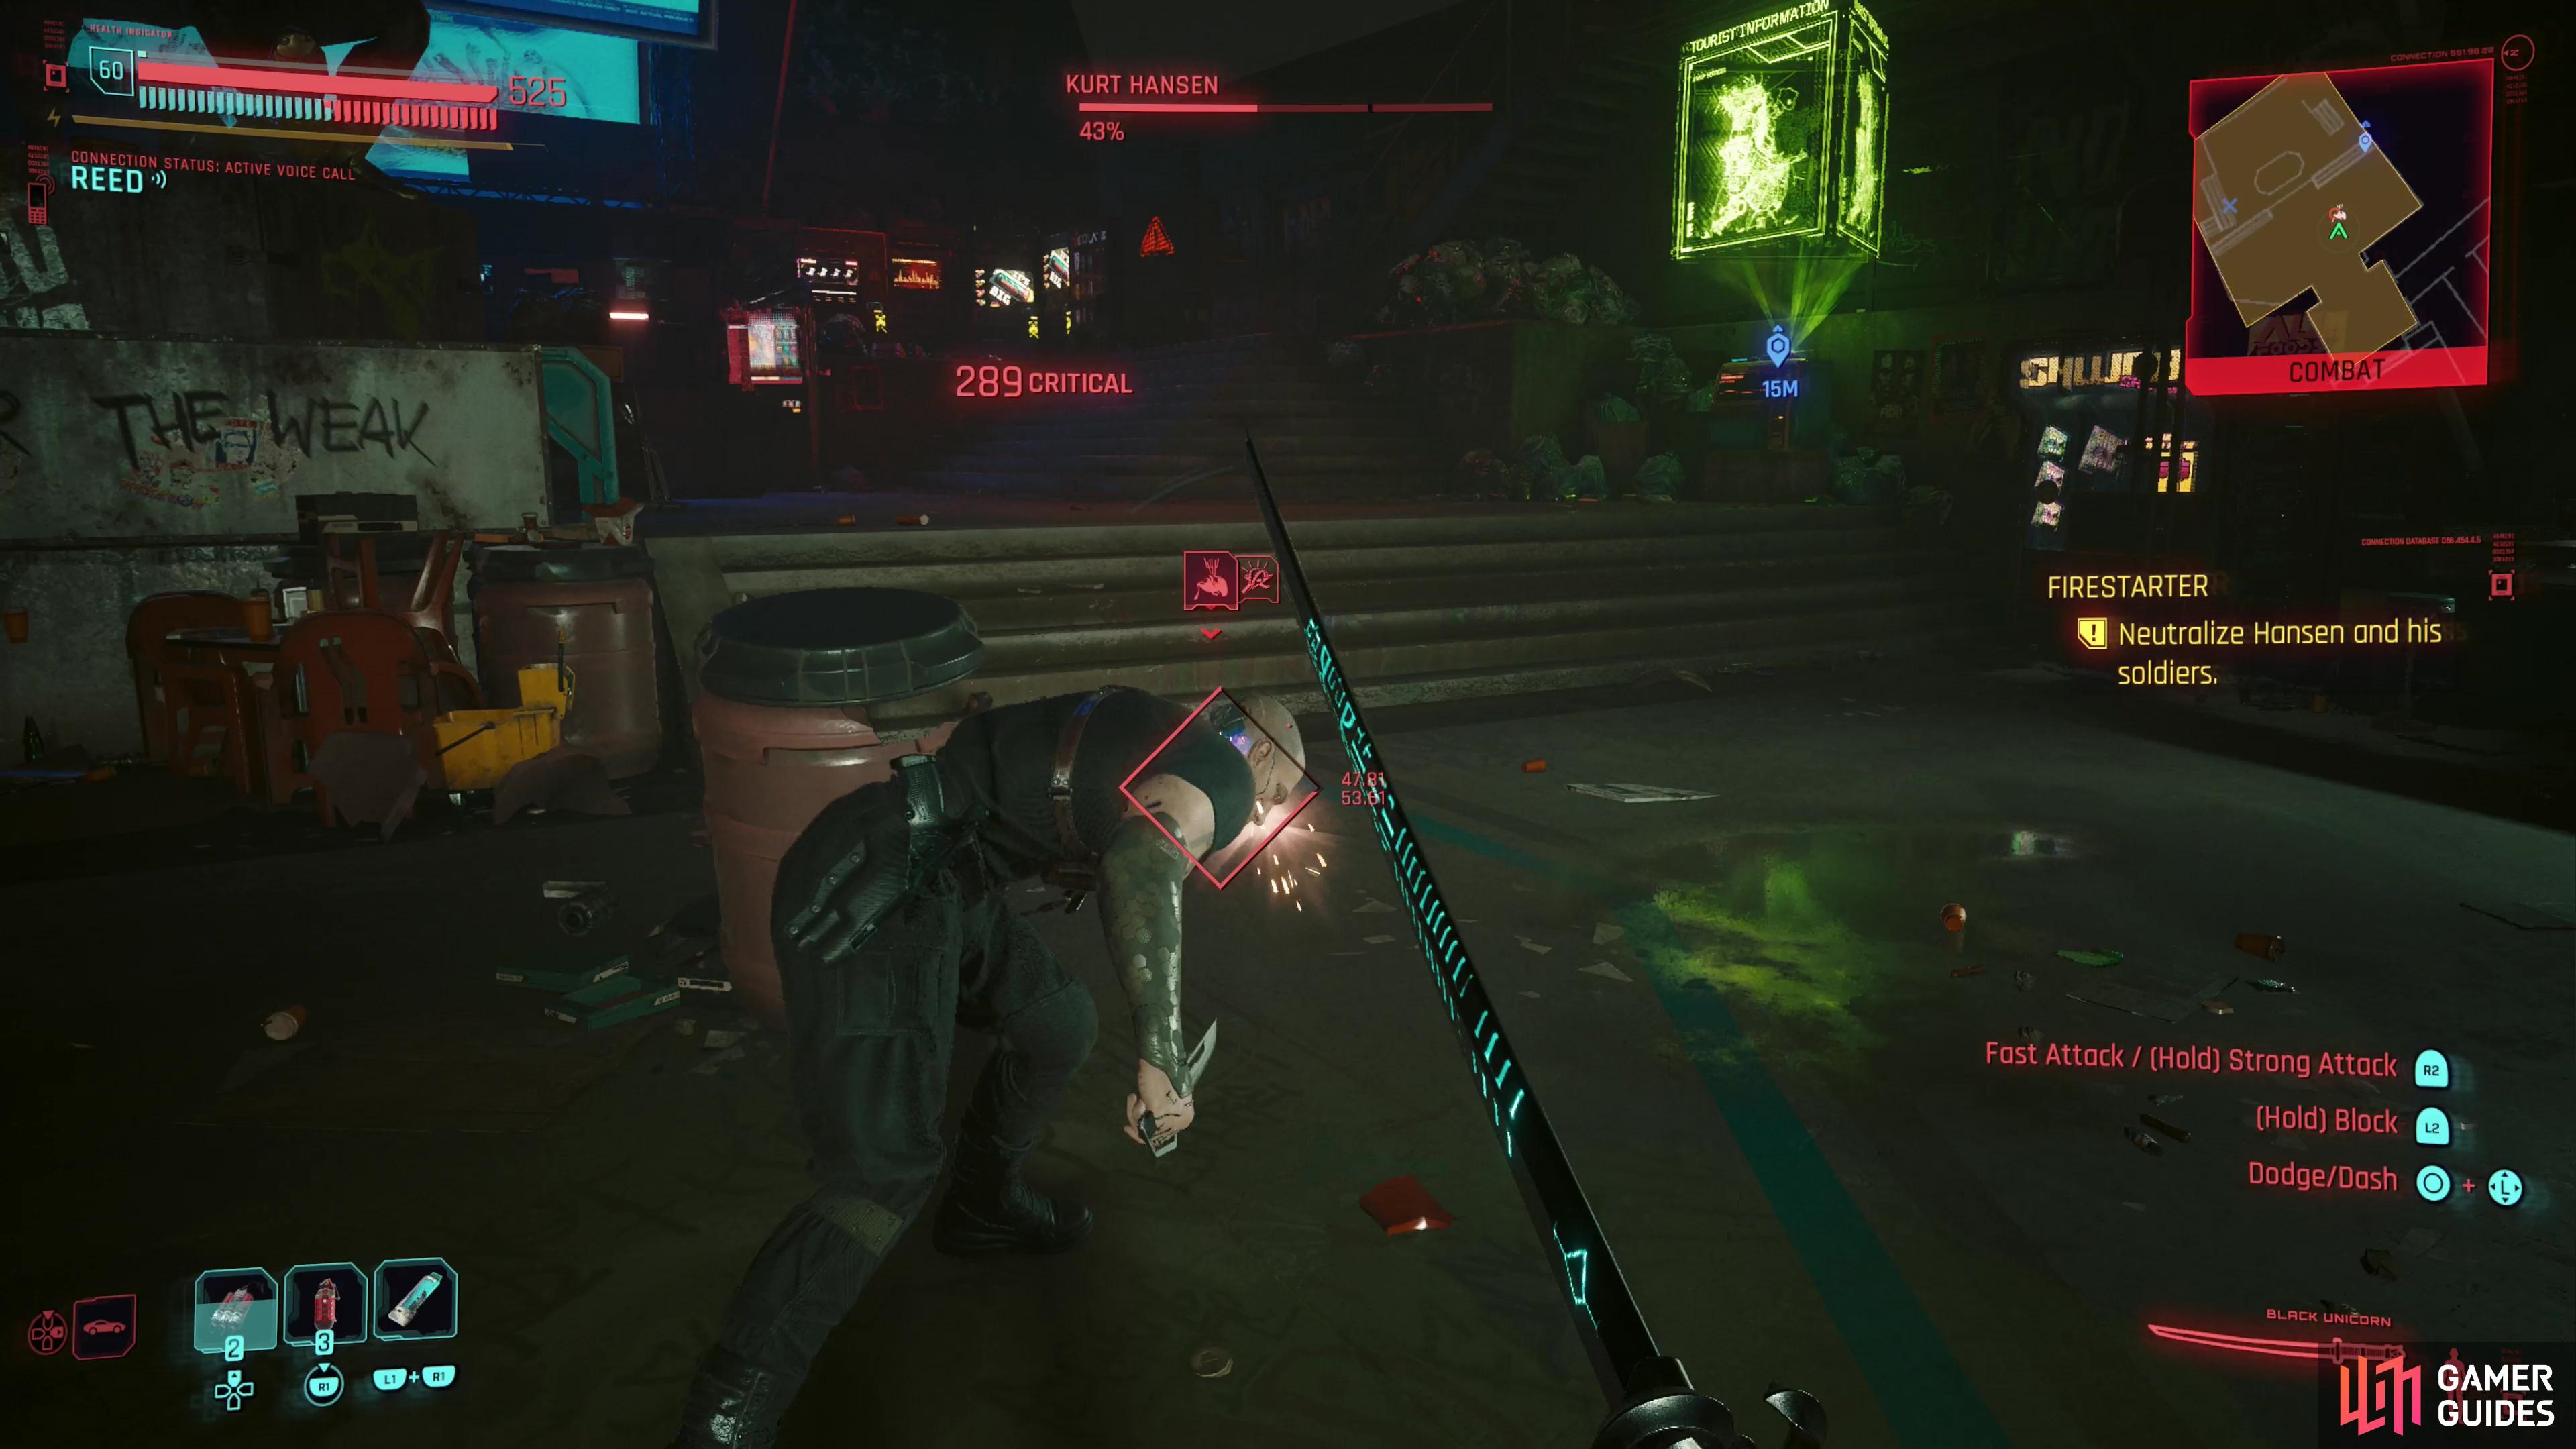
Through the doors ahead lies the stadium market, which is now crawling with BARGHEST troopers. The first phase is the most difficult, as there are numerous enemies (including some heavy gunners) milling about, and plenty more wait upstairs. Once you’ve broken through this initial mob, however, the rest of the stadium becomes easier, with regular but scattered BARGHEST resistance hounding you as you escape. Work your way through the stadium market, being wary of the odd sniper (red laser sights are bad) but this is largely a case of quantity over quality - and the quantity isn’t that noteworthy, either. Go through a doorway at the end of the market to find one final obstacle in your path - Hansen.
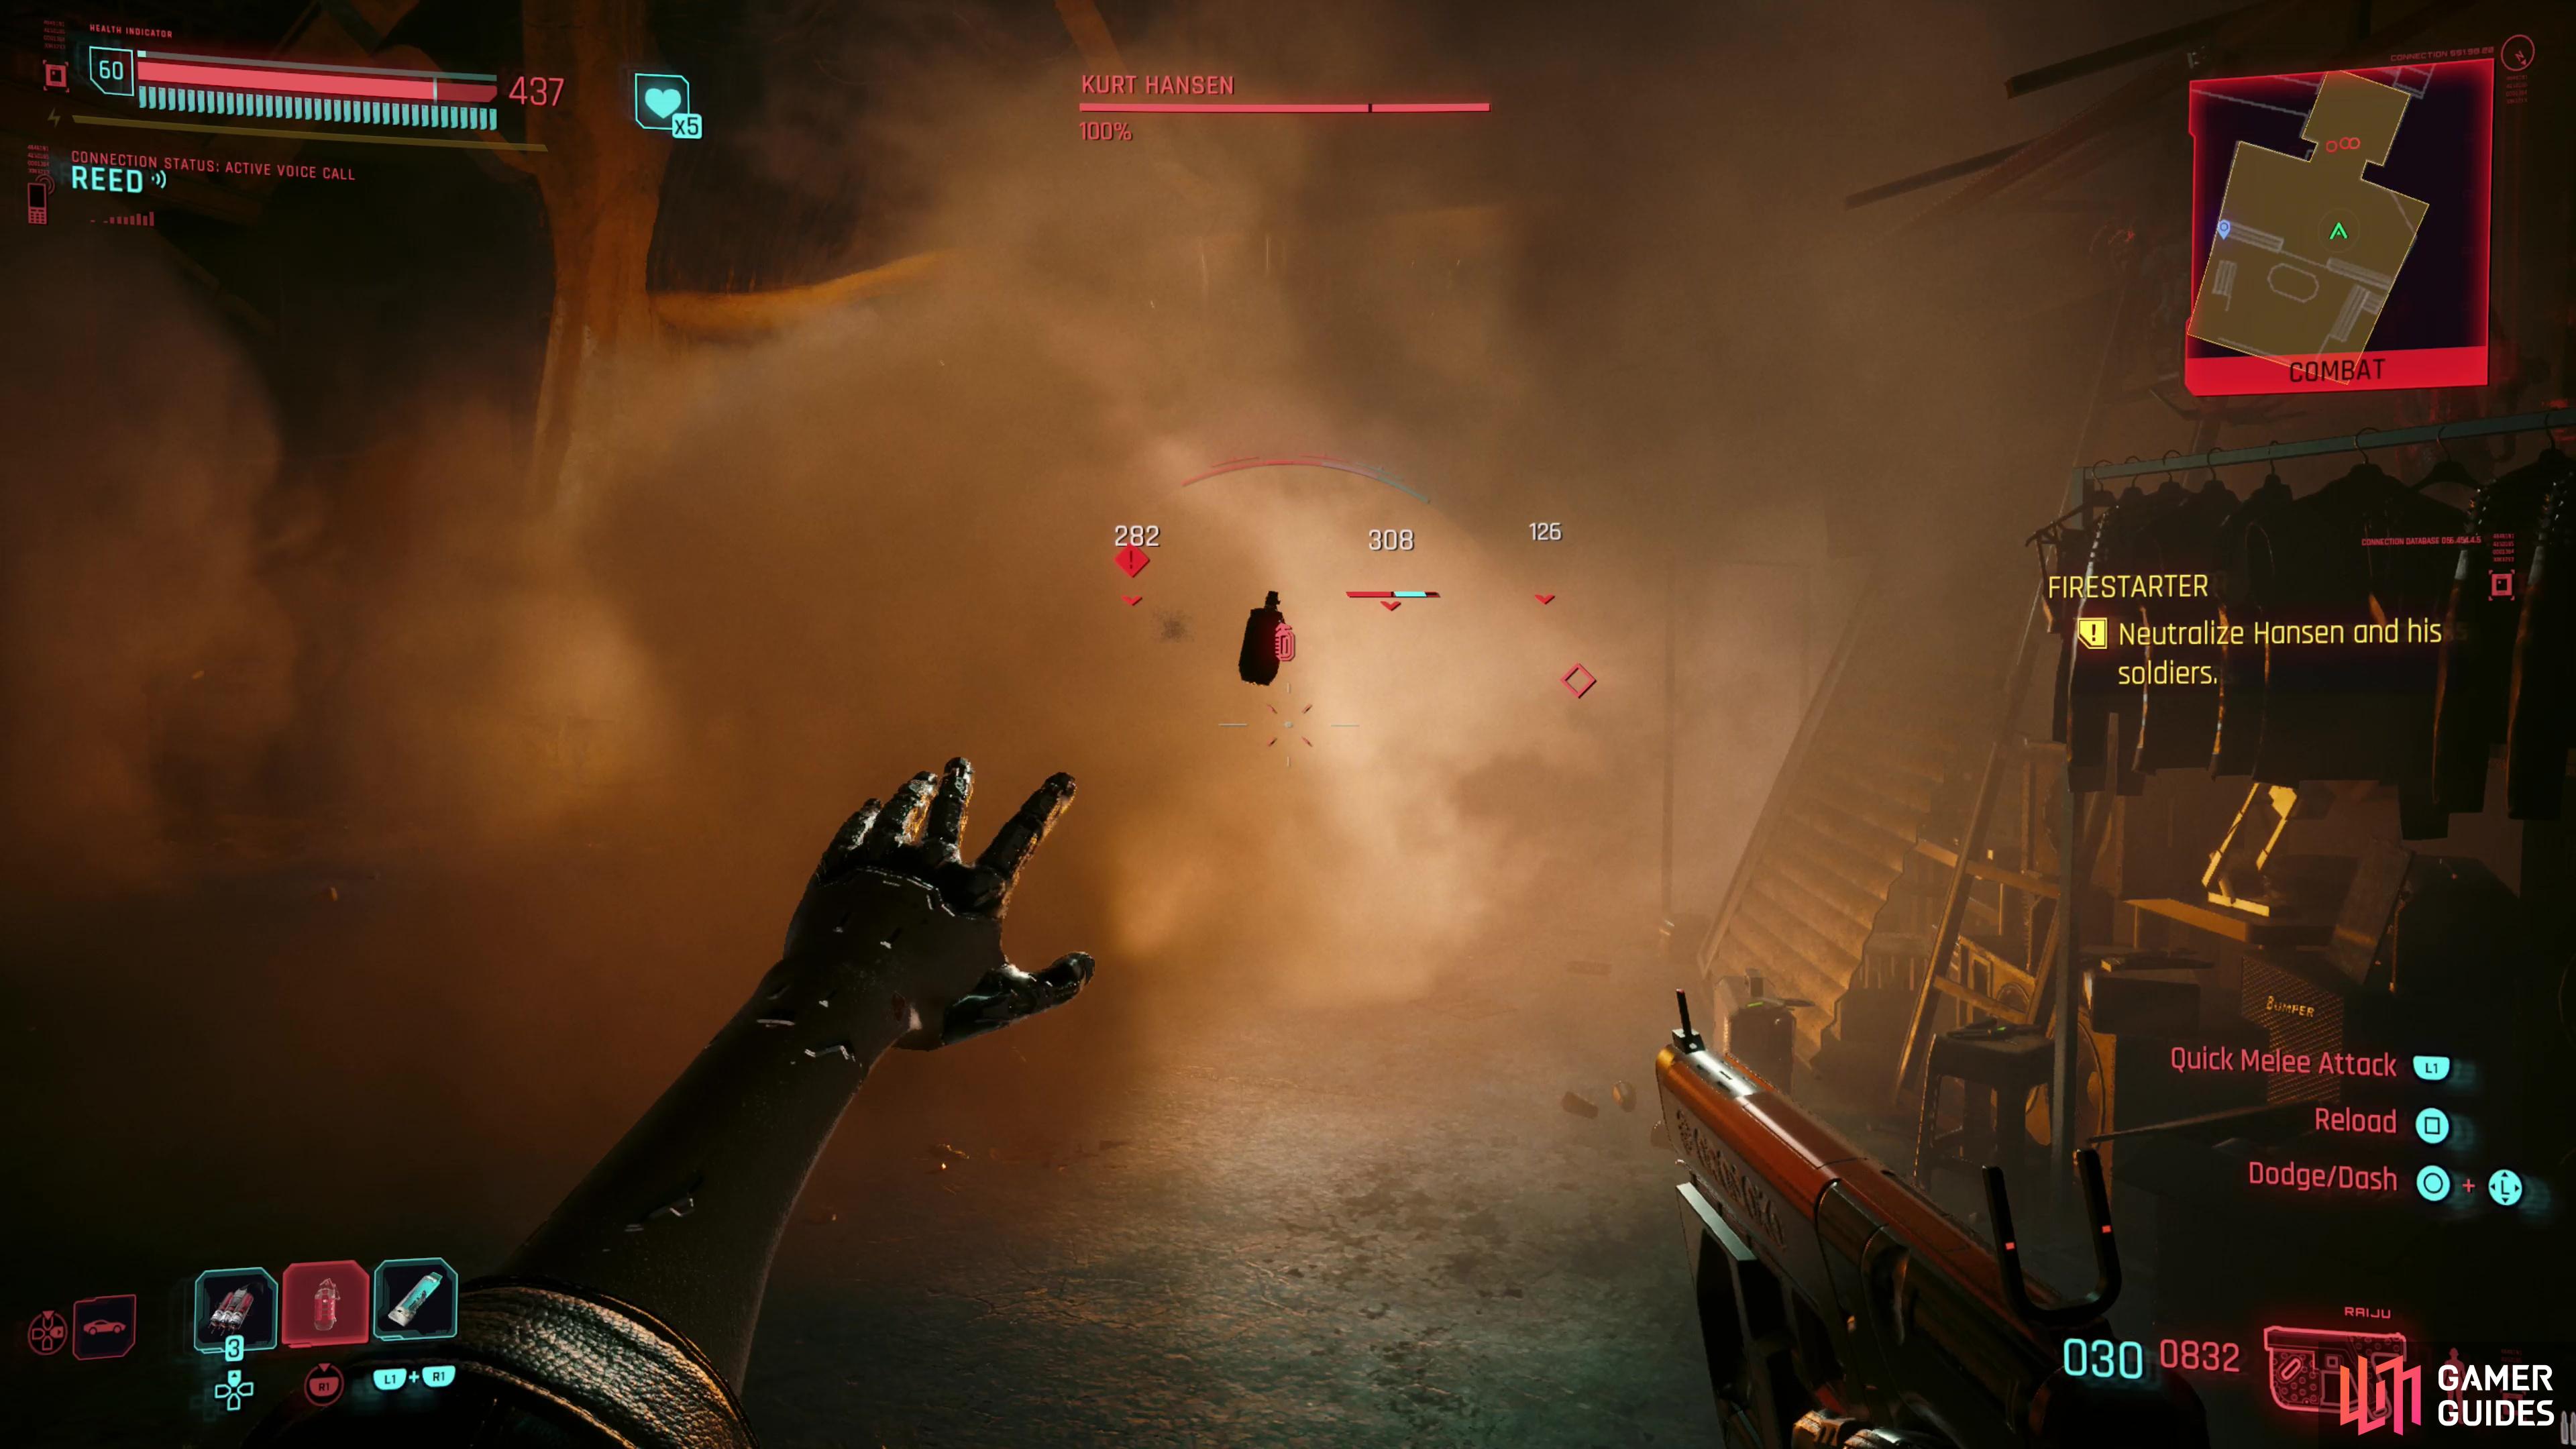
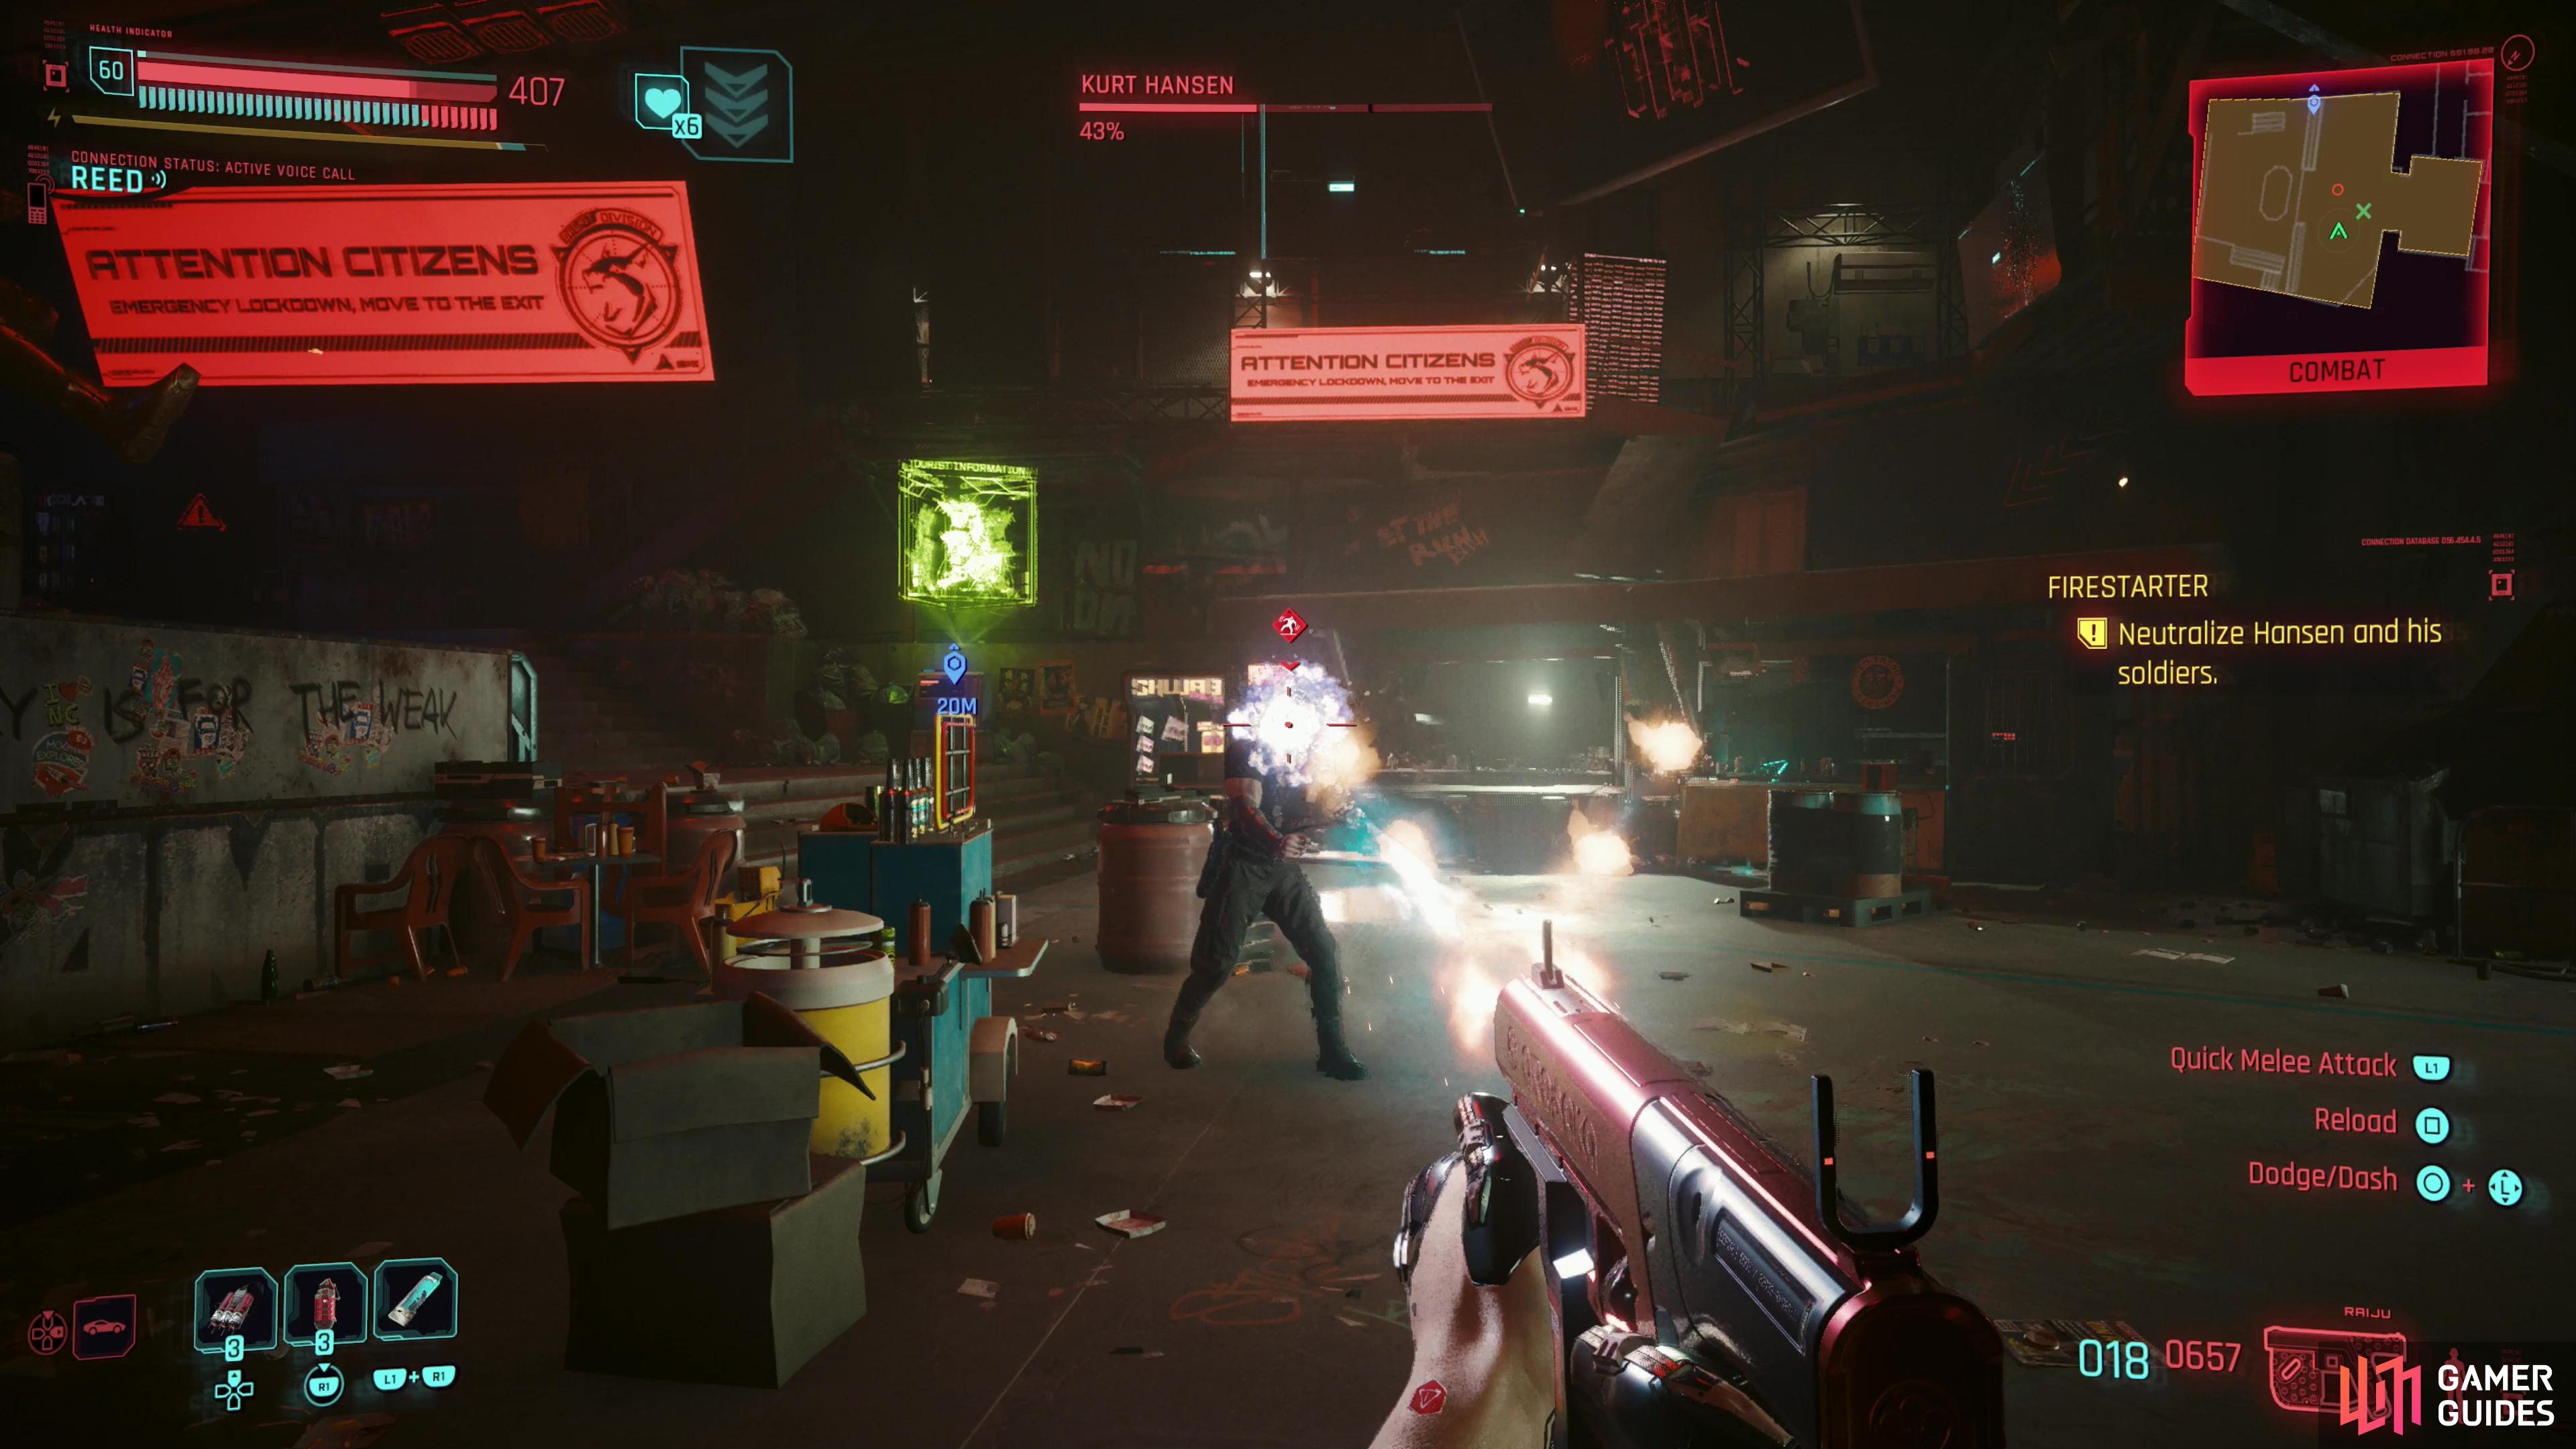
Respond to Hansen’s use of grenades in kind - with any luck you’ll take out his allies before they become a problem.
How to Defeat Hansen
Approach the sliding door opposite the football statue and it’ll open dramatically, with a smoke grenade rolling through, announcing Hansen’s arrival. He’s joined by two BARGHEST grunts, neither of which are terribly dangerous, serving as distractions for Hansen - pick them off so you can focus on the big dog himself. Just toss a few grenades at the red threat indicators as they stalk through the smoke, and with any luck you’ll dispatch both of Hansen’s companions before they can really contribute.
This fight has three distinct phases, with Hansen content to walk around shooting with his iconic LMG Wild Dog, and if you let him get close or generally stand out in the open he can deal respectable damage, but he’s not all that dangerous unless you decide to play the bullet sponge. All you have to do here is kill Hansen’s goons, then whittle down Hansen’s health - range and cover as your friends here.
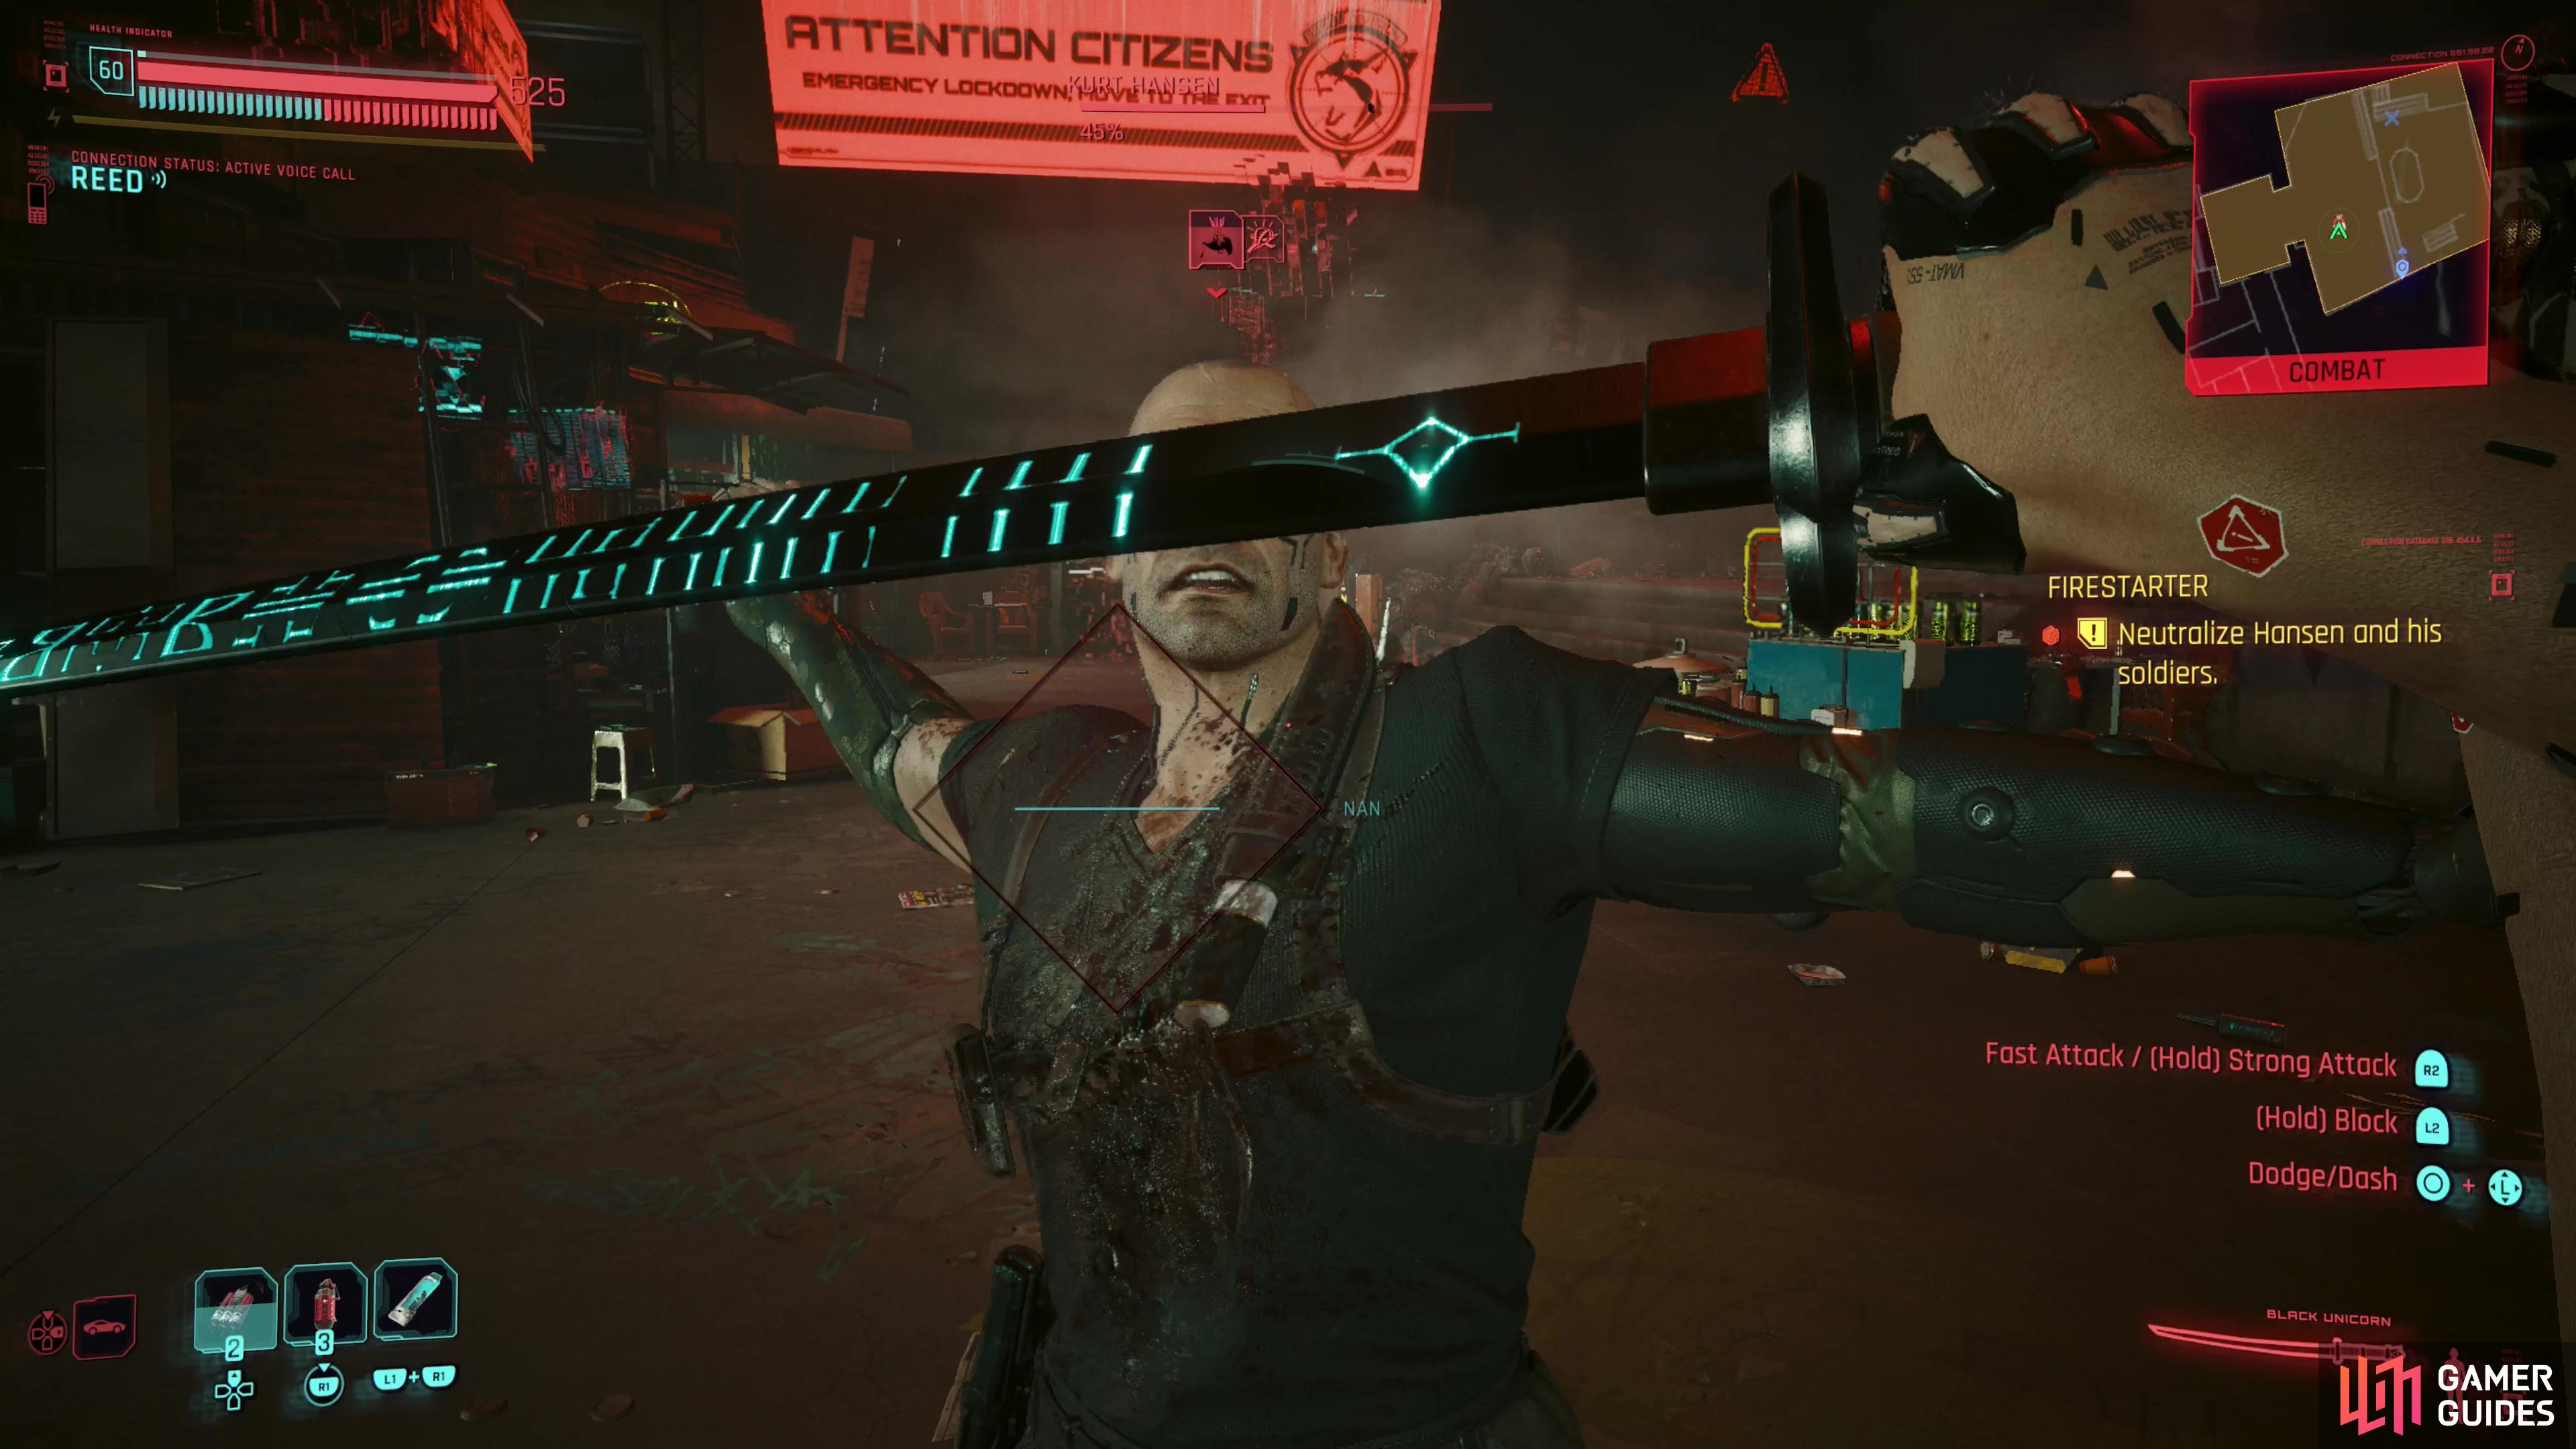
Once injured a bit, Hansen will use his cyberware to flee to high ground on either side of the door he entered through, where he’ll continue his ranged assault. If this seems odd, given Hansen’s proximity dependent damage output… this is largely just a setup to start the third phase. Make sure your health is high, then work on chipping away at Hansen’s health bar. When he reaches 70% he’ll throw his knife, Fang, at you, which starts an offensive combo that will cost you some health. If you hide from this, Hansen will abandon the attempt, but this just prompts him to dash at you, and if he catches you he’ll perform a more painful melee combo.
However you tend up getting stabbed, this signifies the start of phase three, where Hansen will largely focus on zipping about and trying to get into melee range. His standard knife combos are painful enough, but he can also perform a jumping attack (which deals only moderate damage, but knocks you down), a scripted knife combo that can’t be dodged so long as Hansen gets within range, and he can throw his knife, which will inevitably trigger another scripted combo.
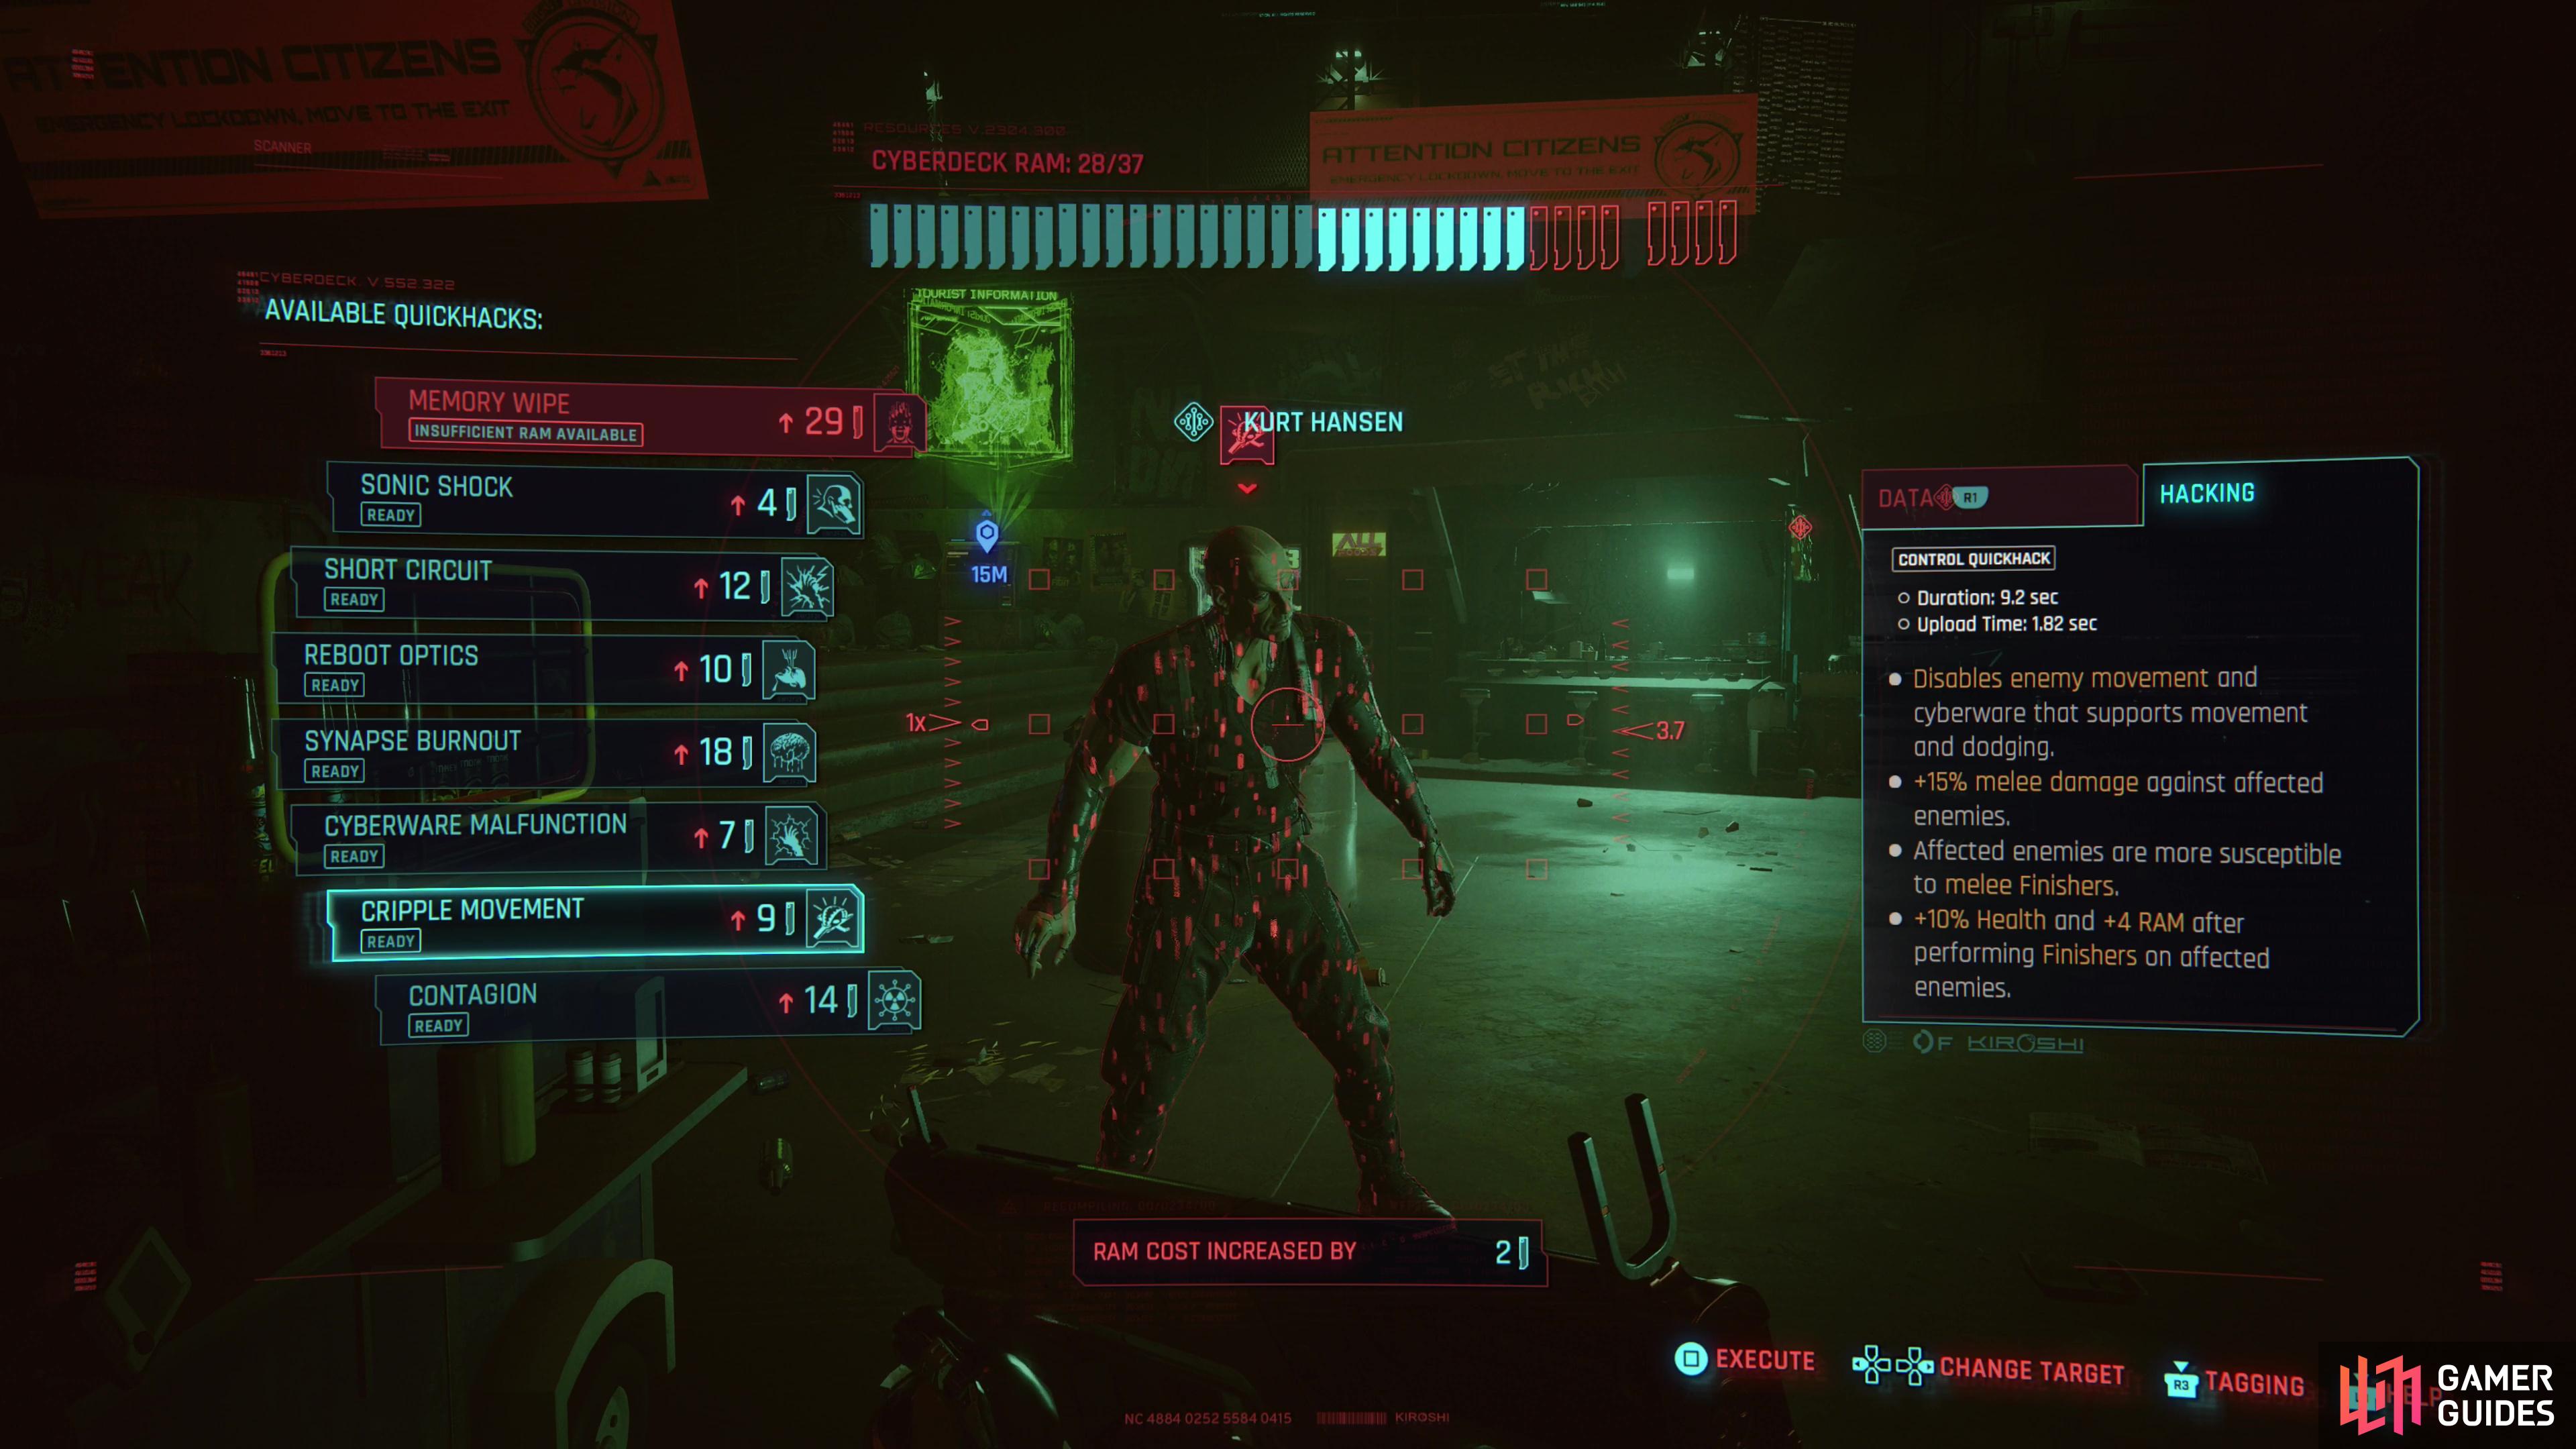
If you’re less savvy in melee combat, just use the Cripple Movement quickhack,
and play a little William Tell with Hansen - he won’t mind if your aim is a few inches low.
Keeping Hansen at range can be difficult, and we really found only one reliable way to do this - use the Crippled Movement quickhack. This will lock Hansen in place for a moment, long enough for you to empty a clip in him, certainly. The standard combo of spamming Cyberware Malfunction will also keep him from dashing for a time, but unlike the stated effects of the quickhack, Hansen will eventually recover, and ultimately it’s just more effective and efficient to use Cripple Movement. Hansen can still fire at you with his pistol while held stationary, but his damage output is significantly reduced and it’s much easier for you to land shots of you own.
If you’re talented in melee combat, parry’s Hansen’s attacks,
which will leave him off-guard and vulnerable to punishment.
Failing quickhacks, there are other ways of dealing with Hansen’s aggression - your own melee attacks and shotguns being the most obvious. There’s an element of “git gud” to fighting Hansen in melee, and this fight is in many ways designed around being a melee duel. If you can read Hansen and parry his attacks, you’ll be able to chop him down with little trouble, and shotguns play into Hansen’s weaknesses - namely his preference for proximity. Shoot him when he gets close and dash to limit his ability to combo you and Hansen should falter sooner or later. Other than that, just mind your healing and if you have the Vulnerability Analytic relic perk purchased, keep an eye out for vulnerability diamonds.
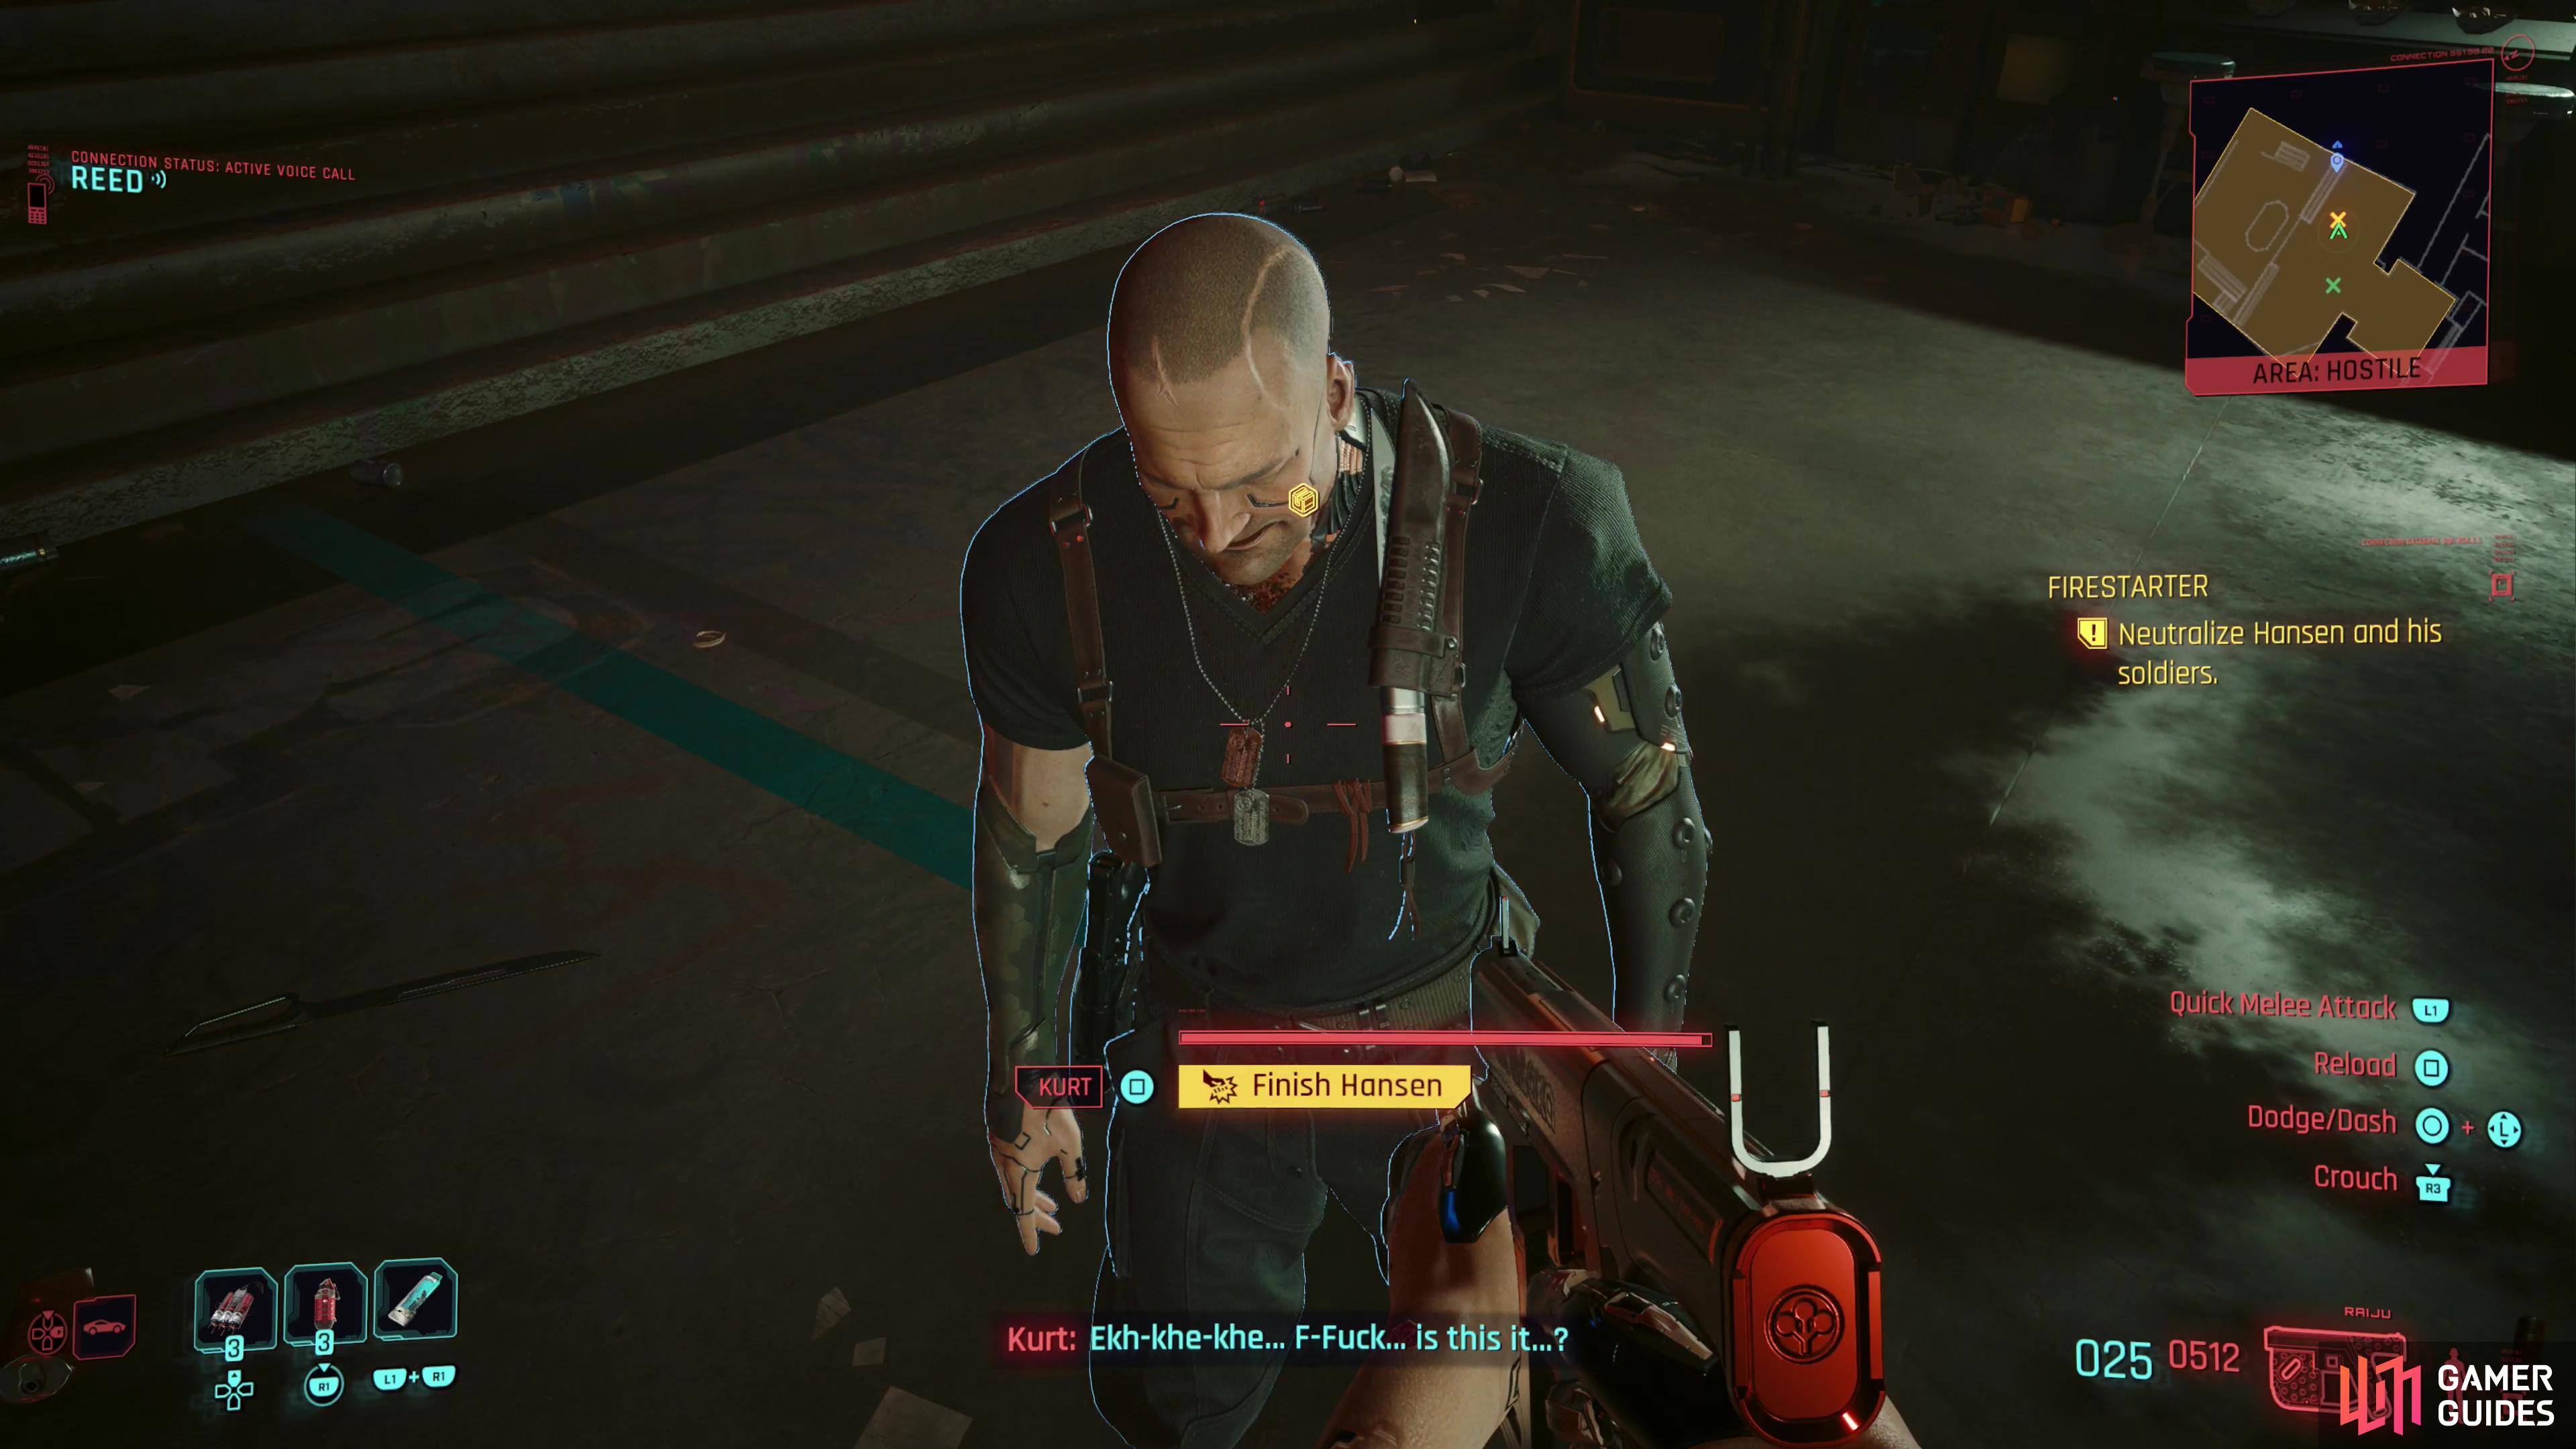
Defeat Hansen and you’ll get a prompt to finish him.
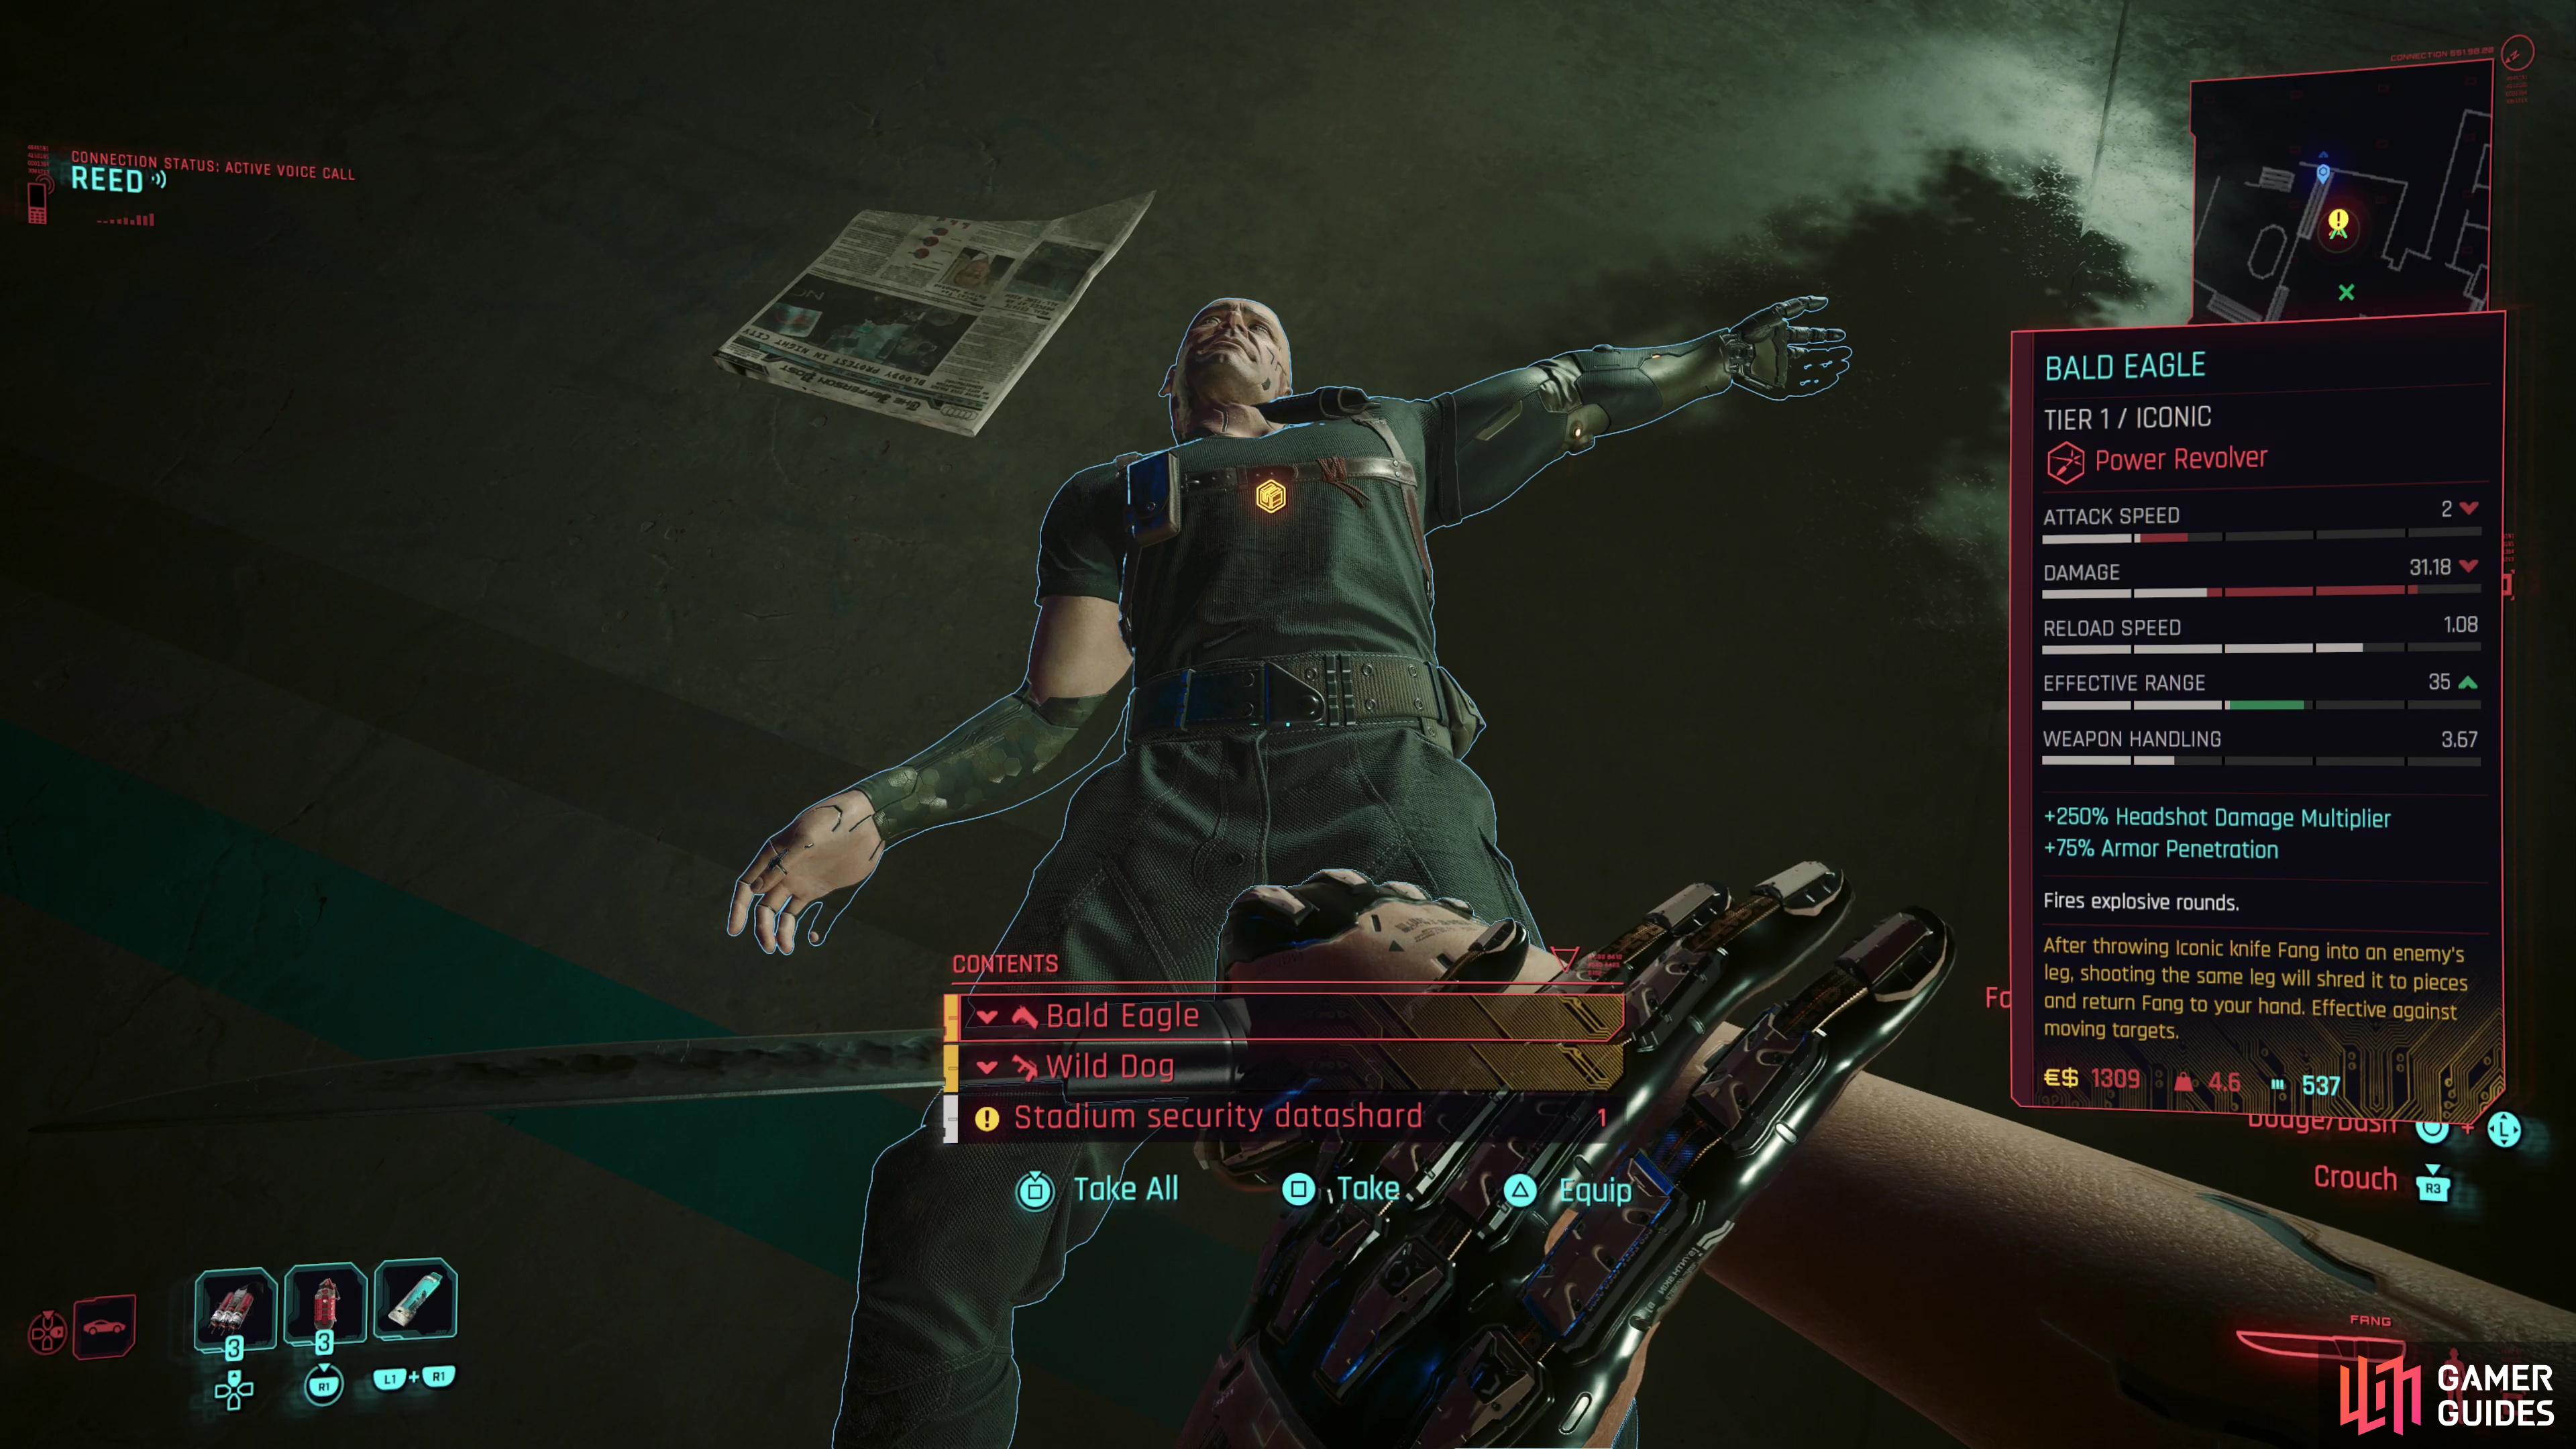
Whether you kill or spare Hansen, you’ll get his iconic weapons - Fang, Mad Dog and Bald Eagle.
When reduced to 1% of his health, Hansen will fall to his knees, and you’ll get a prompt to Finish Hansen. You’re not obligated to do this, and you can still loot him for his iconic weapons if you let him live, but Reed will thank you if you dispatch Hansen. You know, for Alex. Do what you will with Hansen, but relieve him of his iconic weapons, the knife Fang, the LMG Wild Dog and the revolver Bald Eagle.
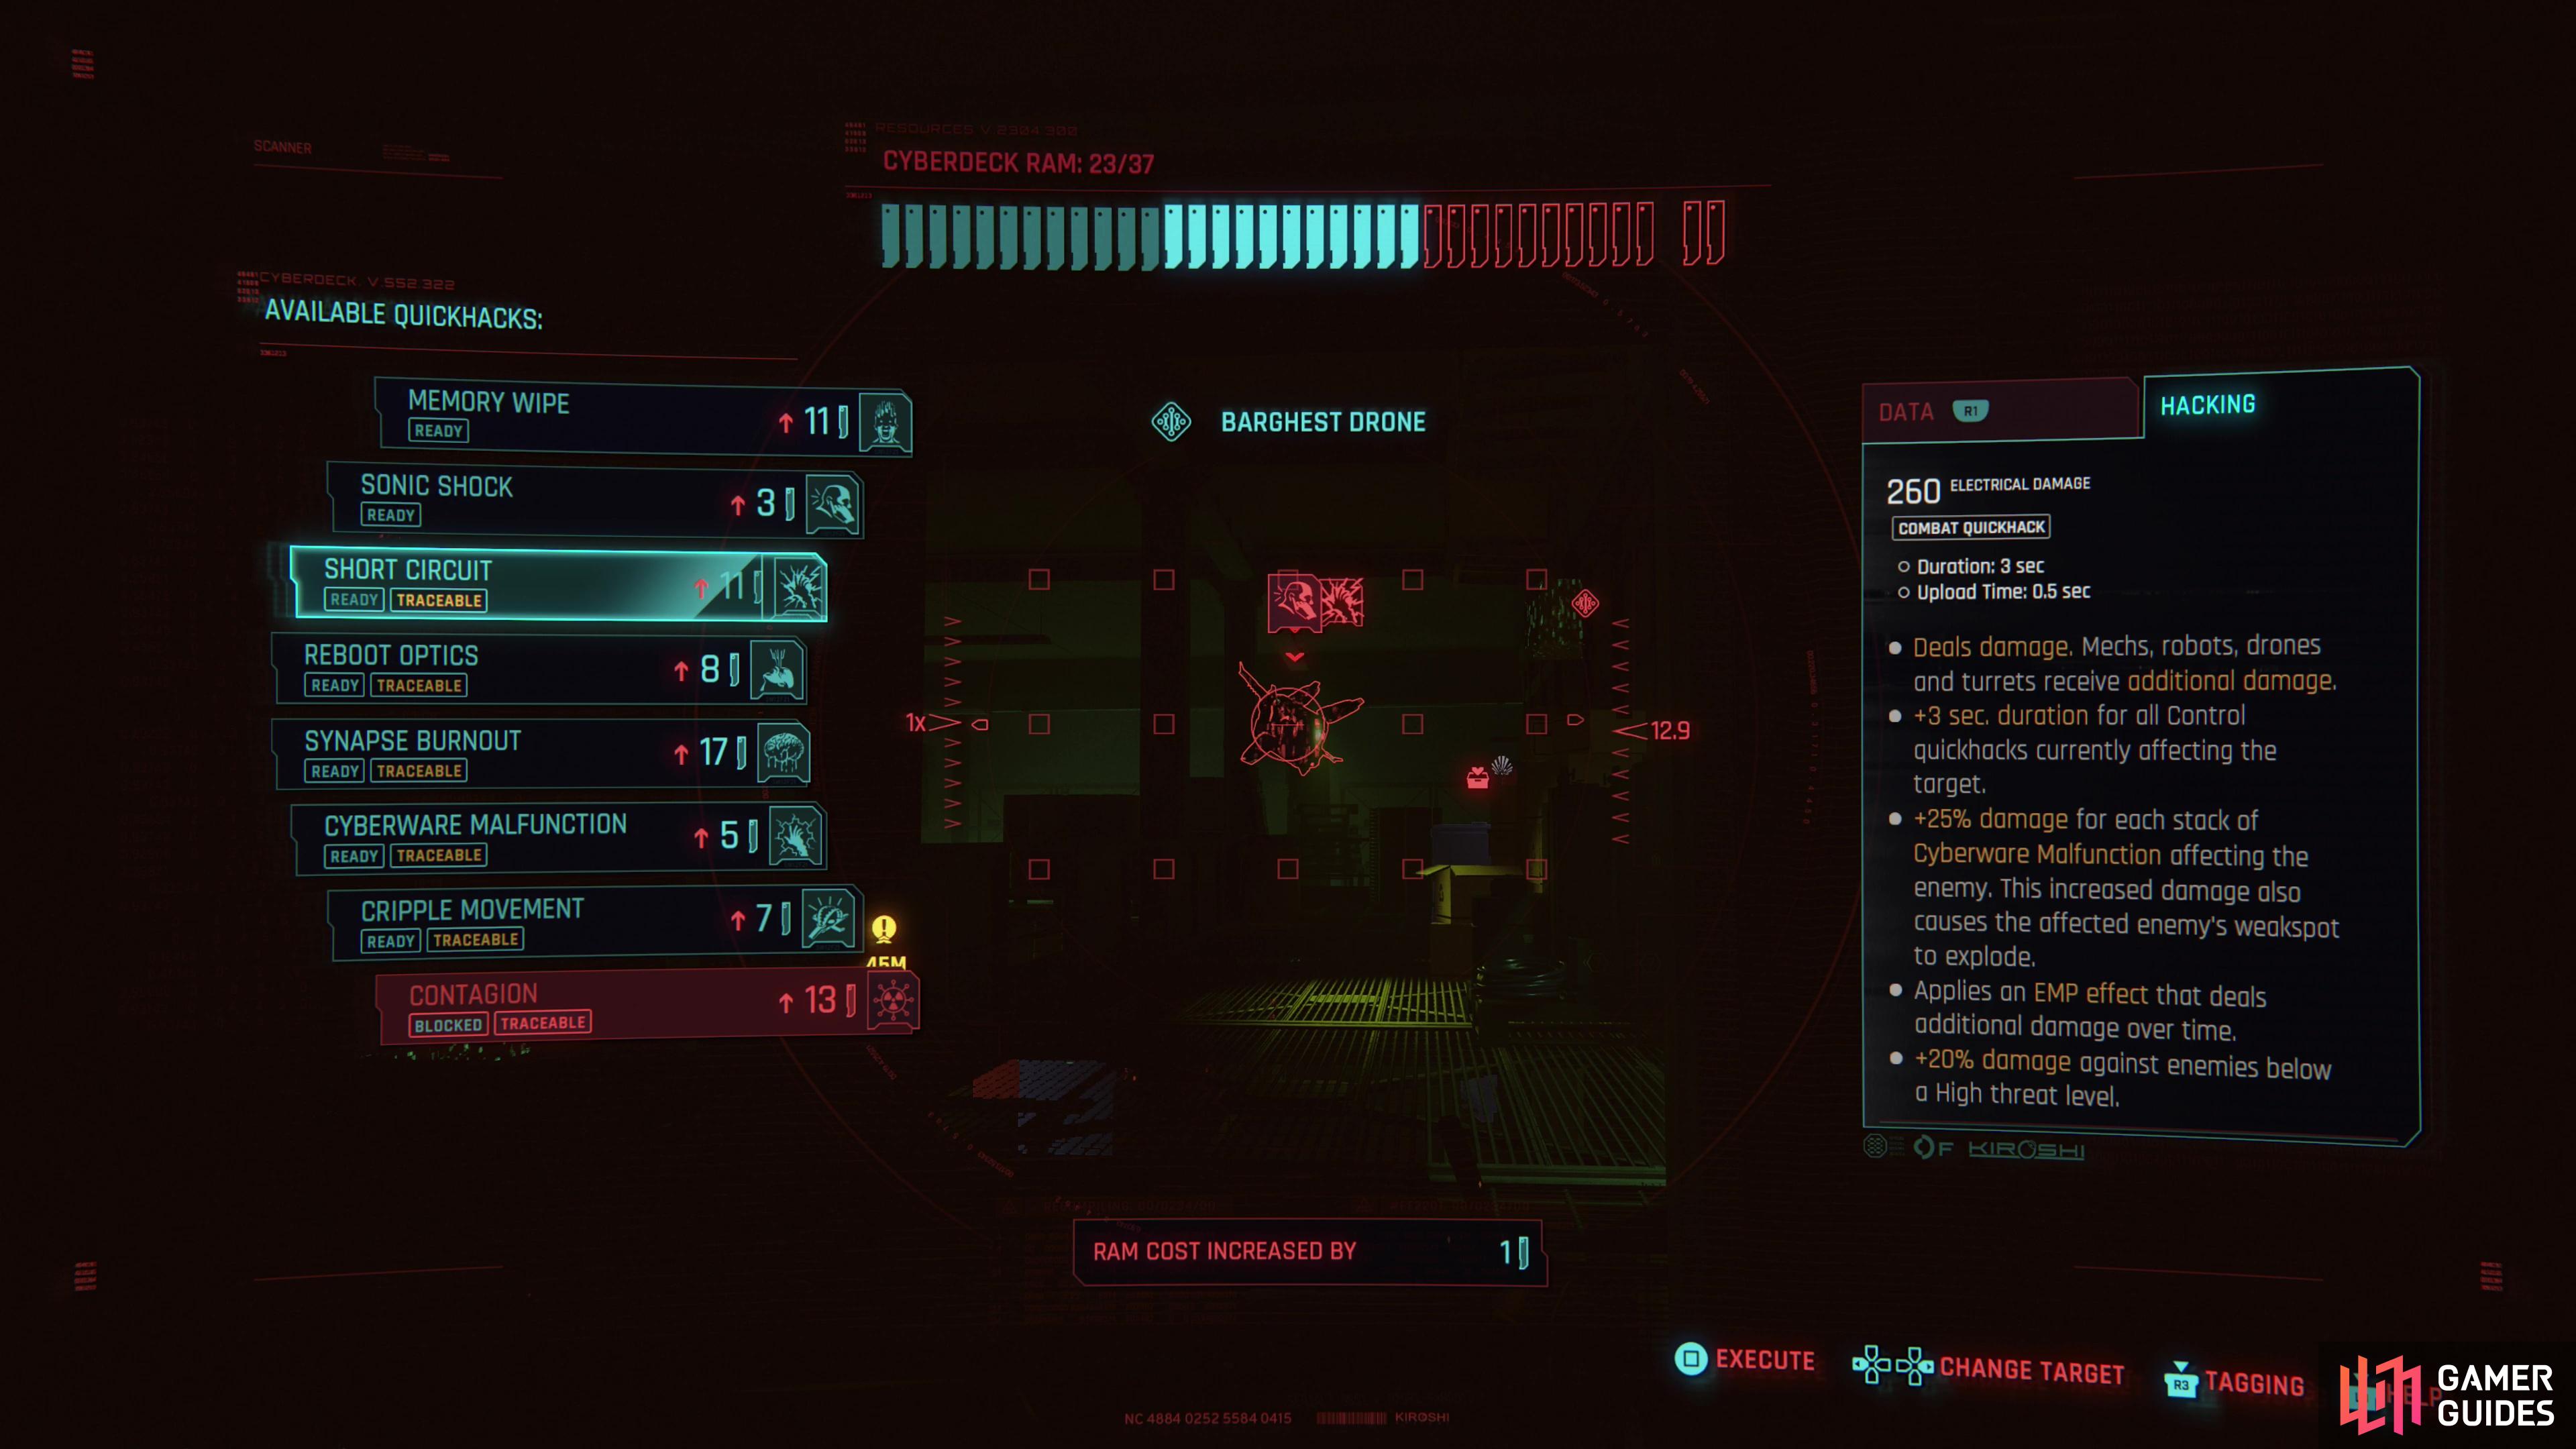
Dispatch some drones in the warehouse near the garage,
then ride along with Reed until you witness Songbird’s capture at the hands of MaxTac.
Escape With Reed
Prove you’re the top dog in Dogtown, then leave under the sliding door that Hansen and his goons entered through. Go through some doors to the left, enter a room to the right and take the elevator down to the garage level. The last opposition of the mission can be found down here - three drones, mirroring Songbird’s route. Sneak past them and/or disable them with quickhacks if you care to (or just gun them down if you’re past feigning subtlety) and note some offices to the right. You can sneak through these safely, but more importantly you can find an access point [Intelligence 10] along the wall in the first room. You can also find numerous gun boxes with leveled weapons inside, if you search around the warehouse area a bit.
When you’re ready, enter the garage by going through the doorway to the left, where Reed will make a dramatic entrance, along with some pursuing BARGHEST troopers. If you want to get things over with, just hop in Reed’s vehicle and he’ll drive off, but if you want to kill and loot these five enemies and search the garage (there’s another access point [Intelligence 10] in an office to the far right).
Speed off with Reed and eventually you’ll witness Night City’s response to a cyberpsycho with Songbird’s capabilities running about… and just like that we’re back where we started. We need to spring Songbird, this time from MaxTac, and with less manpower than we had before. This will end Reed route of the main job Firestarter and begin the followup job [Black Steel in the Hour of Chaos].
The Gigs Gig: Heaviest of Hearts and Gig: Roads to Redemption should appear in Dogtown now, if you want a breather before tackling the penultimate main job for Reed’s route. Otherwise, you can always play through Songbird’s route in Firestarter, if you made a hard save… just to see how things go when you make different decisions. The side job Run This Town should also start…eventually. Just give Mr. Hands some time to get in contact with you. Finally, this is the earliest opportunity you have to finish the hidden side job [Voodoo Treasure].
- [Black Steel in the Hour of Chaos]
- Firestarter Walkthrough - Songbird’s Route
- Run This Town Walkthrough
- [Voodoo Treasure Walkthrough]
- Heaviest of Hearts Walkthrough
- [Roads to Redemption Walkthrough]
No Comments