


This main job begins after you complete The Ride, after which you can choose to do either it, or another main job, The Pickup. It doesn’t matter which one you do first, although this is definitely the less complicated of the two options - easy XP with no real risk, if you find that appealing.
How to Complete The Information in Cyberpunk 2077
To start it, track the job and head to Lizzie’s Bar, which is northeast of your apartment. Once you arrive, you’ll need to make sure the time is between 6:00 PM and 6:00 AM - night in Night City. You can do this by entering your menu and opting to “Skip Time” via the button on the lower left of the screen.
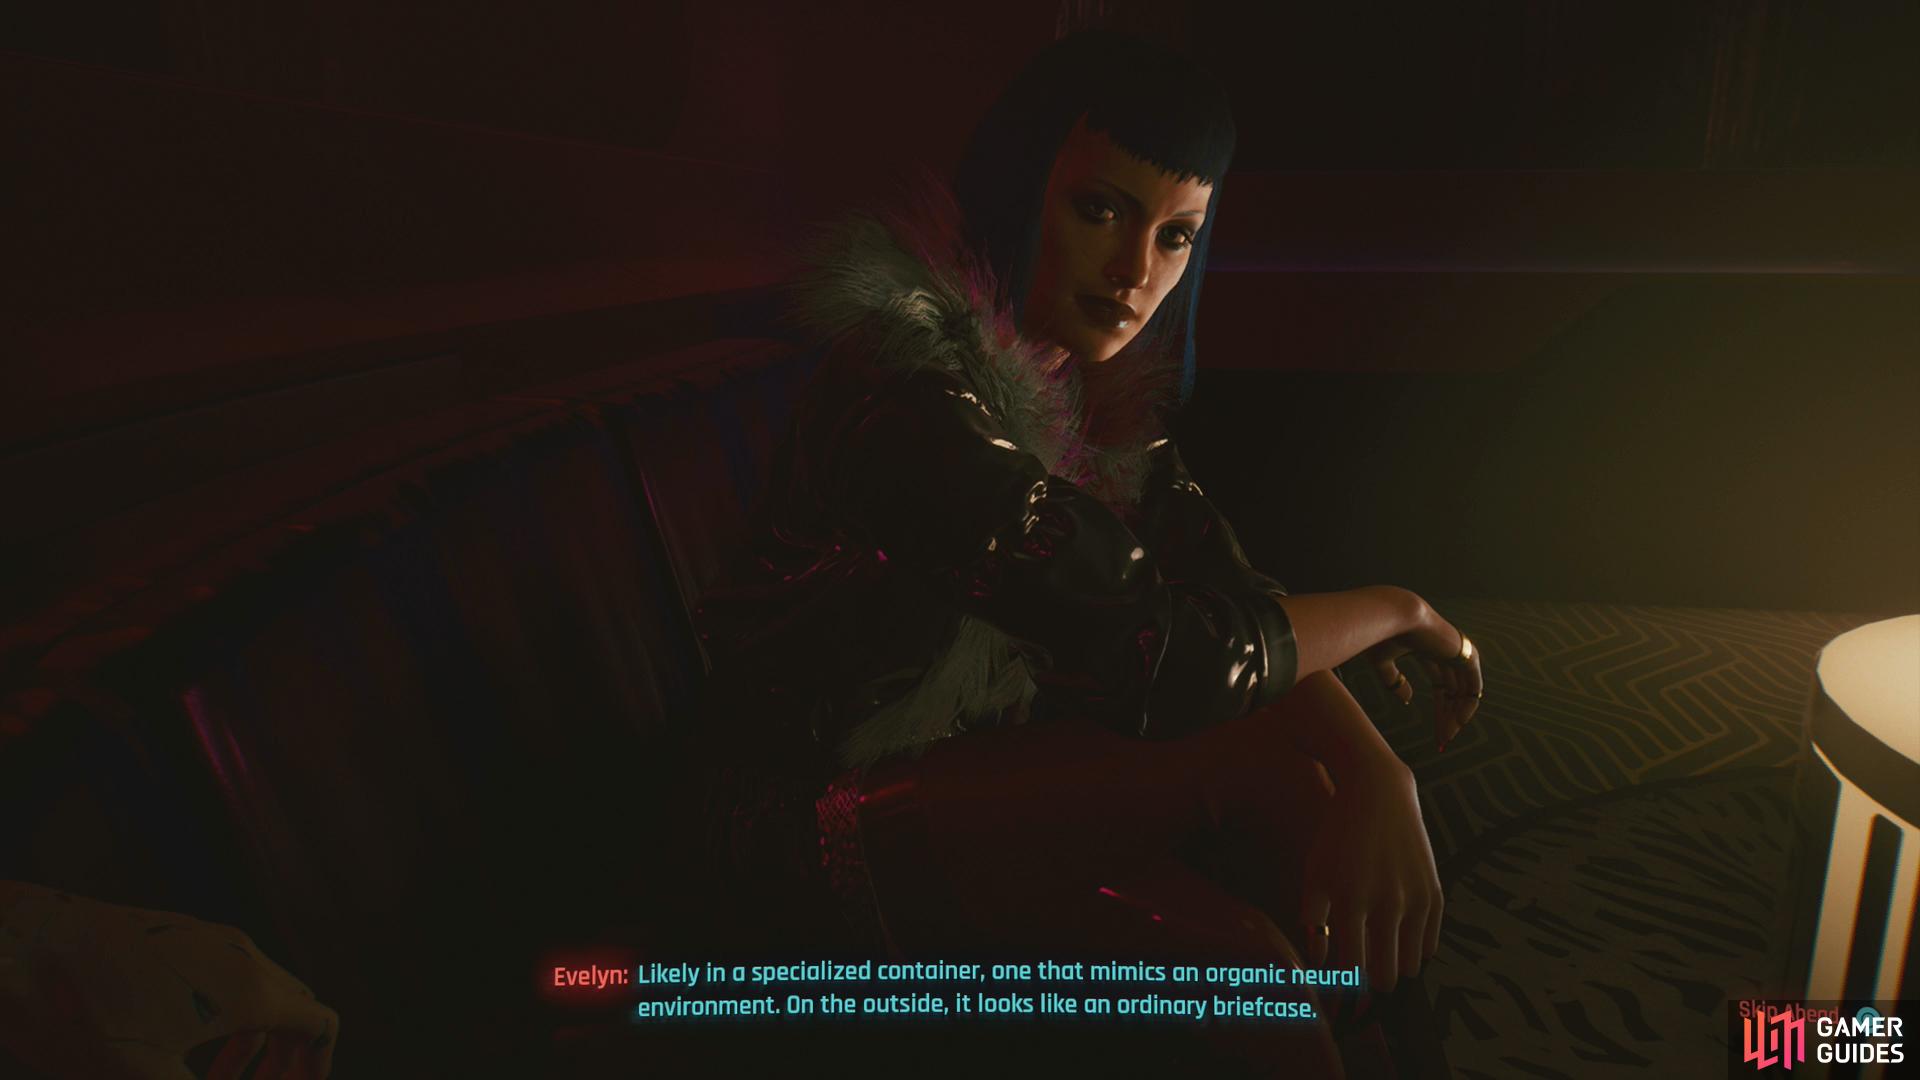
Meet up with Evelyn and she’ll elaborate on her scheme,
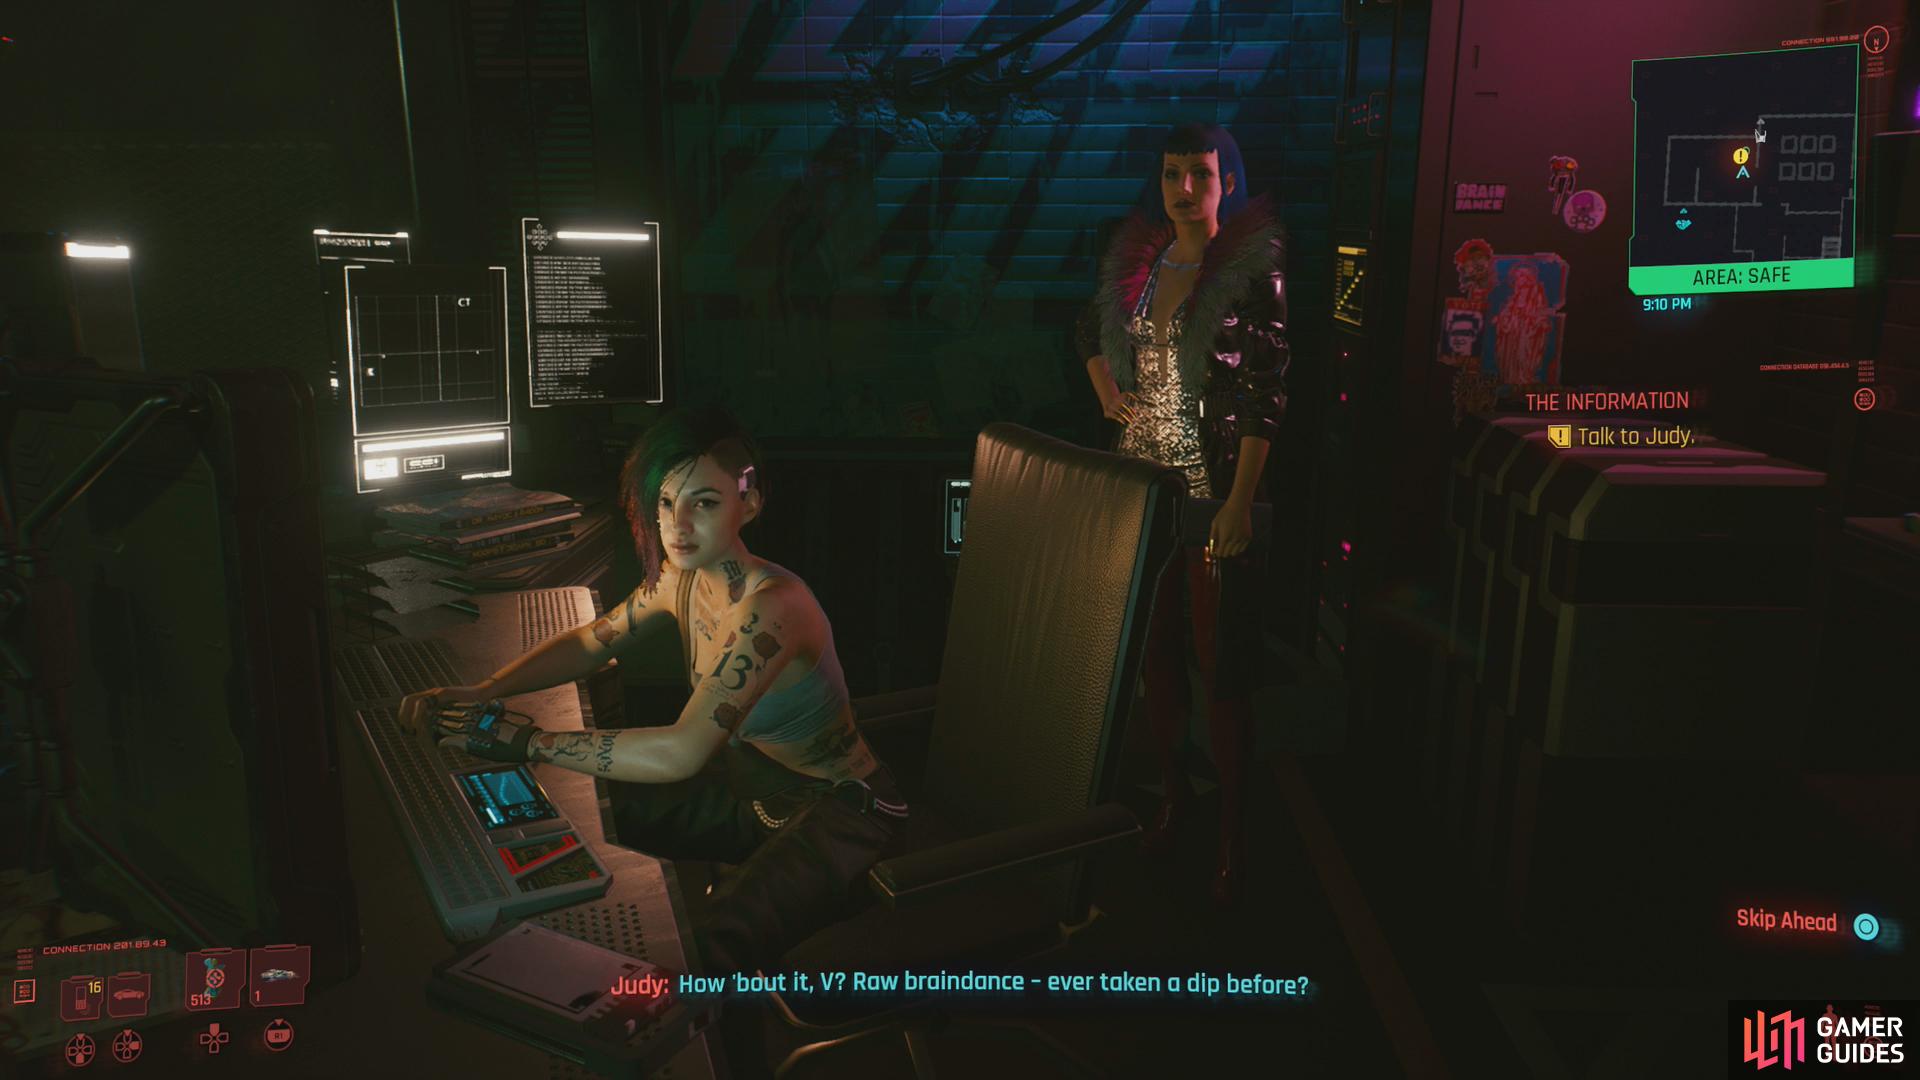
before introducing you to Judy, who will help you through some braindances.
When you’re in the right place at the right time, head to the front door and talk to some bouncers and once they let you in, head to the bar and talk to a bartender named Mateo and ask for Evelyn, who will show up shortly after you drop her name. After some small talk you’ll need to follow Evelyn into a back room, where you’ll talk shop before following Evelyn again, this time to the main event - a braindance of a suite in Konpeki Plaza. Chat with Judy and Evelyn about raw braindances and eventually you’ll find yourself in a tutorial braindance of sorts.
Watch the braindance play out, then Judy will start the braindance again in edit mode. After she stops talking, move the camera around freely to get a feel for things, and unpause the braindance by pressing [Square] when you’re ready. Judy will guide you through this process, ultimately teaching you how to navigate braindances. The steps you’ll need to follow are, in order:
- Rewind the braindance to the beginning by holding down [L2].
- Fast forward the braindance by pressing [R2] until Judy instructs you again.
- Hold down [Triangle] to reset the braindance.
- Play or fast forward until Judy stops you and instructs you to scan the gun one thug gives to the other.
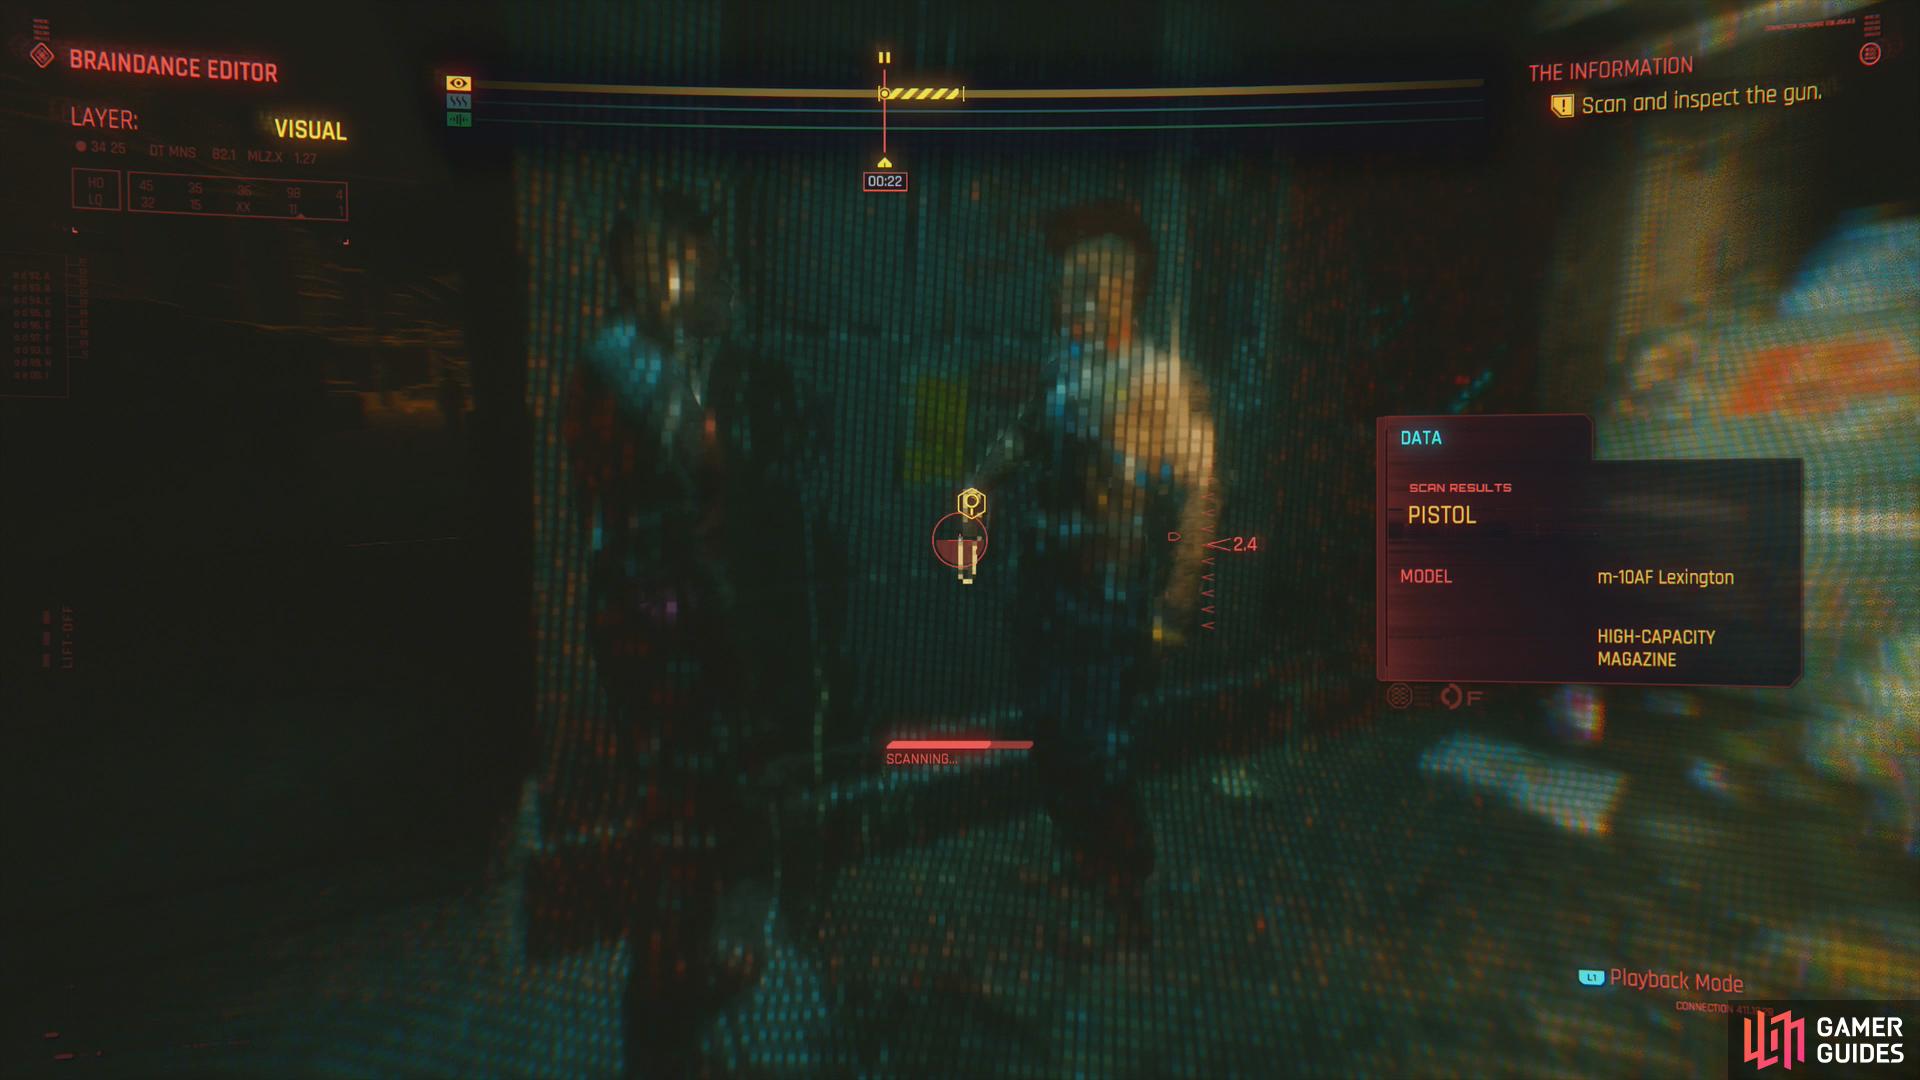
During braindances you can scan objects,
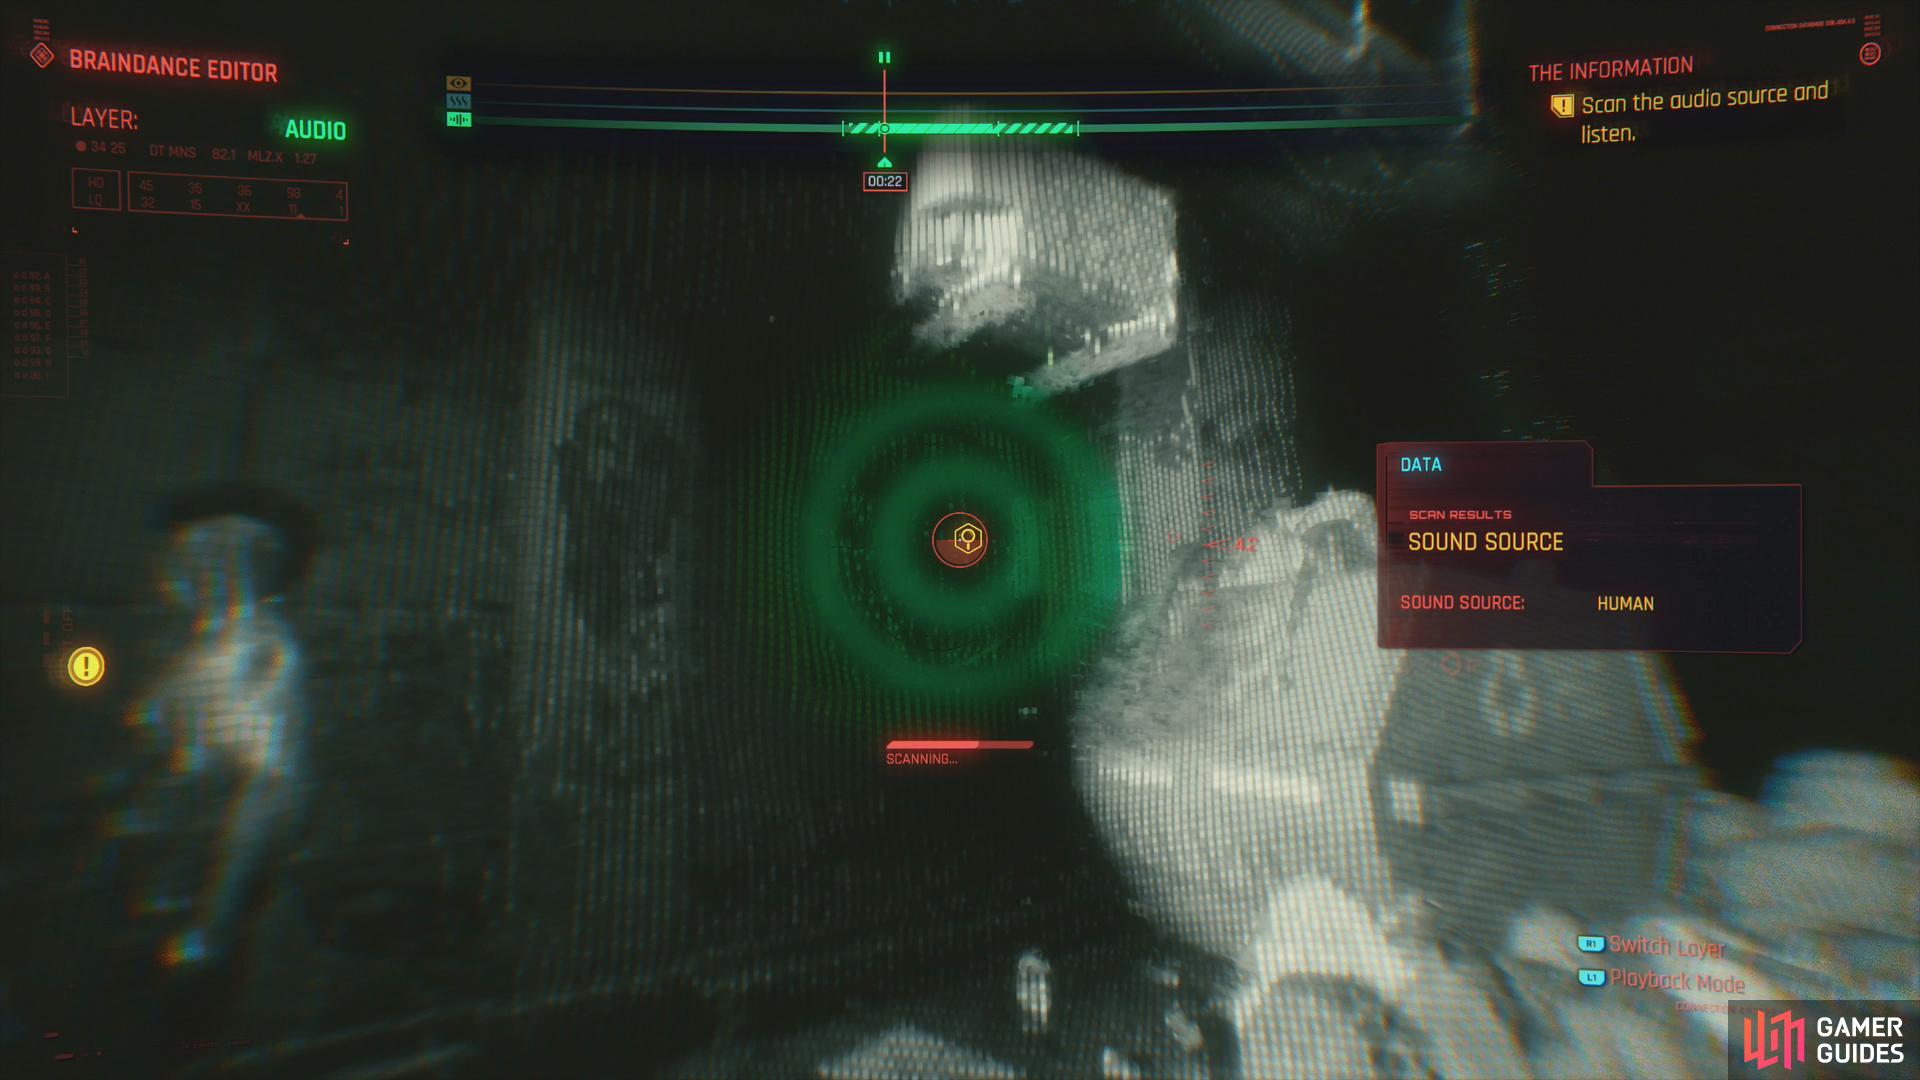
and sounds, both of which can yield valuable intel.
This is the heart of your endeavors here, as you can glean useful intel by scanning points of interest during braindances. In this case you’ll need to scan (just look at the point of interest) the gun one thug gives the other. Whenever points of interest are available for scanning, it’ll be noted on one of three bars at the top of the screen. The yellow bar indicates the visual layer of the braindance, the blue bar represents the thermal layer, and the green bar is the sound layer. It sounds more complicated than it is; basically during these scenarios watch or fast forward through a braindance and when you see a segment of the braindance layer light up, start looking for something to scan. You may have to watch through the braindance several times (once on each layer) to get everything, but once you’ve scanned a point of interest it’s highlight is removed from layer bars. As for these braindances in particular, don’t worry - they’re heavily narrated, so you shouldn’t miss anything.
After that rather important point, the lesson continues:
- Switch to the sound layer by pressing [R1].
- Scan one or both of the sound signals (green concentric circles).
- Fast forward and scan the woman the thug attacks near the counter.
- Fast forward to where the thug gets shot.
- Rewind and scan the CCTV screen on the cashier’s counter.
Pretty apt tutorial showing how you can use braindances to obtain information, even things the original recorder missed, to their great cost…
Exit the braindance by pressing [Circle] and after some drama you’ll end up in another braindance - Evelyn’s recording of Yorinobu’s suite atop Konpeki Plaza. At the start of the recording, note that there’s a point of interest in the visual layer, and no, it’s not the massive cyborg that greets Evelyn as the elevator doors open:
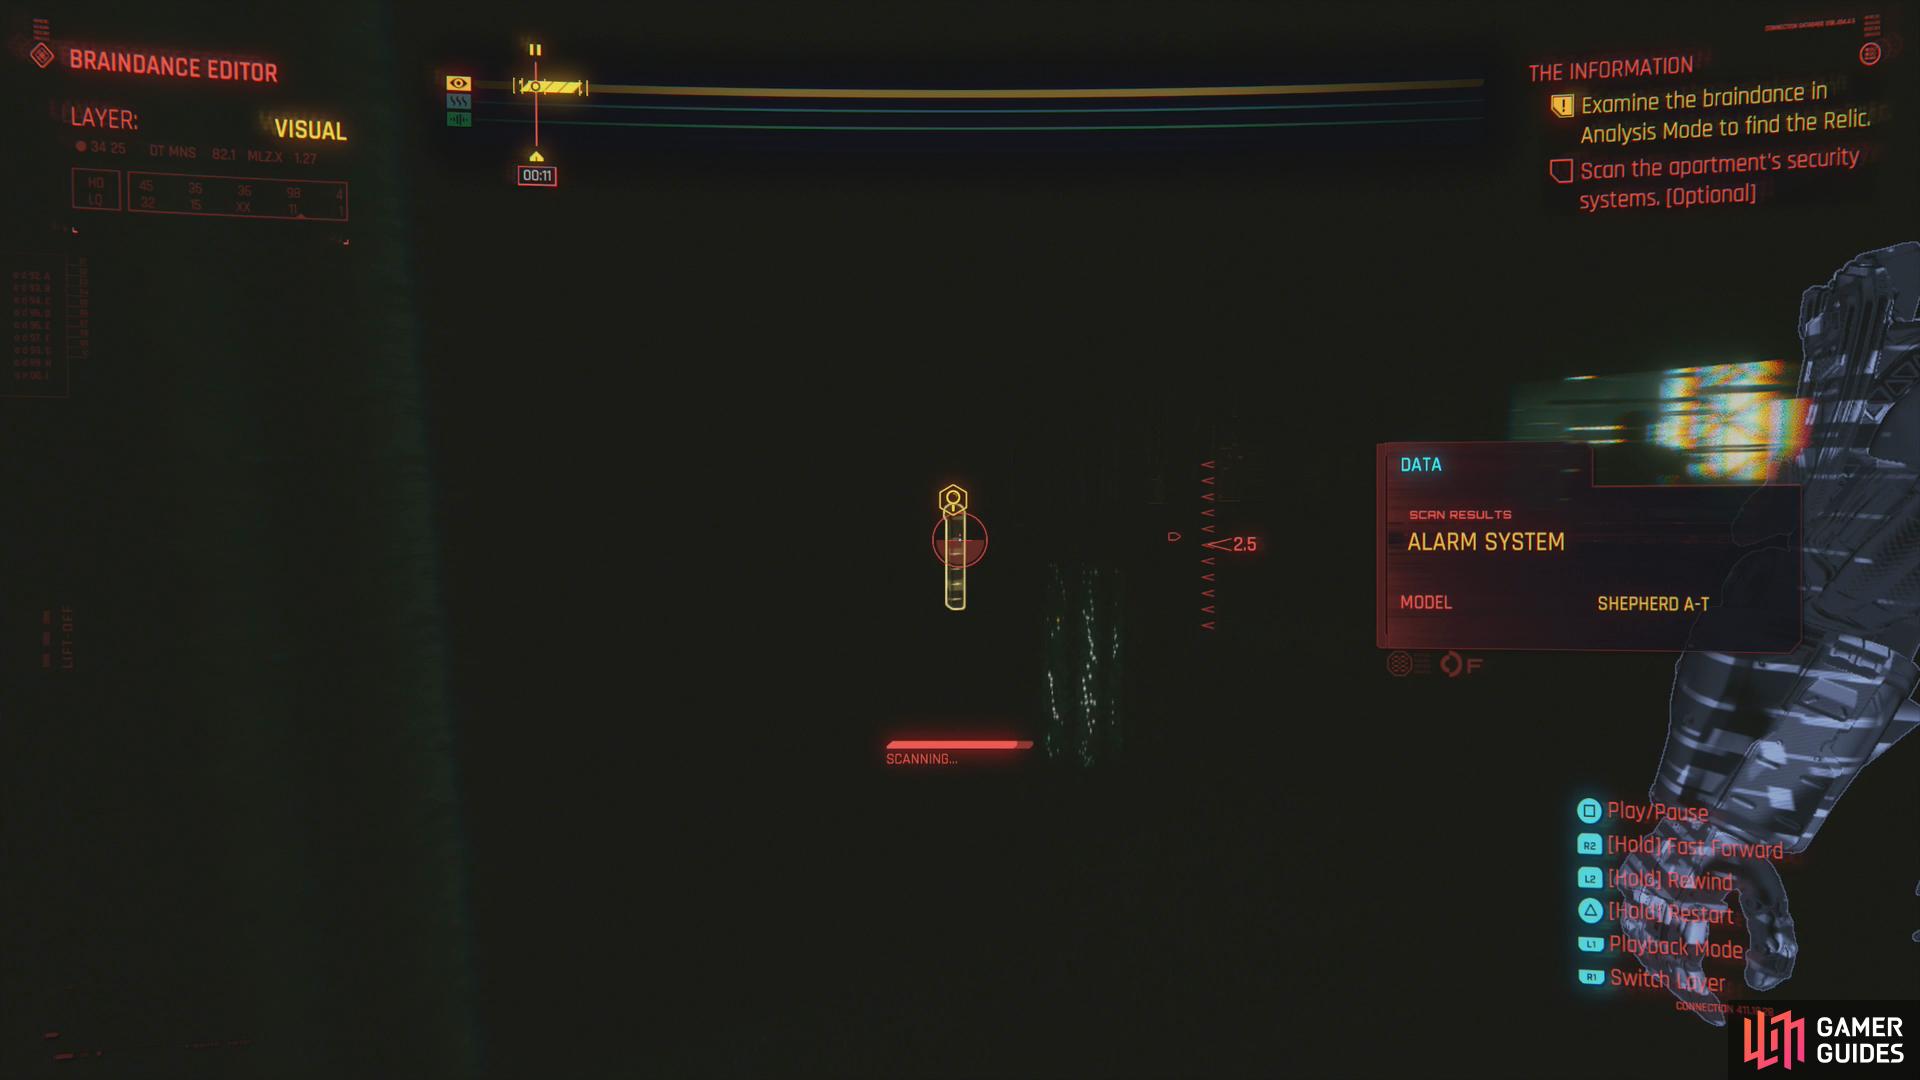
- Pause the recording, switch to editing mode (third person free roam camera) by pressing [L1], then scan an alarm system to the left or right and a motion sensor camera up and to the right.
- Play or fast forward until you’re prompted to listen in on Yorinobu’s conversation by T-Bug. Switch to the audio layer (green) and scan the wall opposite Yorinobu to detect some serves.
- Scan Yorinobu and listen in on his conversation until the Listen in on Yarinobu objective clears.
- Play or fast forward until Evelyn and Yorinobu are going into the bedroom, then look up at the ceiling and scan an automated turret (visual layer). This should clear the Scan the apartment’s security objective.
- Play or fast forward until Yorinobu lies down on the bad. Scan the Liberty gun on the table to make note of it.
- Scan Yorinobu’s datapad as he puts it in the bedside drawer. This should clear the objective In the visual layer, scan Yorinobu’s datapad while it’s turned on.
- Switch to the thermal layer (blue) and rewind through the braindance to reveal numerous points of interest on the thermal layer. When Yorinobu is on his call, but before Evelyn heads off alone to a bar to the left, you’ll find three things you can scan. A bottle of wine on ice, a mini-fridge, and something on the floor in the far left corner of the apartment. The latter is obviously what you’re looking for. This should clear the objective Scan for thermal clue to find the Relic.
Exit the braindance and Judy will give you a gift before expressing her lack of confidence in your longevity. Follow Evelyn and she’ll make you the sort of underhanded deal you can expect in enterprises like this. You won’t make a decision here. After that you’ll automatically call and update Dex, then you can choose to respond to a message from Jackie. Once you leave Lizzie’s, the quest will end.
Now you need to complete The Pickup if you haven’t already. If you have, continue on with The Heist.
No Comments