
The fourth main job in Cyberpunk 2077: Phantom Liberty, Lucretia My Reflection begins immediately after you to defeat the Chimera during the previous main quest, Spider and the Fly. This is a bit of an odd quest, inasmuch as there’s not any combat unless you go out of your way to find it, and generally it consists of a lot of walking, talking, and some character development. You’ll also finally get the opportunity to explore Dogtown at your leisure during this quest. A full walkthrough for Lucretia My Reflection can be found below, including information on whether you should kill or spare Jacob and Taylor.
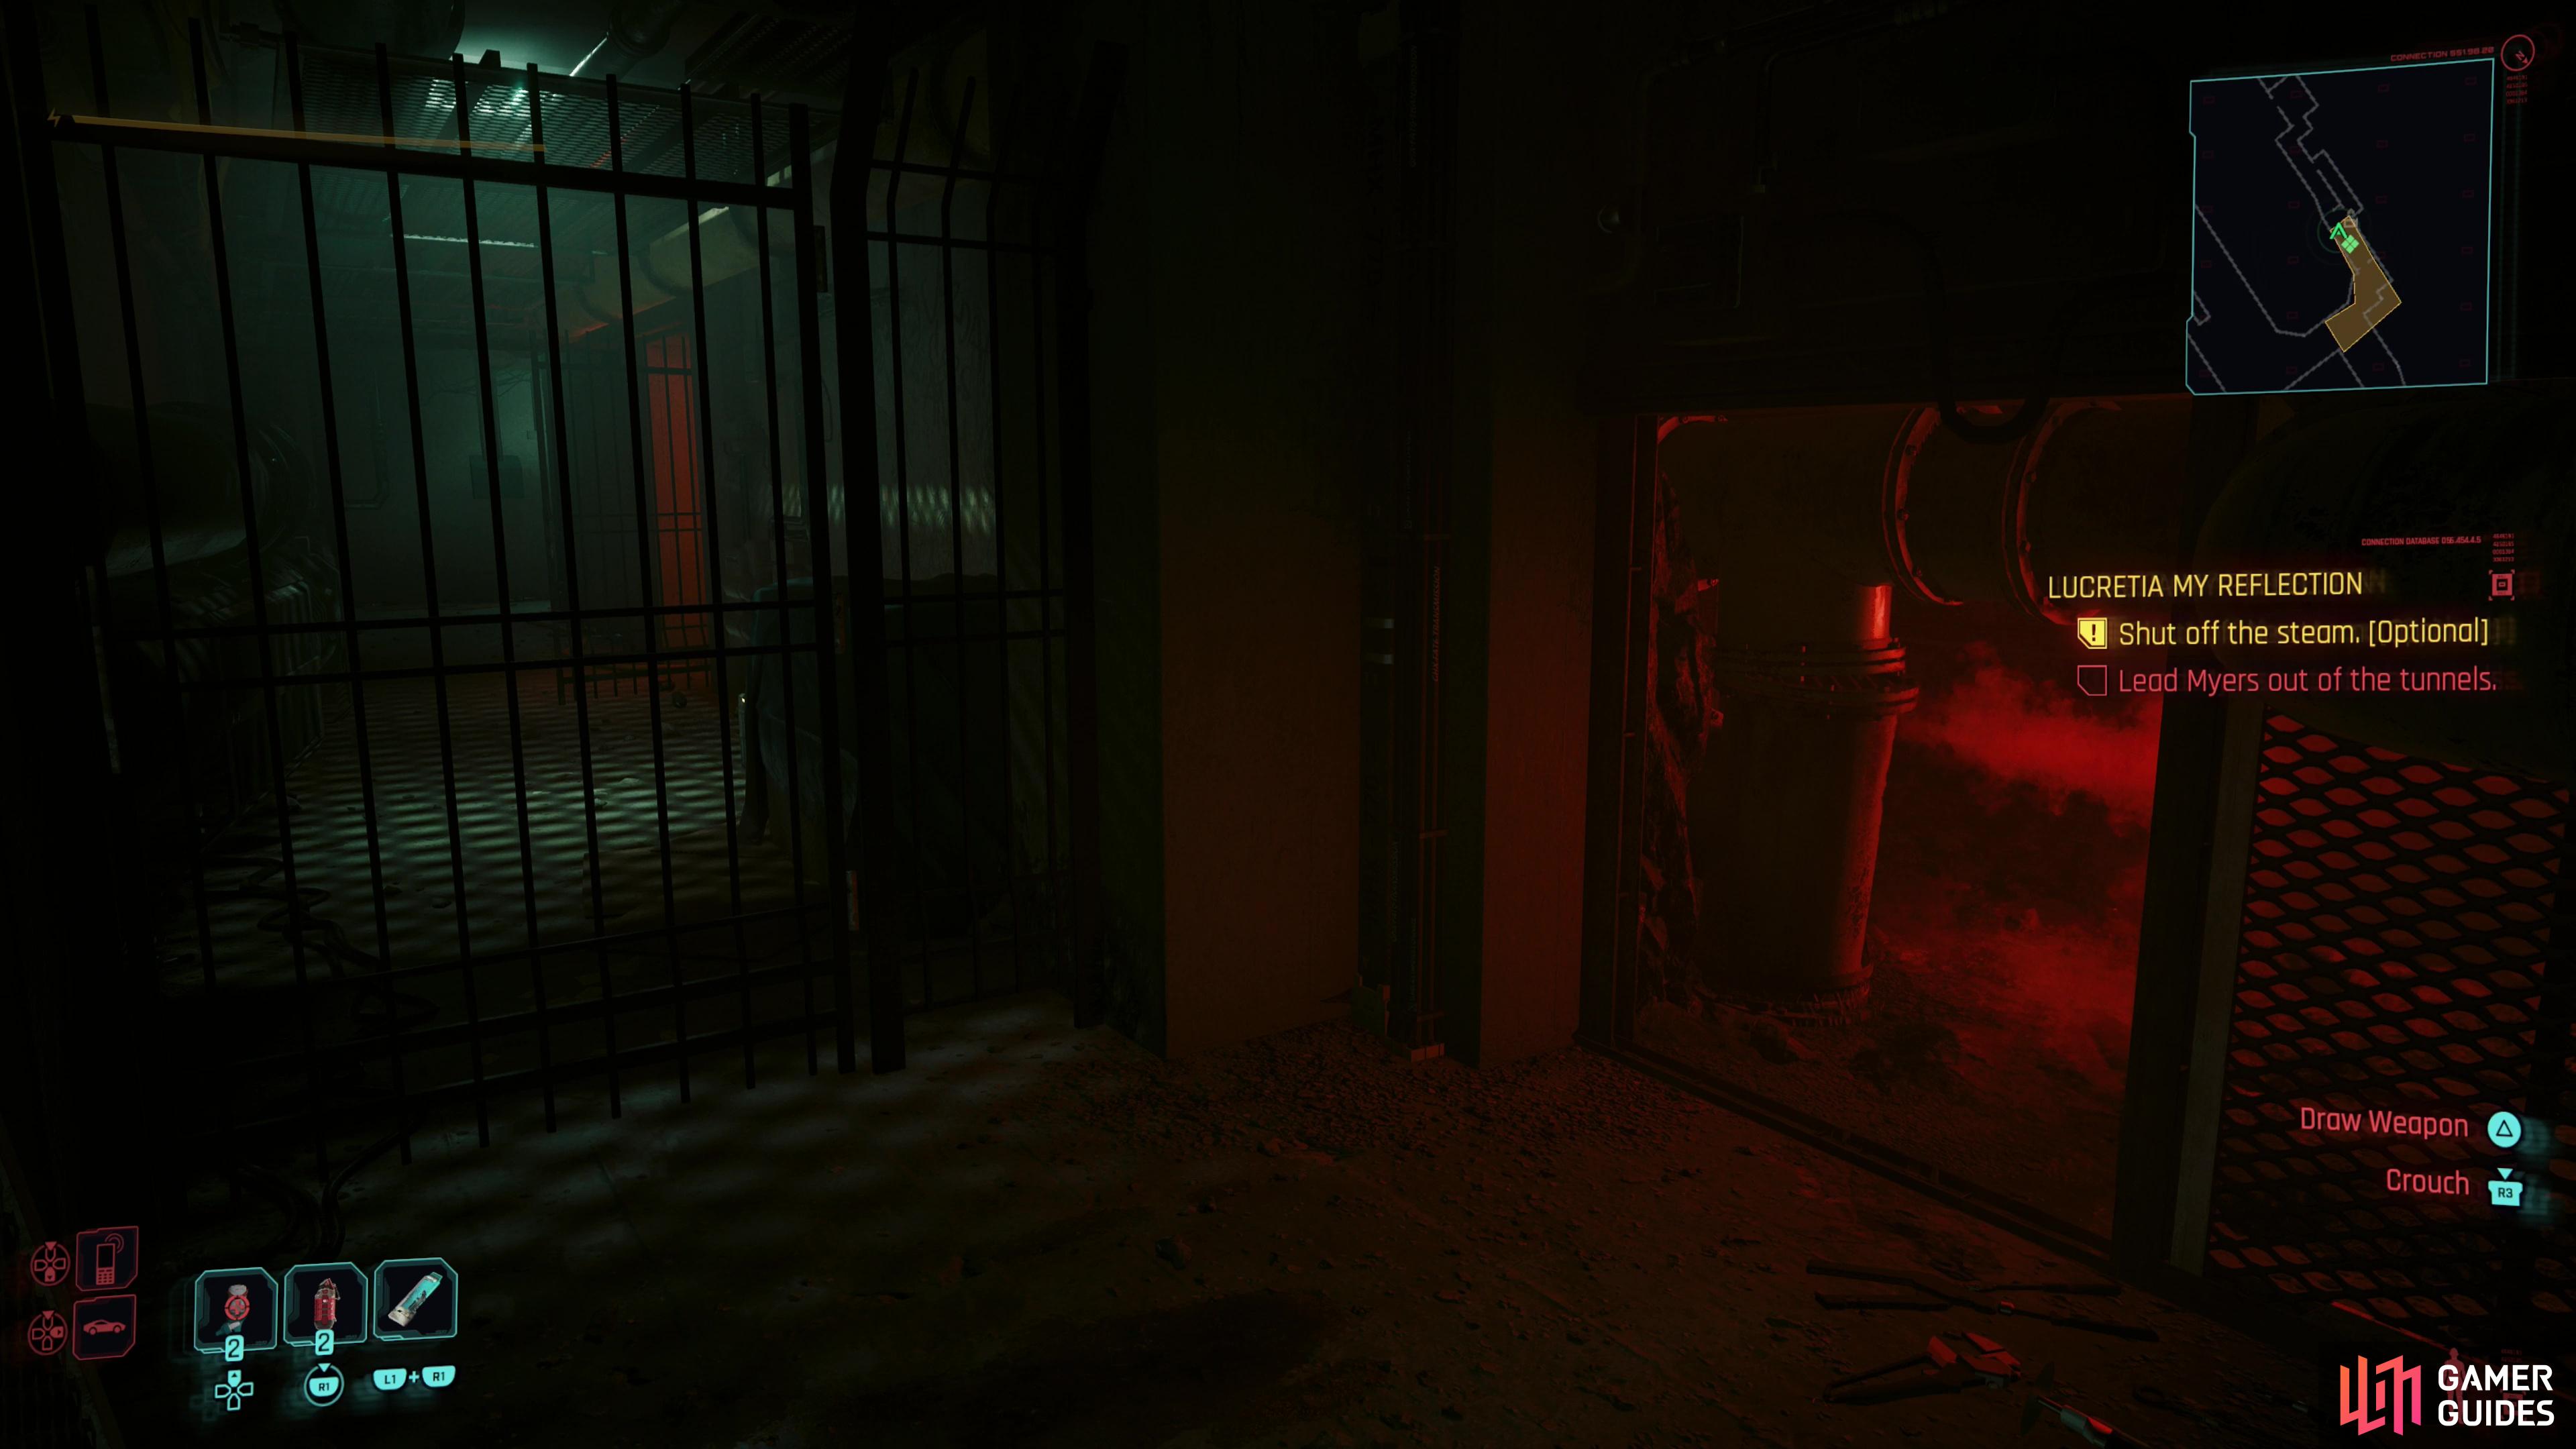
(1 of 3) As you make your way through the subway tunnels with Meyers, you can either force your way through a gate, or take a side passage through some steam… preferably after you turn a value to make the way safe.
Escape Through the Subway Tunnels
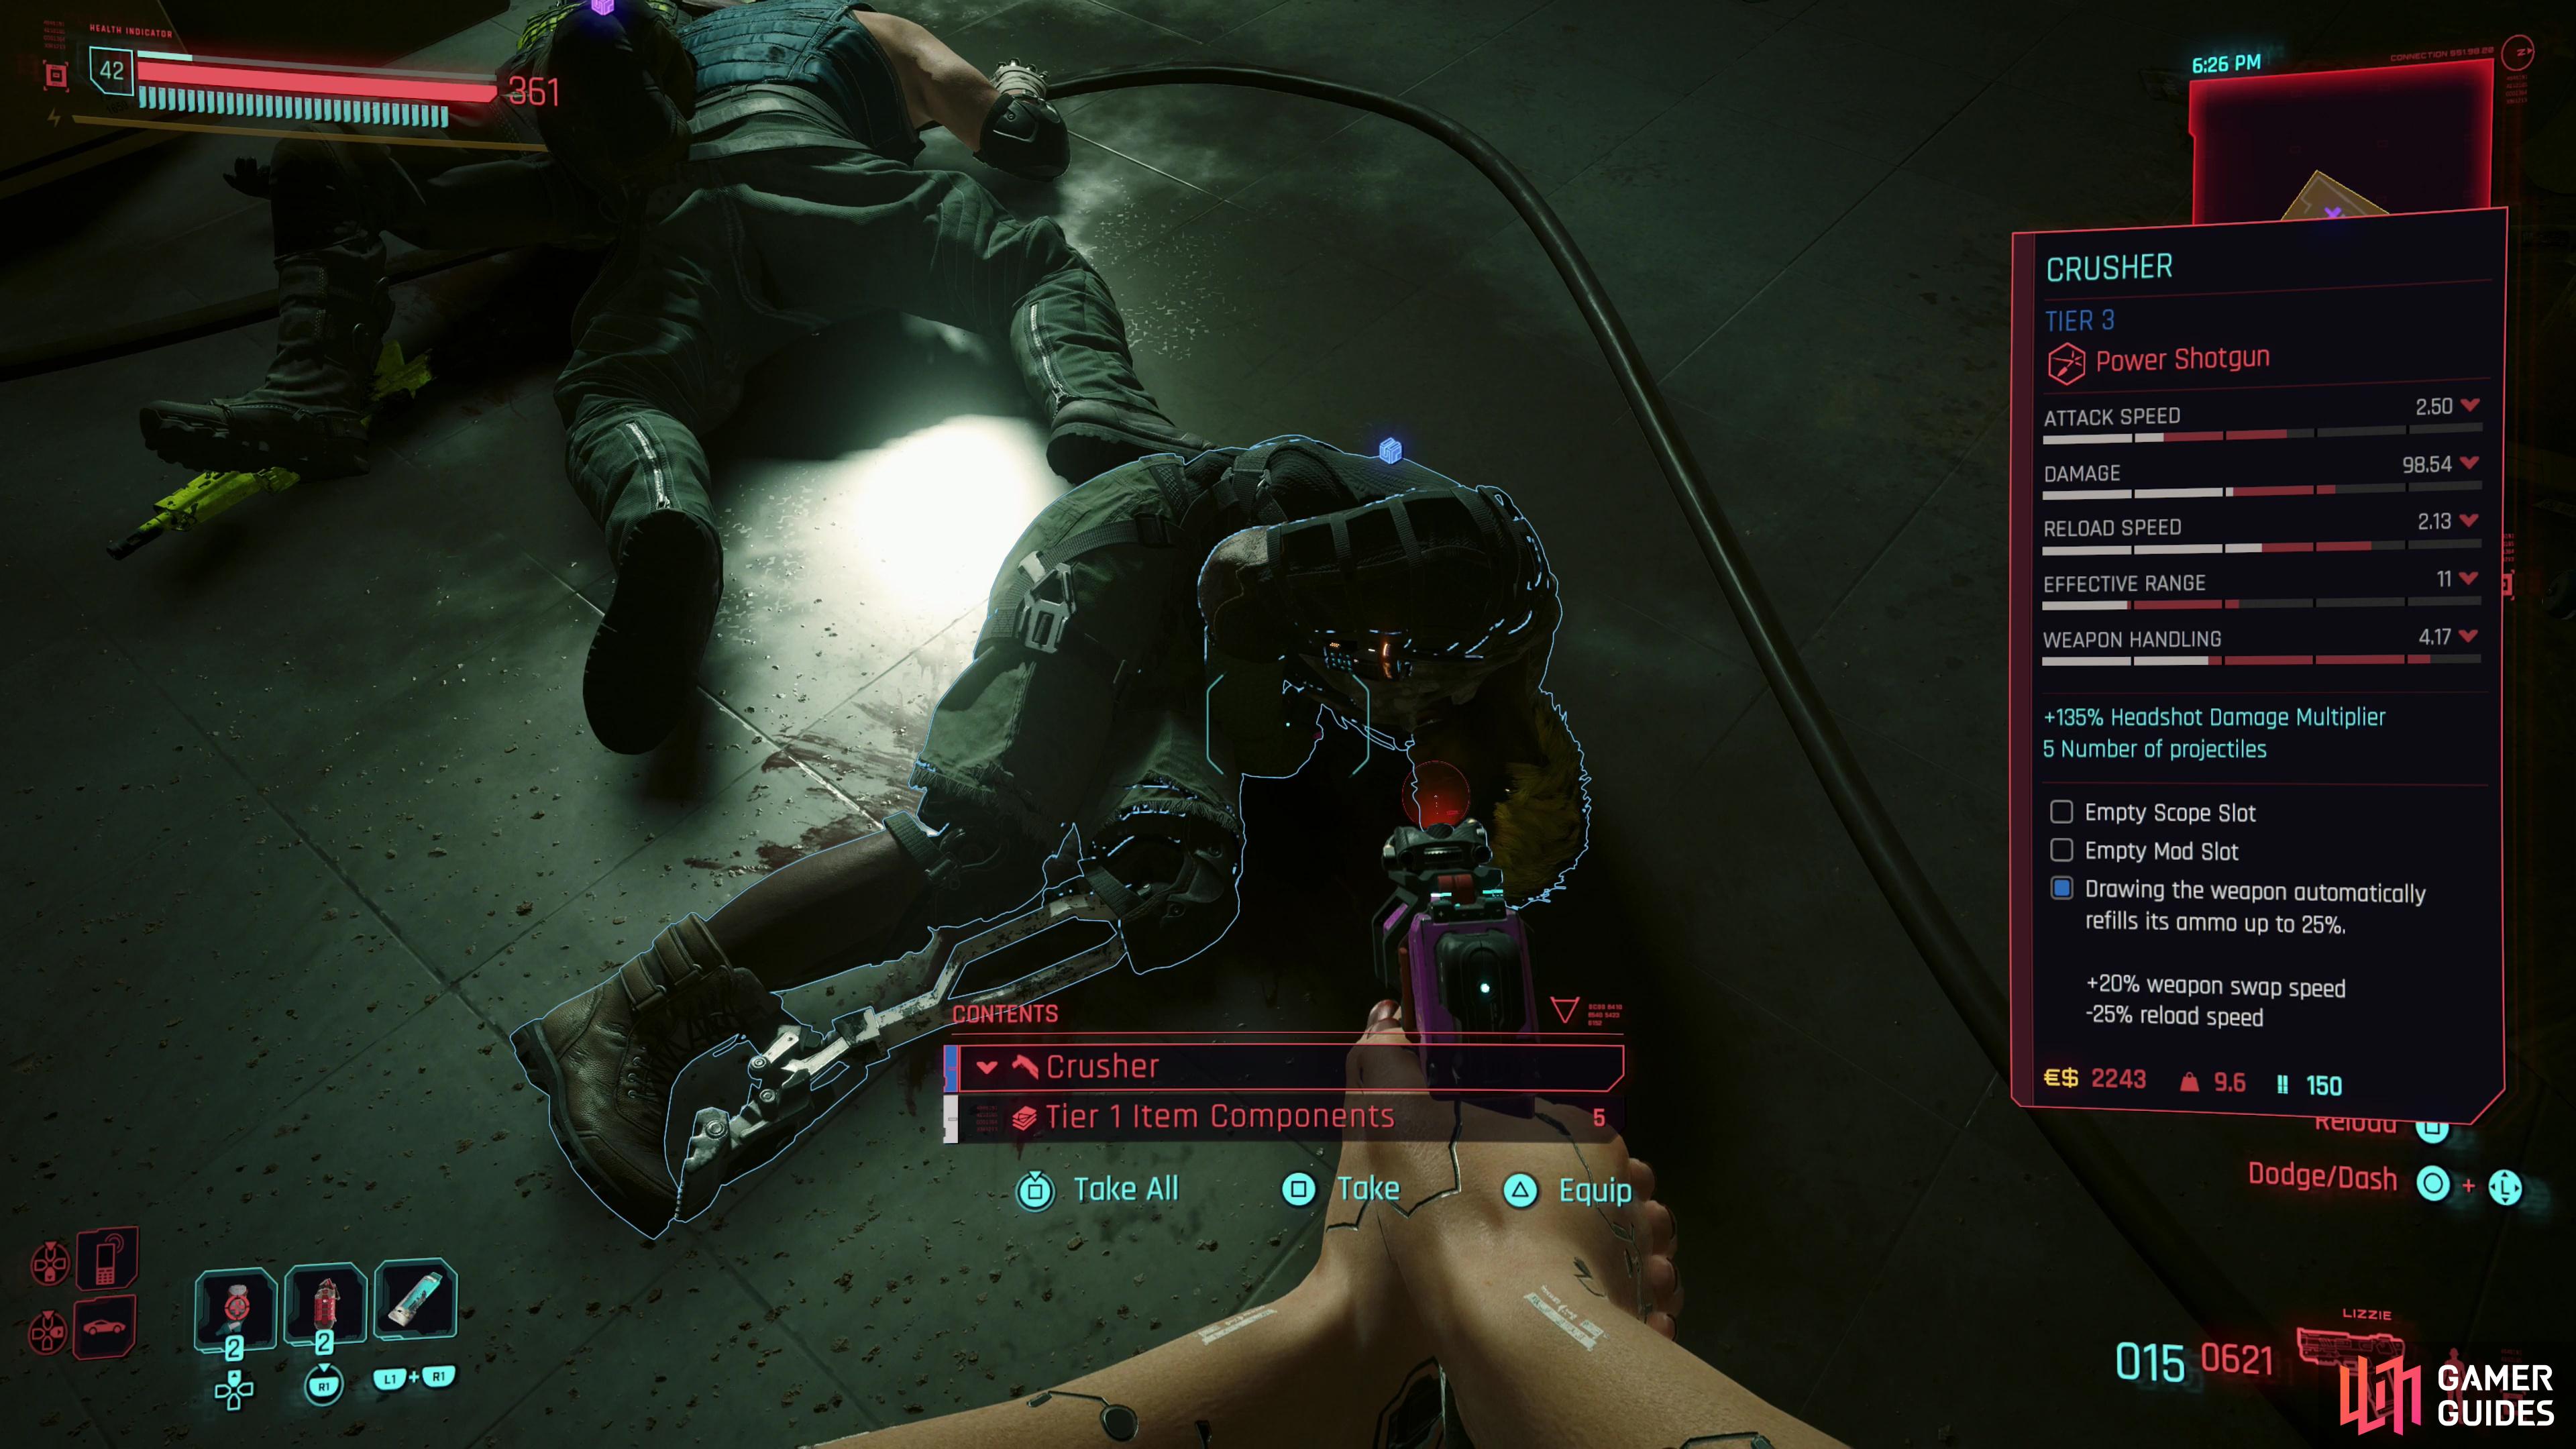
After the Chimera falls, loot the Active Chimera Core from the ground, then search a shipping crate between two staircases to find a path forward. Proceed to the end of the shipping container, try to open the far doors, and when that fails, open and jump through a hatch on the roof, then drop down and follow the tracks forward and into a train car. Try to call Songbird when Meyers asks and a special brain parasite will show up instead, emphasizing the fact that Songbird is not in control anymore. Chat with Johnny a bit, then follow Meyers through the train car and follow the tunnel beyond, climb a ladder, drop down, then team up with Meyers to push a laden cart.
Beyond you’ll find a split, and there’s nothing down the left fork, so go right, instead, and into a maintenance tunnel. Be wary, however, as a camera is up ahead, and while it doesn’t seem important at first, it’ll actually spawn some hostile later on if you get detected. Disable the camera and you’ll find that your way is blocked by steam to the right, and a gate ahead. The latter you can bypass with a [Body 20 | Technical Ability 20] check, while the former can be shut off by backtracking, jumping atop a collapsed walkway, then dropping down to reach a valve. Turn the valve to shut off the steam, then go through the tunnel the steam blocked to bypass the gate. Once you’re beyond the gate, be wary of another camera as you round a corner, then go through a door to reach a control room. Here you’ll find a computer that you can turn on, and if you were detected by the cameras, it’s worth doing so, as you can pick the “Wipe recordings” option. If you want to avoid some combat later on, you’ll need to do this. Once you’re done with the computer, loot the room, leave via another door, then follow the objective tracker around a corner and uphill to reach an elevator, where V has another episode. Respond to Meyers however you wish, then ride up to the apartments.
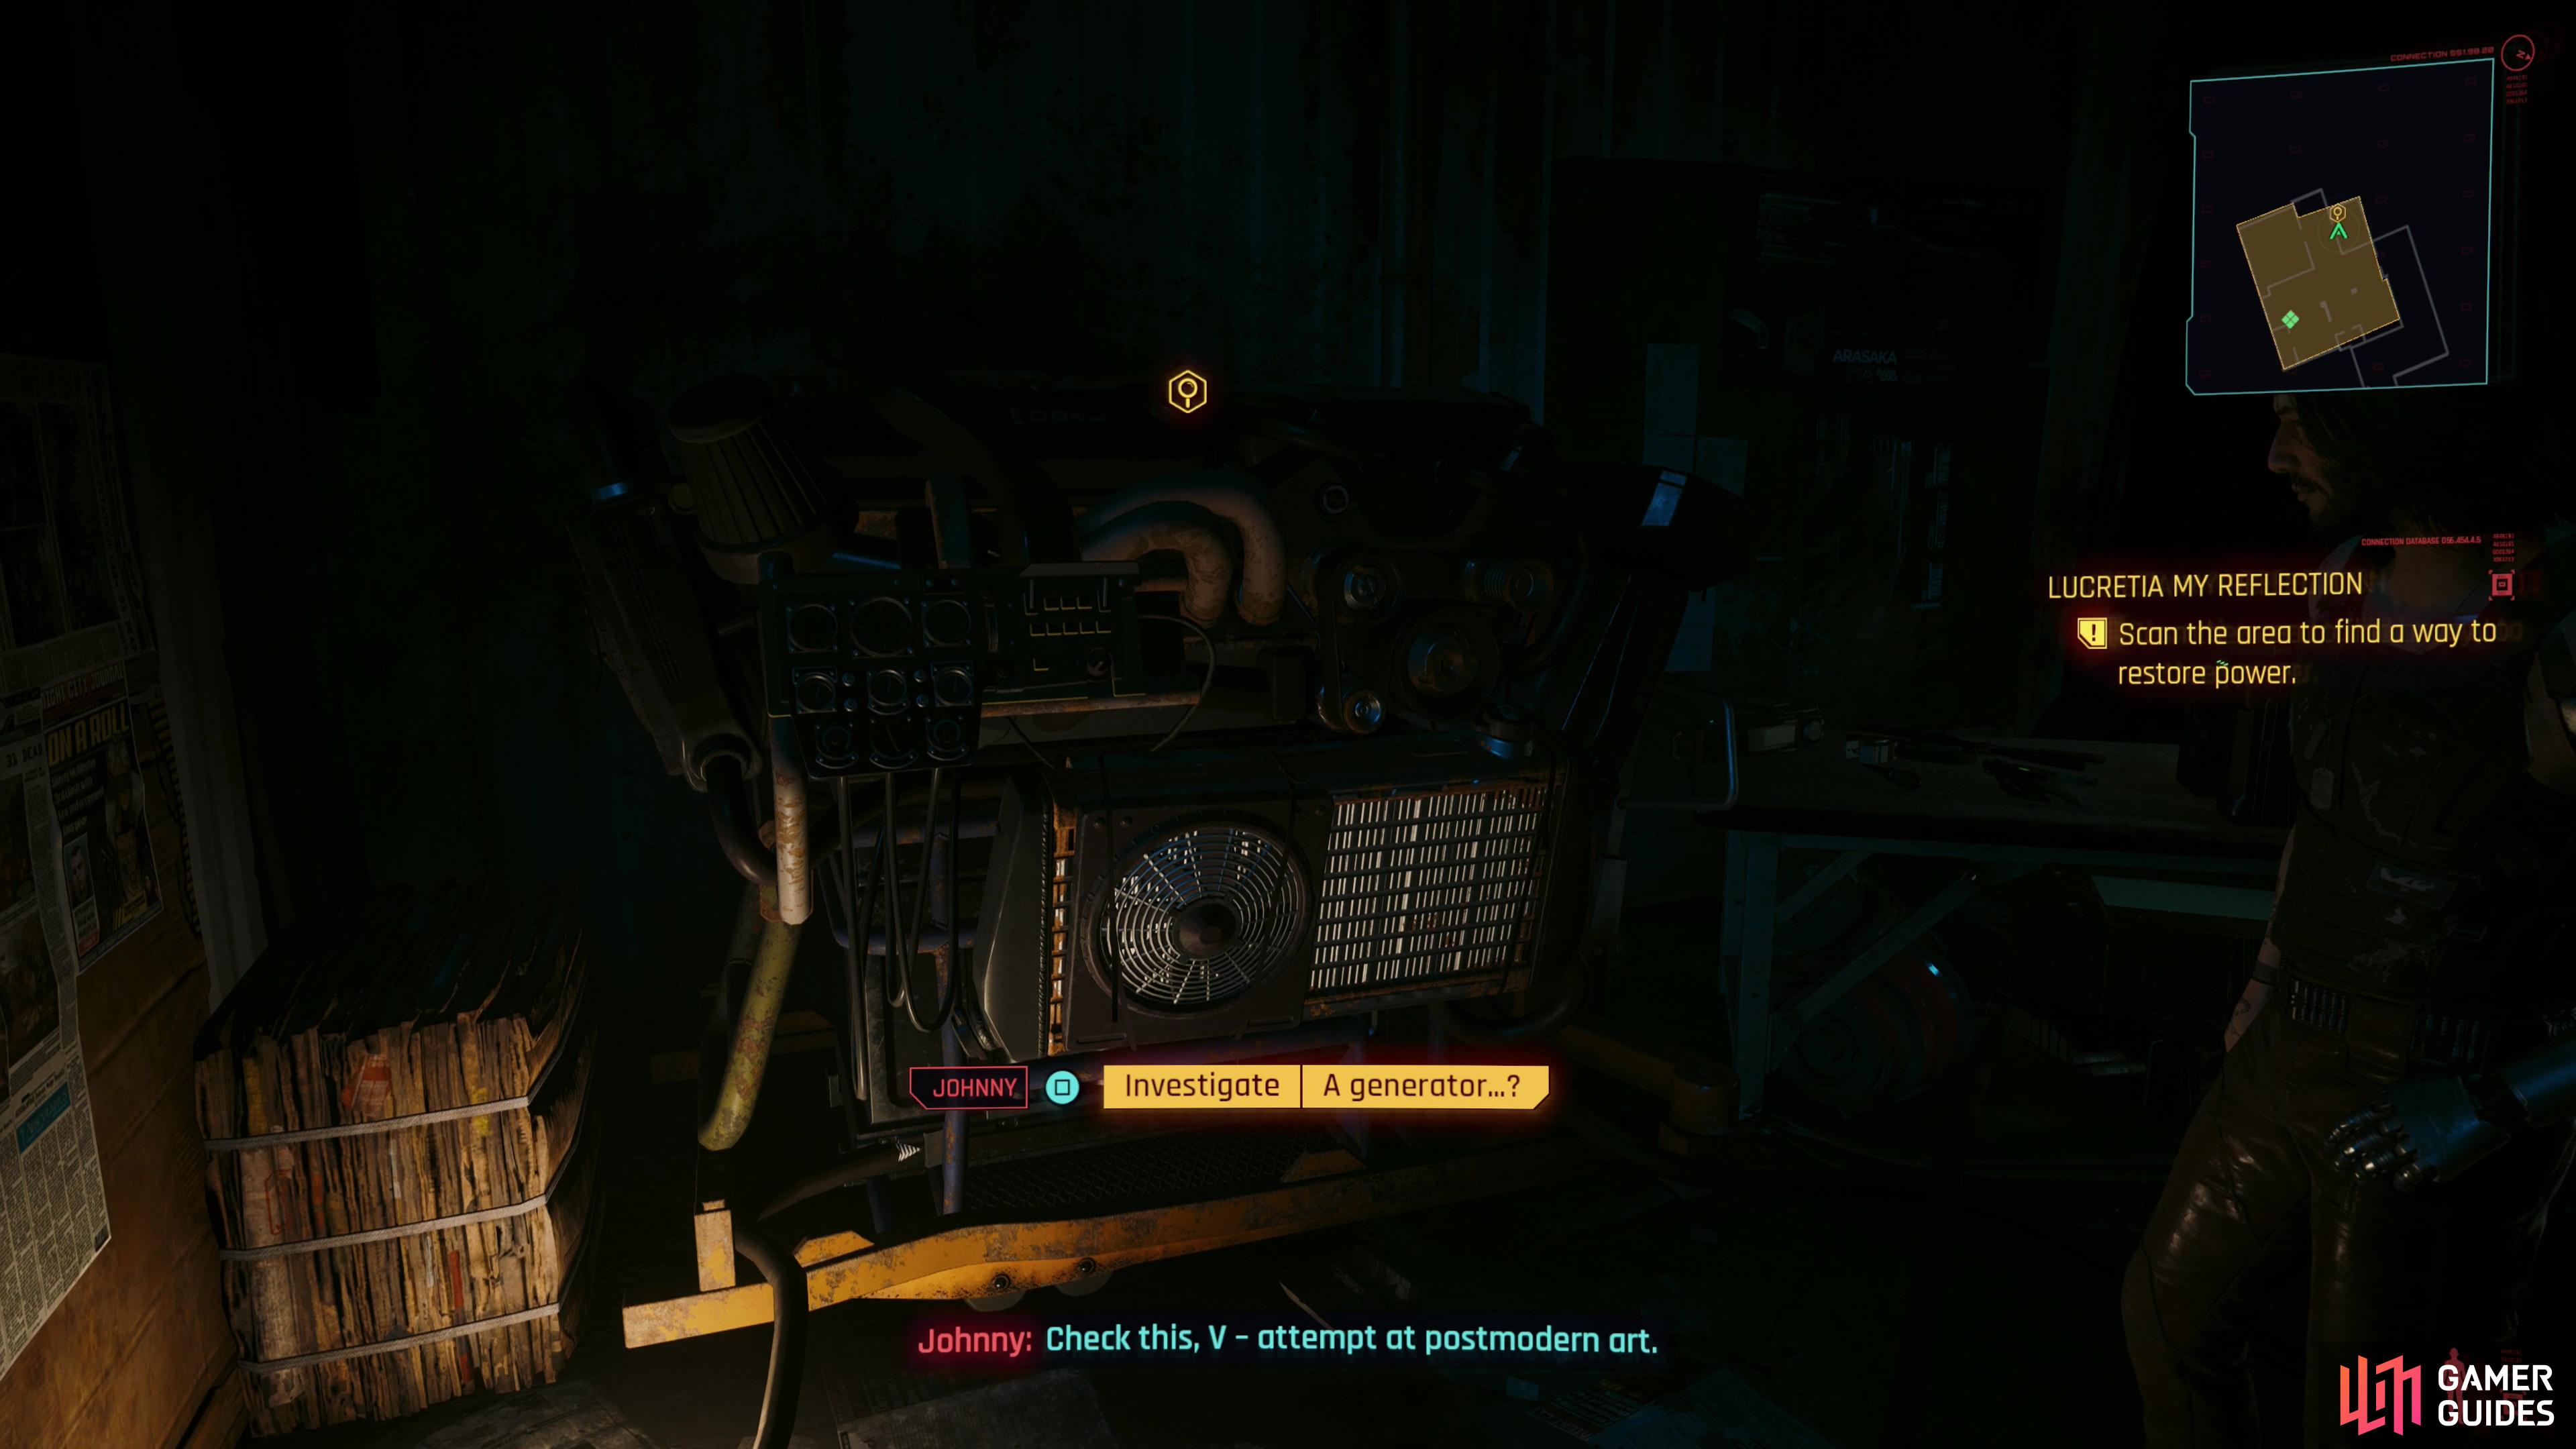
In the apartment you’ll find a generator,
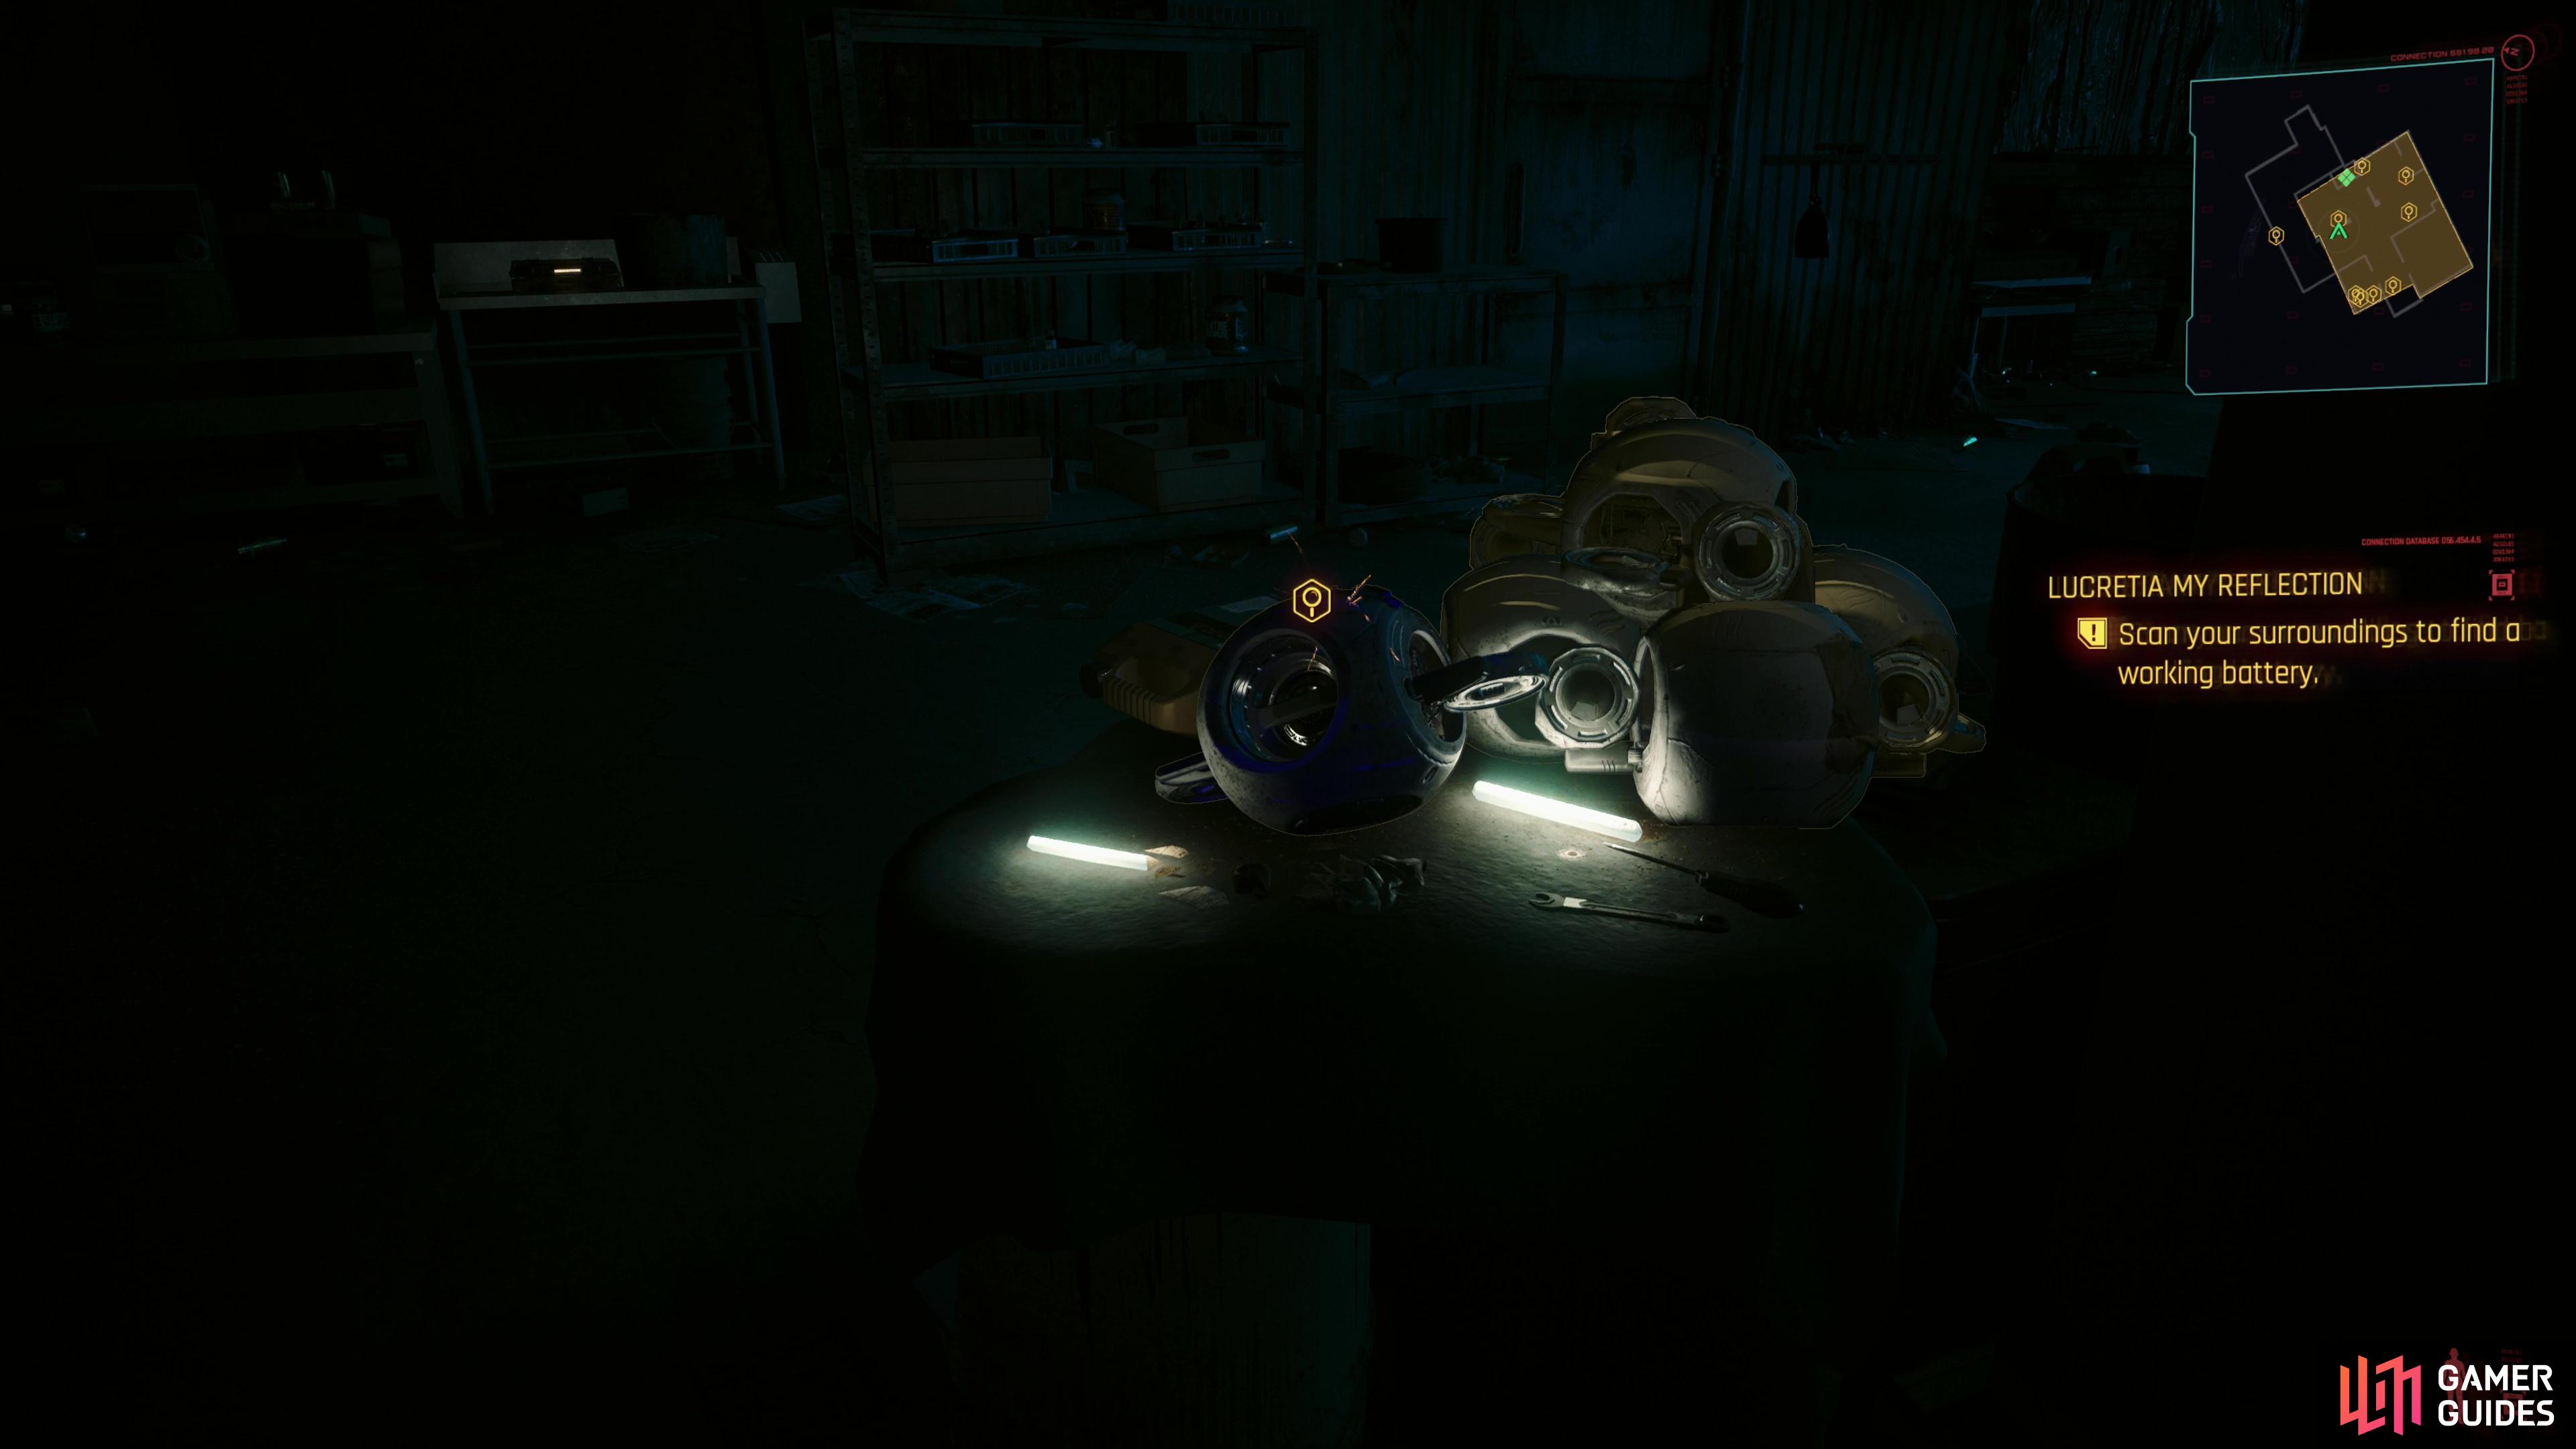
search for a battery to get the power flowing. Amazeballs!
How to Restart the Generator
When the elevator reaches the apartments floor, follow an overly cautious Meyers around a corner and into a dark apartment. Follow Meyers and she’ll request that you get some power running while she endures a change of clothes. Head into a room to the right and you’ll find a makeshift generator, which is currently inoperable, but V is optimistic about it nonetheless. Trade words with Johnny again, then when he’s done complaining, return to the front door and search a table nearby to find a Battery-Powered Drone that has the battery you need to get things up and running. Plug it into the generator and voila, let there be light. Amazeballs indeed, V.
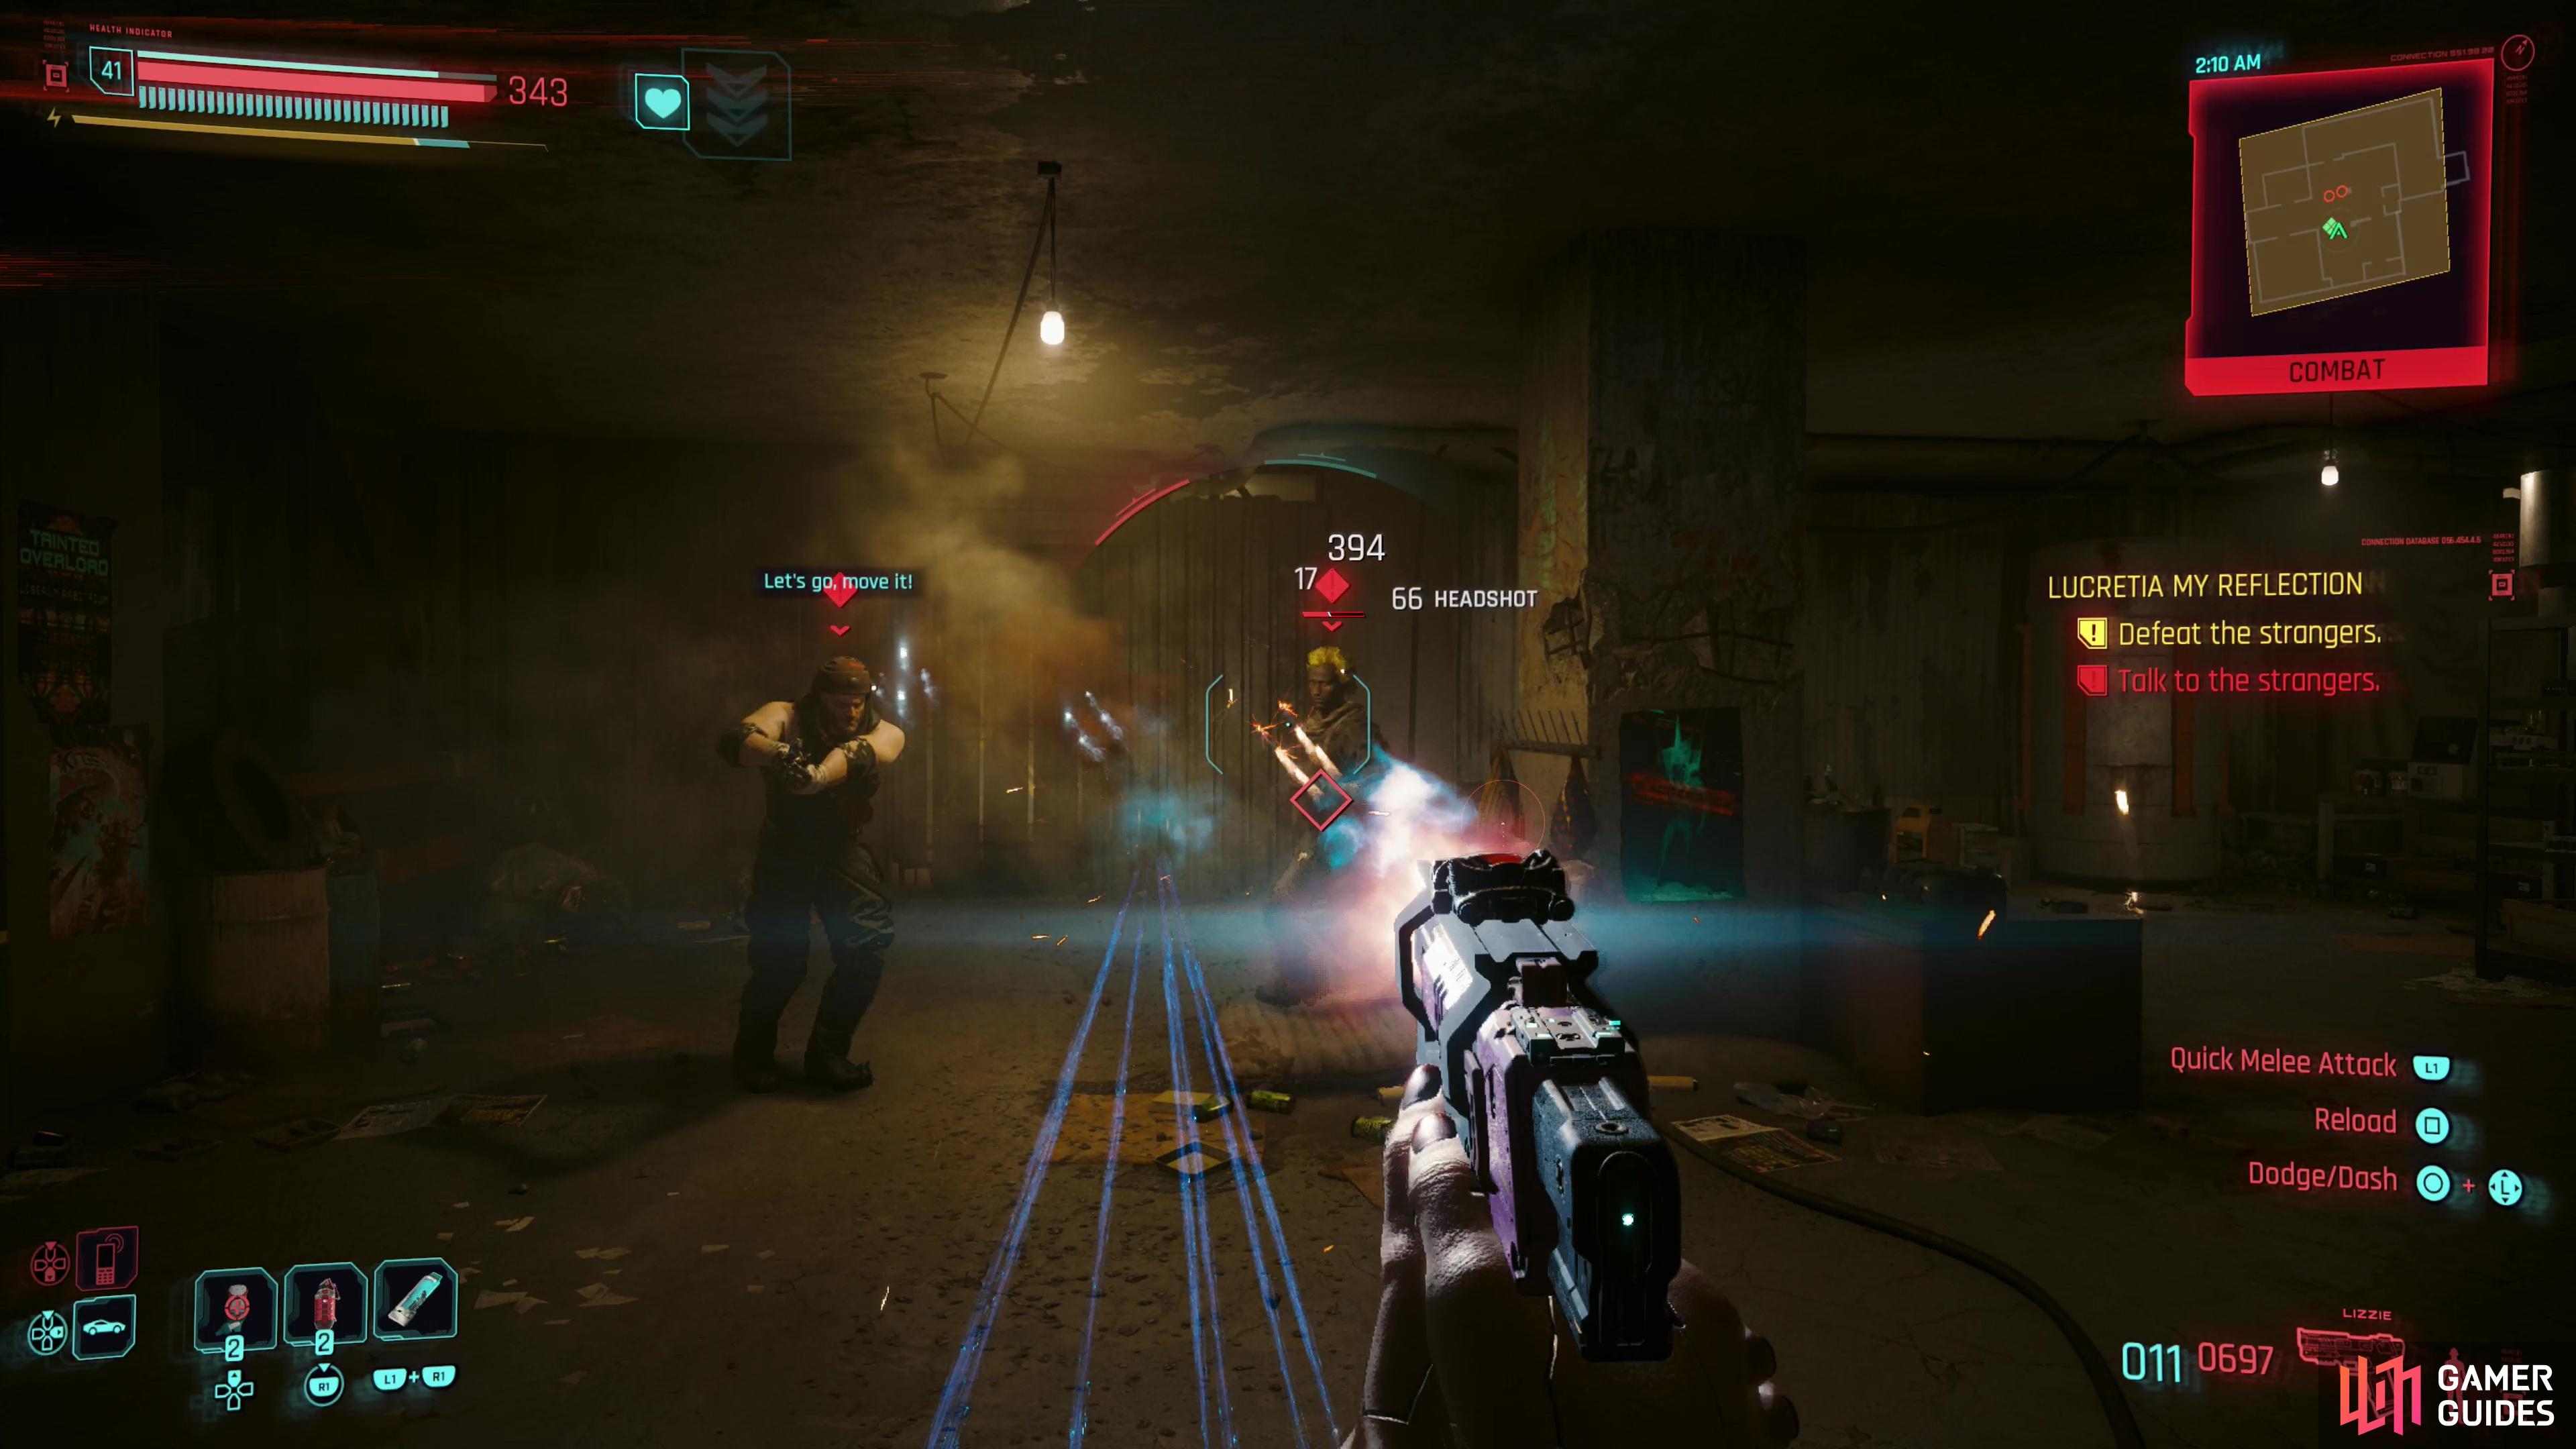
The apartment draws the attention of two opportunists, Jacob and Taylor. You can either follow Meyer’s advice and pick a fight,
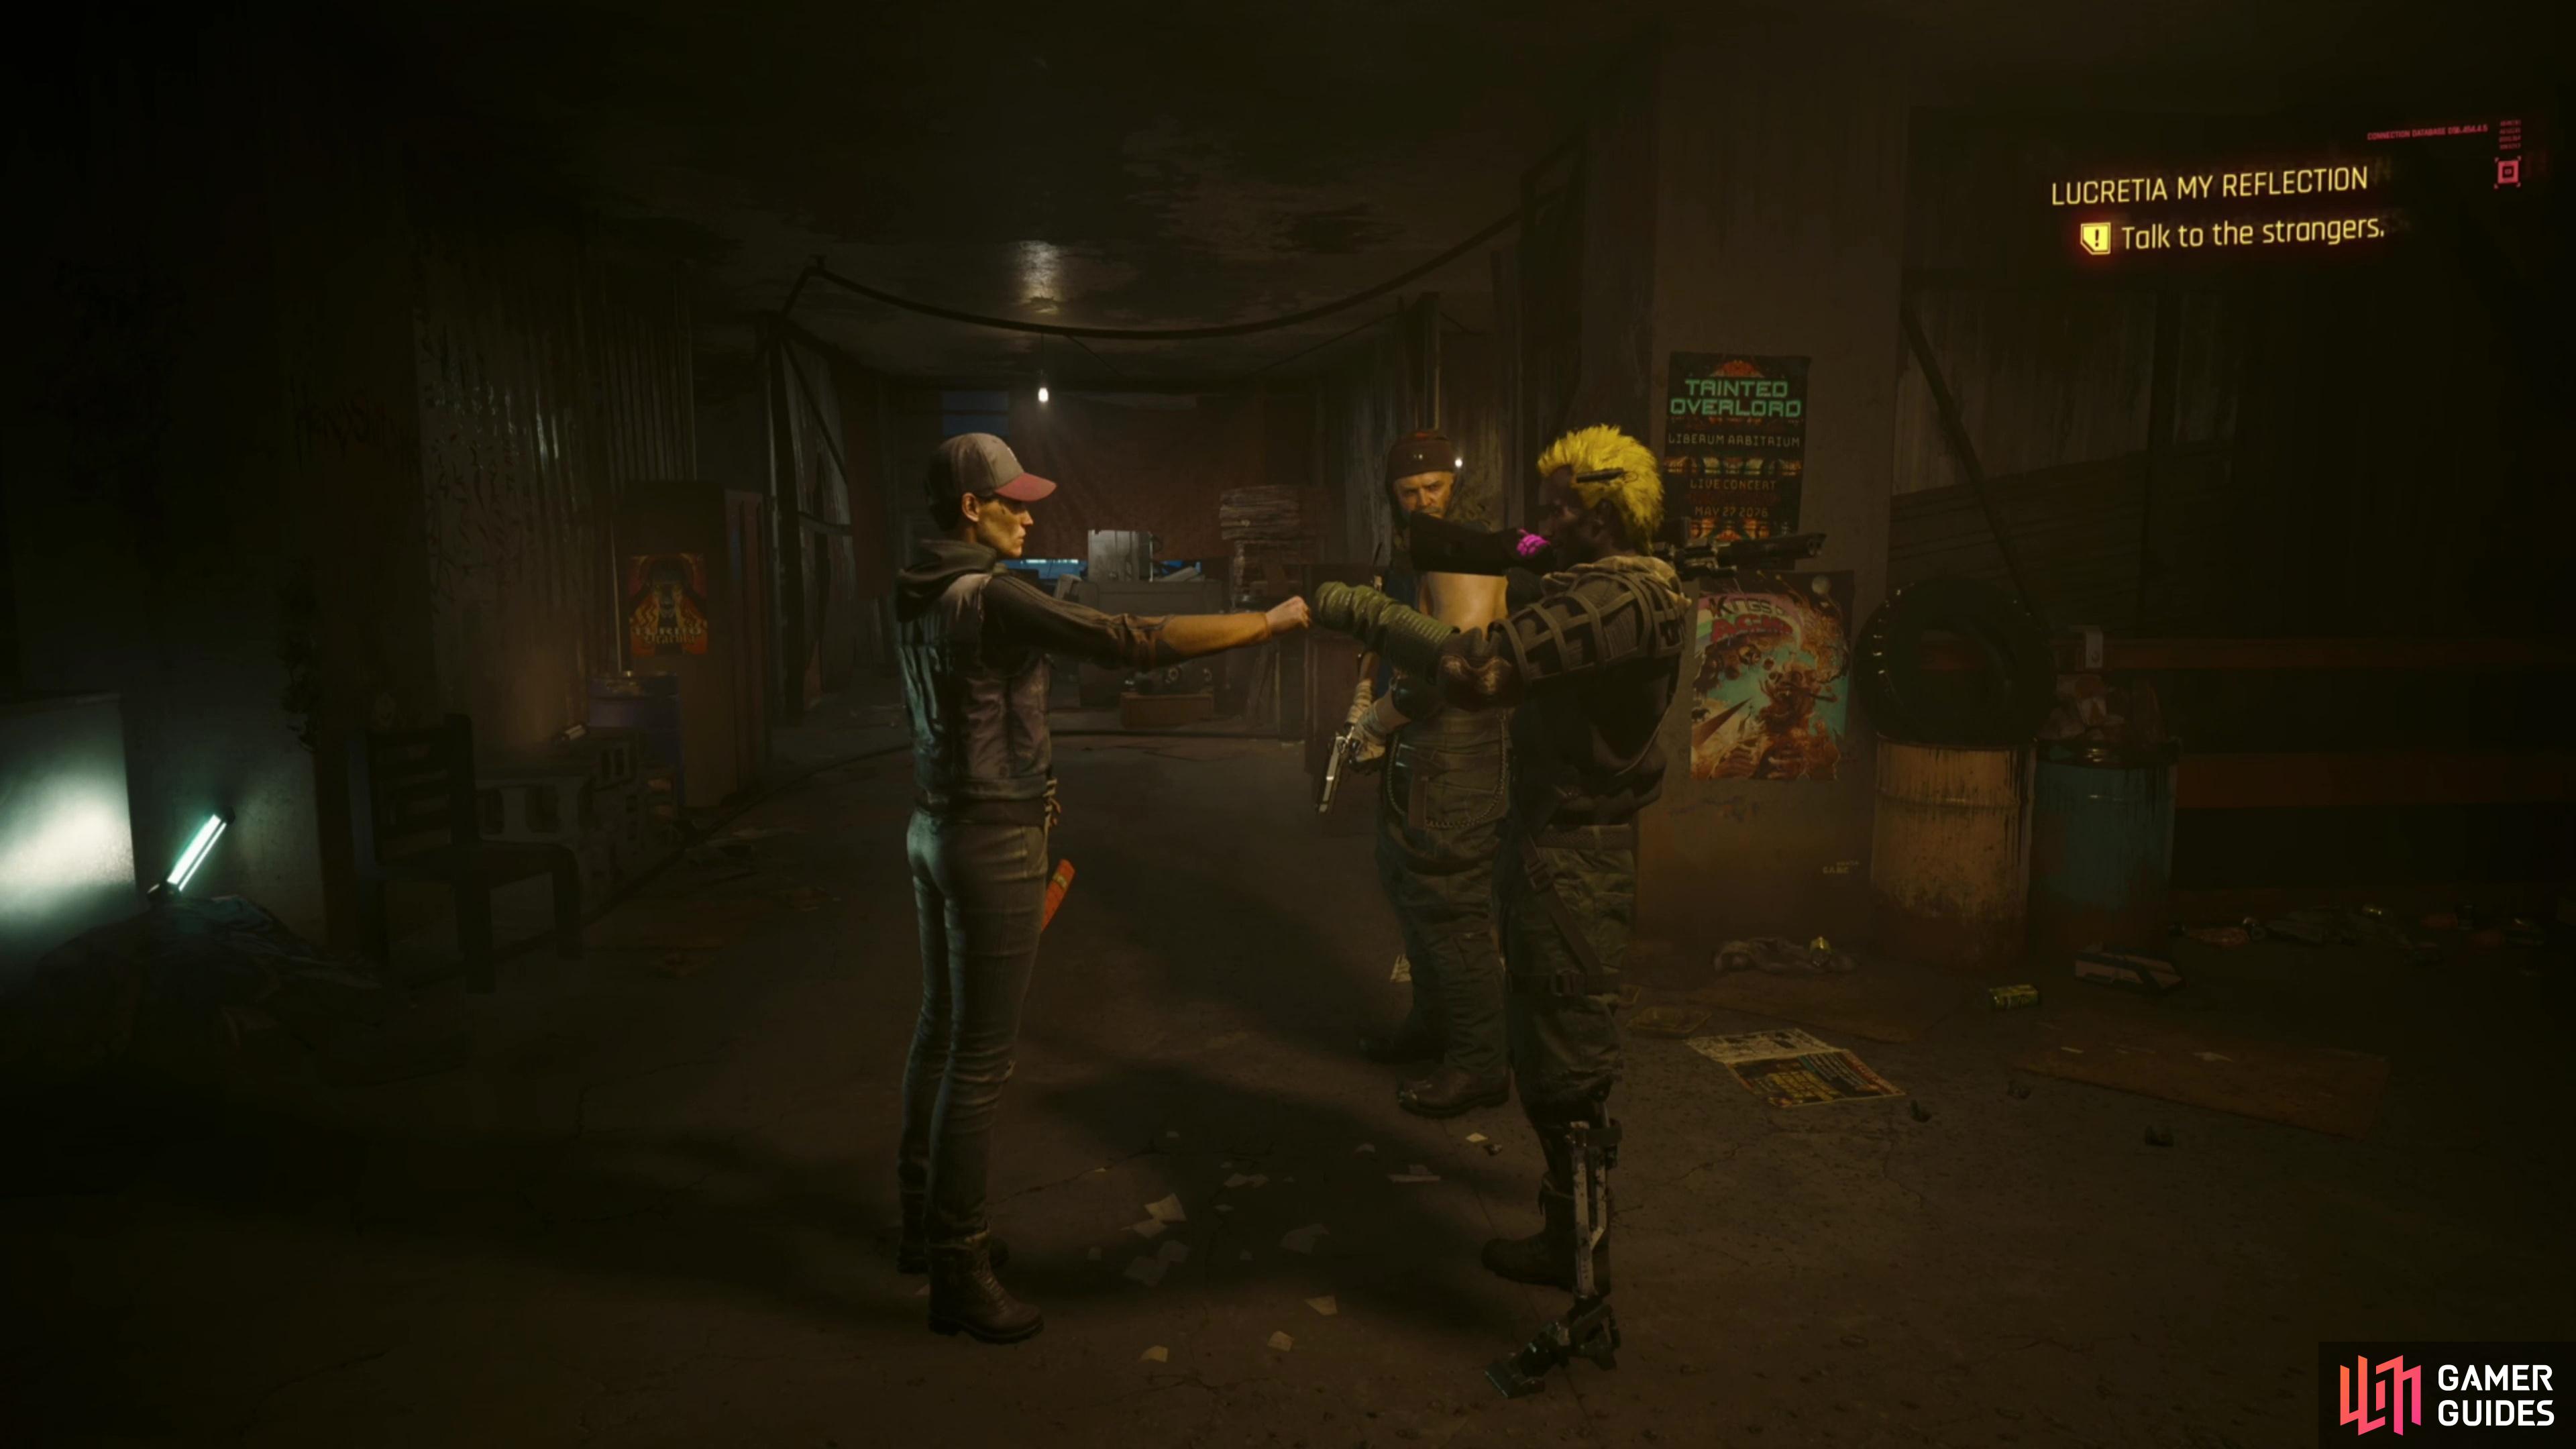
or you can talk your way to a peaceful resolution.
Should You Kill or Spare Jacob and Taylor?
Return to Meyers, share a beer as you listen to the radio (the propaganda isn’t to her liking this time) and eventually you’ll be interrupted by two opportunists named Jacob and Taylor. Meyers wants violence, but you can opt to talk it out, instead. You’ll need to pick a few timed dialog options in order to keep things peaceful:
- ”We’ll figure somethin’ out.”
- ”Live to see another day.”
- ”What’s there to consider?”
- ”Rest easy.”
Take too long, say the wrong thing, or decide that violence is the better option, after all, and you’ll end up having to scratch the two scavengers. Once done, loot them and follow Meyer’s instructions to ditch the bodies in a garbage chute outside the apartment, a task the game largely skips over once you pick up the first corpse.
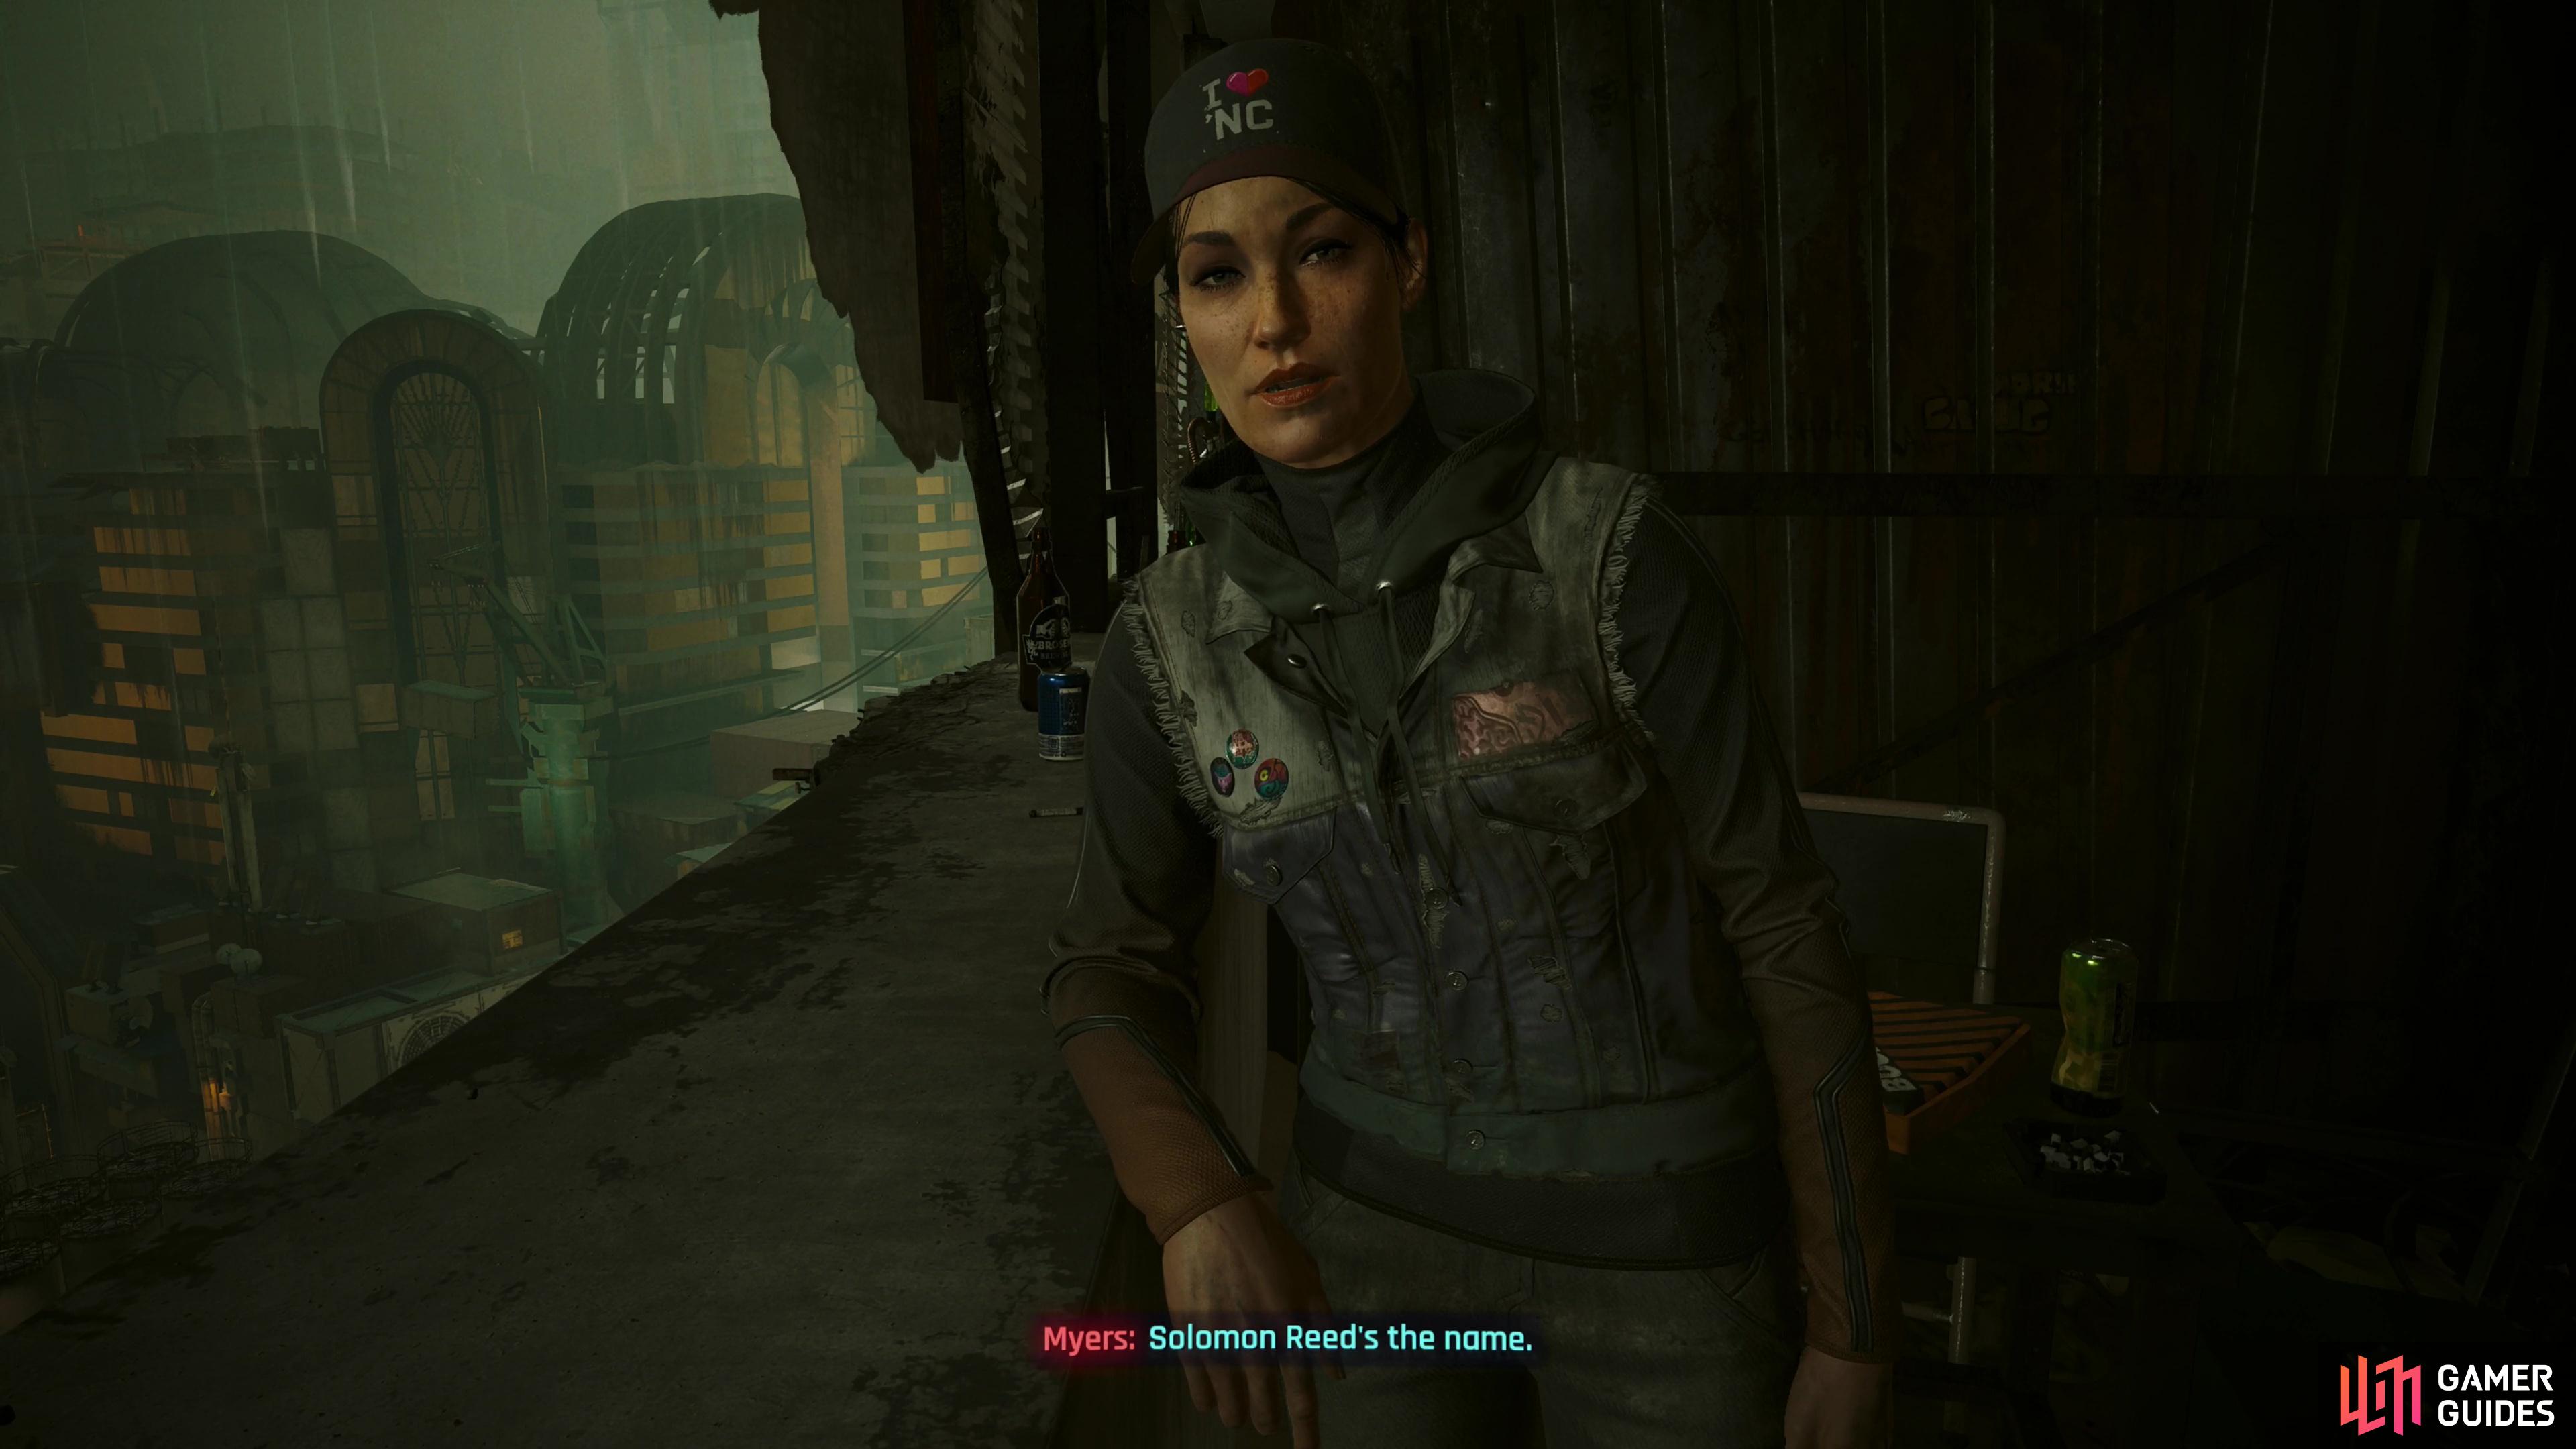
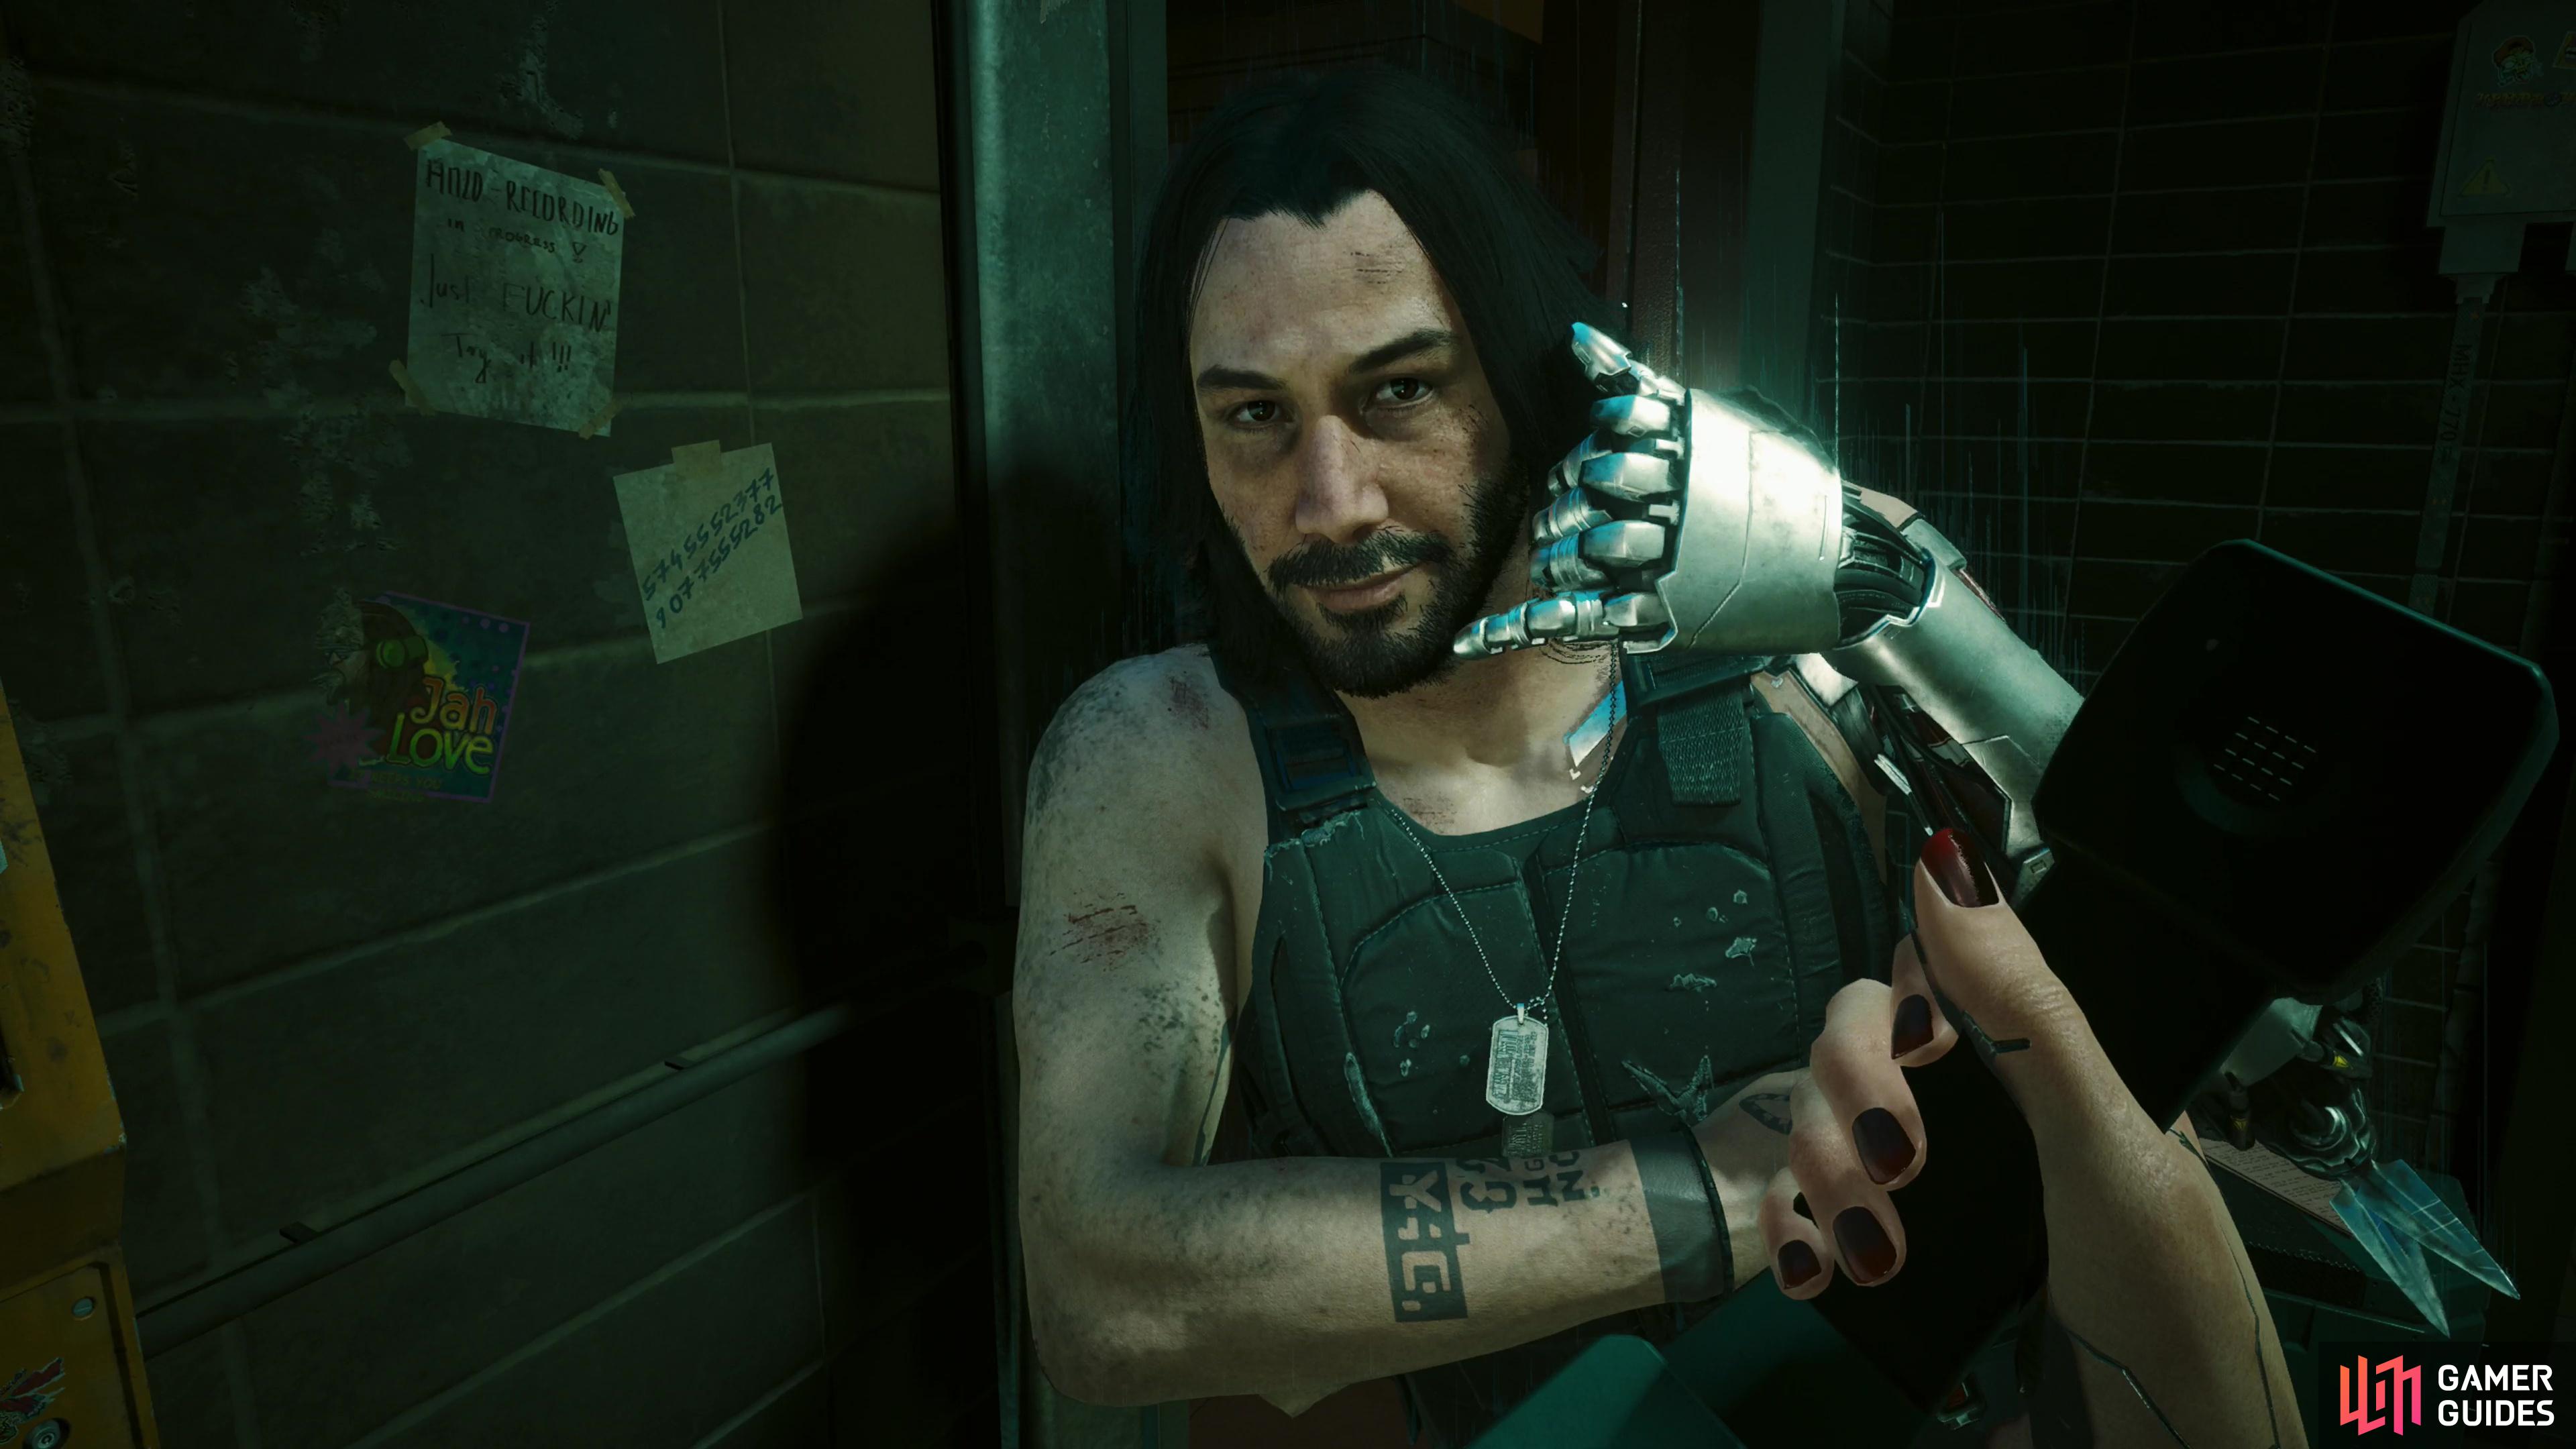
(1 of 3) After Songbird’s a no-show, Meyers will ask you to contact a sleeper agent named Reed.
Should You Take the Oath to Meyers?
If you kept Jacob and Taylor alive, you can chat with them before returning to Meyers and bedding down for the night. In the morning, Taylor will offer you some coffee - the perks of being civilized! Coffee or not, you’ll ultimately need to talk to Meyers again, who will send you on another errand after deputizing you. Becoming a special agent - for what that’s worth - isn’t optional, but the oath you can take afterwards is. This is pure roleplay, it doesn’t give the Meyers or the NUSA any power over you if you accept, nor does it make her trust you any more or less if you accept or refuse. Accepting does nearly provoke a tantrum from Johnny, however, and his antics can make taking the oath worthwhile just to antagonize him. Whatever your choice, leave the apartment afterwards and take the elevator down, where Johnny will once again appear to congratulate or chastise you, depending on whether you took the oath or not.

(1 of 3) When you exit the apartment at Kress Street, you’ll be told about airdrops… provided you kept Jacob alive.
Once you’re on the ground floor it’s worth noting that you’re finally off the leash; you can explore Dogtown at your leisure, completing gigs, side jobs, Increased Criminal Activity events, seeking out Militech terminals to boost your relic skill points, hunting for iconic weapons, tracking down airdrops (talking to Jacob just outside will give you some info on this)… you’ll even get a call from Mr. Hands, who will give you the credentials you need to leave Dogtown, if you want to take a break from Phantom Liberty for a while (he’ll also give you a new vehicle, the Tanishi T400). Or, of course, you can continue on with this quest, if you wish. Point is, for the first time since you snuck into Dogtown, you finally have options.
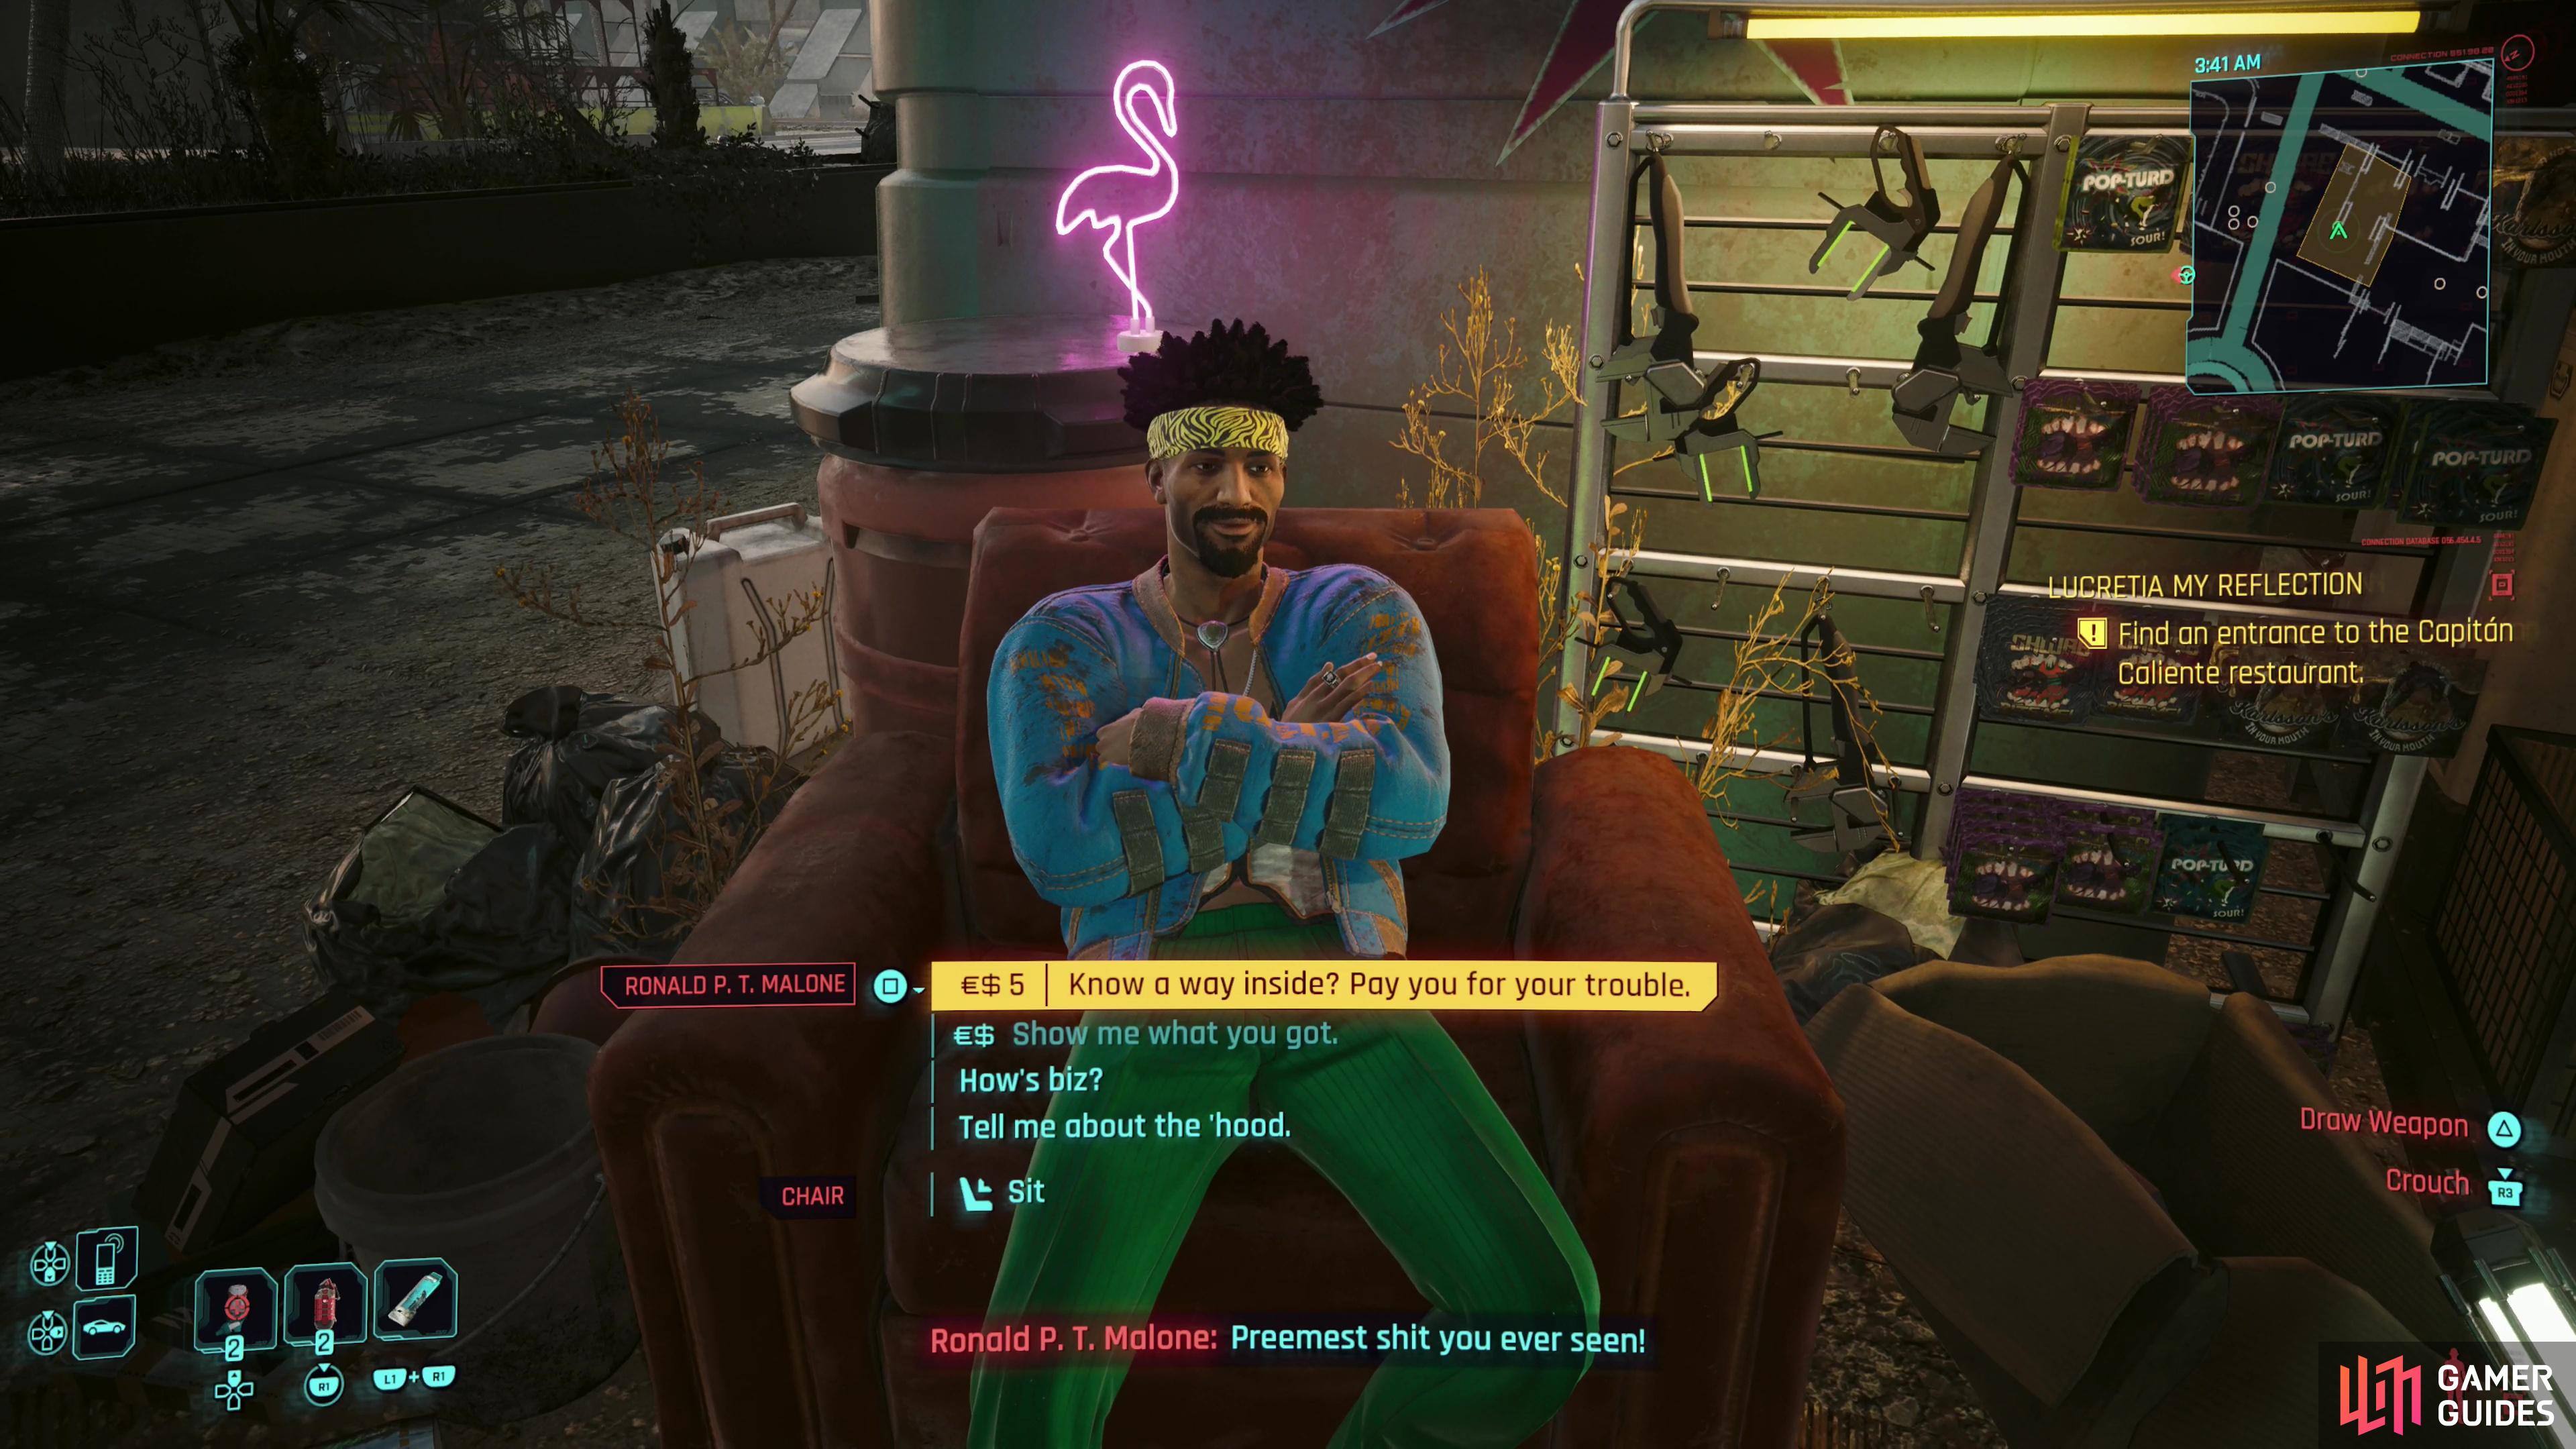
(1 of 3) Talk to one Ronald P. T. Malone outside the Capitan Caliente to learn a way in,
How to Find Reed at the Capitan Caliente
When you’re ready to continue on with this job, make your way to the Capitan Caliente, which is down the street to the northeast from Meyer’s apartment hideout on Kress Street - it’s right next to the pyramid within which Mr. Hands dwells. Outside the shuttered husk of the Capitan Caliente you’ll find one Ronald P. T. Malone, who will sell you a variety of junk (you can buy the Prototype Pseudoembryonic Cell Builder from him, which will permanently boost your maximum health by 7) and give you the skinny on various aspects of Dogtown. Quite a chatty chap. If you pay him 5 €$, he’ll also give you a tip for getting into the Capitan Caliente, which you can also find for free by scanning the electrical lines running into the front window. If you want to avoid paying (it’s 5 €$… you certainly can spare that much!) or going on the long detour following the power lines requires you can circle around to the left side of the building to find a trash can that can be pushed with a [Body 15] check, revealing a hold that allows you to enter the Capitan Caliente.
Most players will probably end up following the power lines, whether they’re following up on the tip from Ronald P. T. Malone or they scanned them doesn’t matter. If you end up following the power cables, just use the quest objective tracker to lead you up several flights of stairs and across some mesh walkways which will ultimately lead you to a fuse box you can override, which will open the front door to the Capitan Caliente.
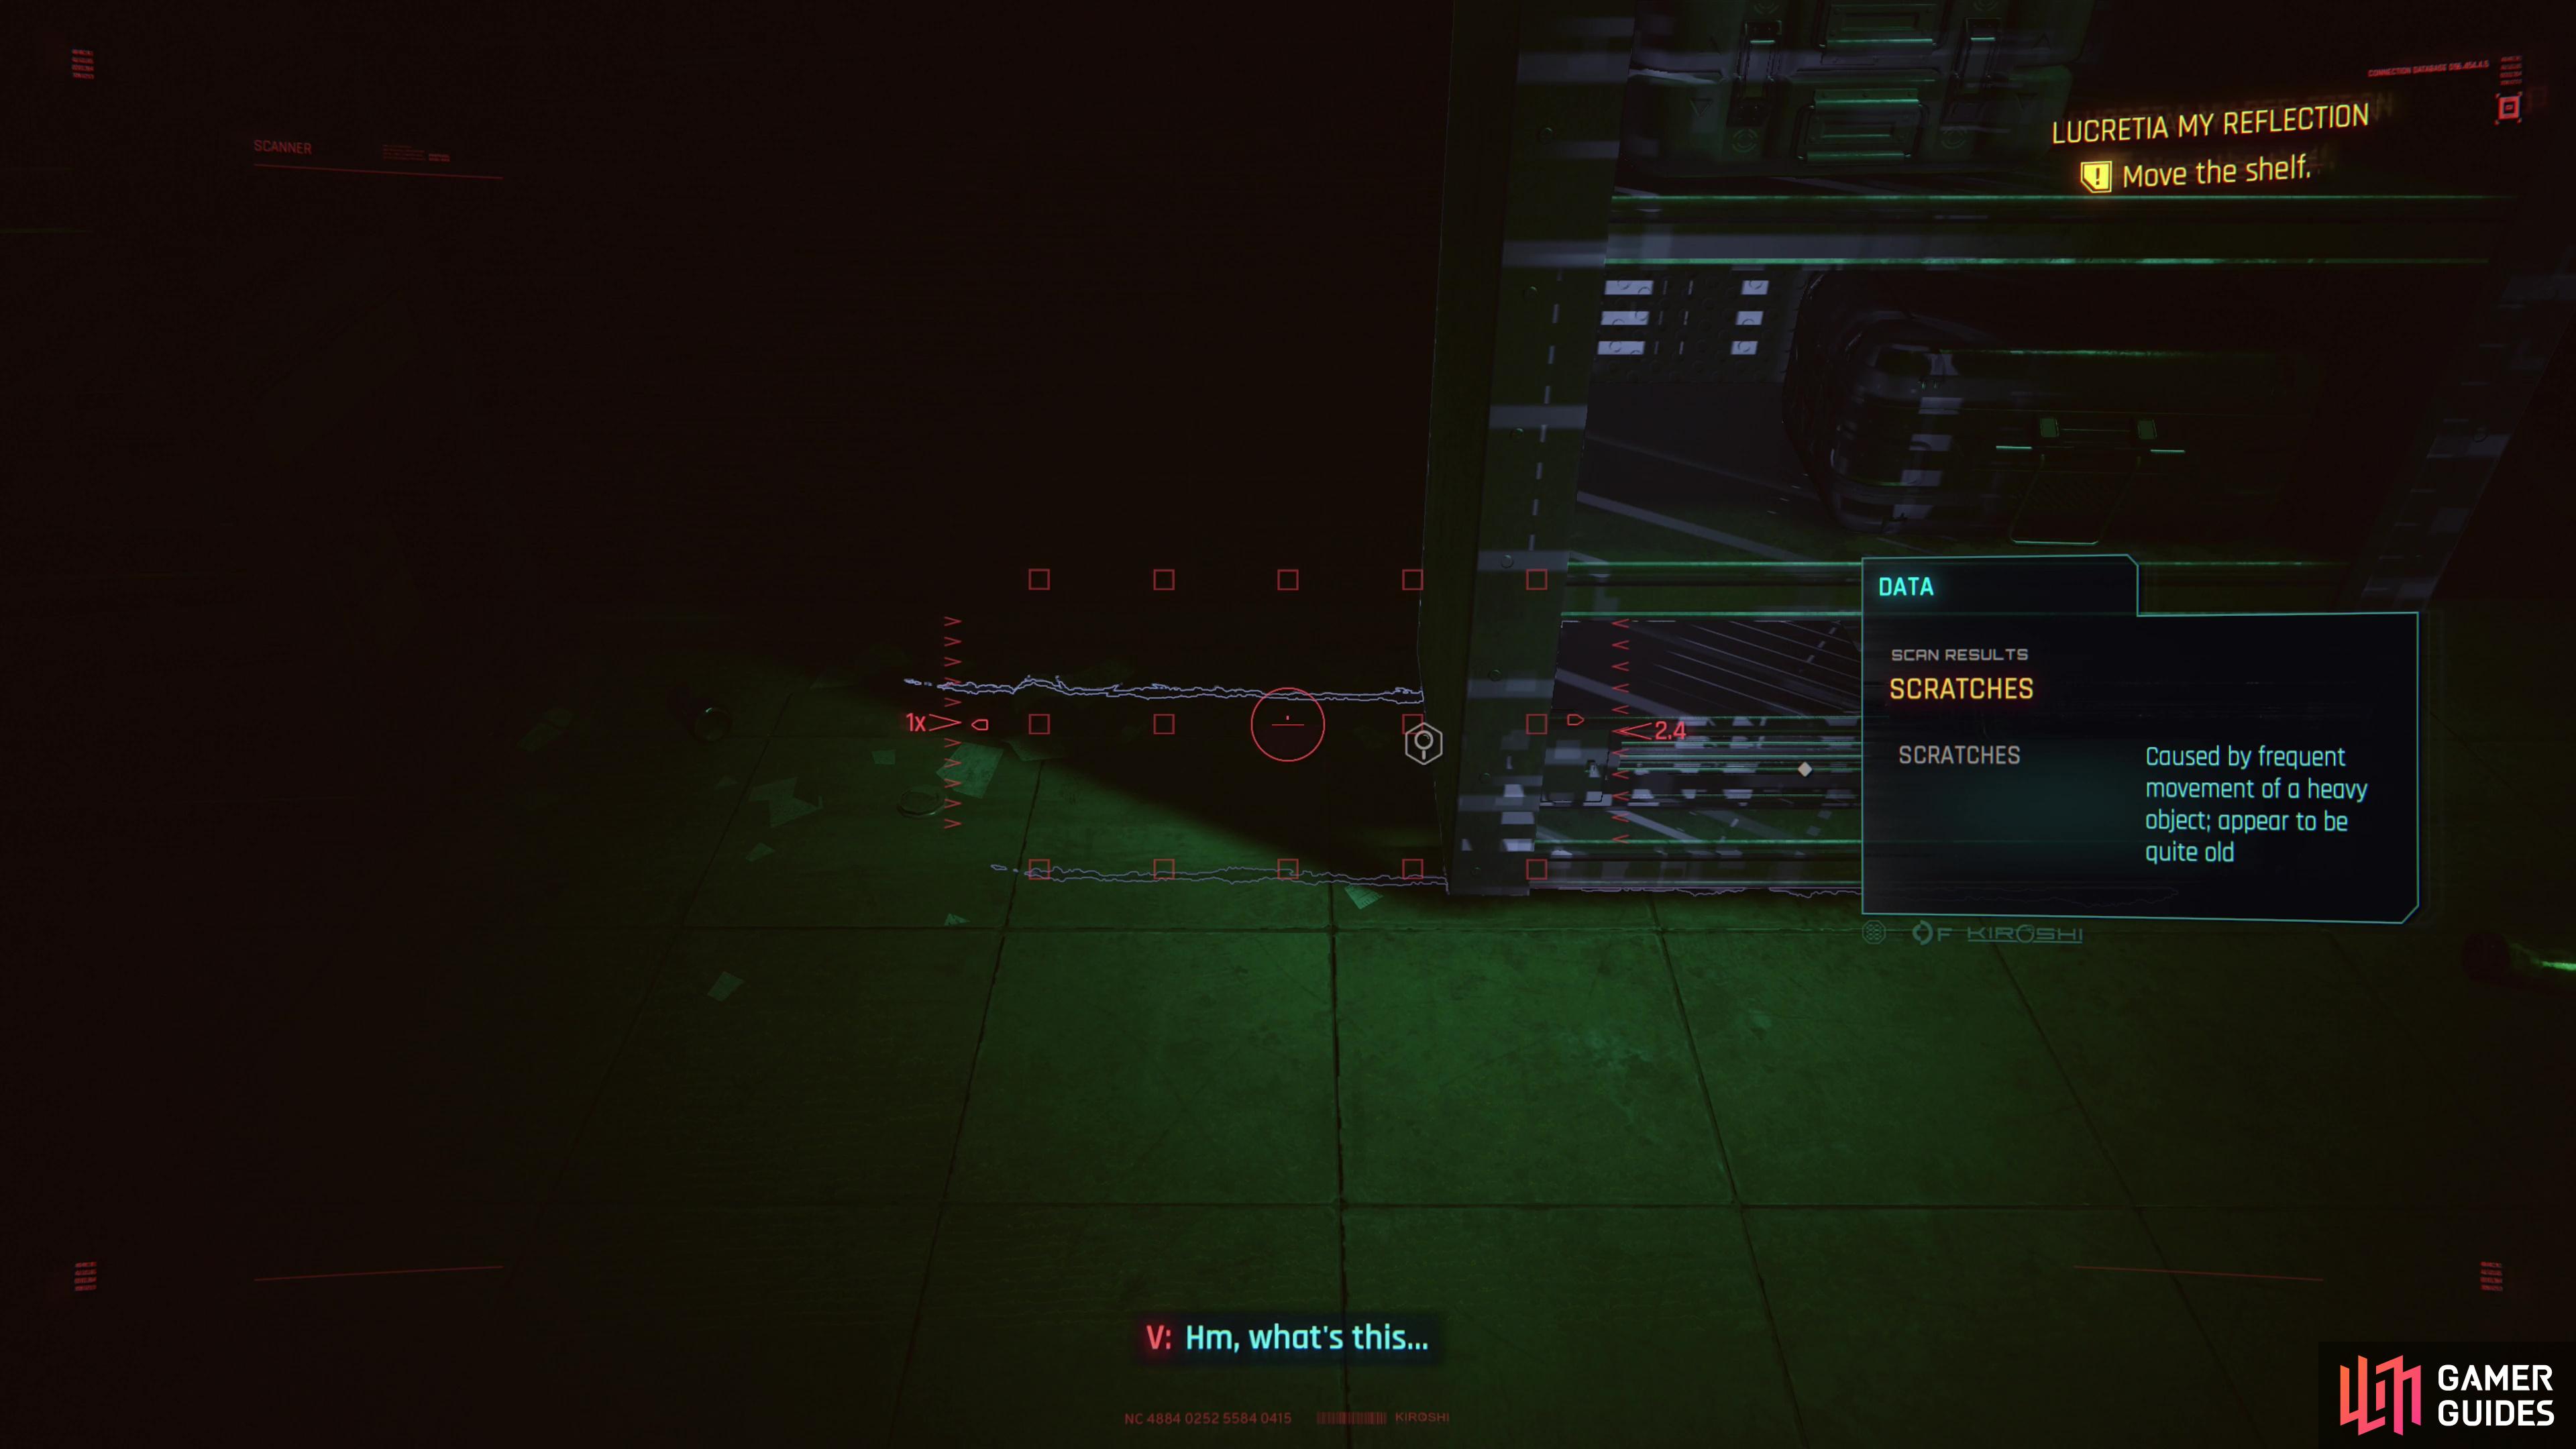
Scan the scratches inside the Capitan Caliente to notice a shelf that’s been slid around,
behind which you’ll find the old phone you need to use. Thanks for the help there, Johnny.
However you manage it, once you’re inside the Capitan Caliente, from the front door enter a hallway to the right and scan some shelves on the lefthand side of the hallway… more importantly, scan the scratch marks on the floor that indicate these shelves can and have been moved. Move them again and you’ll find the old phone which you can use to contact Reed, just interact with it and enter the code 0-9-3-1 - the game doesn’t even make you remember, it’s listed as an objective, because who has time for remembering stuff anymore? Say whatever you want, it’ll end with Reed contacting you, after a delay to add some tension to the affair. Ultimately you’ll be told to meet Reed at a basketball court nearby.
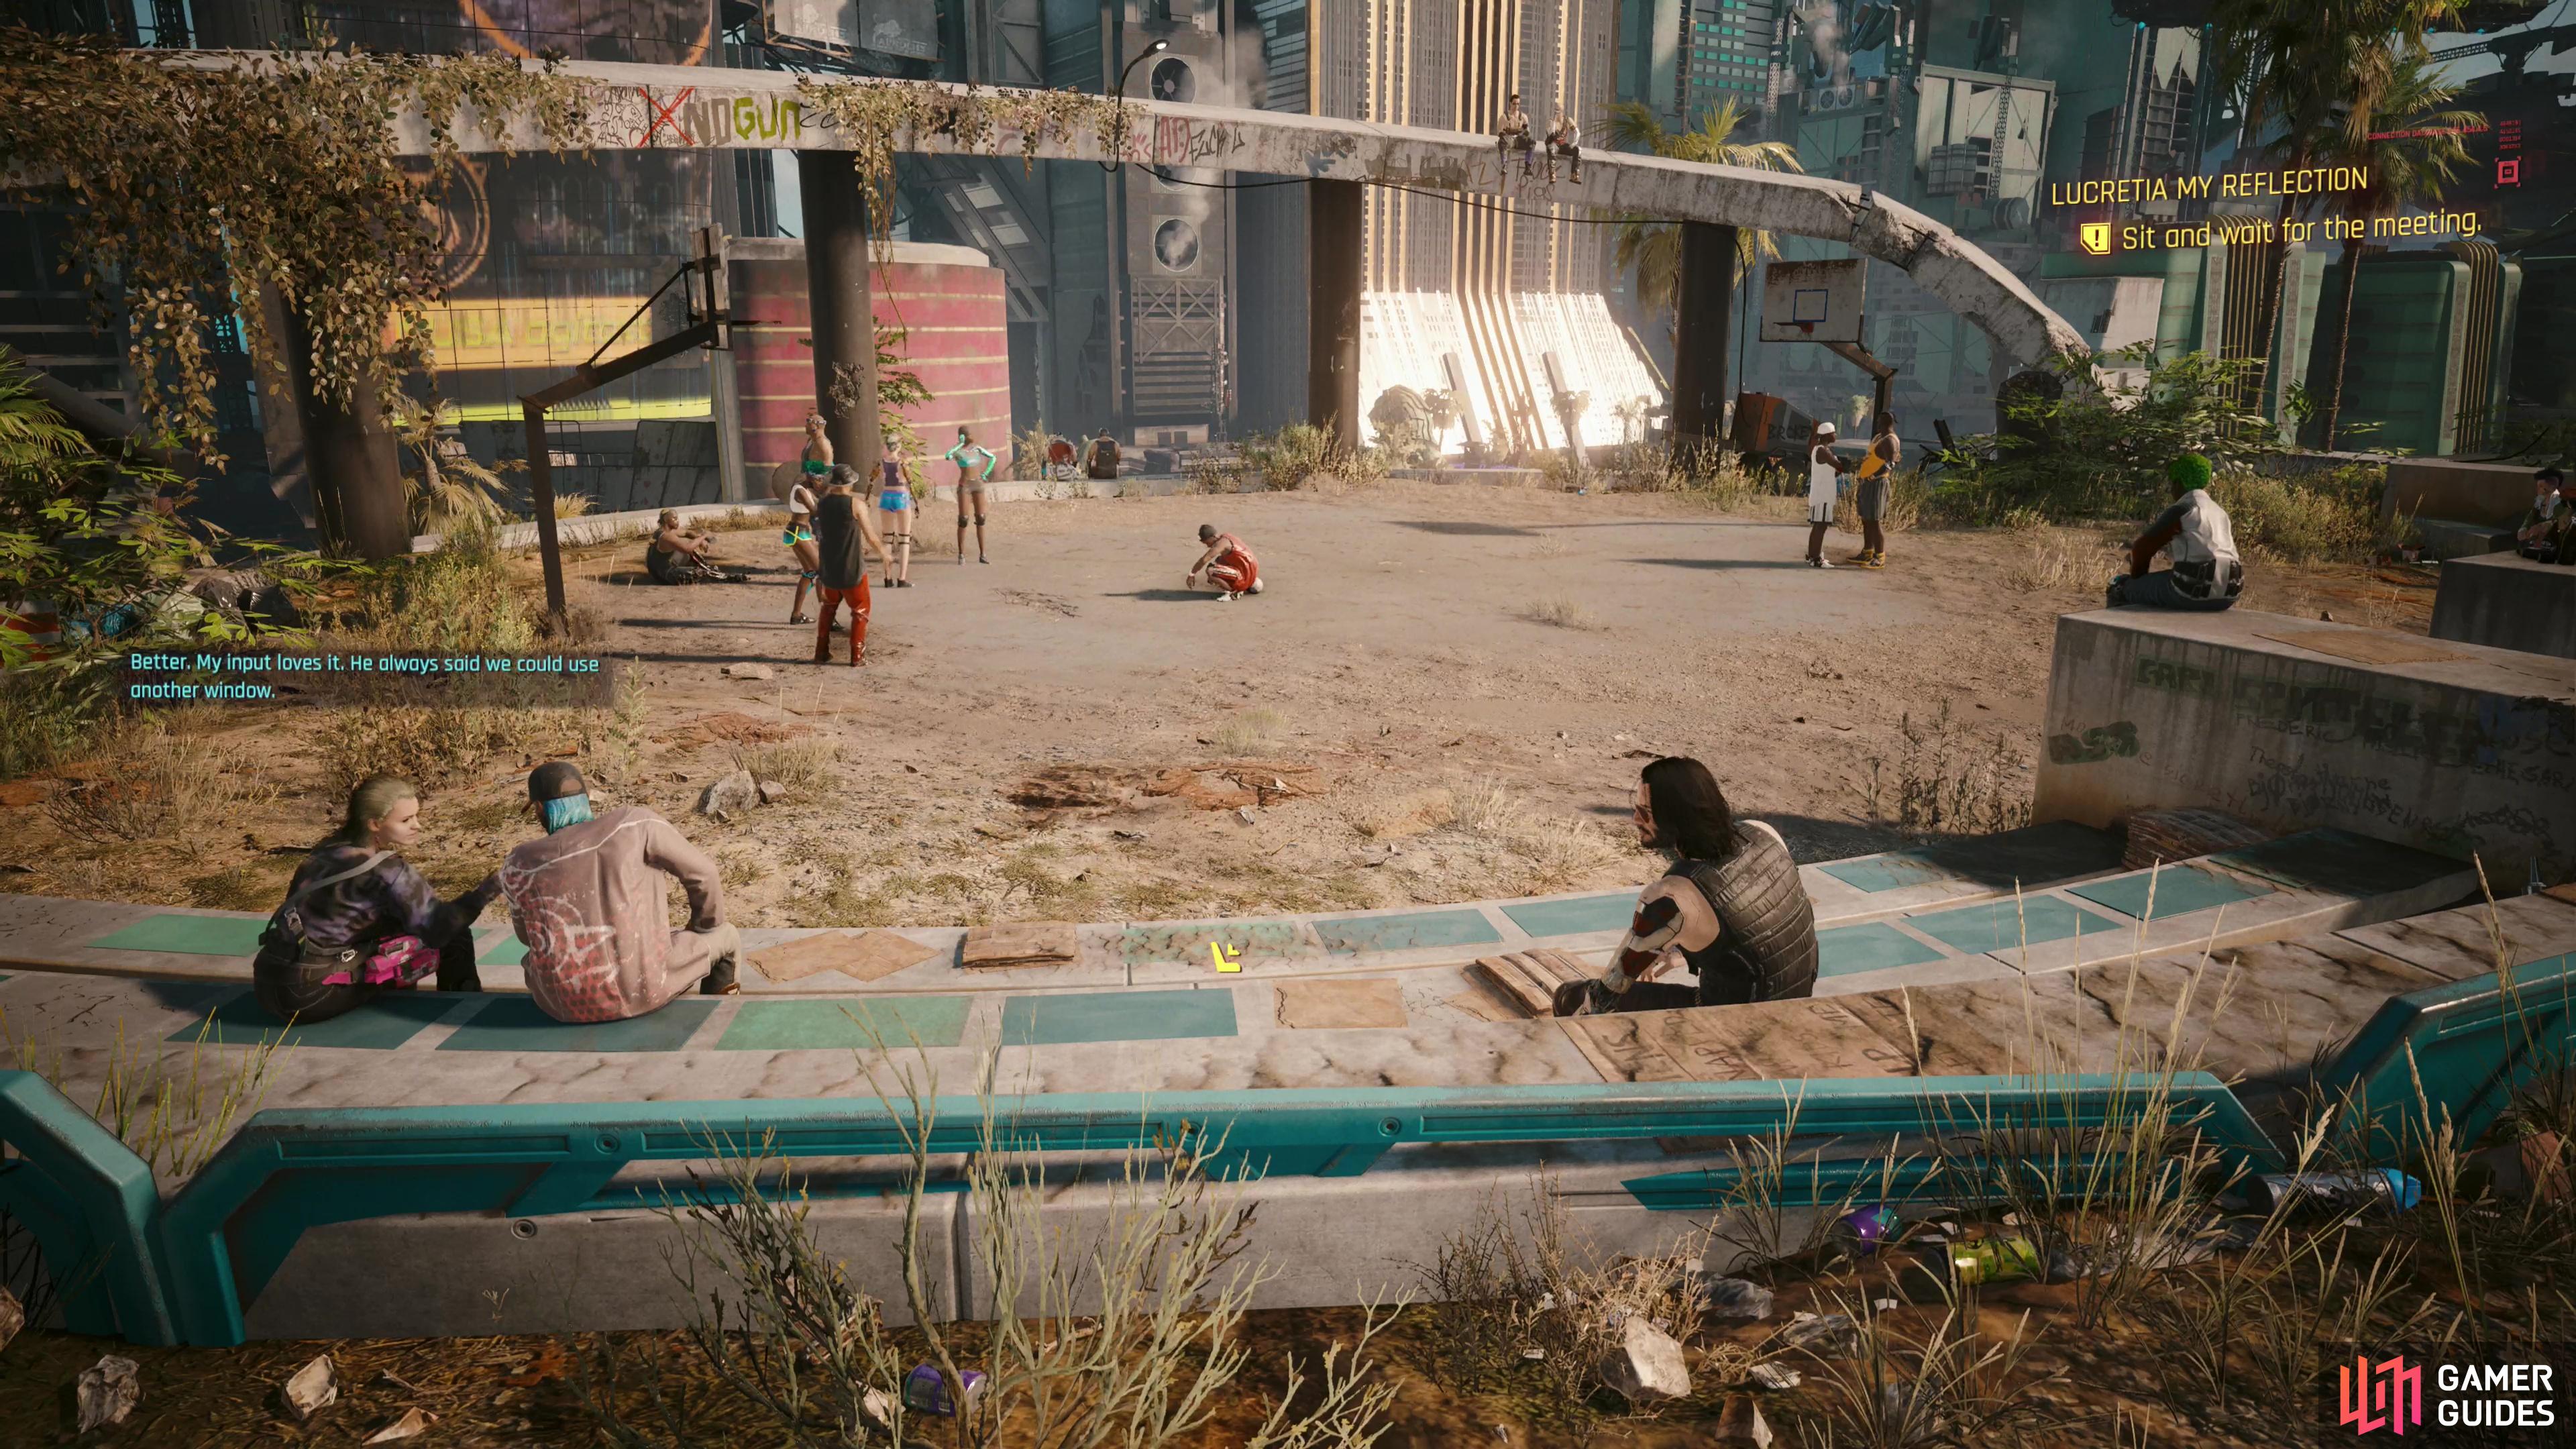
After contacting Reed, meet him at a basketball court.
Eventually you’ll end up riding with Reed and meeting with Meyers, where you’ll get the opportunity to opt out of the rest of Phantom Liberty’s main questline.
No need to belabor the inevitable. Follow the quest marker to the basketball court and sit down, whereupon Johnny will lecture you about the evils of government and corporations. Eventually his rant will be interrupted by Reed, who proves his credentials as a spook. This encounter might seem dangerous, but it’s not - refuse to answer or be uncooperative and Reed will just give you a good pistol whipping, after which you’ll wake up in his vehicle. If not, you’ll need to walk there yourself. Either way, you’ll end up riding along with Reed back to the Kress Street Apartments.
If you were detected by the cameras in the subway tunnels earlier, you’ll encounter some BARGHEST troopers en route to and at the Kress Street apartment,
and if you kept Jacob and Taylor alive, they’ll die defending Meyers from BARGHEST.
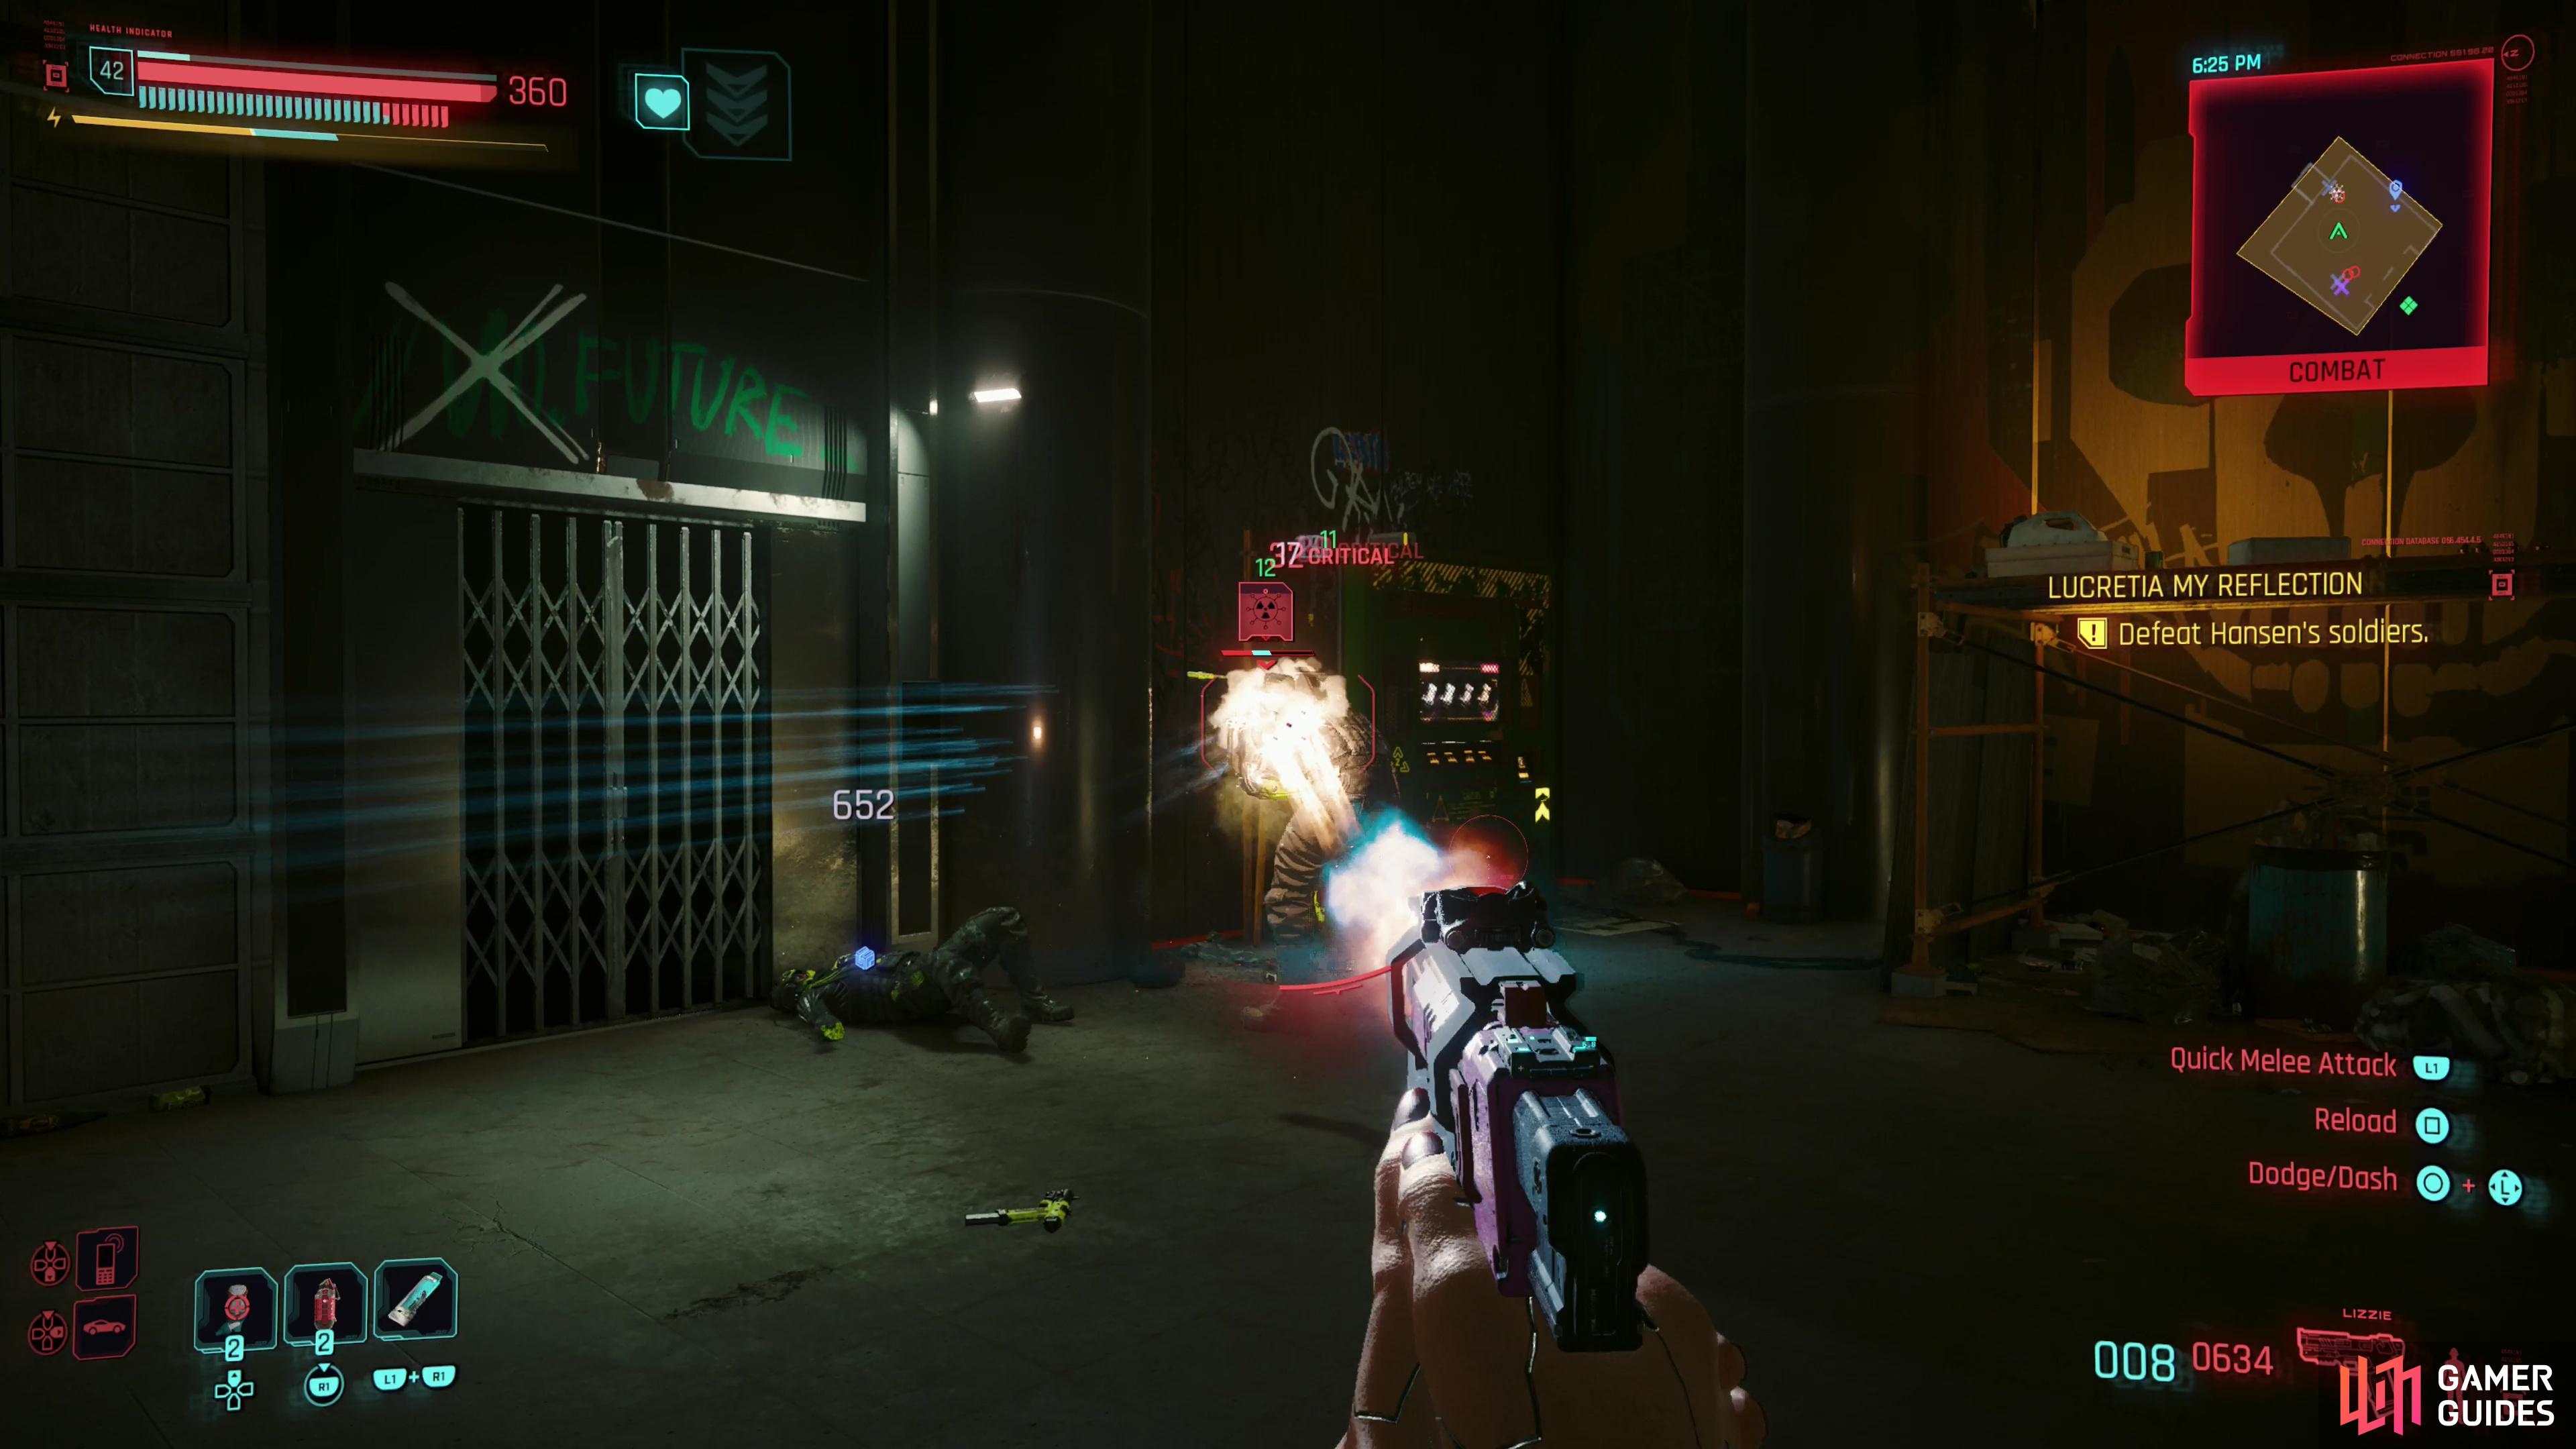
If you were detected in the subway tunnels, now you’ll pay for your indiscretion, as several BARGHEST APCs will show up and deploy numerous troops, forcing you and Reed to stop and fight them off. These include heavies and cyberware-equipped troops that can dash around. Defeat them, then get back in Reed’s car and continue on to the Kress Street apartment, where you’ll find more BARGHEST troops you need to dispatch. If you kept Jacob and Taylor alive up until this point, you’ll find them dead in the room outside the elevator… damn, chooms. Of course, if you weren’t detected by the cameras in the metro you won’t have to deal with any BARGHEST troops, just chat a bit with Reed on the drive over and all is golden. Either way, Meyers will be unharmed in the apartment, and if you avoided Hansen’s cameras, Jacob and Taylor will be fine as well, although Reed will have an encounter with poor Jacob and Taylor if they’re still around.
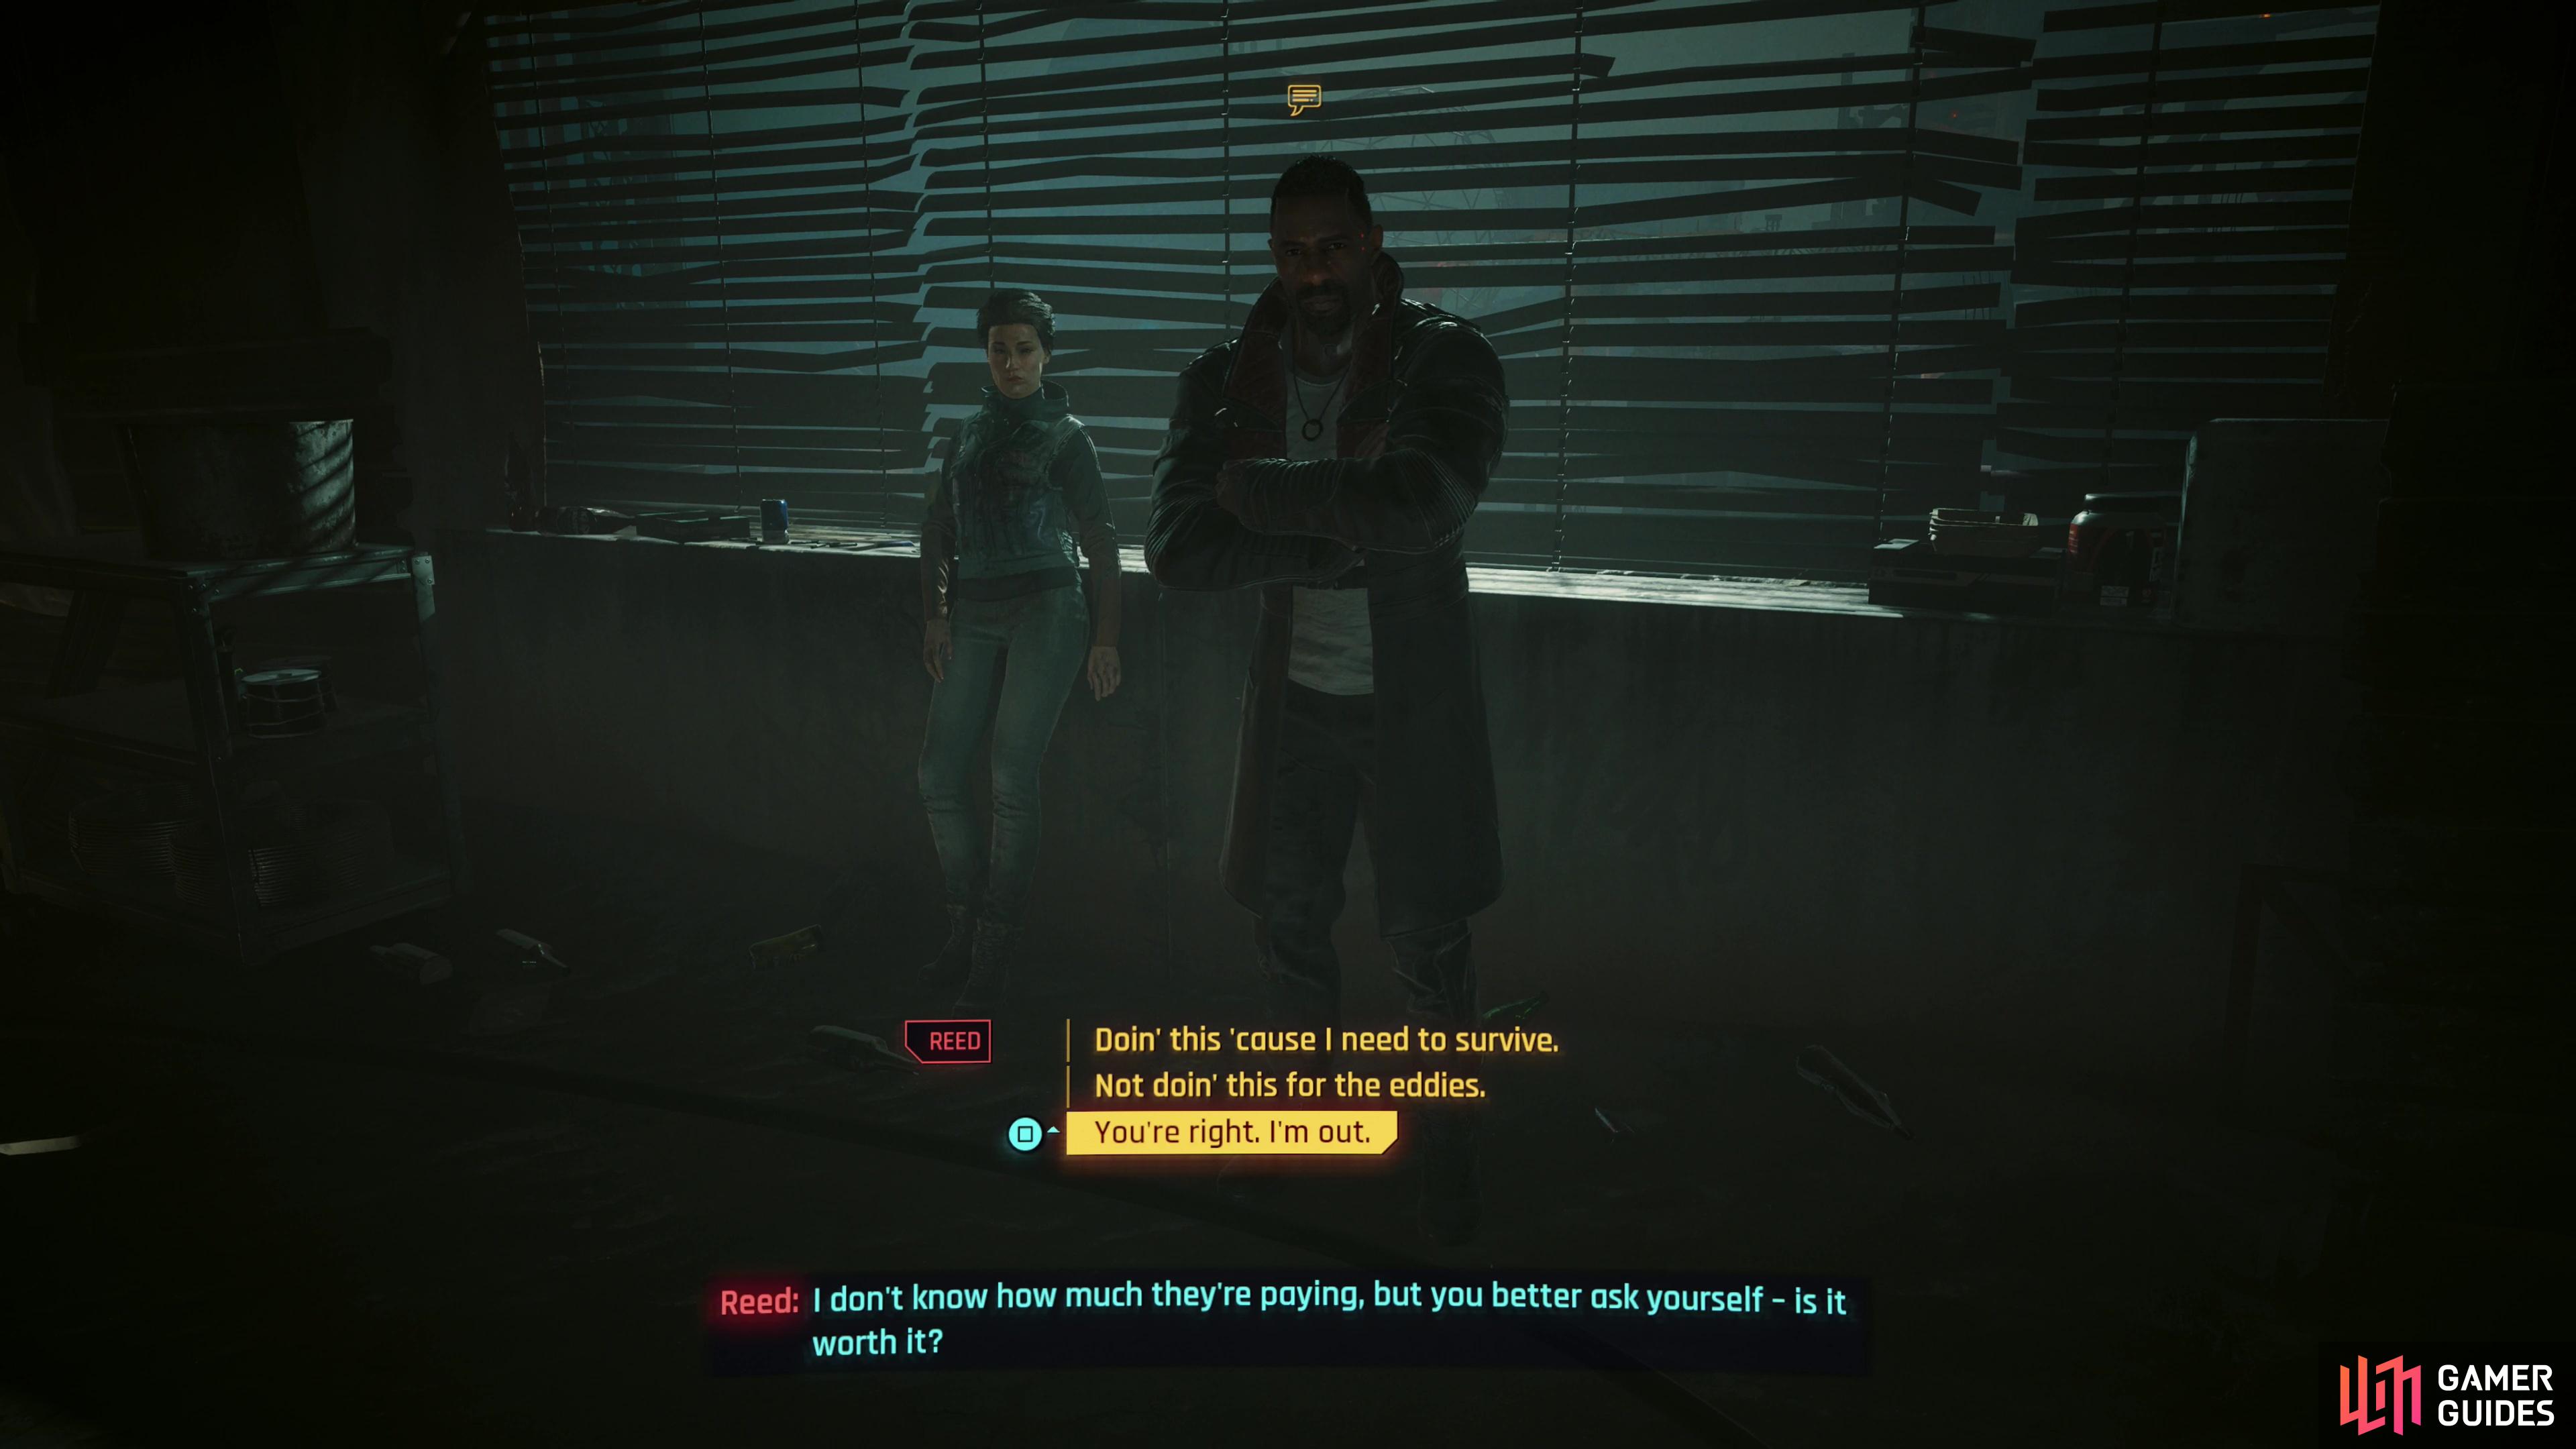
In any event, you’ll inevitably end up having a chat with Reed and Meyers in the apartment, where you’ll get a few more meaningless dialog options before you get one surprisingly important choice to make… do you want to wade deeper into this quagmire? Untrustworthy politicians, agents and military goons around every corner, playing games beyond your ken with resources you can’t hope to match, secret motivations, ruthless careerism… sure, the reward being offered is your potential salvation, if you believe the NUSA has the resources to actually help you, much less the decency to actually keep their end of the bargain. When Reed asks ”I don’t know how much they’re paying, but you better ask yourself - is it worth it?”, you can respond with ”You’re right, I’m out.”, after which Meyers will reinforce Songbird’s promise with one of her own - cheap, cheap words she’s currently in no position to make good on, and if you succeed, a promise she won’t have to actually honor. If you subsequently respond with ”Made my decision.” that’ll be that, the quest will fail and the entire Phantom Liberty main questline will come to an end. When Johnny refers to you as “special” in reference to your incredibly short stint as a special agent, it’s hard to tell if he’s admiring you or mocking you.
If you decide to swim with the sharks and commit to the scheme, you’ll need to leave the apartment. You can talk to Jacob and Taylor again, and even grab Meyer’s iconic assault rifle, Hawk from near the storage container in the apartment (if you miss it, don’t worry - it’s not going anywhere). Leave the apartment and you’ll need to wait two days for Reed to contact you, but when enough time passes you’ll get the call, which will finally end Lucretia My Reflection and begin the next main job, The Damned.
No Comments