


| Subdistrict | Prerequisite |
|---|---|
| Vista Del Rey | Complete the Side Job ”[Epistrophy]” |
Description
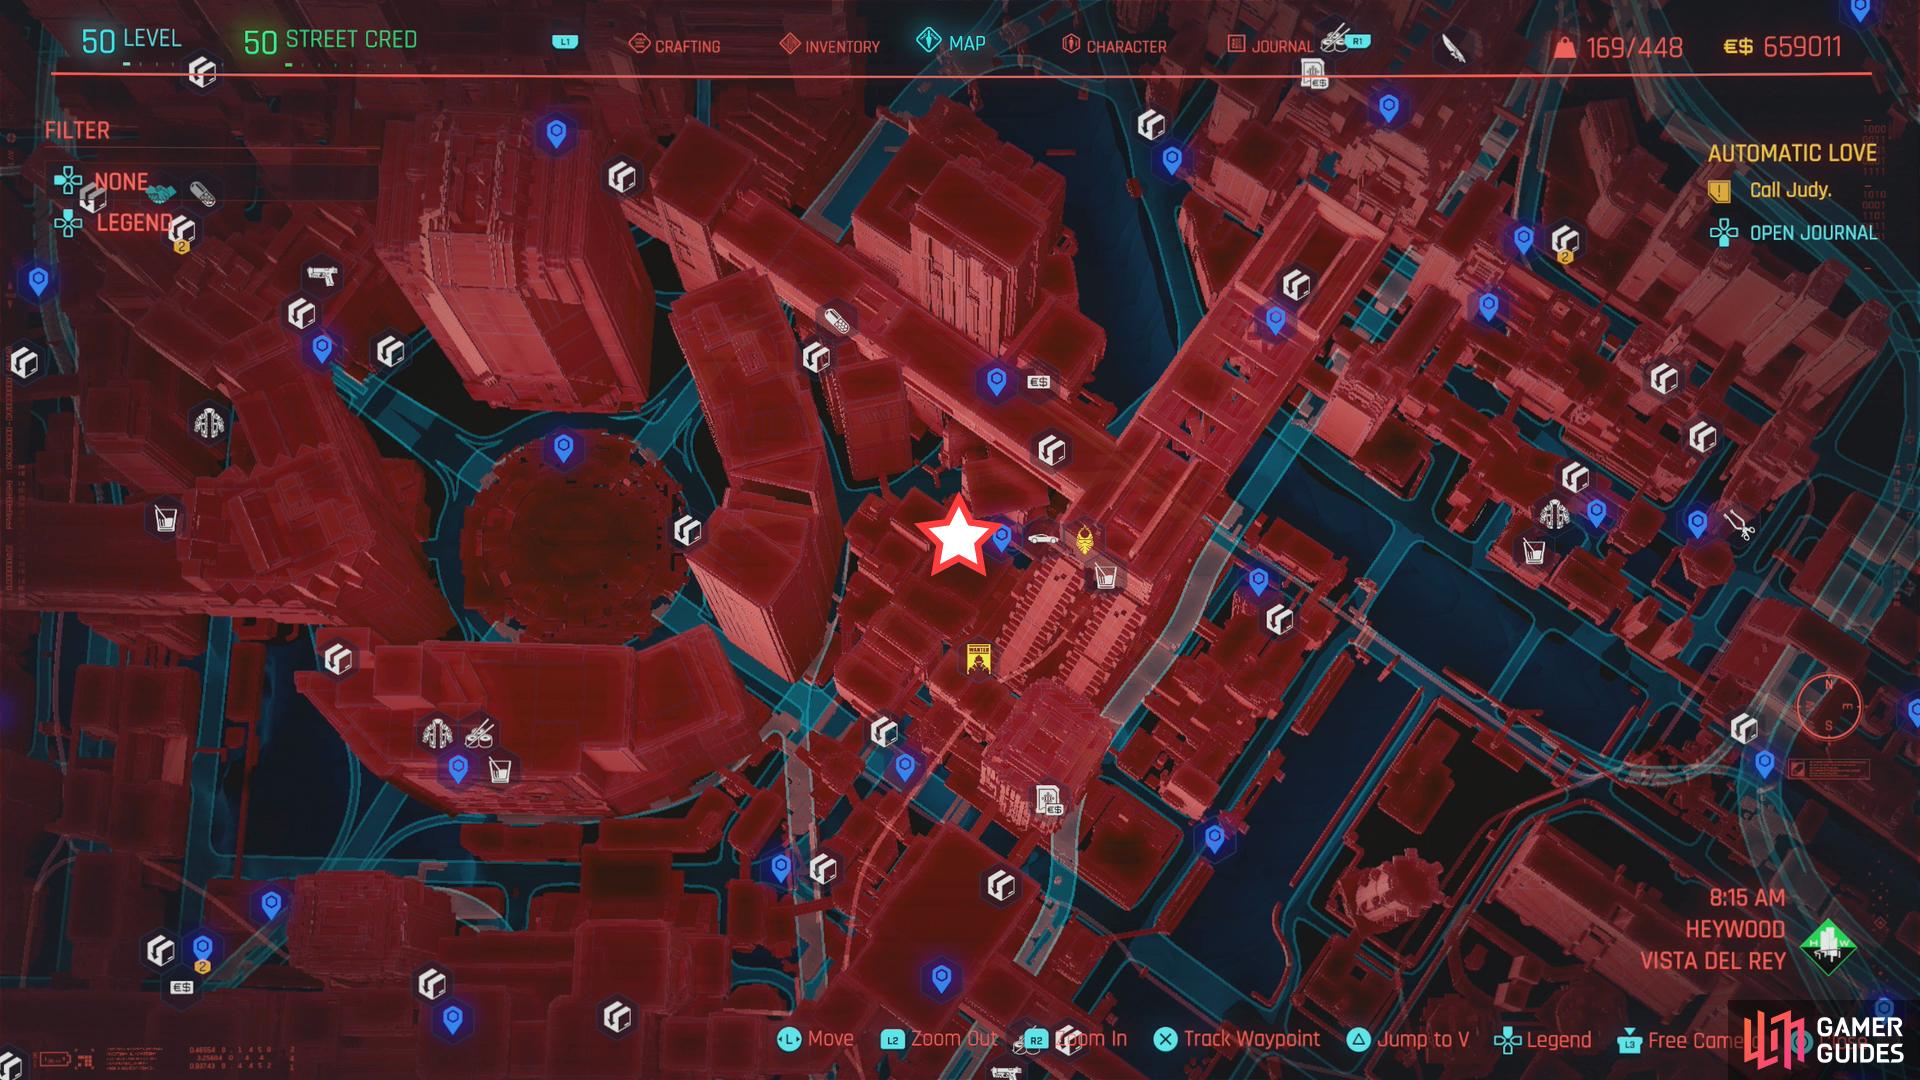
Some time after you complete [Epistrophy] you’ll get a message from Delamain asking you to come by Delamain HQ.
Find A Way Into Delamain HQ
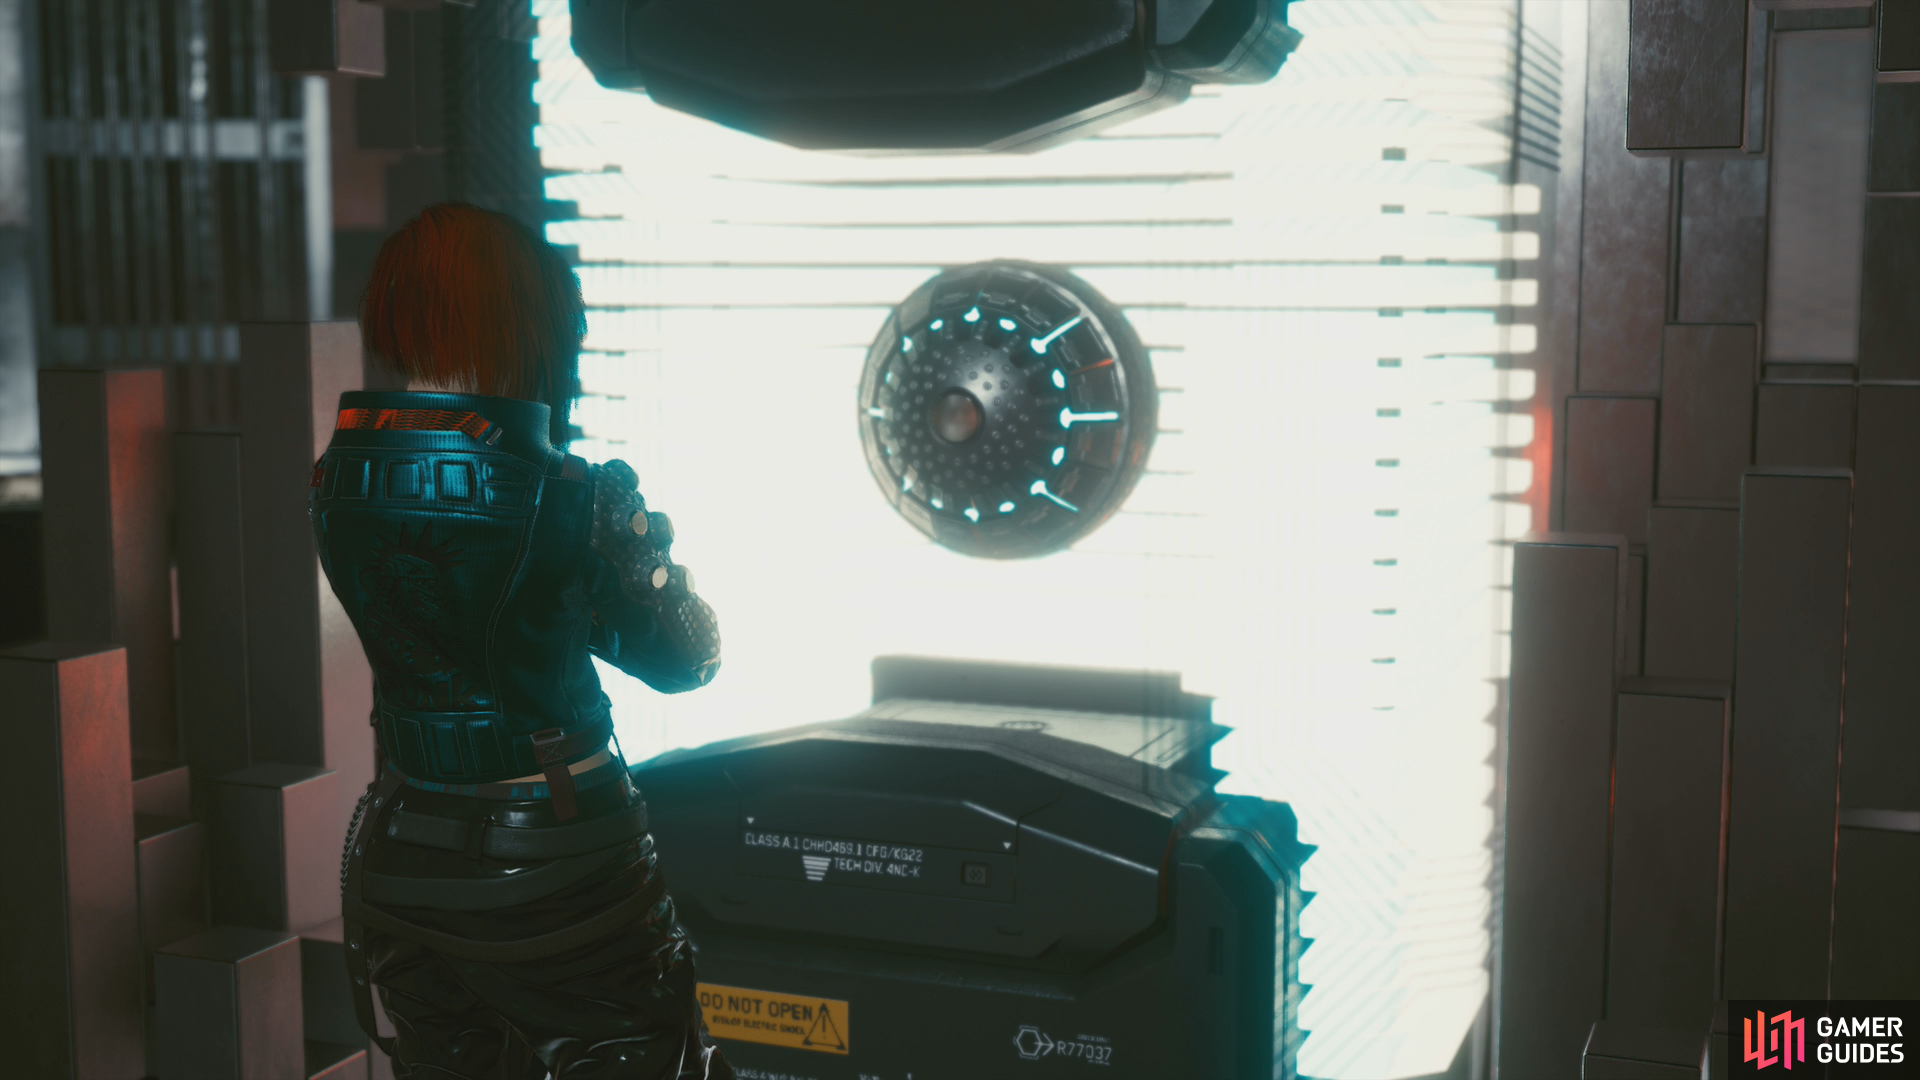
Enter Delemain HQ, and after that familiar, creepy face appears on the monitor… nothing. Huh. The doors leading deeper into the depot also refuse to comply. Looks like you’ll have to find another way in if you’re going to figure out what’s going on with Delamain.
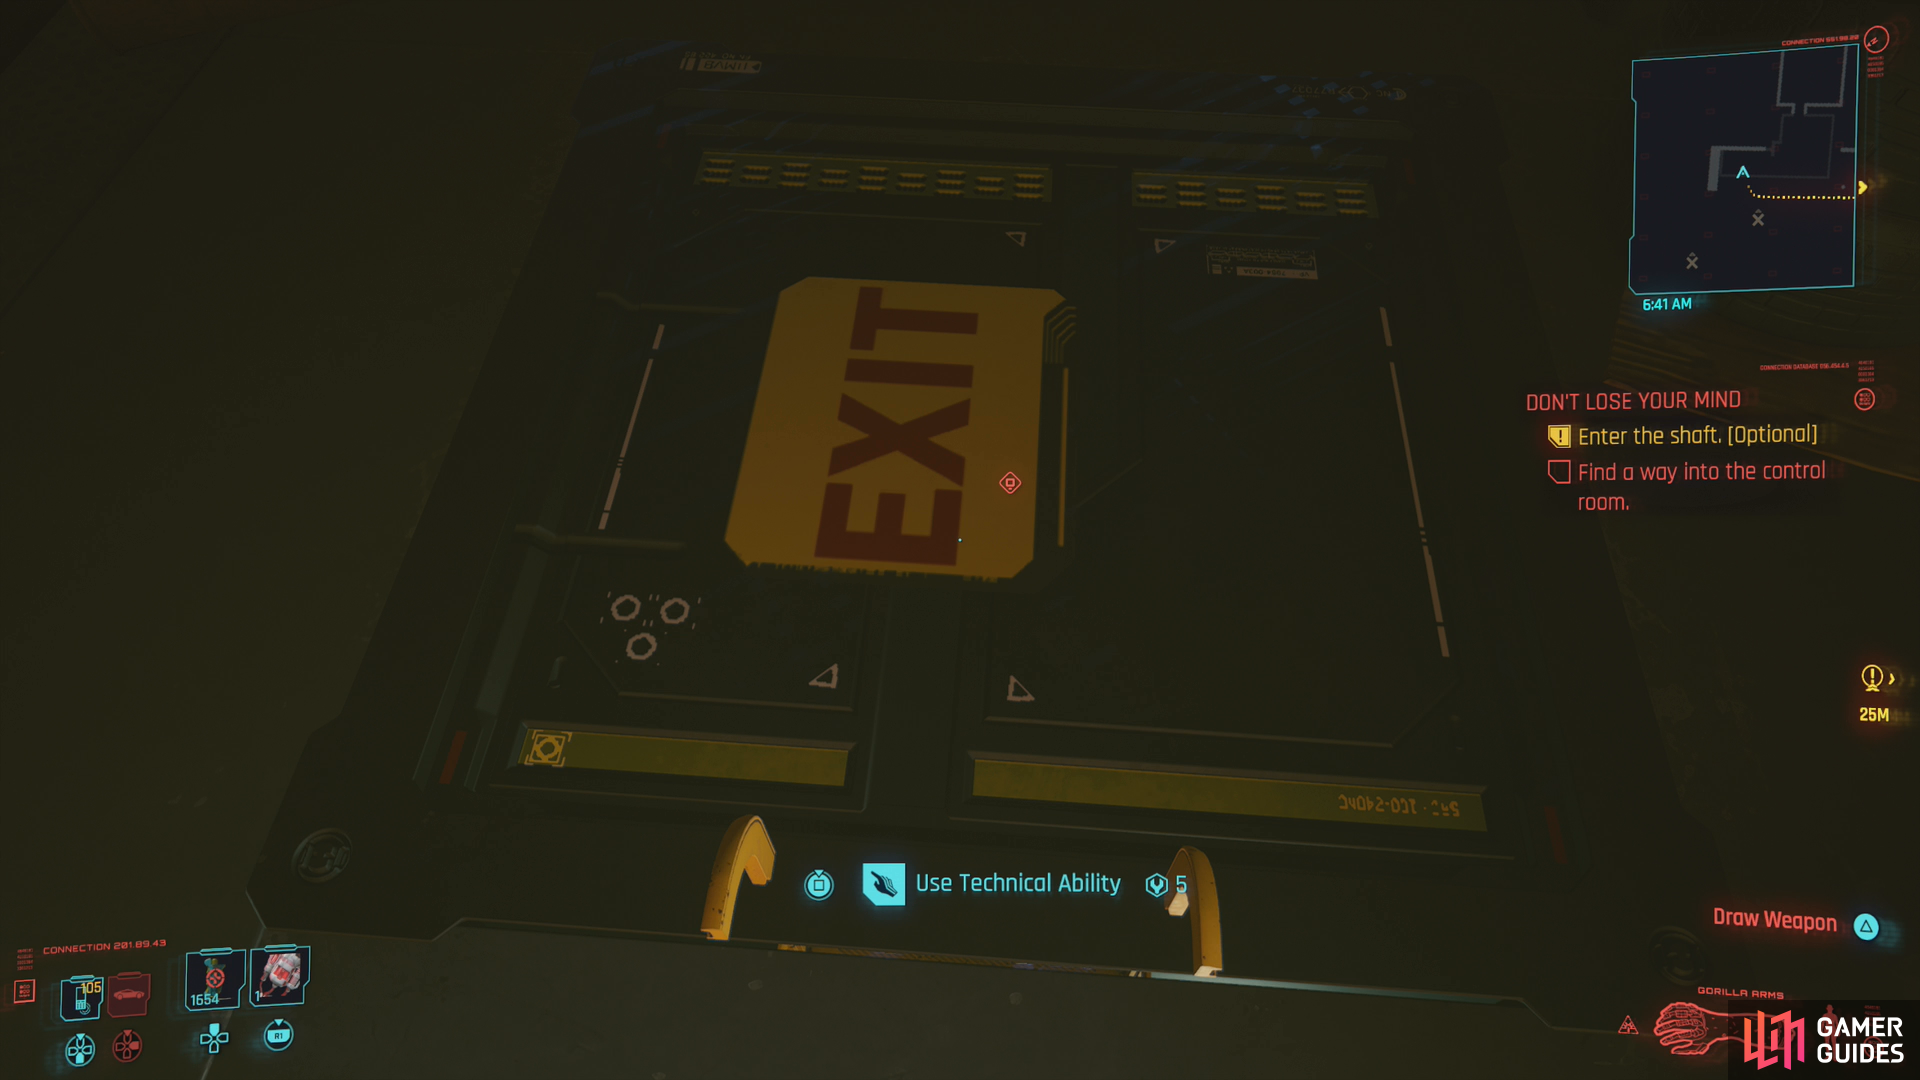
Your options are surprisingly limited. There’s a lock door on the side of the building [Technical 8], and if you can’t get in that way, you can climb to the roof to reach a hatch. For the sake of our Technique-challenged readers, we’ll assume everybody goes through the hatch in the roof.
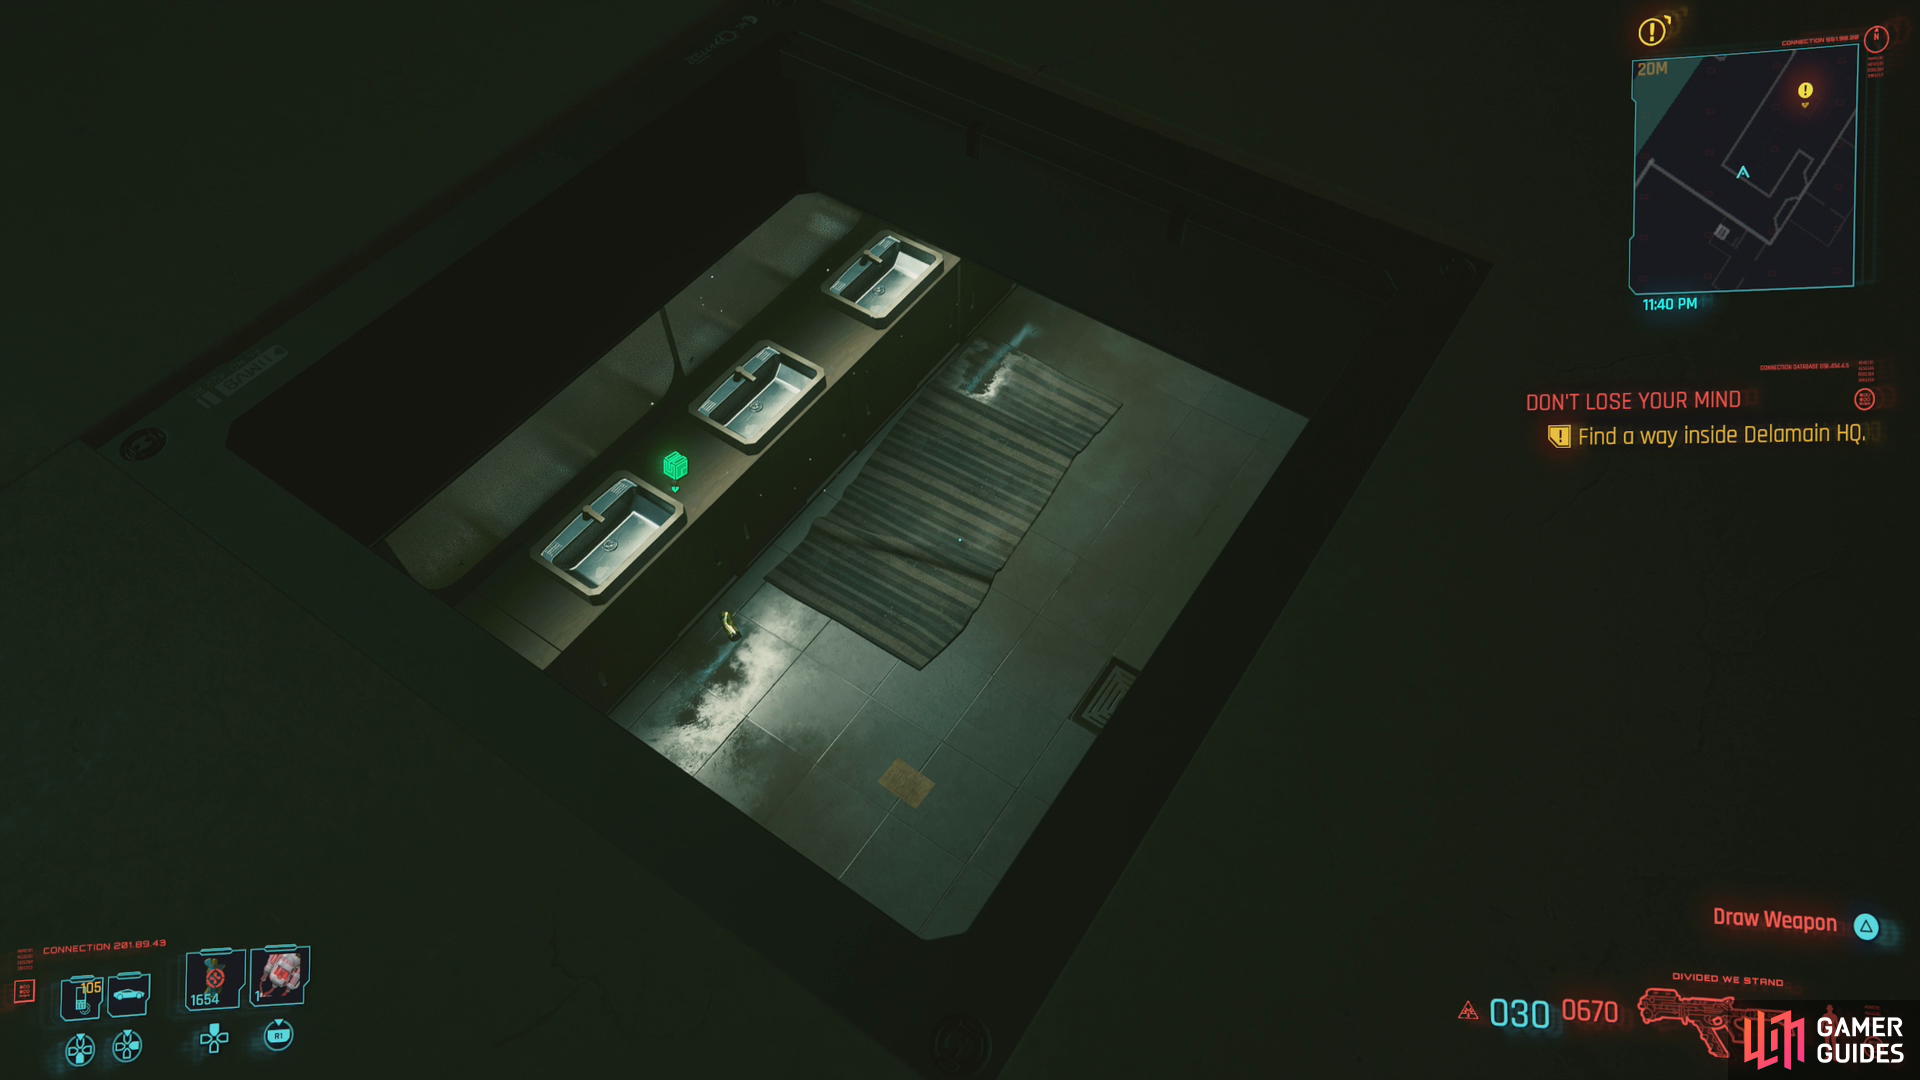
Both entrances lead to roughly the same place, and once you’re inside, search the room for three terminals and read the messages on any one of them to learn the password to the administrator’s computer is “1234”. With that knowledge in hand, head into a small office nearby and access the terminal (you can hack it if you have [Intelligence 8] and don’t want to enter the password) and read the messages on this one, too. Finally pick “Local Network” and then “Open” to open some side double doors that lead deeper into the facility.
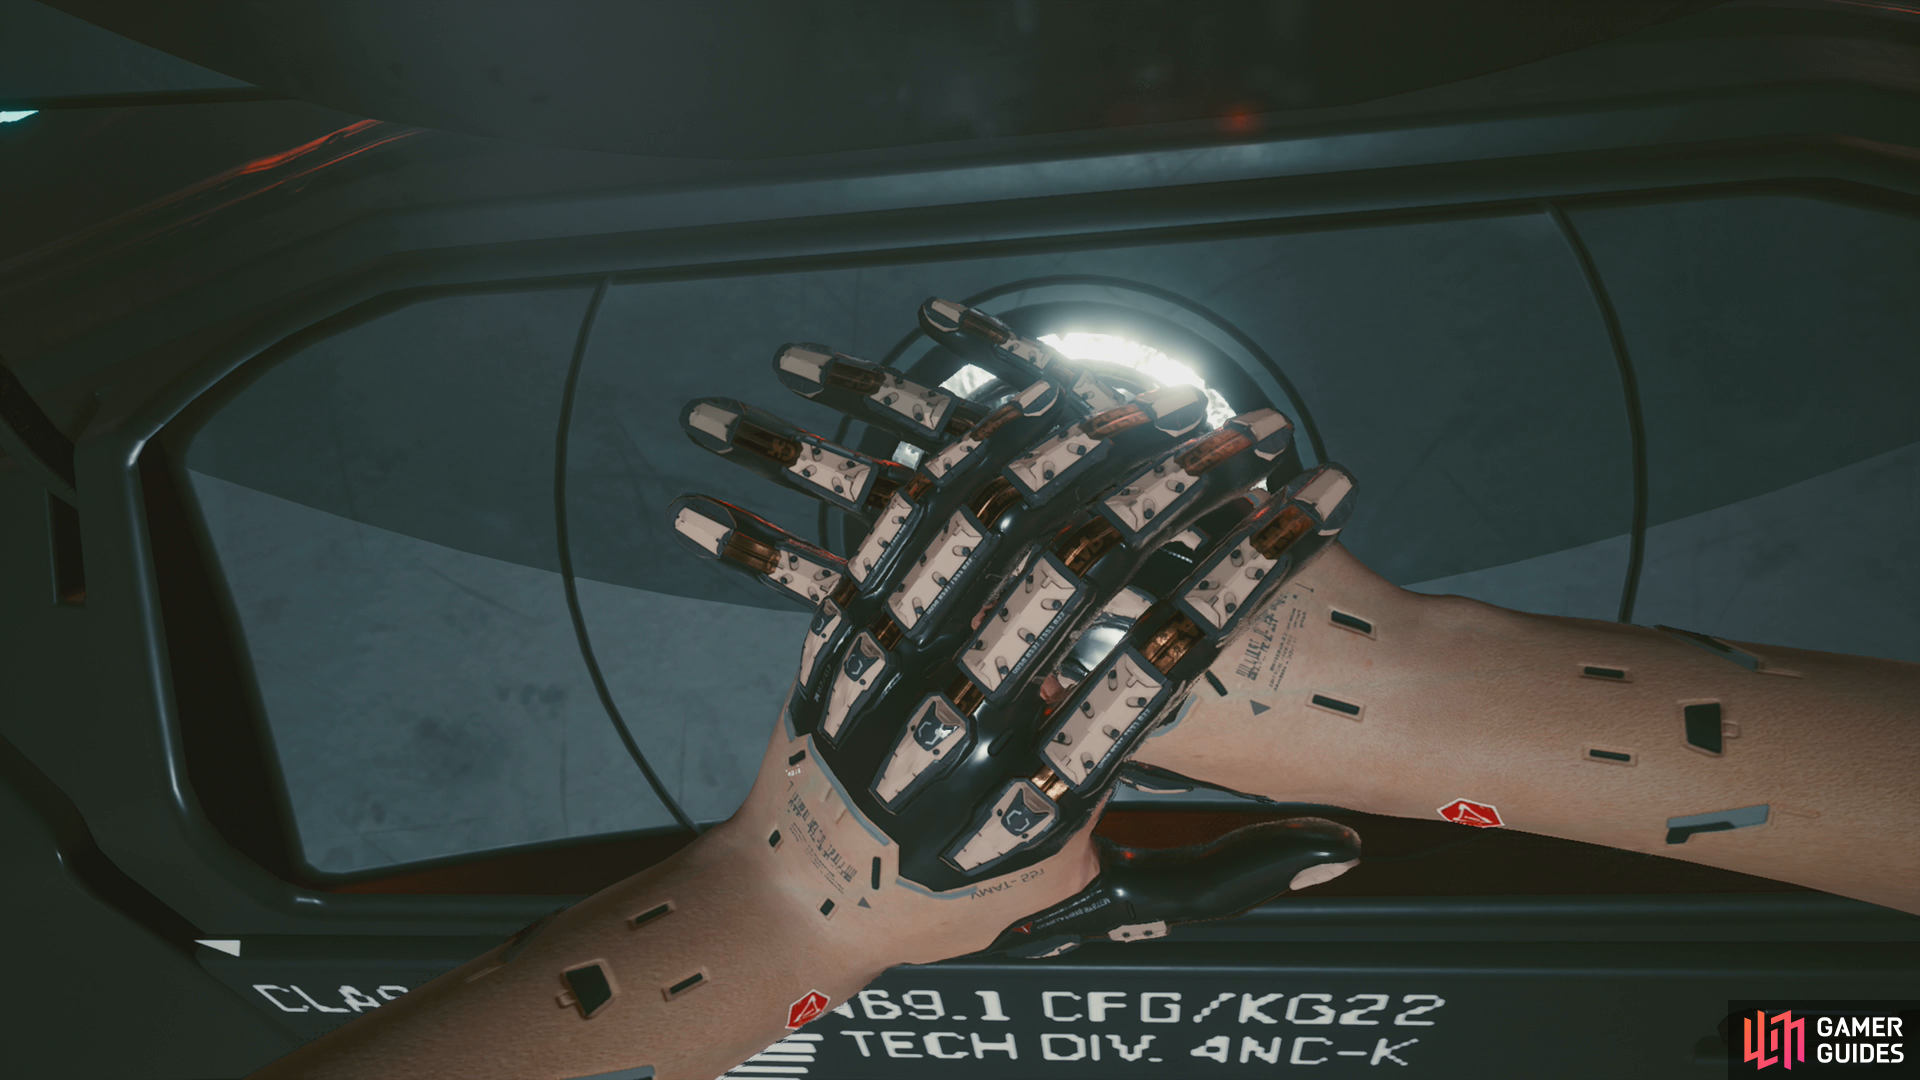
![Force open a door [Body 10],](/assets/guides/185/cyberpunk_dont_lose_your_mind_loot_body_door.png)
Force open a door [Body 10],
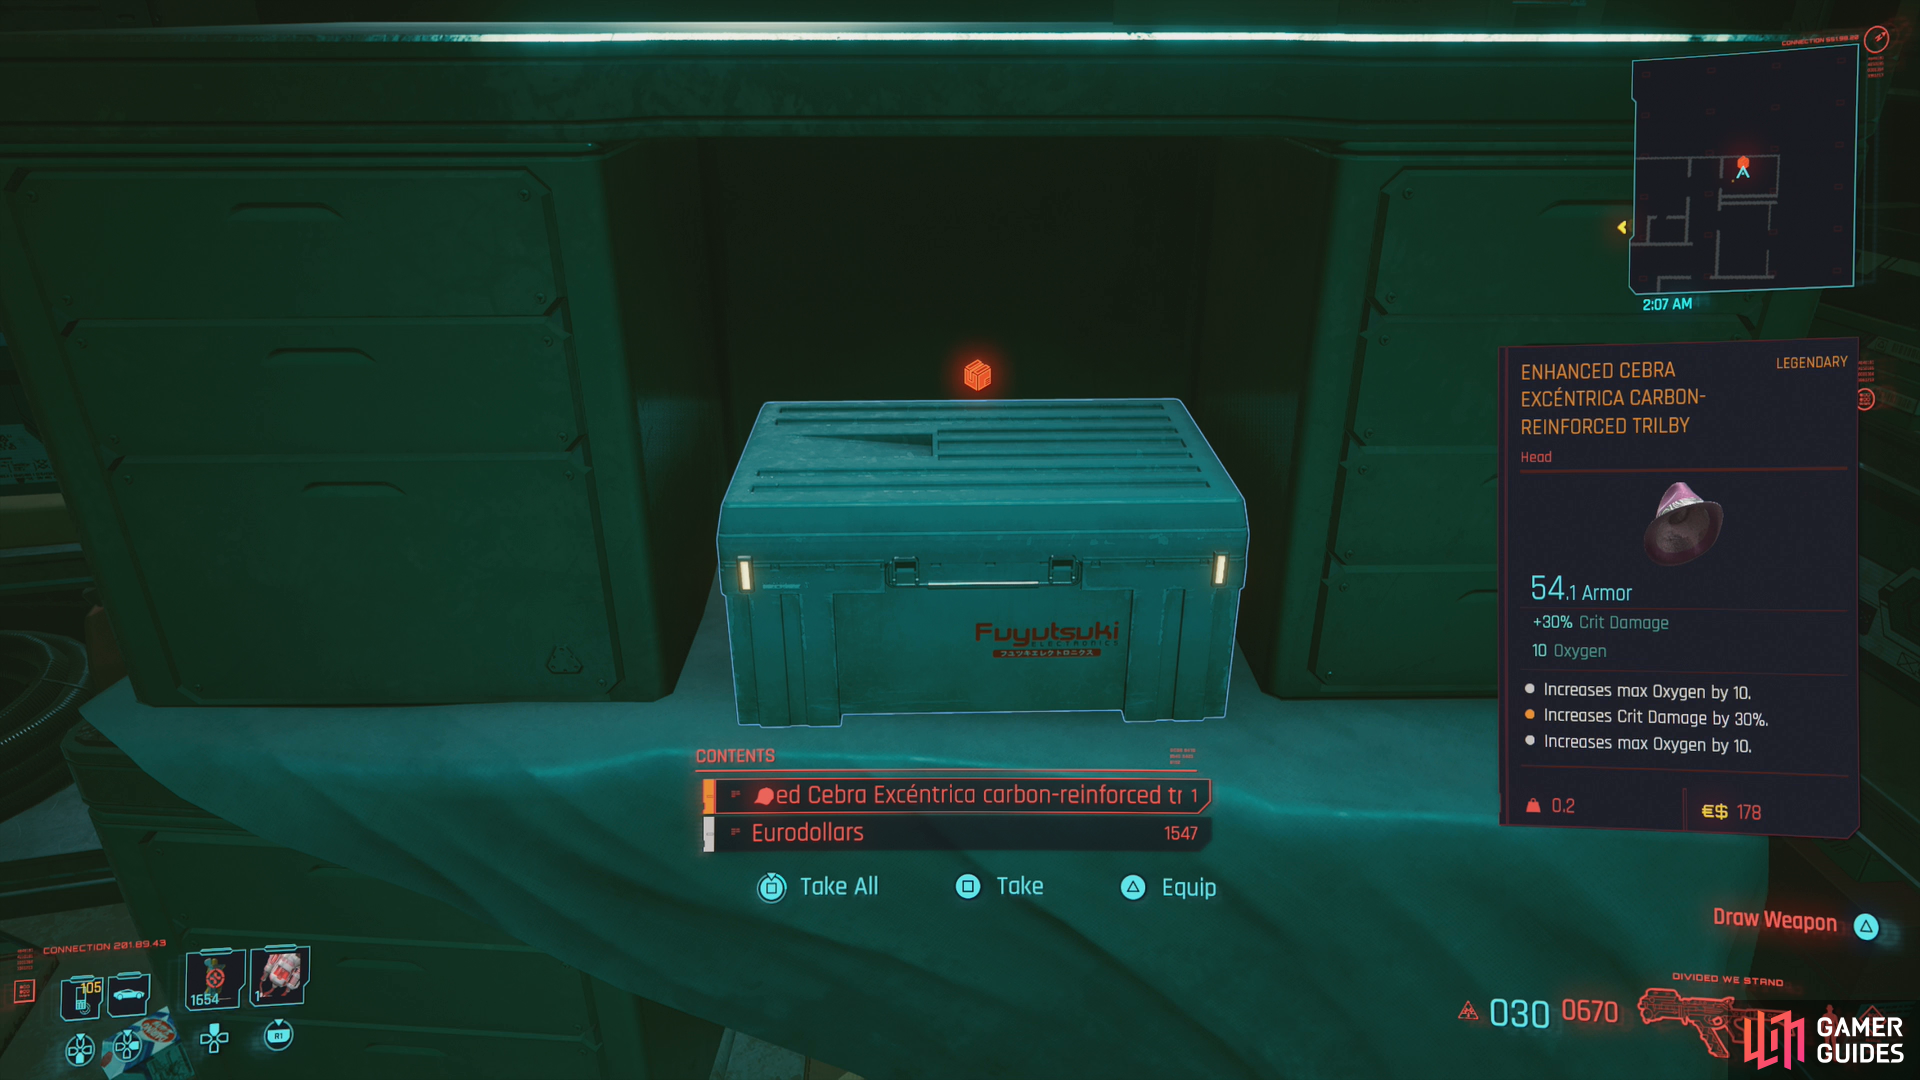
and you’ll be able to score some high-quality loot.
Before you go through those doors, however, turn yourself to a less contentious pair of doors on another side of the room. These open with much less fuss, and beyond them you’ll find a hallway, empty save for an unresponsive drone. Ignore it and note the door [Body 10] you can open. If you can get inside, you’ll find some potentially lucrative containers (we were able to find two legendaries here).
Grab what loot you can, then backtrack and go through the double doors you opened via the administrator’s terminal. You’ll reach some hallways and you’ll be tasked with reaching the workshop now, which is just through another set of double doors. When you arrive you’ll find that things have gotten rather out of hand in here. Drones will shoot lasers, the alternate Delamain AIs will shout, and the floor is covered with electricity.
Time to navigate this mess.
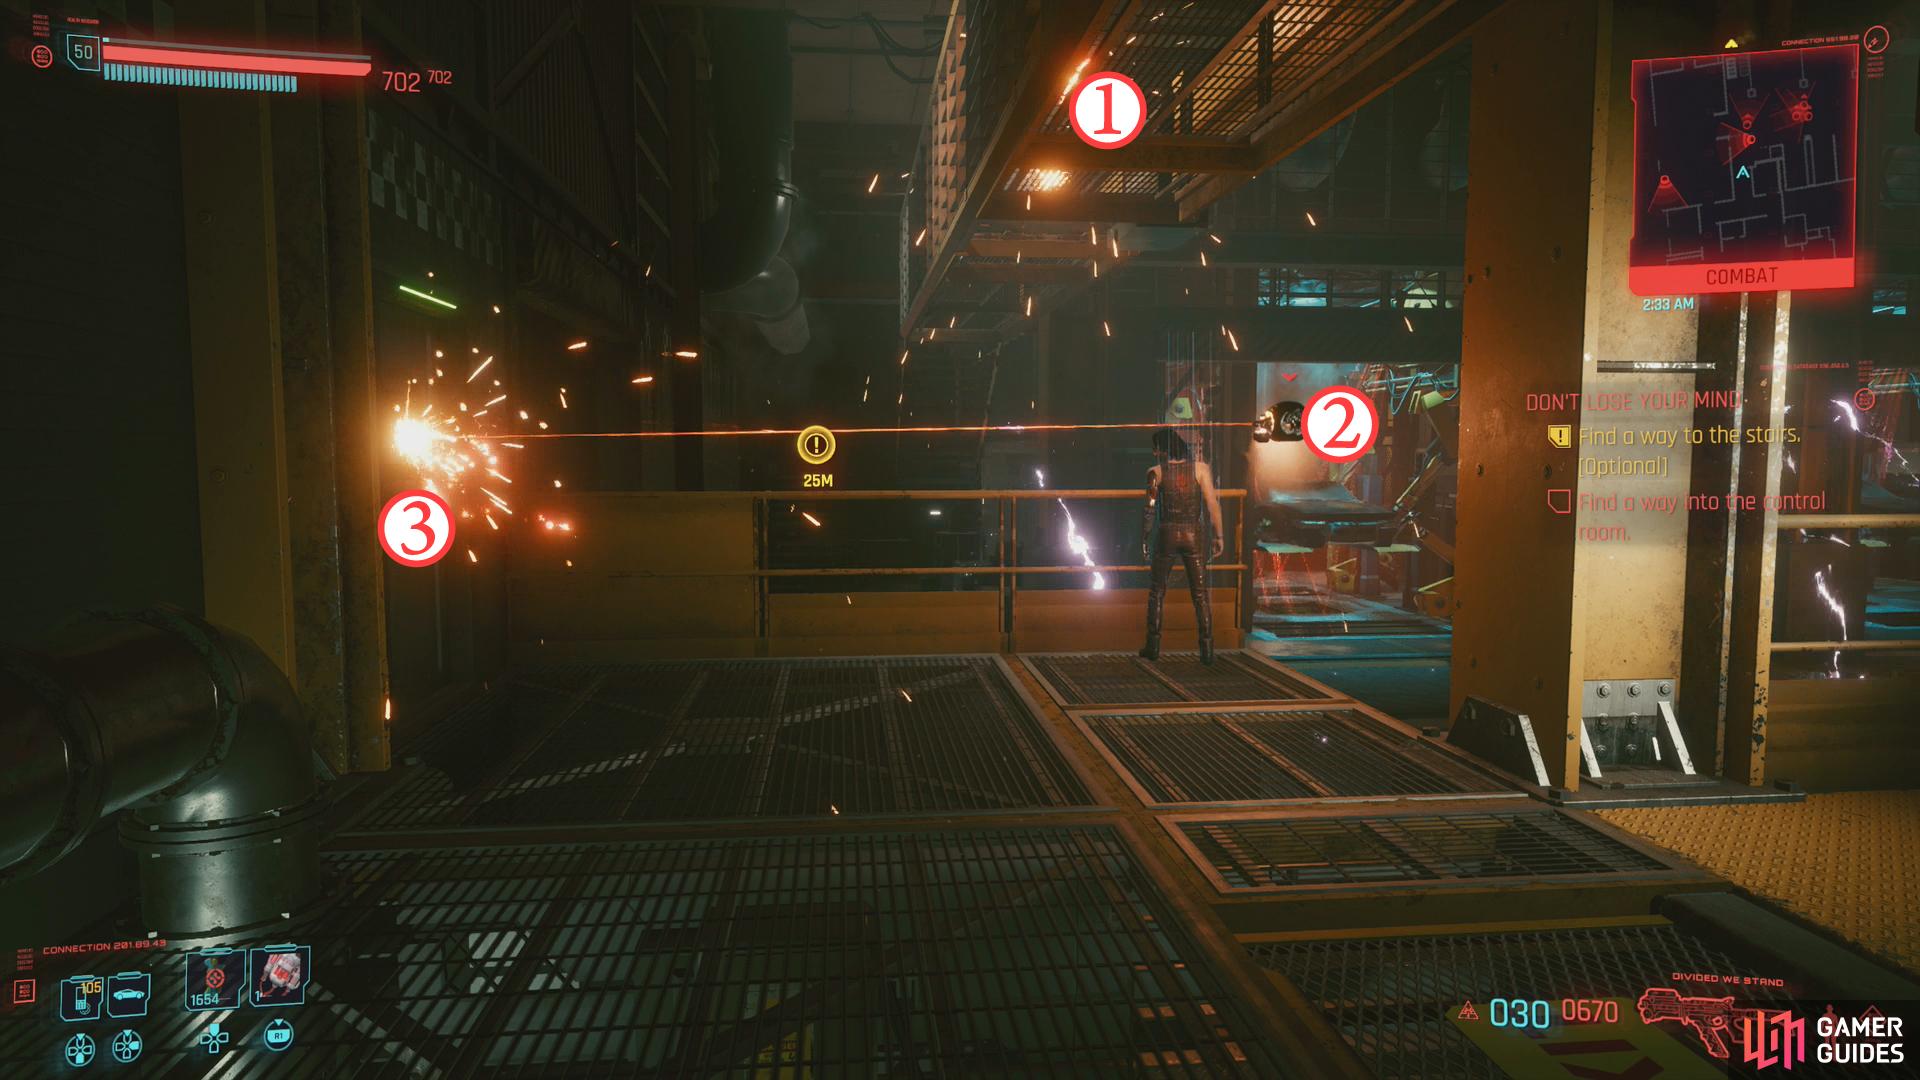
(1 of 6) When you enter the workshop, note 1) the walkway you want to reach, 2) the drone shooting a door, and 3) the door you need to pass through if you can’t jump onto the walkway (1).
Reach the Control Room
Going on the floor of the workshop is instant death. You know, electricity and all. So let’s not do that. Also keep the drones in mind - some of them are static, area-denial devices, while some of them will aggressively attack. There’s no good reason not to just shoot them all down or blast them with “Short Circuit”.
First, look up and note the walkway above you. If you have Reinforced Tendons you can double jump up there and bypass a good portion of this area. If you don’t, you’ll have to take the long way around. Note a drone shooting a laser at a door. Dispatch it and head through the door it was shooting at to reach another garage area.
Dispatch two drones in here, then search two rooms to the right to find some very minor loot. To reach the high ground back in the workshop you’ll have to engage in some platforming. Jump onto a grounded aerial cab, then jump onto another cab suspended by a lift. Next you’ll need to get a running jump to reach the roof of a structure over a garage door (where a “D”elamain monitor hangs) and finally you’ll need to leap over to an elevated metal walkway. All of this is doable without double jump, but man, double jump does make this place much easier to navigate…
Loot an office off to the side (you’ll find a drone guarding some trivial loot) then jump up through a hole in the wall (not in the office) to reach the elevated walkway back in the workshop.
However you manage it, once we’re all on the same walkway, dust two drones and search for a console along the middle of the walkway. Just under this console is an Electrical Box, which you can “Override”. There’s also a forklift you can quickhack off in the distance beyond the console. What either of these things accomplish is something of a mystery, but it doesn’t seem to affect quest progress at this time.
To get back across the workshop, either push a cab and use it as a platform,
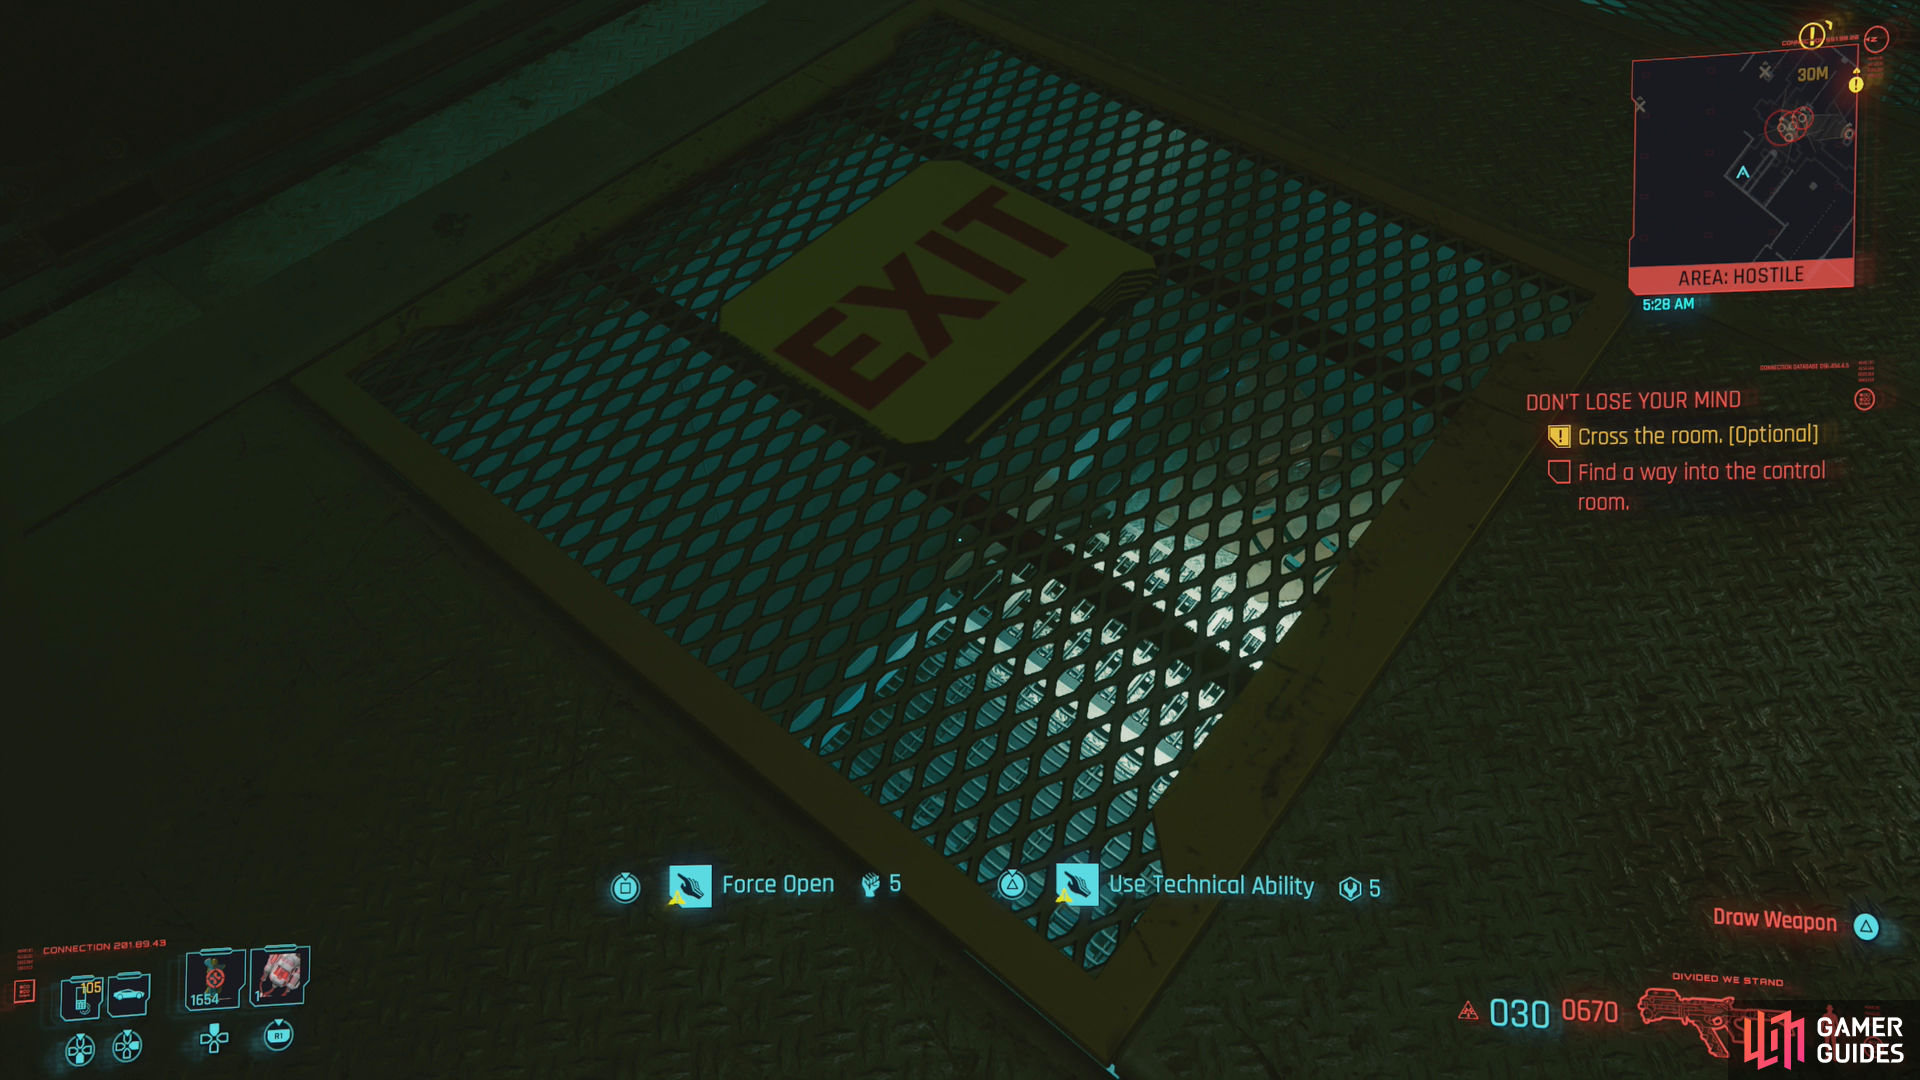
or pass a Body or Technical Ability check to open a hatch.
Continue across the walkway and turn left to find a door, beyond which you’ll find two rooms. Only the first should interest you, as it has a hatch in the floor that leads to the rear of some vehicle bays. Now you just need to get across the room, and you have two options: push a Delamain car into the middle of the workshop, jump onto it, then jump across into the vehicle bays on the other side of the workshop. It’s dangerous, obviously, as one slip will have shocking consequences. On the other hand, if you have [Body 5] or [Technical Ability 5] you can open a hatch on the floor, jump down, and head through the tunnels under the ground to reach the far side of the room. There’s a drone down here, but overall it’s much safer than jumping.
Once you’re across, search behind the vehicle bays for a ladder to climb, which will lead to another elevated walkway. Head upstairs, turn left, dispatch a drone, then jump a gap and continue forward to find a locked door [Body 10]. If you can’t bully your way beyond this barrier, backup and turn right and you’ll find an elevated walkway you can crawl up into. Both ultimately lead to the same place, but the door is a less scenic shortcut. As usual, we’ll appeal to the lowest common denominator and discuss the elevated walkway.
Climb up into the walkway and crawl across the workshop again. When you’re across, drop down and turn left to spot Delamain being bullied - bumper car style - by his aberrant personalities. Go through a nearby doorway and down some stairs to reach the floor where the Delamains are engaged in a ramming contest and cross the room. The Delamains can hit you as you cross, but they move awfully slow, and if you stick to the edges of the room you should be fine. Other than that, only one drone contests your crossing.
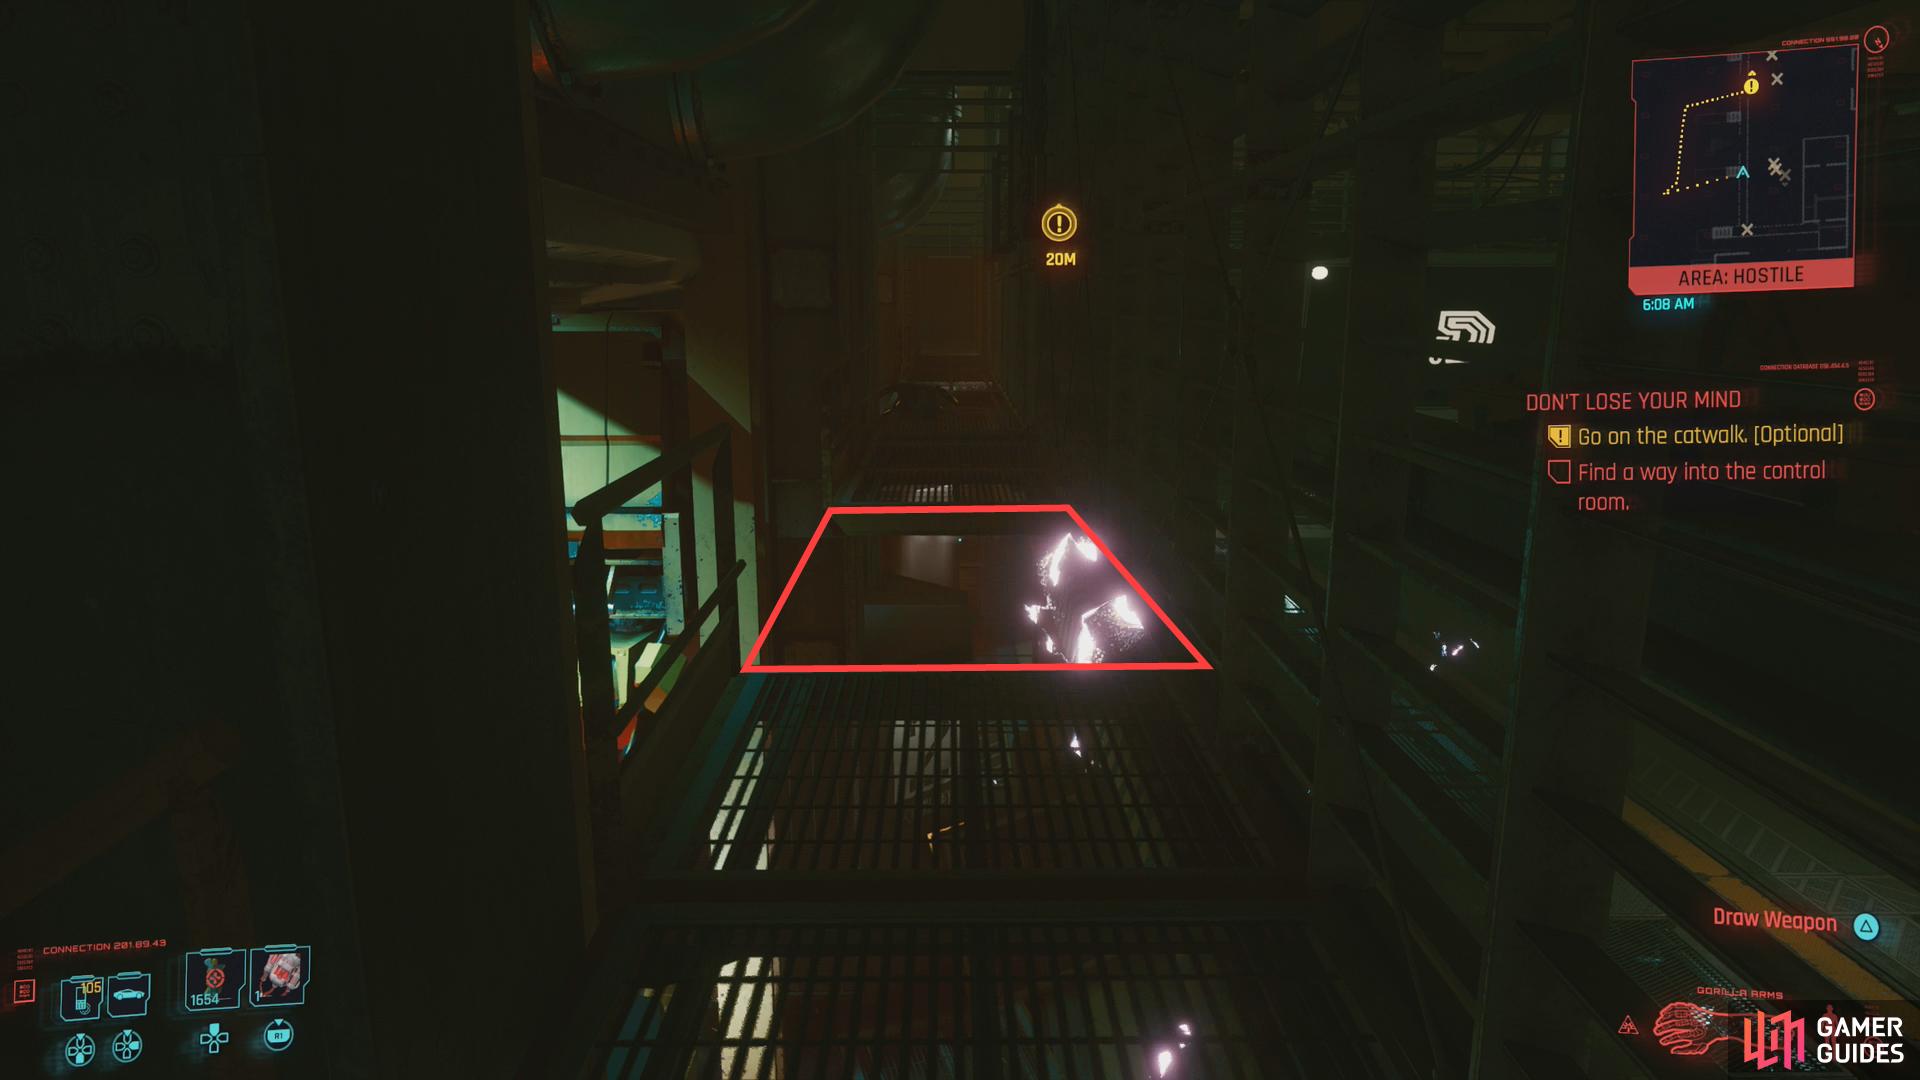
(1 of 3) If you couldn’t force the door earlier, your route to the control room lies either through a hatch on the ground,
When you reach the far side of the chamber, ascend some stairs, jump a gap and you’ll find yourself at a door. There are multiple ways to reach your destination from here, the door ironically not being one of them:
-
Either head down some stairs to the right, turn left and continue forward until you find another door to your right. It’s sealed, so ignore it and instead continue forward over some boxes and drop down onto the floor of the Delamain duel to find a hatch [Technical Ability 5] on the floor. If you can unlock the hatch, drop down through it, head forward, turn left, climb up through a hole, then continue on to find a ladder which will lead you to the far end of the workshop, beyond and below the door [Body 10] you found earlier. When you surface, turn left and climb some stairs to reach the roof of the control room.
-
From the go-nowhere door above the room where the Delamain cabs are dueling, turn right and note some pipes running along the wall. Jump onto them and turn left and climb up some ledges to reach the roof of the go-nowhere room. Continue forward, drop off onto some more pipes, then crawl through a hole to the right to reach the roof of the control room.
If you went through the sealed [Body 10] door earlier… well, you could have just walked forward to reach the roof of the control room. Either way, once you’re on the roof you merely need to drop through a hole to reach your destination.
Decision at the AI Core
As you approach the control room, the Delamains will call out, demanding various things. Enter the core room and Johnny will share his opinions with you before vanishing, after which you’ll be left with unrestricted access to the core… and control of Delamain’s future. Approach the core and you’ll get two options:
- [Reset Delamain’s core and preserve its integrity]:
Delemain’s memories and personalities will be purged, including its distinct, personal memories of V. It’ll remember its contractual dealings with you, however, and will reward you accordingly. This restores the original Delamain personality, and angers Johnny.
- [Intelligence 20] [Force personalities to merge with Delamain]
Combines the Delamain AIs into some… super sentient AI construct? Either way, Delamain no longer has any interest in remaining in Night City.
There is, of course, a third option… Suppose you throw a coin enough times… suppose one day, it lands on its edge. Ahem. Nothing that dramatic. Johnny’s first instinct for most things is to blow it up, and it should be no surprise that’s exactly what he’s advocating for here:
- Stand back from the core and shoot it with any ranged weapon you have handy.
Destroys Delamain’s original personality and its hold over its aberrant personalities, freeing them into Night City. Probably not a good thing, considering how some of them behaved… but on the other hand, are they really any worse than your average Night City citizen-sociopath?
The rewards are the same either way, including one of Delamain’s cabs, which you can claim from the garage as you exit. Johnny’s approval, and the exact nature (personality-wise) of the car you get at the end varies, but the substance is mostly the same.
Just drive out of the garage in your new Delamain cab to complete the job.
No Comments