
After meeting the infamous Mr. Hands in person for the first time during the Get it Together mission in Cyberpunk: Phantom Liberty, you’ll get a bunch of gigs to appear around Dogtown. One particular gig, Spy in the Jungle will have you work on an off-books investigation on a presumed dead agent. Read below to find out where to get the gig, how to complete it, and what the consequences of each choice are.
Brazilian Intelligence Agents want you to work an off the books mission for them in the Spy in the Jungle gig.
How to Start Spy in the Jungle in Cyberpunk
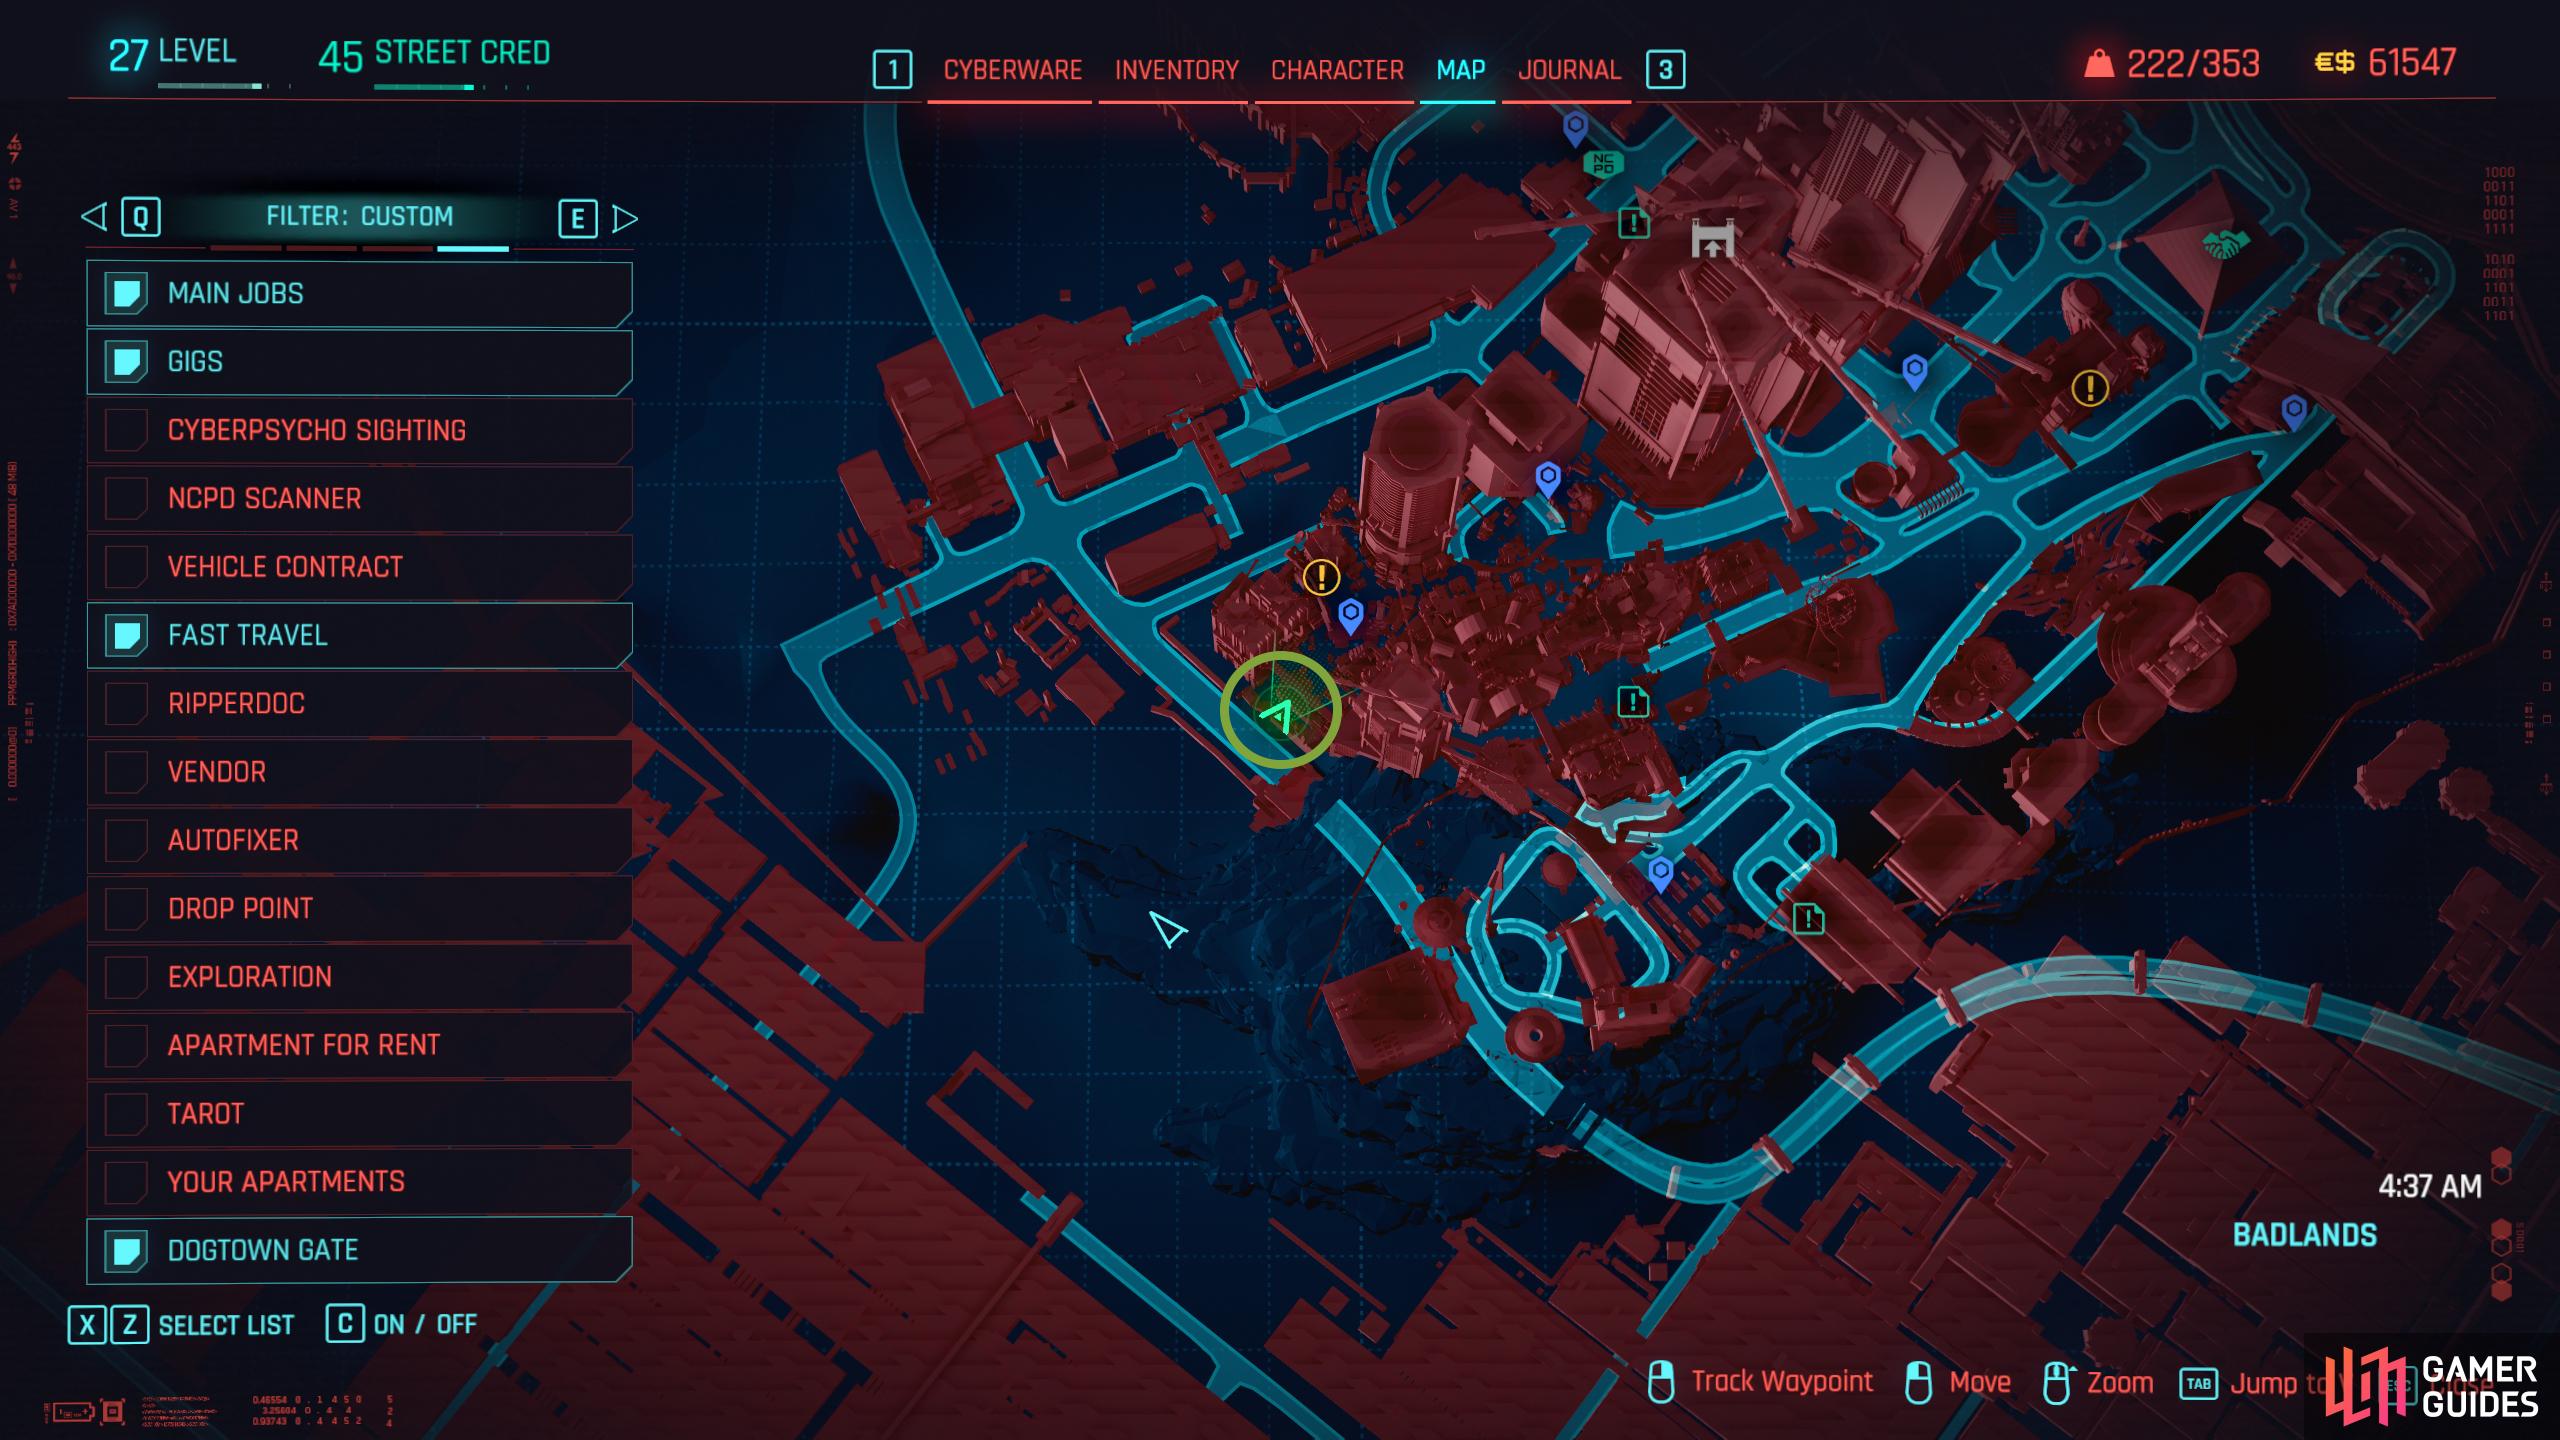
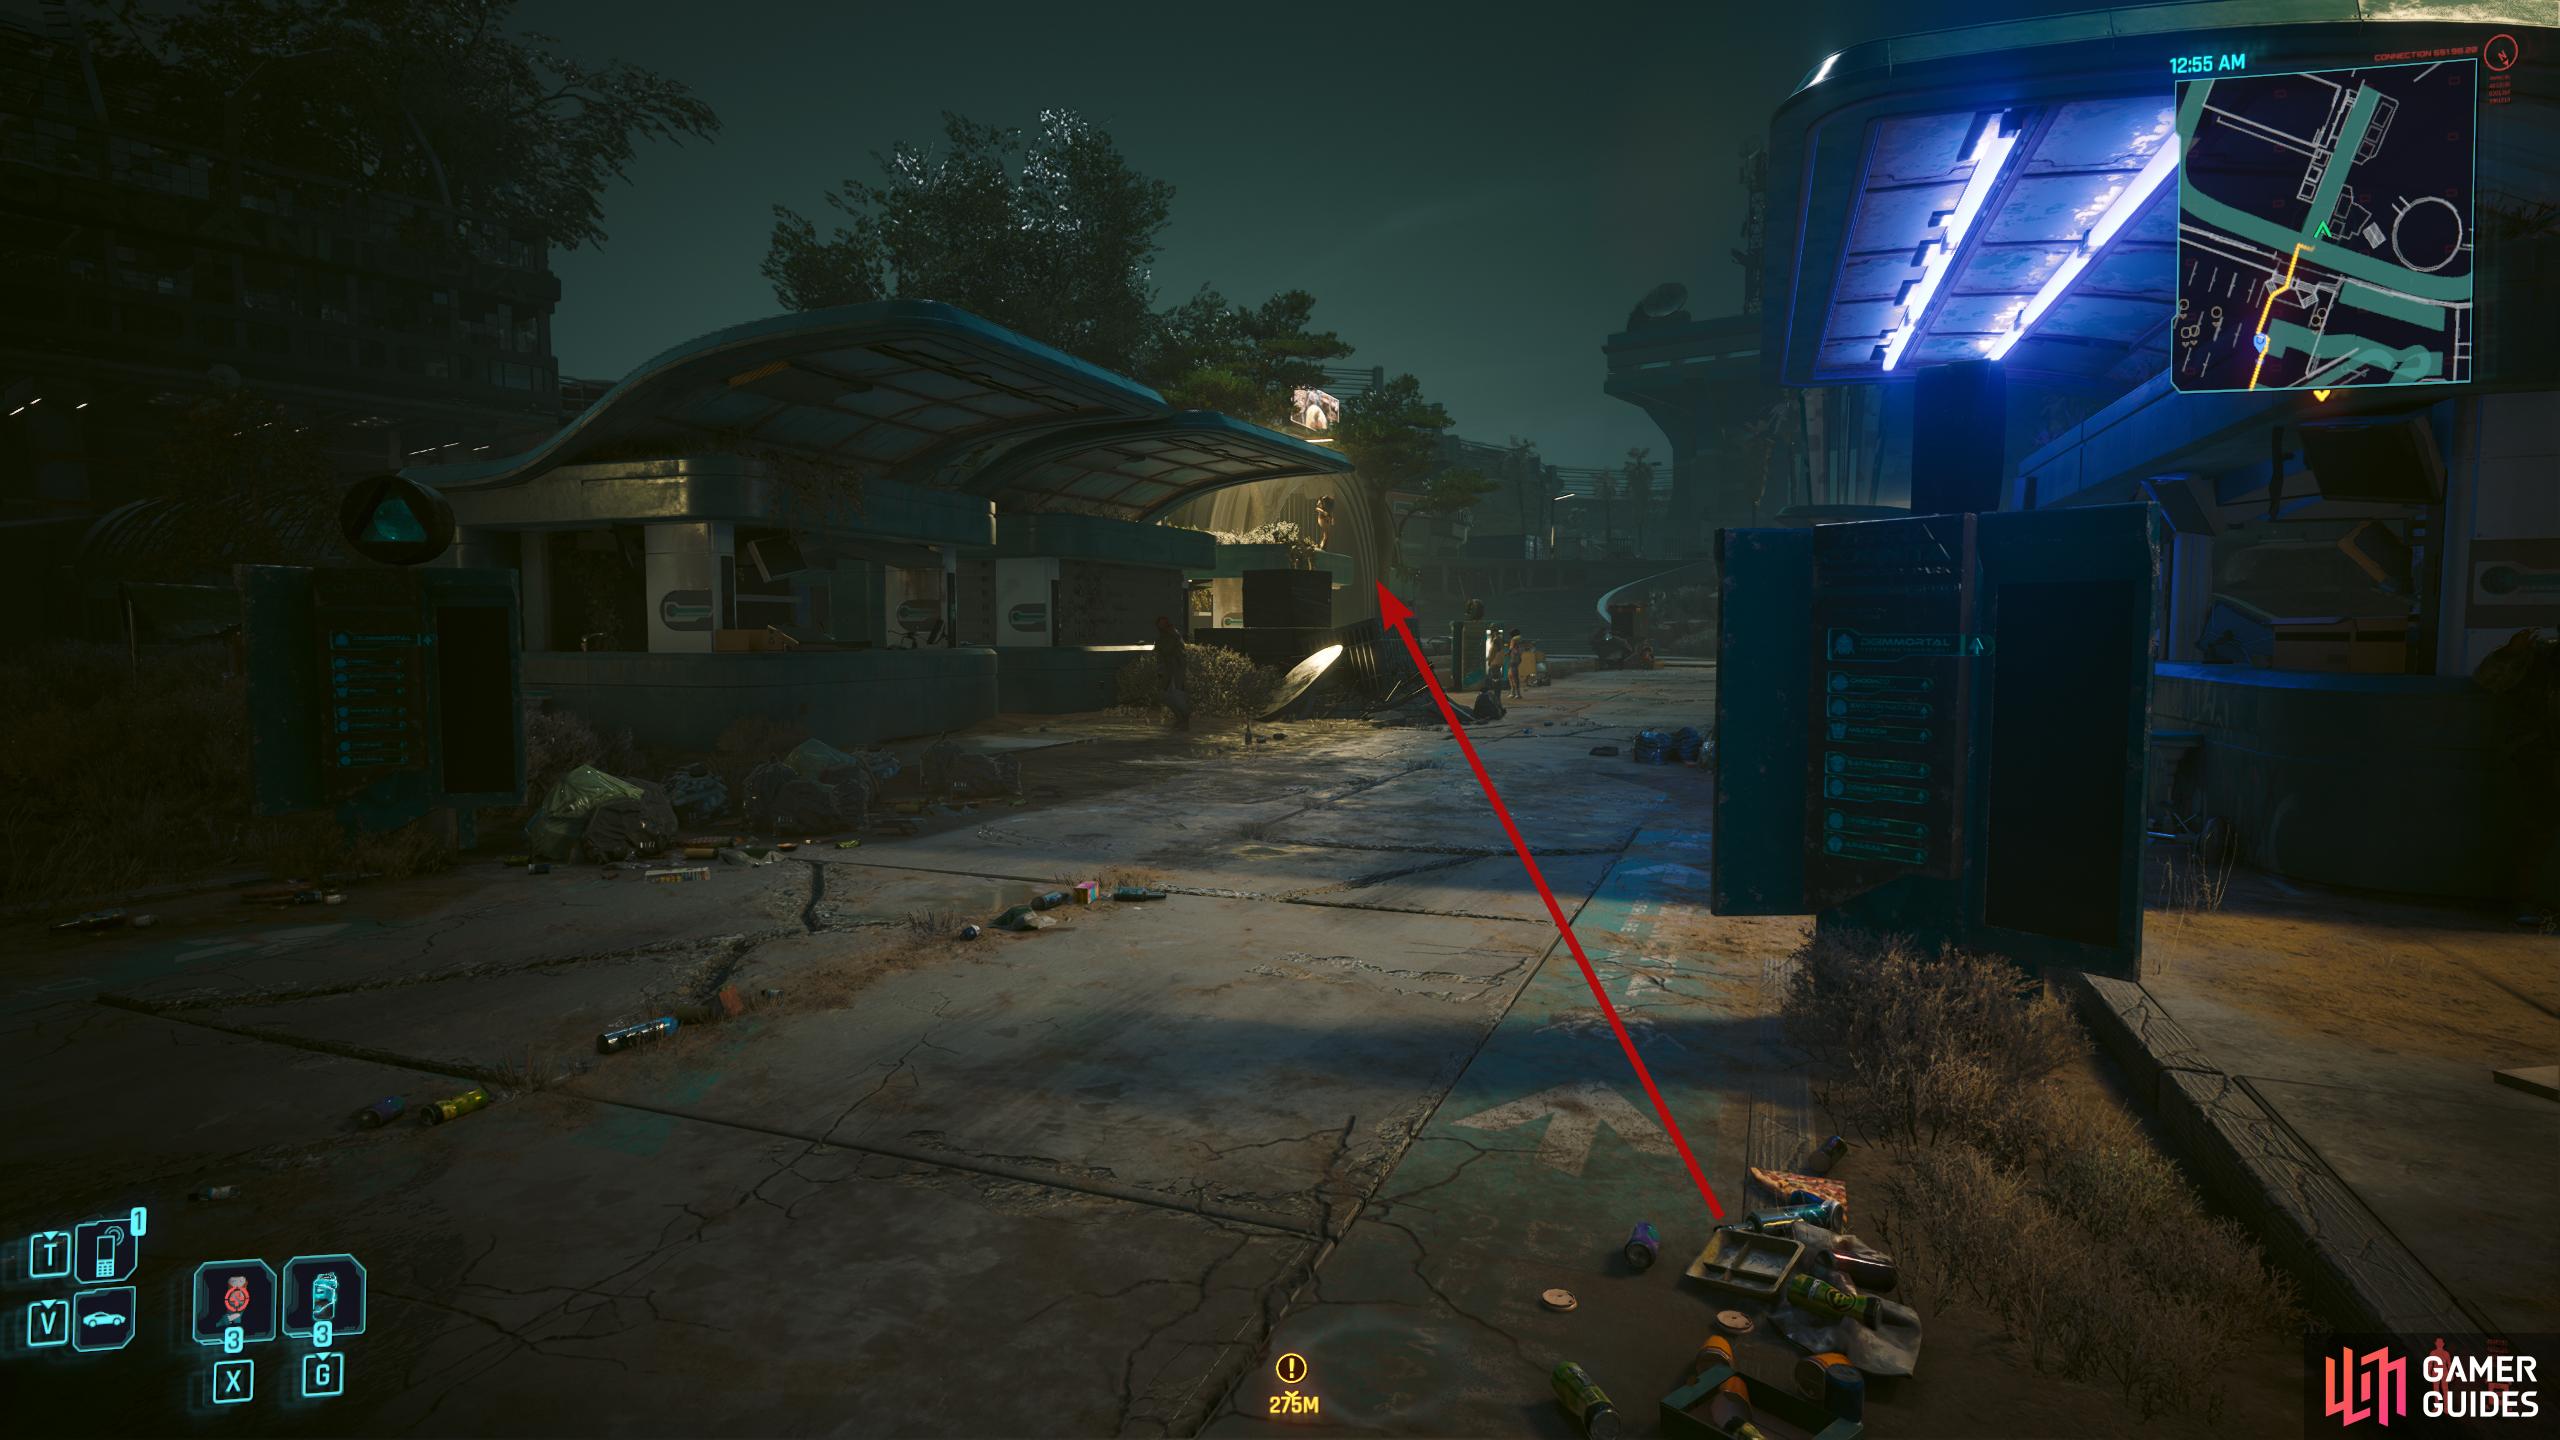
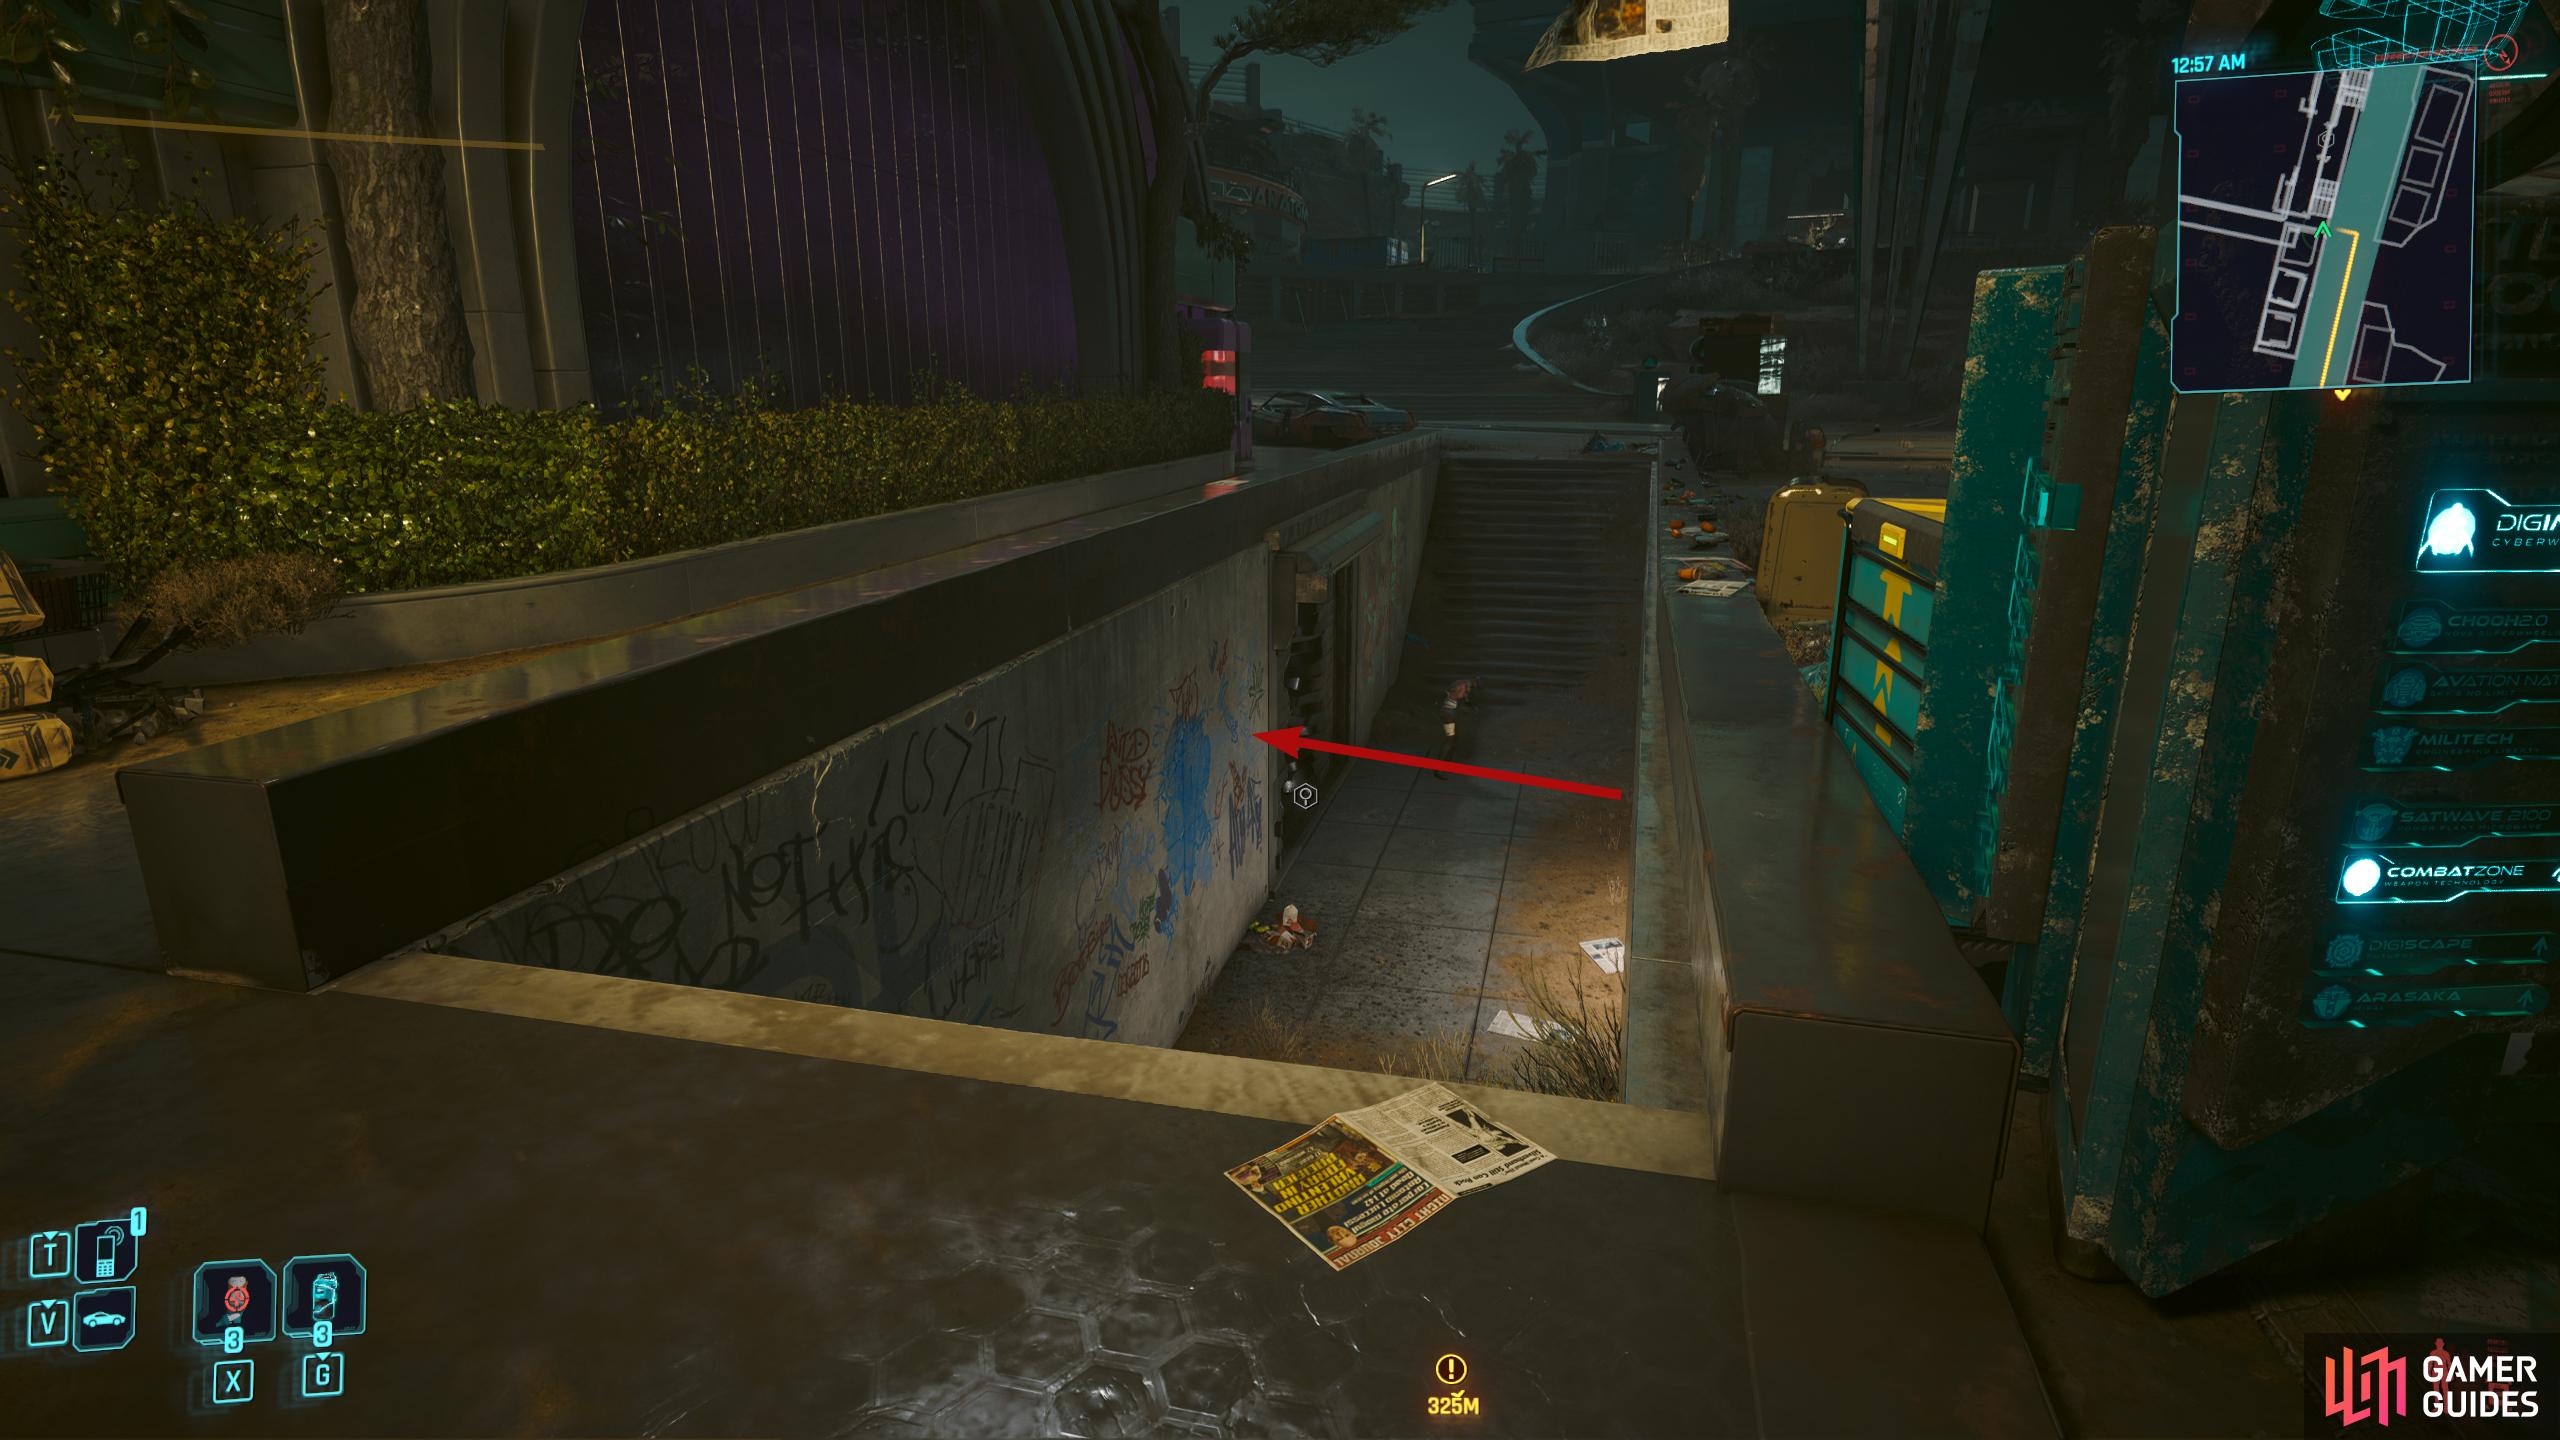
Before you can accept the Spy in the Jungle gig, progress the Phantom Liberty story to the part after you meet Mr. Hands in the Get it Together mission which follows The Damned. After your meeting, a whole host of new gigs will open up. Head to the nearest Fast Travel, and travel to Longshore Stacks. Now, head west/southwest towards the gig icon to find the Paradise Hotel complex. Make your way to the second floor where you’ll find Room 203 which is also where you’ll find the Brazilian Agents.
Head to the Paradise Hotel in the Longshore Stacks.
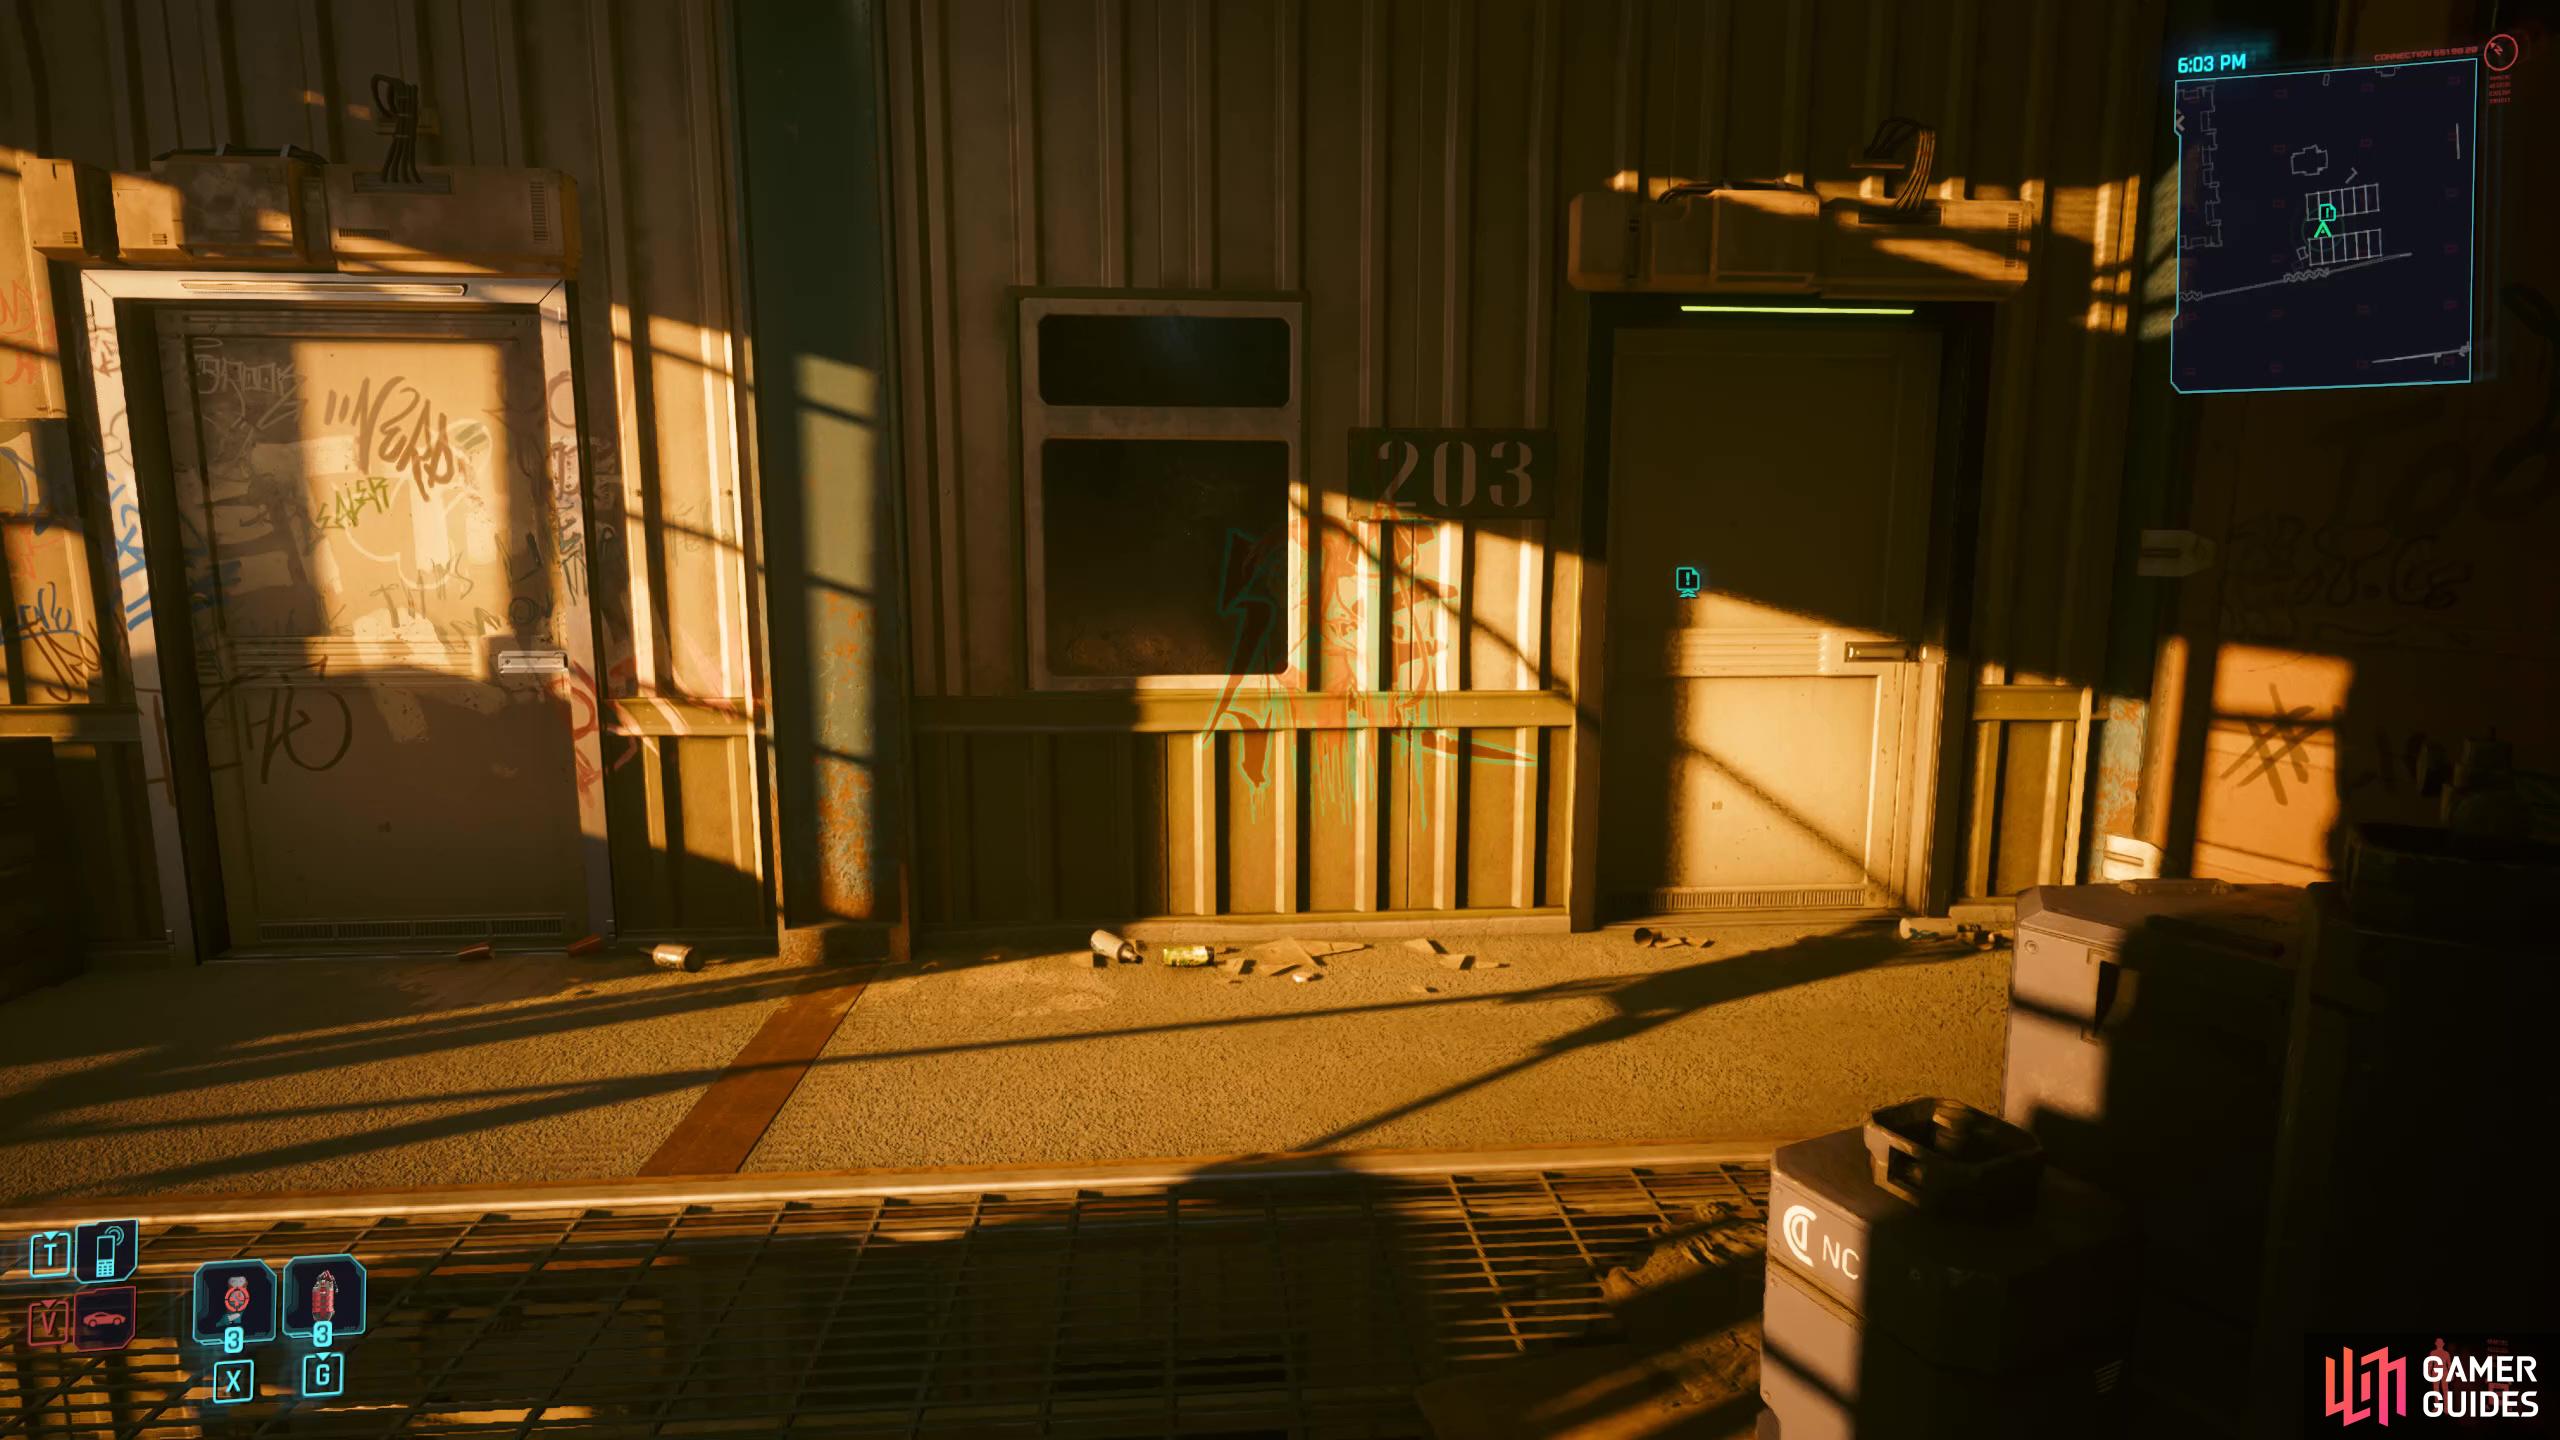
Make your way to the second floor and enter the room, 203.
Go to Organitopia
Once you’ve talked to the agents, they’ll ask you to track down the signal of their former colleague and friend, Mark Bana who up until this point was presumed dead as it was six months ago they heard from him. After a bit of digging, you’ll find out that his signal came back online, but the Brazilian government didn’t seem to care too much which is why they’re using a third party, you. They tracked the signal to an old museum called “Organitopia” which is situated in Terra Cognita. Head to the Longshore Stacks Fast Travel and head to Terra Cognita in the south (you can run there, but this is quicker). When you reach Terra Cognita, head up the stairs to the southwest and keep walking in that direction until you see a long glass building to your left.
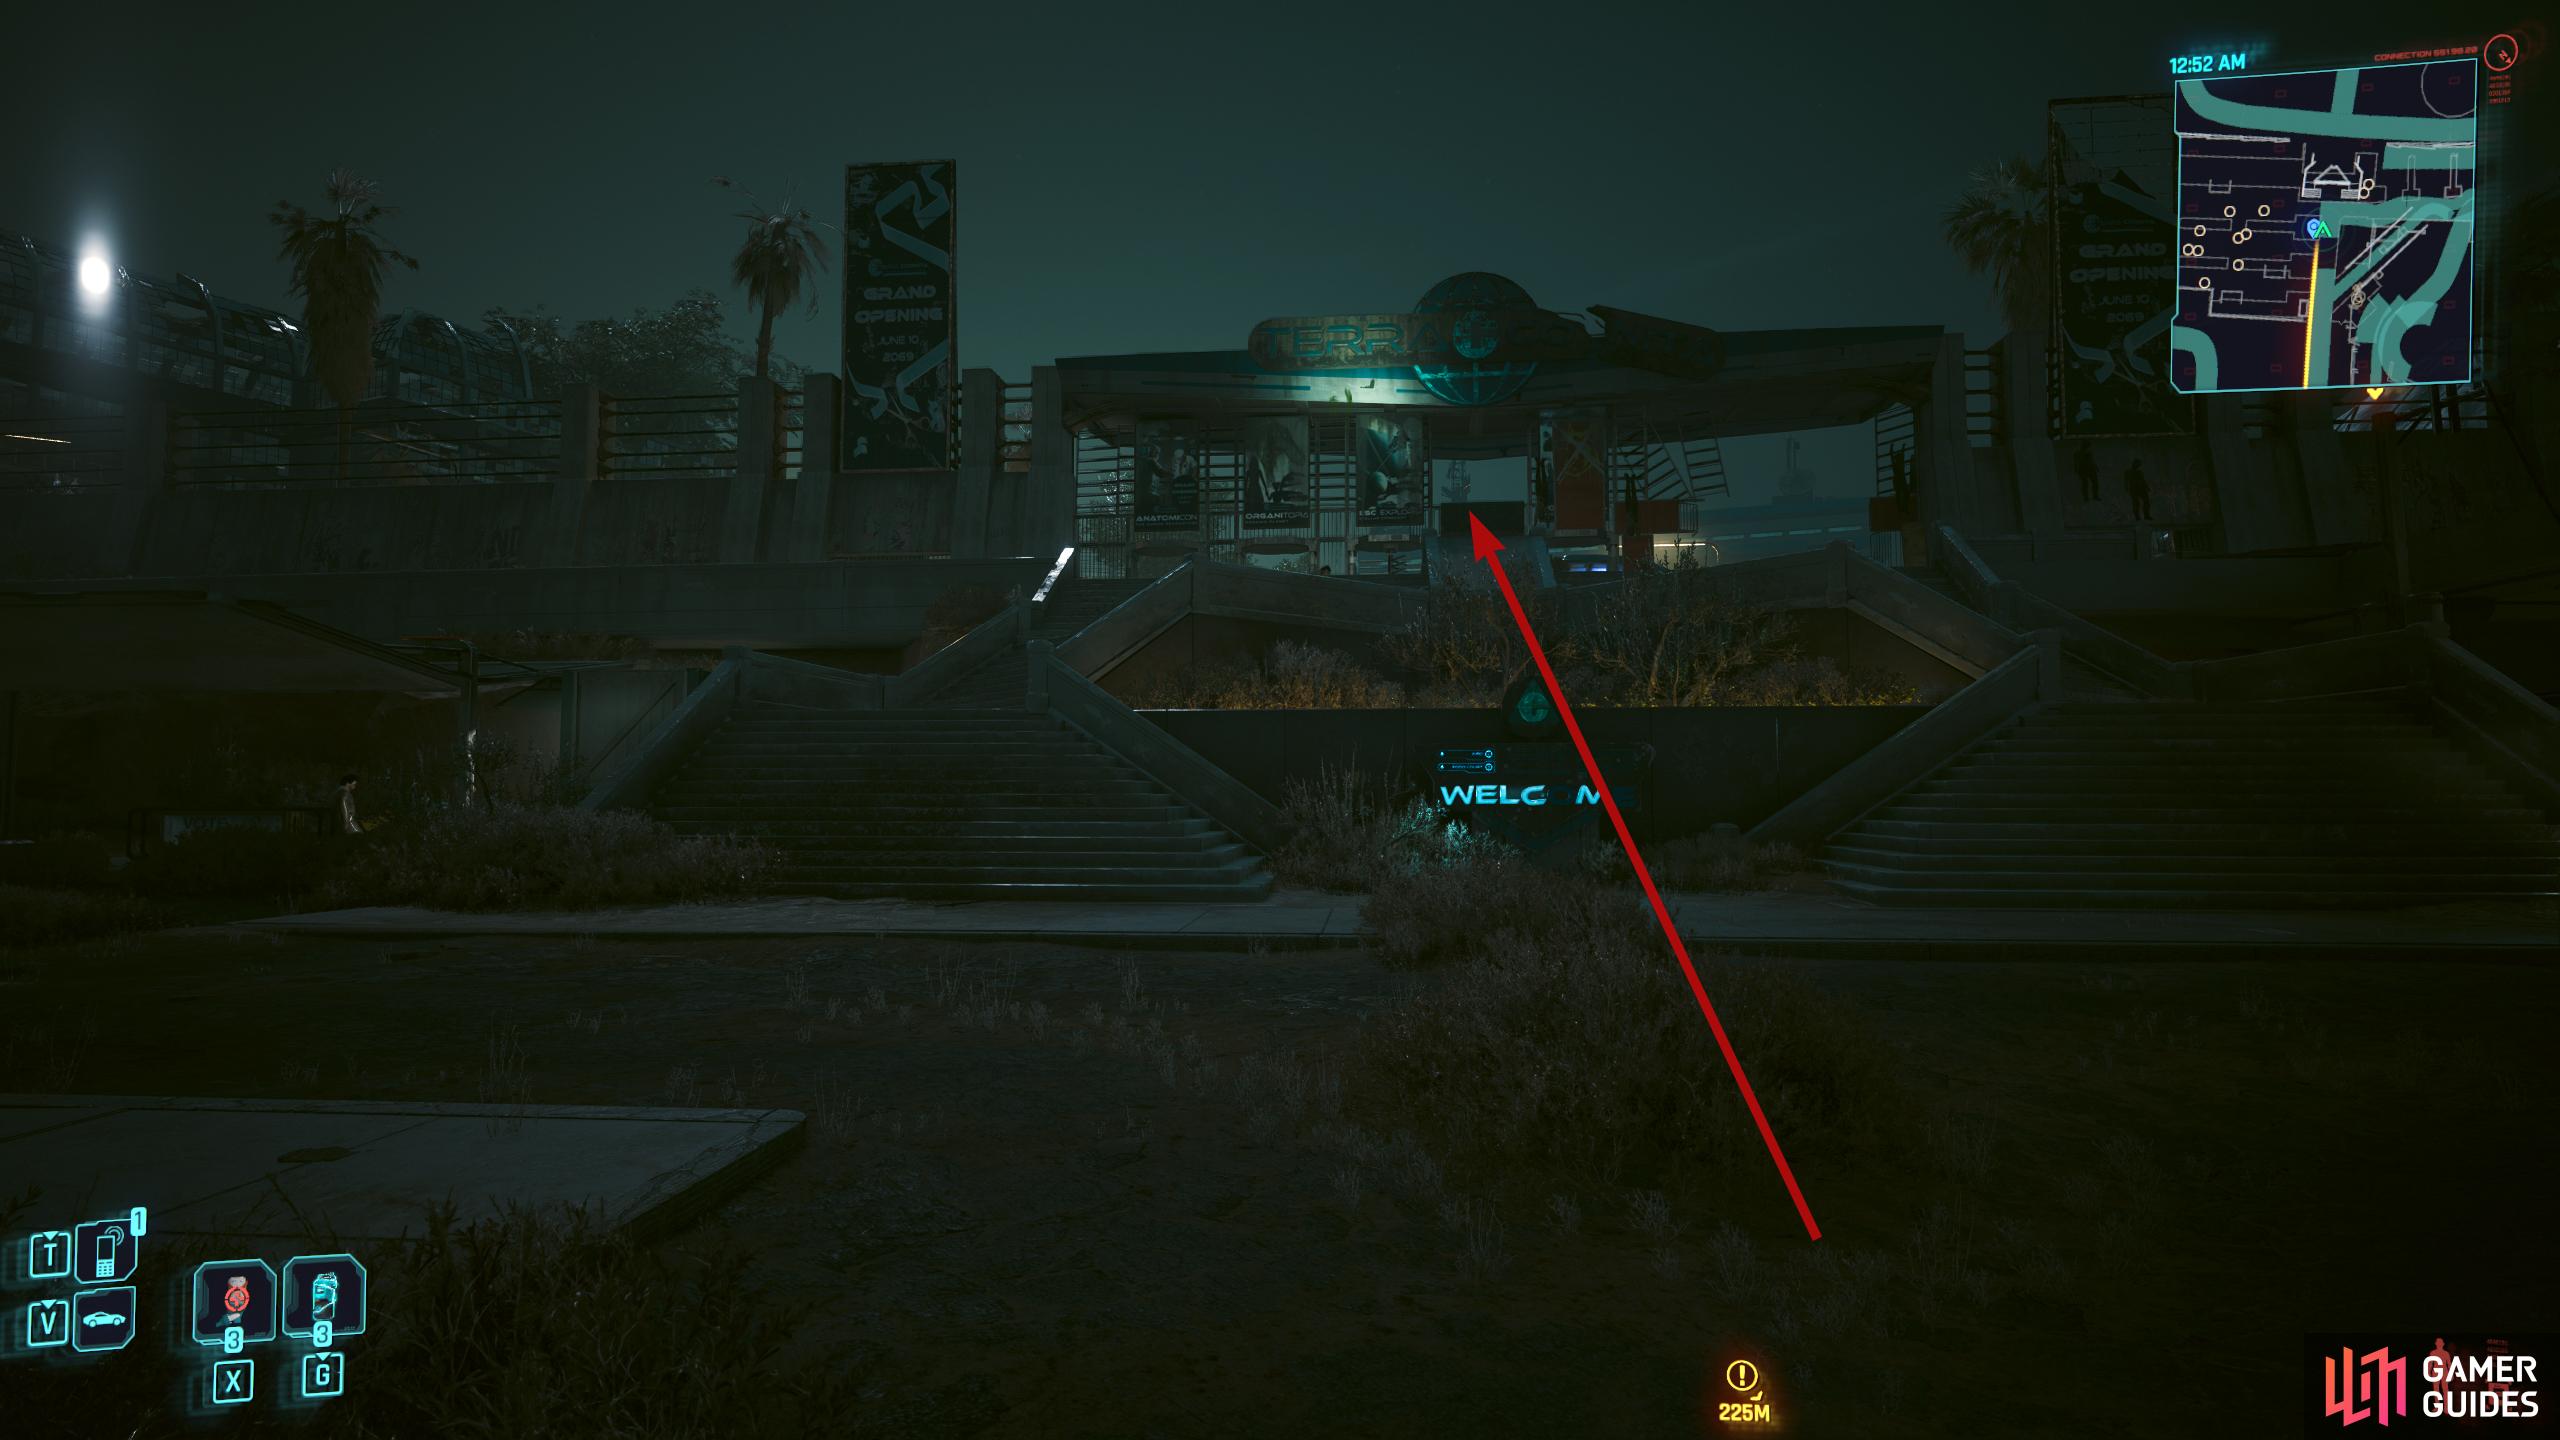
Teleport to Terra Cognita and head up the stairs to the southwest.
At the top, continue southwest towards the glass building.
Find an Entrance to Organitopia
The entrance is easy enough to find, simply walk down the steps at the front of the building, and go through the hole in the gate. Unfortunately, you’ll have to either kill or sneak past three Scavs to get there. The easiest way to do this is to crouch behind one of the stalls and hack the cleaning machine opposite the museum which will lure the Scav at the top of the stairs away; grab and dispose of them in the nearby dumpster. Now, walk behind and grab the other one at the bottom of the stairs and throw them in the dumpster then go through the hole in the gate while crouched.
As you enter the area, there will be another Scav to your left. Sneak behind them, and deal with them in whatever manner you see fit then interact with the metal shutter (3 Body) where the Scav was. Climb through the window, turn right, and authorize yourself with the terminal on the wall then head through the door on your left. This will alert Mark that someone’s arrived for him, and he’ll reach out to you. He’ll tell you to head to the museum hall, and he’ll lead you from there.
Go to the Main Museum Hall
This area has quite a bit going on. There are numerous Scavs here, some who patrol the area, land mines that will only appear if scanned, and a few cameras. Follow the linear path forward while scanning the floor where you’ll find two land mines on both paths of the intersection; hack them to make them friendly. Now, take the left path at the next intersection while still scanning for more landmines, and you’ll reach a tree where you can go left or right. Head around the tree to the left, and you may see a Scav coming toward you. If so, hack one of the computers opposite you to the left, and quickly head up the stairs.
At the top of the stairs is a land mine, scan and turn it friendly then quickly head around to the left corner. Up here, you’ll have a camera above the door to your left, a turret, and a sniper. Hack the camera, and the turret should be turned off. Take out the sniper by distracting them with one of the nearby computers, then grab, and dispose of him. There are more landmines up here, so keep an eye on where they are with your scanner. Sometimes, the sniper will ignore any attempt of distraction and keep staring in your direction, if this happens, use Memory Wipe on him and quickly take him out.
Now, head toward the door and either force it open (12 Body) or scan and open it. In the next room, you’ll be met with a camera and a turret. The turret is switched off, so you can ignore that, but the camera is working just fine, so hack it and make it friendly, or turn it off. There will also be two Scavs here, one to your left who’ll move toward the camera and back while the other will be in front of you, but face the other way. Wait for the Scav on the left to go to the camera, and hack the turret to distract her.
You can grab and dispose of her in the nearby dumpster to the left, and somehow the other Scav won’t realize. Now, climb on the dumpster, and grab the other Scav from behind, and put him with his friend, in the dumpster. Finally, head right off the turret, and take out the last Scav up here; hide behind the dumpster, distract him with the fire extinguisher then take him out. Note, before you go through the double doors at the end, you may want to head through the door, and down the stairs. There is a data shard, a terminal to hack, and some basic loot, but there are also two Scavs at the bottom, so you’ll need to take them out first.
How to Defeat Boris Ribakov
Head through the double doors, and you’ll enter a large boss-like arena. Don’t worry as this room is empty for now. Make your way up the stairs at the back of the room, and open the door. This will trigger the boss fight, Ribakov. Ribakov is an amped-up soldier who has a penchant for invisibility, smoke grenades, and his sniper. On paper, this sounds like a difficult battle, but in reality, it is a relatively easy fight. When he fires at you, he’ll briefly show himself. Quickly scan him, and tag him. This will keep track of him when he runs around while being invisible.
For the beginning part of the battle, stay on the upper level where the door is, and use the railing as cover. Ribakov will run around on the rooftop, trying to snipe you while moving left to right, and vice versa. Pull out your sniper (any weapon works, but sniper is the easiest), use Weapon Glitch, and shoot at his head. Repeat this two or three times, and phase 2 will begin around 65-70% health.
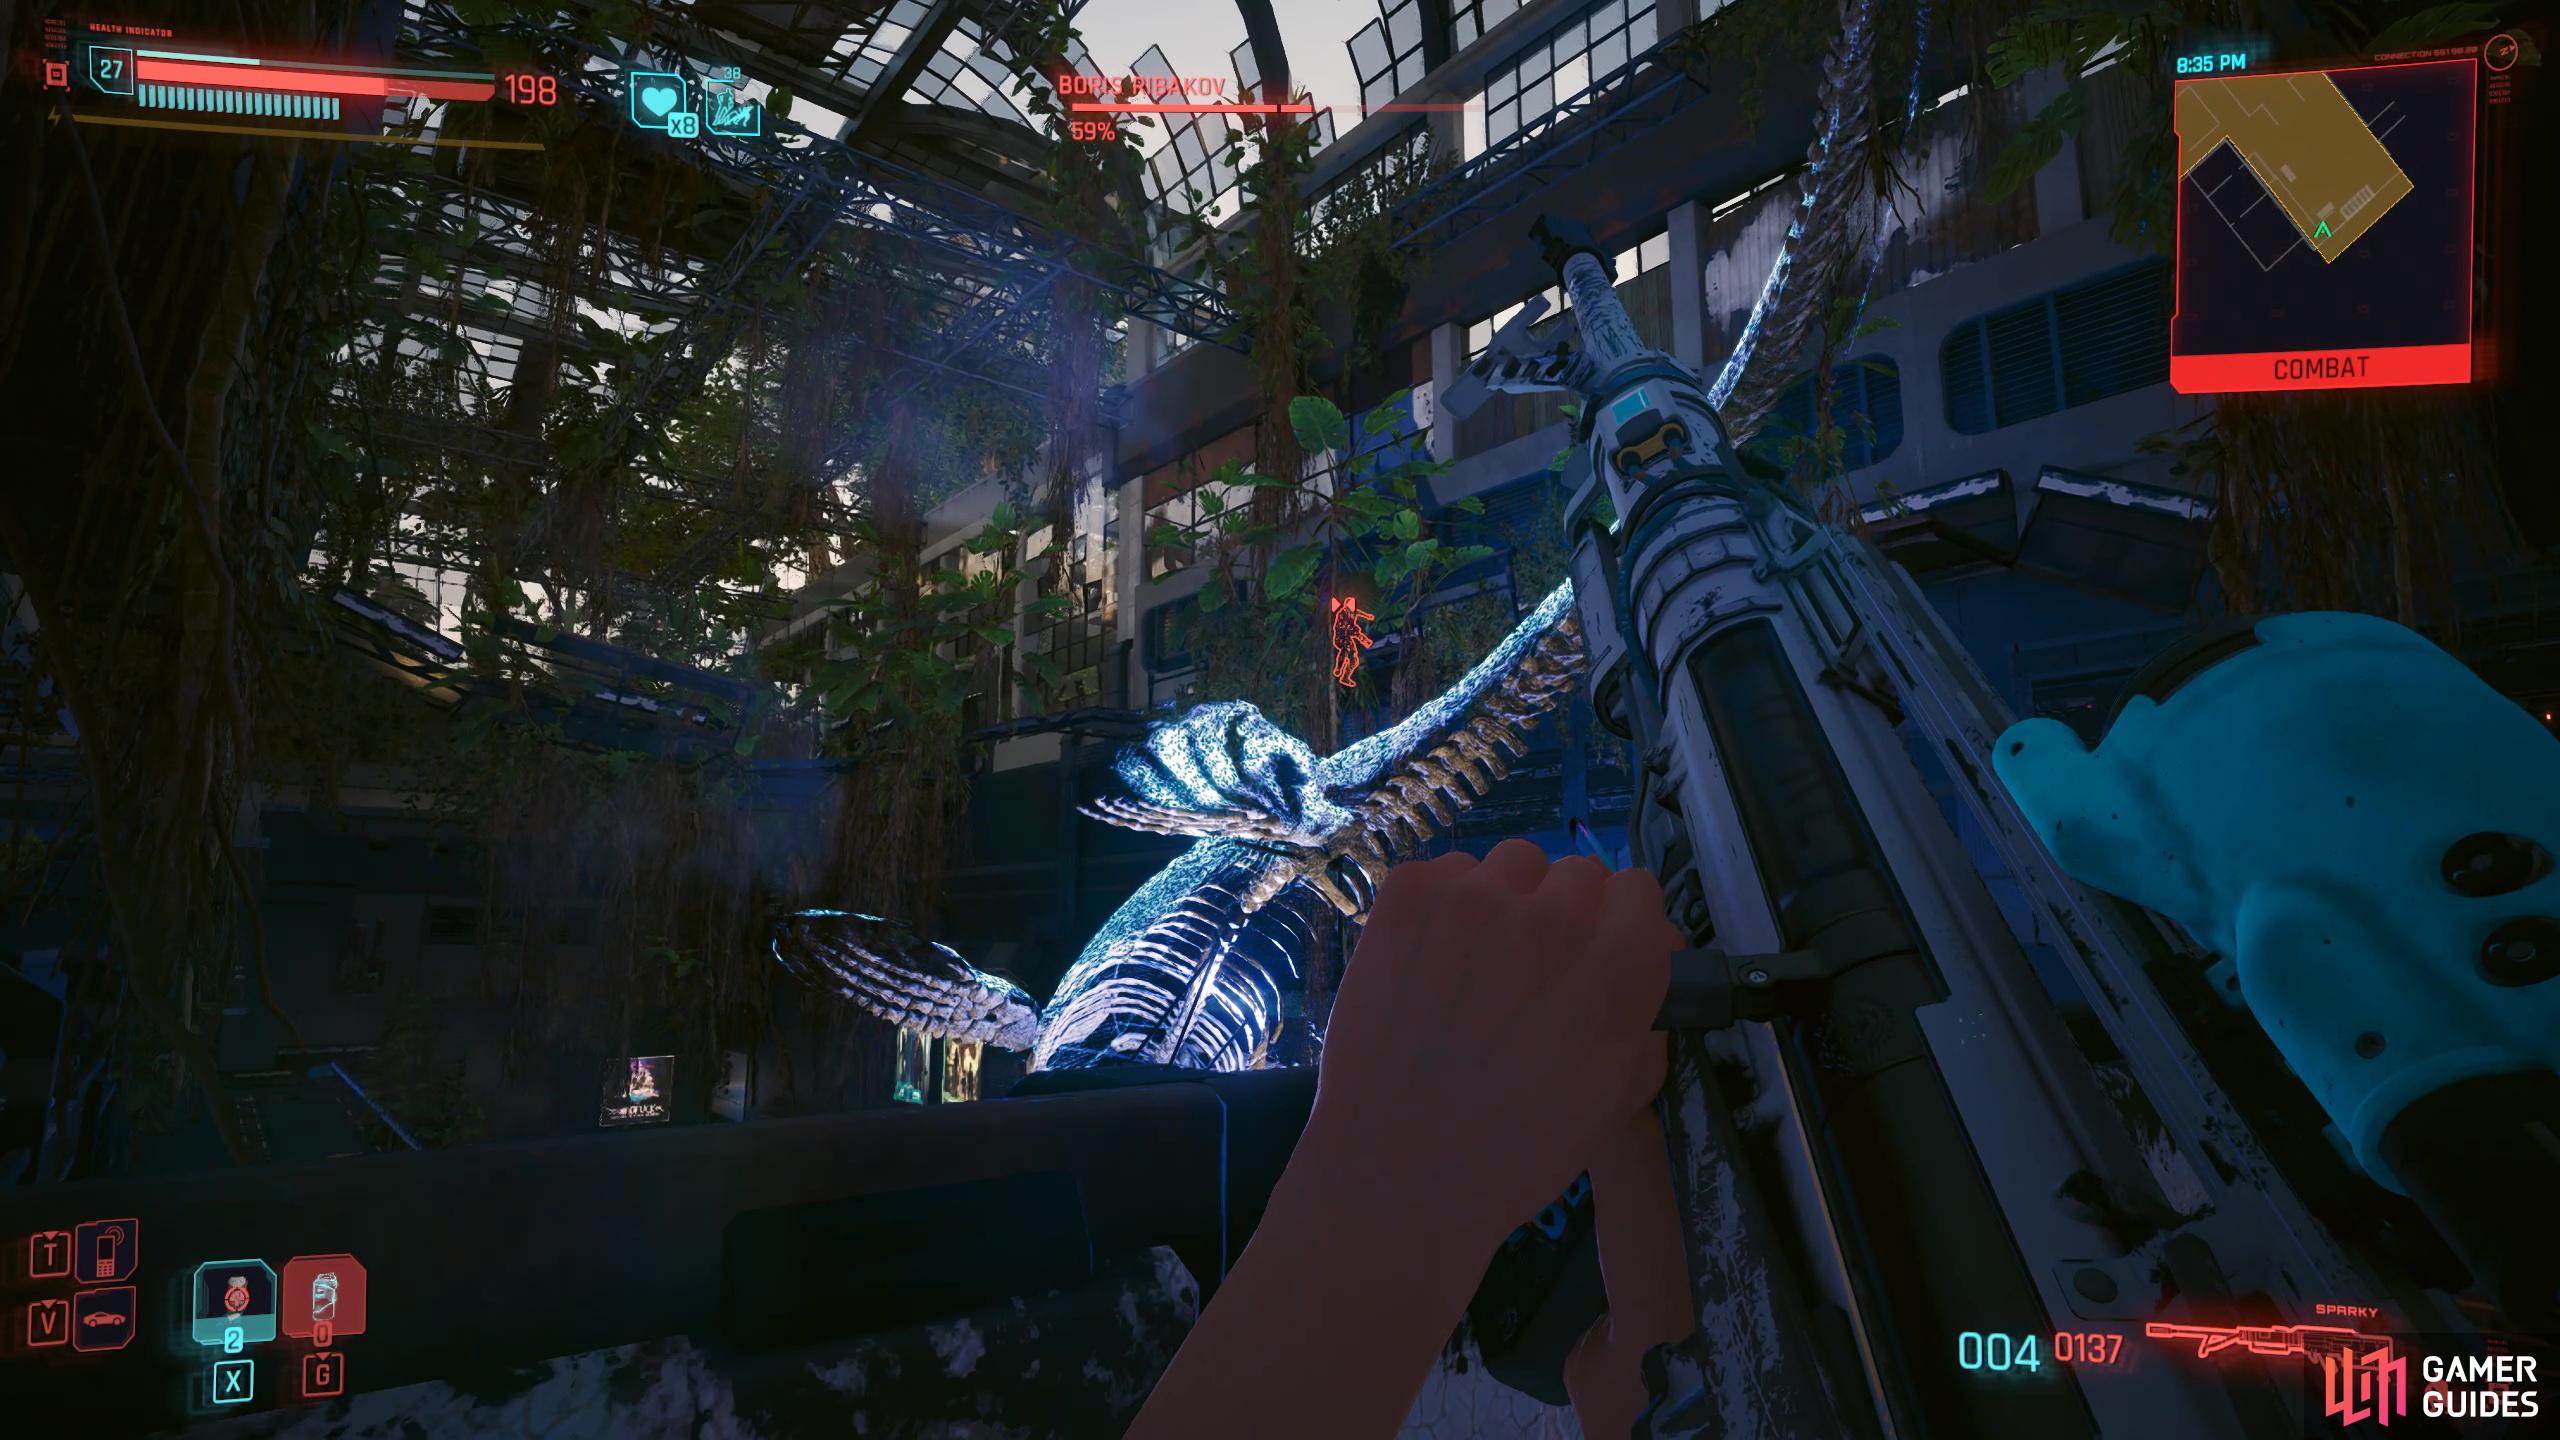
(1 of 4) Make sure you tag Ribakov, so you can follow where he is even when he’s invisible.
Ribakov will call in a few Griffin Drones that will attack you. Stay where you are, and take them out with a combination of the Short Circuit quickhack, sniper shots, and EMP grenades. There may be a drone or two on the left side of the room that you can’t reach from here. If so, hack the nearby camera, and use that to hack the other cameras and use Short Circuit on them from there. When they’re down, Ribakov will unleash some clones. Once again, scan and tag Ribakov which will stay on him regardless of his clones, then use the nearby cover while taking potshots at his head. If he gets close, use Weapon Glitch to stop him in place, and get some distance.
The clones have barely any health at all, so throw grenades at them, or use a damage quickhack like Short Circuit to make them disappear. Keep pelting away at Ribakov, and he’ll be down for good. Once you’ve defeated him, head over to his body, and loot the iconic SMG, Pizdets as well as the contract data shard.
Meet Bana in the room upstairs
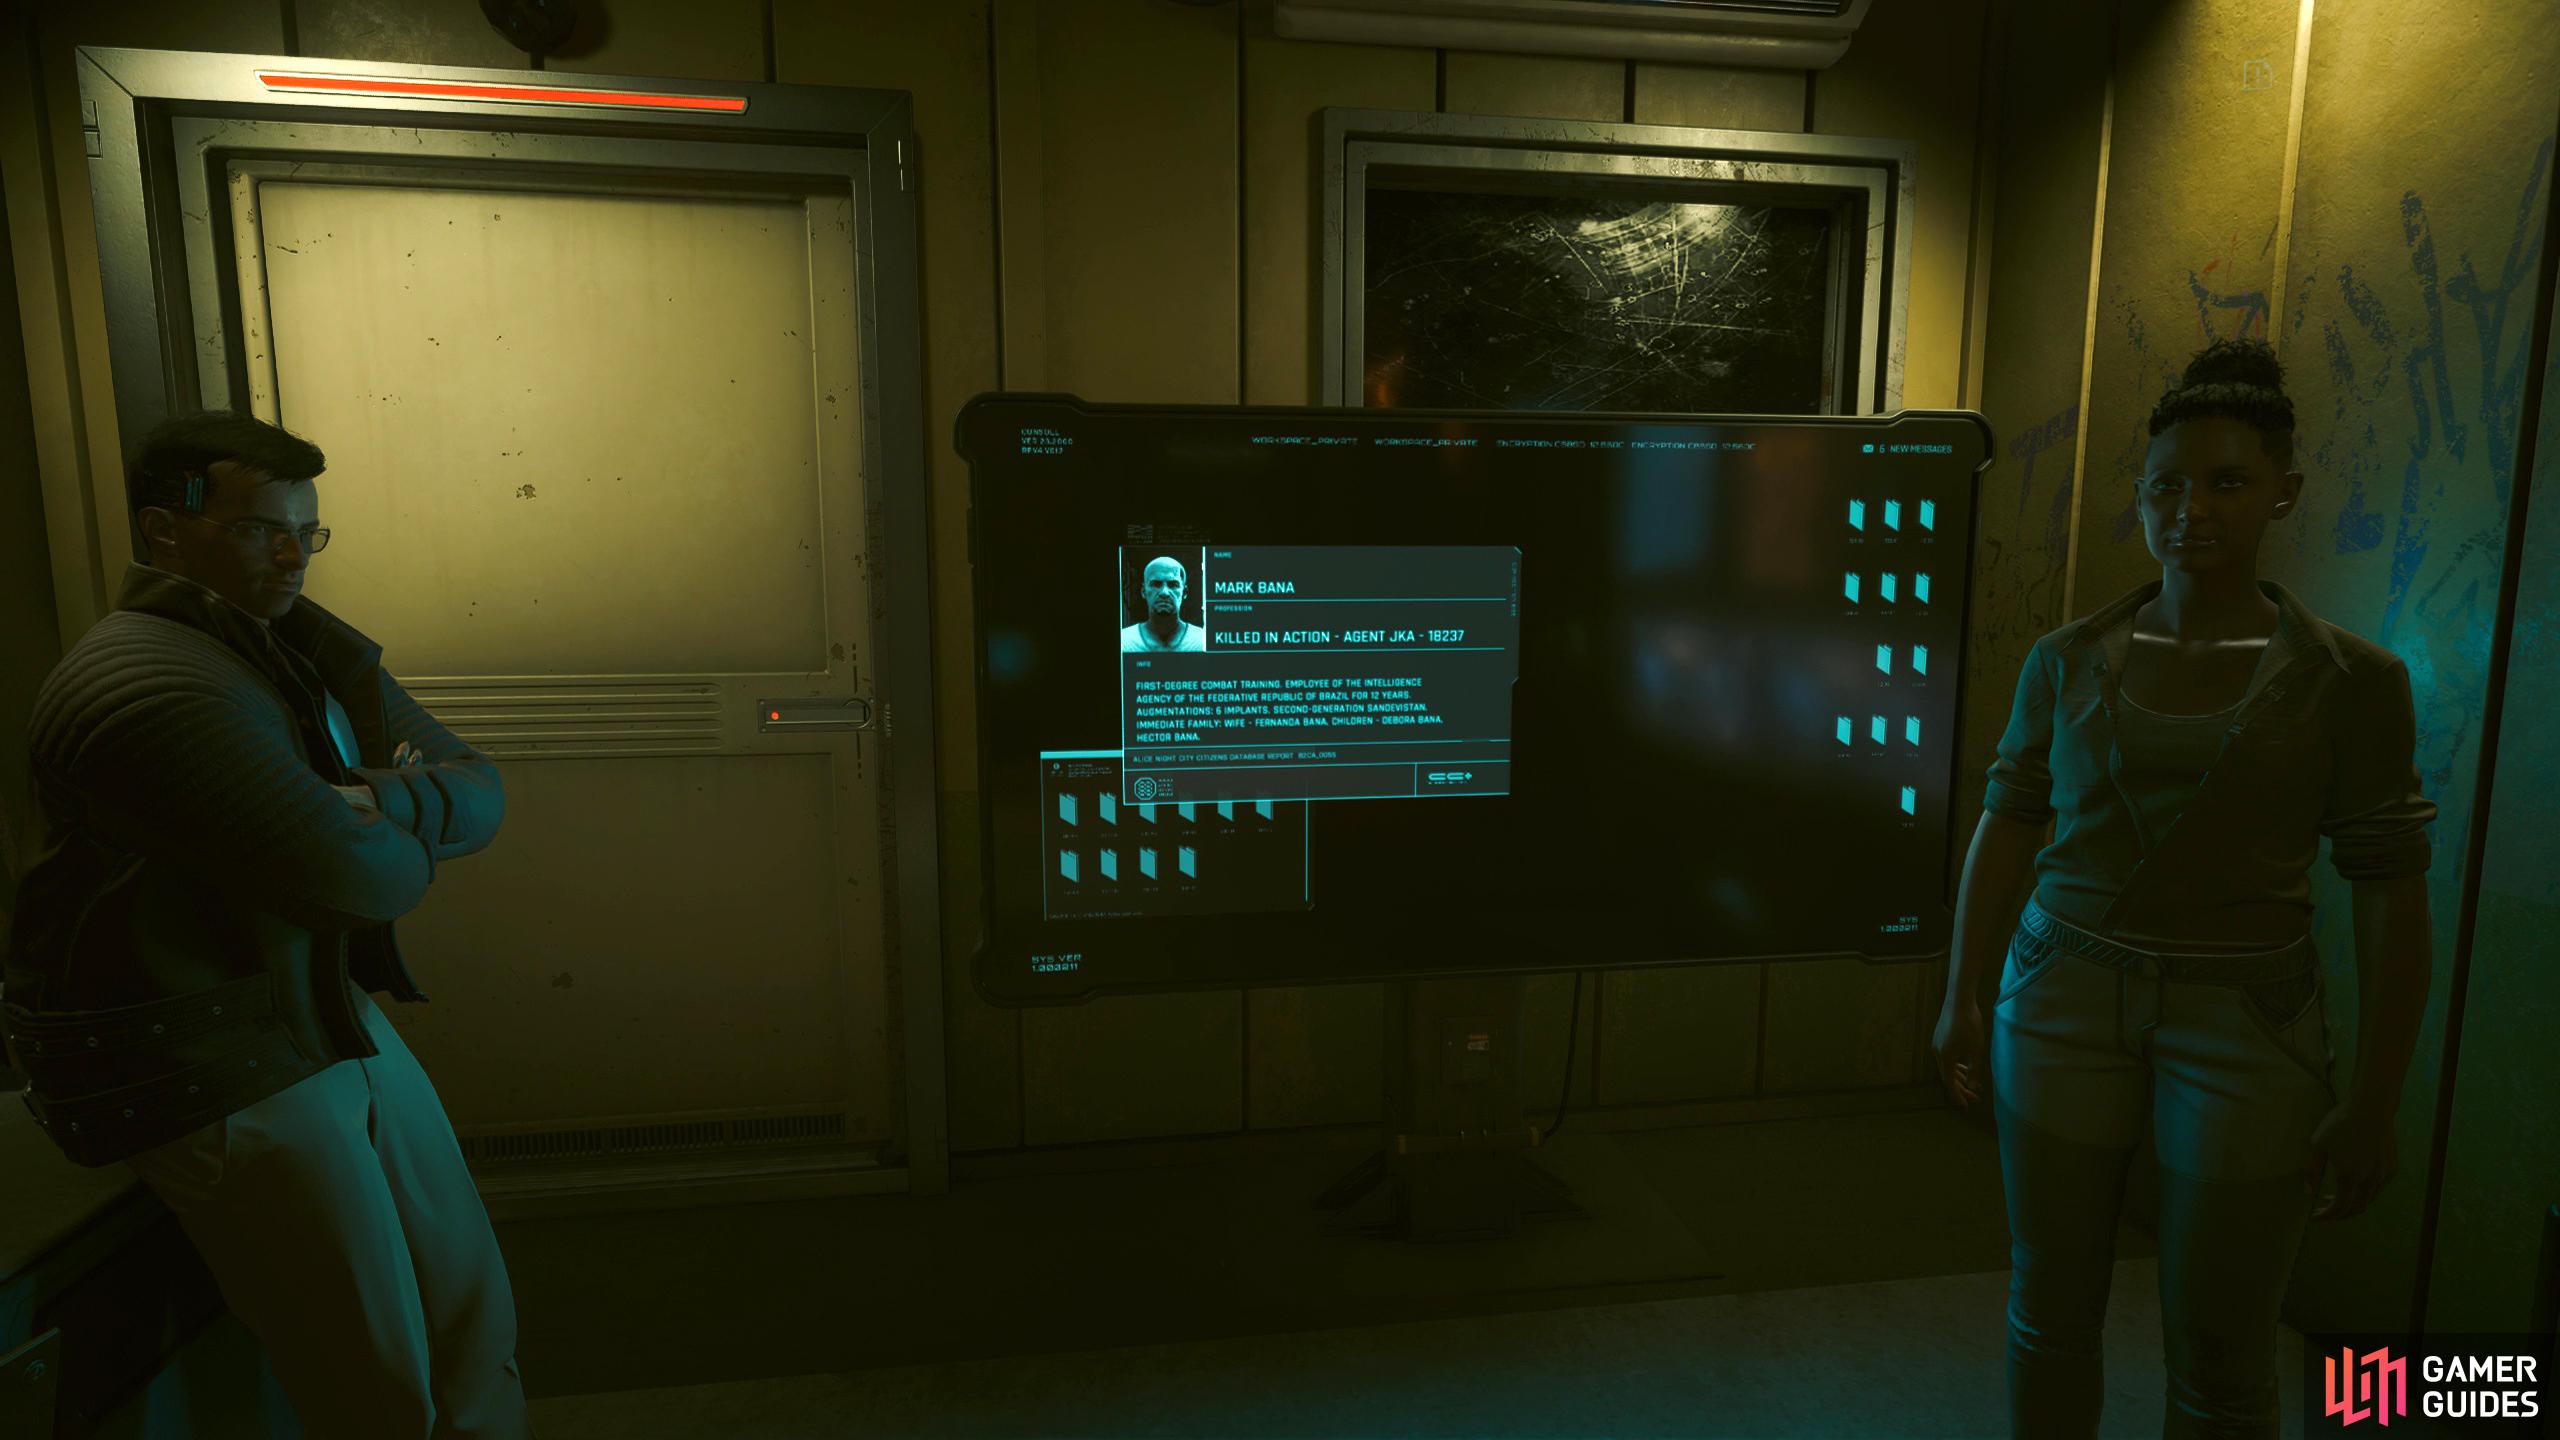
Now, you’ll finally get to meet the mysterious Mark Bana. Head through the door, and it’ll be empty. Loot the room, then scan the wall to your right to unveil a hidden door. Go through the door to find out that Bana is dead, and the person using his signal goes by Katya. Talk to her, and you’ll find out what happened to Bana as well as everything else.
Should You Kill Katya or Let Her Go in Spy in the Jungle Cyberpunk Quest?
Katya will plead for her life, and you’ll have the option to spare her life or kill her. Now, for context, Katya is the person who interrogated Mark Bana, but she wasn’t responsible for his death, at least not entirely. Ana won’t care about that however and will want Katya dead. If you kill Katya, you’ll only gain Mark’s biomonitor and a data shard. However, if you agree to spare her, she’ll give you details about her stash, and you’ll get a new side mission called “Money for Nothing” as well as the biomonitor, and Ana won’t know any difference, so you should 100% let her go.
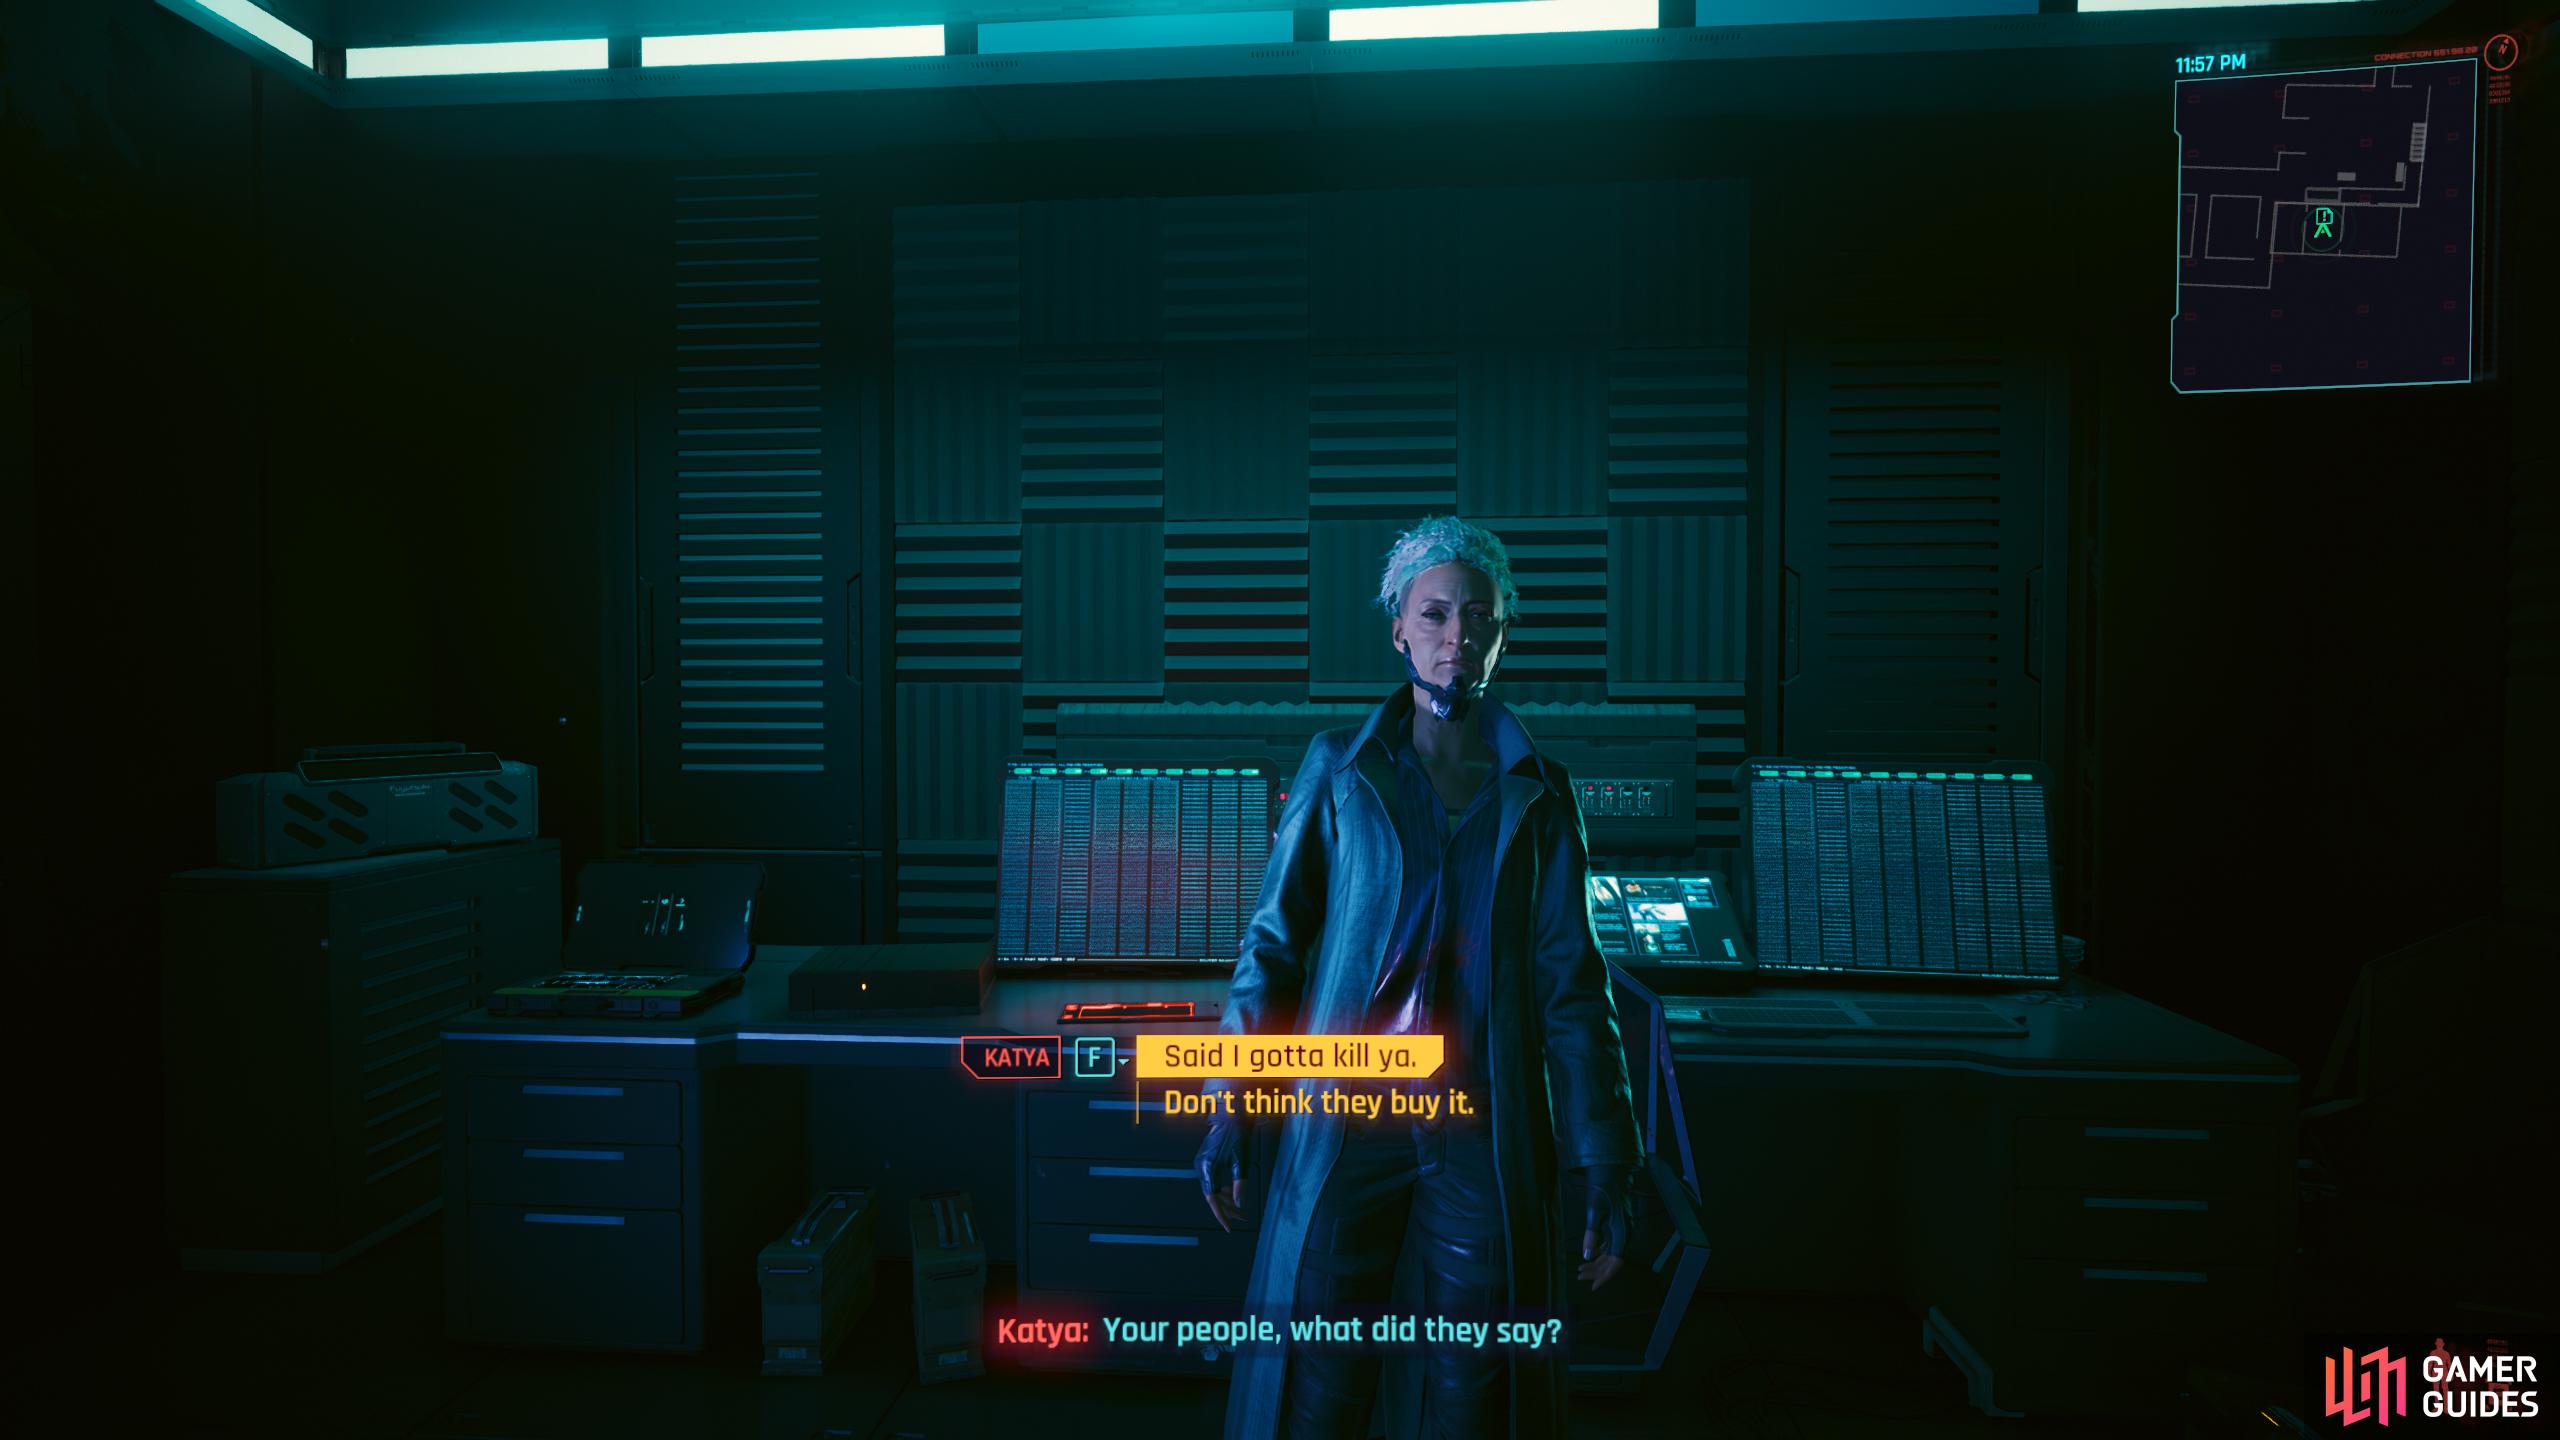
Ana will want you to kill Katya due to the part she played in Mark’s death.
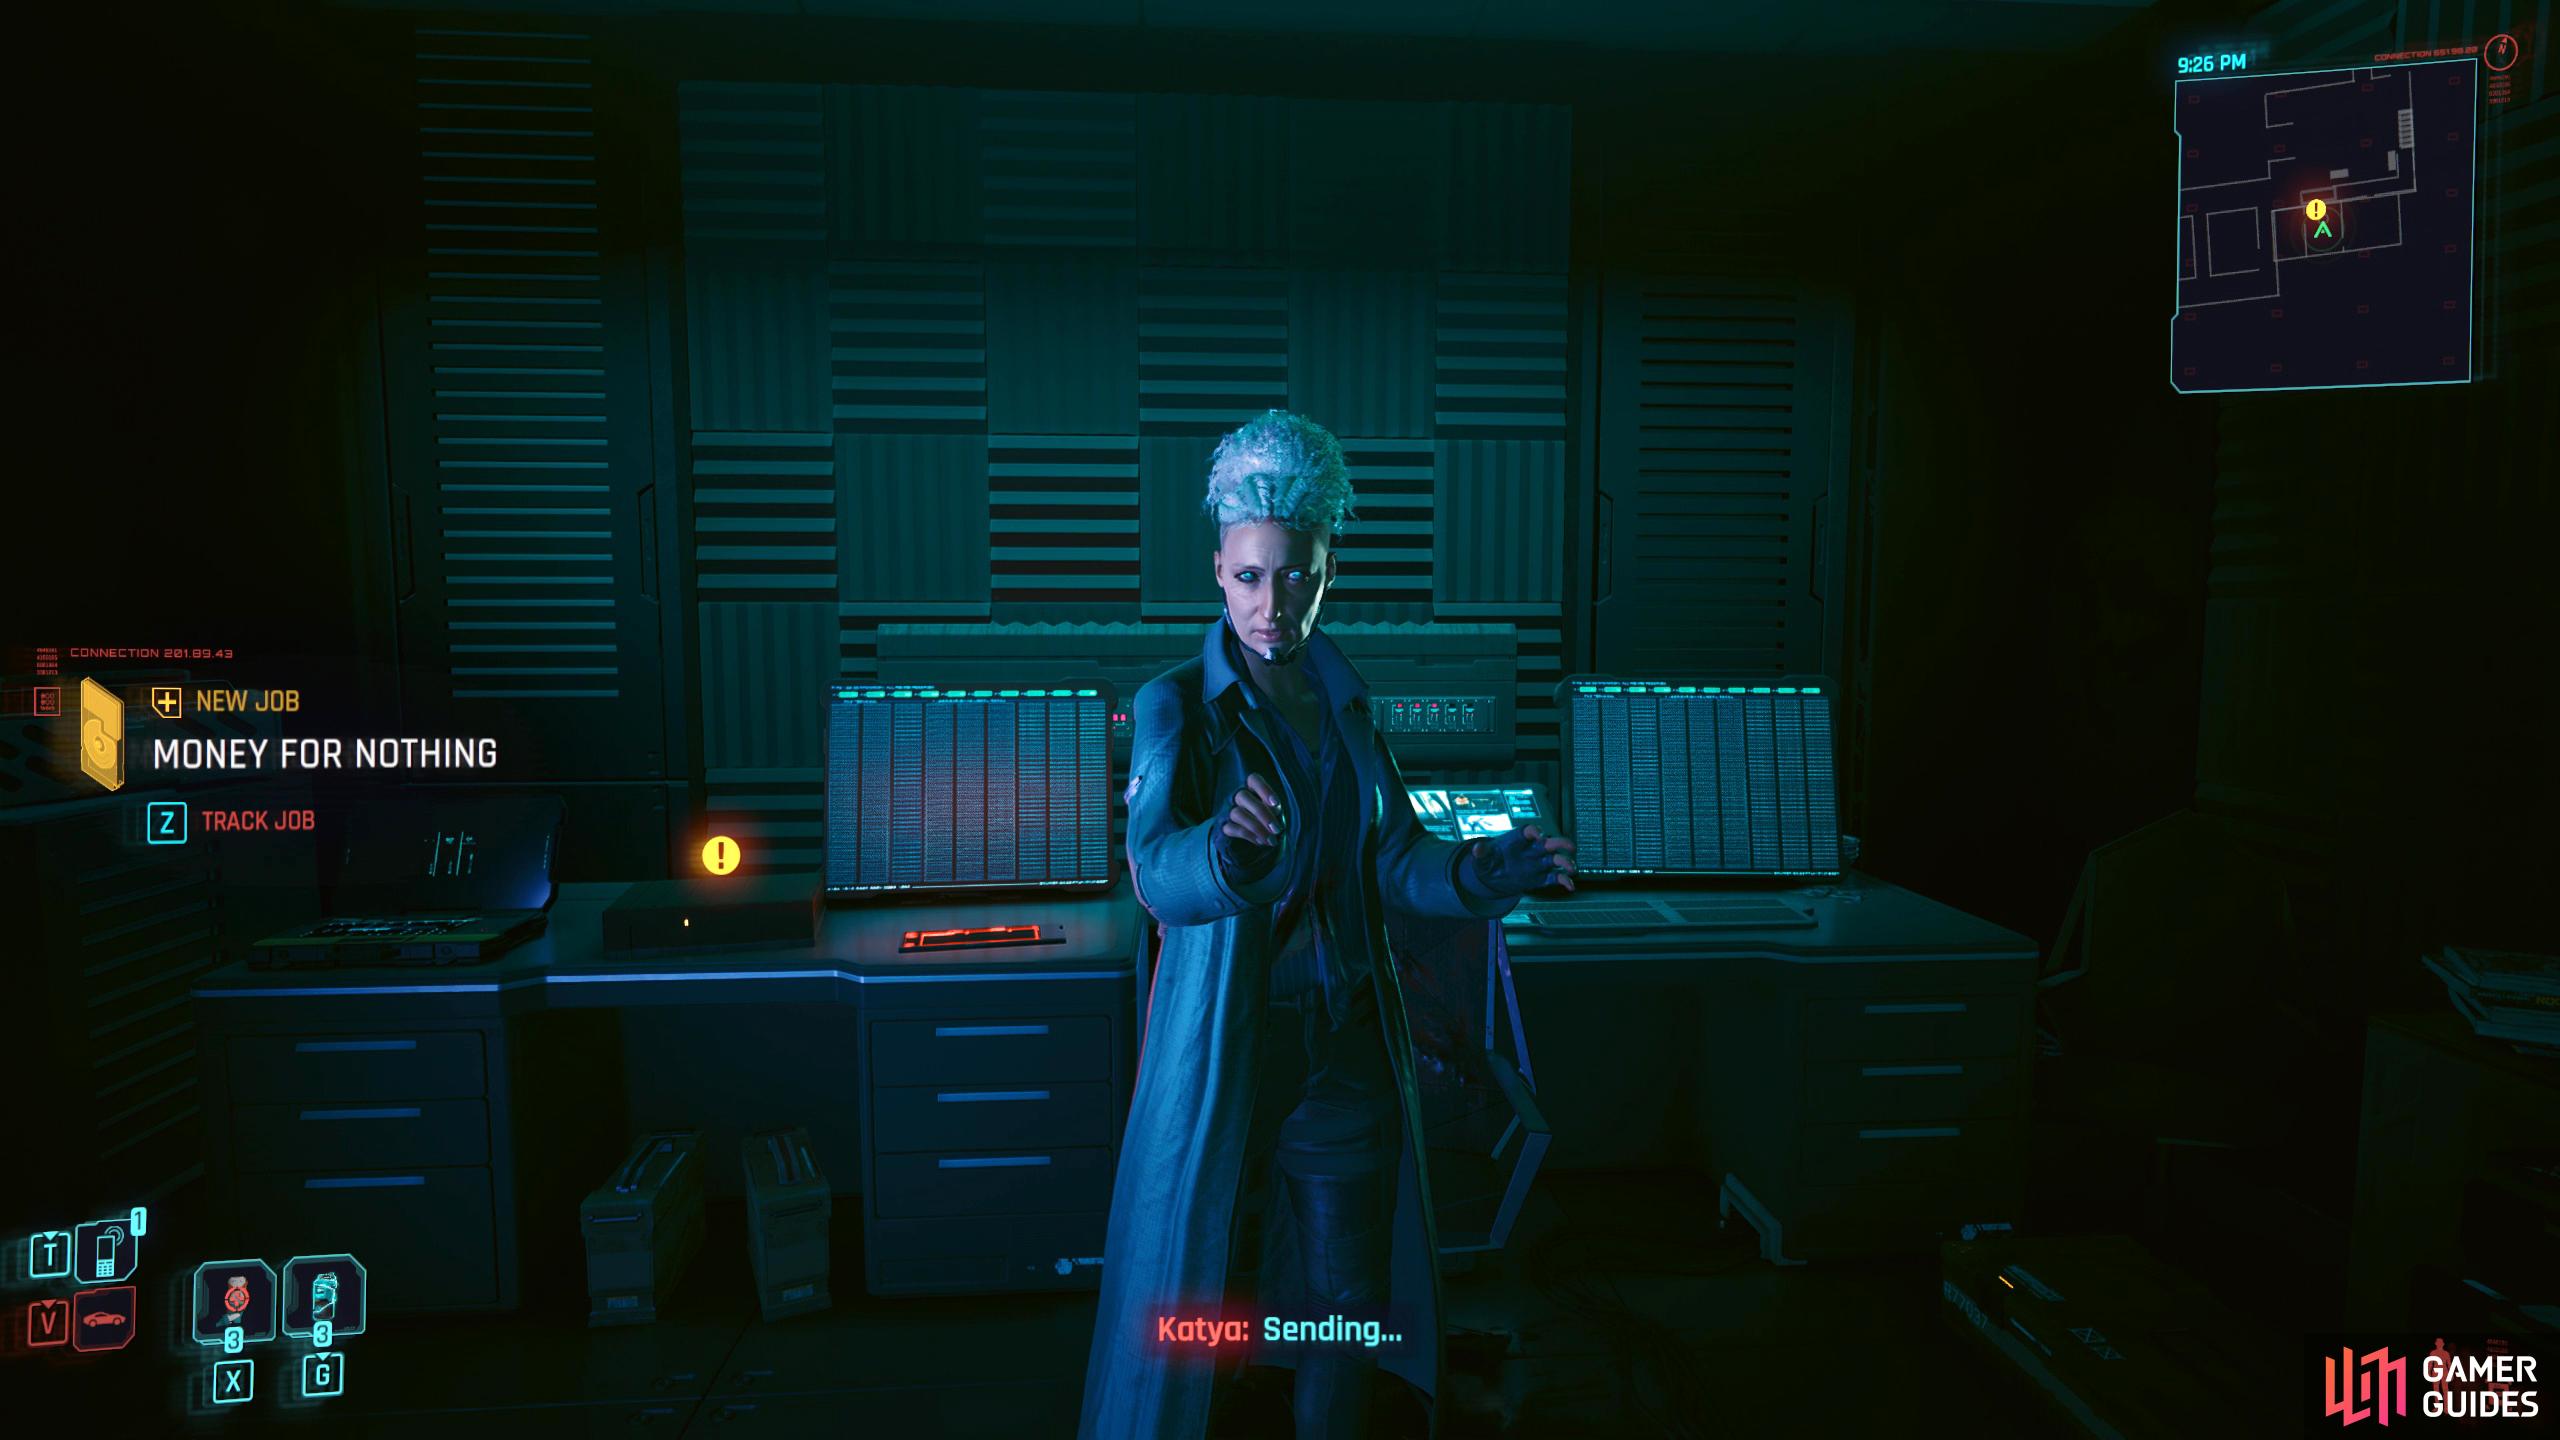
However, if you let her live, you’ll unlock a new side mission.
Deliver the Biomonitor to the Agents
Before you leave, open the side room, and you’ll find a locker with the THREATEVAC cyberware and a skill shard. When you’re ready, head back out the way you came, and exit the area via the now-opened double doors opposite.
Give Ana the Biomonitor or Destroy it?
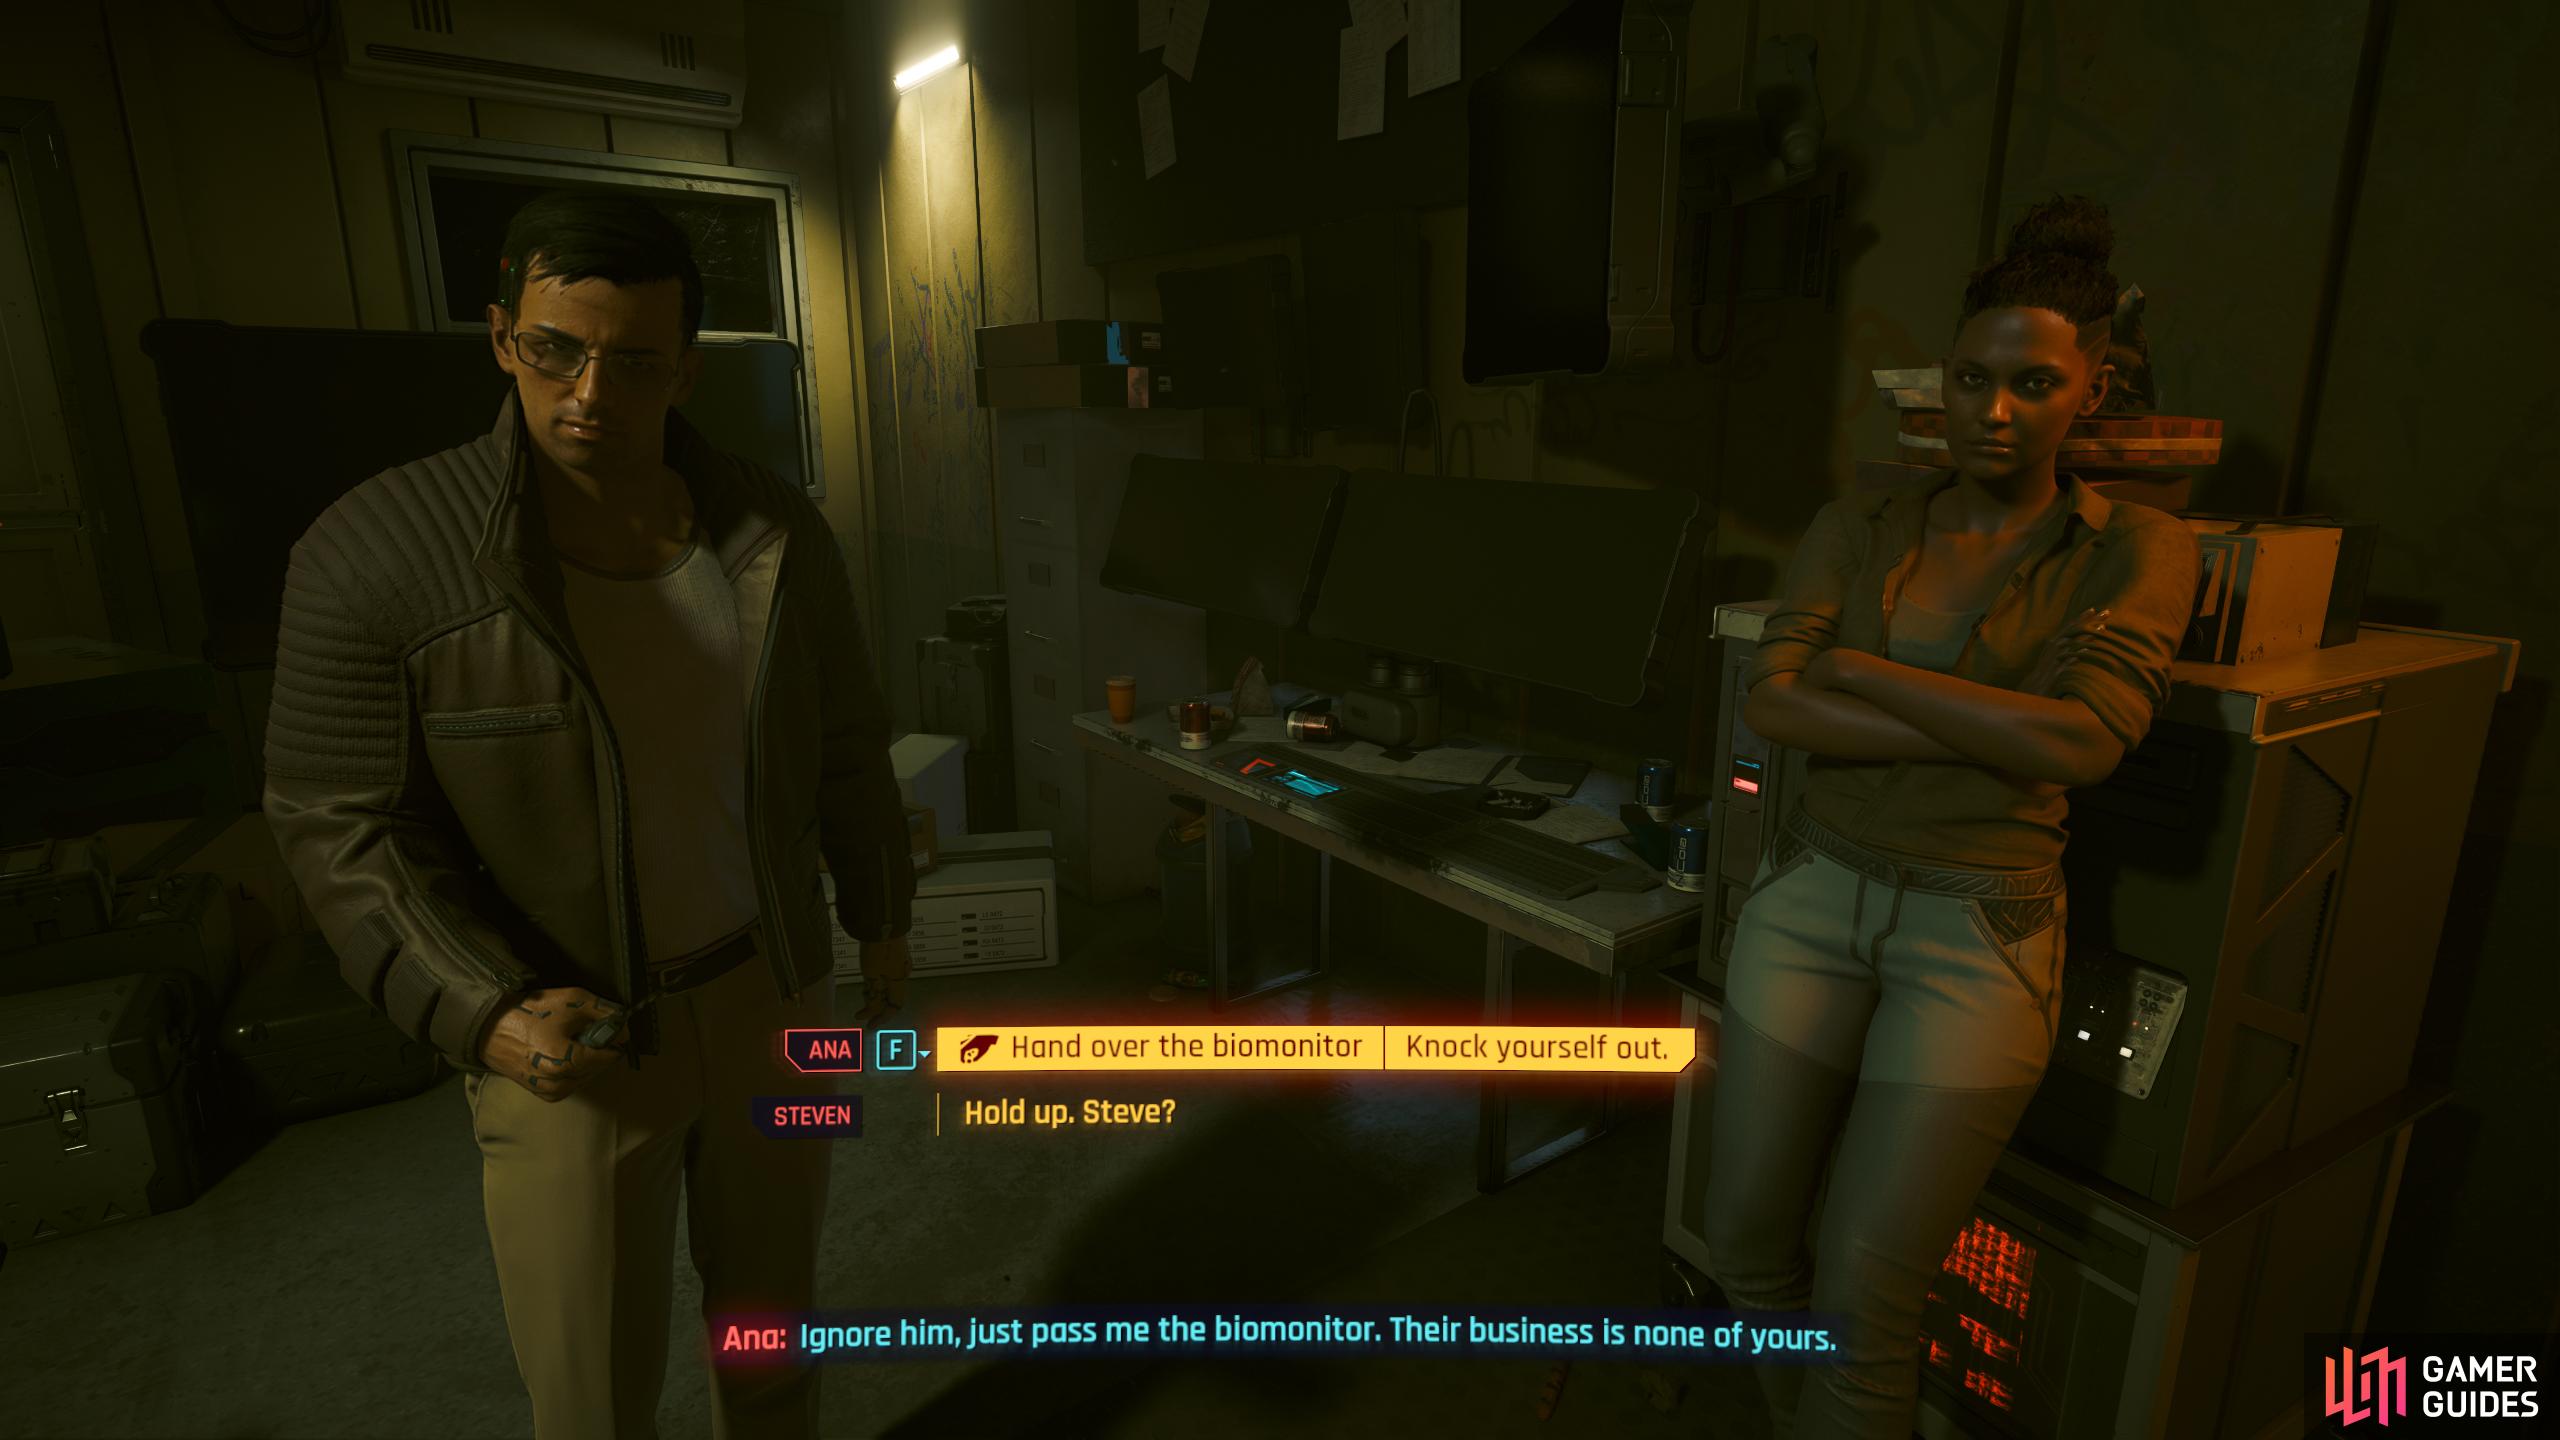
As you make your way back to the agents, you’ll receive a text from Steven Santos (Brazilian Agent) asking you to destroy the biomonitor as the evidence on there will likely get them killed. Ignore the message for now as you can still destroy it later, and head back to the Paradise Hotel, room 203 in Longshore Stacks. Note, that the quest will lead you to a disposal bin, so be careful you don’t destroy it straight away.
Giving the biomonitor to Ana will yield a larger amount of credits, but it shouldn’t be enough to make you change your opinion on the matter.
Enter the hotel room where you’ll find Ana and Steven disagreeing about what to do with the biomonitor. If you ask Steven and Ana what’s going on, they’ll tell you that Steven wants to destroy the biomonitor to keep them safe. However, Ana wants to tell the world what her government and SovOil did to Mark and how they covered it up. Unfortunately for them, it’s up to you. Regardless of what you choose, you’ll get the same XP and Street Cred.
It also appears that Mr. Hands doesn’t care too much either, but he will give you an extra 2K credits if you give it to Ana (not sure why), so the choice is more of how you want the story to play out. If you do give it to Ana, they won’t die, or at least you won’t find out if they did, and if you destroy it, Ana will be upset with you, but that’s about it. Either way, this choice will end the gig.
No Comments