
Walkthrough for the Gig “Nasty Hangover” in Cyberpunk 2077, including information about recovering the Kang Tao Data Shard, and how to navigate the confrontation between Karl Ginsky and the Kang Tao enforcers at the end of the Gig.
Nasty Hangover a Gig in Cyberpunk 2077, which was added to the game in the Edgerunners Update (Patch 1.6). It’ll appear automatically on your map in Santo Domingo - Arroyo (northish of the Hargreaves St fast travel), and when you approach the marker you’ll get a call from Rogue, who will provide you with details if you choose to answer. Some corpo apparently got too drunk for his own good and ran into trouble when he was inebriated. Trauma Team saved his life, but the victim lost a data shard during the assault, and if he doesn’t get it back before his bosses find out, they’ll finish what the thugs started.
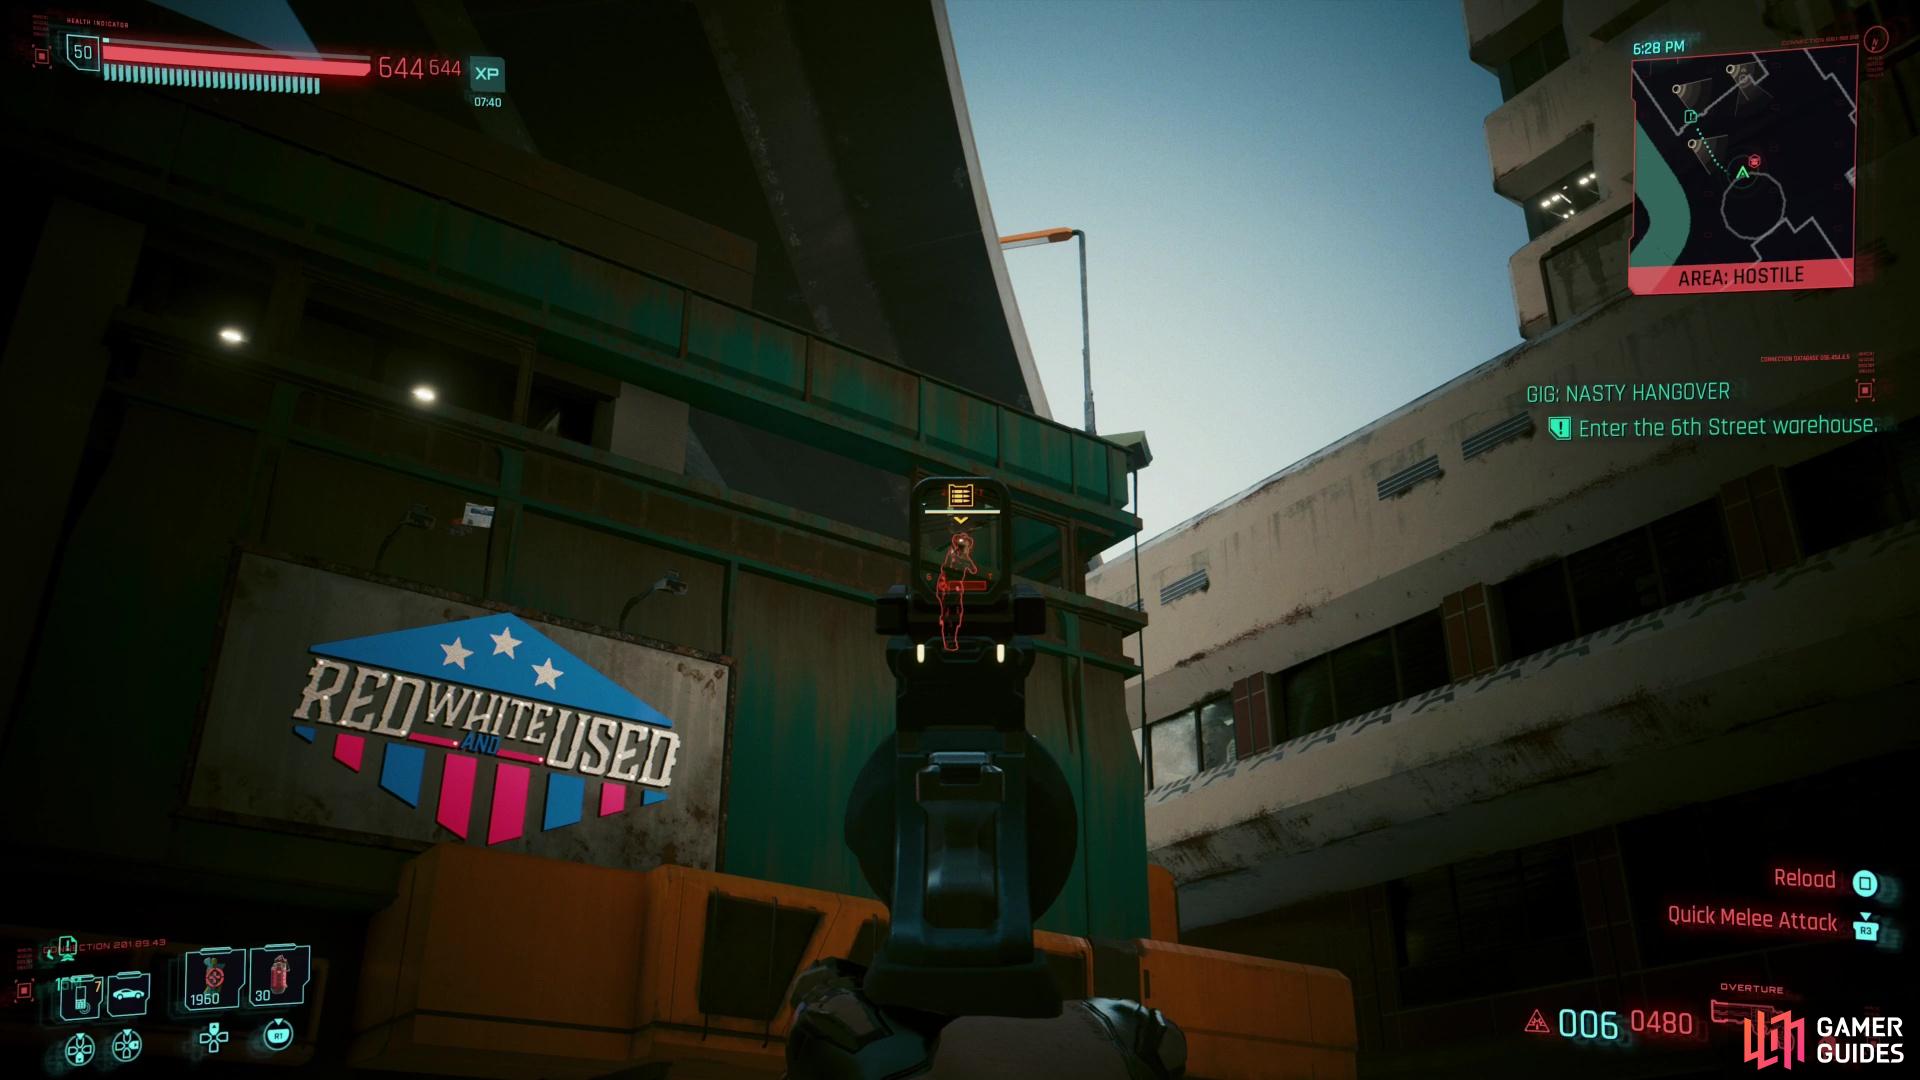
Snipe a snooping thug on the second floor of the warehouse,
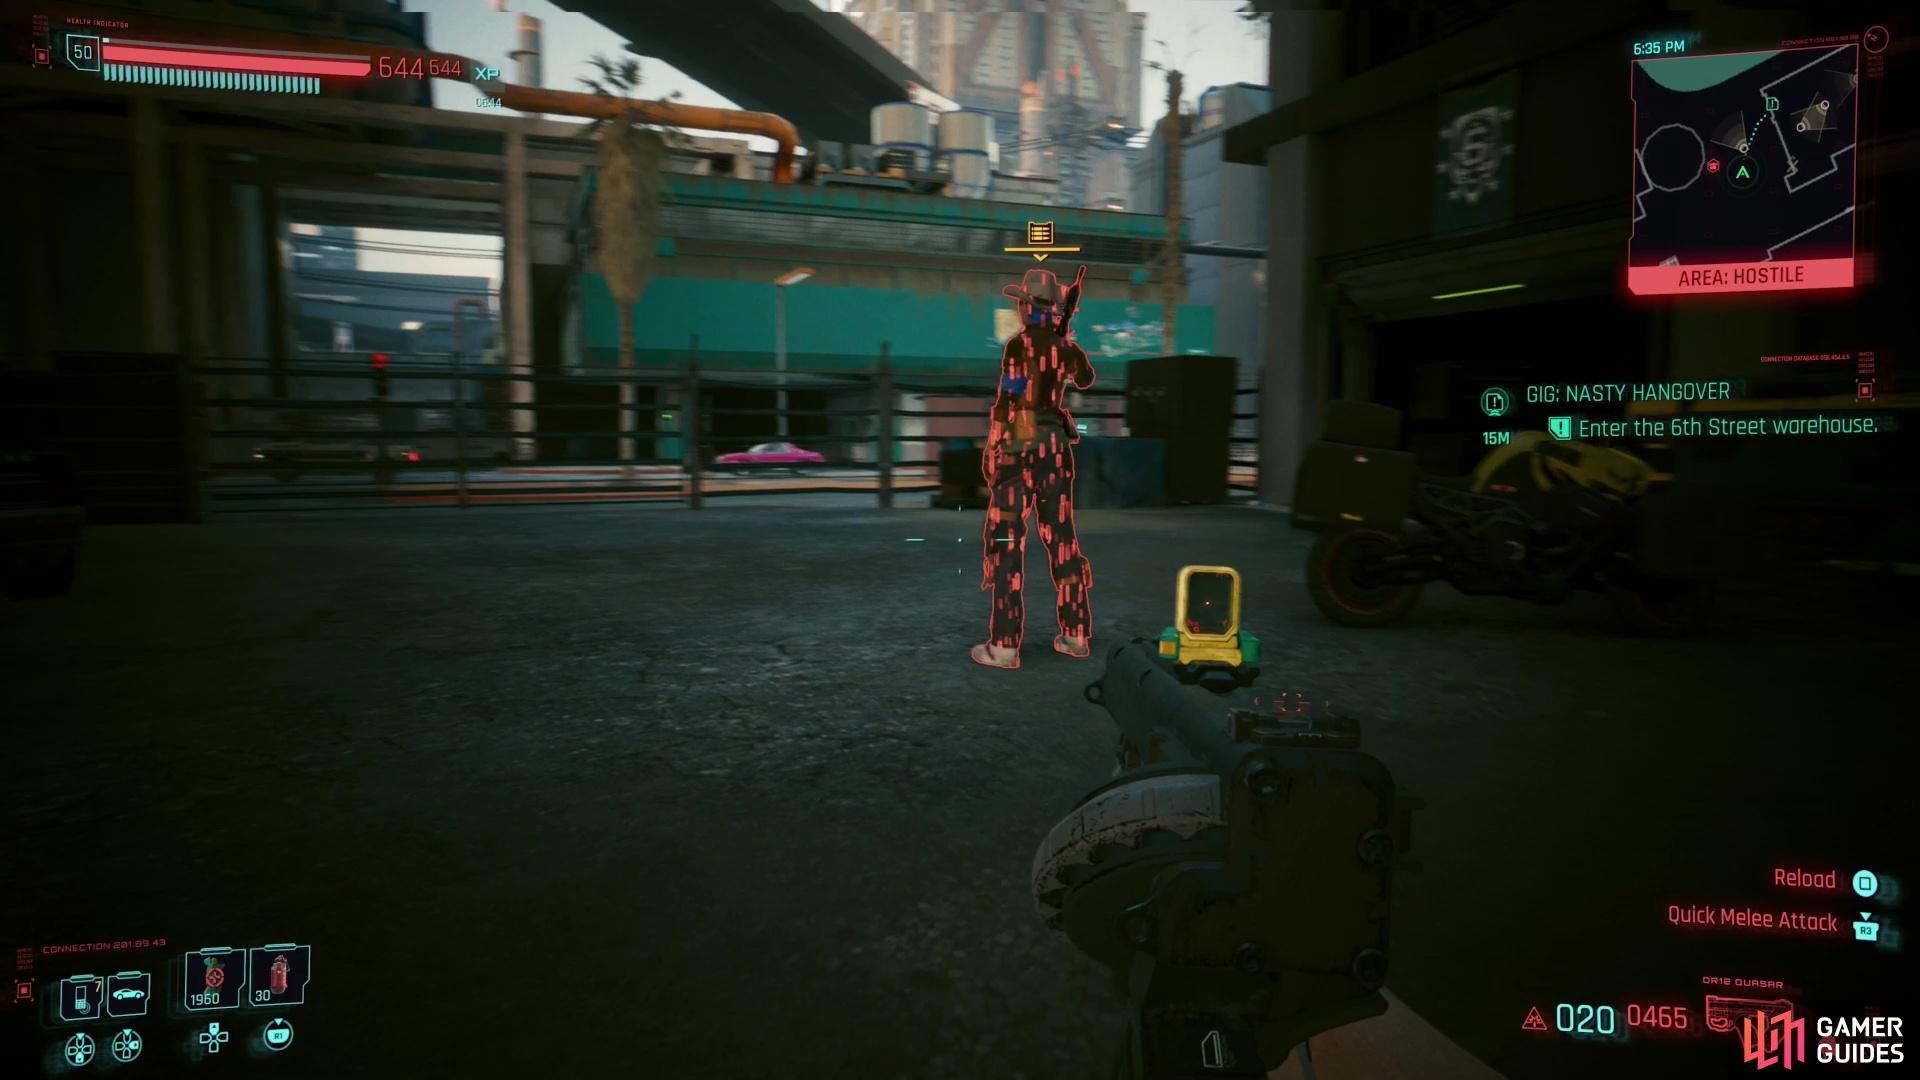
then take down the patrolling enemy in the parking lot.
How to Find the Data Shard
This Gig is pretty straight-forward - there’s a warehouse full of goons and you need to get past them to find the Data Shard they stole. There are about seven of them in total, and honestly, the lack of nuance makes brute force appealing in a way it usually isn’t. Still, if you want to be sneaky you can manage, but a silenced weapon, the Ping quickhack and a bit of patience will go a long way.
Before you get to the warehouse (where five of this Gig’s enemies are patrolling) you’ll need to get through the parking lot, first. Ping the thug wandering around outside (you can safely do so through the fence) and with any luck this will reveal all the punks in the vicinity. You should notice that there’s one lowlife lounging on an upper floor of the warehouse, looking out the window into the parking lot. He’ll complicate matters, and consequently he should be your first target.
Wait for the guard patrolling the parking lot to have his back facing you, then climb over the fence and hide behind a car - you can use a variety of other objects, like a lift and some crates, to provide cover from the patrolling guard down here while you take out the thug on the second floor. Speaking of which, get a scoped weapon and pop the guard looking out the window - things will get messy if you can’t kill him with a single headshot, so hopefully your gear is up to snuff. Alternatively you can hit him with a quickhack - something like Short Circuit, Overheat or even Suicide should suffice, depending on your installed Cyberdeck, perks and the quality of your quickhacks.
However you go about it, once he’s gone wait for the guard on the ground to leave themselves open, then take them down and stash their body in a dumpster along the front of the warehouse. There are plenty of them out here, which is good, as there’s a lot of trash you need to dispose of in the warehouse.

Defeat the enemies in the warehouse - their patrols leave them vulnerable, and there are plenty of dumpsters to hide their bodies in.

Once the warehouse is clear, head upstairs and grab the Kang Tao Data Shard.
If you’re capable and inclined to do so, you can Ping the warehouse thugs from an open garage door, track their movements on your minimap, wait for them to leave themselves vulnerable, then take one out and carry the body outside and deposit it in a dumpster. It might take a few minutes, but you can take down every foe in the warehouse this way… or you can just kill them by whatever means you prefer. If you want a more nuanced approach… well, Reinforced Tendons will once again allow you to reach places you probably shouldn’t be able to get to, which will allow you to reach the second floor from the exterior of the warehouse, but this doesn’t really open up too many options. This isn’t much of a nuance Gig.
Once all the thugs in the warehouse have been dealt with (there are more dumpsters inside you can use to hide bodies if you fill up the ones outside), make your way upstairs (alternatively you can use an elevator) and look for a netrunning operation in the corner. You’ll find the Data Shard you seek on a table near a computer. Grab it, but before you leave, note that on the ground floor of the warehouse there’s a door that you can open with a [Body 18] check. You may find a random legendary item in one of the containers beyond this door (it’s random, so don’t count on it), but that’s an awfully hefty requirement.
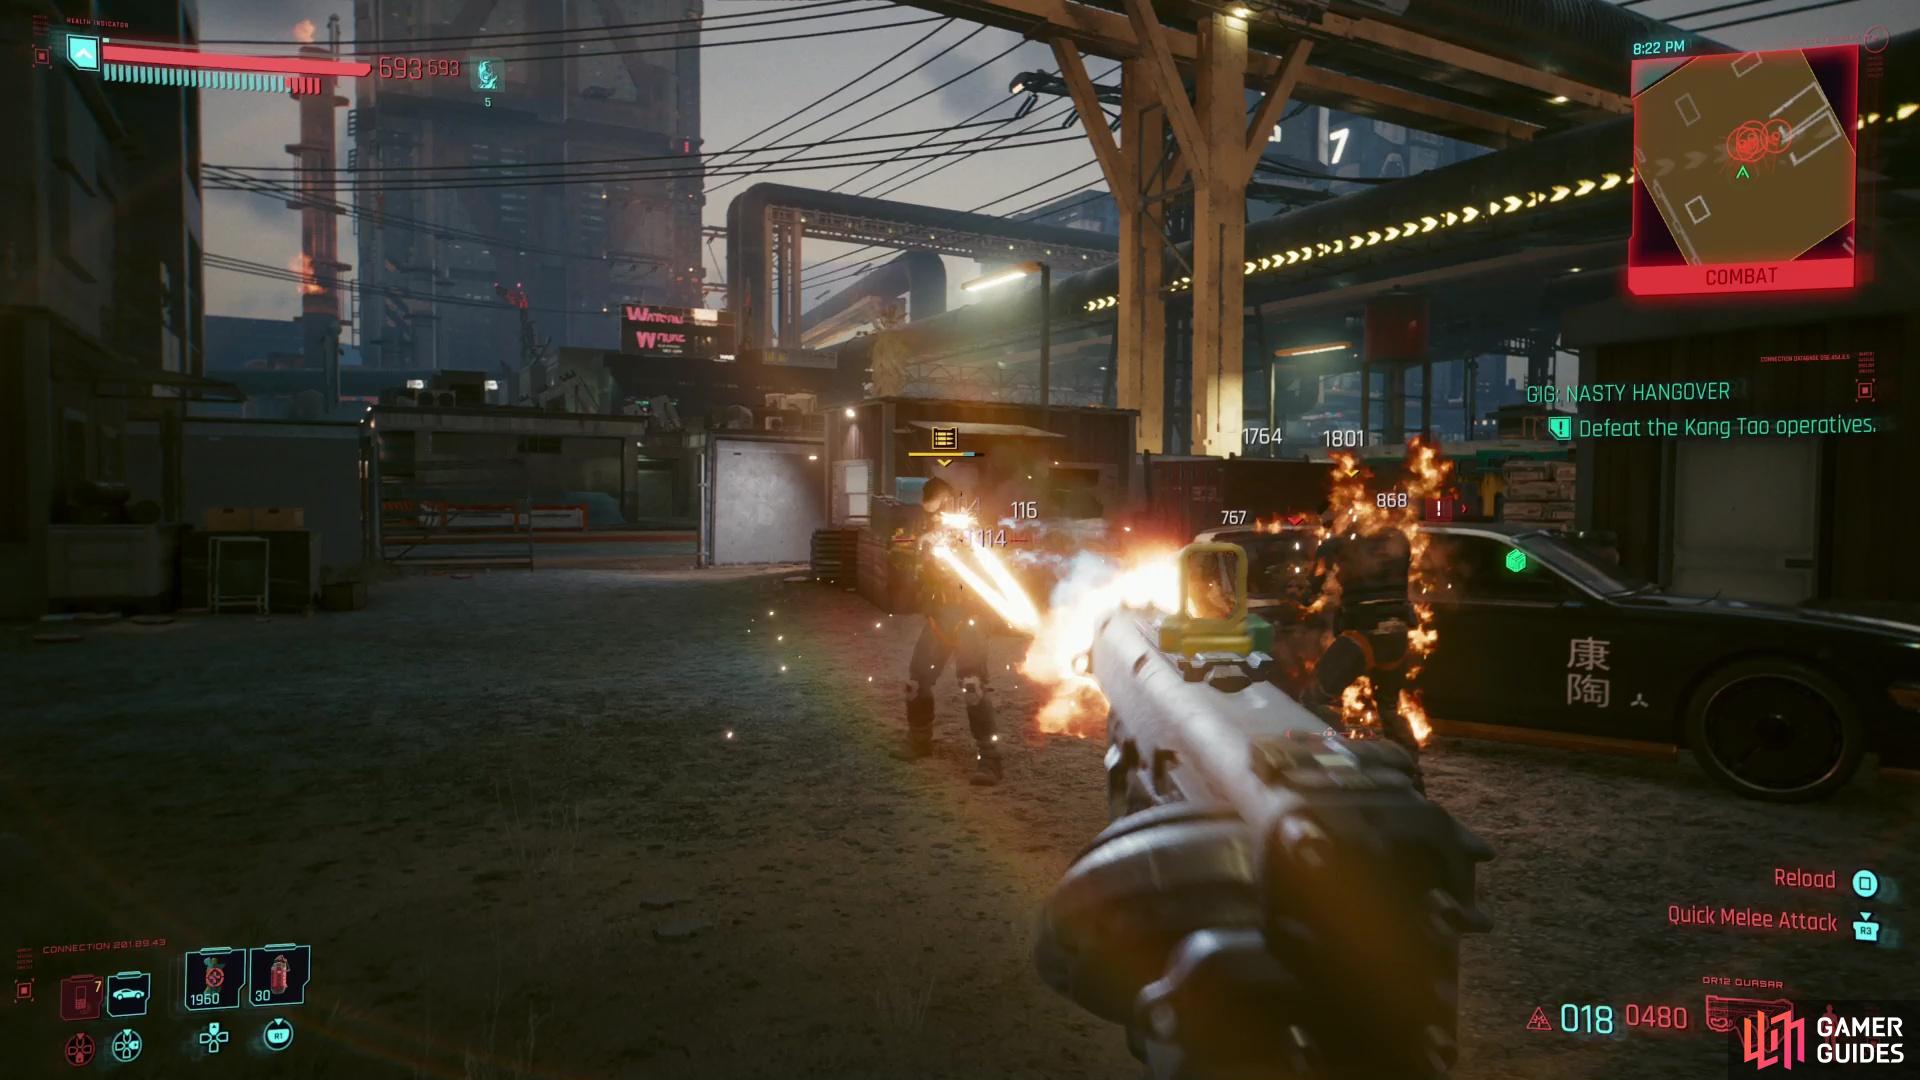
(1 of 3) If you want to keep Karl alive you’ll have to act fast and preemptively gun down the Kang Tao enforcers.
Return the Data Shard to Karl Ginsky and Deal with Kang Tao
Leave the warehouse when you’re done and call the corpo - a man named Karl Ginsky - to set up a meeting. It just so happens to be at a construction site a short jog away. Follow the quest marker there and meet up with Karl, but before you can make the delivery a car full of Kang Tao enforcers will show up.
You have three options here, but you’ll need to make up your mind quickly, so you might want to pause the game and read head, lest Night City’s politics leave you behind:
First, if you want Karl to live you’ll just need to gun down the Kang Tao immediately. If you wait, they’ll kill Karl, and while you can still pick a fight with them, Rogue will still refer to it as a botched job in the followup call. Not that it matters much, the reward is more or less the same - €$17,610.
If you kill the Kang Tao agents before they can kill Karl, you can then talk to Karl and he’ll give you the intended reward - a Credit Chit with €$2,000 on it. You’ll get this in addition to the €$17,610 Rogue gives you for finishing the Gig.
Finally, if you let the Kang Tao kill Karl, then talk to them and pick the option ”I found this data. You owe me money.”, their leader will be amused enough at your ignorance to pay you. One of his bodyguards will give you a Credit Chit with… you guessed it, €$2,000 on it. You’ll still get the €$17,610 from Rogue after Kang Tao leaves.
However you go about it, once you’re the only one left alive on this construction site (one way or another), Rogue will call you and give you the aforementioned €$17,610. The only real consequence for letting Karl die is the negative tone Rogue takes at the end of the Gig.
No Comments