


This main job begins after you complete The Ride, after which you can choose to do either it, or another main job, The Information. It doesn’t matter which one you do first, although this job is more complicated and depending on your choices, may involve combat. It’s also worth noting that if you don’t have €$10,000 to burn, you’ll have fewer options available, although you can complete the job just fine without spending any money.
How to Complete The Pickup in Cyberpunk 2077
Unlike other jobs, in this one your choices matter, and your actions will affect other jobs later on. Such a choice has to be made at the very outset of the job, as you’ll notice you have two objectives. Meet With Jackie tasks you with rendezvousing with your partner in crime after which you’ll go meet up with Maelstrom. Optionally, however, you can Call Militech Agent Meredith Stout, which will give you more options later on and alter how this job ends somewhat. If you want to meet with Meredith, you should do so at the start of the quest, as once you’re enjoying Maelstrom’s hospitality your window of opportunity will have passed. If you don’t care to meet with Meredith, just skip ahead to your rendezvous with Jackie.
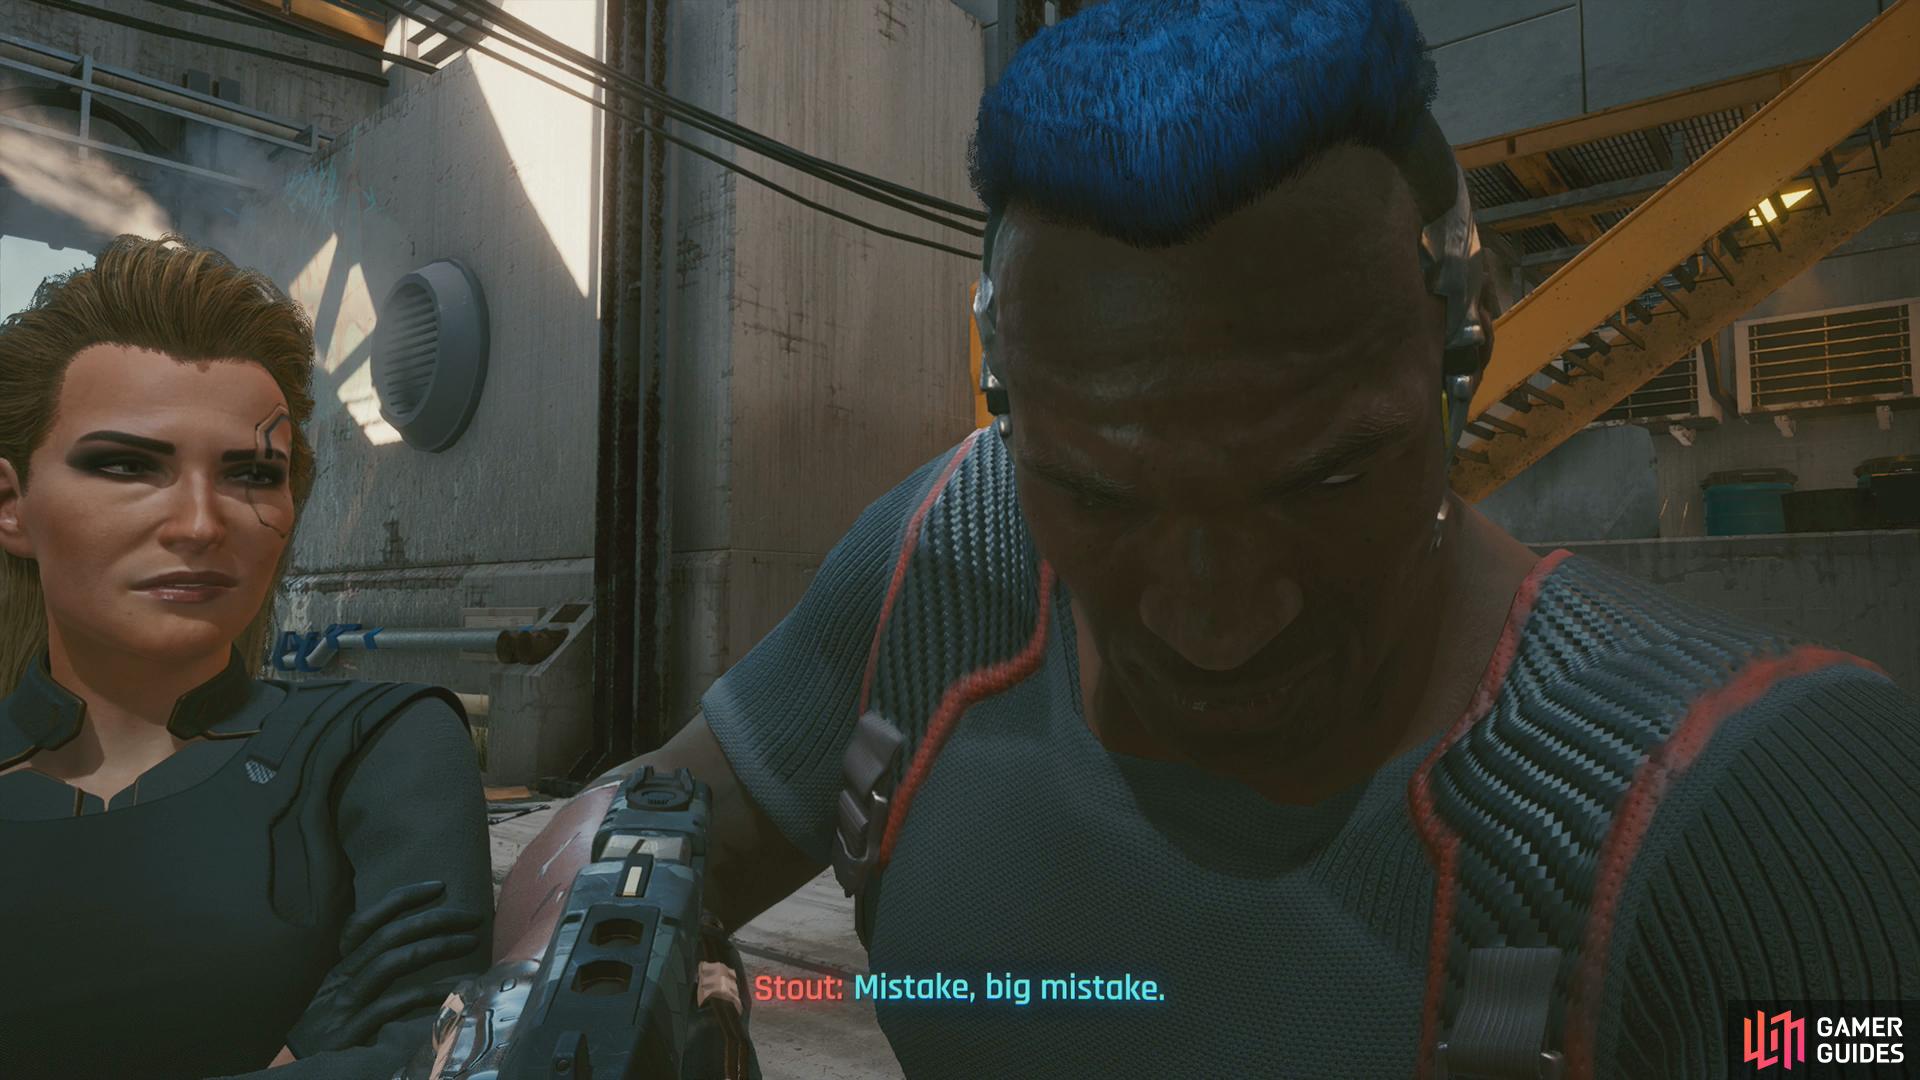
(1 of 4) Stay sharp during your meeting with Meredith, saying the wrong thing - or nothing - could cost you dearly.
Call Militech Agent Meredith Stout
Bring up your phone by holding down the [Down] button on your D-Pad, then select “Meredith Stout”. After you arrange a meeting, drive over to her location to find Meredith isn’t keen on diplomacy. Here is where you’ll learn that your responses can matter, as if you don’t answer satisfactorily (or worse, refuse to answer at all during timed dialog choices) you could just be looking at the wrong end of a loading screen.
Survive the initial part of the encounter and answer some questions for Meredith, after which she’ll entertain your offer on the condition that you pay Maelstrom for the Flathead using a credchip she provides. Obviously she’s not on the level here, but if it keeps you from having to blow €$10,000, all the better.
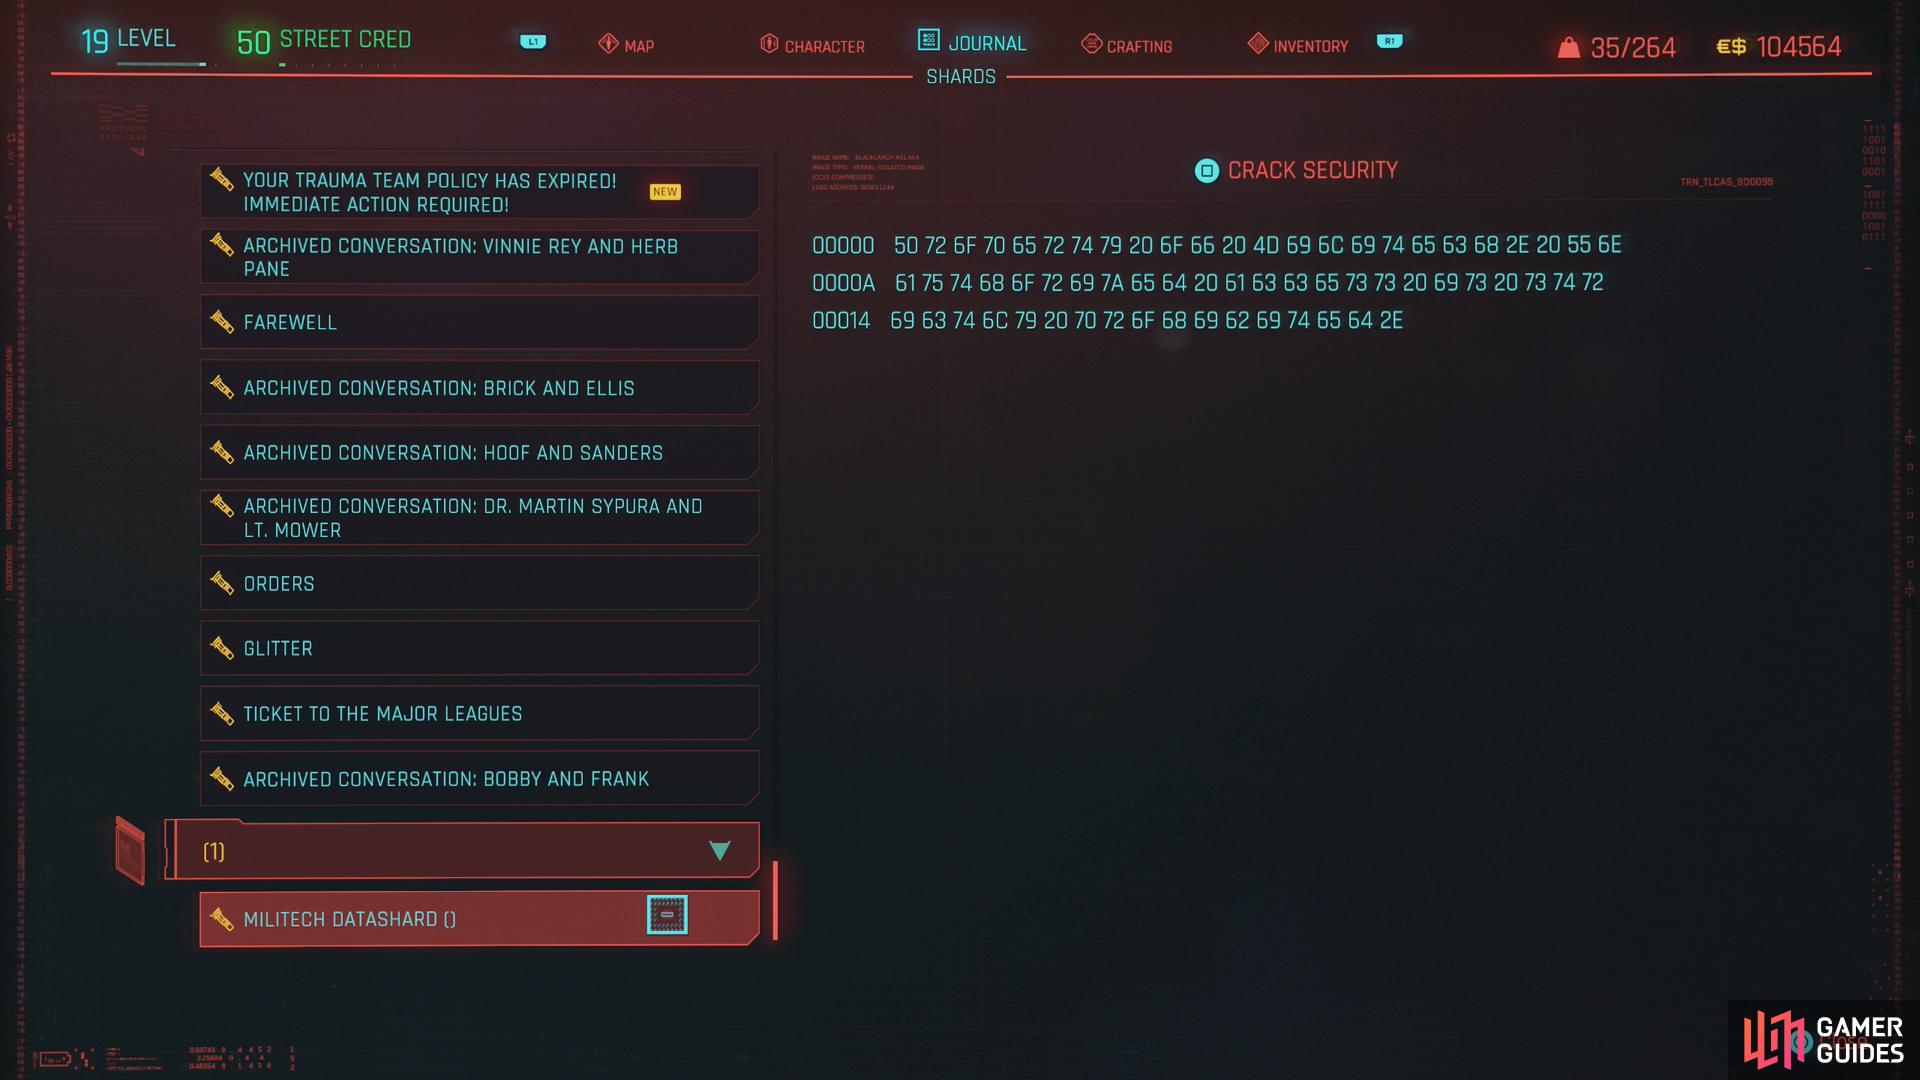
Investigate the datashard Meredith gave you,
and if you want to burn some bridges with her - and save yourself some money - remove the malware on the shard.
Now that your meeting with Meredith has concluded - for better or worse - there’s one more thing you can do before you meet up with Jackie, assuming you walked away with the Militech Datashard. Enter your menu and go to the “Shards” submenu, then scroll down until you find the “Militech Datashard”. If you smelled a rat, your grasp of the obvious is commendable. Sure enough, there’s security on the datashard.
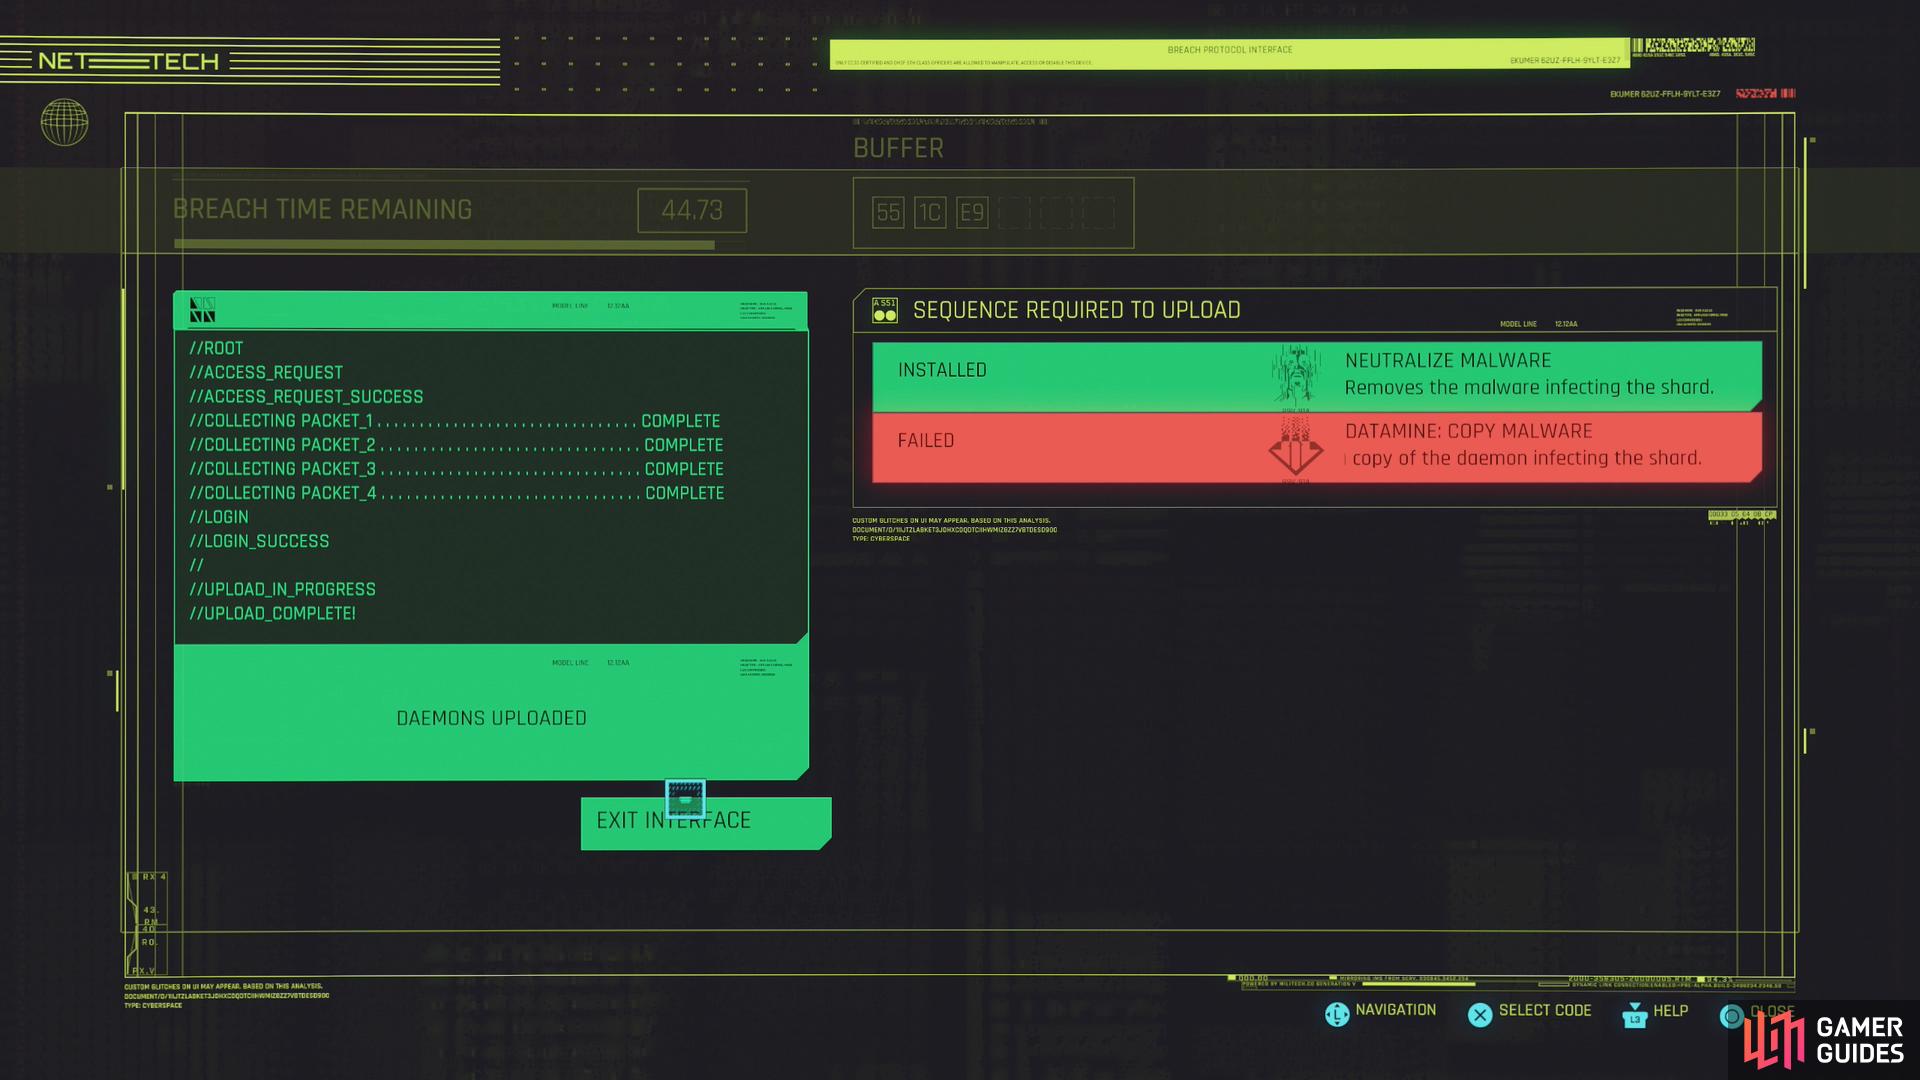
If you want to appease Meredith Stout, leave the malware alone. You can use the infected datashard to save yourself some money and help Meredith find out who hit the Militech convoy. On the other hand, if you want to make this mission go as smoothly as possible for yourself and don’t care about making good with Stout (or if you actively want to screw her over), select the shard and press [Square] to attempt to breach its security, which should bring up the breach minigame. Remove the malware and voila - you have a way to spend Meredith’s money without giving her any of the information she desires.
Neutralize the malware or not, then it’s finally time to meet up with Jackie…
Meet With Jackie
Find Jackie and you’ll notice he’s got a new ride. If you’re a Nomad, you can comment on it, after which you can also make a Tech 6 check.
Fill Jackie in on the details of the job at hand (whatever you say here doesn’t really matter - you can make any decision you want later, despite what you tell Jackie) then follow him across the street to All Foods and use the intercom to gain access to the Maelstrom stronghold. Once inside, just follow Jackie through the security, which will deactivate at your approach, stopping to loot as you go, if you see fit. Maelstrom won’t hold a grudge over some sticky fingers.
Eventually Jackie will stop at a door. Go through it and loot the large room beyond, if you wish, then follow the yellow quest line to the indicated spot to ride an elevator. This lift will bring you face to face with Dum Dum, the Maelstromer who talked to you over the intercom, who will invite you to talk about the Flathead.
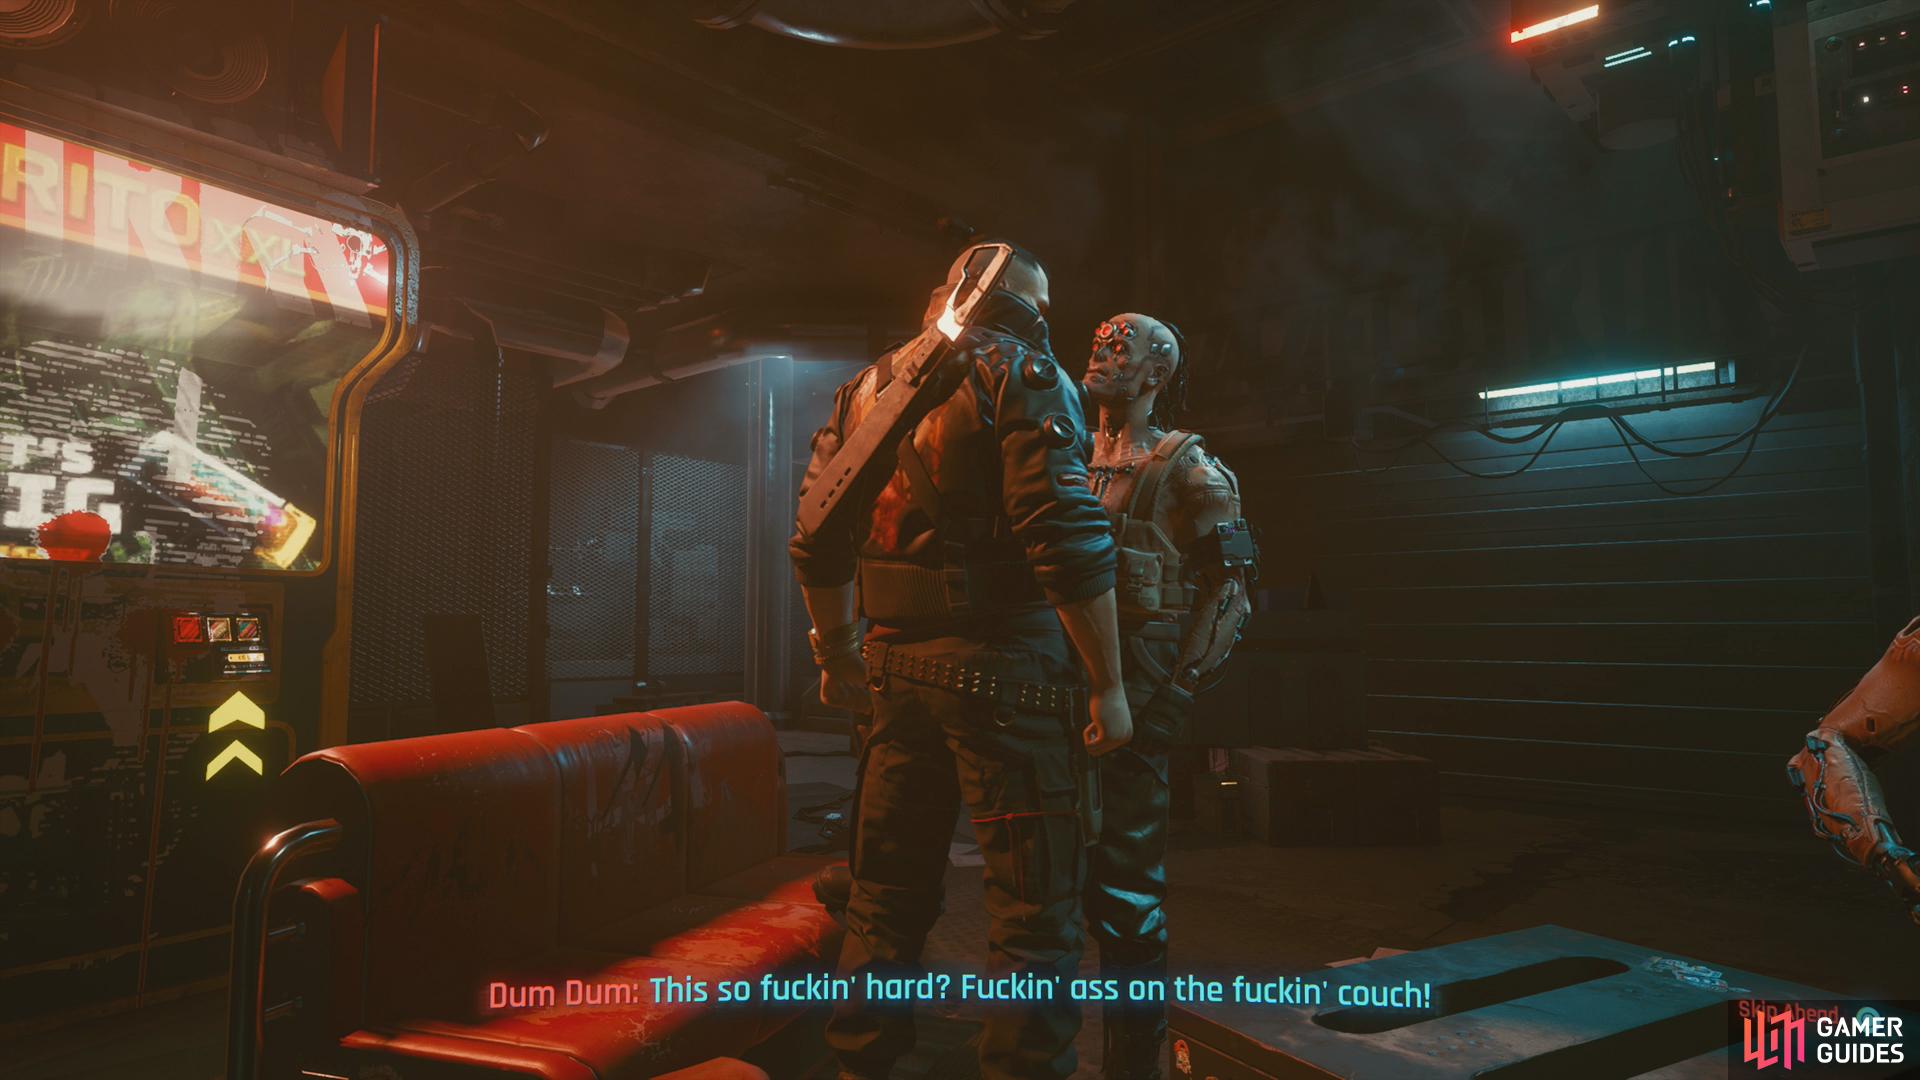
Diplomacy With Dum Dum
Things go smoothly right up until you’re told to sit down, which Jackie refuses to do, sparking a confrontation with Dum Dum. If you say nothing during the timed dialog choice that follows, V will take inspiration from Jackie’s refusal and initiate hostilities. If you wish to continue negotiating, you’ll need to pick the option [Calm Jackie] “Jackie, sit down.”. Dum Dum’s offer of drugs is less consequential, so pick what you wish.
After that, Dum Dum will bring out the Flathead, and after the demonstration you’ll get a chance to make a Tech 6 check, which is ultimately inconsequential. When you agree to take the bot (however unenthusiastic you play it), V will mention Brick, which sends Royce (who has been peeping at the exchange from behind a shutter door - we can see your red little cyber eyes!) into a rage.
There are multiple ways to deal with Royce here, but keep in mind that if you do not respond during a timed dialog response, Royce will put a bullet in you for your impertinence. The first response (”Really expect me to pay twice?” or ”Fuck Brick. Let’s cut a new deal.”) doesn’t matter, but after that you’ll get two or three options, depending if you met up with Meredith earlier:
- [Show Militech shard] “Eddies’re right here.”
- ”Prepared to offer us a discount…?”
- €$10,000 €$ ”Got the scratch ready.”
Obviously if you didn’t meet up with Meredith, you won’t have a Militech shard full of corpo cash, so you won’t have the [Show Militech shard] “Eddies’re right here.” option. Regardless of whatever option you pick from the three above, Royce’ll waste time insulting Dexter DeShawn, giving you two more options:
- [Draw Weapon]
- [Take down Royce] (Body 6 Required)
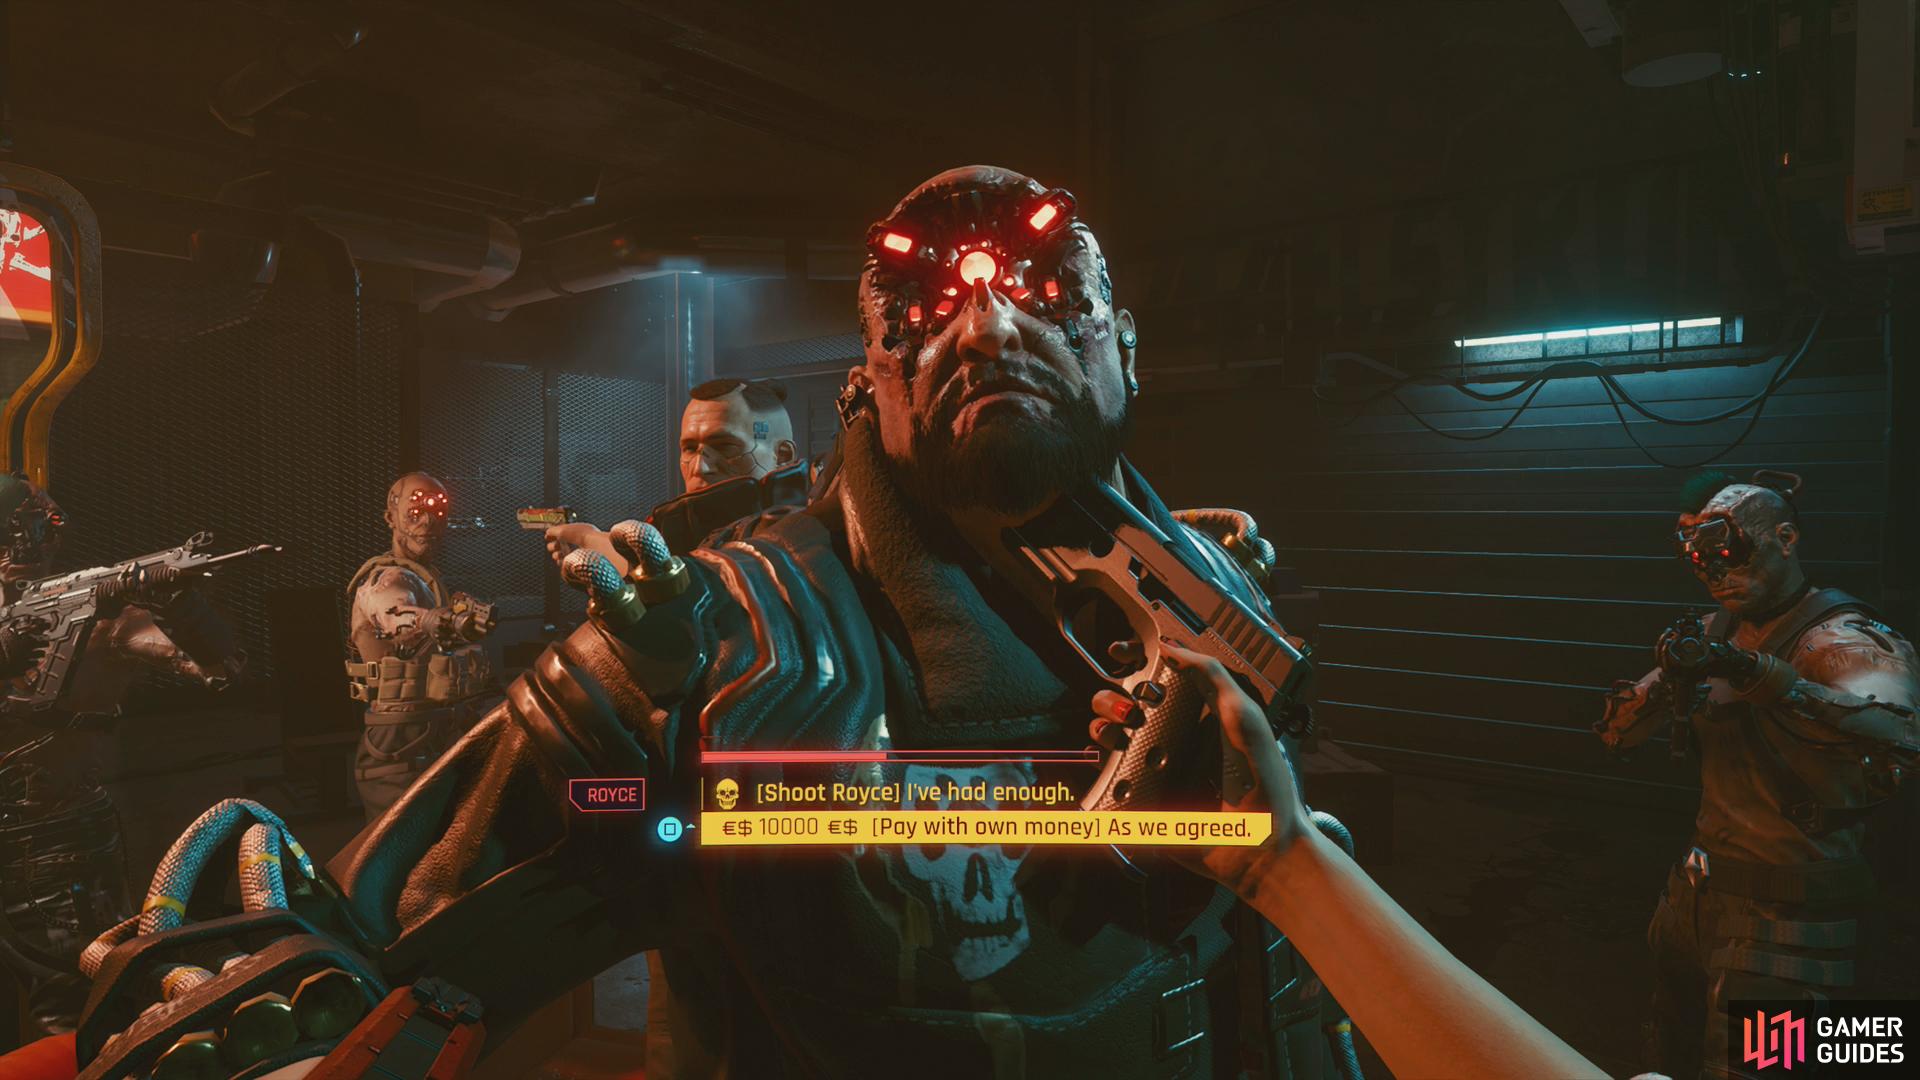
Picking the second option will do what it says - incapacitate Royce and start a fight with the Maelstromers in the factory. The first option will allow you to follow up with [Shoot Royce] “I’ve had enough.”, which, like the Body takedown option, starts a fight but removes Royce from the equation. Alternatively, it’ll allow you to pay Royce (with your own eddies, or Meredith’s) from a somewhat more powerful position. You can also just let the timer run out when Royce is insulting Dexter DeShawn to pass up the opportunity to be confrontational and still opt to pay him afterwards.
All in all, there are three ways this job can go down: Letting Jackie pick a fight with Dum Dum, attacking Royce via dialog, or giving the Maelstromer’s Meredith’s shard will all turn the Maelstromer’s hostile, forcing you to fight your way out of the factory. Paying with your own money will make the Maelstromer’s happy, but if you met with Meredith earlier, you’ll have to fight through Militech troopers to escape. If you pay with your own cash and did not meet with Meredith, everything goes surprisingly smoothly. All three possibilities will be covered below, under the headers and Fighting Maelstrom, Fighting Militech and Paying Maelstrom, respectively.
Paying Maelstrom
Might as well cover the easiest solution, first. To accomplish this you must:
- Either do not meet with Meredith before meeting with Maelstrom, or…
- Meet with Meredith, accept the Militech Datashard, hack it and remove the malware from the shard.
- Tell Jackie [Calm Jackie] “Jackie, sit down.” when he’s picking a fight with Dum Dum.
- When Royce shows up, pick the dialog options ”Got the scratch ready.” followed by €$10,000 €$ [Pay with own money] “As we agreed.”. Whether you pull a weapon on Royce or not between the two doesn’t matter.
- Alternatively, if you removed the malware from the Militech Datashard you can pick [Show Militech shard] “Eddies’re right here.” followed by [Pay with Militech chip] “Militech’s on your trail.”. Whether you pull a weapon on Royce or not between the two doesn’t matter.
Once you’ve paid, Royce will leave. Grab the Flathead and follow Dum Dum out of the factory. Follow Jackie and talk to him, then take a call from Dex to finish the job. Clean. Simple. Easy.
(1 of 3) If Militech attacks, you’ll have to fight your way through numerous Militech troopers
Fighting Militech
This outcome starts much like the one above, save that you must meet with Meredith before heading to All Foods:
- Meet with Meredith before meeting with Maelstrom.
- Tell Jackie [Calm Jackie] “Jackie, sit down.” when he’s picking a fight with Dum Dum.
- When Royce shows up, pick the dialog options ”Got the scratch ready.” followed by €$10,000 €$ [Pay with own money] “As we agreed.”. Whether you pull a weapon on Royce or not between the two doesn’t matter.
Things will proceed like the peaceful option, above, save after you grab the Flathead and Royce leaves, you’ll be informed of Militech’s attack, preventing Dum Dum from taking you out via the shortcut he would have shown you if things had gone smoothly.
The upcoming section plays out similarly to Fighting Maelstrom, below, save that it’s generally easier to navigate the factory. The Maelstromers are your allies, so there’s no reason not to let them do the heavy lifting and serve as bullet catchers for you. You also don’t have to worry about much of the factory’s security, although the hectic nature of things makes a pure stealth approach more difficult. You can even free Brick during your escape without consequence!
The biggest difference with having to fight Militech troopers instead of Maelstromers (aside from not having to deal with Maelstrom’s Netrunners trying to use Overheat quickhacks on you) are the two Militech Mechs at the end. They’re sturdy foes, and you don’t want to stand out in the open while fighting them. Take cover and shoot off their side guns, as doing so will deal massive damage and cripple their offense. Taking off both guns should be enough to scratch a mech, and once they’re both down, sweep the room for any stray troopers, then leave the factory
You’ll find a Militech squad - led by Gilchrist - who will tell you about Stout’s downfall before leaving you to your own devices. After a chat with Jackie and a call from Dex this job will finally end.
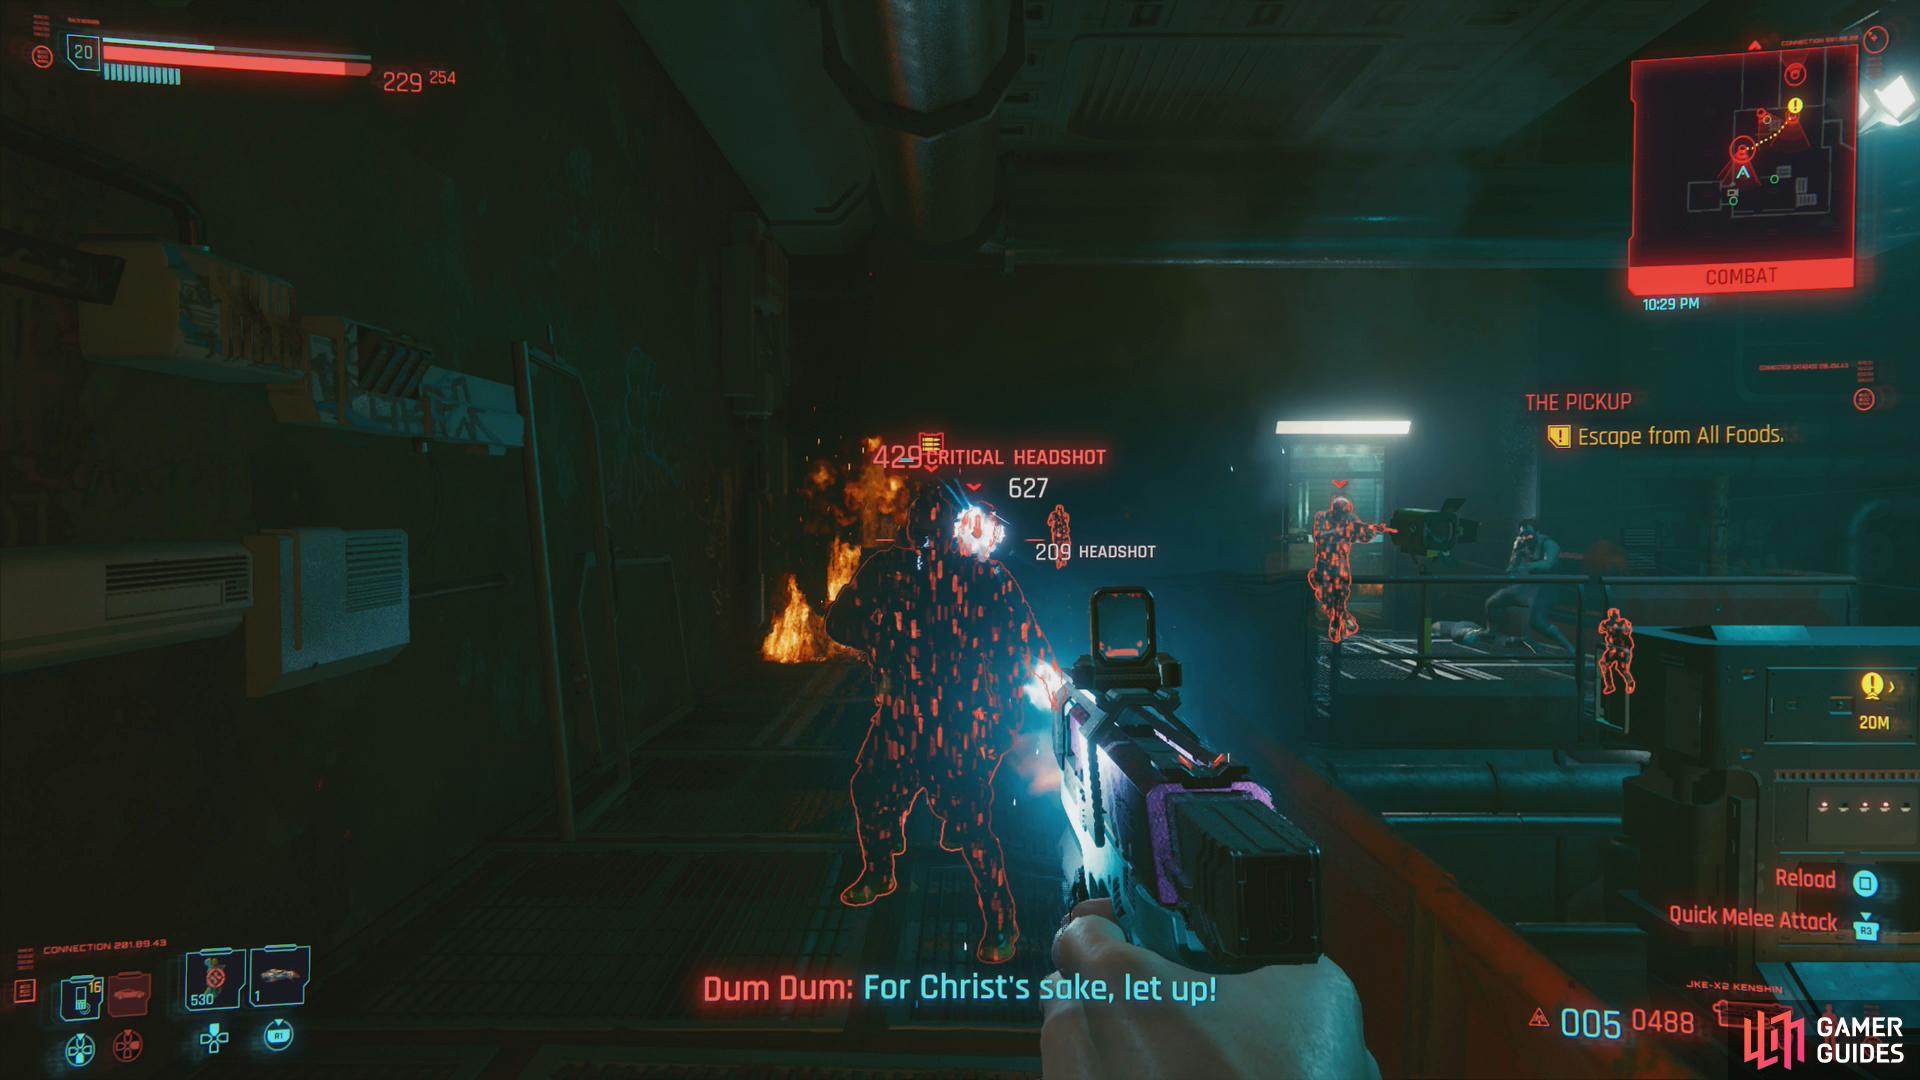
Fighting Maelstrom
Finally, there are multiple ways you can end up fighting Maelstrom:
- When Jackie and Dum Dum get into a standoff, let time expire.
- Meet with Meredith Stout before meeting up with Maelstrom and pay Royce with the Militech Datashard without removing the malware on said shard ahead of time.
- During your confrontation with Royce pick the option [Draw Weapon] followed by [Shoot Royce] “I’ve had enough.”, or pick the option [Take down Royce] (Body 6 Required).
However the fight breaks out you’ll need to start out by clearing the room. Once done, if you didn’t attempt diplomacy with Dum Dum (you let Jackie pick a fight), you’ll need to find the Flathead, which can be located through a door to the left, sitting on some metal pallets. Otherwise it’ll be sitting on the table where Dum Dum was showing it off. Either way, there’s plenty of loot through the door to the left.
If you dispatched Royce here, be sure to loot his body, as he’s busting with eddies, has a legendary Spiked MAELSTROM short-sleeve jacket and the iconic pistol Chaos - currently rare quality, but you can upgrade that later.
Loot around, grab the Flathead (this will earn you a hefty XP bonus) then climb a ladder to the right and go through a door. In the room beyond, Immediately turn right and use a computer to turn off the surveillance system in an upcoming room, which will shut off four cameras. Better than having to hack them yourself! Climb some crates to reach an elevated walkway, press a button to activate the factory’s production line, then head forward, climb down a ladder, turn right and drop down into a room occupied by hostiles.
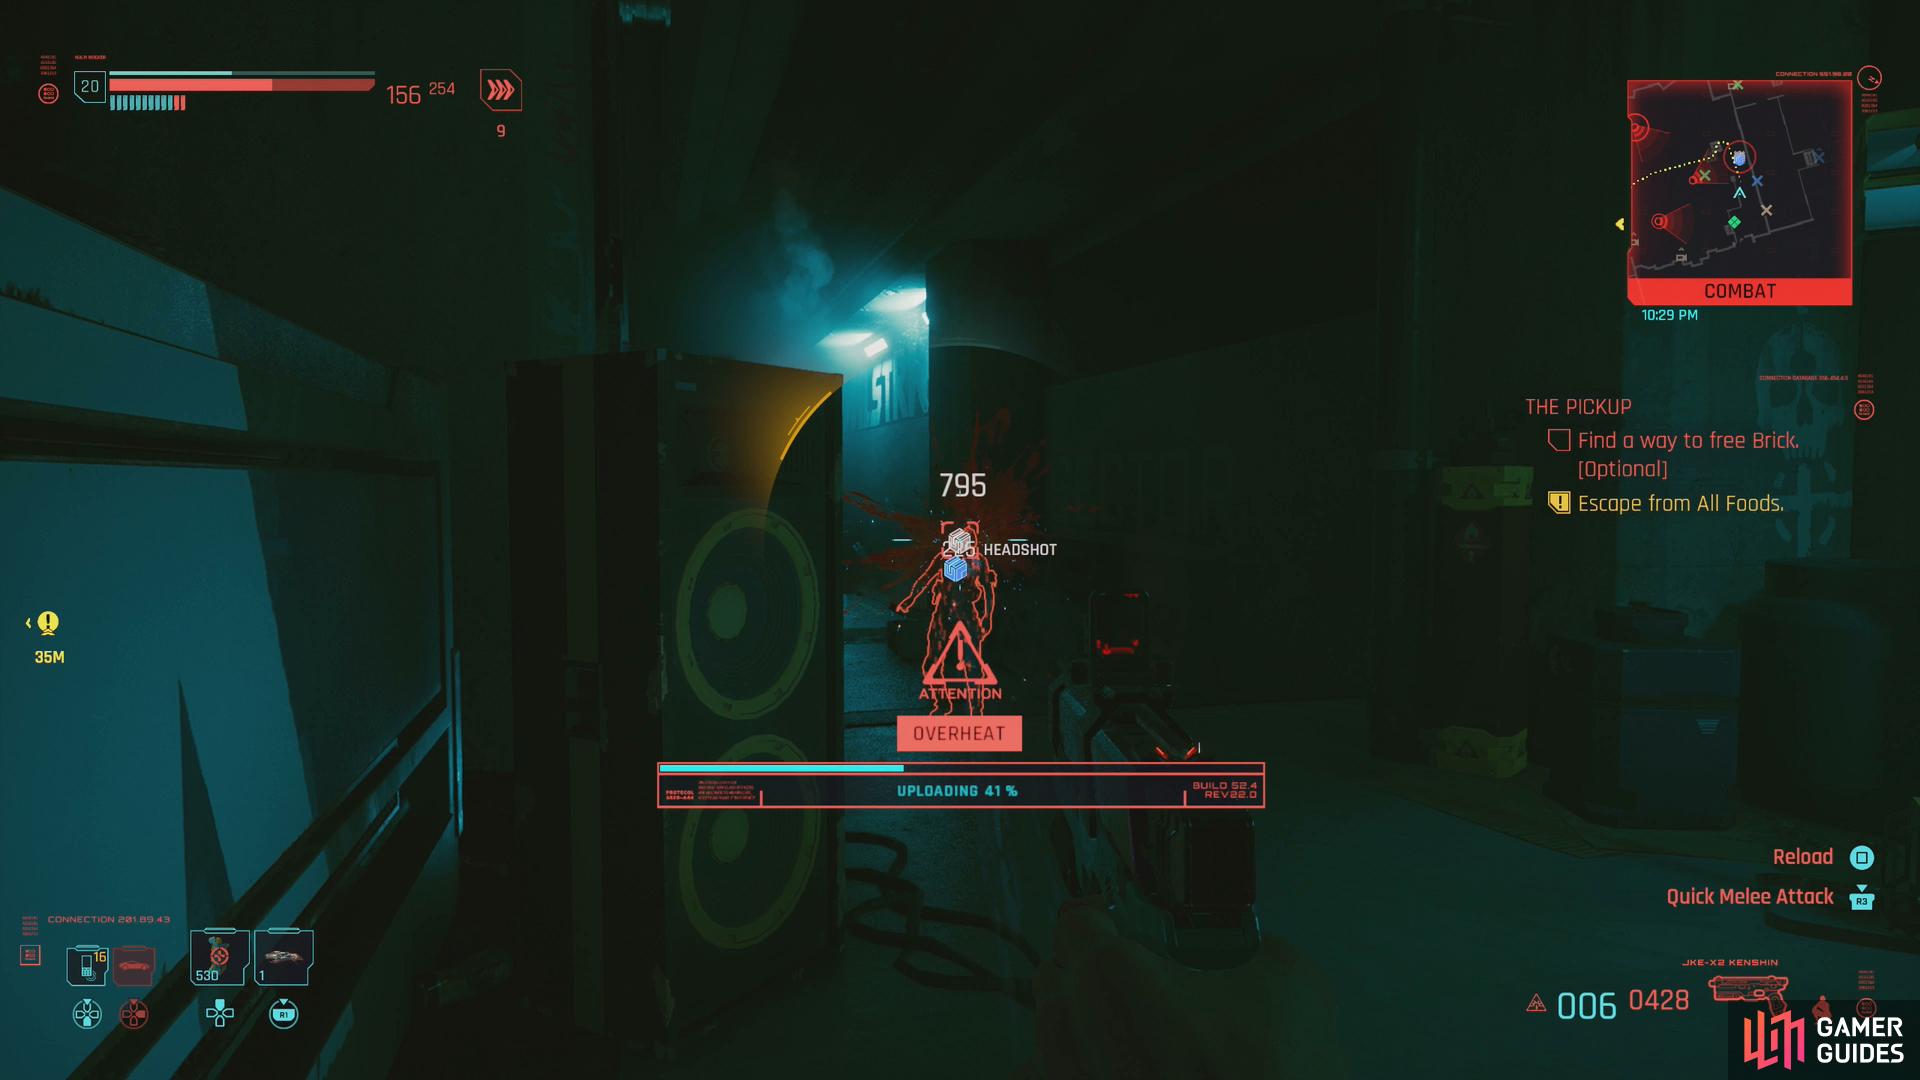
Arguably the most annoying threat you’ll face are enemy Netrunners, who will attempt to use their Overheat quickhack on you remotely - even from other rooms!
Track them down and put a bullet in them to stop their mischief.
You’ll start out occupying high ground, and there are some barriers you can hide behind. If you’ve a mind for stealth, this is where you should start, but keep in mind, if you’re detected here, enemies in the next few rooms will probably be alerted, too. This may include an enemy Netrunner, who will use the cameras in these rooms to try to use the Overheat quickhack on you. Suffice to say, this can be pretty annoying, especially if you get caught out early, as you might have to fight through numerous enemies to reach the offending Netrunner.
Discretion is clearly the better part of valor here.
However you go about it, kill the two Maelstrom gangers in the room below you (a third may join from a room to the right if you draw their attention), then go through a door opposite the high ground you were on and read the mail on a terminal if you want to find out who the mole really is. When you’re ready to move on, note two doors to the right, and go through the higher (left-most) of the two.
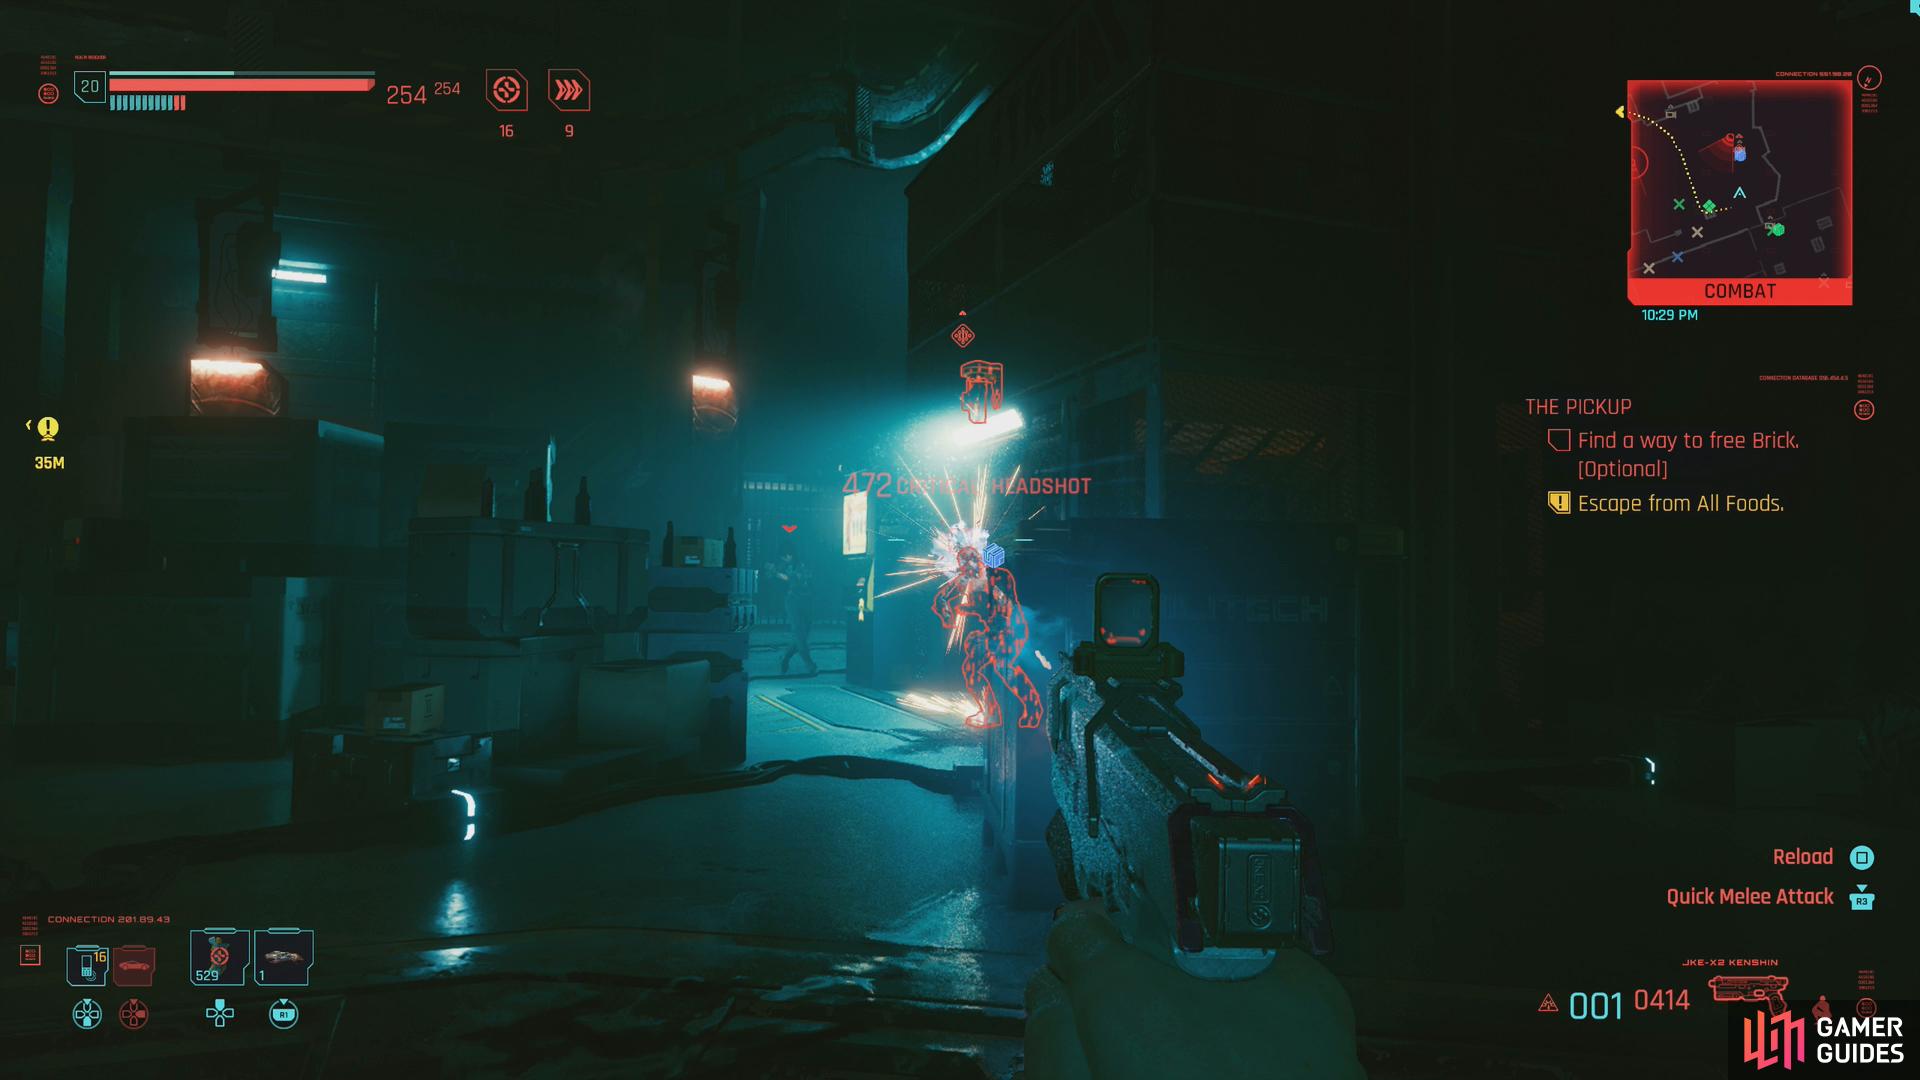
More enemies prowl ahead, particularly in the lower hall to the right. There are also cameras you’ll need to get rid of. Now is a good time to have a silenced revolver, if you’re any bit inclined towards guns and/or stealth. Deal with any immediate threats and head forward, examining the first table on the right to find a laptop you can use to shut off more cameras in the area. It may be a bandaid, but it’s something. Keep going forward through a door and turn left to find another door, this one sealed.
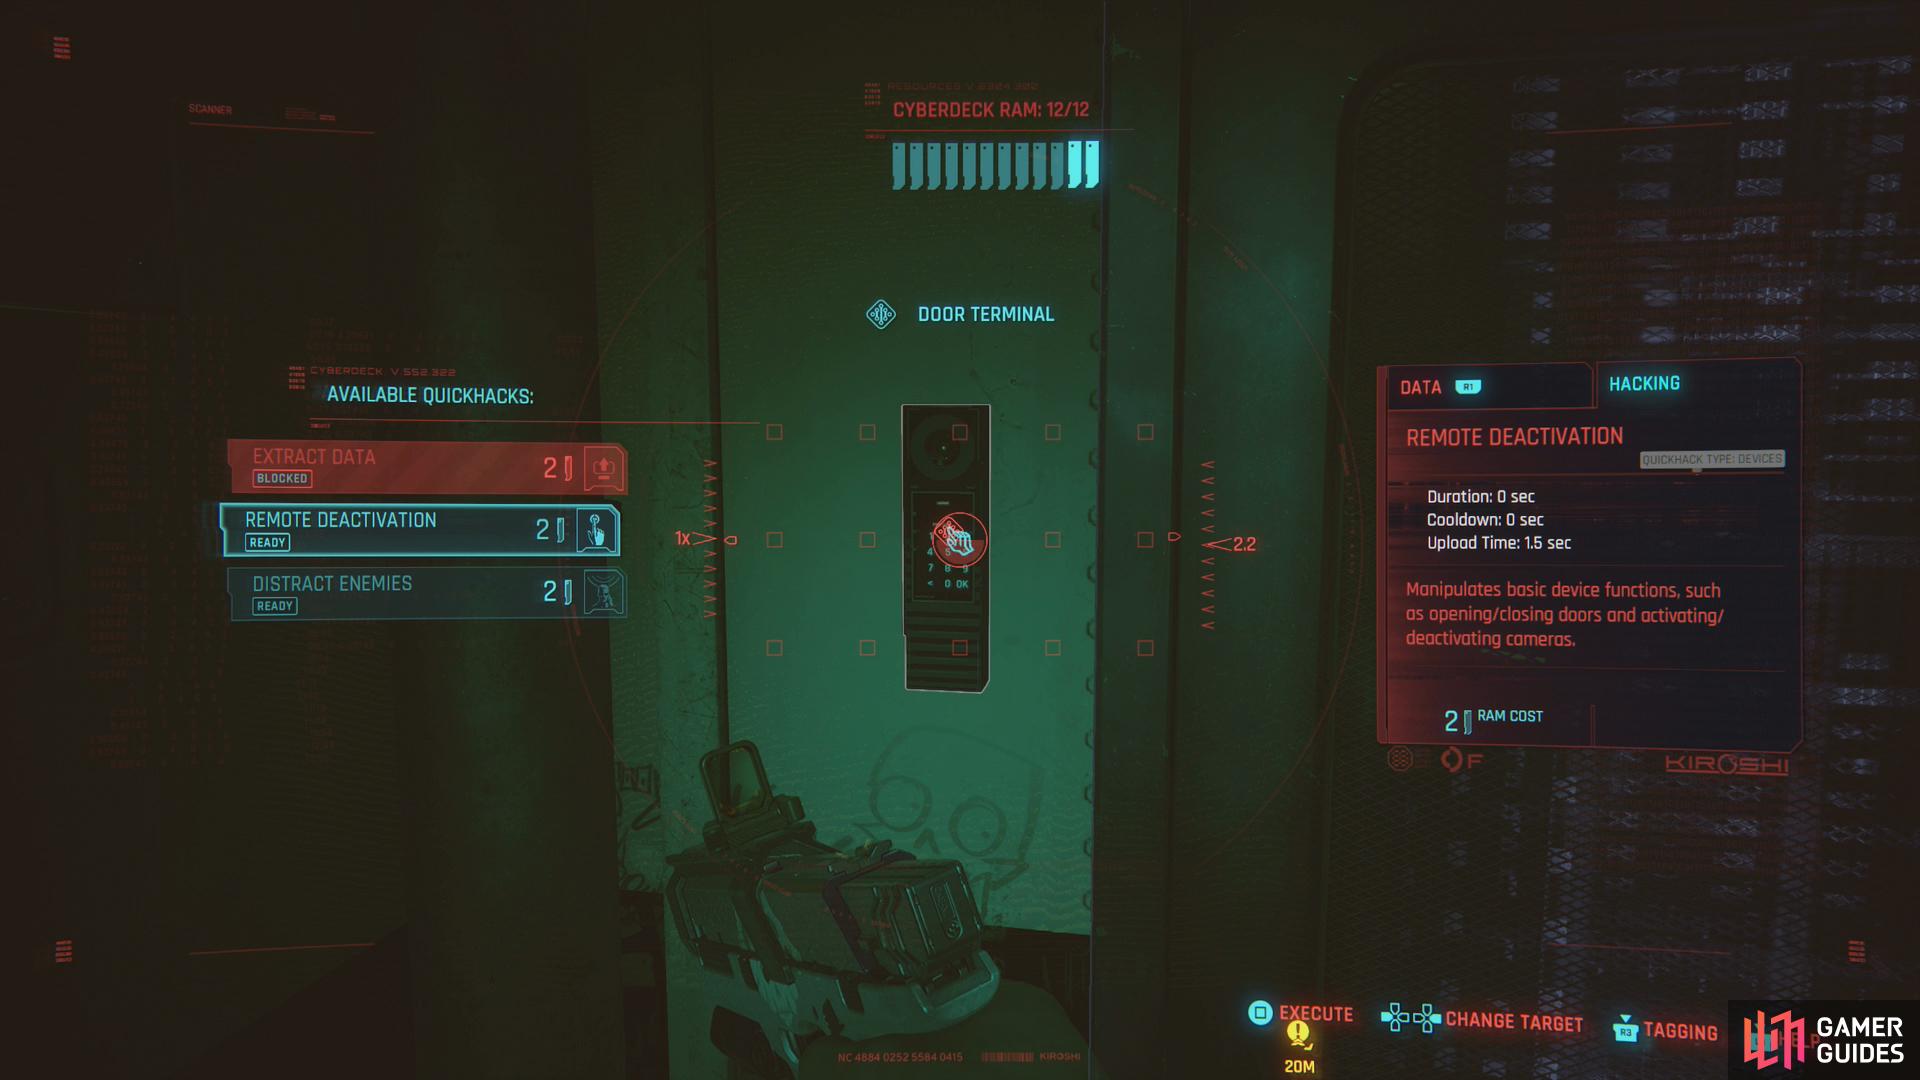
Beyond this door you’ll find Brick, who is being held captive after Royce’s coup. If you want to free him, scan the door terminal (on the wall to the left of the door) and use the “Remote Deactivation” quickhack. That gets you in, but doesn’t get Brick out, as he has the undivided attention of a Laser Mine. Either scan it and use the “Remote Deactivation” quickhack again, or exit the room Brick is in, go through another door to the left and immediately turn left to find a detonator, which you can use to [Disarm charge] and free Brick, or [Set off charge] and send Brick off with a bang. If you disarmed the mine, talk to Brick and he’ll promise some unspecified help at an undetermined point in time in the future. To be fair, he doesn’t really have a ton of options right now.
Leave the room Brick was trapped in and head downstairs, then keep going to find a door leading to a large room crawling with enemies - including a Netrunner. Lots of eyes in here, including cameras, and the different elevations and obstacles are sure to make a pure firefight somewhat hectic. You’ll likely find the Netrunner along the right-most end of the room, near the elevator - try to take him out as soon as possible, as he’ll constantly hit you with Overheat quickhacks if you don’t… assuming he (or a camera) can detect you, that is.
Clear the room, then cross it, using some stairs (or jumping) to reach an elevated walkway on the far side of the factory floor. Go through a door then turn right up some stairs to find a Maelstromer with his back to do. Deactivate a pair of cameras in the room beyond, then take down the chromed-up ganger, hiding his body out of sight. On a counter to the right you’ll find a terminal that controls the security ahead, including the cameras, but it’s safer to just quickhack them if at all possible so you don’t have to worry about them during the takedown. Loot around, then drop off the ledge the Maelstromer was standing near… perhaps after picking off some more gangers from afar if your build and gear allow it.
There should only be two gangers and two cameras in the room ahead, but in a larger room to the left you’ll find more foes, and alerting the enemies below you will probably alert the ones in the adjacent room, as well, including another troublesome Netrunner. This second Netrunner can be found up some stairs to the left, a pretty easy shot if you can scan and tag him. Dispatch the three Maelstromers in this room (including the Netrunner) and the camera, then note a door opposite where you entered. You’ll need Tech 6 to get in, and while there’s some minor loot to be had, it’s not worth spending attribute points on.
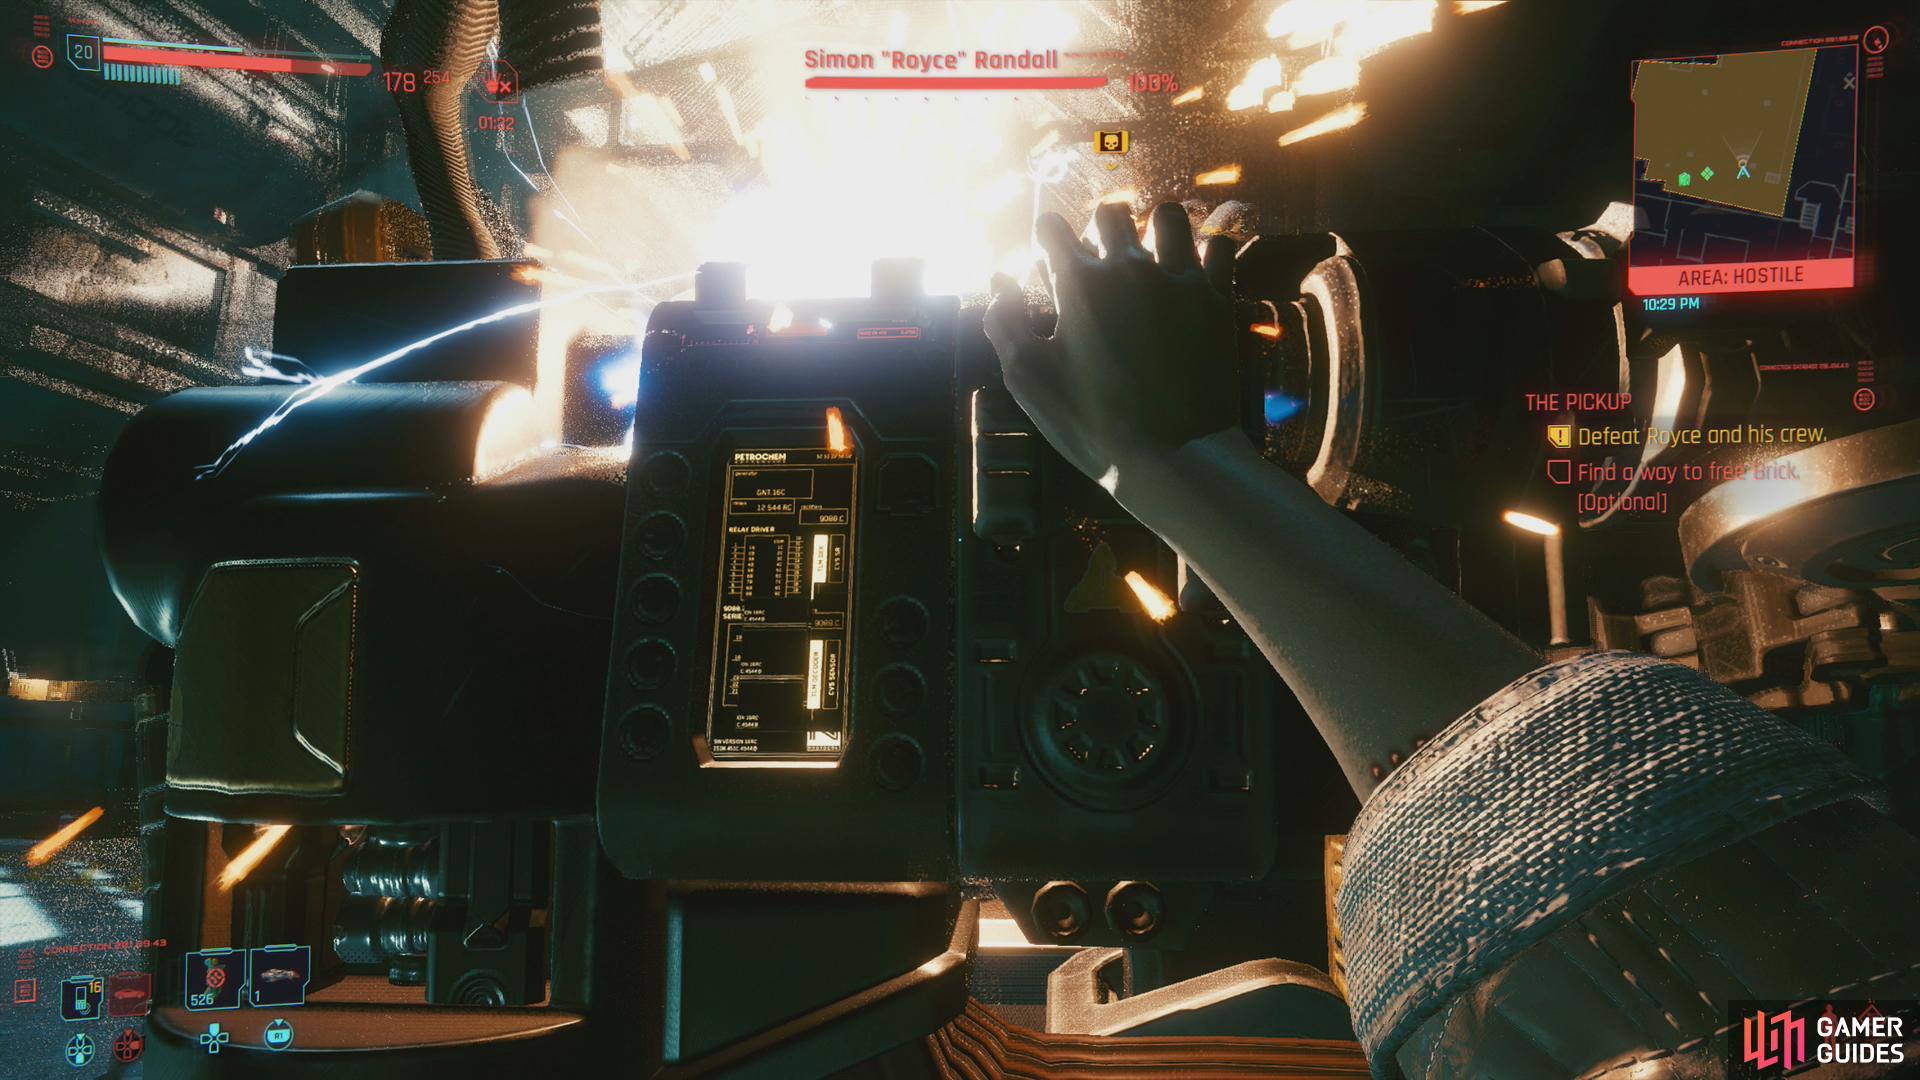
(1 of 4) Starting out the fight with Royce by performing a takdown will reduce his HP to 75%.
Boss: Royce
When you’re ready to move on, head up the stairs to reach the platform where the Netrunner roosted and go through a door to reach a large warehouse, where your opposition will vary. Depending on the actions you took earlier. If you dispatched Royce earlier, he won’t be here, obviously, being replaced by a handful of unimpressive thugs. If you didn’t take care of Royce earlier (you gave the Maelstromers the Militech Datashard without removing the malware, for example) you’ll have to fight Royce, who brought some heavy armor to this battle.
If Royce isn’t around, you don’t need much help here - just gun down his goons and you’ll be able to waltz out of the warehouse. It’s also worth noting that you should be able to sneak as soon as you enter the room without being detected. If you don’t want to fight Royce at all, you don’t have to - from the door turn right and follow the walkway until you reach a locked door. Drop down to the warehouse floor here and sneak along the wall to the right, round a corner and find an exit. As long as you didn’t alert anybody, you should be able to just walk out.
Should you decide Royce needs a beating, that’s a simple enough feat. If you’re stealthy, try to sneak up on him to perform a takedown. You won’t kill him, but your sneaky sabotage will reduce his HP to 75% right off the bat. As for the fight itself, you don’t want to trade shots with Royce out in the open, so get behind a pillar and circle around it, picking your shots. Aim for his head, as the armor he’s wearing mitigates or negates most damage. If you need more firepower, you’ll always find a rare-quality Defender (light machine gun) on a crate in the warehouse.
If you dispatched Royce here, be sure to loot his body, as he’s busting with eddies, has a legendary Spiked MAELSTROM short-sleeve jacket and the iconic pistol Chaos - currently rare quality, but you can upgrade that later.
Defeating Royce doesn’t necessarily mean killing him, as he’ll still be alive in his wrecked suit of armor. If you want to finish him off, do so. If Militech is waiting outside, they likely don’t have anything nicer planned for him.
Whether you finish off Royce or not (if indeed you even had to fight him here), leave the warehouse and you’ll either find Meredith waiting for you (if you made a deal with her) or… nothing. Exchange banter with Meredith if she’s there, and if you learned who the mole was during your escape you’ll make her especially happy. Afterwards, talk to Jackie and when he leaves you’ll get a call from Dex checking up on your progress, after which this job will finally end.
If you haven’t already done so, now is the time to take care of the main job The Information. If both The Information and The Pickup are now complete, it’s time to put your plans and hard-won resources into action by starting The Heist.
No Comments