
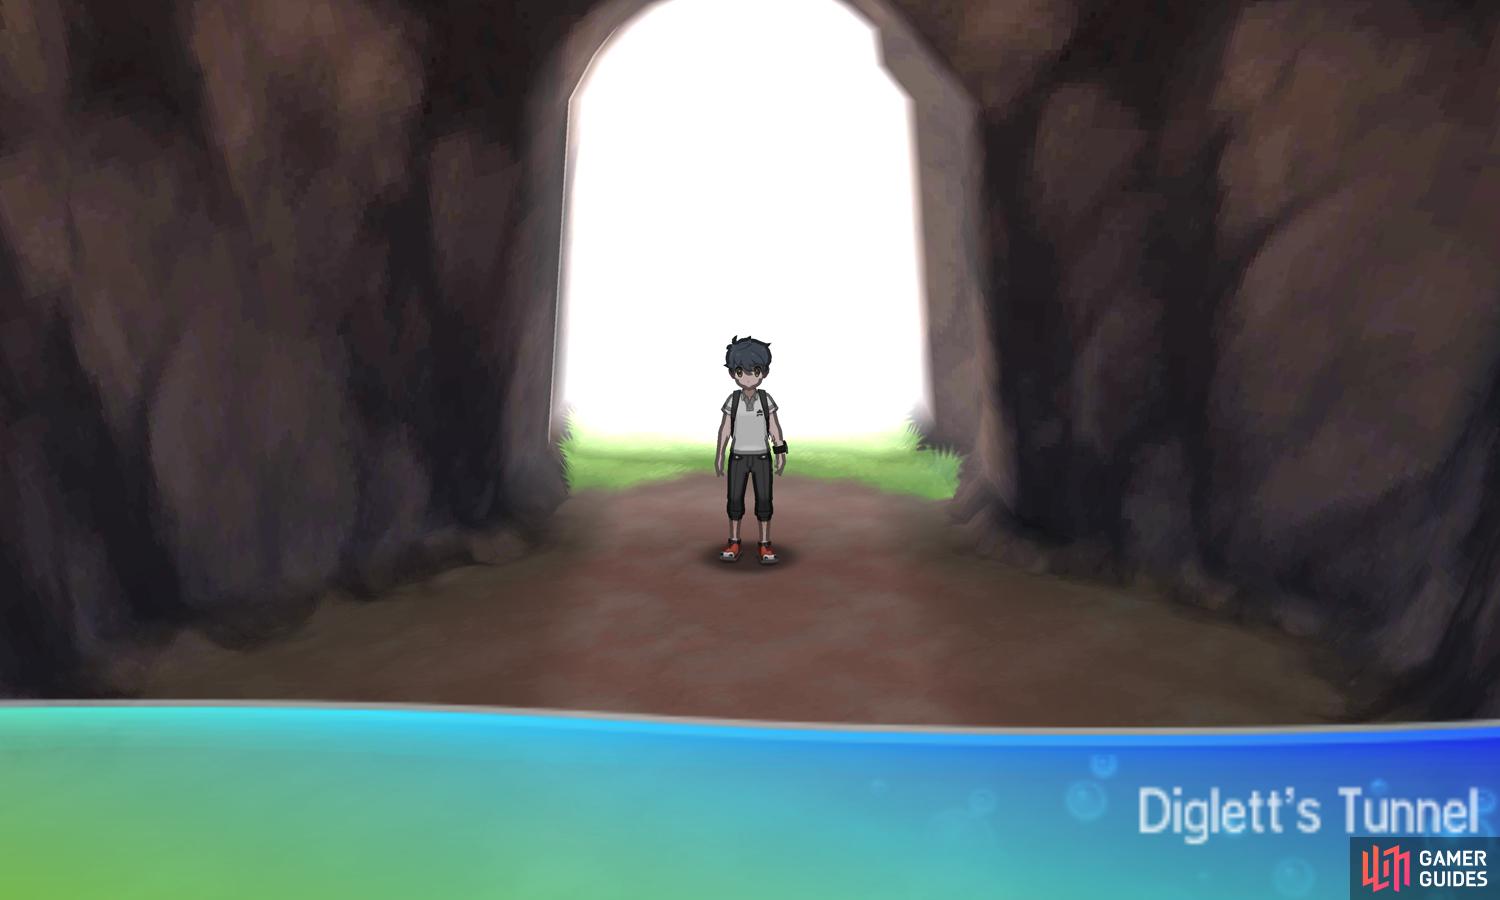
This tunnel is a bit more complex than its Kantonian counterpart.

Pokemon Encounters - Diglett’s Tunnel
| Name | Type(s) | Location (Rate) |
|---|---|---|
 Zubat Zubat |
Poison/Flying | Walking everywhere (60%) |
 Diglett (Alolan) Diglett (Alolan) |
Ground/Steel | Walking everywhere (30%), rustling spots (100%) |
 Larvitar Larvitar |
Rock/Ground | Walking everywhere (10%) |
This passageway that connects Heahea City with Konikoni City shares its name with a similar connecting tunnel in the Kanto region. As you enter, head south to bump into Kahuna Olivia. Don’t worry, it’s not time for the Grand Trial just yet! If you show her your 3 new Z-Crystals, she’ll let you explore the tunnel.
Start by following the tunnel south, until the path branches out towards the west and the east. Head east first, along the narrow path. Soon, there will be another fork in the path. Heading along the upper path will send you straight towards a Pokémon trainer, while going along the lower path lets you avoid a confrontation.
Worker Frank
| Pokémon | Level | Type |
|---|---|---|
 Shieldon Shieldon |
22 | Rock/Steel |
This fossil Pokémon has two double weaknesses: Fighting and Ground. It’s no wonder they died out–even just a single double weakness can be difficult to work around. Besides those two Types, it’s weak to Water as well.
Either way, head east from the trainer and grab the Dusk Ball in the nearby corner. To the south is a dead end, or rather the exit side of a ledge. Return to the initial fork south from the entrance, then begin heading west. Call  Stoutland and have it sniff around the nearby rocks for a well-placed Escape Rope.
When you reach the corner, search the rocks along the corner of the wall above for a hidden X Attack. Next, switch over to  Tauros. To the north-west are a set of stairs leading up. Before going that way, approach the rocks above the stairs and smash them silly with Tauros. Follow the path behind the stairs for a Fire Stone.
This elusive stone can be used to evolve  Growlithe, as well as
  Eevee into the Fire-type
  Flareon. Go back around and climb the metal stairs. Along the way, you’ll bump into the Aether Foundation employees speaking with Olivia earlier. Afterwards, follow the slope south, then east as it bends. Stop when you reach the wheelbarrow.
Pick up the Hyper Potion next to the wheelbarrow. If you’re looking for more Pokémon battles, head directly south, through the narrow path. On the other side, there’s a burrowing Pokémon circling a rocky mound clock-wise. Carefully make your way west past the mound, then head north at the next corner.
At the end of the path, there’s a huge boulder to the left that you can’t do anything about. Meanwhile, to the right is a Pokémon trainer blocking access to a ledge that you can do something about.
Worker Jeff
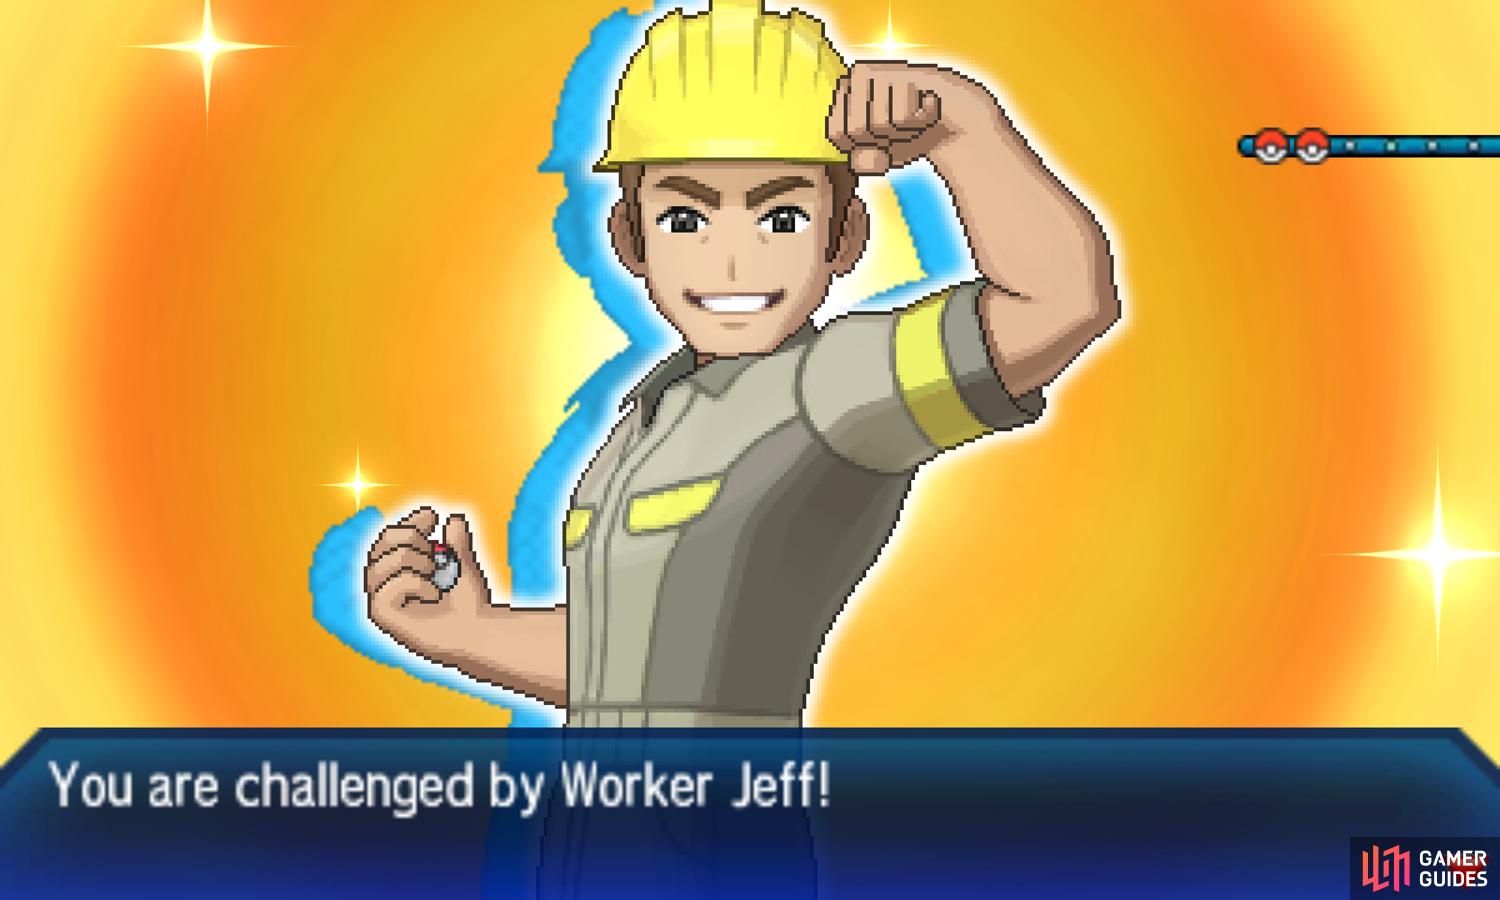
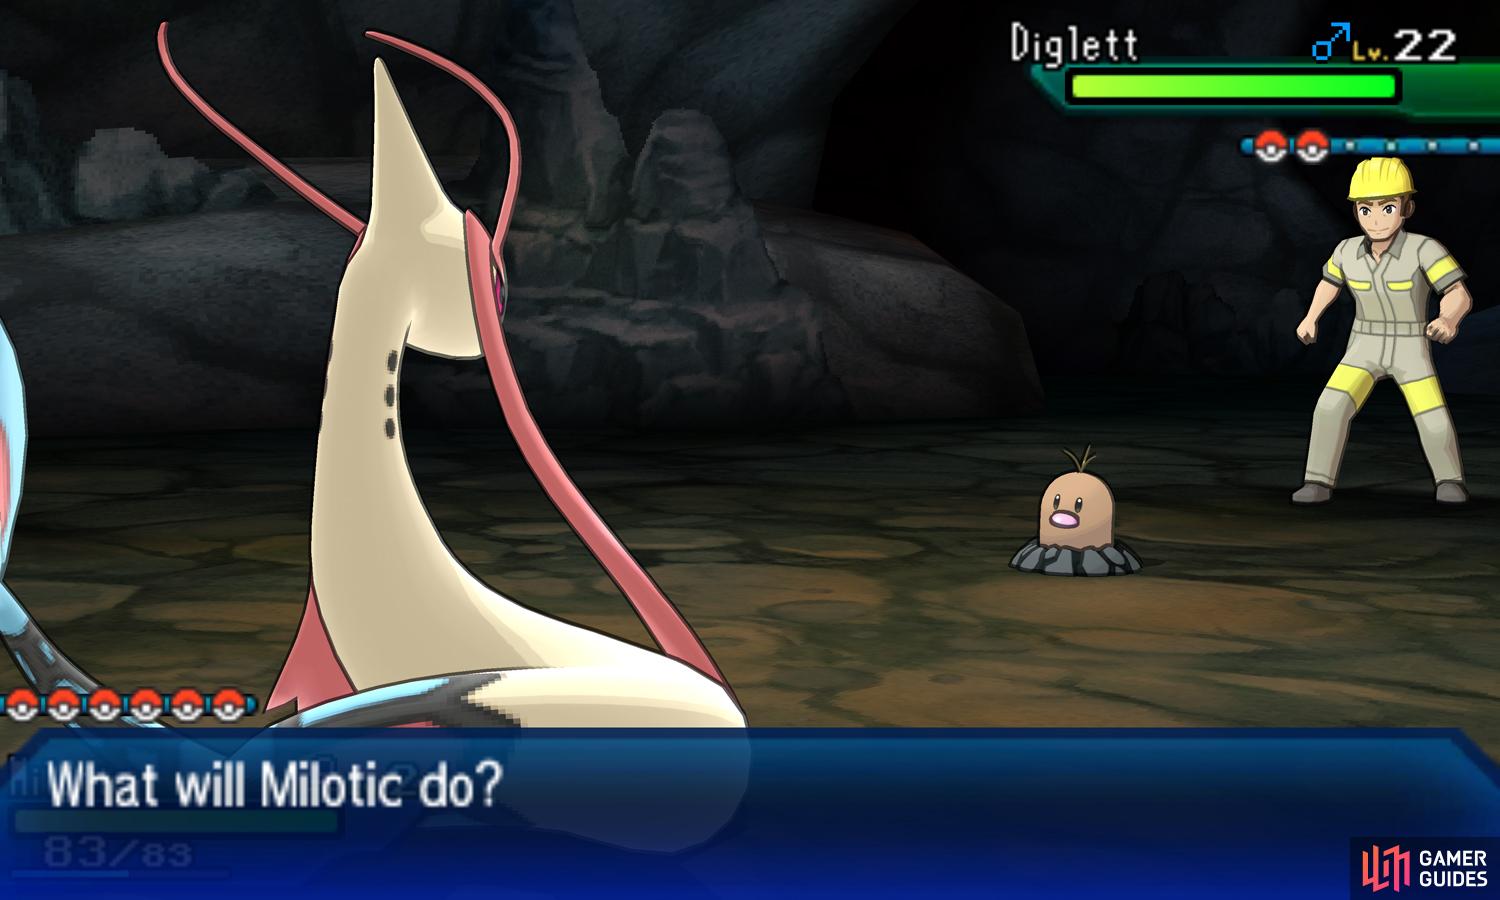
Make no mistake, this worker loves Diglett so much, he’s brought along two of them! By now, you should know these moles well. But to refresh your memory, they’re weak to Water, Fire, Ground and Fighting.
Jumping from the ledge east from Jeff will take you back to the top of the stairs, where you can easily return to the wheelbarrow with the nearby Hyper Potion. From here, carry on east. As the path begins to widen, slow down. Towards the east, there’s a bunch of rocky mounds being patrolled by a worker.
He slowly moves around in a anti-clockwise direction. When he’s near the south-west corner, quickly head along the north side of the rocky mounds. Search the crate to the right of the wheelbarrow for a hidden Nugget. Then go anti-clockwise around the rocky mounds yourself to avoid the trainer. Or run east to catch his vision.
Worker Vaclav
| Pokémon | Level | Type |
|---|---|---|
 Archen Archen |
22 | Rock/Flying |
An actually terrifying fossil Pokémon, at least when evolved. It has boasts high Speed and Attack, so you’ll want to hit it with strong super-effective Water, Electric, Ice, Rock or Steel-type moves. When its HP falls below half, its offensive stats plummet.
Regardless, head south-east from the rocky mounds to reach the tunnel’s exit. For reference, heading directly east leads to a narrow path with a ledge, which you can use to return to the area with the Dusk Ball. Anyway, before you can leave the tunnel, you’ll need to get past a pair of Team Skull fools.
Team Skull Grunt and Team Skull Grunt
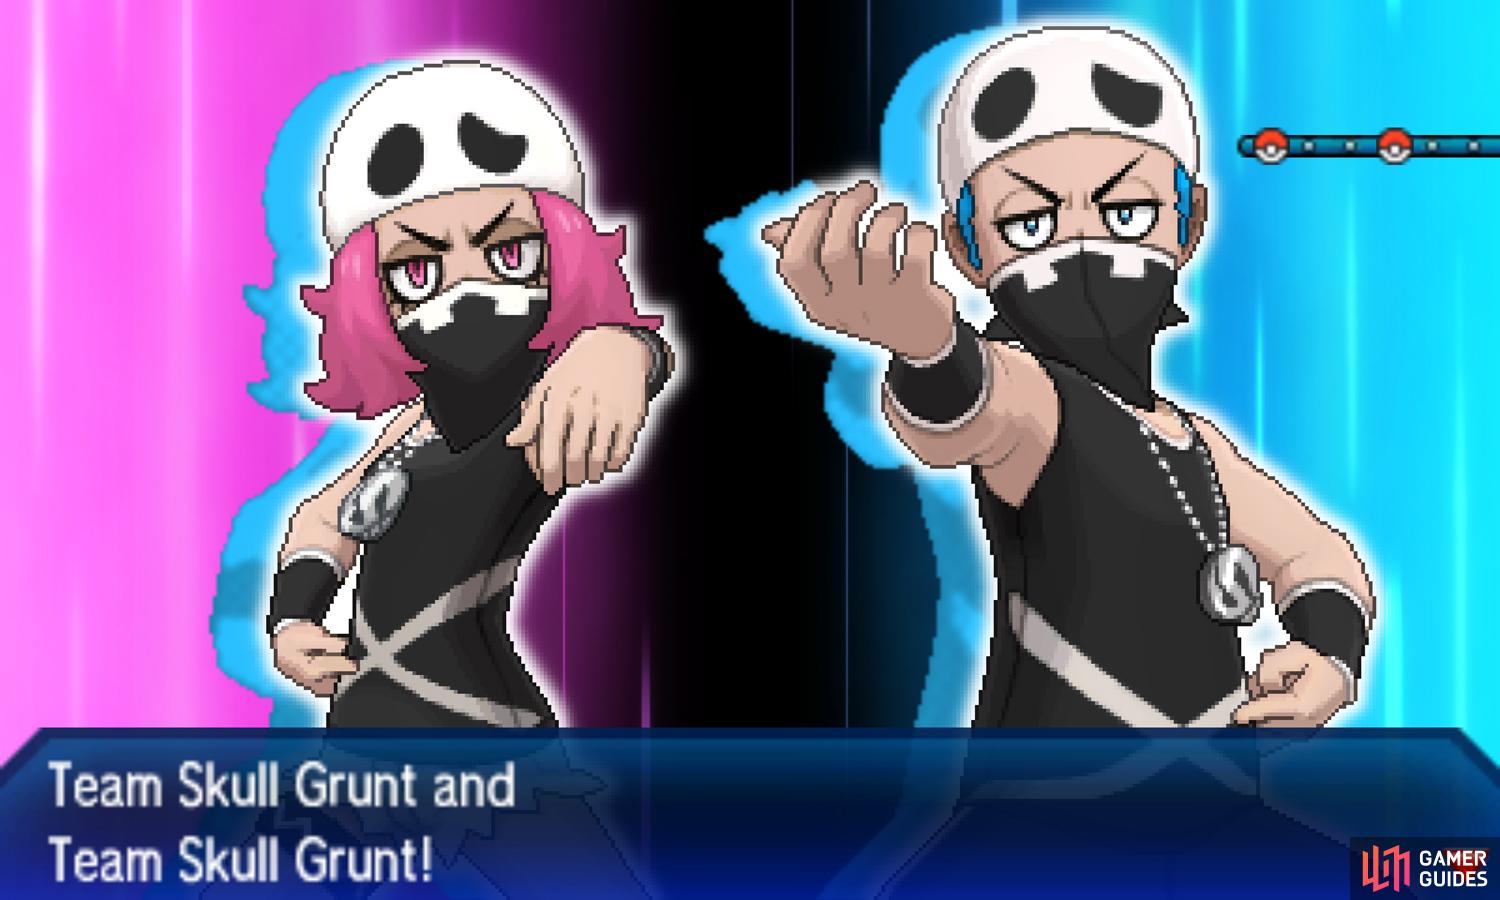
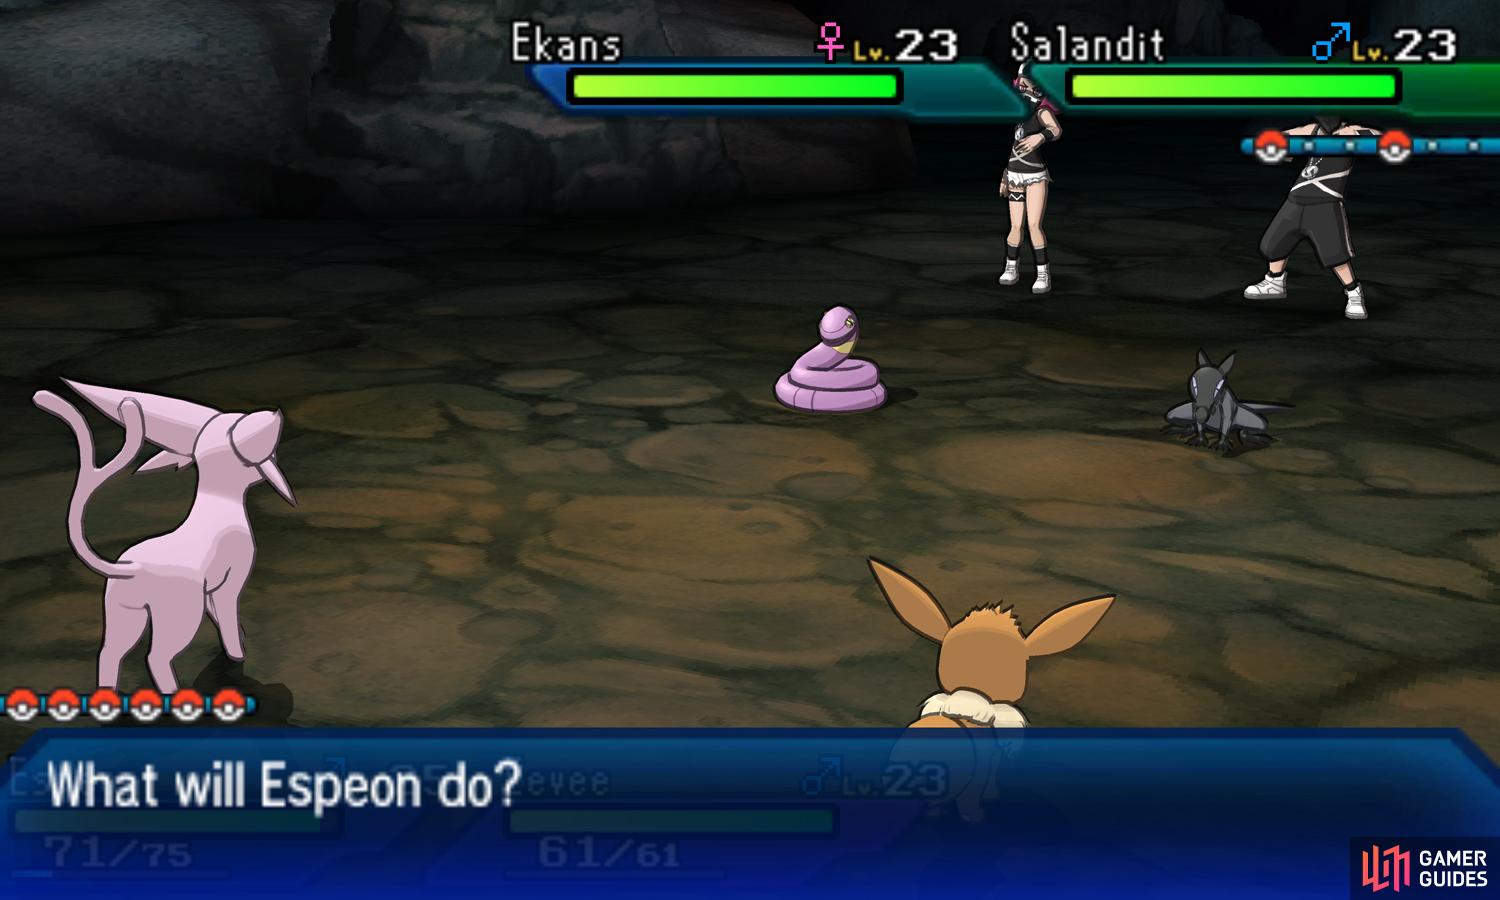

A pair of deadly Poison-types, although not literally deadly since they’re both unevolved. You’ll be facing both trainers in a Multi Battle with Hau as your partner, using his Eevee to begin with. Obviously, Psychic and Ground-types are ideal, and Water or Rock-types for  Salandit.
Teach Team Skull you’re not messing around and you’ll receive a Max Ether from Hau. Afterwards, you may leave the tunnel to reach Route 9.
No Comments