
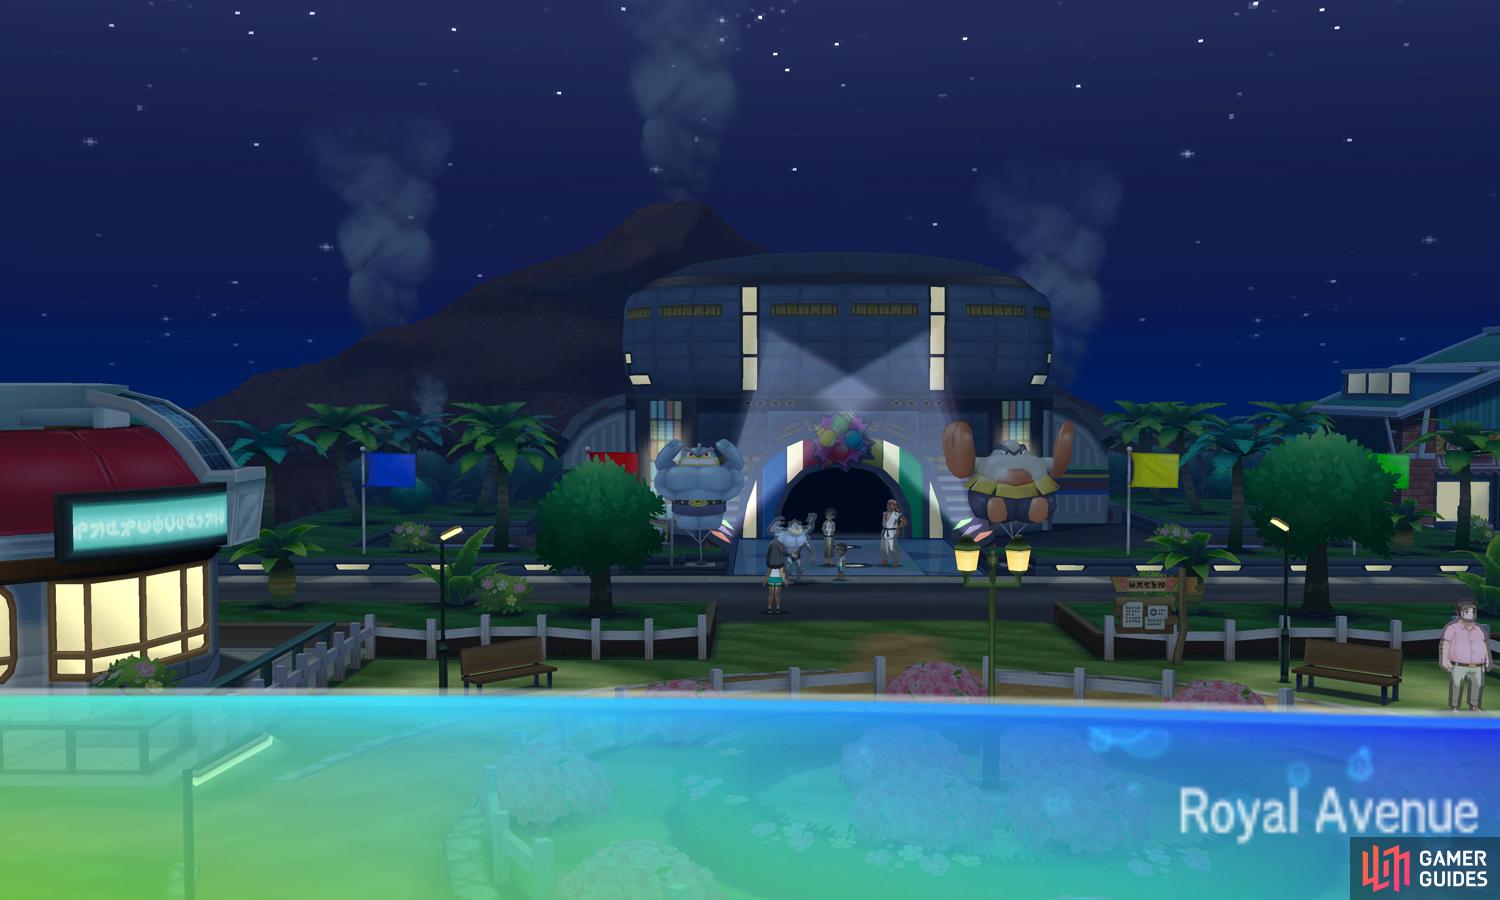
There are no castles or palaces, but one very big Battle Royal Dome.
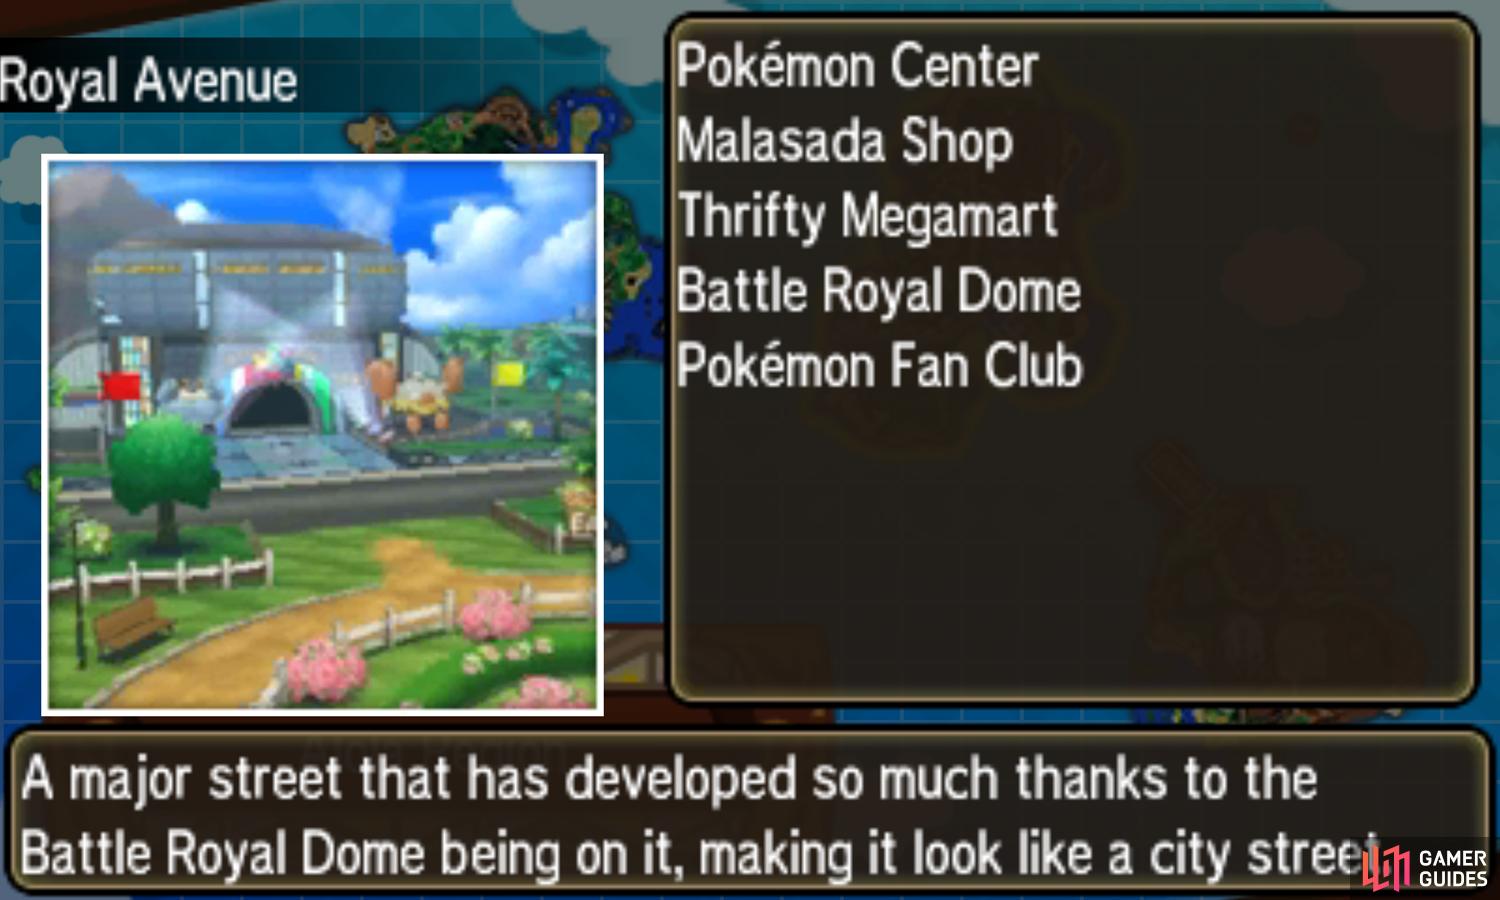
Accessed by heading east from Route 6, this lively area is where Pokémon trainers come together to participate in tension-filled Battle Royals. You’ll also need to pass through here to reach the next island trials. Without further delay, head east to visit the Pokémon Center, where you can prepare for the journey ahead.
Of note, the right Poké Mart clerk is selling a variety of weather-based TMs. They are extremely pricey though, so you may want to return when your wallet is bulkier. Or you could sell some of the shiny items gathering dust, like Pearls and Stardust.
Back outside, there’s a small park area east from the Pokémon Center. Sitting on the bench in the north-west corner is a young lad who needs a confidence boost. After reaching certain milestones in the story, you can chat to him and share your story of courage. The final milestone is right after unlocking Ultra Warp Ride.
Next to the boy, towards the north-west side of the central flower garden, there’s a glowing spot that yields Pink Nectar.
A second Pink Nectar can be harvested from the opposite side. Also, there’s a Photo Spot towards the south side of the garden.
If you defeated Actor Meredith back in Melemele Meadow, she’ll be standing next to the flower garden’s east side. Like before, you can challenge her and her Oricorio partner.
Actor Meredith
| Pokémon | Level | Type |
|---|---|---|
 Oricorio (Pa’u) Oricorio (Pa’u) |
18 | Psychic/Flying |
This Oricorio is the same as the one used by Dancer Maika on Route 6. In case you need a reminder or skipped that battle, the Pa’u Style Oricorio is weak to Electric, Rock, Ice, Dark and Ghost-types. That’s a lot of weaknesses to choose from.
After watching Meredith’s performance, she’ll disappear towards her next stage. Before you disappear yourself, check the back of the bench in the south-east corner for Totem Sticker #034. East from here is a malasada shop. Inside, you can order Sour or Dry Malasada for your Pokémon to eat-in or a Big Malasada to take out.
To the left of the counter, there should be a waitress and her  Pyukumuku trying to win the award for “Most Enthusiastic Employee of the Century”. If you have Moomoo Milk, for example from Paniola Town, hand it over to get a Big Malasada for free (and to make her be quiet again).
Below the malasada shop is a fountain surrounded by benches. Search the south of the fountain for a Rare Candy. If you have a Protein in your possession (you can buy one from the Battle Royal Dome), inspect the fountain itself. You’ll accidentally drop your Protein and a janitor will appear from the fountain, asking if the Protein is yours.
Answer truthfully and he’ll return your Protein and give you a free Iron. If you lie, you’ll get your Protein back after watching a… rather peculiar show, but no freebie. Further east is a new building–the Pokémon Fan Club. If your Pokémon has a high Affection stat (via Pokémon Refresh), the fan club president will give you a special frame.
Having inspected this corner of the avenue, return to the park area and head directly north towards the Battle Royal Dome. Before stepping inside, follow the road west towards the north-west corner of the avenue. Over here, there’s a small path you can go through; at the end is an Ultra Ball. Now enter the Battle Royal Dome.
Battle Royal Dome
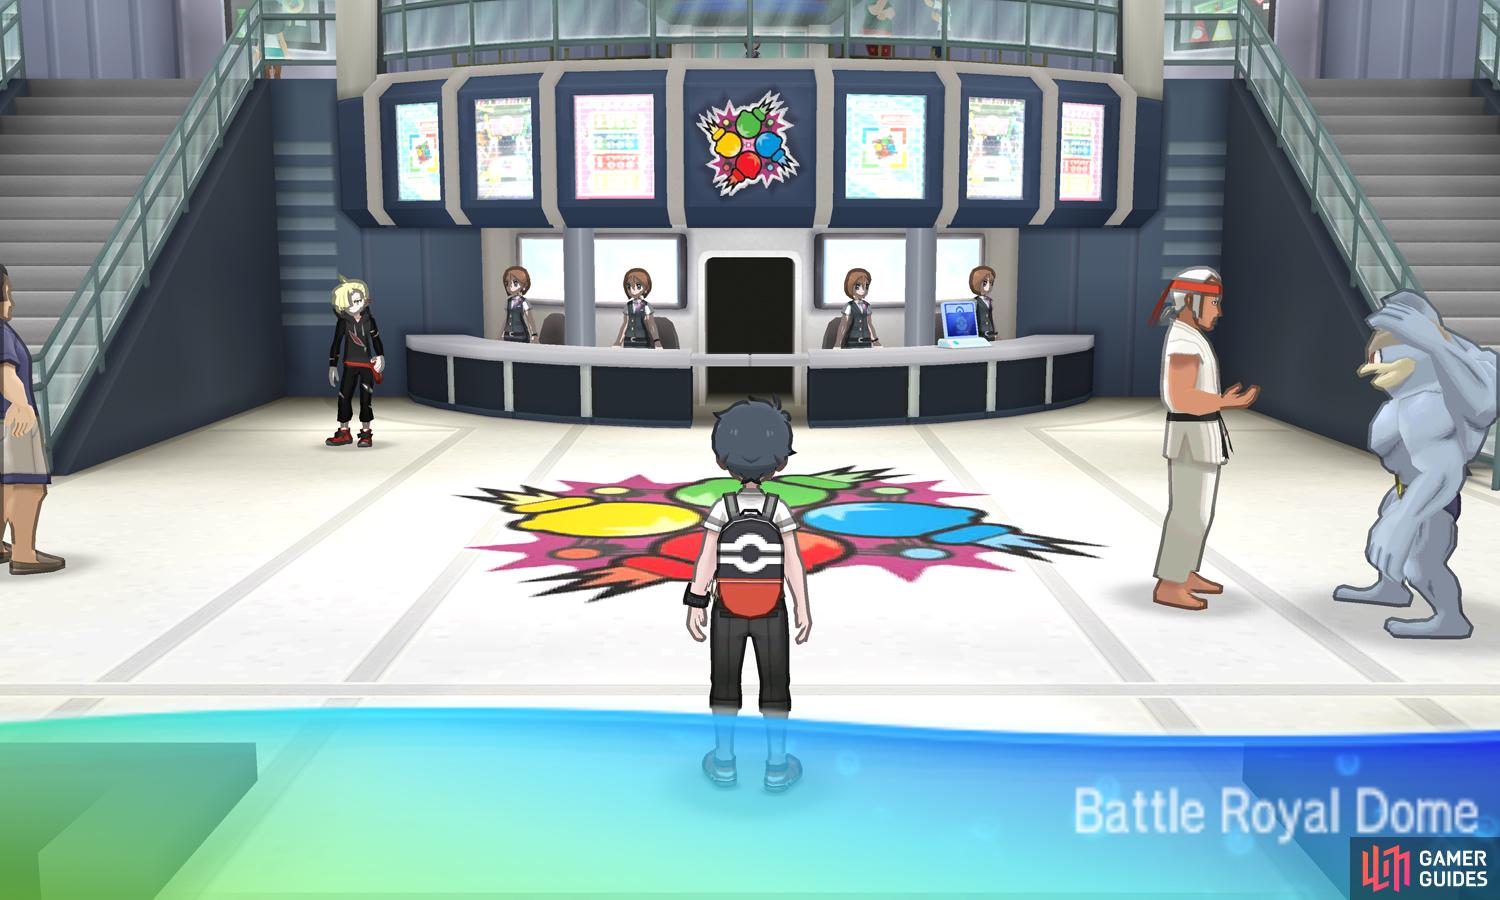
There are rumors of a Professor who spends too much time here.
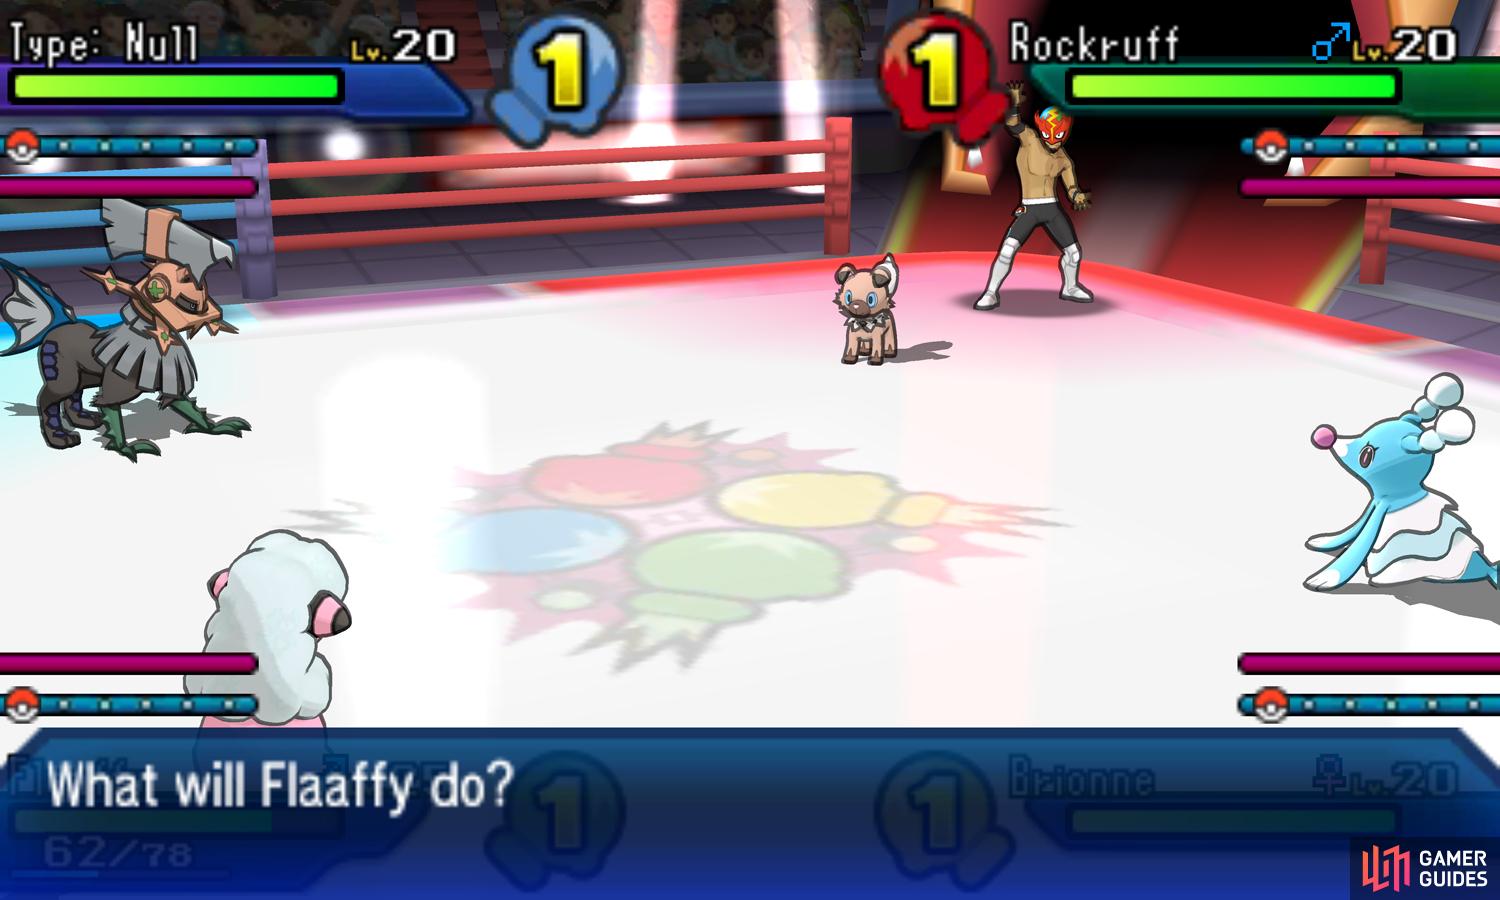
Approach the reception area straight ahead to be greeted by the Battle Royal Dome’s top celebrity, Professor Ku–sorry, the Masked Royal. Seeing you all excited, he immediately signs you up for a practice Battle Royal. You’ll be up against the Royal himself, Gladion and Hau in a 4-person free-for-all chaotic battle.
The results of the battle are unimportant, so just try to have fun. The Royal uses his trusty  Rockruff, Gladion has his partner
  Type: Null and Hau has the middle evolved form of his starter Pokémon. You’ll send out the first Pokémon in your slot, so hopefully you brought out something decent. The battle ends once any Pokémon faints.
After that thrilling brawl, you can leave the dome or go around exploring. To participate in a proper Battle Royal, you must check in with the receptionist to the left of the PC. The other 3 receptionists let you exchange Battle Points (BP) earned here or elsewhere (such as from  Mantine Surf) for rare items.
While you’re here, head for the west side of the ground floor. At the far end, to the left of the stairs is Totem Sticker #035 gleaming in the distance. Next, go up the stairs to the top level. Here, make your way to the far east, just above the east stairs. On the corner of the see-through barrier, you’ll find Totem Sticker #036.
Once you’ve had your fill, exit back to the avenue. Outside, follow the road east towards a car park. Make your way to the south-east corner where a punk pair are squatting. Search the corner south-west from the playful  Murkrow to find a hidden Soda Pop. Did the punk pair drop this? Moving on, go north towards the exit to Route 7.
Thrifty Megamart
You’ll be encouraged to shop until you drop.
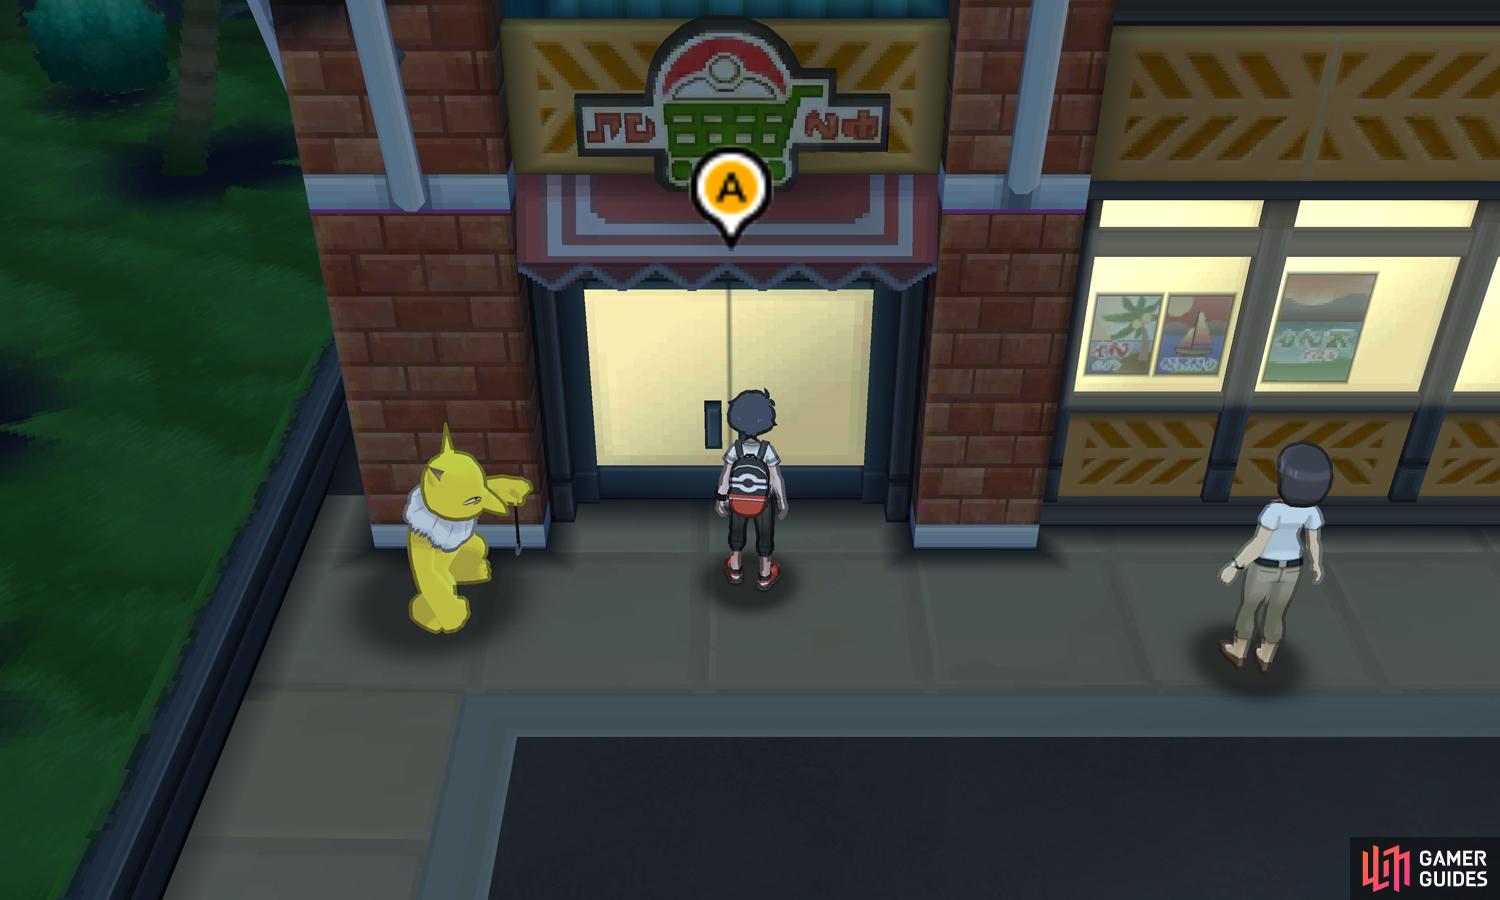
Just before the exit, there’s a large supermarket on the left, above the car park–Thrifty Megamart. Go through the narrow path between the east side of the supermarket building and the railings. On the other side, peel off Totem Sticker #037 stuck on the pillar. Also be sure to grab the HP Up lying on the floor behind the building.
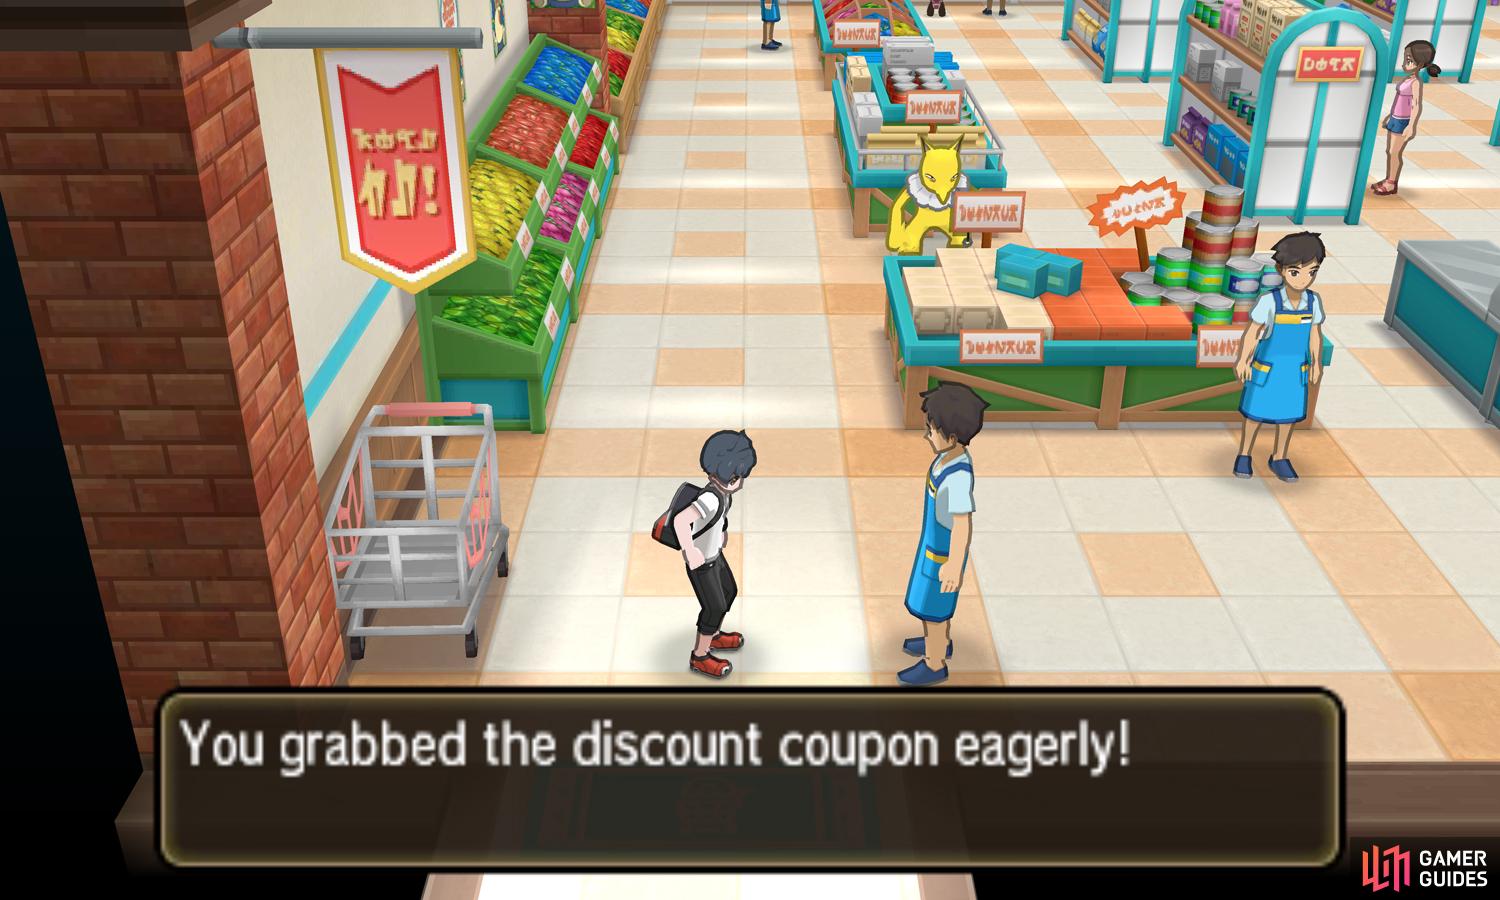
Whether you want to shop or not, head inside Thrifty Megamart itself, ideally from the eastern door. Each time you enter, you’ll be handed a special discount coupon. From the eastern entrance, go north along the aisles. Over in the frozen section, you’ll bump into the owner of the  Drifloon from earlier. Say “hi” to receive a Lemonade.
Near the western entrance, a store clerk is offering a free berry once per day. Can’t say “no” to freebies! Just above him is a  Hypno asking for donations. If you have 1,000 Poké Dollars to spare, give it to the Hypno. You’ll receive TM44 Rest for your kind gesture. To actually buy things, you must head for the checkout counters.
The left-most checkout counter isn’t operational right now, but the other three work fine. Going from left to right, you have the Poké Ball store, the healing item store and the souvenir store. Anything you buy, you’ll receive a 50% discount afterwards. However, this discount cannot be combined with Roto Bargain.
After you’ve finished shopping to your heart’s content, or merely window-shopping, exit Thrifty Megamart. Then leave via the passageway to its east.
No Comments