
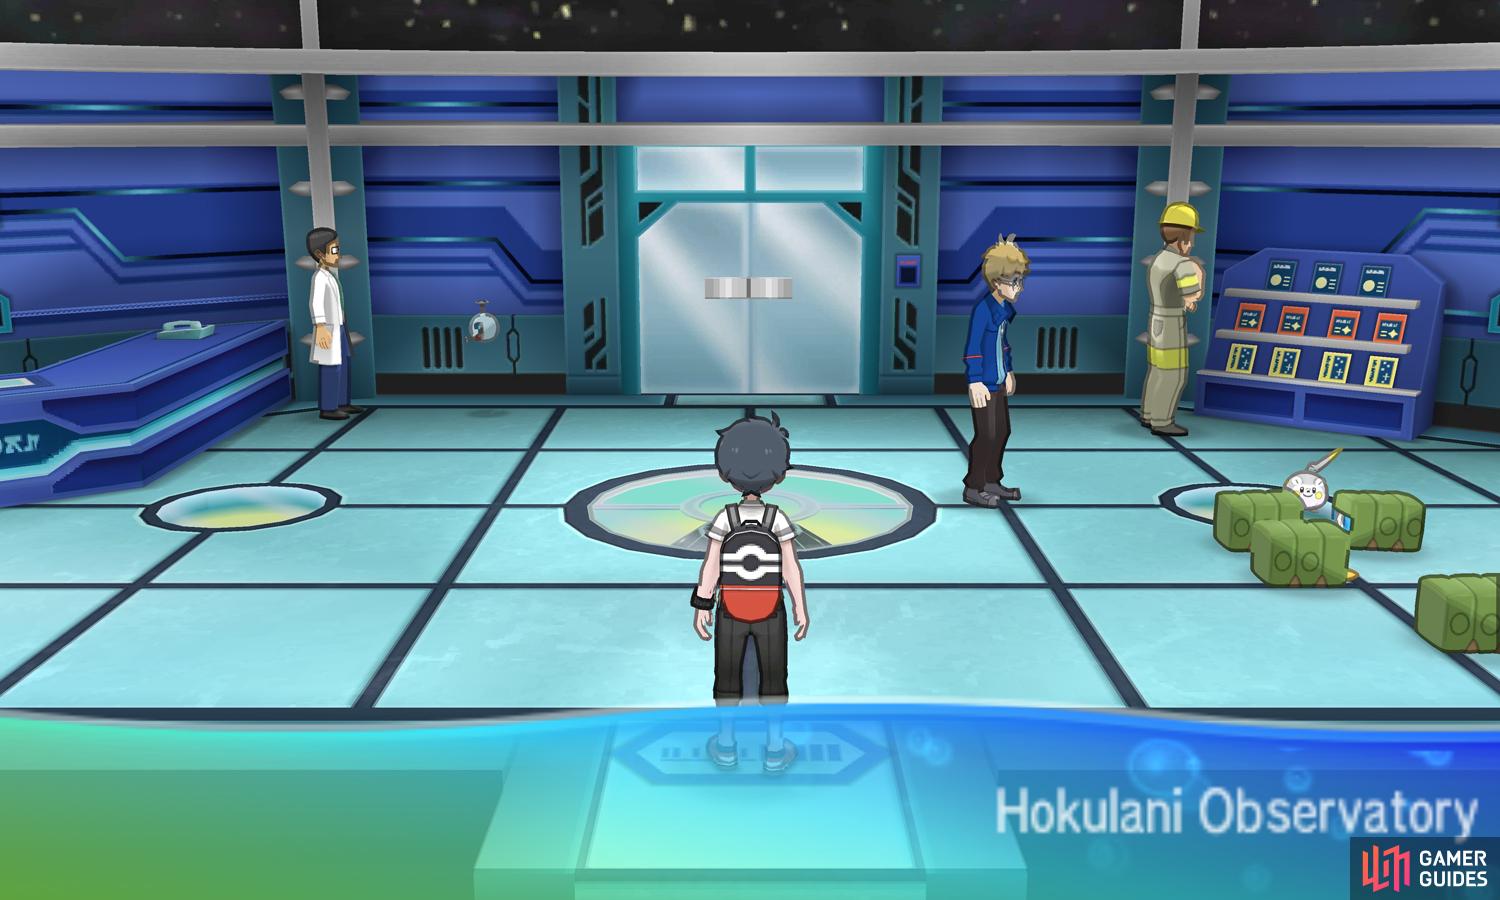
Here, the astronomers of the Pokémon world look upon the stars.

This high-tech stargazing facility is where you’ll undertake the 5th island trial, the Electric-type trial. As you should know, Electric only has one weakness: Ground. Notable Ground-types include  Diglett,
  Mudbray and
  Barboach. All of these should have evolved by this point; if not, you should do some last-minute training outside.
Anyway, there are still things to do before the trial begins. From the entrance, head over to the visitor’s desk towards the west. Speak to the intellectual-looking fellow behind the desk to receive a valuable Comet Shard. Then go behind the desk yourself and peel off Totem Sticker #061 to his right.
Next, make your way to the east side of the foyer, where there’s a man in a white coat staring at the screen. Speak to him and he’ll surprise you with an astrophysical question. No matter how you respond, you’ll receive some Stardust. For your information, the correct answer is 2.5 (we won’t bore you with the complicated Maths).
Afterwards, go through the sliding door in the center. You’ll emerge in a strangely sloppy corridor. To begin with, head west along the corridor, being careful not to trip over the boxes, or as we call them–fire hazards. At the far end, there’s a  Magnemite lounging around. Search the box below it for Totem Sticker #062.
Trial, Begin…? Or Not
Now head east back towards the center of the corridor, then enter the sliding door opposite the door you came from. On the other side, Captain Sophocles awaits, except the Pokémon he need aren’t ready. While you’re here, go north-east from Sophocles and search the box below the ladder to find Totem Sticker #063.
To continue, exit the observatory building the way you came. Outside, Molayne will ask you to look for three missing  Charjabug. Go over to the empty lot opposite the entrance of the Pokémon Center, which you can enter via the gap in the fence. Search the three mounds inside the area to round up two of the missing Charjabug.
For the last one, start to walk back towards the observatory entrance, then turn left and keep going behind the bus. At the far end, you’ll find the final missing Charjabug near the bus operator. After the critters have all been gathered, you’ll be automatically taken to the room where the trial will be held. When ready, proceed inside.
The Actual Trial
The first portion of the trial involves some literal puzzle-solving. In front of you is a 3 times 3 grid with 3 Charjabug that you need to arrange into a line. At each of the four corners, there’s a button that you can press to to rotate the nearest 4 squares anti-clockwise. You are allowed to press the buttons as many times as you want.
If you somehow get hopeless stuck, you can speak to Sophocles to reset the Charjabug’s positions, by choosing the “Reset the panels” option. For your convenience, we’ll provide the solutions, although you can ignore them and try the puzzles yourself. The directions correspond to the button that you need to press.
After solving each puzzle, you’ll be attacked by an Electric-type Pokémon. First it’ll be a  Elekid, then a
  Electabuzz and finally the Totem Pokémon. Before completing the next puzzle, you’ll have the freedom to save and use items on your Pokémon etc. So don’t hesitate to do so, especially before finishing the third puzzle.
Totem Pokémon
| Pokémon | Level | Type |
|---|---|---|
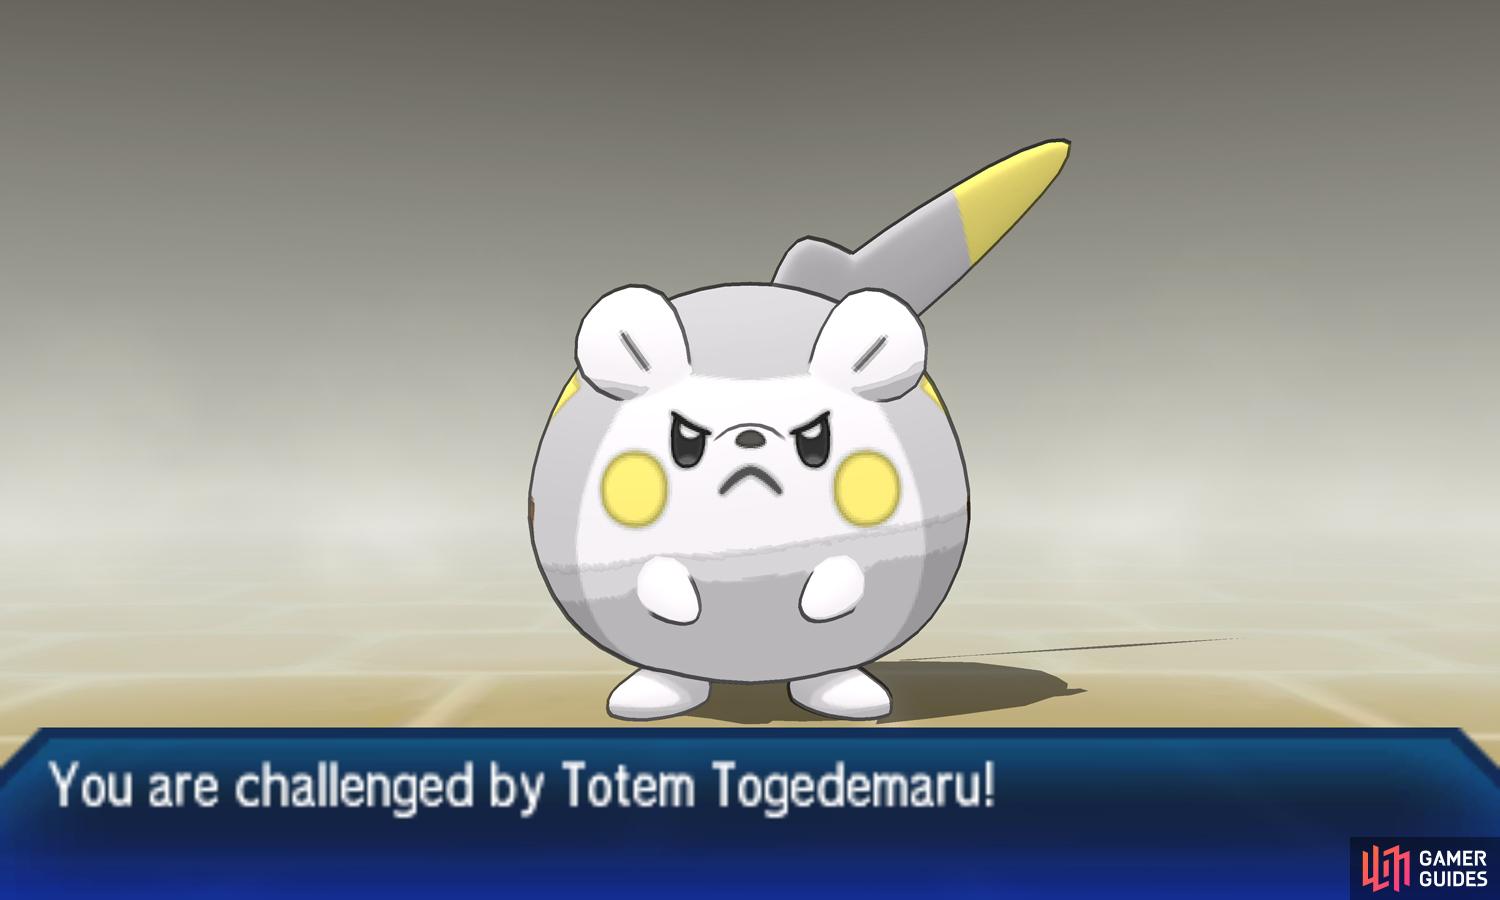
 Togedemaru Togedemaru |
33 | Electric/Steel |
In place of the original Totem  Vikavolt, you’ll be facing an oversized, spiky furball. Despite its cute–if slightly grumpy–appearance, it’s no less of a threat. For this battle, Ground-types will be your best friends, because they deal 4x damage to the Totem, and Fire and Fighting-types are useful as well.
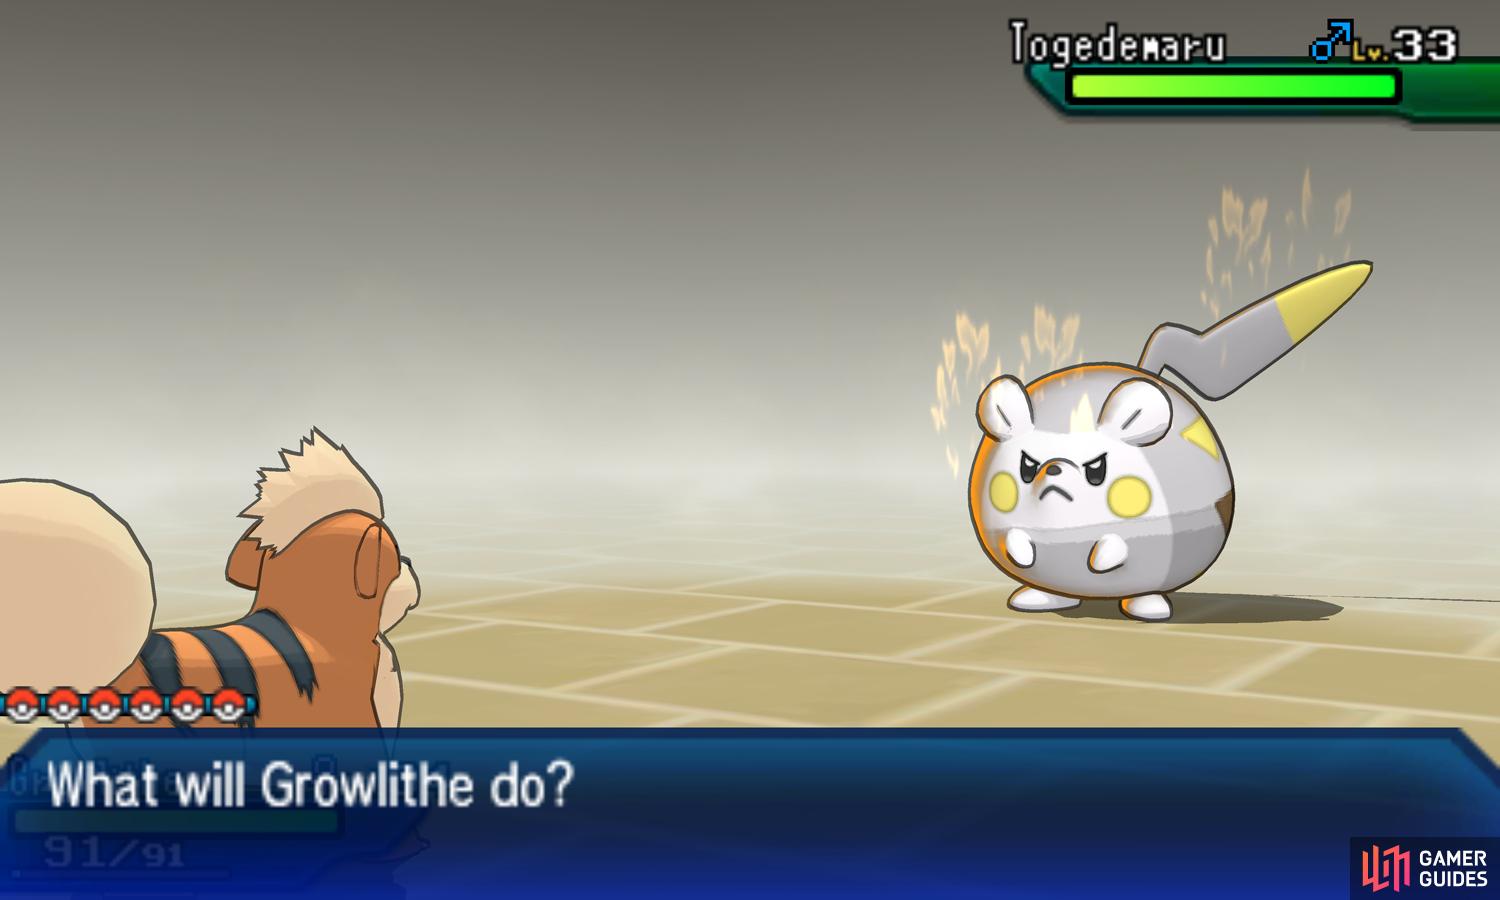
At the start of battle, Togedemaru will receive a large Defense boost, which patches up its otherwise middling Defense. It’s also holding onto a Sitrus Berry, which restores a quarter of its HP when under half HP. On paper, this Totem doesn’t seem that threatening and it’s true that Ground-types can finish this battle in record time.
However, this crafty furball won’t go down without a fight. First it likes to use Spiky Shield to protect itself from damage and cause damage to any Pokémon that comes into direct contact with it. This move will also weaken the power of Z-Moves, if you were smart enough to equip Fightium Z or Firium Z.
For attacks, it can use Zing Zap, a Electric-type move only it can use, which is strong and can cause flinching. Likewise it can use the Steel-type Iron Head, which can also flinch. Slow Pokémon should therefore be cautious. Finally, it can use the Flying-type Bounce to fly up, then cause damage, with a change of paralysis.
Given the chance, the Totem Pokémon can summon the usual annoying allies.  Skarmory is the bane of Ground and, to an extent, Fighting-types. This metal bird can use Tailwind to temporarily increase its and Togedemaru’s Speed, Torment to stop you using the same move and Stealth Rock to damage Pokémon switching in.
The other possible ally is  Dedenne, an Electric and Fairy-type. This little thing can use Charm and Eerie Impulse to greatly lower your Attack and Special Attack stats respectively. Normally you can switch out to cancel the stat drops, but that’s dangerous when you’re facing two opponents. It can also use Super Fang to halve your HP.
Without strong Pokémon with super-effective moves, this battle can turn into a real slog. But hopefully you took our advice and prepared adequately. By the way, if in doubt, the traded Barboach is probably the easiest way to approach this battle. Not only is it immune to Electric, but it resists Togedemaru and Skarmory’s Steel-type moves.
Before you leave, Molayne will give you the Professor’s Mask for when you next see Kukui. Wow, the guy sure doesn’t hold any punches!
No Comments