
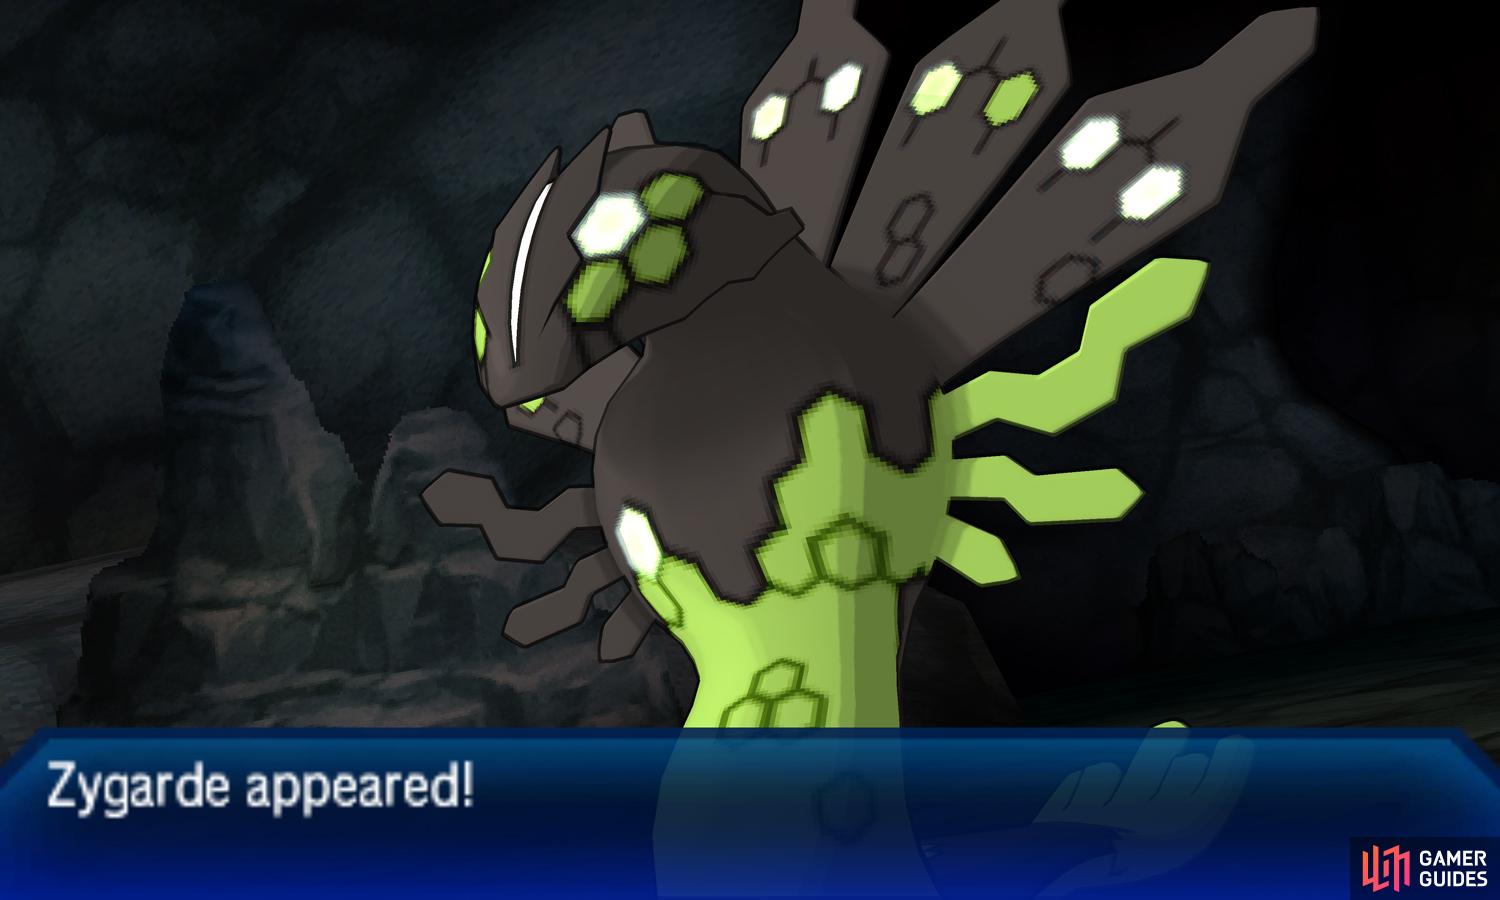
The slithery Zygarde lurks deep within this cave.

Pokémon Encounters - Resolution Cave (Ground Floor)
| Name | Type(s) | Location (Rate) |
|---|---|---|
 Golbat Golbat |
Poison/Flying | Walking everywhere (40%) |
 Crobat Crobat |
Poison/Flying | SOS from Golbat |
 Dugtrio (Alolan) Dugtrio (Alolan) |
Ground/Steel | Walking everywhere (30%) |
 Druddigon Druddigon |
Dragon | Walking everywhere (15%) |
 Noivern Noivern |
Flying/Dragon | Walking everywhere (15%) |
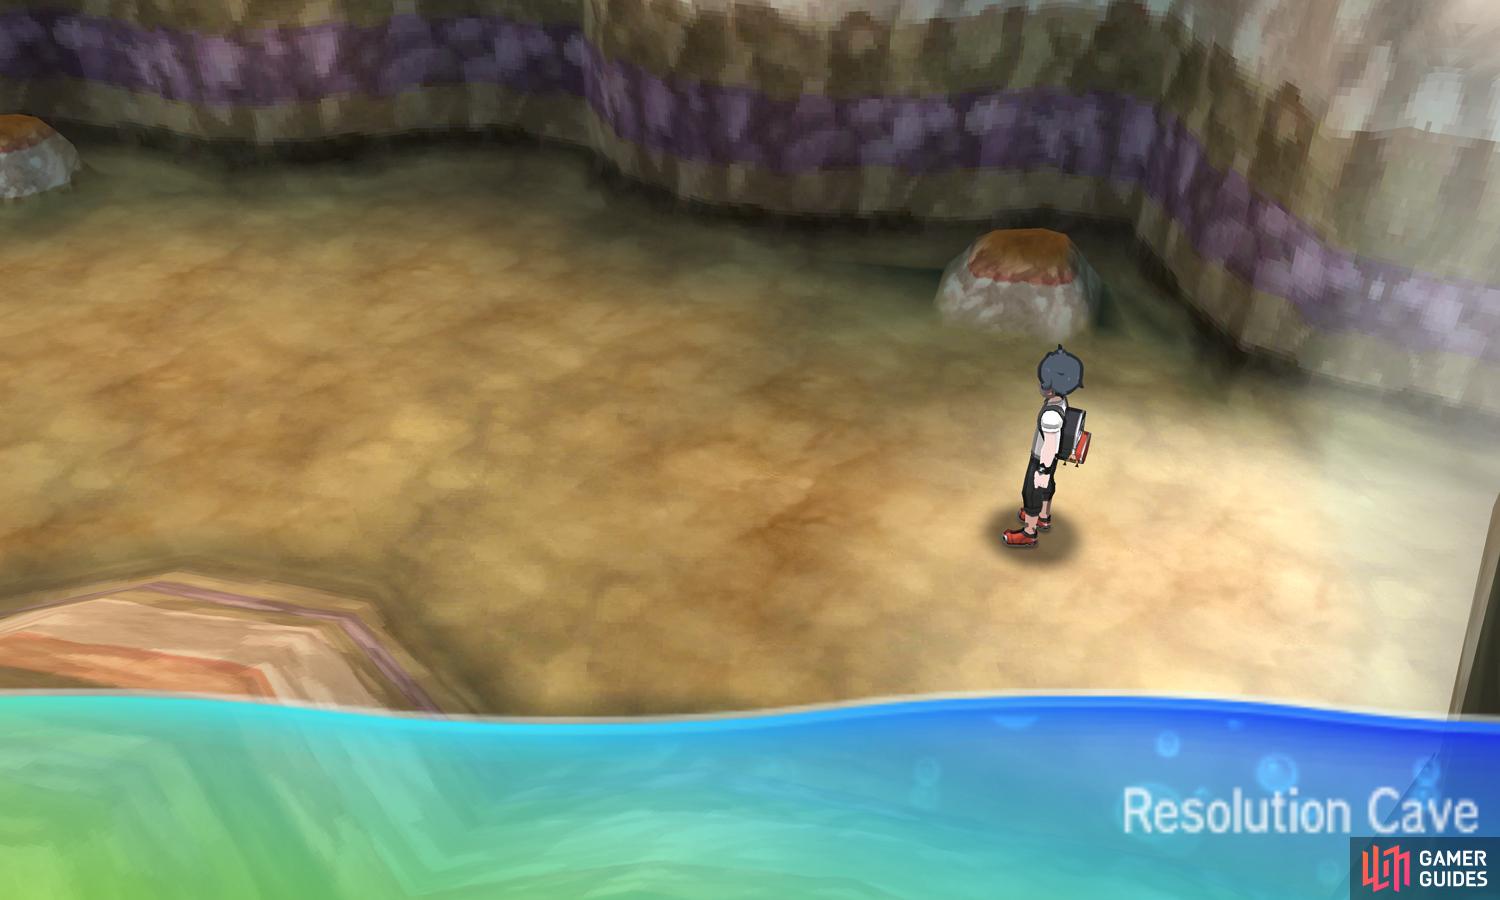
This dusty cavern lies at the far end of Poni Meadow. From the entrance, call  Mudsdale so you can gallop west across the stretch of rocky terrain. After a while, you’ll come across a rocky pillar in the center of the jagged rocks. For now, continue west until the terrain becomes smooth again.
Further west there’s a female Veteran looking around for a battle. It’s possible to sneak past her when she’s looking to the left, although the thin rocky overpass above her makes it hard to see which direction she’s looking.
Veteran Leticia
Hopefully you weren’t scarred by the Totem  Ribombee battle. This fanciful critter has amazing Speed and solid Special Attack. Leticia’s can only use Dazzling Gleam and Bug Buzz for STAB, although that’s plenty enough to cause decent damage. Fire-types are ideal; Flying, Rock and Steel-types are also great.
 Bewear you may remember from your battle with Lusamine. This beastly bear has excellent Attack and physical bulk, but below average Speed. Its Fluffy Ability makes it resistant to contact moves and weak to Fire. This one can use Hammer Arm and Double Edge for STAB. Flying, Fighting, Psychic and Fairy-types are all fine choices.
Beyond Leticia, go around the rocks to retrieve a Power Weight near the far end. That’s the third Power item that you can obtain for free! Next, return to the pillar in the center of the rocky terrain and head directly south from it. As the path bends towards the west, there’s a backpacker standing next to a short rocky pillar.
At this point, change over to  Tauros and break the boulders to the south. This will allow you to sneak behind the backpacker, should you wish to do so.
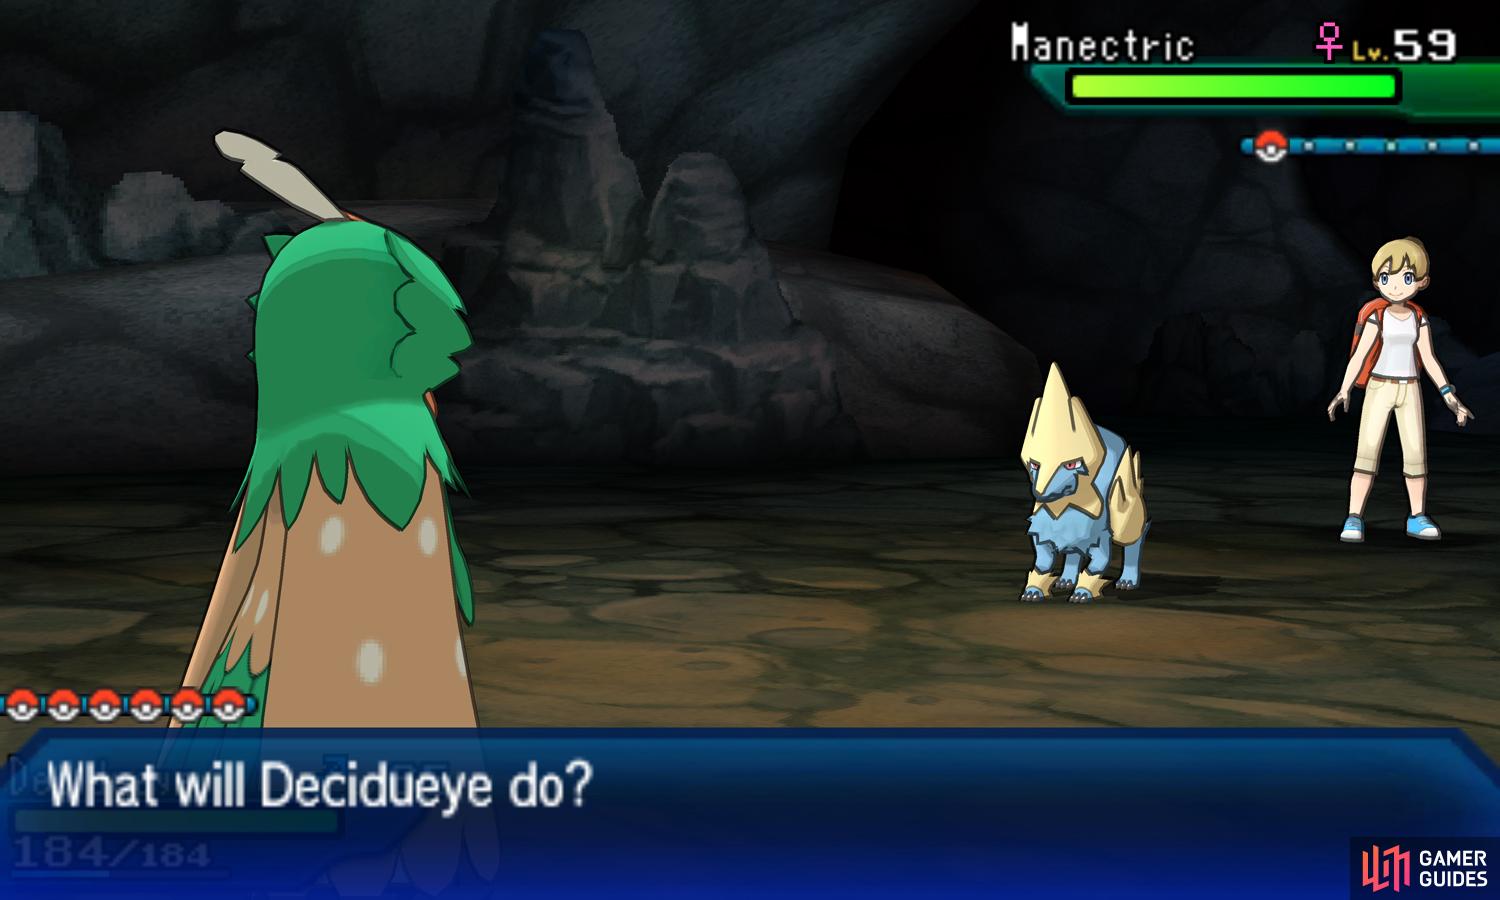
Backpacker Maria

| Pokémon | Level | Type |
|---|---|---|
 Manectric Manectric |
59 | Electric |
This Ultra Moon exclusive hound has great Special Attack and Speed, but atrocious defenses. Maria’s can use Thunder and Wild Charge to deal STAB damage, Charge to boost its next Electric-type move, and Roar to make your Pokémon switch out. Ground-types are a no brainer, although Roar can force you hand.
Regardless, from the destroyed boulders, head directly east into what looks a wall. However it’s actually a rocky overpass that you can travel under to reach the very useful TM26 Earthquake . Sneaky! Next, dismount from your Ride Pokémon and then head west from Maria, into the narrow-looking path.
Before long, you’ll reach what appears to be a dead end. However, just like before, if you keep going, you’ll simply walk underneath a rocky overpass. At the end of this path, there’s a Terrain Extender up for grabs. This held item increased the duration of Electric Terrain and the like, which the tapus love to conjure up.
Moving on, double back to the main path and follow it south from Maria’s position. When you get to the south side of the cavern, there’s a pile of boulders to the left that’s begging to be smashed by a Tauros. After taking care of the boulders, you’ll find a hiker who doesn’t seem concerned that he was otherwise stuck there.
Hiker Travis
As if there aren’t enough Dugtrio in this cavern! Anyway, this funky trio of moles boasts high Attack and Speed, but is held back by poor bulk. Travis’s can use Earthquake and Iron Head for STAB, Dig to go underground for one turn, and Fissure to gamble for a OHKO. Water, Ground or Fighting-types are recommended.
Mudsdale, which you’ve been riding, has high Attack and physical bulk, offset by its very low Speed. Its Stamina Ability boosts its Defense each time it takes a hit. For attacks, it can use Earthquake for STAB, Heavy Slam to bash up lightweight foes, and Counter to punish physical attackers. Grass-types are ideal.
Finally, make your way east, down the gentle slope. At the very far end is a cave that leads to the basement of the cavern.
Pokémon Encounters - Resolution Cave (Basement)
| Name | Type(s) | Location (Rate) |
|---|---|---|
| Golbat |
Poison/Flying | Walking everywhere (20%) |
| Crobat |
Poison/Flying | SOS from Golbat |
| Dugtrio (Alolan) |
Ground/Steel | Walking everywhere (20%) |
| Druddigon |
Dragon | Walking everywhere (20%) |
| Noivern |
Flying/Dragon | Walking everywhere (40%) |
Downstairs, head all the way north until you reach a ramp that goes up to a raised area. At the center of the area, a Legendary Pokémon awaits:  Zygarde from the Kalos region. During the ending sequence, you may have noticed it slithering in the caves, which was teasing its eventual appearance here.
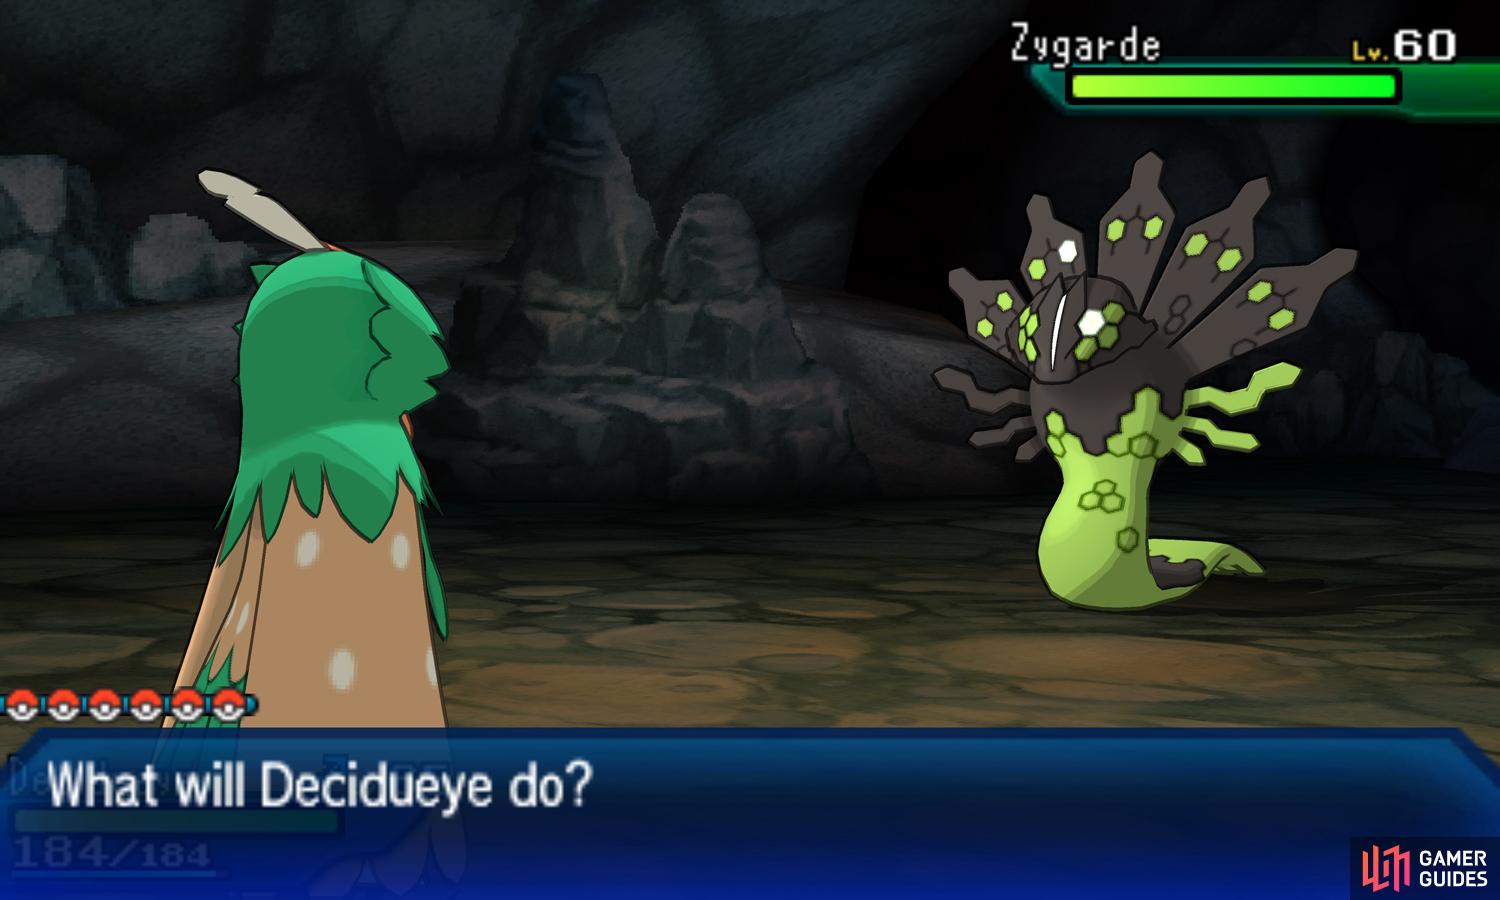
Legendary Pokémon
| Pokémon | Level | Type |
|---|---|---|
| Zygarde (50%) |
60 | Dragon/Ground |
Unlike  Necrozma, poor Zygarde never got a starring role in an enhanced version of X and Y. Anyway, Zygarde in its current serpent-like form is at half strength. Which means it’s not a massive threat, similar to Necrozma at Mount Lanakila. Still, it’s always wise to go in prepared when facing a Legendary.
Stat-wise, Zygarde 50% Forme has fairly well-rounded stats, with Defense as its best stat. For attacks, it can use Land’s Wrath and Dragon Breath for STAB, Glare to inflict paralysis with a 100% chance, and Safeguard to protect it from status conditions. Its Aura Break Ability reverses  Xerneas and
  Yveltal’s auras.
Surviving Zygarde isn’t hard. For one, Flying-types are immune to Land’s Wrath, while Fairy-types are immune to Dragon Breath. Likewise, damaging it is pretty straightforward, so long as you don’t use Ice-type moves. While Zygarde is bulky, it can’t restore its own HP, so you can safely chip away.
The hardest–or most annoying–thing is Glare, since most Pokémon cannot avoid it. Electric-types are naturally immune, but should be avoided since they’re weak to Land’s Wrath. A few Pokémon have Abilities that render it useless, like Comatose on  Komala. Chances are though, your best bet is to just accept the paralysis.
Additionally, Zygarde cannot be paralyzed with the commonly used Thunder Wave, so you’ll need to rely on other avenues, like your own Glare or sleep-inducing moves. Also don’t forget that you can’t inflict Zygarde with status conditions while Safeguard is up. Fortunately, it only lasts for a couple of turns.
One more thing: Zygarde is in a cave, which may not seem important but works in your favor. If you have any Dusk Balls, for example from the Route 8 Pokémon Center, these have an increased catch rate when used at night or in caves–better than Ultra Balls, in fact. Therefore, it’s a good idea to have some around.
After capturing Zygarde, you can restore it to its full strength by visiting the Aether Foundation trailer located in Route 16 on Ula’ula Island. If you need further information, please refer to the Zygarde Complete Forme page. Regardless, there’s still a bit more of the cavern to explore.
From the base of the ramp, you can head in four different directions, each leading to a rare or useful item. Towards the north-west is an Adrenaline Orb , which is ironically the least exciting, but still useful for encouraging S.O.S Battles. Meanwhile, towards the south-west is a Light Ball that powers up  Pikachu.
The third item is a hidden Big Nugget towards the north-east. When you first arrive there, it looks like there’s nothing to be found, until you search the very center. Finally, there’s a Toxic Orb towards the south-east. This held item inflicts poison on the user, which is handy if they have the Poison Heal Ability.
Once you’re all done, leave the cave via the way you came. This would be a prime opportunity to use an Escape Rope if you have one.
No Comments