
Suggested Level: 35
At the start of this quest you’ll find yourself back controlling Layla Hassan, who is confronted by a mysterious man named William Miles. After some more painfully juvenile antics on the part of Layla, you’ll be free to return to the Animus and escape this mercifully short modern day segment.
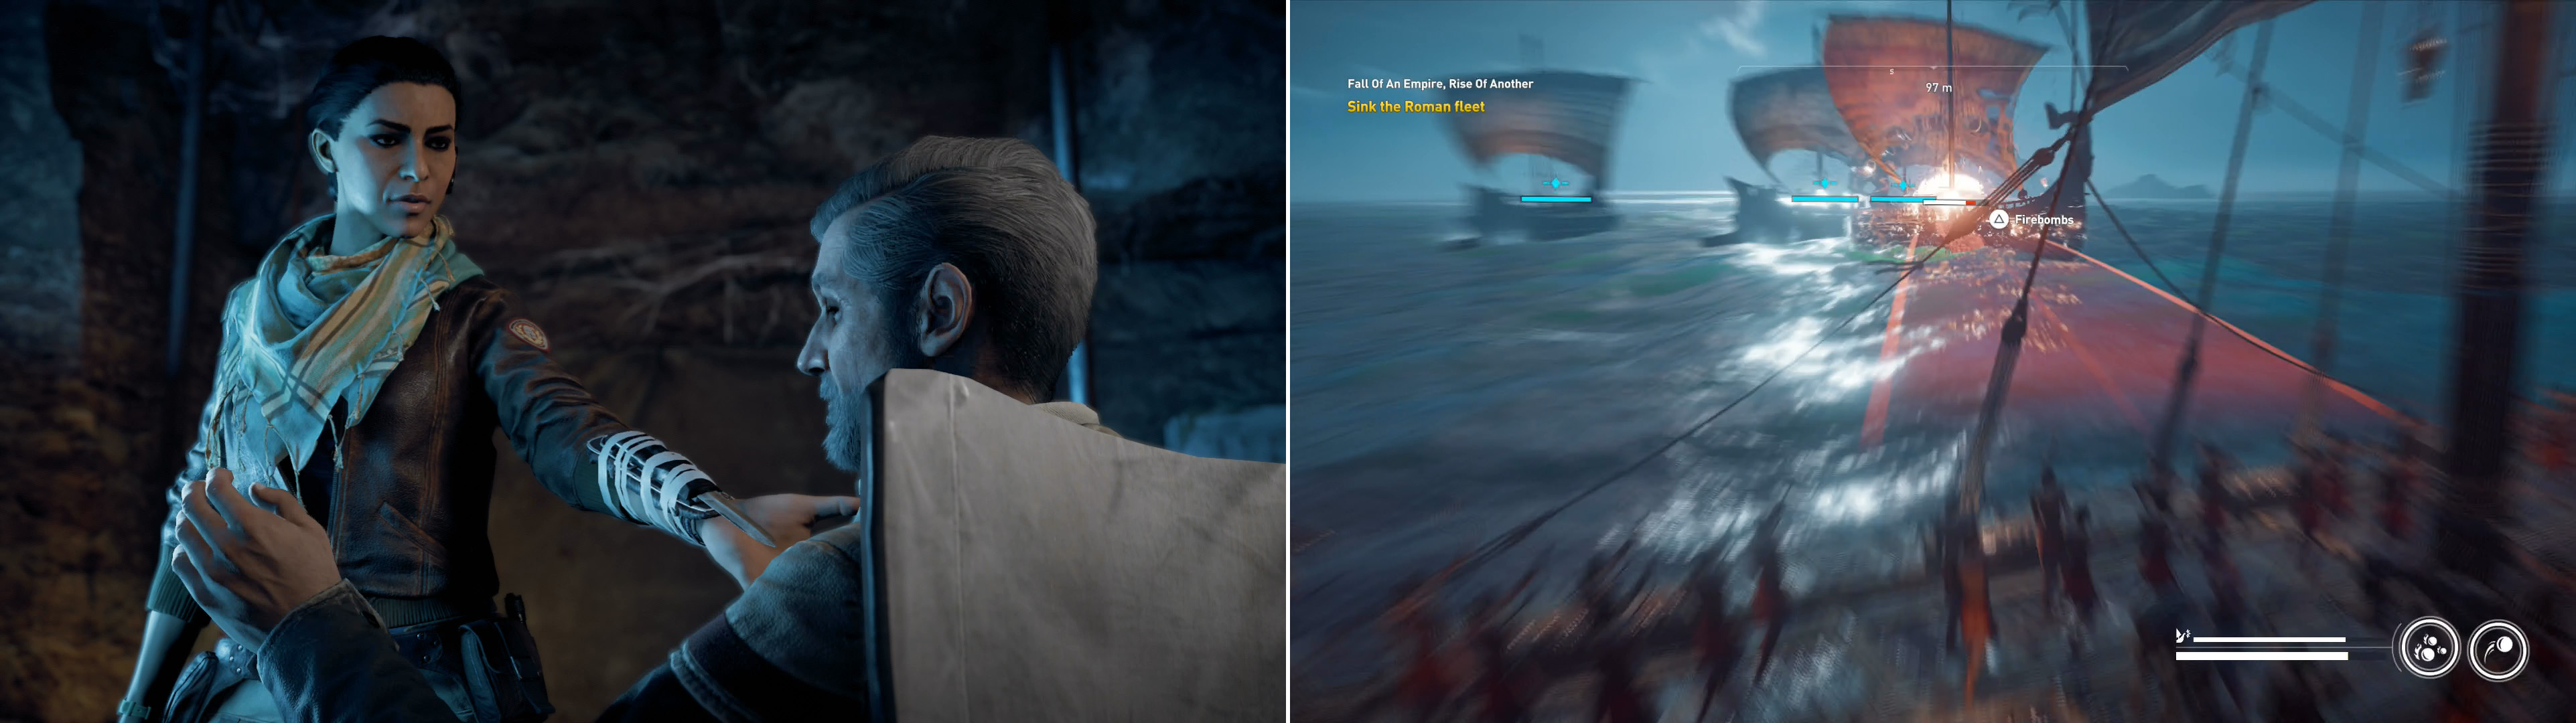
Endure another present-day section with Layla (left) after which you’ll find yourself in the game’s third main story naval battle (right).
Back in ancient Egypt, you’ll find yourself controlling Aya… or rather, controlling Phoxidas’ ship. You’re just off the coast of Italy, and only some Roman naval squadrons stand between you and Rome. In case you forgot, the controls are as follows:
| PS4 | Xbox One | Action |
|---|---|---|
| L1 | LB | Brace |
| L2 | LT | Aim Arrows |
| R1 | RB | Aim Catapult |
| Square | X | Fire Catapult (while aiming catapult) |
| R2 | RT | Battle Speed / Fire (while aiming arrows) |
| X | A | Ramming Speed |
| Traingle | Y | Deploy Fire Bombs |
As usual, catapults are your best long-range damage option, fire bombs are powerful, but also have limited range, while arrows are your fallback option for reliable damage at a fair range, and most importantly, is available for use far more often, while the others have cooldown periods. Ramming is another great way to deal damage if you can find an exposed flank to exploit, but you’ll be vulnerable to damage while ramming, so remain wary and use this attack with care. Bracing, of course, is as over-powered as ever, all but negating damage from most sources entirely, and if timed correctly it’ll allow you to counter attack (just let go of the brace button when prompted).
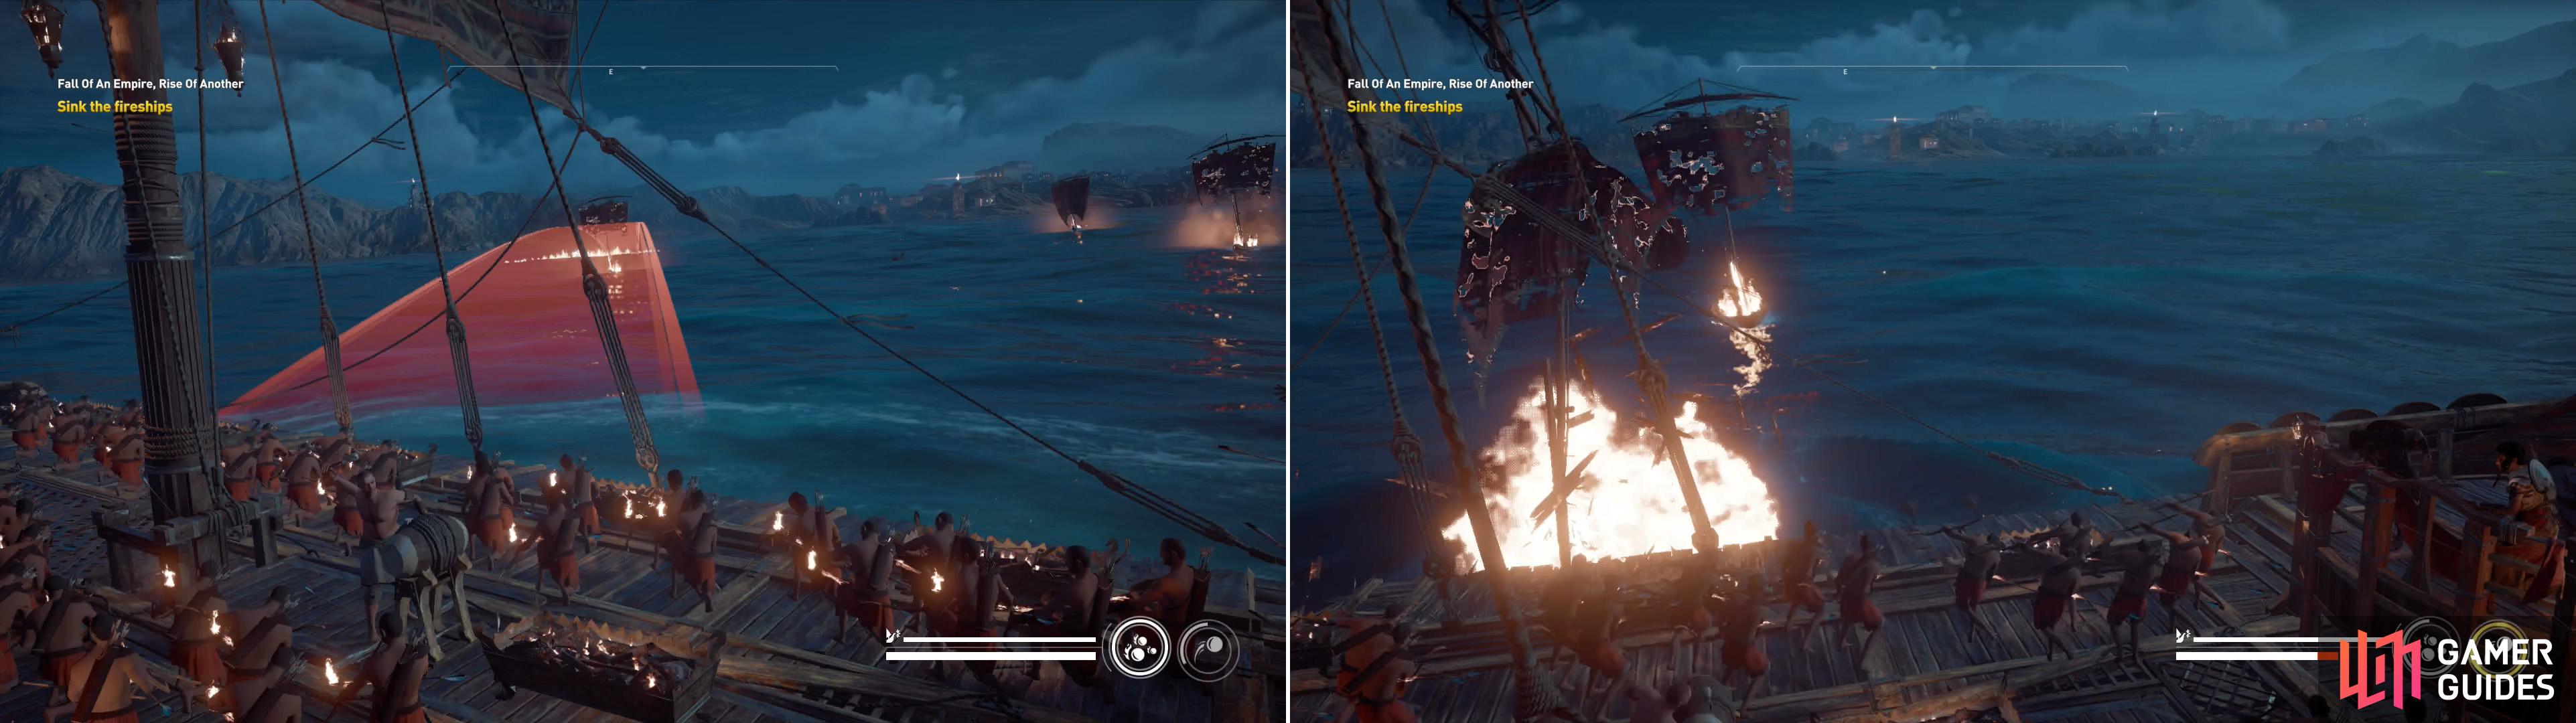
Fire ships are weak, if you aim well and remain calm you can easily dispatch them on at a time (left). If you let one get too close, however, they deal significant damage (right).
Sail towards the quest marker and, after a bit of bother, your first batch of foes - three triremes - will arrive. This is merely a warmup, so treat it as such, relearn the commands, and sink your foes, after which your ship’s health will restored in time to tackle a new challenge, fire ships. Fire ships serve only one purpose - to ram you and deal significant damage. They can be sunk by any trivial damage you can deal, however, so don’t over-think this, stay stationary and sink them one at a time with your arrows. Aim at the available targets until your aiming reticle turns red, then fire a volley. Repeat until the half-dozen or so fire ships are sunk and you’ll be presented with more fire ships behind you, this time accompanied by two triremes. Again, stay stationary, focus on the fire ships, and sink them calmly, one at a time, otherwise ignoring the triremes save for some well-timed bracing to negate the damage their arrows would deal. Once the fire ships are all sunk, engage the trireme as normal.
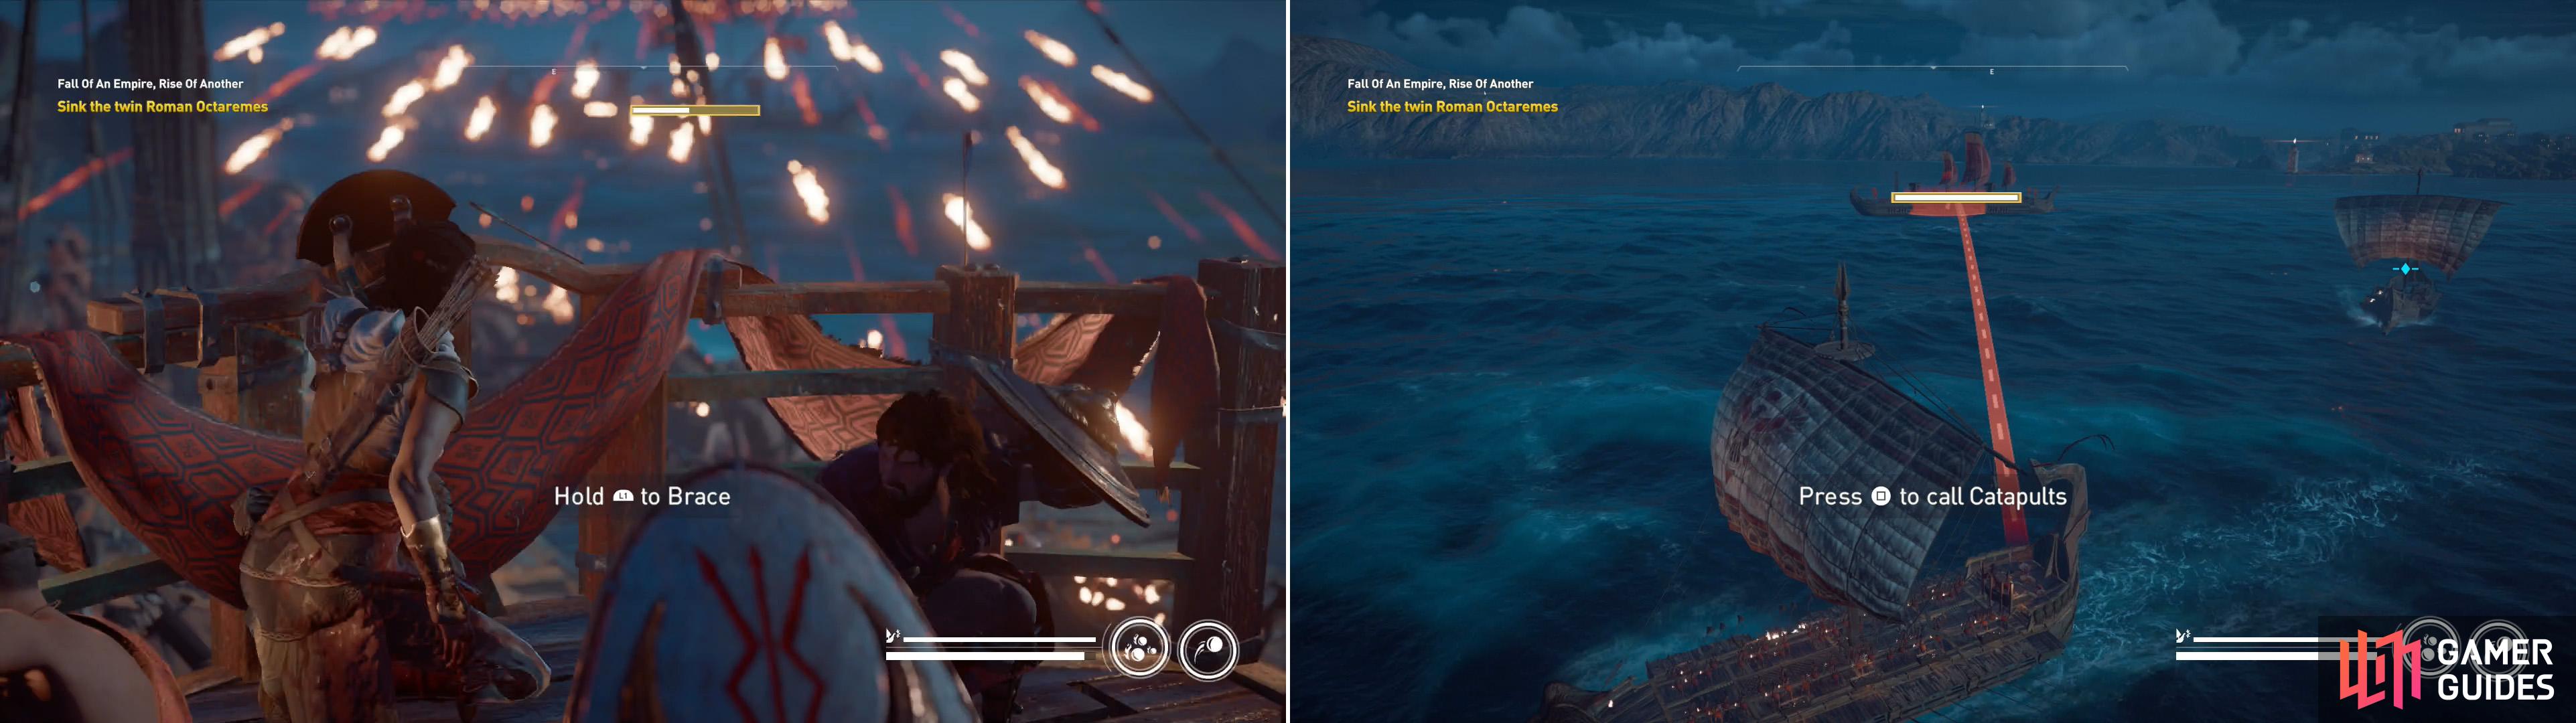
Against two octaremes, you have little choice but to rely on bracing to negate damage (left). Respond with your catapult when it charges to score big damage (right).
After you sink all the fire ships (and accompanying triremes), your final naval opposition before Rome will arrive - two octaremes. These massive, ponderous ships deal heavy damage if they hit, but there’s little they can do that bracing at the right time can’t negate. Keep your distance if possible to buy yourself more time between attacks, focus on one of the two capital ships at a time and use your catapults to whittle it down. Once the first ship is sunk, the second should be relatively easy to sink, considering you’ll be able to pay your full, undivided attention to it. When your fleet stands victorious, the way to Rome will be open.
Boss - Septimus
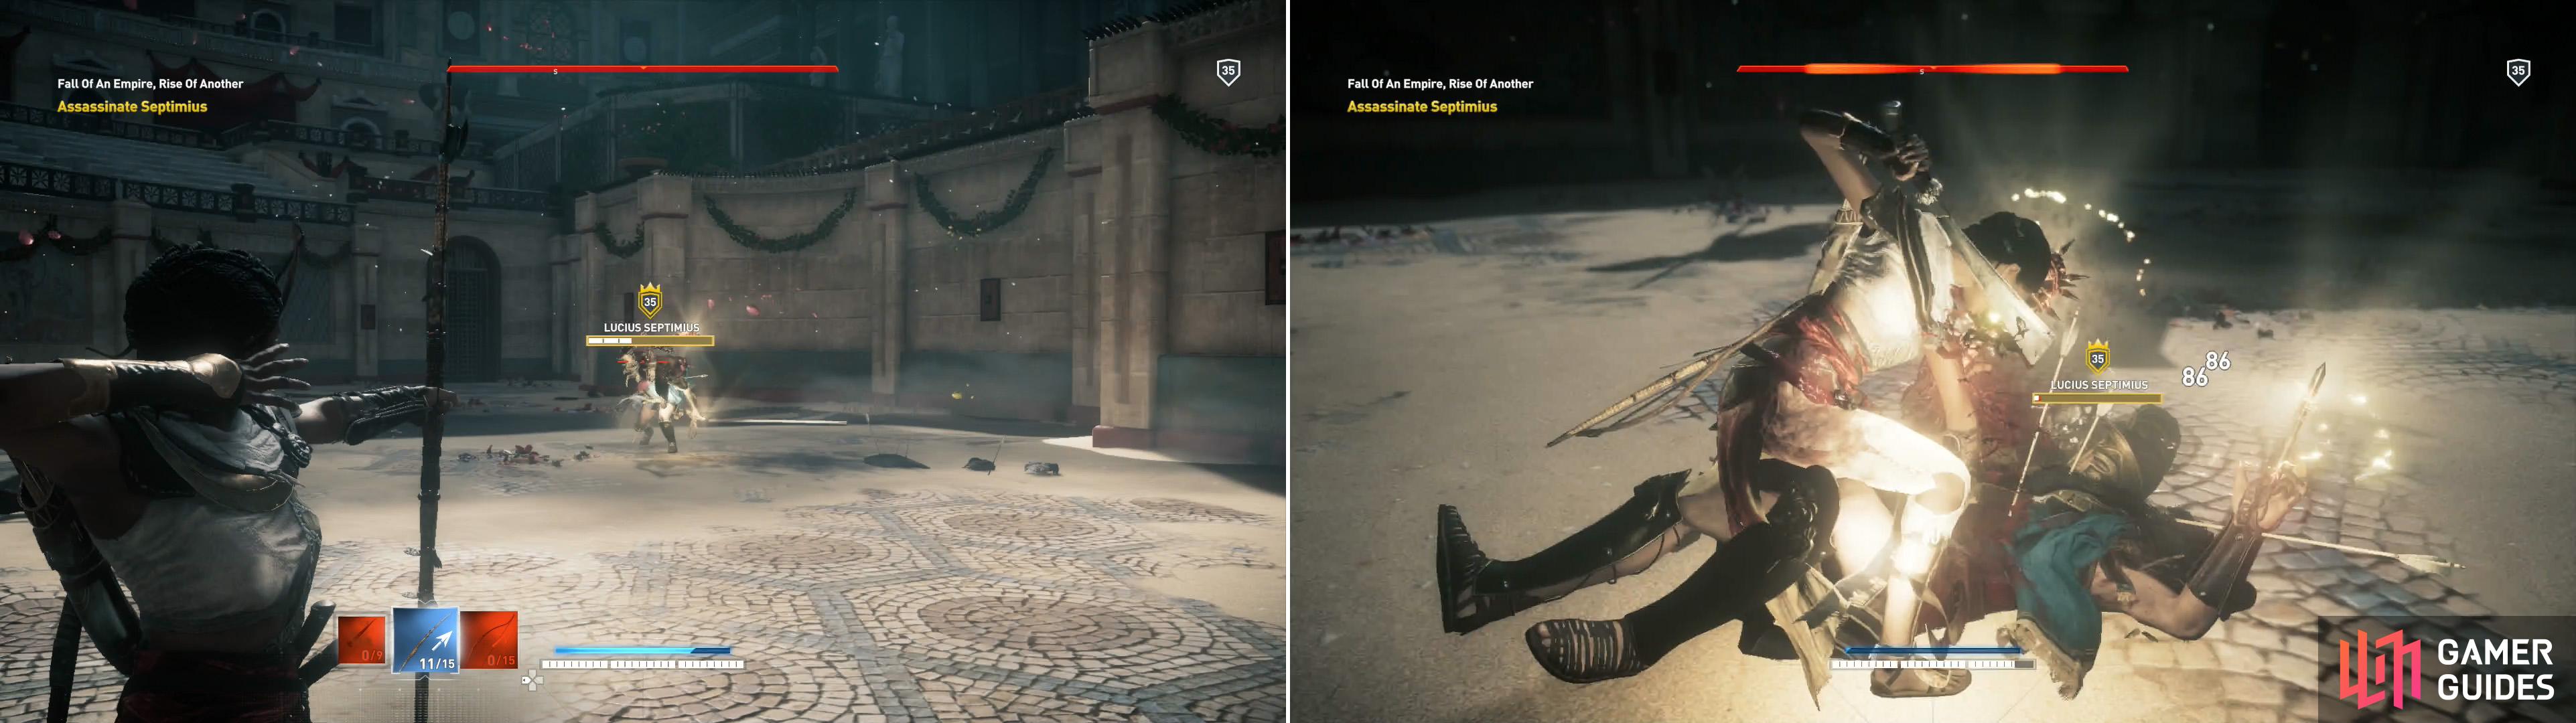
After the scenes following your naval victory, you’ll regain control of Aya just in time to do battle with Septimus. He fights much the same now as he did when you battled him as Bayek, save that if he strikes you now, he’ll be able to follow up with a time distortion effect similar to those Flavius had at his disposal. This will allow him to combo, and while individually his attacks deal little damage, a flurry of blows adds up.
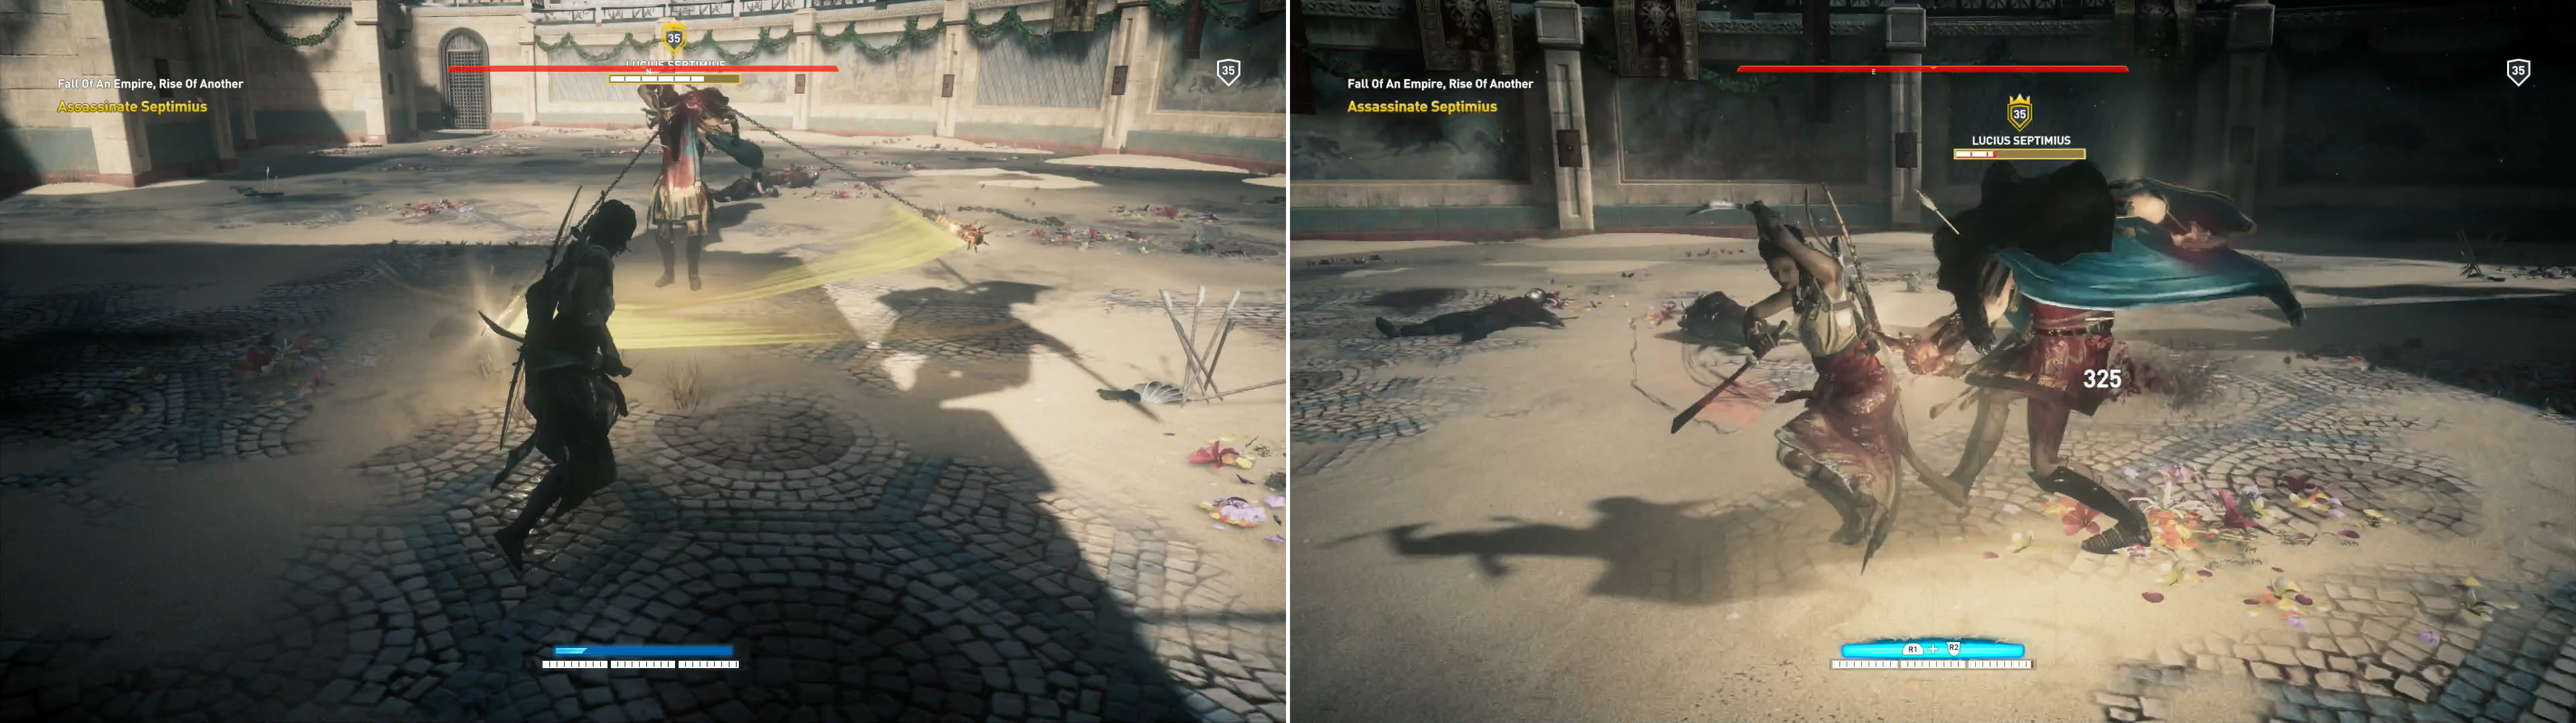
Time your attacks carefully to avoid Septimius’ spinning weaponry (left) and strike with a charged heavy attack to distrupt him (right).
The best course, then, is to avoid getting hit. Yes, avoiding attacks during a boss fight - who would have thought? To this end, most of his attacks are easy enough to dodge, leaving only the twirling of his weapons to navigate. Sadly, for this, you’ll just need to get the timing down. The old trick of charging heavy attacks while he twirls his weapons, waiting for an opening, then closing and hopefully knocking him prone works well, and when your health is full (or at least, at a safe level) it should be your go-to tactic.
Septimius can’t easily counter ranged weapons, so make use of your bows (left) and your Overpower attacks (right).
If you need to regenerate a bit, switch to your bows and take advantage of Septimus’ lack of ranged attacks. Not only will shooting him do a bit of damage, but it’ll charge your Overpower meter substantially. Each quiver of arrows should be enough to just about fully charge your Overpower meter. You’re not getting a resupply, though, so keep that in mind as you fire. It’s a great option when he insists on twirling his weapons and walking slowly at you, and after he comes under fire he’ll charge, which is easily dodged. Use your Overpower attacks when available, empty both your quivers, and for the rest… learn the timing and close on him with charged heavy attacks.
The Curia Run
Once Septimus is slain, make your way west through a doorway, loot an ammo rack, then continue upstairs until reach a balcony overlooking some gardens below… gardens absolutely crawling with Romans. While this may have been a trivial matter for Bayek, Aya is not his equal in combat… which may make one wonder why the end-game has you playing as her, a character with none of the weapons you spent the rest of the game accumulating and few of the abilities you could obtain as Bayek, not to mention little of the rapport and affection you may have built up for Bayek over the past hours… but such is the case.
Instead of risking an encounter with the enemies below which, given their density and power, Aya is not easily up to the task of dispatching in numbers, you’ll want to rely on stealth. After all, that’s the substance of what Aya and Bayek discussed earlier - strike from the shadows, not out in the open, so perhaps leaving a trail of bodies and forcing your way through isn’t the way to go? Fortunately, there’s a simple, sneaky solution. Turn east and climb the wall adjacent to the arch that leads out to the balcony you’re on and climb up the building until you reach a decorative band running along the top of the building, just below some spikes that prevent further ascent. Pretty sure those spikes weren’t a feature of Roman buildings, but… whatever. You can climb sideways across the top of these buildings by clinging onto the wall just below the spikes and circle the perimeter of the area, staying high the entire time and avoiding all the foes below you. It may be an inelegant solution, but it’s an effective one.
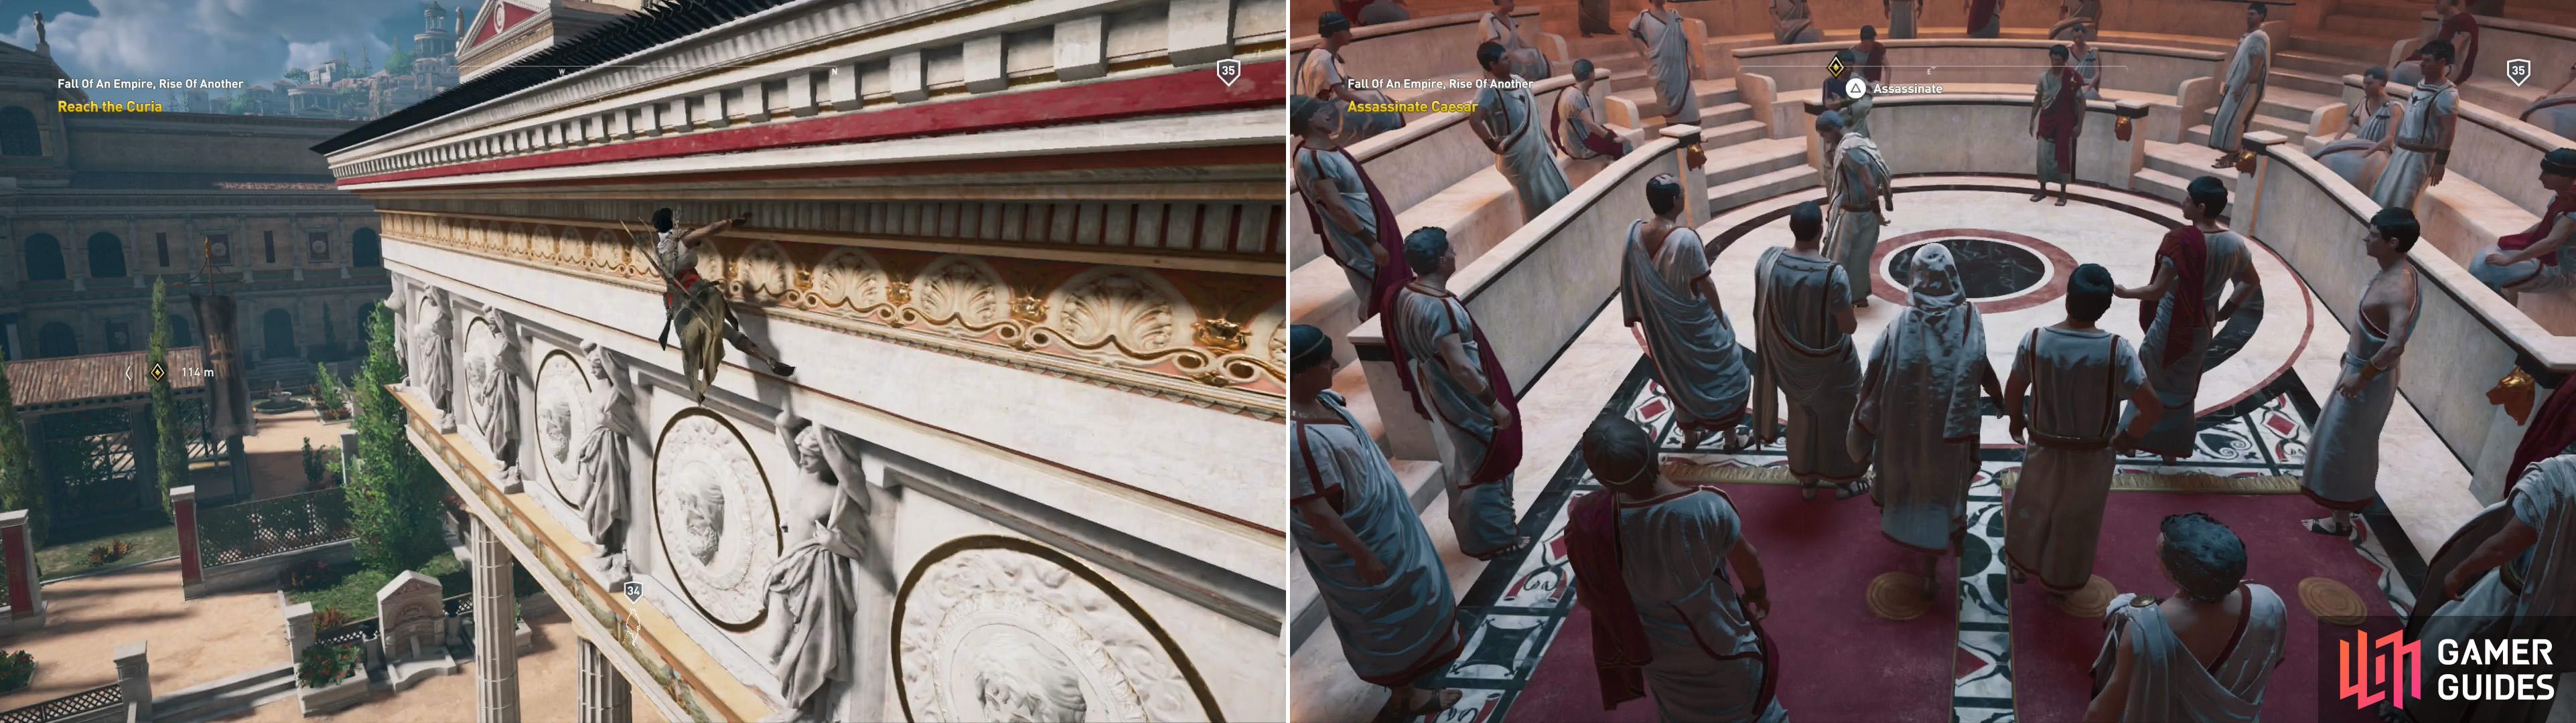
Bypass the Romans in the garden below by climbing along the decorative roof, just below the spikes (left). In the Roman Curia, approach Caesar and put an end to the would-be tyrant (right).
Climb across the tops of the buildings encircling the gardens between you and your destination until the decorative band ends. At this point, carefully climb down and drop into the foliage below you, making sure the coast is clear before you do so. Before you leave your cover, make sure no Roman eyes are nearby, then sneak east into some more cover, then climb a wall to the south. If you reach the door, you’re good to go, but note that you cannot be in combat at the time, so don’t get clever and think you can just make a run for it.
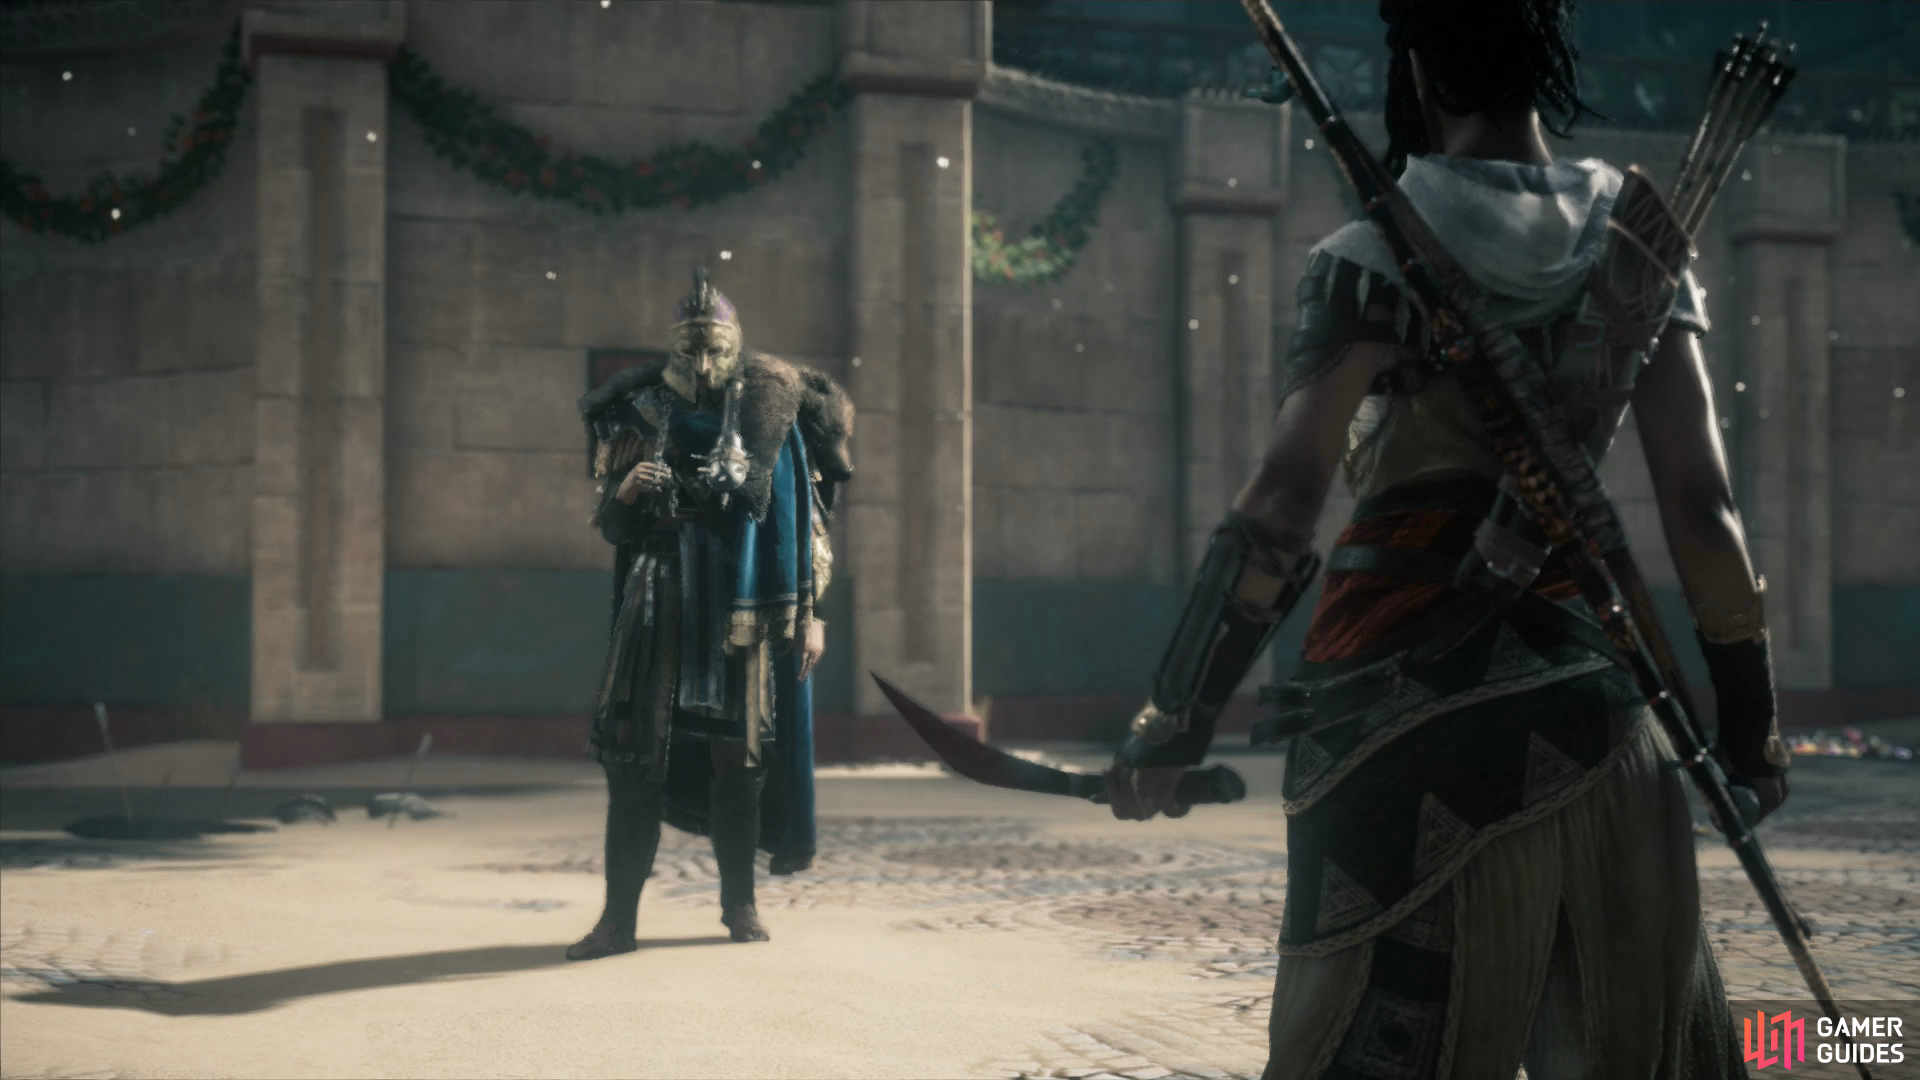
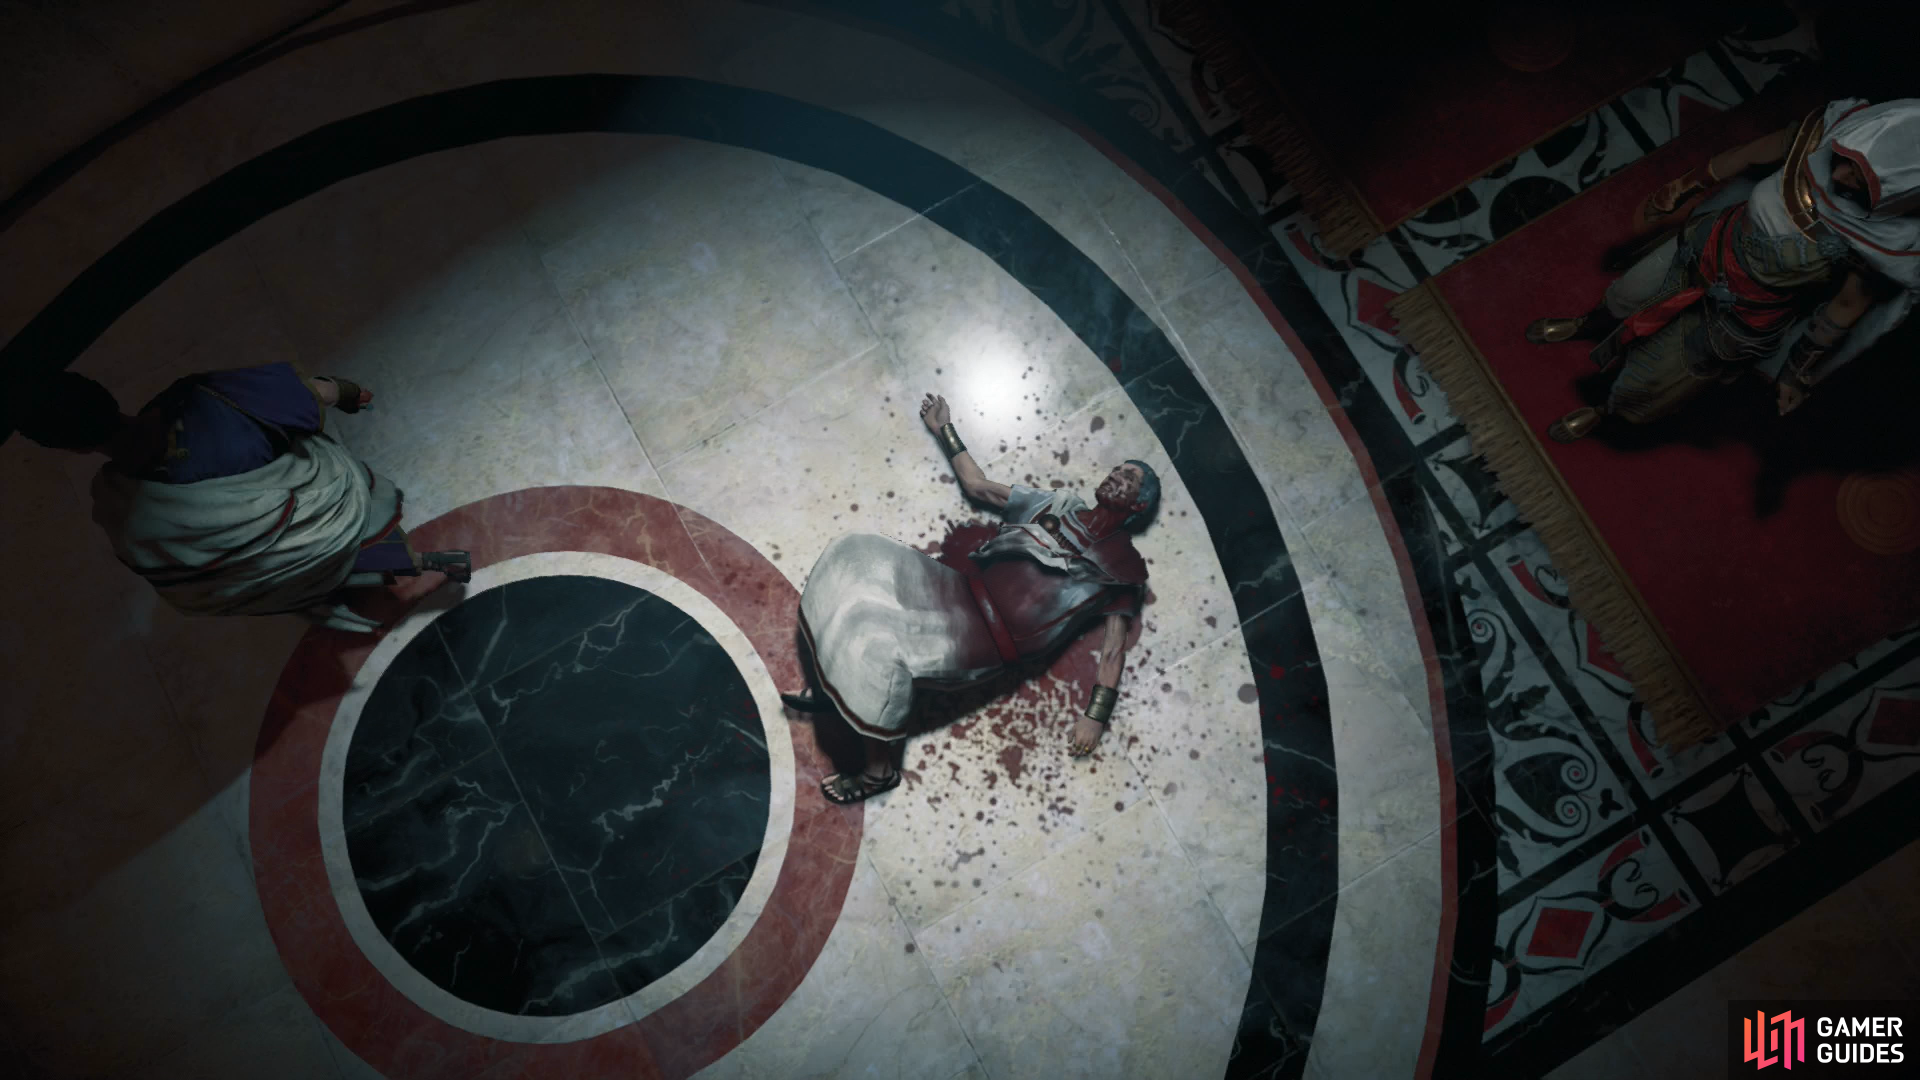
Veni, Vidi, Vici
Once inside the Curia, Aya will change her garb to something more traditionally assassin-esque. Sneak forward and infiltrate the crowd, get near Caesar, then re-enact history and watch the scenes that follow.


No Comments