
Suggested Level: 18
Sand Storm Reavers
Make your way to Letopolis and from the Letopolis fast travel point head towards the Temple of Horus. To find the Scarab you must first locate Taharqa, who may be able to provide you with the information you need to effect the Scarab’s demise. Taharqa can be found northeast of the Temple of Horus, so just follow your quest marker and talk to him when you find him, then follow him indoors to continue the conversation in depth. Despite the Scarab’s fearsome reputation, Taharqa doesn’t seem terribly concerned about the man, thinking himself strong, and through his strength, untouchable. Just as the two being discussing an obvious exception to this rule, a worker intrudes and informs Taharqa of some trouble. Taharqa is obliged to put an end to it, and since he has divulged any useful information yet, Bayek must assist… Taharqa is no good to Bayek if he’s dead.
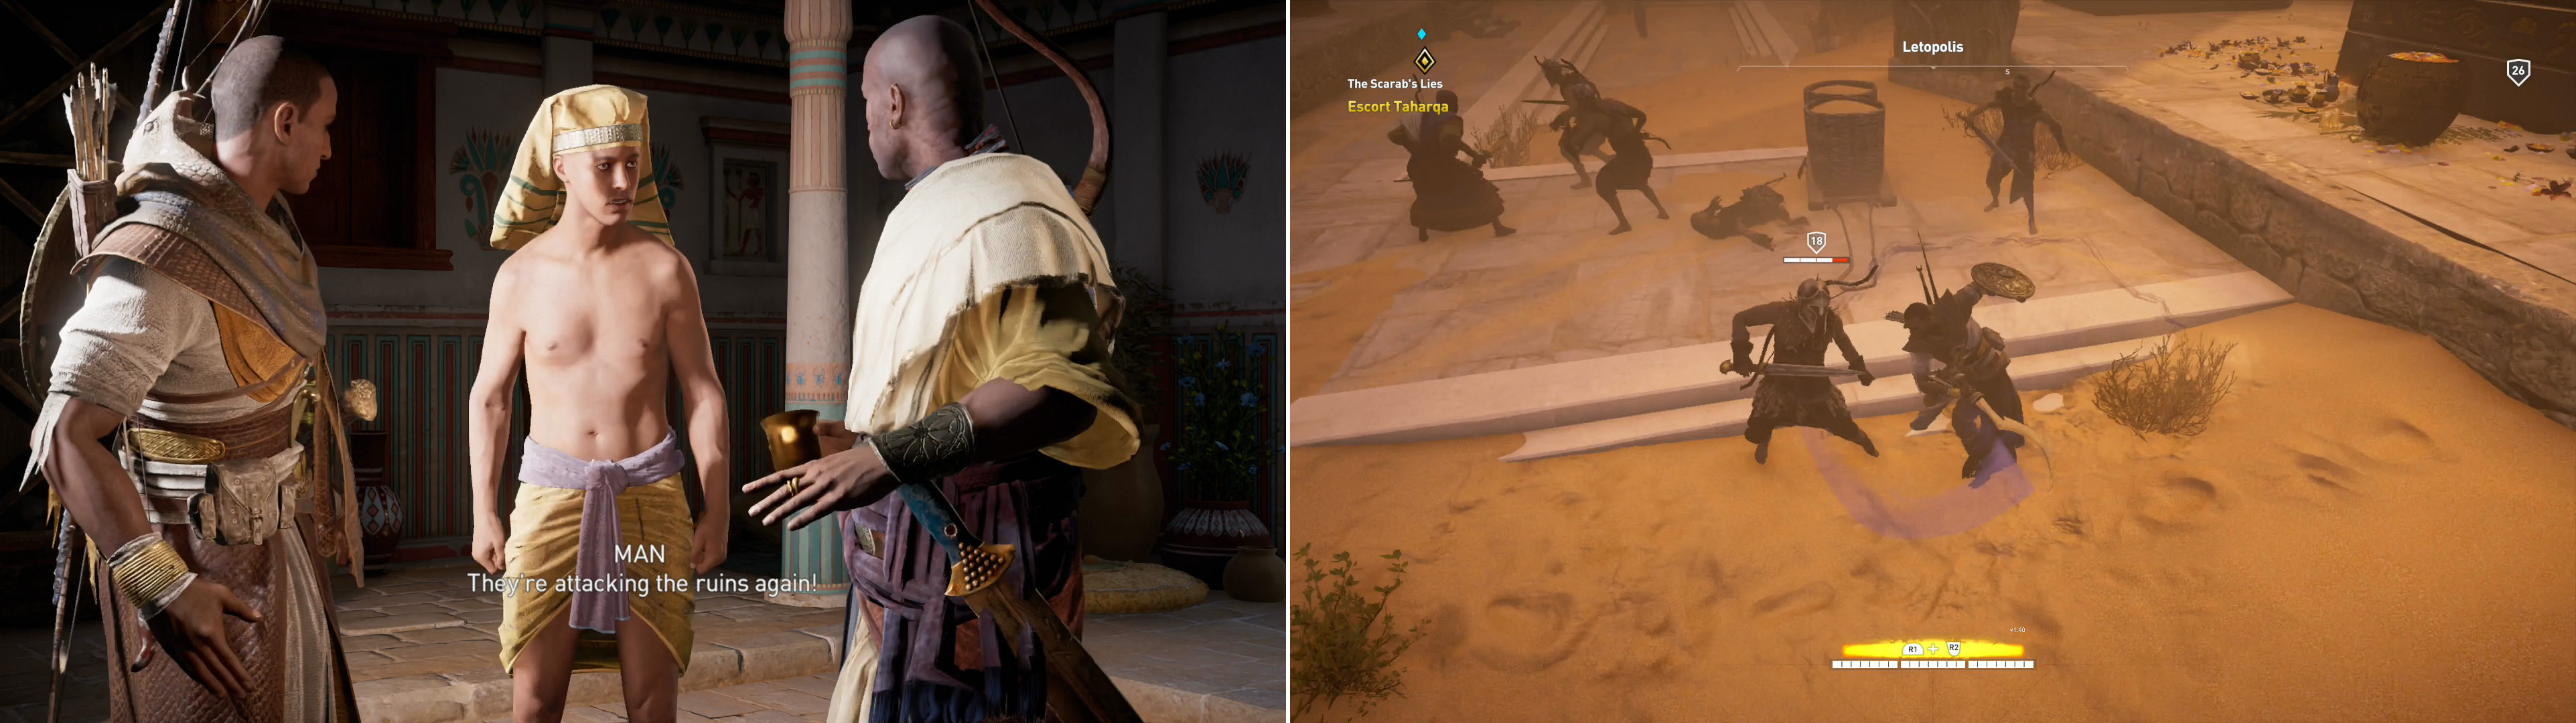
Your meeting with Taharqa will be cut short by a bandit attack (left). Follow Taharqa through Letopolis and kill all the foes who dare oppose you (right).
Follow Taharqa around and he’ll tell you of the bandits attacking them, who apparently time their assaults with the rise of sand storms, hoping to use the weather to cover their assault and confuse defenders. You’ll have to fight through four groups of bandits (level 18) as your work your way around, then through the Temple of Horus. Taharqa, and occasionally some Letopolines will join you in combat, but they also make stealth difficult. Just follow along and cut down the bandits, if Taharqa gets injured, it’s of no serious consequence. At worst, him being incapacitated will merely temporarily deprive you of his assistance.
Once the fourth group is defeated, talk to Taharqa, who - enraged at the continued provocations of the bandits, and embolded by Bayek’s aid - will suggest heading into the desert and putting an end to these bandits once and for all… even calling upon Bayek’s badge to solict his aid. Bayek isn’t a super negotiator. Follow Taharqa sout to the edge of Letopolis, where he’ll have amassed a small posse. After a short and to-the-point speech they’ll mount up, as should you, then ride with them southeast until you reach a river, beyond which is your destination - Plesionhudor Hideout.
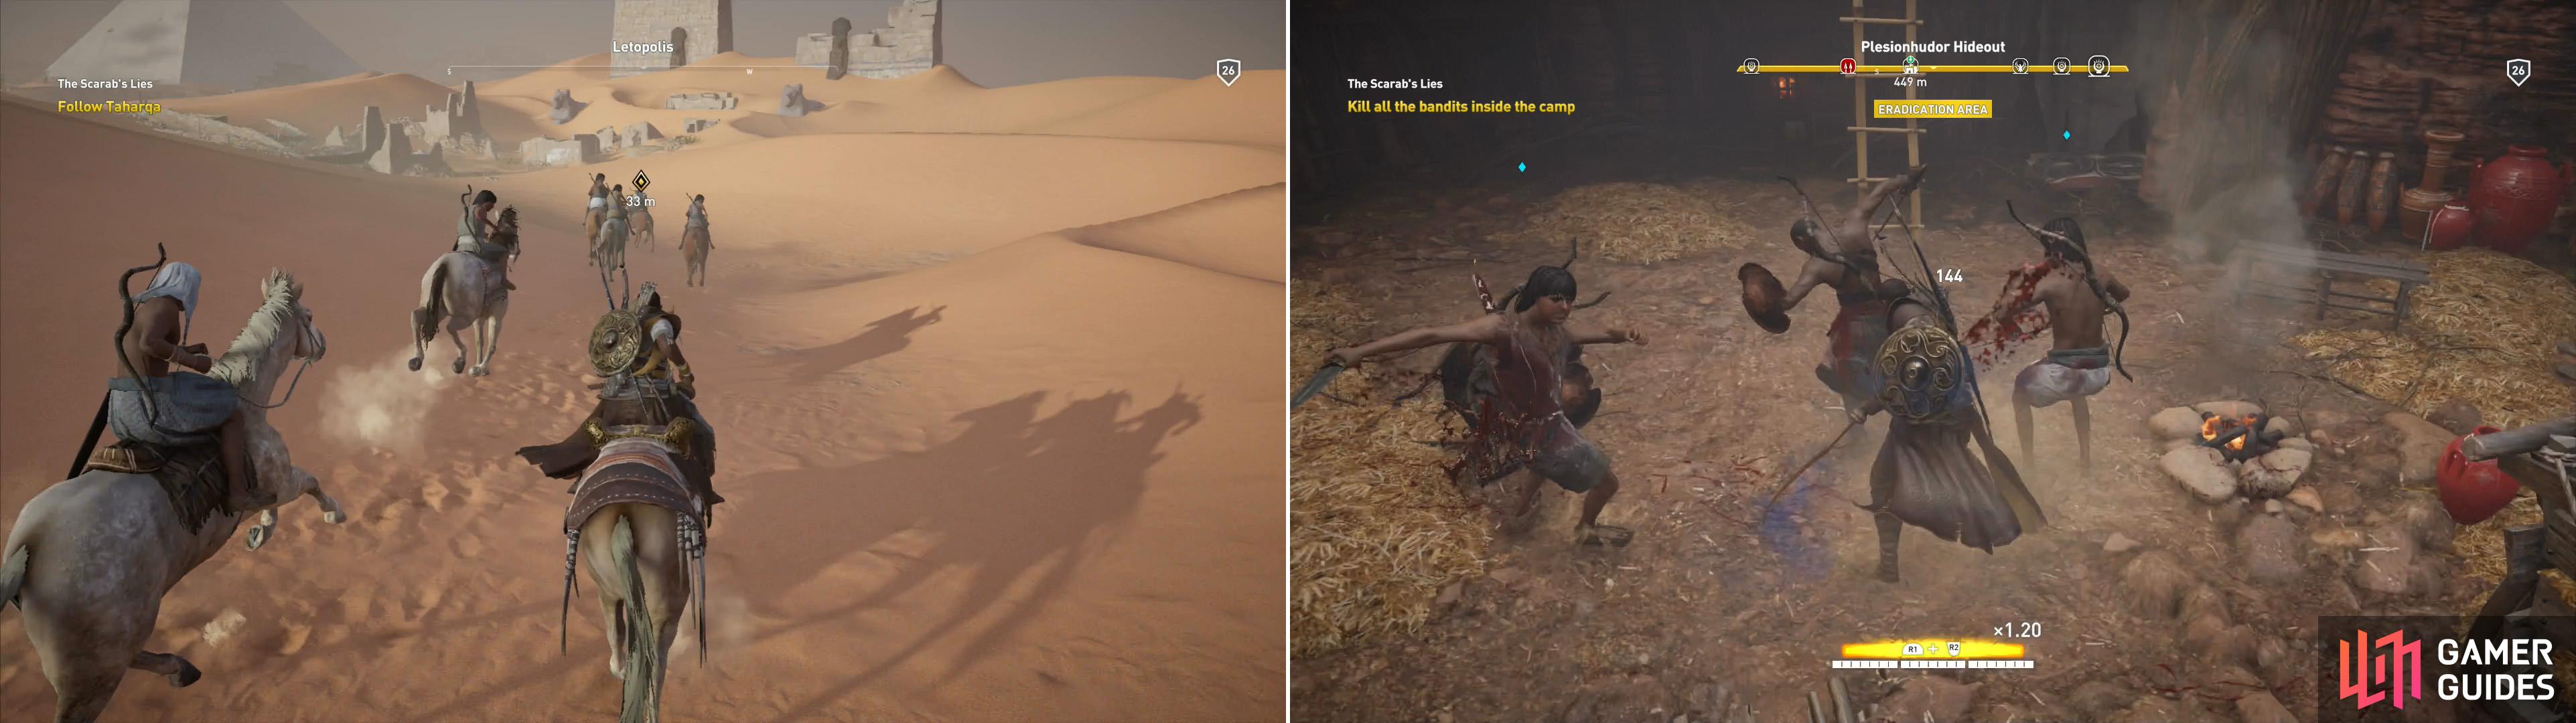
Join Taharqa’s men as they ride out for revenge (left) and slay the bandits at the Plesionhudor Hideout (right).
Plesionhudor Hideout
Plesionhudor Hideout lies at the northern-most edge of the Ineb-Hedjet Nome, on an island that also houses the town of Kerkasoros. The entire camp is located in a large cave, and while Senu can spot the defenders through the rock, it’s not your standard stealth infiltration bandit camp… not only because of its location, but because of Taharqa and his posse, who have no intention of waiting for you to handle the matter with any finesse.
Just as well, follow them in and join them in the indiscriminate slaying of bandits (level 18) and their captain (level 19), none of which should be much trouble considering the number of allies you have with you. You can be content to let your allies engage, then circle around the combatants and take pot shots at your foes. Head east, southeast into the cave and turn right when you must to reach the first chamber of the cavern complex, after which you’ll have some options; you can continue down a passage to the southeast, or turn southwest to reach another chamber.
Go southwest first and search the northern end of the chamber to find a red chest - the treasure you need to loot to complete this area’s location objective. Next head east past a ladder and down another tunnel to reach a chamber in which you’ll find a caged man. Assuming you’ve killed all the bandits in (and perhaps, atop) the cave, wait for Taharqa to make it here, then open the cage to free the man inside, after which speak to Taharqa, who will identify the reavers you just slew before promising you dinner… and the answers you seek.
| Reward: For completing the Plesionhudor Hideout |
|---|
| 400 XP |
Stung by the Scarab
Return to Letopolis and make your way back to Taharqa’s home in the southeastern corner of Letopolis, near the Temple of Horus. When you arrive you’ll find that Taharqa is no longer alone, having dragged his family down from Sais. Chatter will ensue, after which Bayek will have trouble holding his liquor, ultimately resulting in him taking an unplanned trip to the desert…
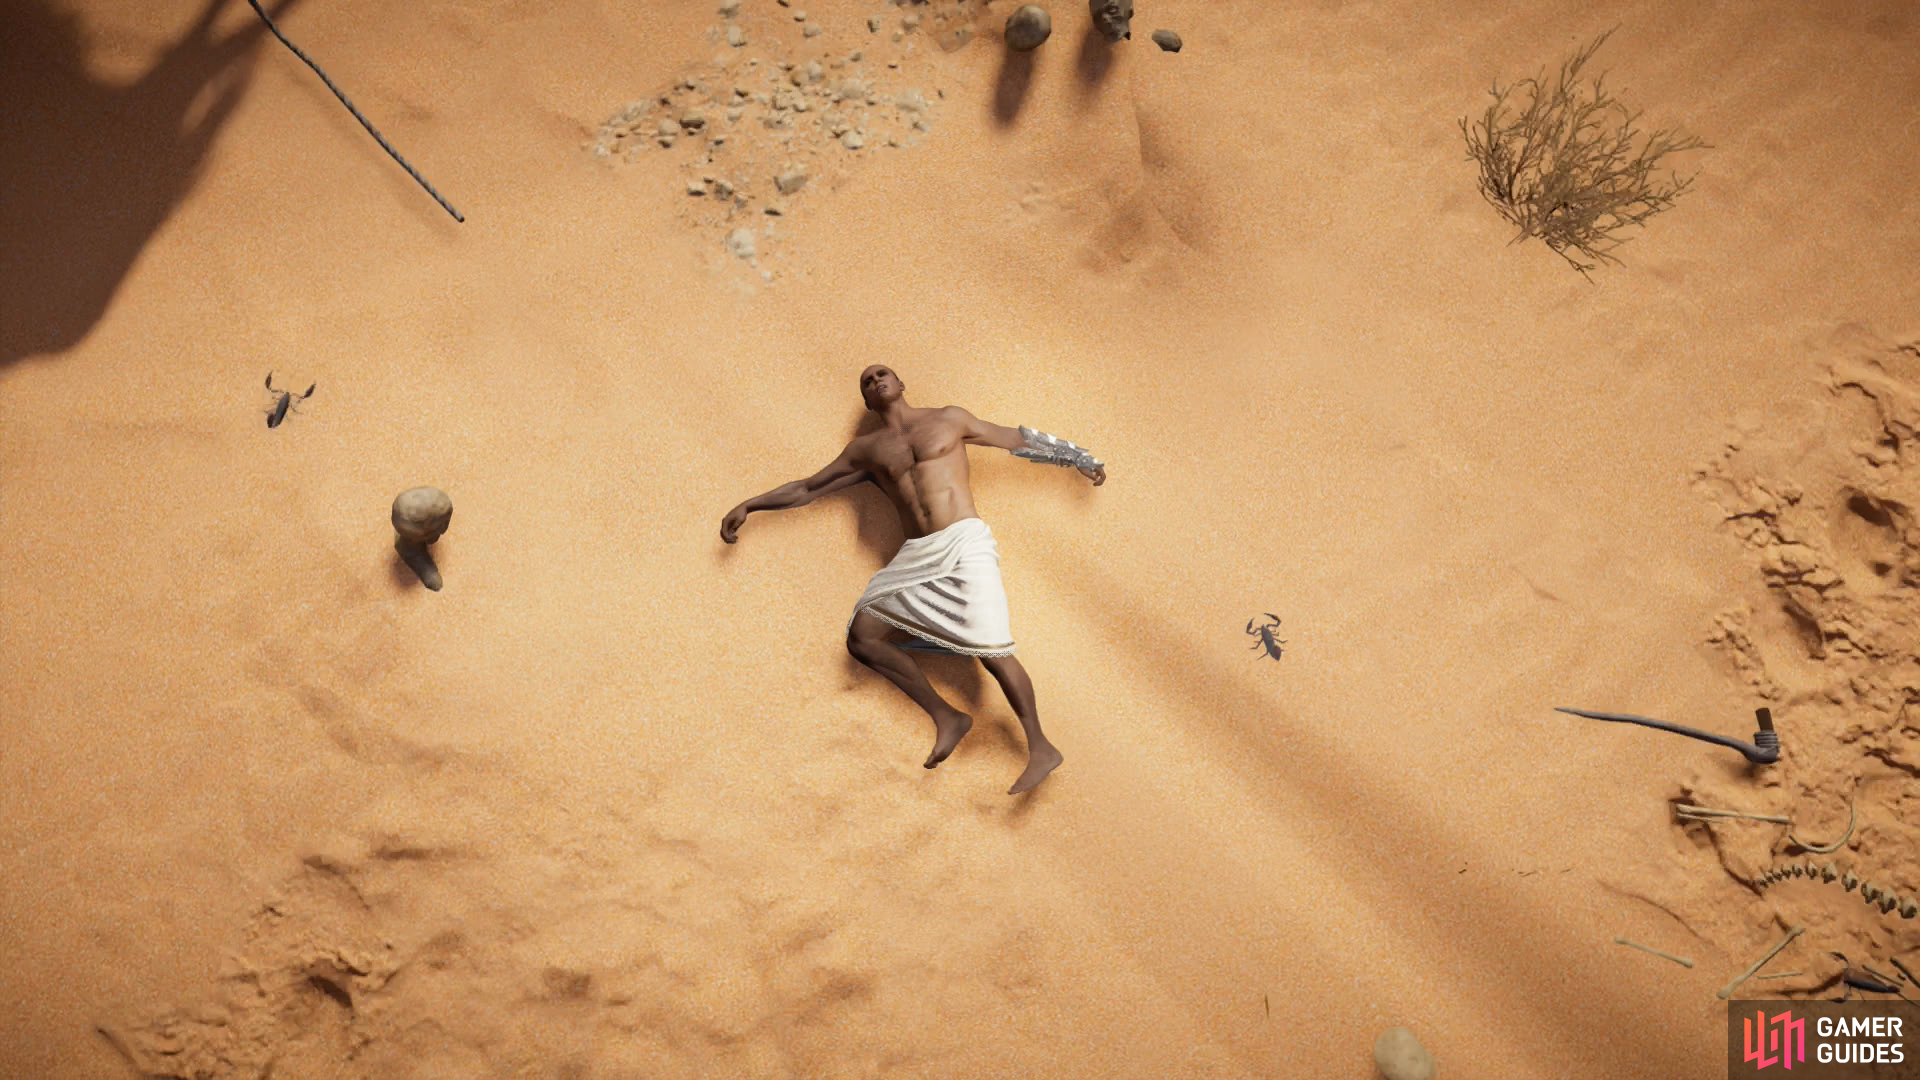
When you’re back in control of Bayek, watch some heat delusions for a while, if you wish, then press the [Down] button on the directional pad to summon your mount who, with a little help from Senu, will pull you to safety. When you’re free, mount your horse and ride northeast. You are bereft of coin and gear, lacking any means of defending yourself save the hidden blade. One of these days, an enemy will be wise enough to remove that tool, too, and you’ll be in real trouble! That day is not today, however, so ride until you hit a search area which suspiciously surrounds Camp Achlys.
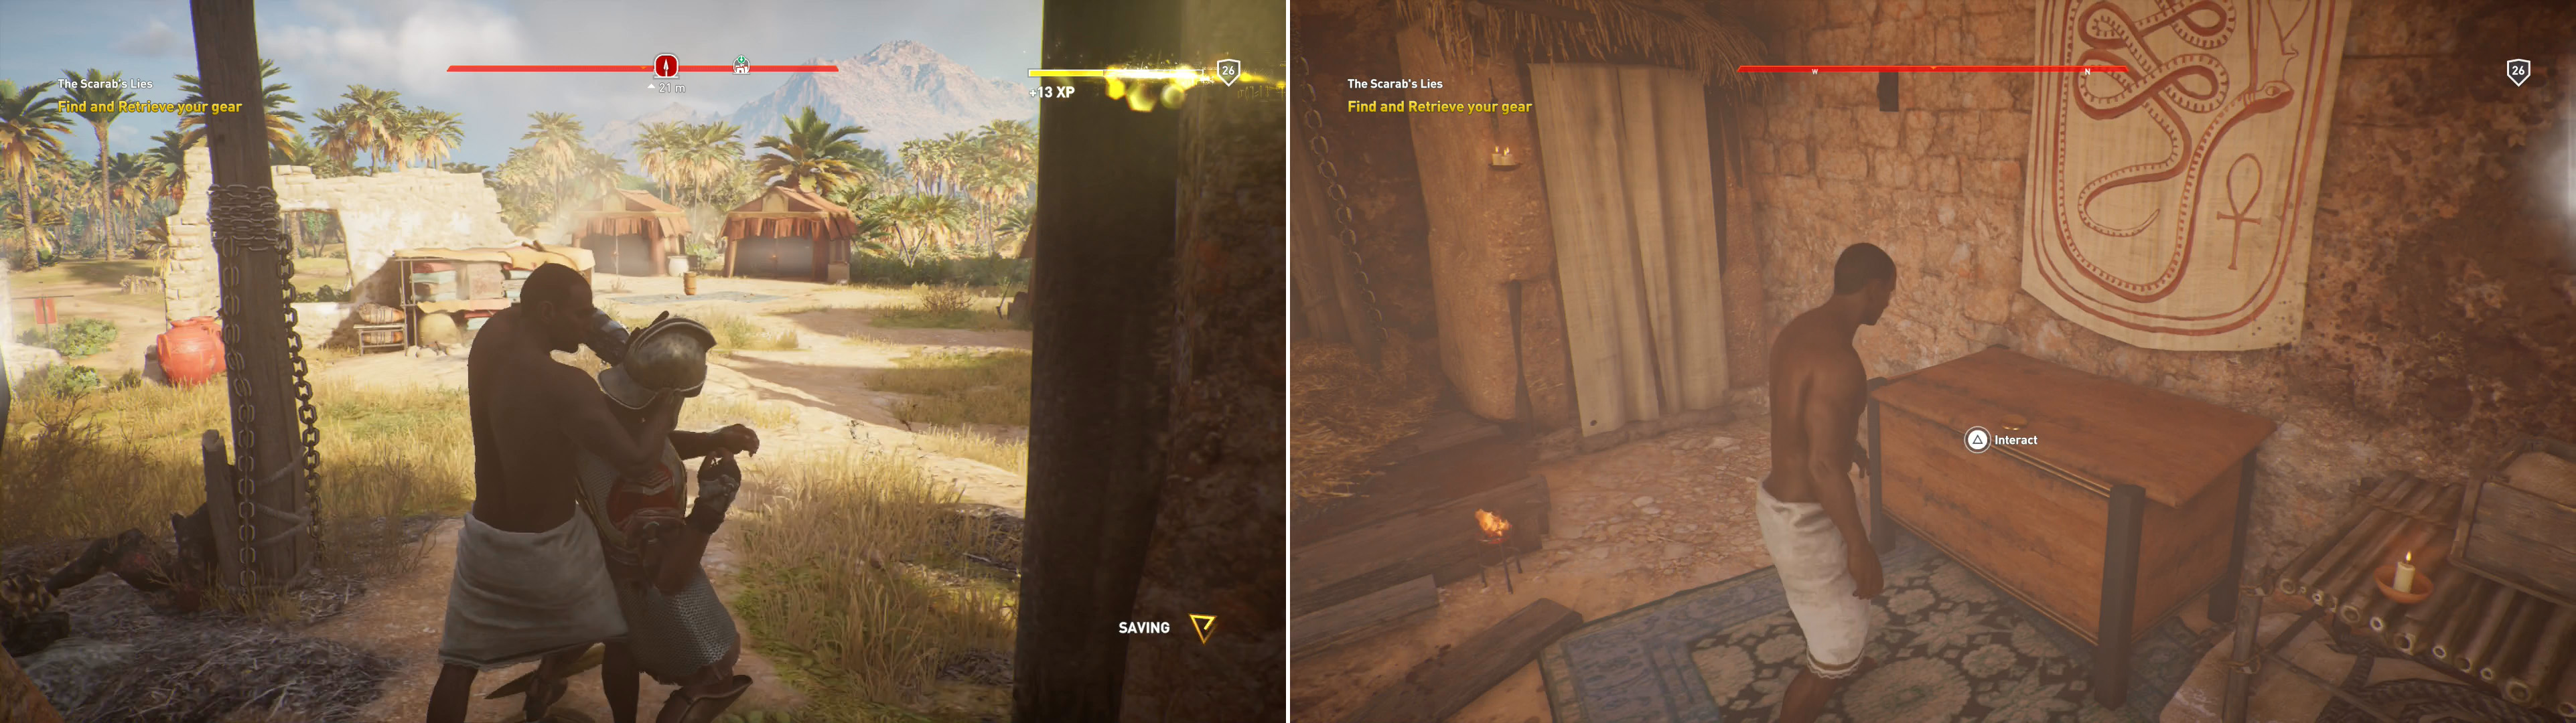
The Scarab left Bayek with only one weapon, his hidden blade - one weapon too many, as it turns out (left). Be that as it may, versatility won’t hurt. Kill the guards and recover your gear (right).
Camp Achlys
Get close enough to the search area to deploy Senu, who will confirm that your gear is, indeed, in Camp Achlys, in a building along the higher, western end of the fort. Fortunately approaching from the south works just fine, as there’s a gate there, an easily scalable wall west of the gate, and most importantly, all the foliage you could care to hide in near the gate. Carefully climb up the hill west of the gate and take to some bushes, moving closer to the gate. If you see any guards nearby, lure them to their doom courtesy of your hidden blade - you can probably get away without killing any guards before you recover your gear, but then again, it’ll make it easier, and there’s bound to be at least one or two within easy whistle-reach. Once the coast is clear, sneak into the building and reclaim your gear.
Now that you have your kit back, clearing this camp should be simple. There are only about half a dozen guards (level 19) and the captain (level 20) who will now show up. If you killed a few en route to reclaiming your gear, you should have most of the work already done. In any event, there are plenty of bushes for you to hide in all about camp, so the enemies here should prevent no real difficulty. Kill them, search the tent nearest (southeast of) the building that held your equipment to find this camp’s treasure, then leave.
| Reward: For completing Camp Achlys |
|---|
| 400 XP |
Hunting the Scarab
Now, it’s time to sort things out a bit. Taharqa is the Scarab, and he needs to die. If you complete the quest “ New Kid in Town “, you know that Letopolis was sacrificed to Sekhmet centuries ago, and if you recall, when you were done killing the bandits at Plesionhudor Hideout he referred to them as “followers of Sekhmet”. It certainly puts their attacks on Letopolis - during a sand storm no less - in a different light, and frankly, it’s likely that Taharqa got you to do his dirty work before trying to kill you, too.
On the plus side, Bayek should have the advantage of surprise, since Taharqa most likely suspects that Bayek is dead and buried in the desert somewhere. When you reclaimed your gear you obtained the Letter to Sefetu , the Scarab’s confederate to whom your arms and armor were to be traded. He is dealt with earlier in the guide, in the quests in and around Sais, including the Informant Board quests. These quests start after “ The Scarab’s Sting “ ultimately culminating with the quest “ The Tax Master “.
Taharqa, the Scarab, can be found in the Temple of Horus, which is now a restricted zone and crawling with soldiers (level 19). Why he didn’t have these guys around earlier, during the attacks by Sekhmet’s reavers is a fair question, but nonetheless you’ll have to contend with them. The easiest approach to the Temple of Horus is arguably from the southeast, as from that side the restricted zone doesn’t begin until you actually scale the wall leading to the temple itself, whereas from every other direction you’ll have to pick your way through enemy-infested houses or ruins.
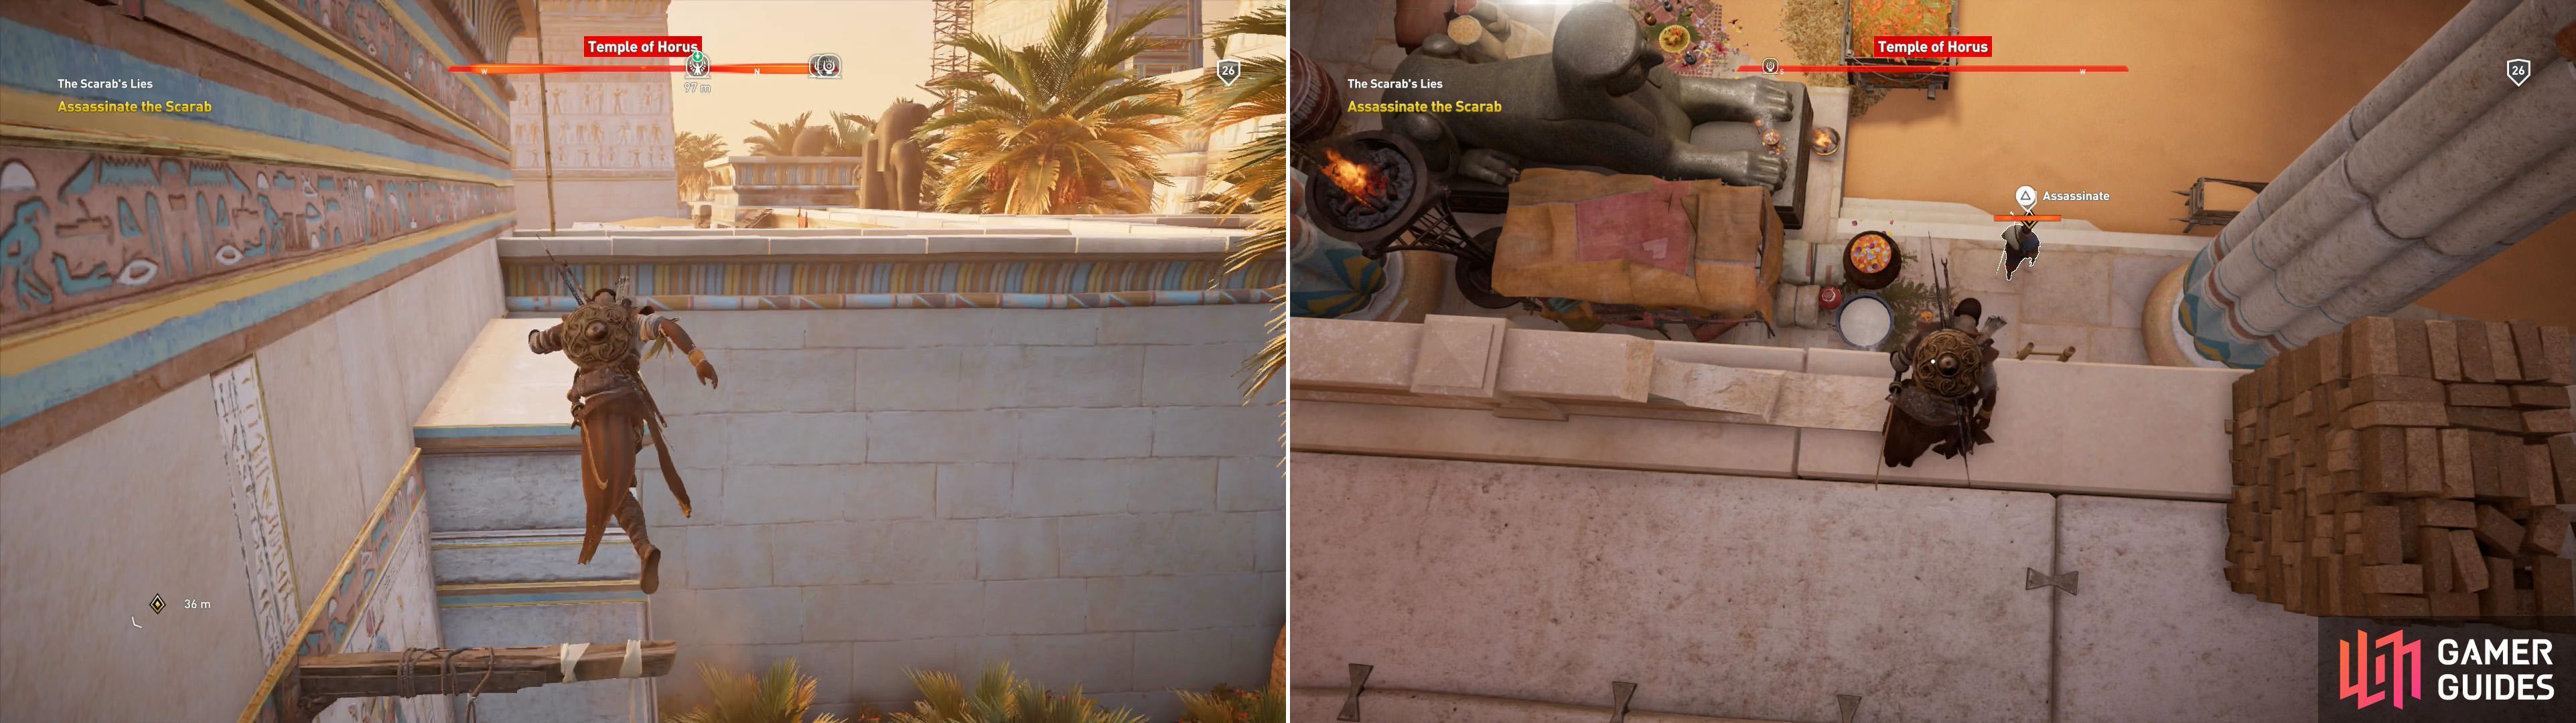
Leap along some wooden beams on the exterior of the temple (left) then wait for an opportunity to kill The Scarab cleanly (right).
The bulk of the enemies you’ll encounter are within, on the roof of and immediately around the temple itself, so once you scale the wall near the temple, you should use this vantage to pick off foes on the ground around the temple, and on buildings nearby. Once those are gone and you’re relatively safe from threats from below, climb onto the edge of - but not actually onto - the roof, where you can crawl around the perimeter of the roof and whistle to lure enemies over, then toss them off the roof. Good ol’ ledge takedowns. You can also climb onto nearby towers and pick off stragglers, as thinning the herd will make you less likely to be spotted by guards as you toss their buddies to their death. Once the roof is clear, search a building southwest of the temple to find an alarm brazier, which you may as well trap to prevent complications.
Once that’s done, climb down the northeastern side of the temple to find some windows you can climb into. Climbing into one of these windows should allow you to reach a ledge over where Taharqa works, from which you can simply perform a takedown from above to end his life, and this quest. You don’t have to worry about any guards you leave behind, once Taharqa is dead, you’ll be treated to some scenes.
| Reward: For completing the quest “The Scarab’s Lies” |
|---|
| 1,500 XP |


No Comments