
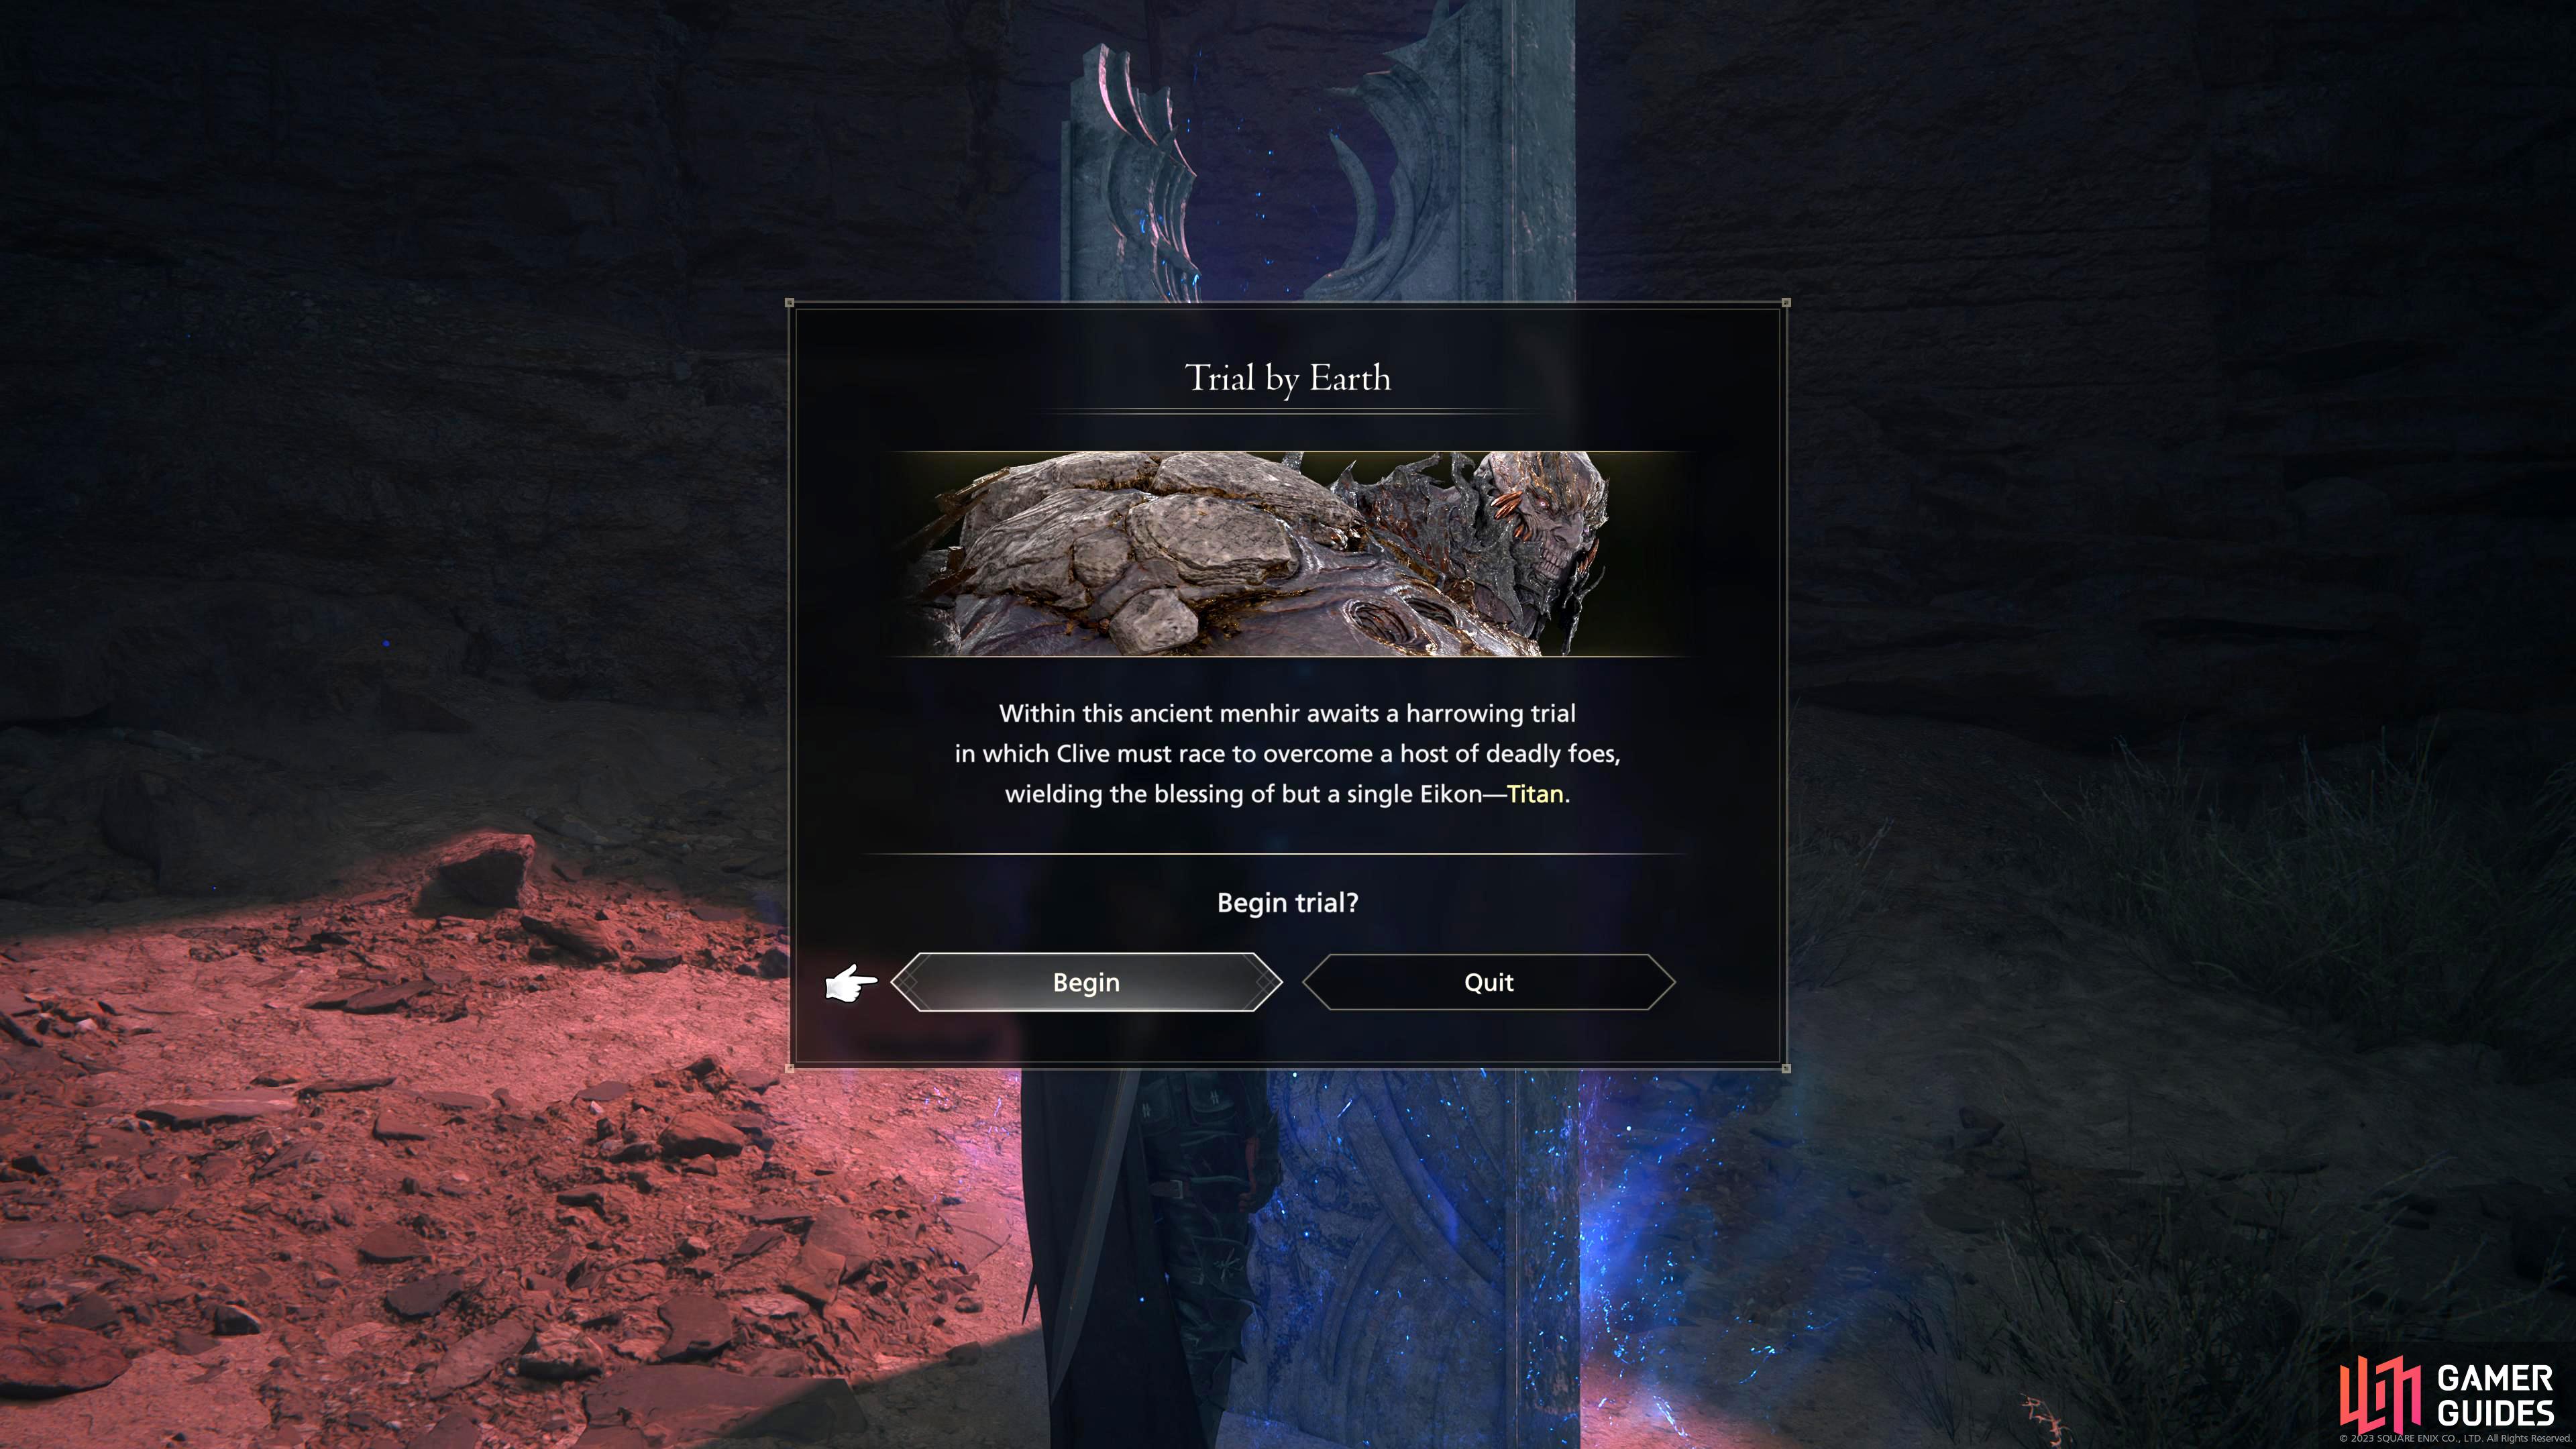
As you begin to approach the end game of Final Fantasy 16, harder side content opens up, and one of these activities is the Chronolith Trials. These are time-based missions using specific Eikons with a selected loadout of abilities that are picked for you. As you progress through the multiple stages that these trials offer, your abilities will change. Read below to find out the best way to handle the Titan: Trial by Earth Chronolith Trial, and what you’ll get as a reward for completing it.
Titan’s Trial by Earth can be found in the North Velkroy Desert.
Where to Find The Hand of Titan Chronolith in FF16
Each Chronolith has a specific name, with the Trial by Earth trial being called The Hand of Titan. These Chronoliths are well-hidden, and can only be accessed after defeating that respective Eikon in that region. To find The Hand of Titan, you’ll want to teleport to the ![]() Velkroy Desert obelisk. From there, follow the wall northwest until you reach the Ceratina ruins. There are enemies here, but you can ignore them.
Velkroy Desert obelisk. From there, follow the wall northwest until you reach the Ceratina ruins. There are enemies here, but you can ignore them.
Make your way through the ruins by heading east/northeast, and you’ll soon be back on sand. Continue east, and you’ll end up in the vision-obscuring Northern Velkroy Desert. Although the sandstorms will make it difficult to see, proceed to head east until you can’t go east, and then head north. Follow this pathway to the end, and you’ll find The Hand of Titan Chronolith sitting snugly in the sand at the back.
Titan Chronolith Trial Preparation
You should always prepare before heading into a trial because you can make it significantly easier if you equip the right gear and accessories while also upgrading specific abilities. It’s recommended that you reach the last main scenario quest, Back to Their Origin and complete the later side quests before tackling the Chronolith Trials, mainly so you’ll have all the best equipment available while also having a lot of Ability Points to move around.
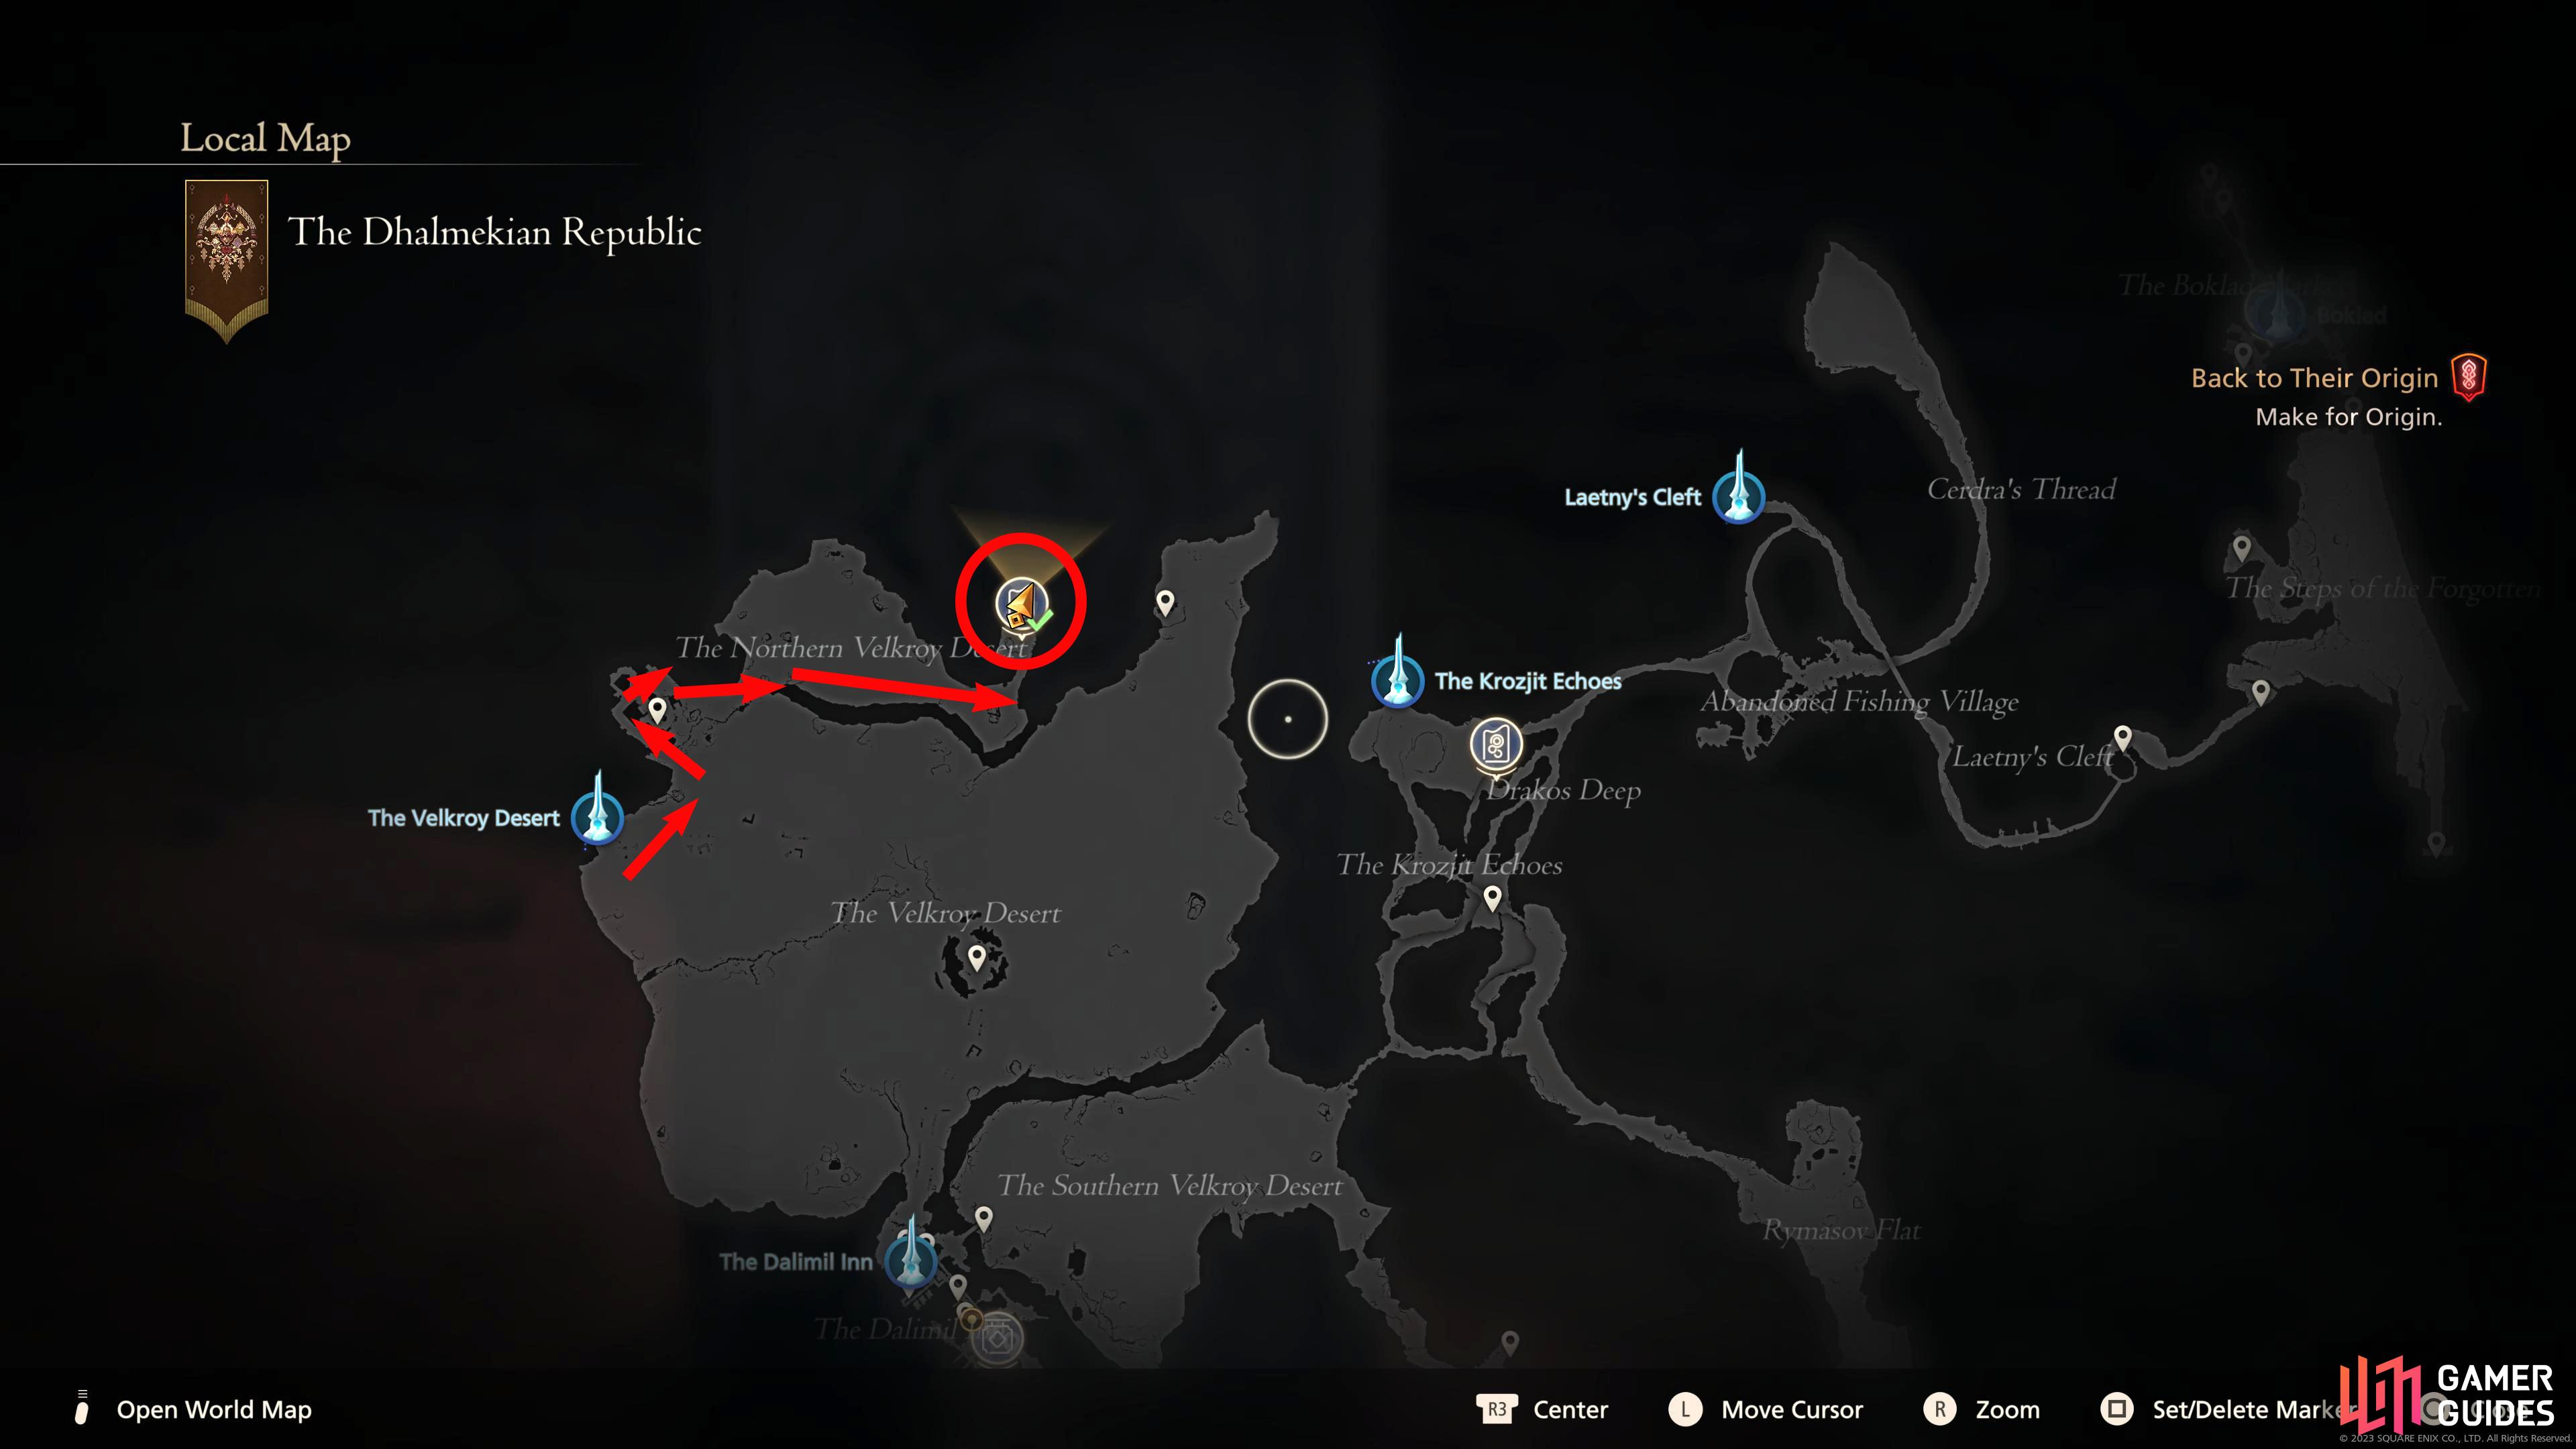
Start from the Velkroy Desert obelisk and head north into the Ceratina ruins. Go through them to enter the Northern Velkroy Desert and head east, then north.
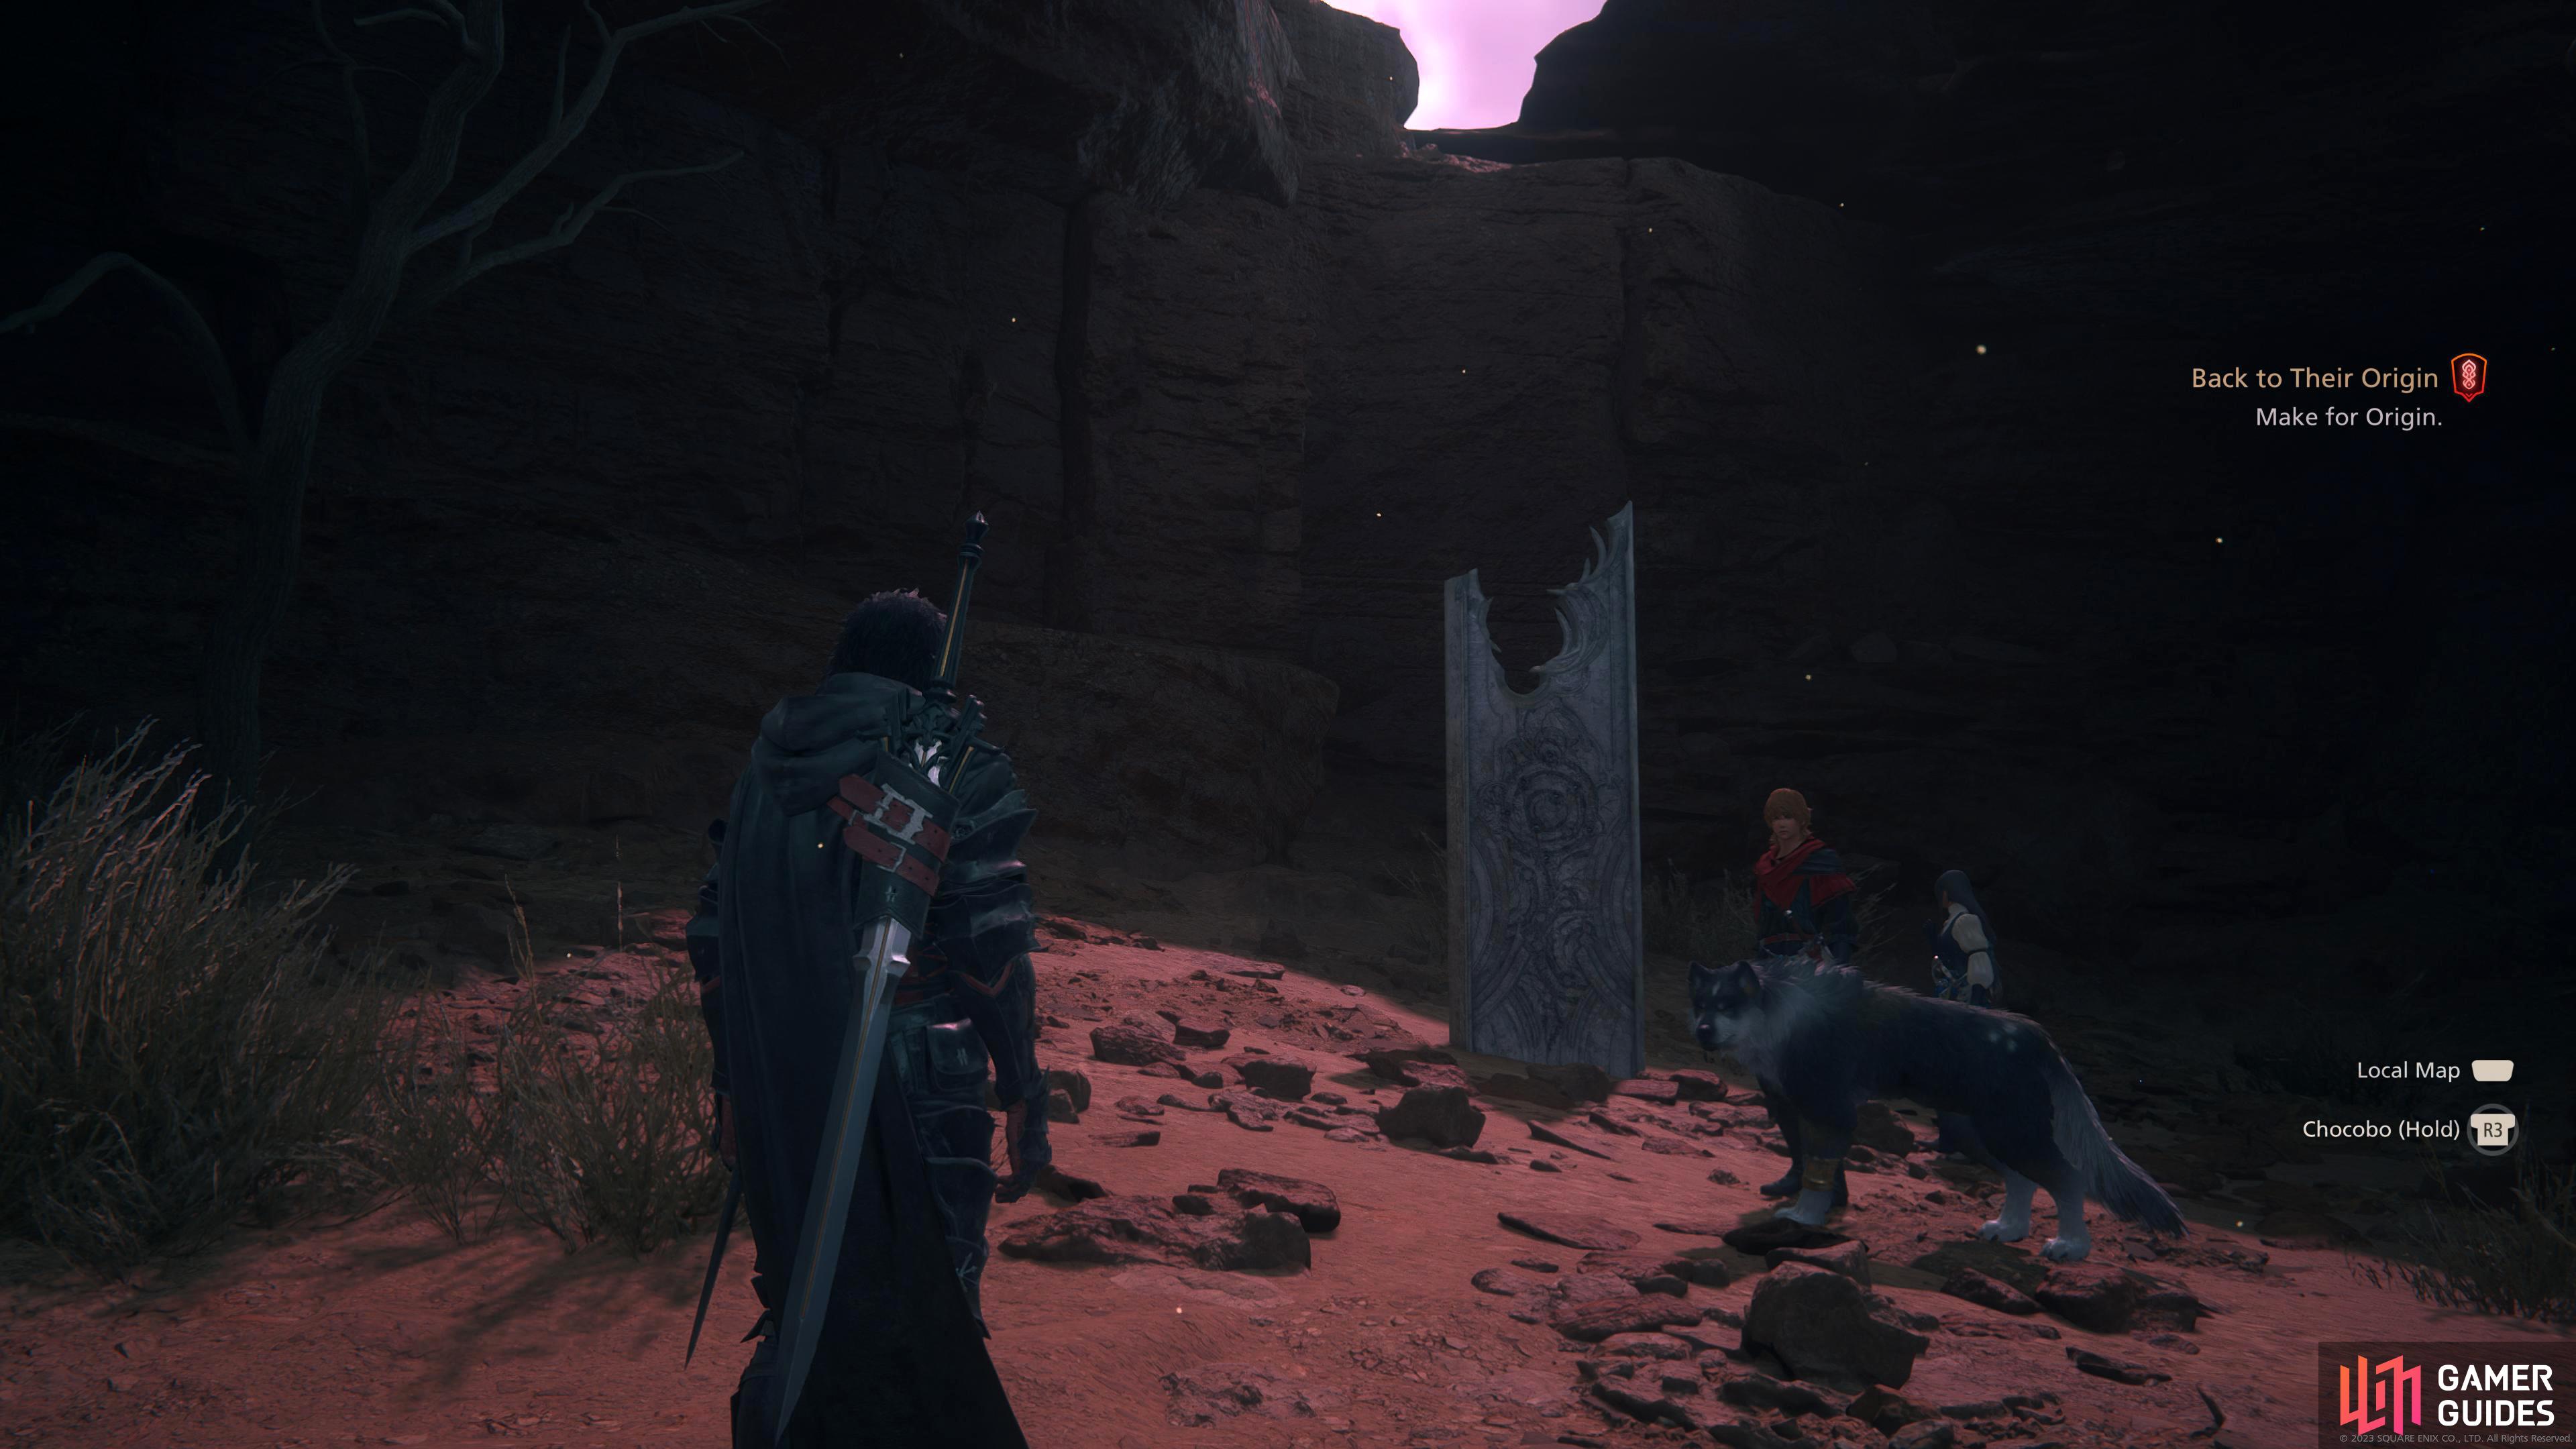
The Chronolith can be found at the back of the area.
Equipment
If you took the above advice, you’ll have the Gotterdammerung from the Blacksmith’s Blues IV side quest, and The Founder’s Ring from the Where There’s a Will side quest. With that in mind, here’s the recommended equipment for the trial.
| Name | Slot | Description | Location |
|---|---|---|---|
| Weapon | +375 Attack + Stagger | Complete the Blacksmith’s Blues IV Side Quest to obtain the recipe and then craft it. | |
| Belt | +95 Defense, +32 HP | Crafted from the recipe obtained from the Blacksmith’s Blues III Side Quest. | |
| Vambraces | +94 Defense, +50 HP | Reward for completing the Where There’s a Will Side Quest. | |
| Accessory 1 | Increases attack and alters Precision Dodge | Reward for 85 Renown at the Patron of Whispers. | |
| Stage Ability Accessory | Accessory 2 | – | Multiple |
| Stage Ability Accessory | Accessory 3 | – | Multiple |
As you can see, the Gotterdammerung is the weapon of choice because it is the best weapon in the game until New Game Plus where the Ultima Weapon takes over. For the belt, you’ll want the Ouroboros which is a reward from the Blacksmith’s Blues III side quest. Finally, use either !Founders Ring from the Where There’s a Will Side Quest, or use ![]() The Sons of Ouroboros.
The Sons of Ouroboros.
Then you have the Berserker Ring which will increase your attack, and alter your Precision Dodge and you can get this for a measly 85 Renown at the Patron of Whispers. Note, this changes the precision dodge animation, if you don’t like it, switch it out for either the Genji Gloves for a bonus 5% damage, or the Adamantite Gauntlets for the extra 500 HP.
For the last two accessories, you’ll want to rotate them at the end of each stage based on the abilities that each stage gives you. For example, the first stage gives you Raging Fists and Upheaval, so you’d want to equip either ![]() The Breath of Earth (Raging Fists) to reduce its cooldown, or The Favor of Earth (Raging Fists) for the damage increase in the Accessory 2 slot. Then for Accessory 3, you’d want to equip the equivalent for Upheaval as these are the first two abilities you start with. These abilities change after every stage, so make sure you change the accessories to match the new abilities. Here’s a list of all the Titan Ability accessories for you to choose from:
The Breath of Earth (Raging Fists) to reduce its cooldown, or The Favor of Earth (Raging Fists) for the damage increase in the Accessory 2 slot. Then for Accessory 3, you’d want to equip the equivalent for Upheaval as these are the first two abilities you start with. These abilities change after every stage, so make sure you change the accessories to match the new abilities. Here’s a list of all the Titan Ability accessories for you to choose from:
Titan Accessory List
| Name | Description | Location |
|---|---|---|
| The Favor of Earth (Windup) | Increases Windup damage by 10%. | Obtained after defeating Necrophobe. |
| The Favor of Earth (Raging Fists) | Increases Raging Fists damage by 10%. | Chest in Fire in The Sky. |
| Increases Upheaval damage by 8%. | Chest in Hugo’s bedroom. | |
| The Favor of Earth (Earthen Fury) | Increases Earthen Fury damage by 7%. | Reward for completing The Hand of Titan Chronolith. |
| Reduces Raging Fists cooldown by 3.5 seconds. | Chest in Letting Off Steam III. | |
| Reduces Windup cooldown time by 3.0 seconds. | Reward for the Getting to Work side quest. | |
| The Breath of Earth (Upheaval) | Reduces Upheaval cooldown time by 3.5 seconds. | Reward for completing Onward to Discovery. |
| The Breath of Earth (Earthen Fury) | Reduces Earthen Fury’s cooldown time by 13.5 seconds. | Chest in Through the Maelstrom. |
Trial by Earth - Stage 1 Walkthrough
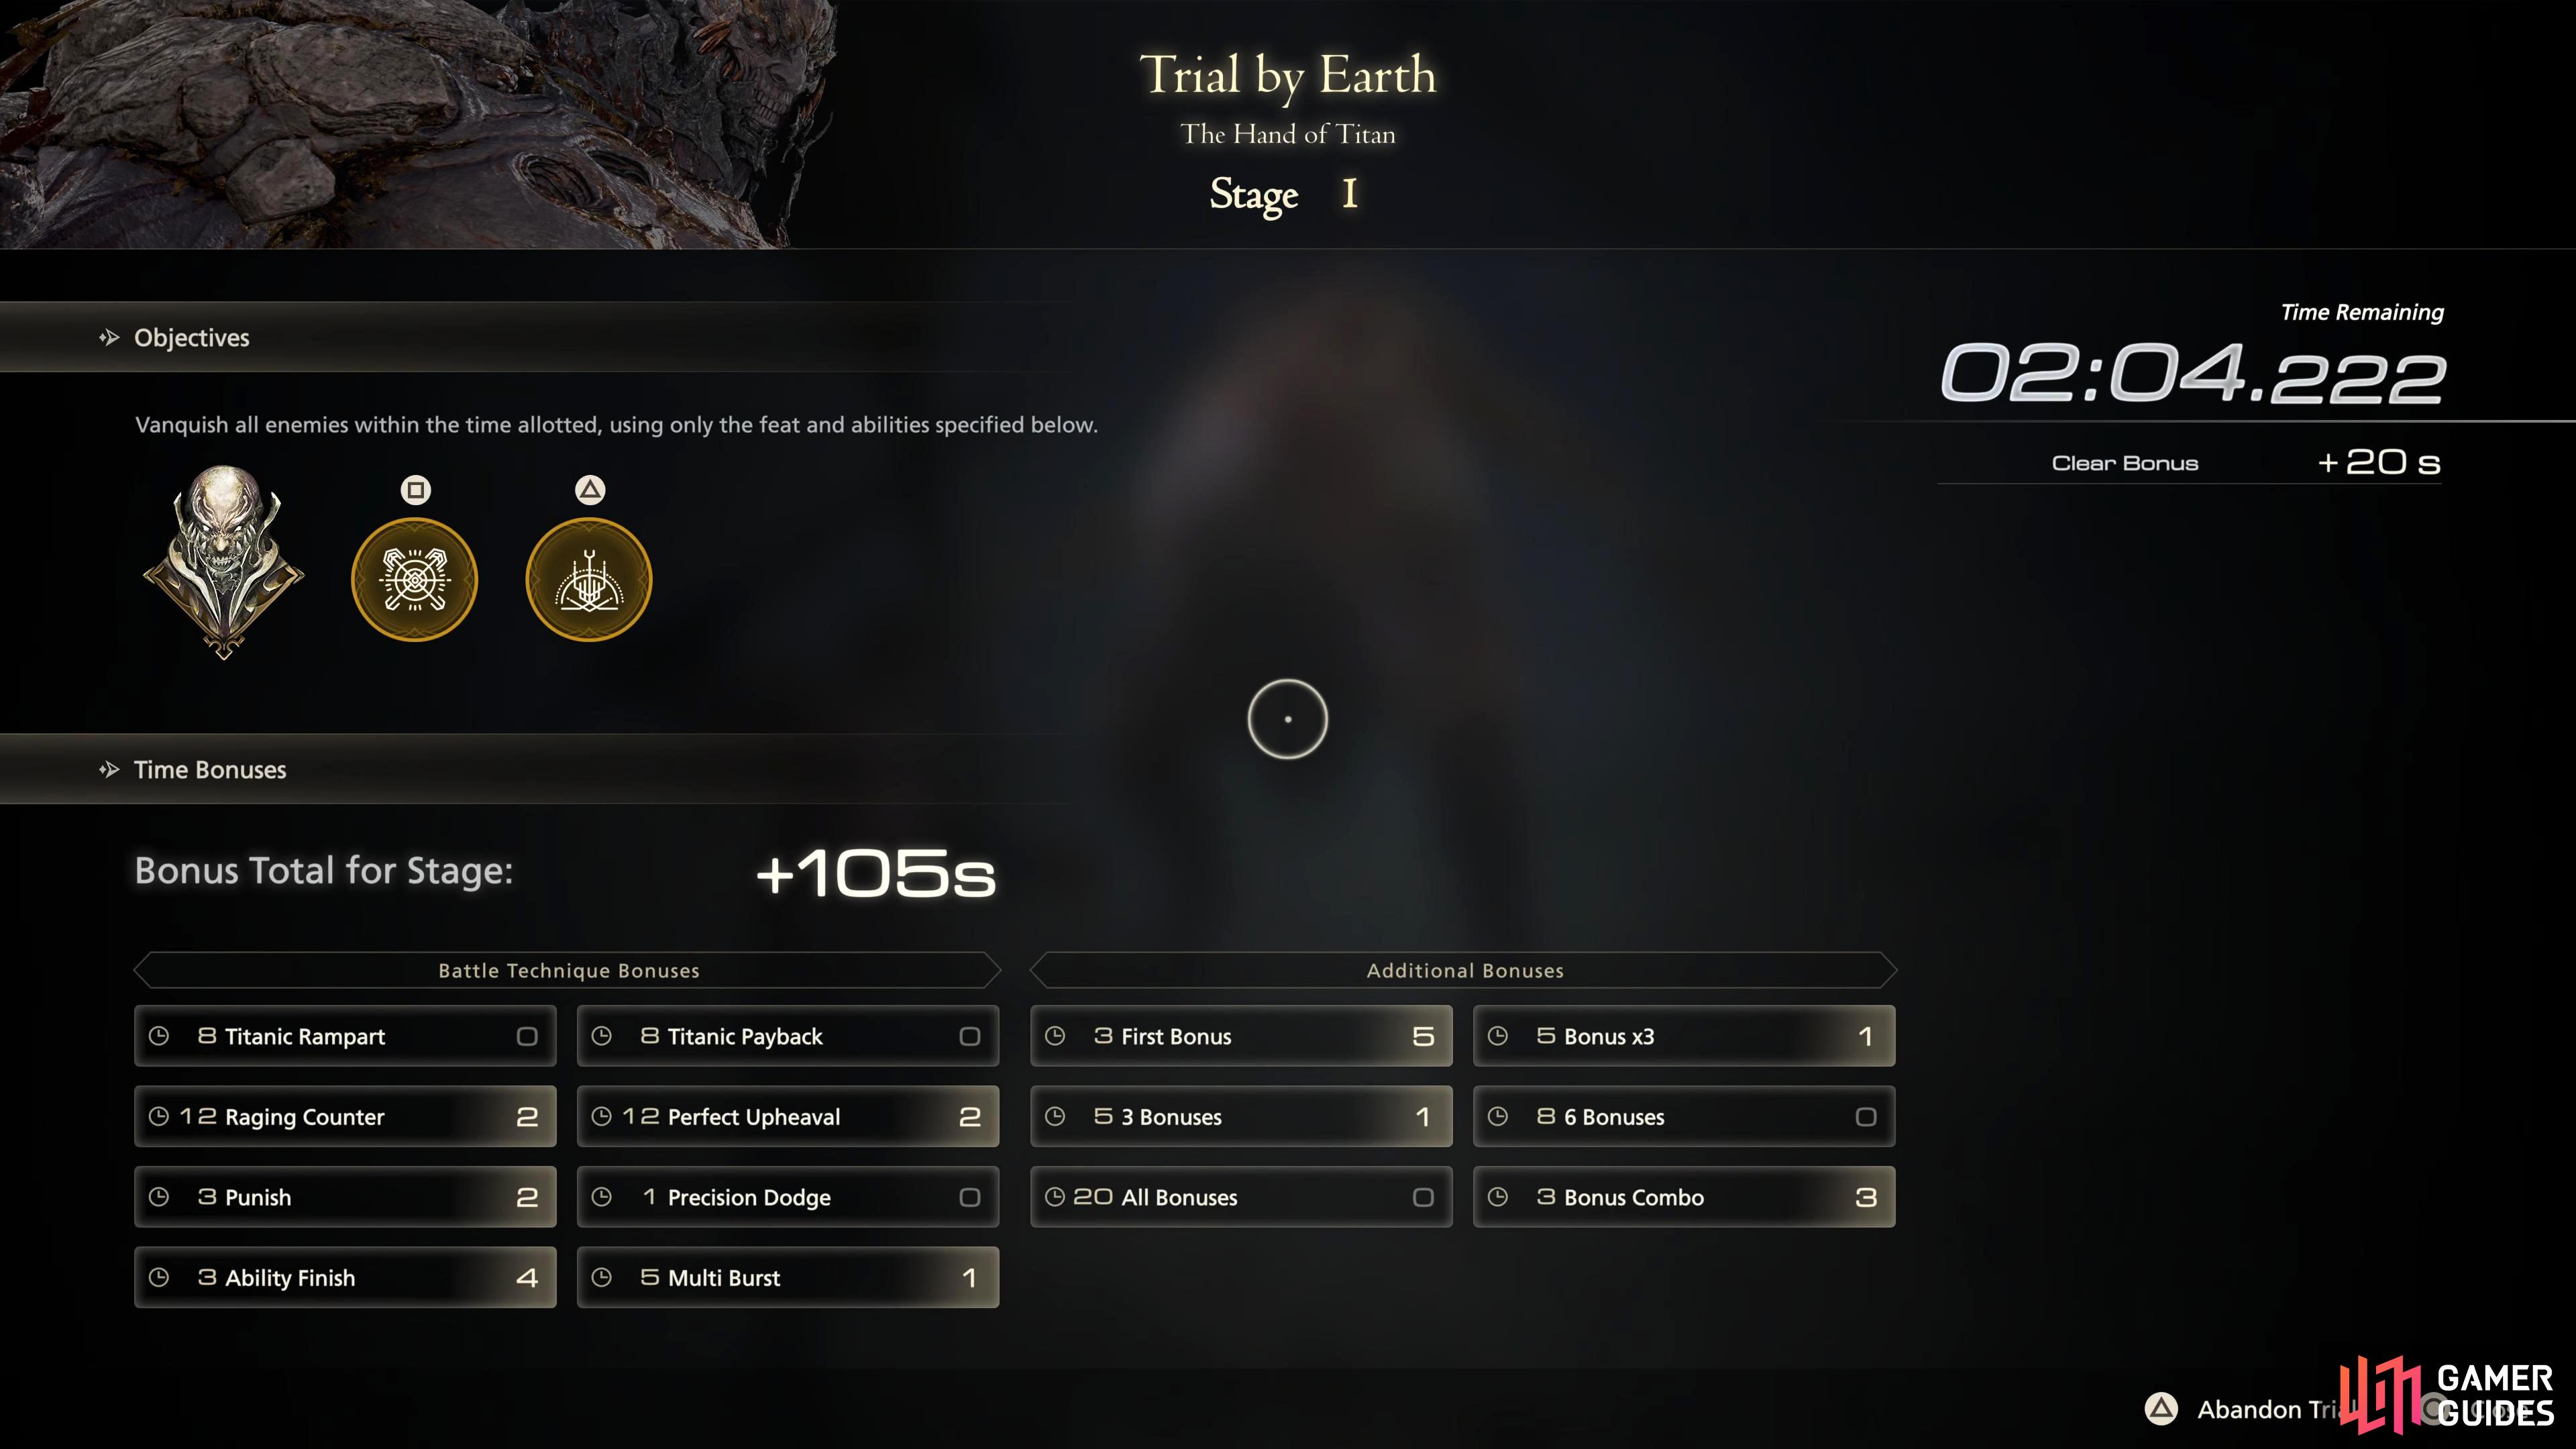
Stage 1 has Titan’s Raging Fists and Upheaval abilities.
| Ability | Suggested Accessory |
|---|---|
| The Breath of Earth (Upheaval) |
Make sure you equip yourself with the accessories before entering the trial. Stage 1 is where you’ll ideally build up a lot of time bonuses since the enemies during this stage are at their weakest, so make sure to read up on what battle techniques give bonuses.
When it comes to battle technique bonuses for this trial, the most difficult to perform is most likely the Raging Counter mainly because if you mistime it, you’ll take some damage you can’t heal through while also having to wait for it to come off cooldown. The simplest technique to perform is the Perfect Upheaval technique where all you need to do is hit the sweet spot when using Upheaval (yellow spot). Not only is this easy to achieve, but it gives you a bonus of 12 seconds if you perform it correctly. The only downside is its on a relatively long cooldown which is why the The Breath of Earth (Upheaval) accessory is taken to help reduce it.
Another easy technique to do is the Titanic Rampart which has you executing three precision blocks with ![]() Titanic Block, and if you counter three times from each block, you’ll be covering the Titanic Payback technique too which requires you to perform six Titanic Counters. Note, you can do three “counters” per block, so you’ll only need to do two!Titanic Blocks.. For the rest of the battle techniques, most of them will be the same as every other trial which are: Precision Dodge which is self-explanatory, Punish which requires you to execute the enemy when they’re downed, Multi Burst, which is to perform 10
Titanic Block, and if you counter three times from each block, you’ll be covering the Titanic Payback technique too which requires you to perform six Titanic Counters. Note, you can do three “counters” per block, so you’ll only need to do two!Titanic Blocks.. For the rest of the battle techniques, most of them will be the same as every other trial which are: Precision Dodge which is self-explanatory, Punish which requires you to execute the enemy when they’re downed, Multi Burst, which is to perform 10 ![]() Magic Bursts, and finally, you have Ability Finish which requires you to finish an enemy with any ability.
Magic Bursts, and finally, you have Ability Finish which requires you to finish an enemy with any ability.
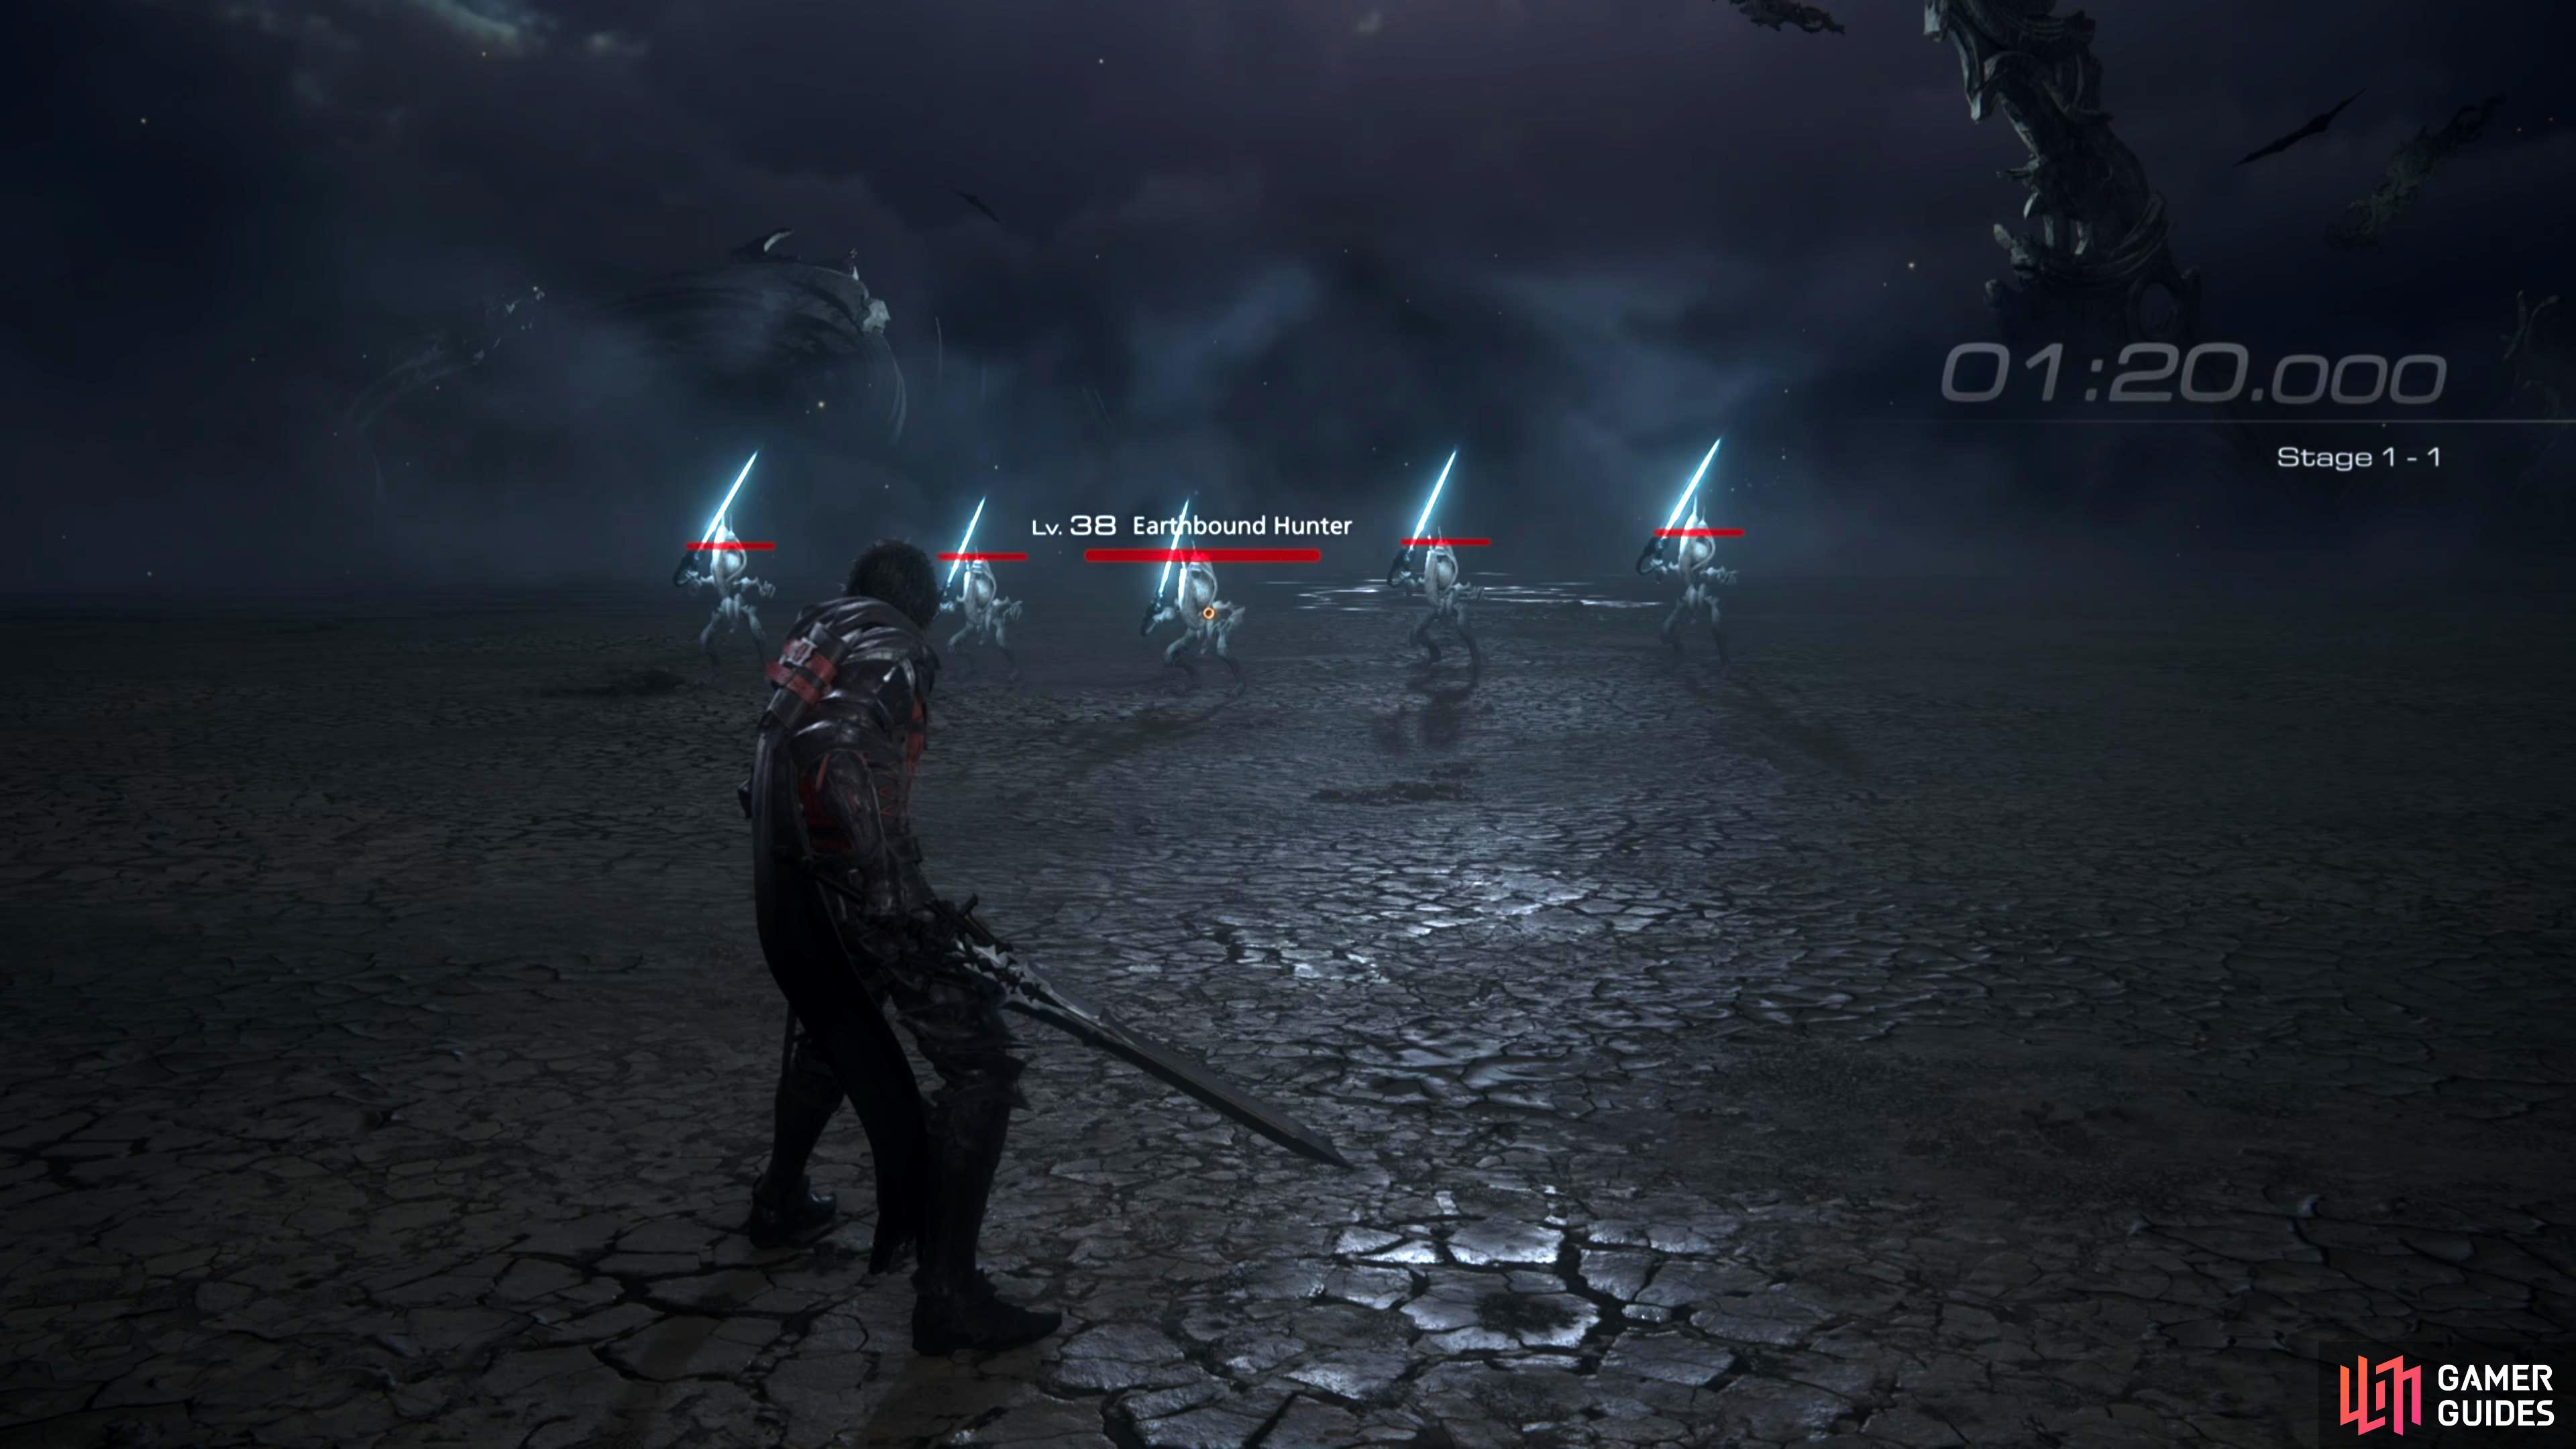
Stage 1-1
The first stage begins with five Earthbound Hunters who are weak Fallen-type enemies that should pose little threat. Once the trial begins, run over to them, but not too close, and use Upheaval (aim for the yellow spot of the charge for the battle technique), if timed right, you should decimate them in one ability. If not, they’ll be downed with little health, use this opportunity to perform a Mortal Blow with the  button to add to the time bonus (Punish).
Stage 1-2
Next up another group of enemies consisting of Earthbound Revenants, and some Dogs, a little tougher, but still nothing to worry about, although the Dogs can knock you down. As Upheaval is on cooldown, group up the monsters, so they’re near to each other, then use Raging Fists at the exact same time that one of the monsters goes to attack you. This should take most, if not all of them out in one hit. If not, use some combos with magic burst to finish them off.
A lot of the enemies in Stage 1 are nothing more than fodder. Use Upheaval at the beginning of the battle to decimate them.
Stage 1-3
The “boss” of stage 1 is the Earthbound Gigas which is just a regular Gigas type enemy who hits hard, but is slower than your grandmother. This is the perfect battle to use Titanic Block, as the Gigas attacks slowly, so use this opportunity to block its attacks and counter them after. Use Upheaval and Raging Fists whenever they’re off cooldown, and use Limit Break combos to deal even more damage, but the brunt of your damage should come from blocking, and countering.
The only attack which may cause you some trouble is “Big Swing” which has the Gigas spin seven times with its club out. Ideally, you’ll block all of these with Titanic Block (don’t counter!), but worst case, you can run away from it, although this method will cost you a few valuable seconds. Anyway, once you’ve defeated the Gigas, Stage 1 will be complete so get ready for Stage 2.
Trial by Earth - Stage 2 Walkthrough
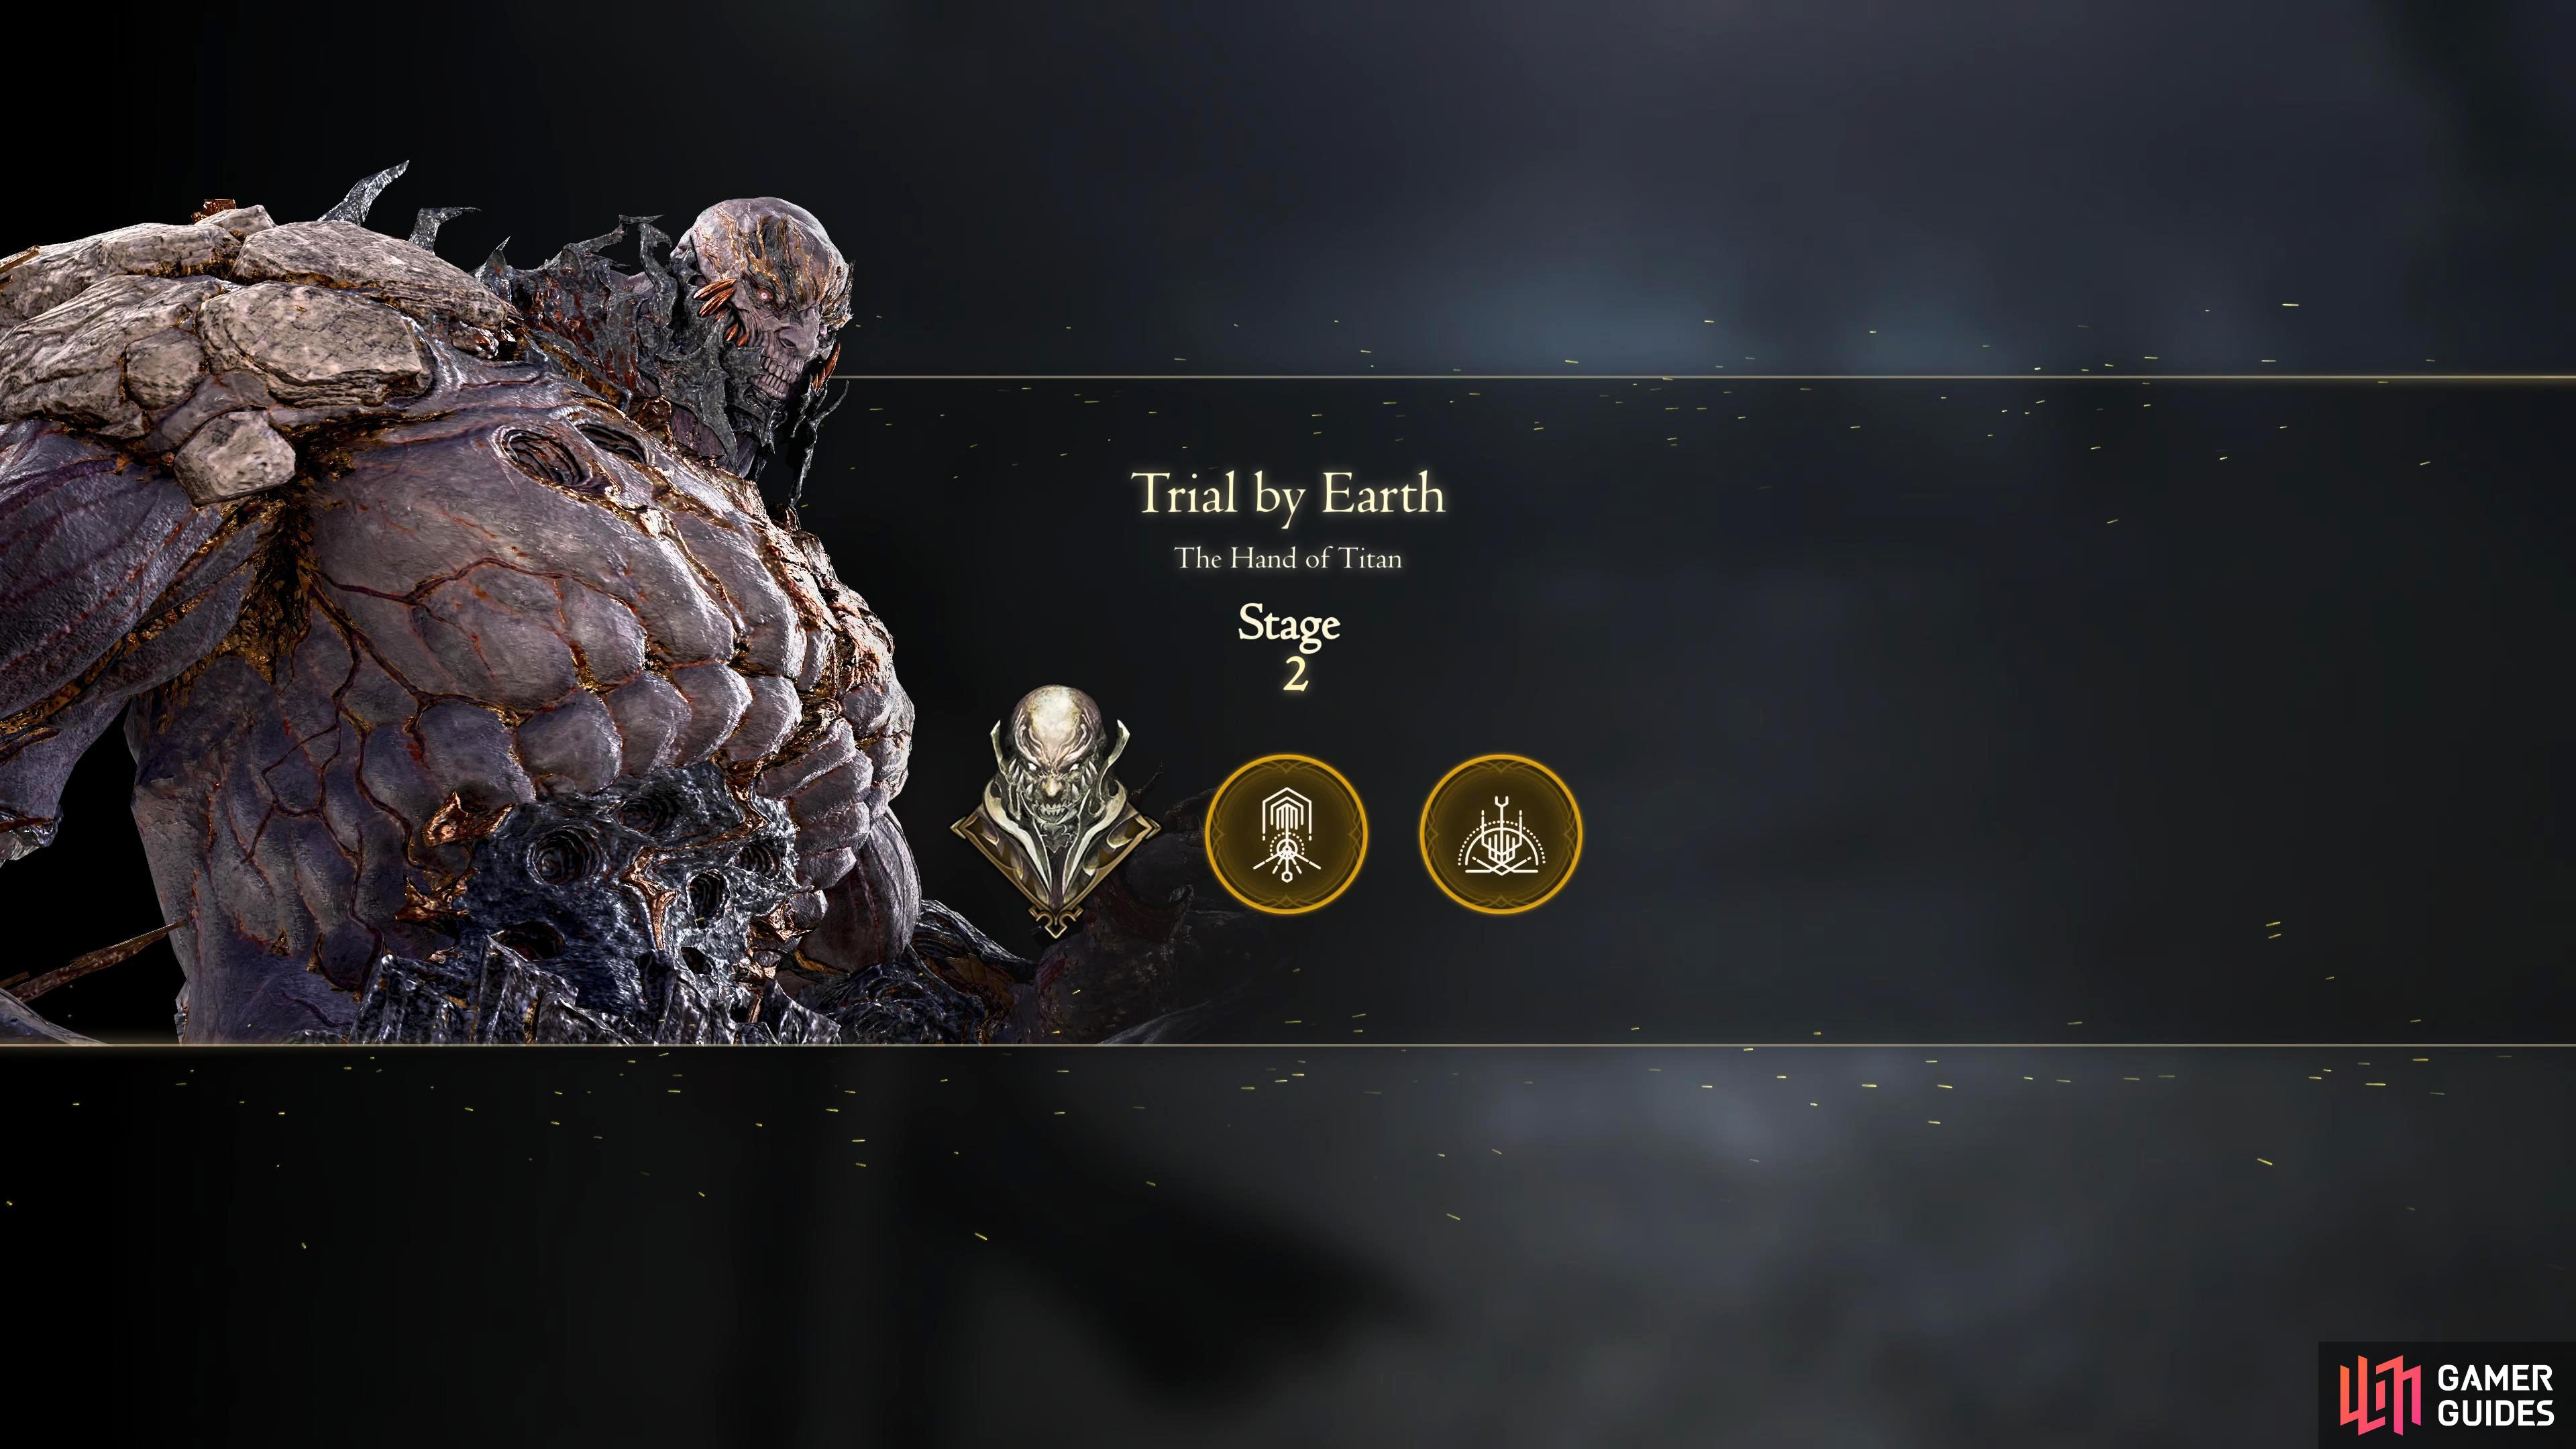
Stage 2 gives you Titan’s Windup and Upheaval abilities.
| Ability | Suggested Accessory |
|---|---|
| The Favor of Earth (Windup) | |
| The Breath of Earth (Upheaval) |
As you go through the portal, you’ll find yourself in Stage 2. When the stage screen with the objectives appears, make sure you go to the menu to change your equipment to the above accessories, if you don’t do it here, you won’t be able to change them again until stage 3.
The difficulty begins to ramp up now, and you’ll begin to see elite enemies outside the “boss” fights. If you check the battle techniques, you’ll see that Perfect Windup is there now. This is exactly the same as Perfect Upheaval which means that you need to charge up the ability until you reach the small yellow portion of the gauge. Other than that, everything else is the same.
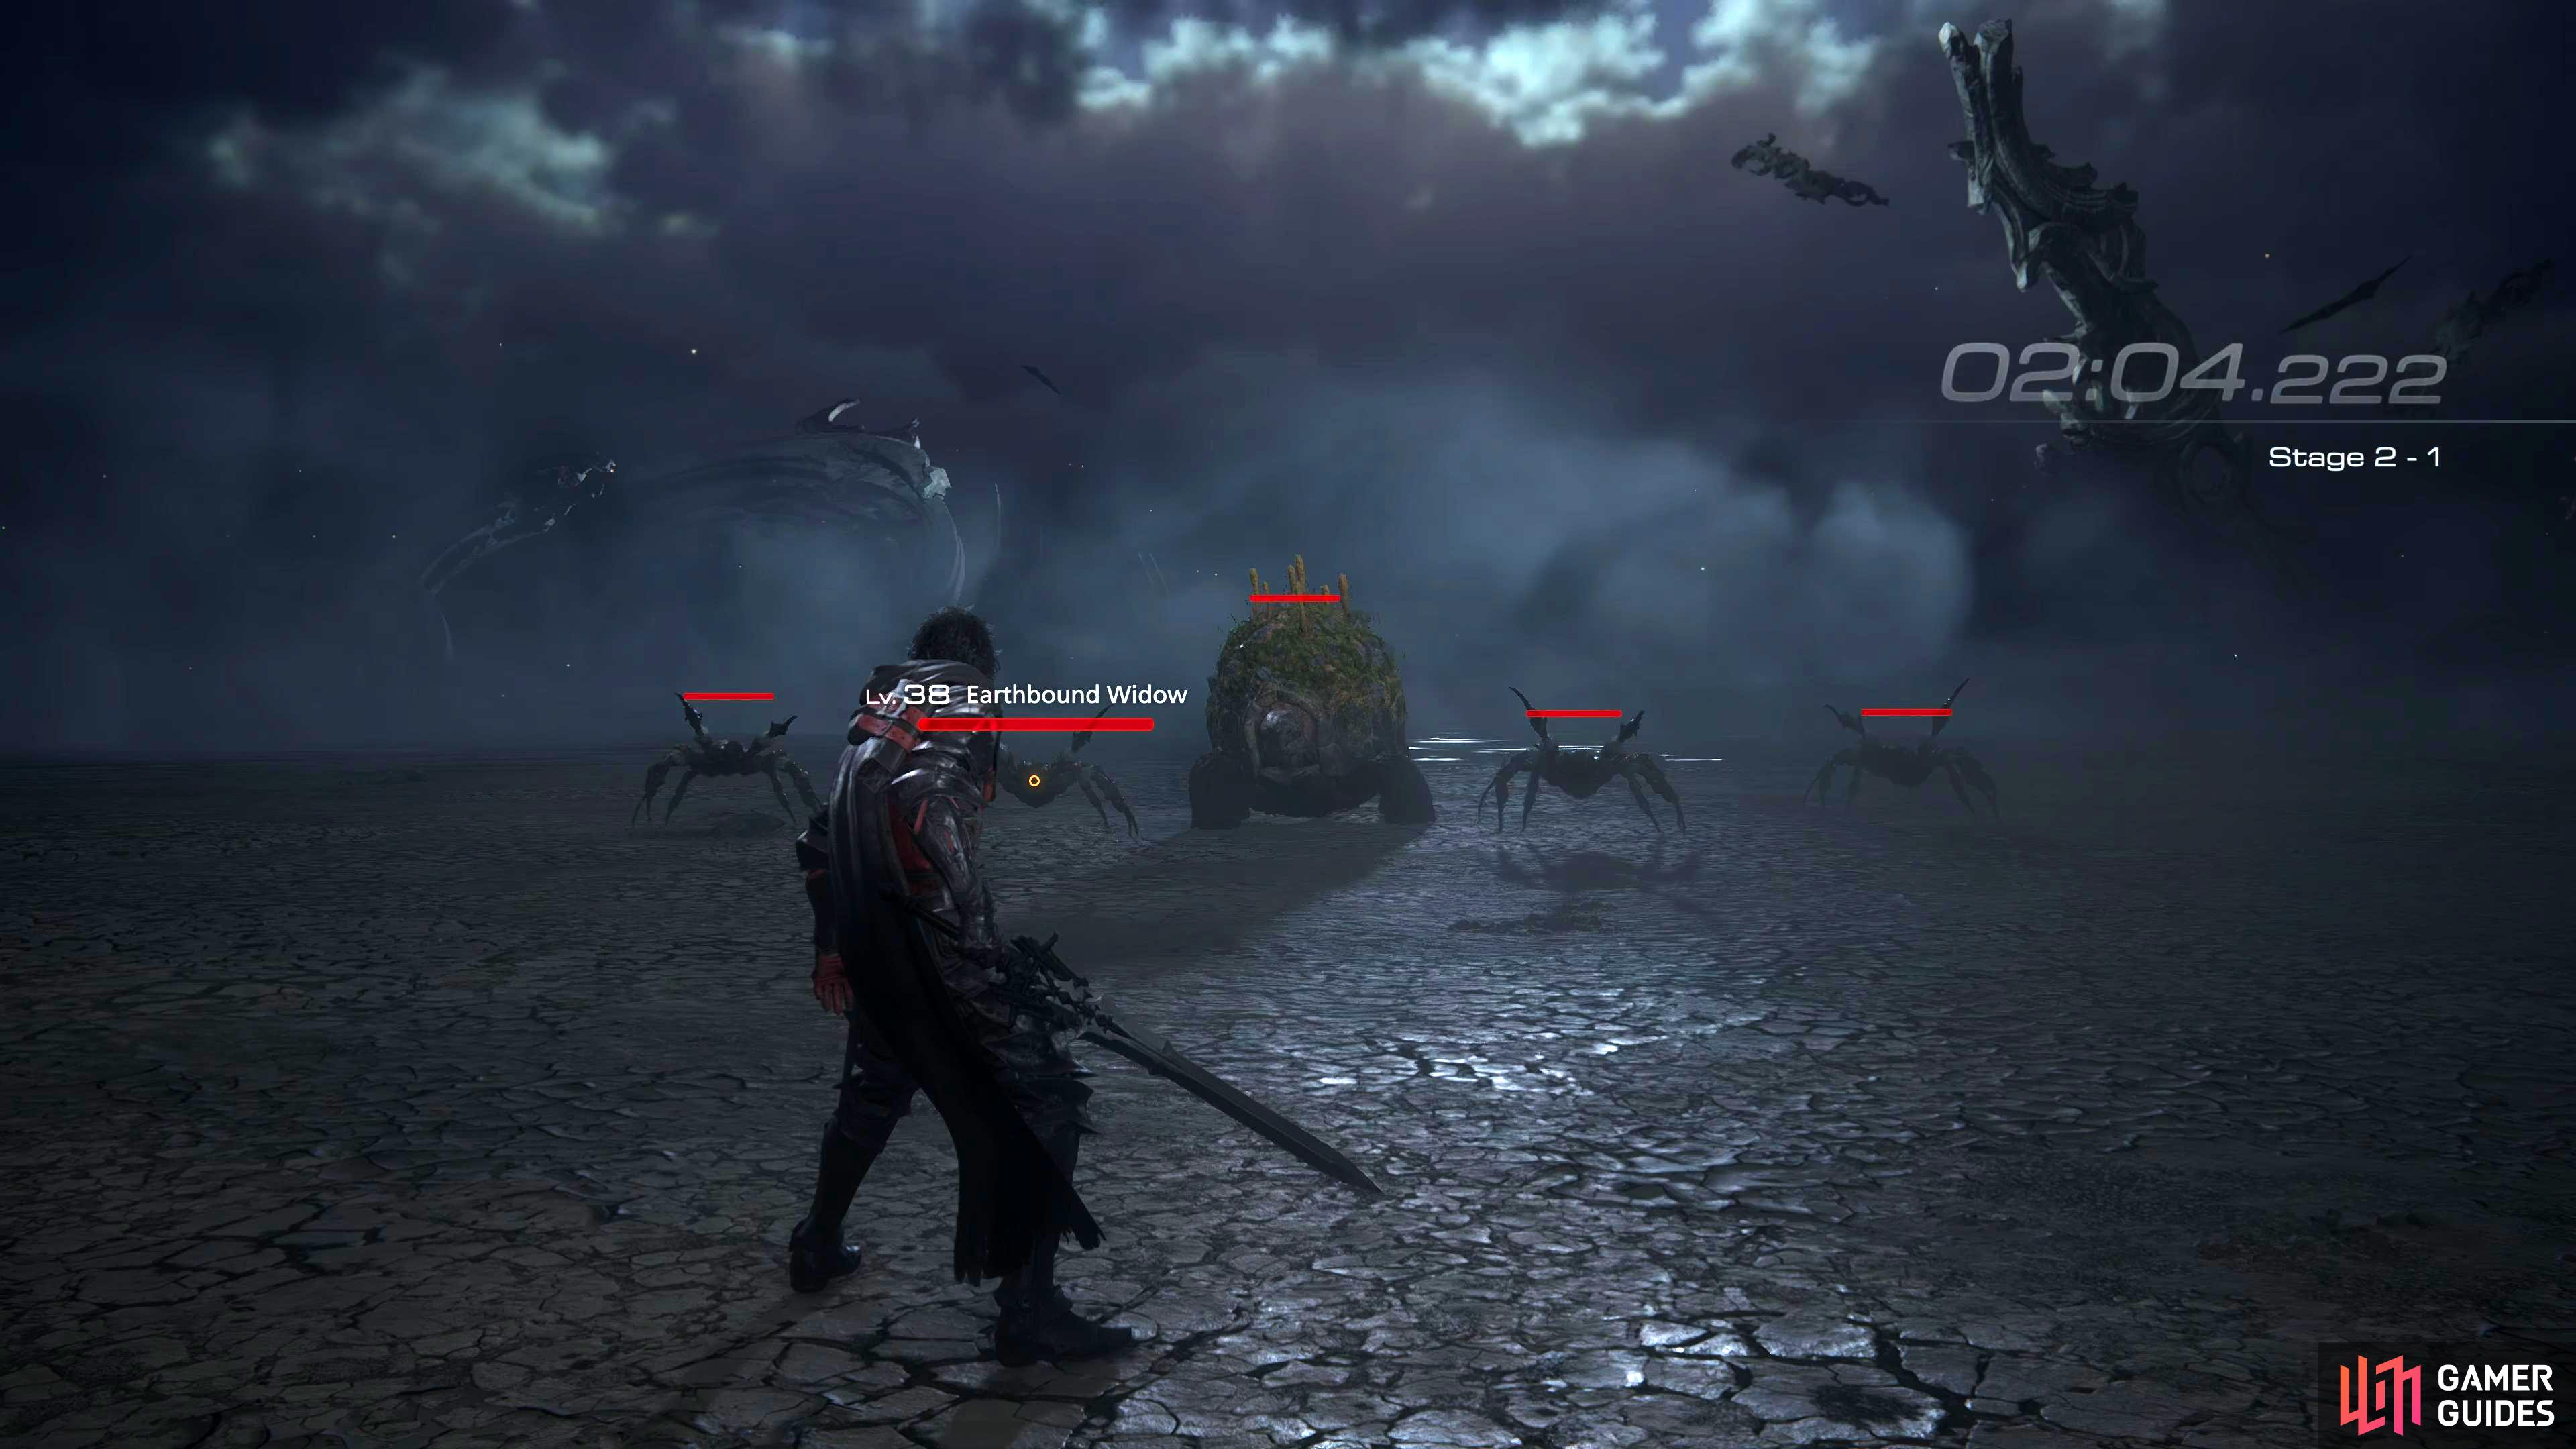
Stage 2-1
The first group of enemies you’ll face is four Earthbound Widows (spiders), and most notably, the Earthbound Adamantoise. Similar to stage 1-1, run up to them, but not too close, and execute a perfect Upheaval, say goodbye to the spiders! Now it’s just you and the Adamantoise. Stay close to the turtle and block whenever it goes on to its hind legs before it drops onto you; time the block just as it lands, and you’ll perform a precision Titanic Block. Another great opportunity to use Titanic Block is when it uses its foot stomp ability. Its foot will rise into the air while energy builds up around it before it stomps on you; time the block as the foot begins to fall.
Use Windup and Upheaval off cooldown for significant damage while also using them during the stagger phase. While you wait for cooldowns, throw in some combos with Magic Burst (Attack > Magic > Attack > Magic etc.), and some precision dodges on its projectile, and spin attack, finally, use Limit Break whenever your health gets low (around half).
In stage 2 the difficulty begins to get tougher with elite enemies appearing.
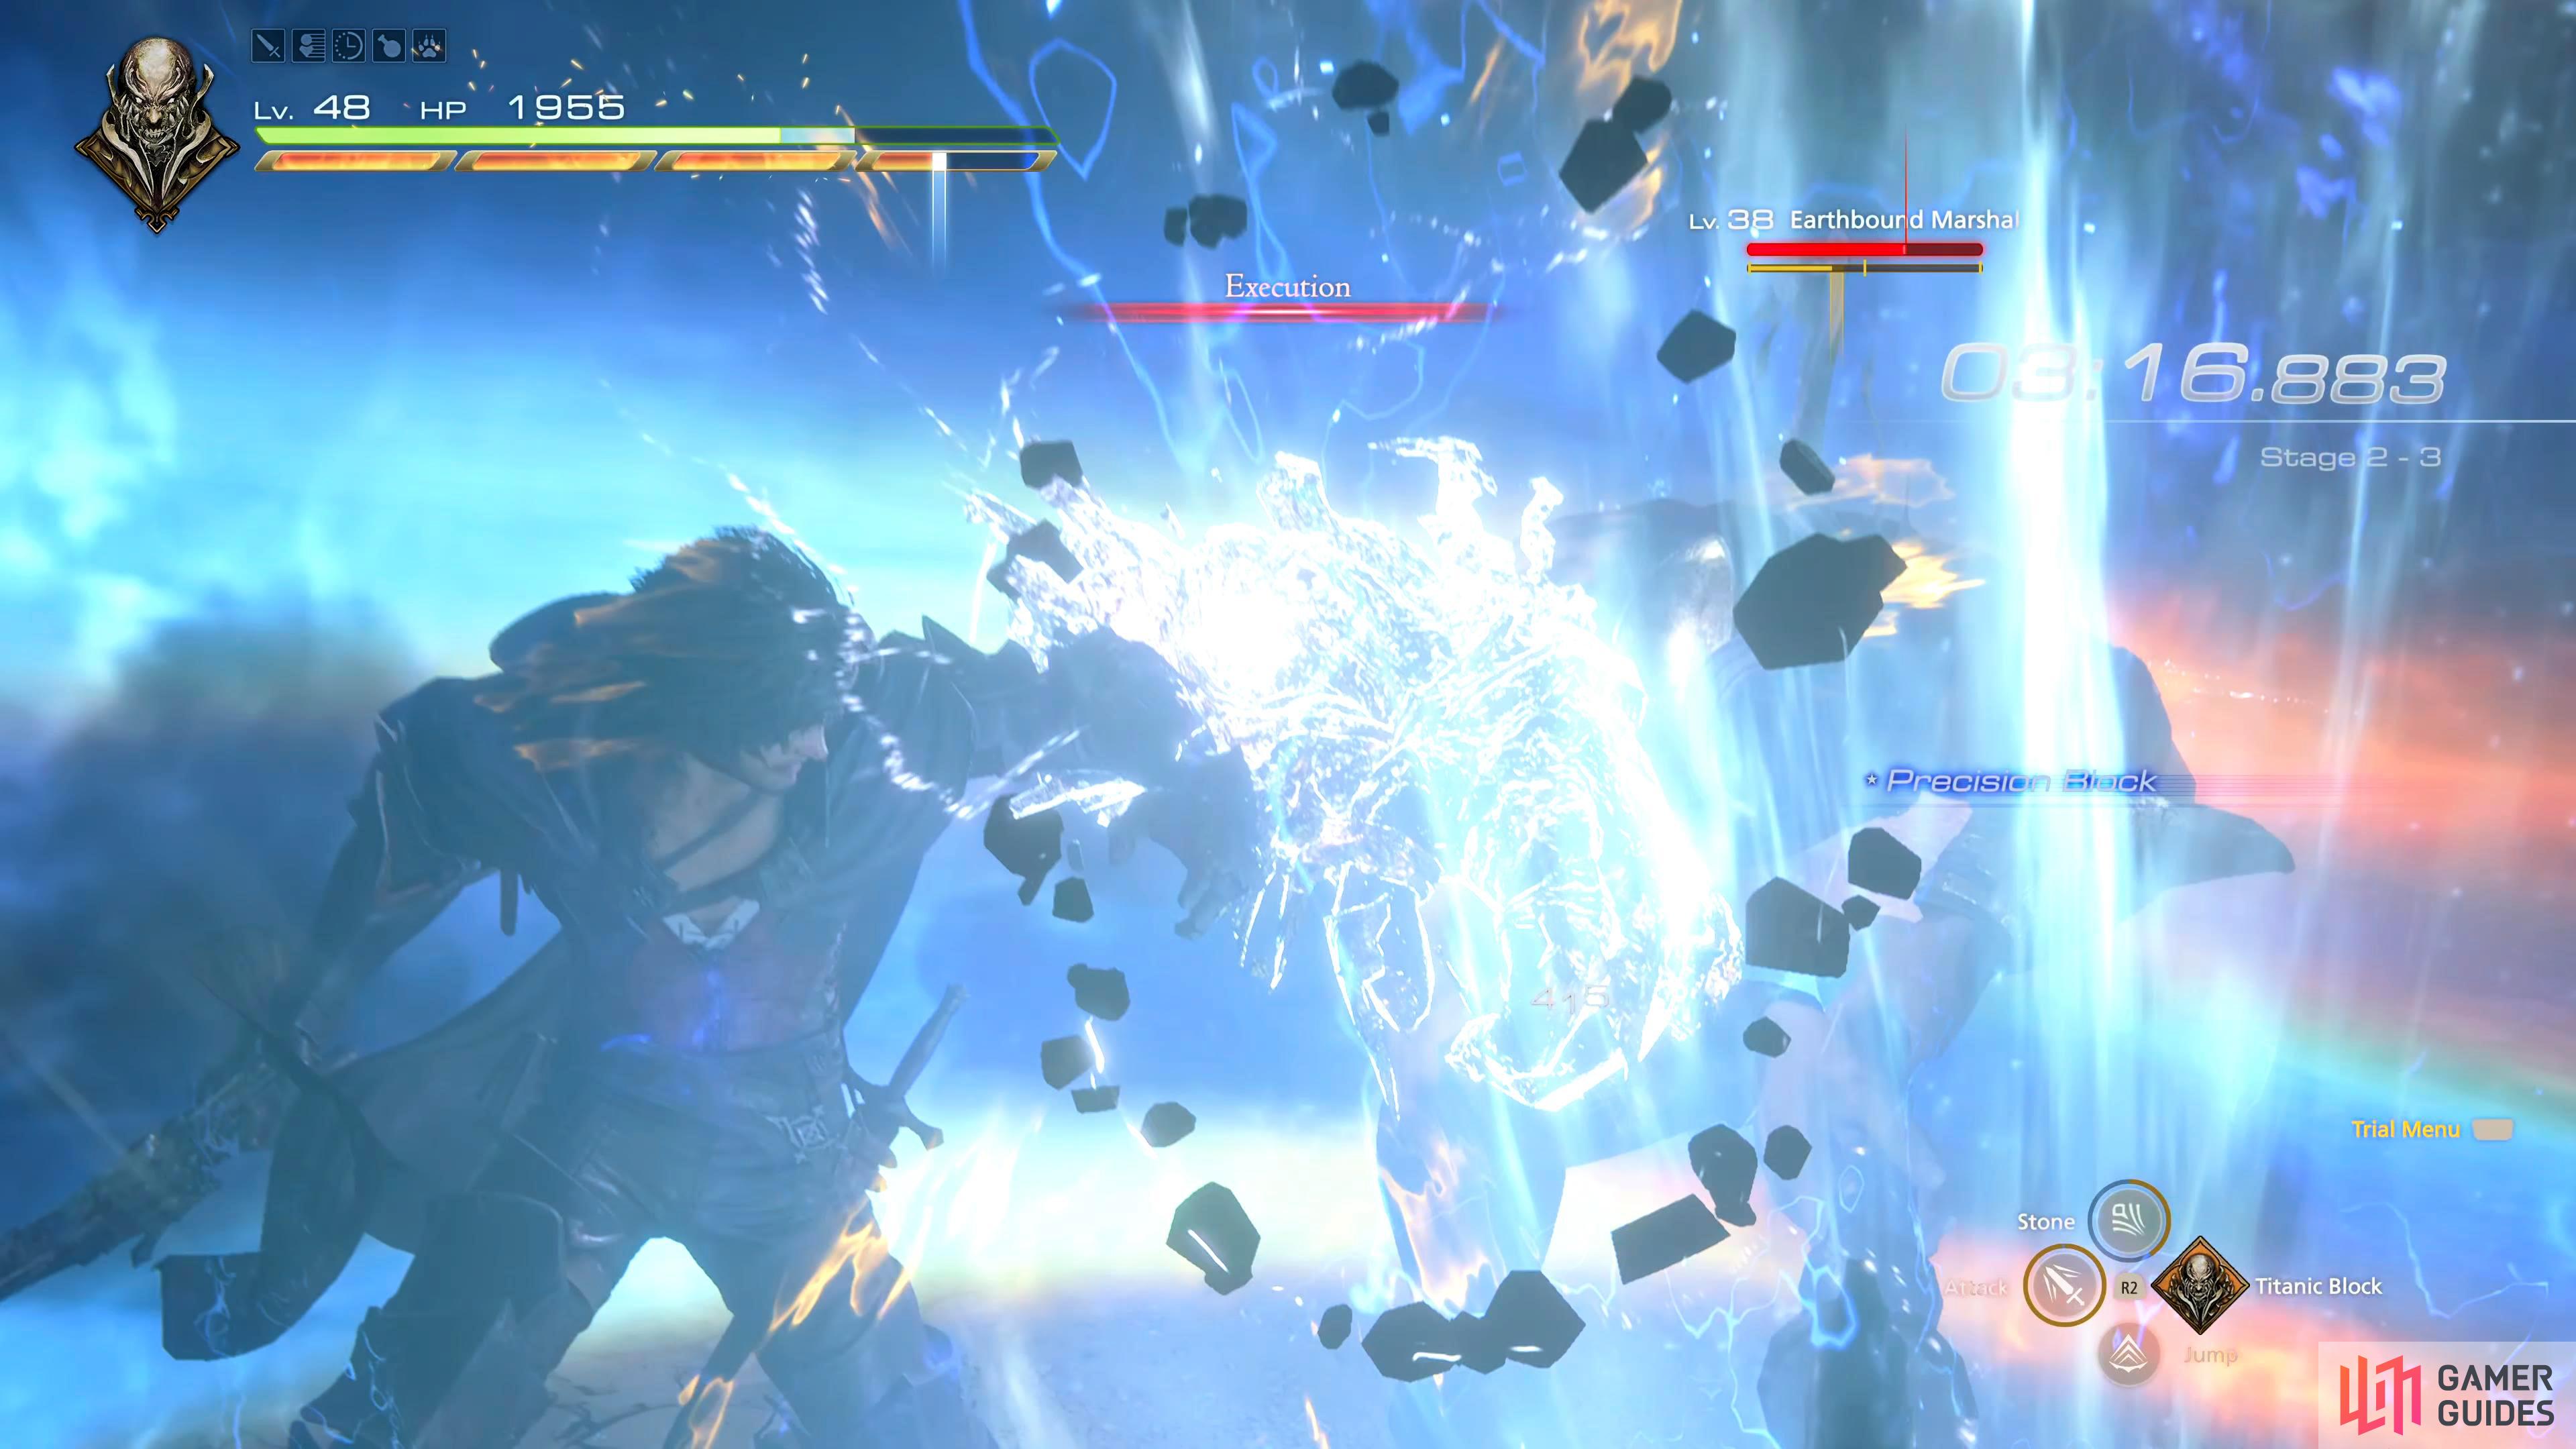
You’ll want to block all four attacks of the Marshal’s Execution attack with Titanic Block.
Stage 2-2
Next up is a group of enemies consisting of Earthbound Revenants and Earthbound Lieutenants. You should know the drill by now, run up to them, and use a perfect Upheaval but if it’s not off cooldown yet, try to line up the enemies (so they’re near each other in a line), and use a perfect Windup instead. Both of these attacks should outright defeat the Revenants, and leave the Lieutenants with marginal health who can be finished off with some mortal blows.
Stage 2-3
Once they’re dealt with, another group of enemies will spawn, and this time you’ll be facing three Earthbound Bombs and one Earthbound Marshal; a heavy man wielding a large axe. Line up the enemies, especially the ![]() Bombs, and use whatever ability is off cooldown. Both of them will decimate the bombs in one attack, leaving you with the Marshal.
Bombs, and use whatever ability is off cooldown. Both of them will decimate the bombs in one attack, leaving you with the Marshal.
Similar to the Gigas back on stage 1, the Marshal is relatively slow if not a bit quicker, and shouldn’t cause you too many problems, but you’ll want to avoid the Execution ability at all costs as this deals tremendous damage should each hit connect. This is a fourfold attack, and you’ll have two ways to avoid it which is either dodge through each attack or block them all. The latter is the easiest option, and you’ll get bonus time for each precision block.
What you want to do is hit block ( ) every time the Marshal lunges in with an attack, but don’t counter until he’s completed all four attacks otherwise you’ll take unnecessary damage. All of these attacks are overhead strikes other than the second attack being a quick horizontal slash. As always, use both Windup, and Upheaval off cooldown (make sure they’re perfect), and use magic burst combos when they’re not. If you need to heal, use Limit Break. Once they’re defeated, you’ll have one more stage to complete, stage 3.
Trial by Earth - Stage 3 Walkthrough
Stage 3 gives you the Earthen Fury and Windup abilities.
| Ability | Suggested Accessory |
|---|---|
| The Favor of Earth (Windup) | |
| Earthen Fury | The Breath of Earth (Earthen Fury) |
Once again, the enemies will become more difficult, and you’ll lose Upheaval for Earthen Fury, boo! The new battle technique that will get added with this stage will be Collateral Fury which requires you to hit two enemies with the Earthen Fury ability which is almost impossible to not achieve unless you’re fighting just one enemy. This will obviously replace the correlating technique for Upheaval.
Stage 3-1
Stage 3 will start with you battling Earthbound Muggers (![]() Goblins), and one Earthbound Panther which is the same as the Republic War Panther boss fight in the story. Start off the battle with Earthen Fury as it will give you a time bonus as well as decimate the goblins, just make sure you don’t stand too close to them otherwise you’ll miss them.
Goblins), and one Earthbound Panther which is the same as the Republic War Panther boss fight in the story. Start off the battle with Earthen Fury as it will give you a time bonus as well as decimate the goblins, just make sure you don’t stand too close to them otherwise you’ll miss them.
Immediately after, group up the remaining enemies and unleash a perfect Windup to finish any goblins, and deal significant damage to the panther. From now on, use Titanic Block every time the panther lunges in with a swipe which is fairly easy to pull off as it is telegraphed; hit block as soon as you see the paw extended. Once you’ve blocked the attack, retaliate with three counterstrikes for massive damage. Other than that, dodge the charge attack, use your abilities off cooldown, and use Limit Break to heal.

At the start of Stage 3, you’ll battle a panther. Use Titanic Block to counter its lunge attack.
If you use a Windup, Earthen Fury combo at the start of stage 3-2, you can wipe all of the enemies out in one shot.
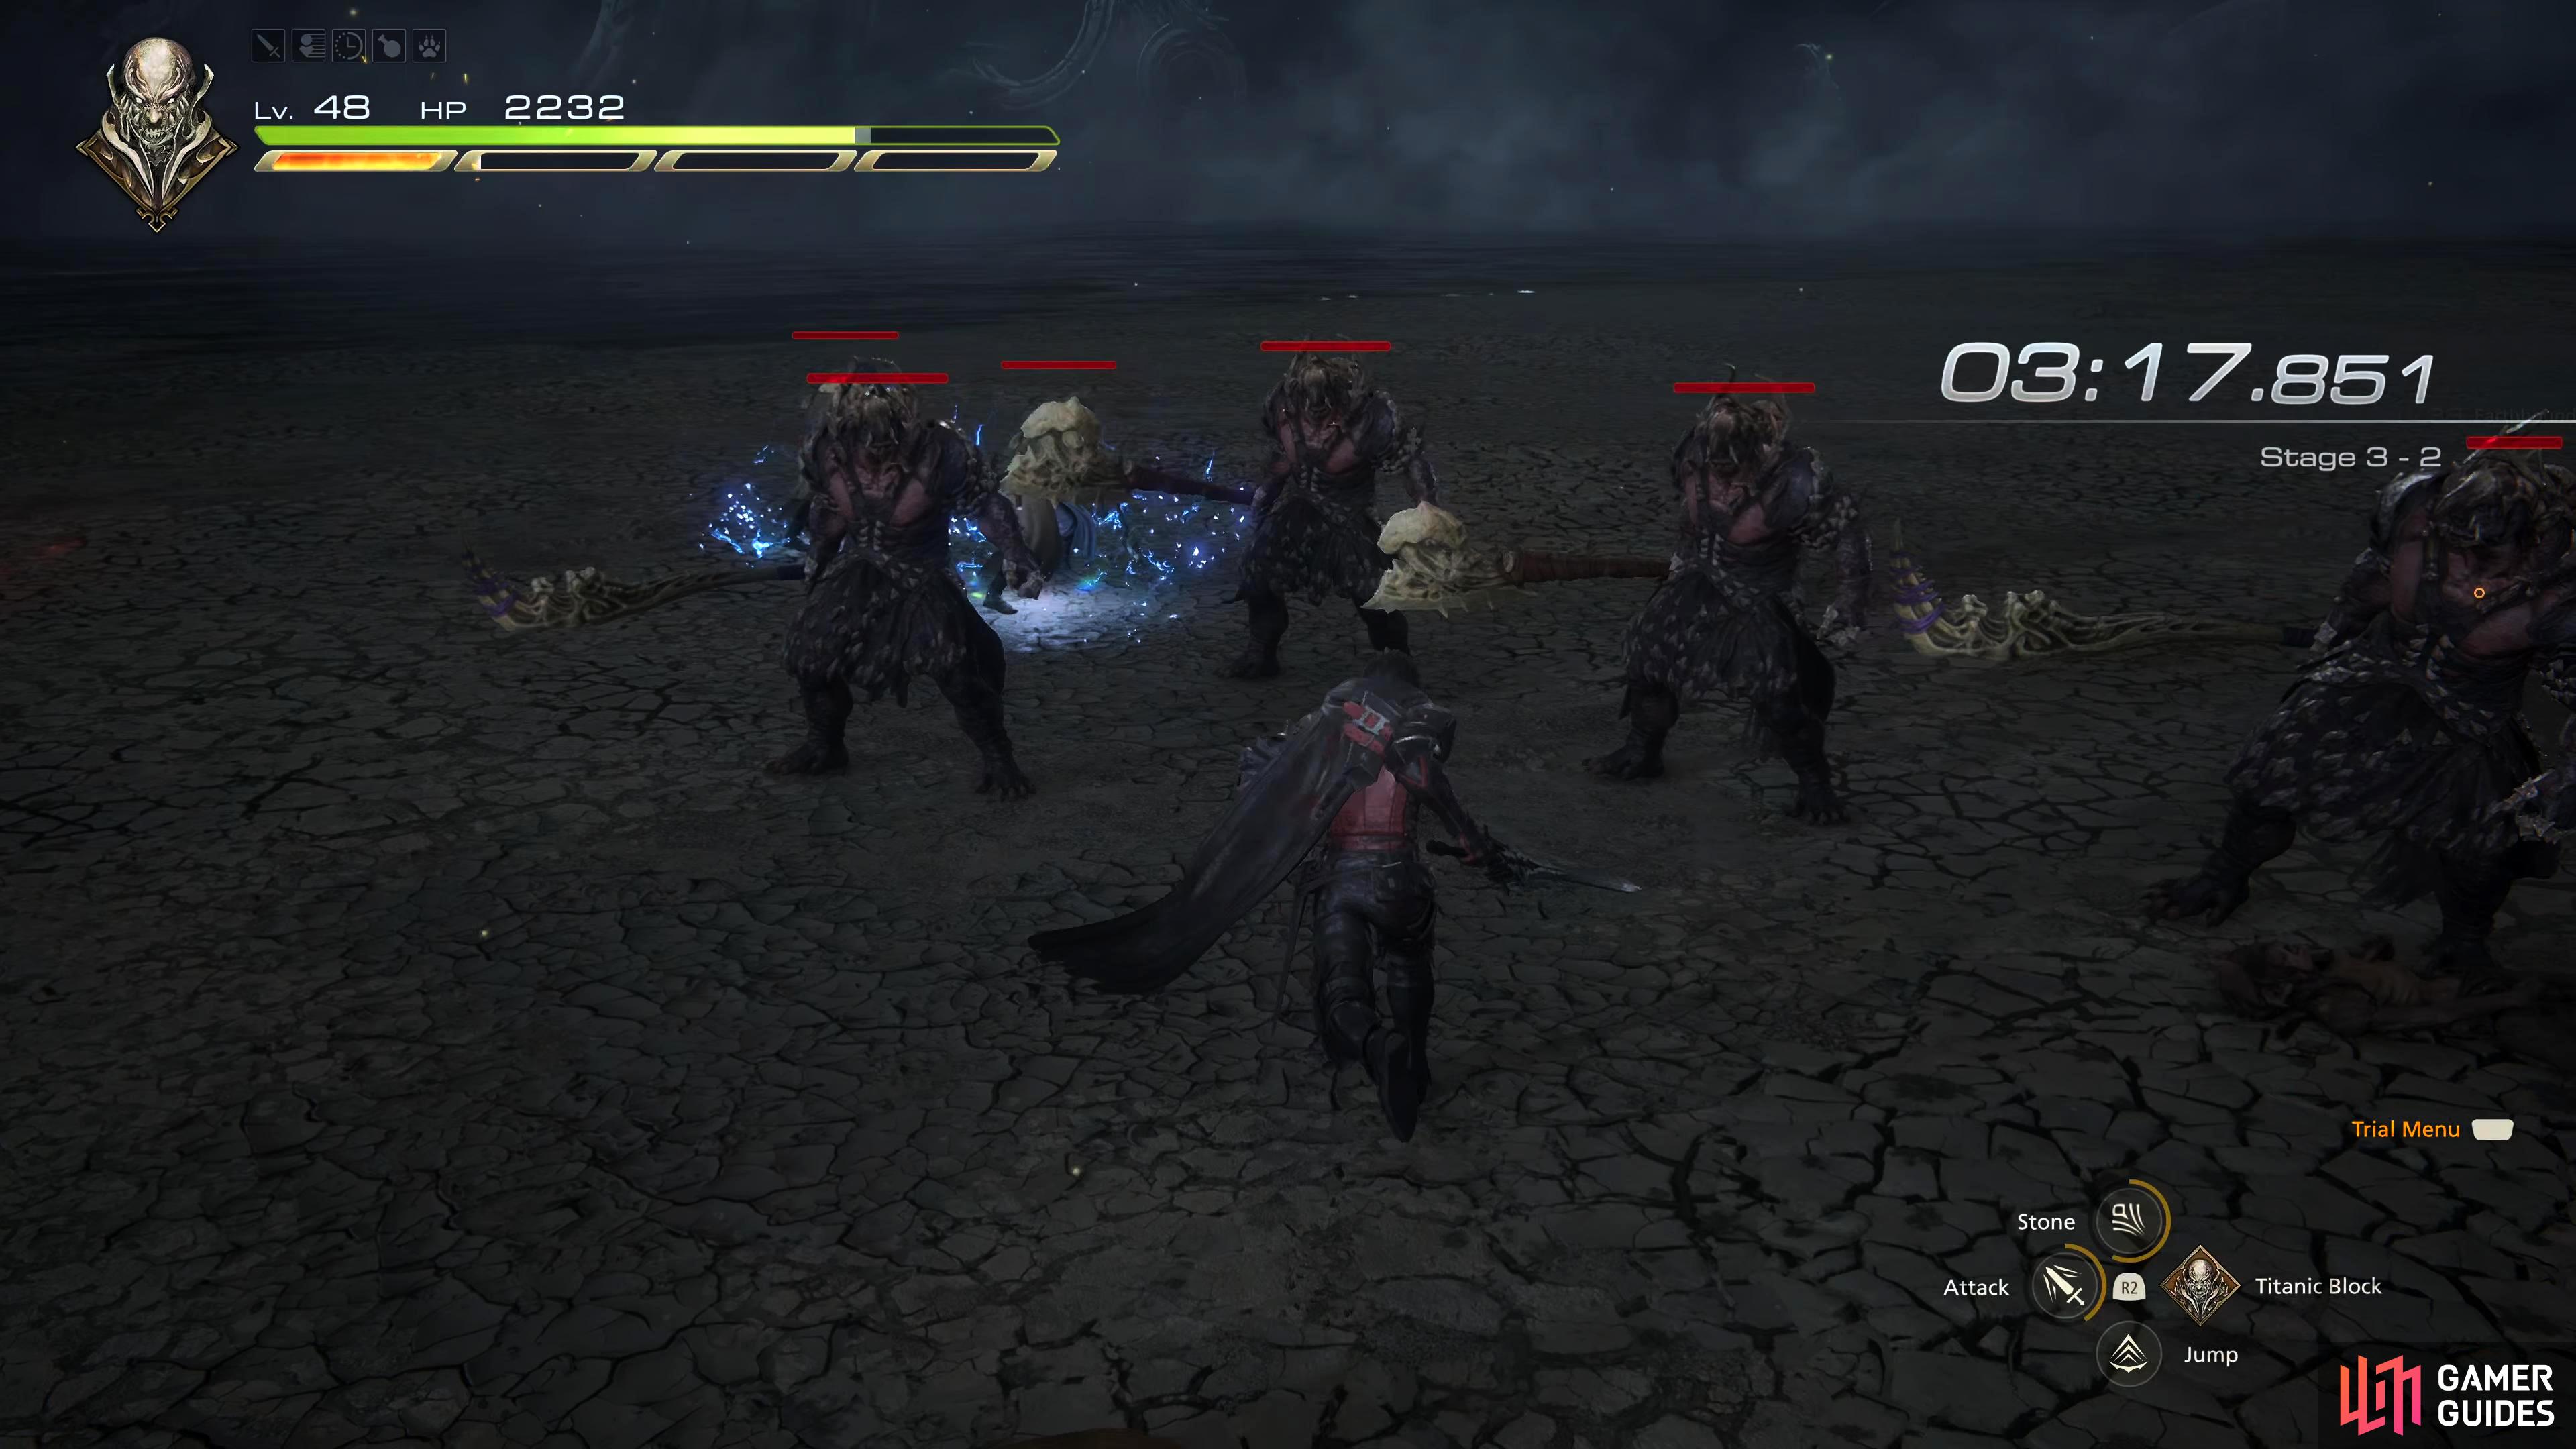
Stage 3-2
The next group of enemies will consist of Earthbound Orcs and Earthbound Scepters (magic-users). This is a relatively easy bunch of enemies to deal with, but the Scepters can be a pain with all their magic casting, so they should be your focus. If you can, try to group up the ![]() Orcs close to the Scepters, then use either of your abilities as they will decimate them in seconds, then you can finish off any survivors with a mortal blow.
Orcs close to the Scepters, then use either of your abilities as they will decimate them in seconds, then you can finish off any survivors with a mortal blow.
Stage 3-3
Now the battle begins to get difficult. The Stage 3 boss will have you battle an Earthbound Fool which is the same fight as the Fastitocalon Hunt, and an Earthbound Tognvaldr which is one of the ninja-type bosses like Midnight Raven. Start the battle by using your Limit Break before casting Earthen Fury, then group up the two before unleashing Windup. If none of these are available yet, buy some time by dodging, and blocking their attacks, or magic burst counters until they’re off cooldown. If you hit both enemies with these two abilities correctly, you’ll outright defeat the Fool, if not both of them. Assuming that any of them somehow make it through this, then finish them off with combos.
Final Stage - Earthbound Giant Strategy
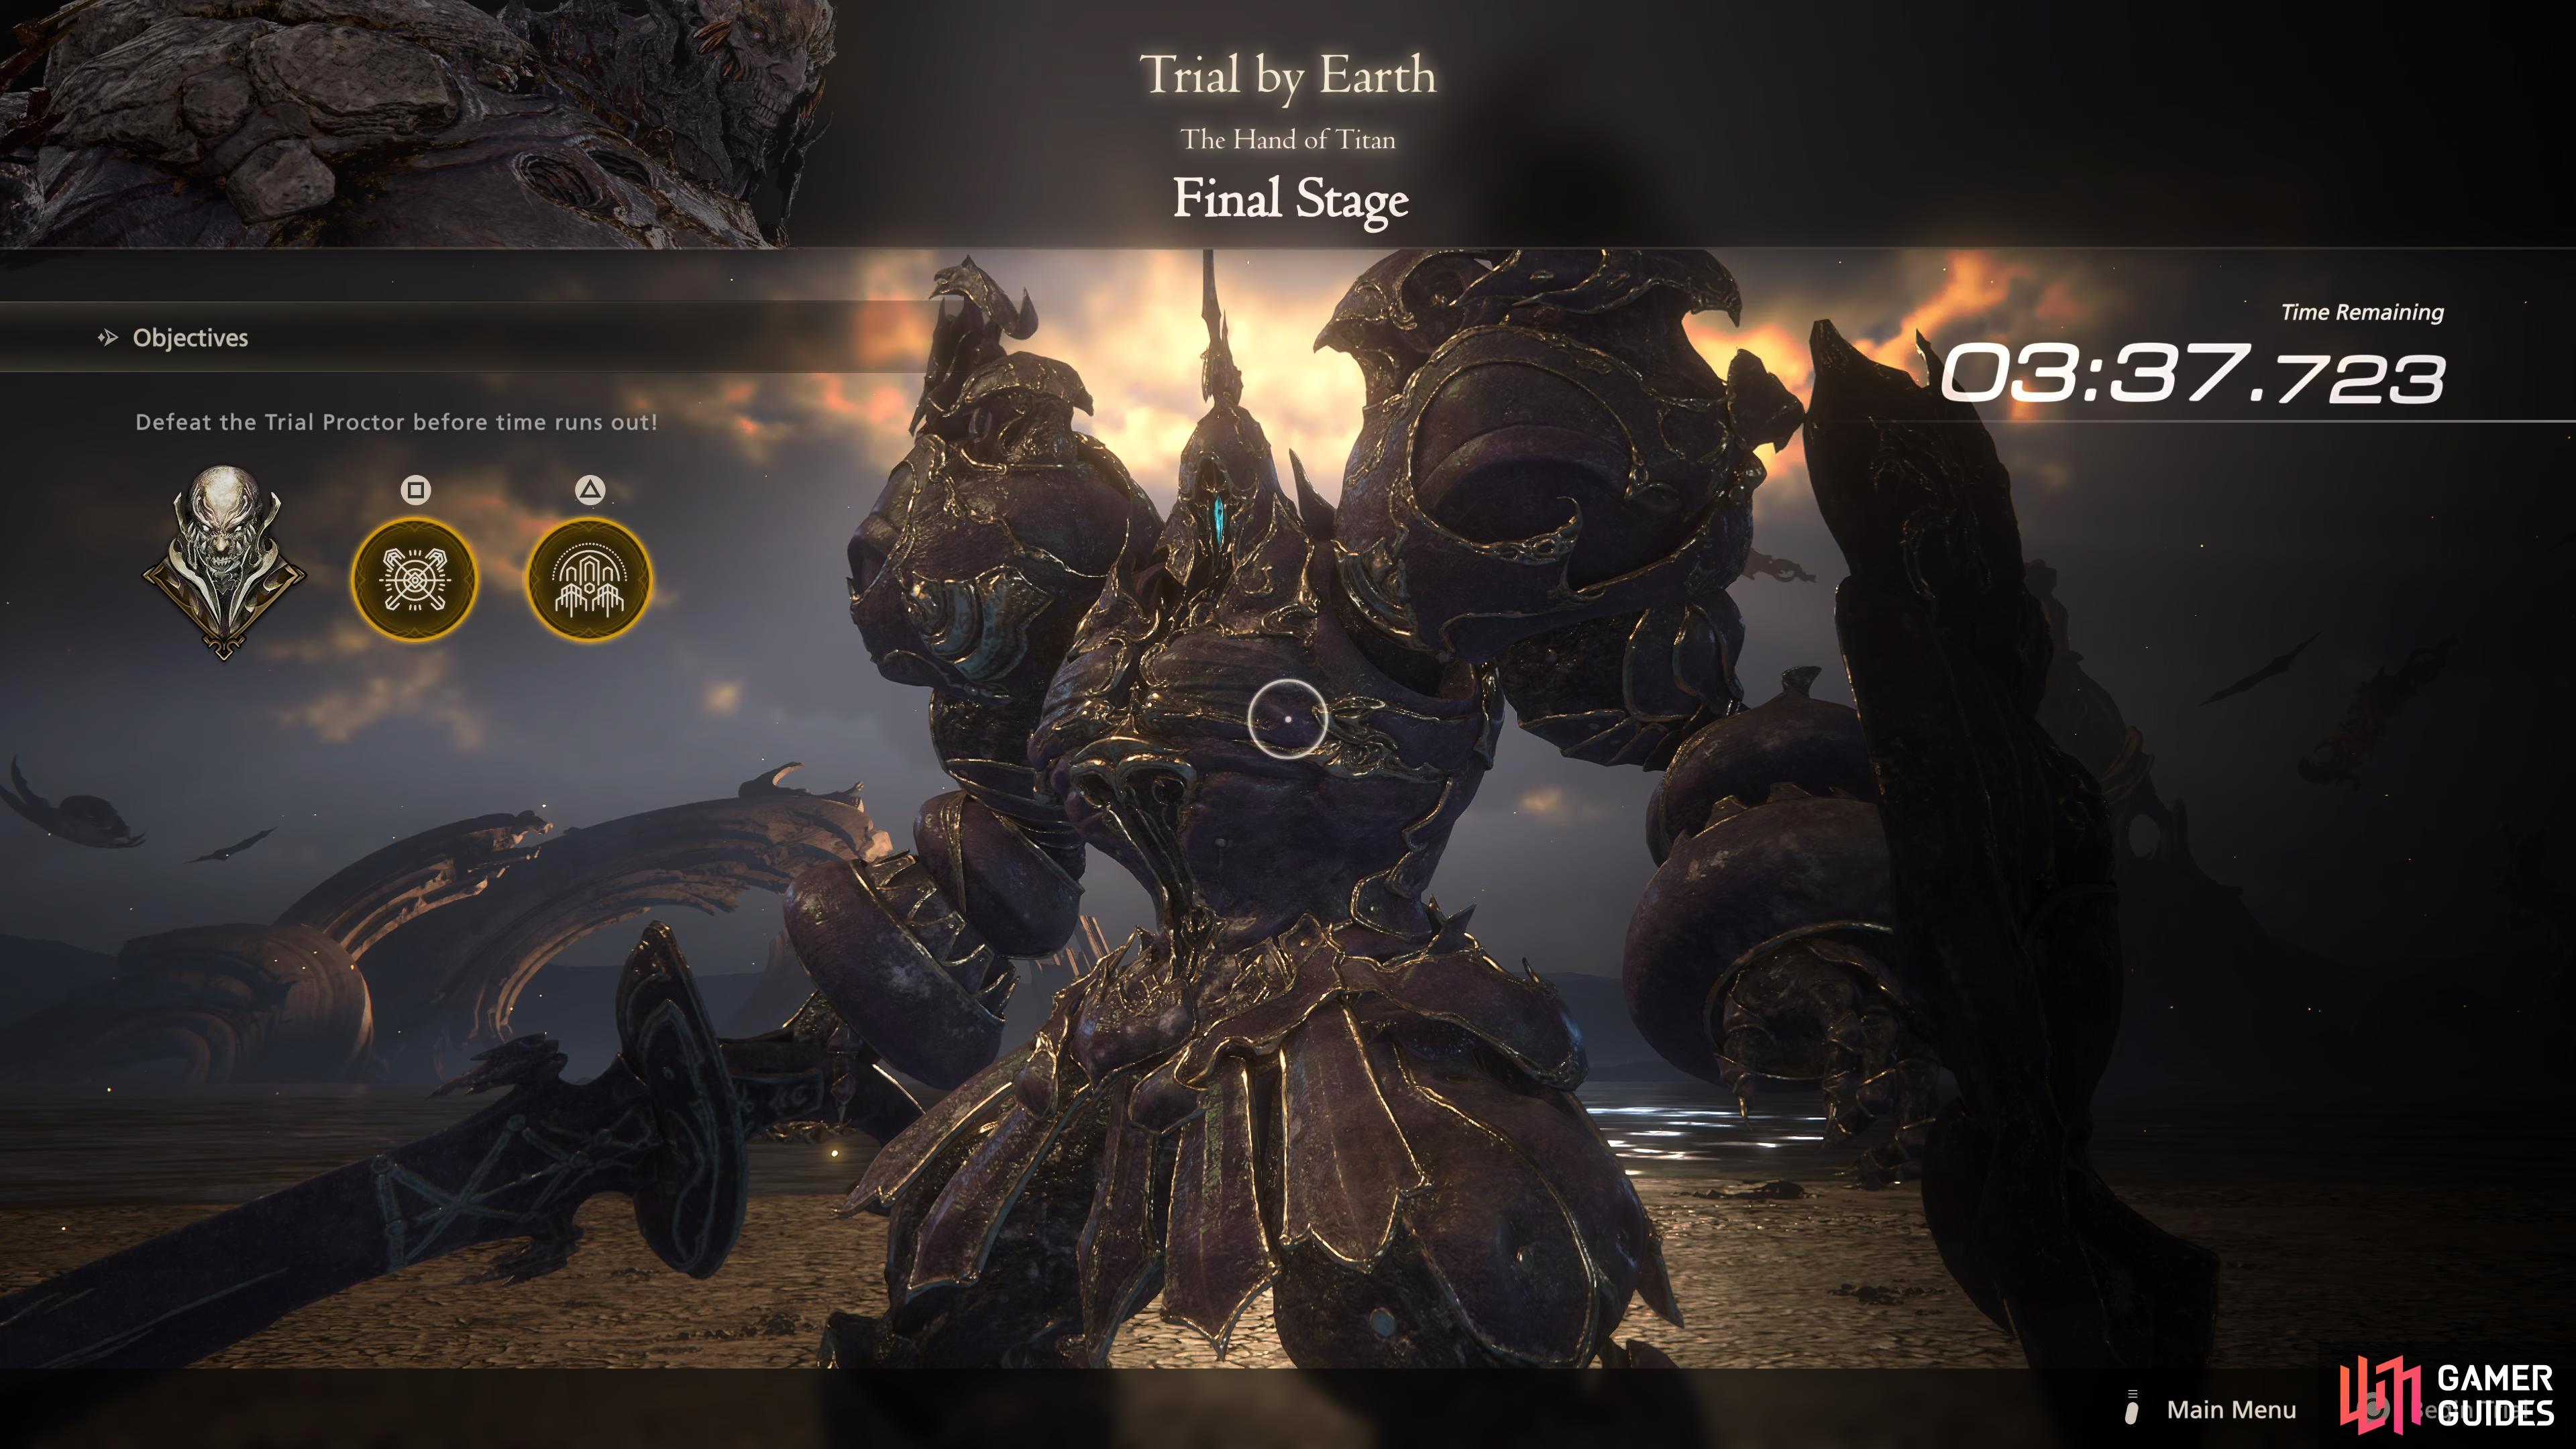
The final stage gives you Titan’s Raging Fists and Earthen Fury abilities.
| Ability | Suggested Accessory |
|---|---|
| Earthen Fury | The Breath of Earth (Earthen Fury) |
You’ve finally made it to the final stage! As you may notice, there are no time bonuses for this battle, so whatever you’ve earned over the last few stages will have to be enough to finish the battle. This battle will pit you against the Earthbound Giant “boss” who is similar to the Iron Giant. Another thing to note is you’ll lose Windup, and get Raging Fists in its place. Things may start to feel rough about now, especially if your health and/or time is getting low. Fortunately, the Earthbound Giant isn’t too difficult, and the hardest part of the battle will be your remaining time.
Start off the battle with a Limit Break (if your health is low, if it’s fine ignore this part) then use Earthen Fury to deal a nice chunk of damage. Now get close to the giant, and use Titanic Block on all of its attacks except its wave attack which should be dodged. Ideally, you want to use Raging Fists on one of its attacks, so you get the bonus counter damage, but if your health is low, and you’re not confident in timing it, then save it for when the giant is staggered. If you do use it on an attack, use it on the foot stomp because it’s the easiest attack to counter.

There are a few attacks from the giant to watch out for, the previously mentioned Foot Stomp where the giant will raise its foot before stomping it down. The Jumping Slam attack where it will hop into the air before slamming down with a vertical slash, a Charging Spinning Slash which is self-explanatory, and a regular Vertical Slice attack. Then you have the Spinning Slash attack which is the most difficult to deal with. The giant will slash to the ground before spinning around while dragging the sword on the ground in a circle around itself, and finally, there will be a wave-based projectile attack that fires in a straight line across the arena.
You want to be aggressive in this fight due to the time constraints, but not too aggressive where your health will plummet as there is no way to heal it outside of your Limit Break. Stick close to the giant, block his attacks in between combos, and use your !Raging Fist on the Foot Stomp attack, and/or during the stagger phase. Make sure you counter after every successful precision block unless it’s a multi-hit attack as its damage adds up quickly. Other than that, there isn’t much more to know if you can remember the Iron Giant battle, this is no difference other than you’re a lot more powerful now.
Once you’ve conquered the trial, you’ll be rewarded with the extremely mediocre 650 XP, and The Favor of Earth (Earthen Fury) accessory which increases Earthen Fury’s damage by 7%. At least the trial was fun, right?
More Final Fantasy 16 Chronolith Trials
If you’re looking for help on any of the other Chronolith Trials, check out our pages below:
No Comments