
A midboss during the main quest The Crystal’s Curse, you’ll fight the Imperial Cannonier after only your second encounter in this quest, and you won’t have any time to prepare once the second battle starts, as the boss will show up immediately afterwards. This page will provide strategies and tips for defeating the Imperial Cannonier in Final Fantasy XVI.

You’ll encounter the Imperial Cannonier during the main quest “The !Crystal’s Curse”.
How to Defeat the Imperial Cannonier - FF16 Imperial Cannonier Boss Walkthrough
An odd boss, the Imperial Cannonier has numerous ranged attacks and is aggressive enough to make frontal assaults futile. That said, the Imperial Cannonier has little answer to ranged attacks. As long as you keep your distance and strafe in a wide arc you should only have to dodge the odd fireball, but this is a slow, tedious and frankly uninspired way to engage in battle.
If you’re willing to be more aggressive, you can engage in melee with one important caveat - you must remain mobile. ![]() Dodge to the Imperial Cannonier’s flank/rear when he attacks and score the odd hit, use Phoenix Strike to close the gap anytime one forms (usually by you dodging the Imperial Cannonier’s attacks), don’t get greedy, don’t over-commit. This hit-and-run style is quite effective and doing this will help you realize that this boss is deceptively fragile, having only moderate Hit Points and staggering somewhat easily.
Dodge to the Imperial Cannonier’s flank/rear when he attacks and score the odd hit, use Phoenix Strike to close the gap anytime one forms (usually by you dodging the Imperial Cannonier’s attacks), don’t get greedy, don’t over-commit. This hit-and-run style is quite effective and doing this will help you realize that this boss is deceptively fragile, having only moderate Hit Points and staggering somewhat easily.
The Imperial Cannonier’s penchant for aggression means Eikonic Abilities with a commit cost should be avoided - ![]() Gouge and
Gouge and ![]() Ignition being prime examples. Either you’ll take damage trading blows with the Imperial Cannonier, or you’ll have to dodge during your attack and abort a good bit of its damage/stagger potential. Faster attacks like
Ignition being prime examples. Either you’ll take damage trading blows with the Imperial Cannonier, or you’ll have to dodge during your attack and abort a good bit of its damage/stagger potential. Faster attacks like ![]() Rising Flames and
Rising Flames and ![]() Heatwave will work well, being relatively snappy and, in the case of Heatwave, capable of deflecting the Imperial Cannonier’s ranged attacks.
Heatwave will work well, being relatively snappy and, in the case of Heatwave, capable of deflecting the Imperial Cannonier’s ranged attacks. ![]() Aerial Blast can also come in handy, but it can also obscure the Imperial Cannonier’s movements, so you might only want to use this if and when you’re fine with keeping your distance.
Aerial Blast can also come in handy, but it can also obscure the Imperial Cannonier’s movements, so you might only want to use this if and when you’re fine with keeping your distance.
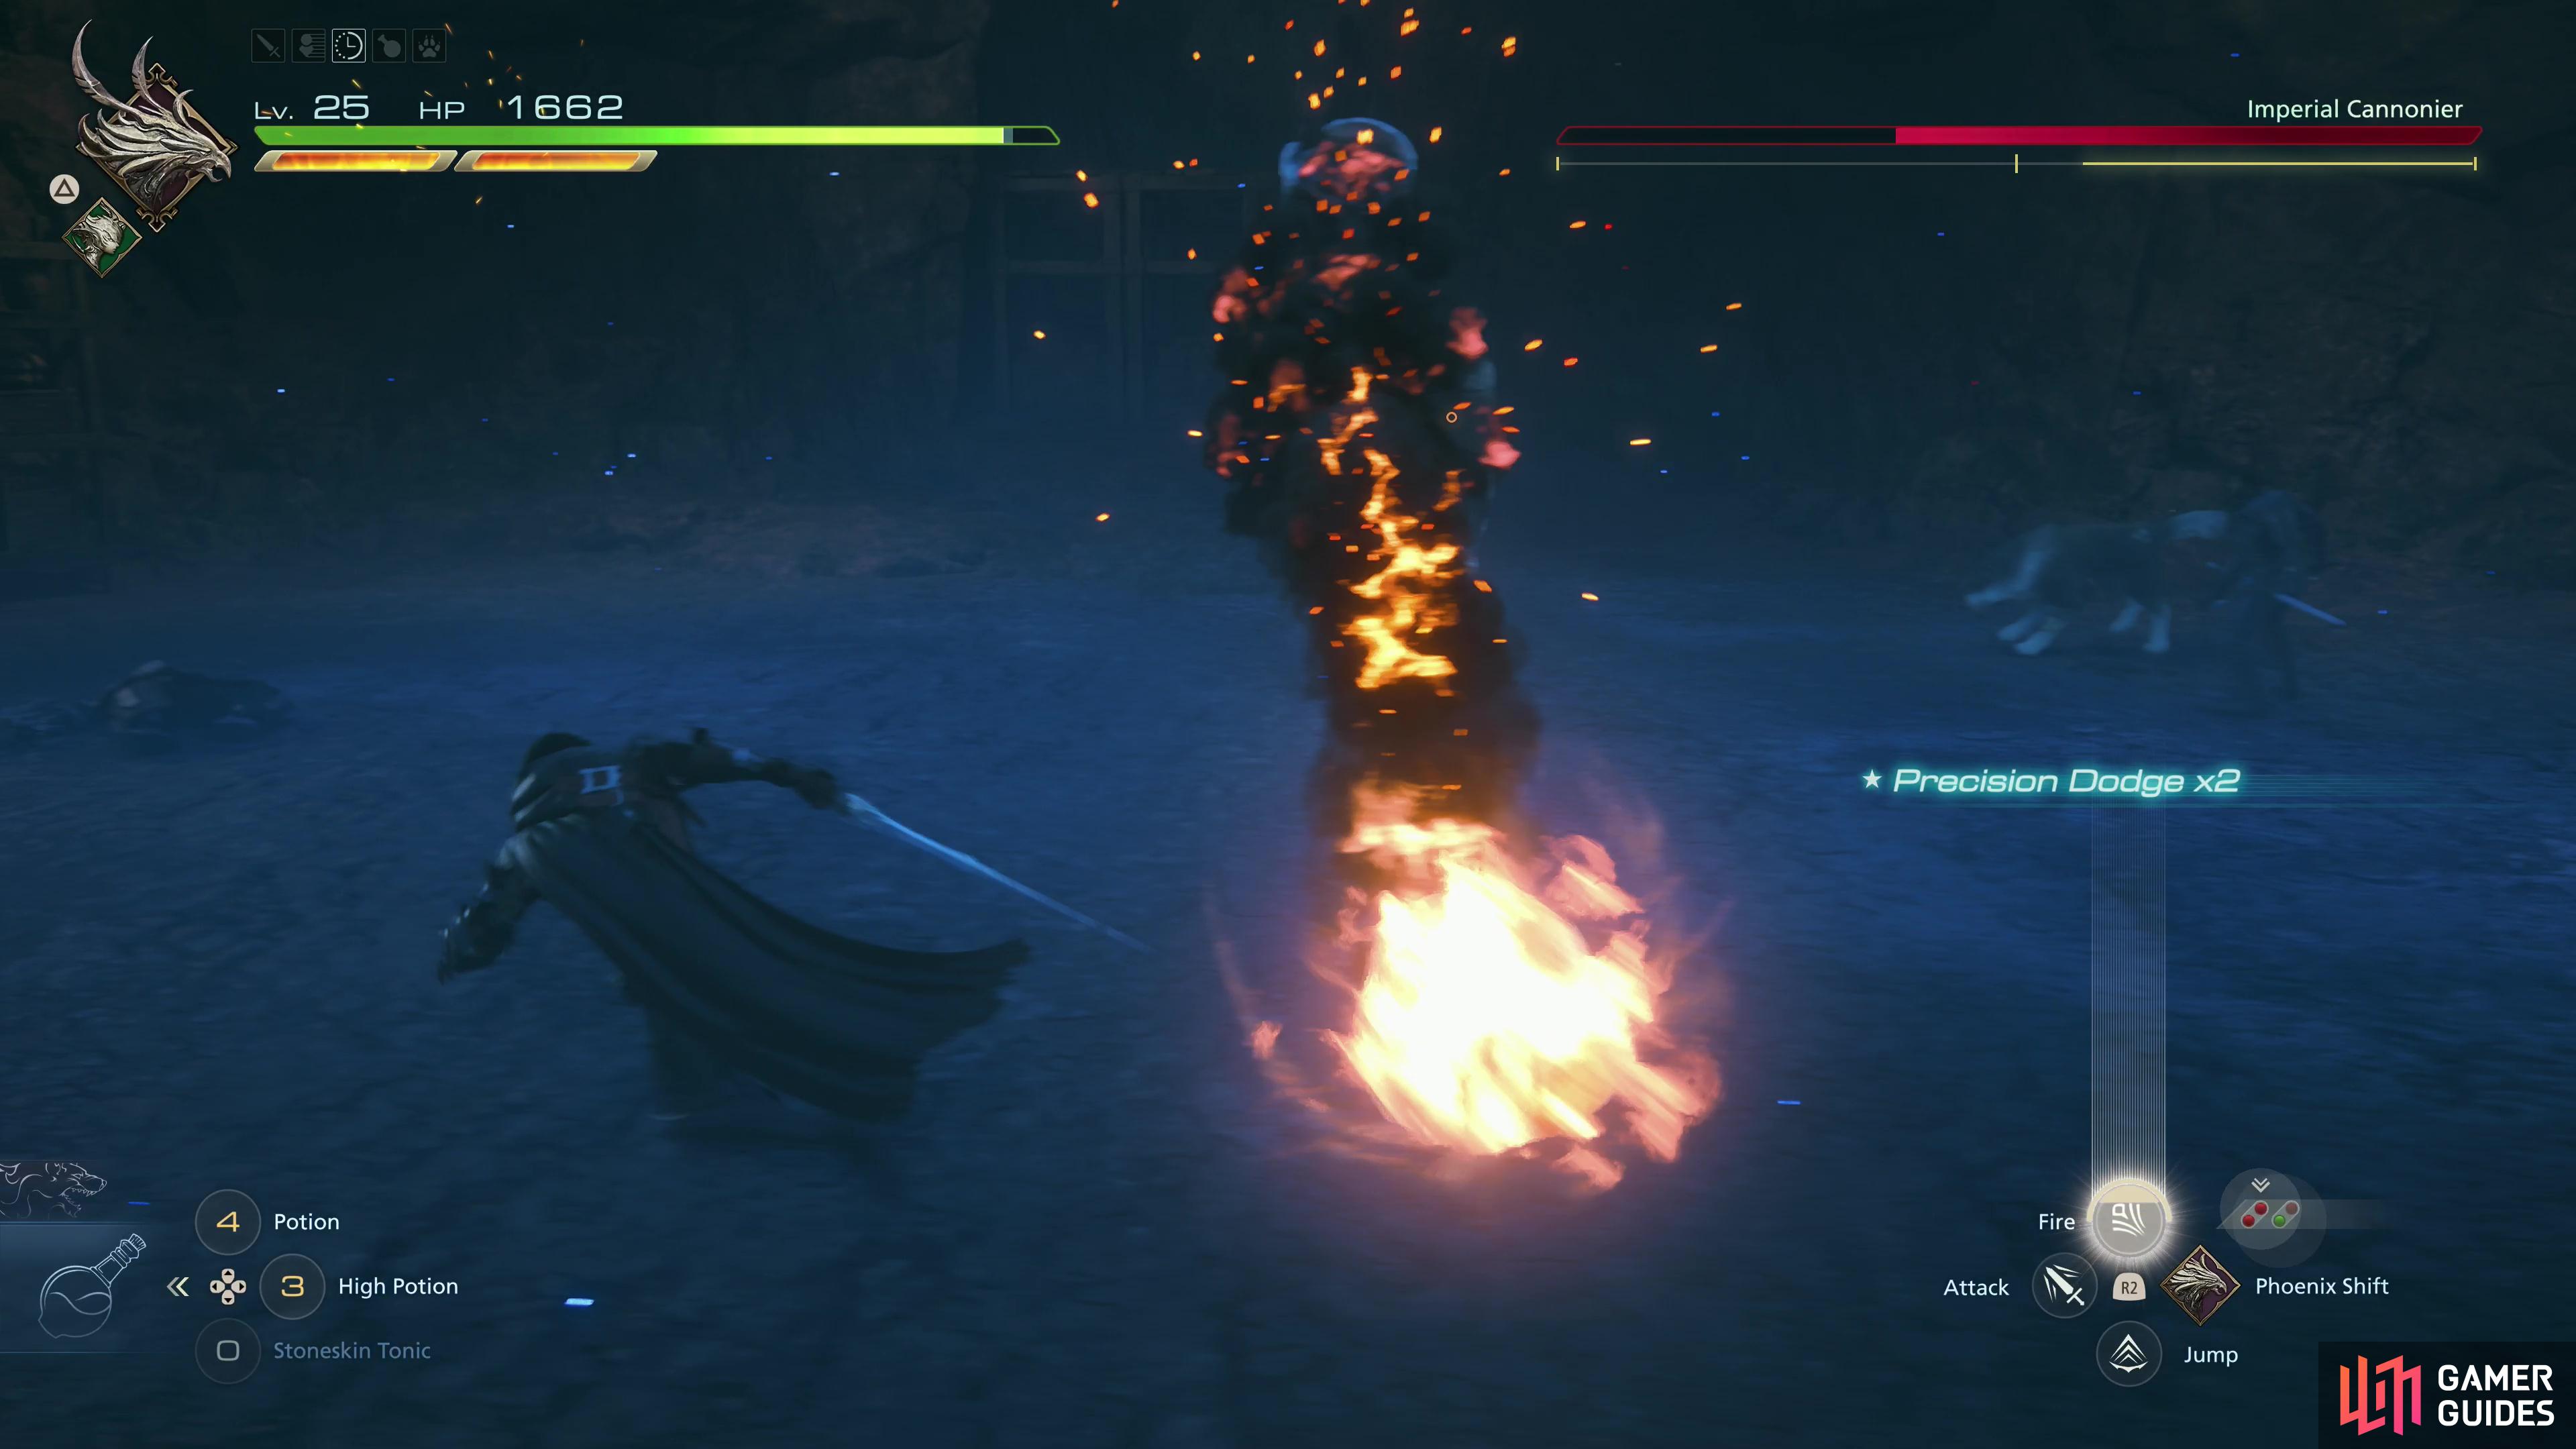
(1 of 4) One of the Imperial Cannonier’s more common - and more exploitable - attacks is his Bombard Blast, which discharges numerous fireballs.
Imperial Cannonier All Attacks - FF16 Imperial Cannonier Boss Walkthrough
The Imperial Cannonier’s attacks are as follows:
-
Bombard Blast: The Imperial Cannonier will level his bombard at you and shoot a series of three blasts from it with plenty of time to dodge between each shot. Standard ranged attack, really. During the second phase of this fight the Imperial Cannonier will shoot more projectiles, with less time in between each shot - really this just encourages you to run perpendicular to the line of fire instead of dodging.
-
Cannon Swings: Despite the massive size of the cannon the Imperial Cannonier carries, he can still - with effort - swing it in melee. At the start of the fight he’ll perform two clumsy swings, and later he’ll add a third attack, a massive slam. While there is some peripheral threat to this attack, you can avoid it by dodging to the Imperial Cannonier’s rear.
-
Blast Jump: The Imperial Cannonier will shoot a blast from his cannon into the ground, damaging foes in front of him while propelling himself backwards a good distance. Mostly a spacing maneuver.
-
Black Powder: The Imperial Cannonier turns his cannon horizontal and puts the firing end to the ground, creating fissures that will shortly erupt - just don’t stand on the dangerous glowy bits and you’ll be fine. As the fight progresses, the Imperial Cannonier will create more of these eruptions each time he uses this attack. You can usually score a cheap hit or two during this attack - especially prime time to close in and use an Eikonic Ability.
-
Flamethrower: Your foe will shoot sustained gouts of flame from his bombard. He’ll use this for a few seconds at a time, and while the attack has short range, the Imperial Cannonier will advance and turn while using this. You’re better off just keeping your distance and using magic until he grows weary of being obnoxious.
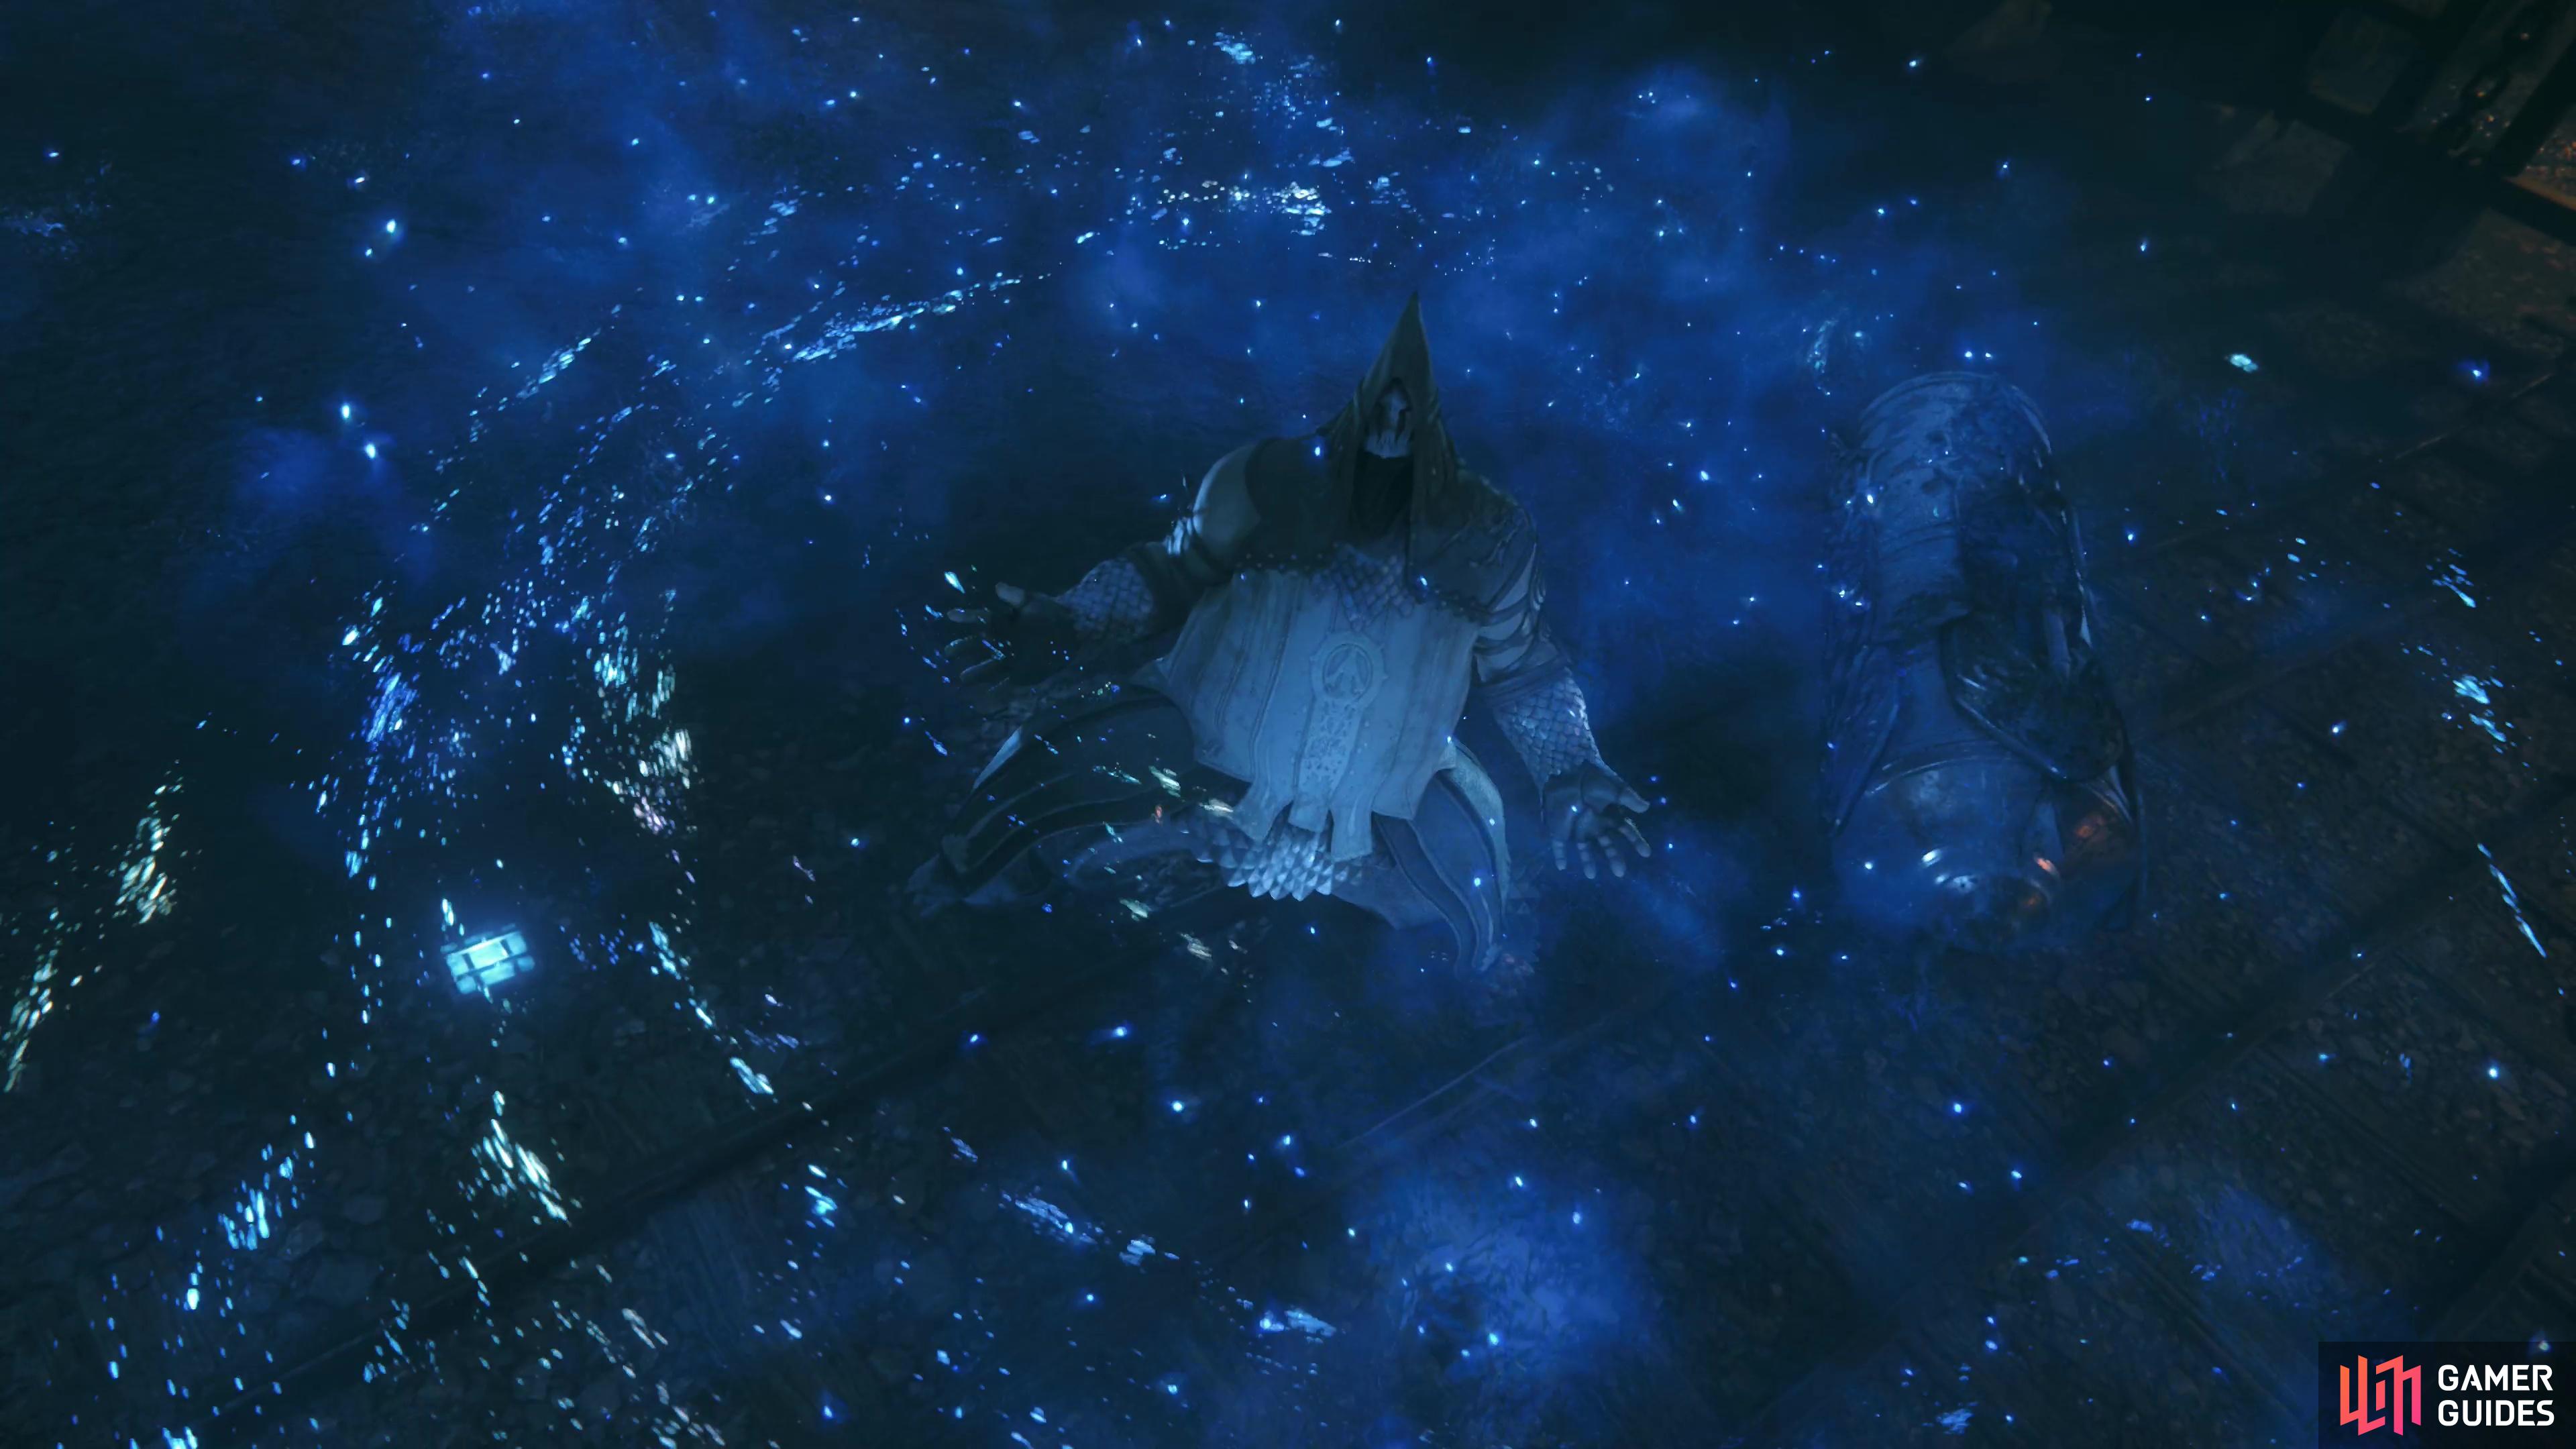
After nearly depleting the Imperial Cannonier’s health bar once, he’ll “go !Akashic”, becoming more aggressive and regaining his health.
Once you’ve depleted the boss’s Hit Points you’ll get a short scene, after which the Imperial Cannonier will “go ![]() Akashic”, losing his humanity due to exposure to aether. The side effects include increased strength and aggression, and it’s just bad luck that it happened to occur during this fight, honest. Anyways, this is the second phase of this boss fight, and you can expect the Imperial Cannonier to alter some of his attacks: he’ll shoot more fireballs out of his mortar, and faster, he adds a third melee attack (a frontal slam) to his melee combo and his Black Powder attack will create more eruptions.
Akashic”, losing his humanity due to exposure to aether. The side effects include increased strength and aggression, and it’s just bad luck that it happened to occur during this fight, honest. Anyways, this is the second phase of this boss fight, and you can expect the Imperial Cannonier to alter some of his attacks: he’ll shoot more fireballs out of his mortar, and faster, he adds a third melee attack (a frontal slam) to his melee combo and his Black Powder attack will create more eruptions.
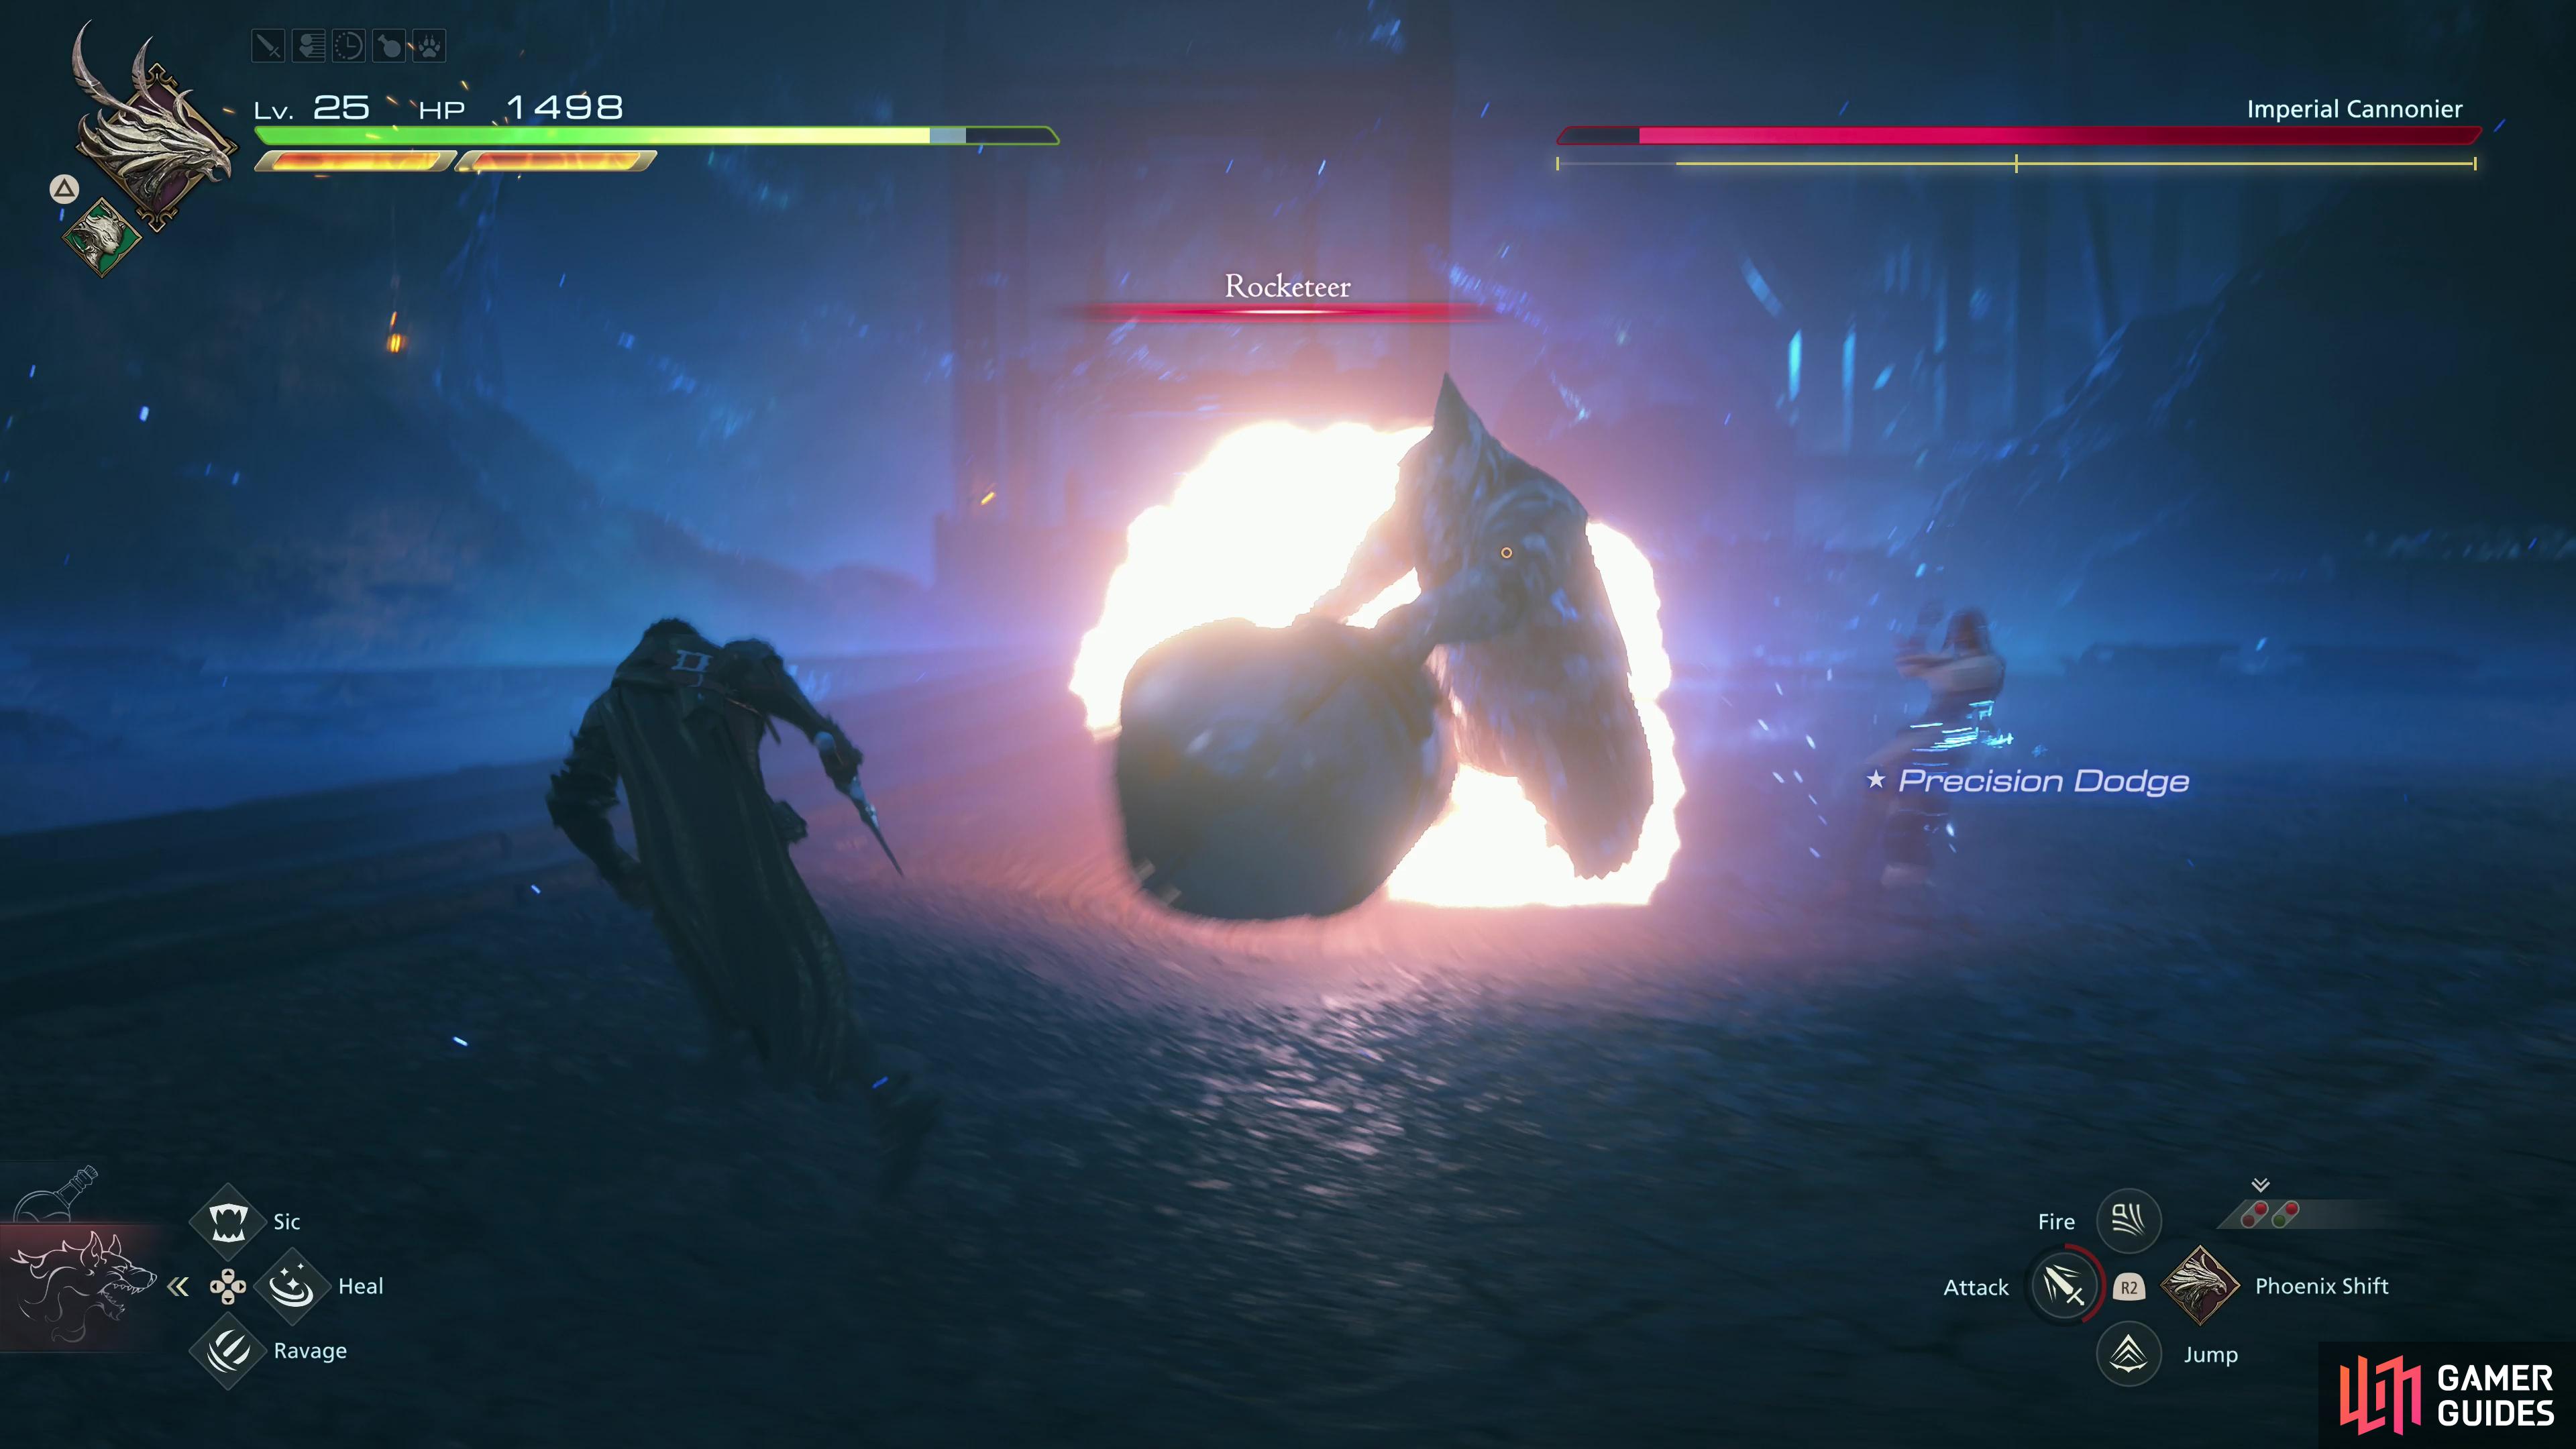
In phase two, the Imperial Cannoneer will start performing rocket chargers with his Rocketeer attack,
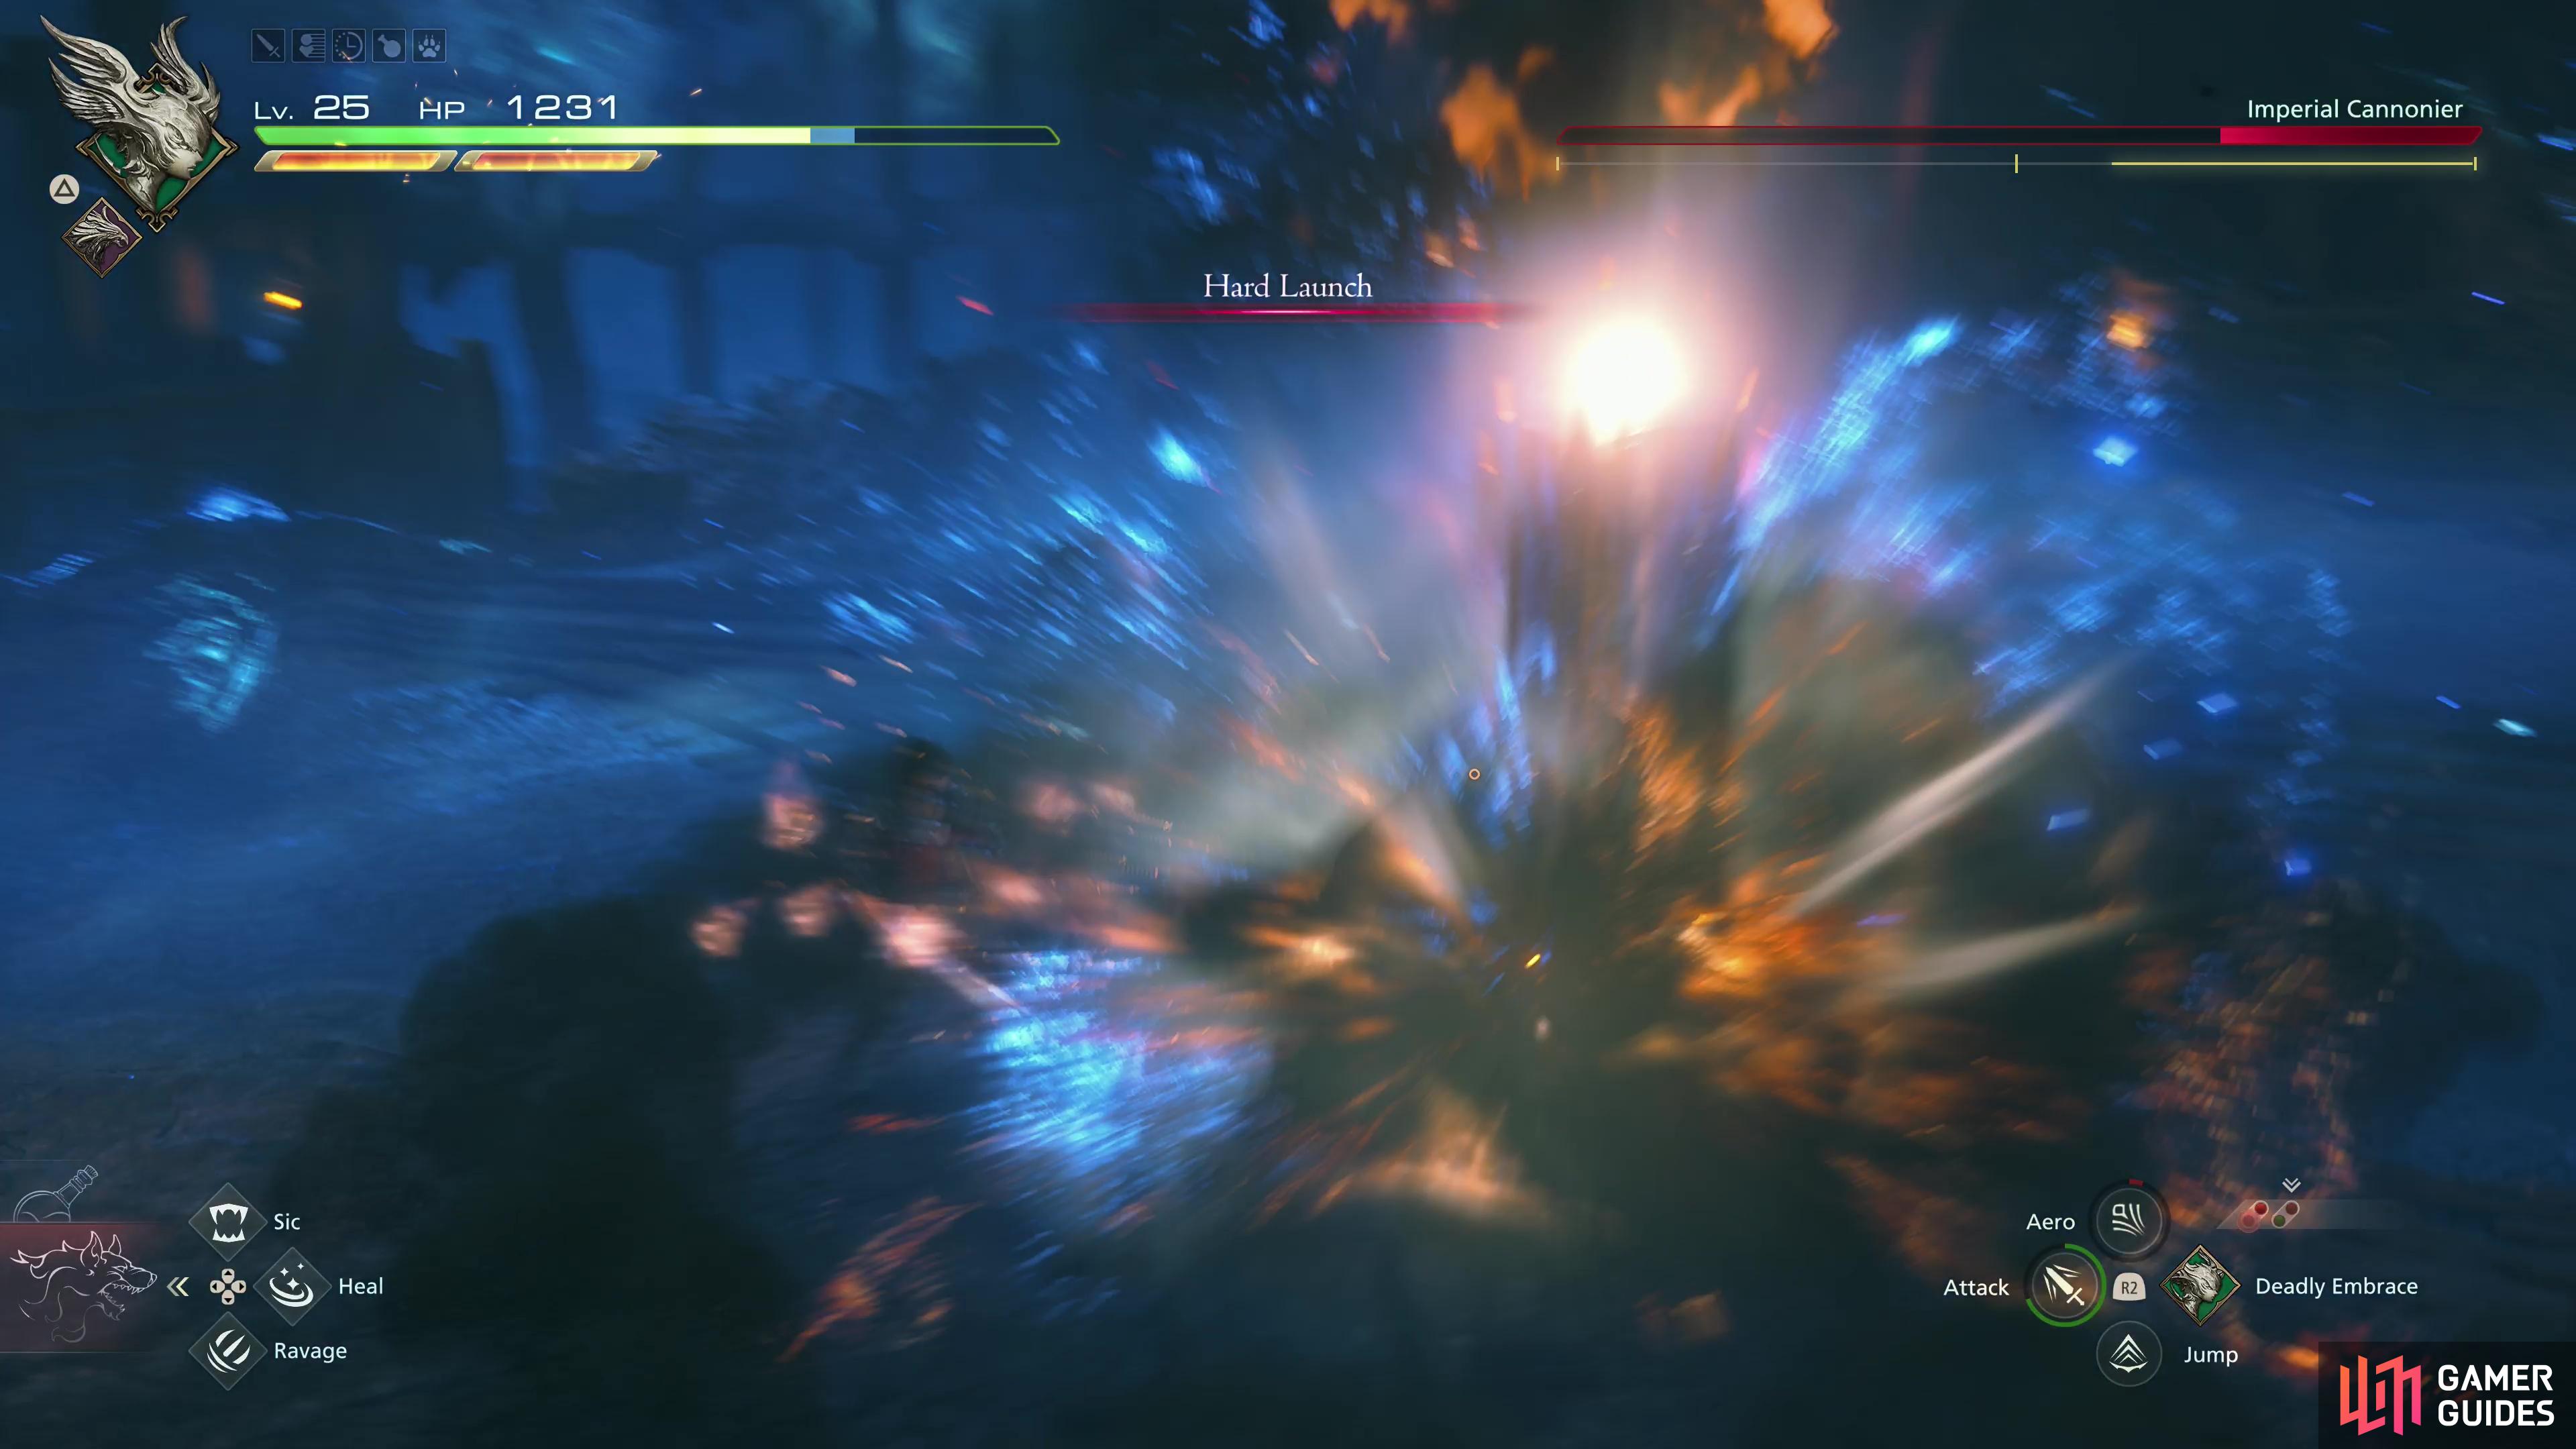
he can also perform rocket-propelled and slam attacks with Hard Landing.
He also gains the following attacks:
-
Hard Launch: While relatively rare, this attack can be painful. The Imperial Cannonier will use his cannon to launch himself forward, reorienting the mortar just before he lands to unleash a massive explosion. Kind of the opposite of Blast Jump, honestly. The Imperial Cannonier can use this attack surprisingly quickly after other attacks, so it’s best to stay wary.
-
Rocketeer: Just as silly as it sounds, the Imperial Cannonier will saddle up on his mortar and propel himself forward at great speed, dealing damage if he connects with anything. Fortunately for him he’s such a master at the art of riding primitive cannonry that he himself is always safe, able to stop when he wants, and capable of charging three times in succession.
Despite being more aggressive in phase two, your strategy should remain largely unchanged. Ranged is still safe cheese, you just have to dodge rocket charges and bombard blasts now, melee is still doable, just make use of Phoenix Strike and try to stay at the boss’s flank and rear, and only use quick Eikonic Abilities when there’s an opening (during the Imperial Cannonier’s Black Powder attack, being a prime example).
Deplete this foe’s second life bar and he won’t get back up again. You’ll get The Favor of the Inferno (Ignition), 15x ![]() Wyrrite and 15x
Wyrrite and 15x ![]() Steelsilk for defeating the Imperial Cannonier.
Steelsilk for defeating the Imperial Cannonier.
To return to the the walkthrough for the main quest The Crystal’s Curse, follow the link here. To skip ahead to the Akashic Dragon boss fight guide, follow the link here.
No Comments